Envelope Pattern There are three download versions for the envelope pattern: Full Layout - Use this for projector printing or printing on a plotter. ENVELOPE PURSE Letter Size Printing - Use this when printing letter size paper (8.5" x 11"). Print pages 1-8, the...
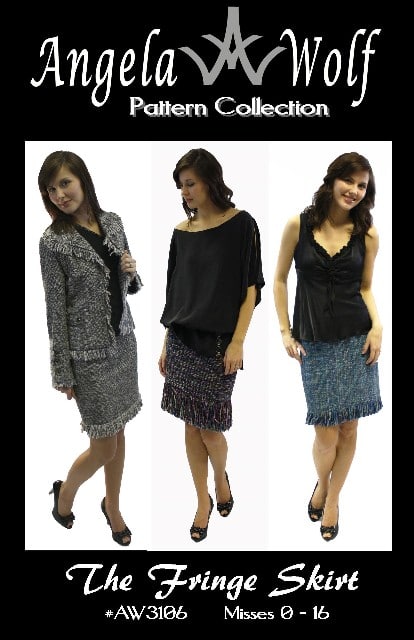
Fringe Skirt Sewalong Part 5: Quilting the Lining
Quilting the Lining
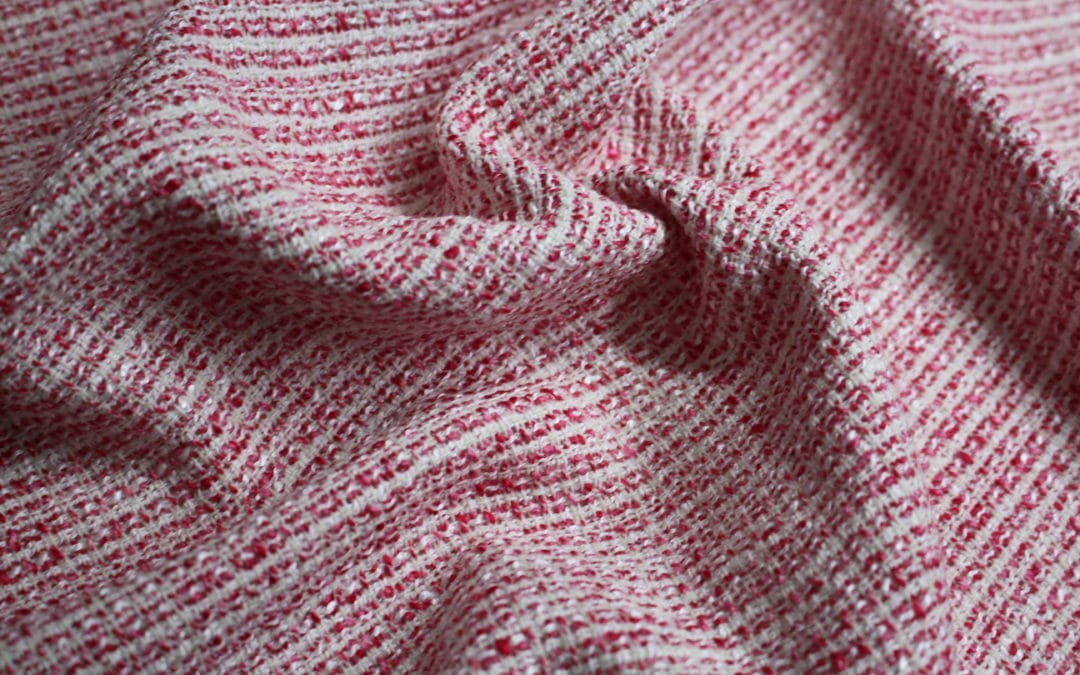
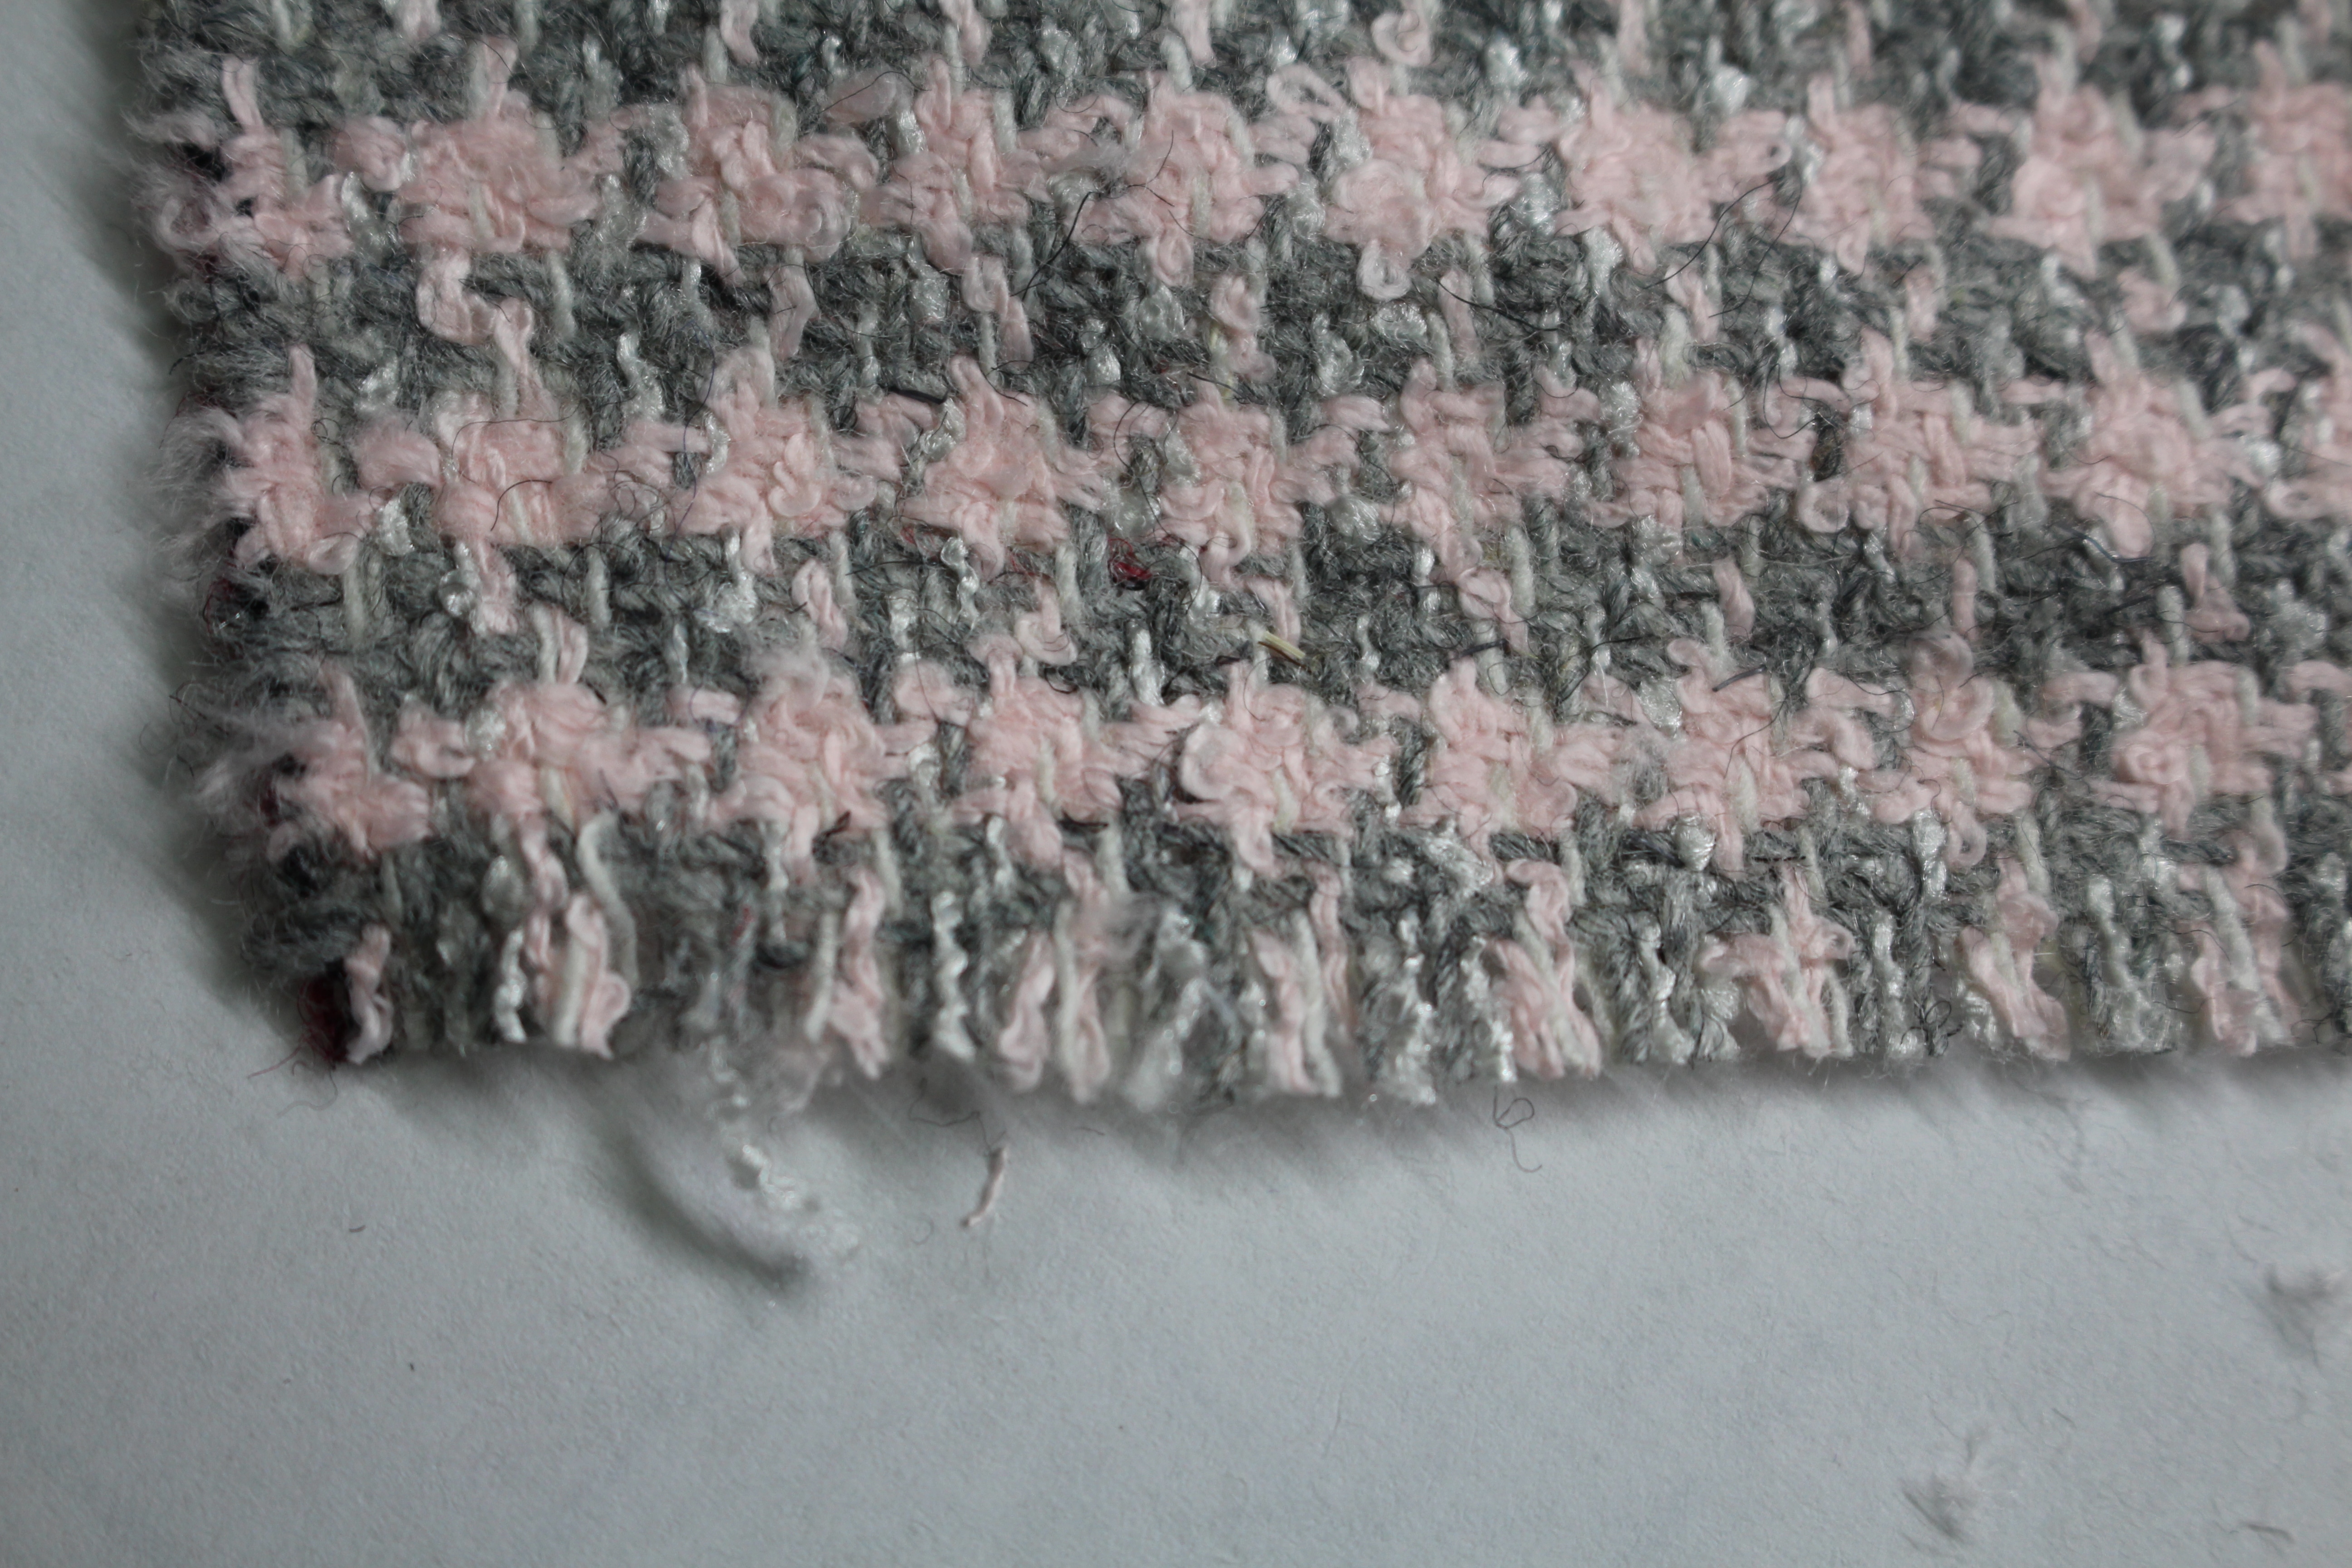
Why not add a touch of couture to your tweed fringed skirt and quilt the lining. Similar to a Chanel style jacket, the quilted lining is stylish and luxurious. There is a lot of hand-sewing involved in this process, but it’s worth every stitch ? As you know, I sew many of my skirts and jackets this way and once you wear a quilted garment you will be hooked!
Lining
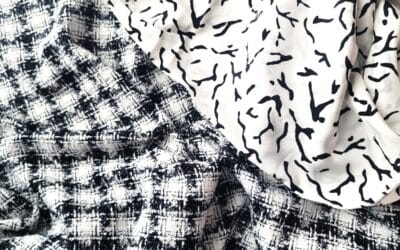
I mentioned in a previous lesson in the Fringe Skirt Sewalong that is is best to use a natural fiber for the lining. Here are some of my favorite options:
- china silk
- silk charmeuse
- lightweight cotton
- sueded silk
- cotton knit
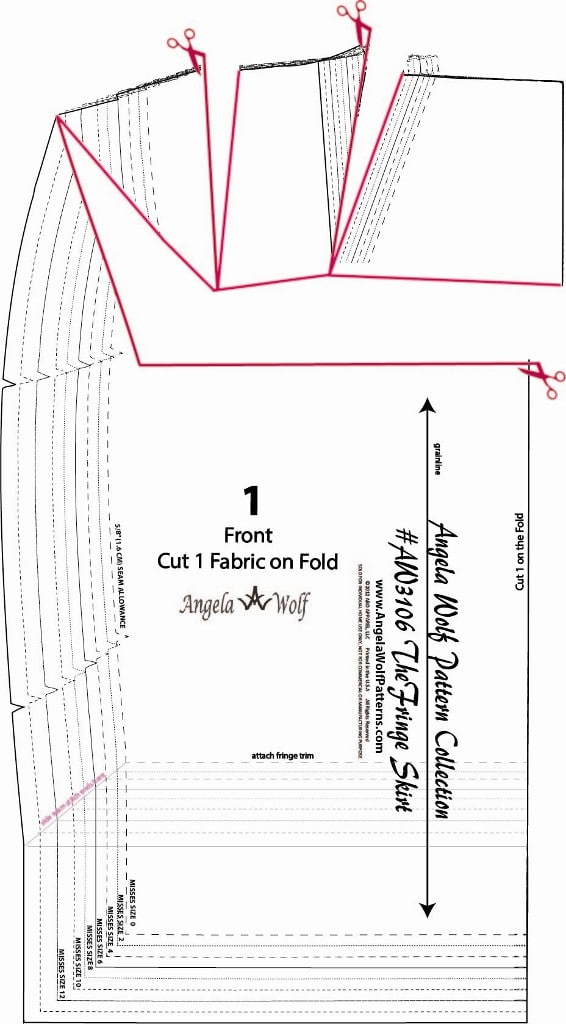
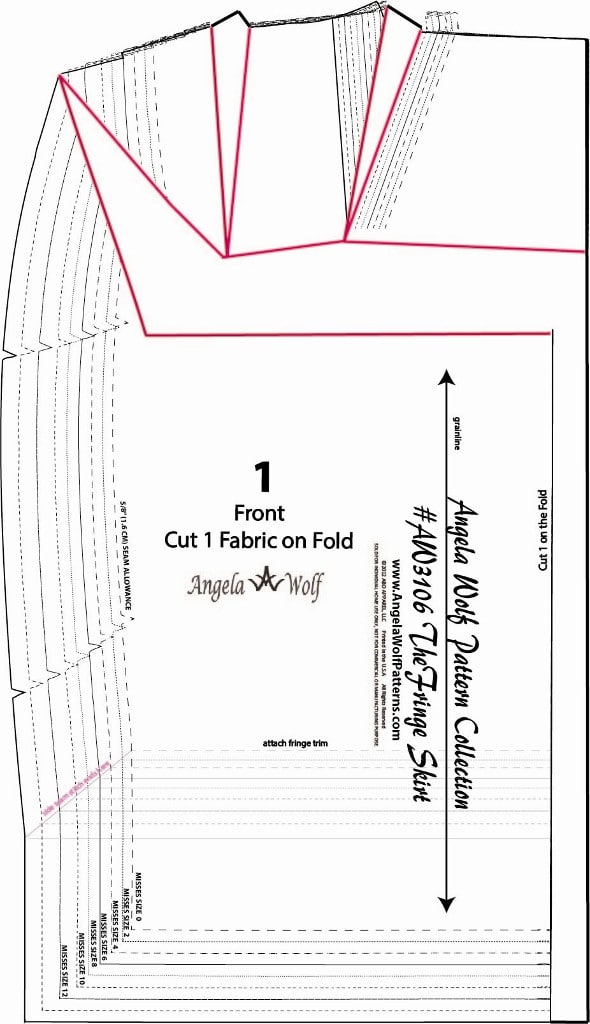
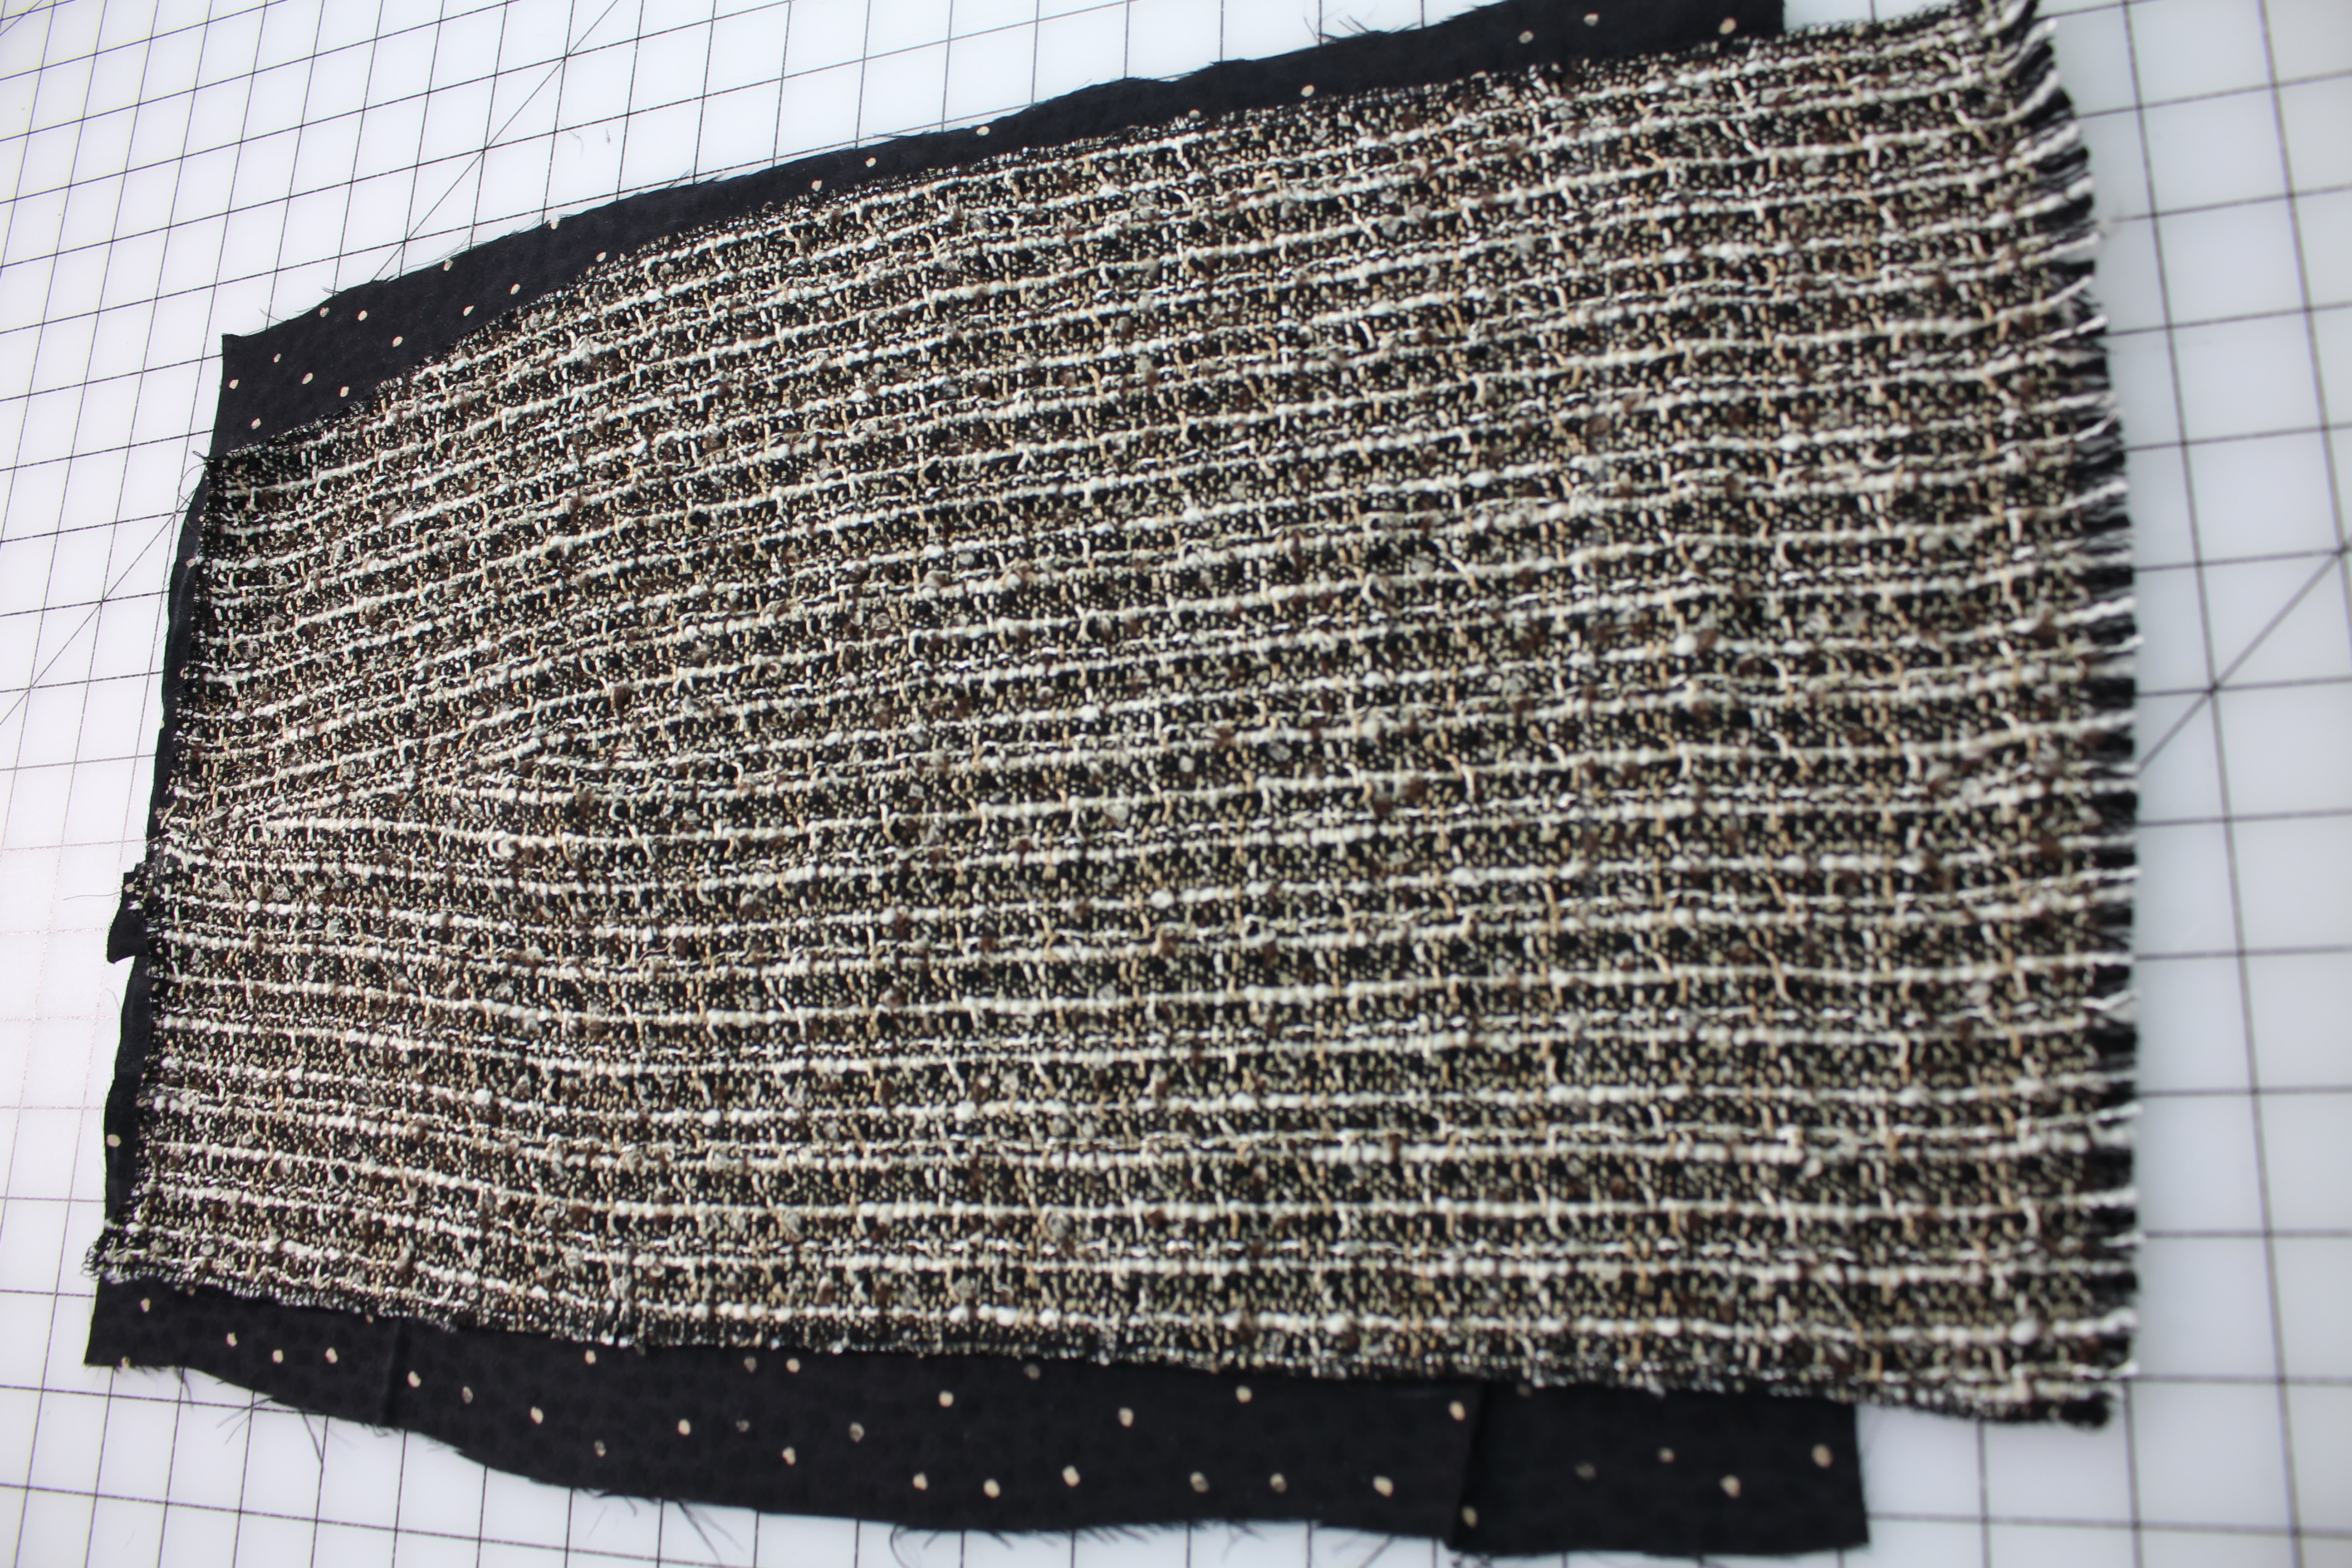
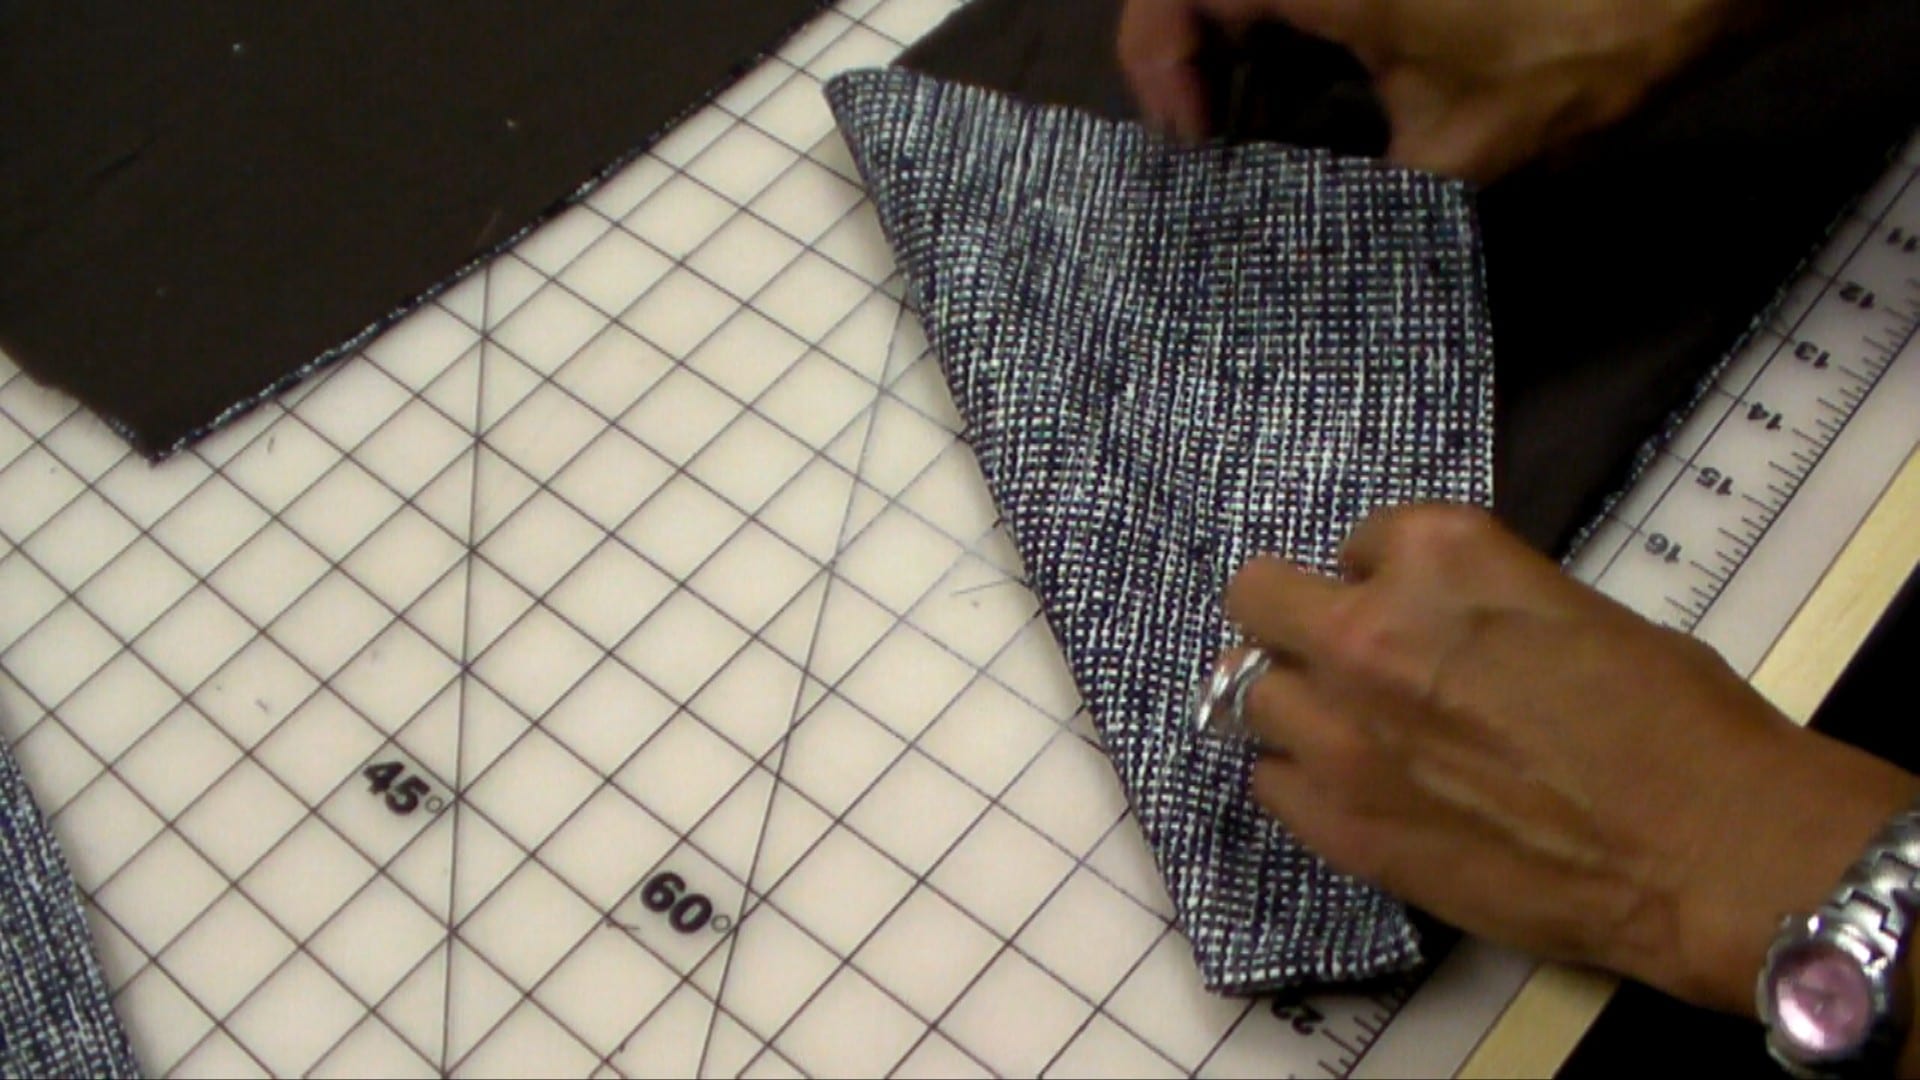
Cutting the Lining
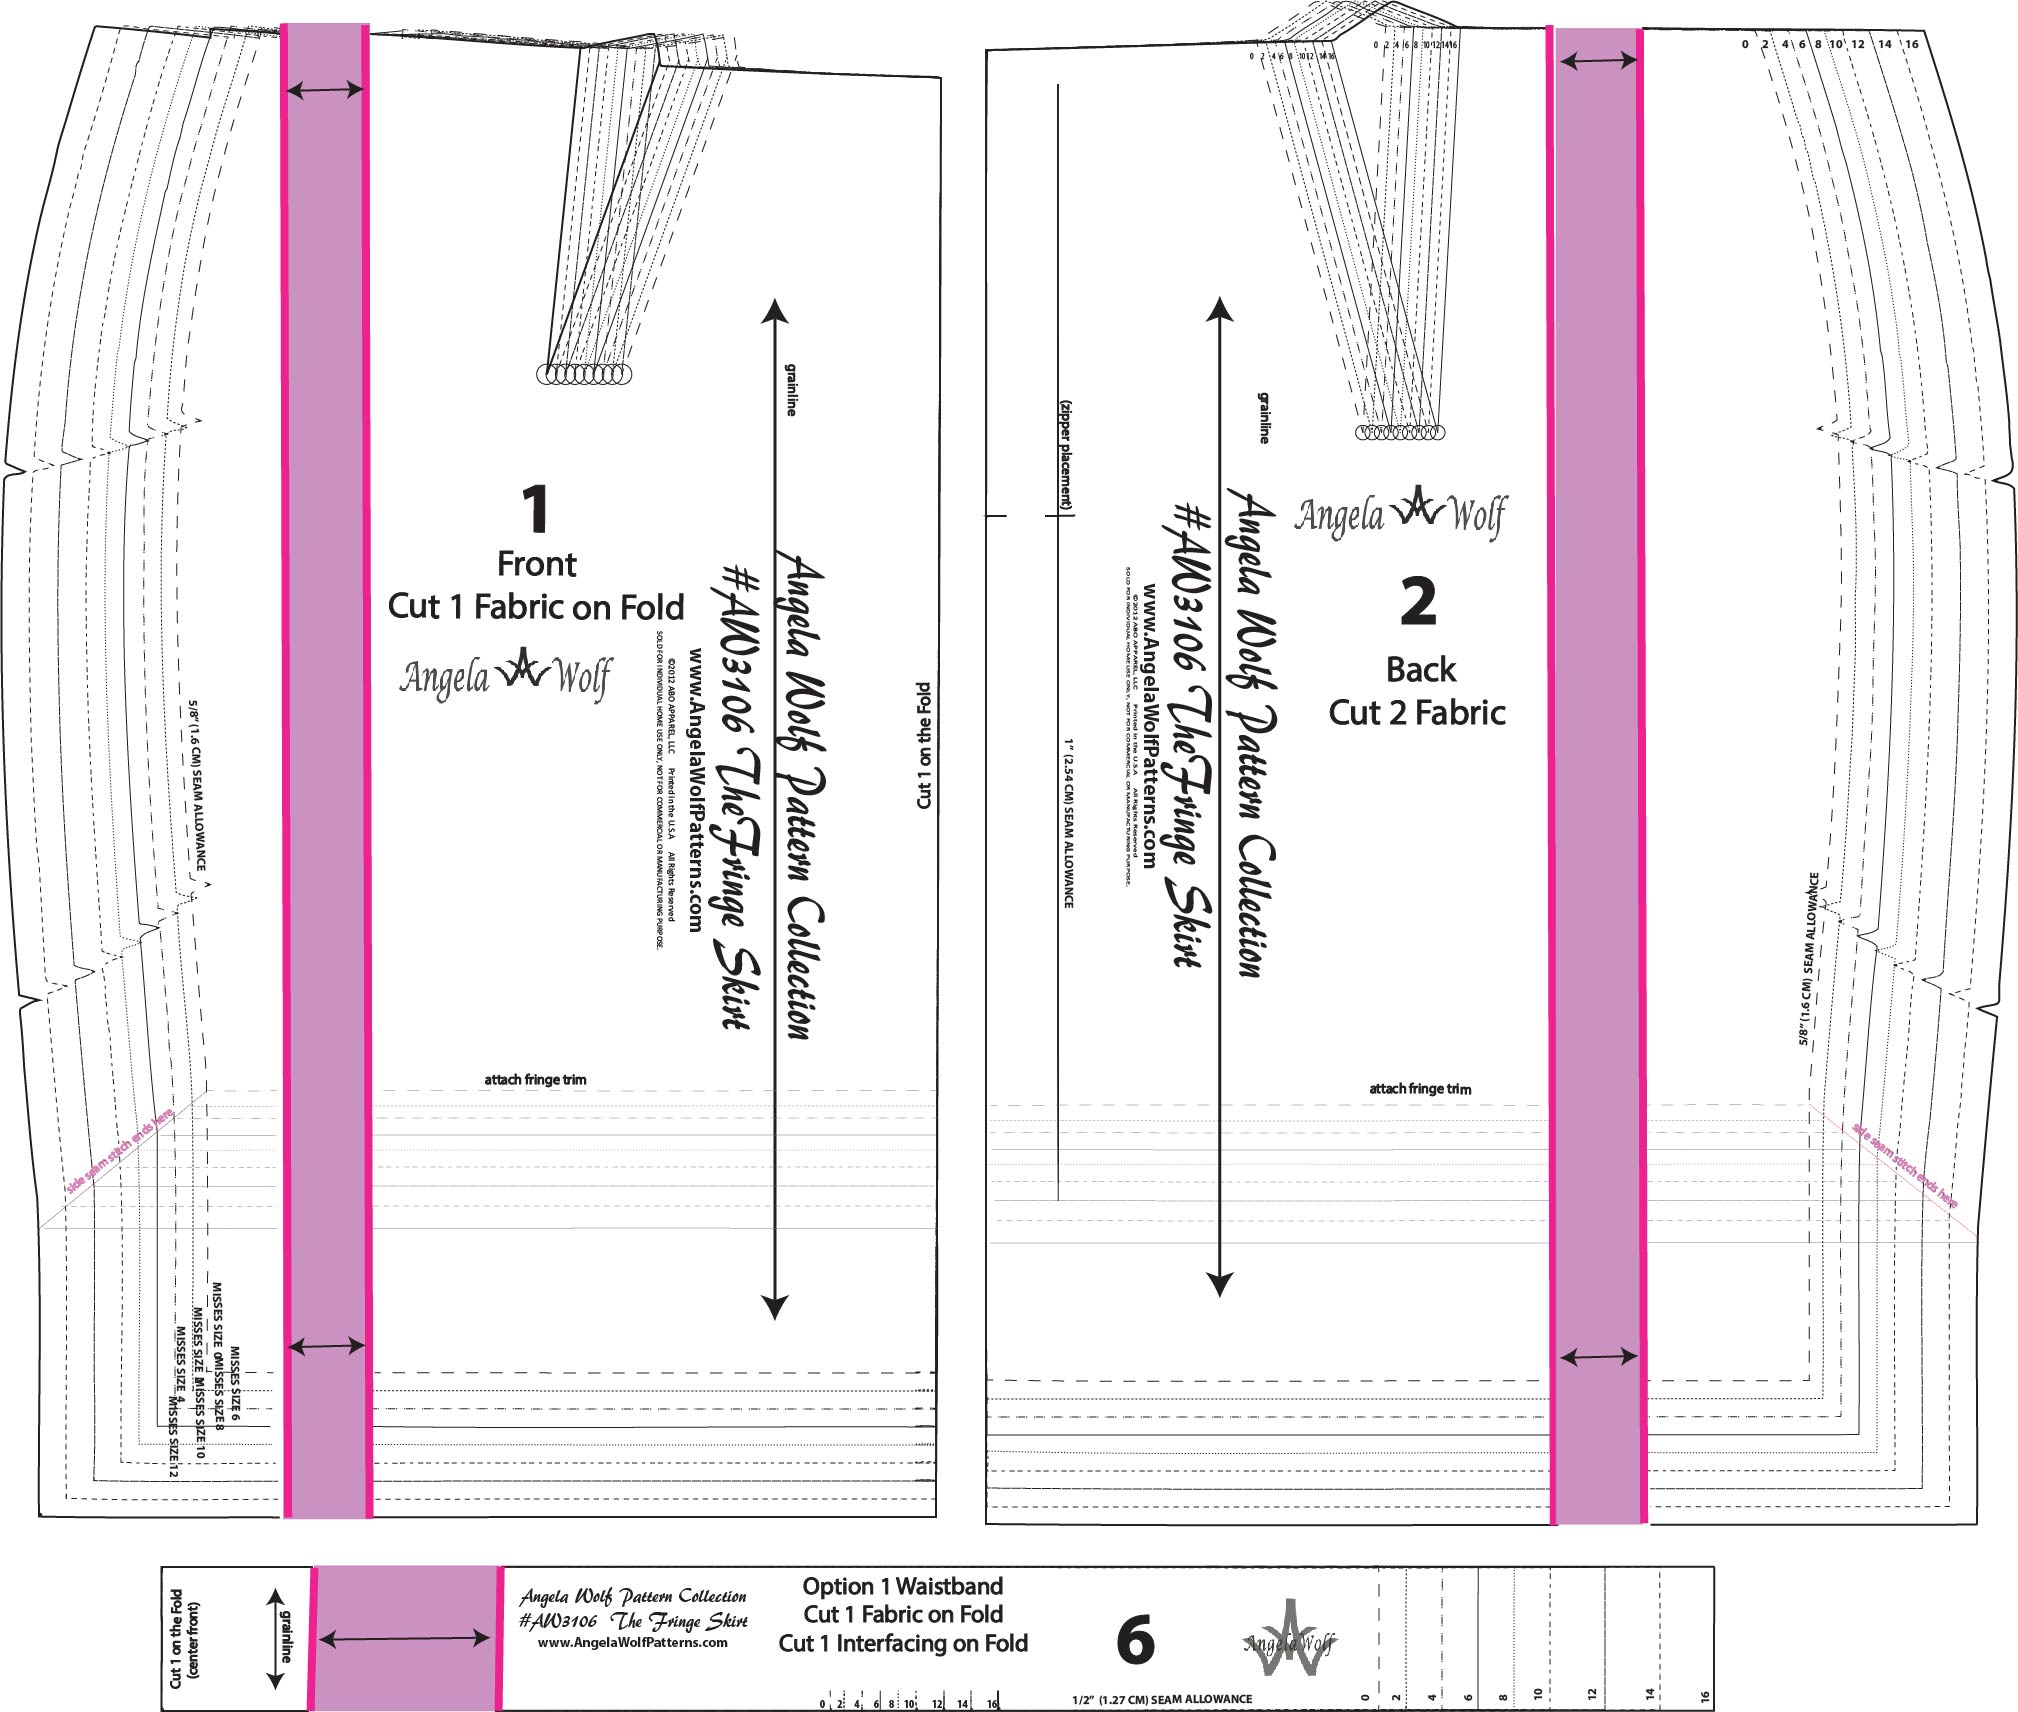
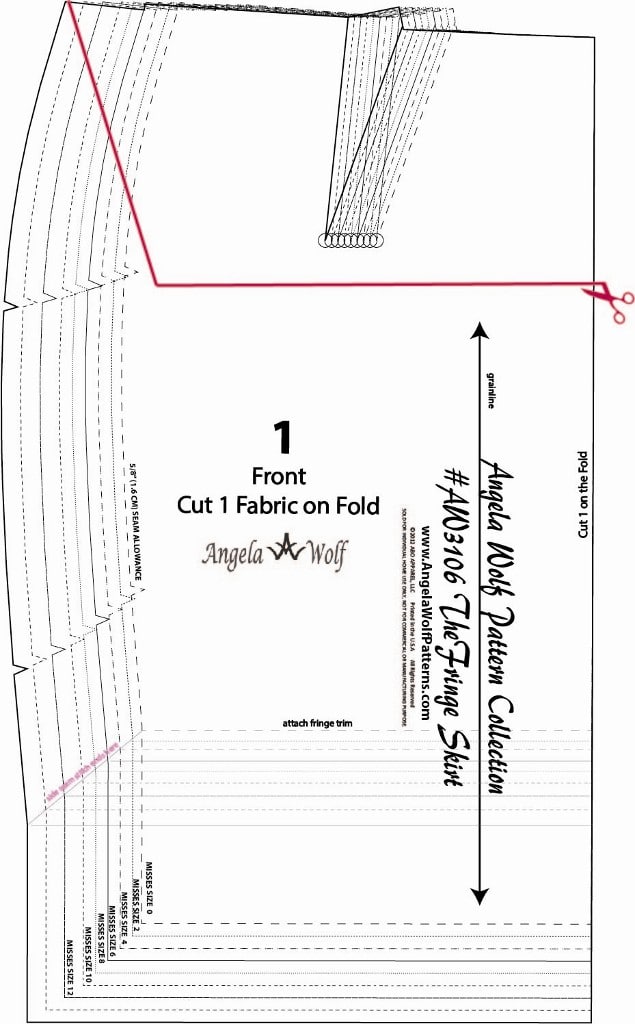
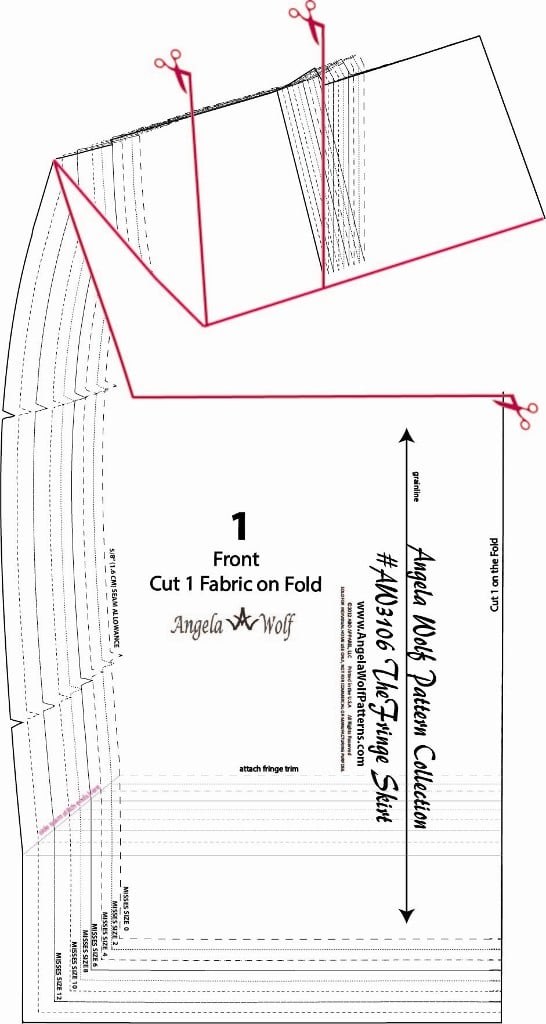
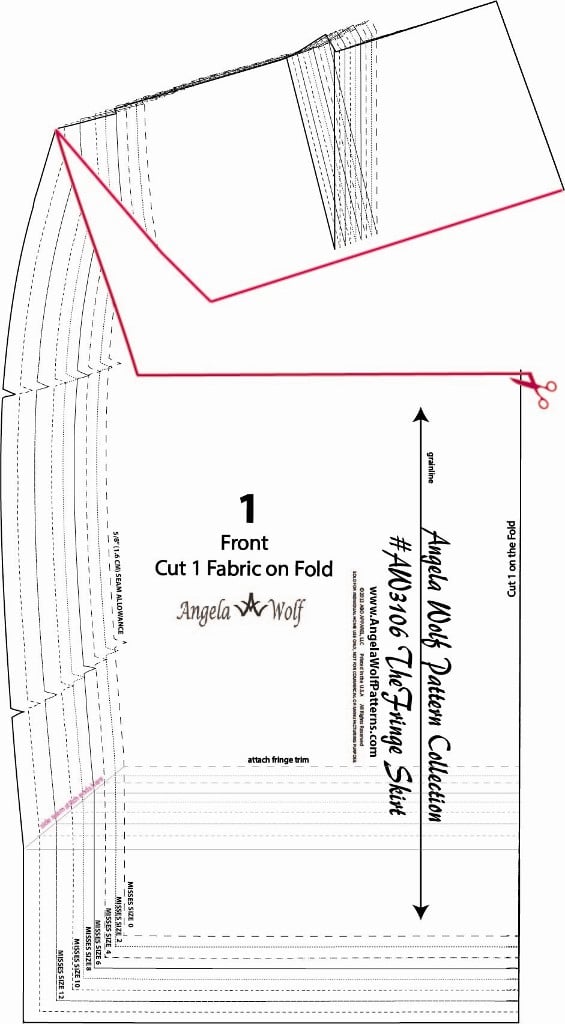
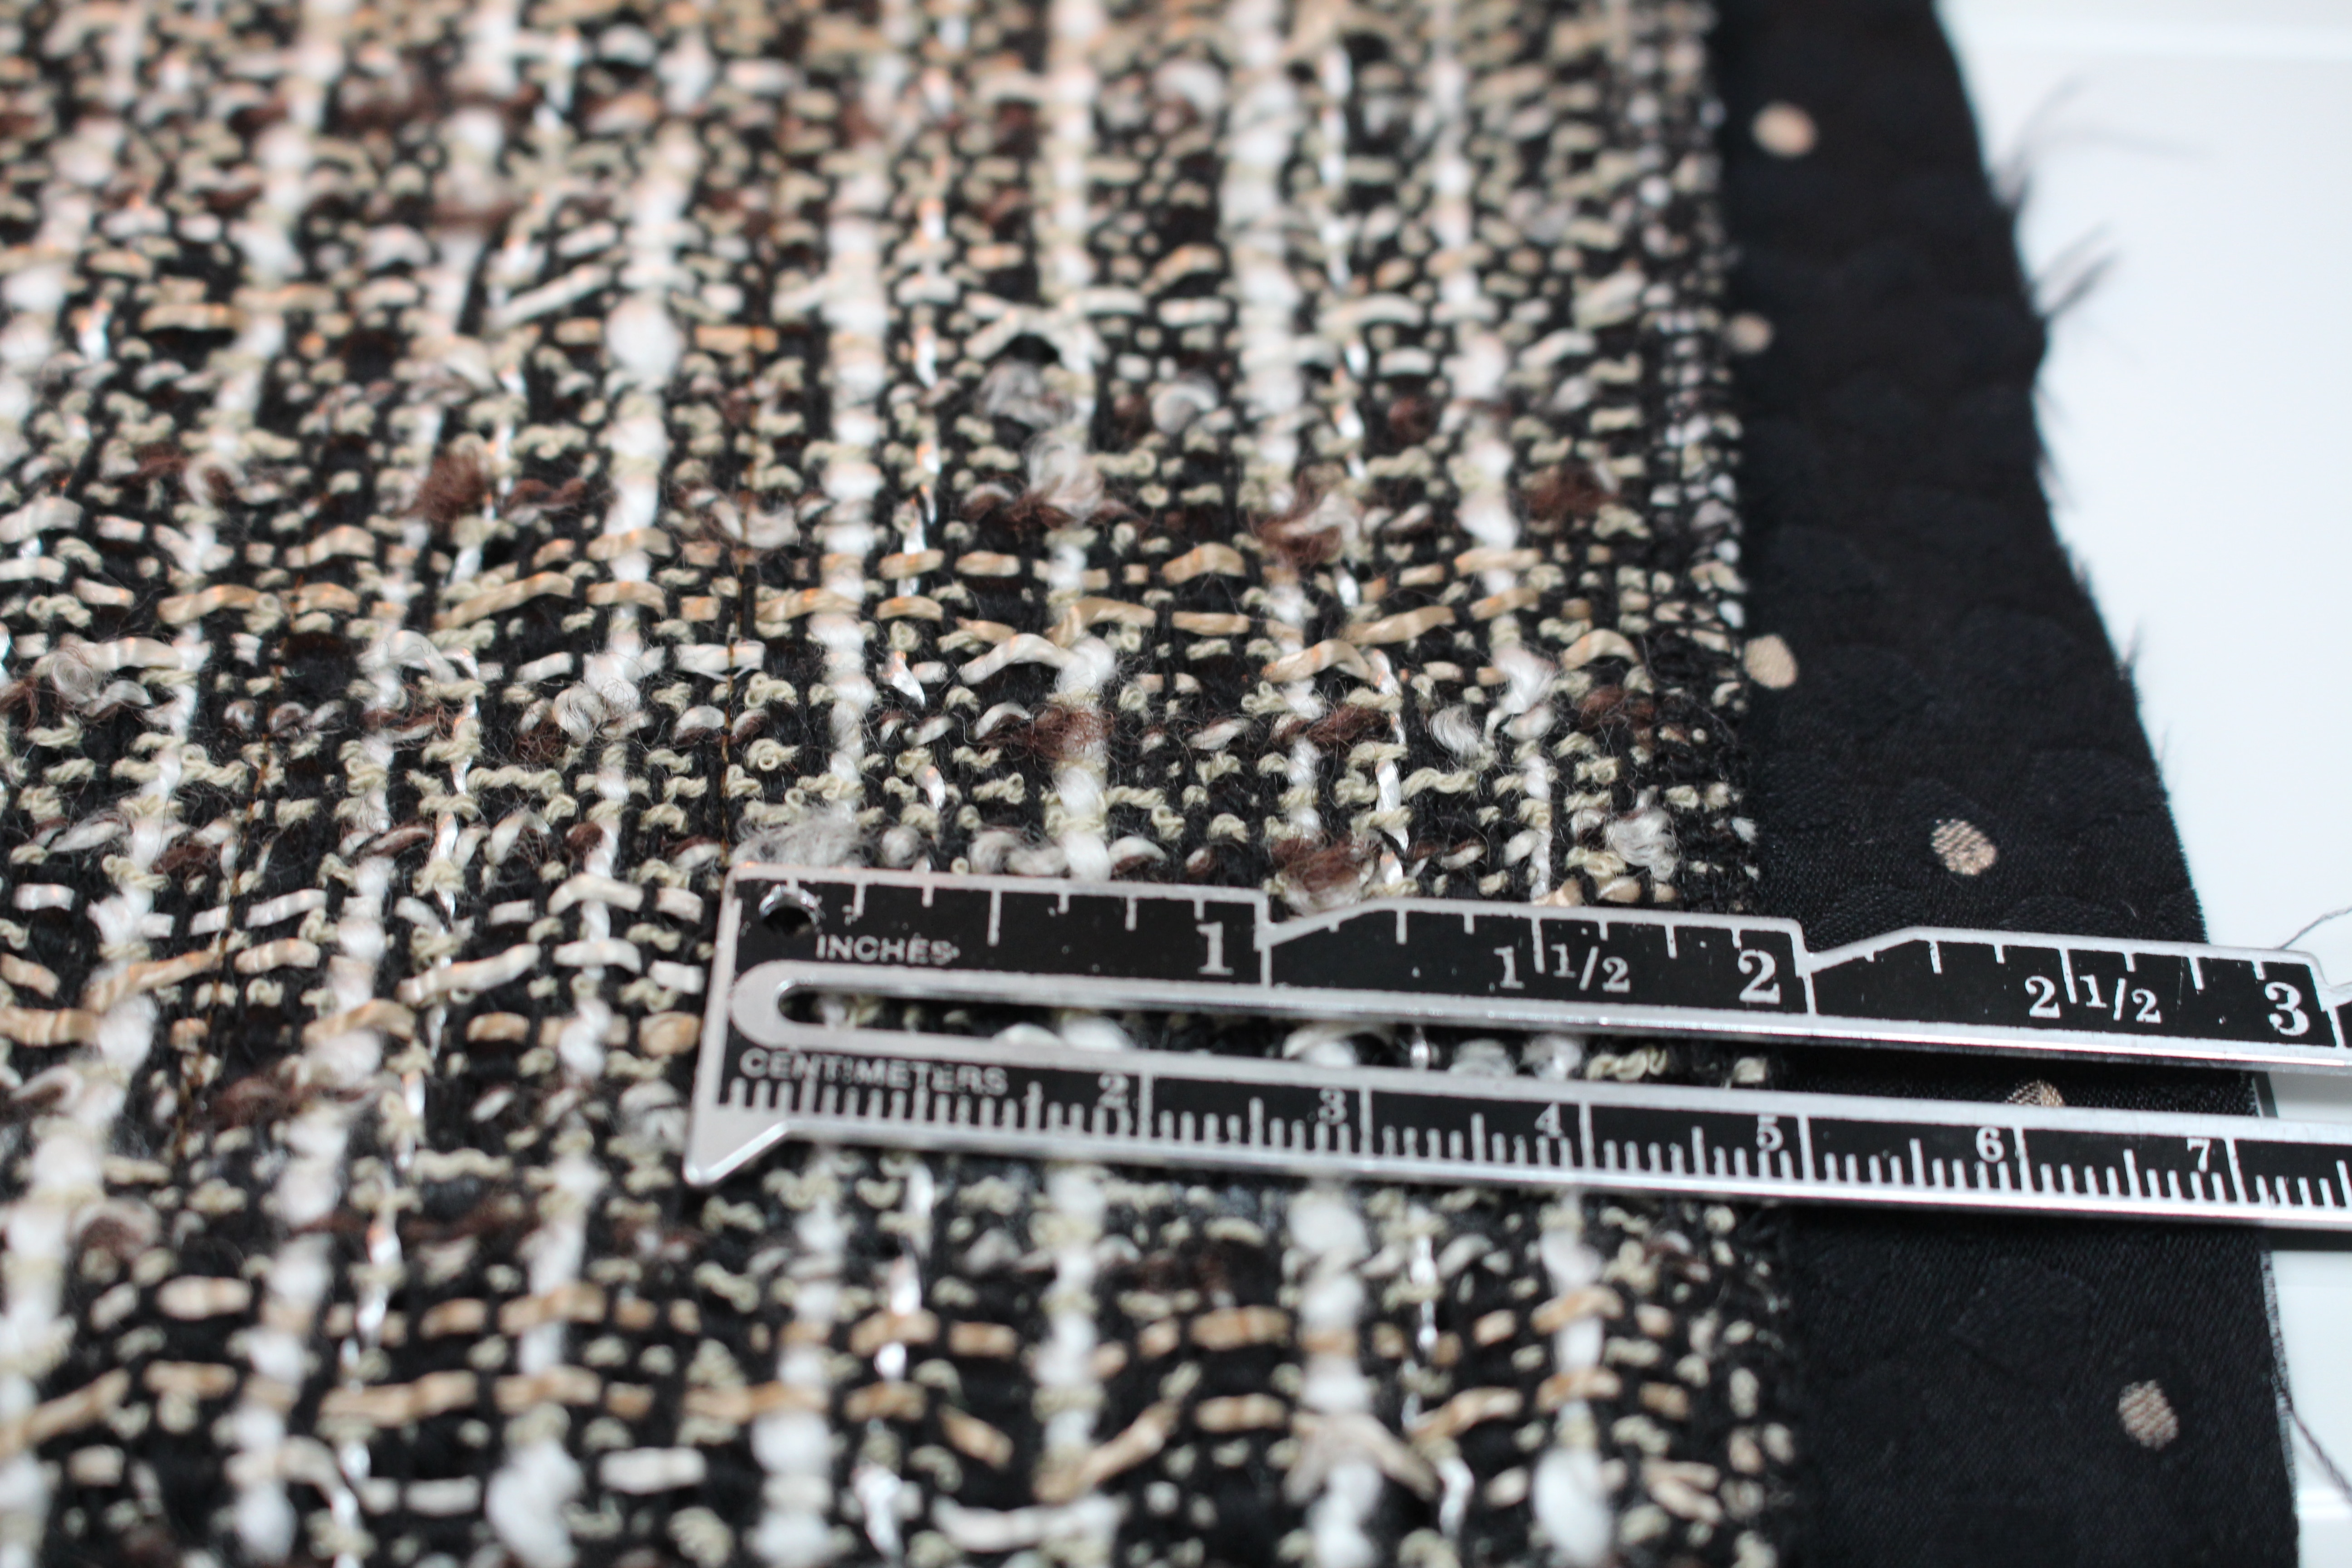
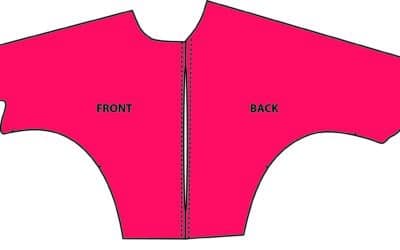
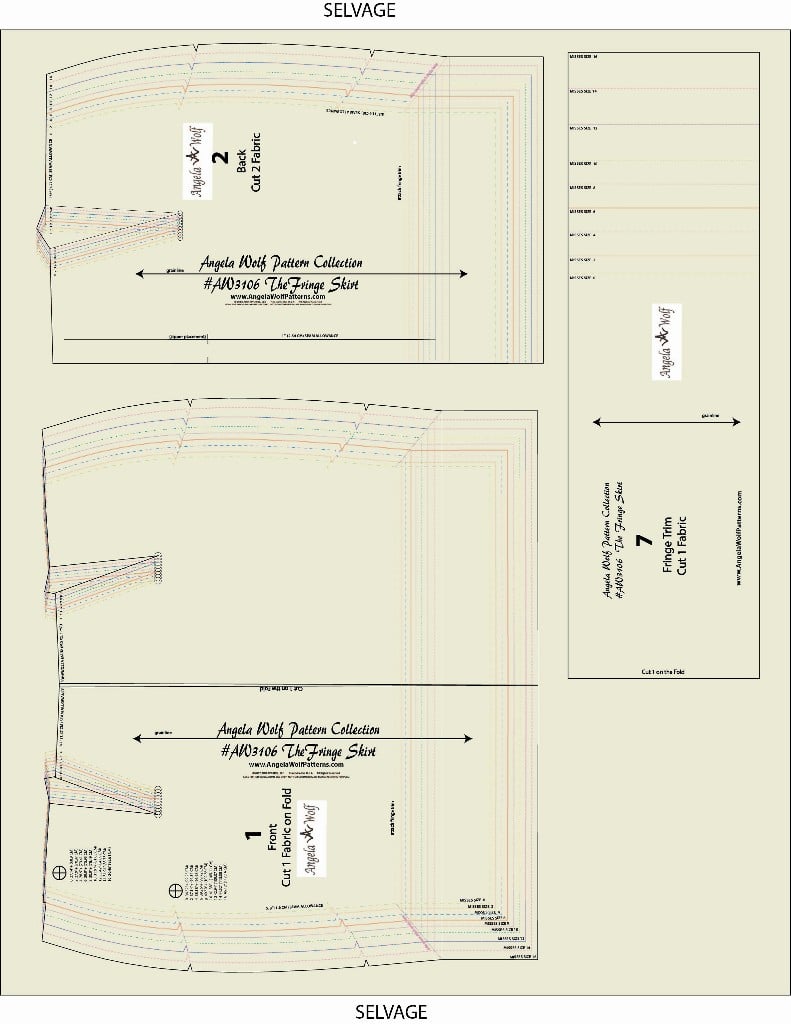
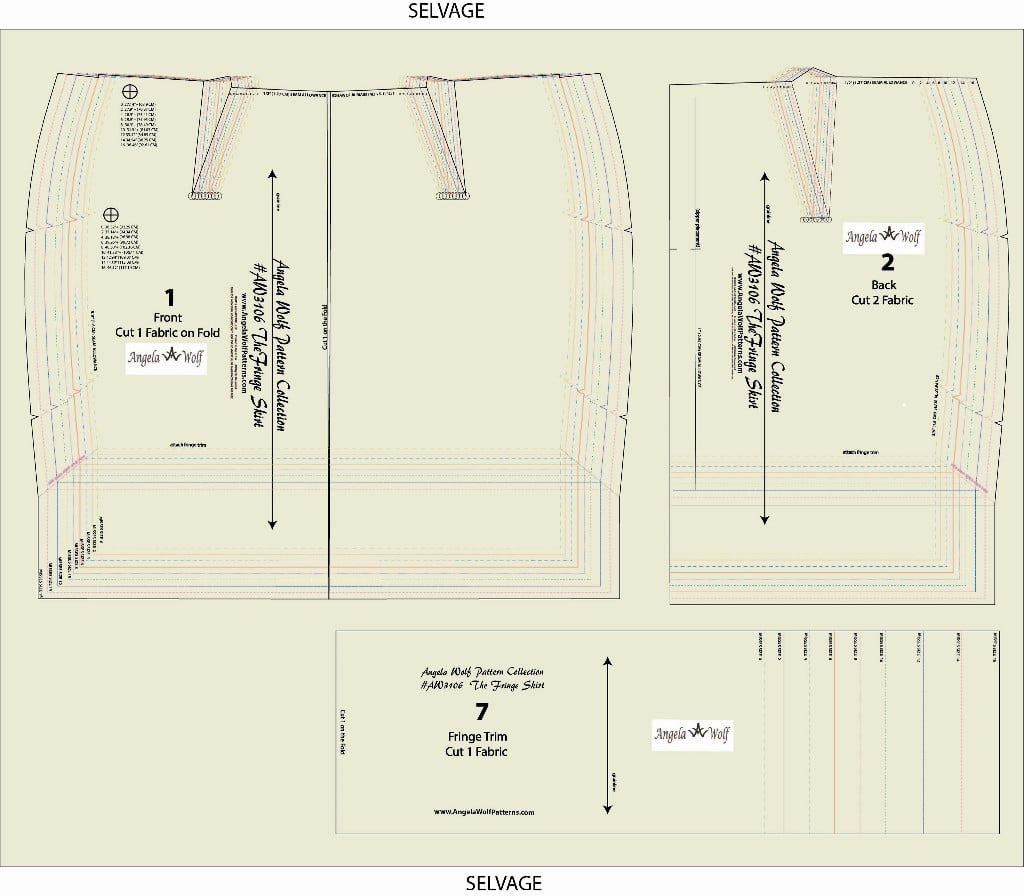
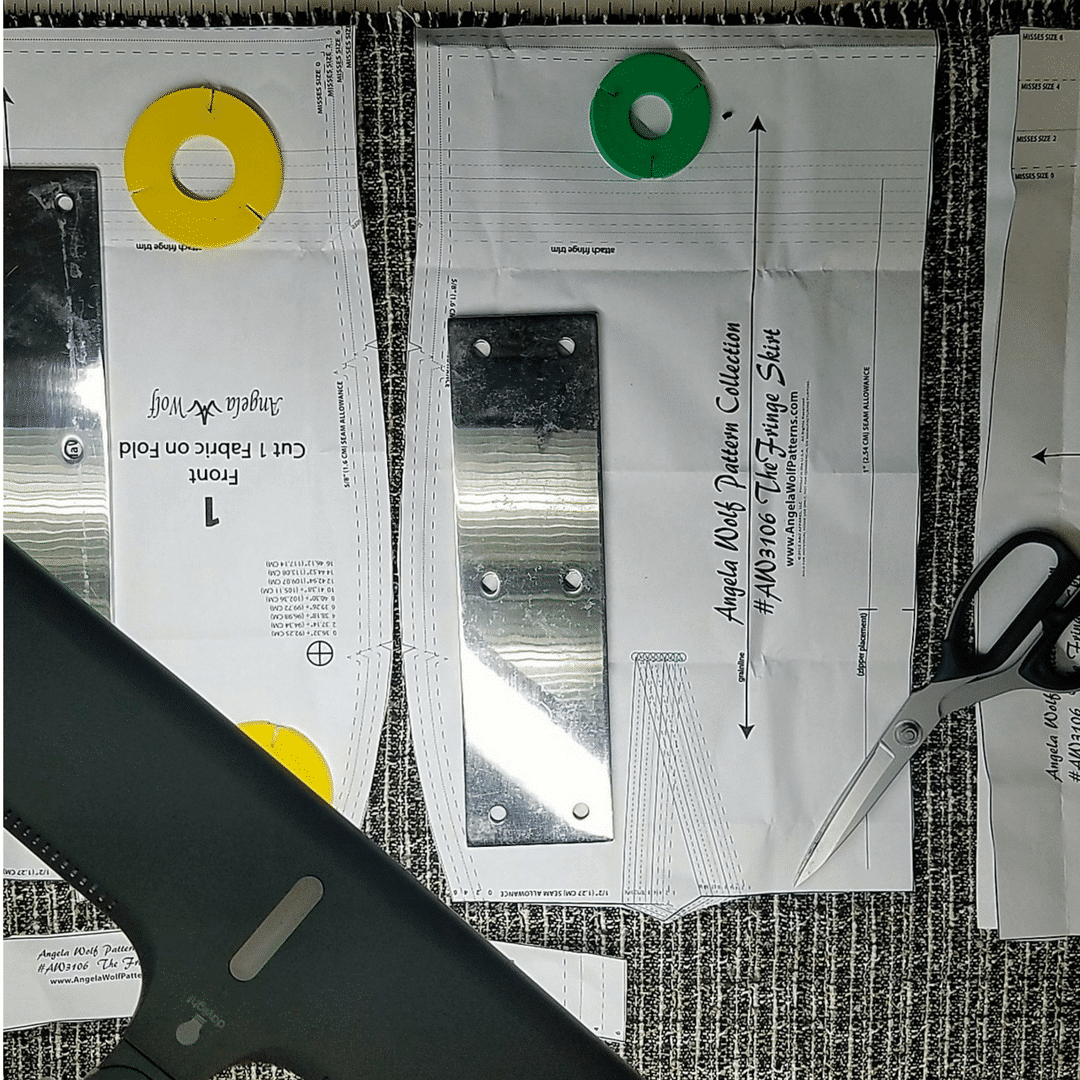
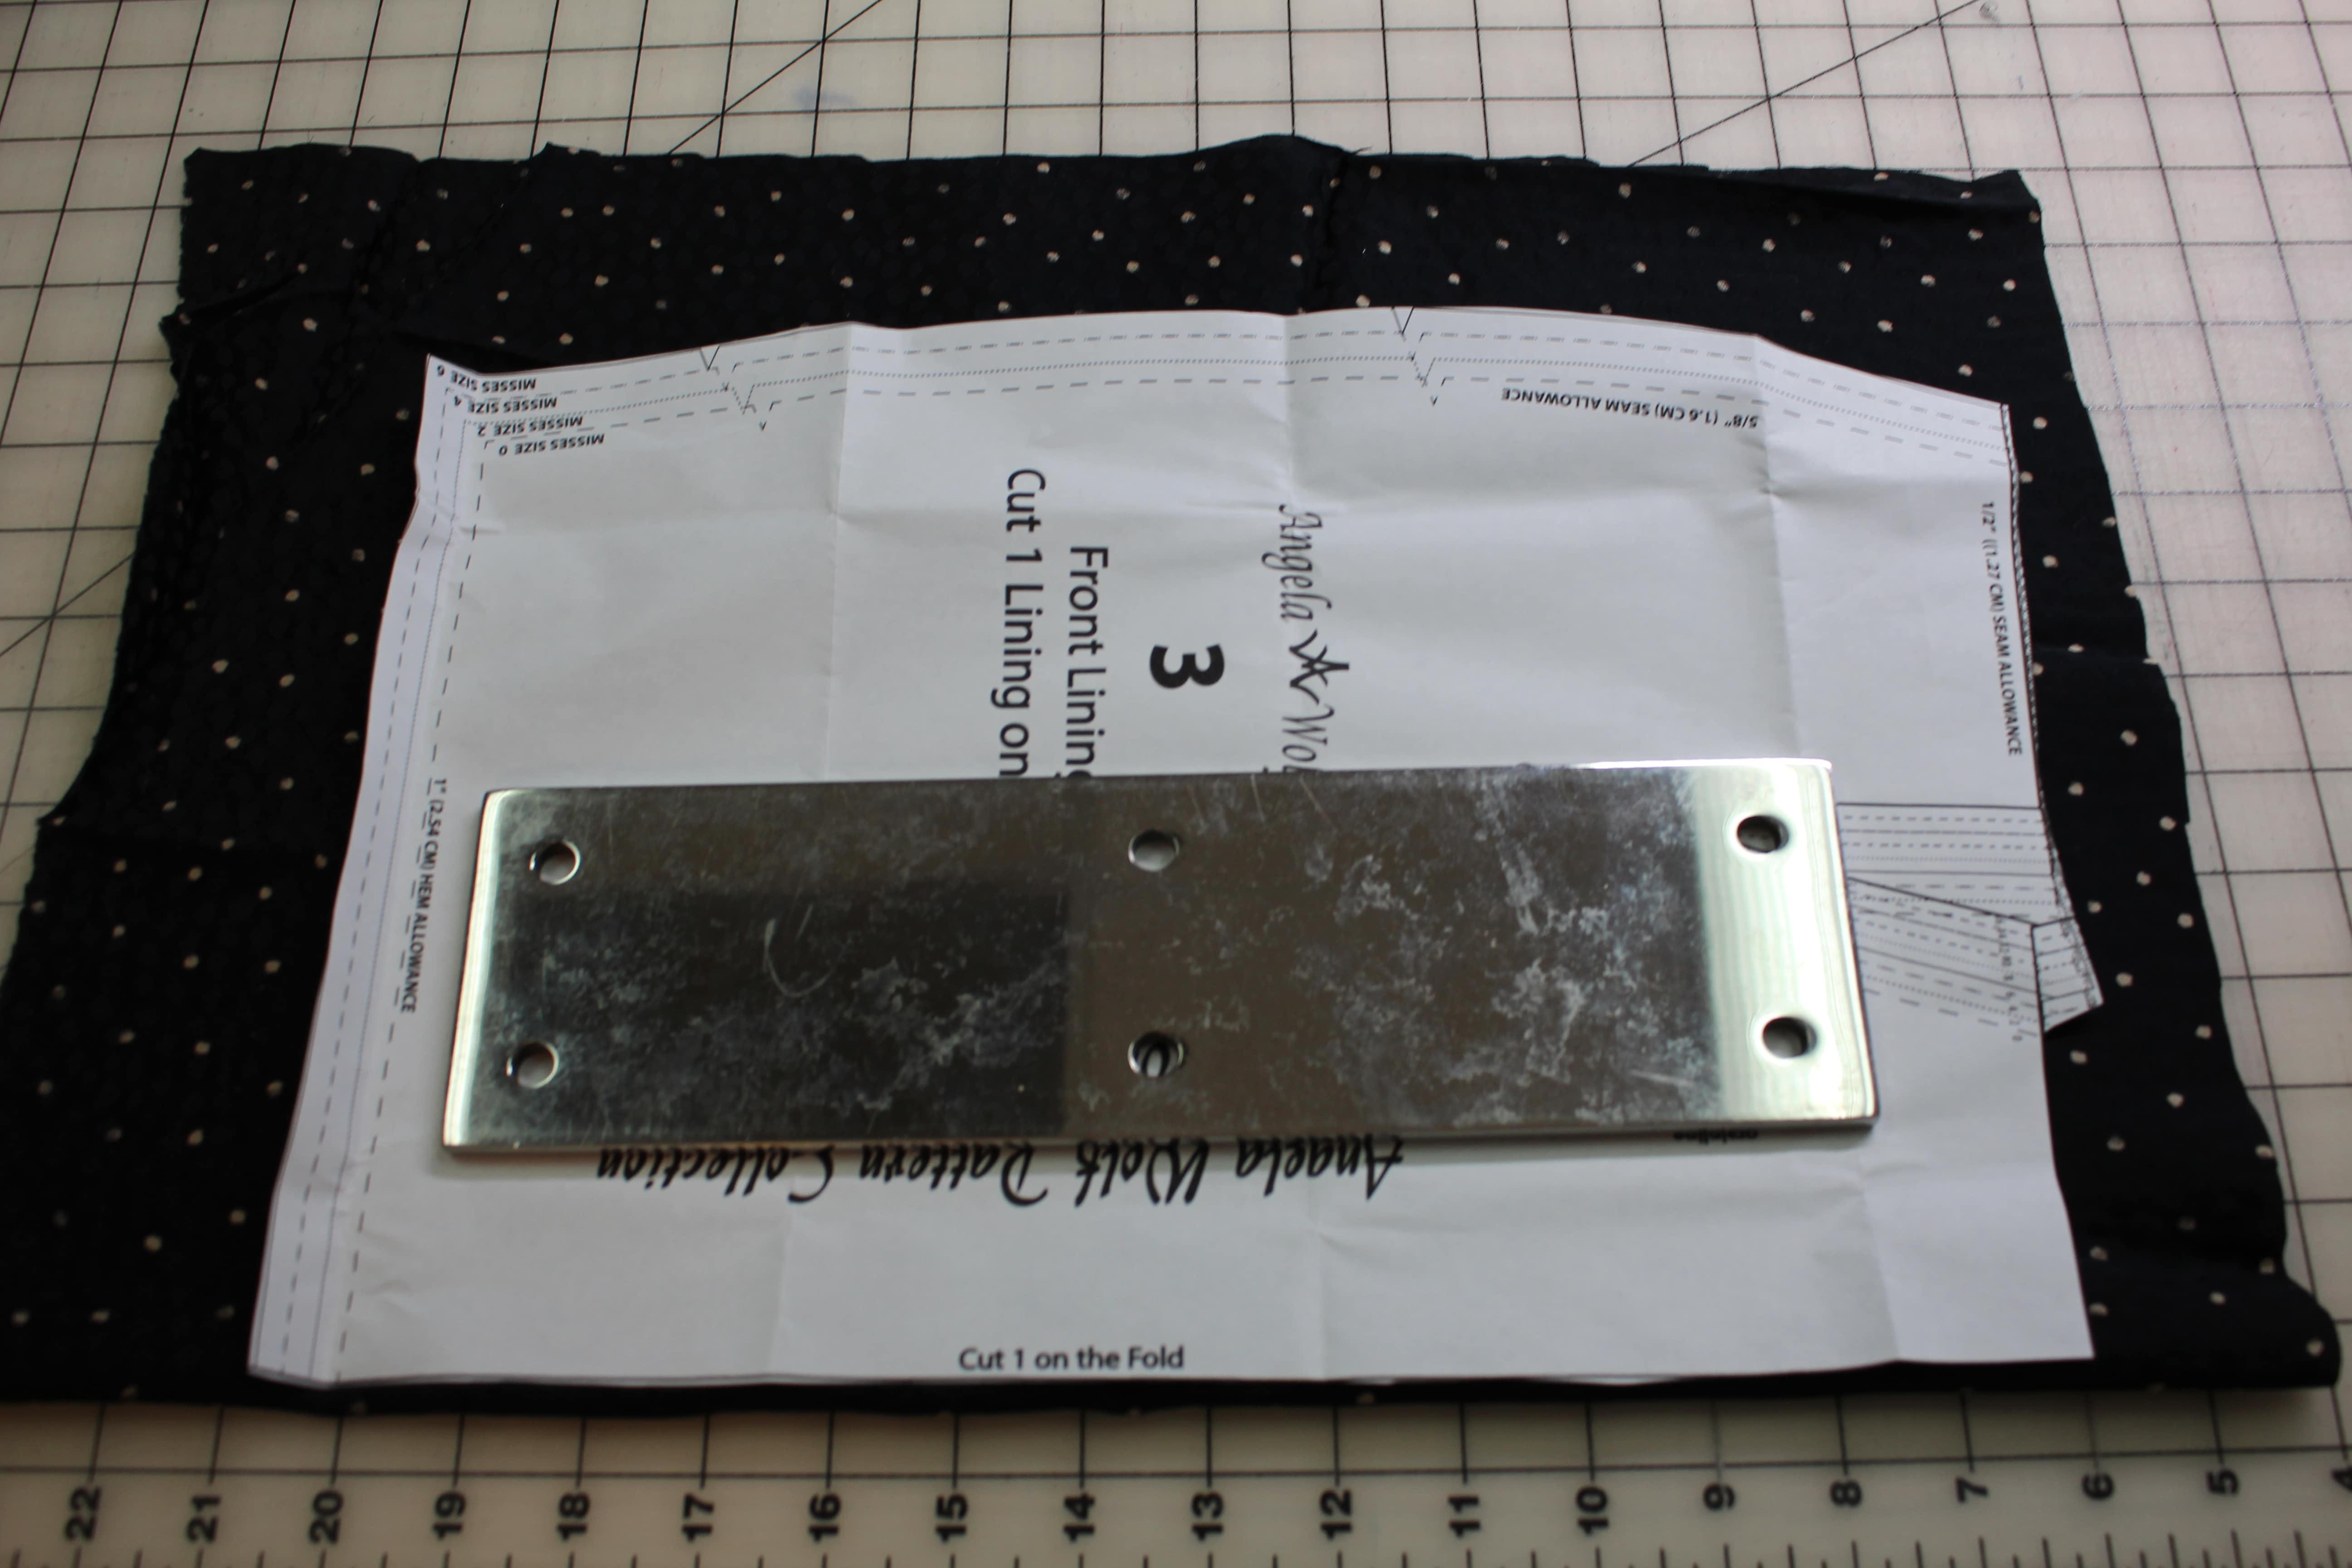
When quilting the lining you will need to cut your lining fabric a little bit wider than your fashion fabric. I usually lay my muslin or garment fabric on top of the lining as shown:
- cut the sides of the lining at least 1″ wider than the skirt
- fold up the fringe hem allowance and cut the lining 1″ longer than the top of the fringe marking
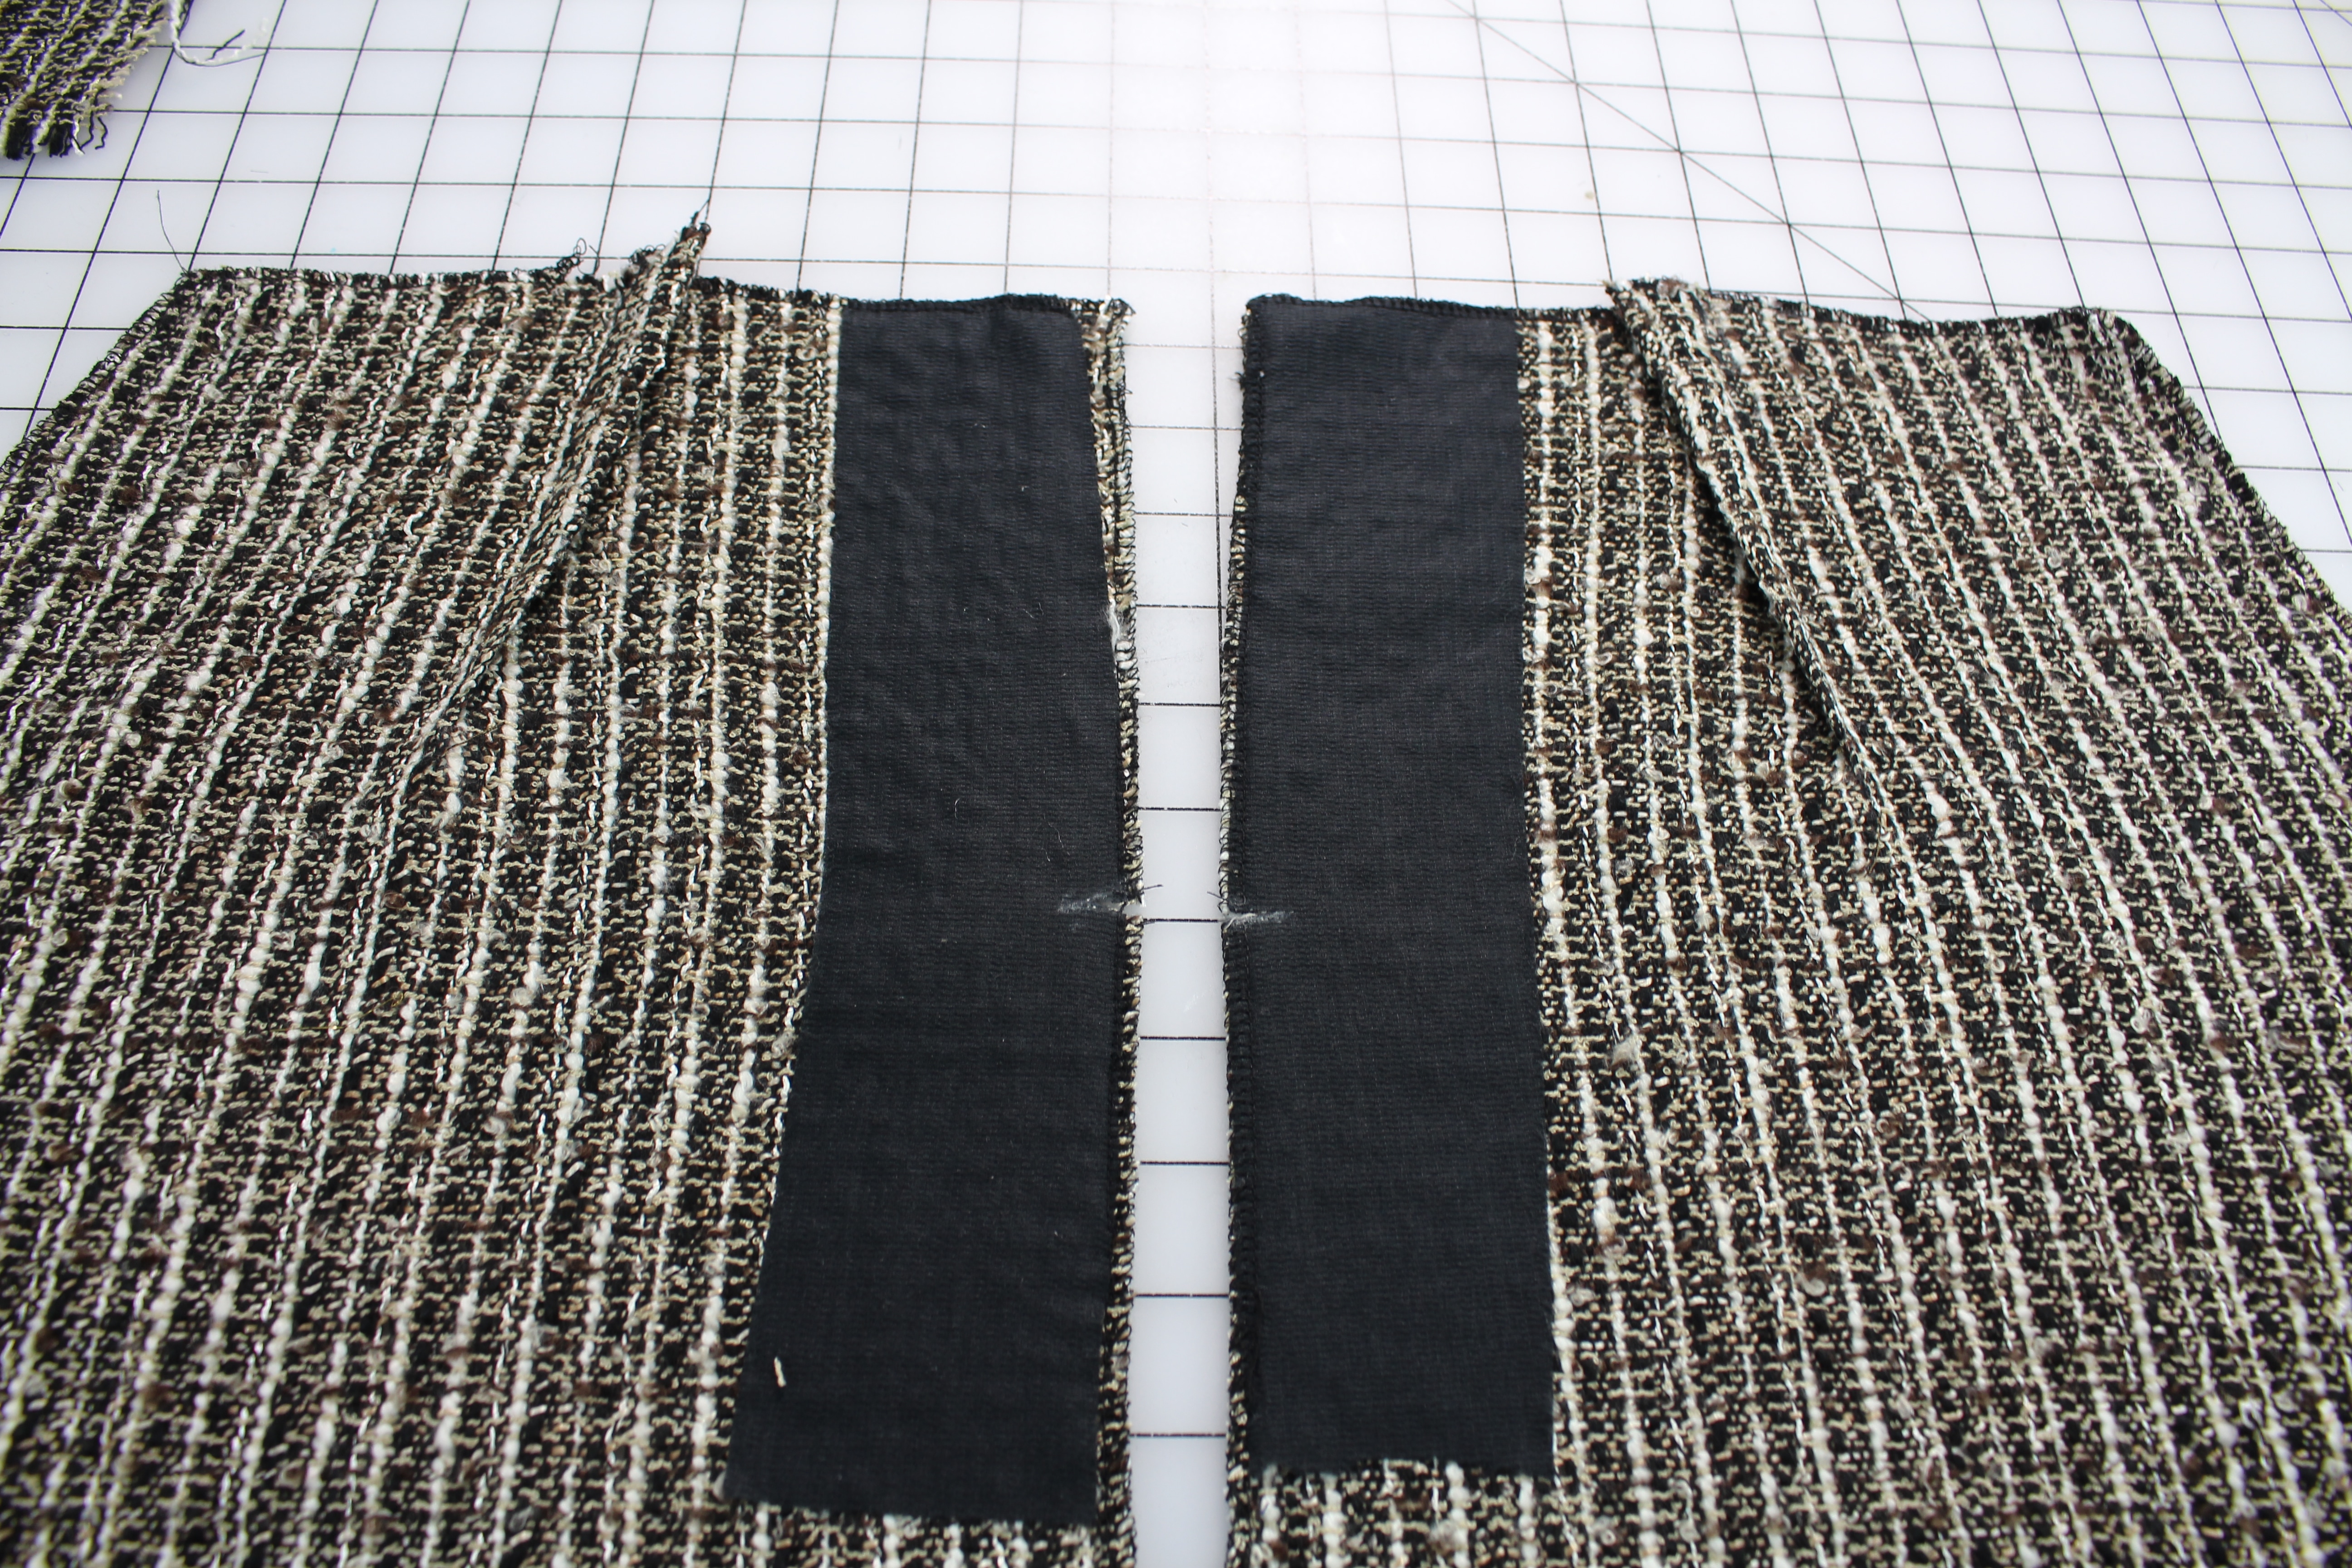
Preparing the Lining and Fashion Fabrics
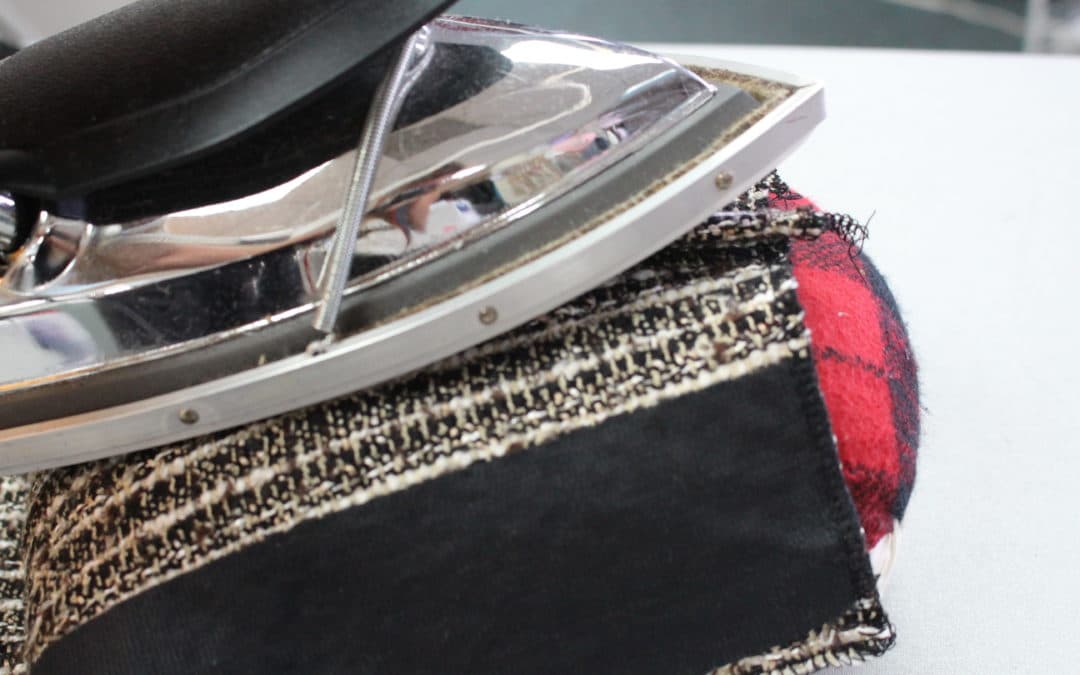
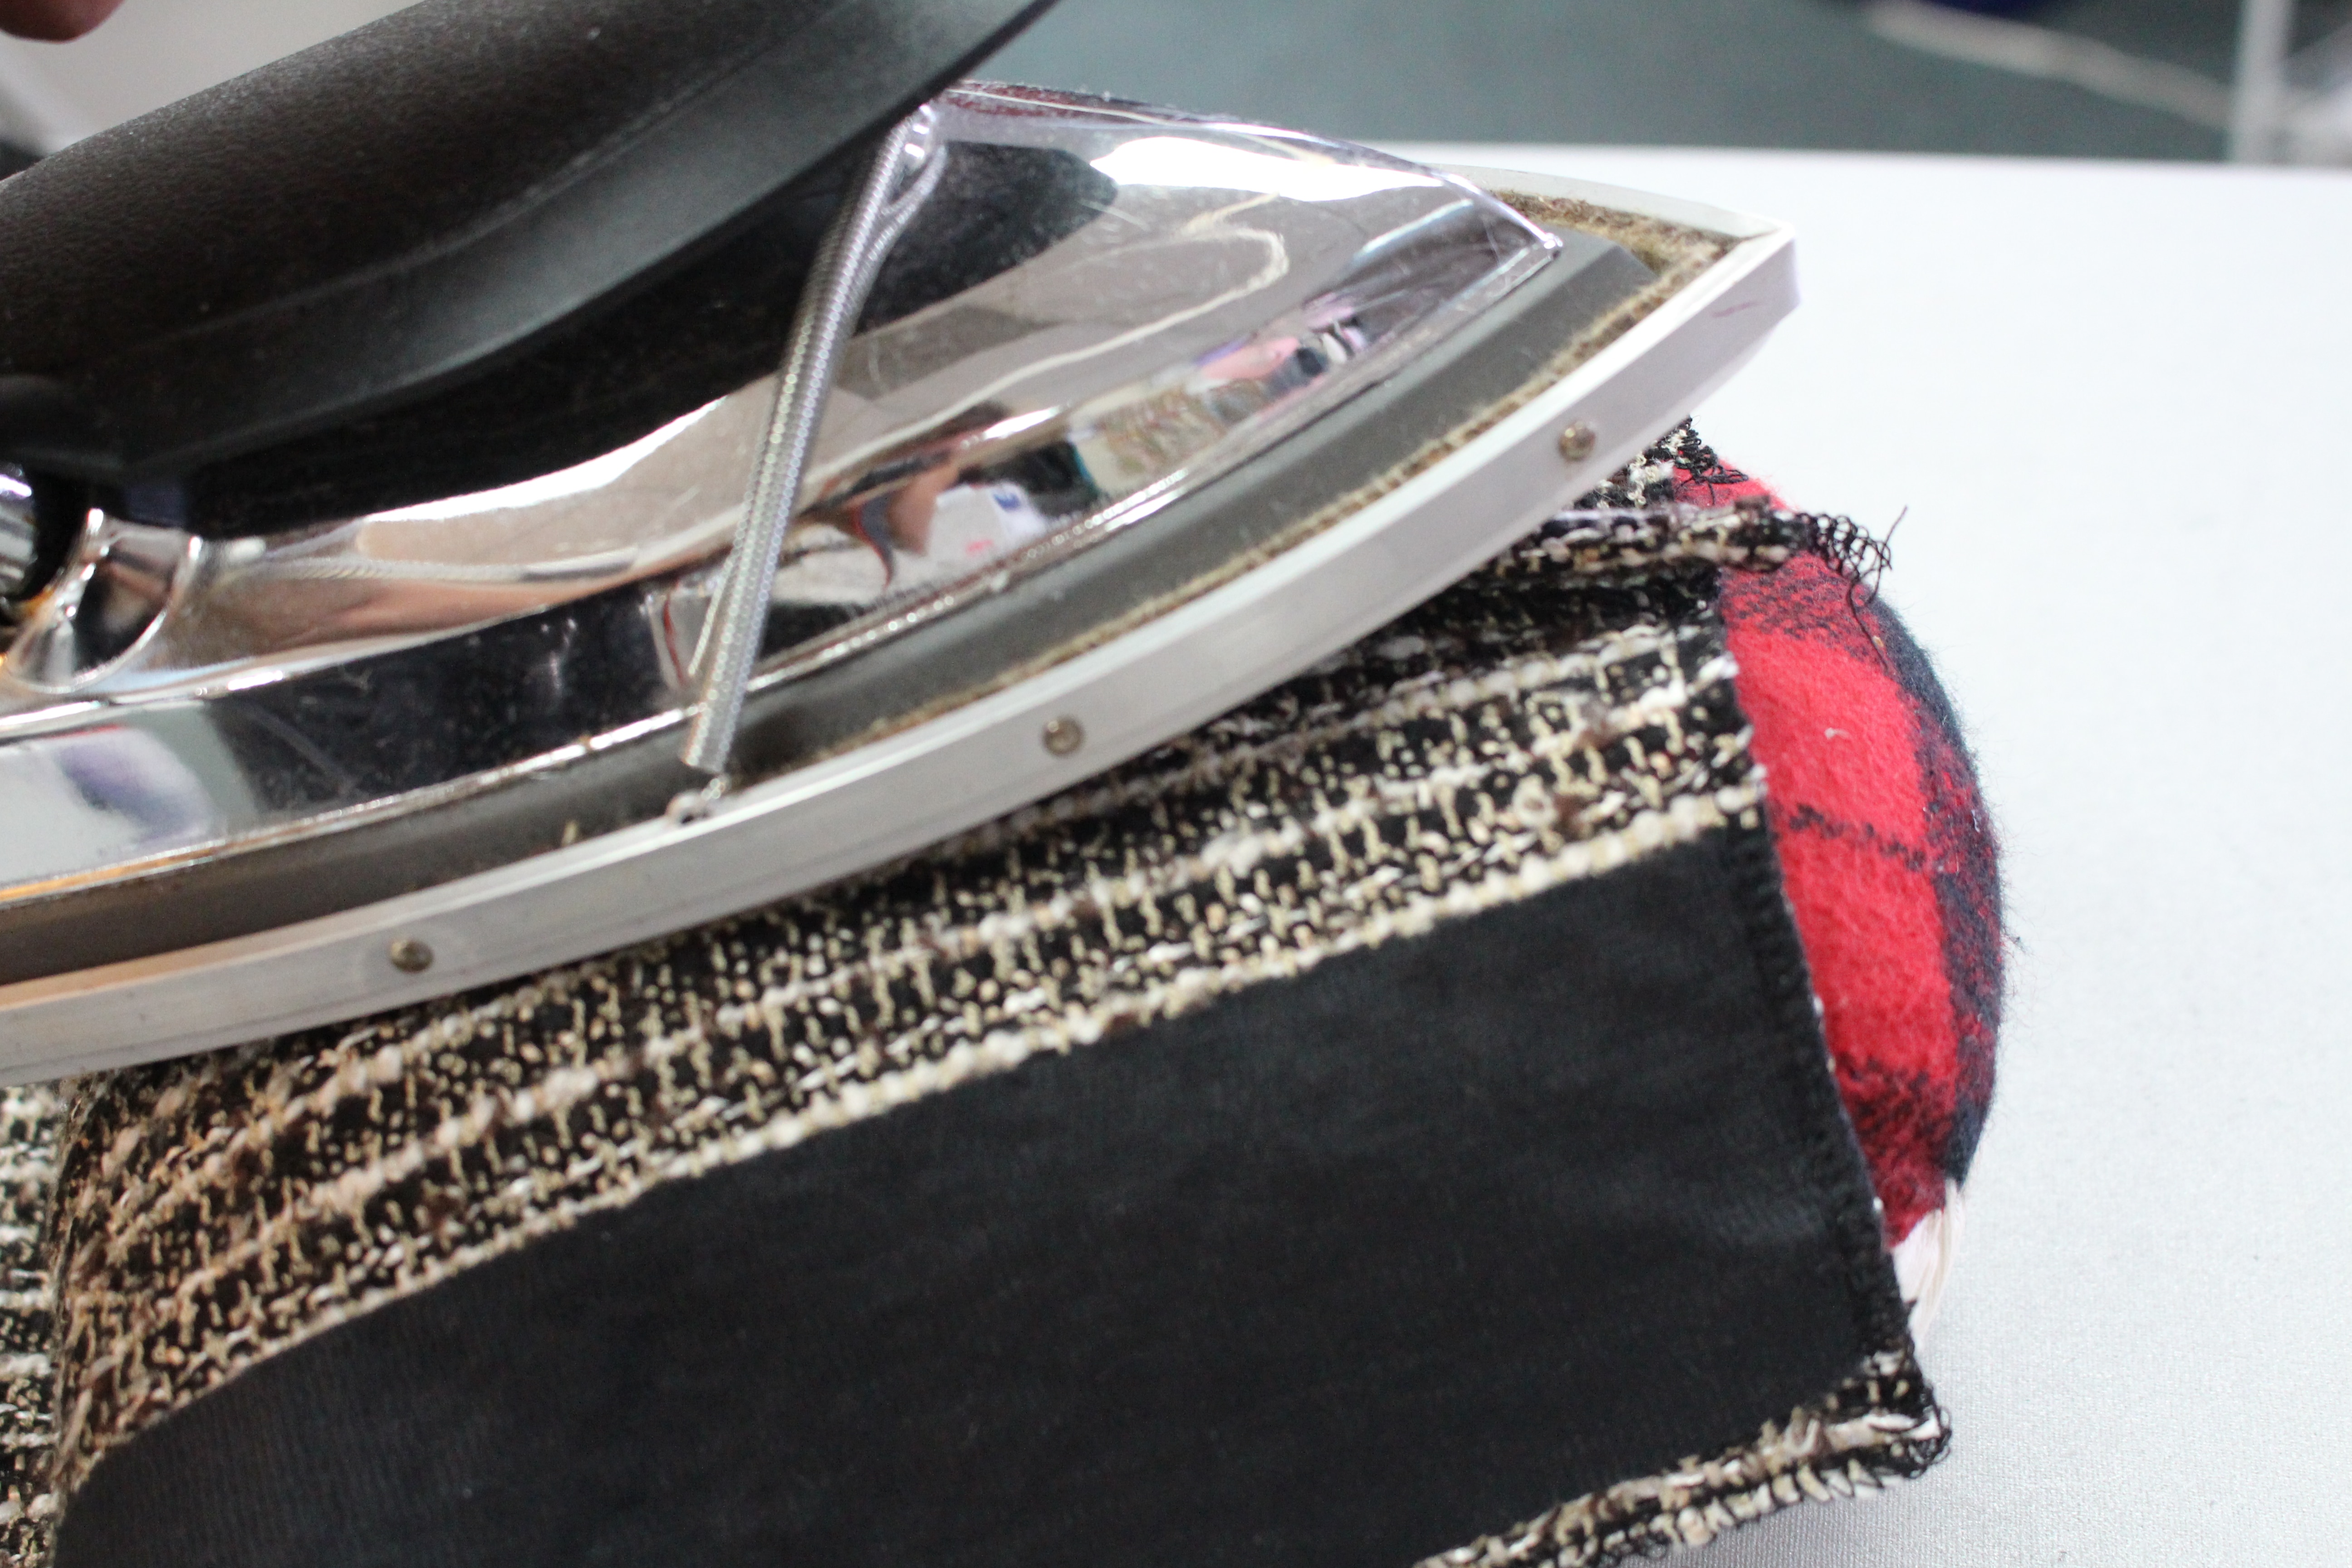
- Sew the darts on the lining, the same way you did on the fashion fabric. Press the darts toward the side seams or the opposite direction the dart are pressed on the fashion fabric.
- Prepare the zipper area on the skirt by pressing the fusible interfacing onto the wrong side of the fabric
- If the fashion fabric fabric or lining frays easily, serge the edges of the fabric with a 3-thread wide overlock stitch (DO NOT serge the hem on the fashion fabric!)
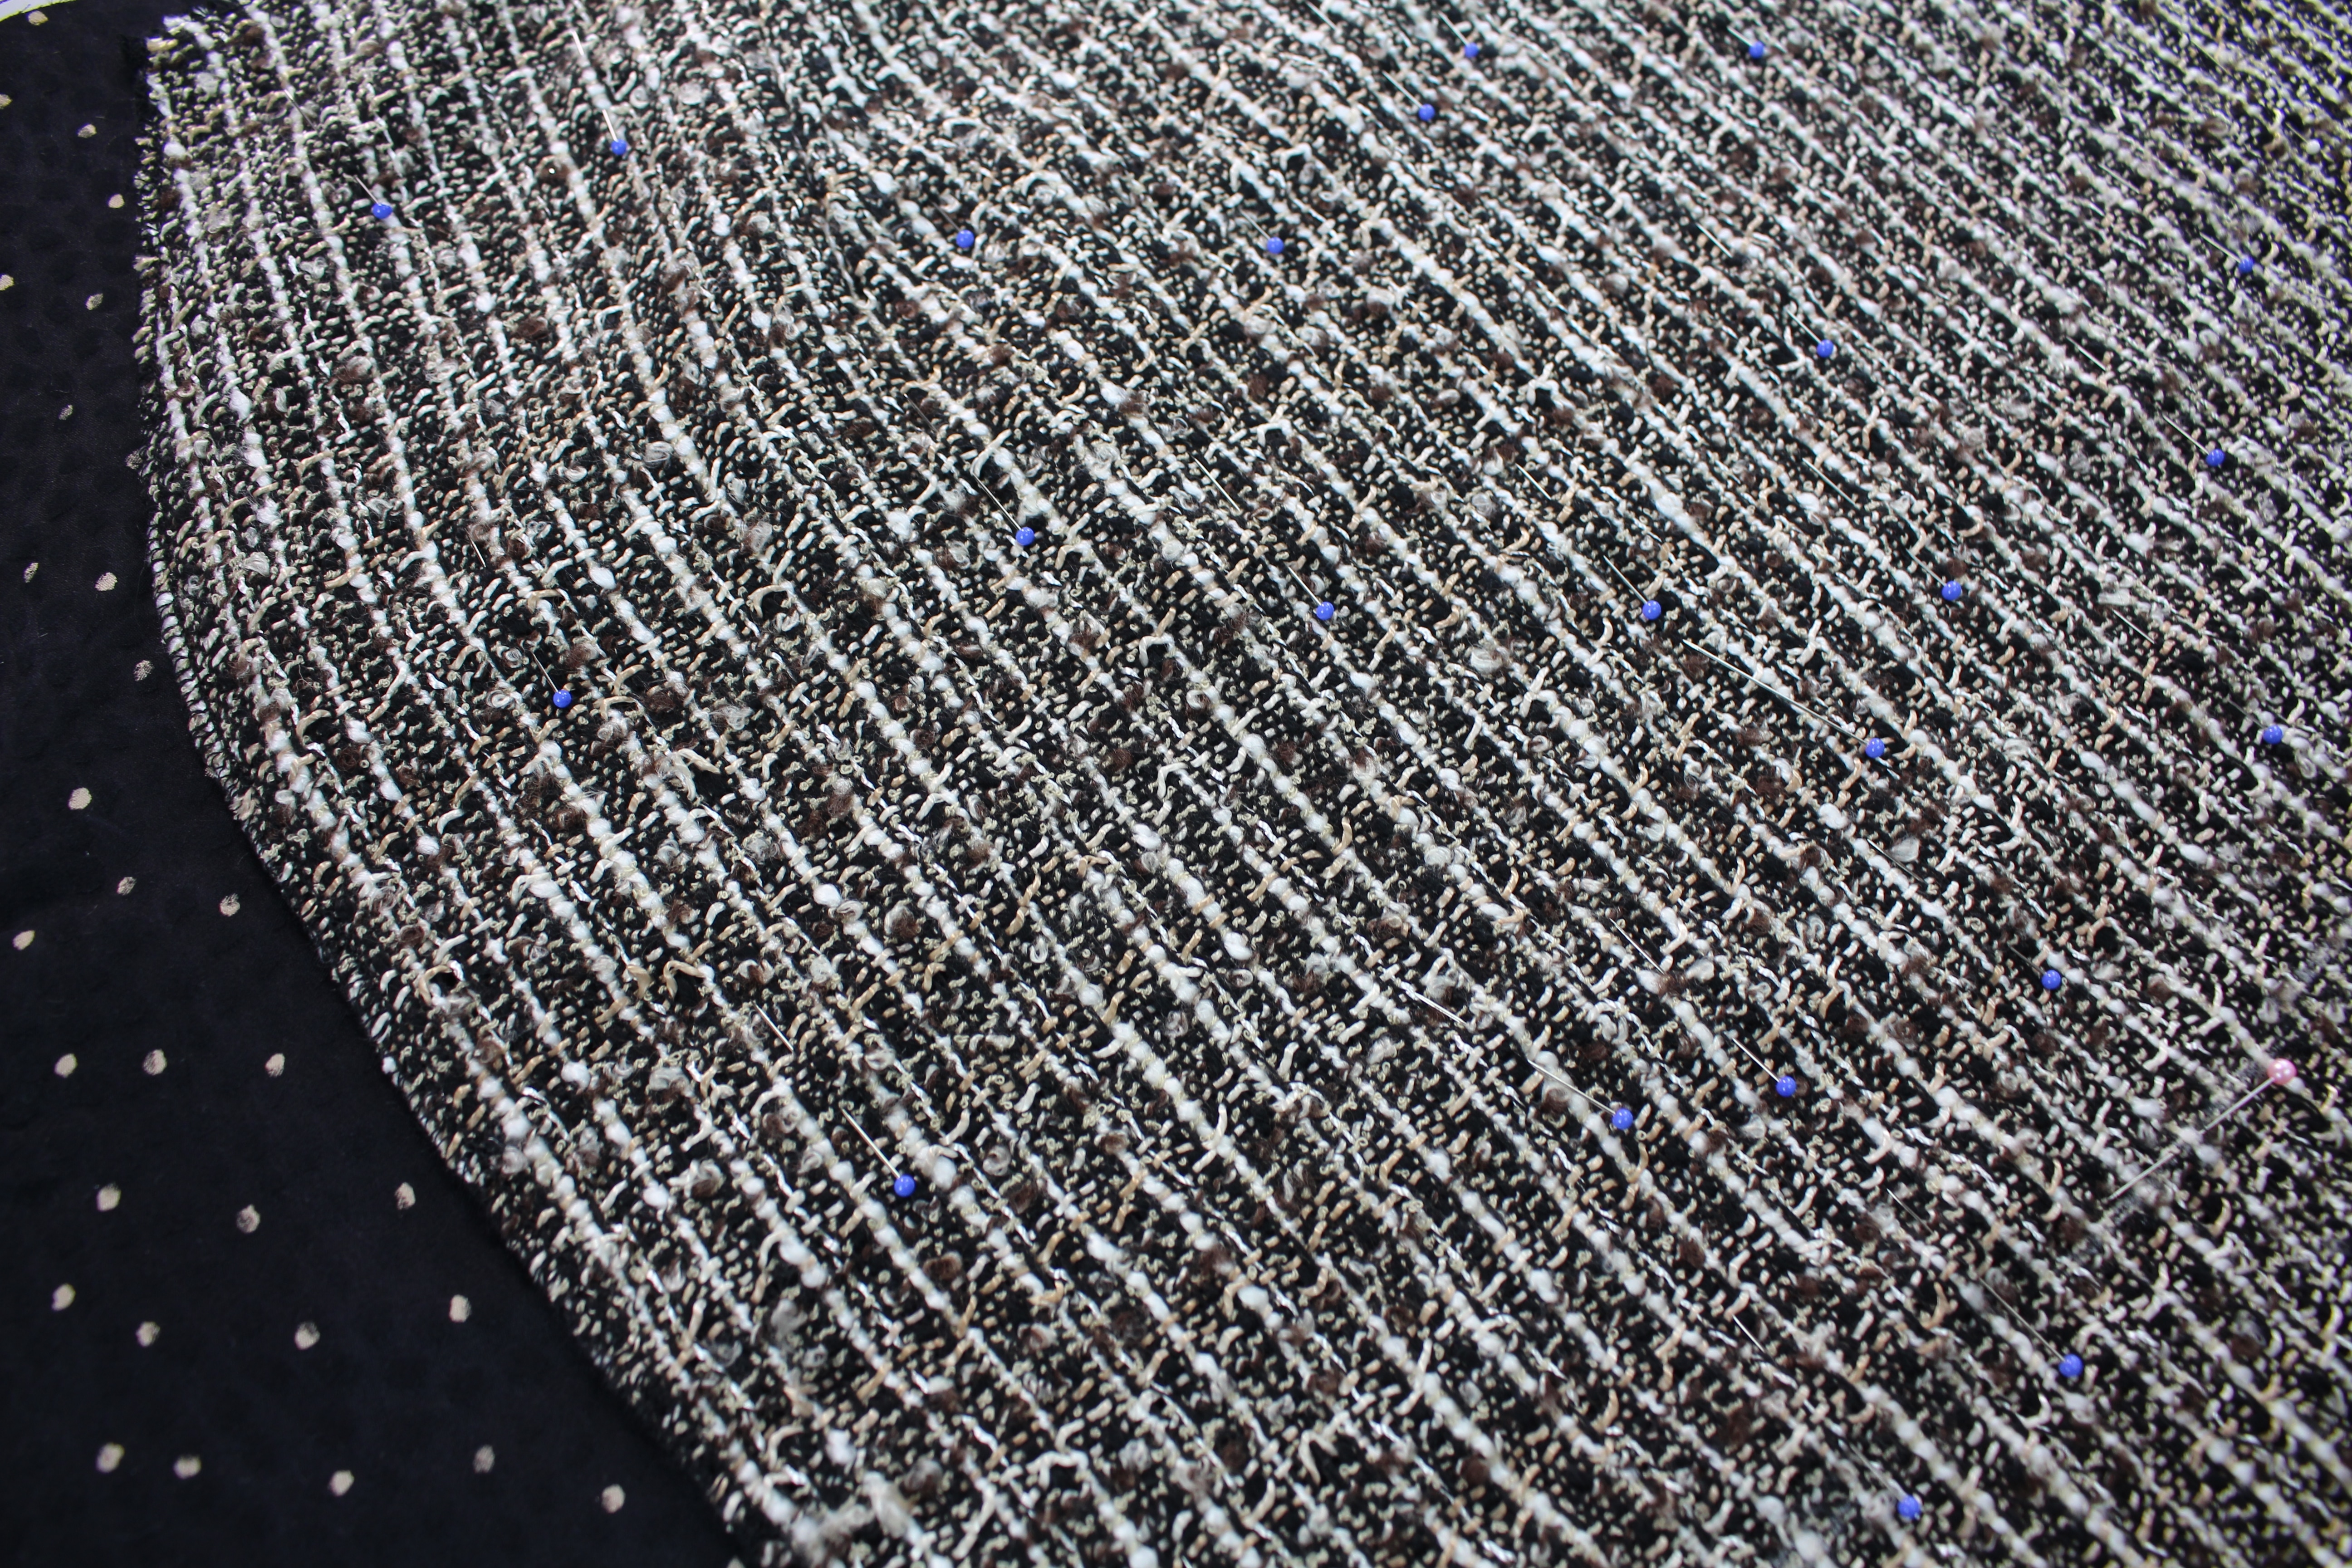
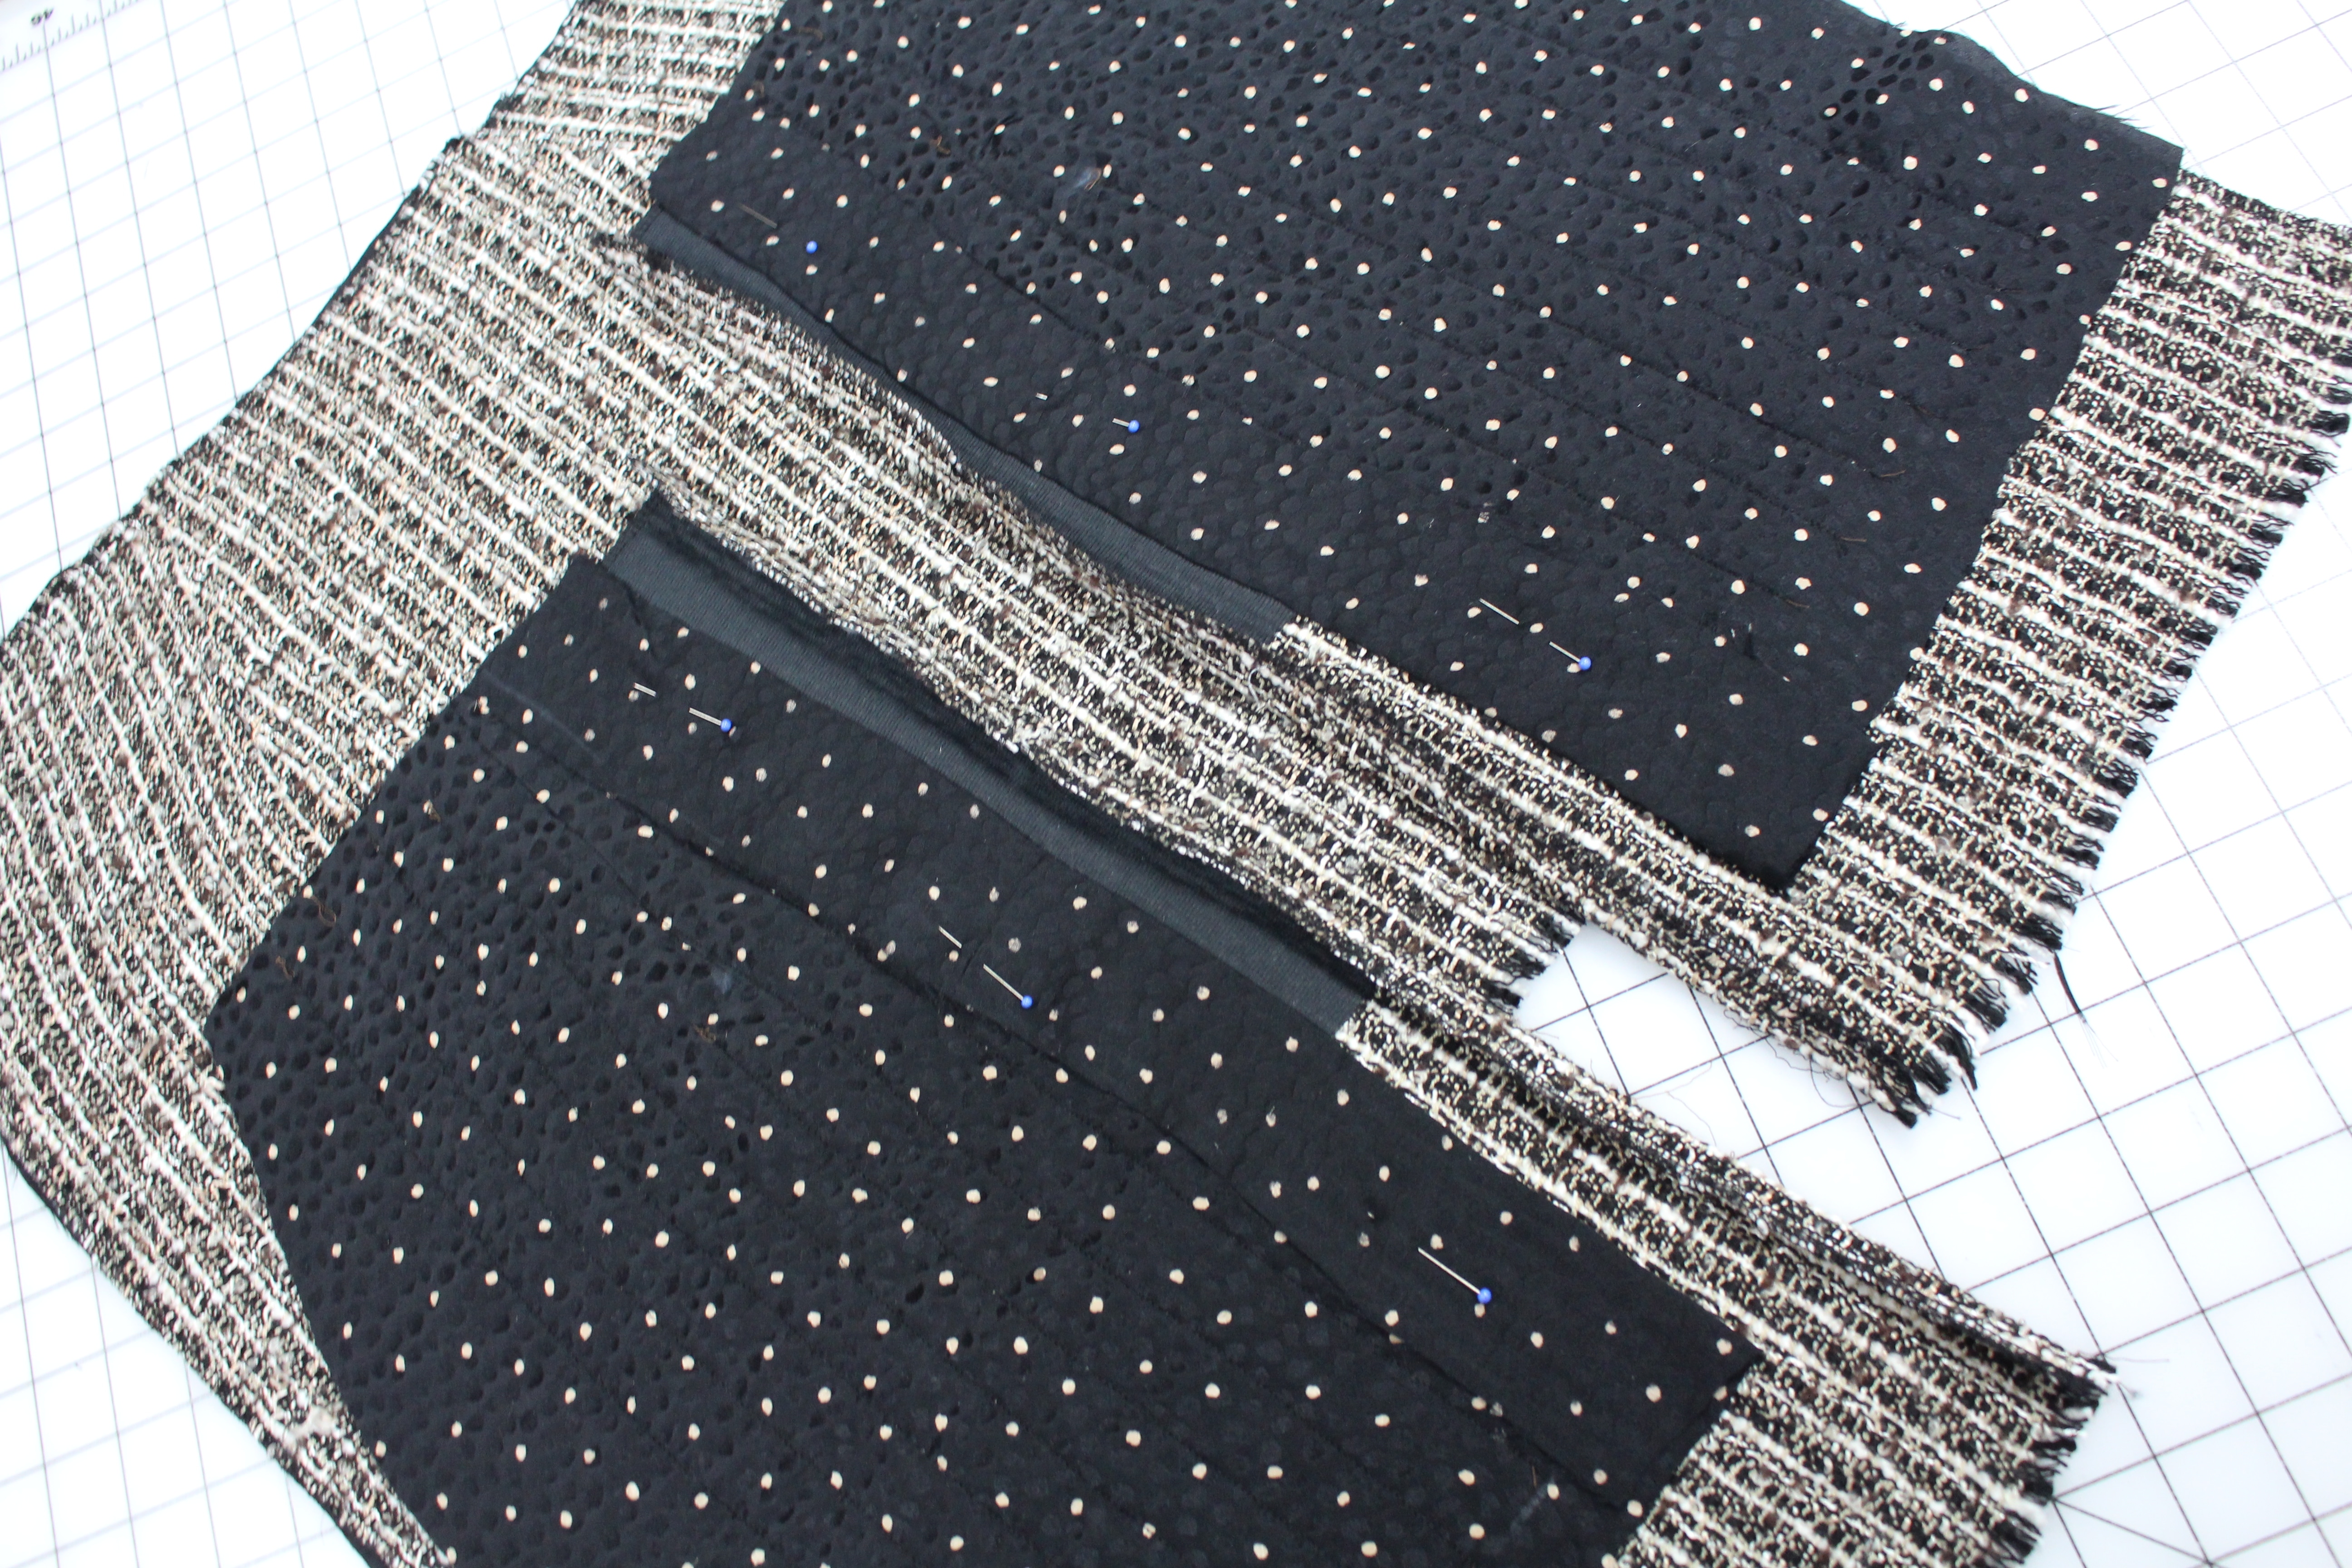
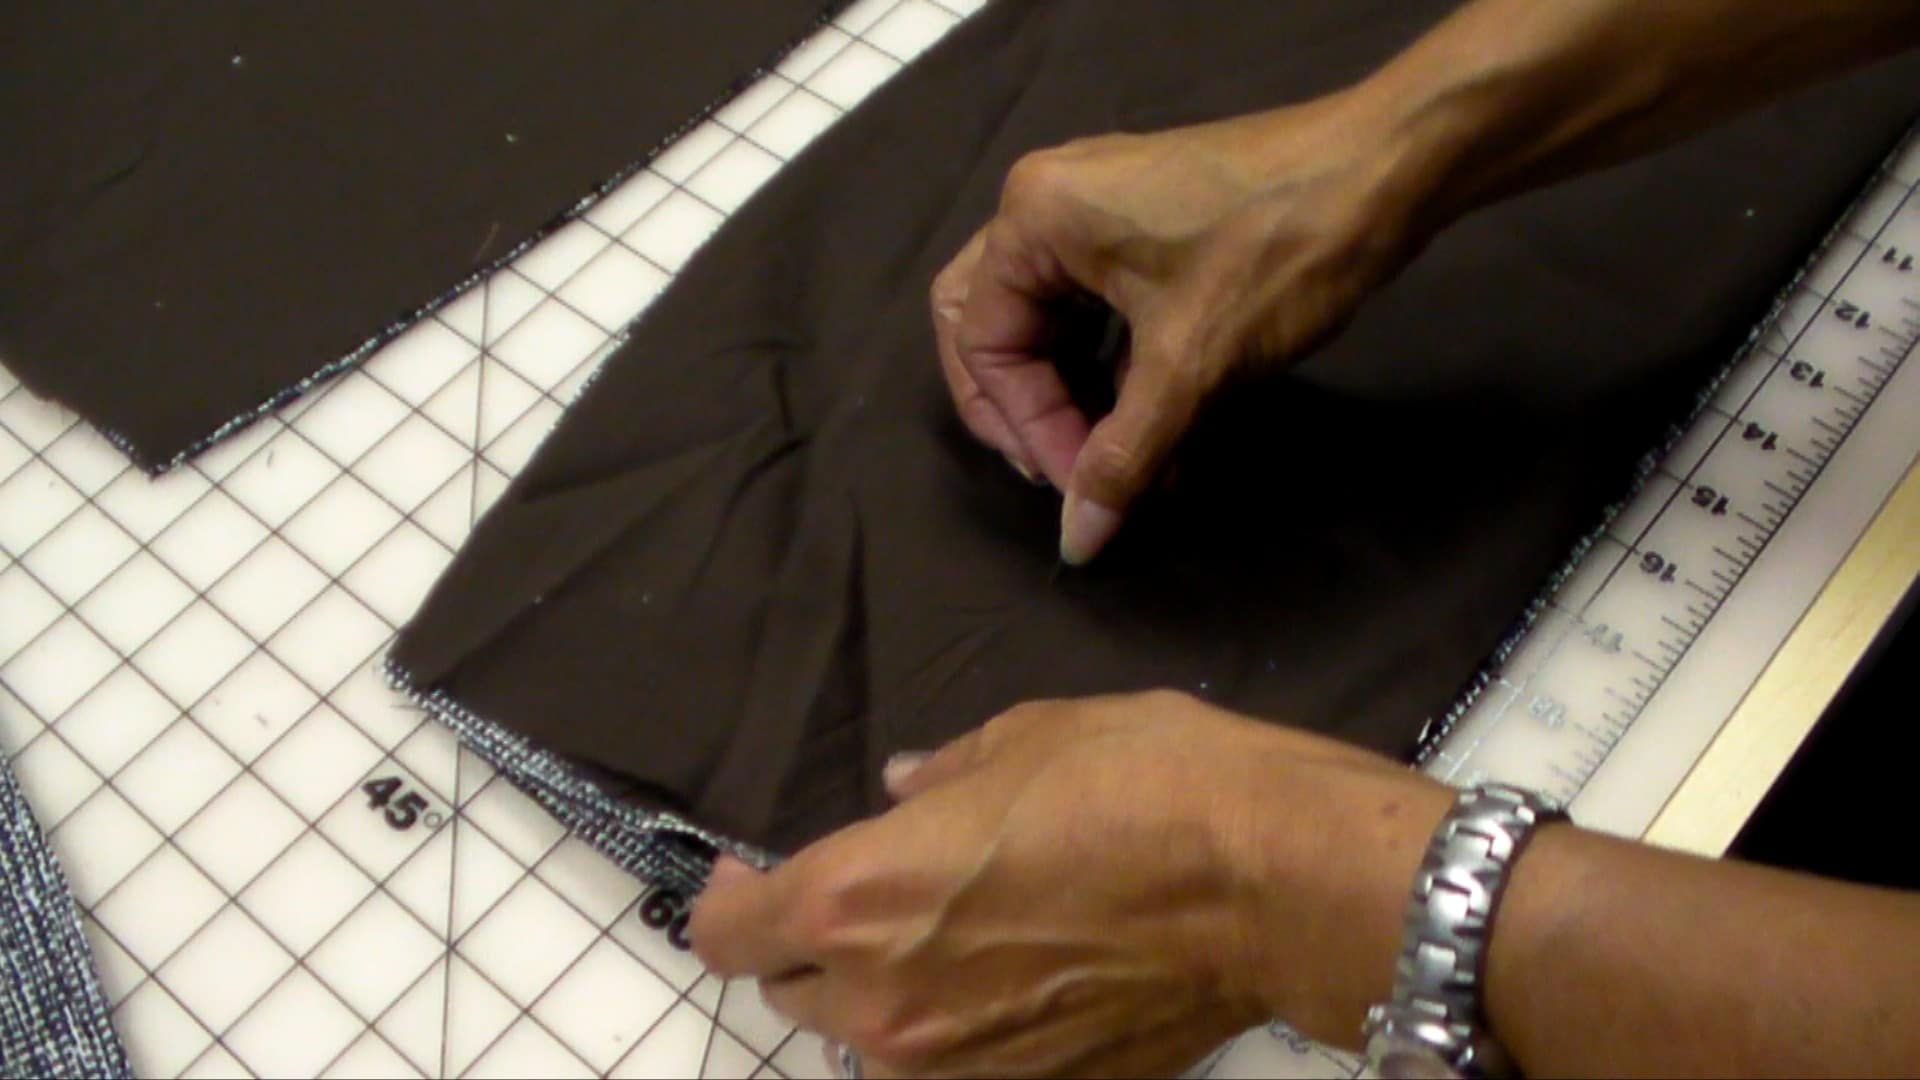
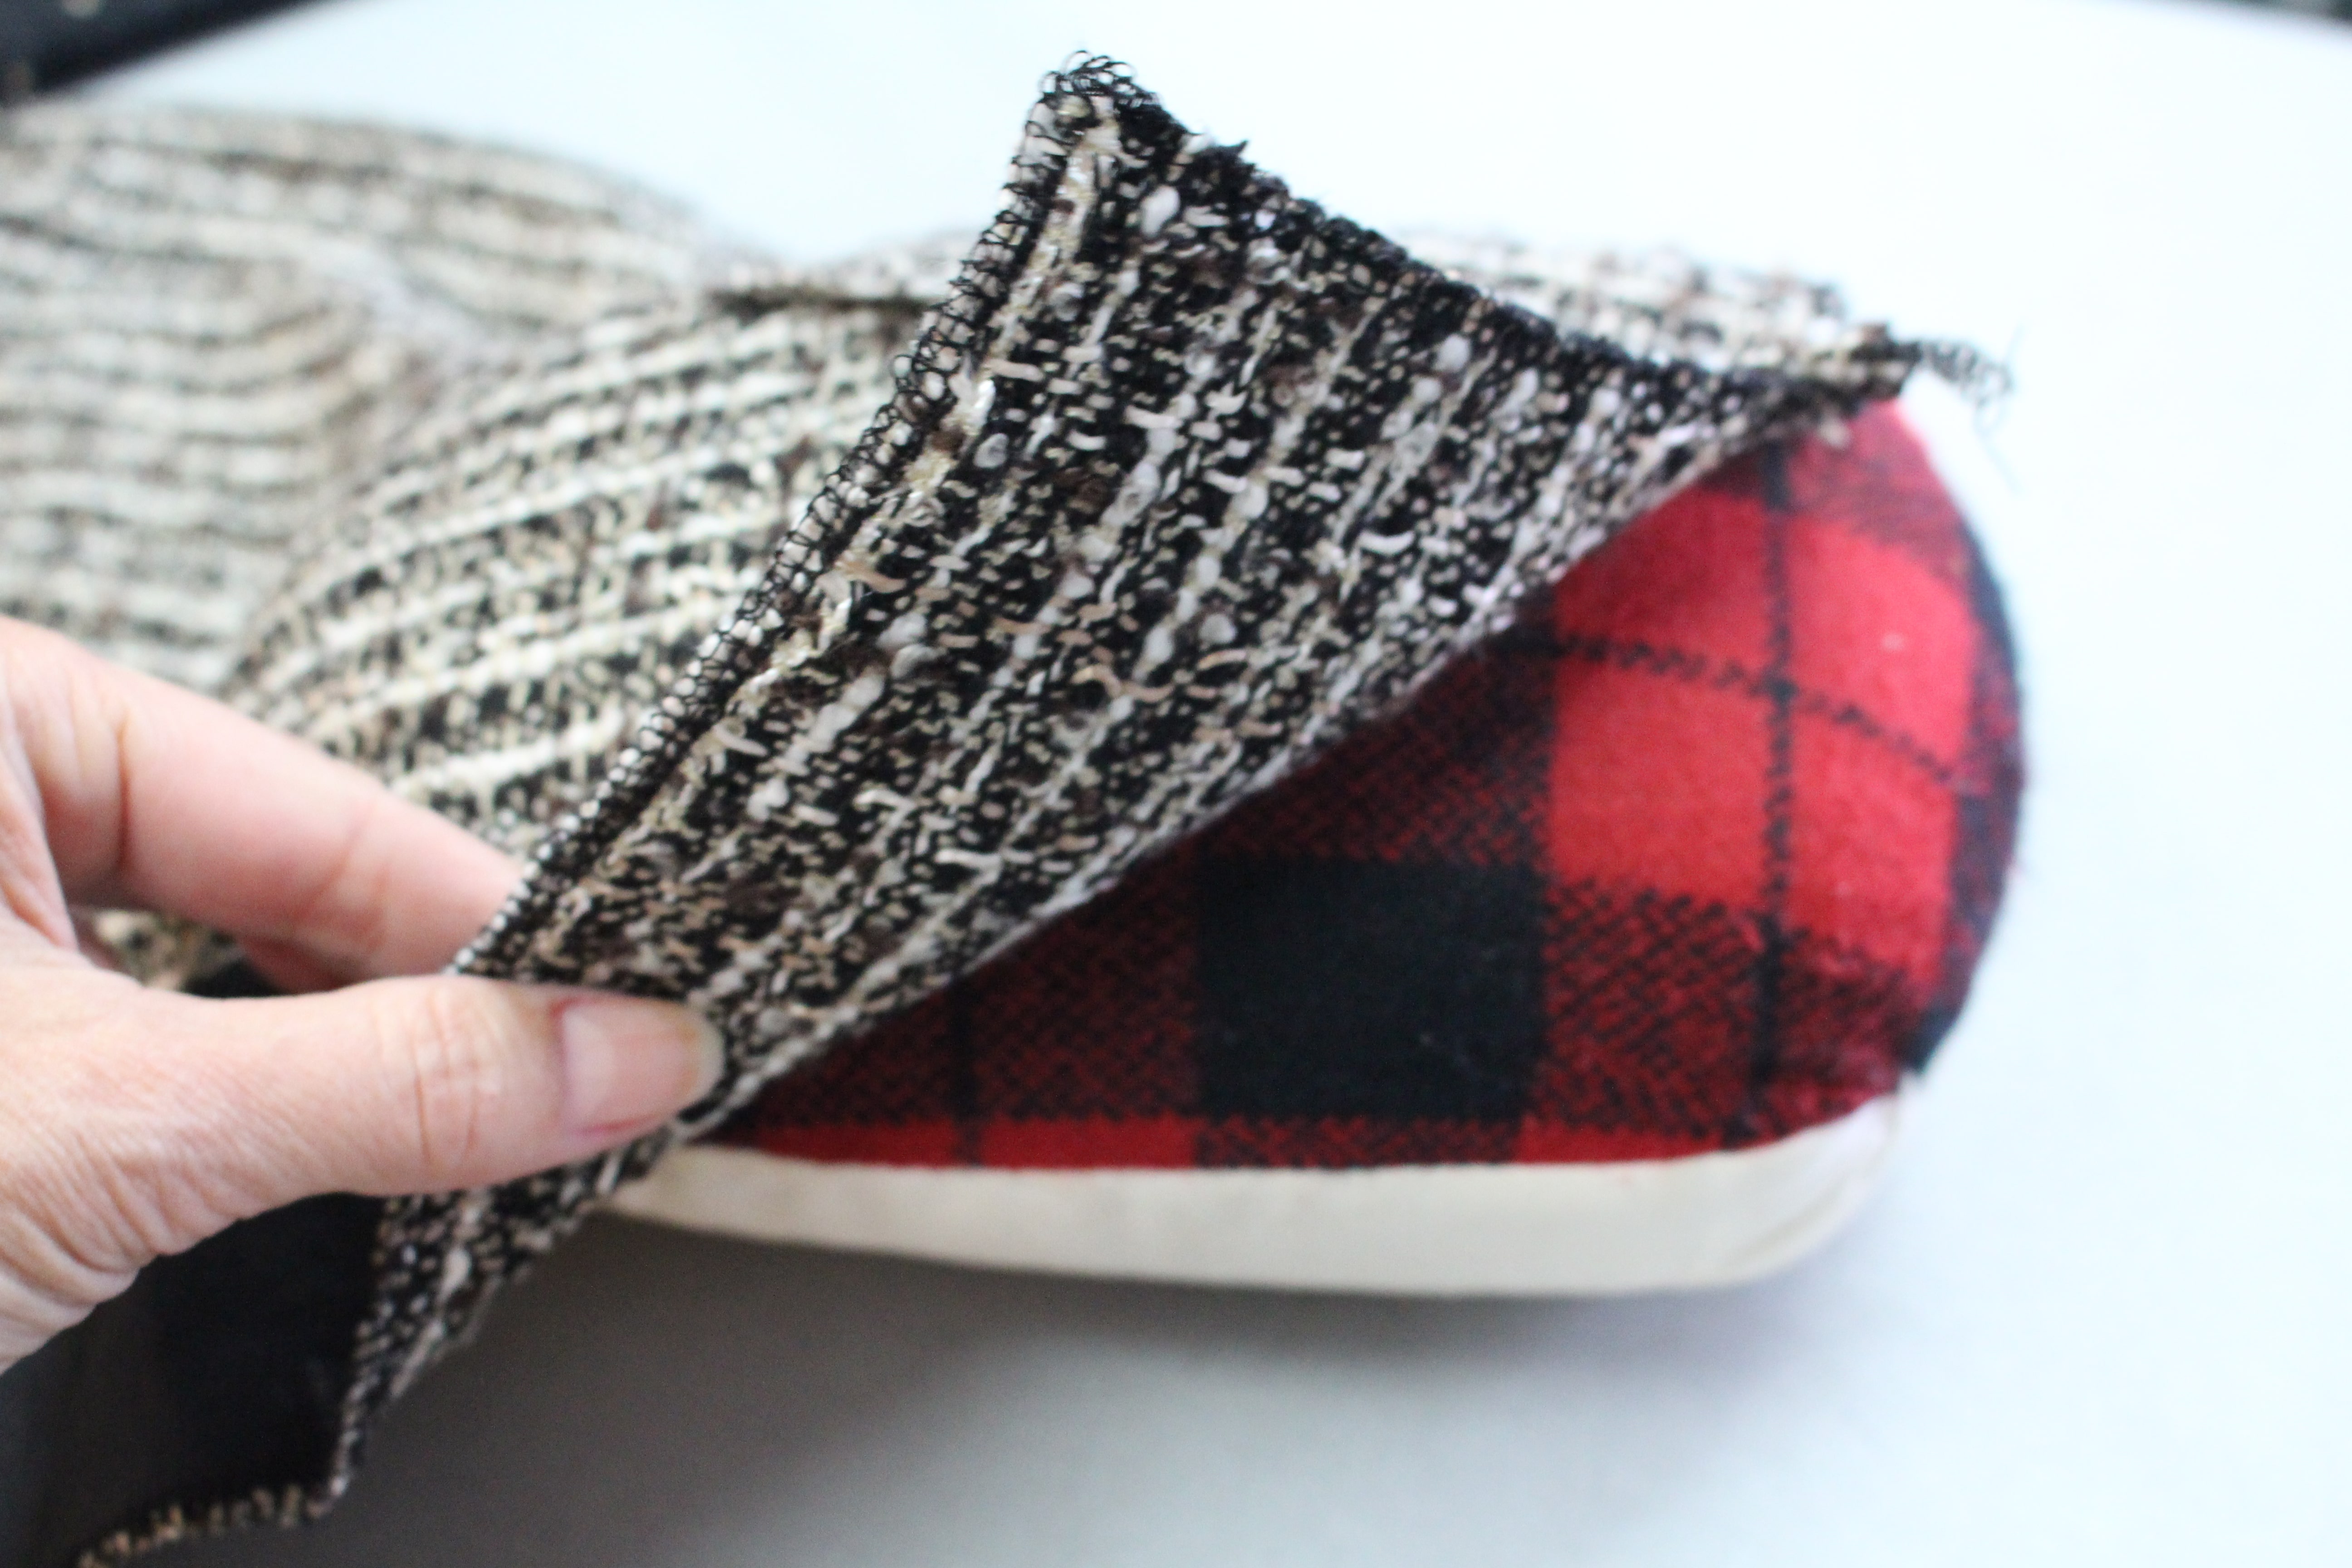
Baste the Lining
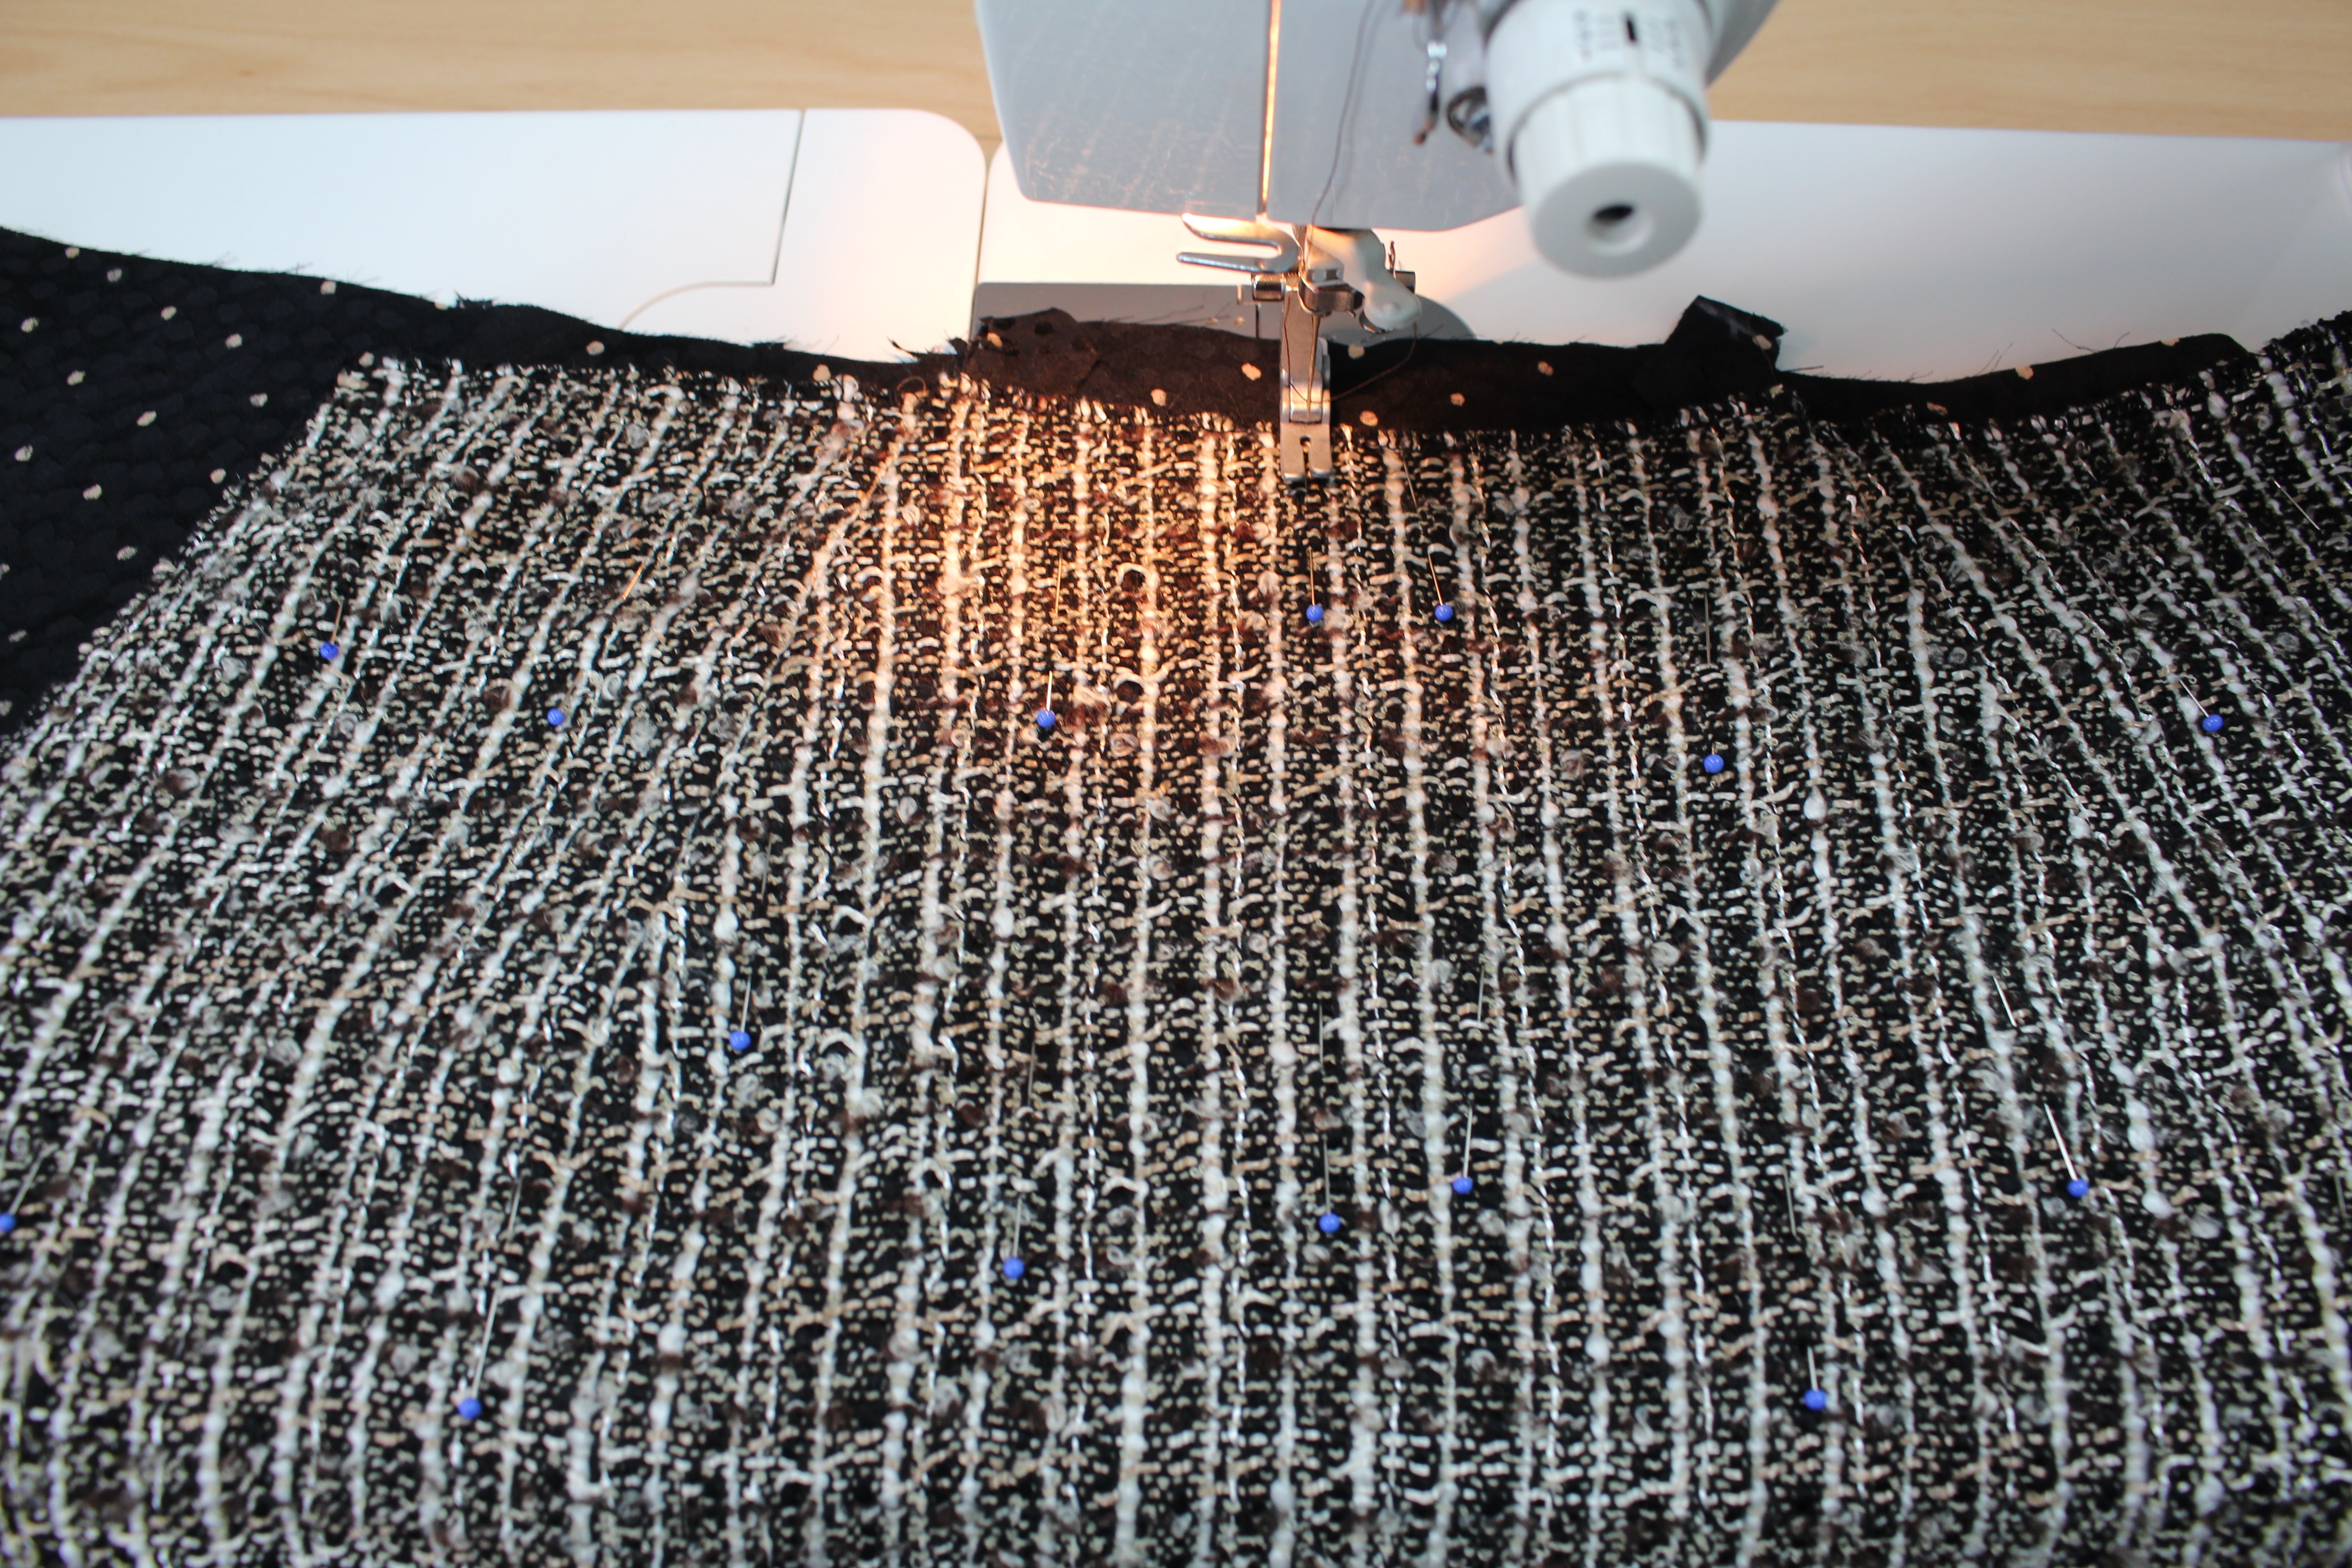
With wrong sides together, lay the tweed fabric on top of the lining. Starting at the waistline, line up the darts on both fabrics. Pin or hand-baste the fabrics together, starting at the center and moving out toward the side seams. (see my blue pins in the photo below)
Mark the area that you will not be stitching:
- Depending on the waistband: 1/2″ from the top edge
- 2″ from each side seam
- 2″ from the top of the fringe hemline
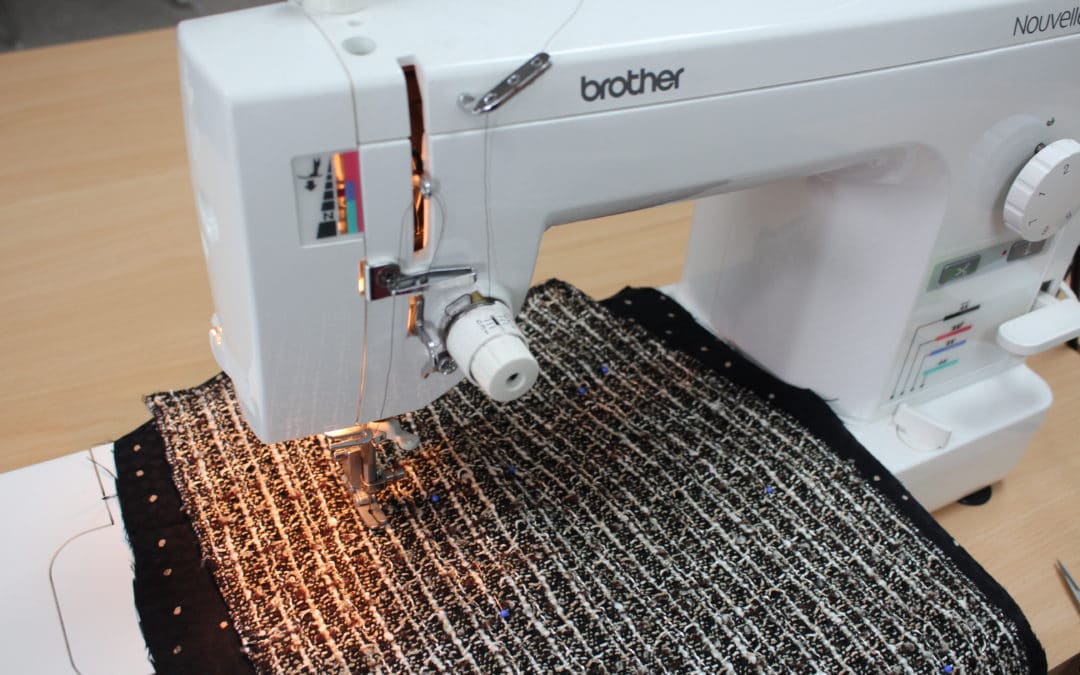
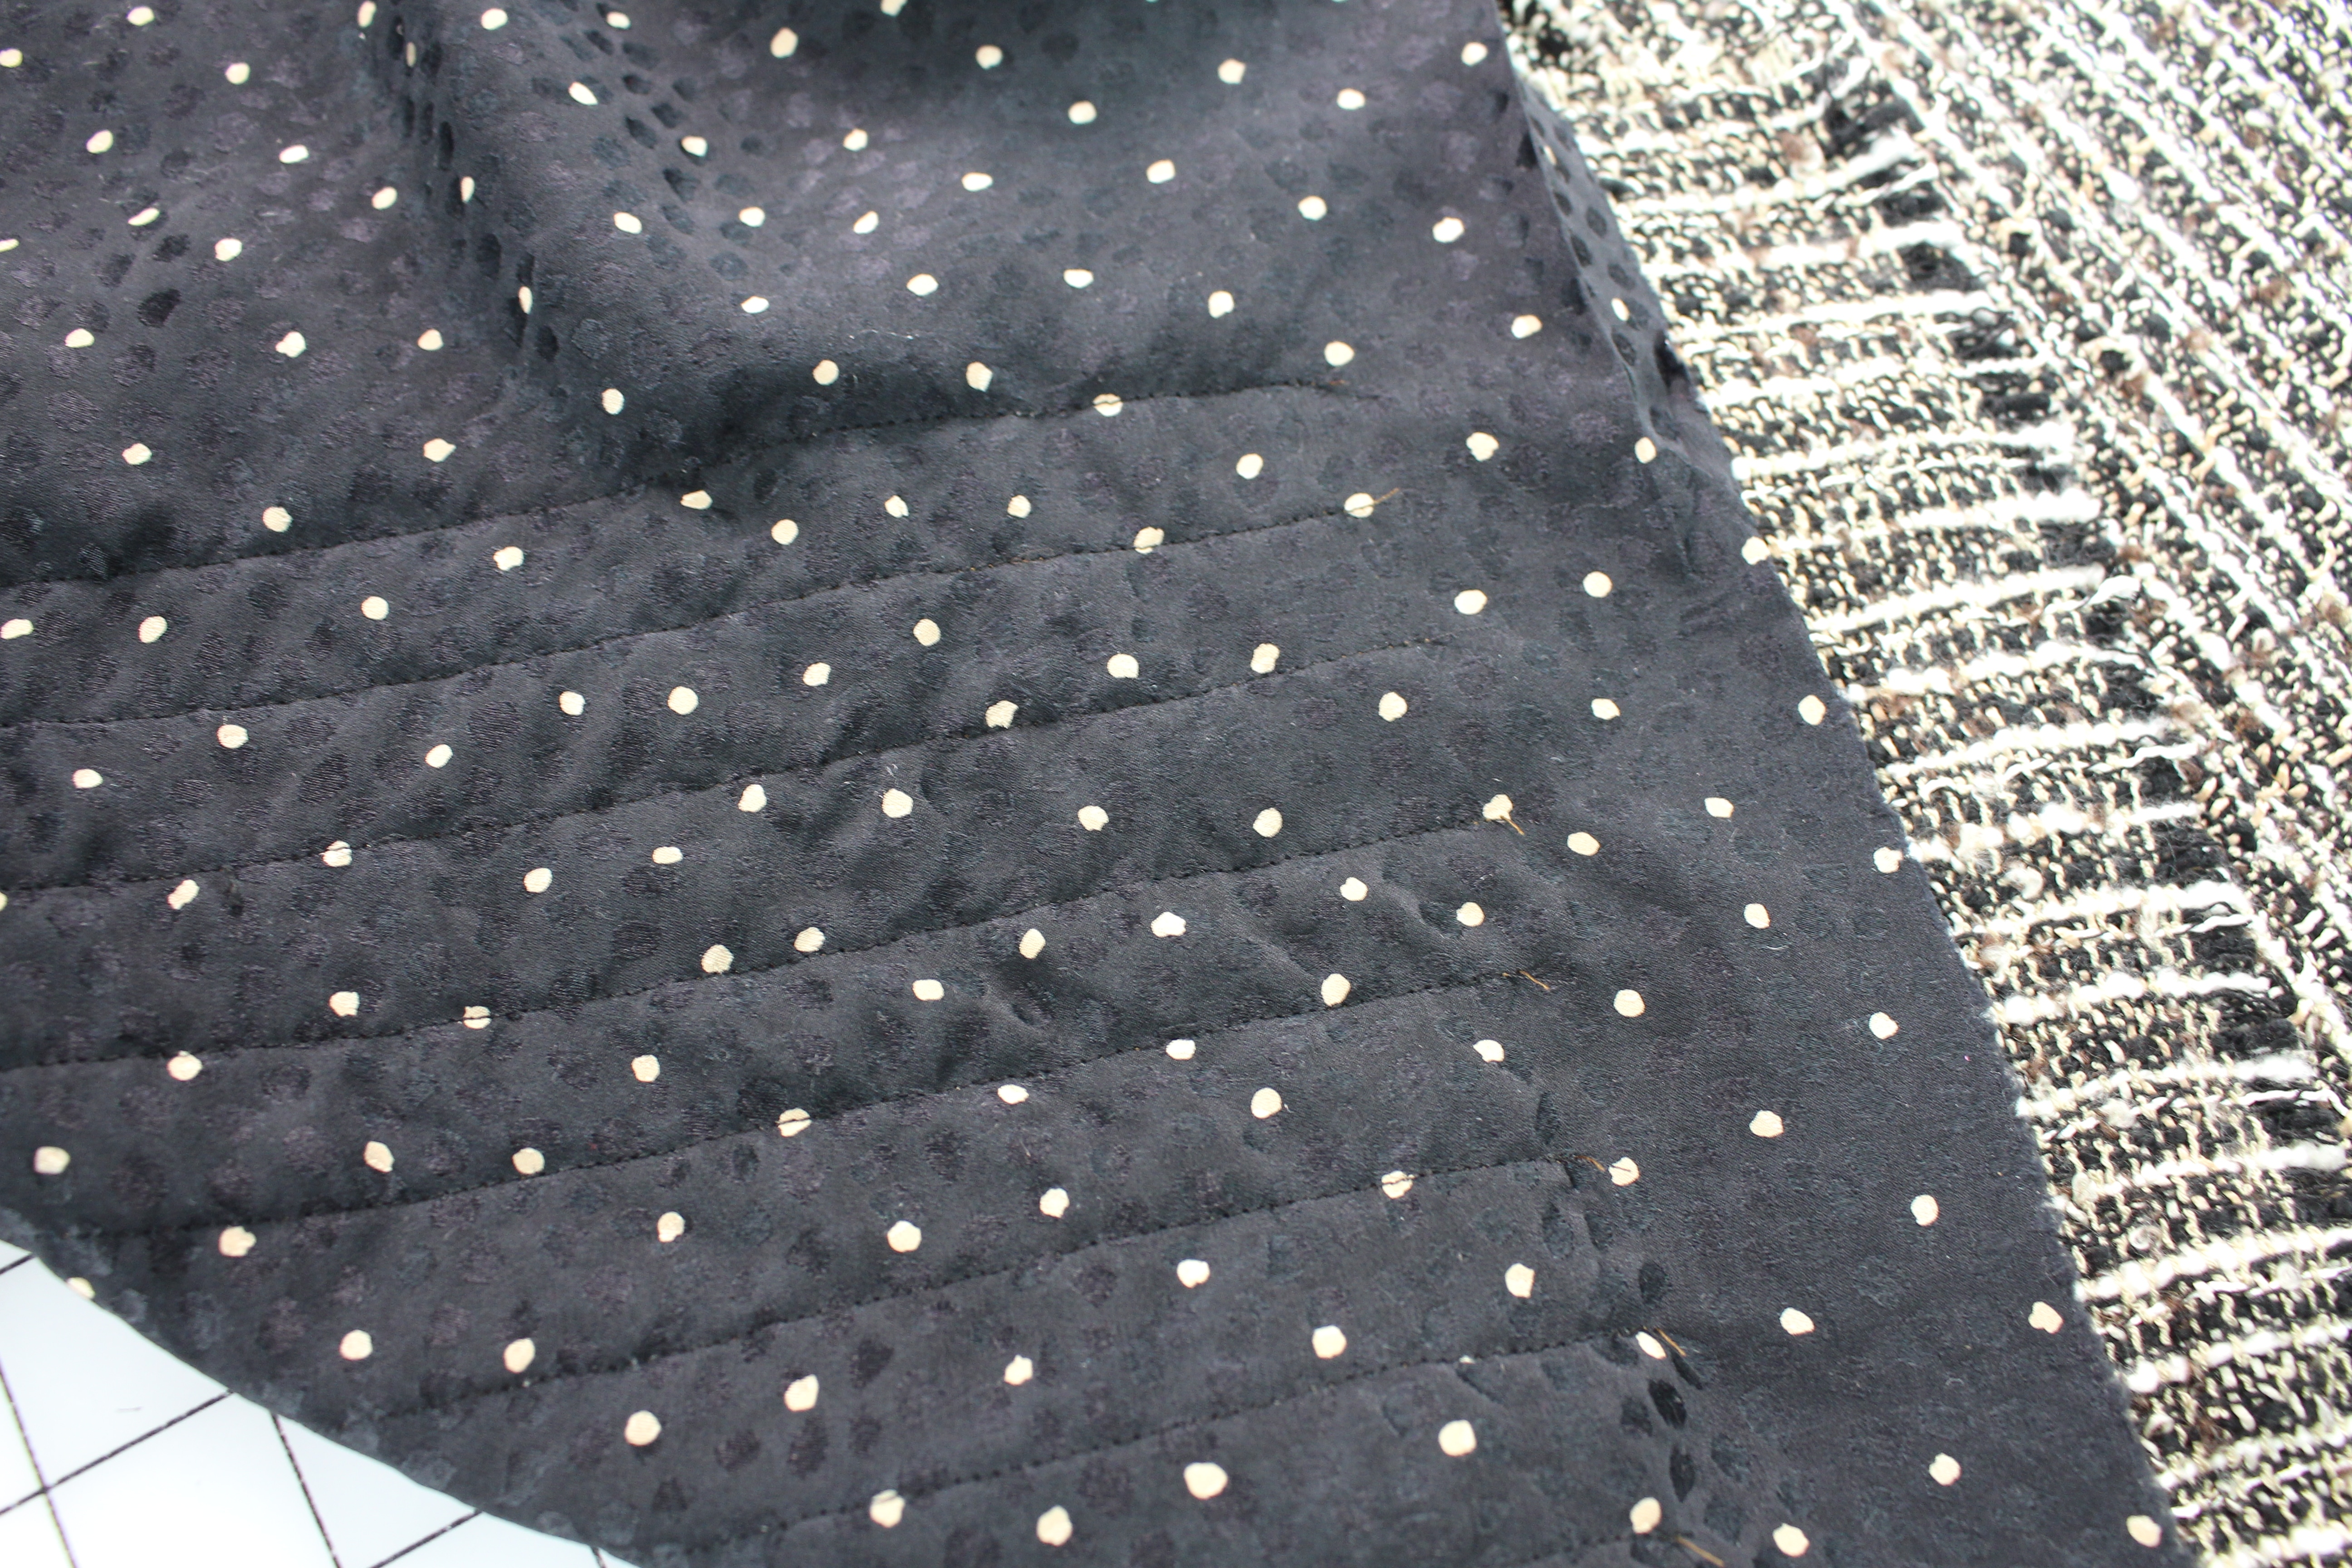
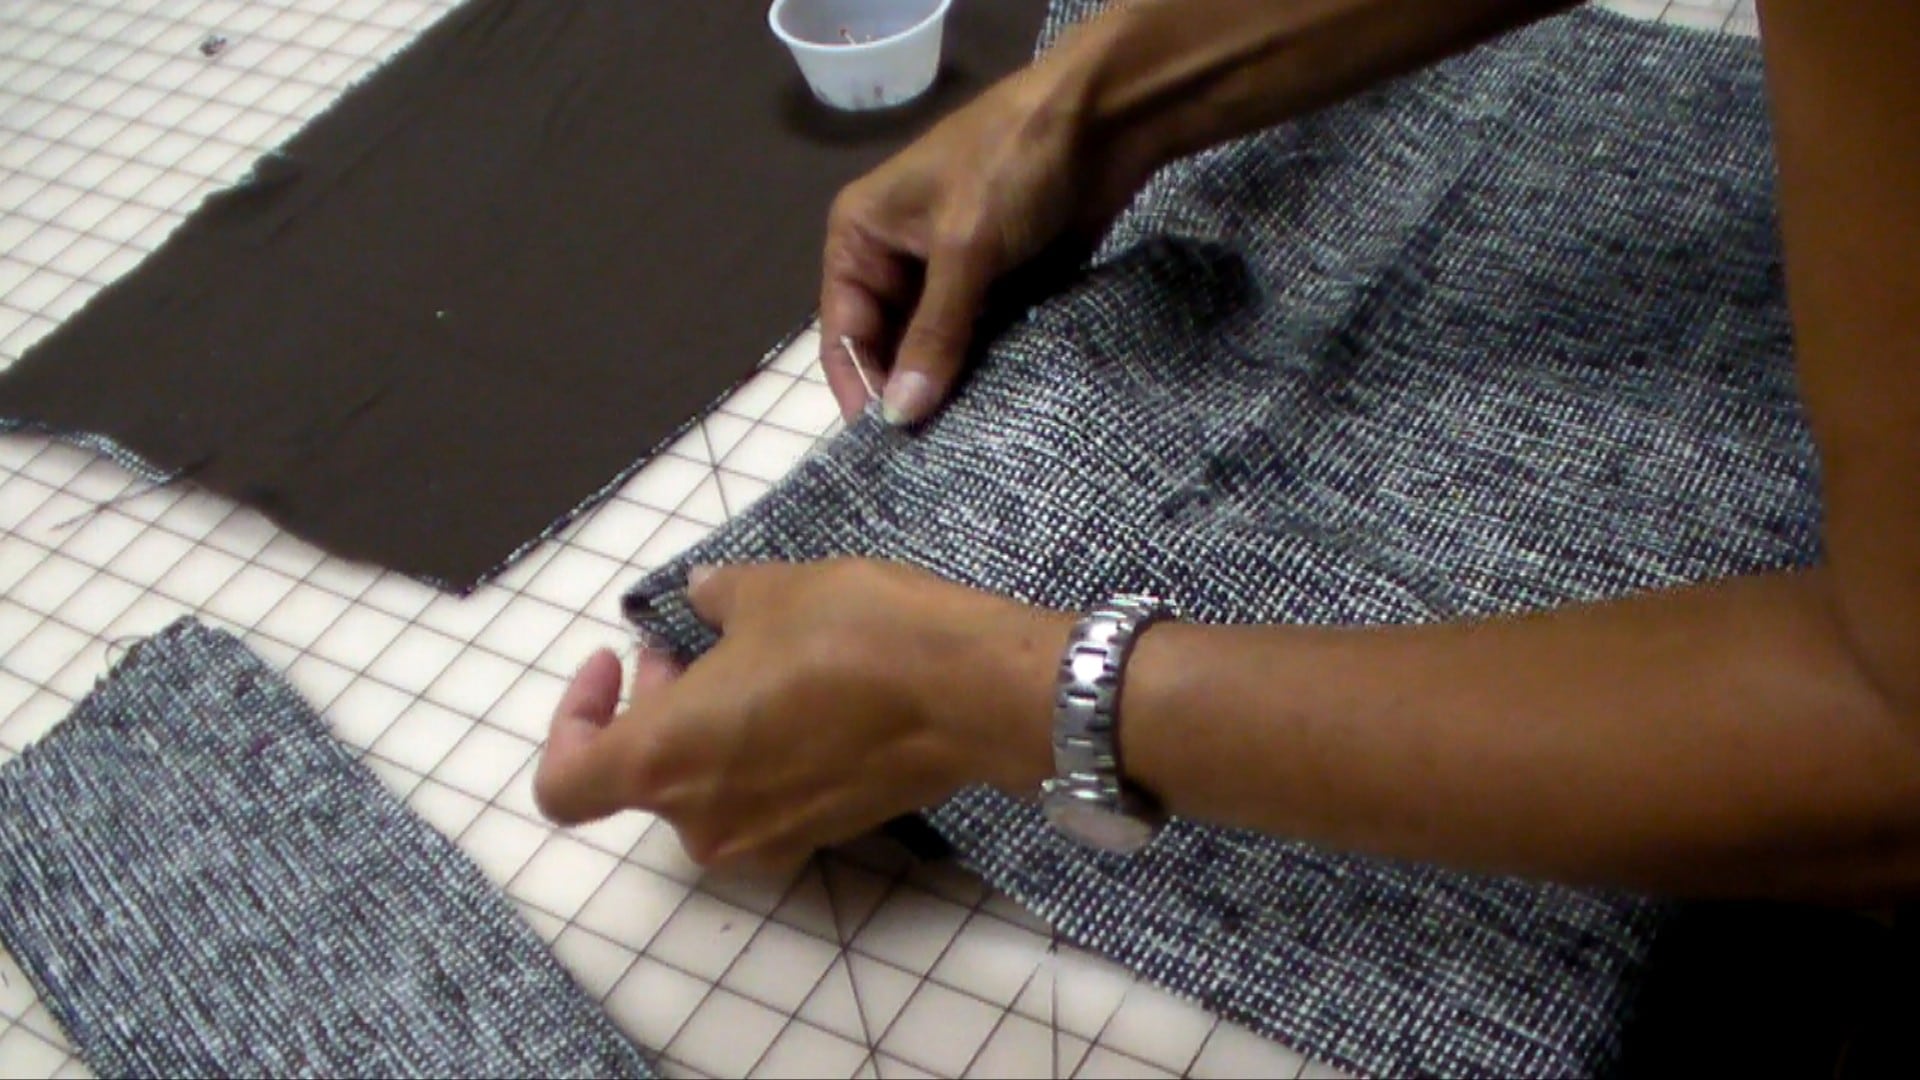
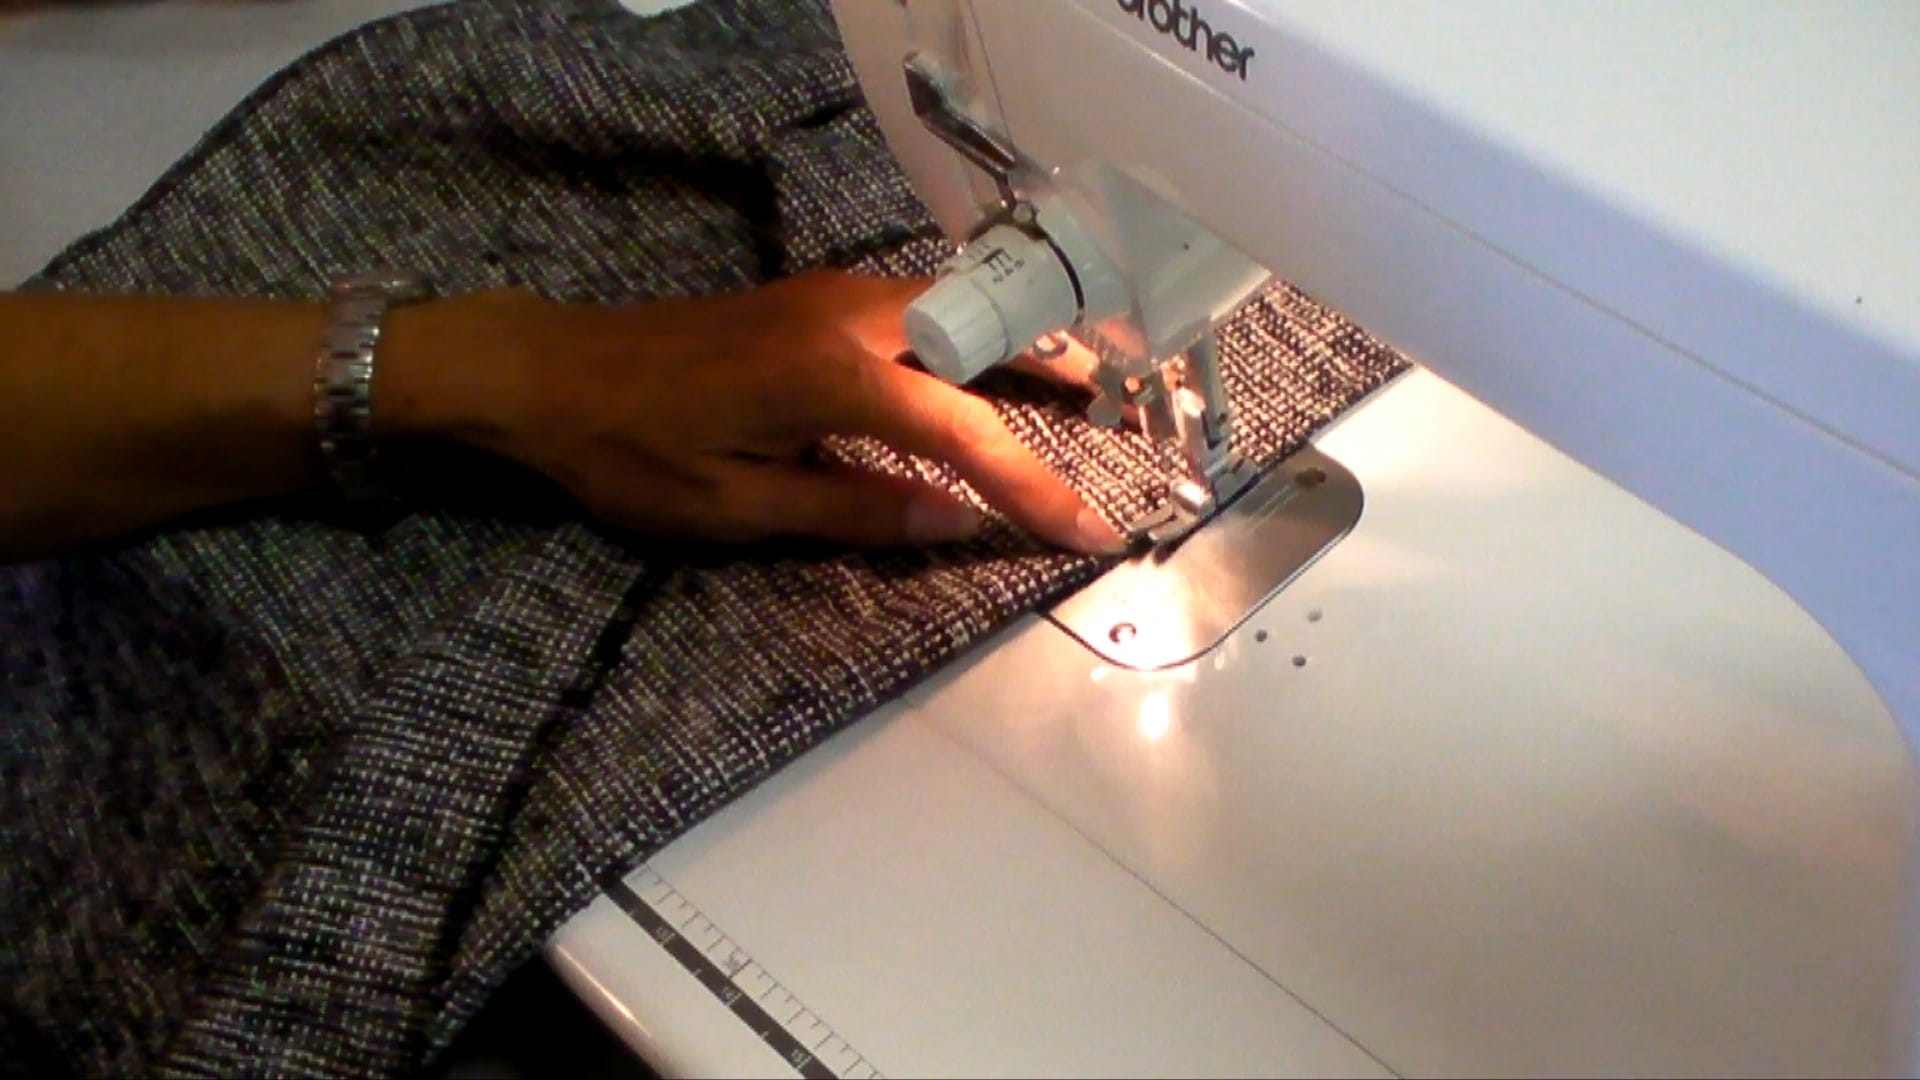
Quilting the Lining
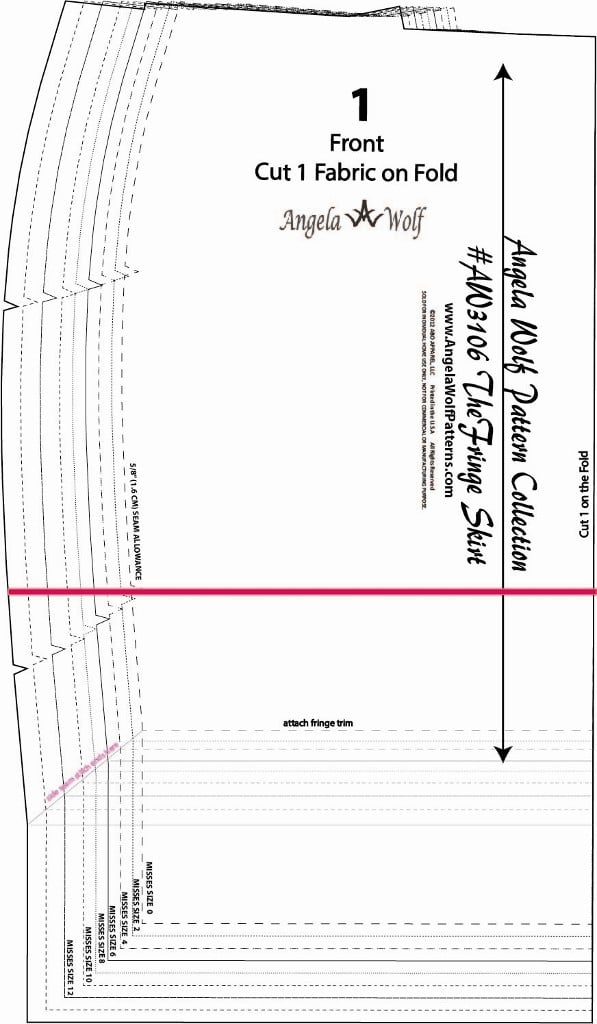
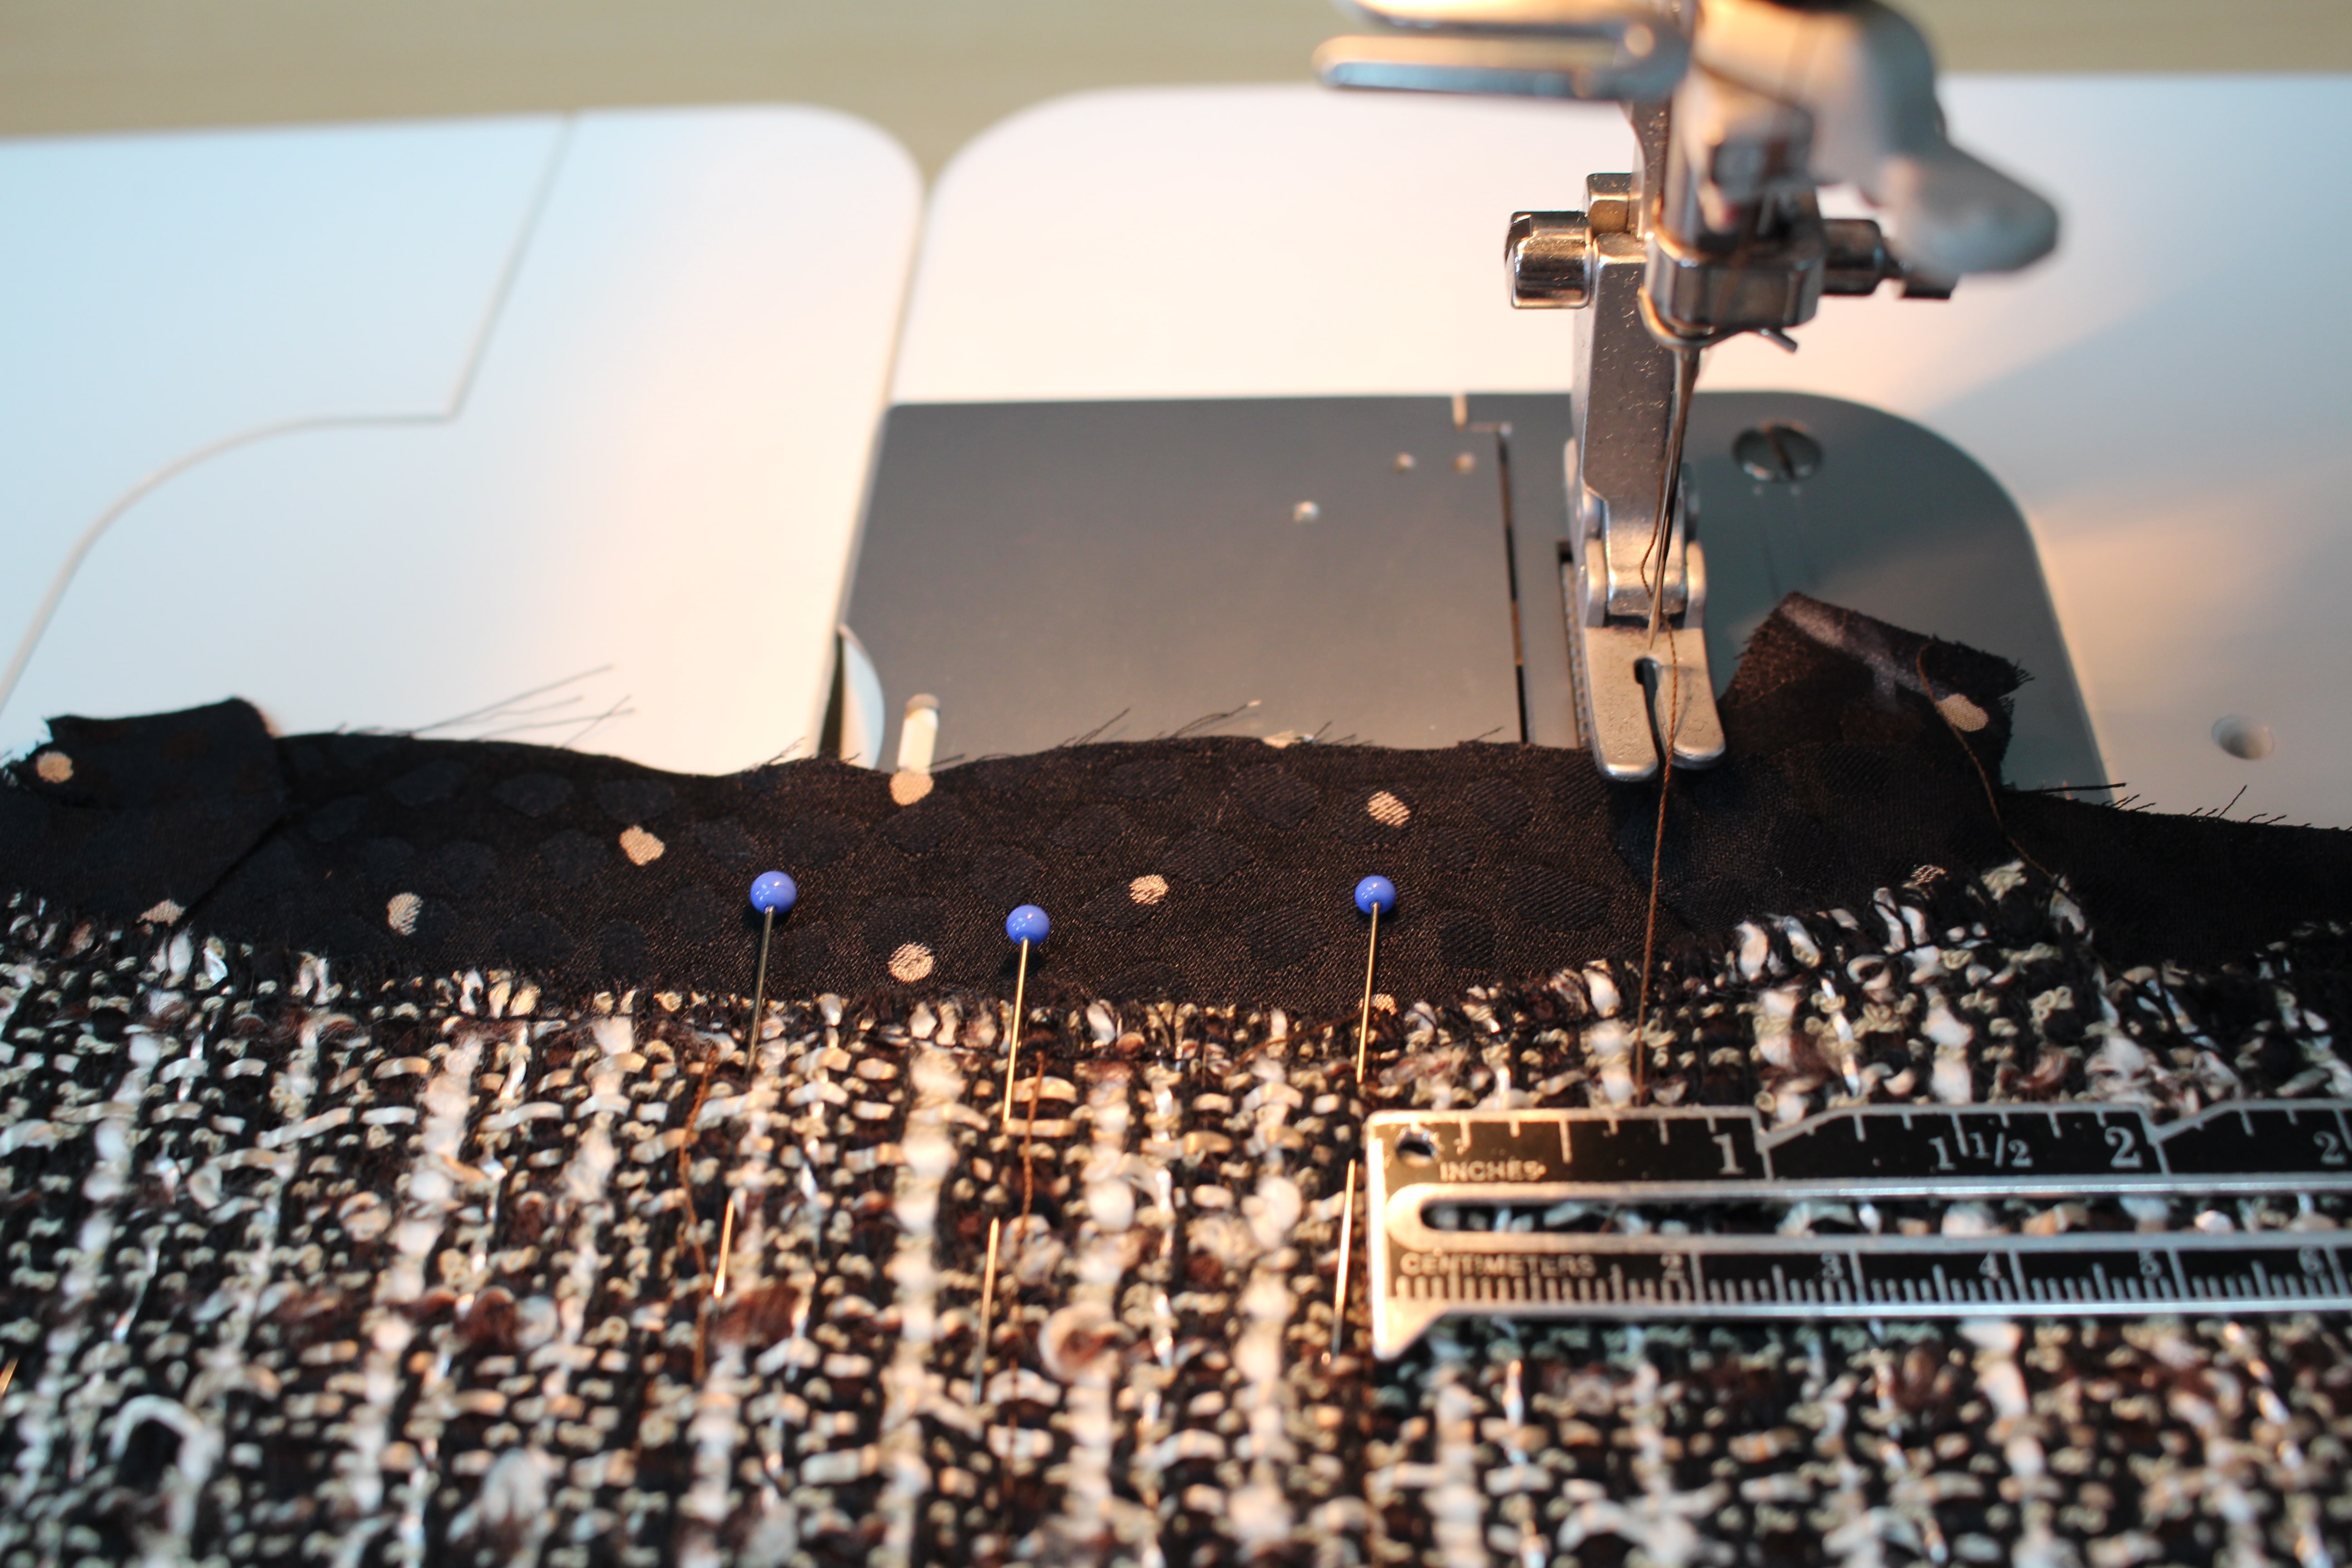
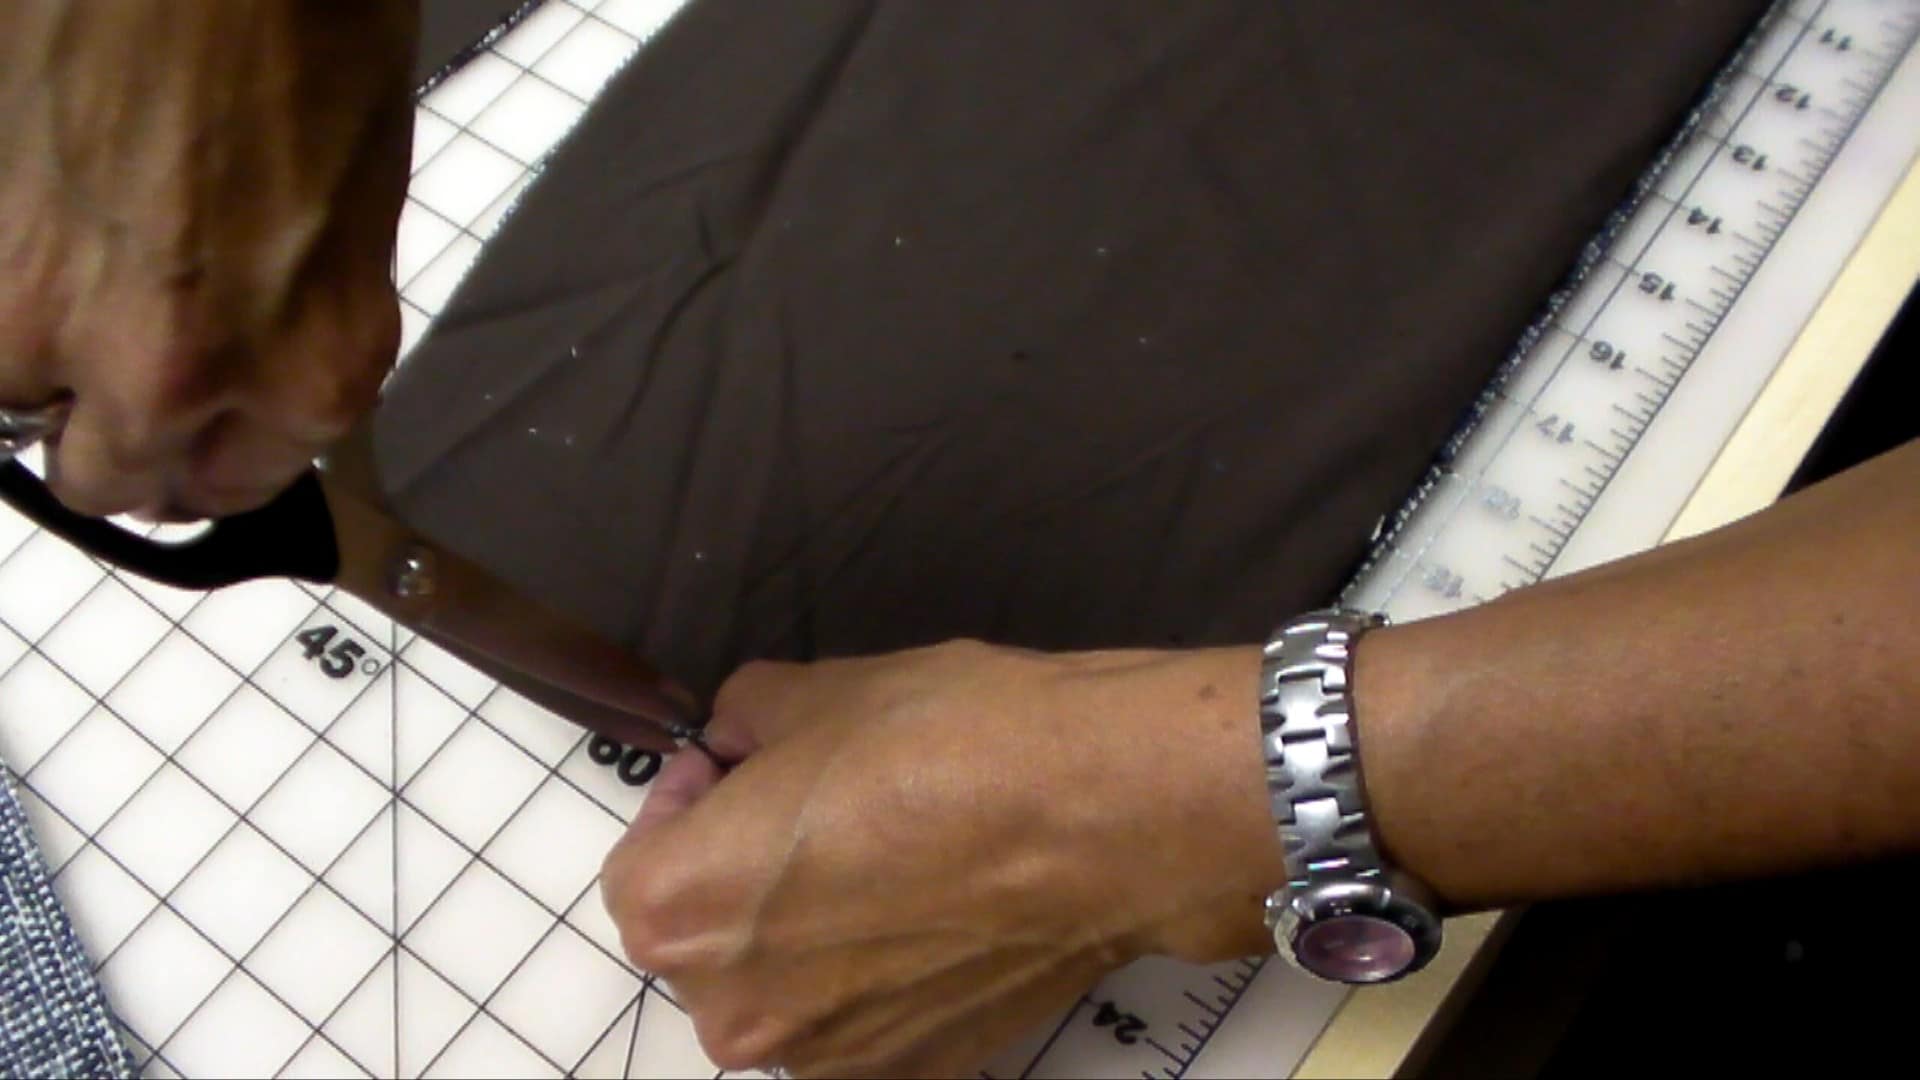
Starting at the top of the waistline in the center of the skirt, line up the needle with the grainline and stitch from the top of the skirt down. I am using a stitch length of 2.5.
Stop the stitching 1″ to 2″ higher than the top of the fringe placement
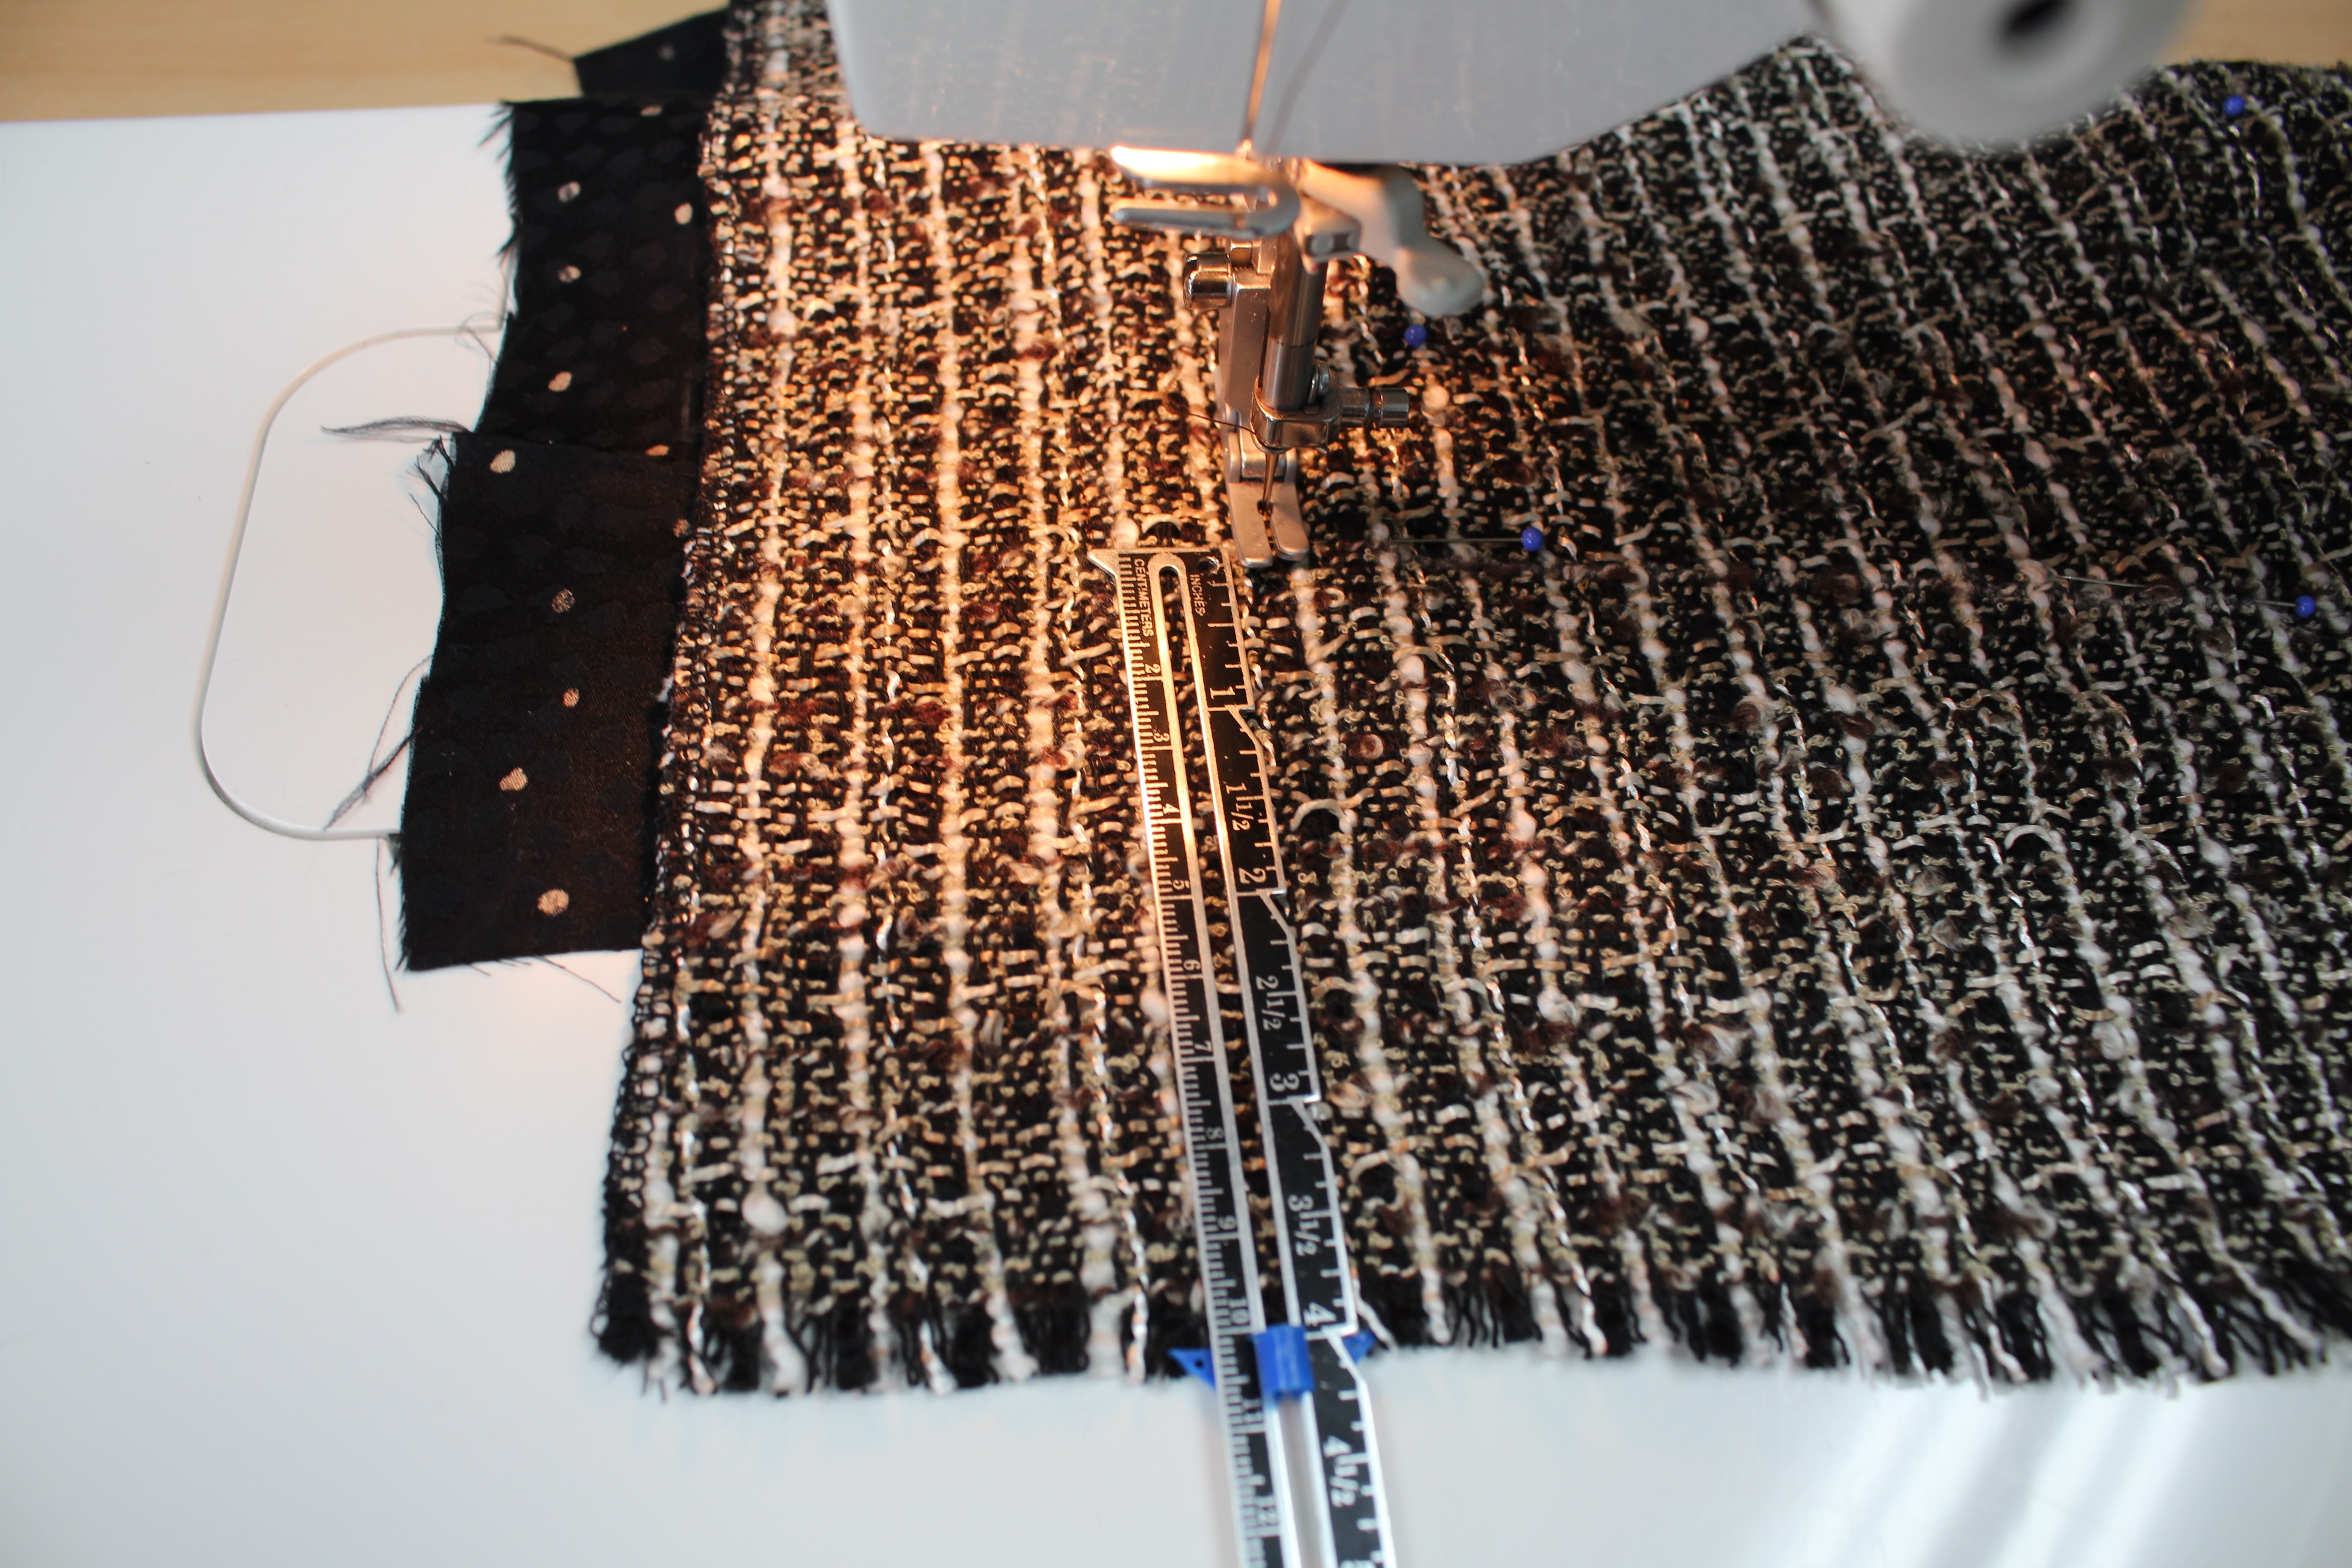
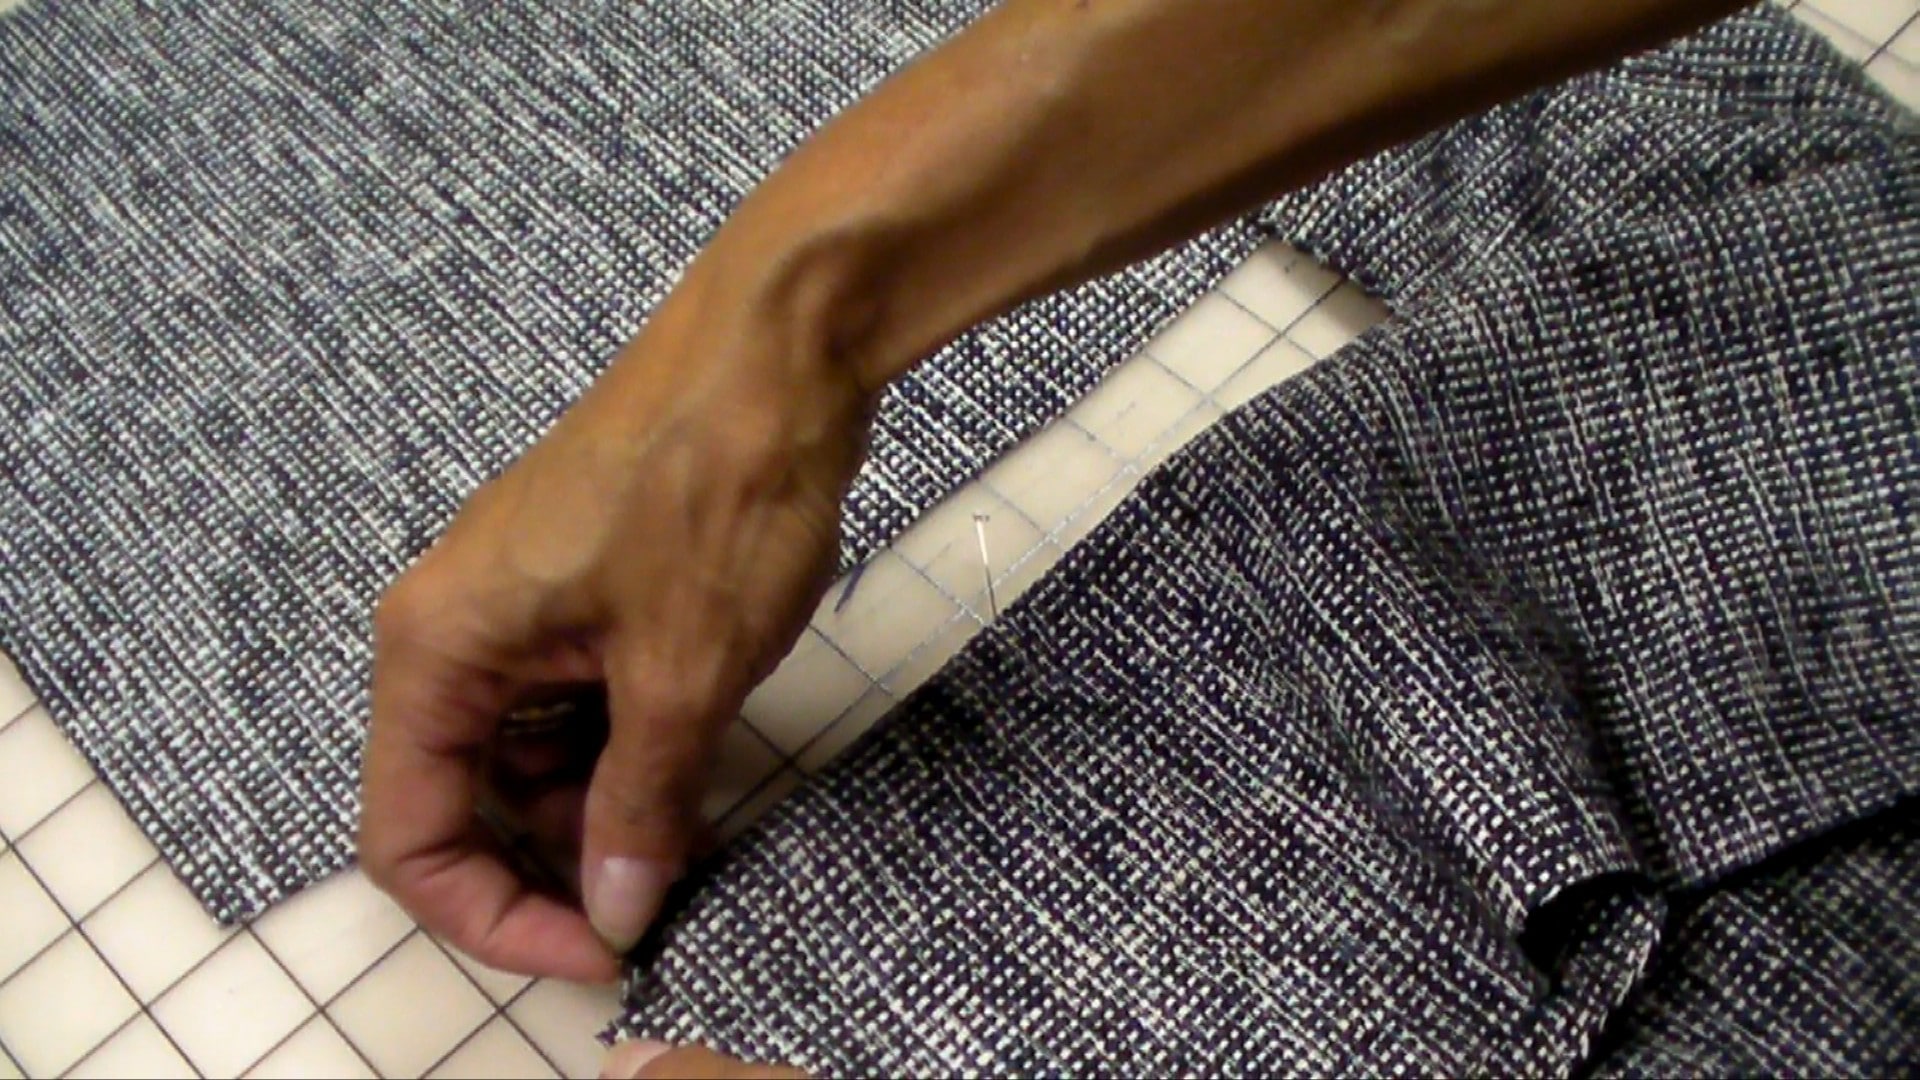
Continue to stitch parallel rows 1/2″ to 1″ apart, depending on the fabric design.
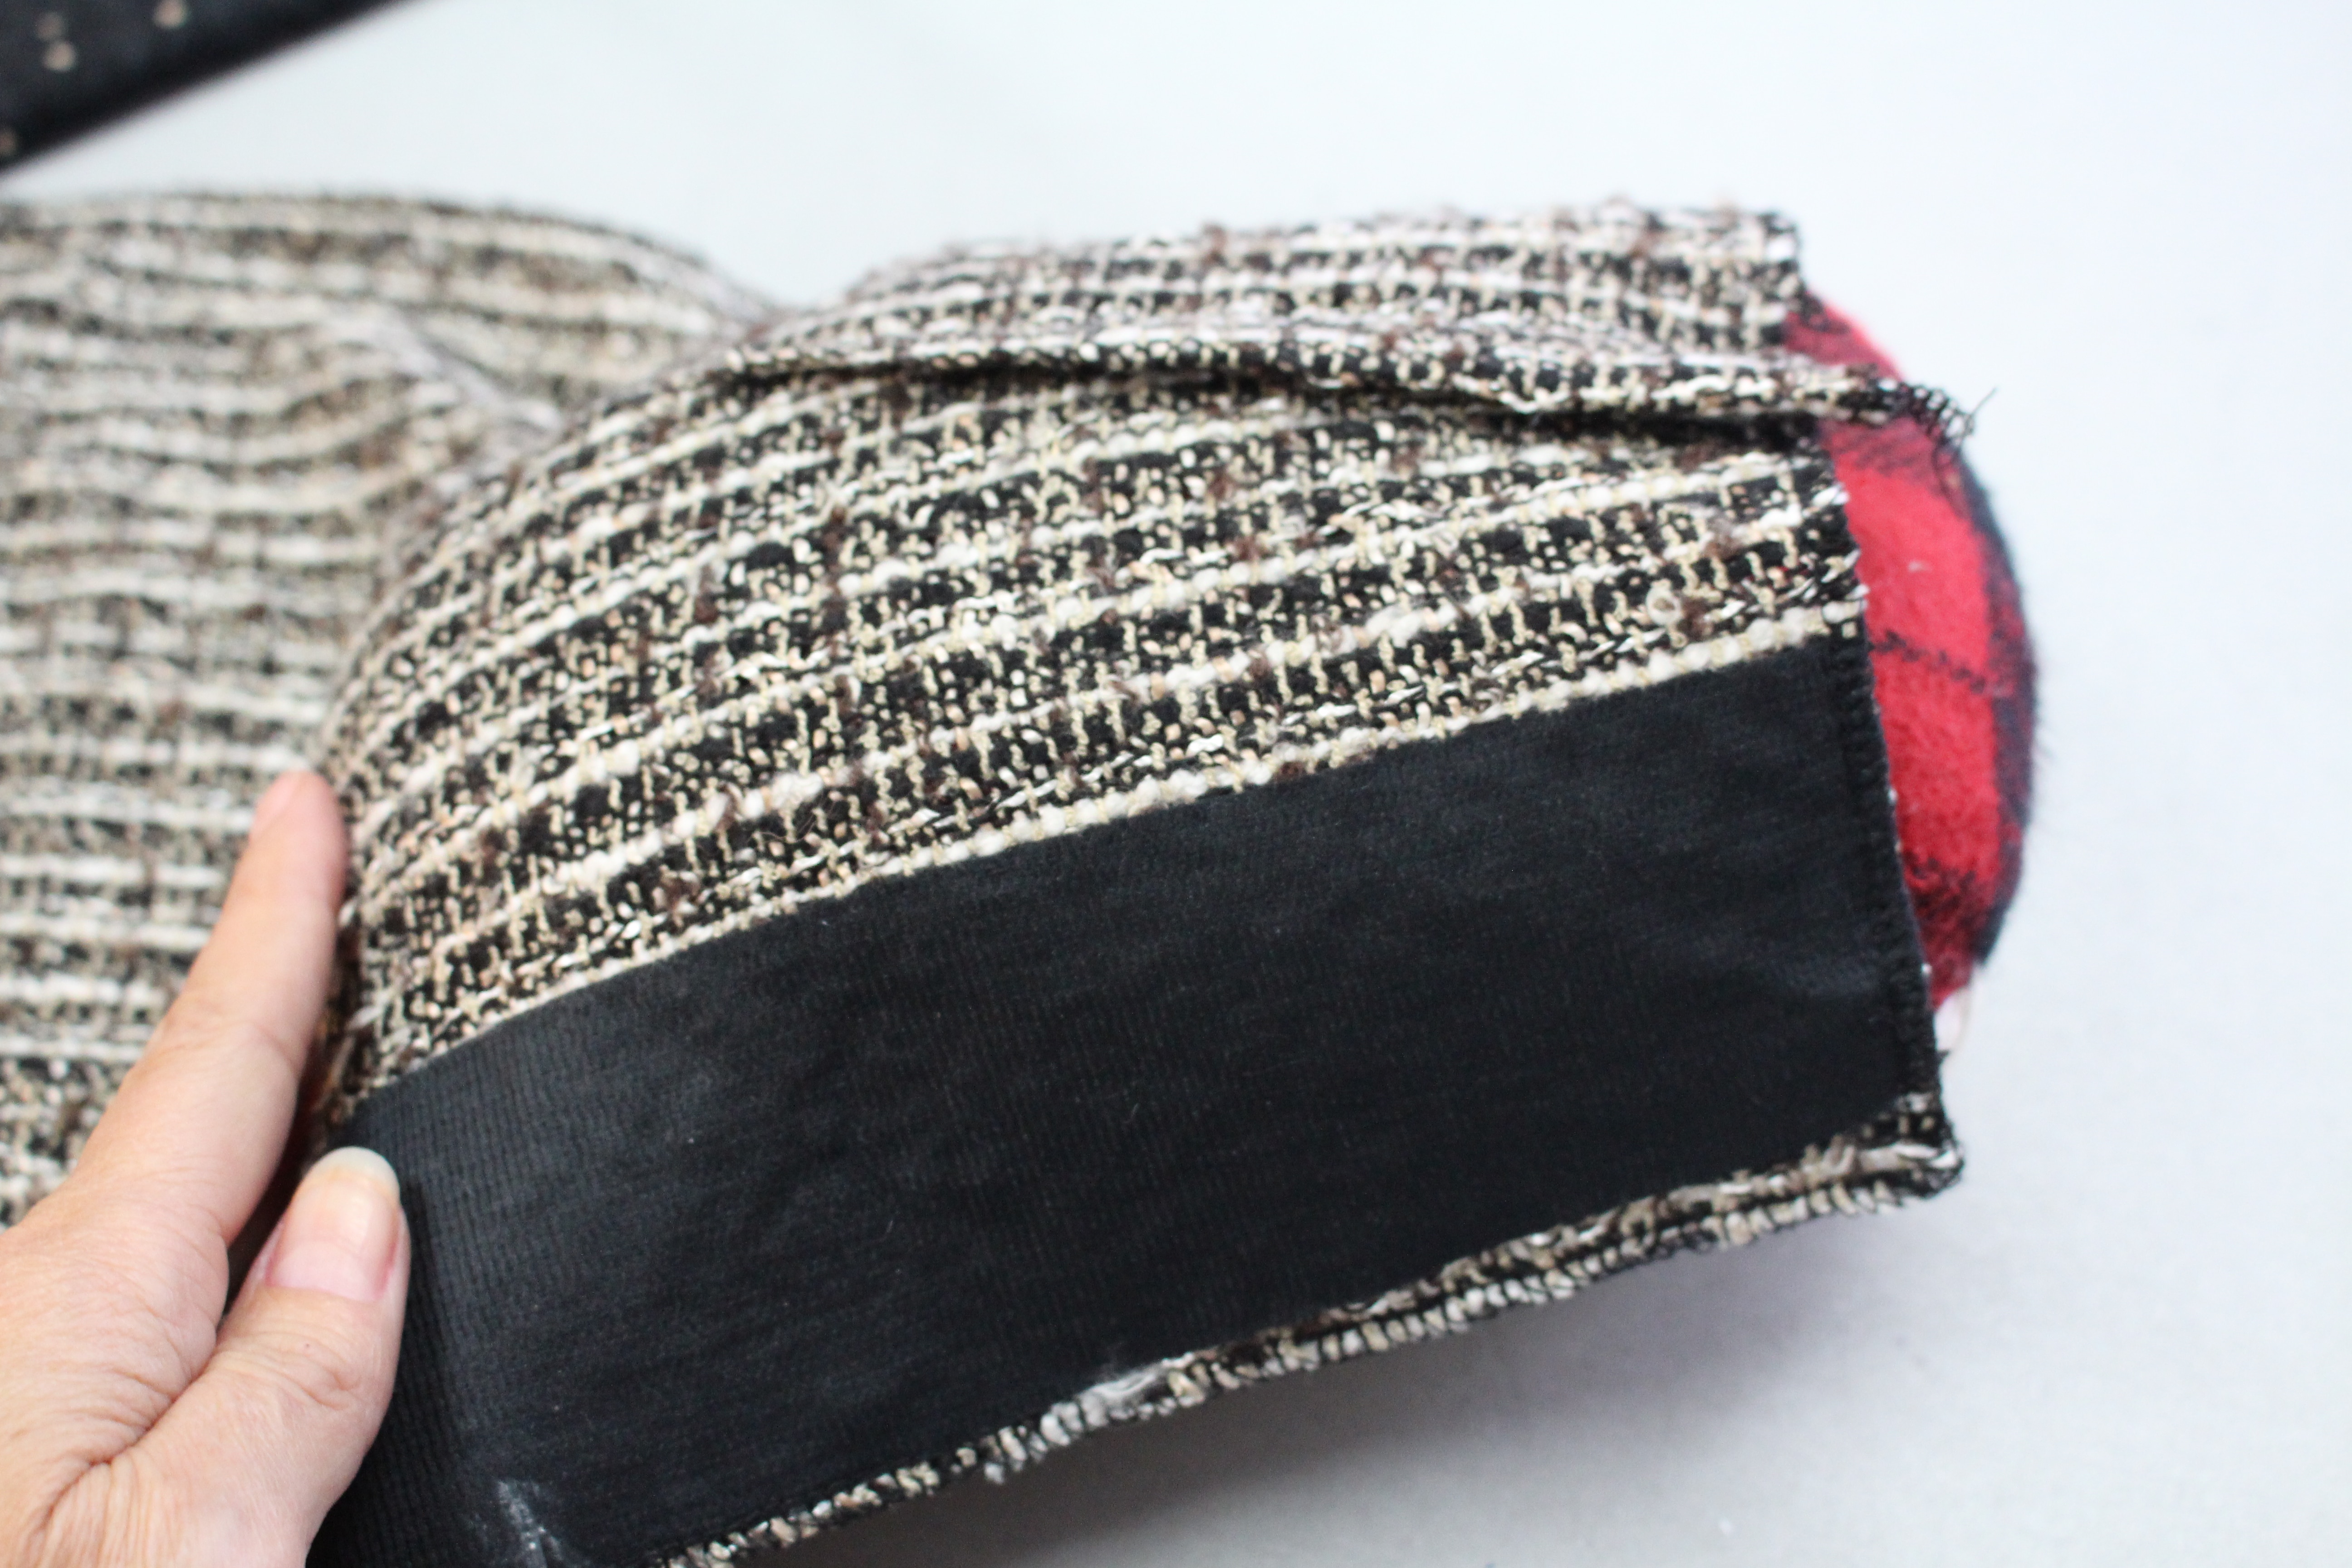
Stitch around the darts; stopping or starting the stitches around the dart, not through the dart.
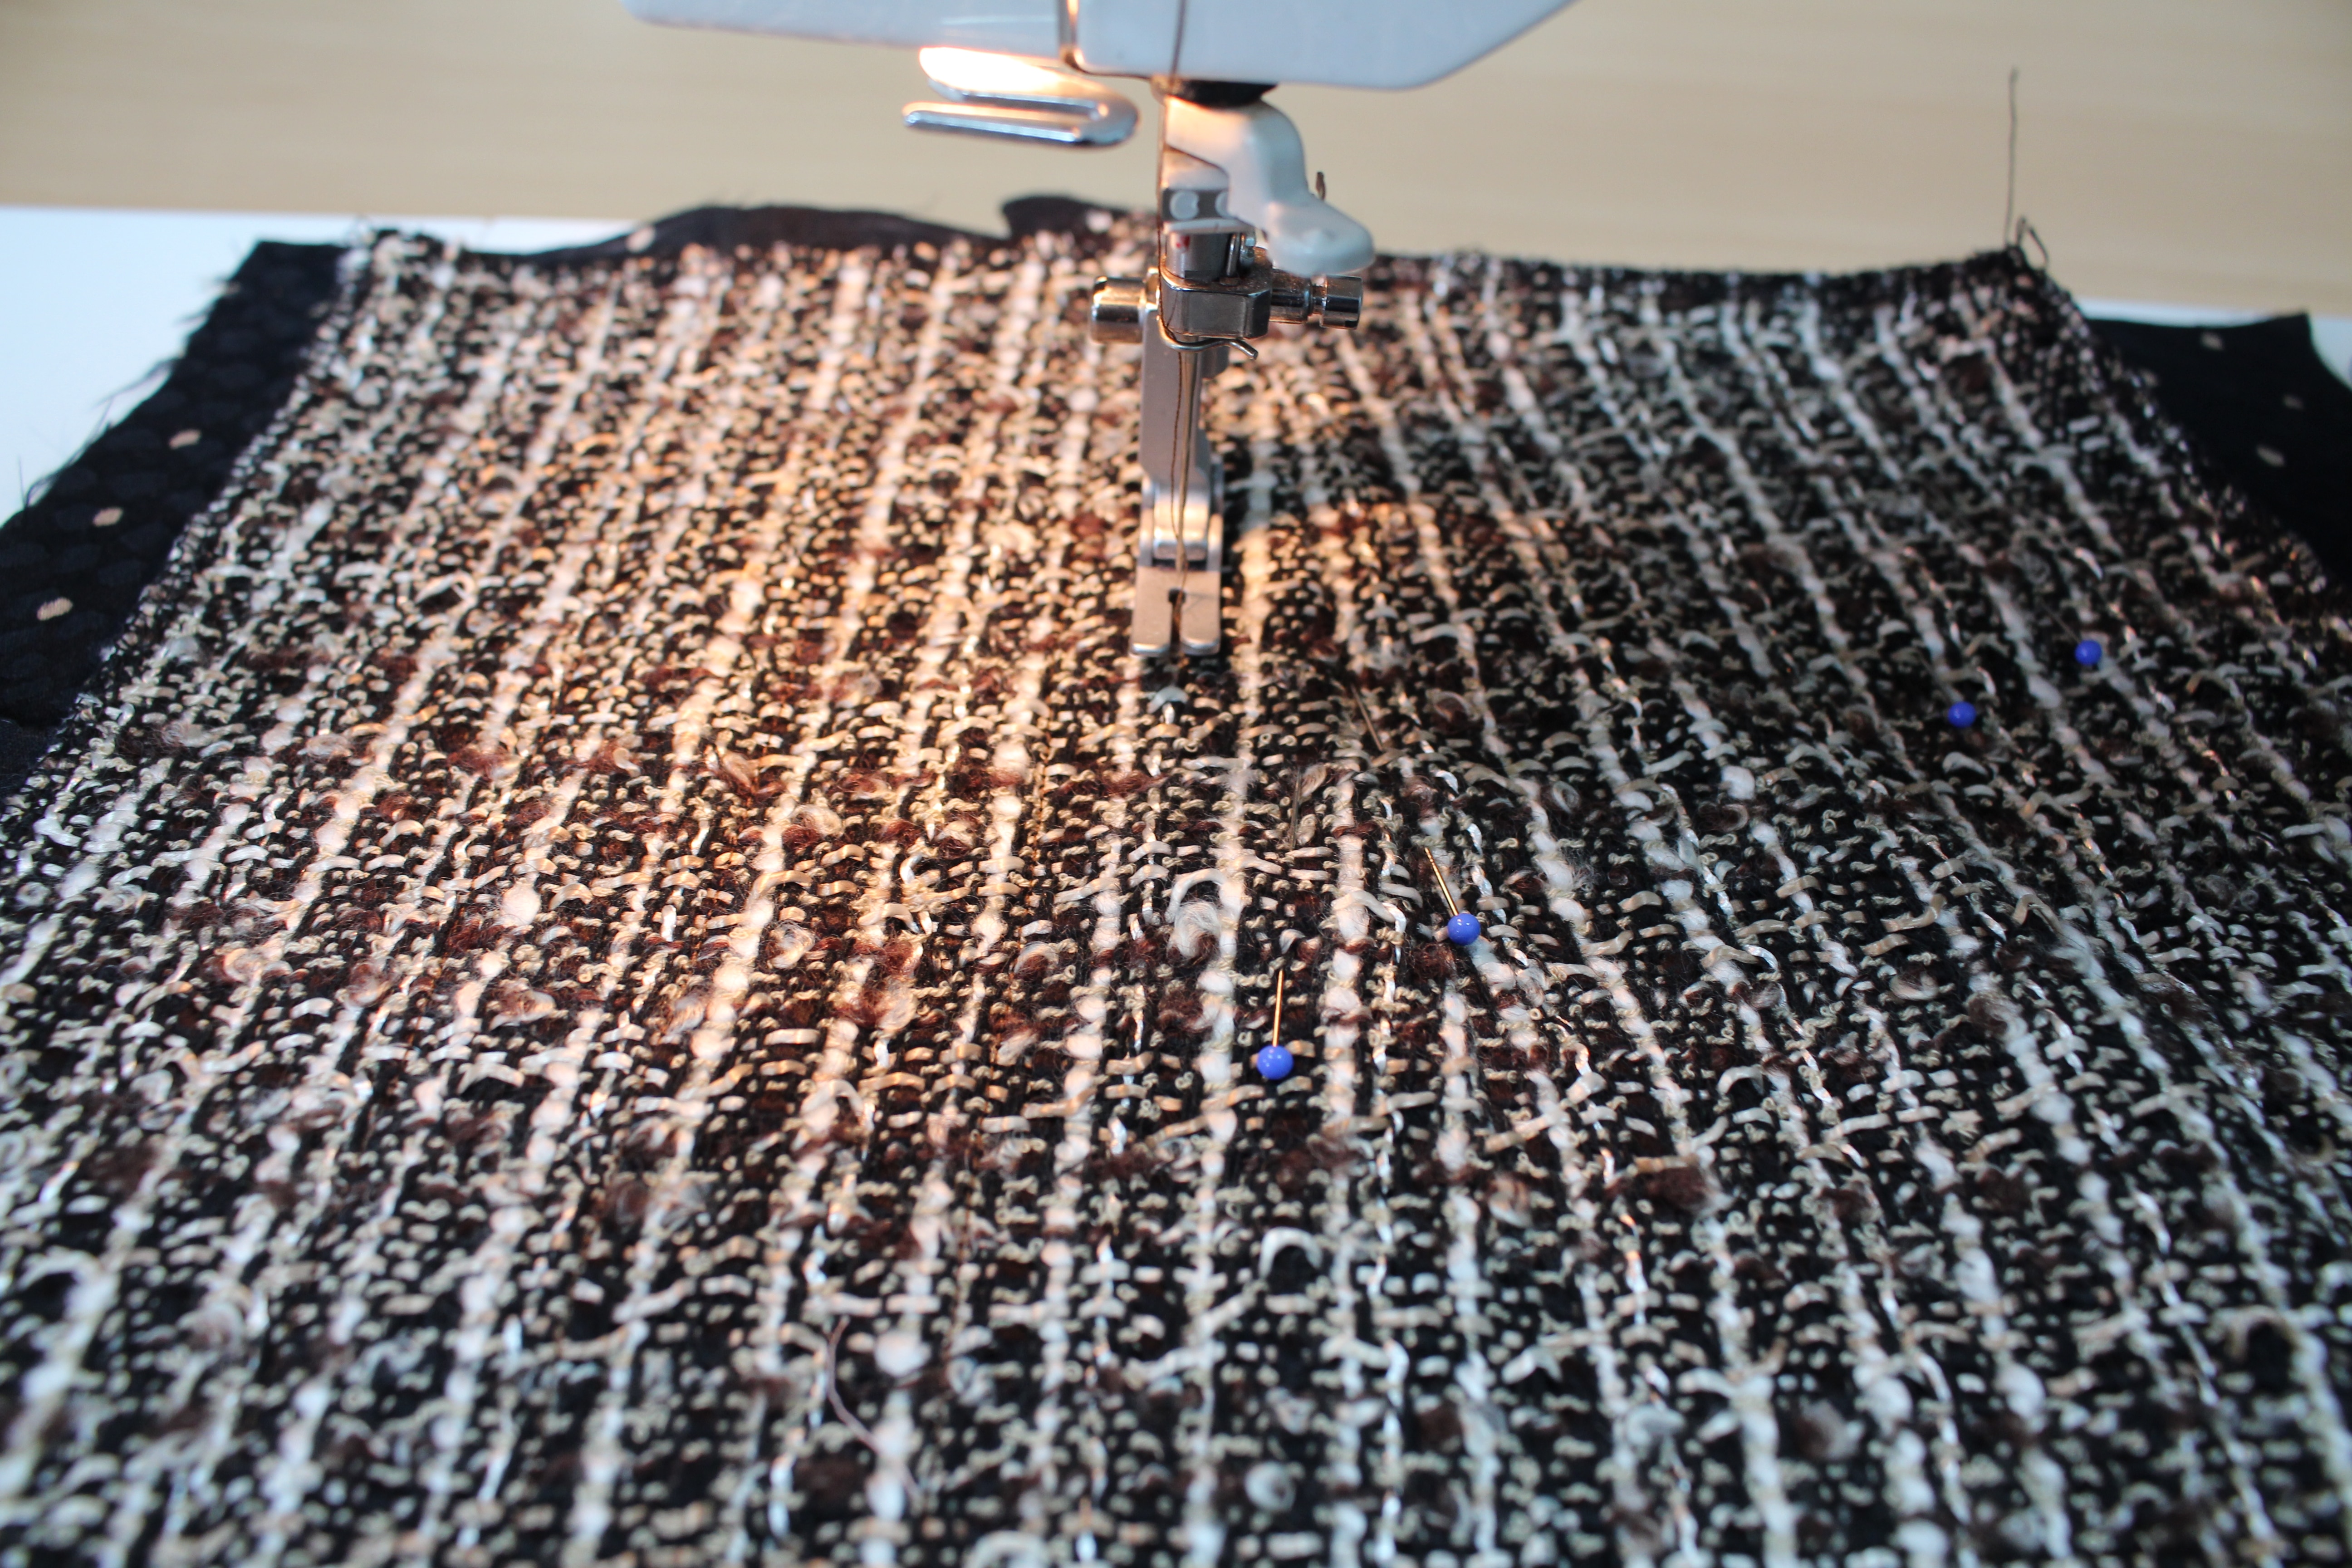
Do not quilt rows within 2″ of the side seam. This leaves room to sew the seams together and press the seam allowances open.
Quilt the front and both side back pieces
So what do you think – are you going to try this touch of couture on your next tweed skirt?
Let me know your thoughts in the comments below and don’t forget to join the Angela Wolf Patterns Private Facebook Group to share photos, ask questions, and share ideas with your fellow sewer’s!
Cheers,

The Sewalong Schedule:
- Fabric & Sourcing (February 10. 2017)
- Fitting & Patternhacking (February 16. 2017)
- Cutting & Prep (February 21. 2017)
- All About Darts (February 23. 2017)
- Quilting the Lining (February 28. 2017)
- Invisible Zipper’s (March 2. 2017)
- Waistbands (March 7. 2017)
- Hemming & Fringe (March 9. 2017)
- Show off in the Angela Wolf Facebook Group!

325: Learn to Sew an Envelops Purse Clutch with Angel Wolf
Quilted Grocery Bag Sewalong
Quilted Grocery Bag Sewalong I am so excited to share this new grocery bag sewalong with you! This is an easy project with opportunities to make is more advanced with embroidery and embellishing. Sewalong Schedule #372 - 9/7 - Sewalong Part 1 Supplies and Pattern...
309: Boucle Skirt + Quilted Lining = Touch of Couture Part 1
Tweed Skirt Sewalong Part 1 In part 1 of this sewalong I will share options for choosing the best fabrics and pattern. Join me in choosing the best lining to coordiante with my fabric!Skirt Patterns to choose from: ~ The Kate Skirt ~ The Fringe Skirt Pattern ~...

Ep. 305: Learn What is Planned for the Sew Fun Cruise in February 2024
Episode 305 🧵 Behind the Scenes with Angela Wolf I know you have heard me say many time ... I am never going on a cruise! Winn and I are on the water all the time, why would I want to go on a cruise?!? Kelli Presley and Phyllis Batz will be joining me live to talk...

Ep. 304 Meet Jeff – Founder of CraftOptics
Episode 305 🧵 Behind the Scenes with Angela Wolf Featuring CraftOptics I am not sure about your, but if I am working in a low lit area or sewing beads onto a garment, I tend to lean forward and squint, this ending up with a terrible back ache! CraftOptics has changed...
Ep. 303 Delila Knit Top Part 3
Episode 303 🧵 Behind the Scenes with Angela Wolf The last part of our Delila Slit Sleeve Sewalong! Have you checked out all the Delila tops posted in our private Angela Wolf Patterns Group? So cute!!! Angie Hotchkiss ~ Angela Wolf Facebook GroupDarlene Deck ~...


 Record Your Measurements