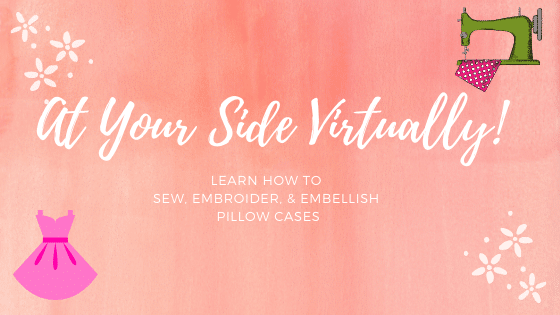
At Your Side Virtually! Episode 228 Quick Christmas & Holiday Gift Decoration Ideas
Quick & Easy Christmas & Holiday Decor
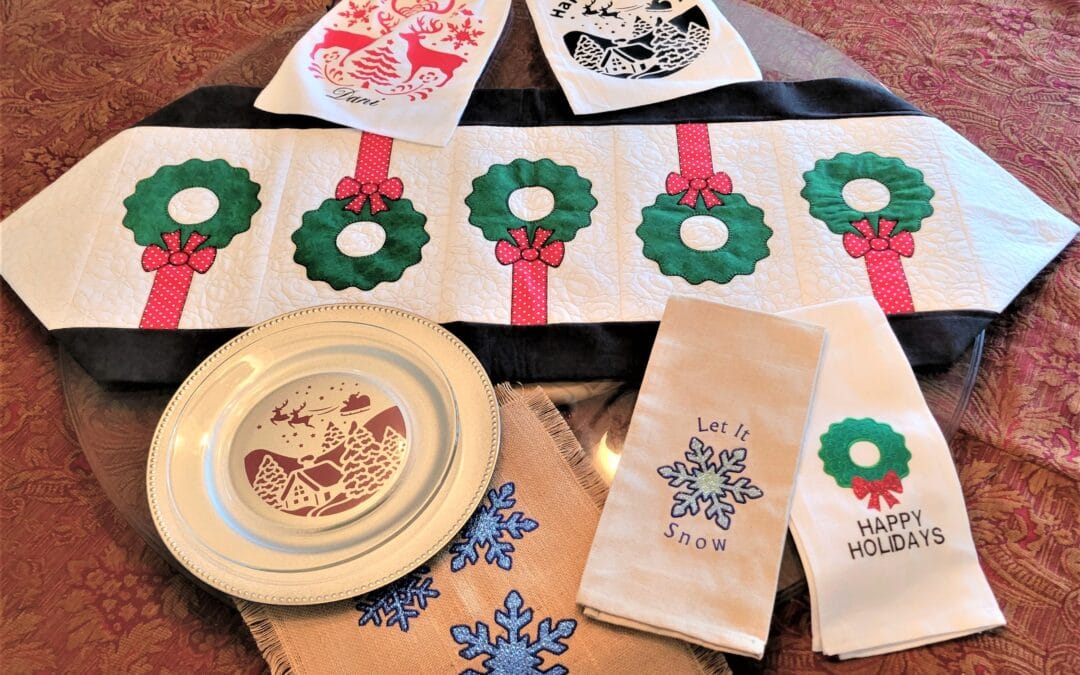
Quick Table Runner Instructions
Fabric Requirements:
a. Center fabric: Sew together seven of the quilted blocks
made in the 7 7/8 x 14 in hoop. Five of the blocks will have
the applique design and the two ends will be background fill
only. Stitch the blocks together with a ¼ seam allowance so
that you have 1 long piece approximately 54 in long x 14 in
wide. Trim to approximately 12.5 in wide.
(Alternatively you can cut 1 at 12.5 in X 54 in and embellish
later with HTV, etc.)
b. Border/Back fabric: Cut 1 at 24 in x 54 in
Construction:
a. Sew the center fabric to the border/back fabric on both
sides, right sides together to make a long tube. Trim the
ends so that everything is the same length.
b. Turn right sides out and press, keeping the border sections
evenly matched on both sides of the center panel.
c. Fold fabric tube in half, right sides together and stitch
together on each end.
d. Turn corners out to reveal a finished triangle shape at each
end.
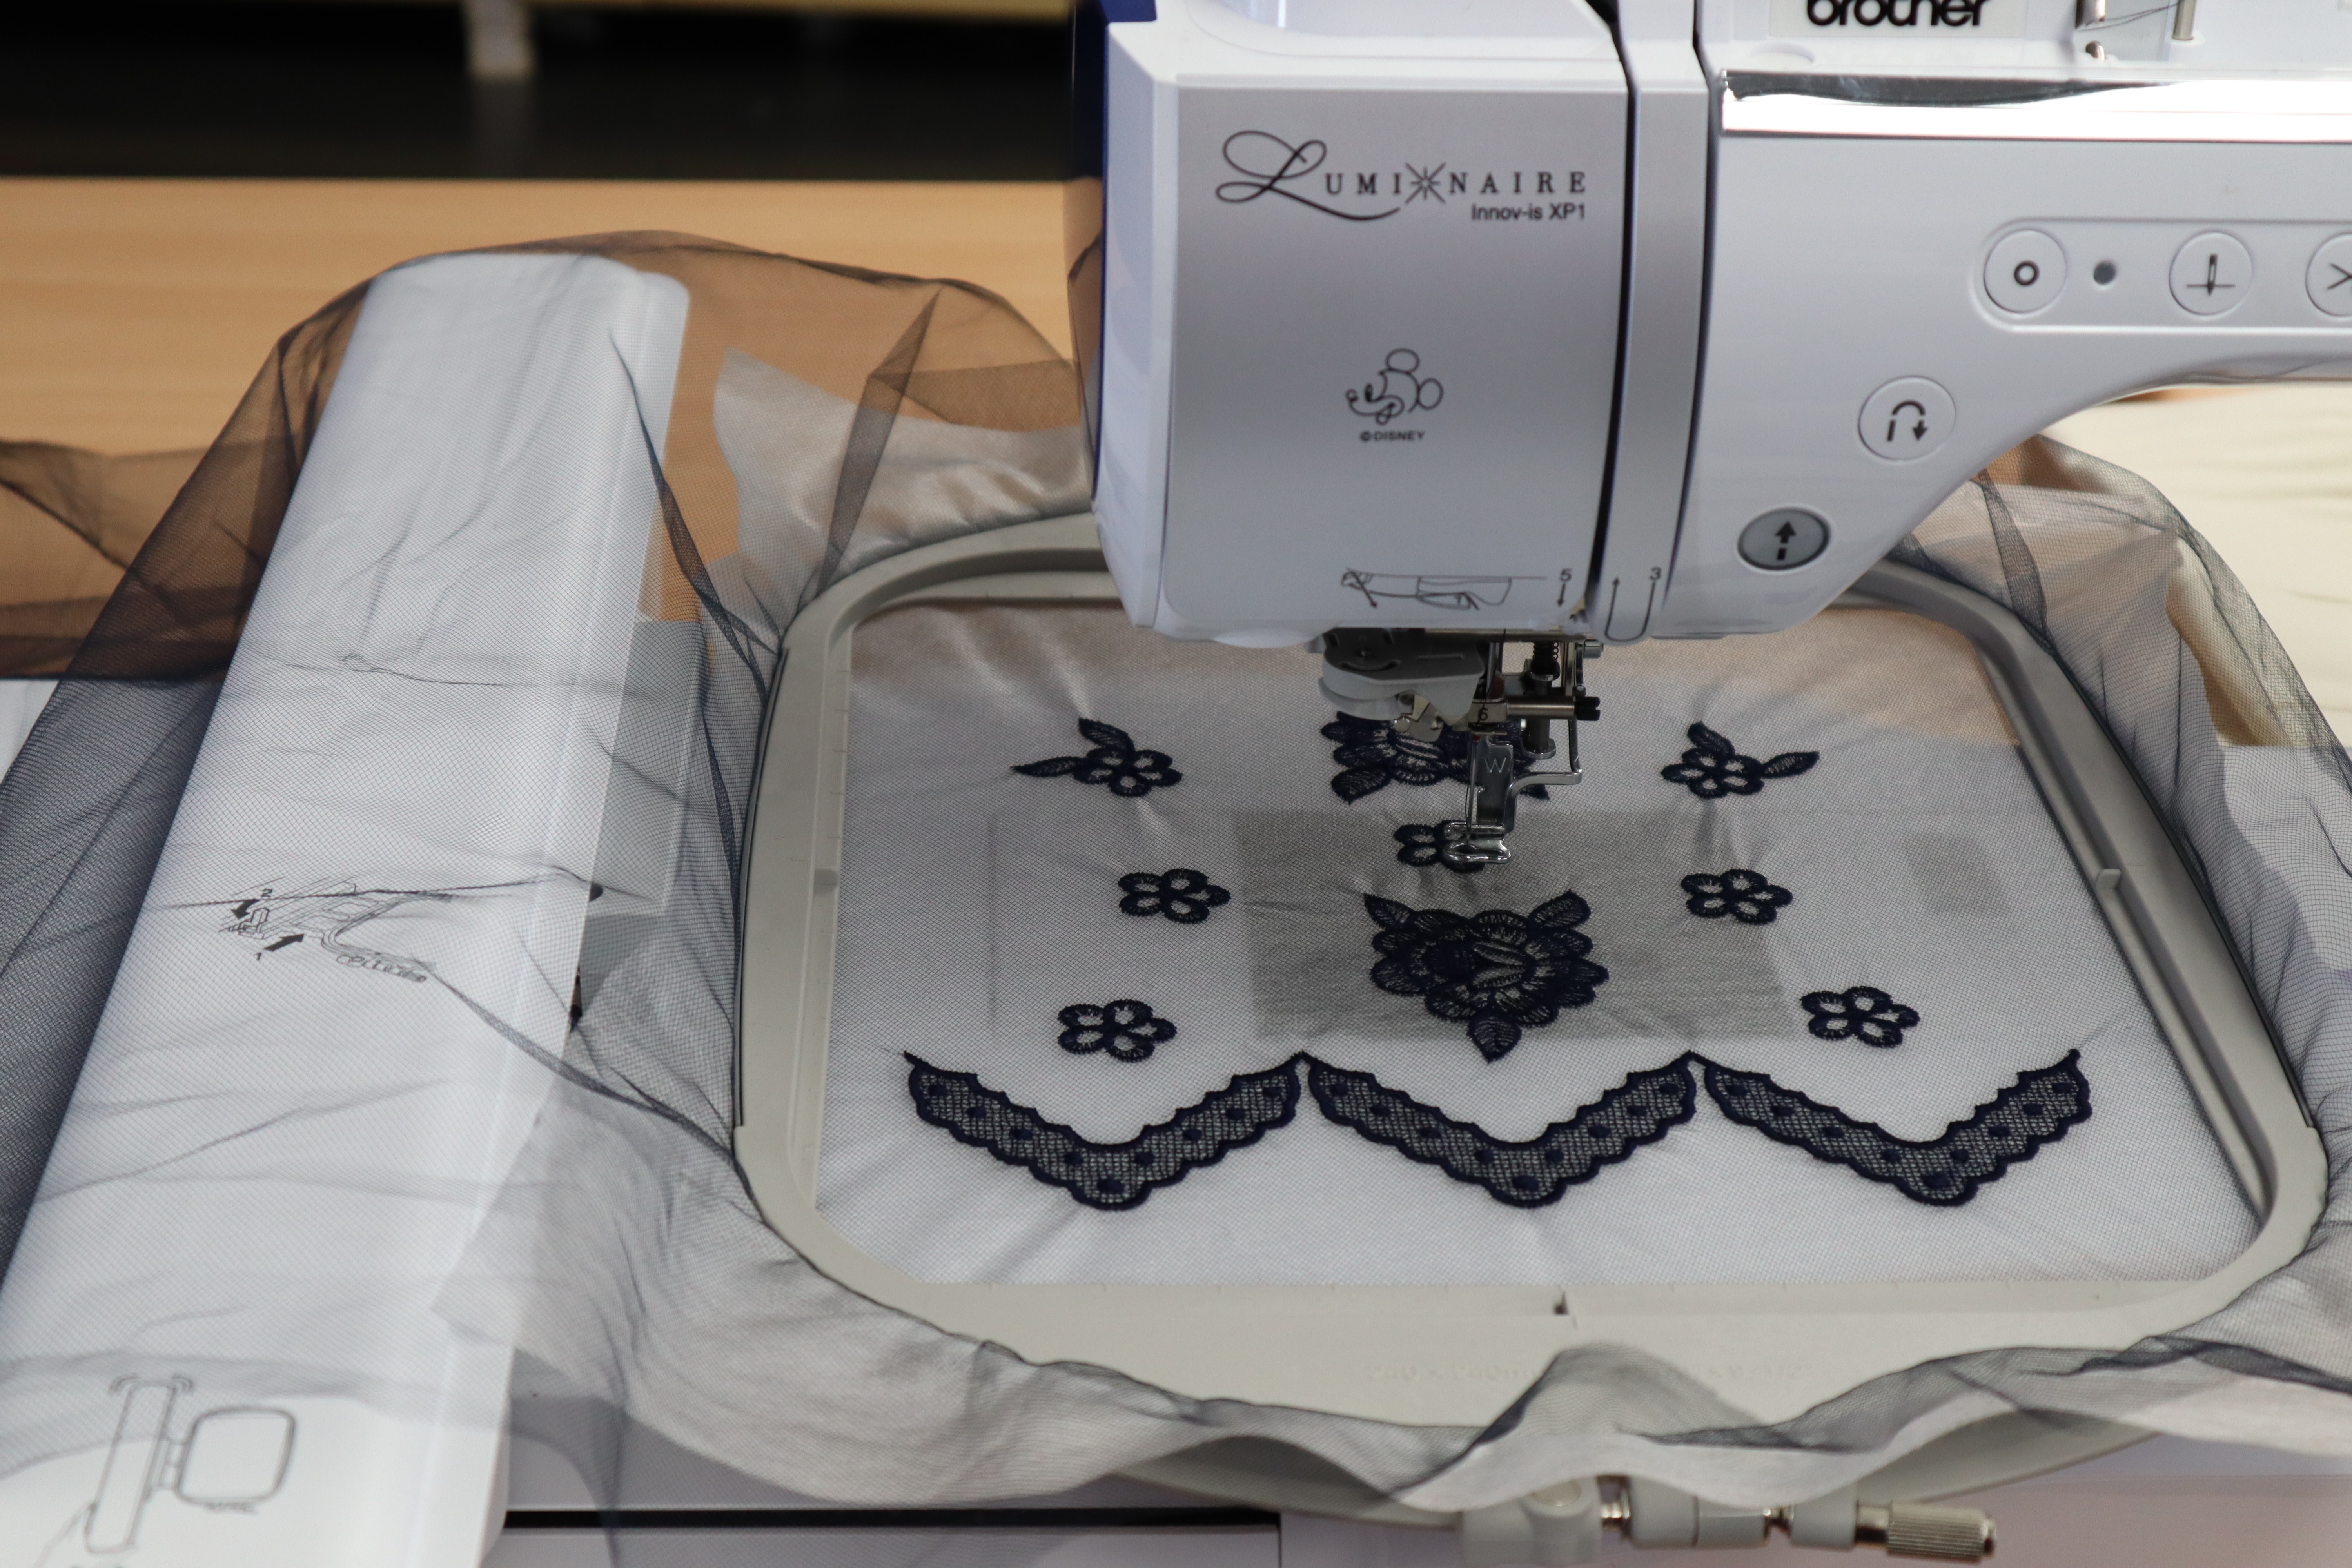
e. If not using quilt blocks for the center panel, embellish as
desired.
Tina sure had a good show filled with ideas! Leave us a comment below with your favorite project from the show!
cheers,


Knit Fabric with at least 3% lycra / spandex such as rayon knit, ITY knit, jersey knit,

Softloc Wooly Poly has a light stretch and super soft thread and ideal to use in the serger and coverstitch loopers.

Tailor’s Clapper for pressing up the hem allowances.


")