Fringe Skirt Sewalong Part 5: Quilting the Lining

Fringe Skirt Sewalong Part 5: Quilting the Lining

Quilting the Lining

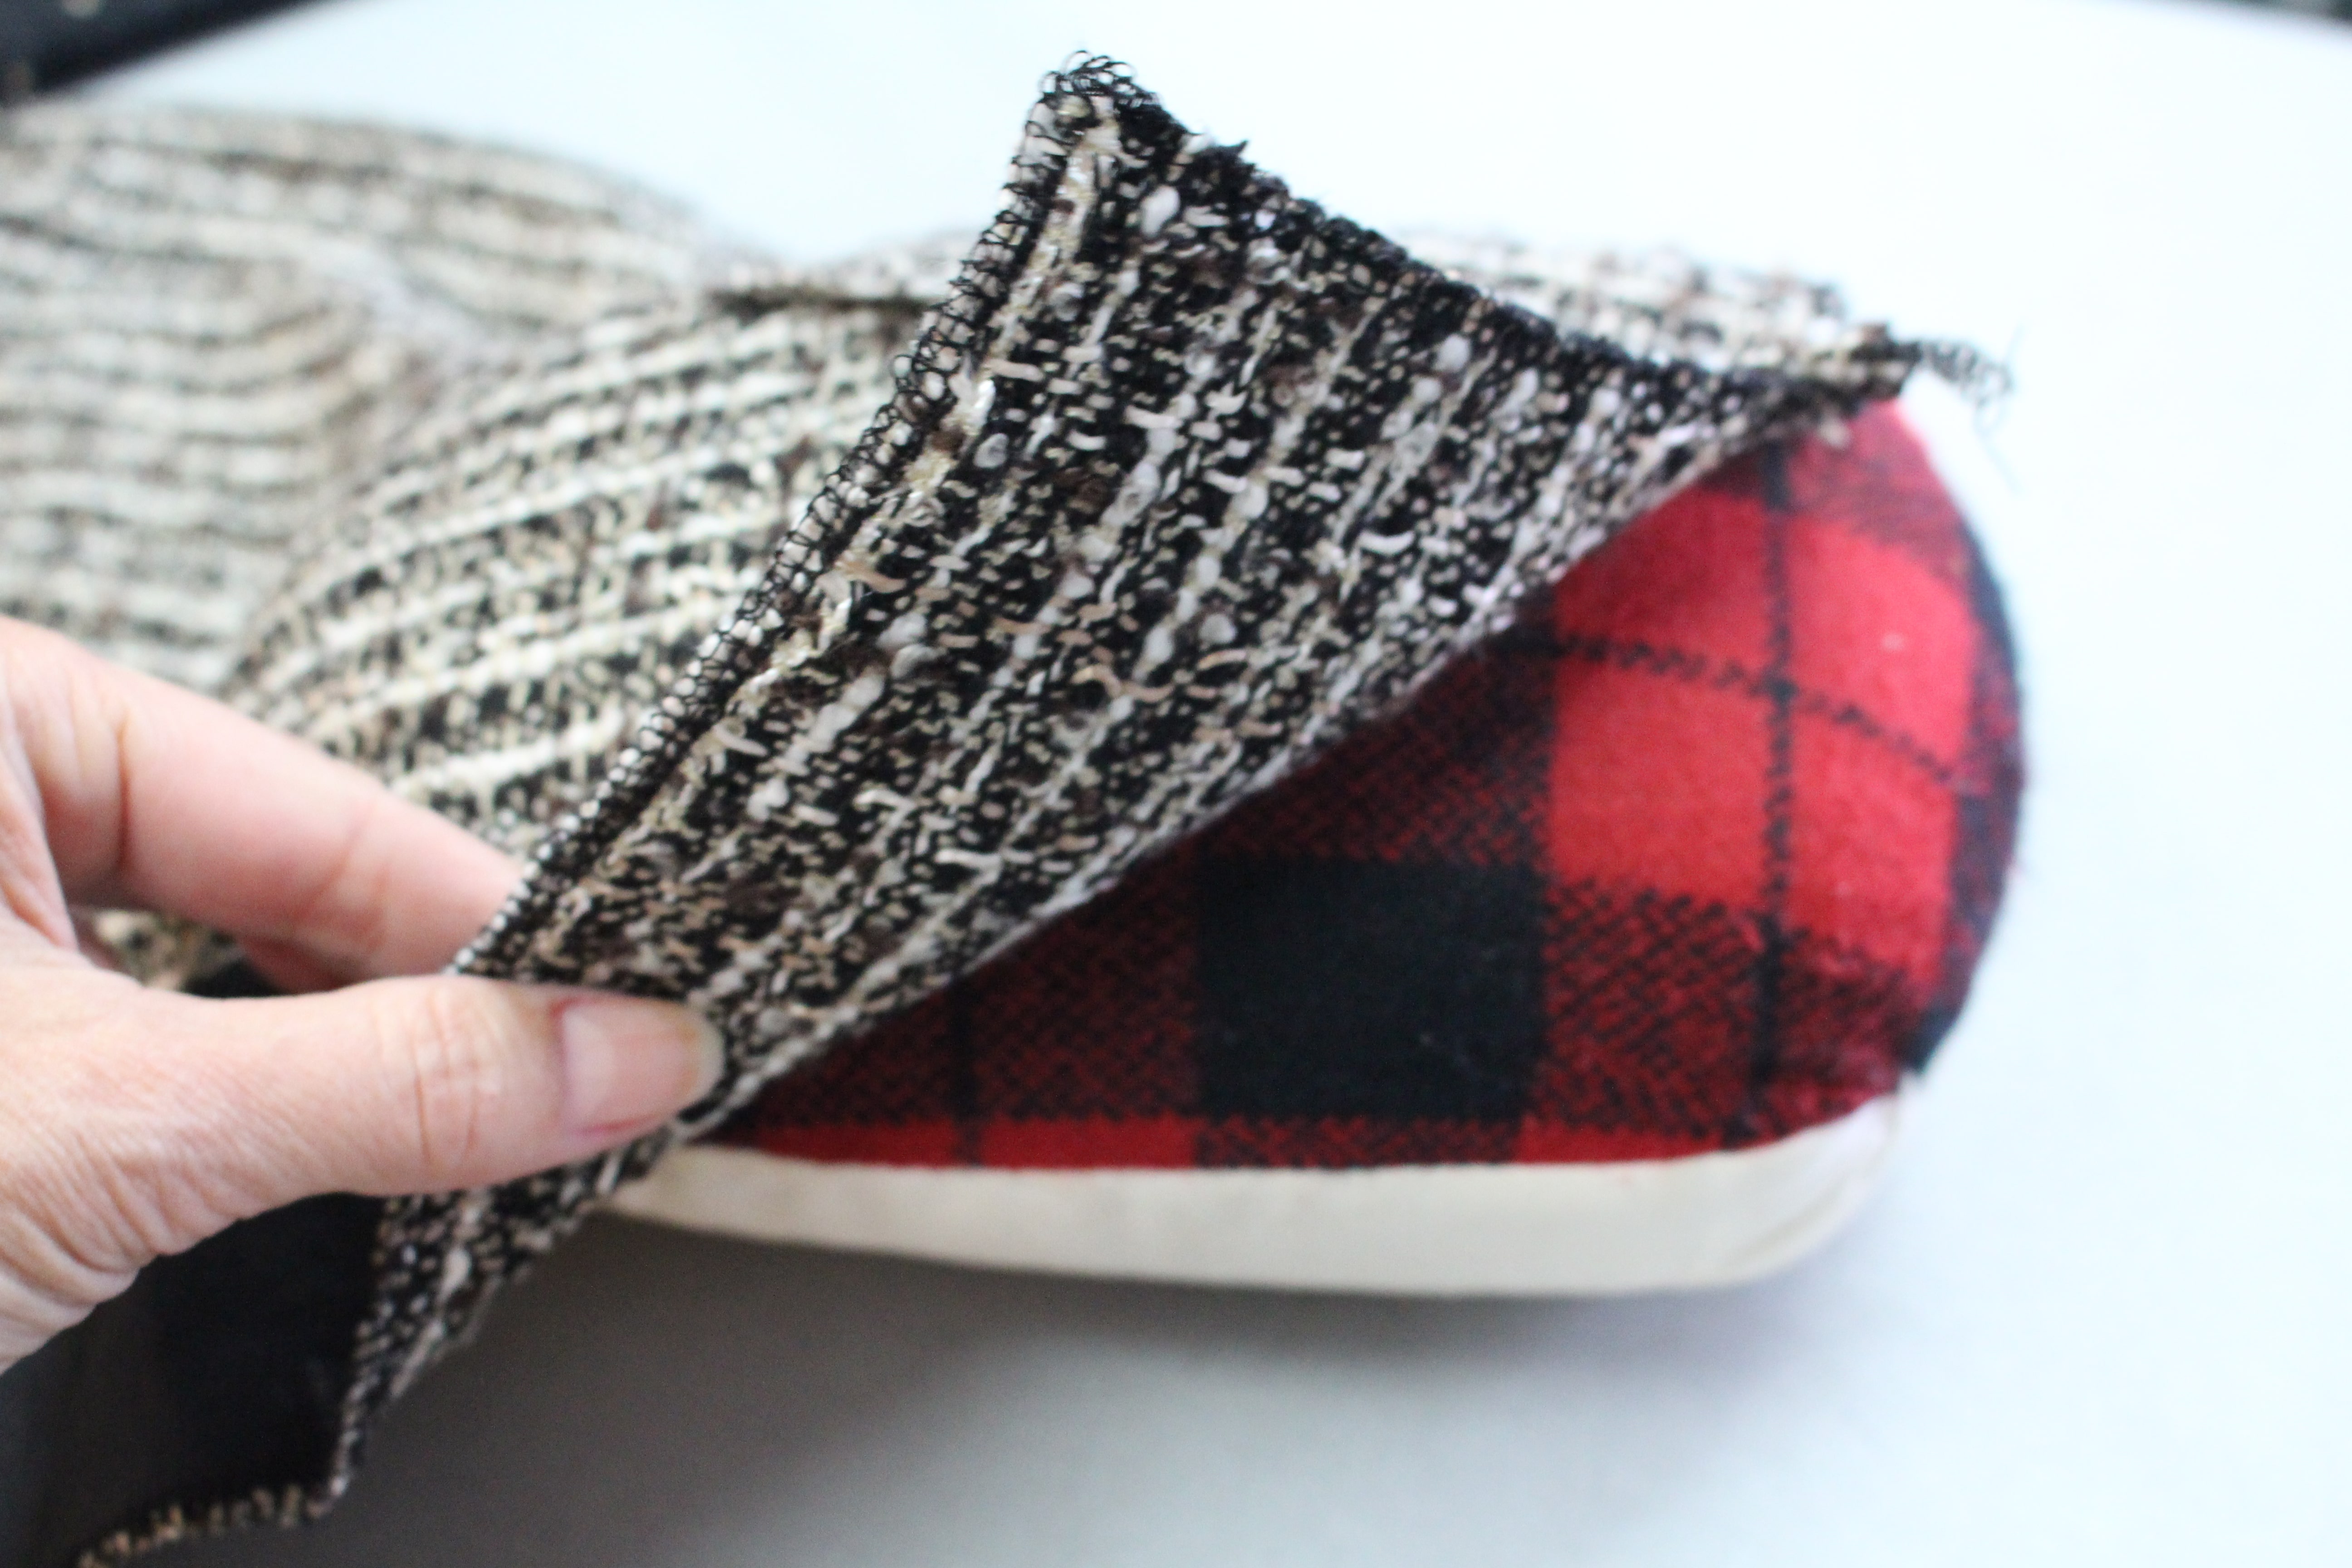
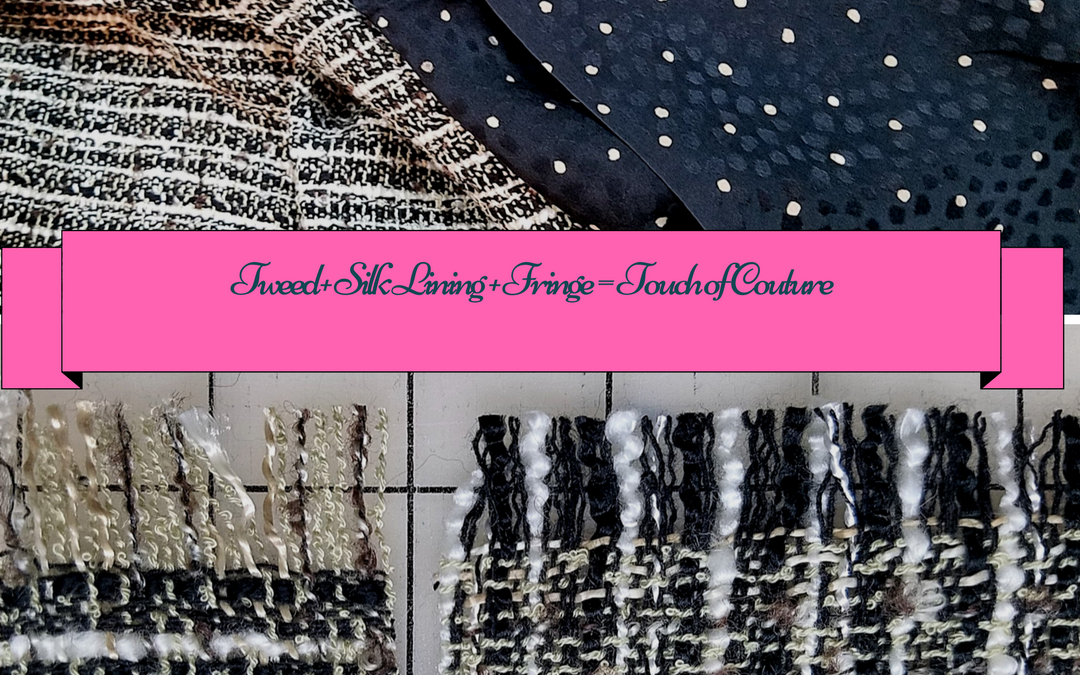
Why not add a touch of couture to your tweed fringed skirt and quilt the lining. Similar to a Chanel style jacket, the quilted lining is stylish and luxurious. There is a lot of hand-sewing involved in this process, but it’s worth every stitch ? As you know, I sew many of my skirts and jackets this way and once you wear a quilted garment you will be hooked!

Lining

I mentioned in a previous lesson in the Fringe Skirt Sewalong that is is best to use a natural fiber for the lining.  Here are some of my favorite options:

  • china silk
  • silk charmeuse
  • lightweight cotton
  • sueded silk
  • cotton knit

Cutting the Lining

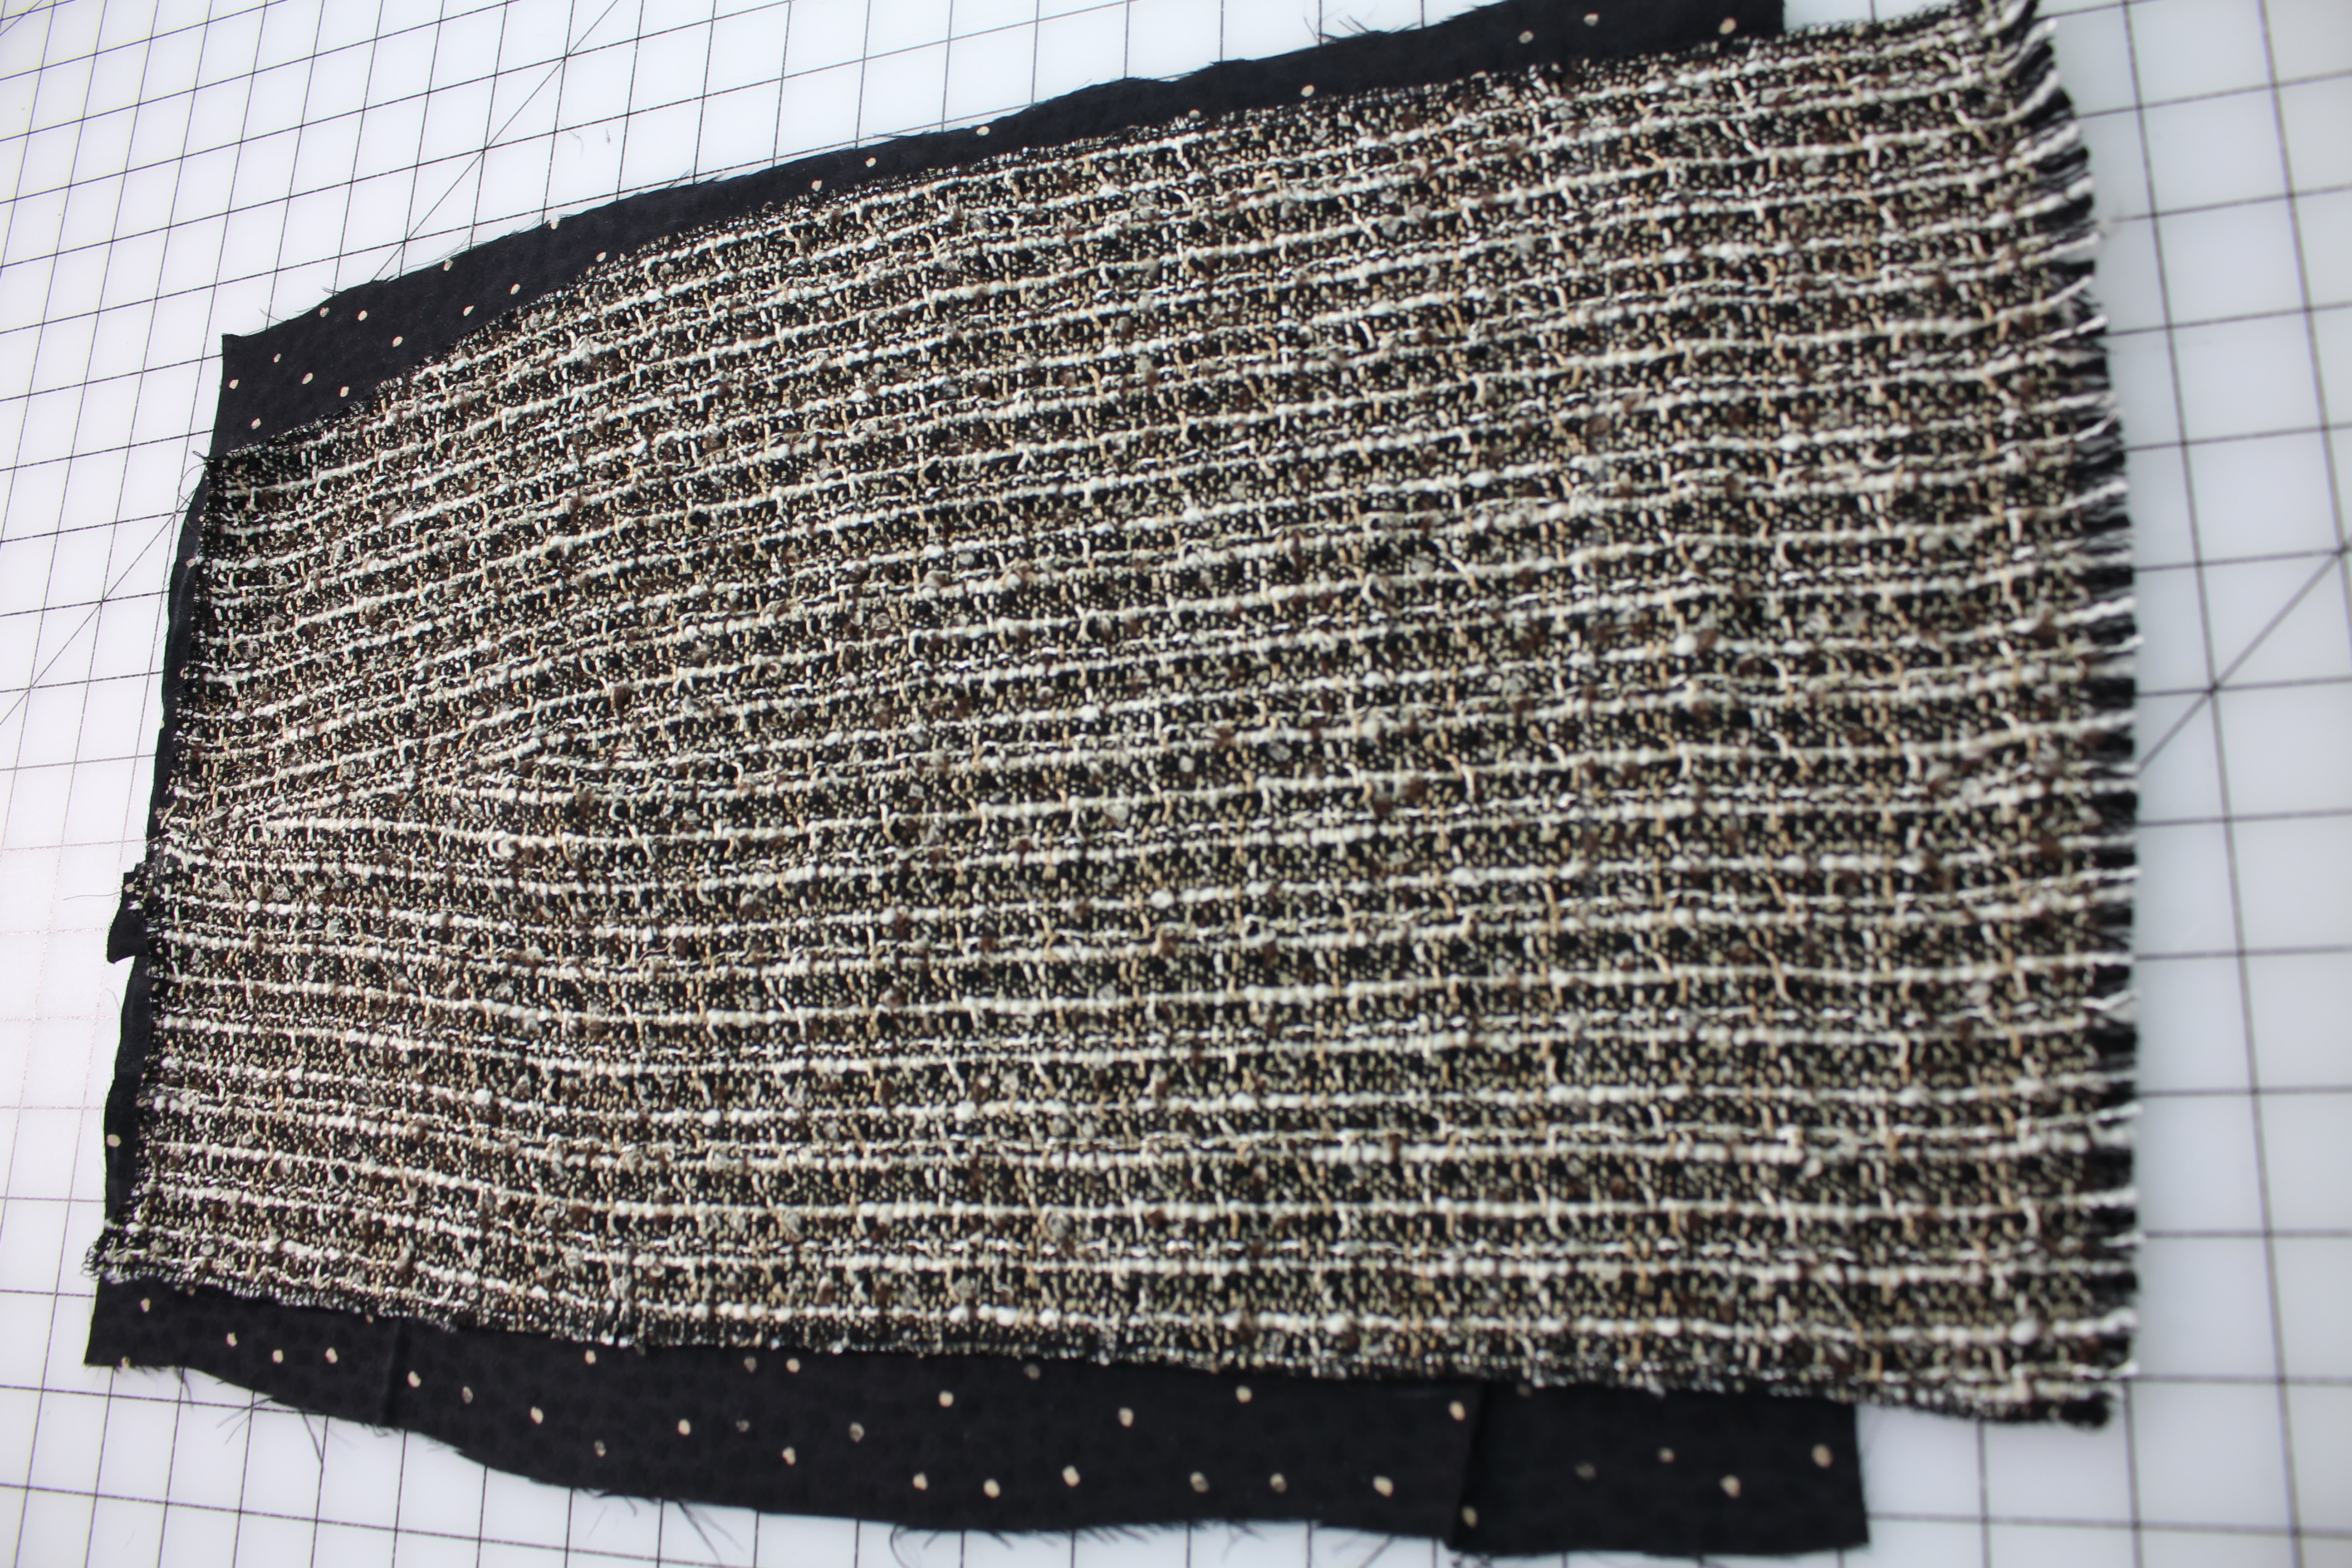
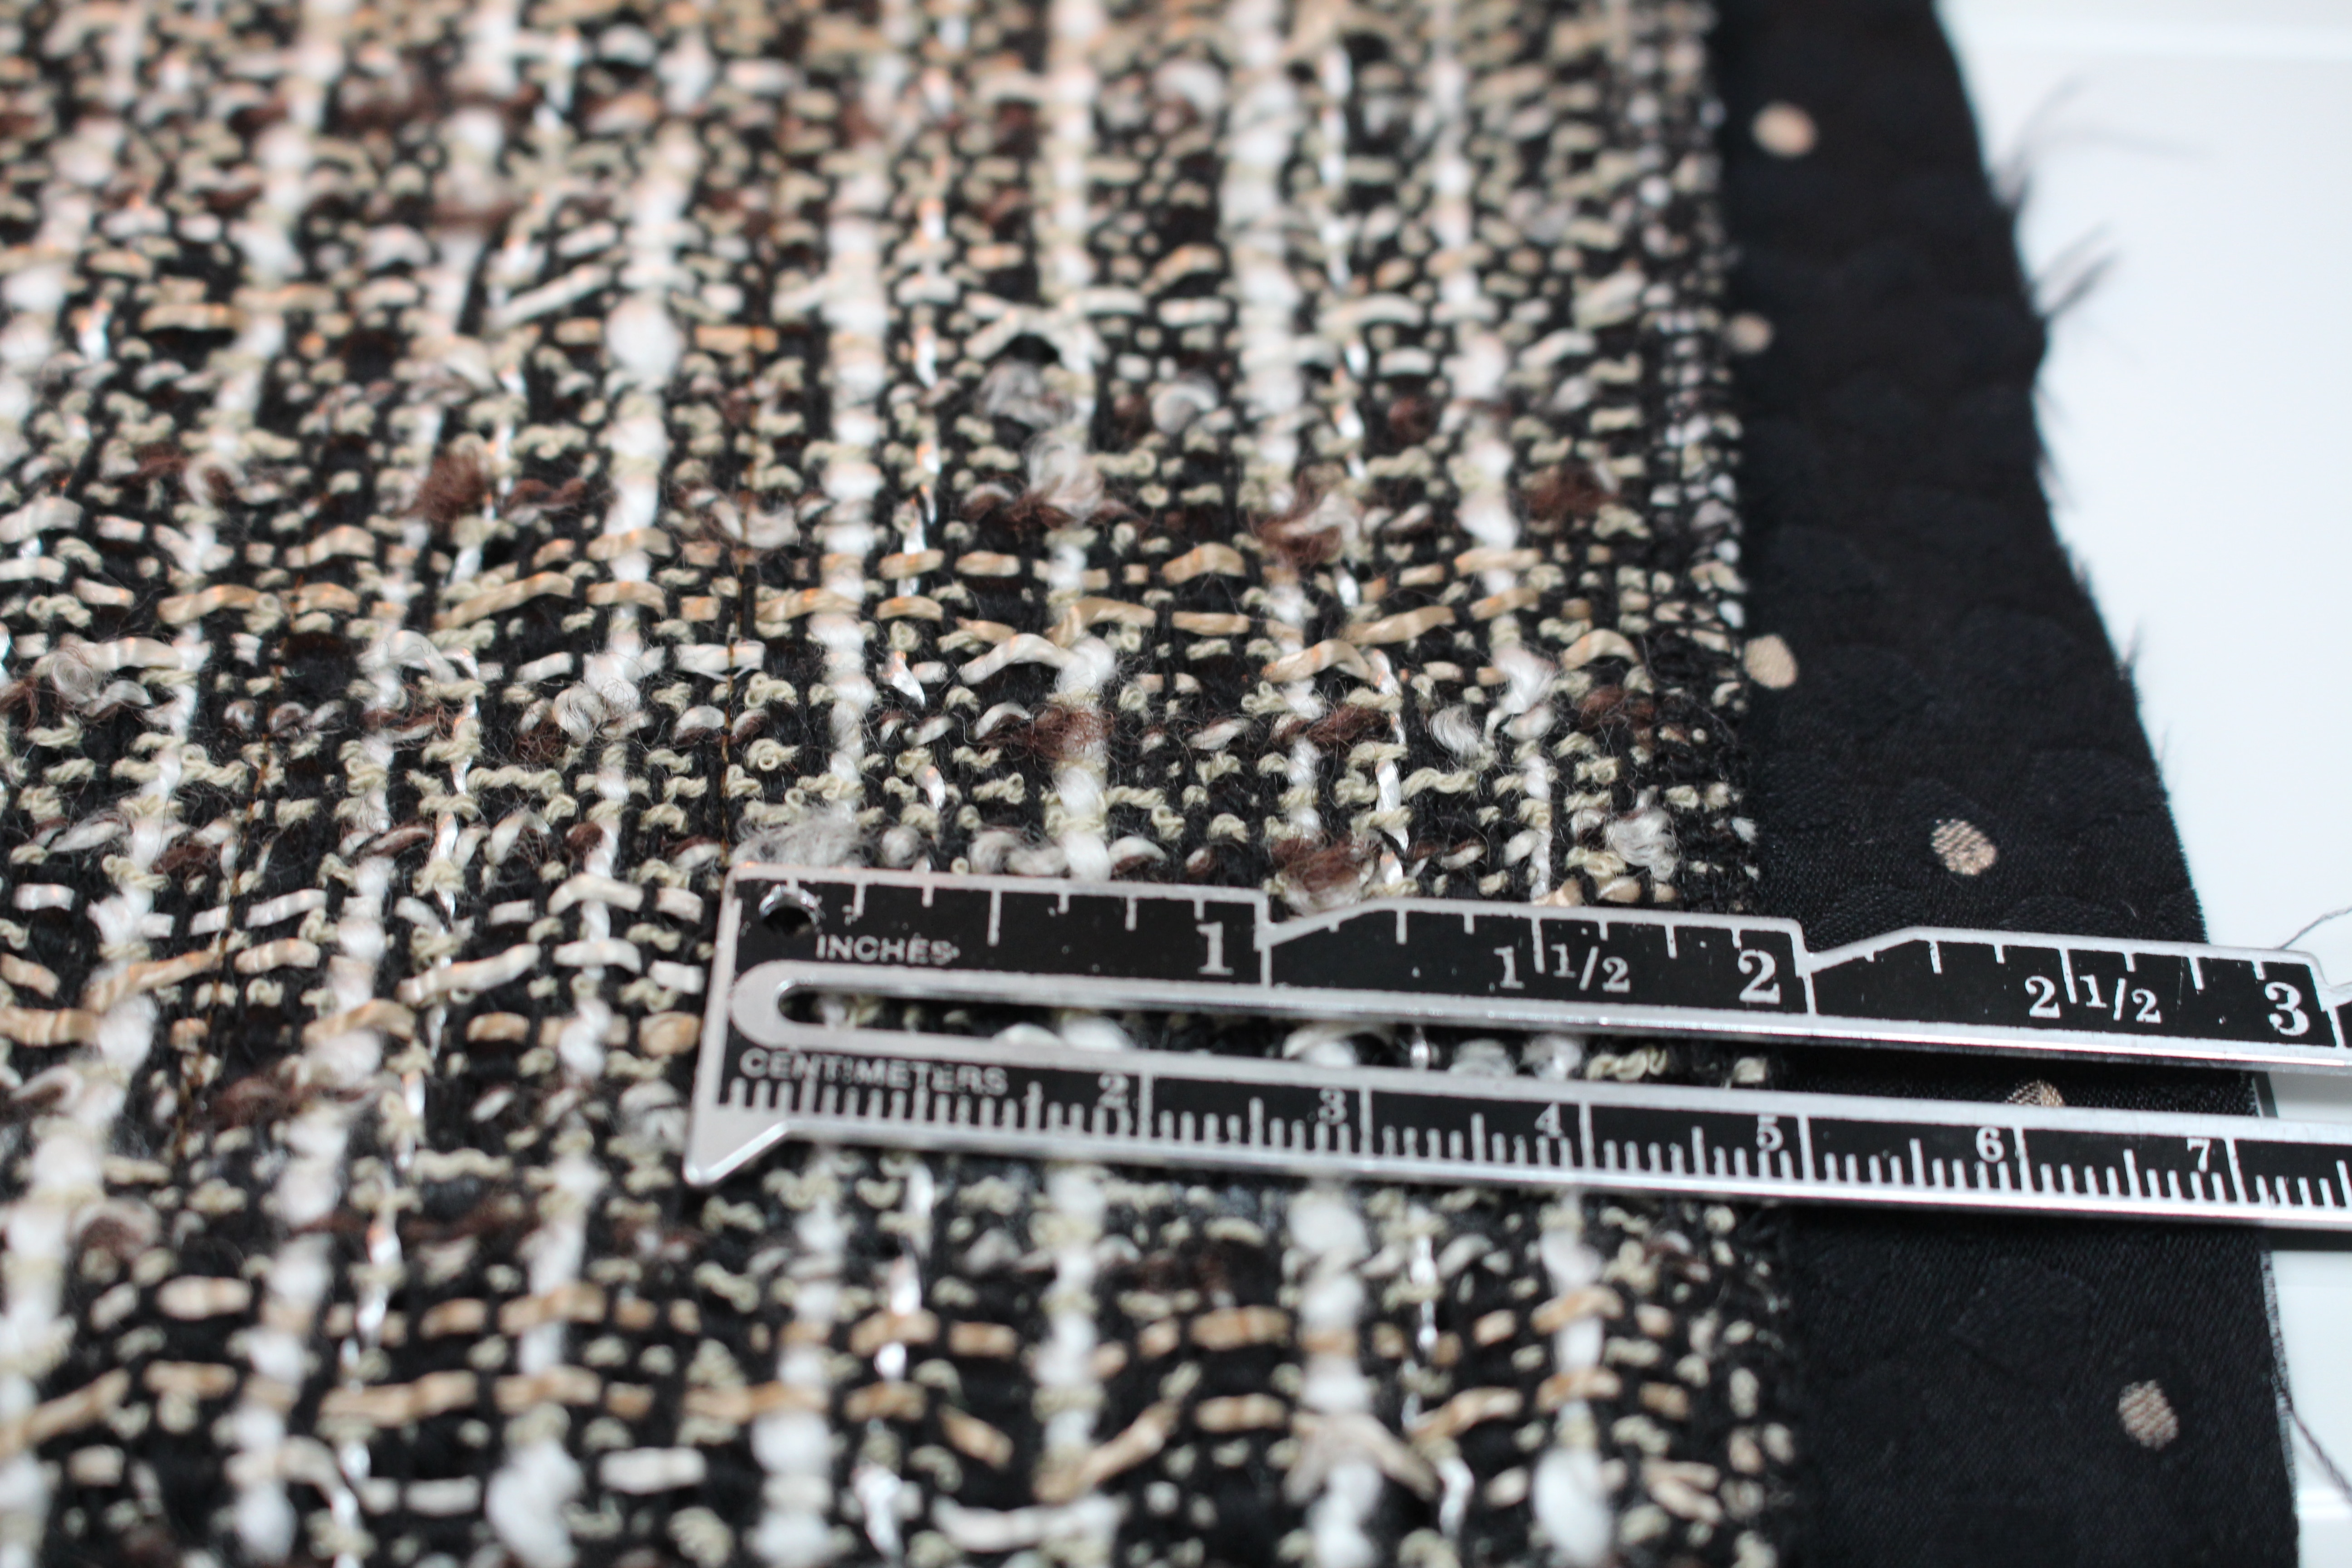
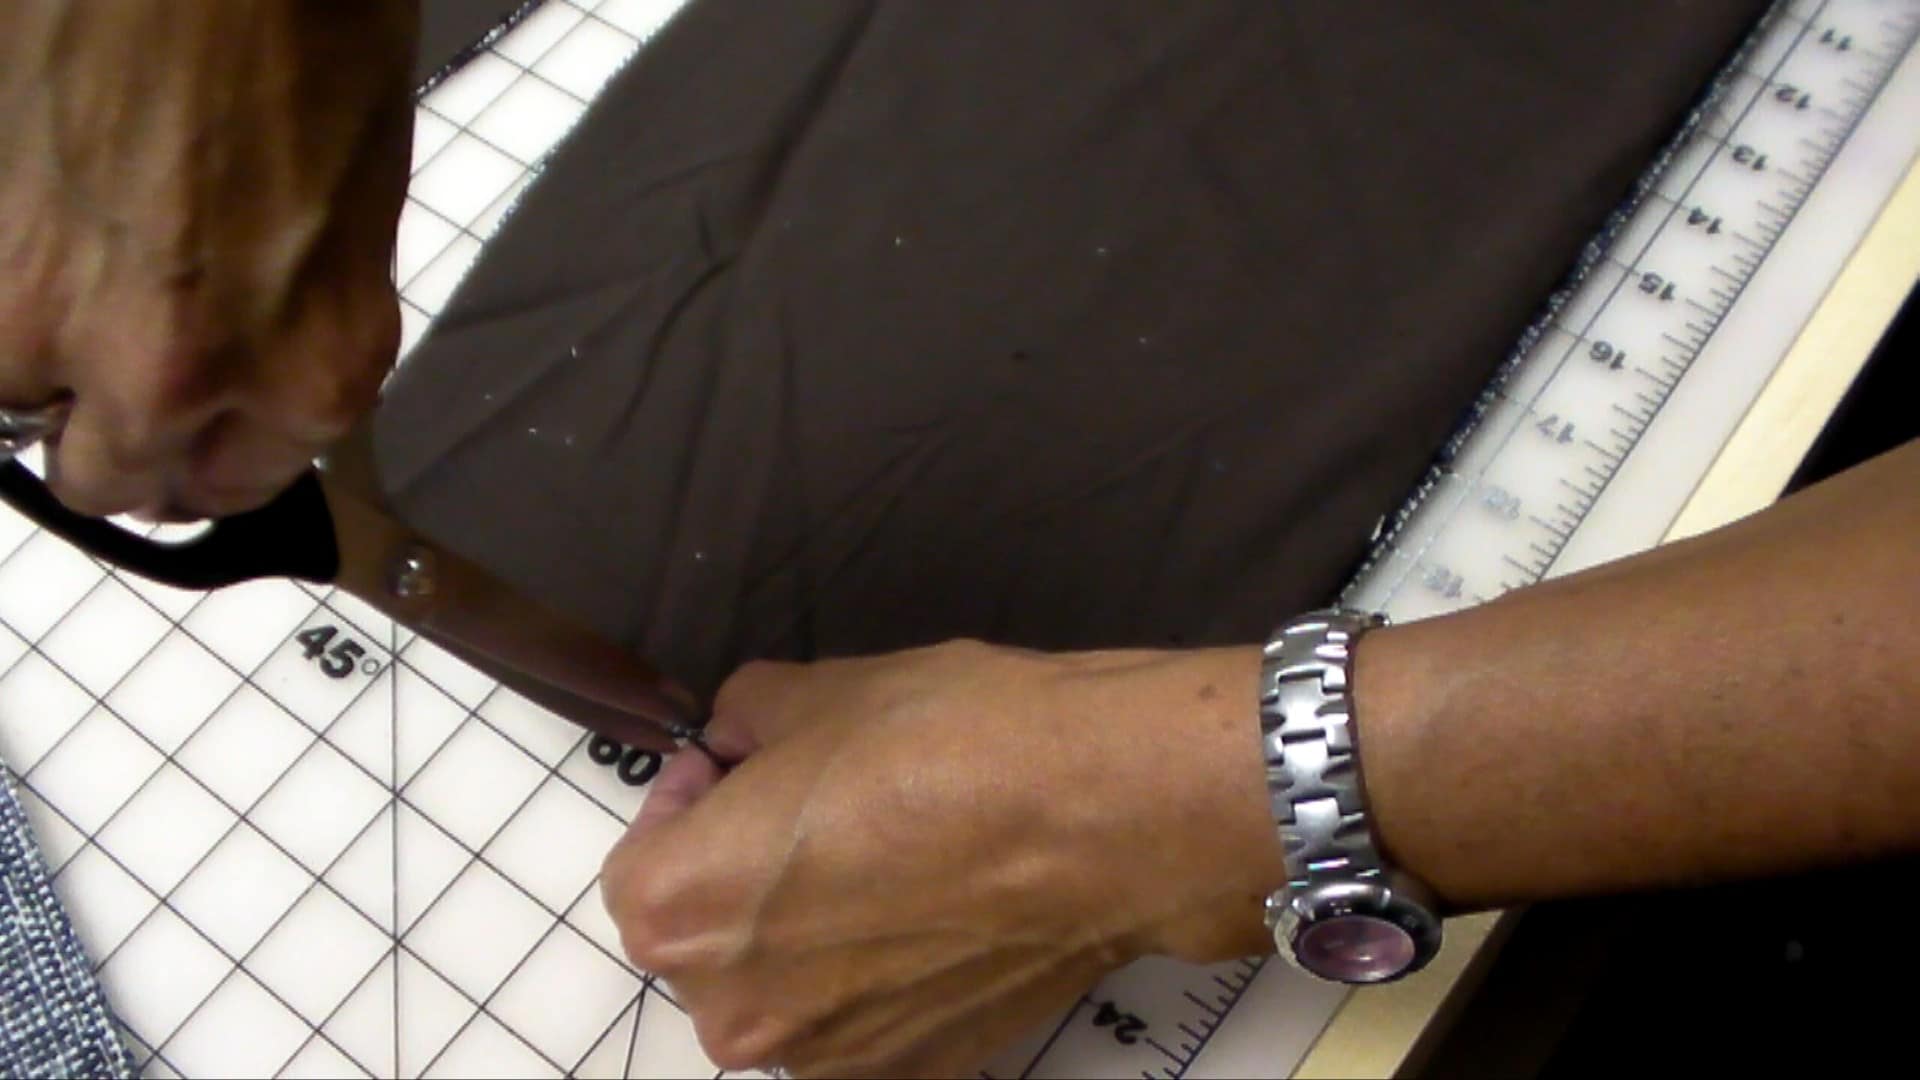
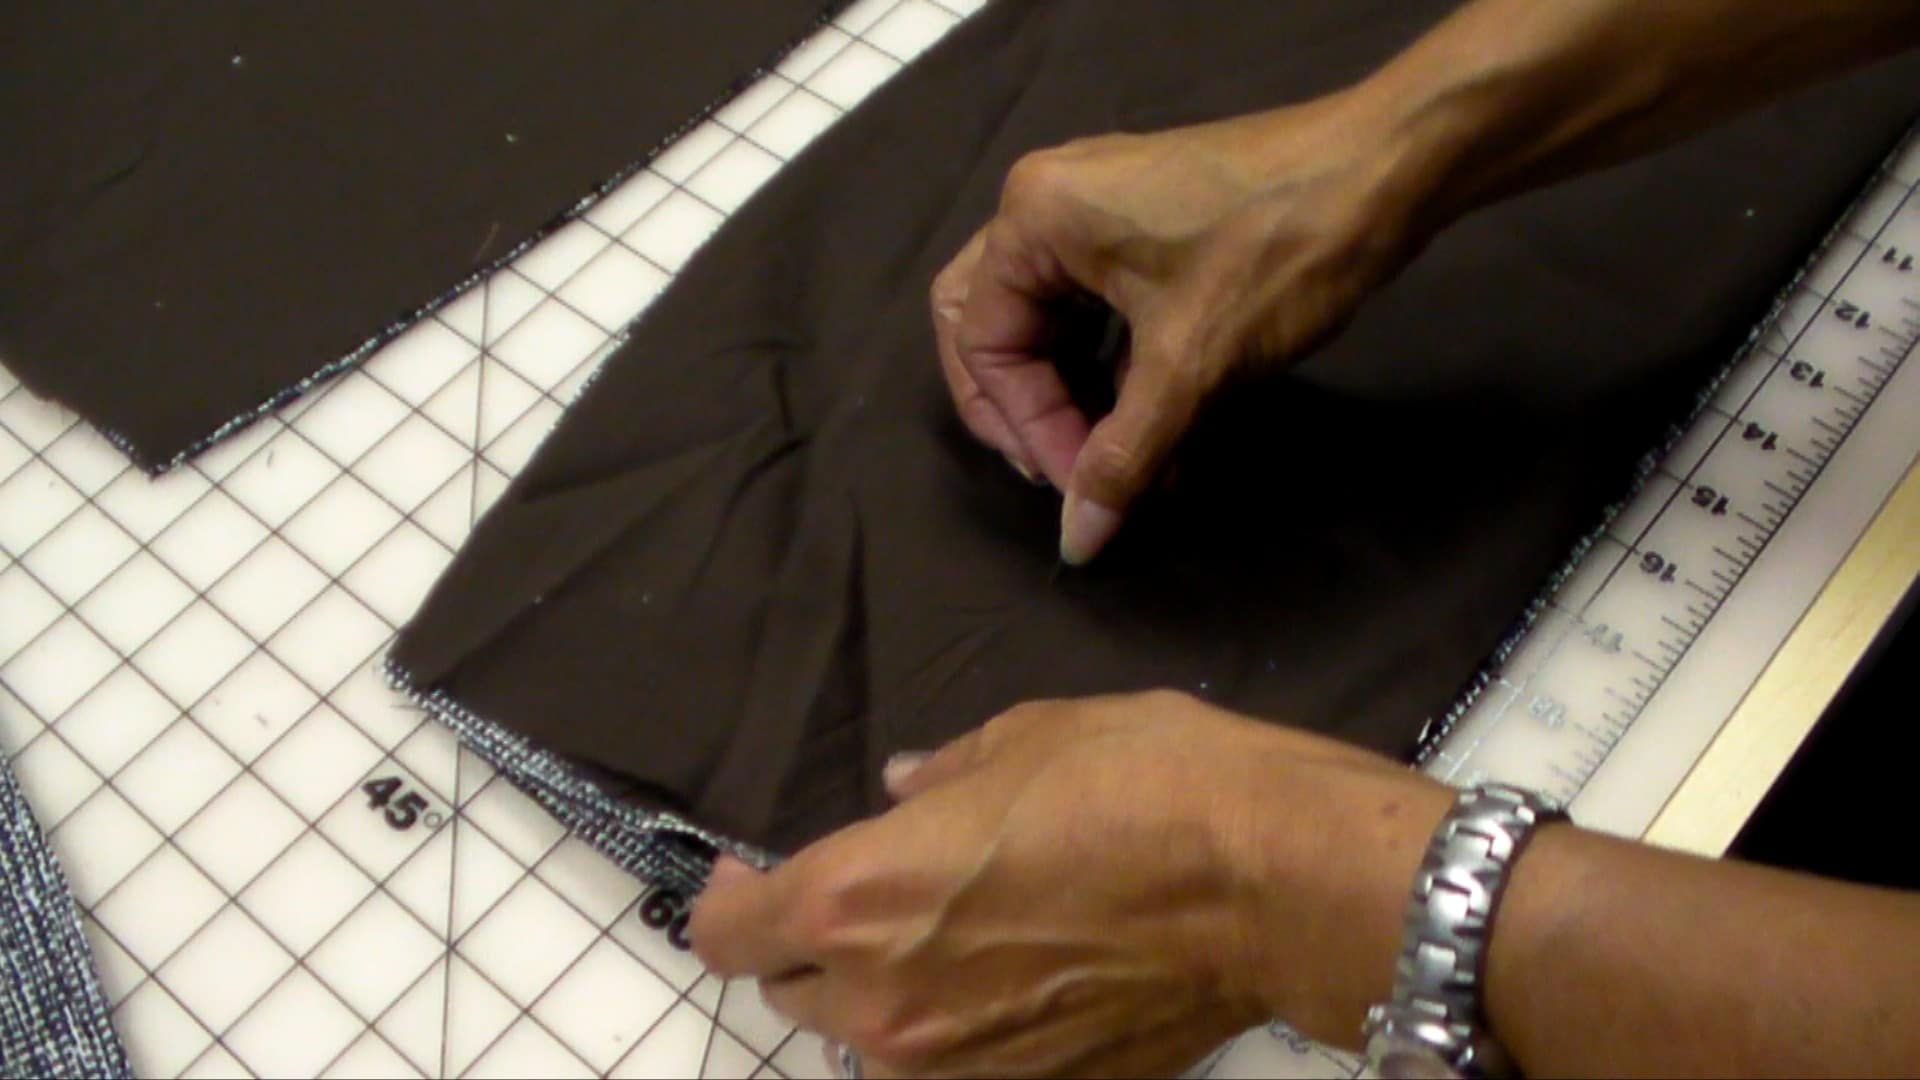
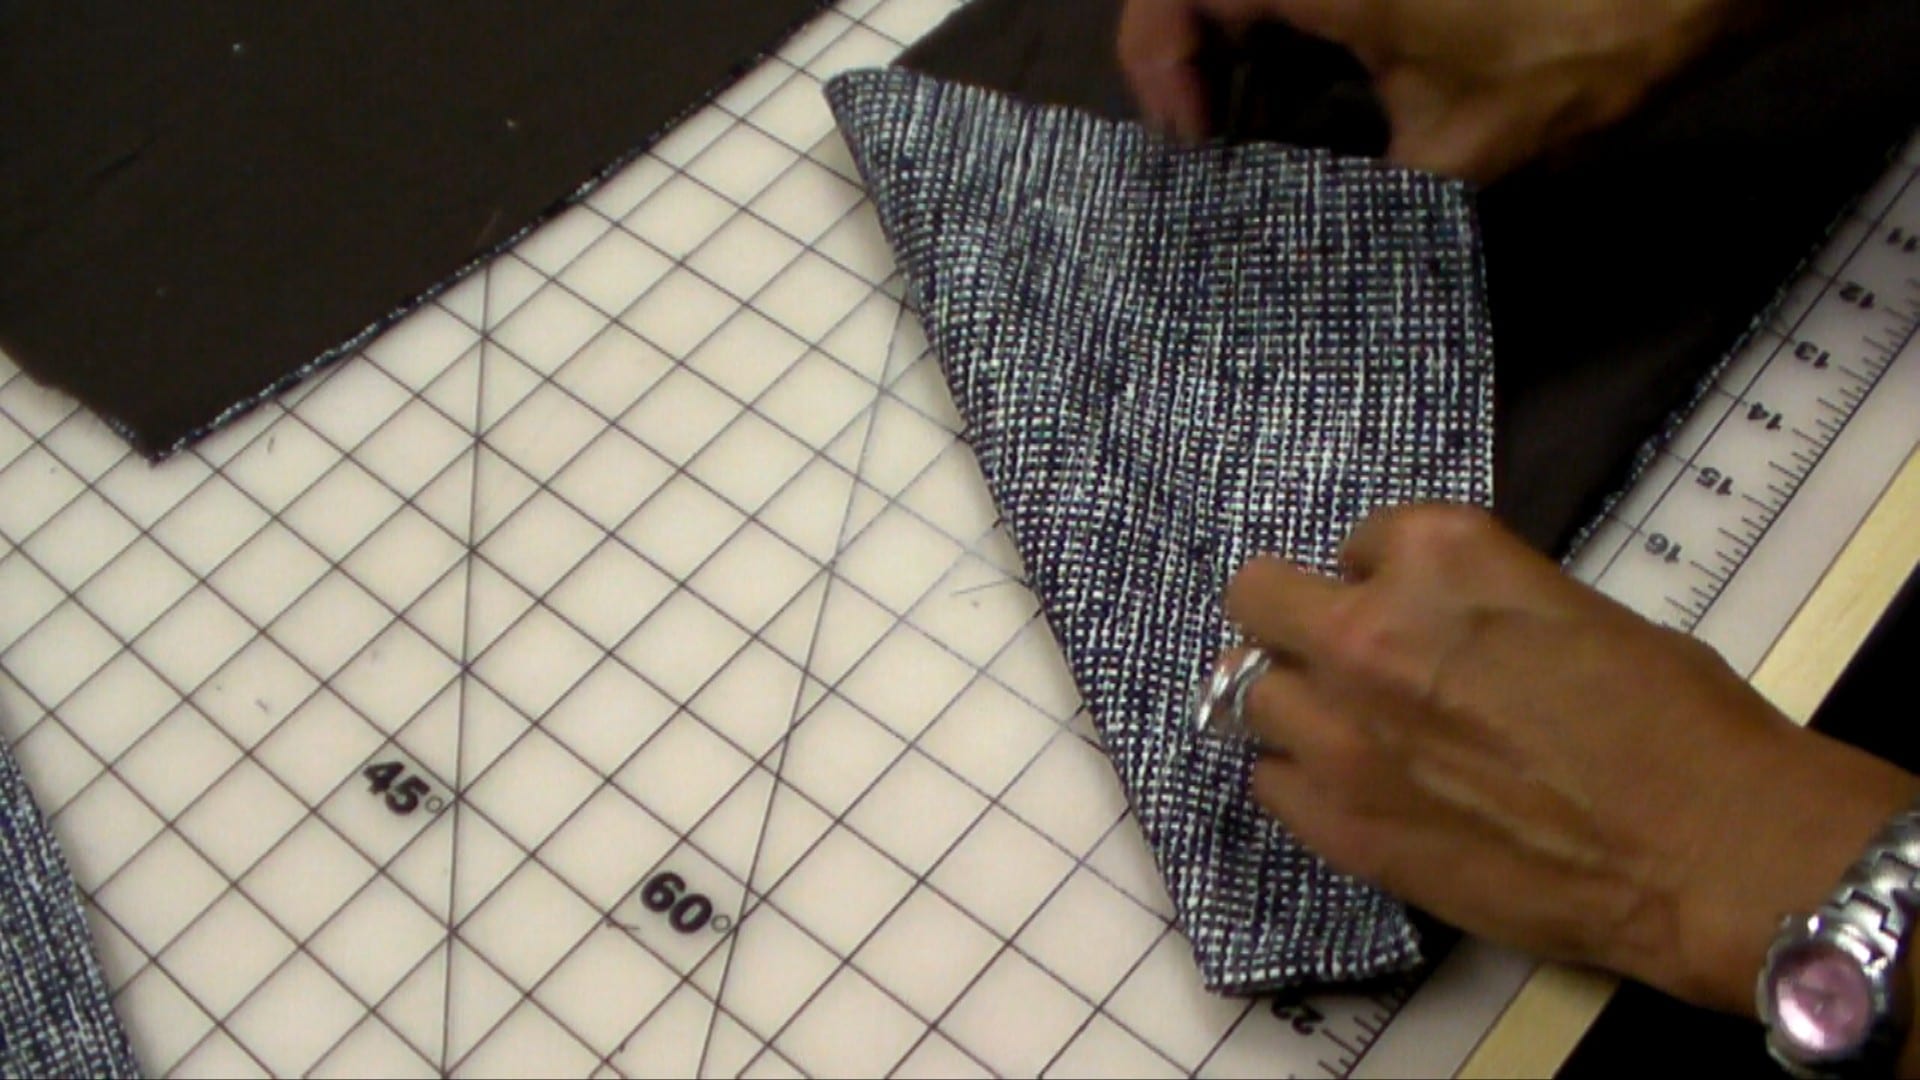
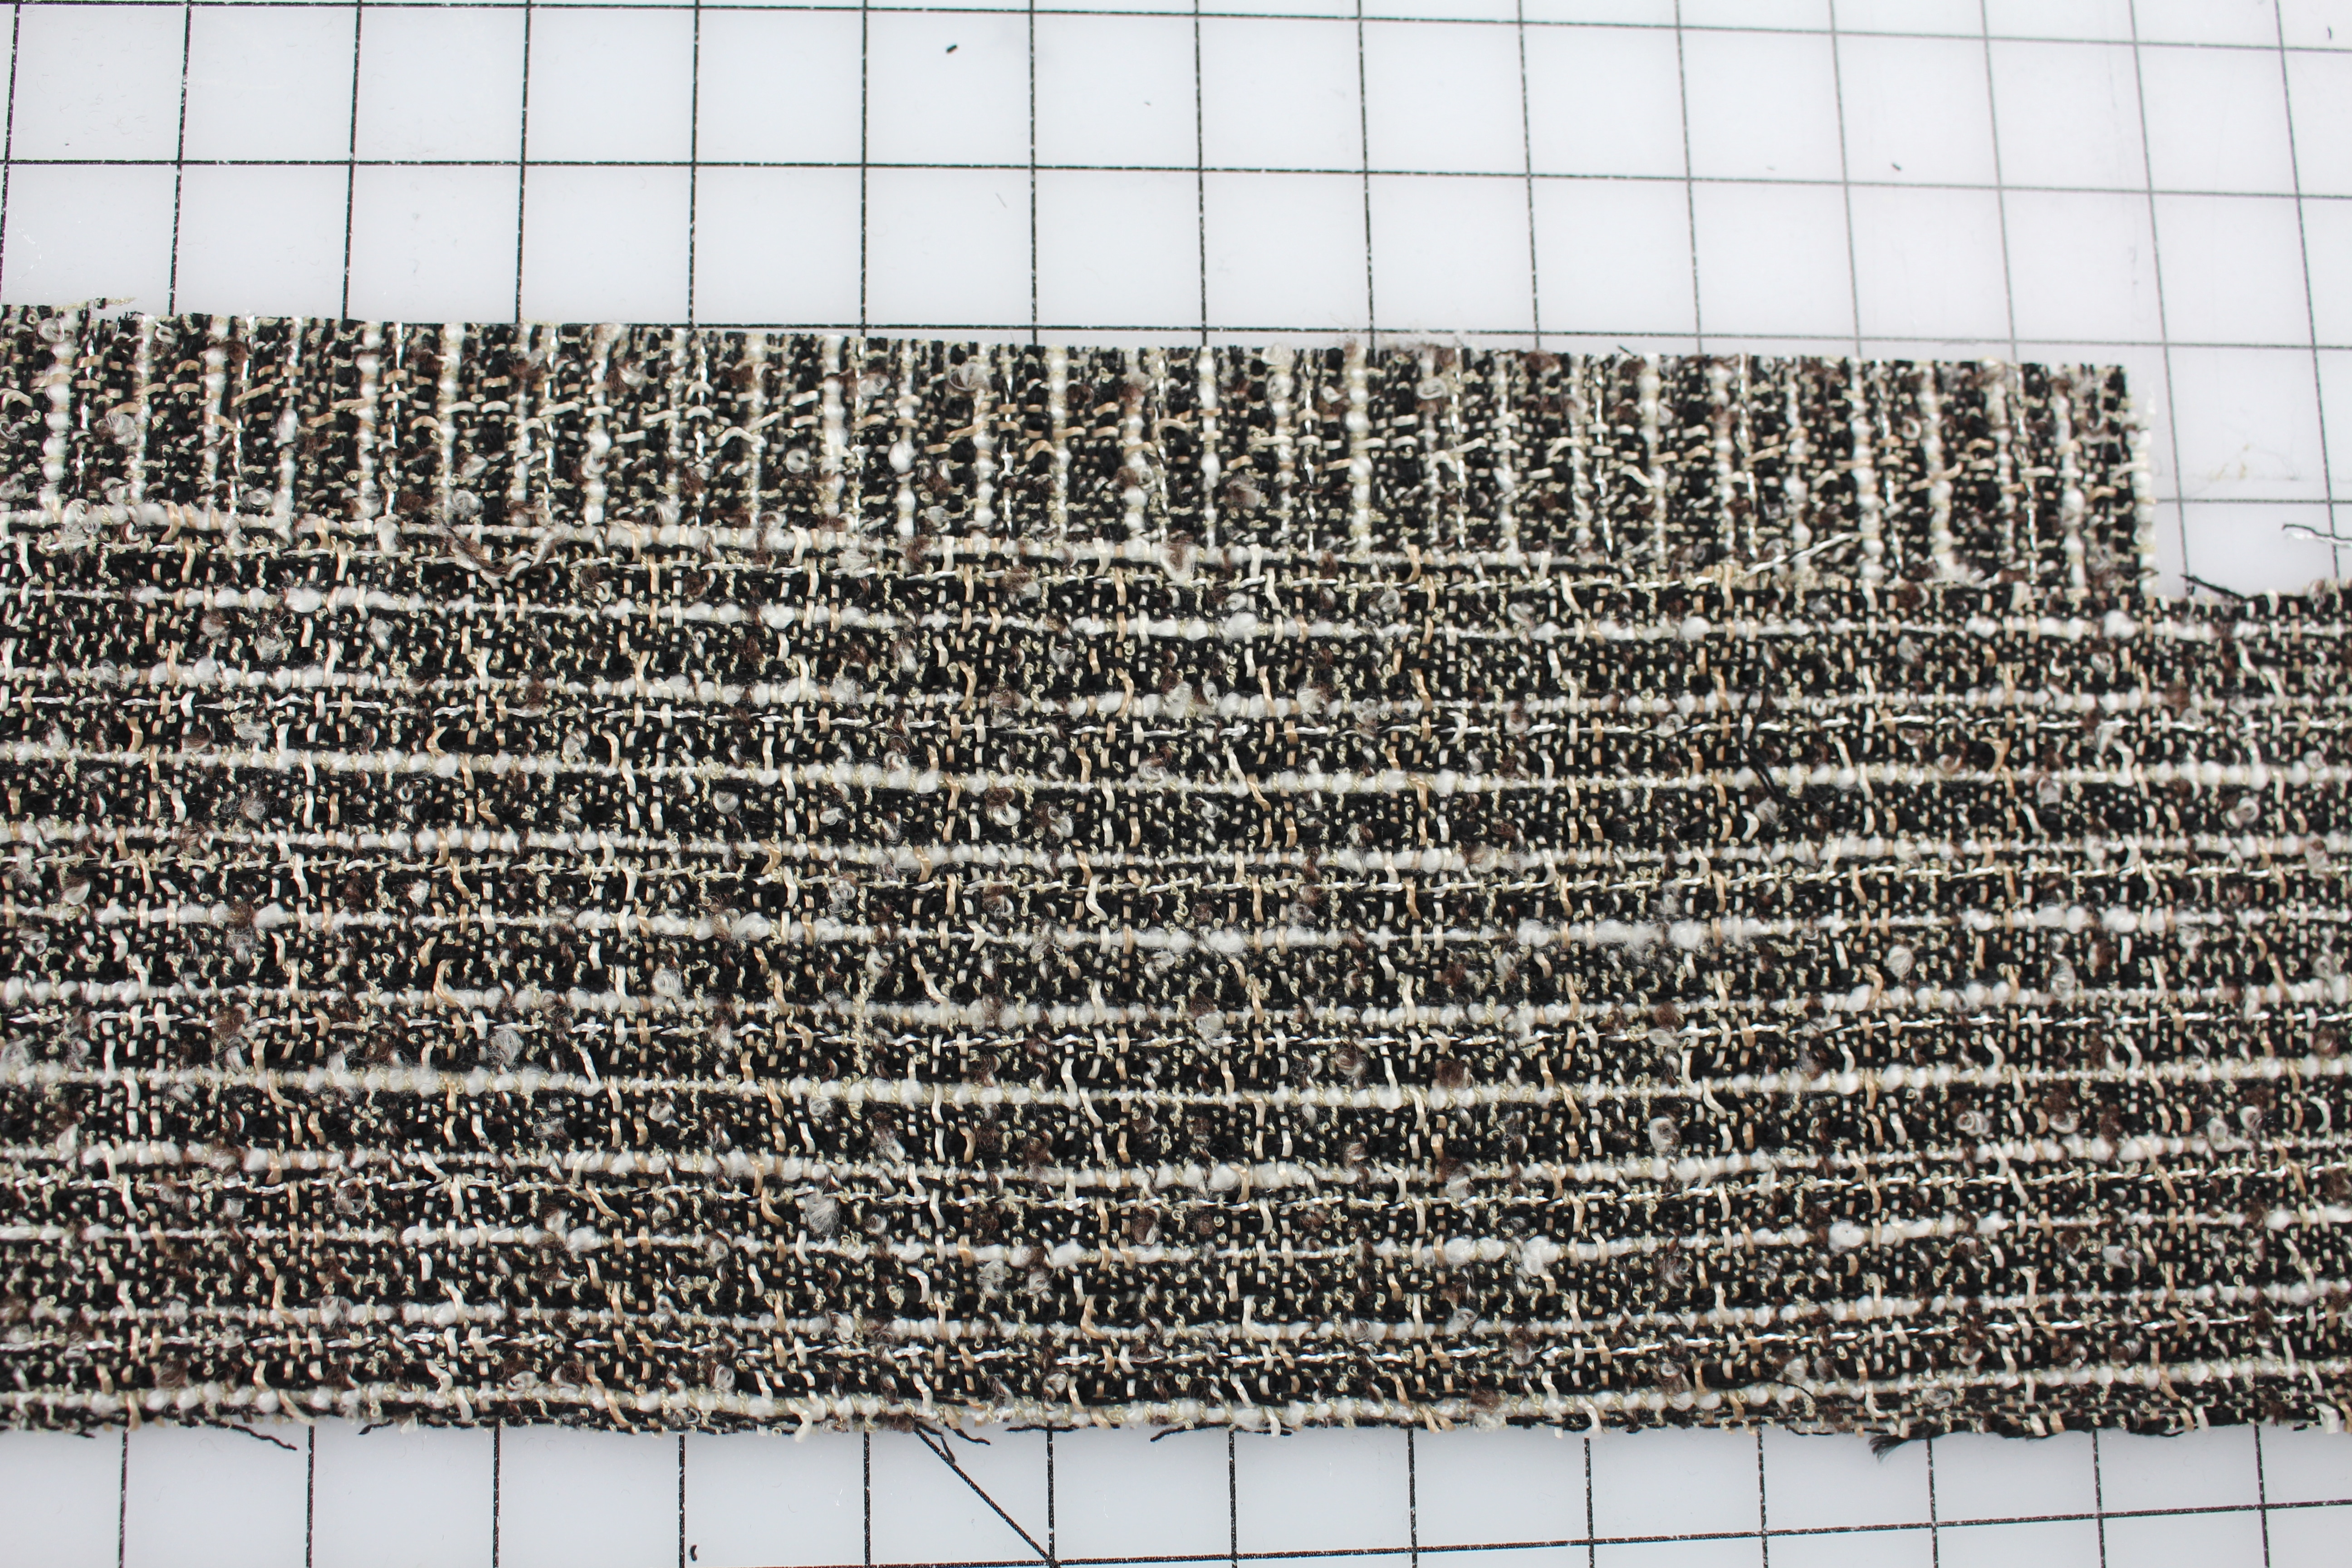
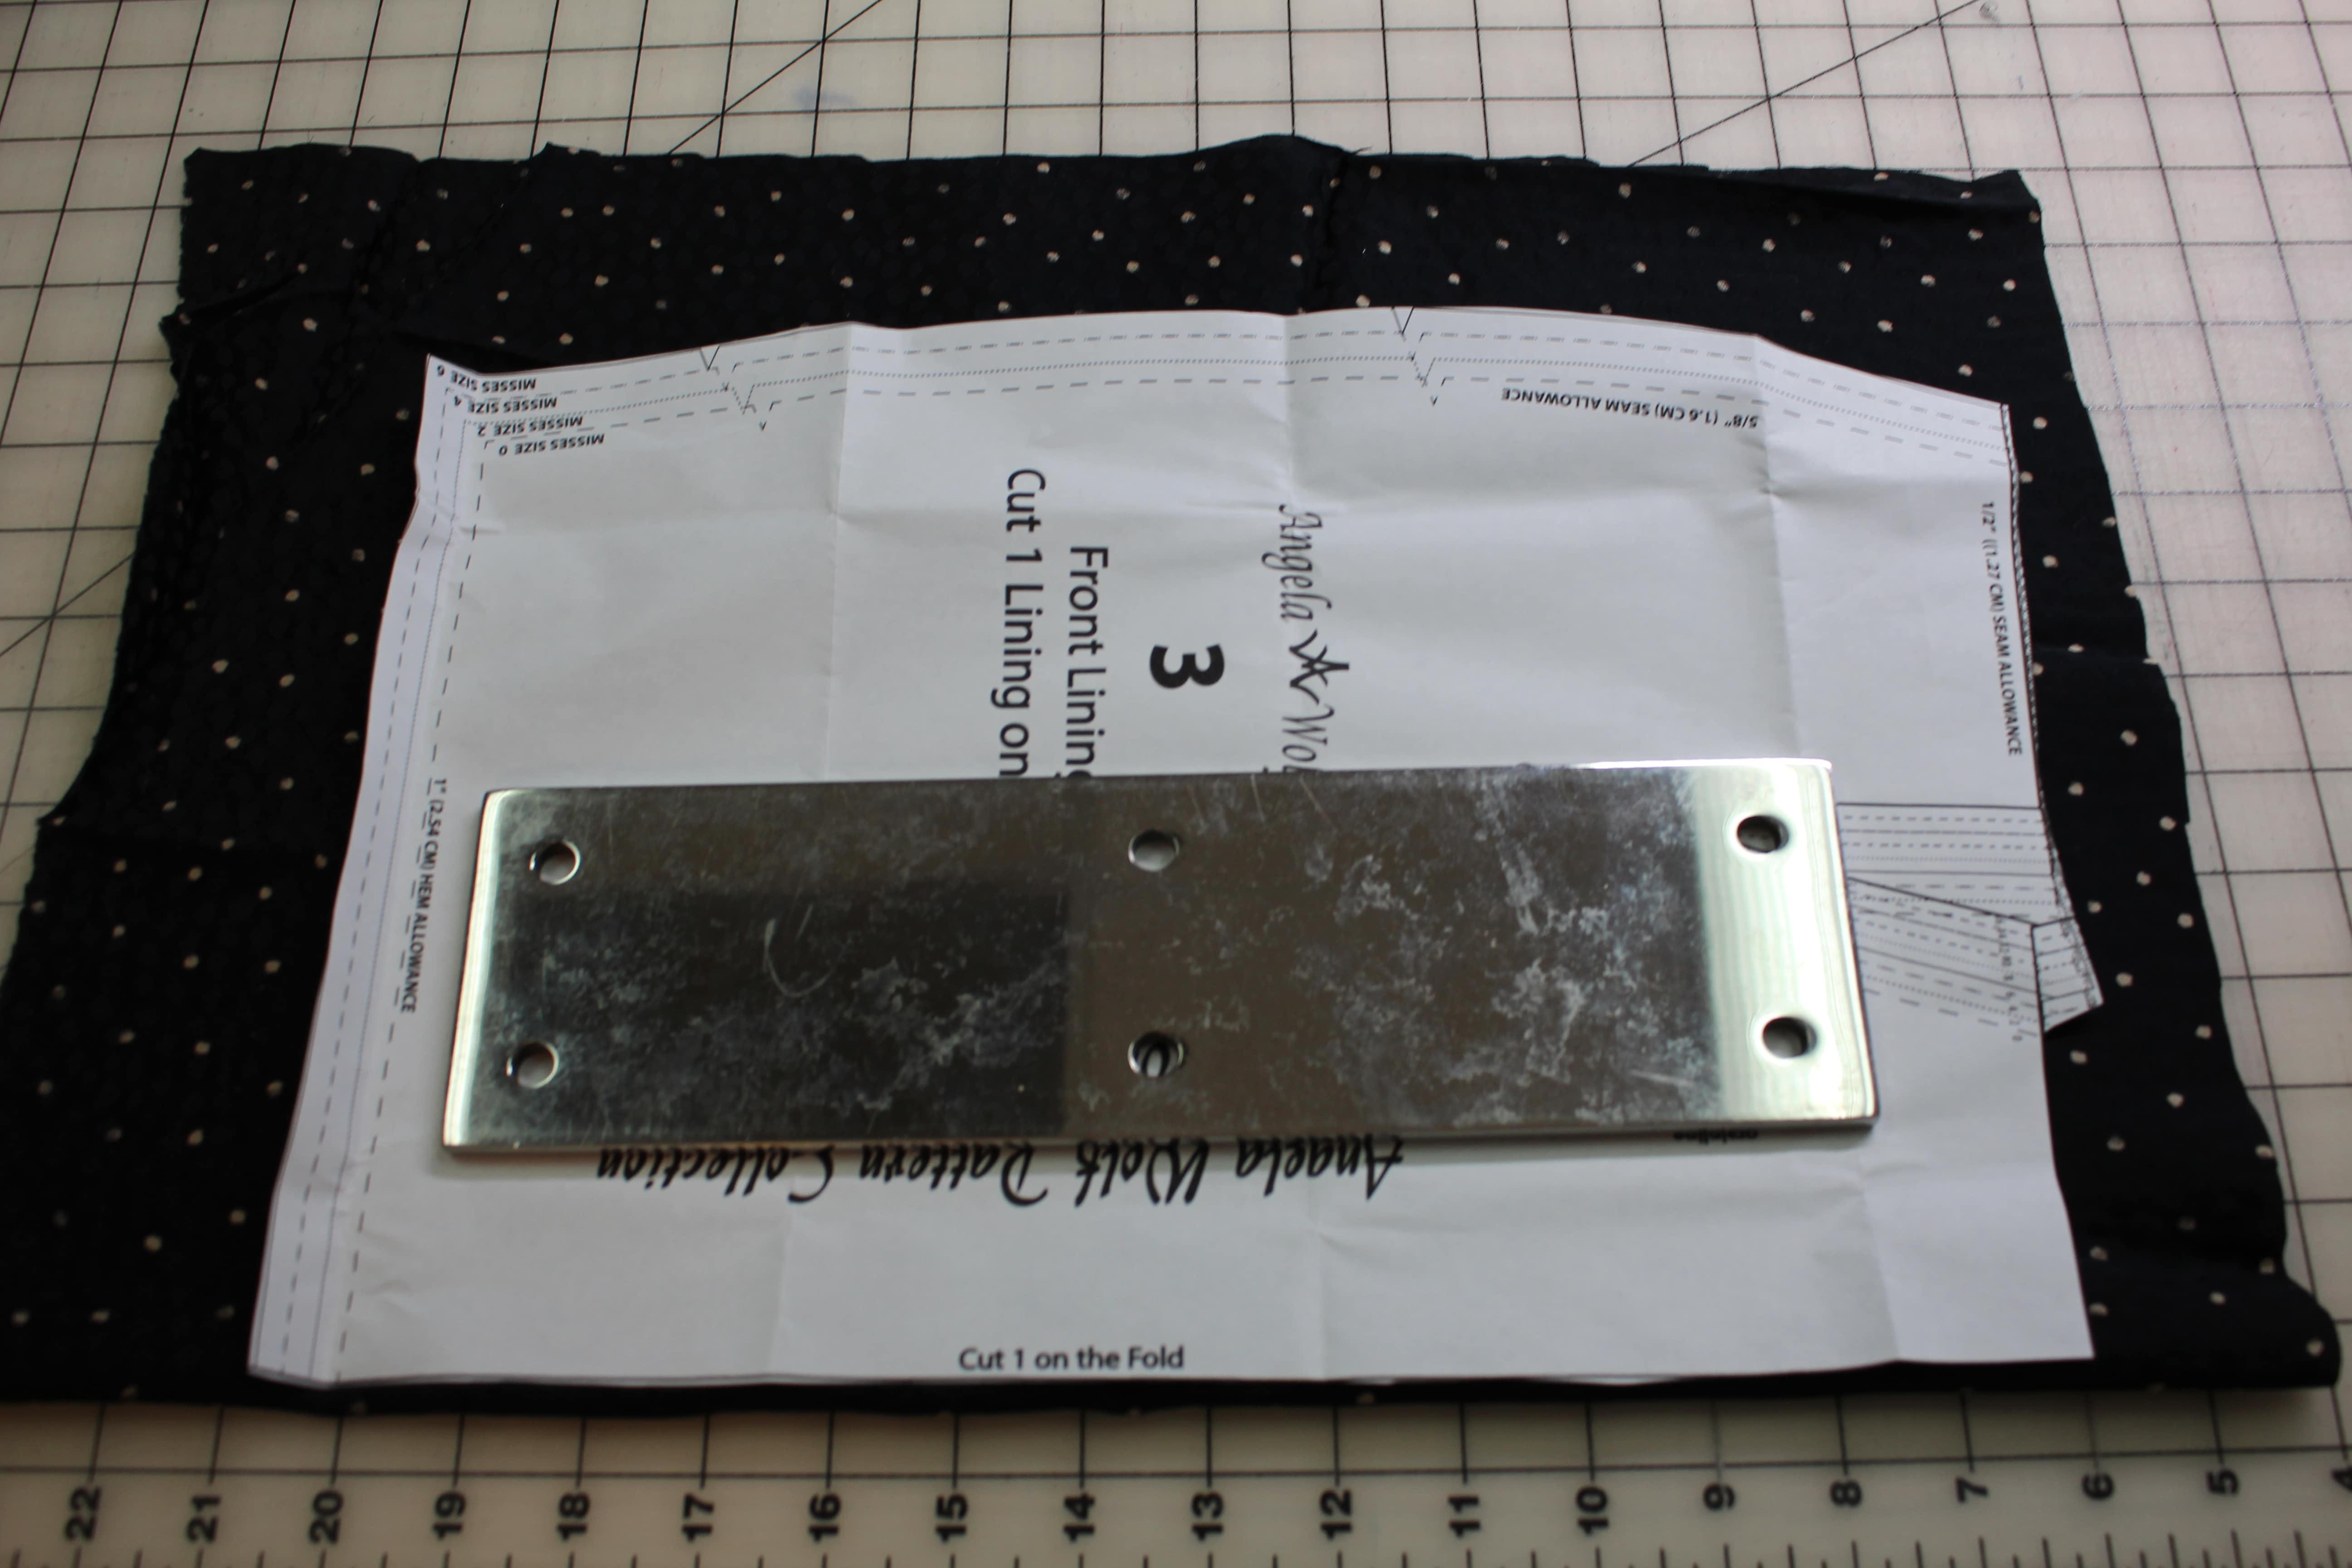
When quilting the lining you will need to cut your lining fabric a little bit wider than your fashion fabric.  I usually lay my muslin or garment fabric on top of the lining as shown:

  • cut the sides of the lining at least 1″ wider than the skirt
  • fold up the fringe hem allowance and cut the lining 1″ longer than the top of the fringe marking

Preparing the Lining and Fashion Fabrics

  • Sew the darts on the lining, the same way you did on the fashion fabric.  Press the darts toward the side seams or the opposite direction the dart are pressed on the fashion fabric.
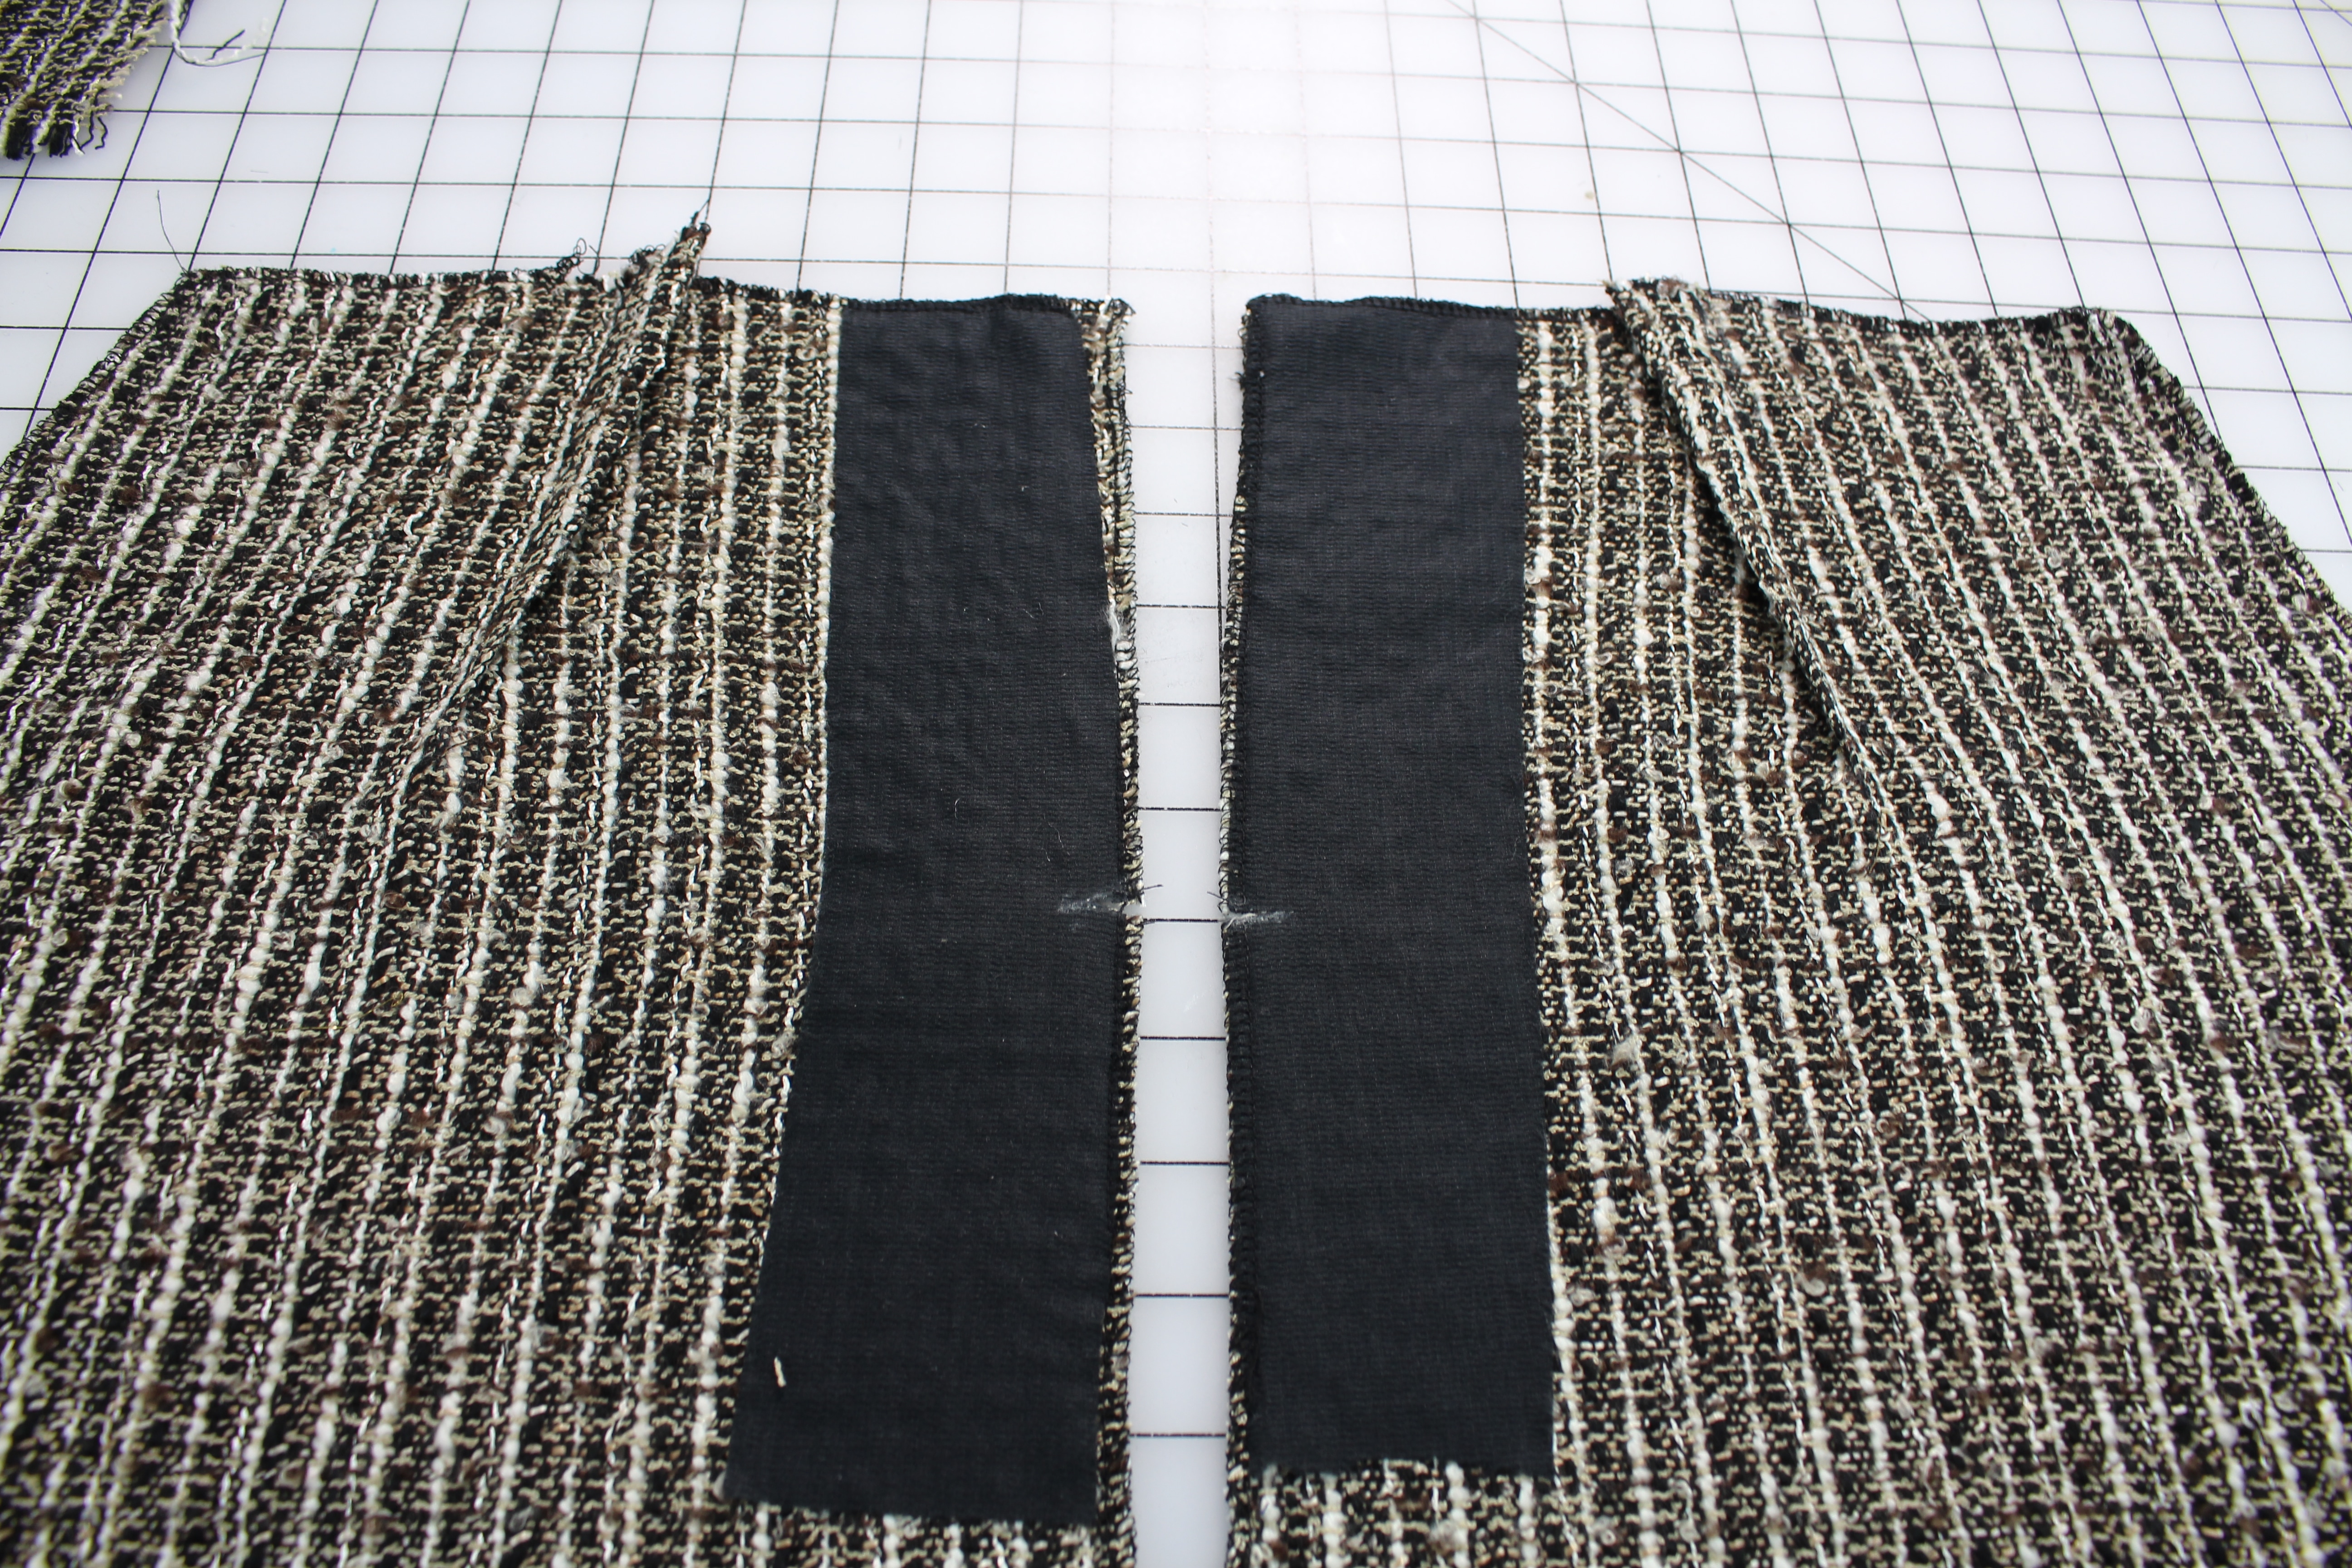
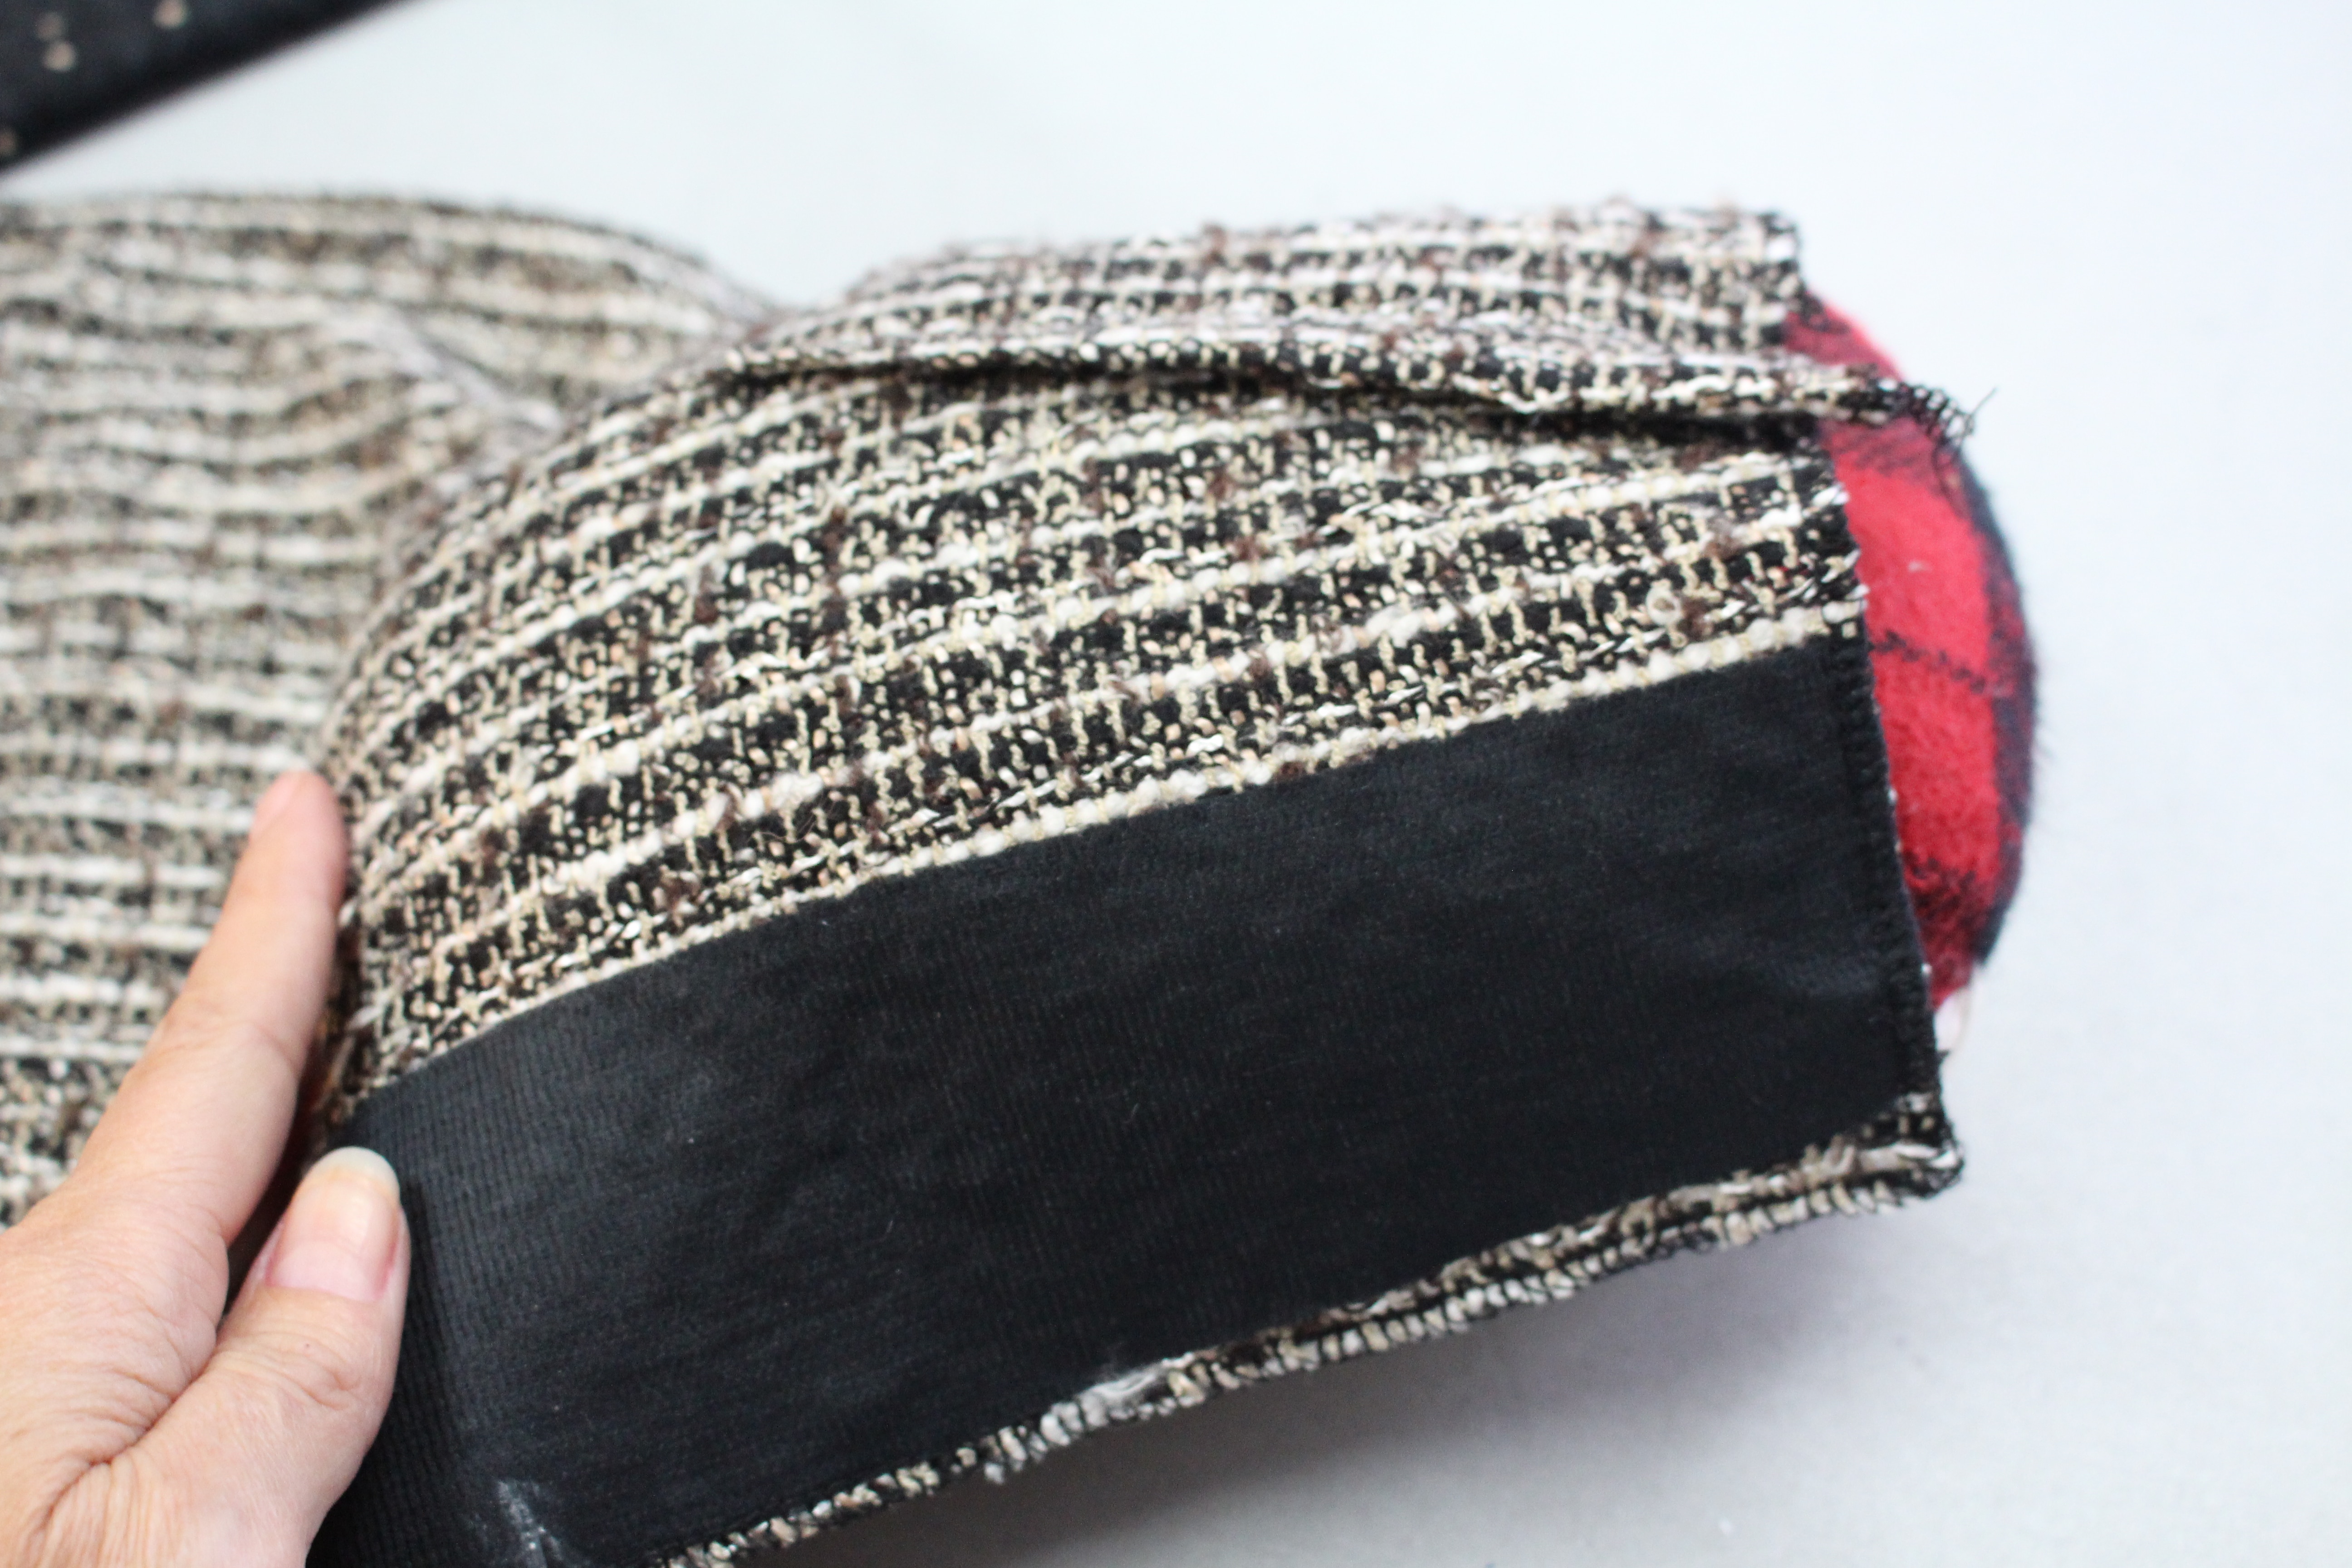
  • Prepare the zipper area on the skirt by pressing the fusible interfacing onto the wrong side of the fabric
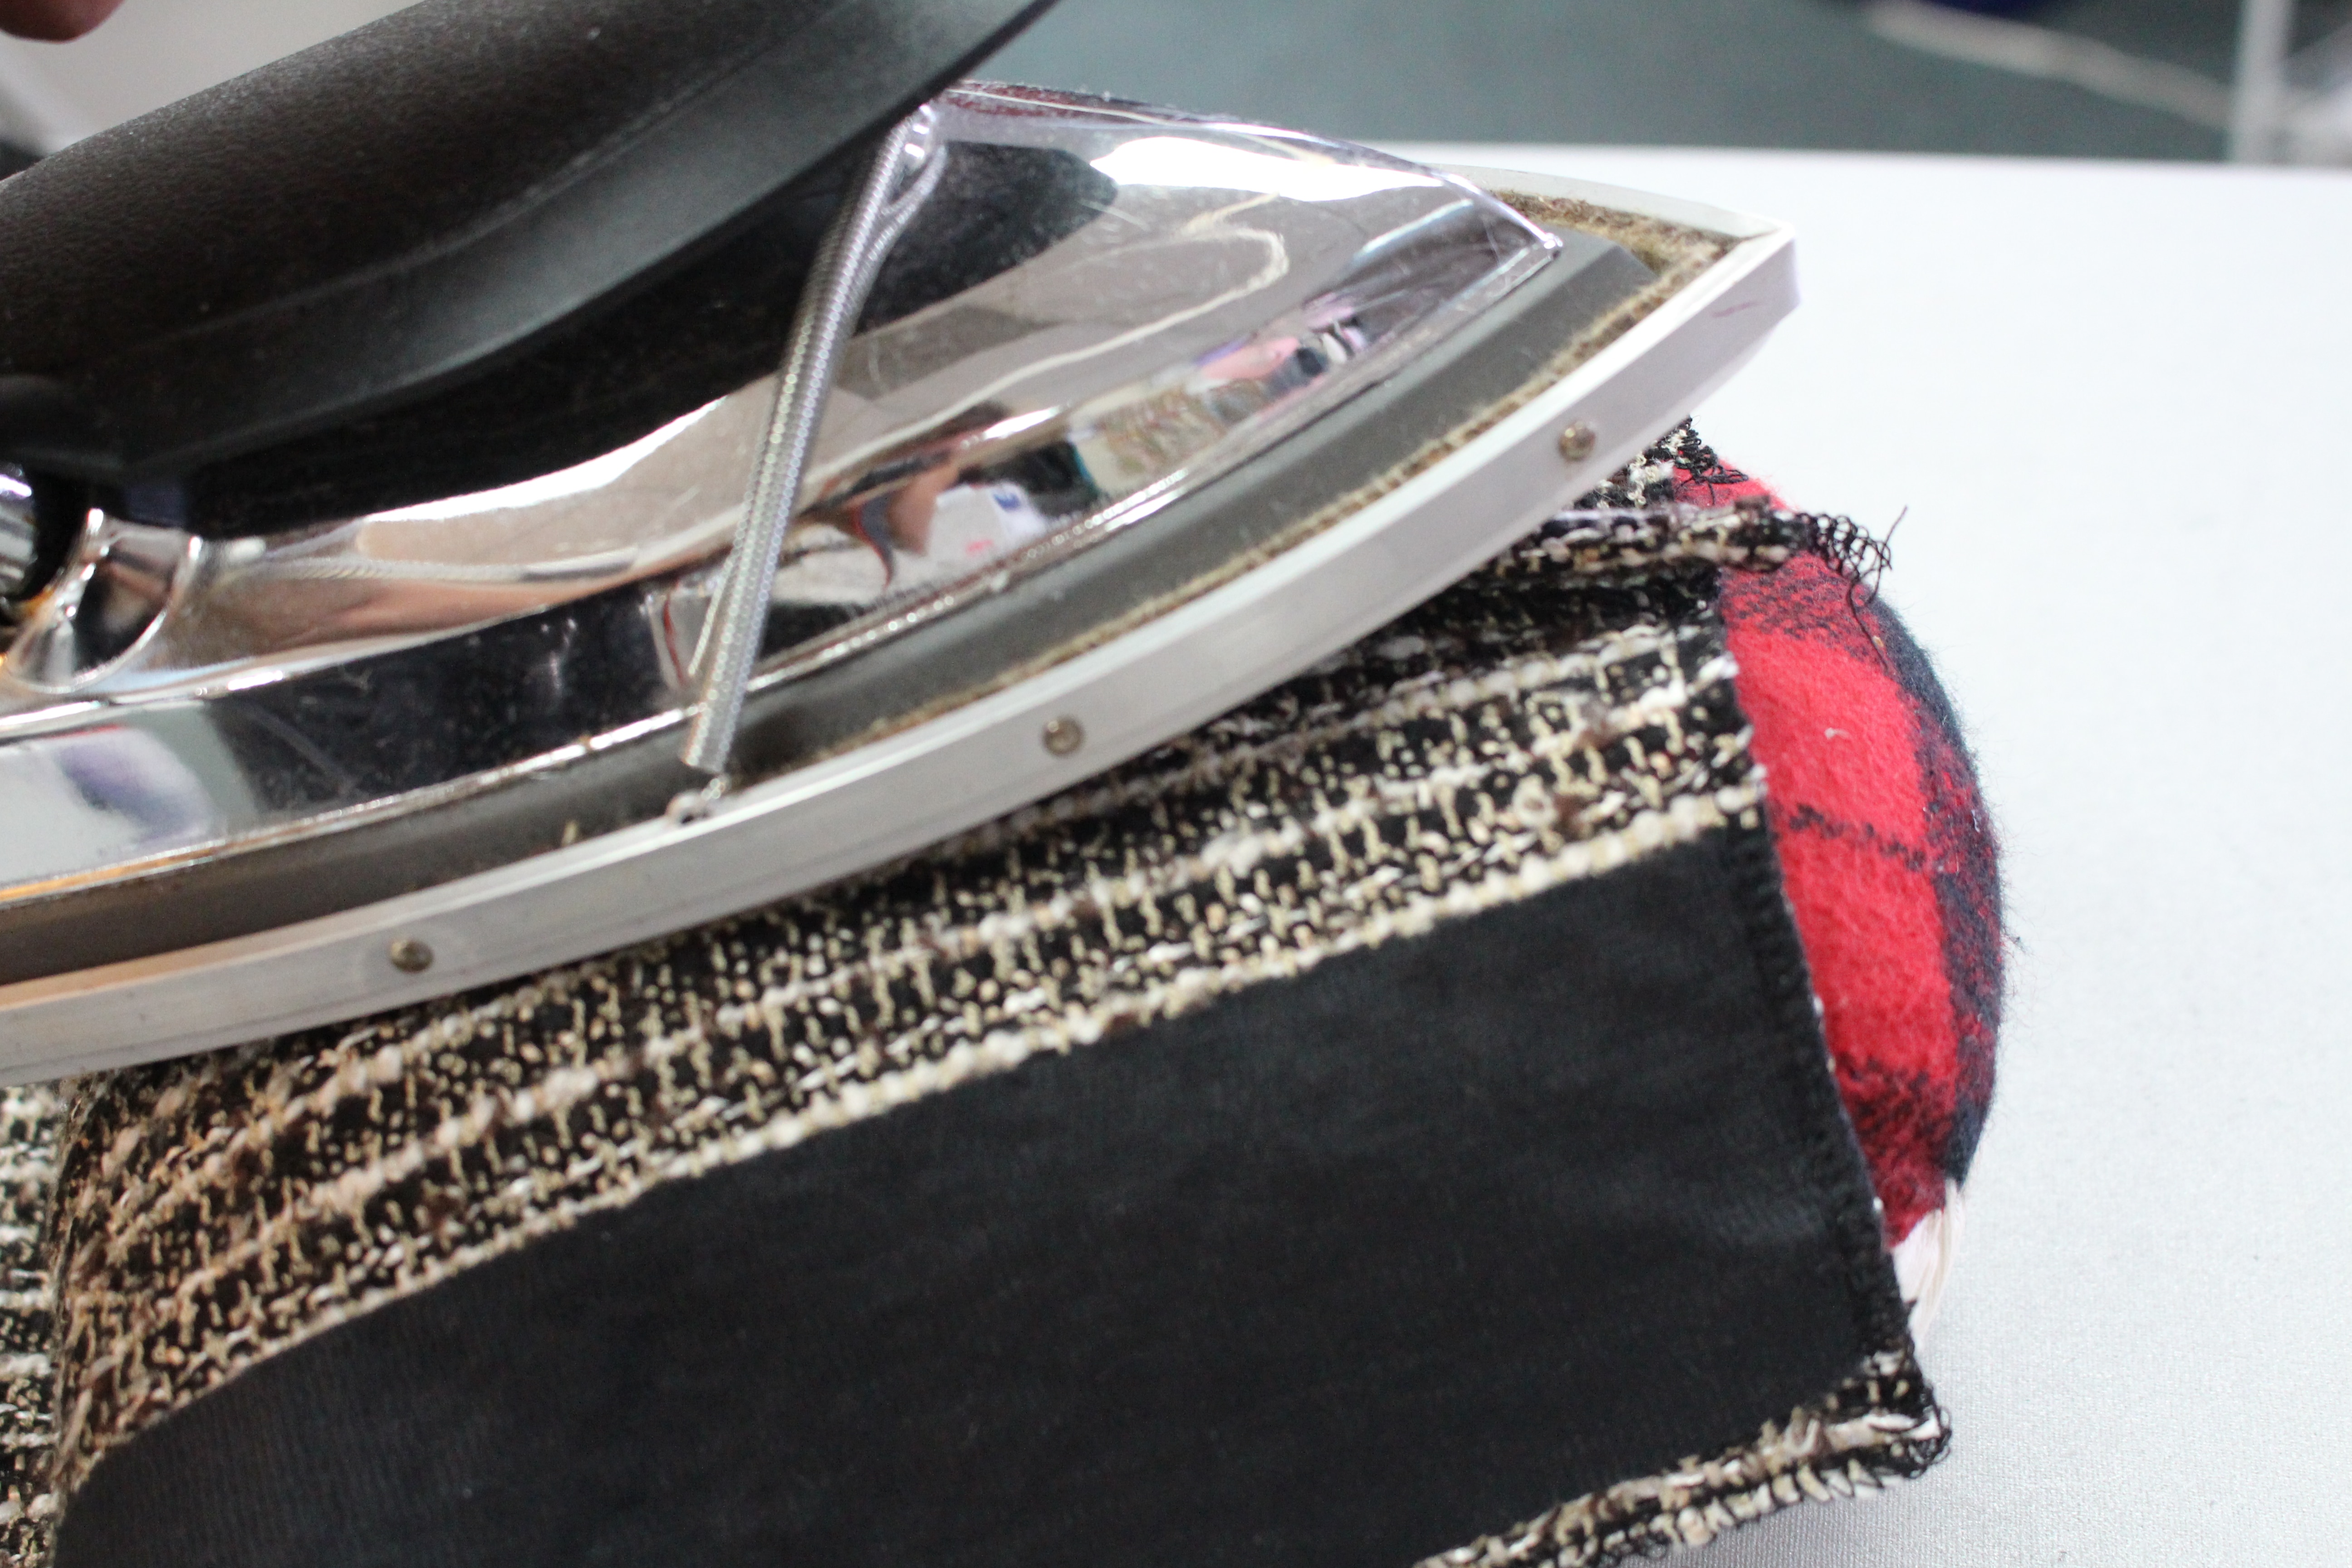
  • If the fashion fabric fabric or lining frays easily, serge the edges of the fabric with a 3-thread wide overlock stitch (DO NOT serge the hem on the fashion fabric!)

Baste the Lining

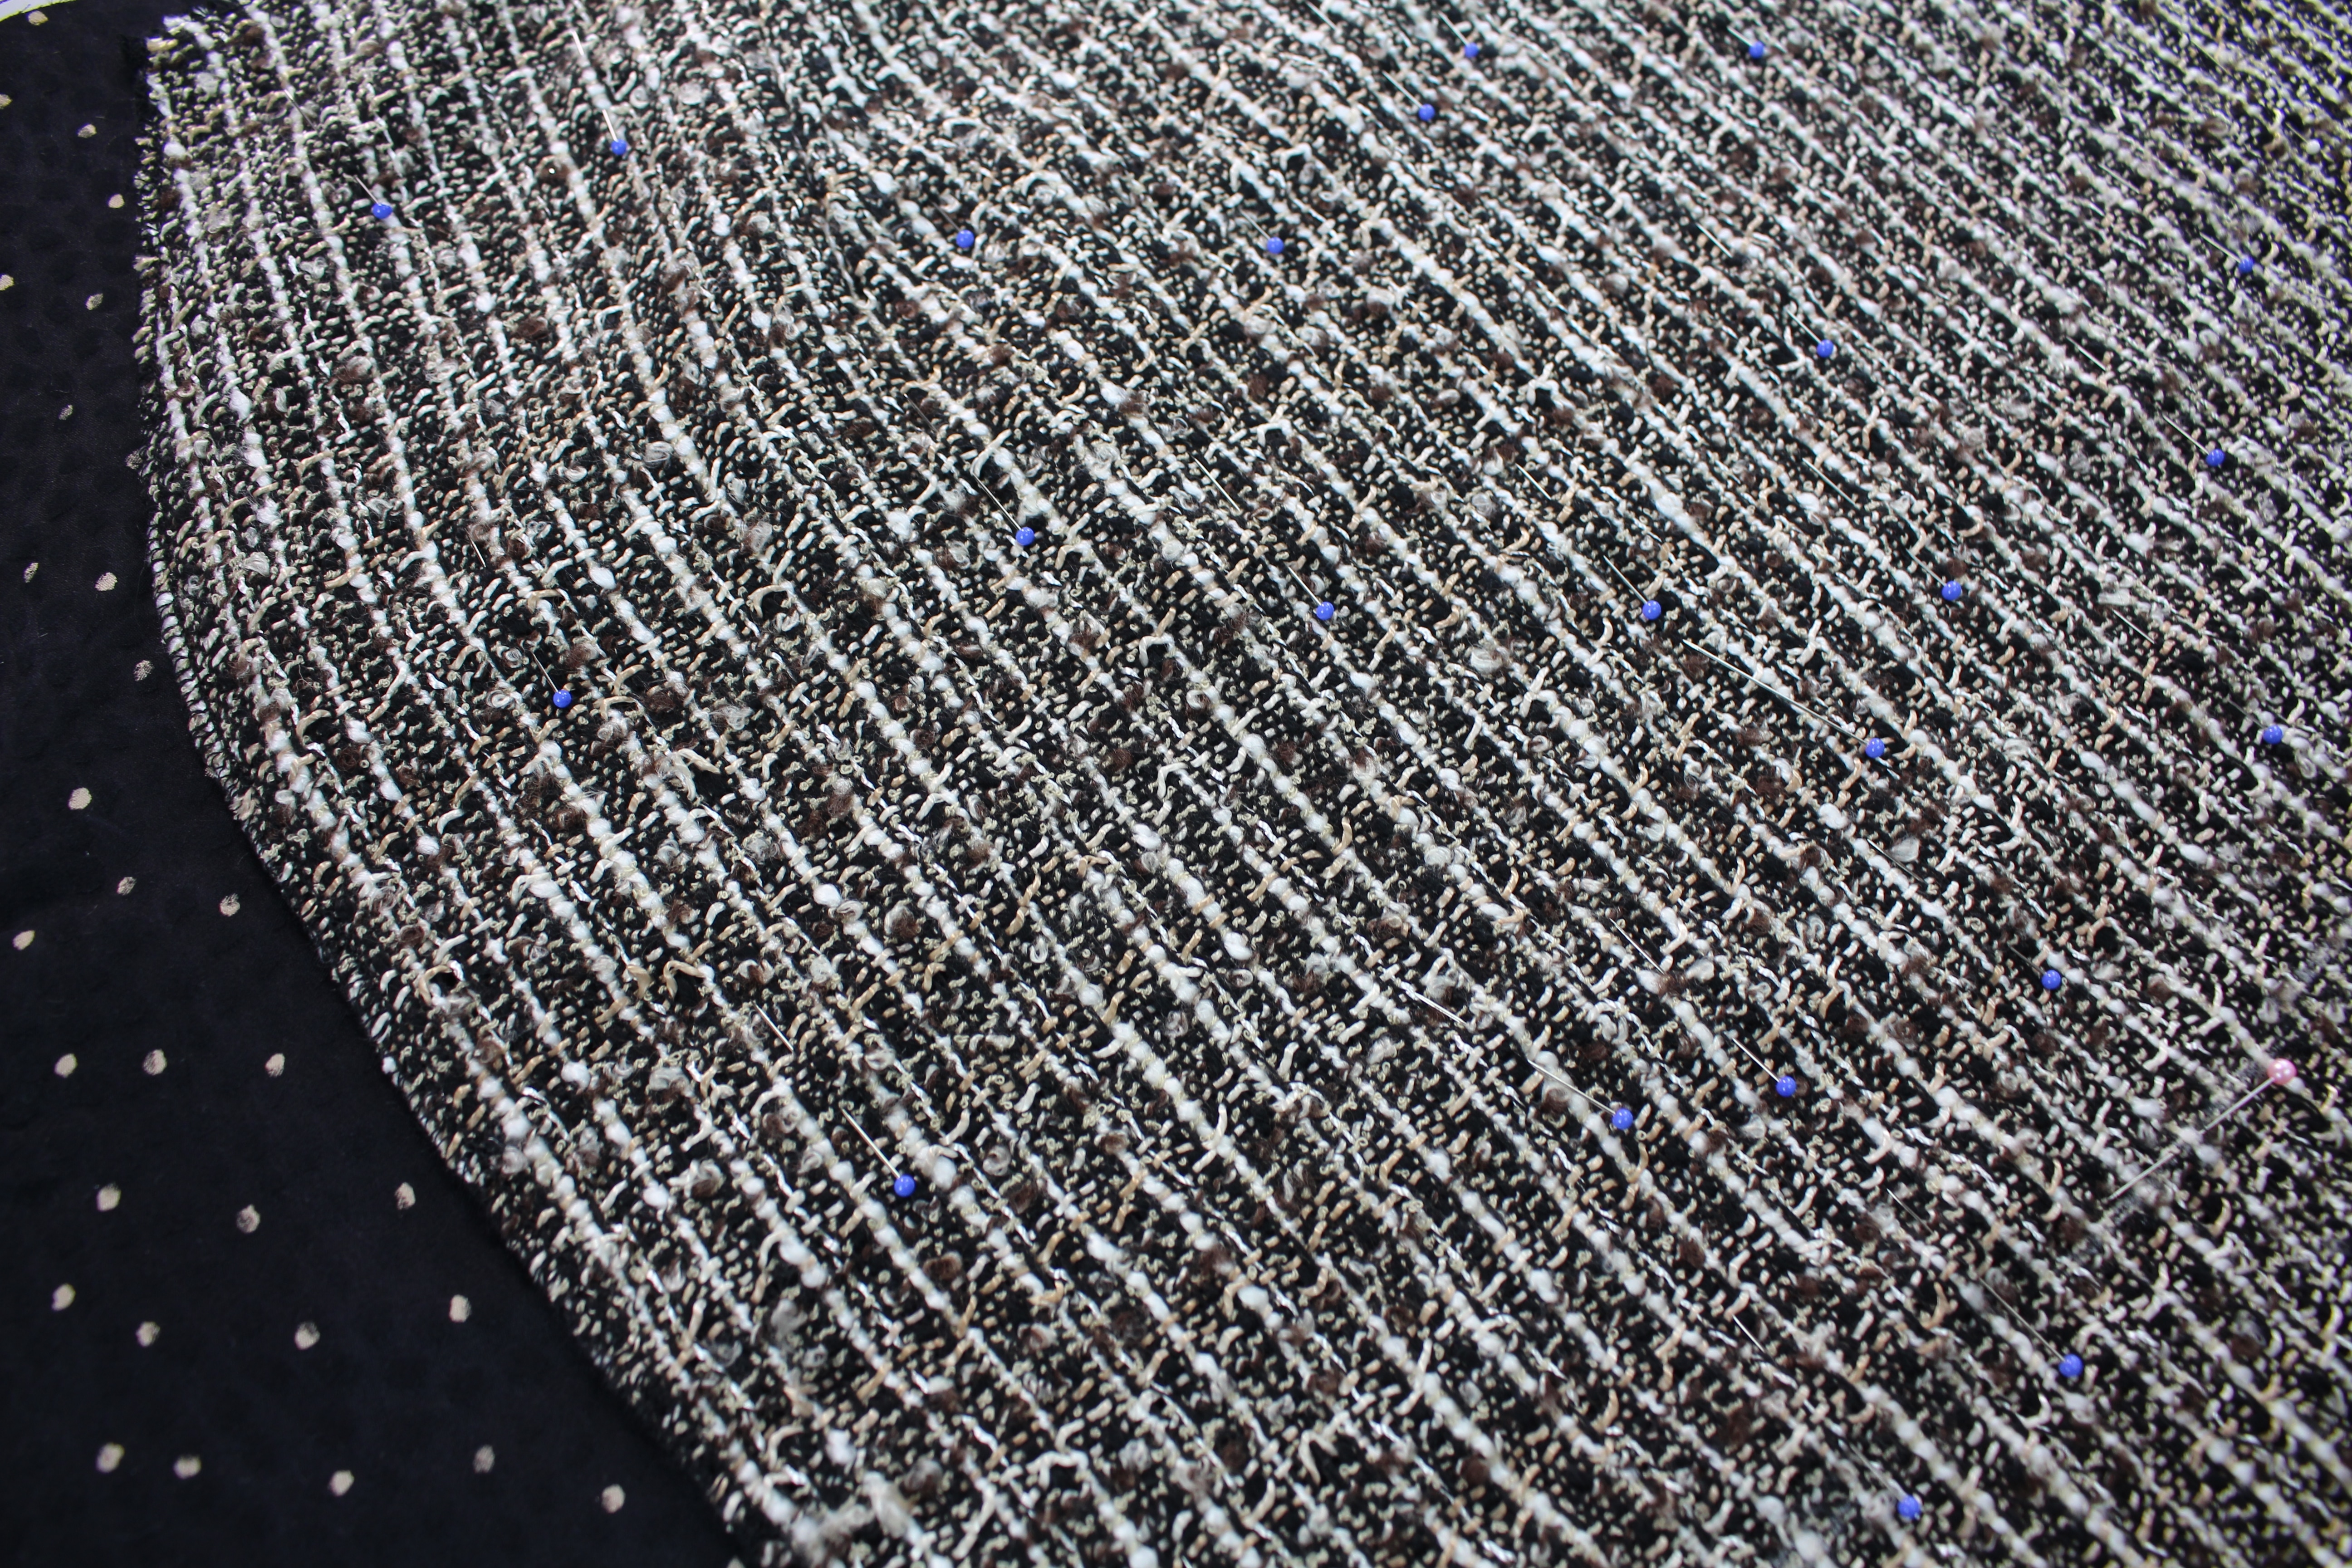
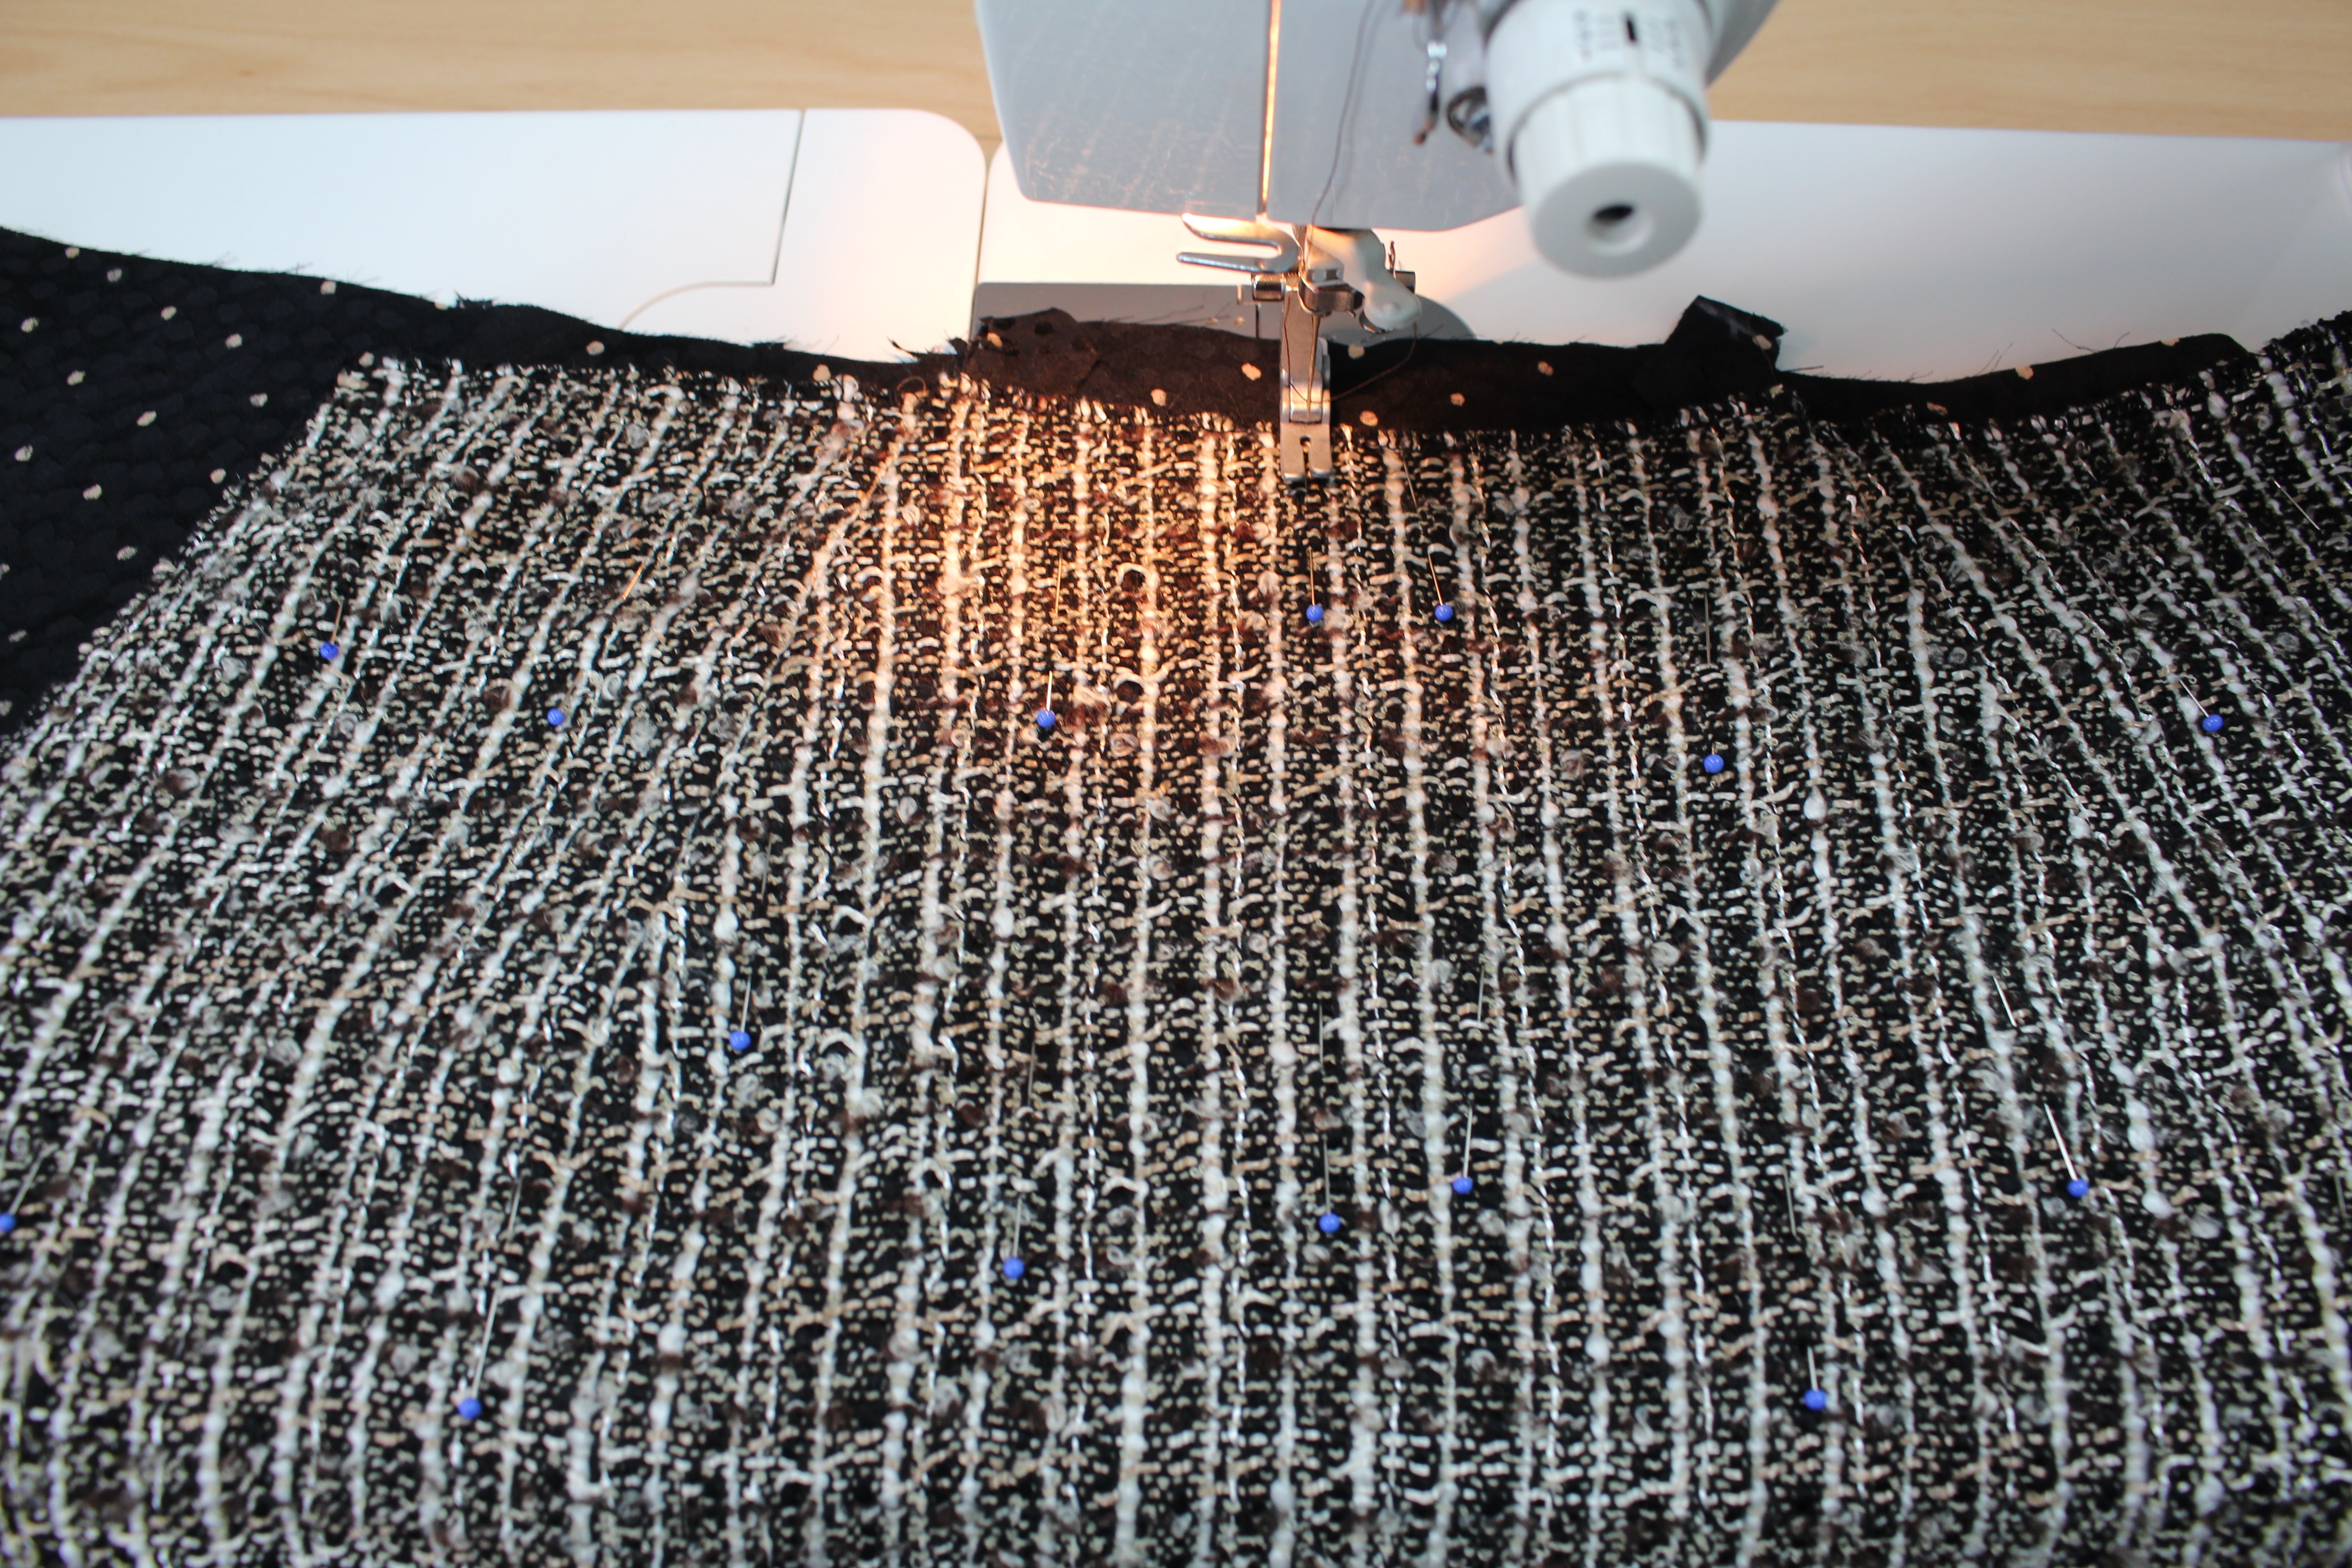
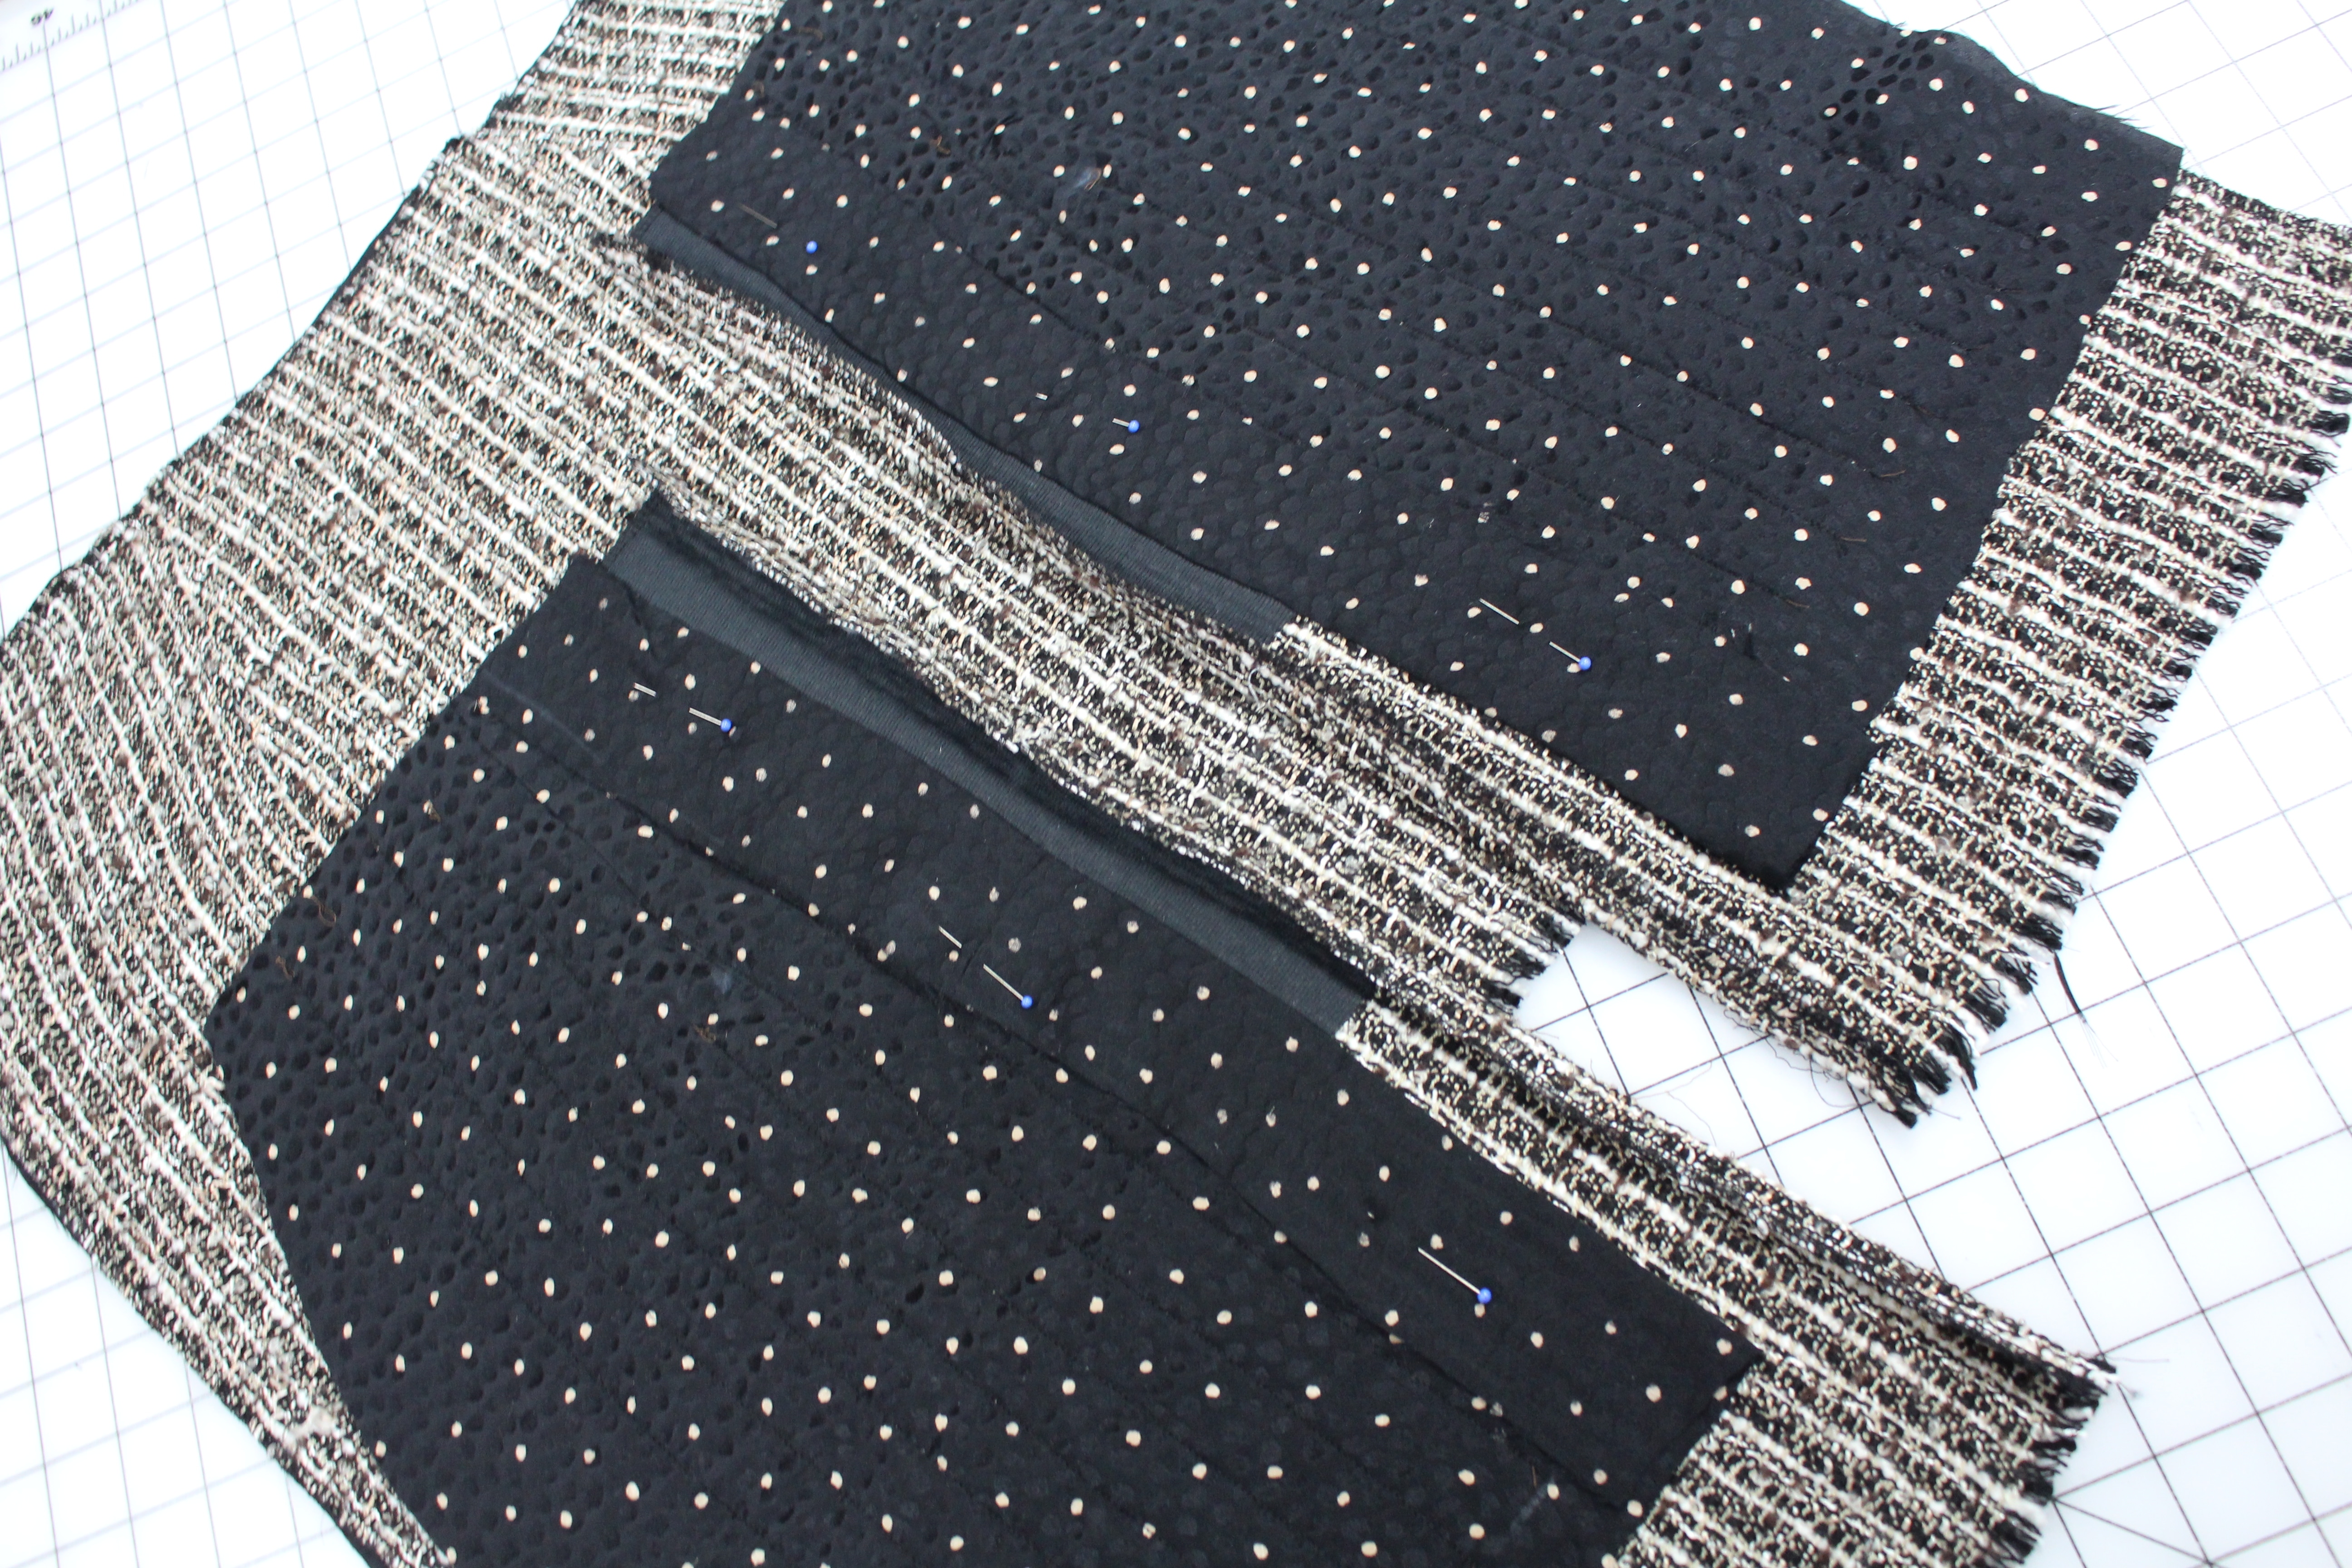
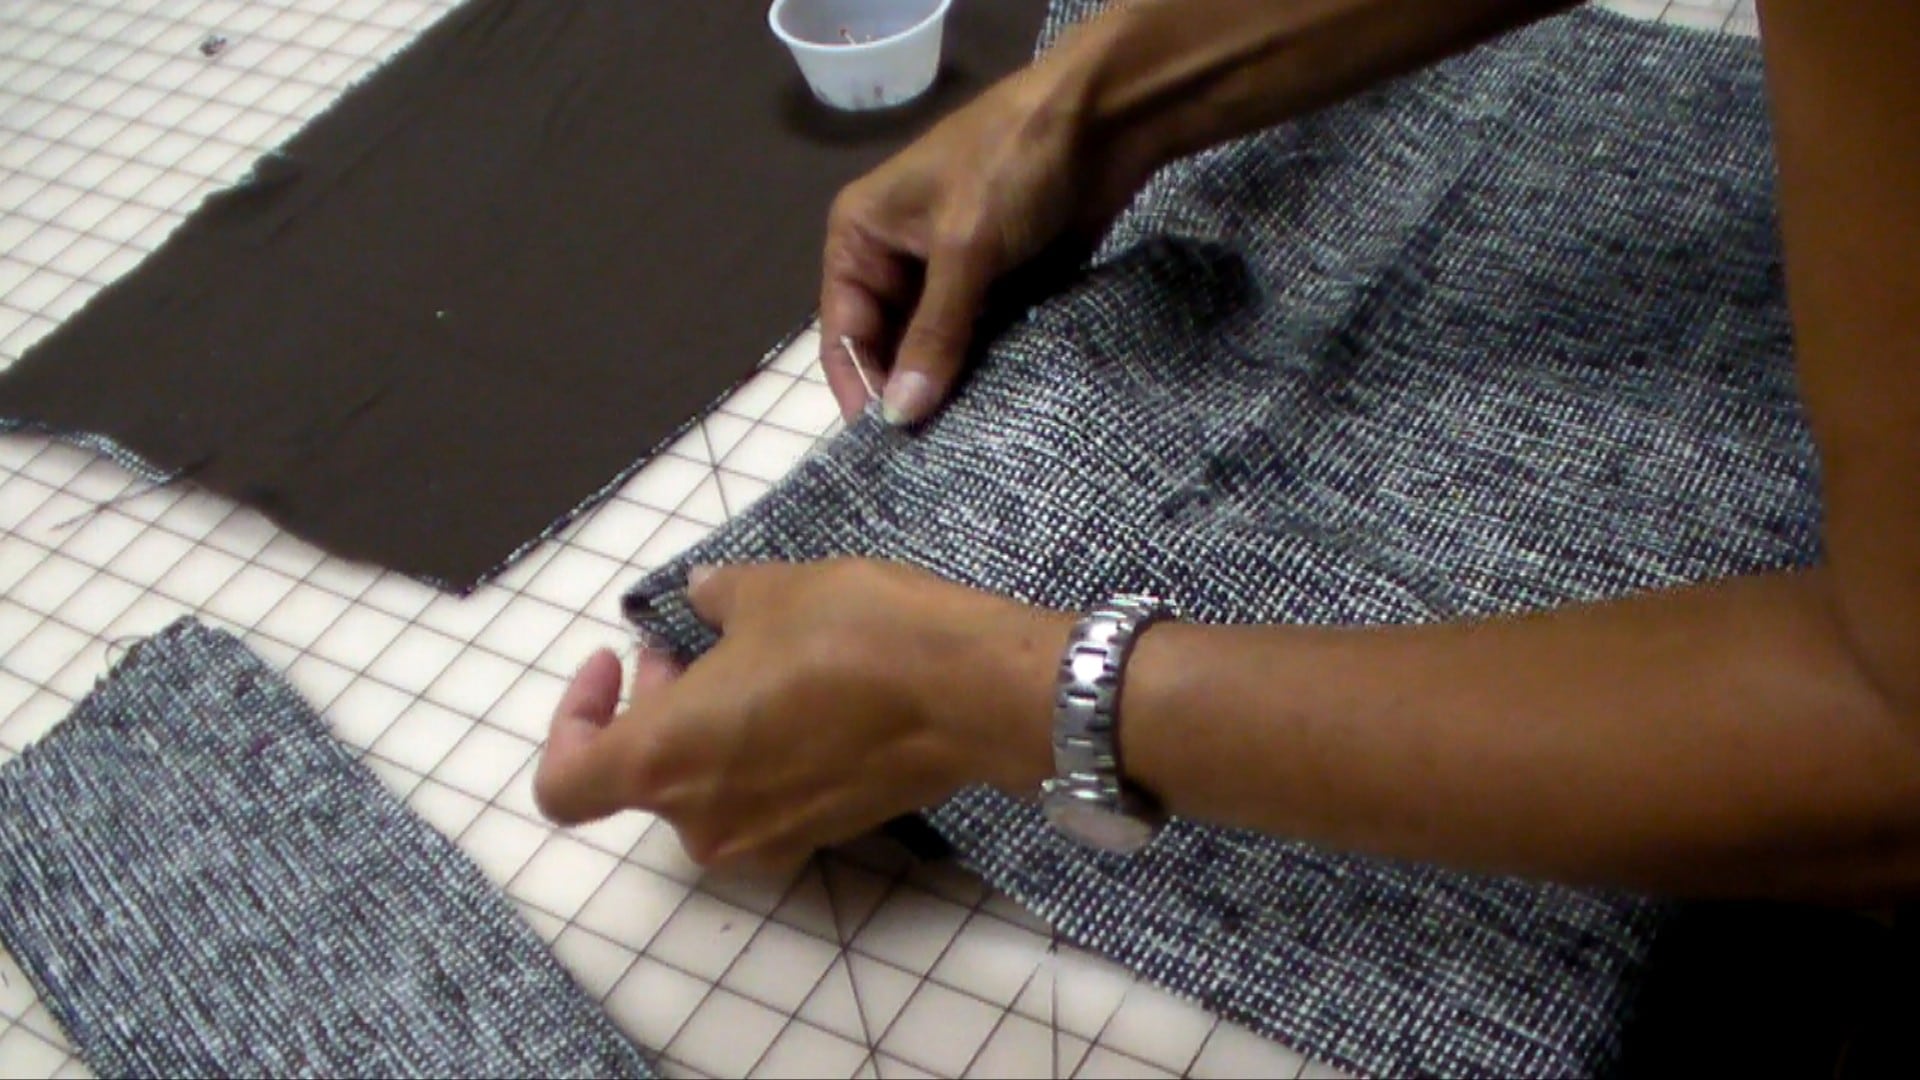
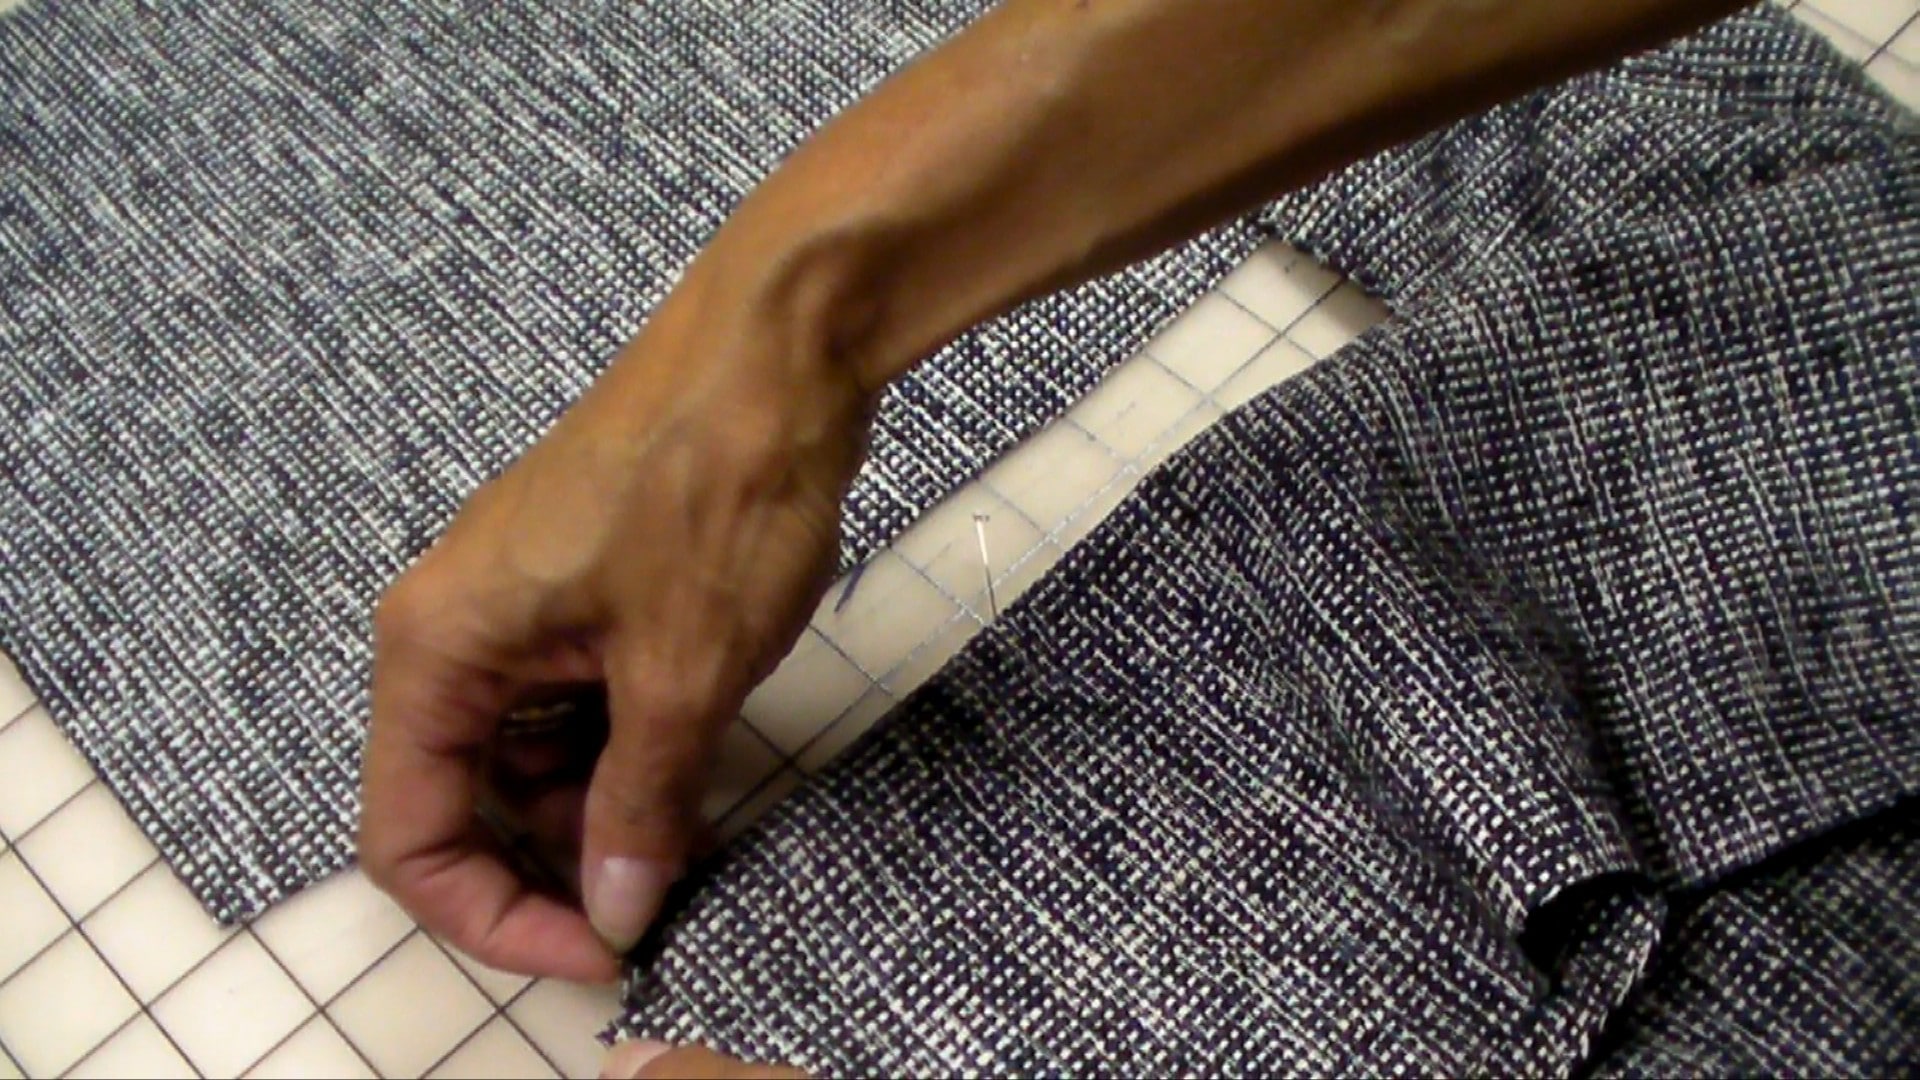
With wrong sides together, lay the tweed fabric on top of the lining. Starting at the waistline, line up the darts on both fabrics.  Pin or hand-baste the fabrics together, starting at the center and moving out toward the side seams.  (see my blue pins in the photo below)

Mark the area that you will not be stitching:

  • Depending on the waistband: 1/2″ from the top edge
  • 2″ from each side seam
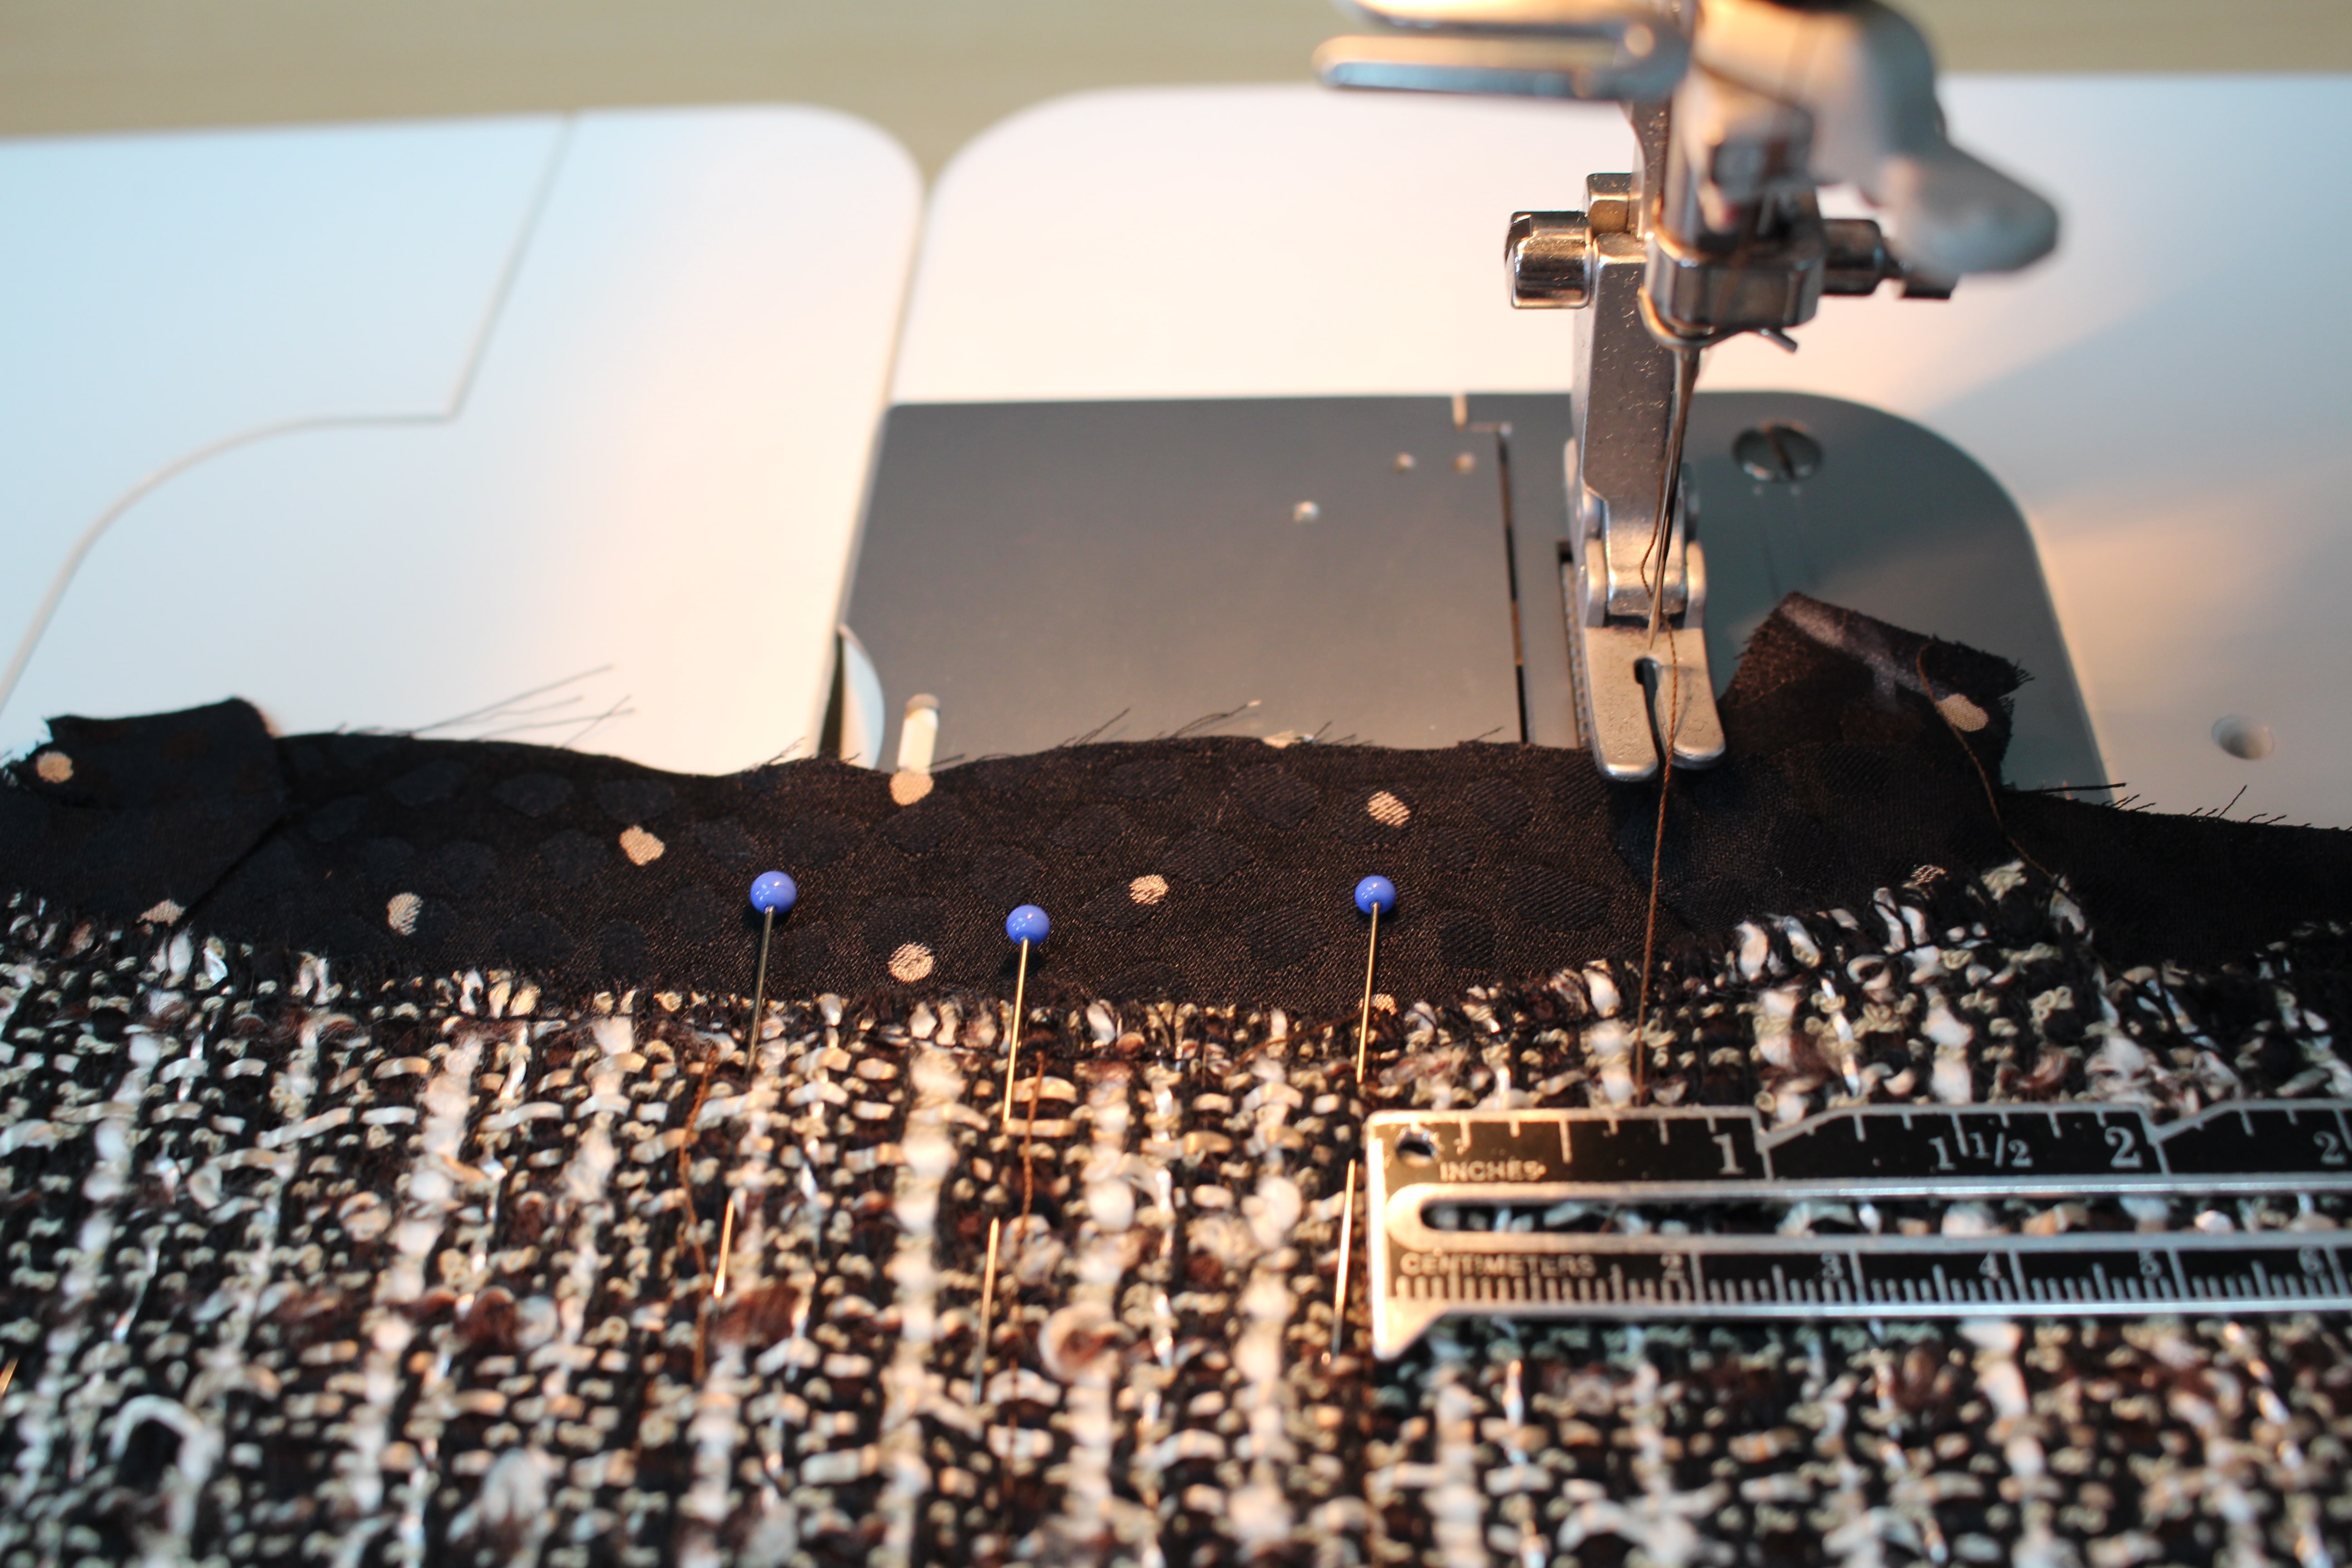
  • 2″ from the top of the fringe hemline


Quilting the Lining

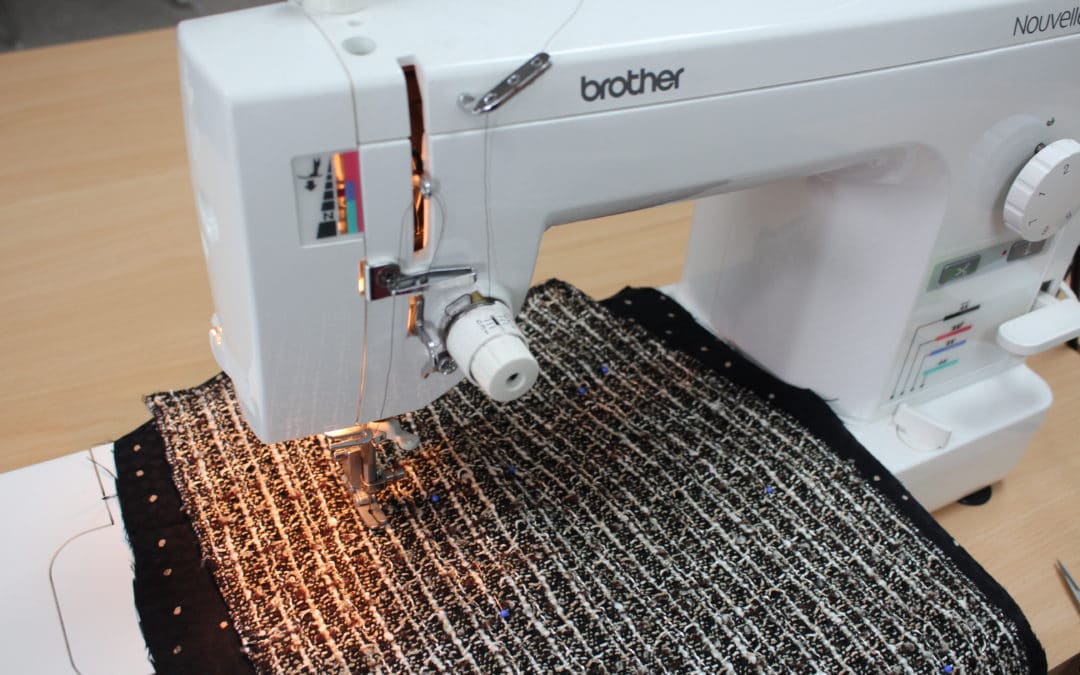
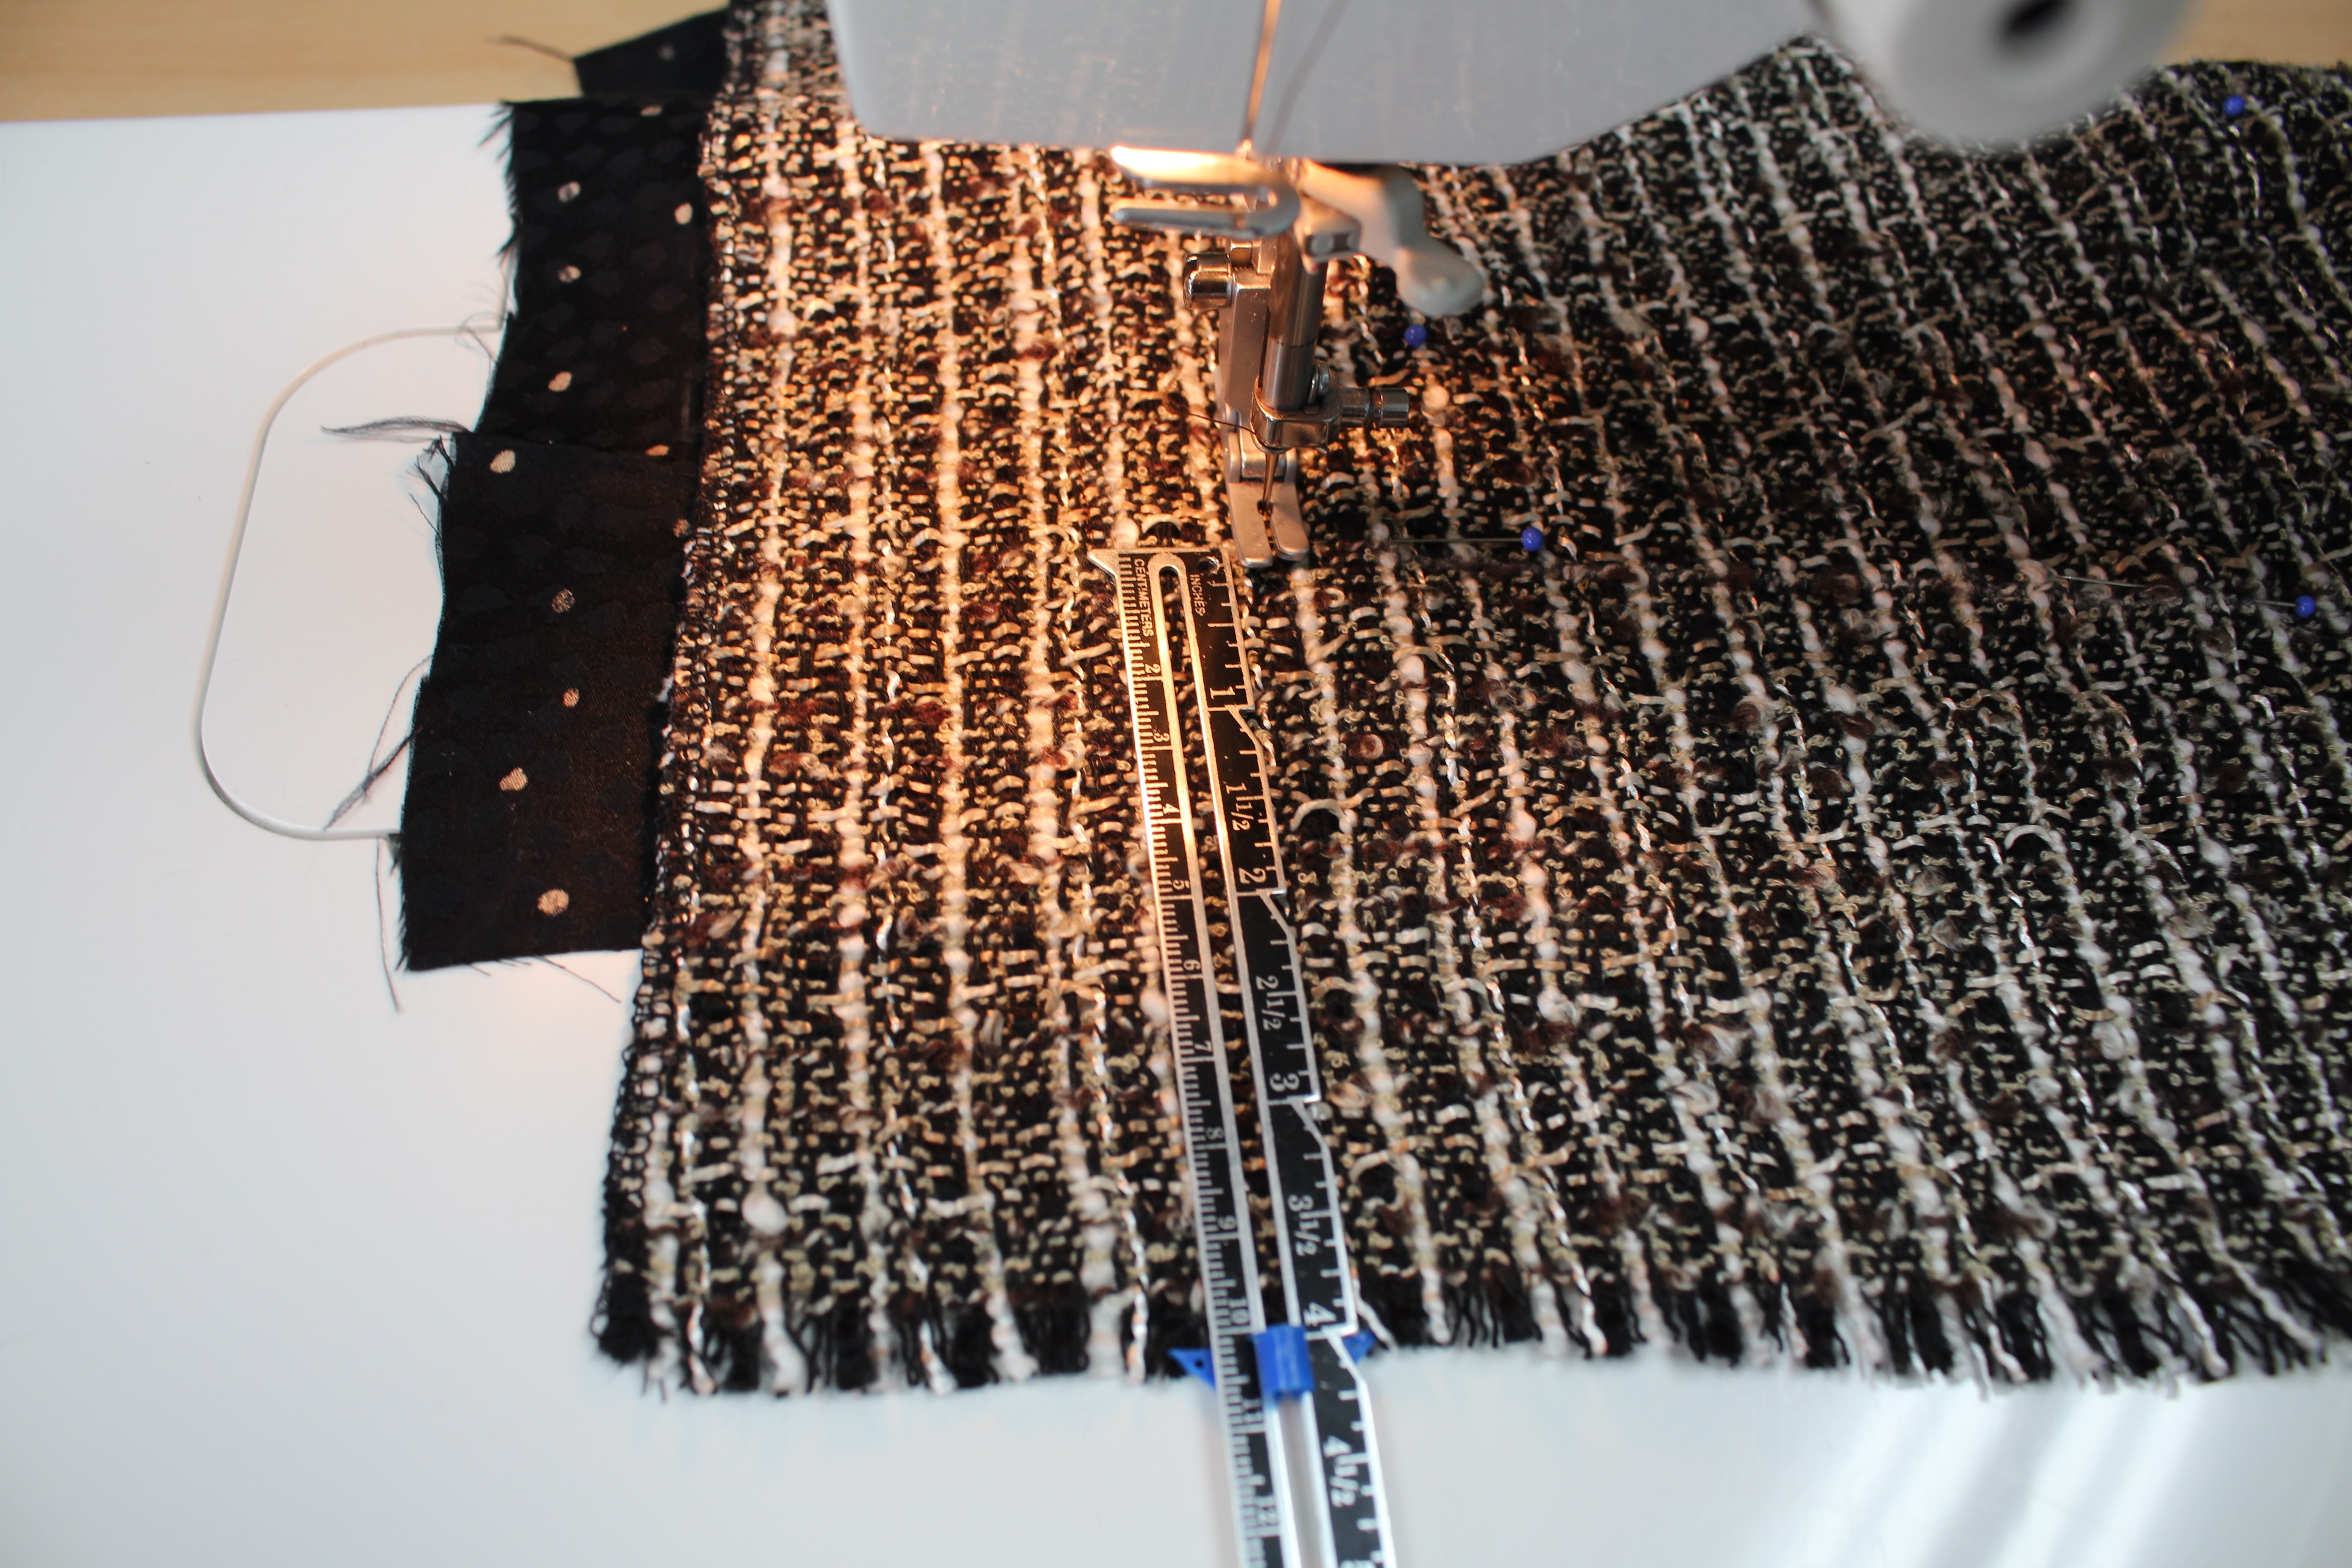
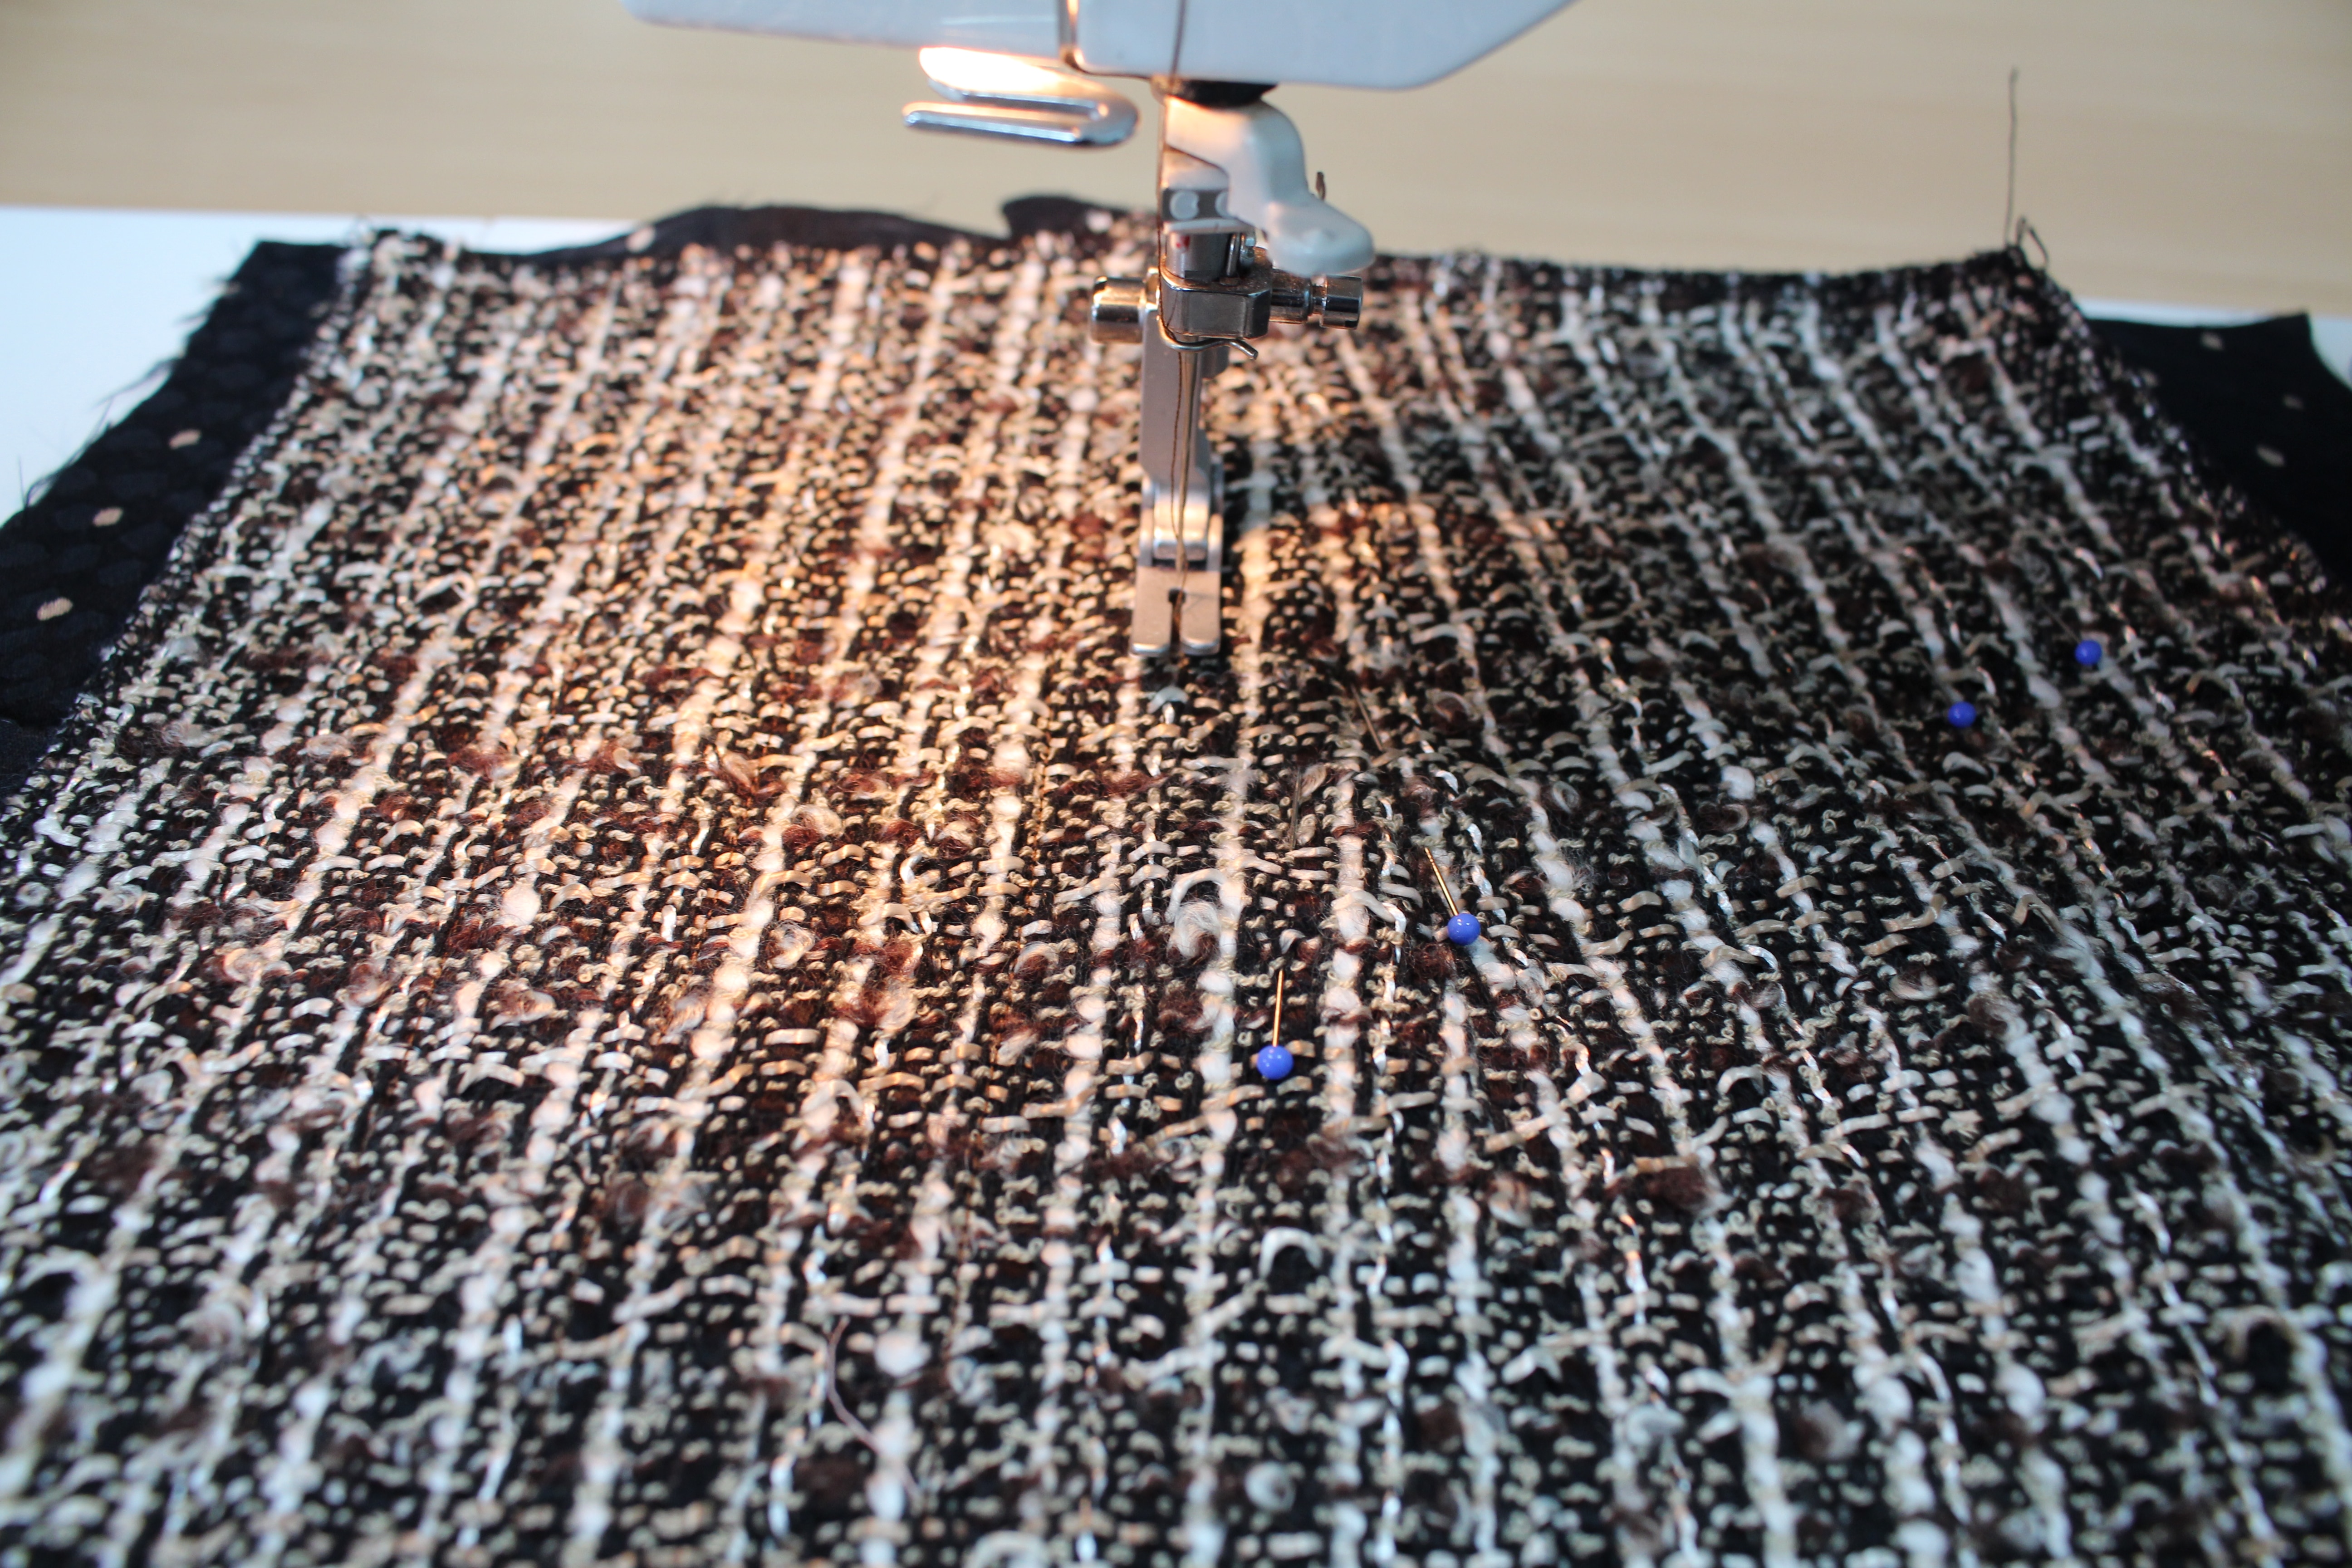
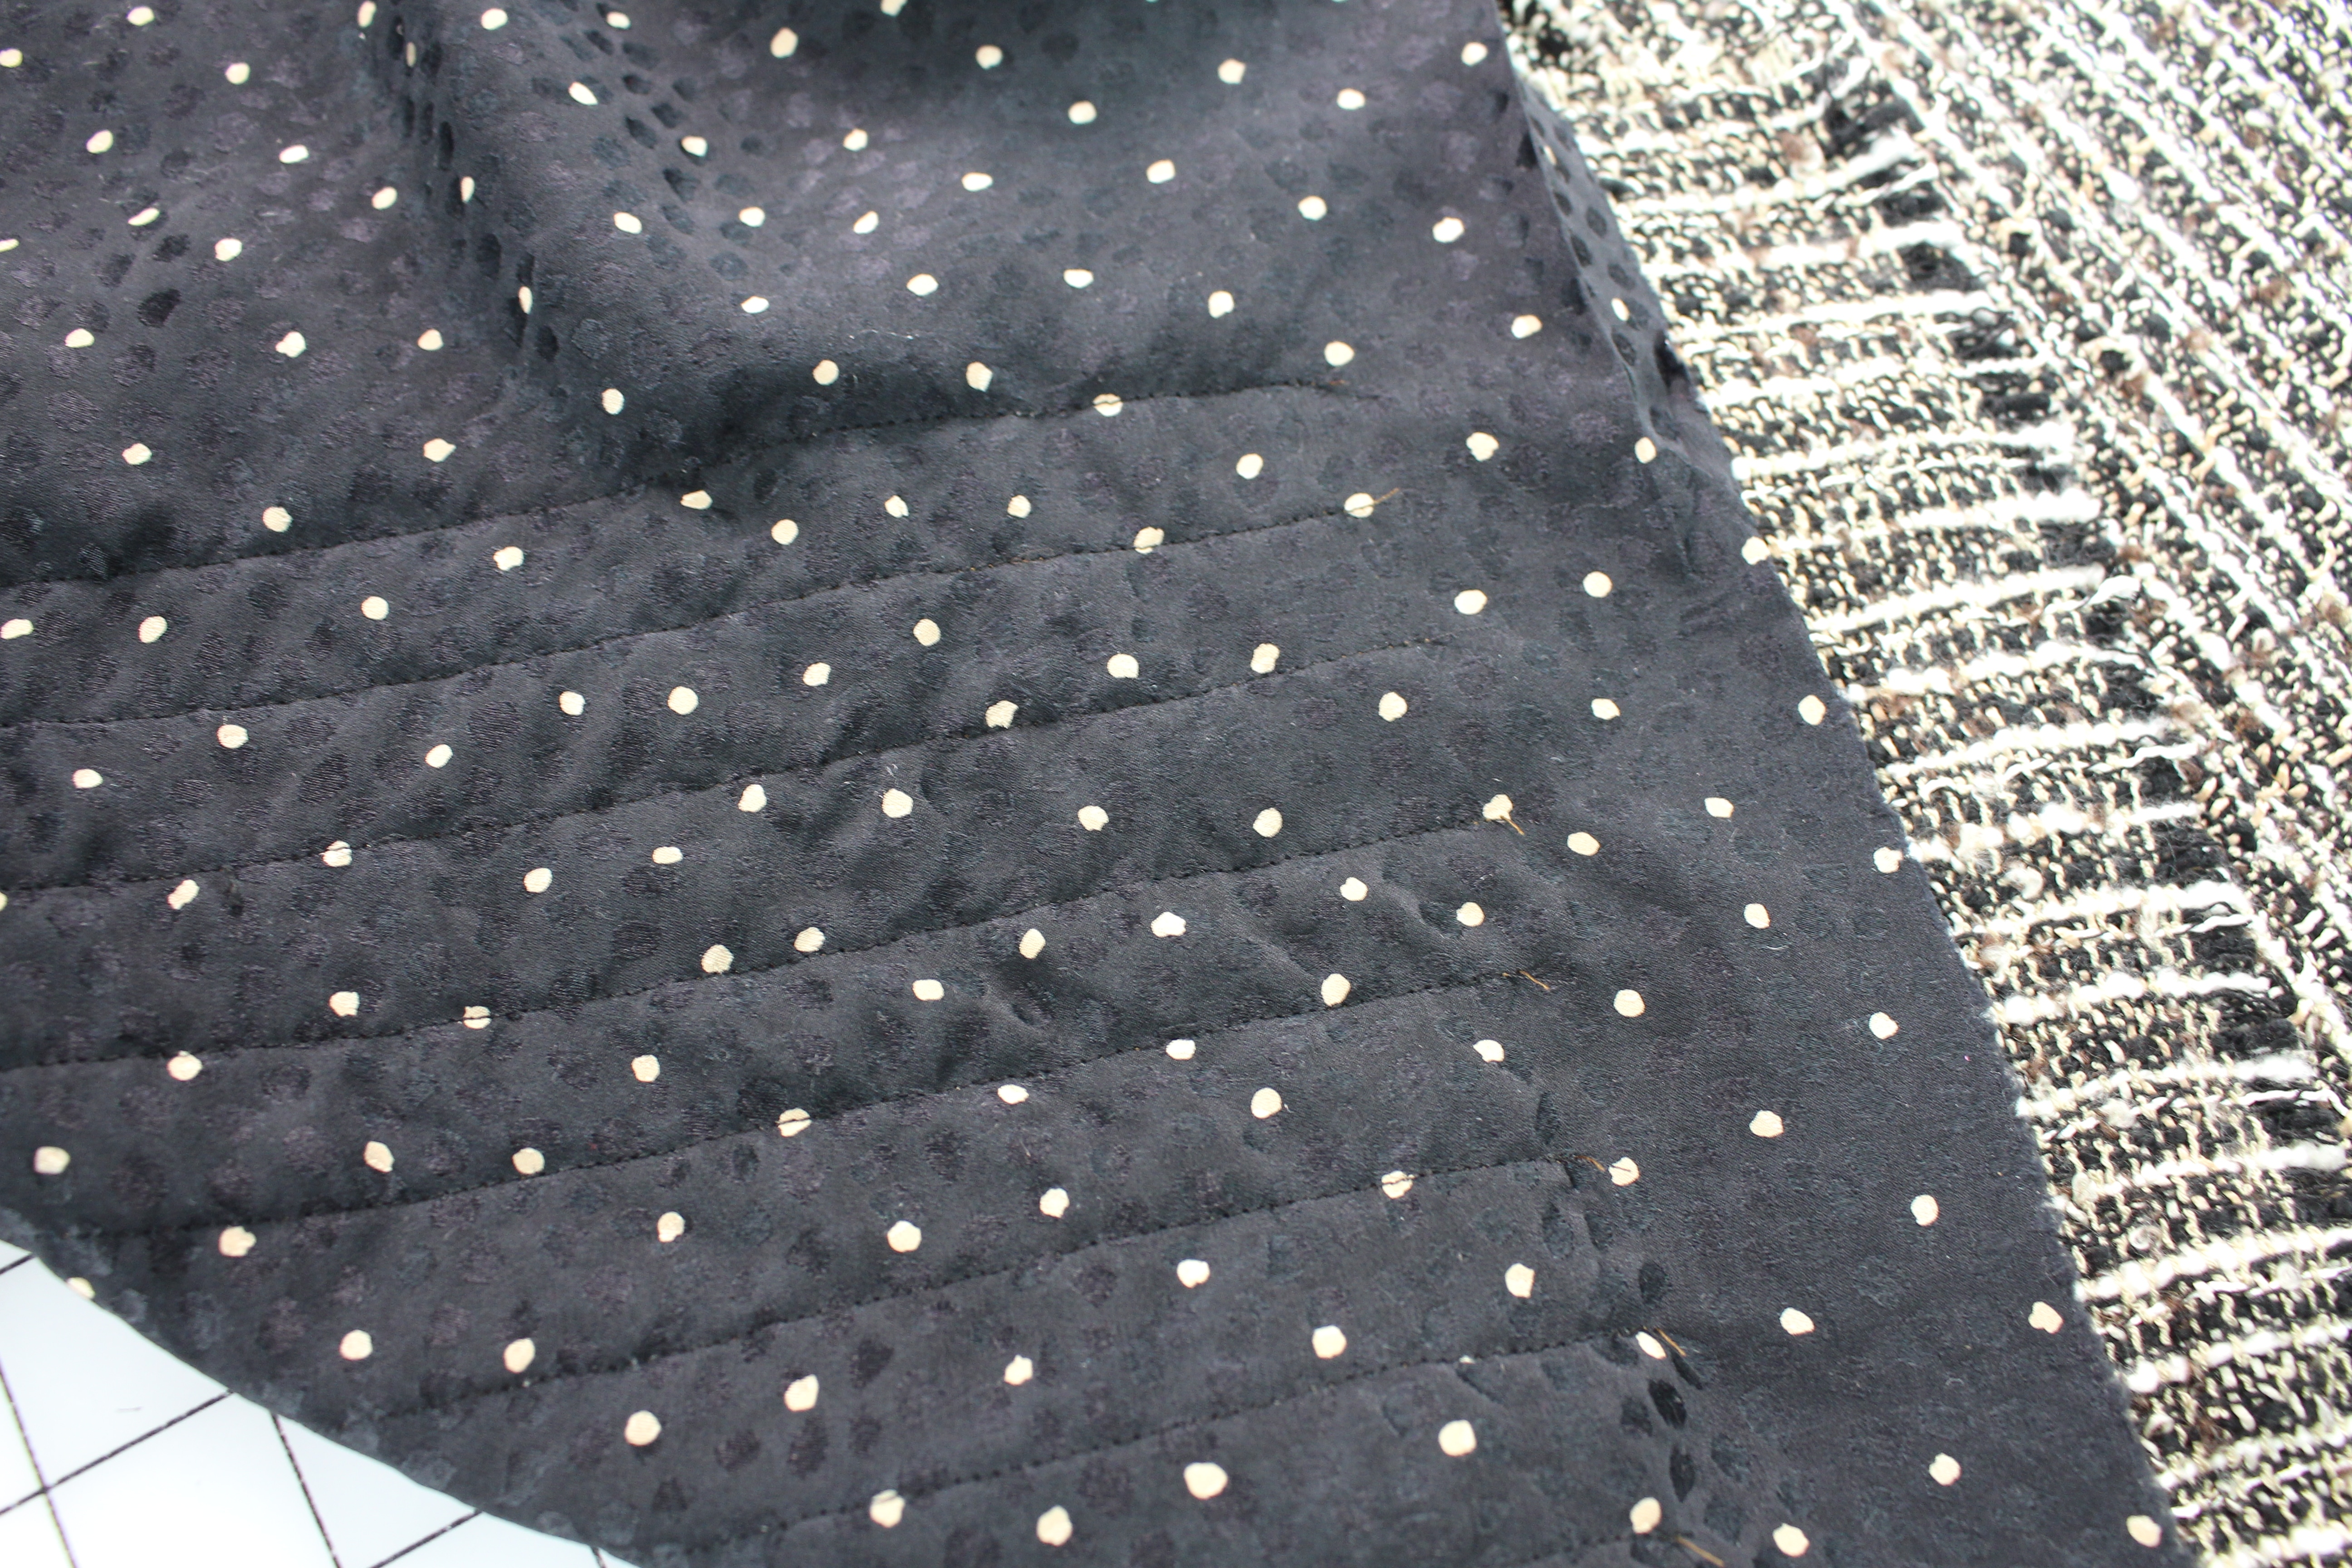
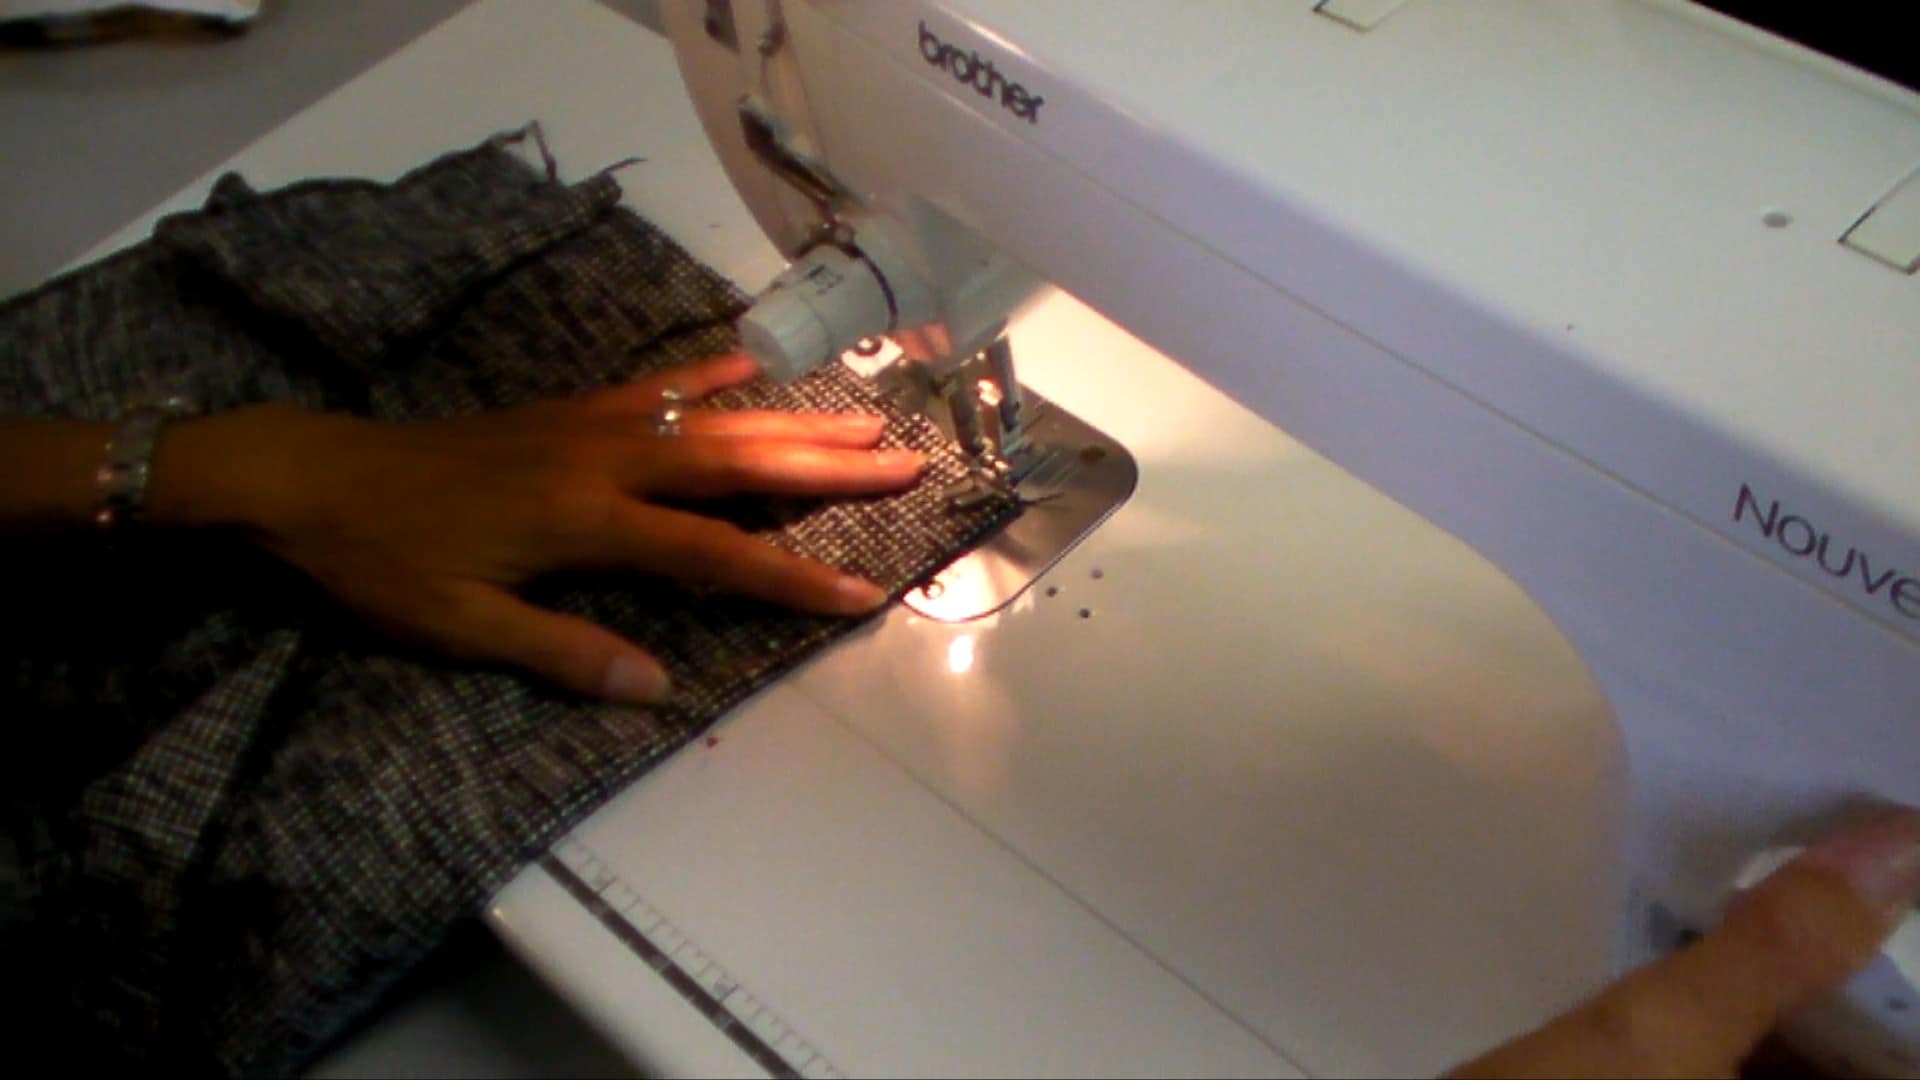
Starting at the top of the waistline in the center of the skirt, line up the needle with the grainline and stitch from the top of the skirt down.  I am using a stitch length of 2.5.

Stop the stitching 1″ to 2″ higher than the top of the fringe placement

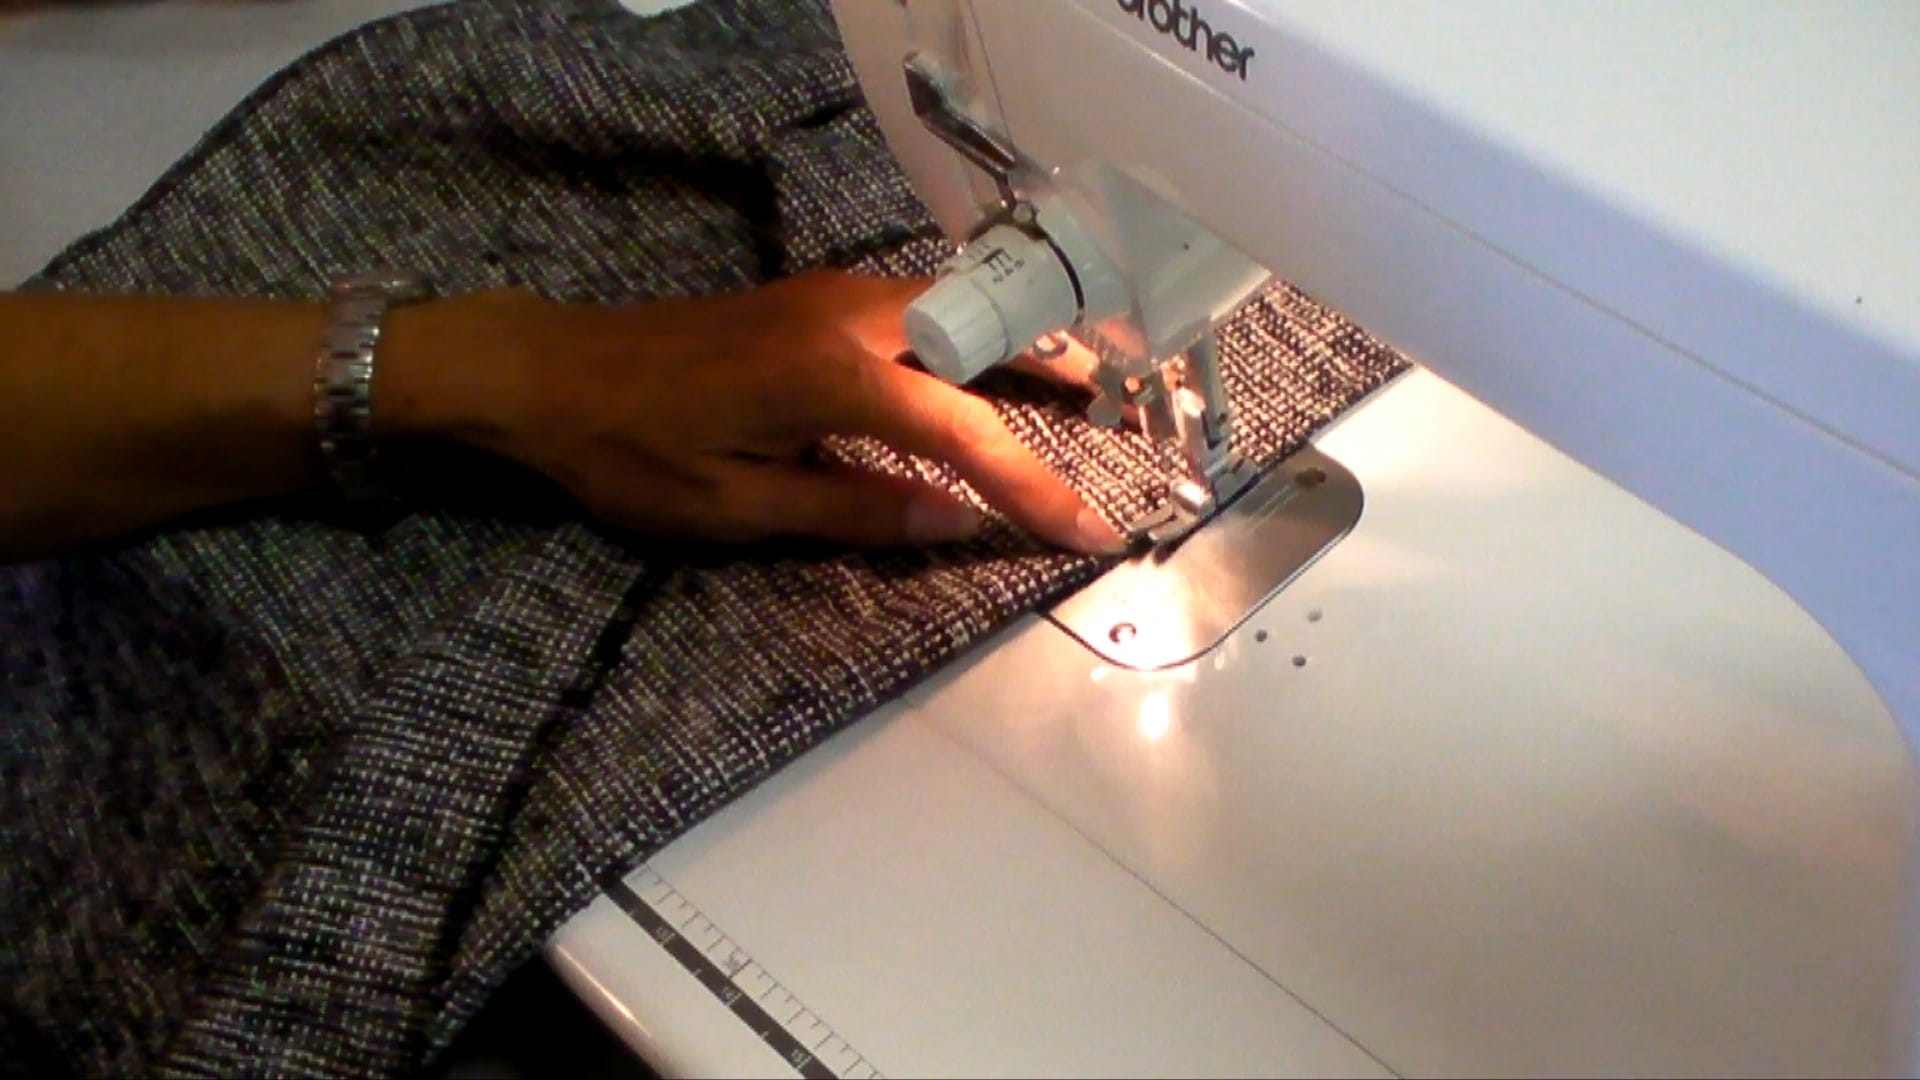
Continue to stitch parallel rows 1/2″ to 1″ apart, depending on the fabric design.

Stitch around the darts; stopping or starting the stitches around the dart, not through the dart.

Do not quilt rows within 2″ of the side seam.  This leaves room to sew the seams together and press the seam allowances open.

Quilt the front and both side back pieces


So what do you think – are you going to try this touch of couture on your next tweed skirt?

Let me know your thoughts in the comments below and don’t forget to join the Angela Wolf Patterns Private Facebook Group to share photos, ask questions, and share ideas with your fellow sewer’s!

Cheers,

The Sewalong Schedule:

  1. Fabric & Sourcing (February 10. 2017)
  2. Fitting & Patternhacking  (February 16. 2017)
  3. Cutting & Prep  (February 21. 2017)
  4. All About Darts  (February 23. 2017)
  5. Quilting the Lining  (February 28. 2017)
  6. Invisible Zipper’s  (March 2. 2017)
  7. Waistbands  (March 7. 2017)
  8. Hemming & Fringe  (March 9. 2017)
  9. Show off in the Angela Wolf Facebook Group! 
SHANNON FABRIC GIVEAWAY!

SHANNON FABRIC GIVEAWAY!

SHANNON FABRIC GIVEAWAY! Are you looking for an amazingly SOFT fabric?!?  SHANNON FABRICS was a sponsor on It's Sew Easy tv and continues to inspire us with gorgeous fabrics.  This new batch of fabric is called LUXE CUDDLE and the colors are so fun!  If you look...
Fringe Skirt Sewalong Part 4: Sewing & Fitting Darts

Fringe Skirt Sewalong Part 4: Sewing & Fitting Darts

Darts have a unique role in clothing.  The obvious reason for adding darts would be for fitting purposes, but they are also used as a design element.  After you try on your muslin, you might find that you need to add additional darts to the front or back waist – this is common if you have a tiny waist.

Any easy way to determine if you will need to add darts is to measure your waist and hips.  A standard pattern will have the waist and hips with a 10 inch difference.

For example:  your natural waist measurement is 26″ and your hips are 40″

A standard pattern would have 40″ hips with a 30″ waist, you would probably need to add 2 darts in order to take in that extra 4″ or your waistband would have a big gap.  Get the idea 🙂

TRANSFERRING DARTS TO THE FABRIC


  • Start by clipping small notches at the waistband at each dart location: a snip at each dart opening.


  • Place a pin through all the layers of muslin and fabric at the tip of the dart


  • On the wrong side of the fabric, find the pin marking the tip of the dart


  • Fold the fabric with right sides together at the dart location


  • Match up the snips at the waistline


Sewing the Darts


  • Start stitching at the largest part of the dart


  • When you get toward the tip of the dart, instead of back-stitching, shorten the stitch length and stitch.  This is less bulk than back-stitching.


Pressing Darts

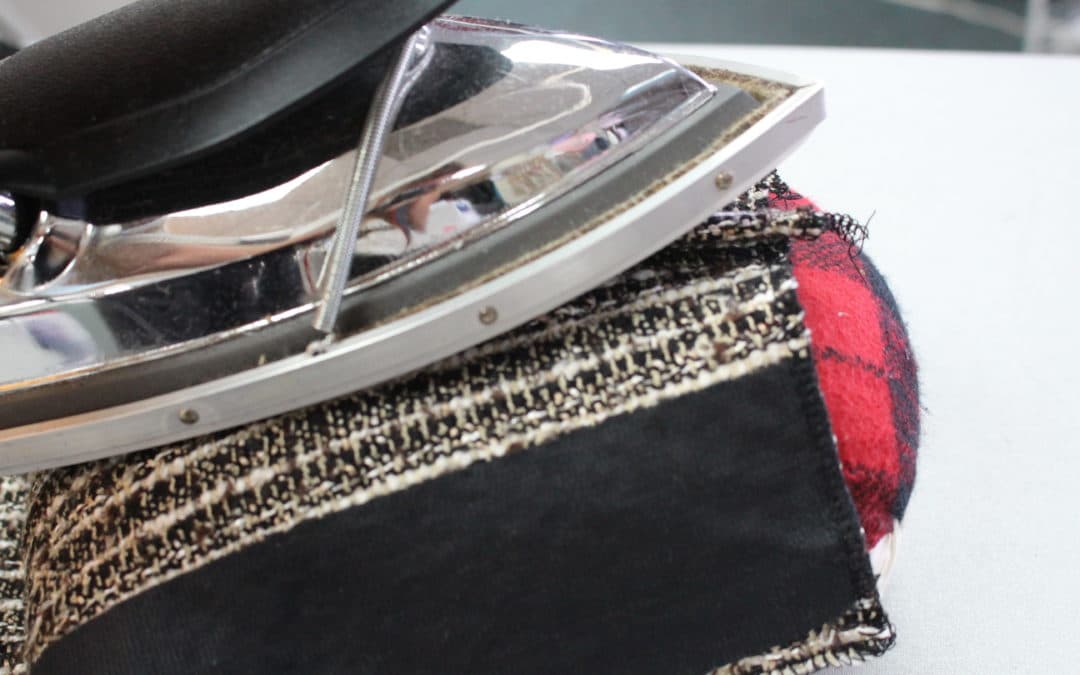
Pressing is the most important part of sewing!  Here is a “Dressmaker Ham”.   On the main side of the pressing ham, the curve matches the curve of a dart.  Why not just press the dart flat on the ironing board?  Because the point of the dart is to accommodate your curves, so you need to press the same curve. Remember to use a lot of steam and the tailors clapper for a crisp edge.

Angela Wolf’s Weekly Facebook Live Show … Lets Talk Dart’s

In case you missed last week’s show, I discussed fitting darts on a dress form and couture sewing tips for altering the curve of the dart for your shape. Click on the video below …

Fringe Skirt Sewalong

It’s not too late to join the fringe skirt sewalong!  Here is the full list of lessons.  See you in the Angela Wolf Facebook Group for comments and questions!  Can’t wait to see your skirts coming together!!!

Cheers,

<div id="fb-root"></div><!-- [et_pb_line_break_holder] --><script>(function(d, s, id) {<!-- [et_pb_line_break_holder] --> var js, fjs = d.getElementsByTagName(s)[0];<!-- [et_pb_line_break_holder] --> if (d.getElementById(id)) return;<!-- [et_pb_line_break_holder] --> js = d.createElement(s); js.id = id;<!-- [et_pb_line_break_holder] --> js.src = "//connect.facebook.net/en_US/sdk.js#xfbml=1&version=v2.8&appId=750948031719233";<!-- [et_pb_line_break_holder] --> fjs.parentNode.insertBefore(js, fjs);<!-- [et_pb_line_break_holder] -->}(document, 'script', 'facebook-jssdk'));</script>
<div class="fb-video" data-href="https://www.facebook.com/AngelaWolfCouture/videos/1444612045569239/" data-width="500" data-show-text="true"><blockquote cite="https://www.facebook.com/AngelaWolfCouture/videos/1444612045569239/" class="fb-xfbml-parse-ignore"><a href="https://www.facebook.com/AngelaWolfCouture/videos/1444612045569239/">Let's Talk Darts!</a><p>Angela Wolf's Live Facebook Show - Let's Talk Darts</p>Posted by <a href="https://www.facebook.com/AngelaWolfCouture/">Angela Wolf</a> on Friday, February 24, 2017</blockquote></div>

The Fringe Skirt Sewalong Schedule:

  1. Fabric & Sourcing (February 10. 2017)
  2. Fitting & Patternhacking  (February 16. 2017)
  3. Cutting & Prep  (February 21. 2017)
  4. All About Darts  (February 23. 2017)
  5. Quilting the Lining  (February 28. 2017)
  6. Invisible Zipper’s  (March 2. 2017)
  7. Waistbands  (March 7. 2017)
  8. Hemming & Fringe  (March 9. 2017)
  9. Show off in the Angela Wolf Facebook Group! 
TUTORIAL: HOW TO THREAD THE BROTHER DOUBLE SIDED COVERSTITCH MACHINE CV3550

TUTORIAL: HOW TO THREAD THE BROTHER DOUBLE SIDED COVERSTITCH MACHINE CV3550

I was so excited to see this new double sided top coverstitch machine by Brother!  I can think of so many applications for these decorative stitches including sportswear, decorative stitching, chainstitch, hemming knits, and so much more.  I am going to...
Fringe Skirt Sewalong Part 3: Fabric Cutting & Layout

Fringe Skirt Sewalong Part 3: Fabric Cutting & Layout

Laying Out the Pattern & Fabric

We are onto step 3 of the Fringe Skirt Sewalong!  Laying out the pattern and cutting the fabric.  This step is one of the most important steps, because if the fabric is cut off-grain or the fringe cut with the wrong weave the skirt could end up being not so fabulous, if you know what I mean 🙂

Check the Fringe Layout


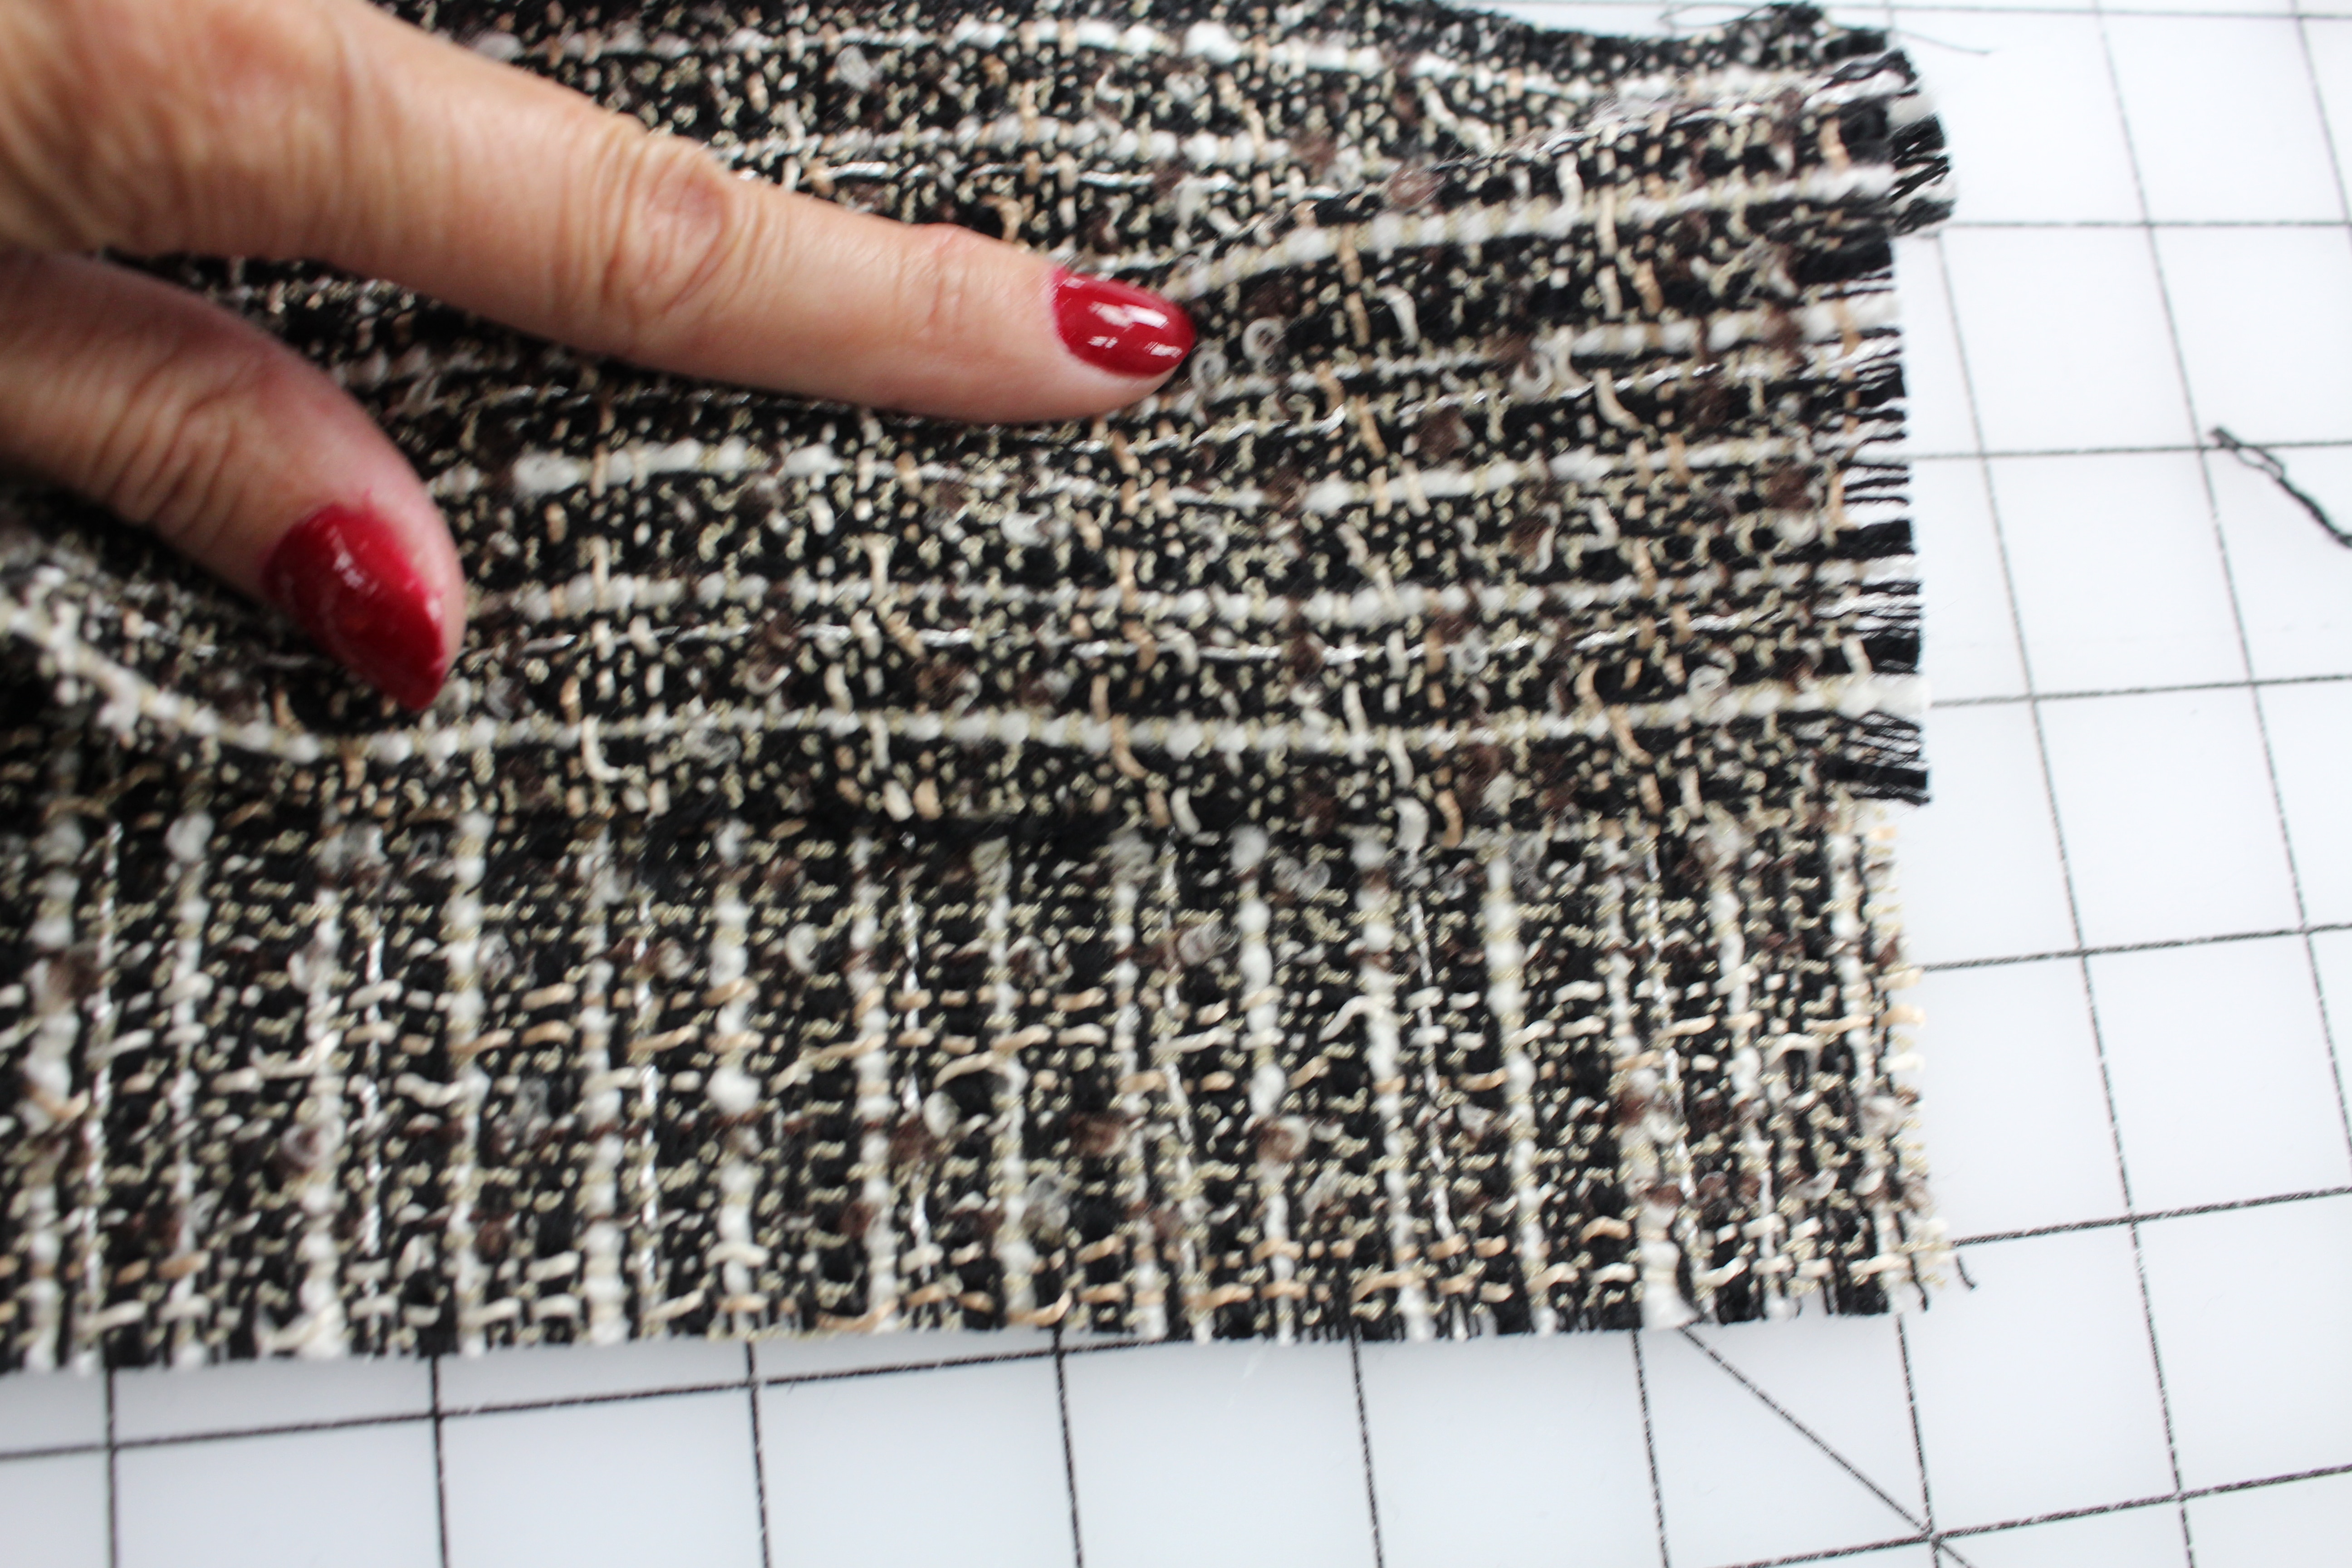
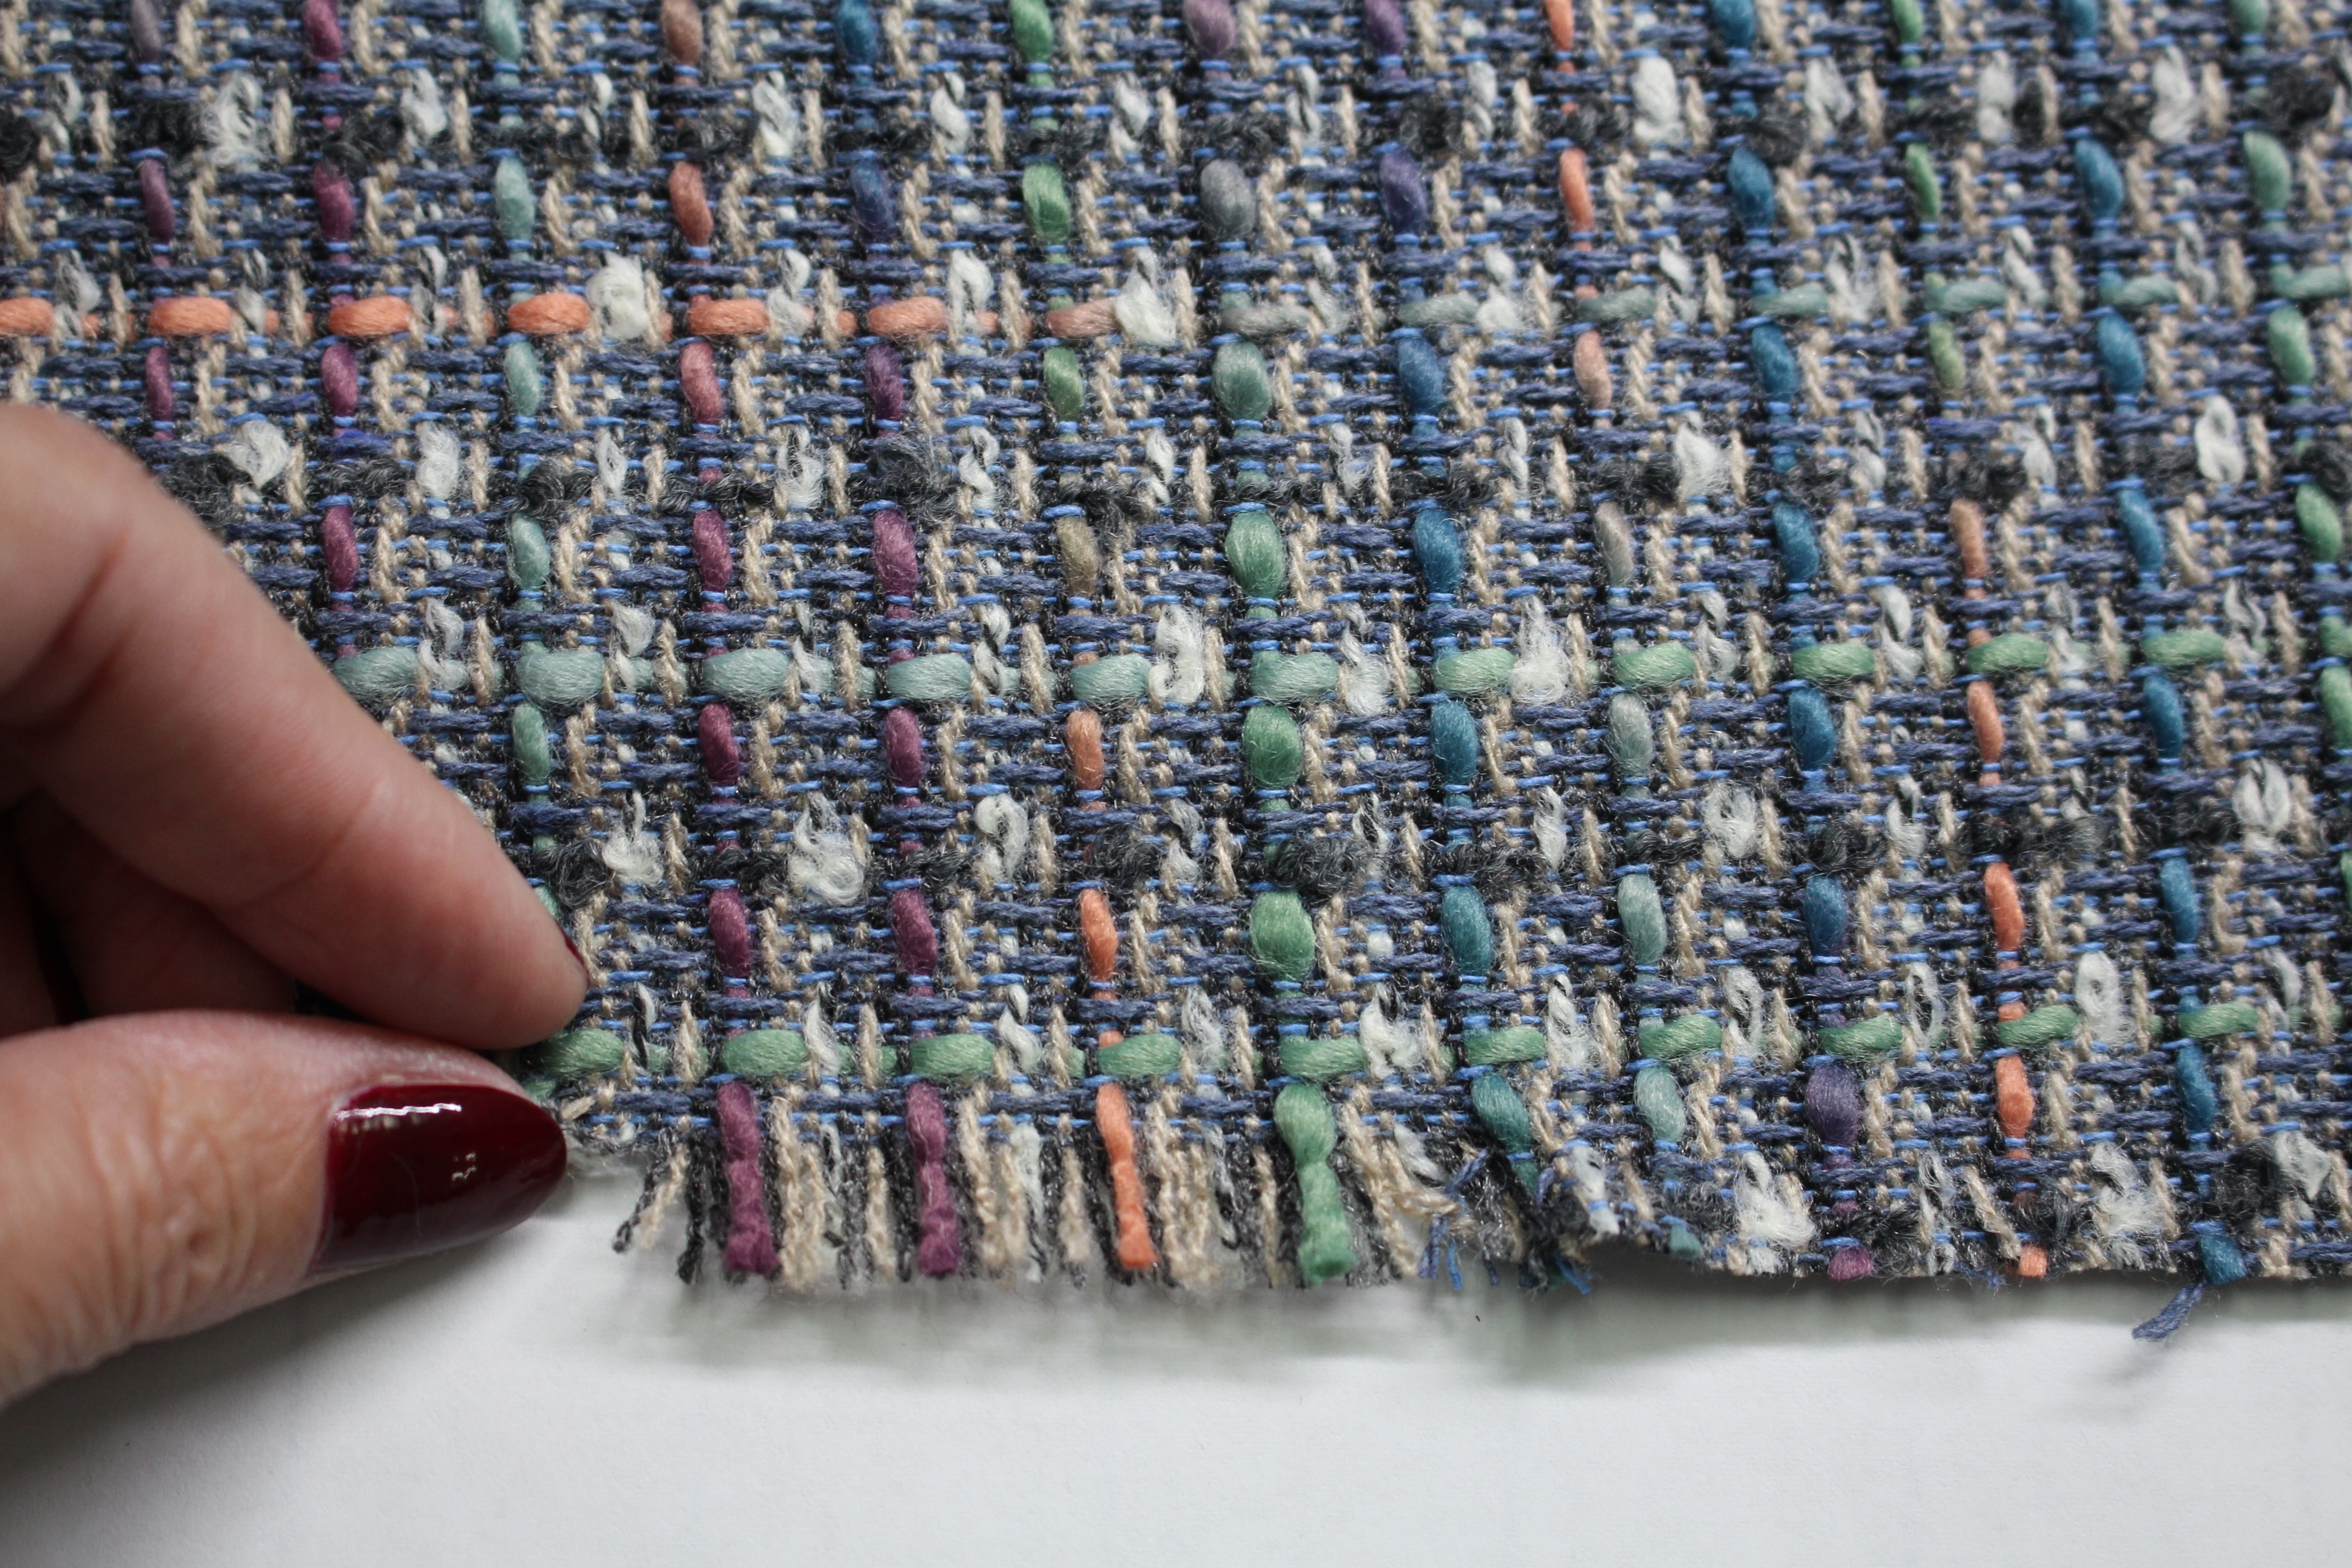
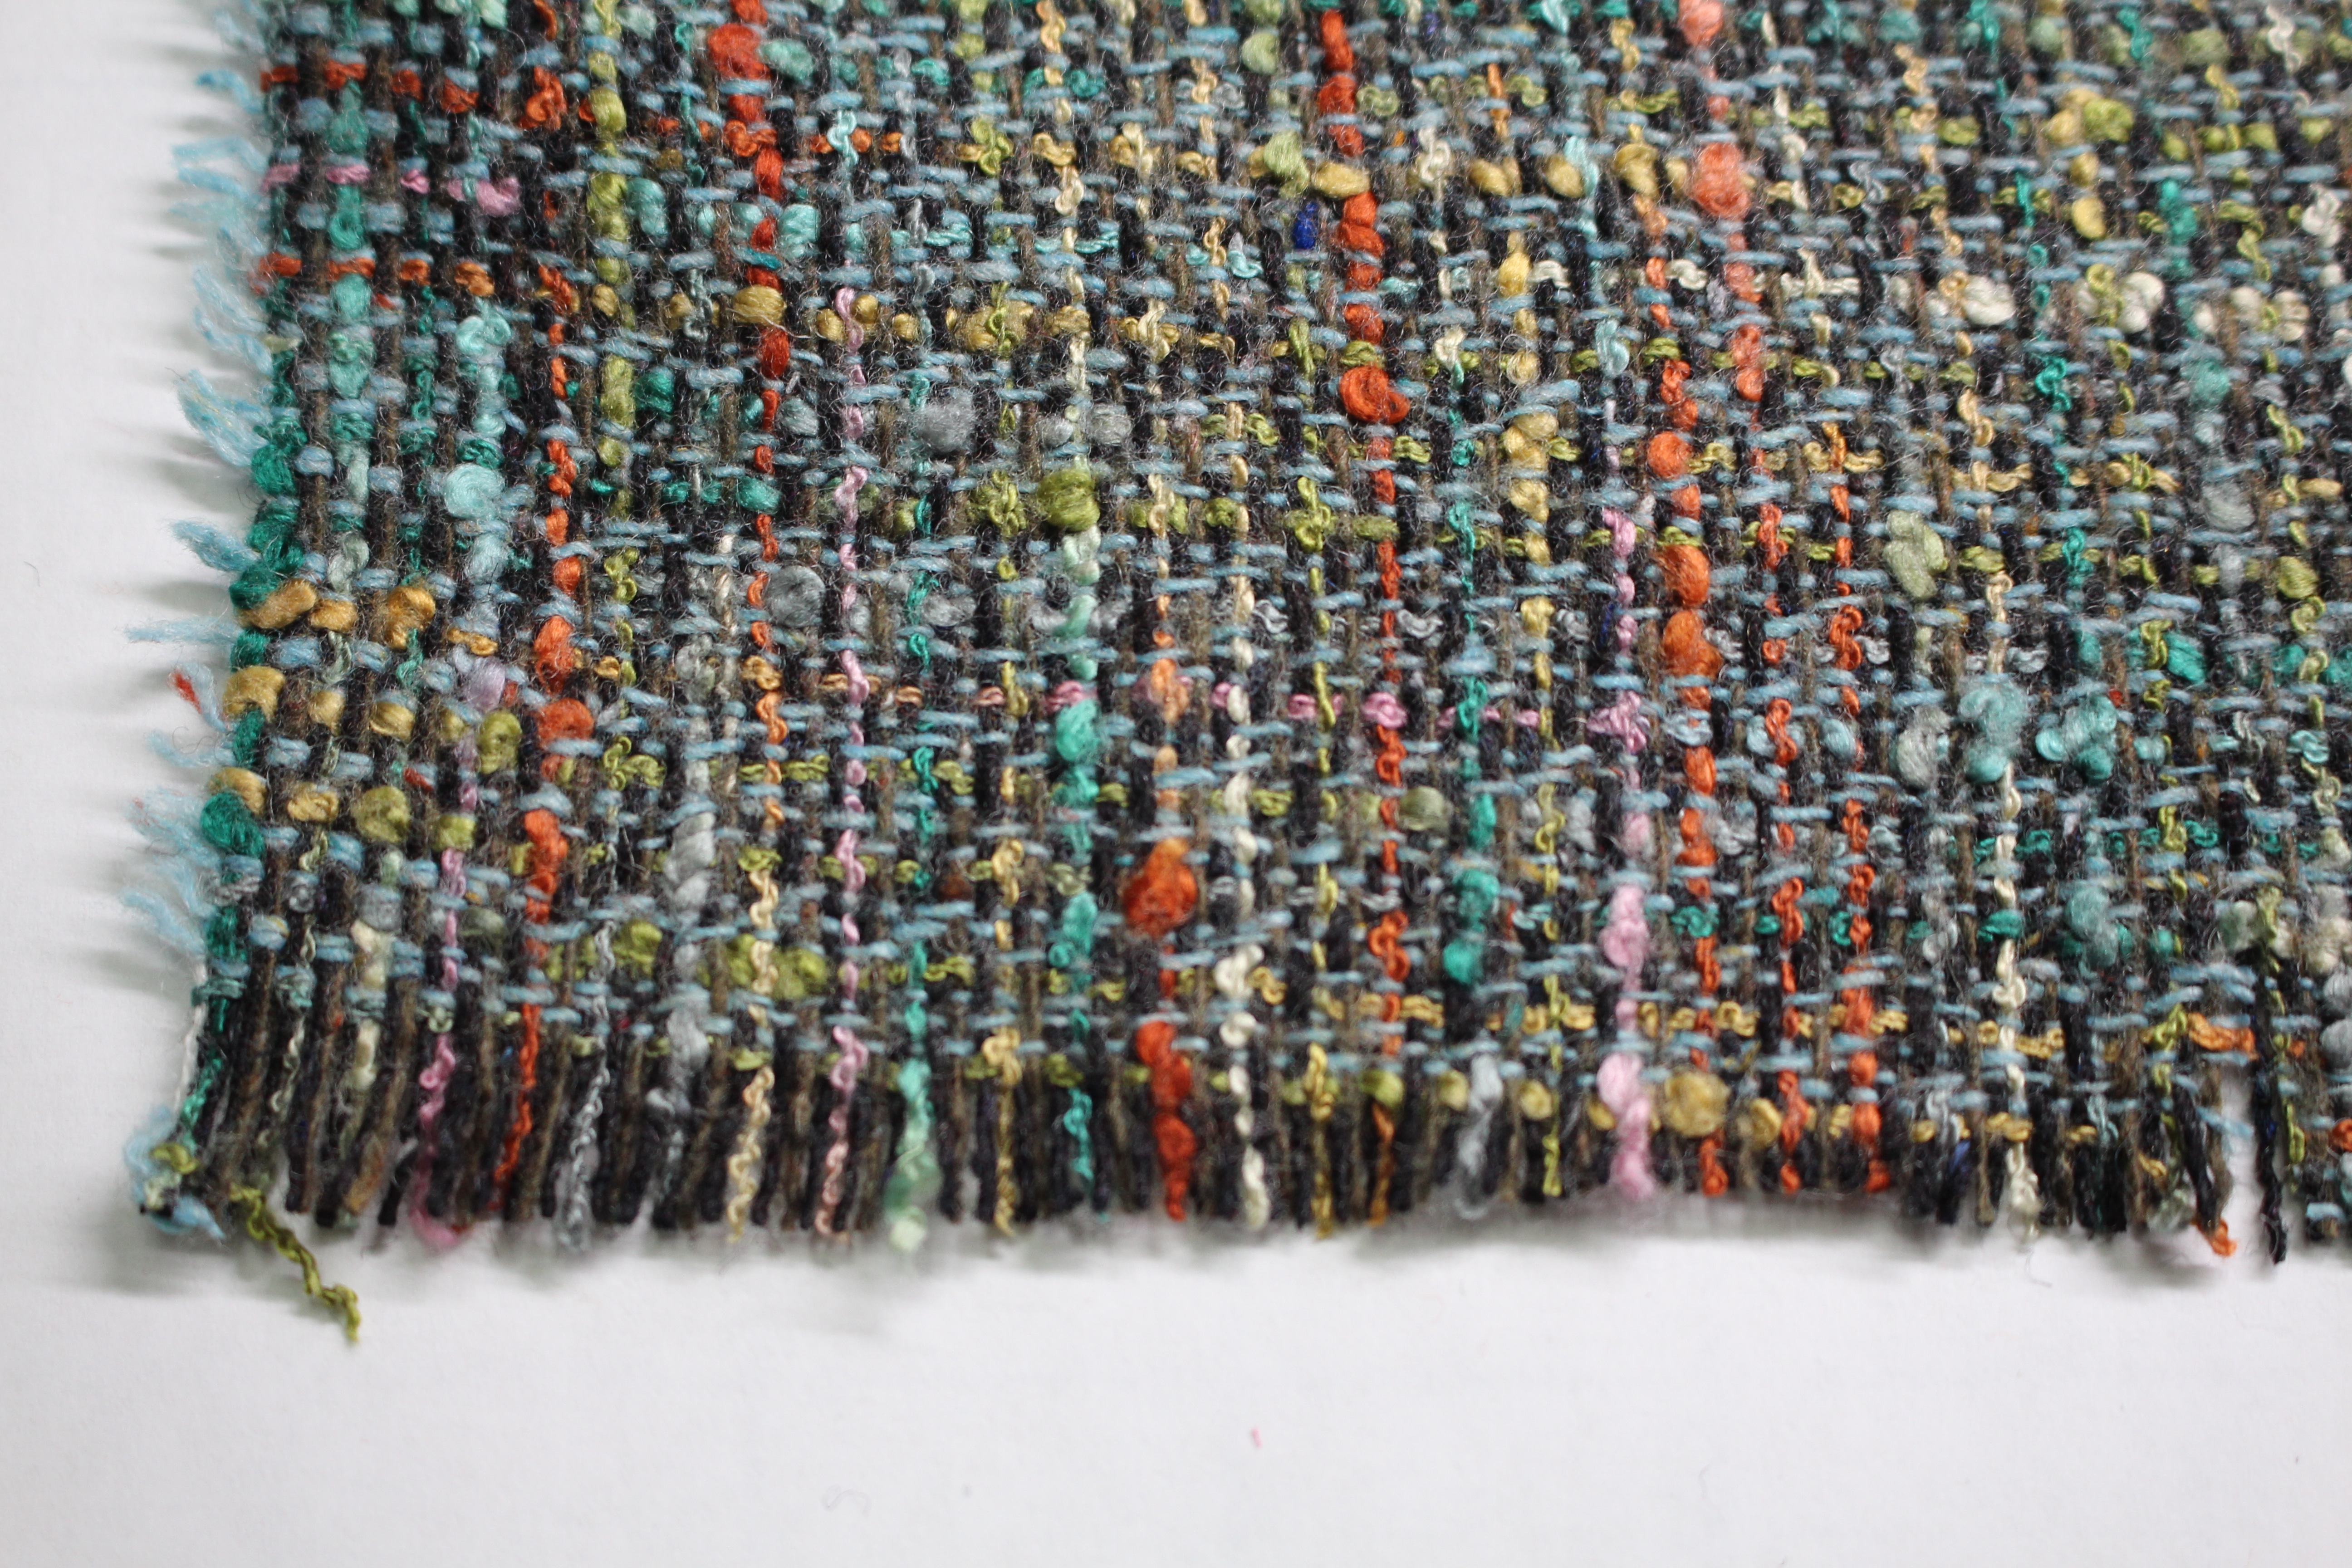
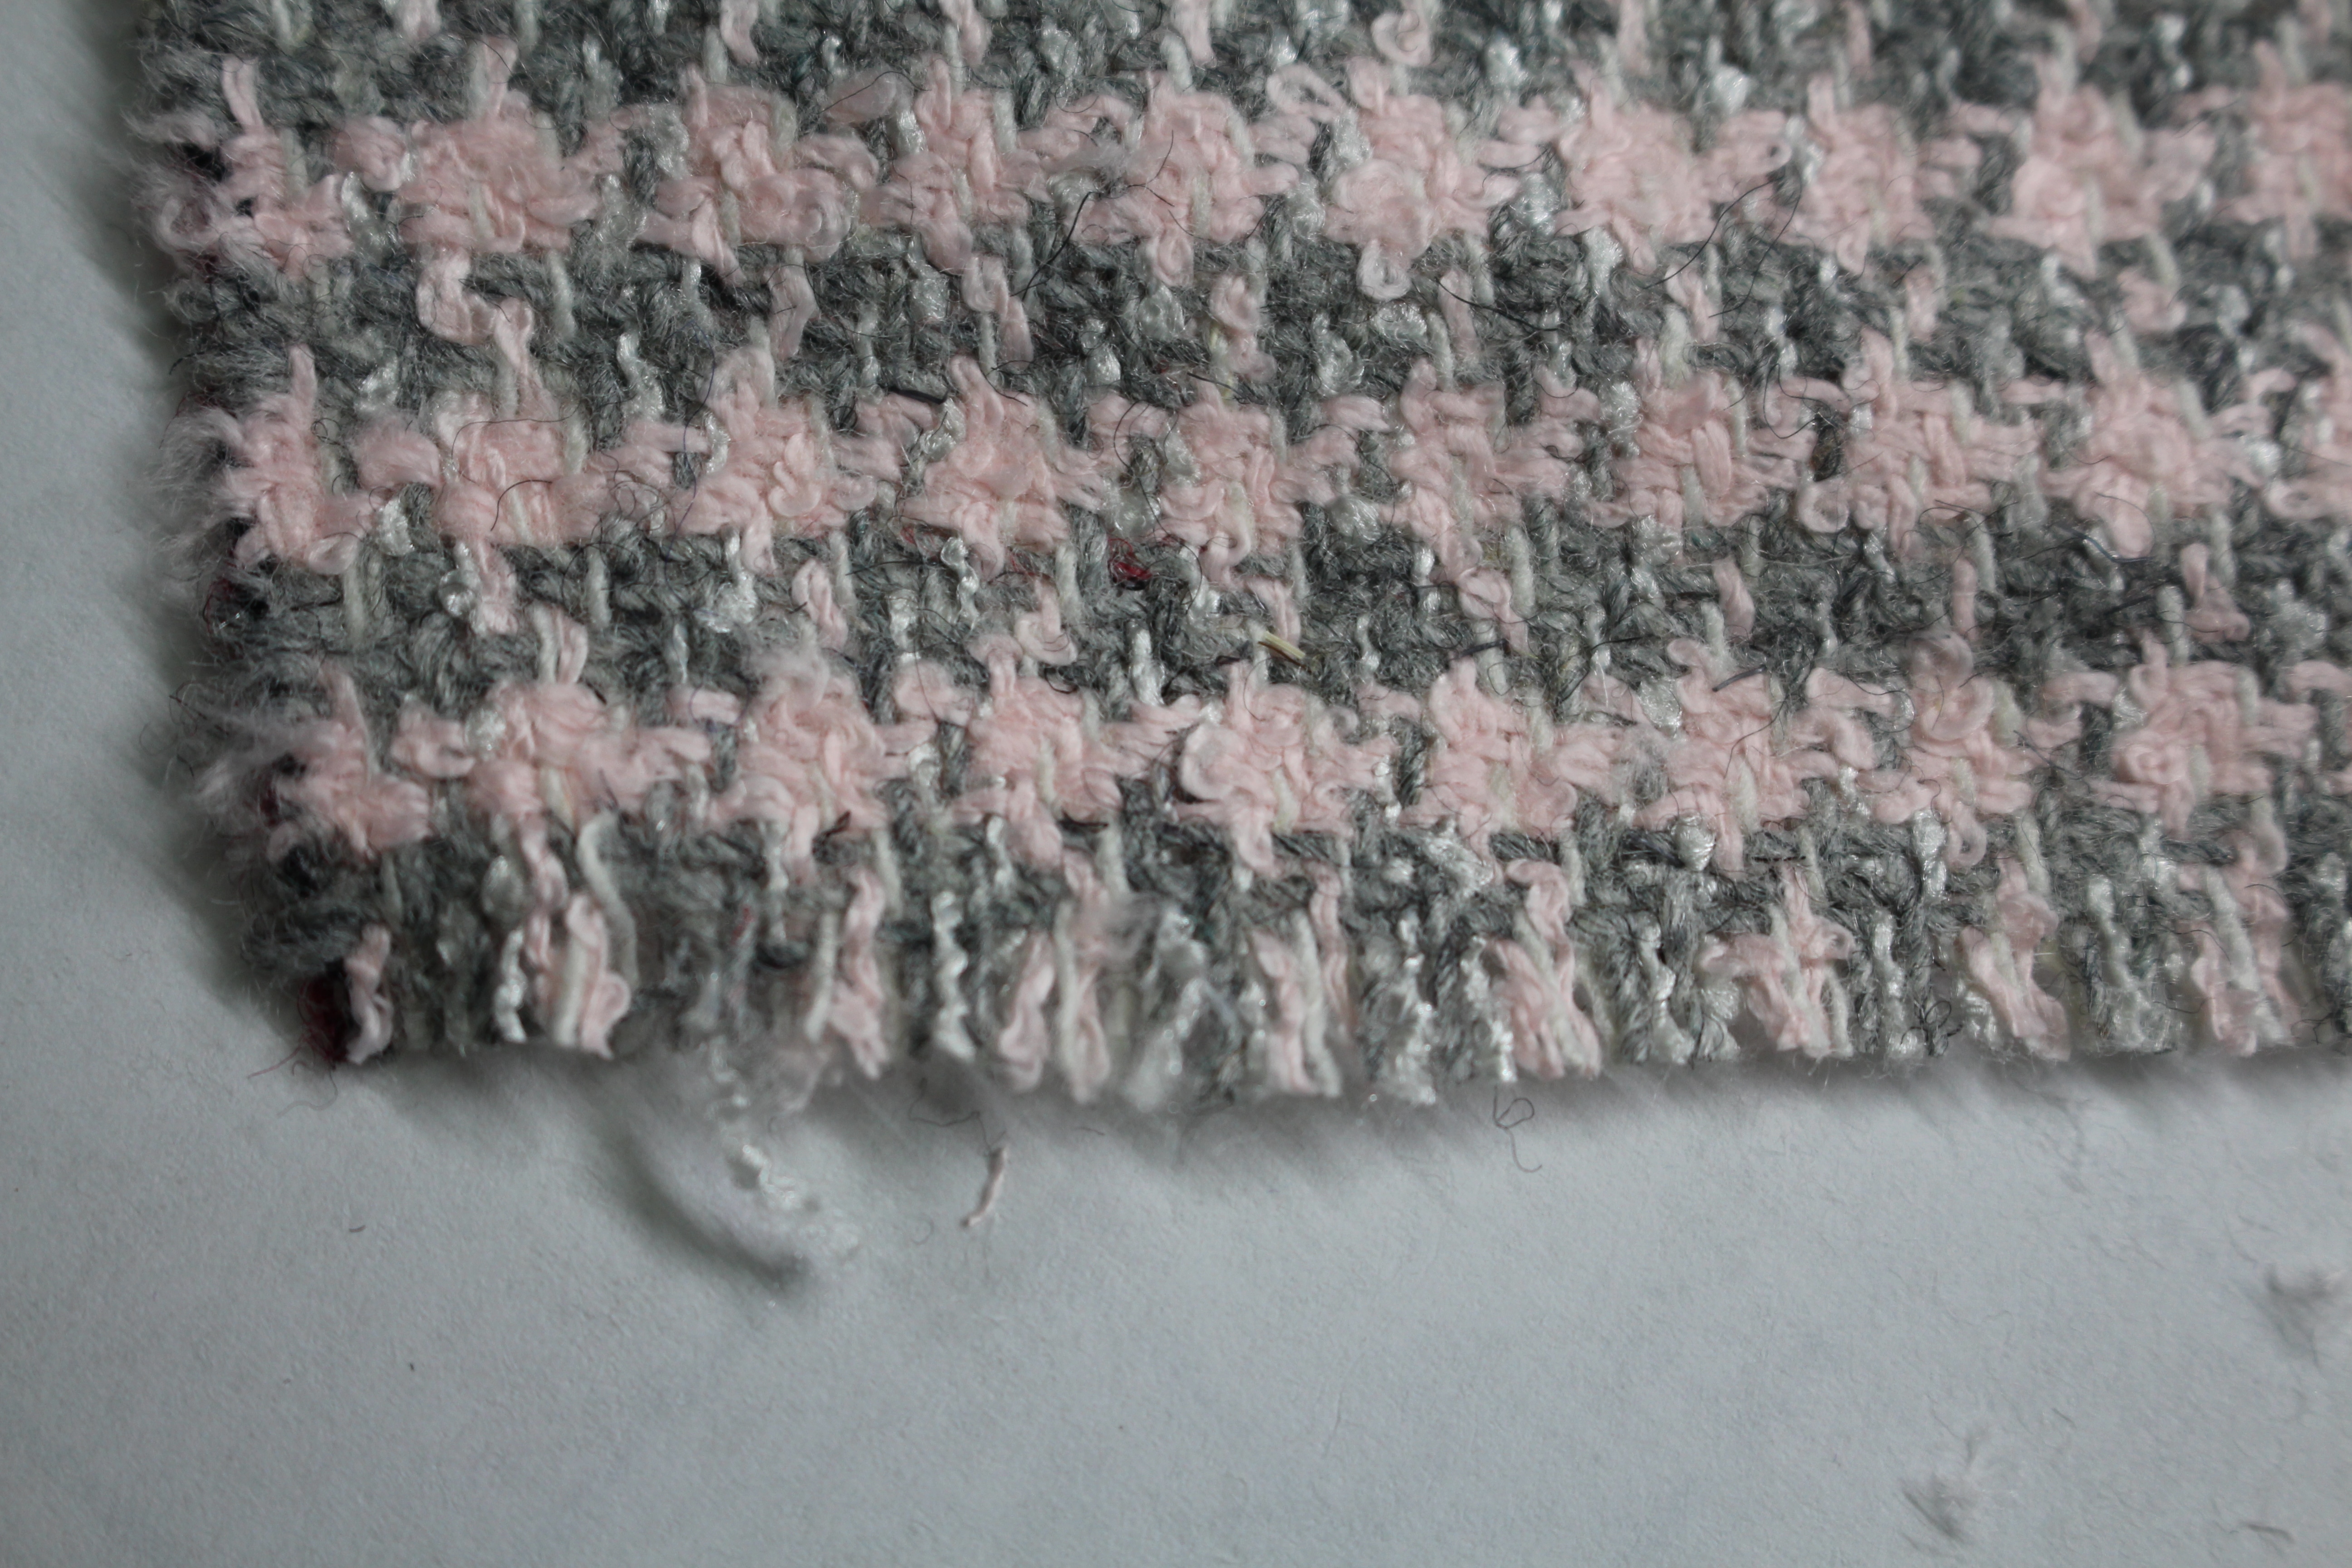
Check the fabric to see which side has the fringe edge you like the most.  Keep in mind this could be the crosswise grainline or lengthwise grainline, or combine them both. Pull away a few strands of the weave in the fabric to see what is left.  Is the fringe full, colorful, all one color … take a look at the samples below:


Keep in mind, the first layer of fringe is attached to the skirt, so layout the skirt pattern the direction where the tweed will look the best.

Laying out the Pattern

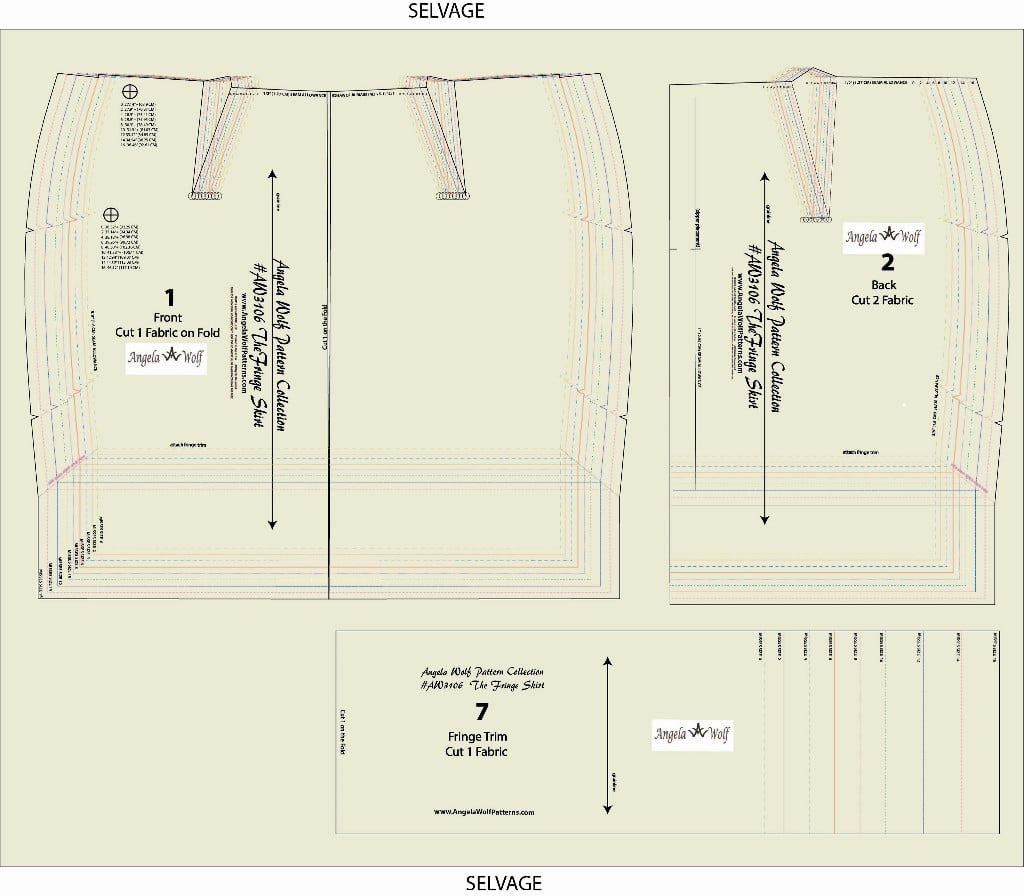
Layout the fabric in one layer (instead of folded).  This will allow you to make sure the grainline is straight and you won’t run the risk of the fabric shifting underneath.  An easy way to layout the pattern so the fabric patterns matches at the side seam is to line up the hemlines next to each other as shown below.


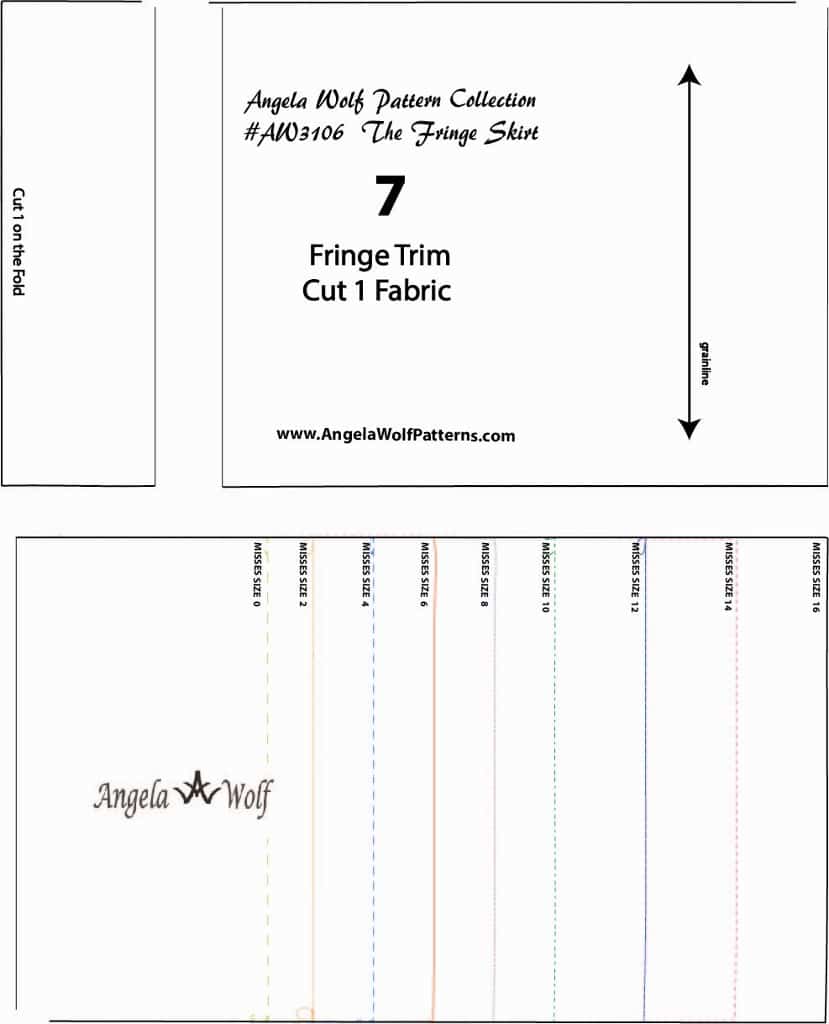
If you are short on fabric or find out you like the fringe cut in a different direction than expected, the fringe pattern piece can be cut into sections as long as you keep the length of the fringe.

Cutting the Lining – Quilted or Bagged Lining

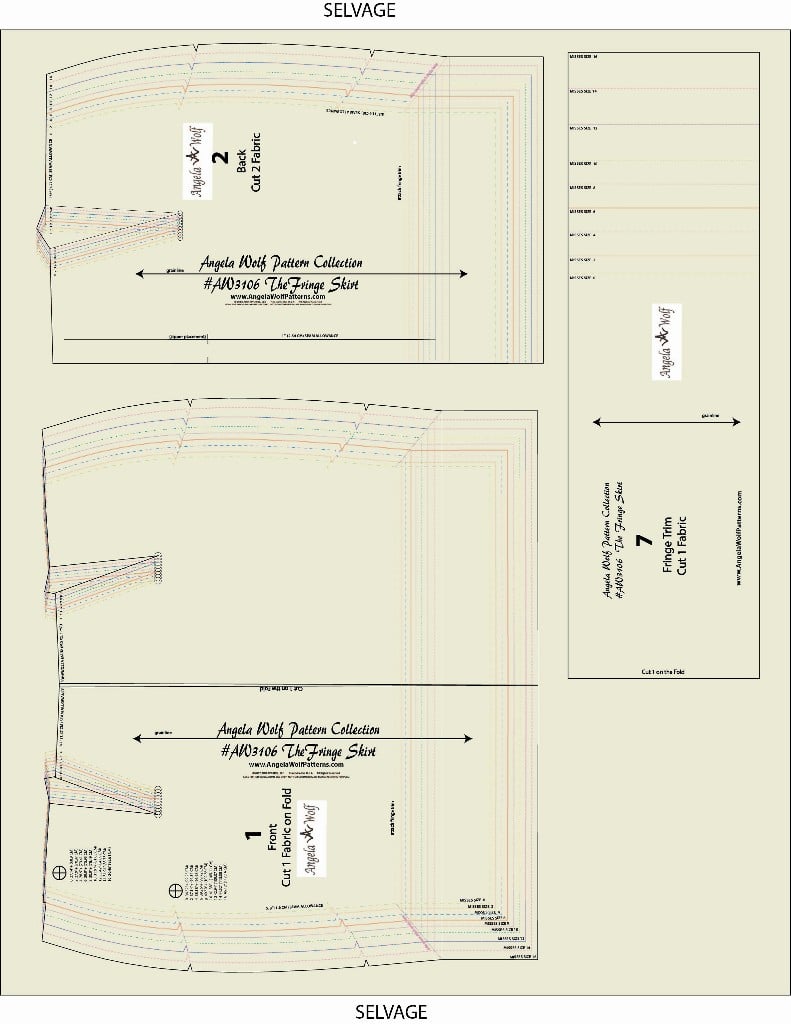
If you are sewing the skirt with a basic lining as the instructions with the pattern indicate, cut the #3 front and #4 back lining pieces of the pattern.   If you are going to add a touch of couture and planning on quilting the lining, lay out each pattern piece and cut the lining larger as shown below.  The lining will be trimmed after each pattern piece is quilted.


See you in the Angela Wolf Facebook Group for comments and questions!  Can’t wait to see your skirts coming together!!!

Cheers,

PREVIOUS LESSON

The Fringe Skirt Sewalong Schedule:

  1. Fabric & Sourcing (February 10. 2017)
  2. Fitting & Patternhacking  (February 16. 2017)
  3. Cutting & Prep  (February 21. 2017)
  4. All About Darts  (February 23. 2017)
  5. Quilting the Lining  (February 28. 2017)
  6. Invisible Zipper’s  (March 2. 2017)
  7. Waistbands  (March 7. 2017)
  8. Hemming & Fringe  (March 9. 2017)
  9. Show off in the Angela Wolf Facebook Group! 
TUTORIAL: HOW TO THREAD THE BROTHER DOUBLE SIDED COVERSTITCH MACHINE CV3550

TUTORIAL: HOW TO THREAD THE BROTHER DOUBLE SIDED COVERSTITCH MACHINE CV3550

I was so excited to see this new double sided top coverstitch machine by Brother!  I can think of so many applications for these decorative stitches including sportswear, decorative stitching, chainstitch, hemming knits, and so much more.  I am going to...

Fringe Skirt Sewalong Part 2: Fitting & Altering Skirt Patterns

Fringe Skirt Sewalong Part 2: Fitting & Altering Skirt Patterns

Record Your Measurements


Waist: this is your natural waist measurement and you can find this by bending sideway slightly and you will feel the indentation at the waistline

High Hip or Fullest Part of Stomach: somewhere between the natural waistline and hips, it’s different in each of us depending on our body shape

Hips: measure hips at the fullest part

Length: from waistline to where you want skirt to be hemmed – take this measuring from the center front of your body


Compare Your Measurements to the Pattern


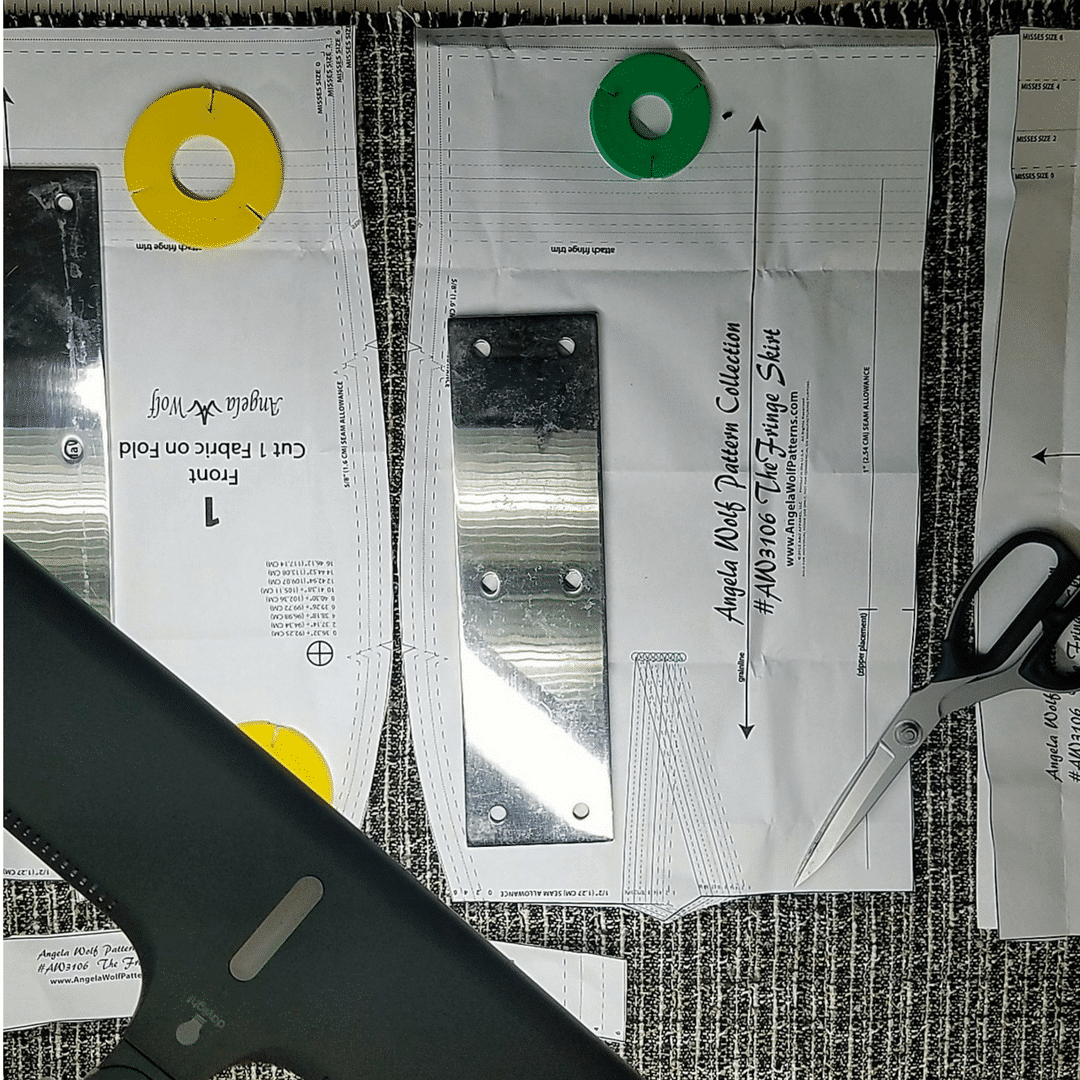
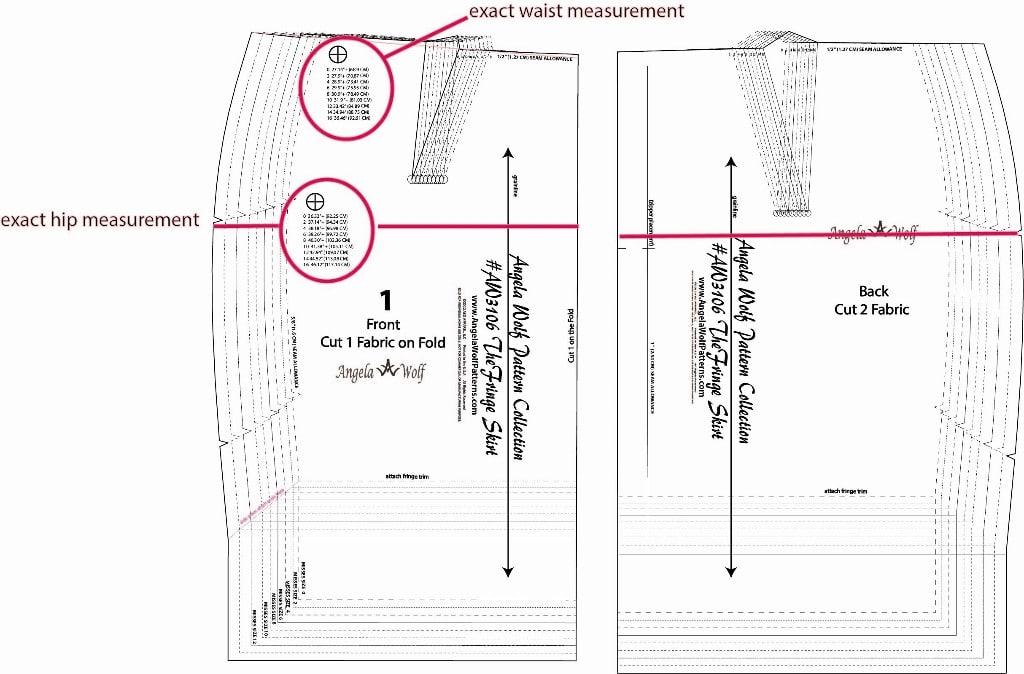
If you look closely on the pattern front you will see two circles with some numbers (shown above). These represent the exact measurements of that specific area when the garment is completed.  For the fringe skirt you will find the exact waist measurement and exact hip measurement.  Use this as a guide when choosing the size of pattern to start with.  Take your hip and waist measurements, add the amount of ease (I prefer 1″ to 2″ for this style when using non-stretch fabric), and use this measurement to choose the size on the pattern to start with.

Adjusting the Length


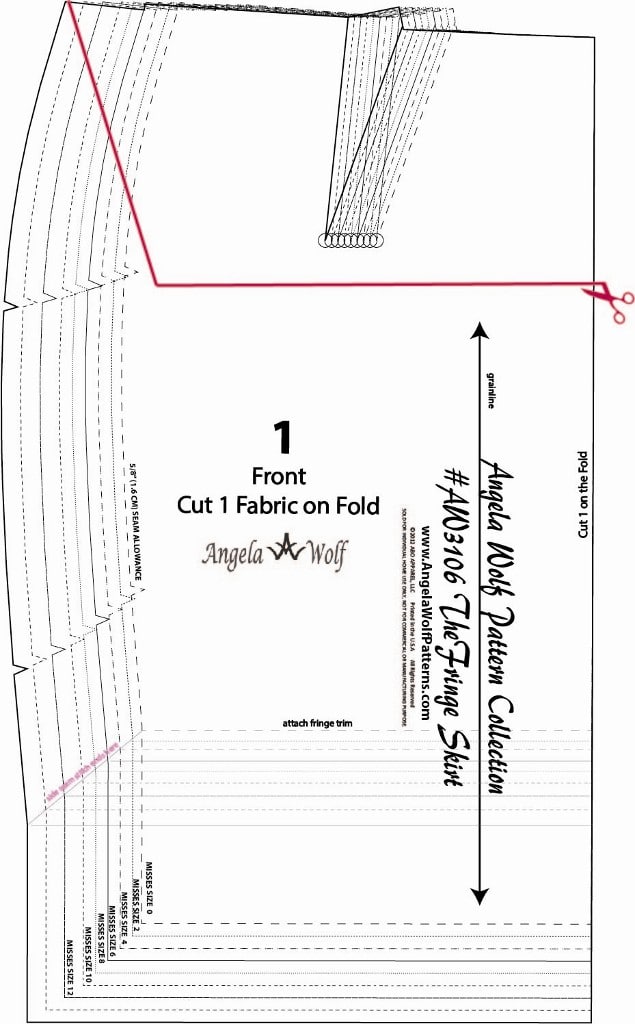
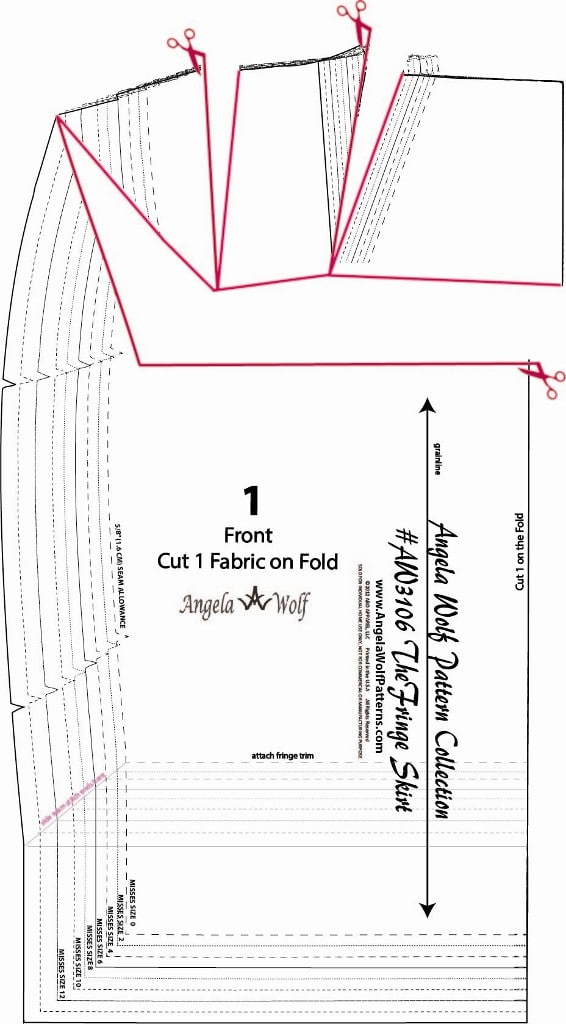
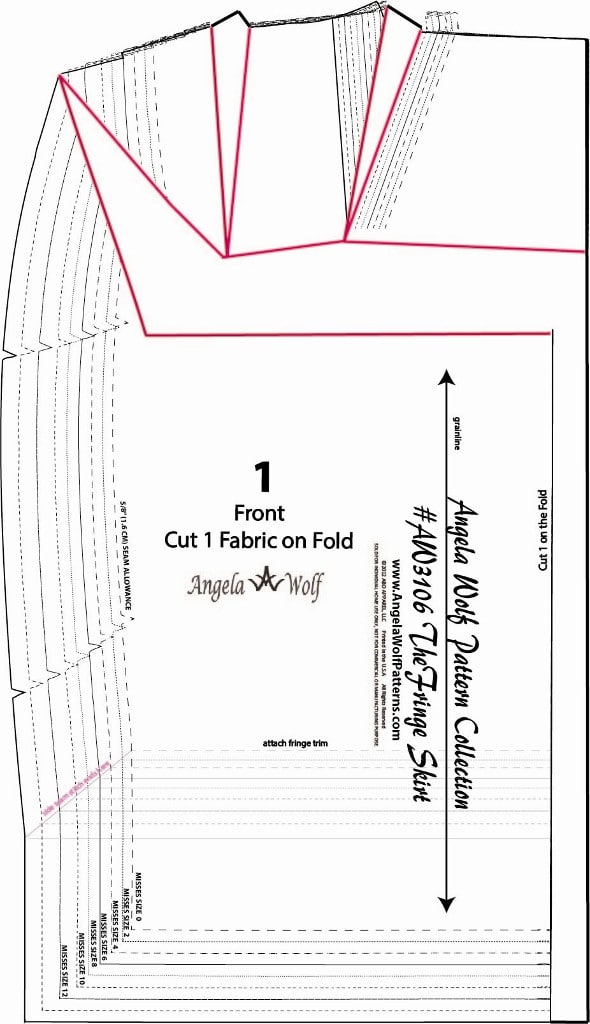
This skirt can be any length you want!  To shorten or lengthen follow the steps below.  If you need to lengthen or shorten the pattern in the hip or stomach area, follow the same steps, but draw the line across the pattern in the area that needs adjusting..

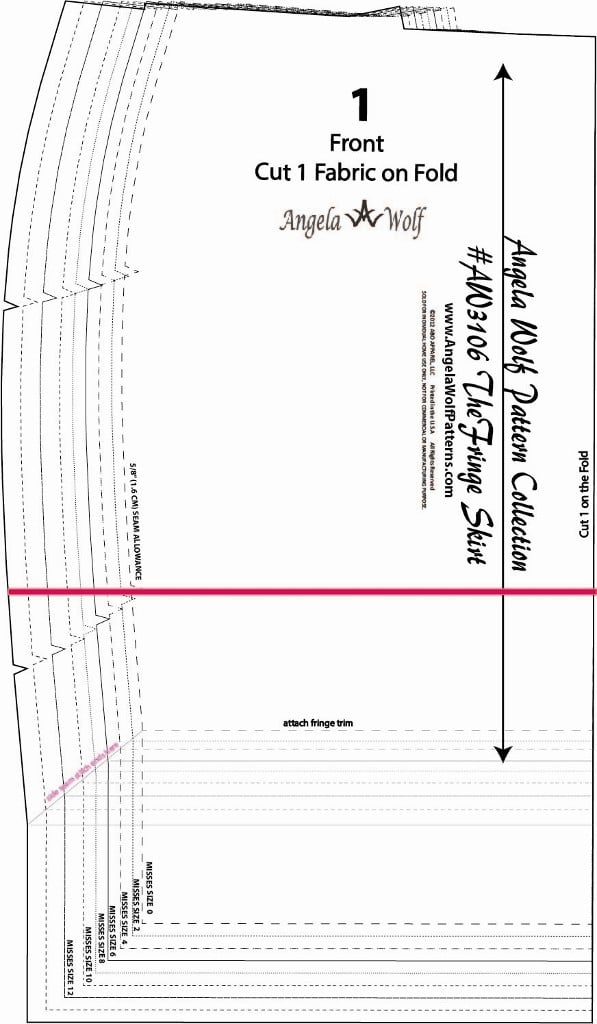
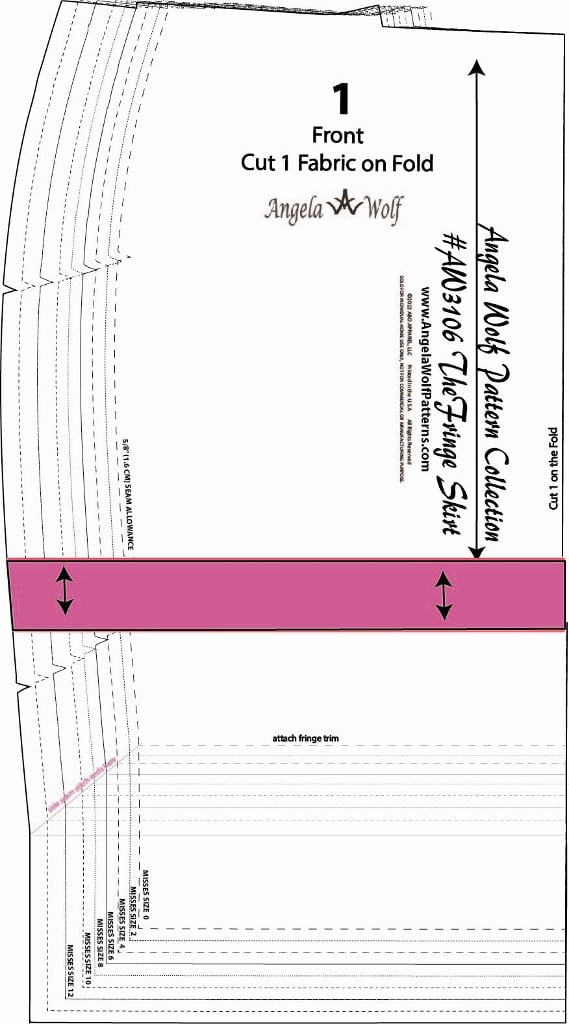
  1. Draw a line across the pattern below the hips, parallel to the grainline. Cut across the line and spread the pattern the amount you want to lengthen.

2.  Add paper to the pattern to fill the gap and true the seam lines. To make the skirt shorter, fold the pattern along the pink line.

Adjusting the Entire Pattern Larger or Smaller


This pattern goes up to a size 16. If you want to alter the pattern for a size larger than 16, determine the amount that needs to be added to the pattern.  Let’s say we need to add 4” to the overall width.  This will mean we need to add 2” to the front and 2” to the back.  (To make the pattern smaller, follow the same steps and instead of spreading the pattern at the designated areas, decrease the amount as needed.)


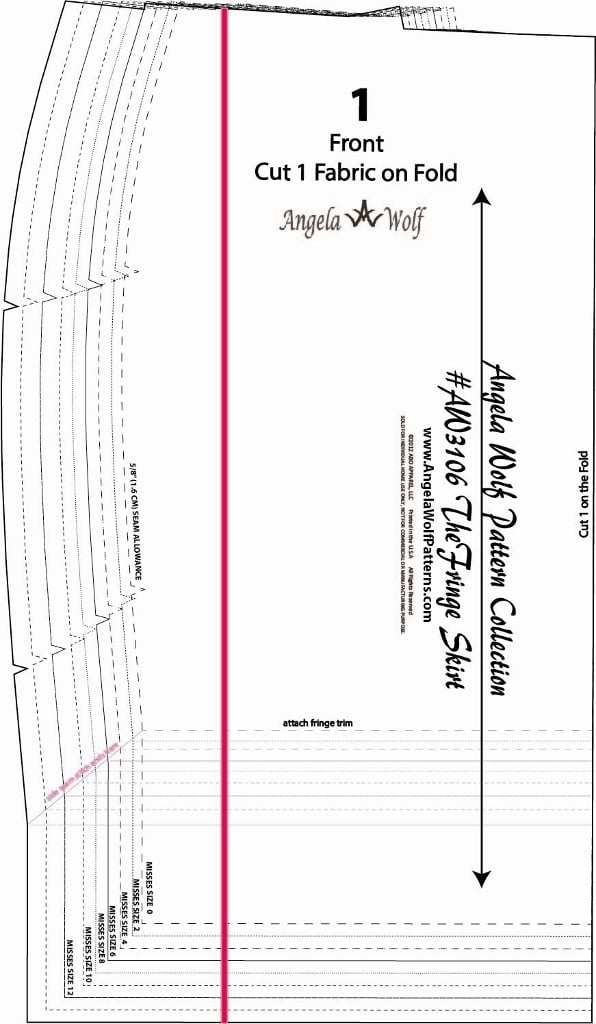
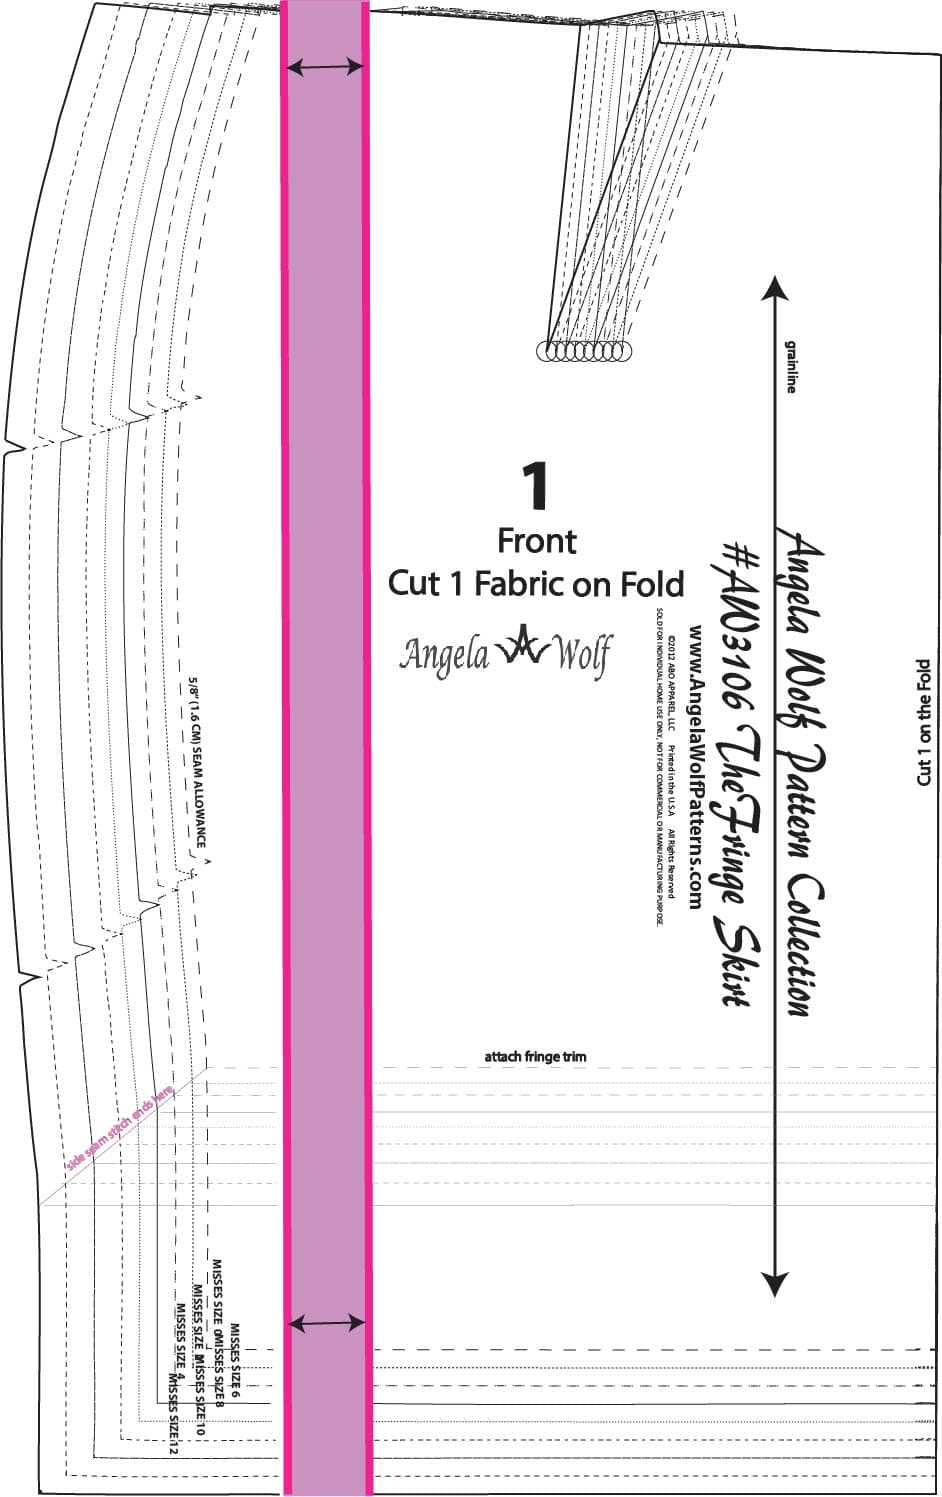
  1.  Draw a line from the waist to the hem, parallel to the grainline on the front #1 pattern piece.

2. Cut along the pink line and spread the pattern 1” (the pattern is on the fold, by adding 1” we are really adding 2” to the entire front piece.  Do the same for the front lining #3 pattern piece, back pattern piece #2, and back lining piece #4.

Adjust the waistband the same way.  Keeping with the example for an overall 4” adjustment:

  • Waistband Pattern #5 – spread pattern 4”
  • Waistband Pattern #6 – spread pattern 2”
  • Fringe Trim Pattern #7 – spread pattern 2”


Adjusting the Pattern for a Round Tummy


If you try on the muslin of the skirt pattern and its too tight in the stomach area and the hemline rides higher in the front than the back, this is the pattern alteration for you.  The changes will add width and length to the pattern in the area needed.

This is the same alteration that would be used for the back pattern piece if you need more room in the tush 🙂

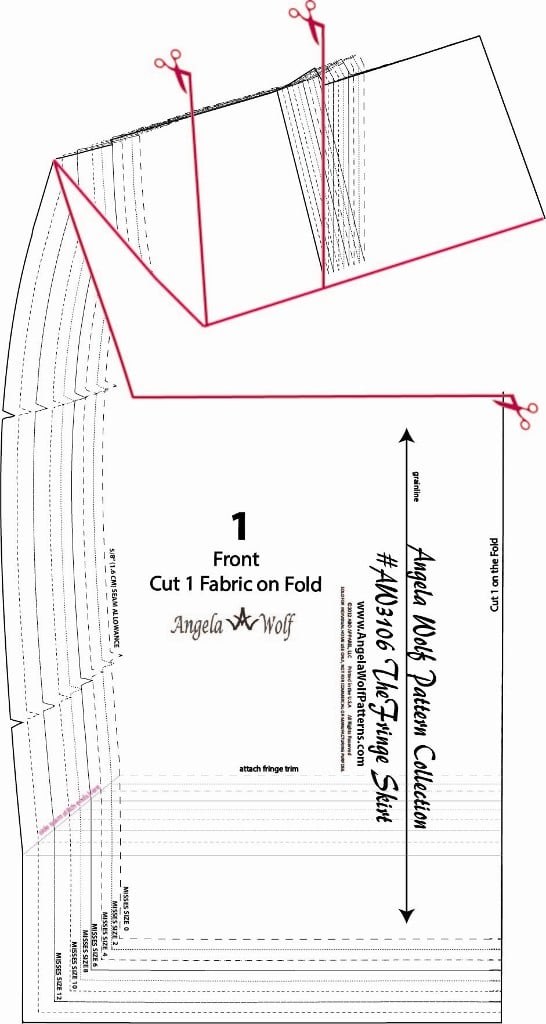
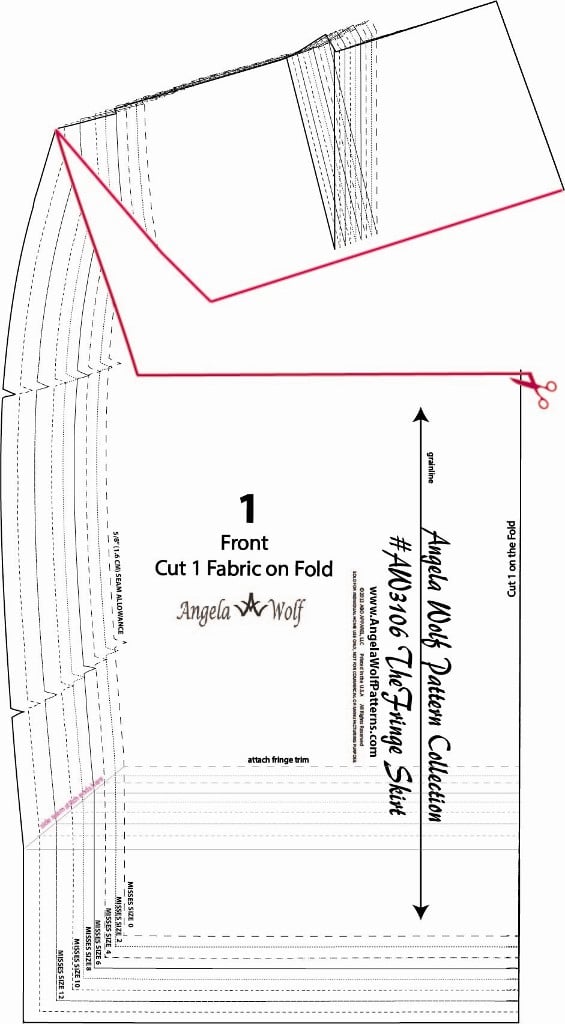
  1. Draw a line across the pattern (in the stomach area) as shown.

3. Cut into the dart area, leaving a hinge at the edge of the first line. Depending on how much the pattern will be extended, you might need to cut a second dart area as shown.

2. Cut across the line, leaving a hinge at the waistline.

4. Spread out the darts until the center front is parallel to the grainline.

5. True the waistline and draw a new center front line, using the top pattern piece as the guide. The amount extended will need to be added to the waistband and fringe pattern pieces.

These are some common pattern alterations needed for the fringe skirt pattern. Be sure to join the Angela Wolf Patterns Facebook group to share photos, ask questions, and click here to be notified by email when each blog post goes up for the Fringe skirt sewalong!

Cheers,

The Fringe Skirt Sewalong Schedule:

  1. Fabric & Sourcing (February 10. 2017)
  2. Fitting & Patternhacking  (February 16. 2017)
  3. Cutting & Prep  (February 21. 2017)
  4. All About Darts  (February 23. 2017)
  5. Quilting the Lining  (February 28. 2017)
  6. Invisible Zipper’s  (March 2. 2017)
  7. Waistbands  (March 7. 2017)
  8. Hemming & Fringe  (March 9. 2017)
  9. Show off in the Angela Wolf Facebook Group! 

Fringe Skirt Sewalong Part 1: Choosing Fabrics

Fringe Skirt Sewalong Part 1: Choosing Fabrics

The Fringe Skirt Pattern


The Fringe Skirt Pattern: The Angela Wolf Fringe Skirt Pattern is available here in print and digital format. You can also find the pattern at many local retailers.

Garment Fabric: tweed, boucle, join the facebook group of resources on choosing fabrics.

Lining: Any lightweight fabric will work for the lining polyester, acetate, satin, cotton – my favorite is bemberg rayon, silk charmeuse, and china silk.  If you plan on adding a touch of couture by quilting the lining choose a natural fiber fabric for the lining.

Interfacing: A lightweight fusi-knit interfacing is used in the zipper area and in the waistband

Notions: 9″ invisible zipper, hook and eye, universal all purpose thread or silk thread, hand sewing needle, pins, scissors, sewing machine needle size 80/12, awl or something to unravel the fabric to make the tweed, zipper foot,


Fabrics & Supplies


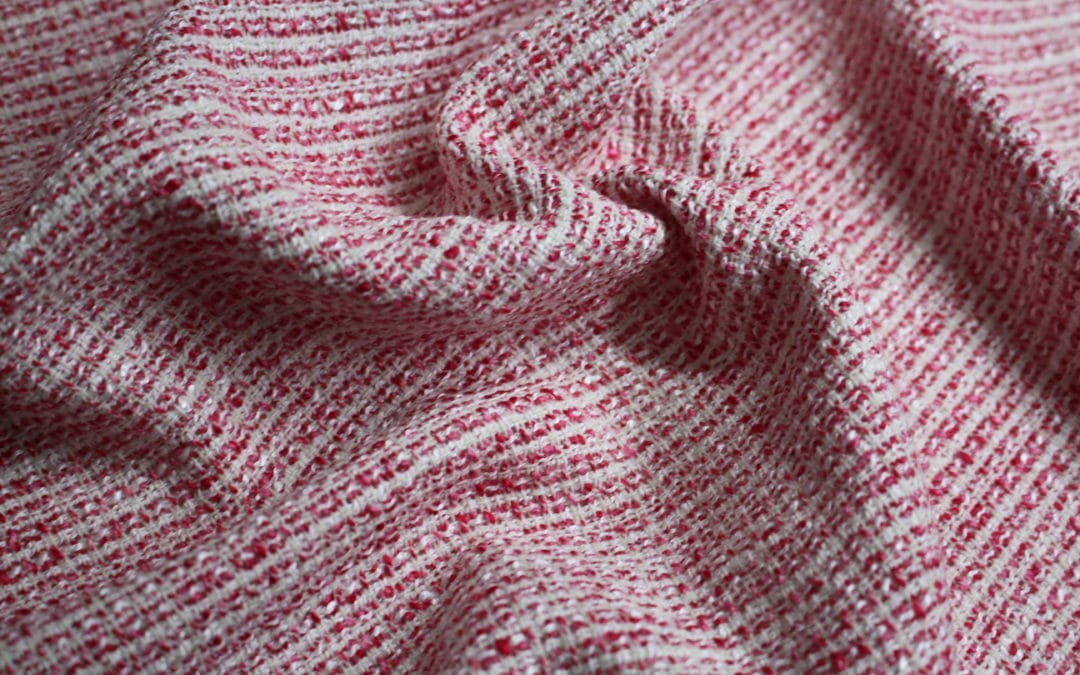
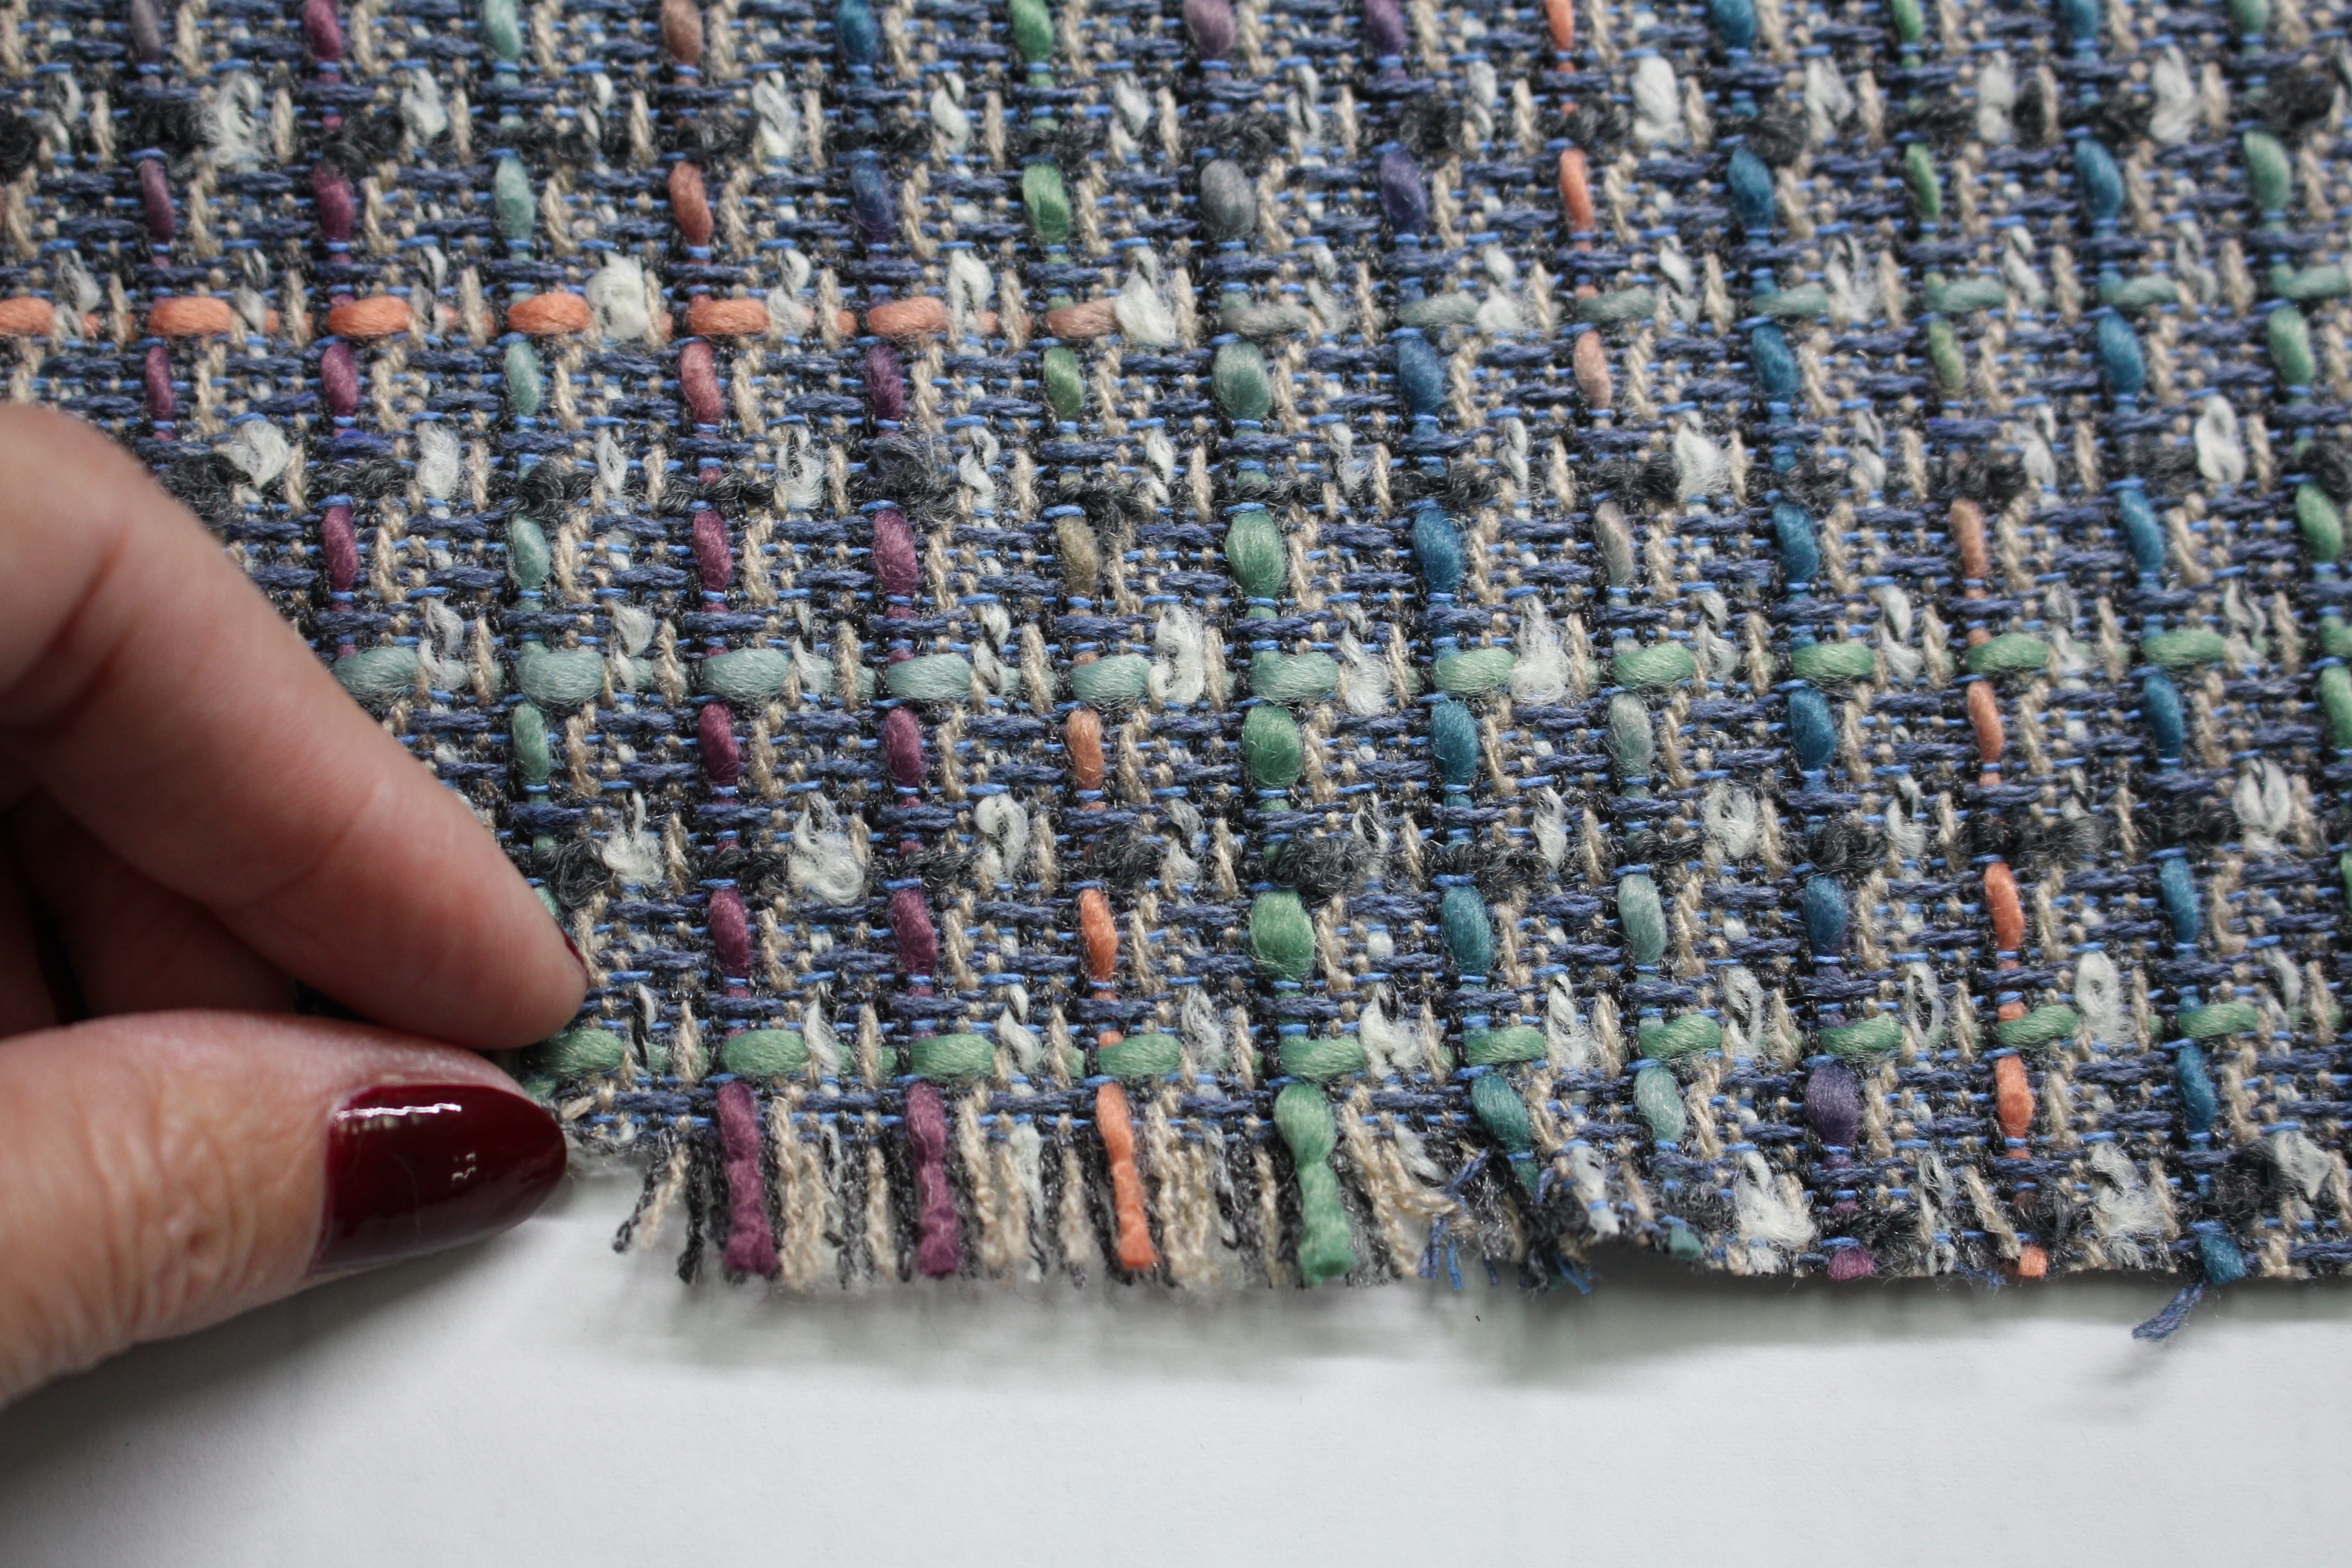
The fringe on the skirt is made with three layers of fabric. A tweed or boucle is an ideal fabric for this pattern, simply because it’s easy to unravel the fabric as shown below.

 Pre-Shrink the Fabrics


It’s important to pre-shrink the fabrics before cutting, especially if the fabric is a natural fiber.  Do this by steam pressing.  You can also take the fabric to the dry cleaners and ask them to “steam press” the fabric.  Note: Just dry cleaning will not pre-shrink the fabric, it has to be STEAM PRESSED.  If you plan on washing and drying the finished skirt, then wash and dry the fabric the same way.

Join Angela Wolf’s Private Facebook Group!


We are all sharing fabric sources in the Angela Wolf Facebook Group. Join the fun 🙂

The Sewalong Schedule:

  1. Fabric & Sourcing (February 10.2017)
  2. Fitting & Patternhacking  (February 16.2017)
  3. Cutting & Prep  (February 21.2017)
  4. All About Darts  (February 23.2017)
  5. Quilting the Lining  (February 28 2017)
  6. Invisible Zipper’s  (March 2 2017)
  7. Waistbands  (March 7.2017)
  8. Hemming & Fringe  (March 9 2017)
  9. Show off in the Angela Wolf Facebook Group! 

Pin It on Pinterest