
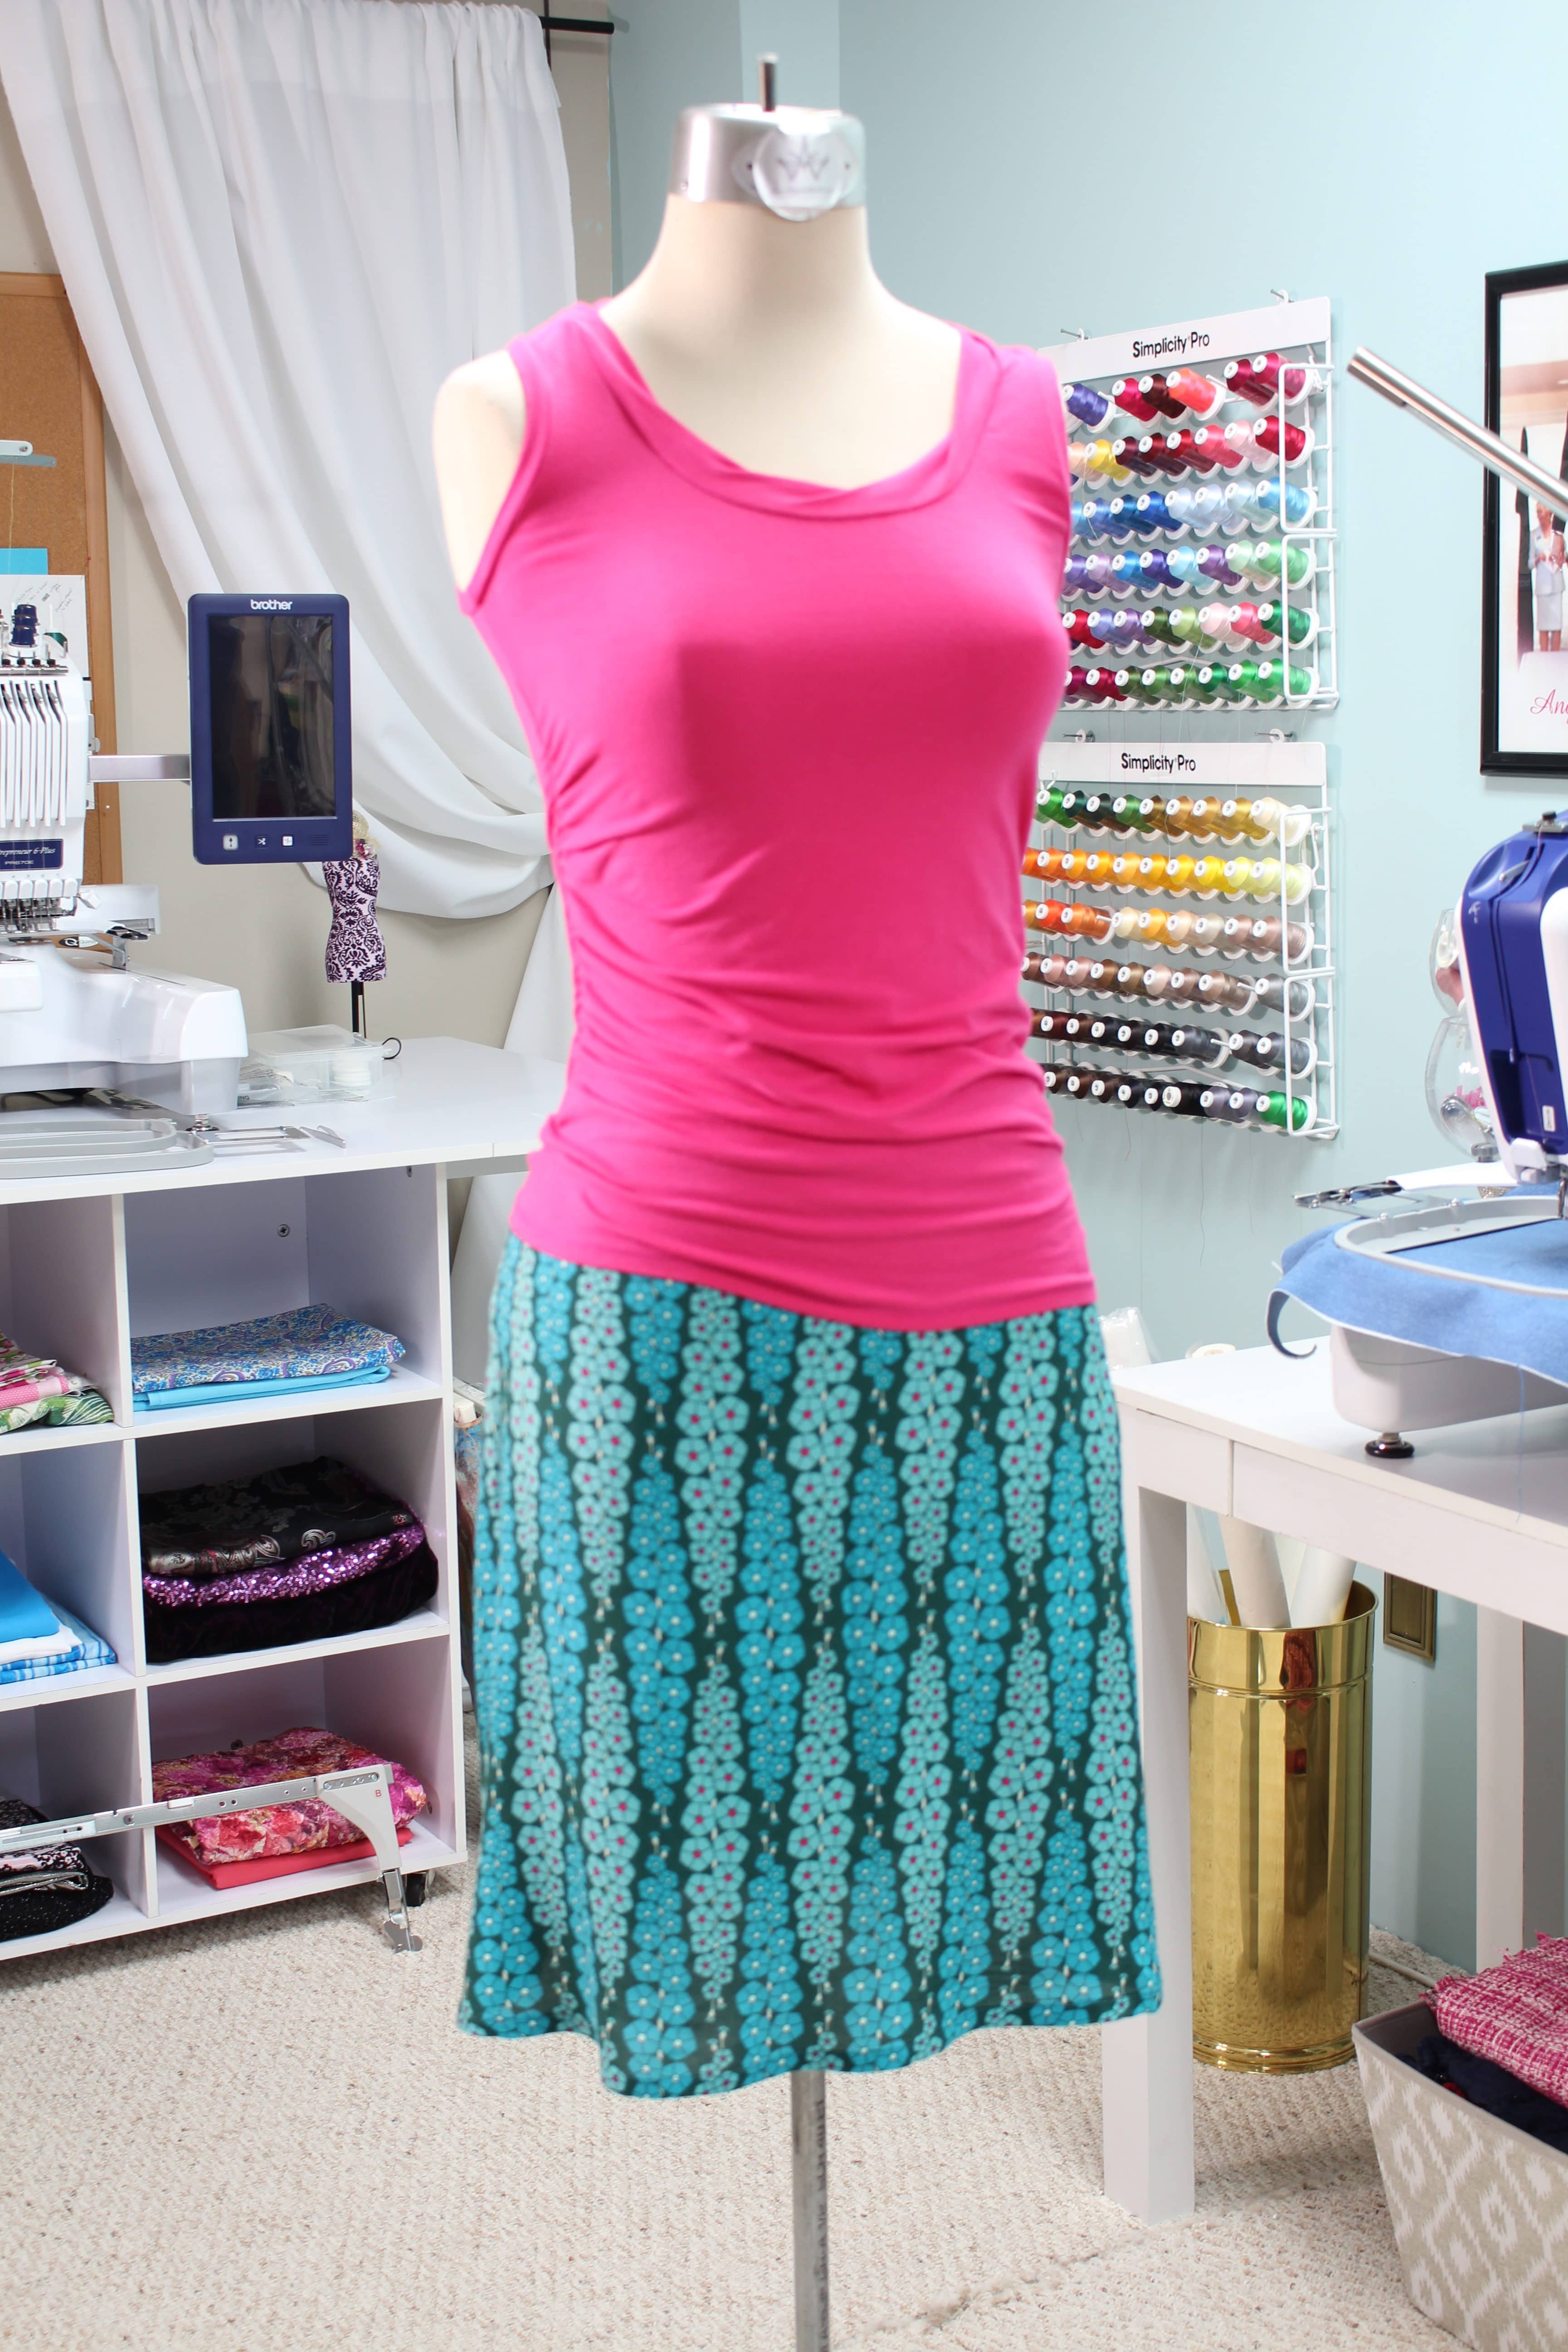
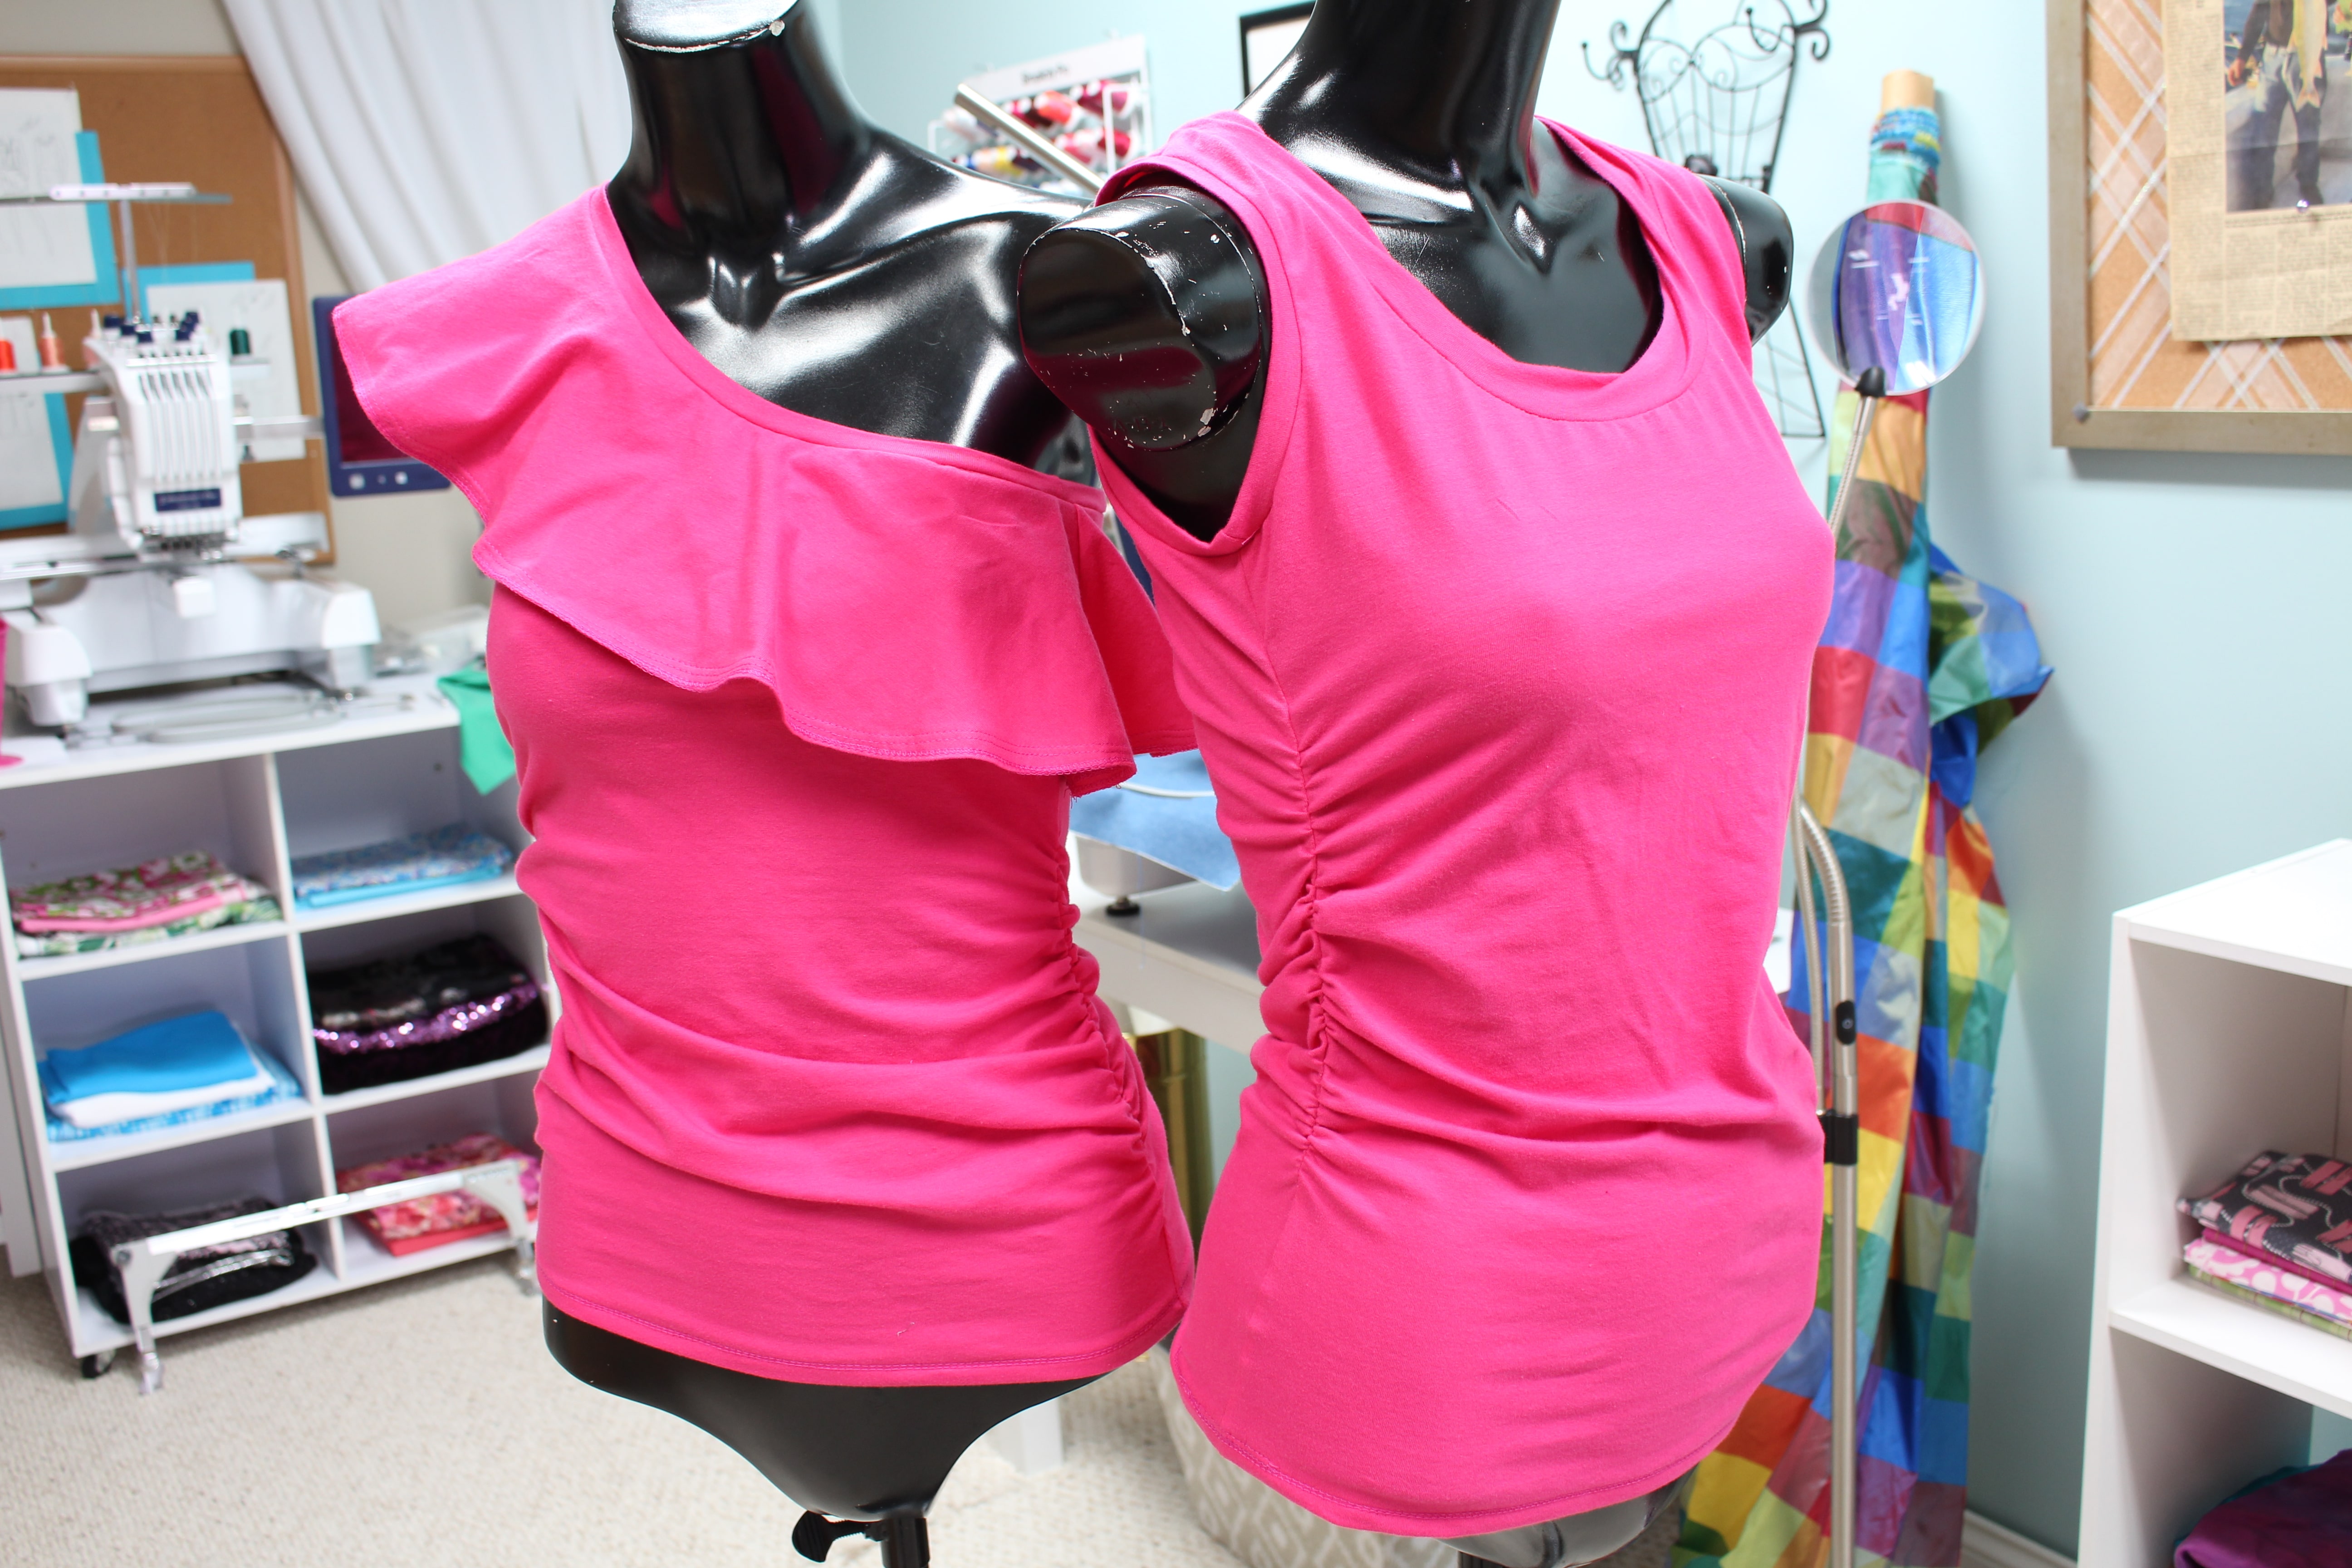
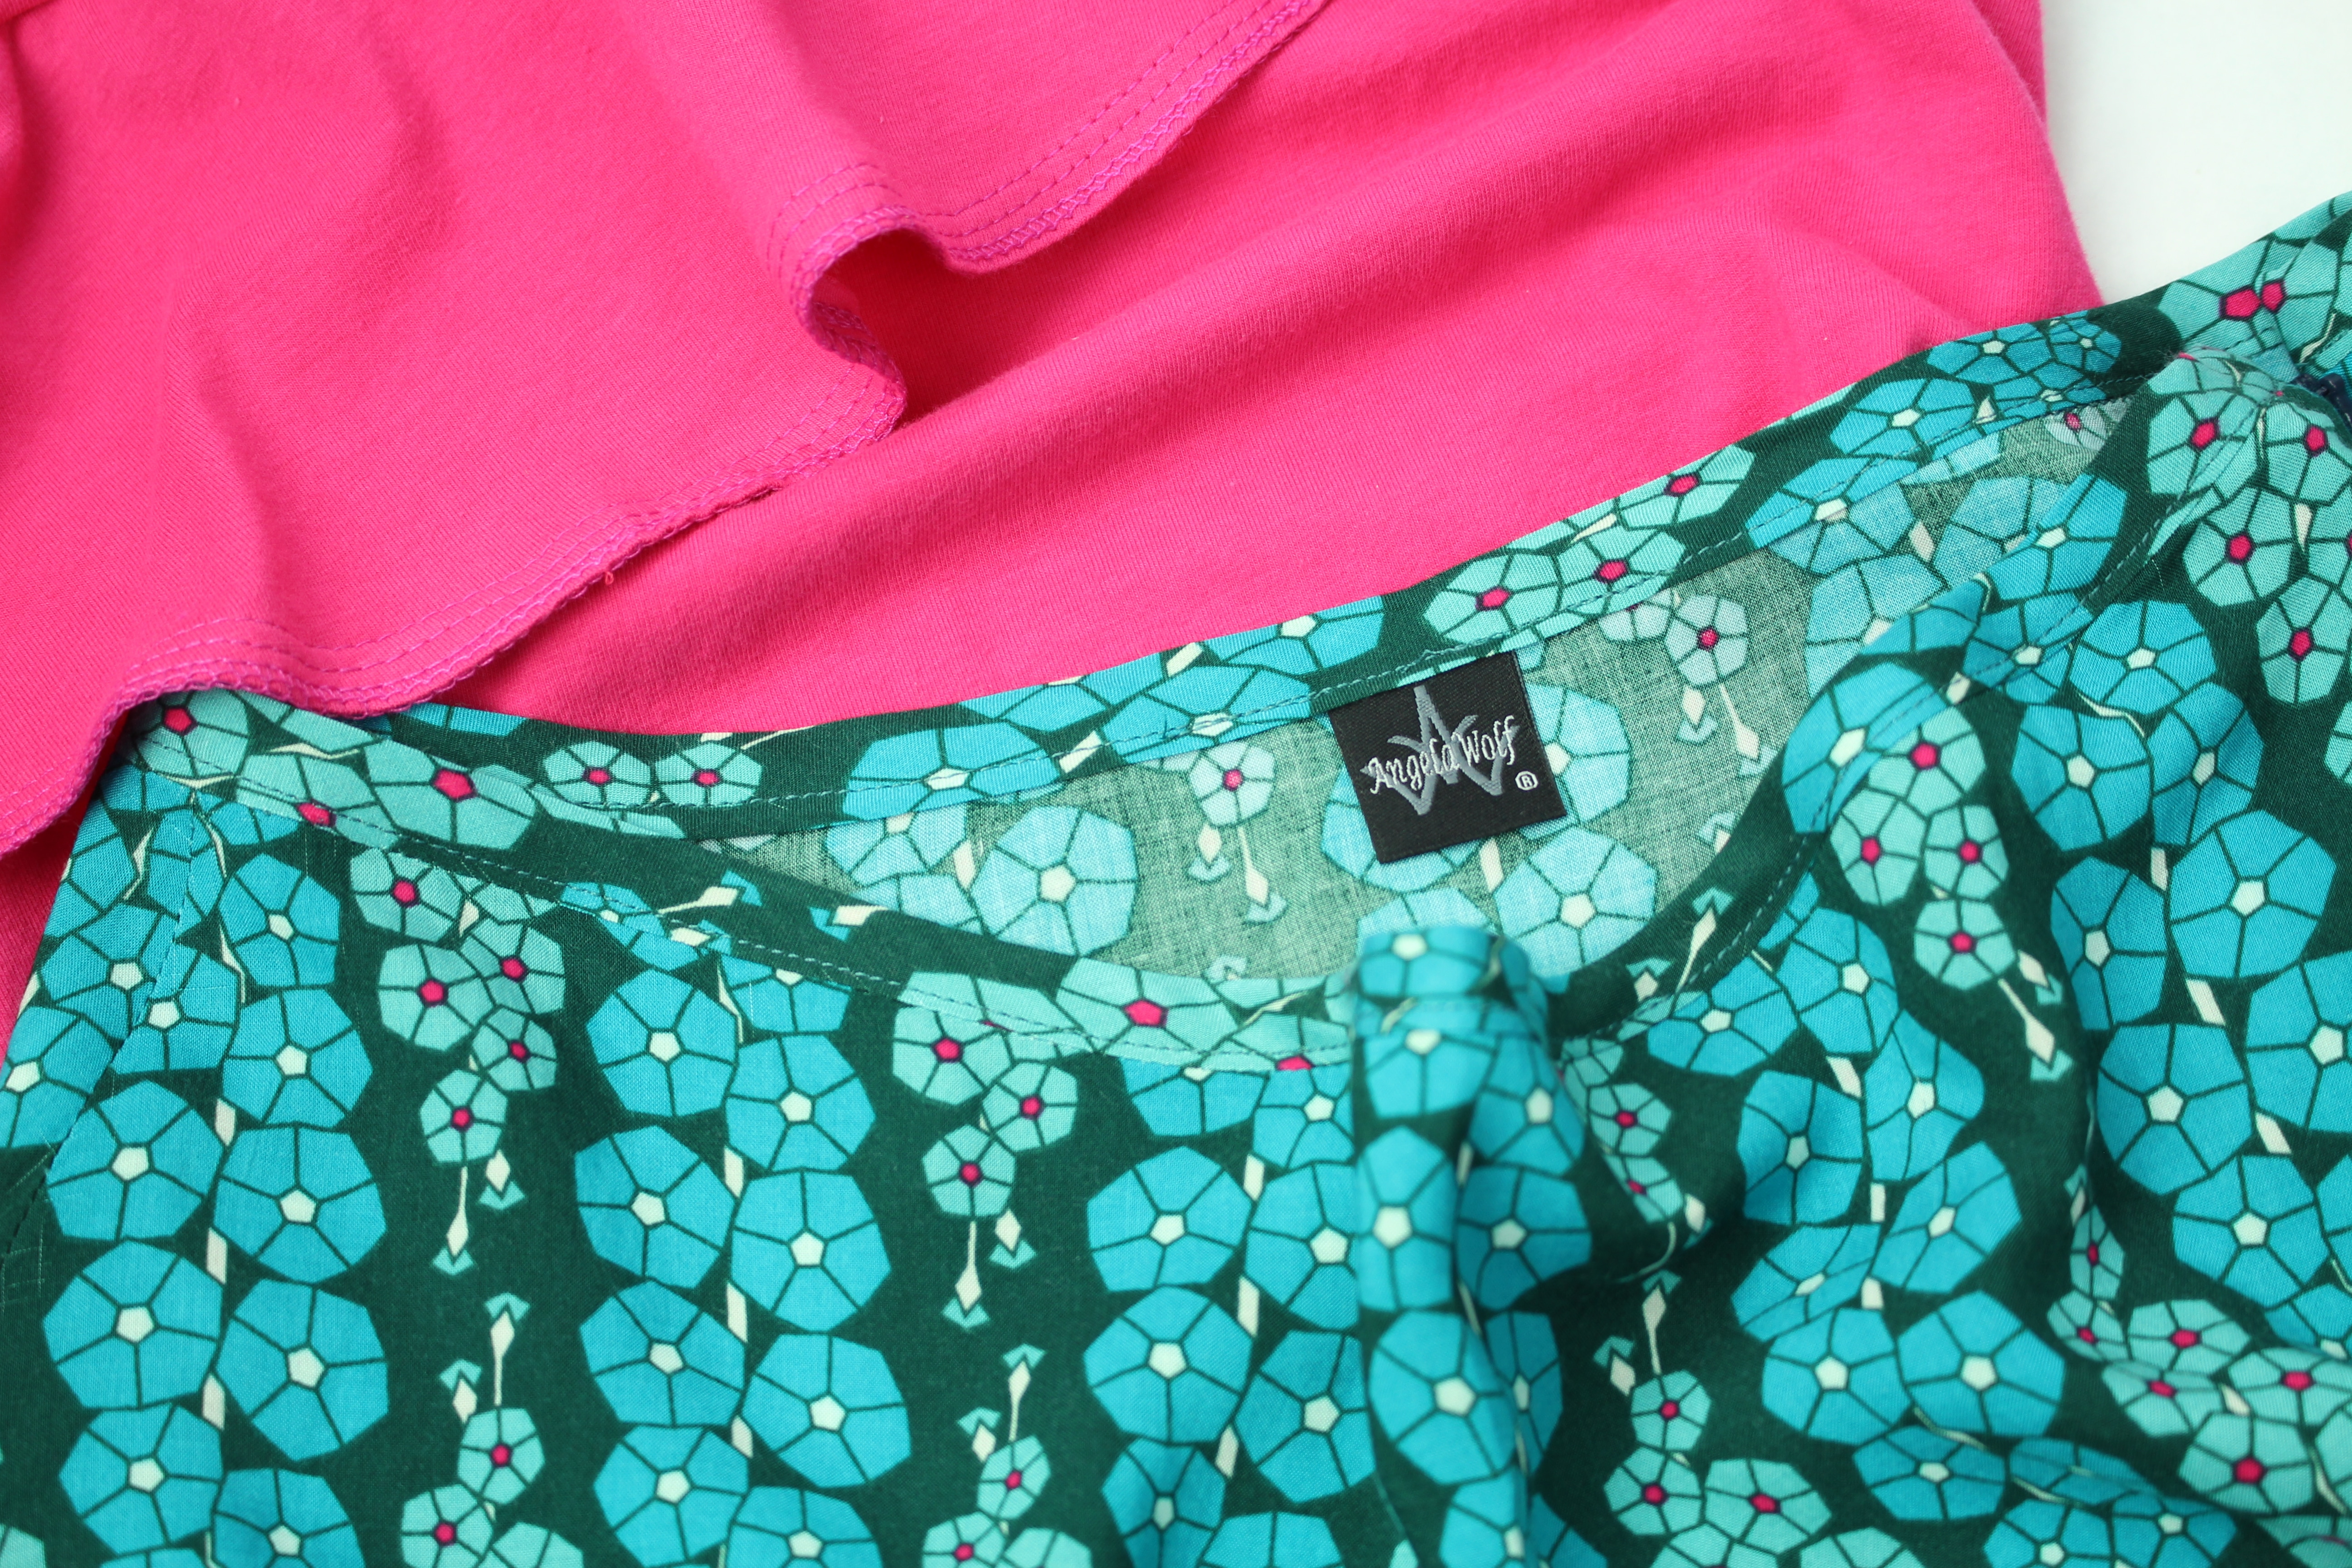
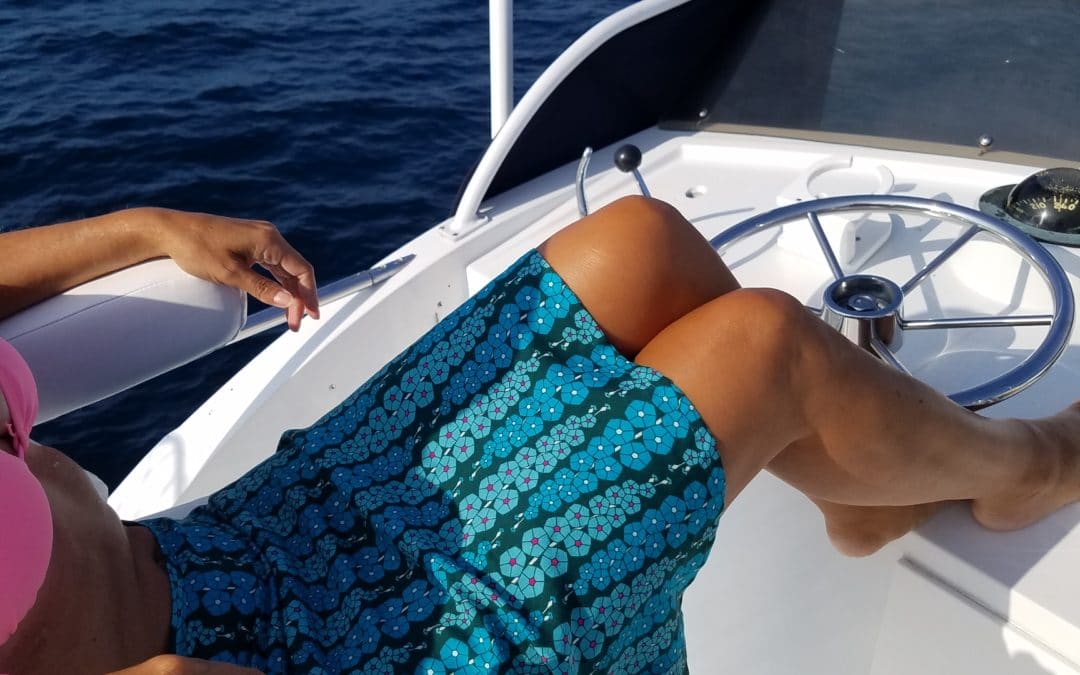
I am very excited to team up with Mathew Boudreaux (Mister Domestic) as part of his blog party launching his new fabric collection Loved to Pieces! I had the choice of many of his beautiful fabrics and chose a beautiful 100% rayon fabric to sew the Kate Skirt Pattern. Of course I needed a top to go with the skirt, so I opted for a cotton / lycra knit Art Gallery Fabric with a color that coordinated with small circles in the rayon fabric.
When this fabric arrived it was even better than I expected. The drape of the rayon was so light and airy and the cotton knit had great recovery!

Pre-Shrink
The first step is to pre-shrink the fabric. I washed and dried each piece individually, just in case there was any bleeding. Both pieces came out just fine, in face they hardly wrinkled at all! The rayon fabric frayed slightly and the cotton fabric tends to roll at the ends, but those are easy to work with.
Cutting The Kate Skirt
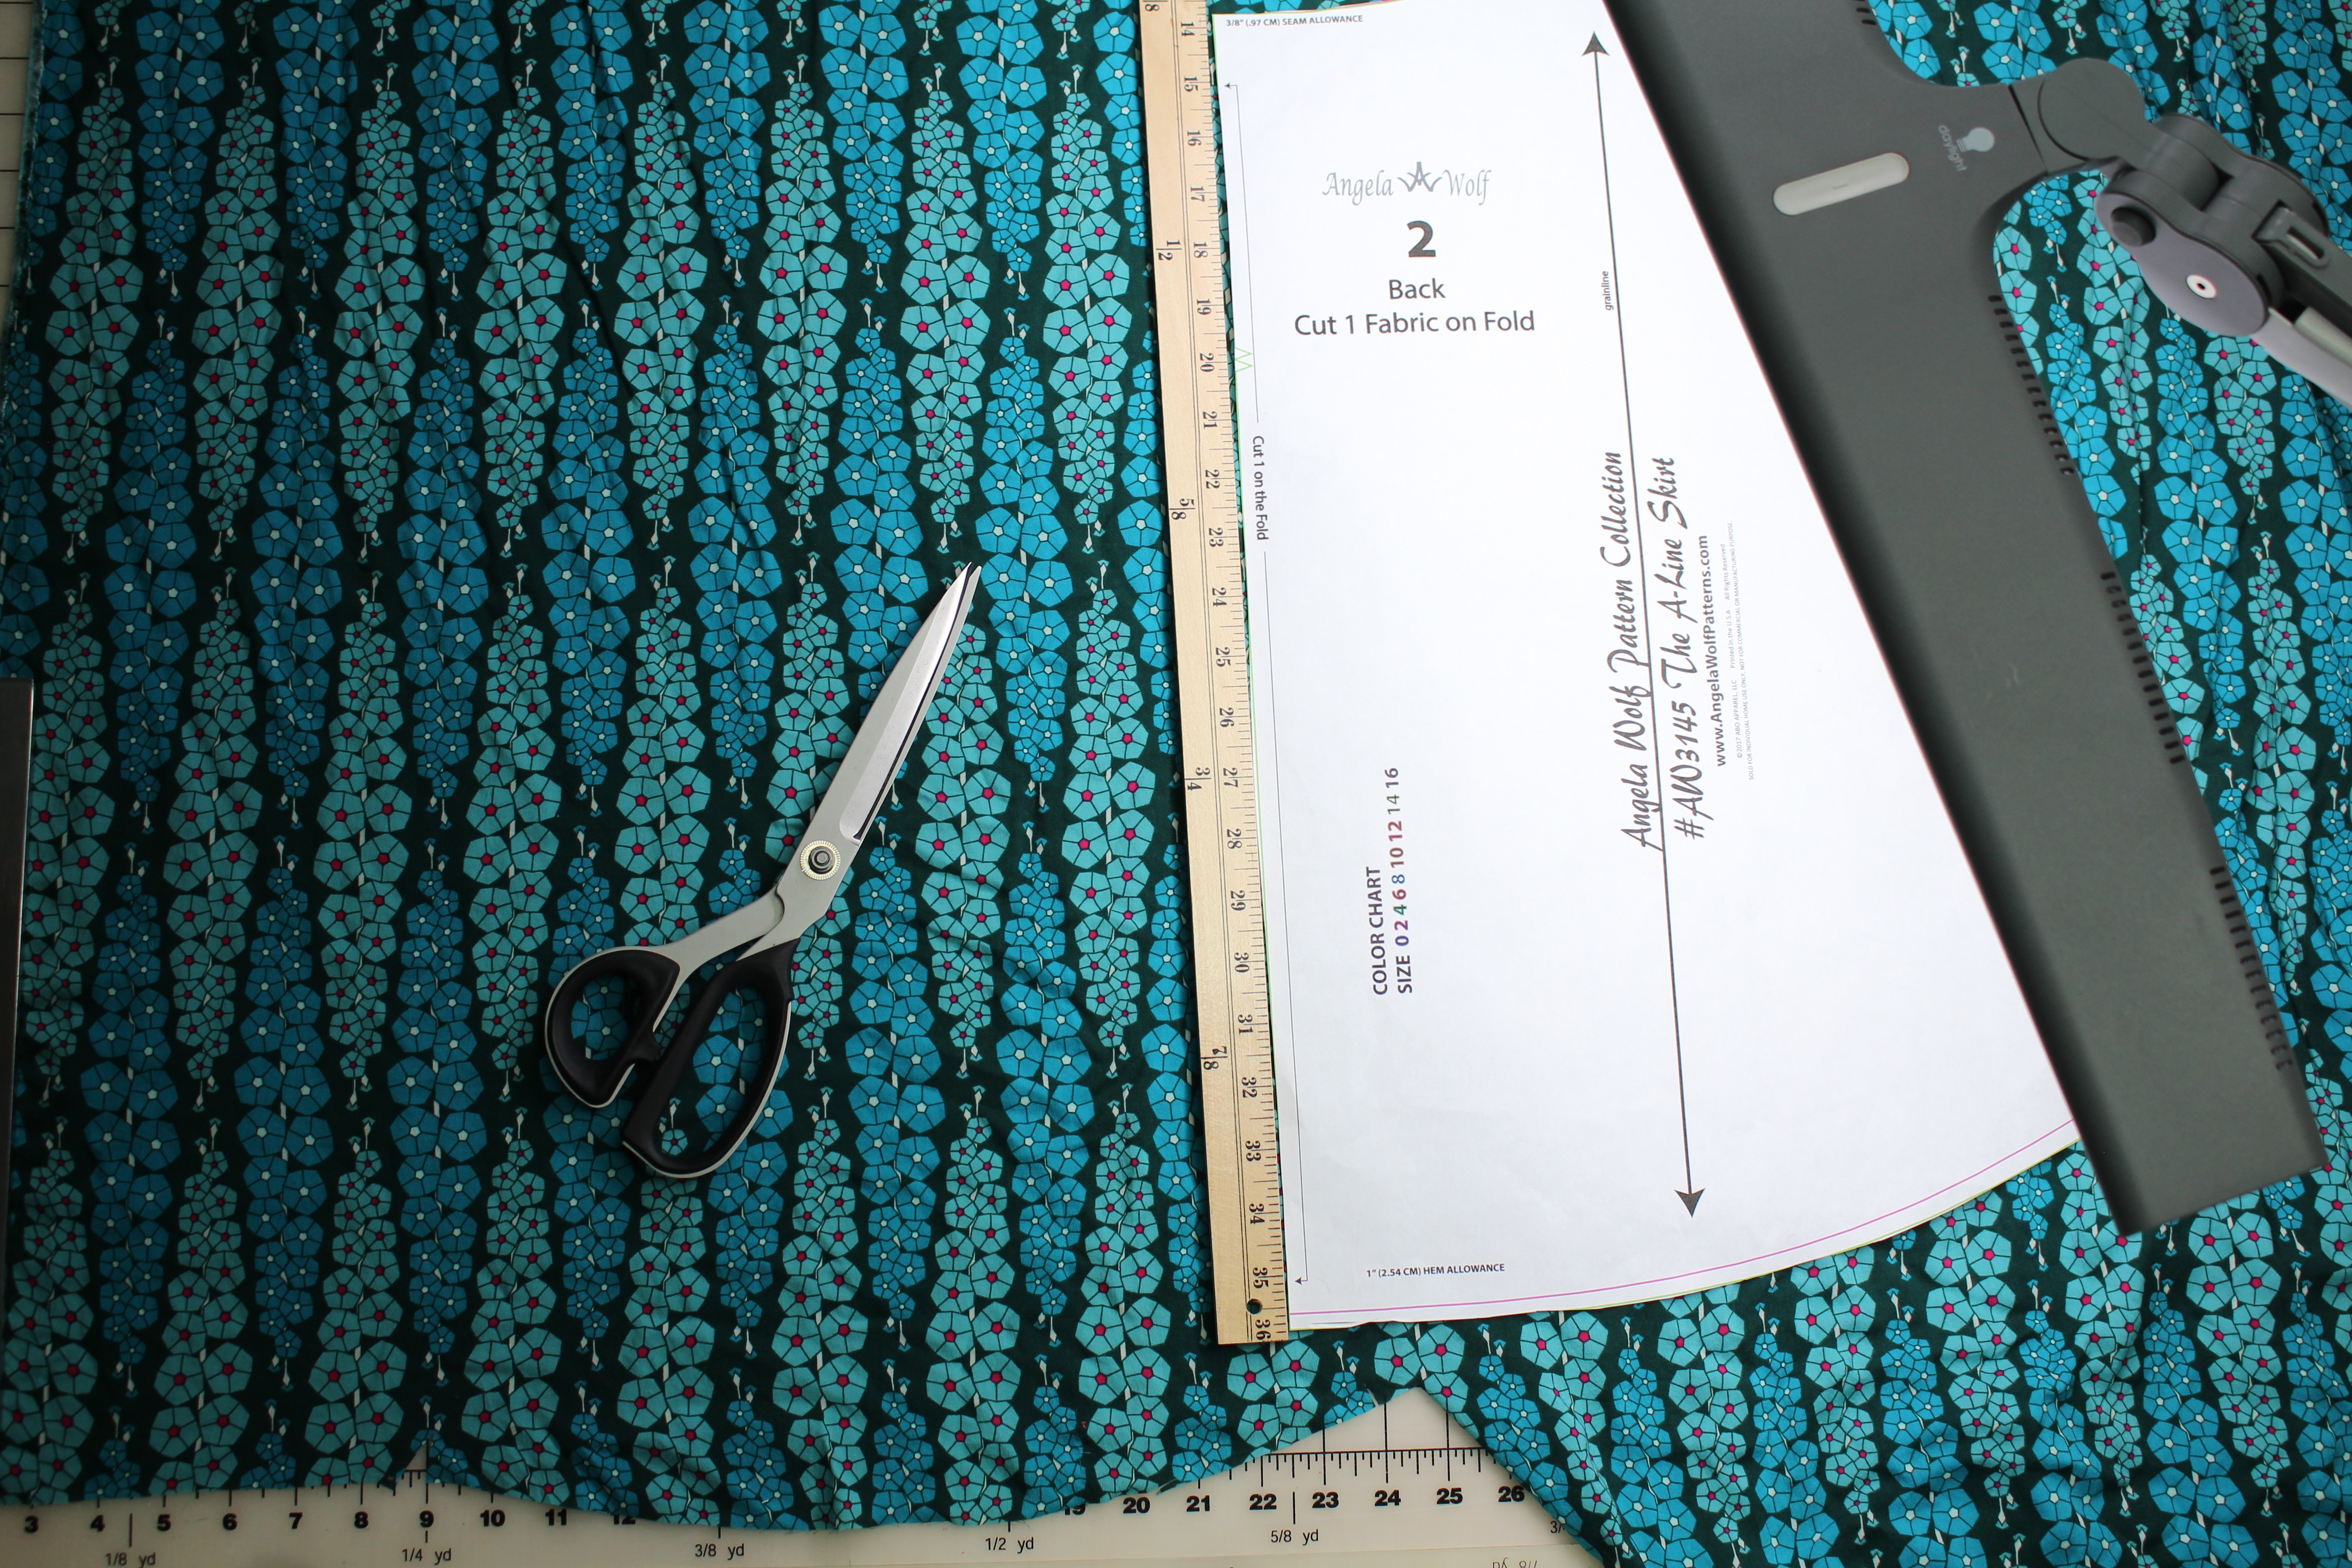
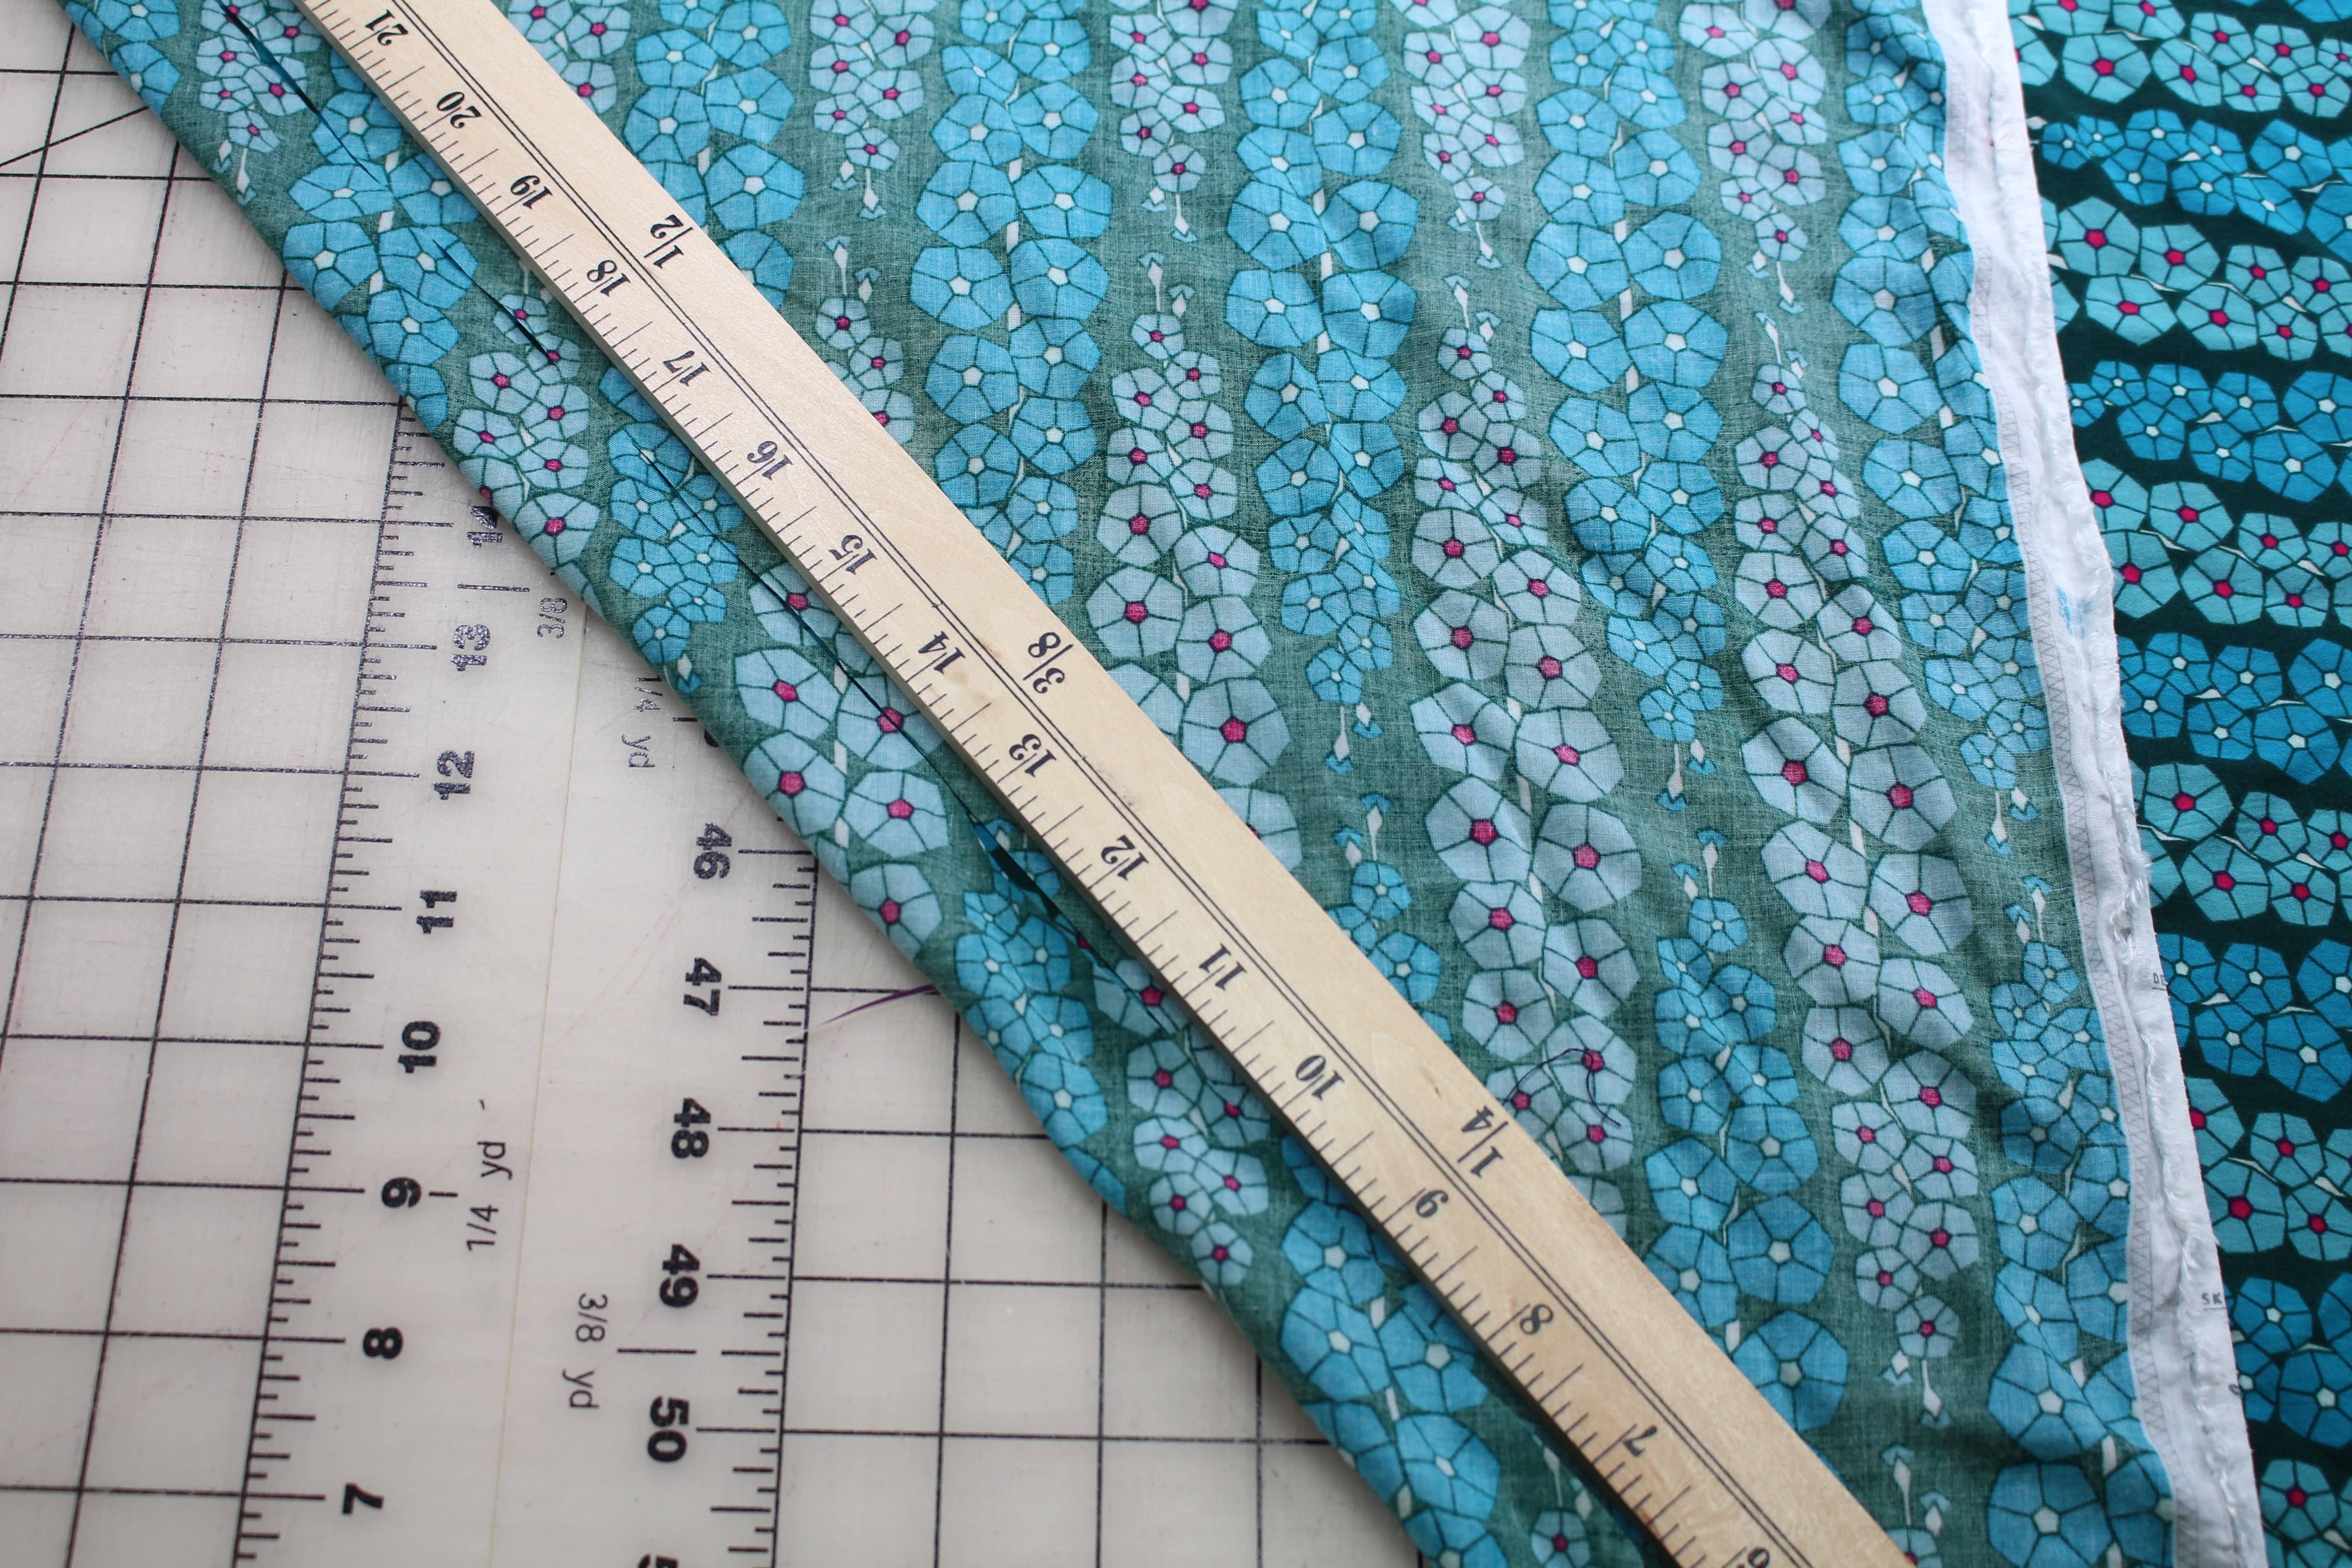
Because of the print, I chose to cut the skirt with one layer of fabric (meaning I didn’t fold the fabric). The fabric is so lightweight and tends to shift which can cause issues matching up prints and grainlines. After laying out the fabric, I used a yard stick to check the fabric grainlines. They look pretty straight here, so I cut one side of the skirt and then folded the pattern over to cute the other side.
Bias Waistband
I altered the Kate Skirt pattern by cutting the waistband on the bias. This fabric is so lightweight, it reminds me of silk charmeuse. I prefer bias waistbands for silk skirt, so thought the same for this one. Not only is it comfortable, it works the print.
Finishing the Edges and Zipper Insertion
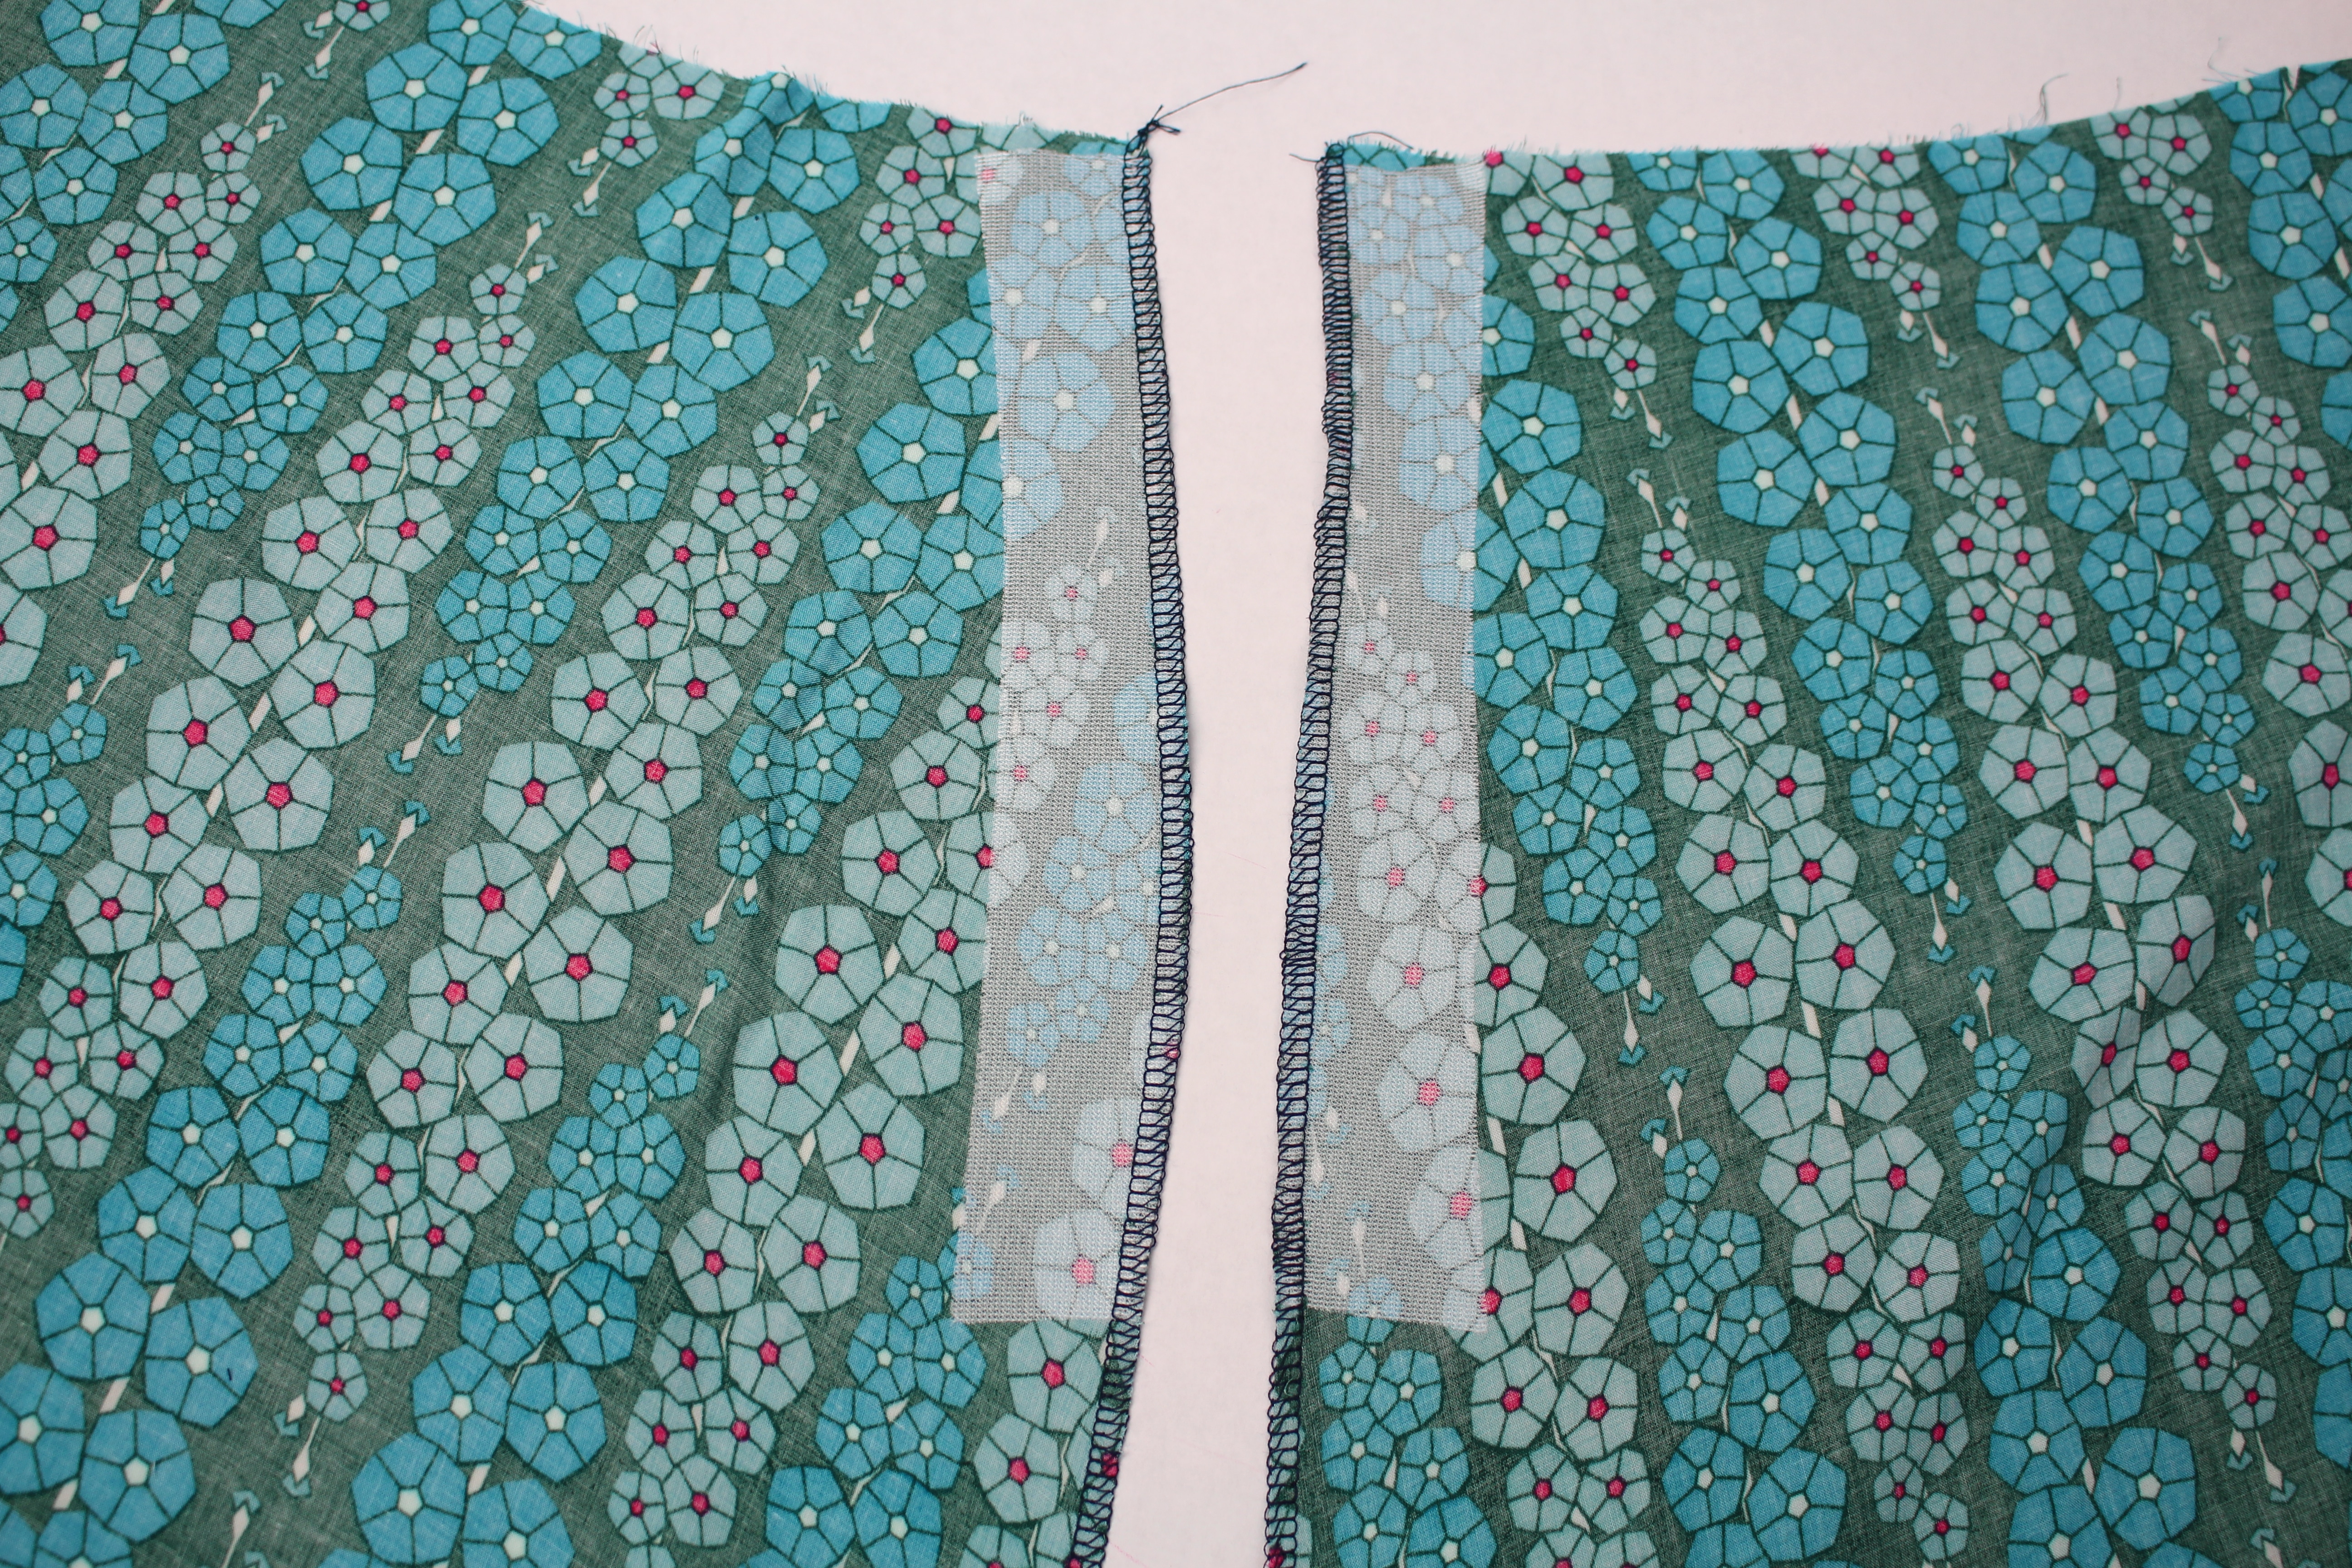
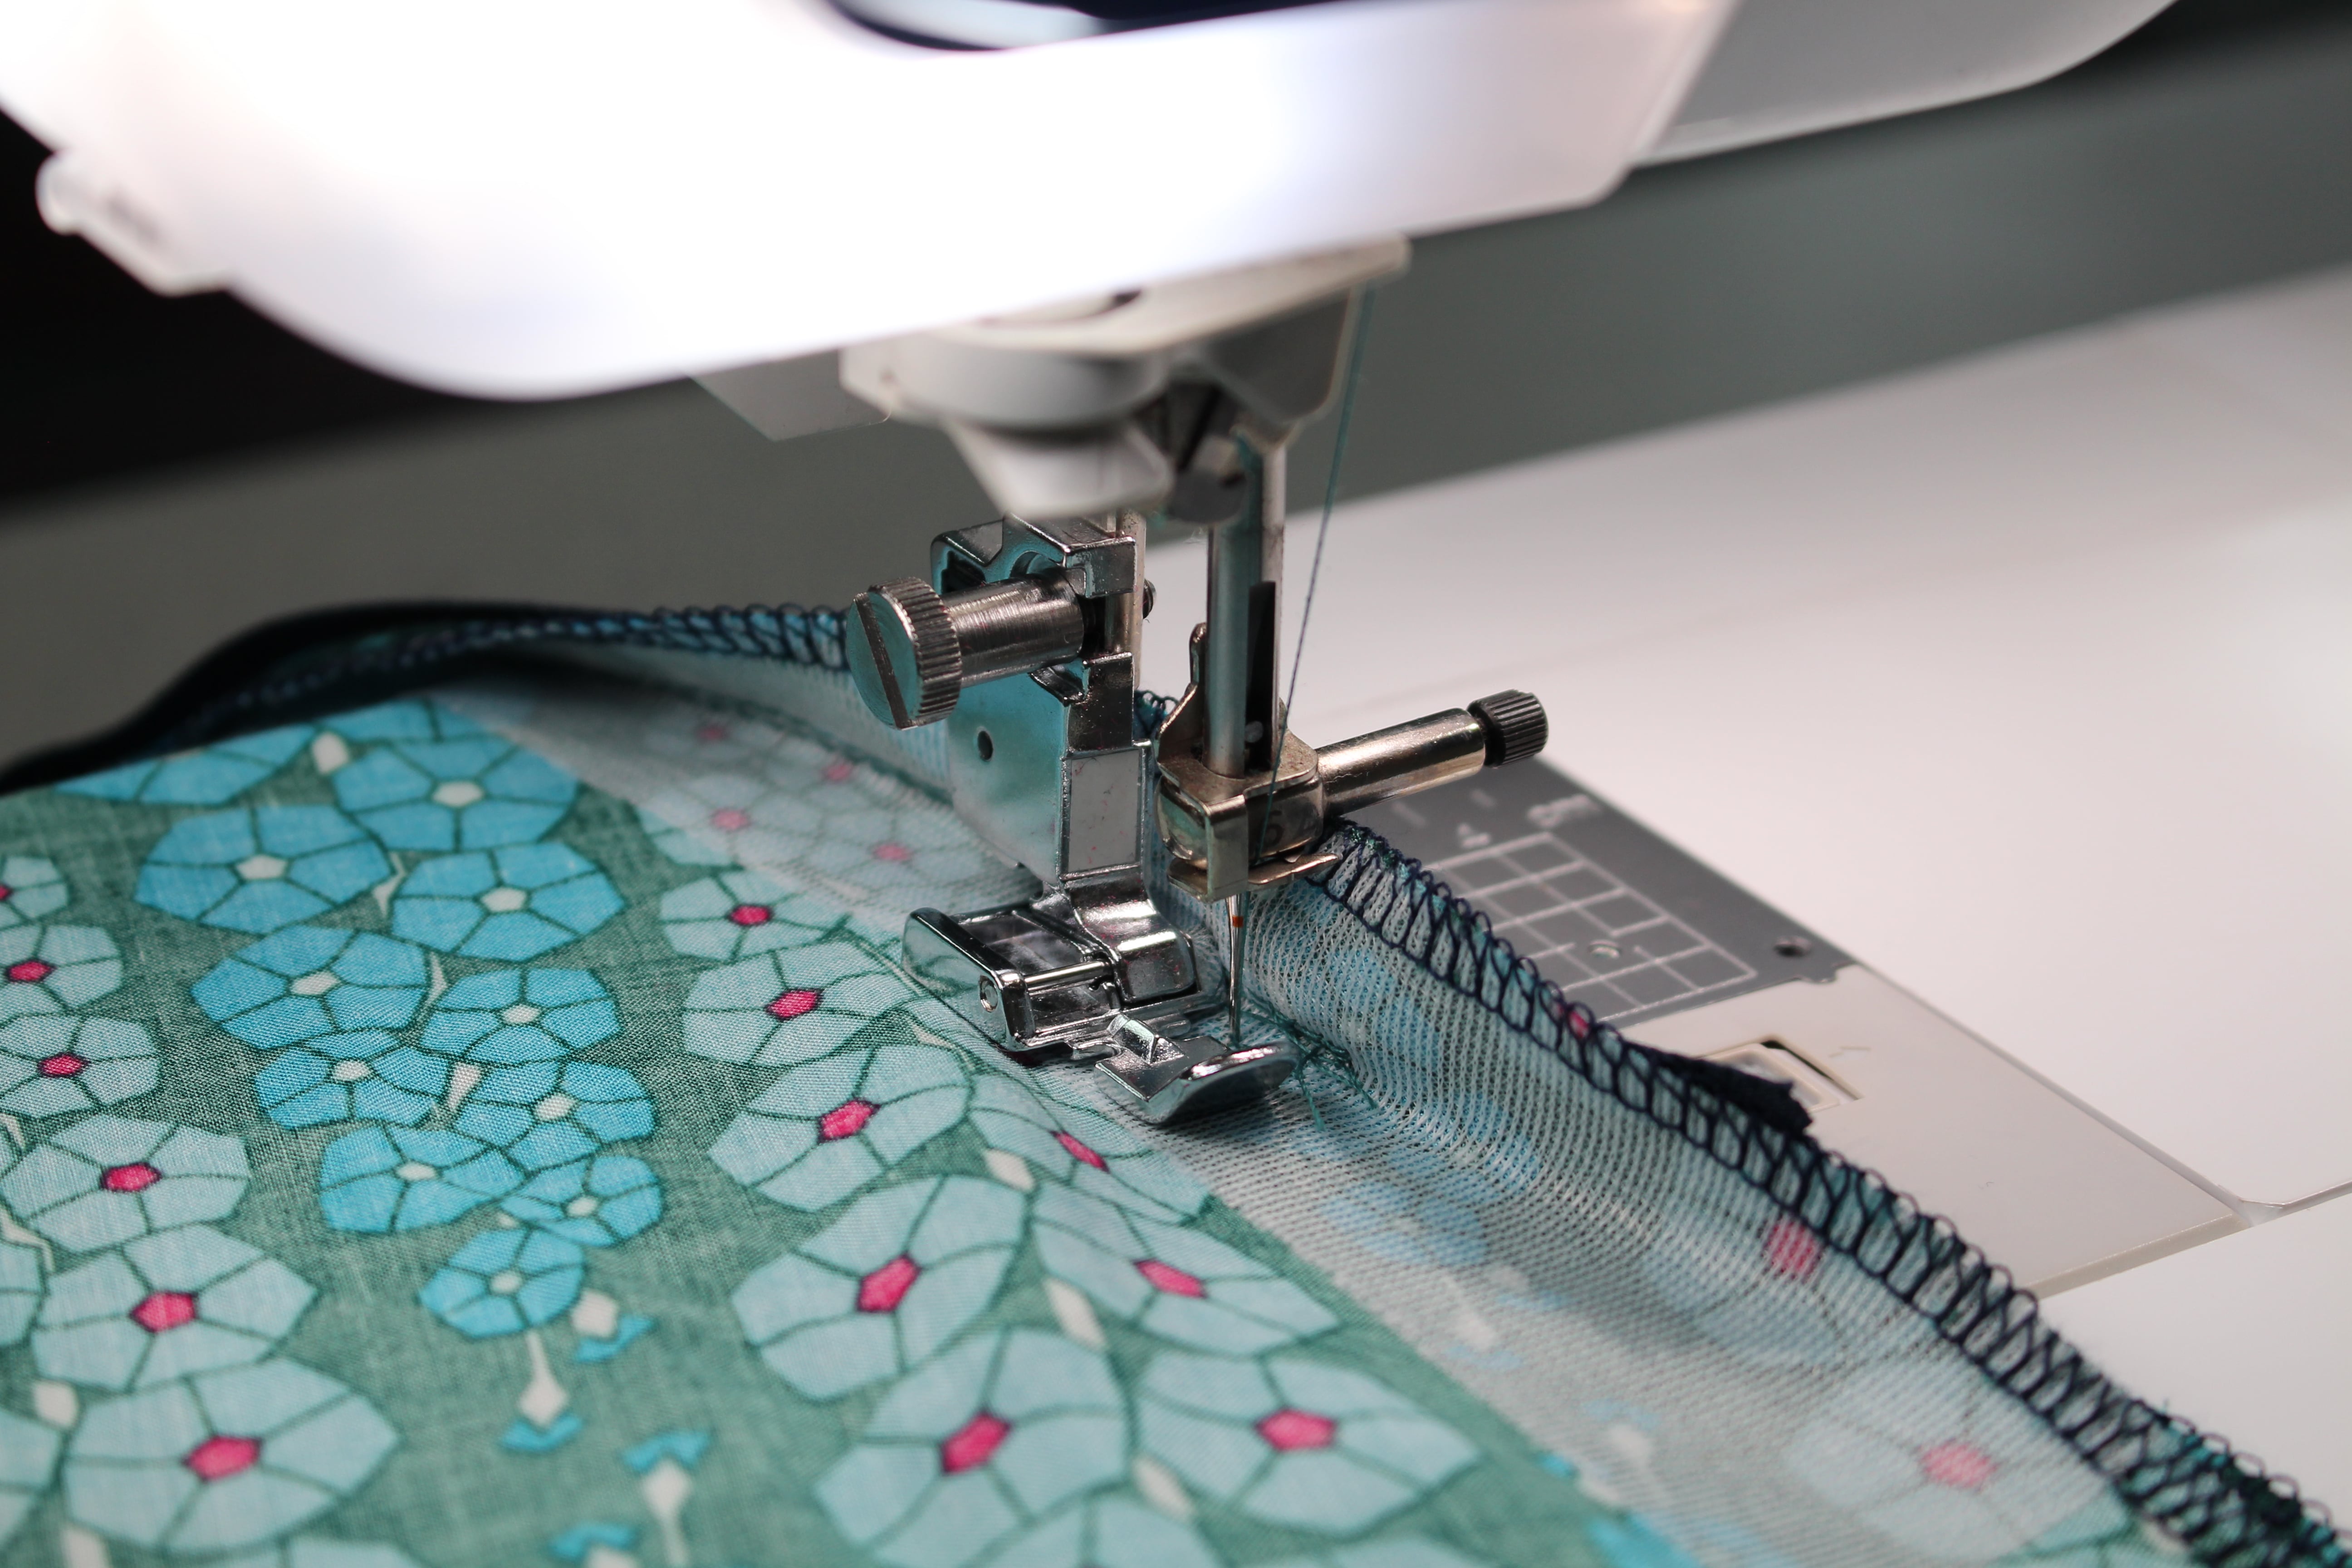
As I mentioned earlier, the rayon fabric tends to fray a little. After cutting out the skirt, I ran the edges through the serger to finish the edges (I used a 3-thread wide overlock stitch). But before serging the edges, press the fusible interfacing in the zipper location (see pattern instructions). The fusible interfacing is light enough to not show through the fabric right side and prevent the fabric from stretching out while sewing in the zipper.
The next step is to sew in the invisible zipper and sew the side seams.
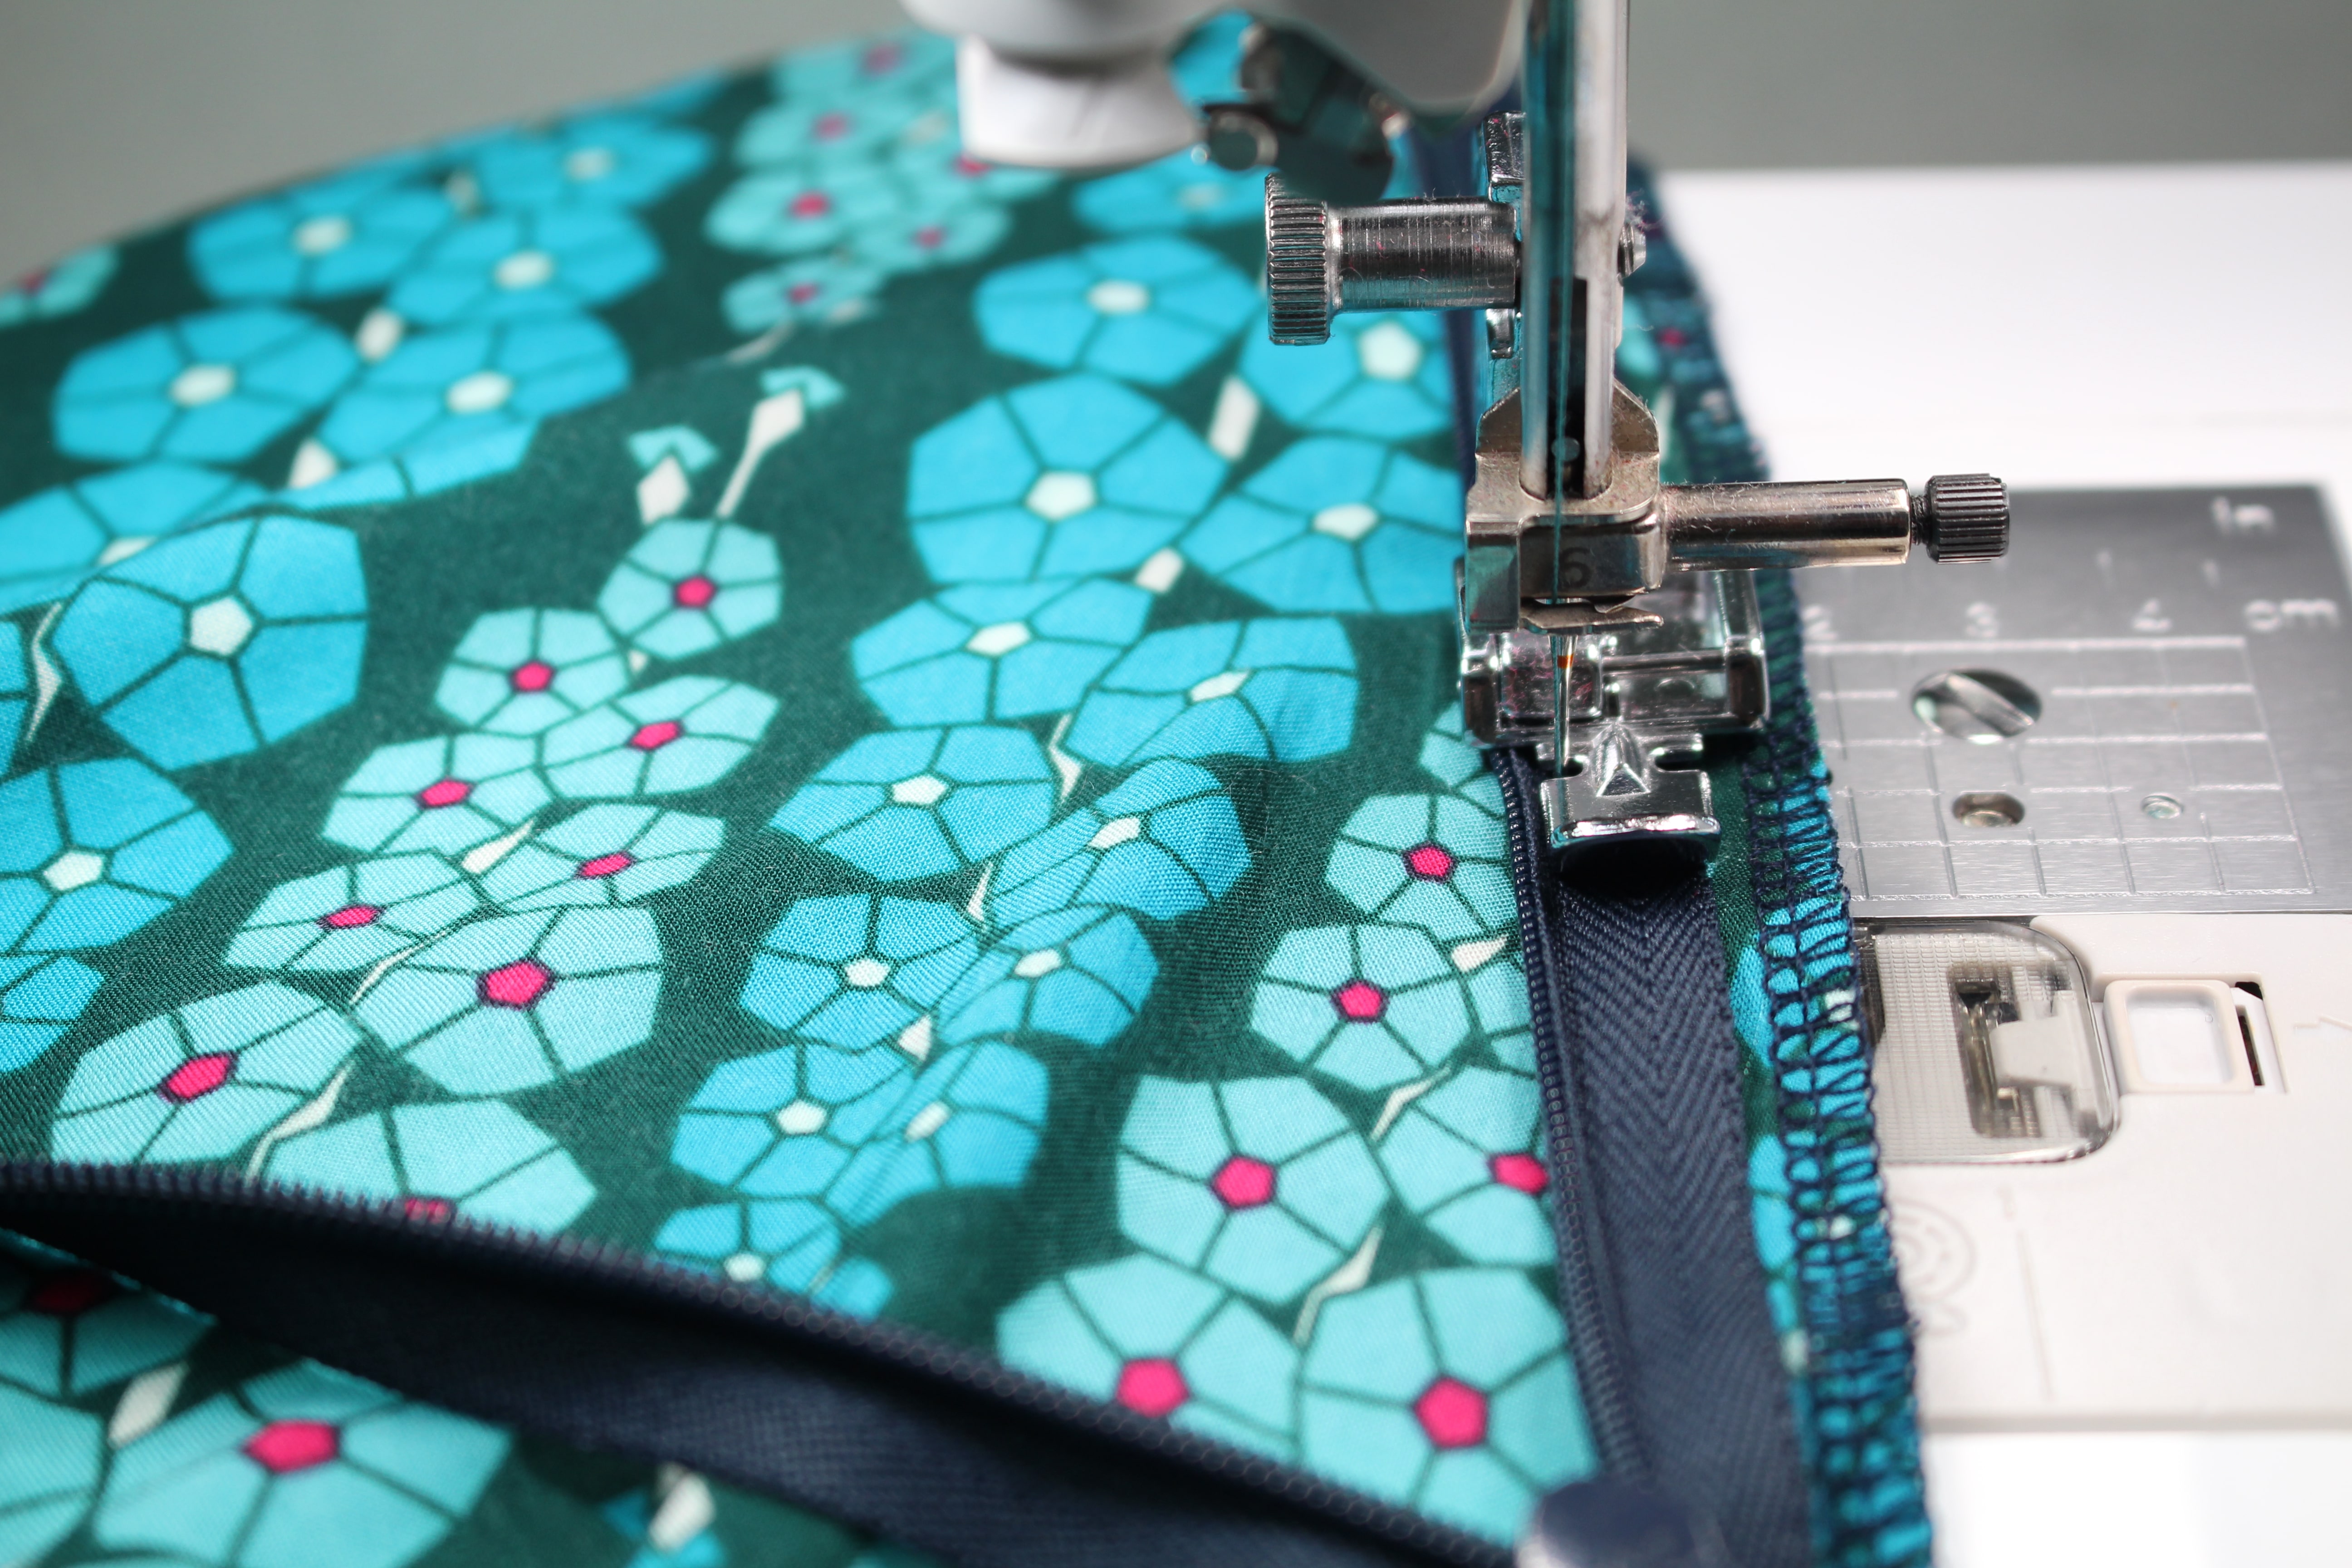
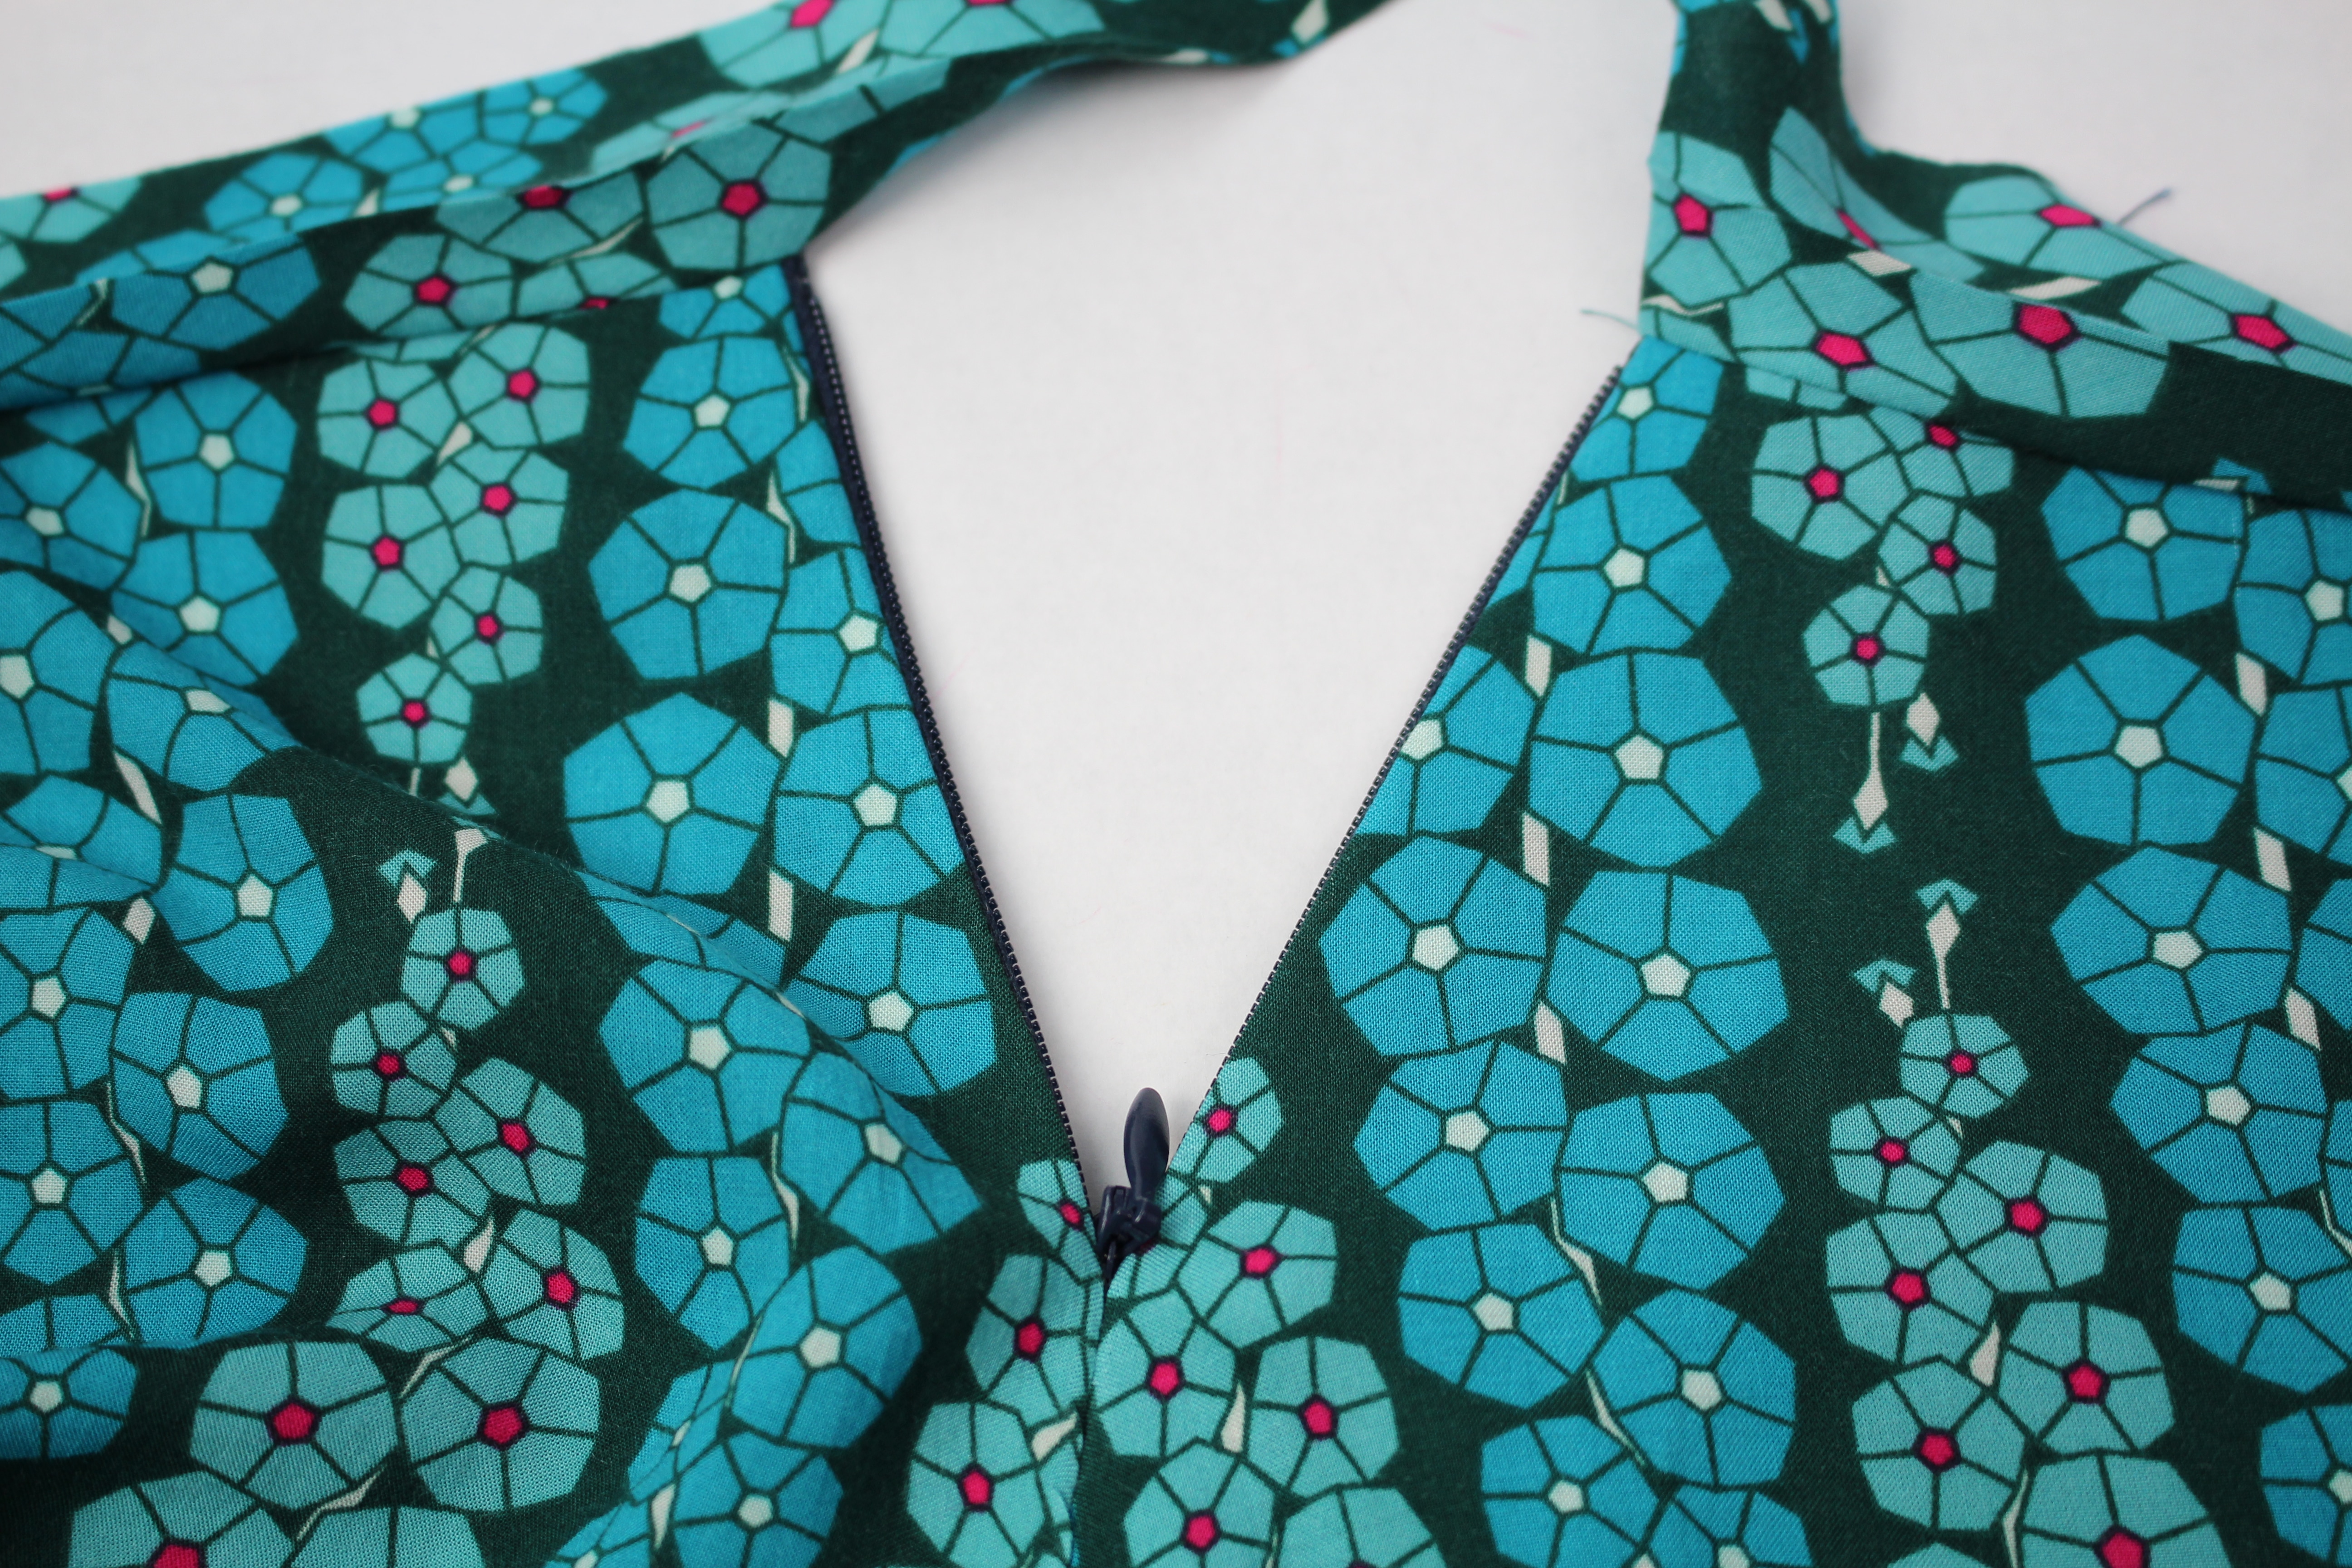
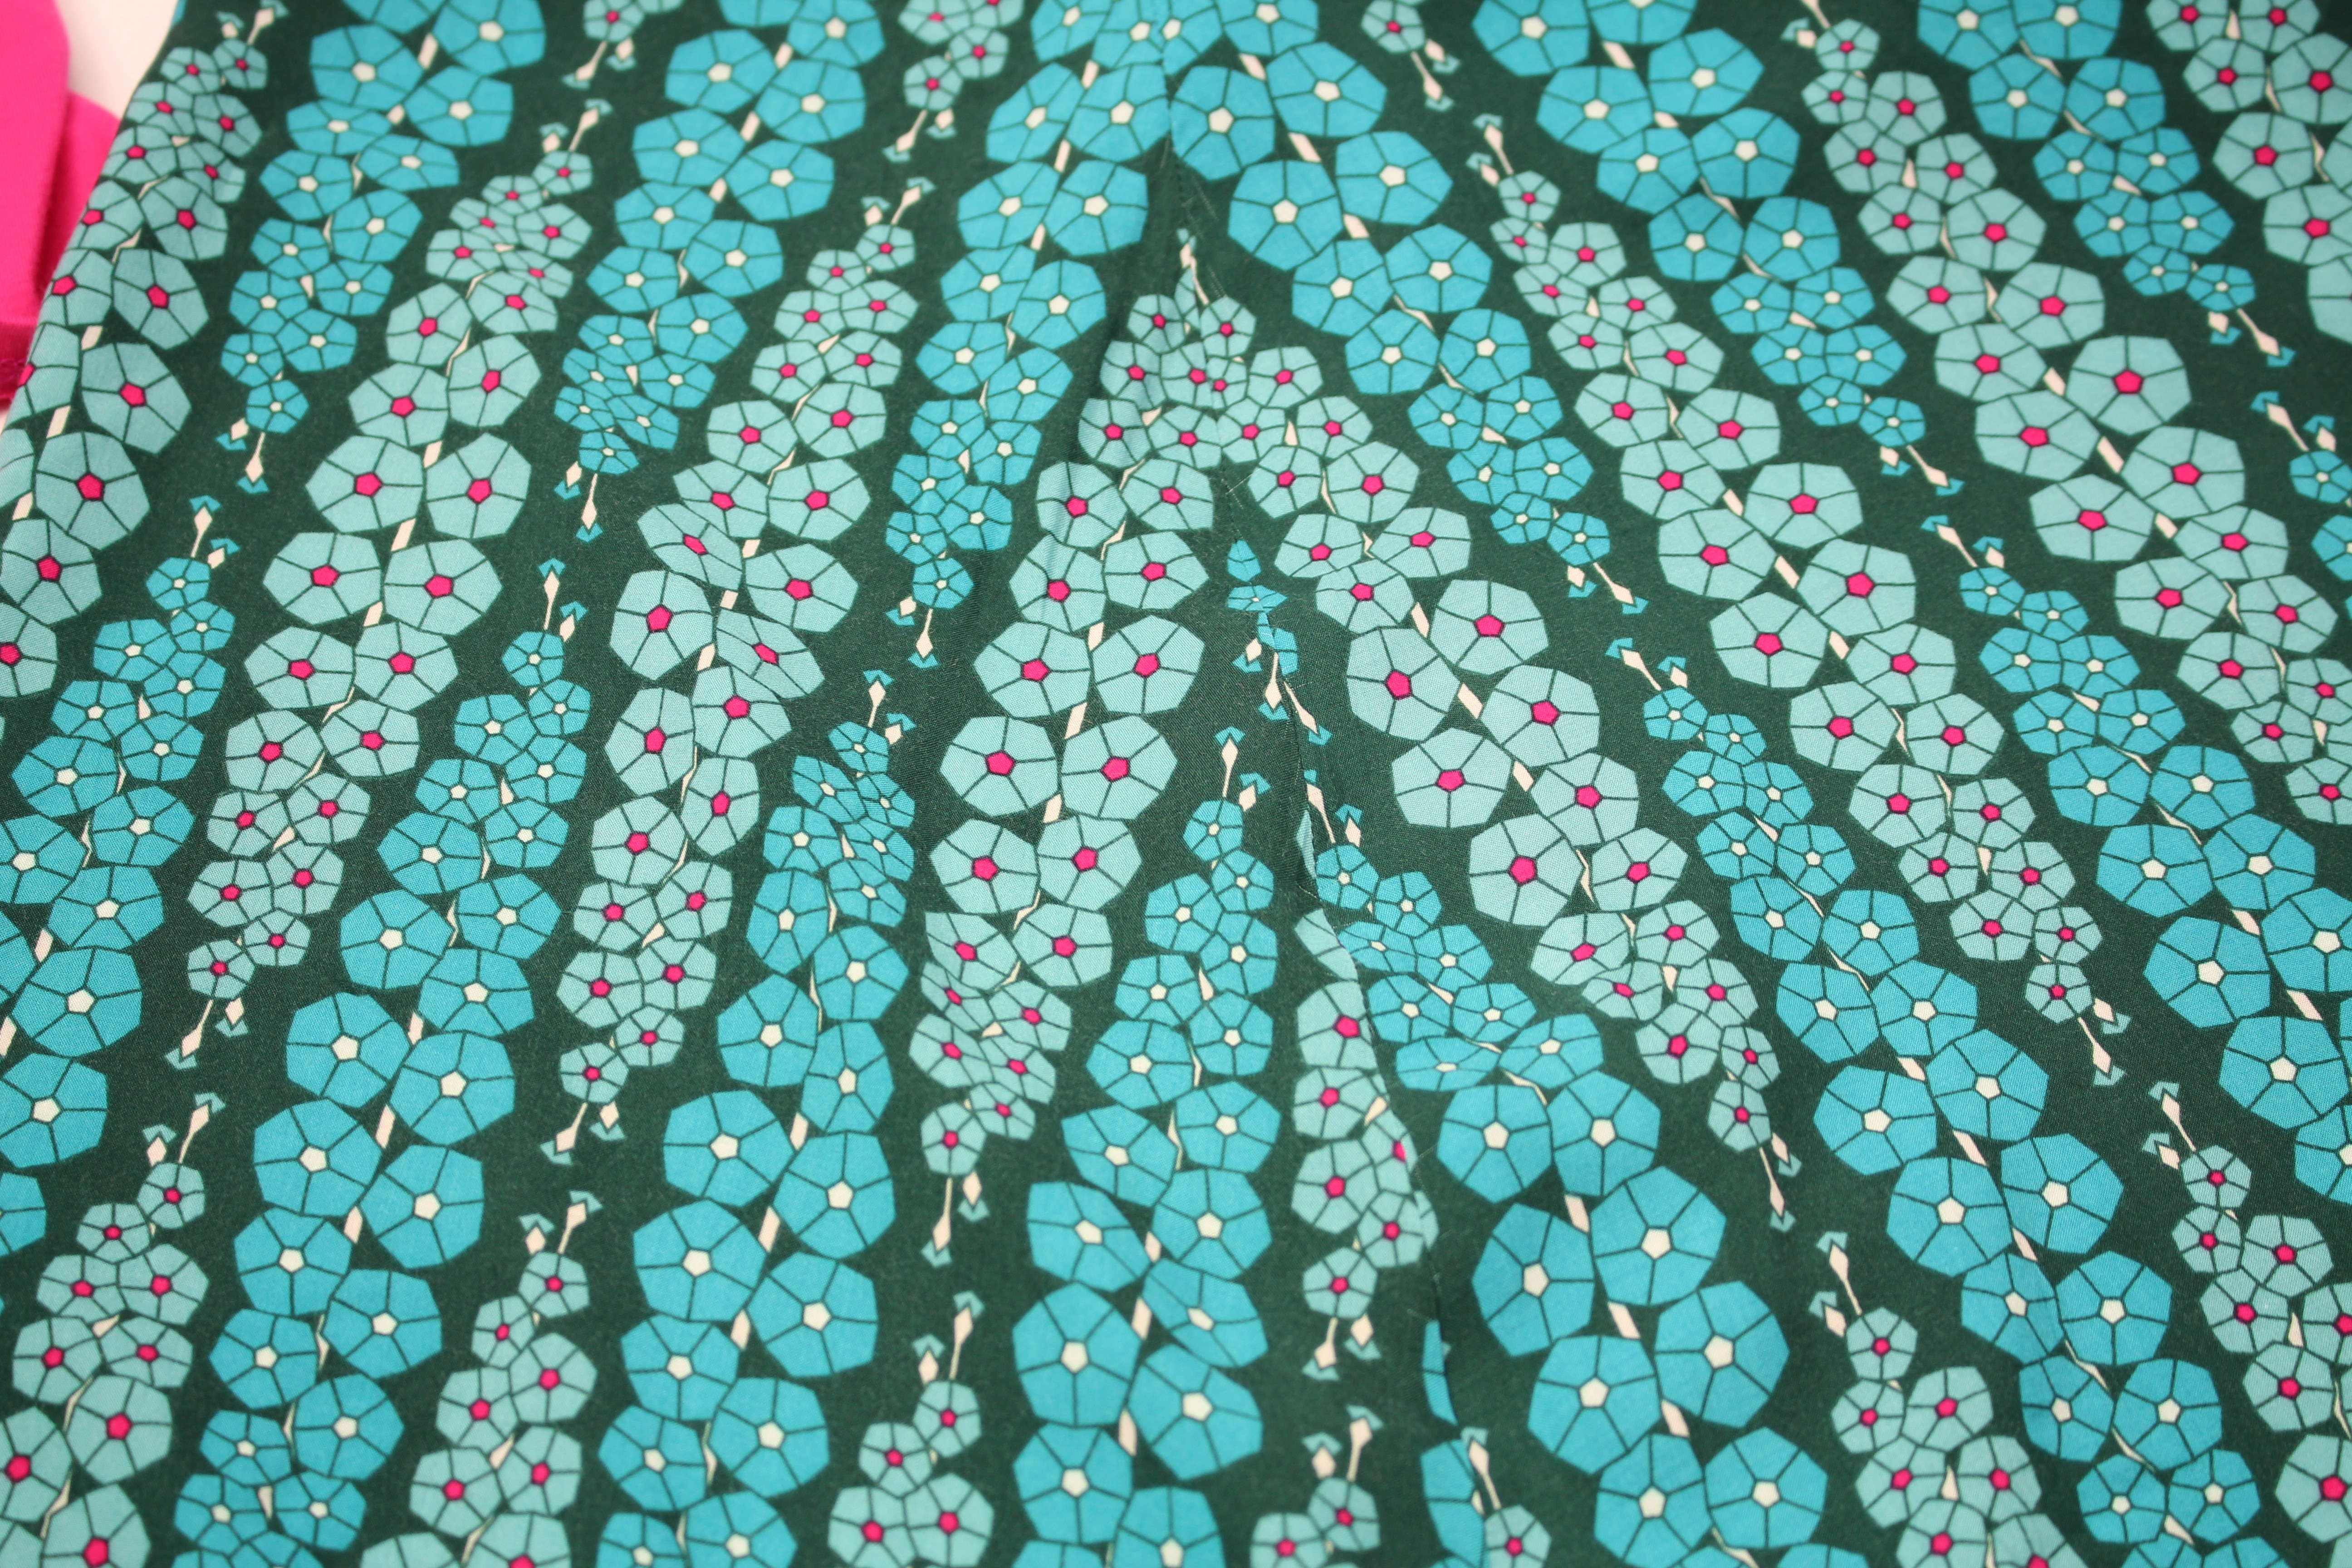
Check the pattern lining up on the side seam. It looks pretty good here 🙂
The next step is to attach the waistband …

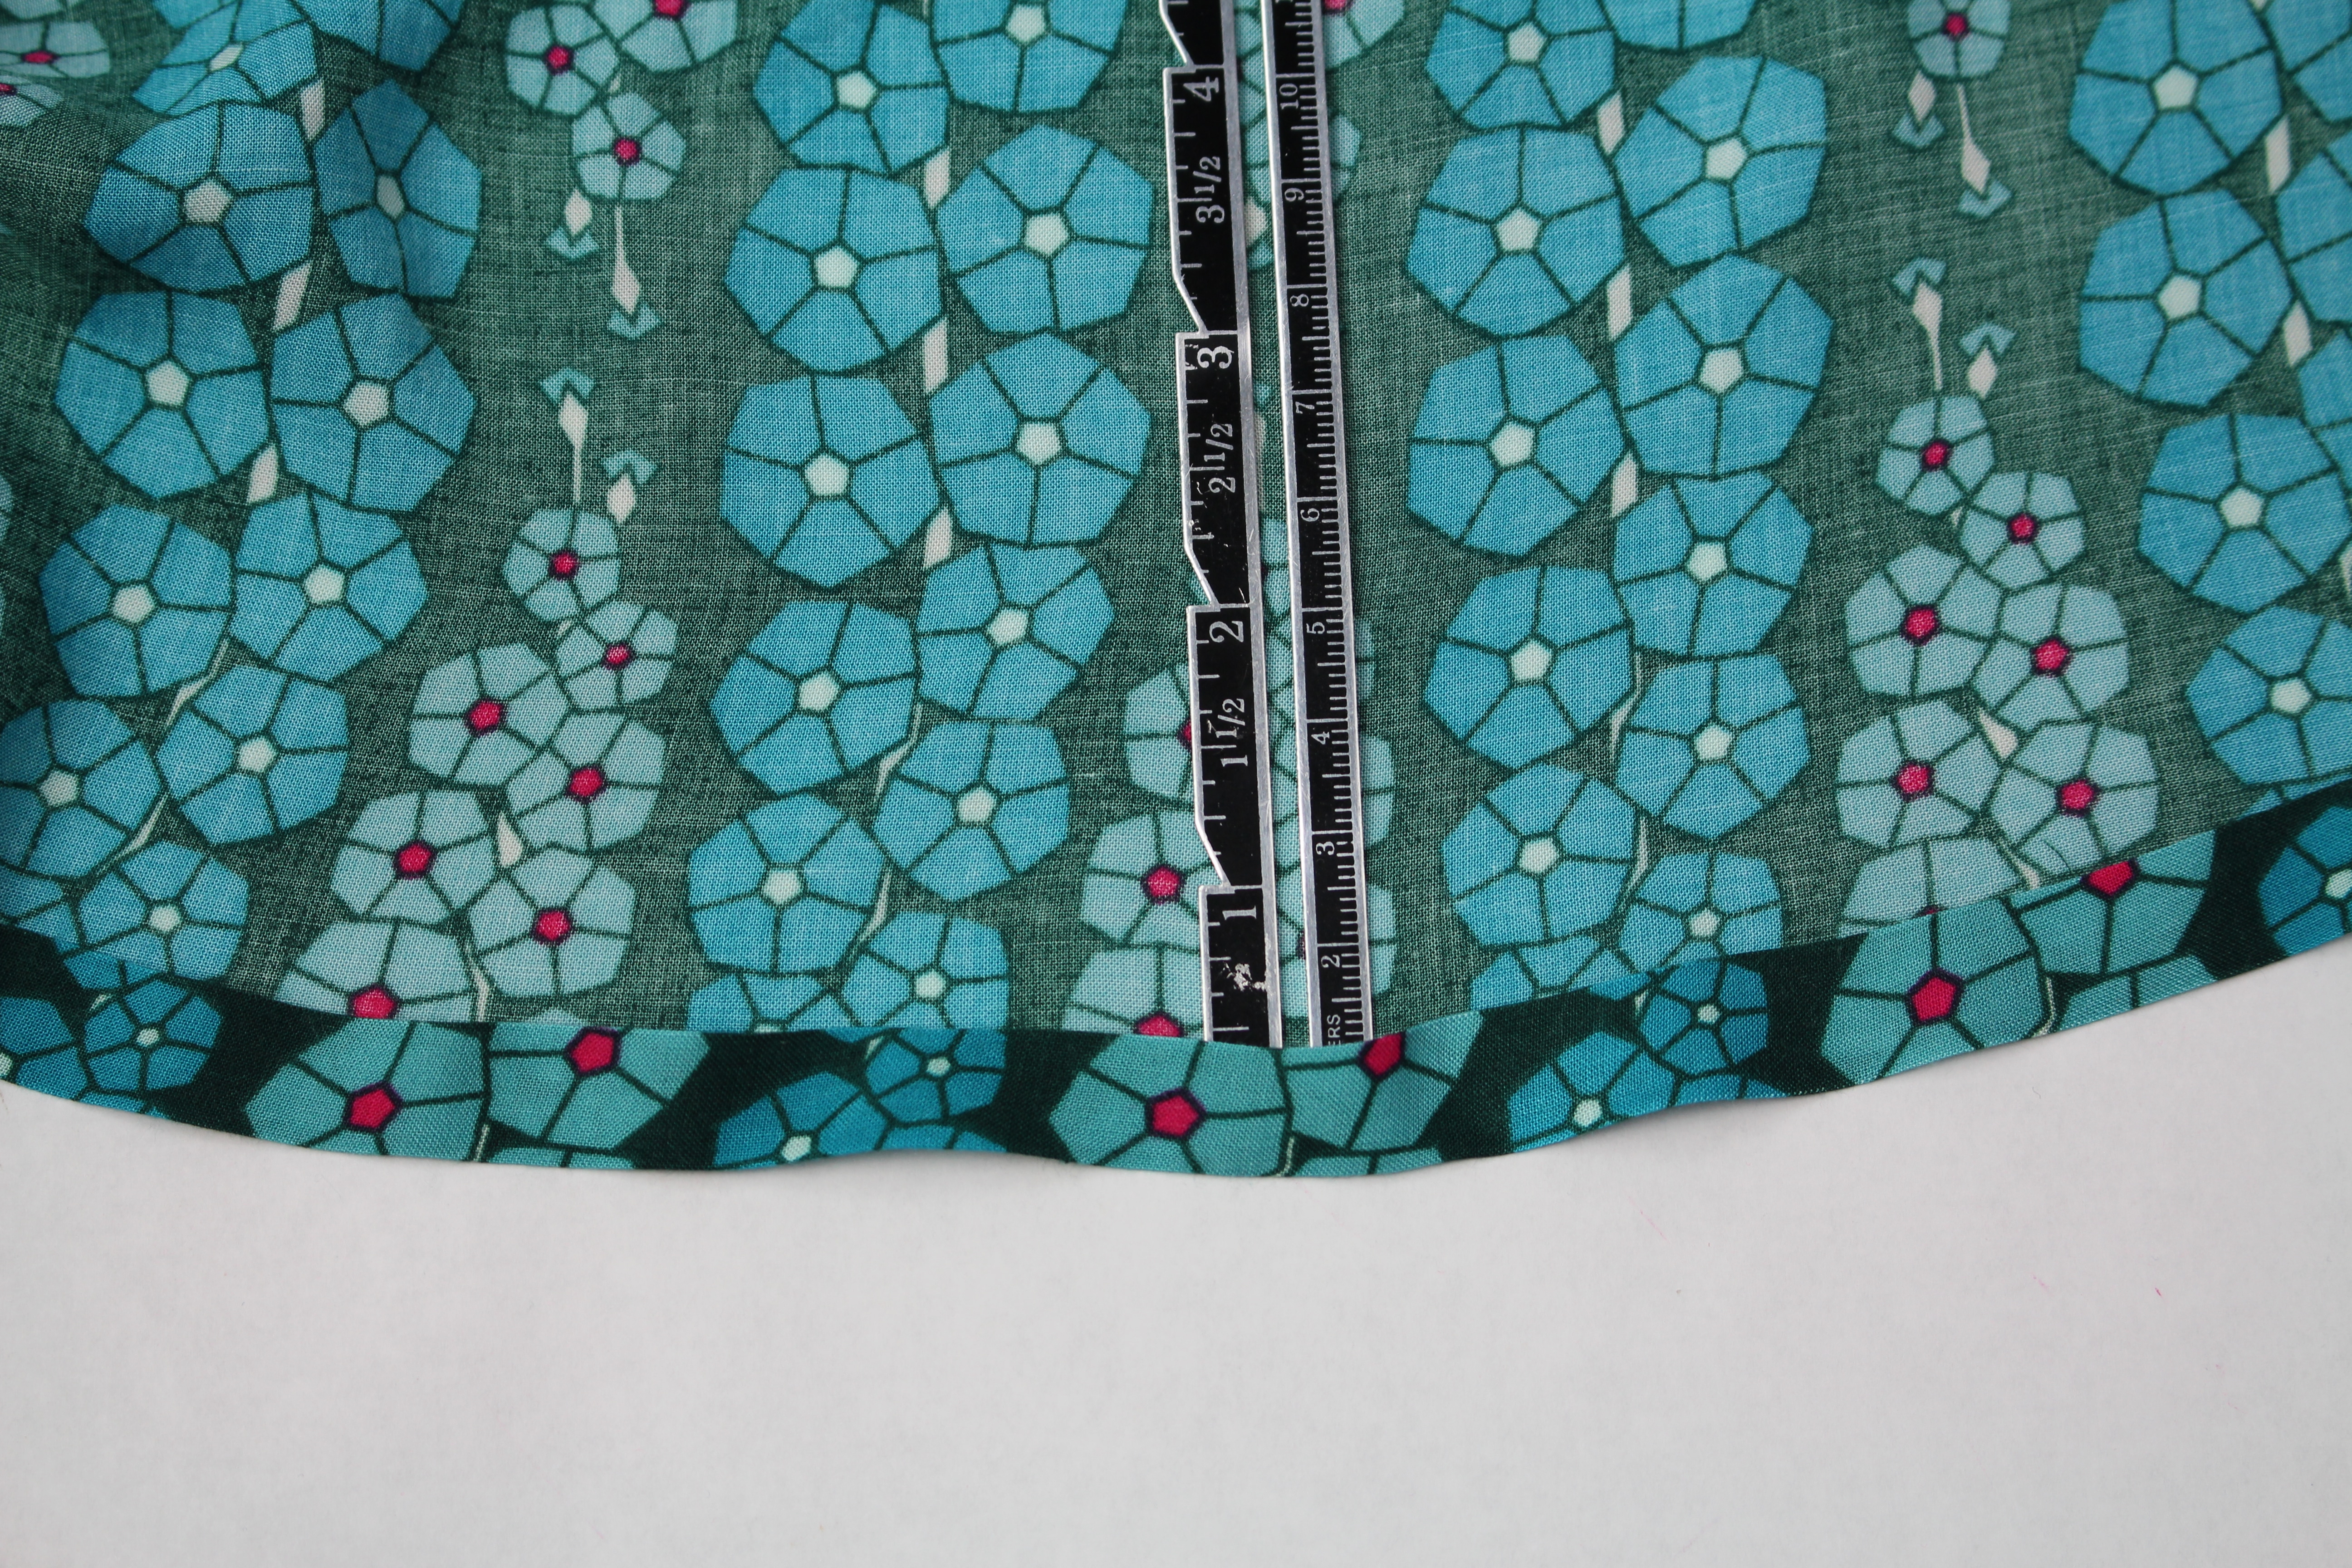
And lastly, the hem. Turn the bottom of the skirt up 1/2″ toward the wrong side of the fabric and press. Use a tailor’s clapper for a crisp crease. Turn the hem up another 1/2″ and press. Topstitch the folded hem in place.
Here are a couple of YouTube videos showing how to sew the skirt if you want to follow along:
Here is a list of all the talented bloggers sharing in Mathew’s big fabric launch for Art Gallery Fabrics. And be sure to visit Mathew’s Mister Domestic Instagram for weekly fabric giveaways!
MISTER DOMESTIC’S LOVED TO PIECES BLOG PARTY
- Monday July 16: Amanda Woodruff of A Crafty Fox
- Tuesday July 17: Sharon Holland of Sharon Holland Designs
- Wednesday July 18: Angela Wolf of Angela Wolf Pattern Collection
- Thursday July 19: Brittany Jones of Brittany Jones
- Friday July 20: Sharon McConnell of Color Girl Quilts
- Saturday July 21: Elina Temmes of Elina Temmes
- Monday July 23: Meghan Buchanan of Then Came June
- Tuesday July 24: Nicole Daksiewicz of Modern Handcraft
- Wednesday July 25: Cristy Stuhldreher of I Love You Sew
- Thursday July 26: Kate Basti of Quilt with Kate
- Friday July 27: Courtney Davis posting at Melly Sews
- Sunday July 29: Mimi Goodwin of Mimi G Style
- Monday July 30: Kim Niedzwiecki of Go Go Kim
- Tuesday July 31: Tara Curtis of Wefty Needle
- Wednesday August 1: Saija Kiiskinen of Saija Kiiskinen
- Thursday August 2: Jodi Godfrey of Tales of Cloth
- Sunday August 5: Brett Lewis of Natural Born Quilter
- Monday August 6: Karen Tripp of The DIY Addict
- Tuesday August 7: Tracy Martin of Tracy Bug Creative
- Wednesday August 8: Sharon Burgess of Lilabelle Lane Creations
- Thursday August 9: Maureen Cracknell of Maureen Cracknell Handmade
- Friday August 10: Kylie Gersekowski of Little Moo Designs



Trackbacks/Pingbacks