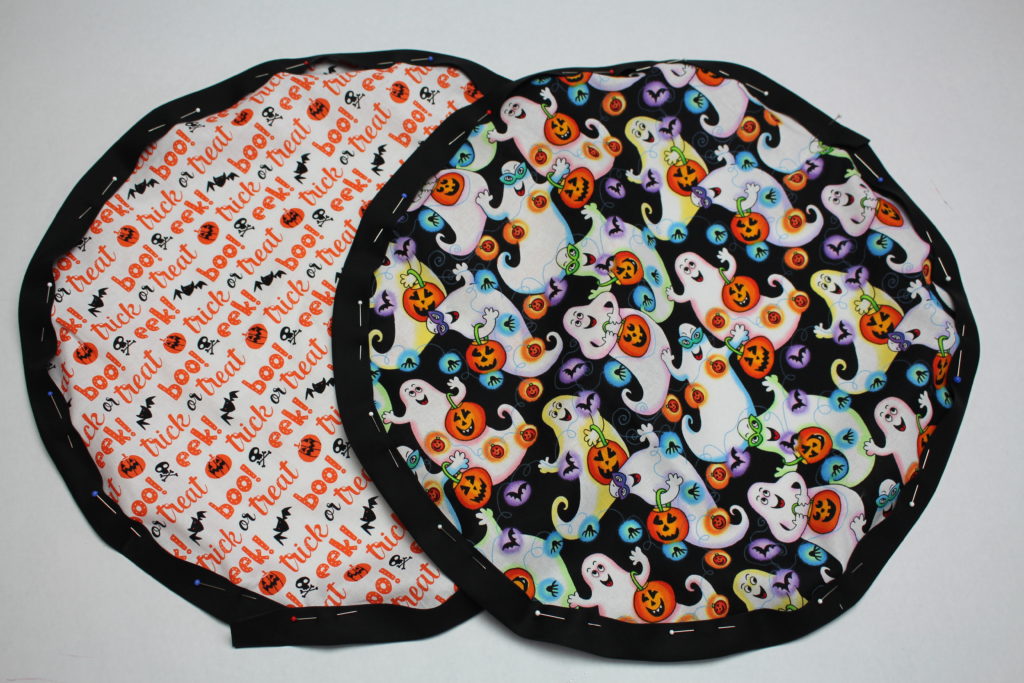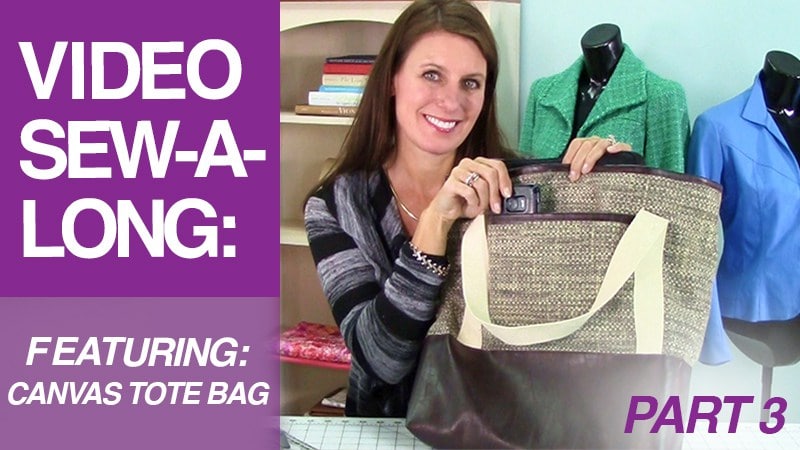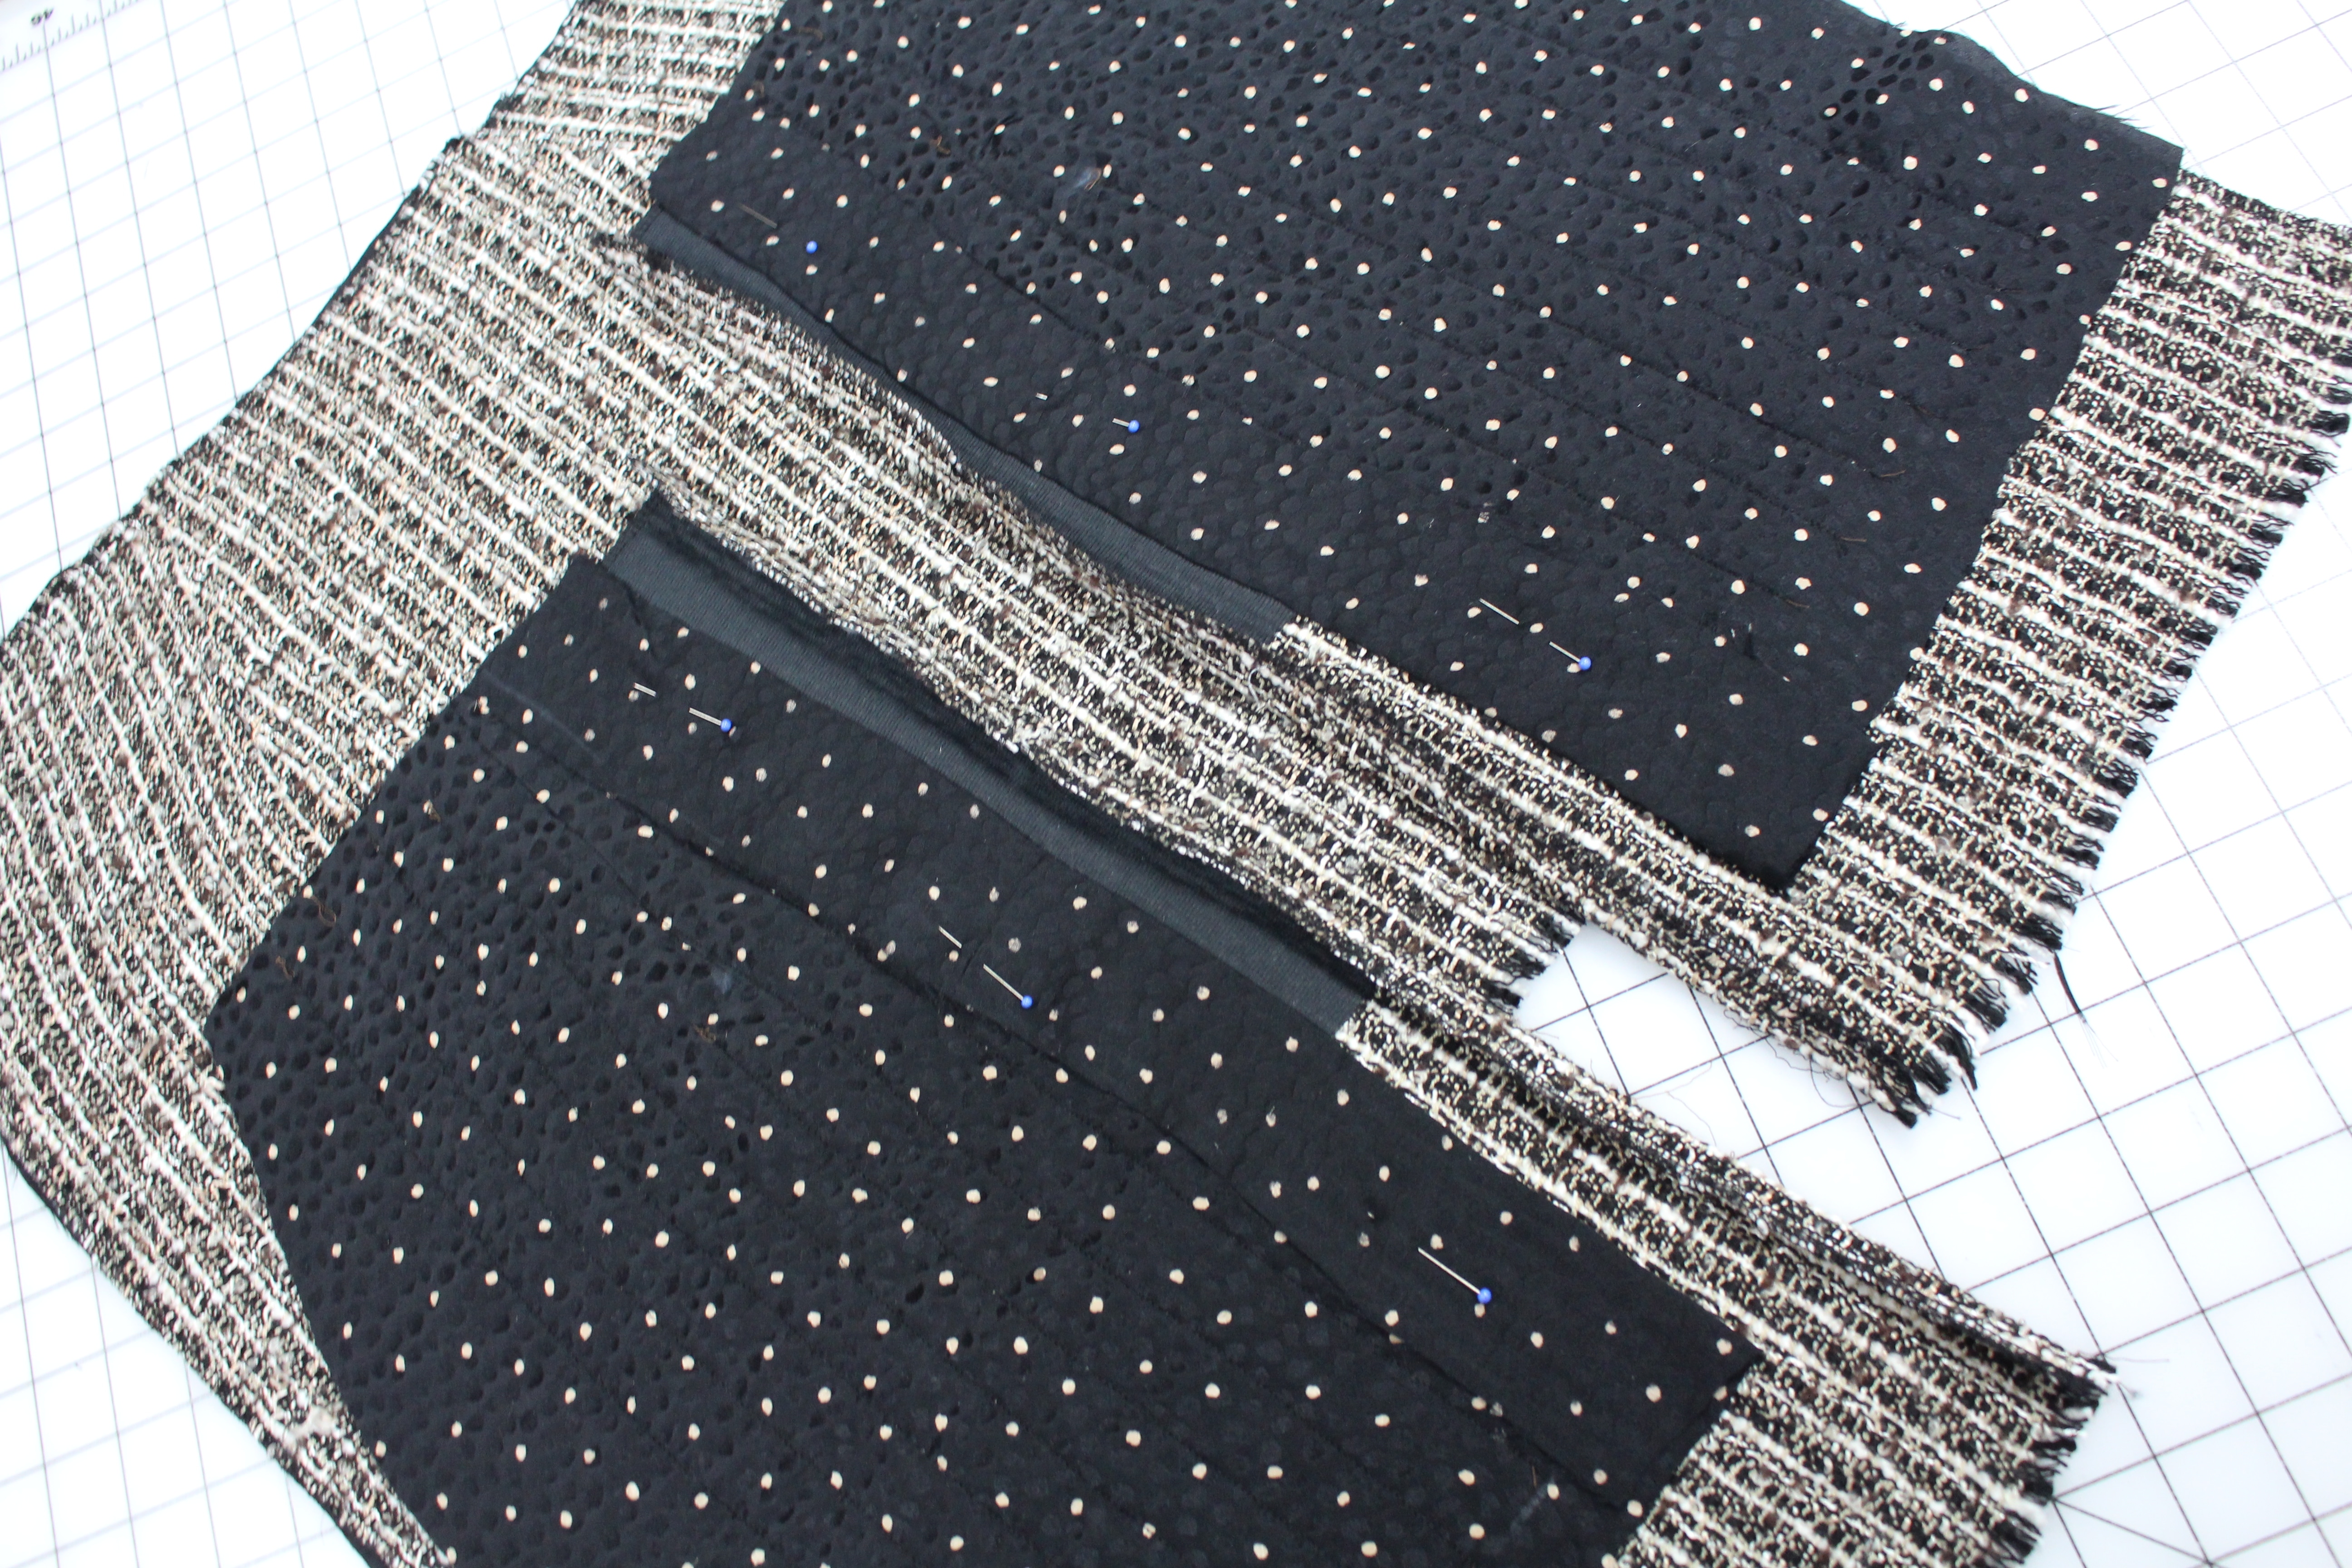

Quick & Easy Christmas & Holiday Decor Quick Table Runner Instructions Fabric Requirements: a. Center fabric: Sew together seven of the quilted blocksmade in the 7 7/8 x 14 in hoop. Five of the blocks will havethe applique design and the two ends will be...
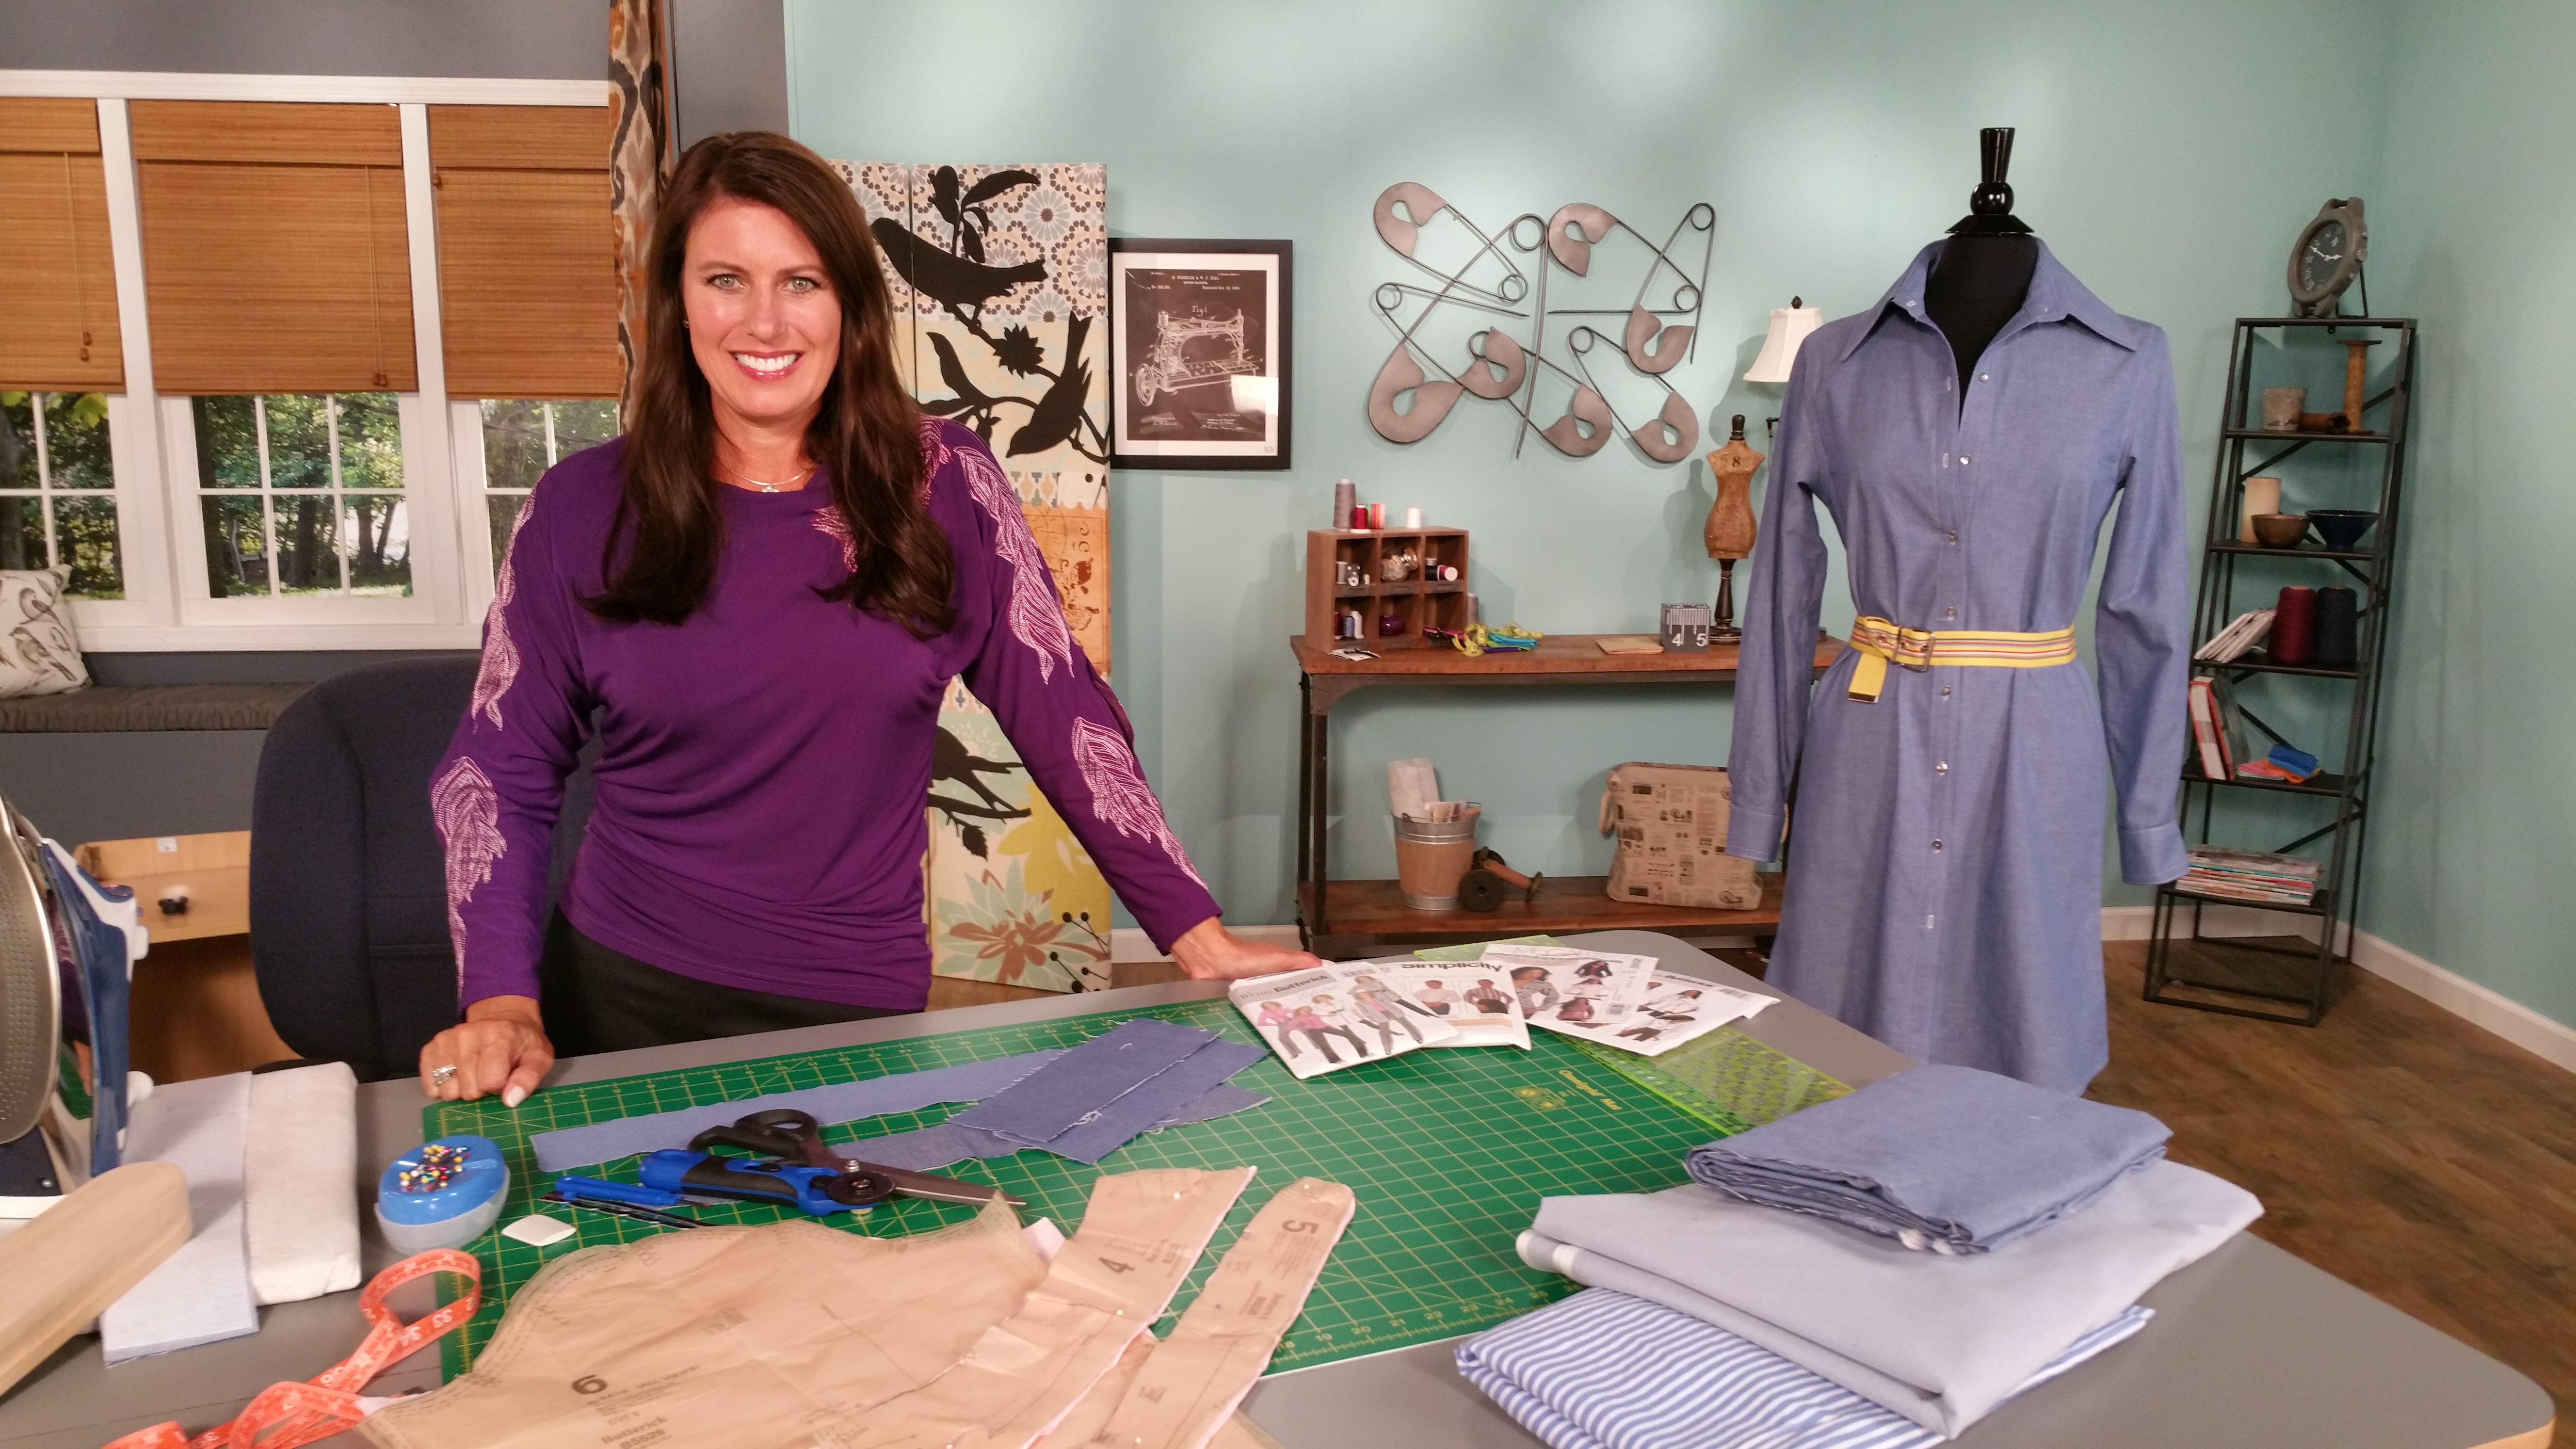
Announcing the Shirt Dress Sewalong on It’s Sew Easy TV
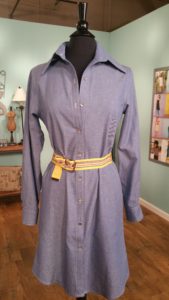
It’s Sew Easy TV’s Shirt Dress Sewalong
Announcing the shirt dress sewalong! This season of It’s Sew Easy I will be sewing a shirt dress from beginning to end and you can follow along each week watching each episode of It’s Sew Easy!
To get started you will need to gather the supplies. You will find quick links to many of these items on my Amazon shopping list.
<iframe width="560" height="315" src="https://www.youtube.com/embed/m-rENptnVxg" frameborder="0" gesture="media" allow="encrypted-media" allowfullscreen></iframe>
Patterns
Check your pattern stash 🙂 Any button down shirt or shirtdress will work 🙂 Here are a few ideas:
- NEW Look #6449
- NEW Look #6470
- SIMPLICITY #8084
- MCcALL’S 7470
- Angela Wolf Pattern Collection: THE LINDA SHIRT & SHIRTDRESS (coming out January 2018)
Fabric
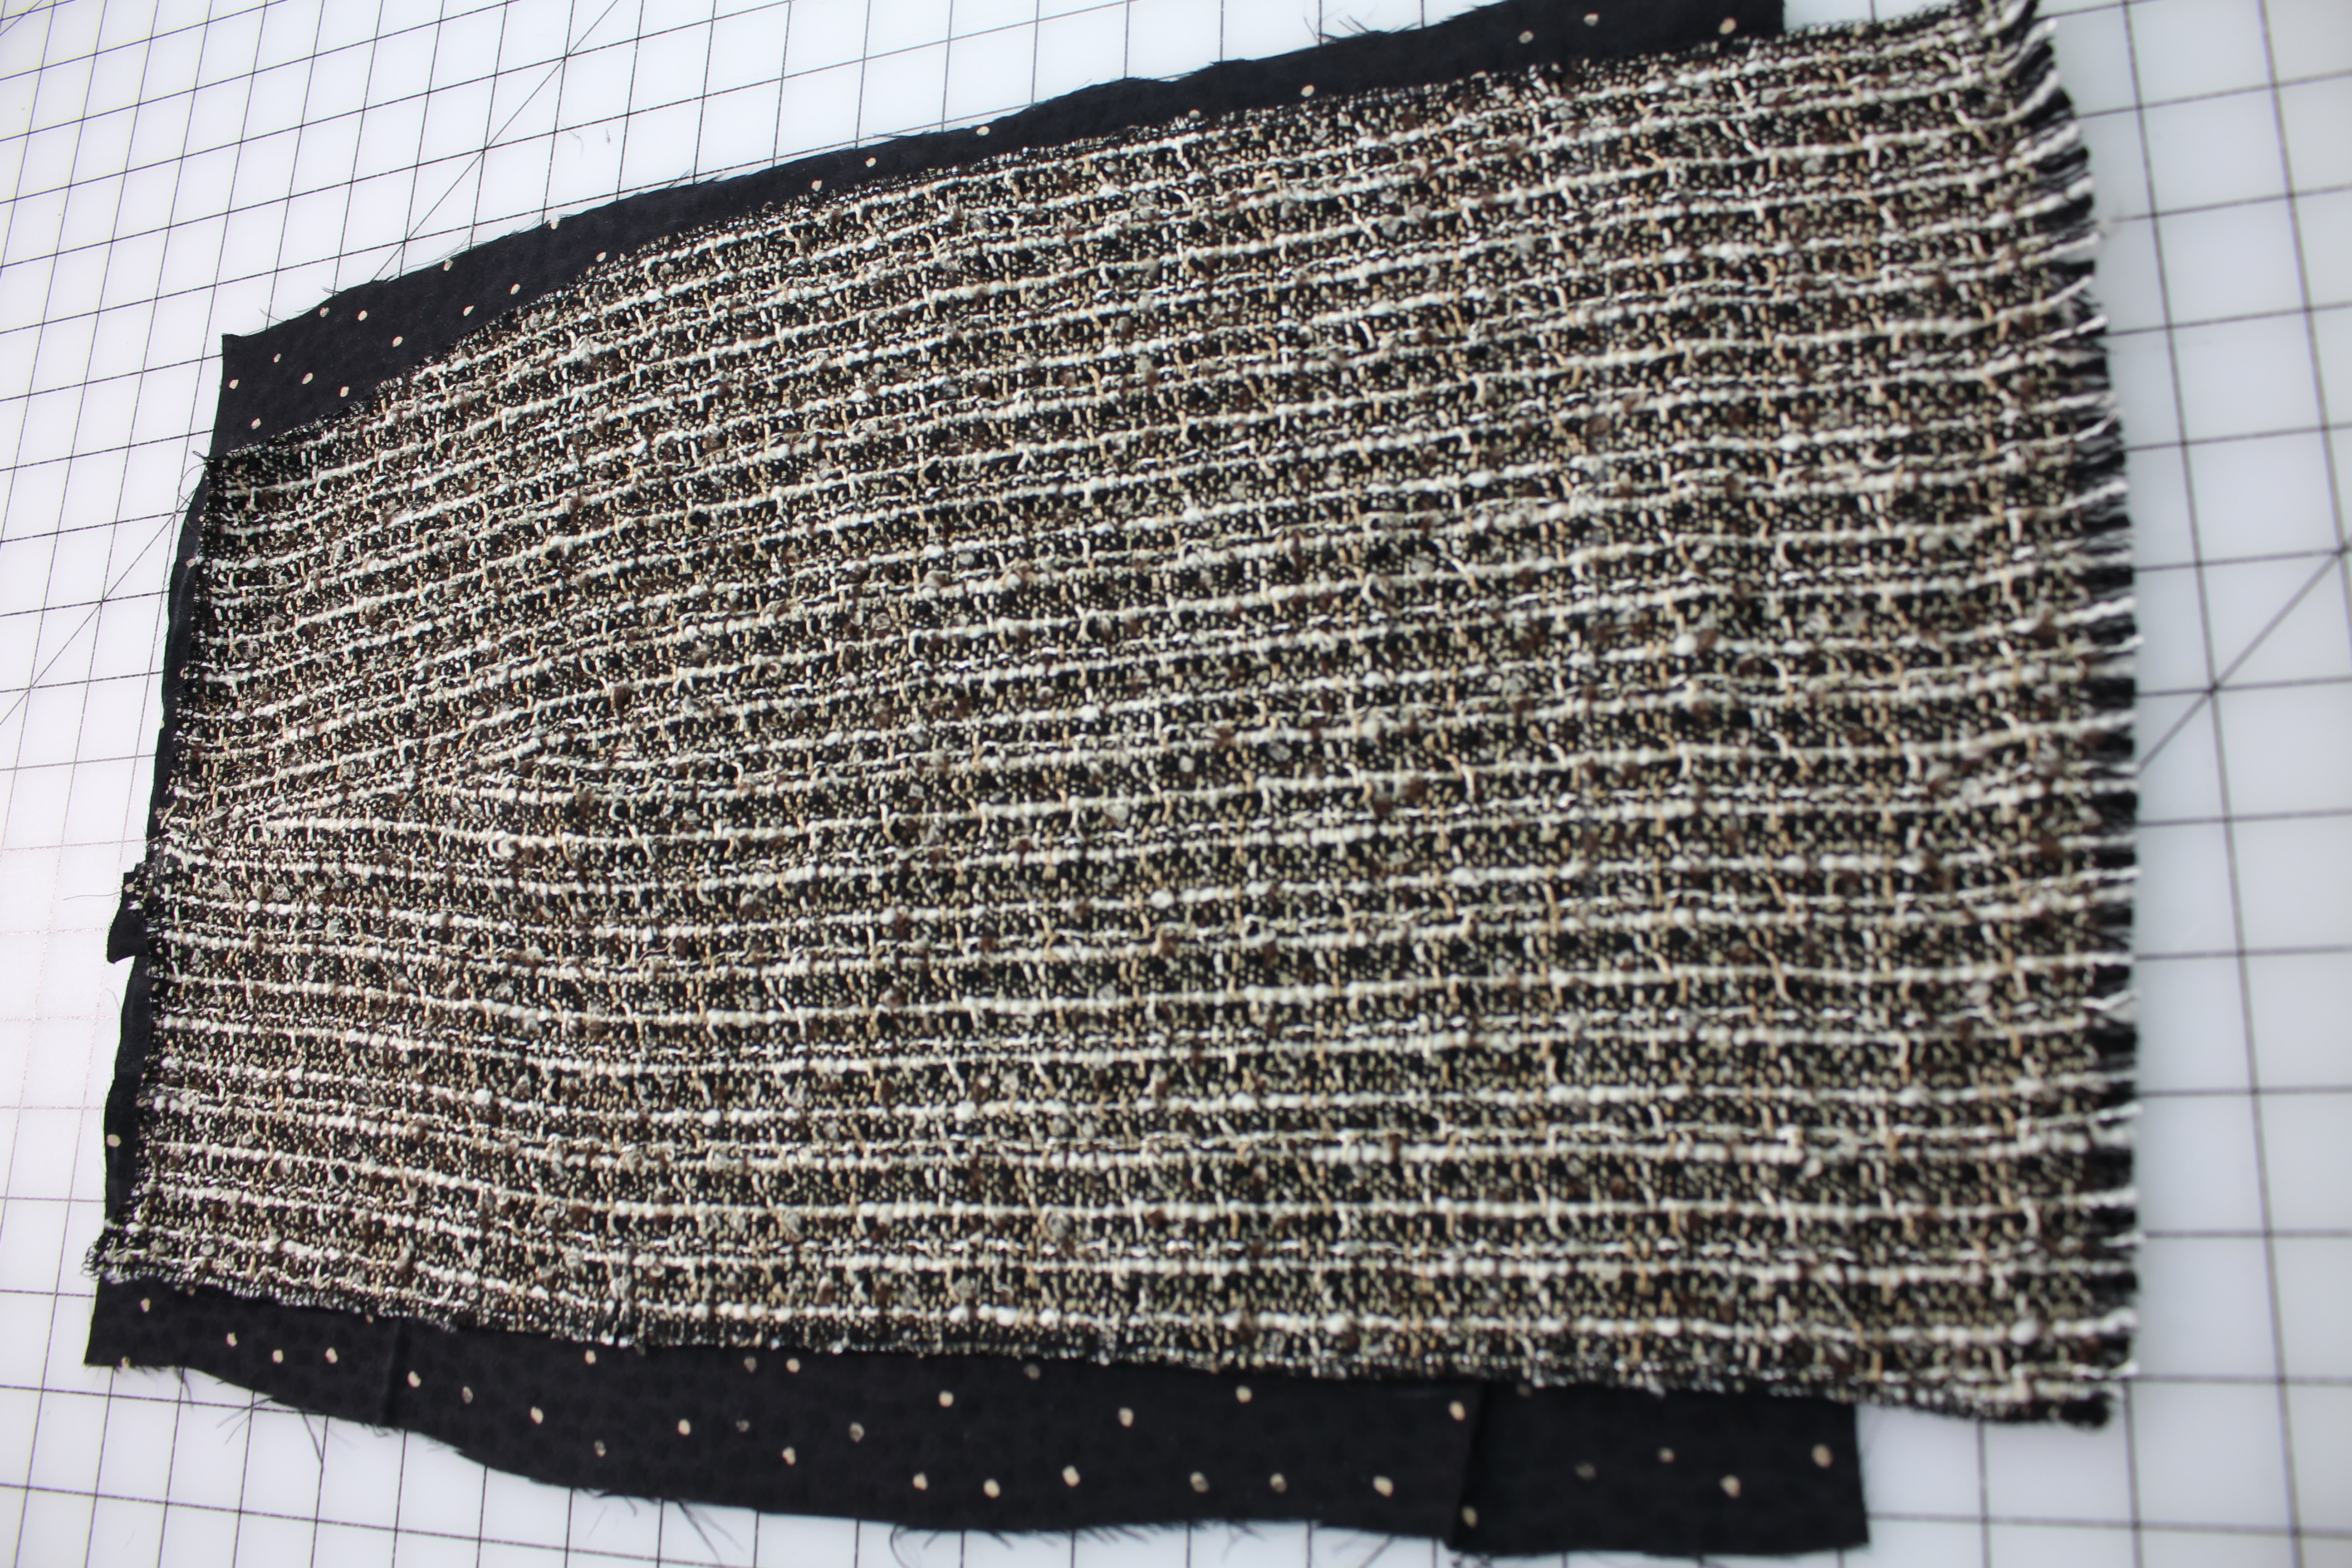
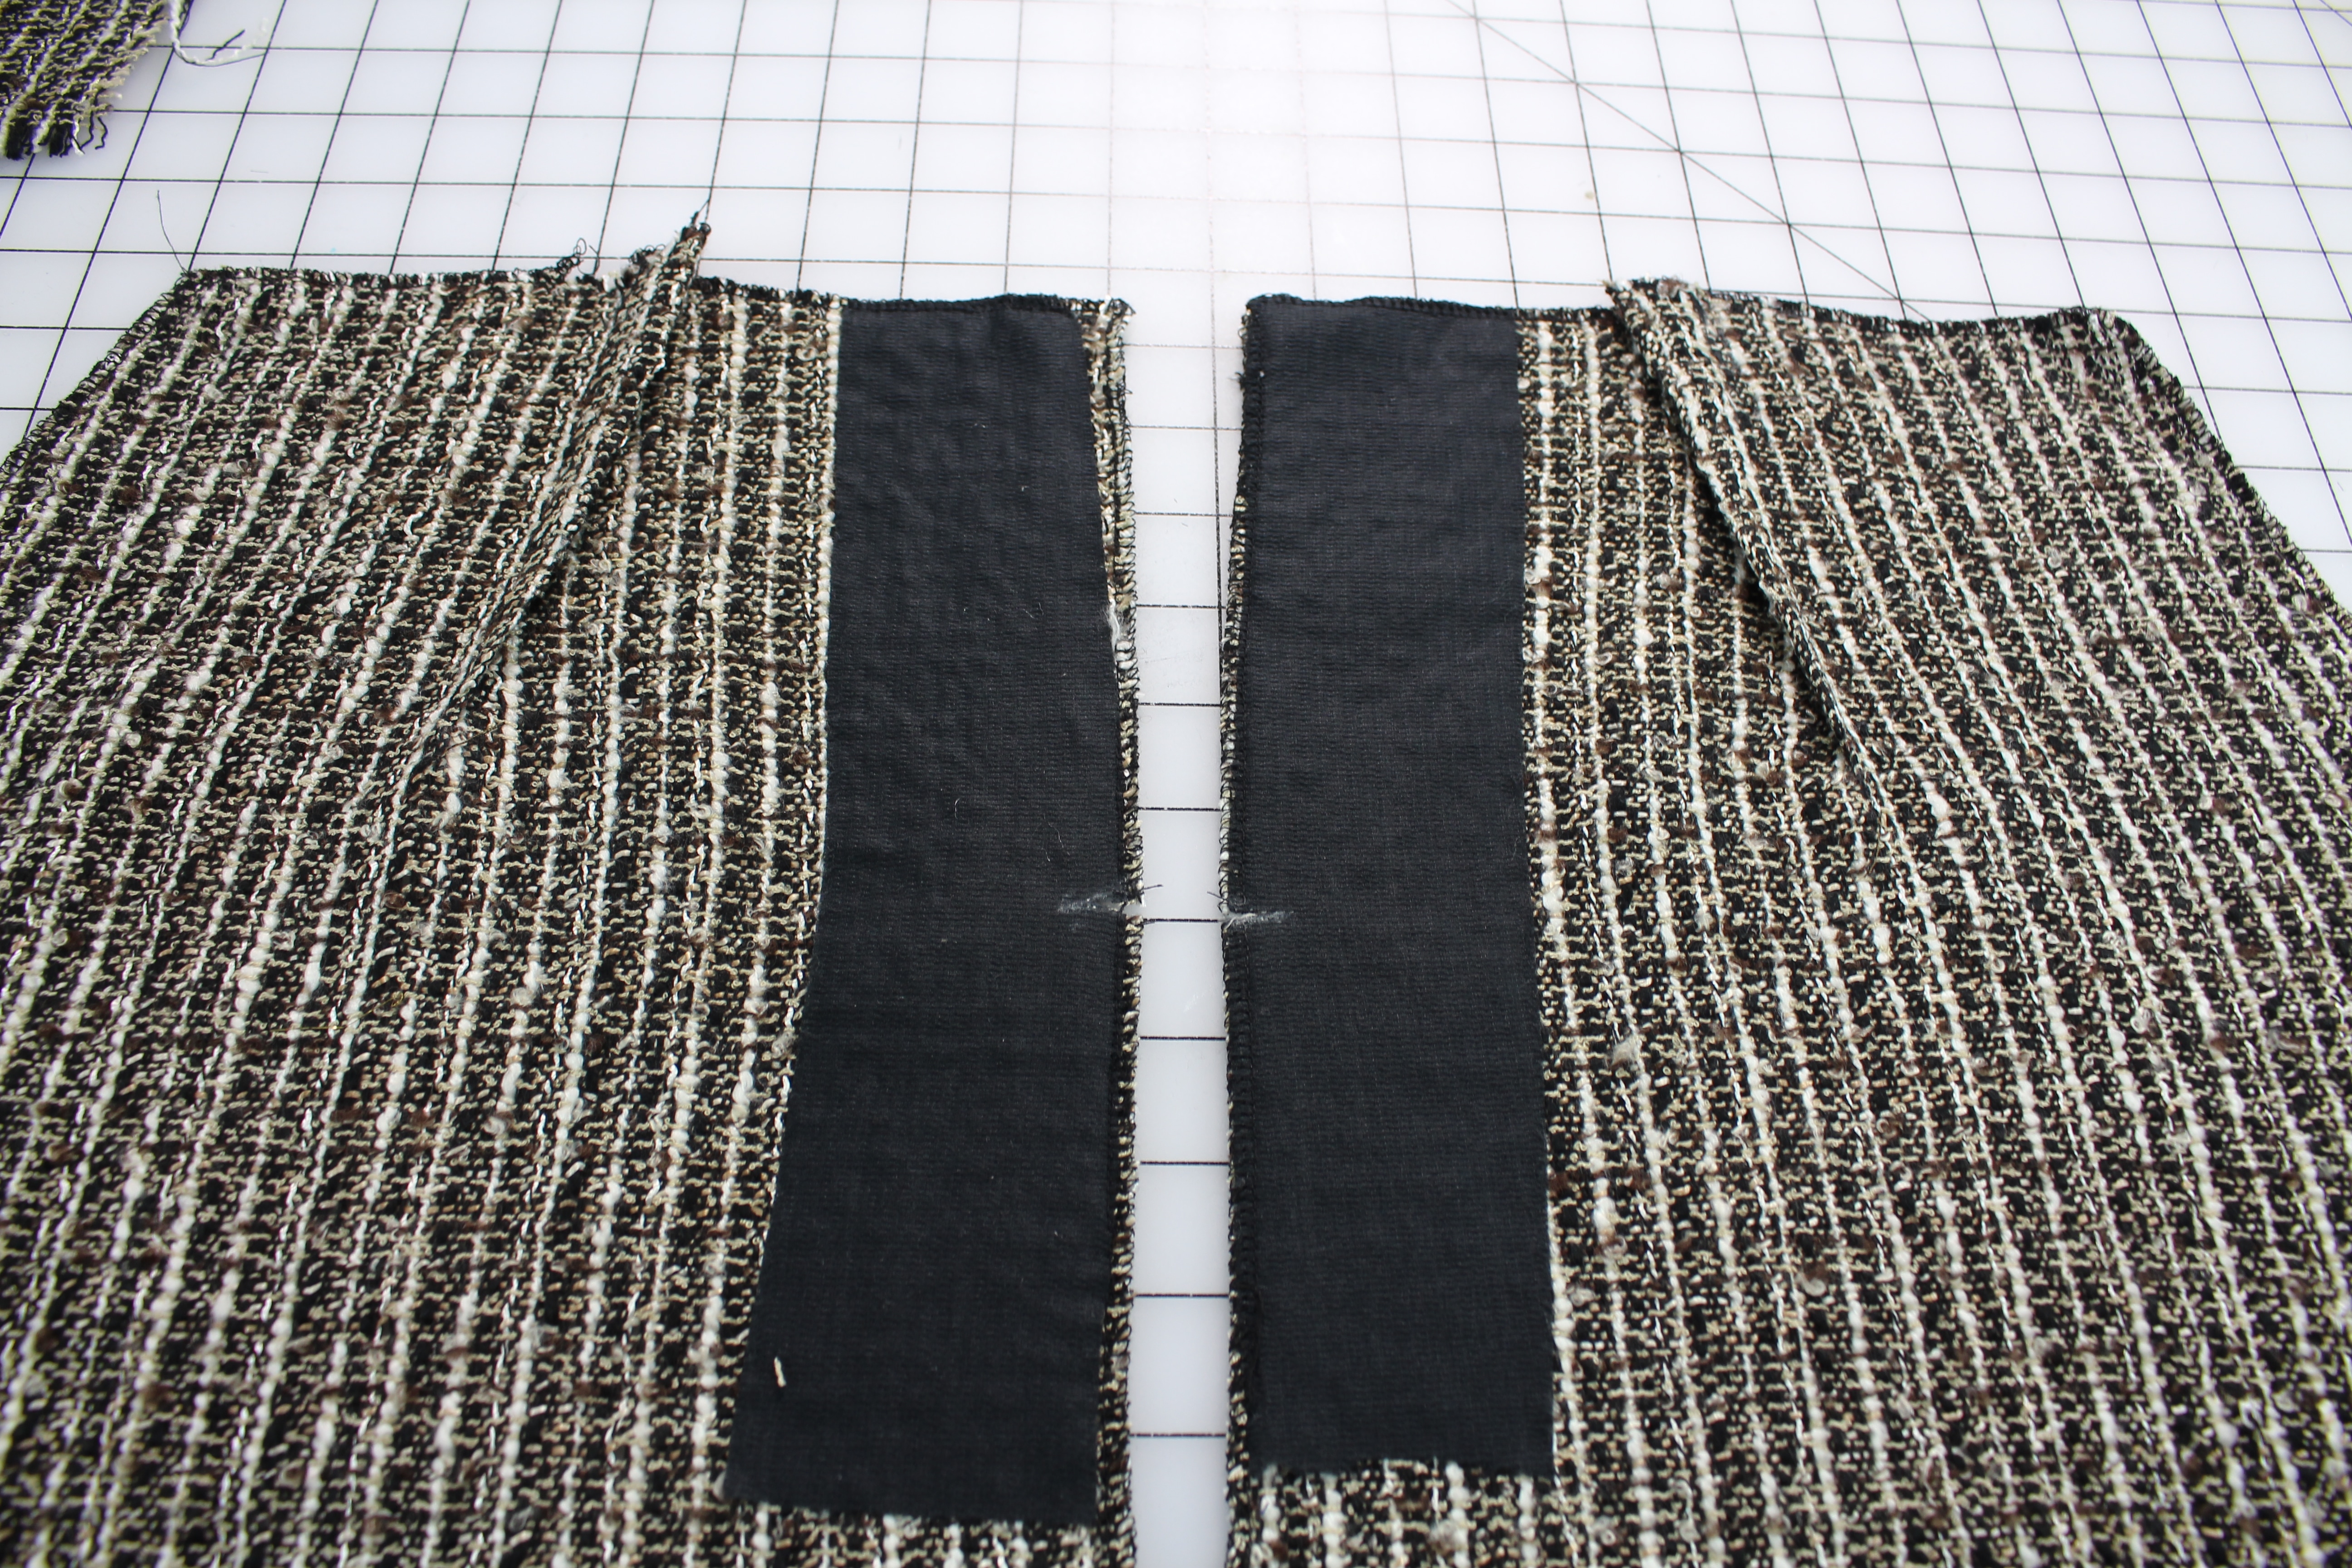
A cotton or cotton blend is the most common fabric used for a shirt dress, but the dress can take on a completely different look with different weight fabrics. Consider a rayon, linen, silk charmeuse, silk chiffon, or crepe.
TIPS:
- If you choose a fabric with a print be sure to buy more fabric than the pattern recommends so you can line up the design while cutting out
- Pre-shrink the fabric by washing and drying the fabric before cutting
Supplies
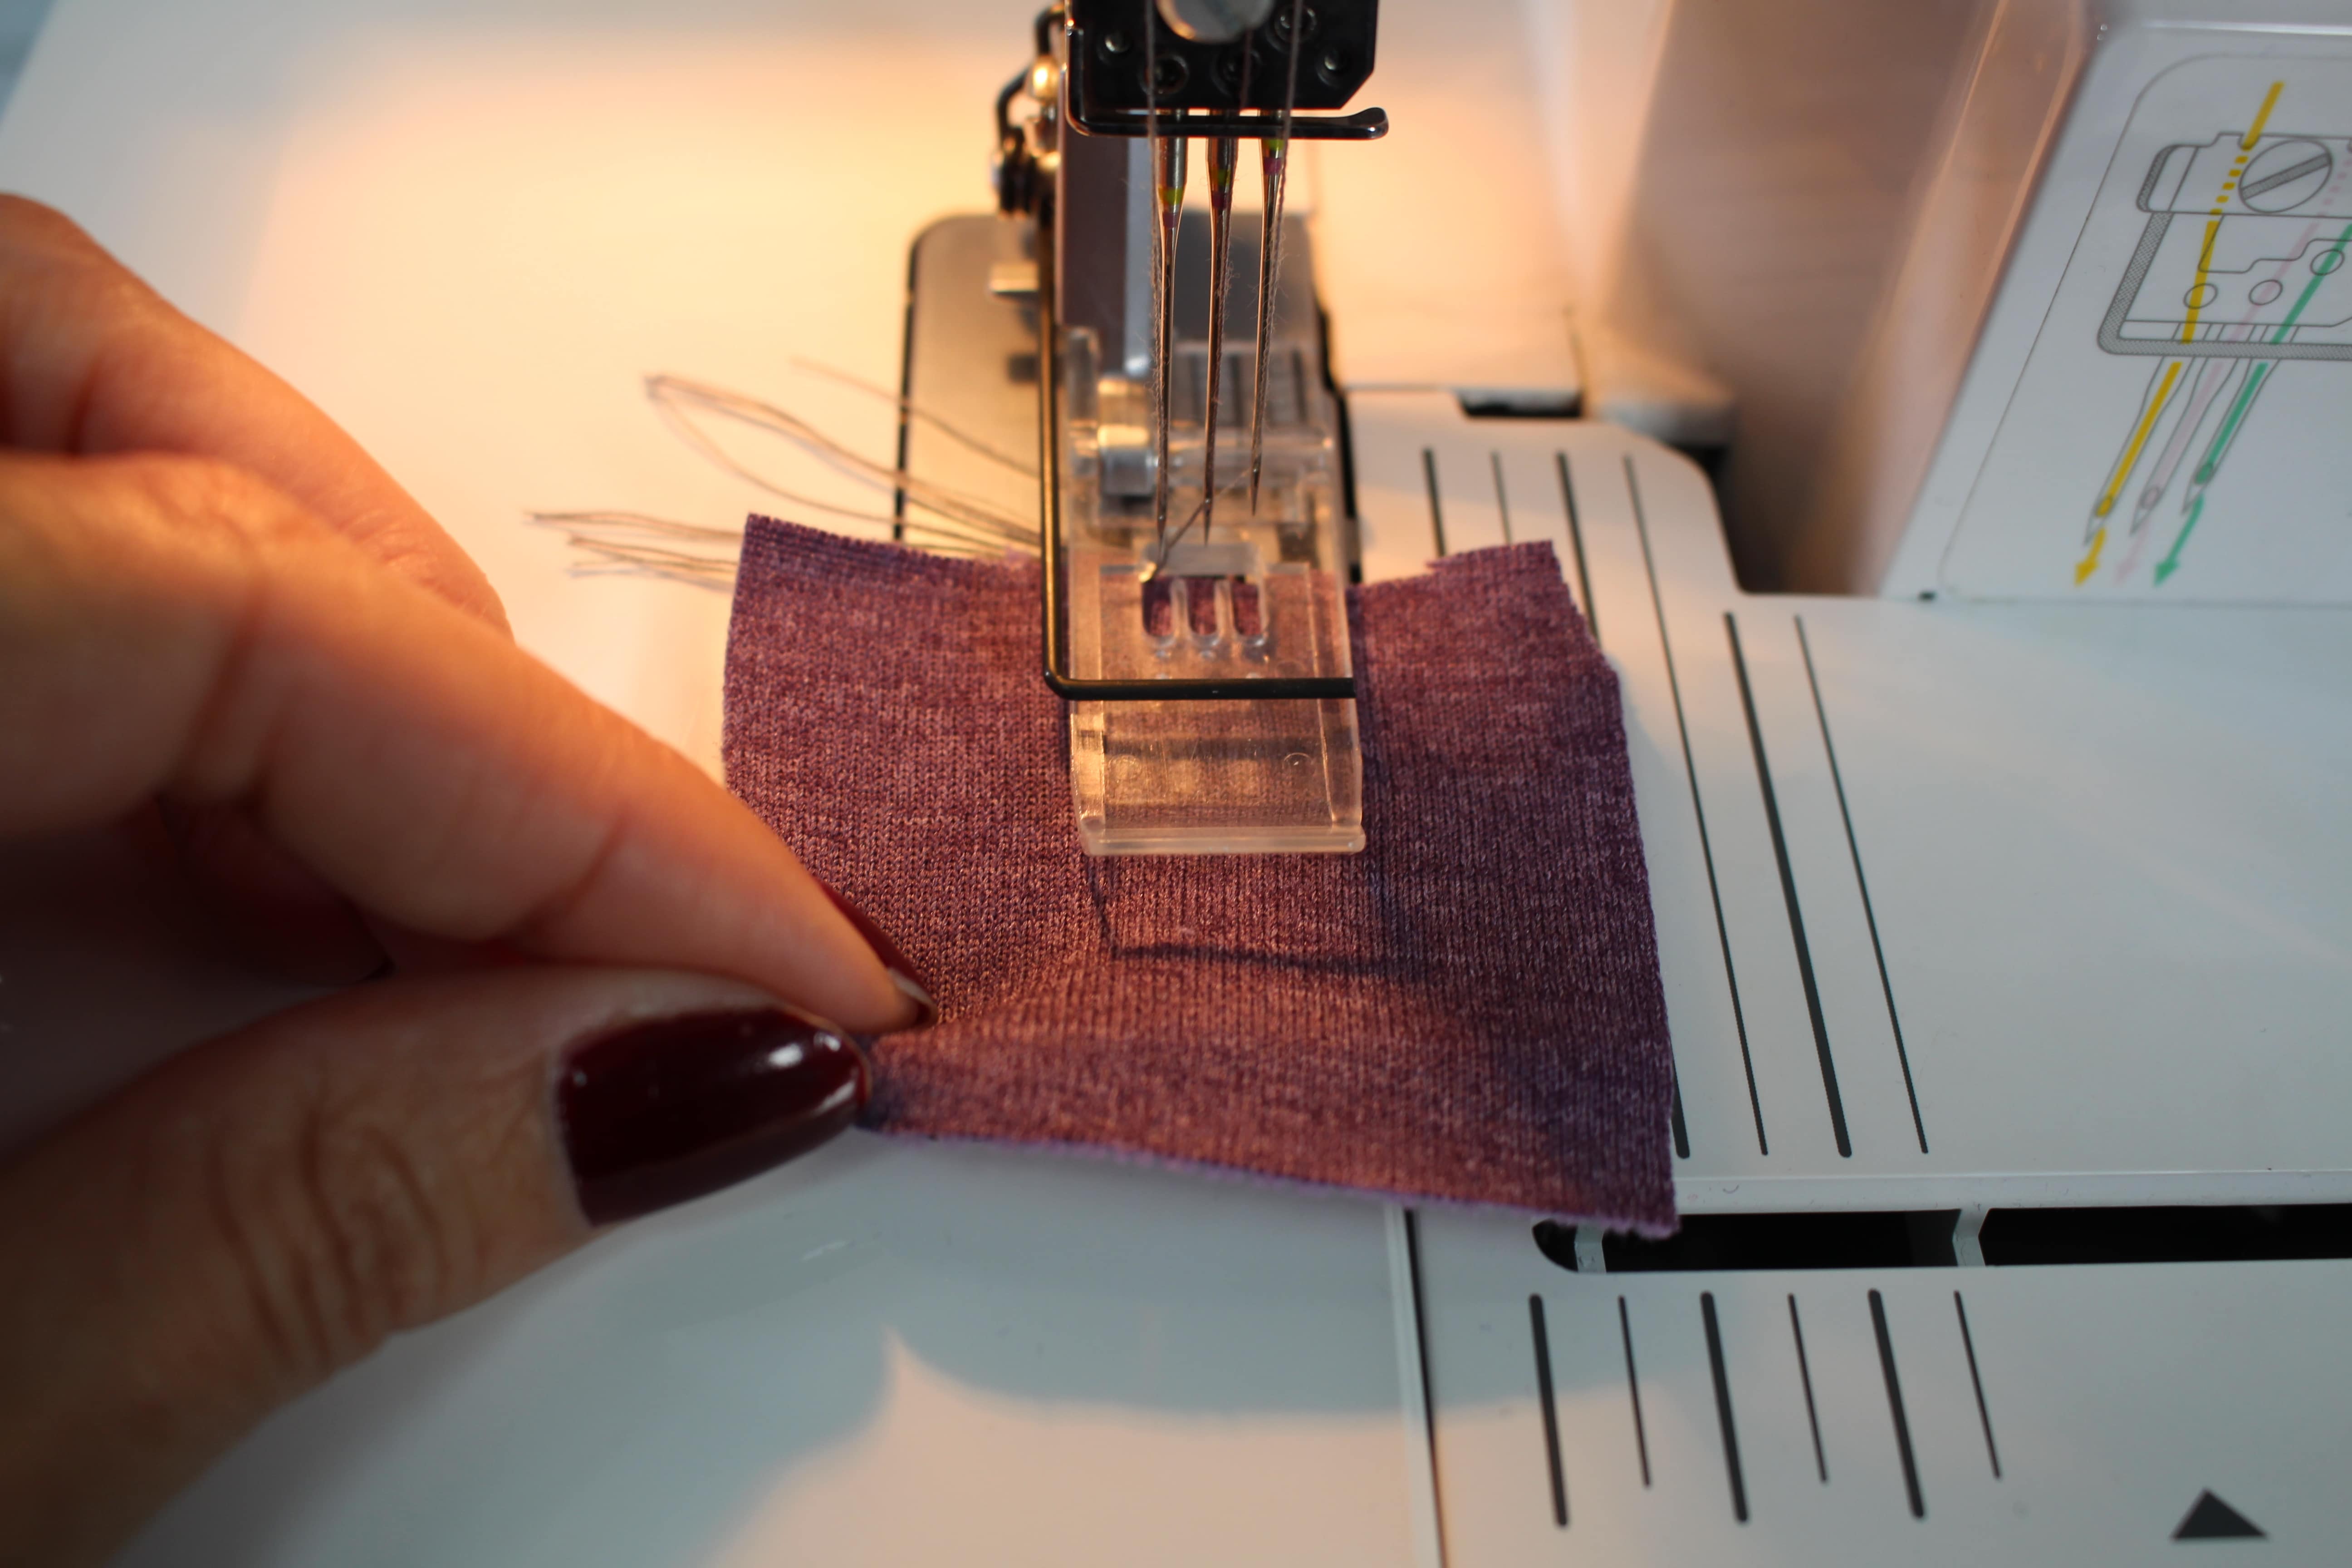
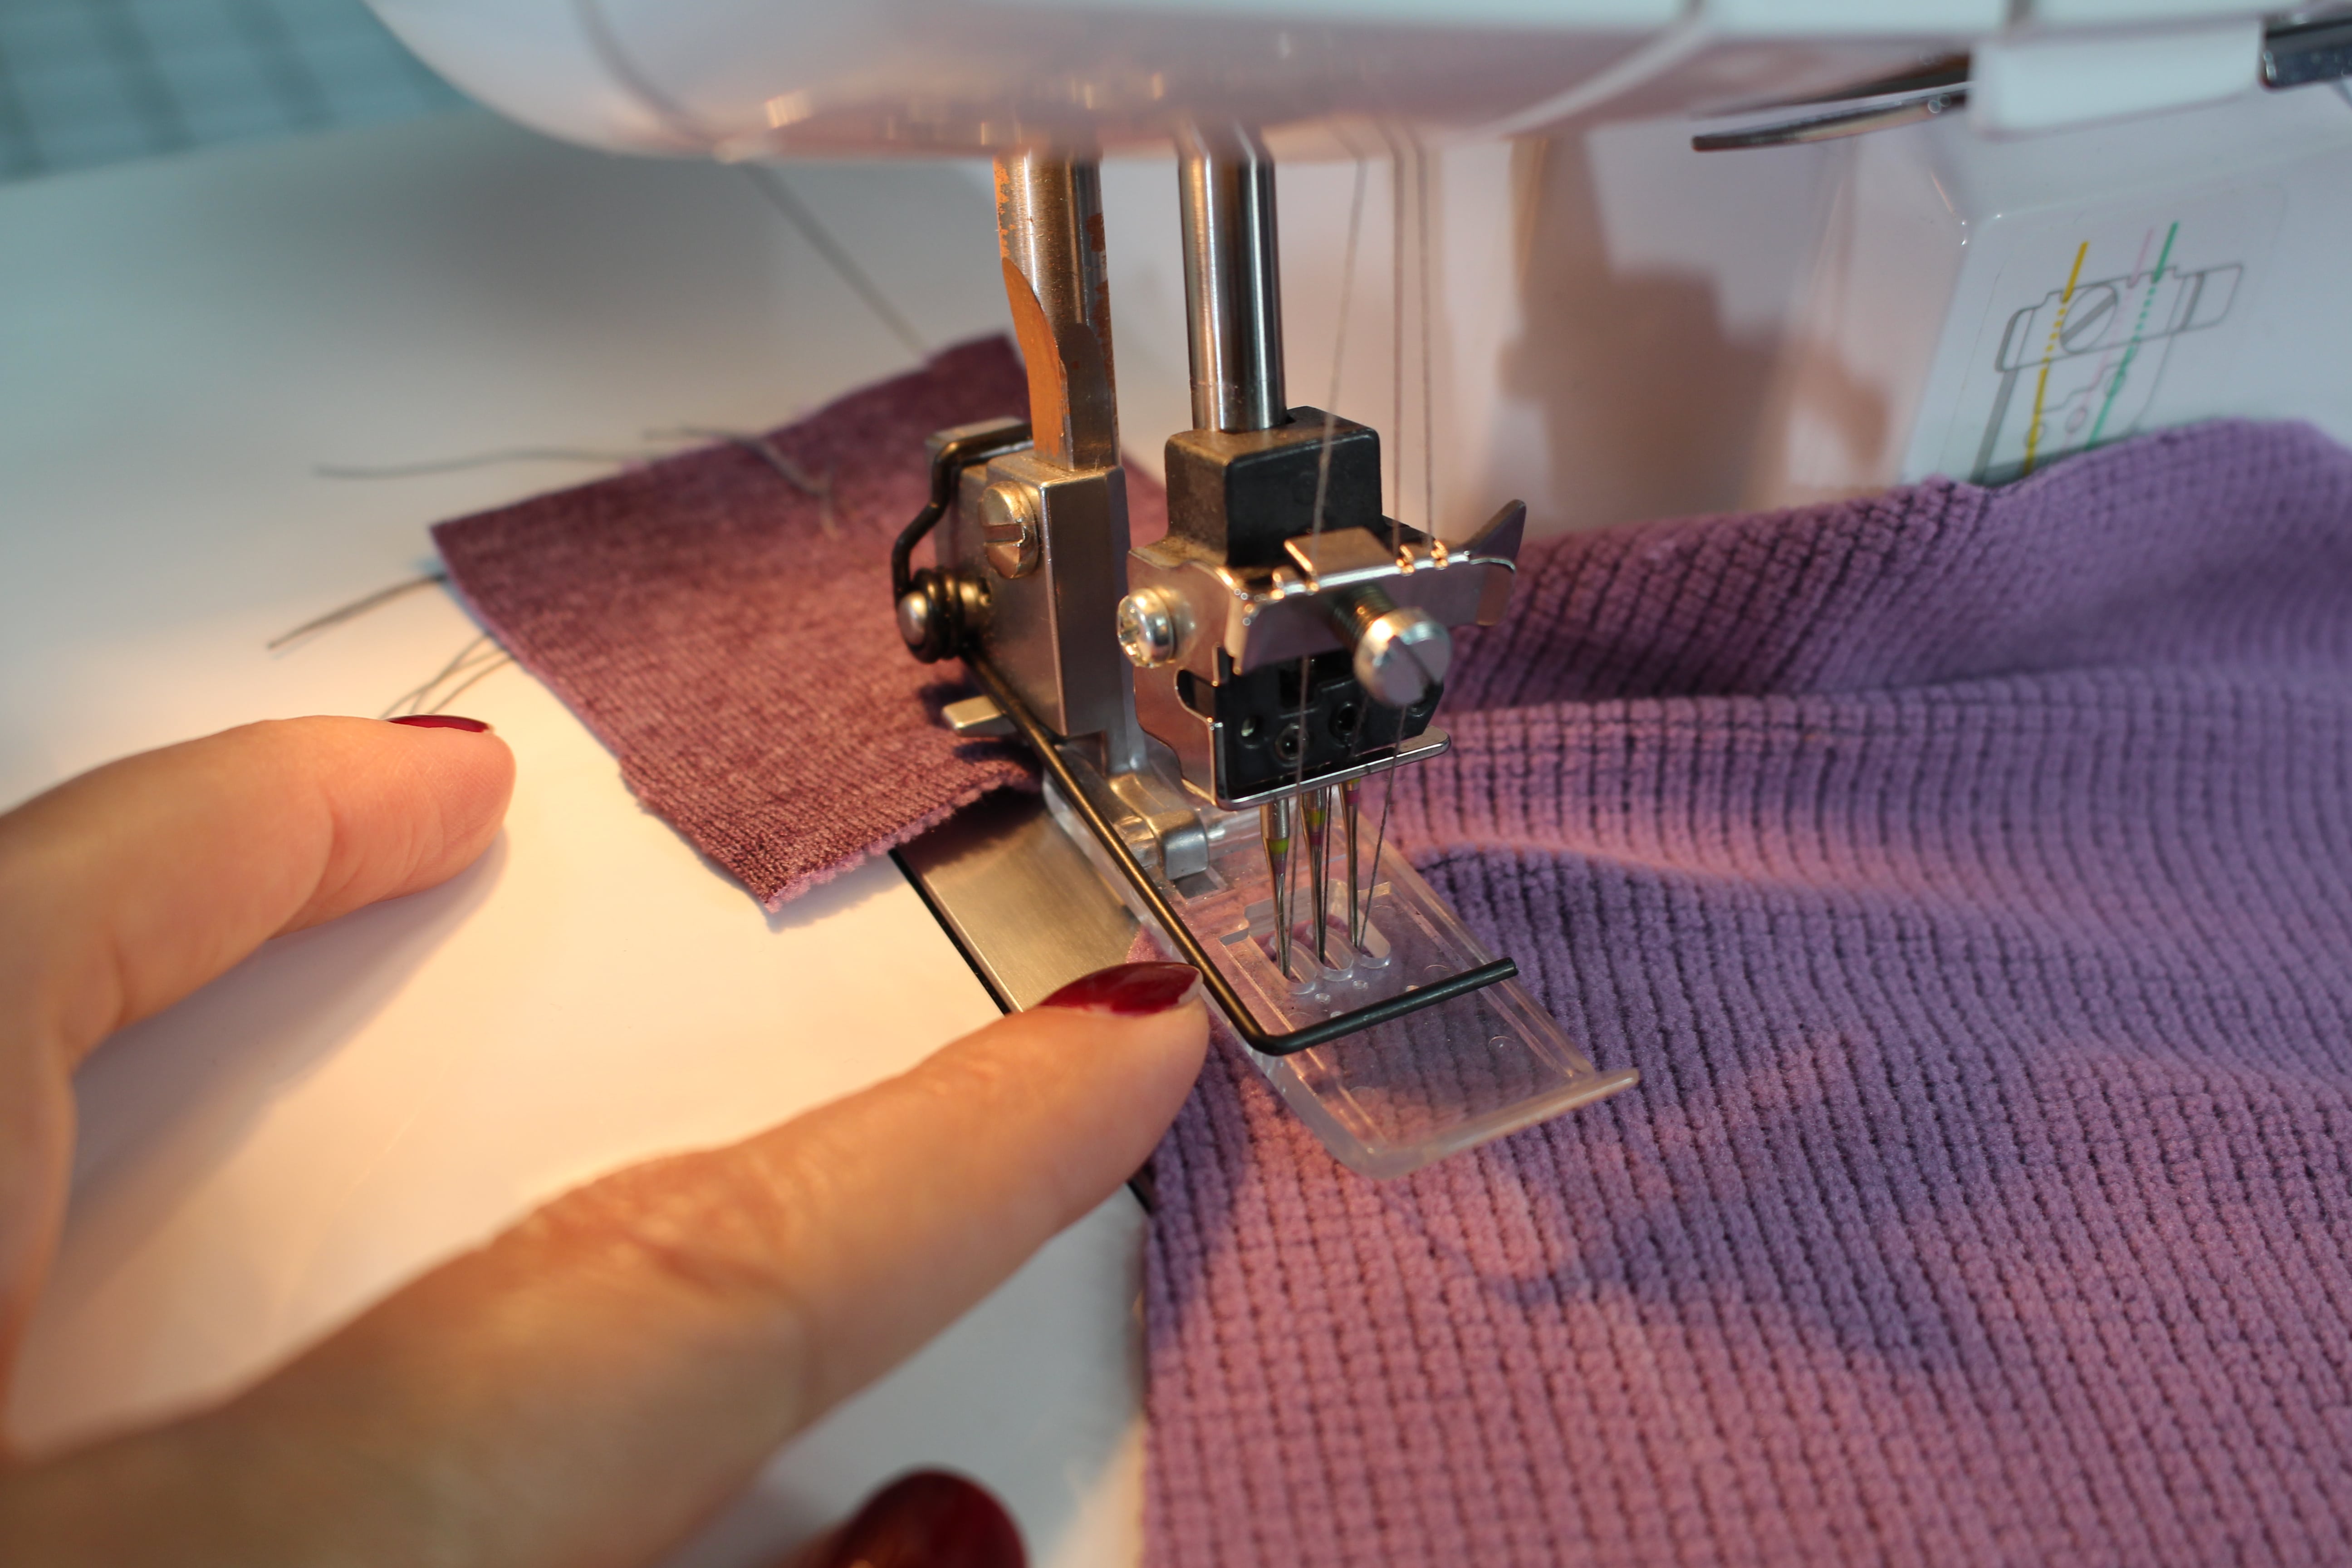
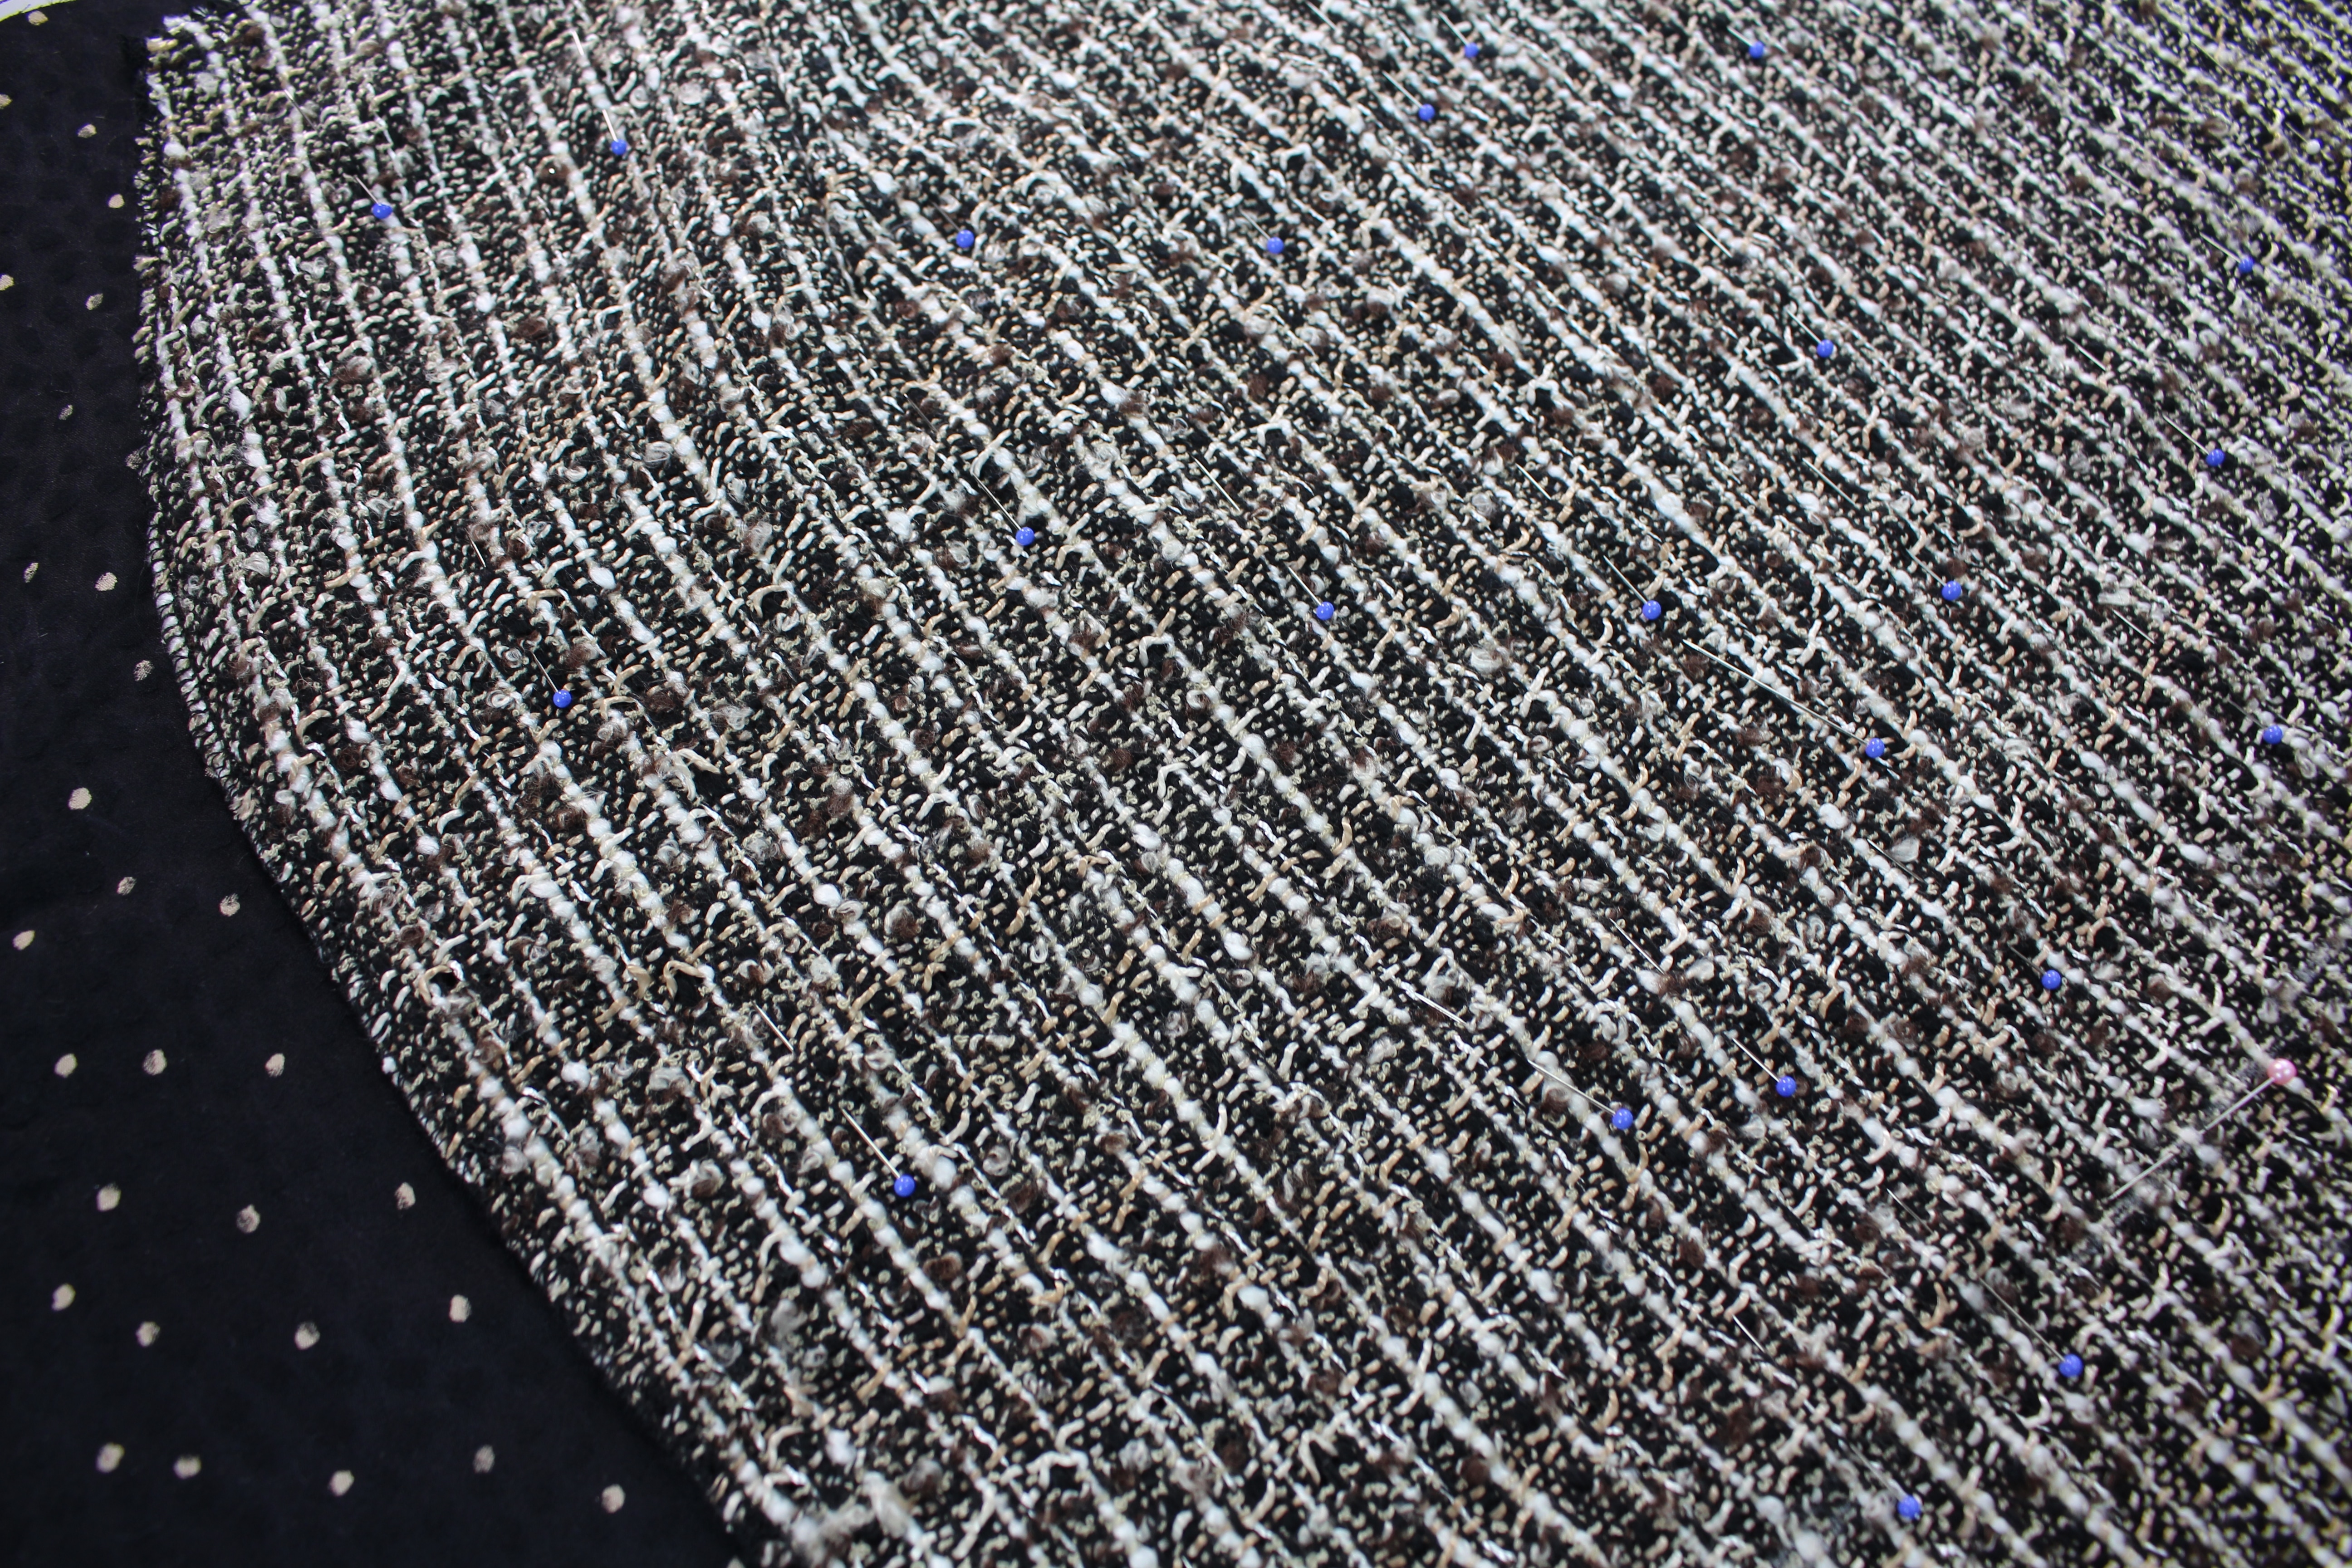
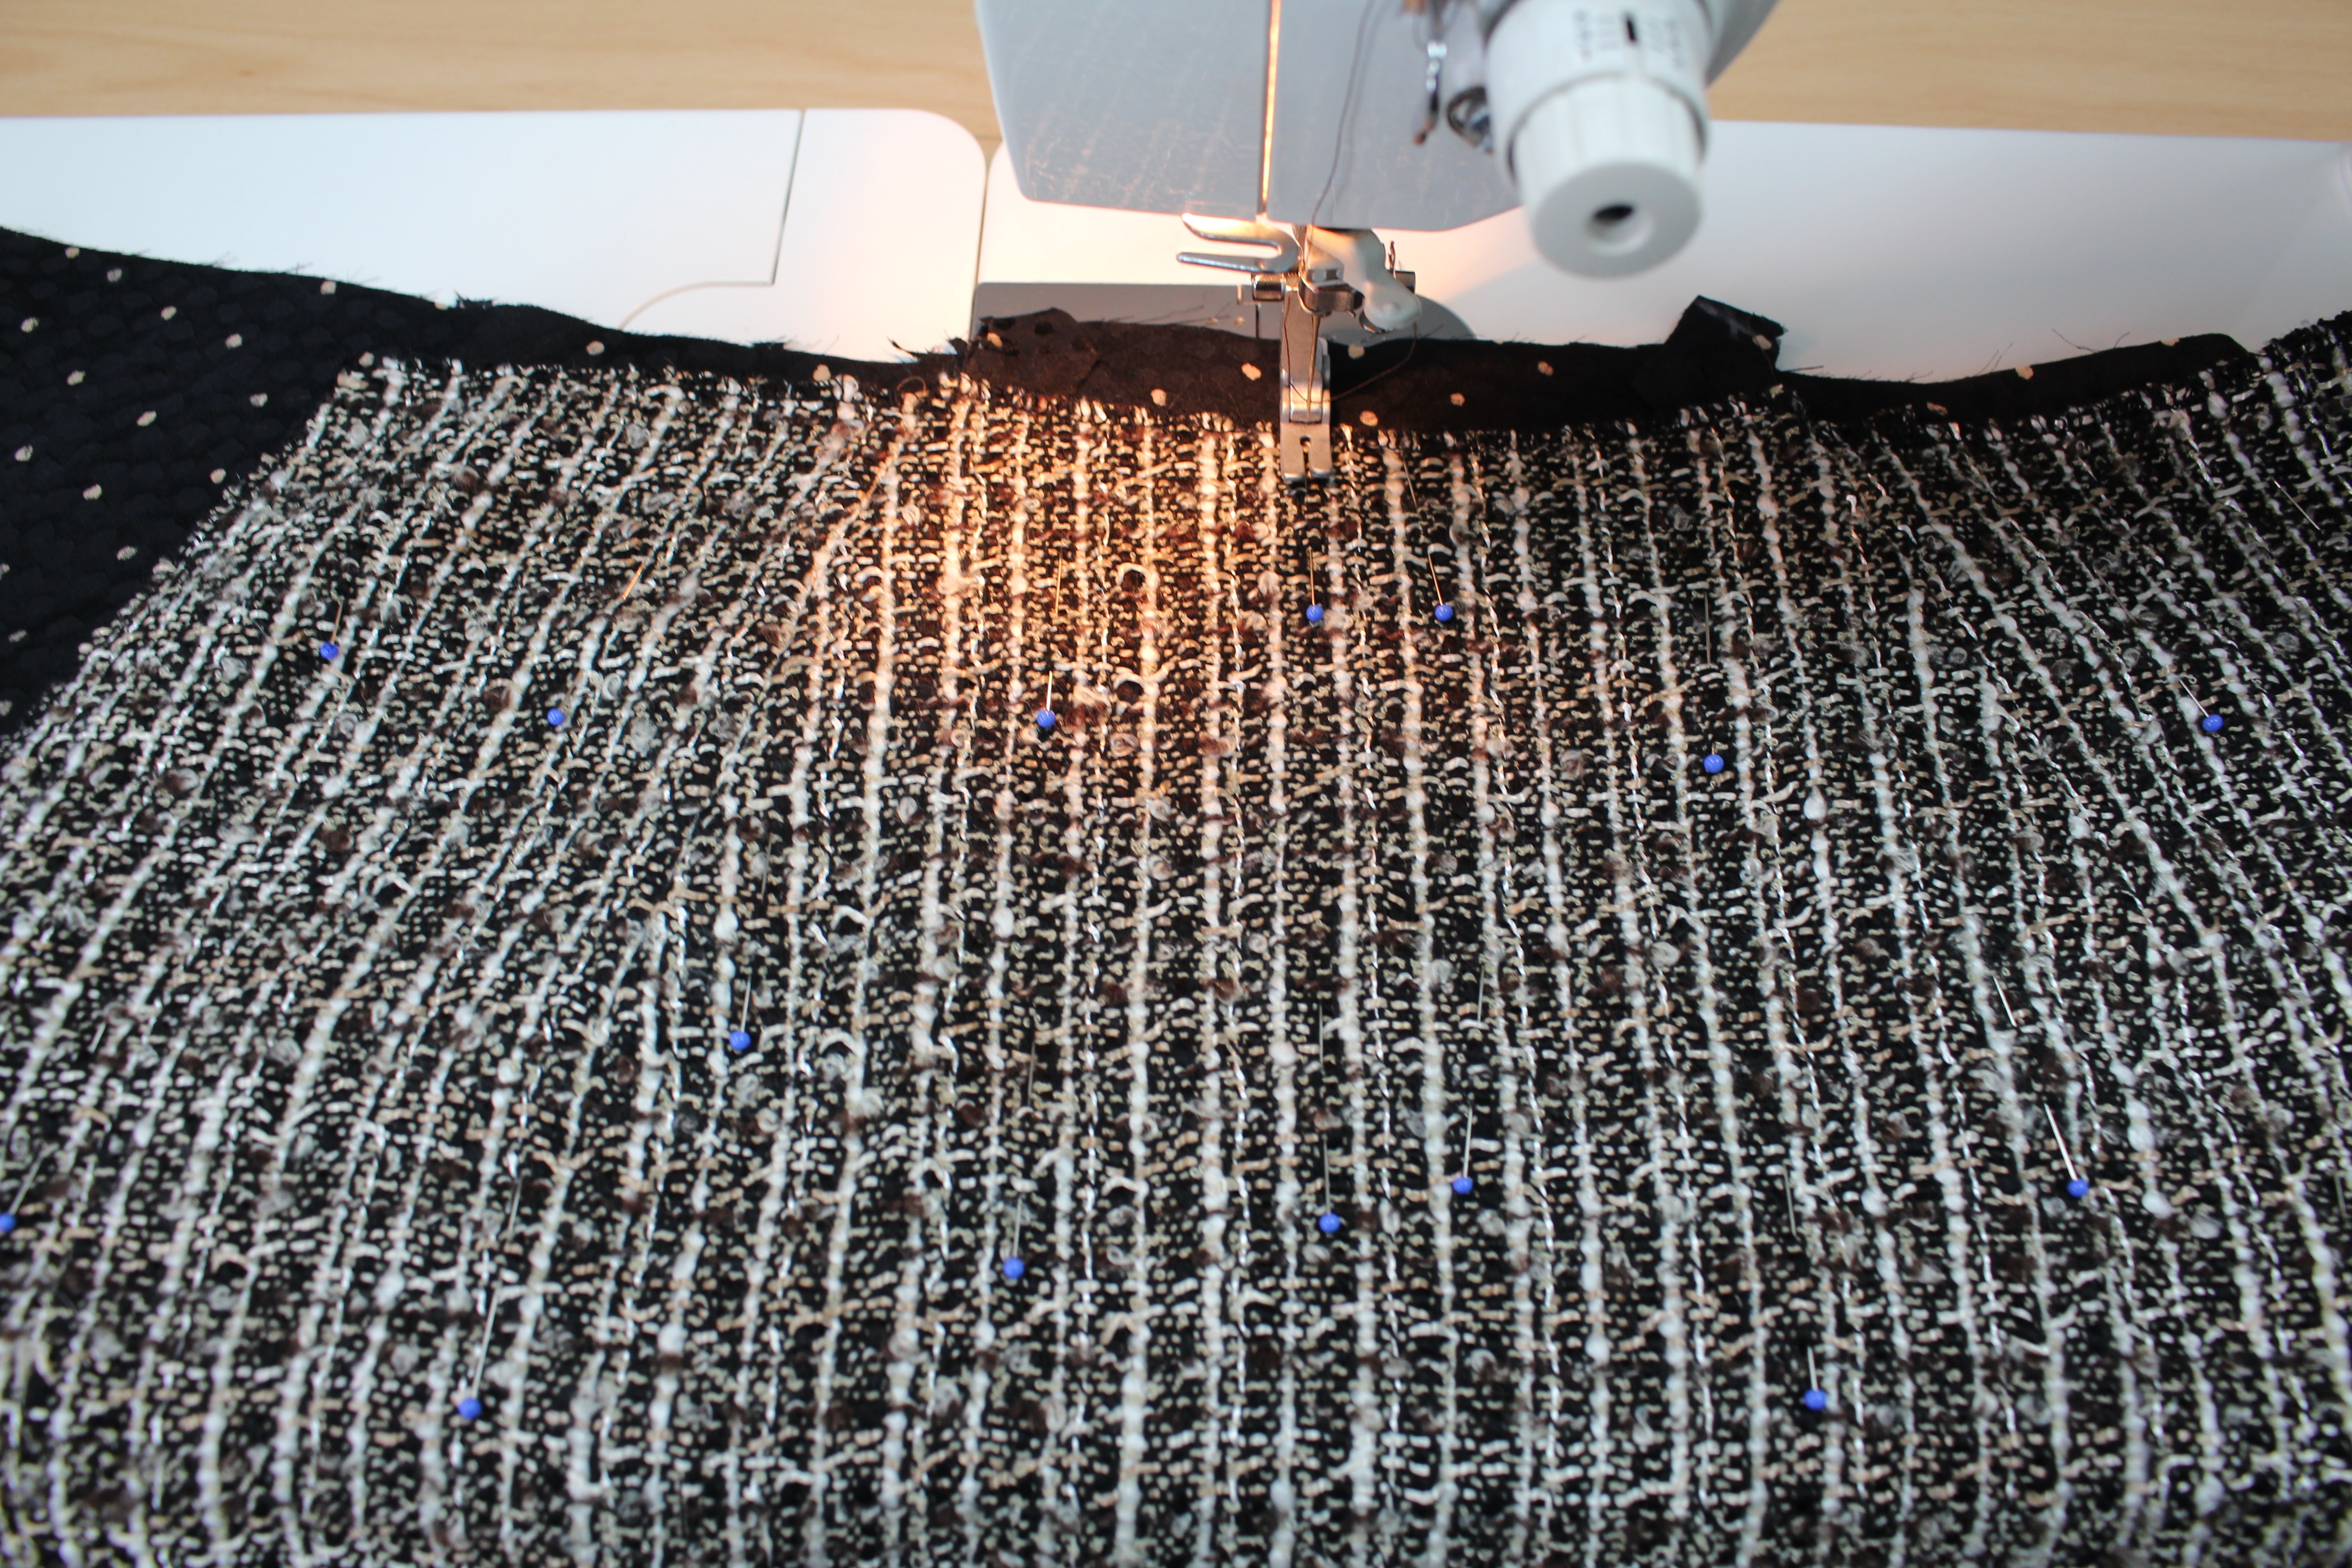
- Interfacing
- I use a fusi-knit fusible tricot interfacing – a woven or sew in interfacing will also work
- Test the interfacing on a scrap of fabric to make sure it doesn’t show through
- Buttons
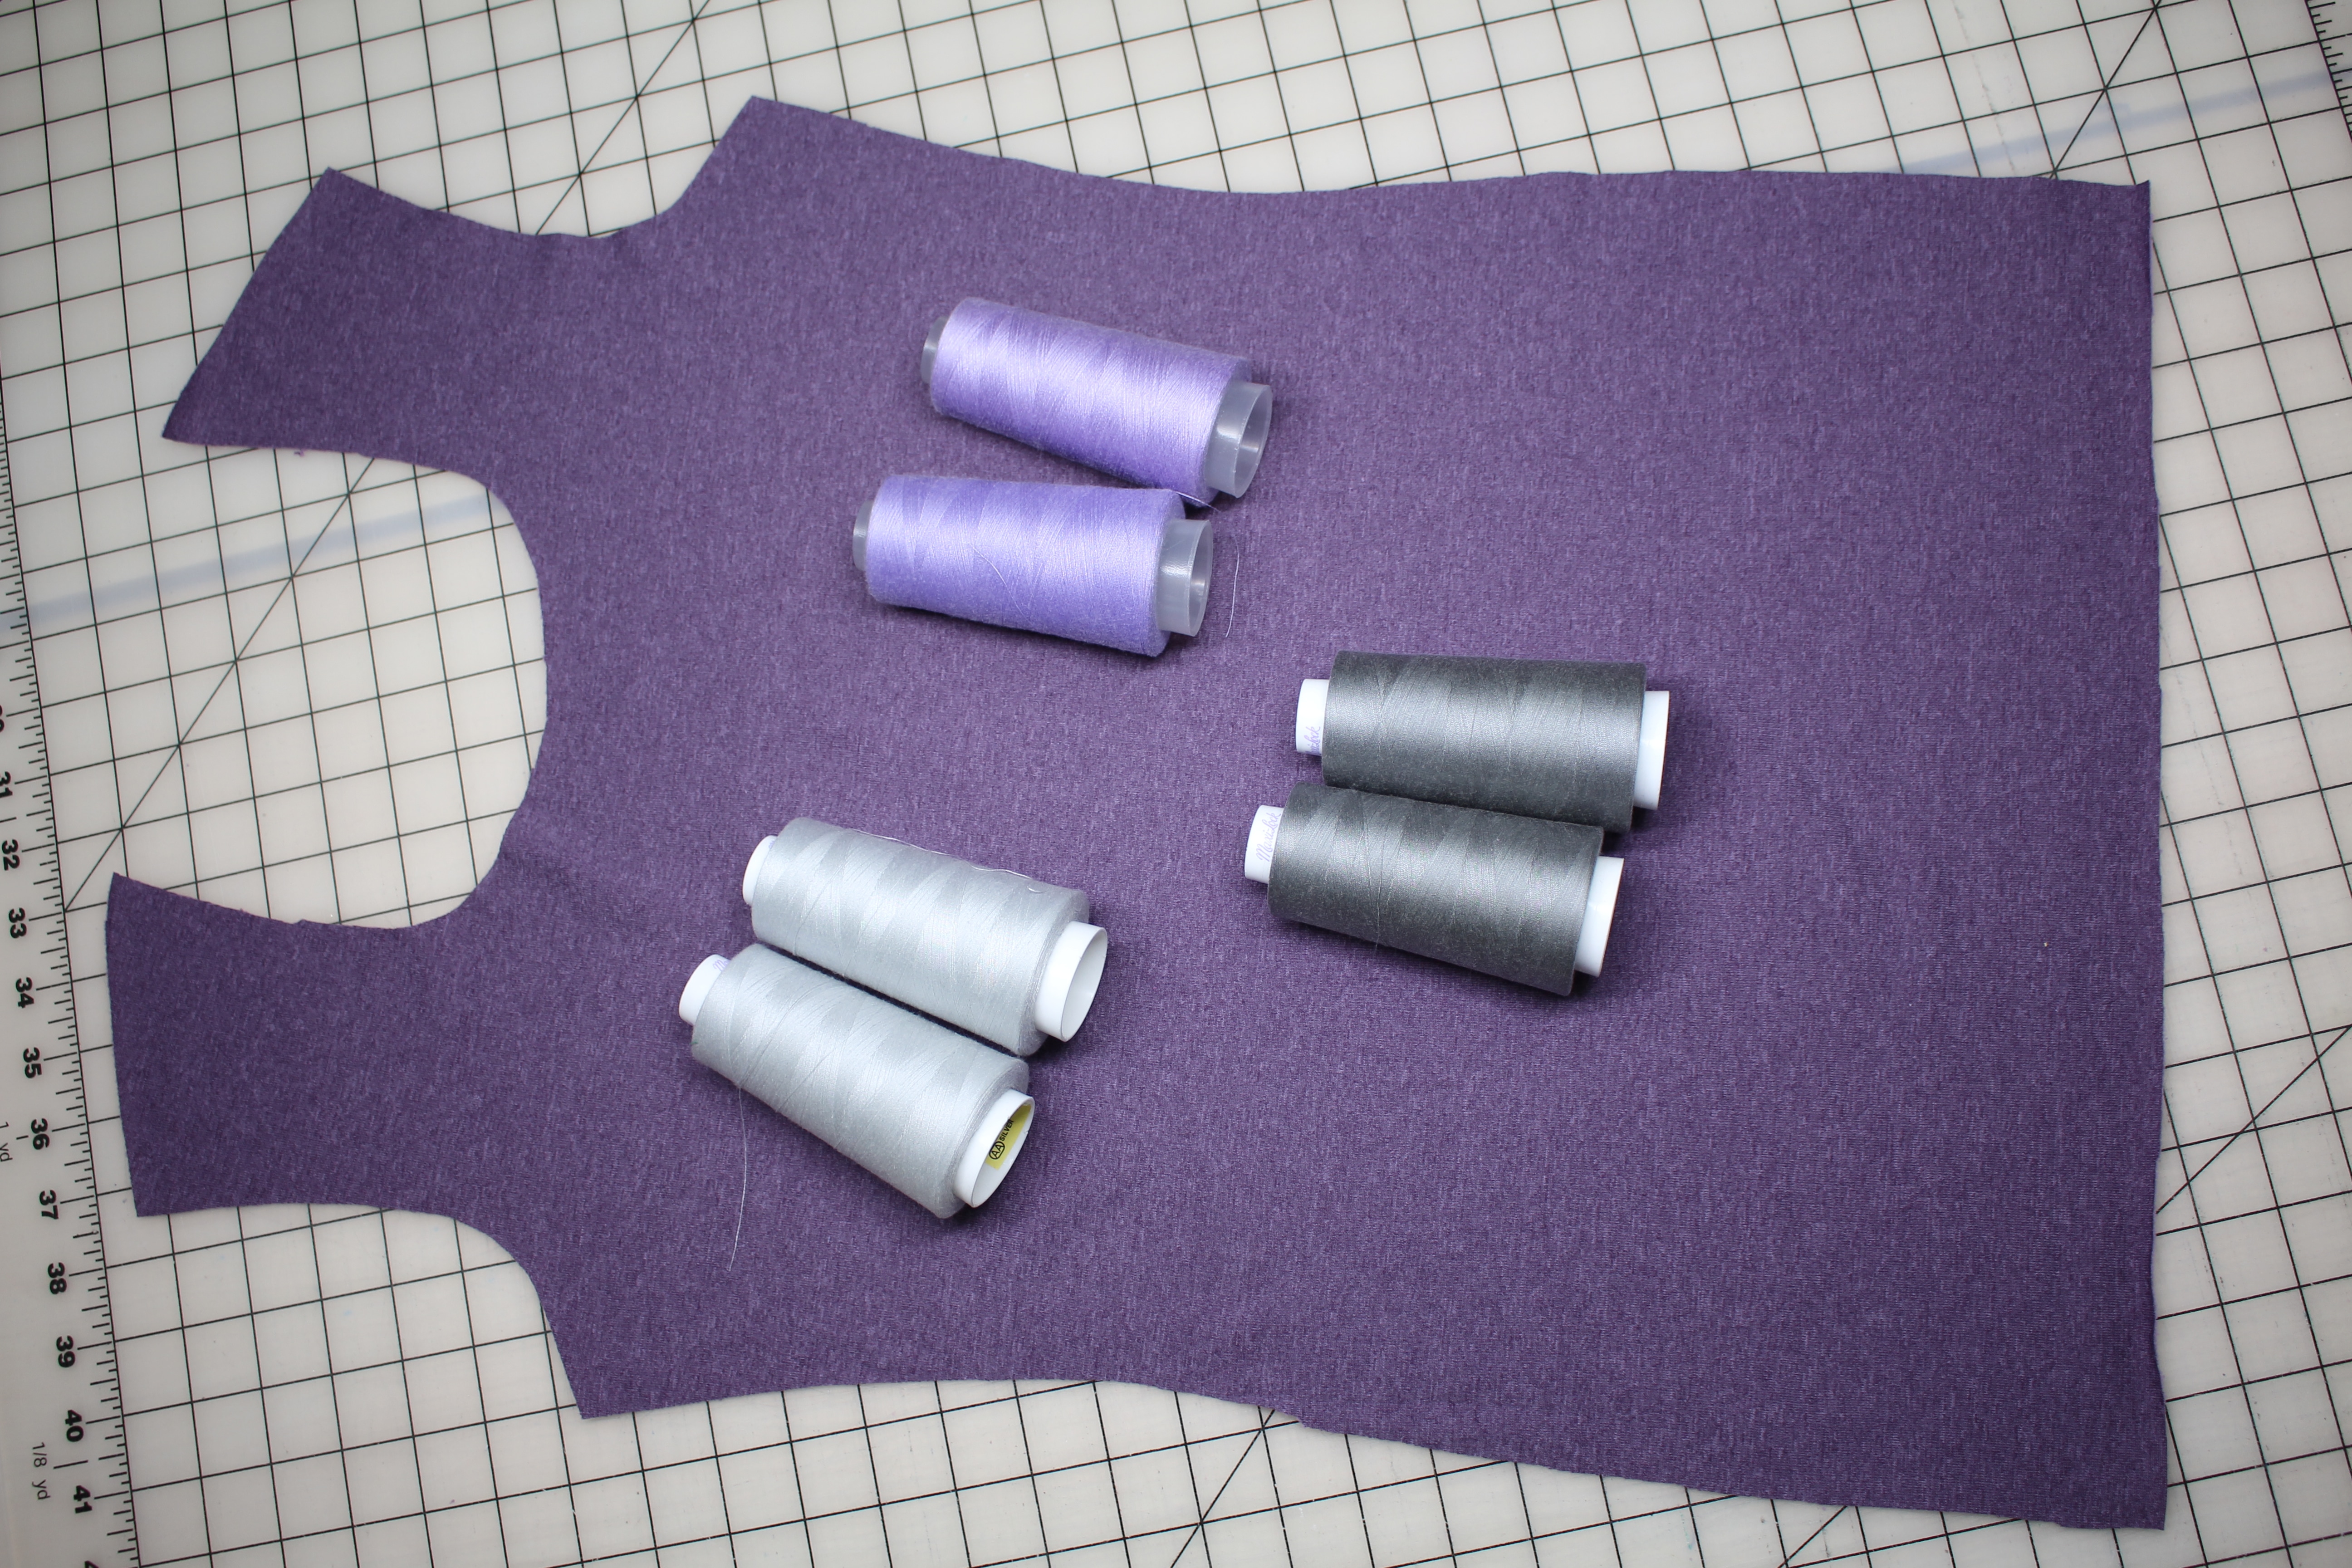
- Thread
- Universal polyester thread
- Silk or cotton thread adds a nice finish for the topstitching)
- Pressing Tools
- Basic Sewing Supplies
- Seam Ripper, Measuring Tape, Tailors Chalk, Pins,
Sewalong Schedule
Here is the blog schedule for the season long sew-along with links to the tutorials and live Q&A on my blog (each link will open on the date listed). Season 14 of It’s Sew Easy had begun airing on PBS and Create TV; you will be able to watch each episode there first (depending on when your specific station begins airing the show).
Part 1: Announcing the Shirt Dress Sewalong with Angela Wolf on It’s Sew Easy
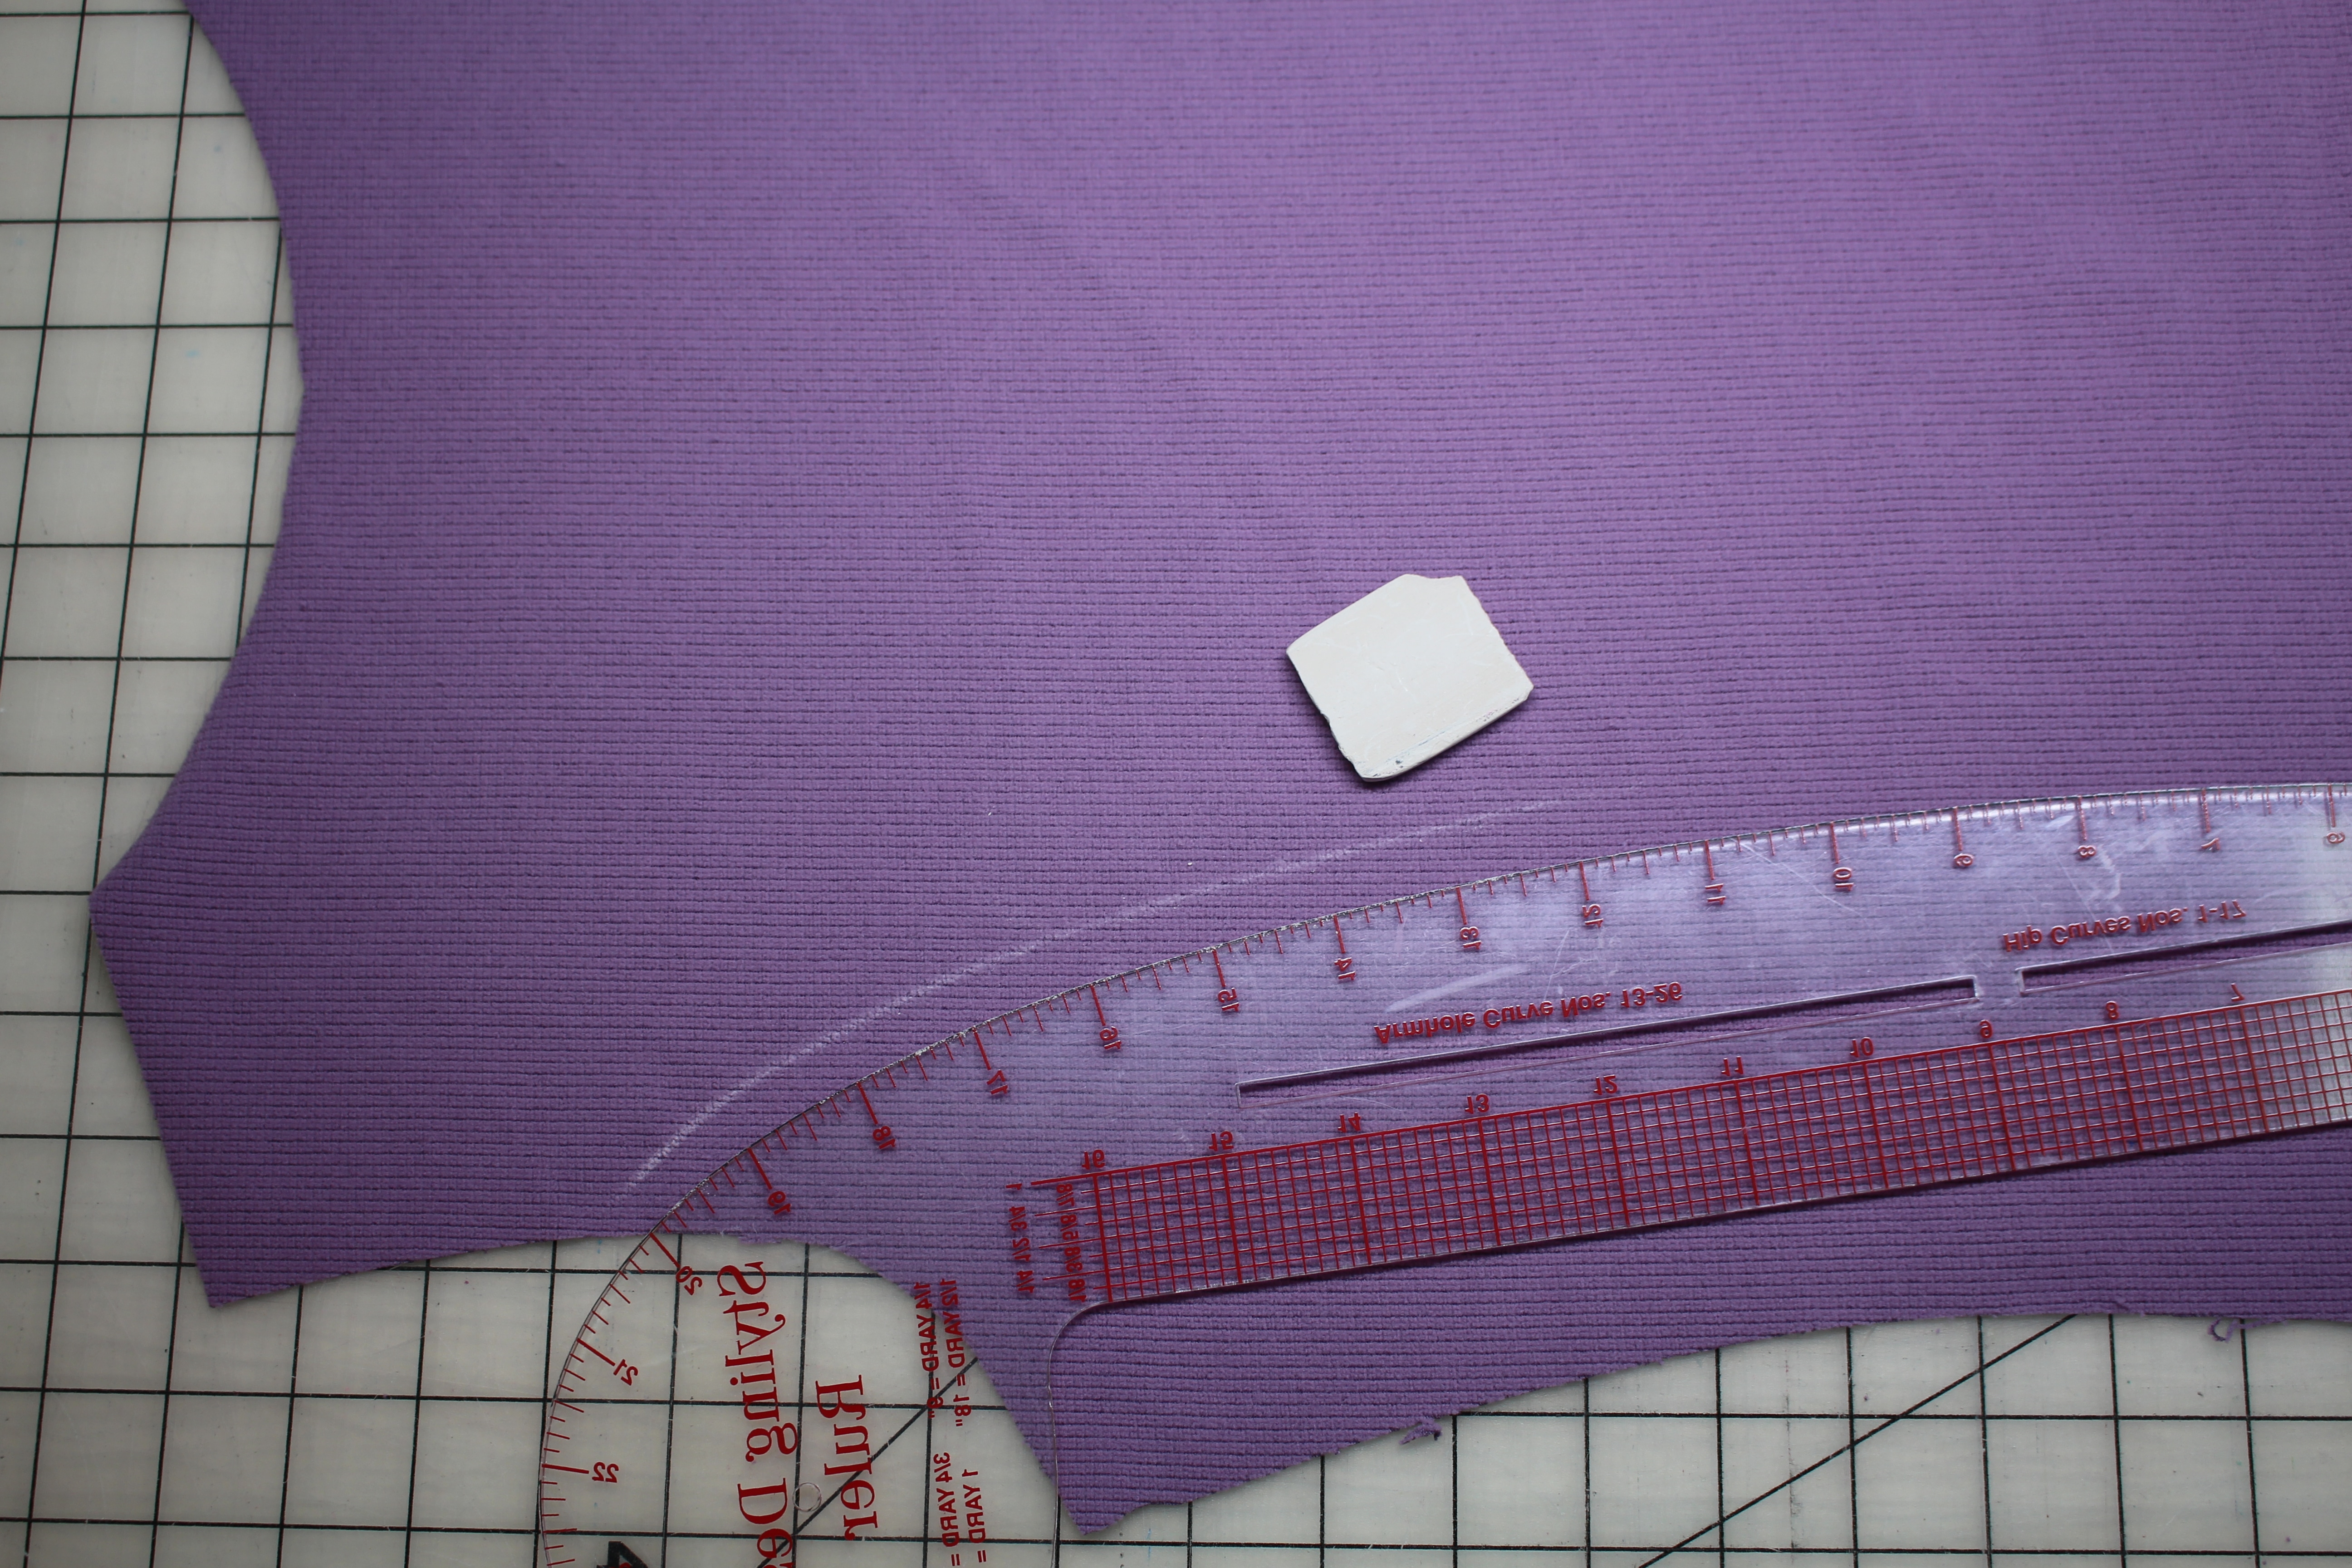
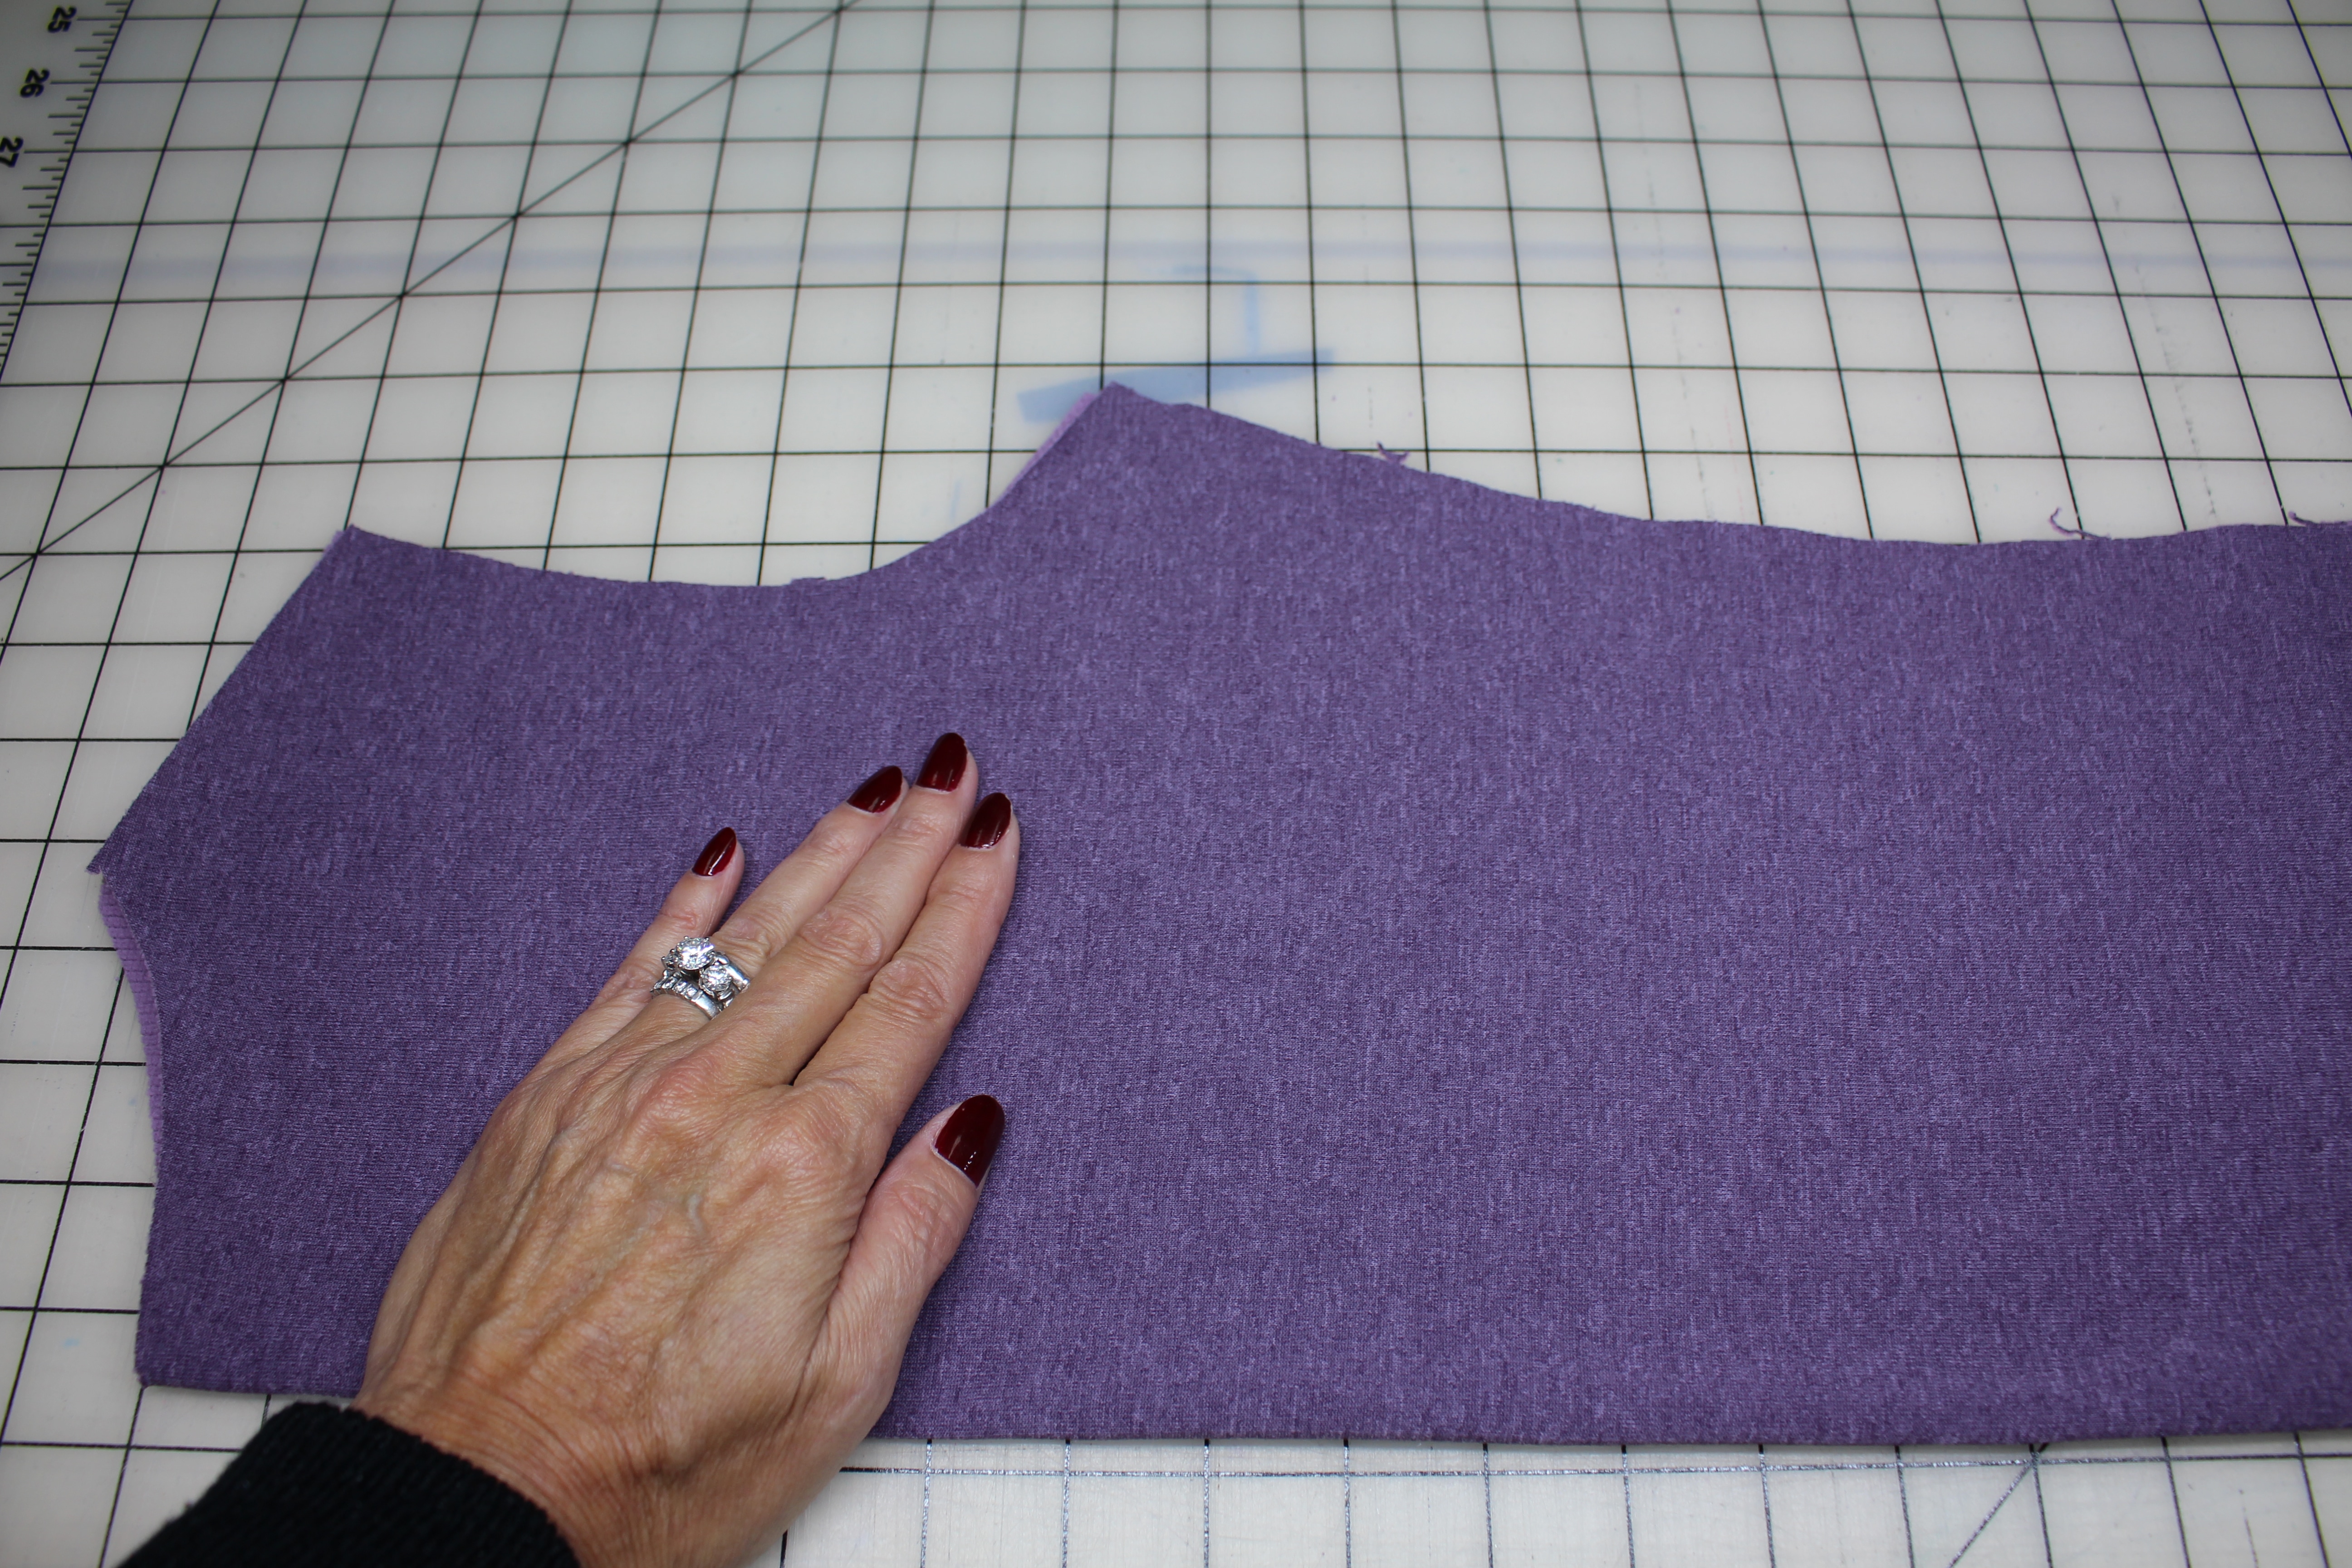
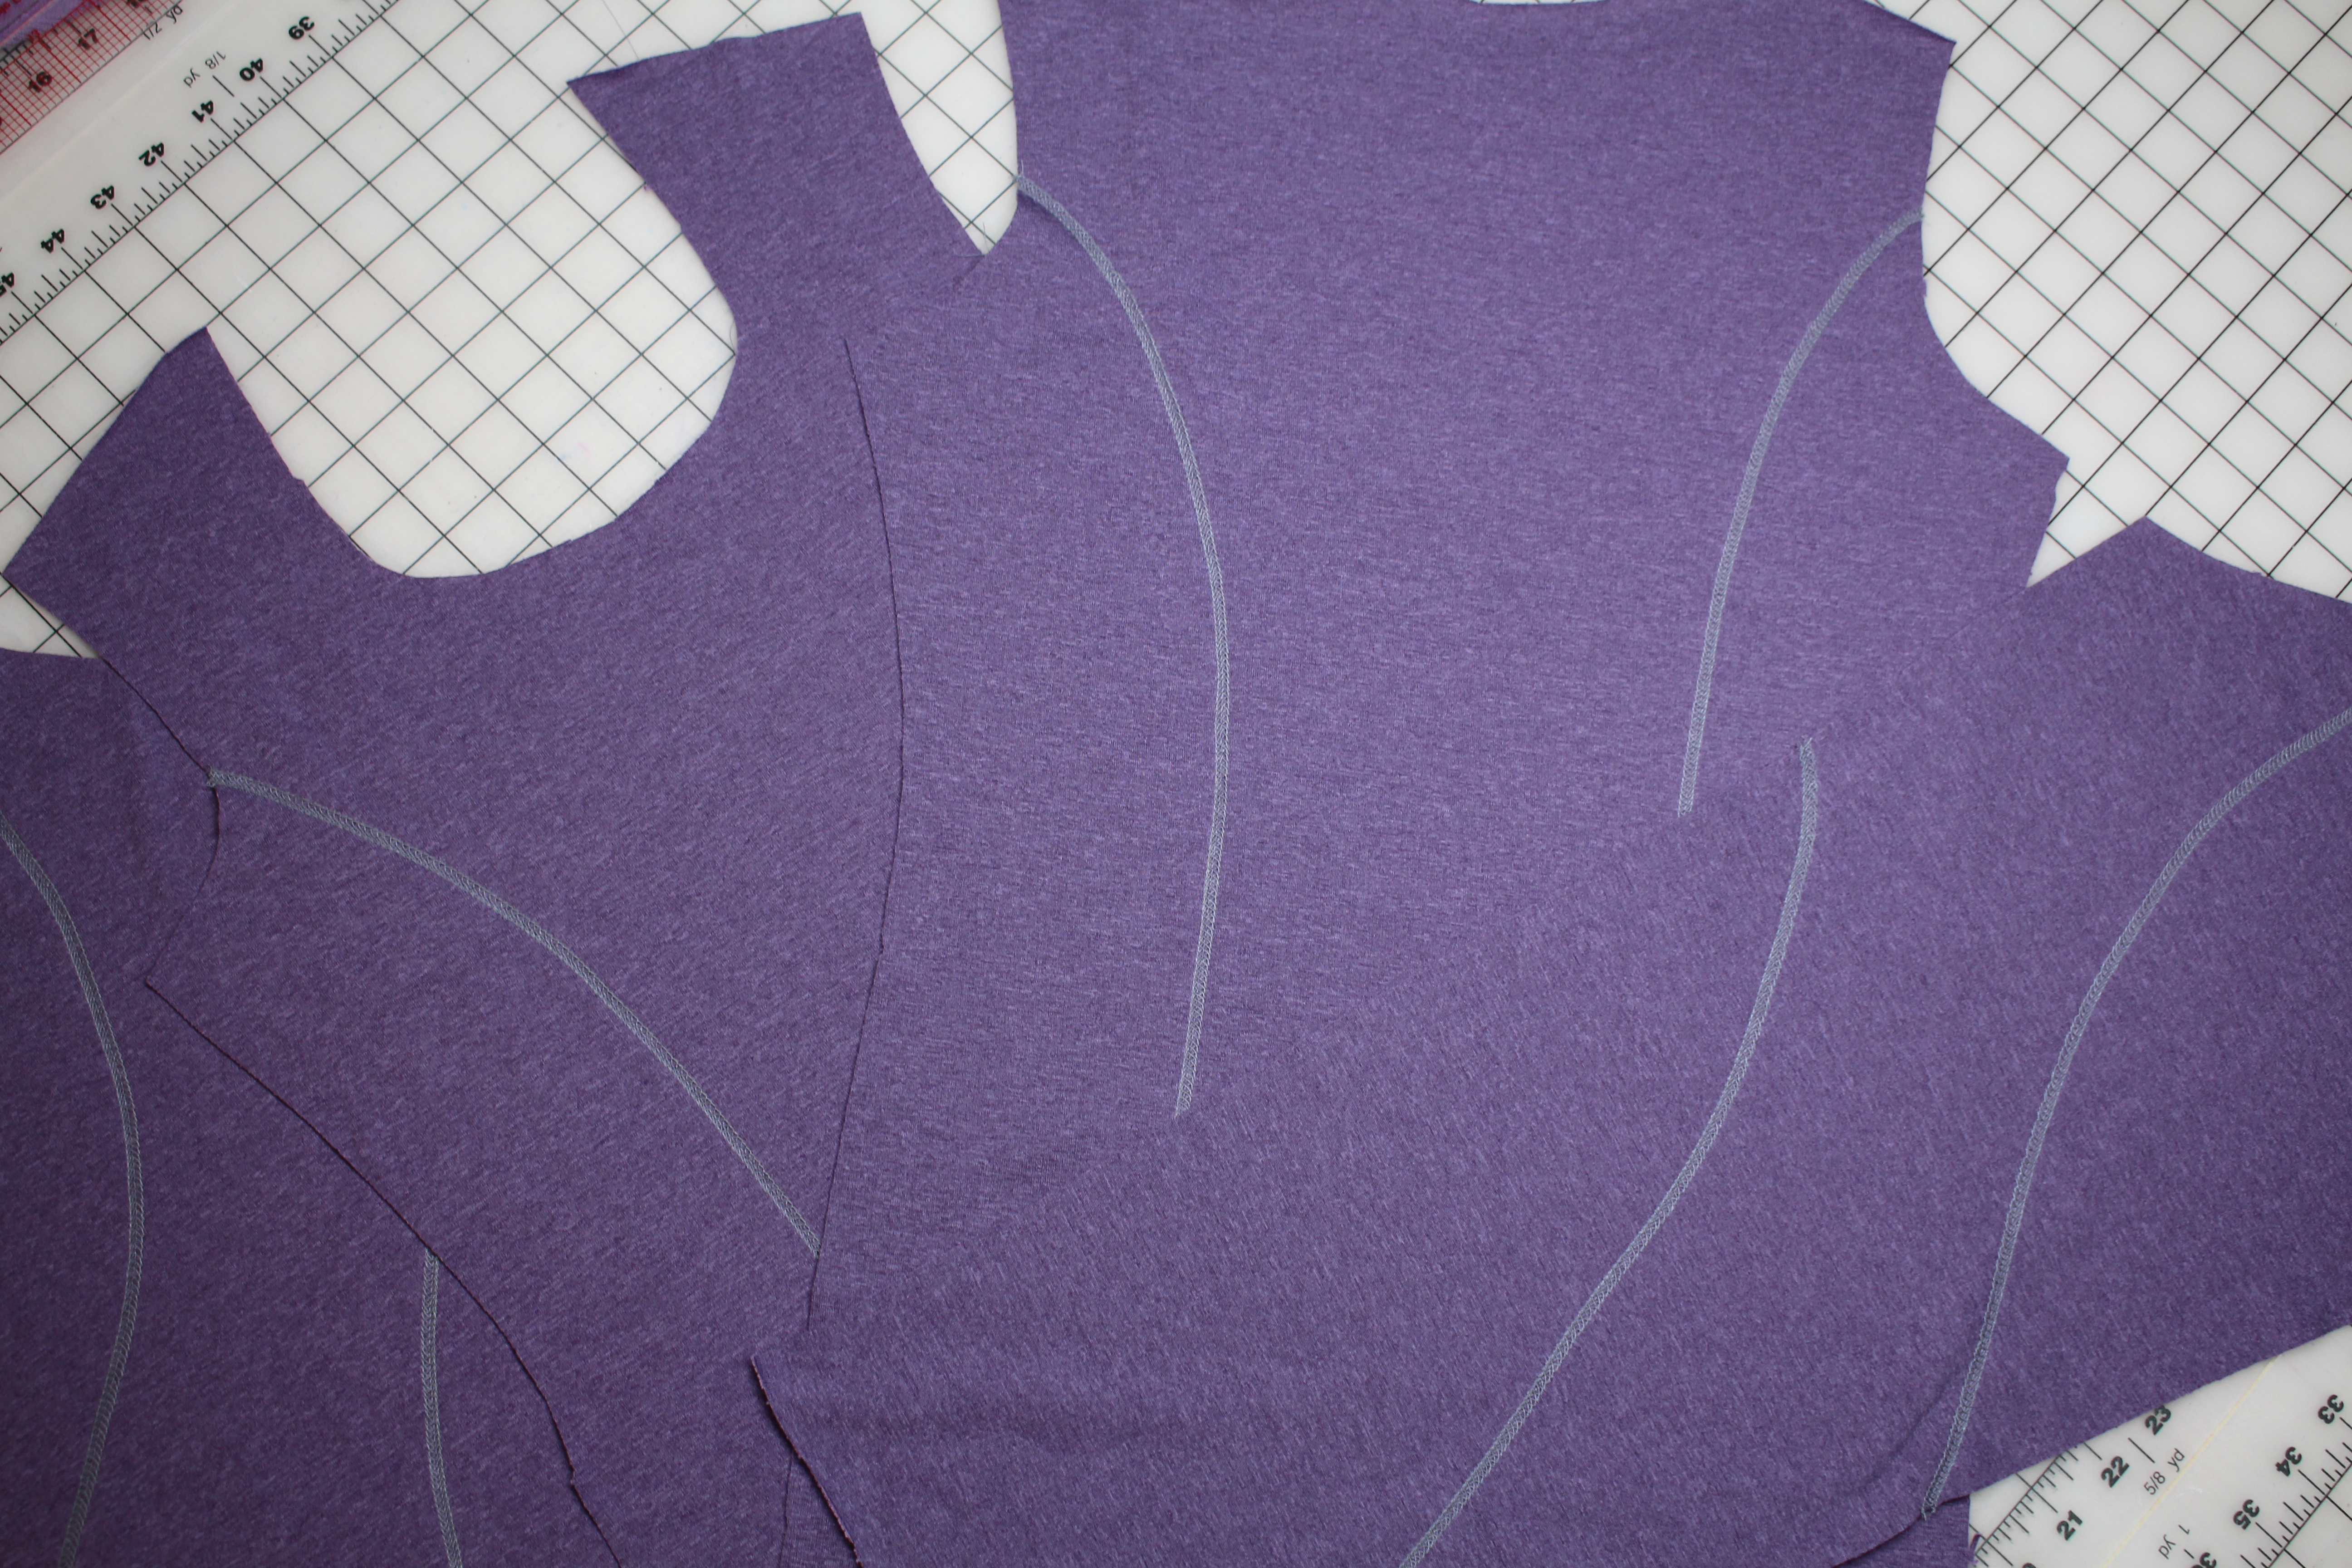
Episode 1401: Choosing and prepping fabrics, patterns, and sizing
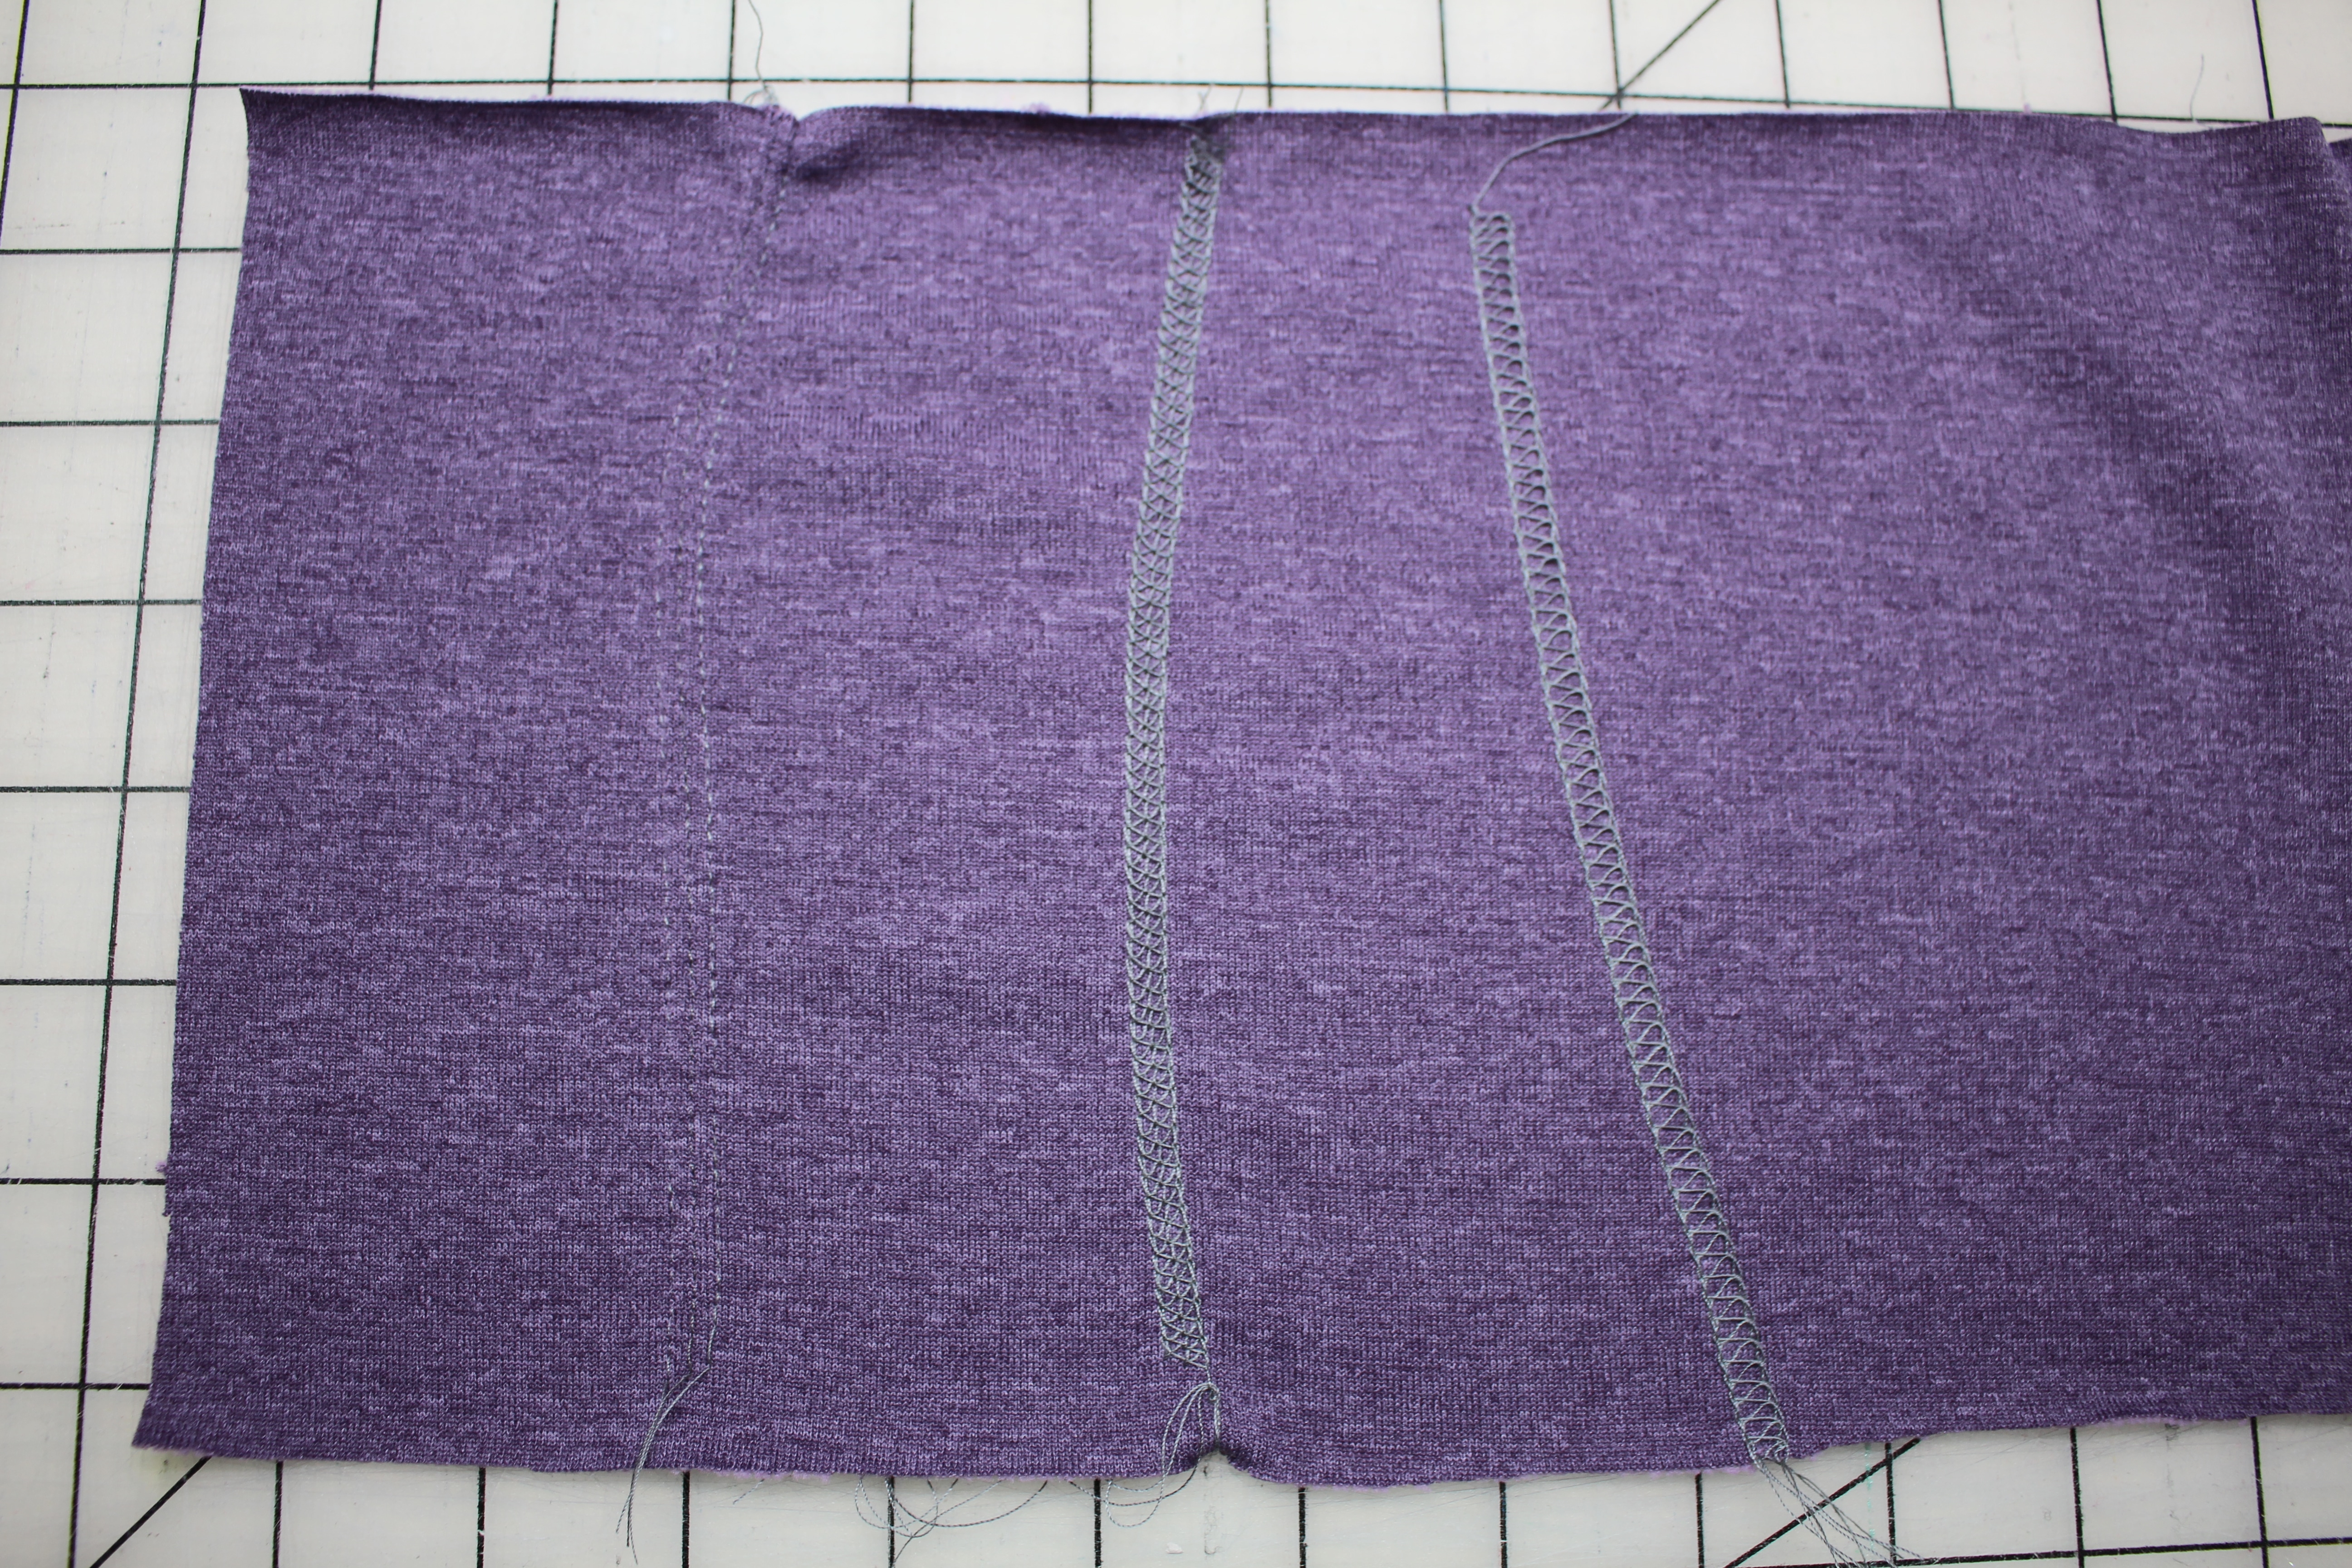
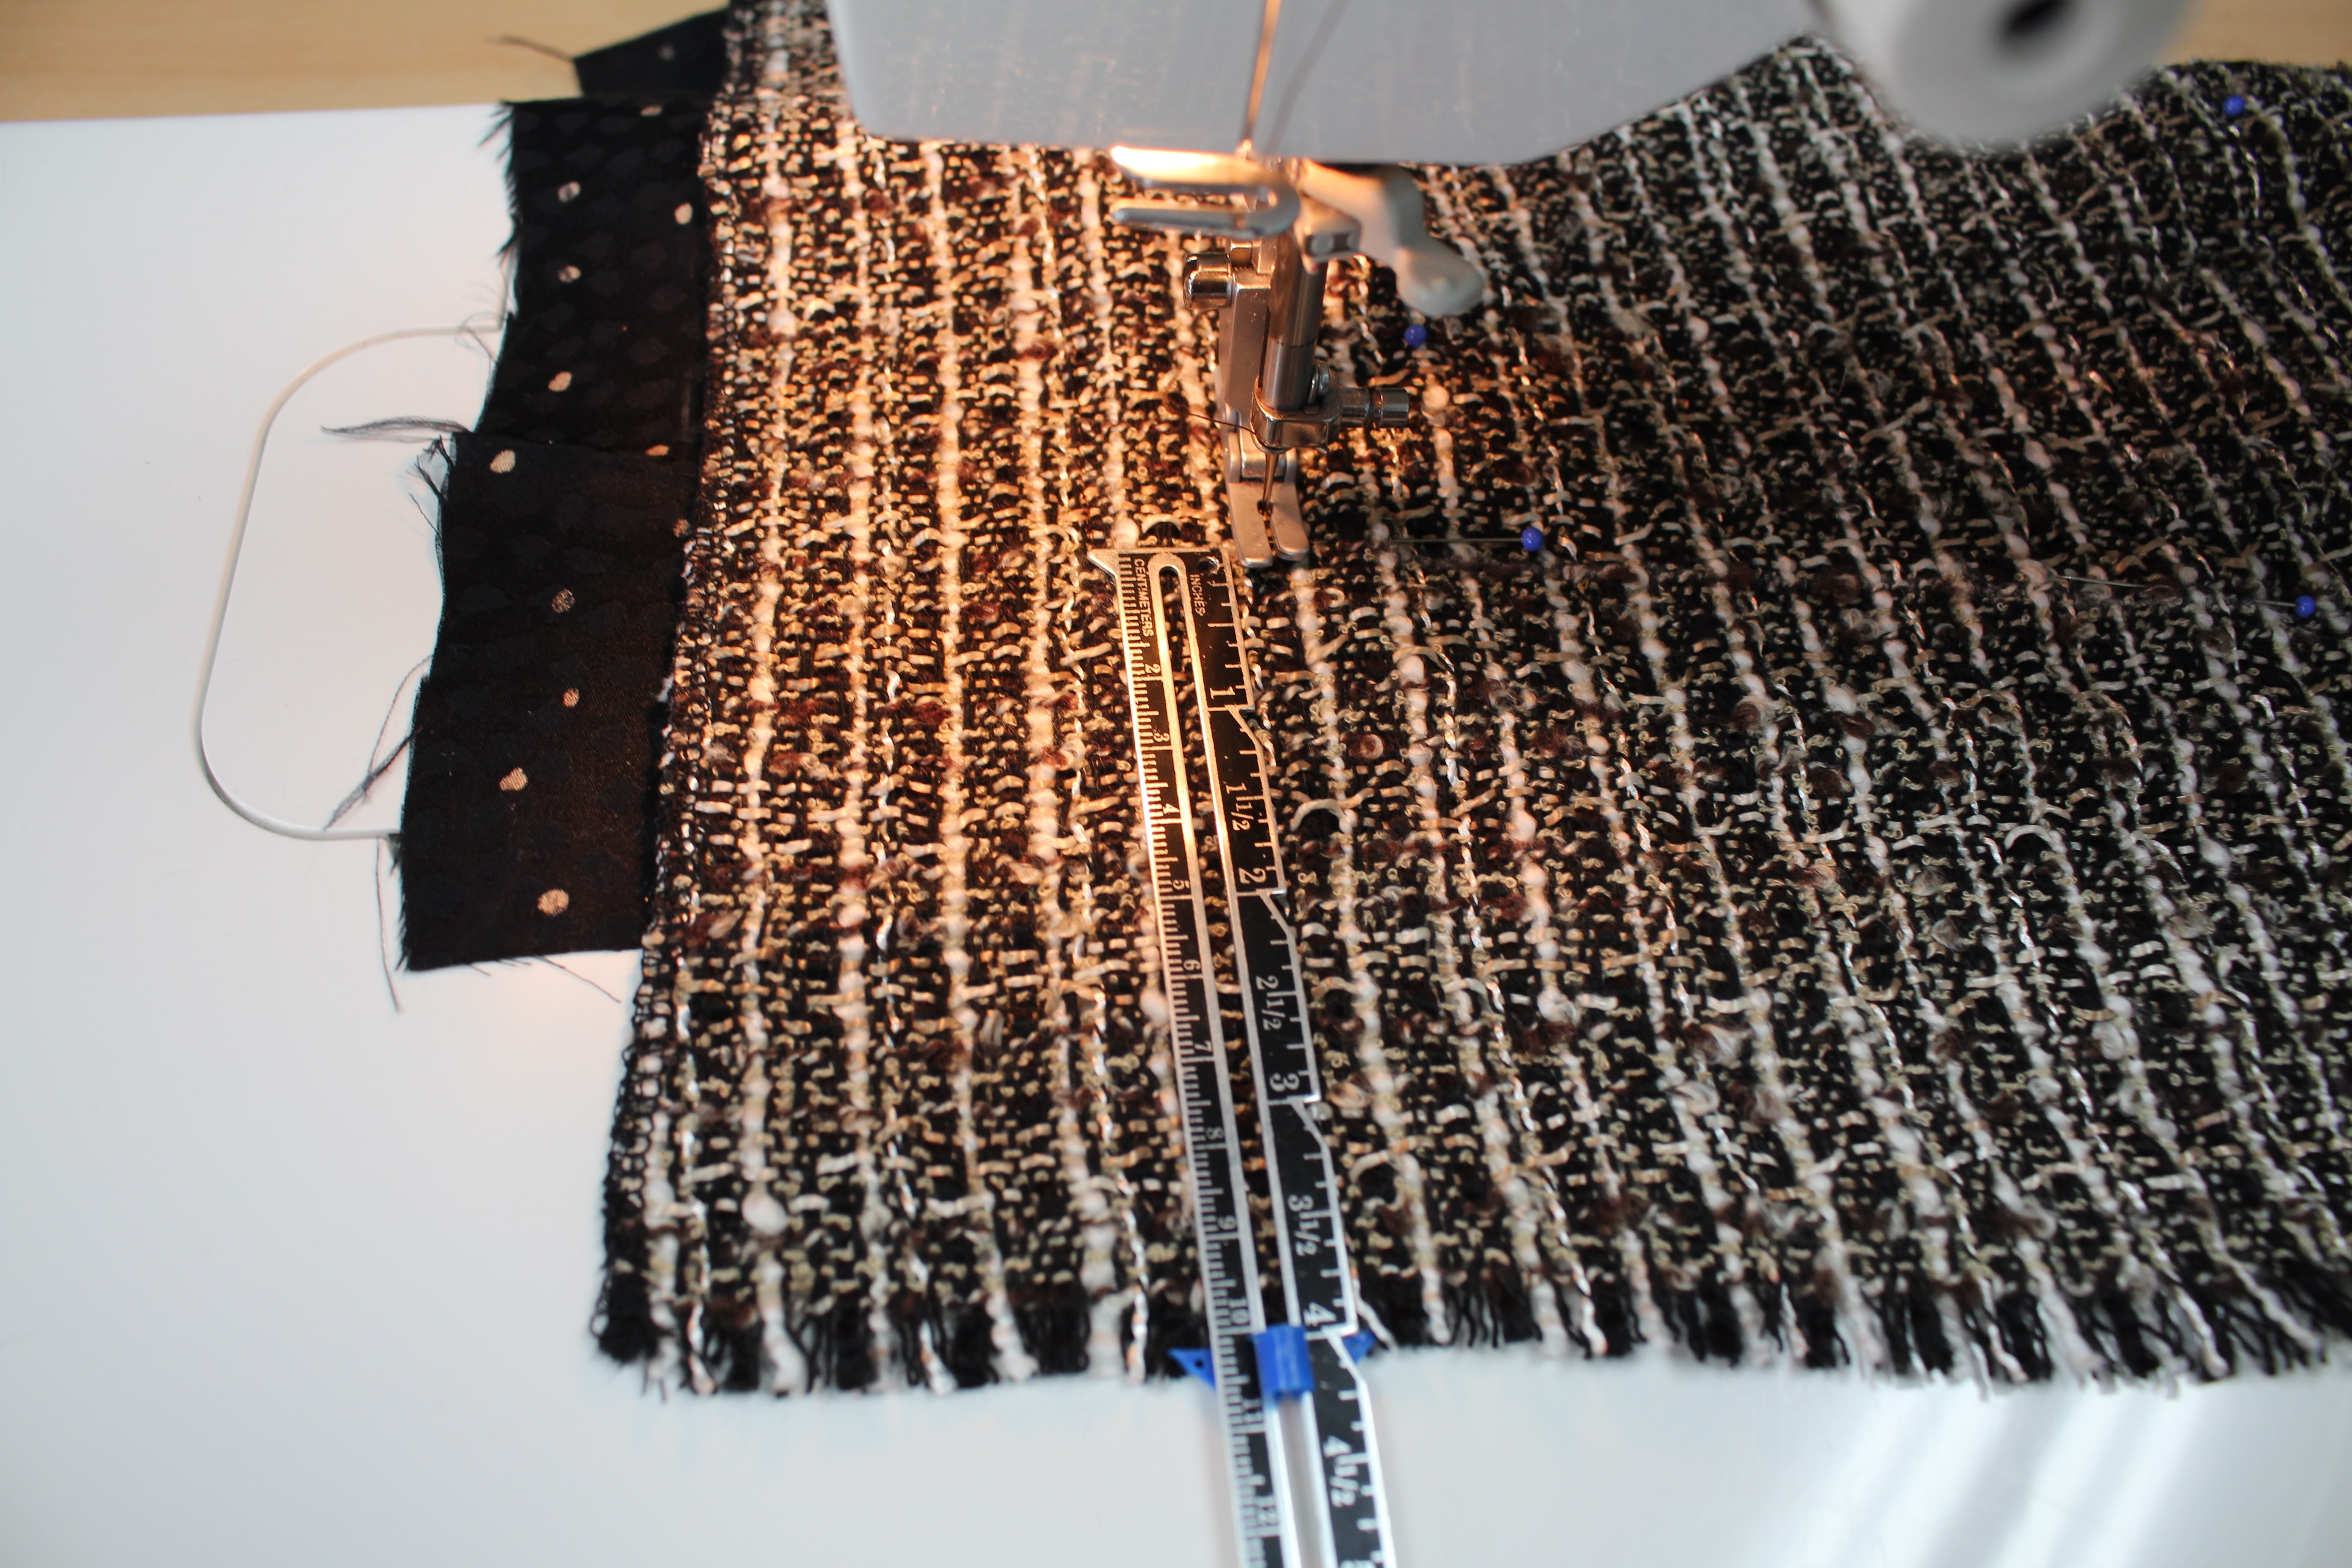
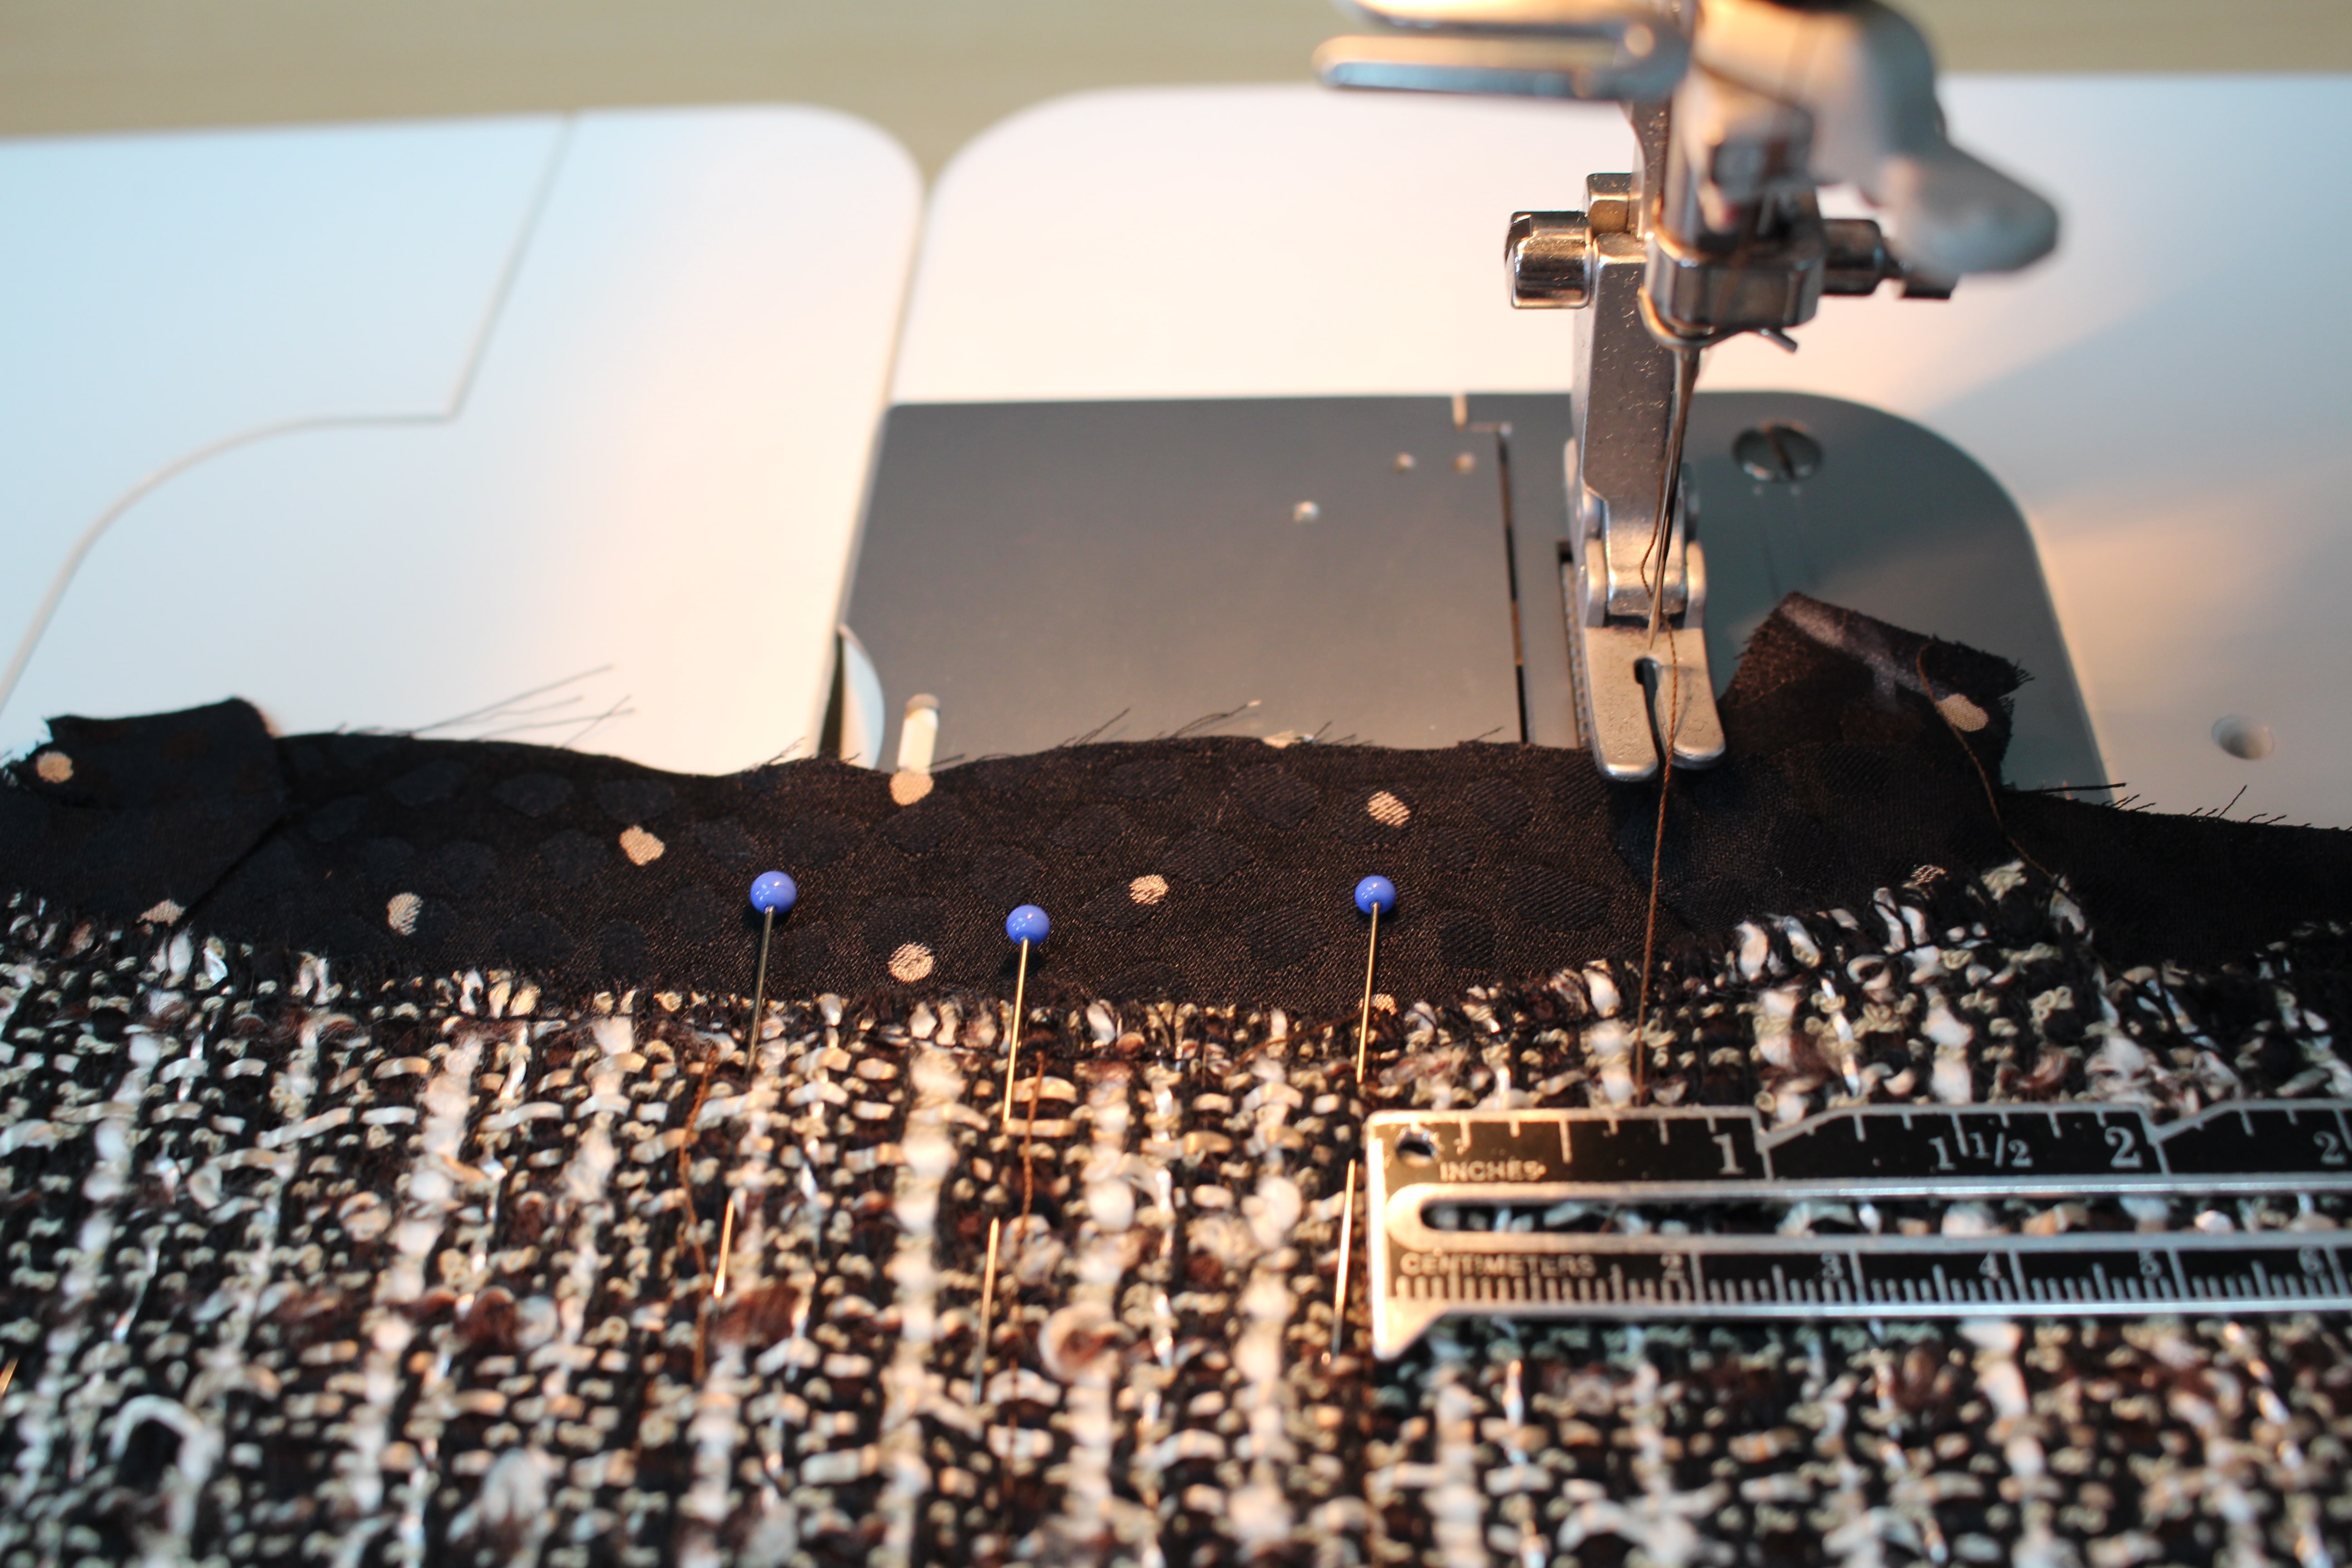
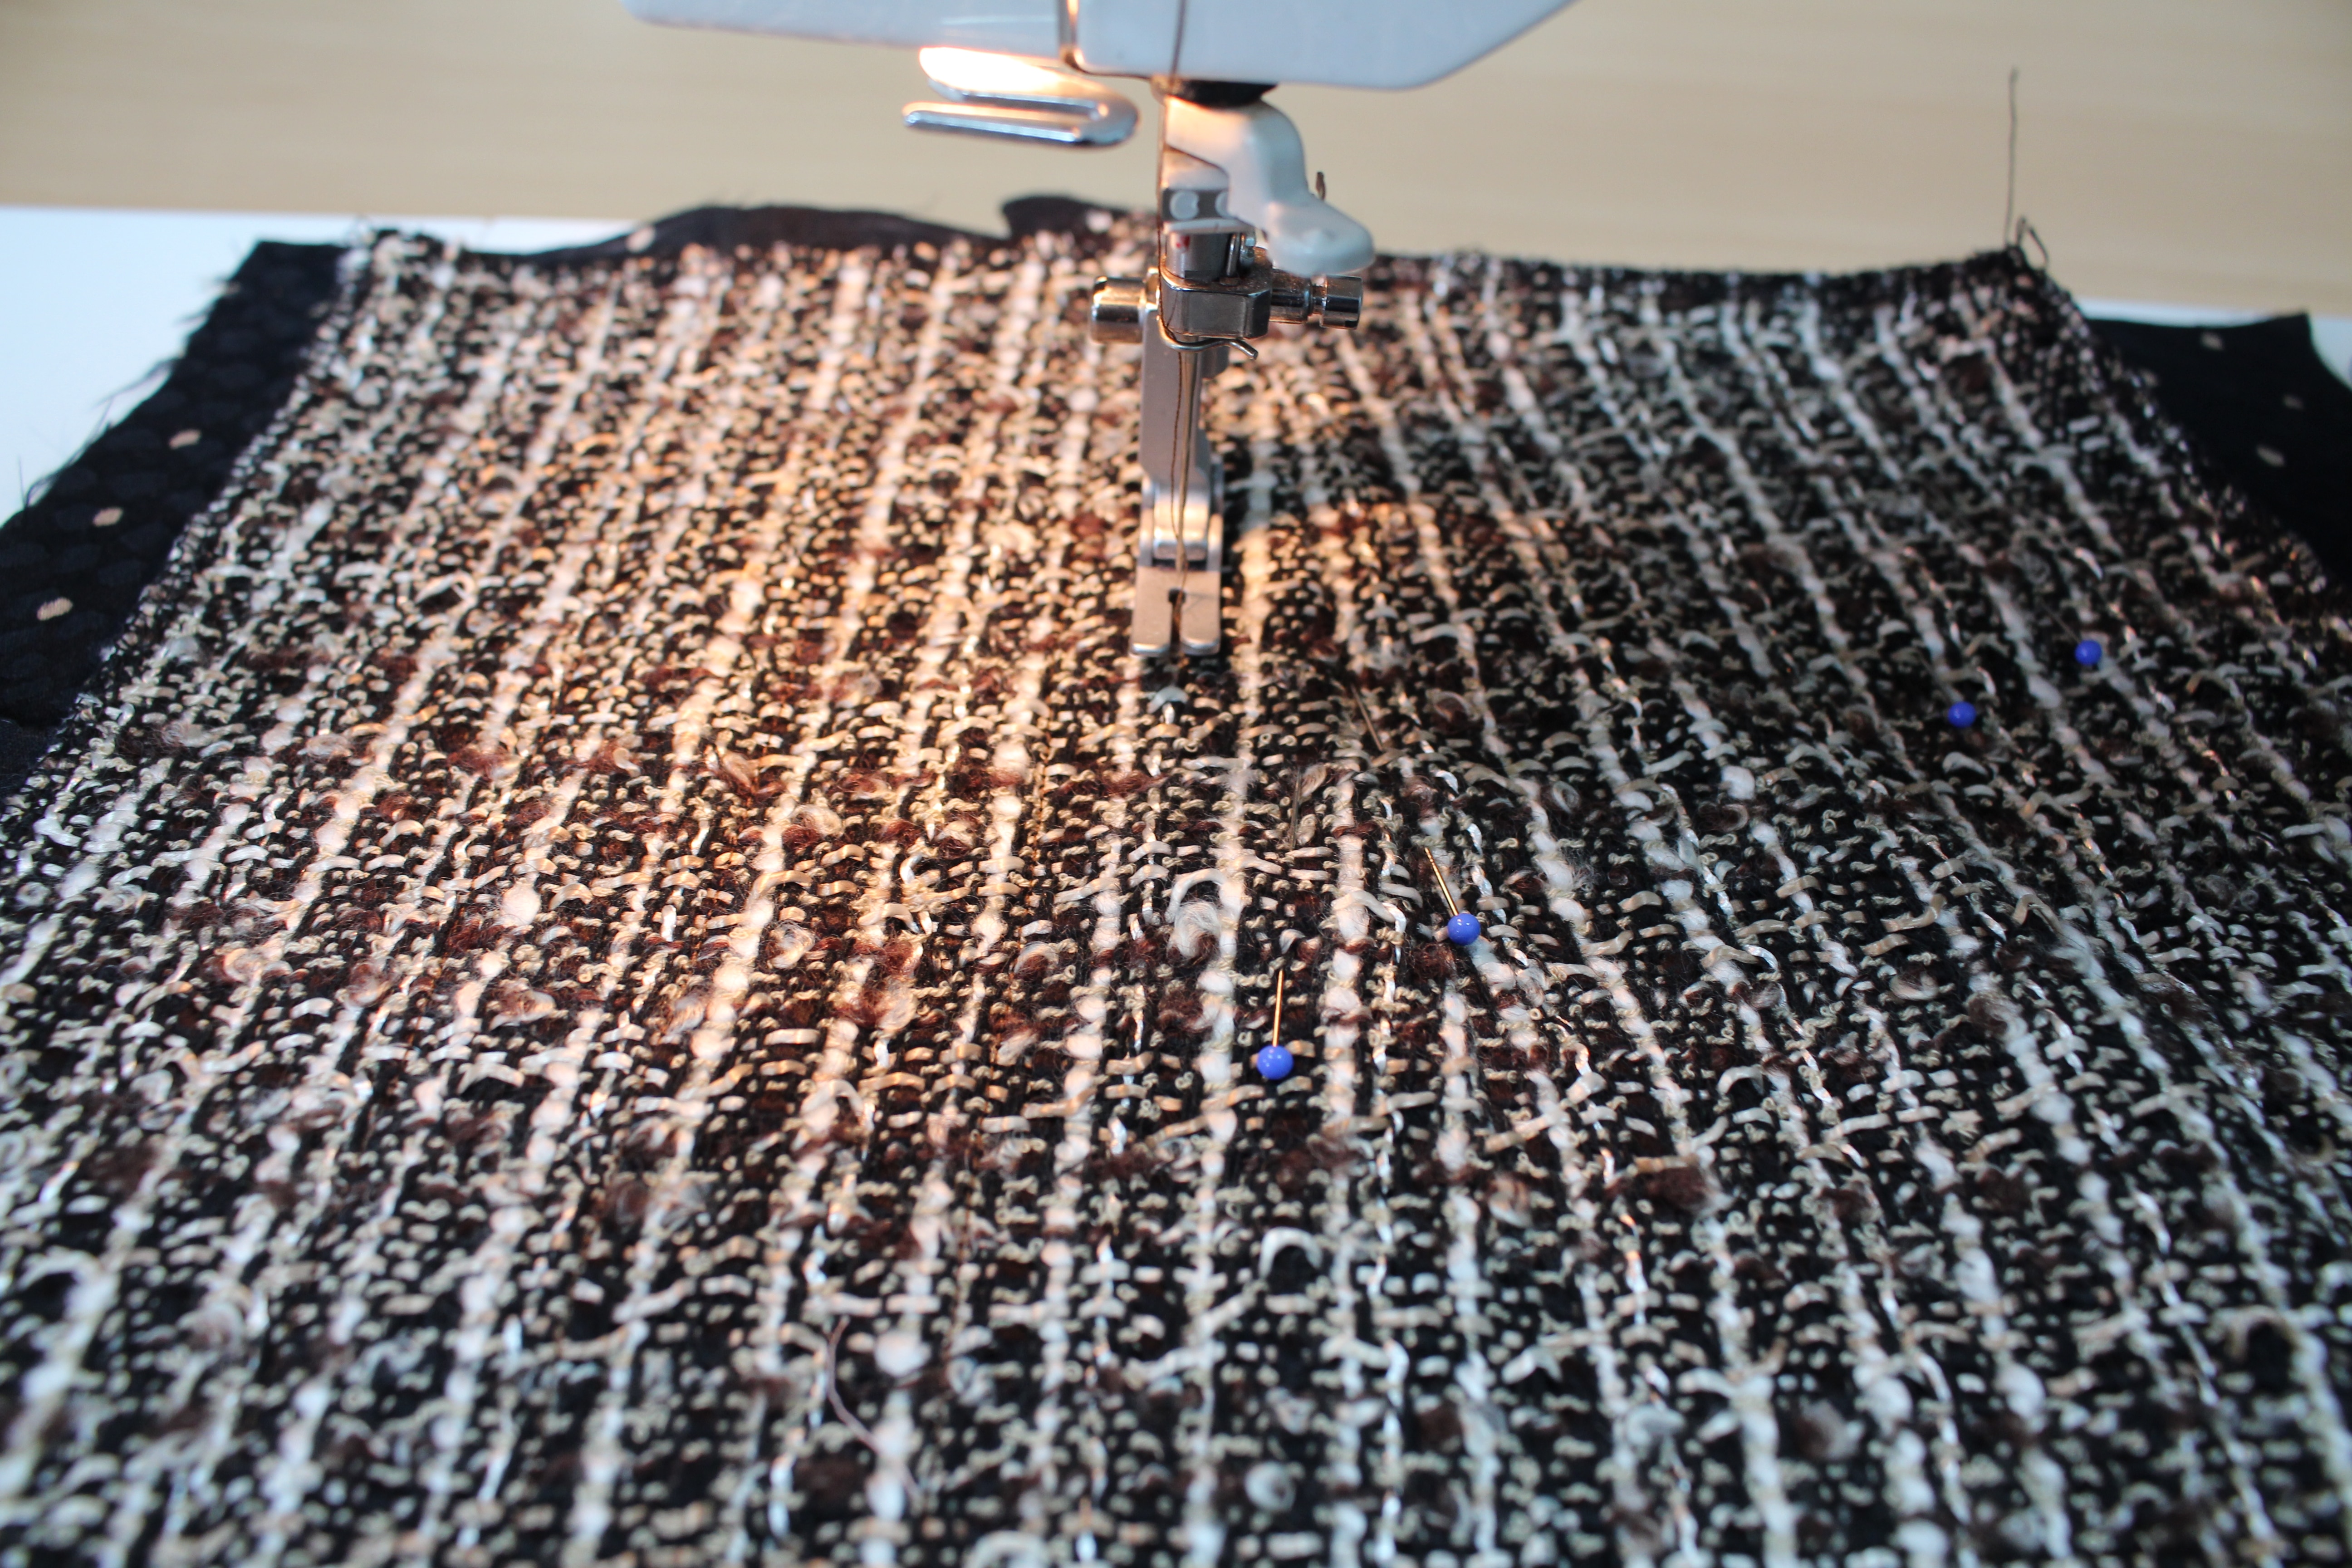
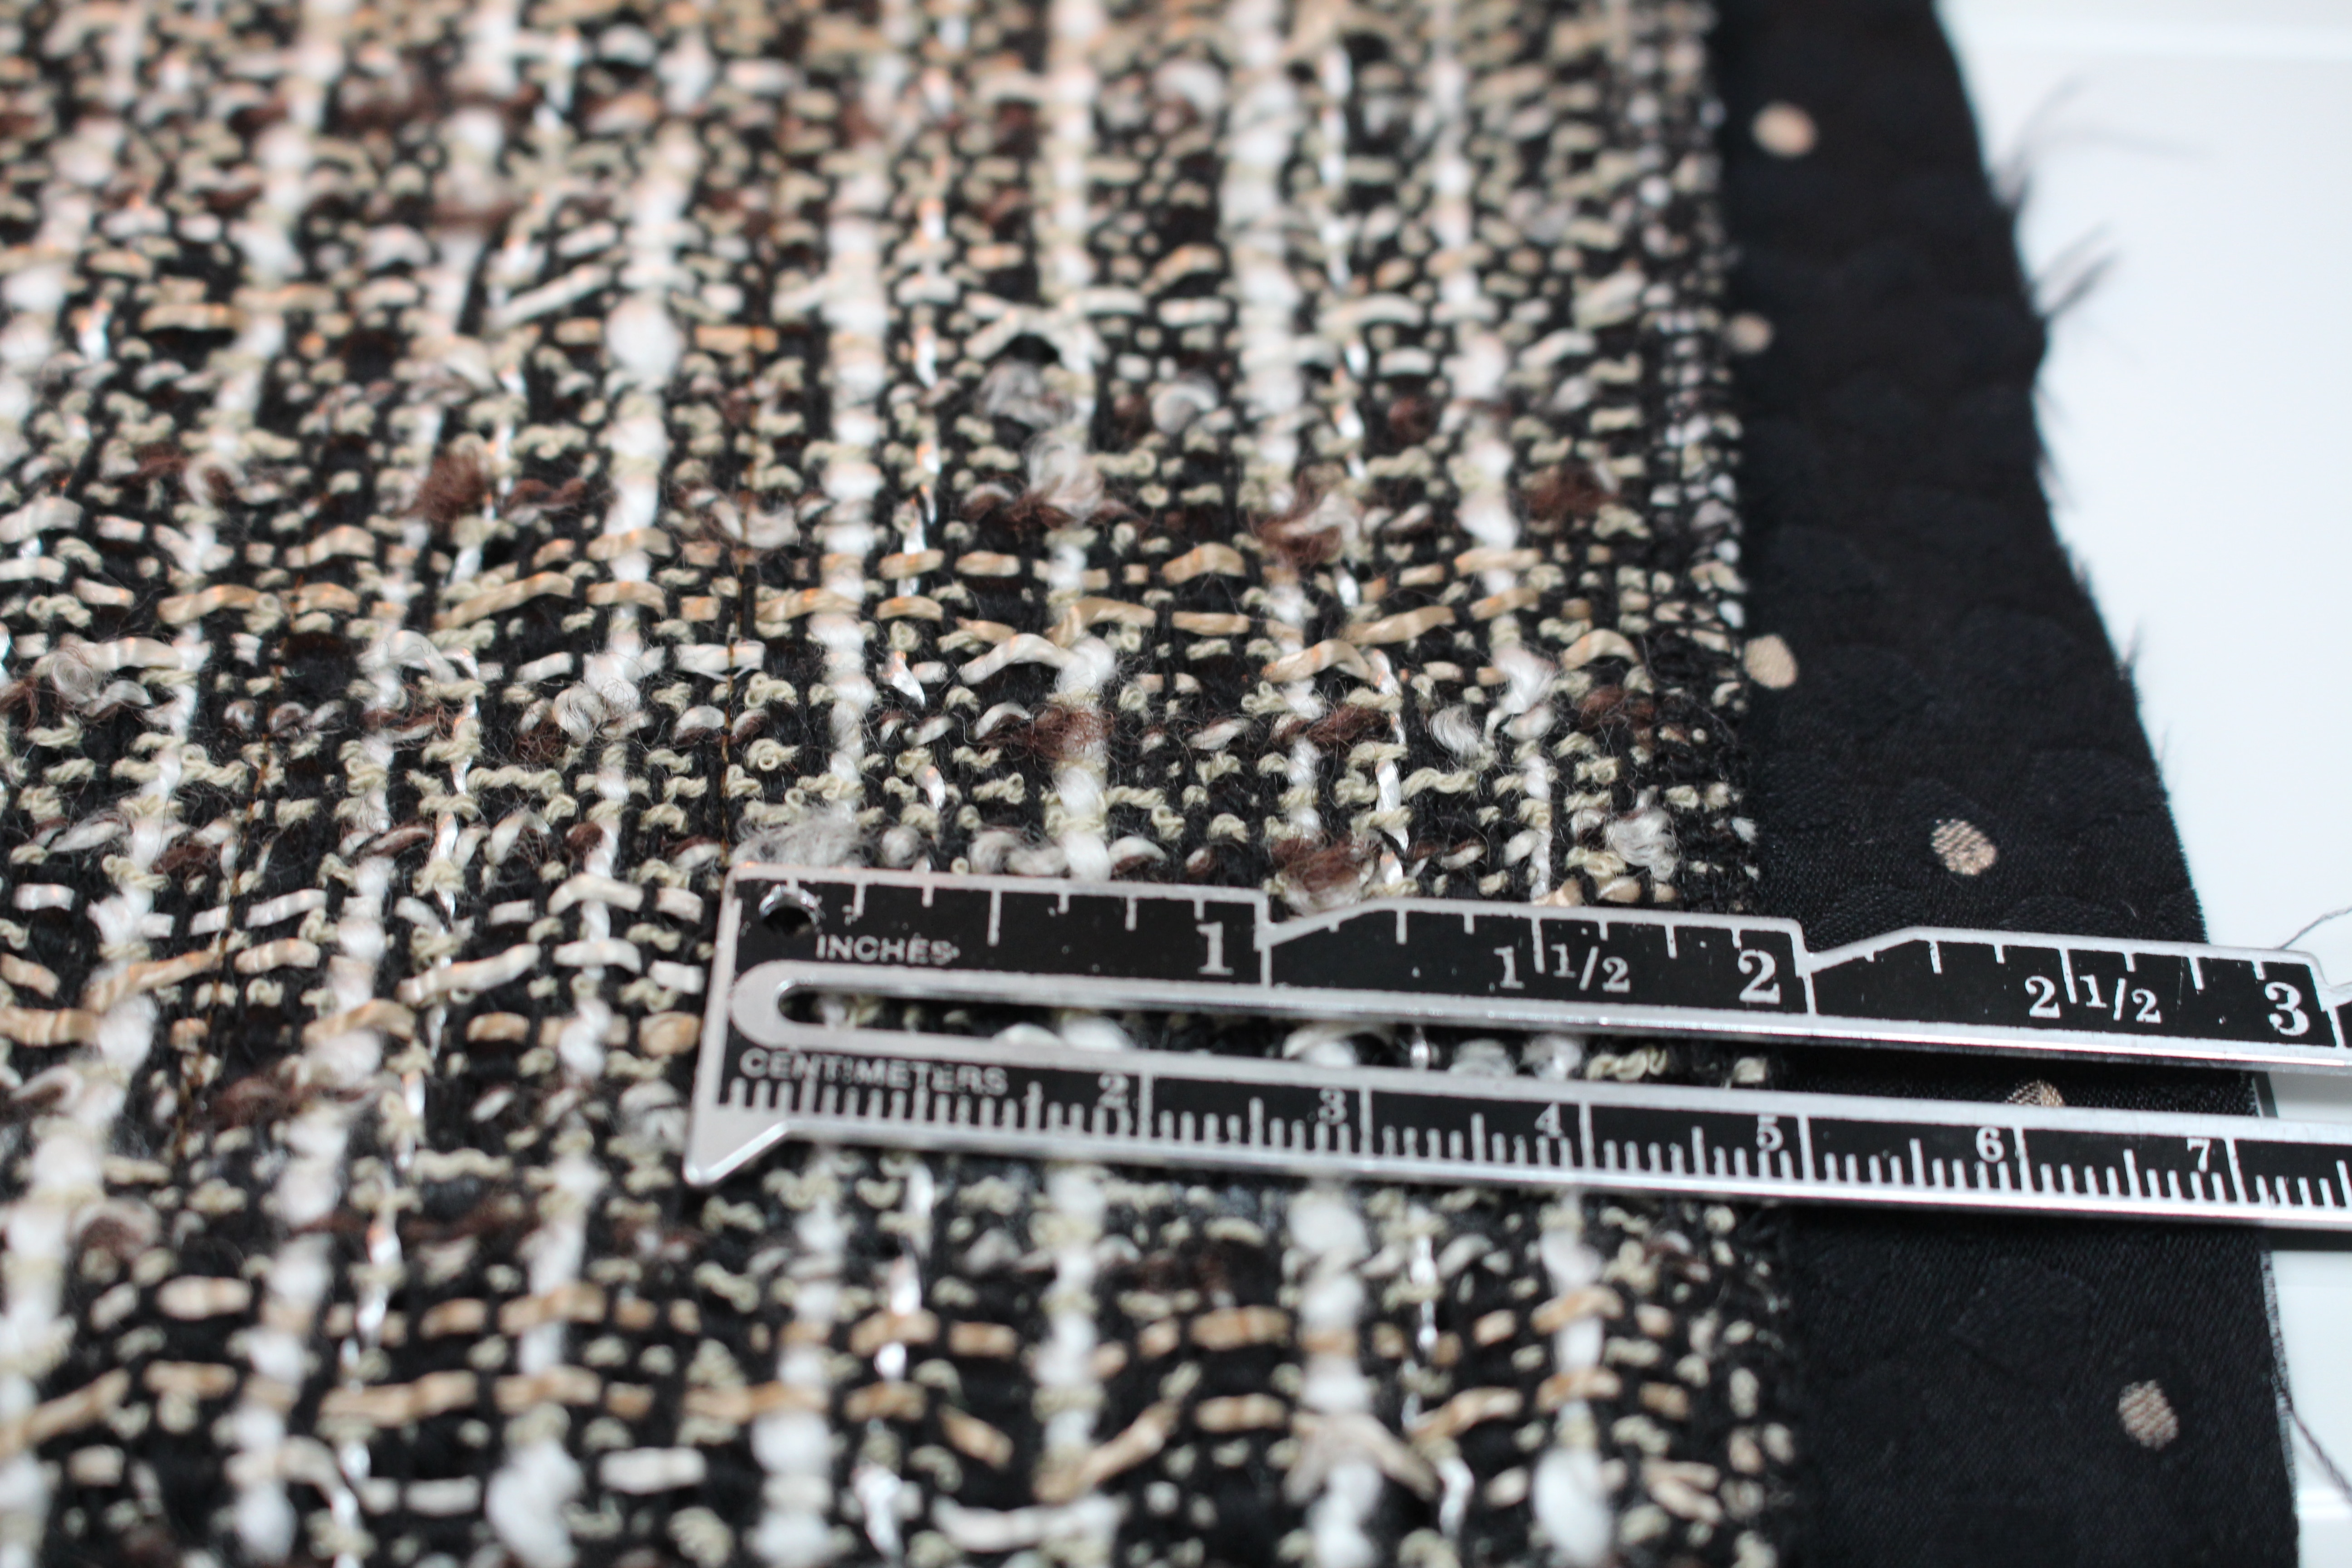
Part 2: Sewing the Front Placket
Episode 1402: Sewing the front placket
Part 3: Attaching the Collar
Episode 1404: Attaching the collar
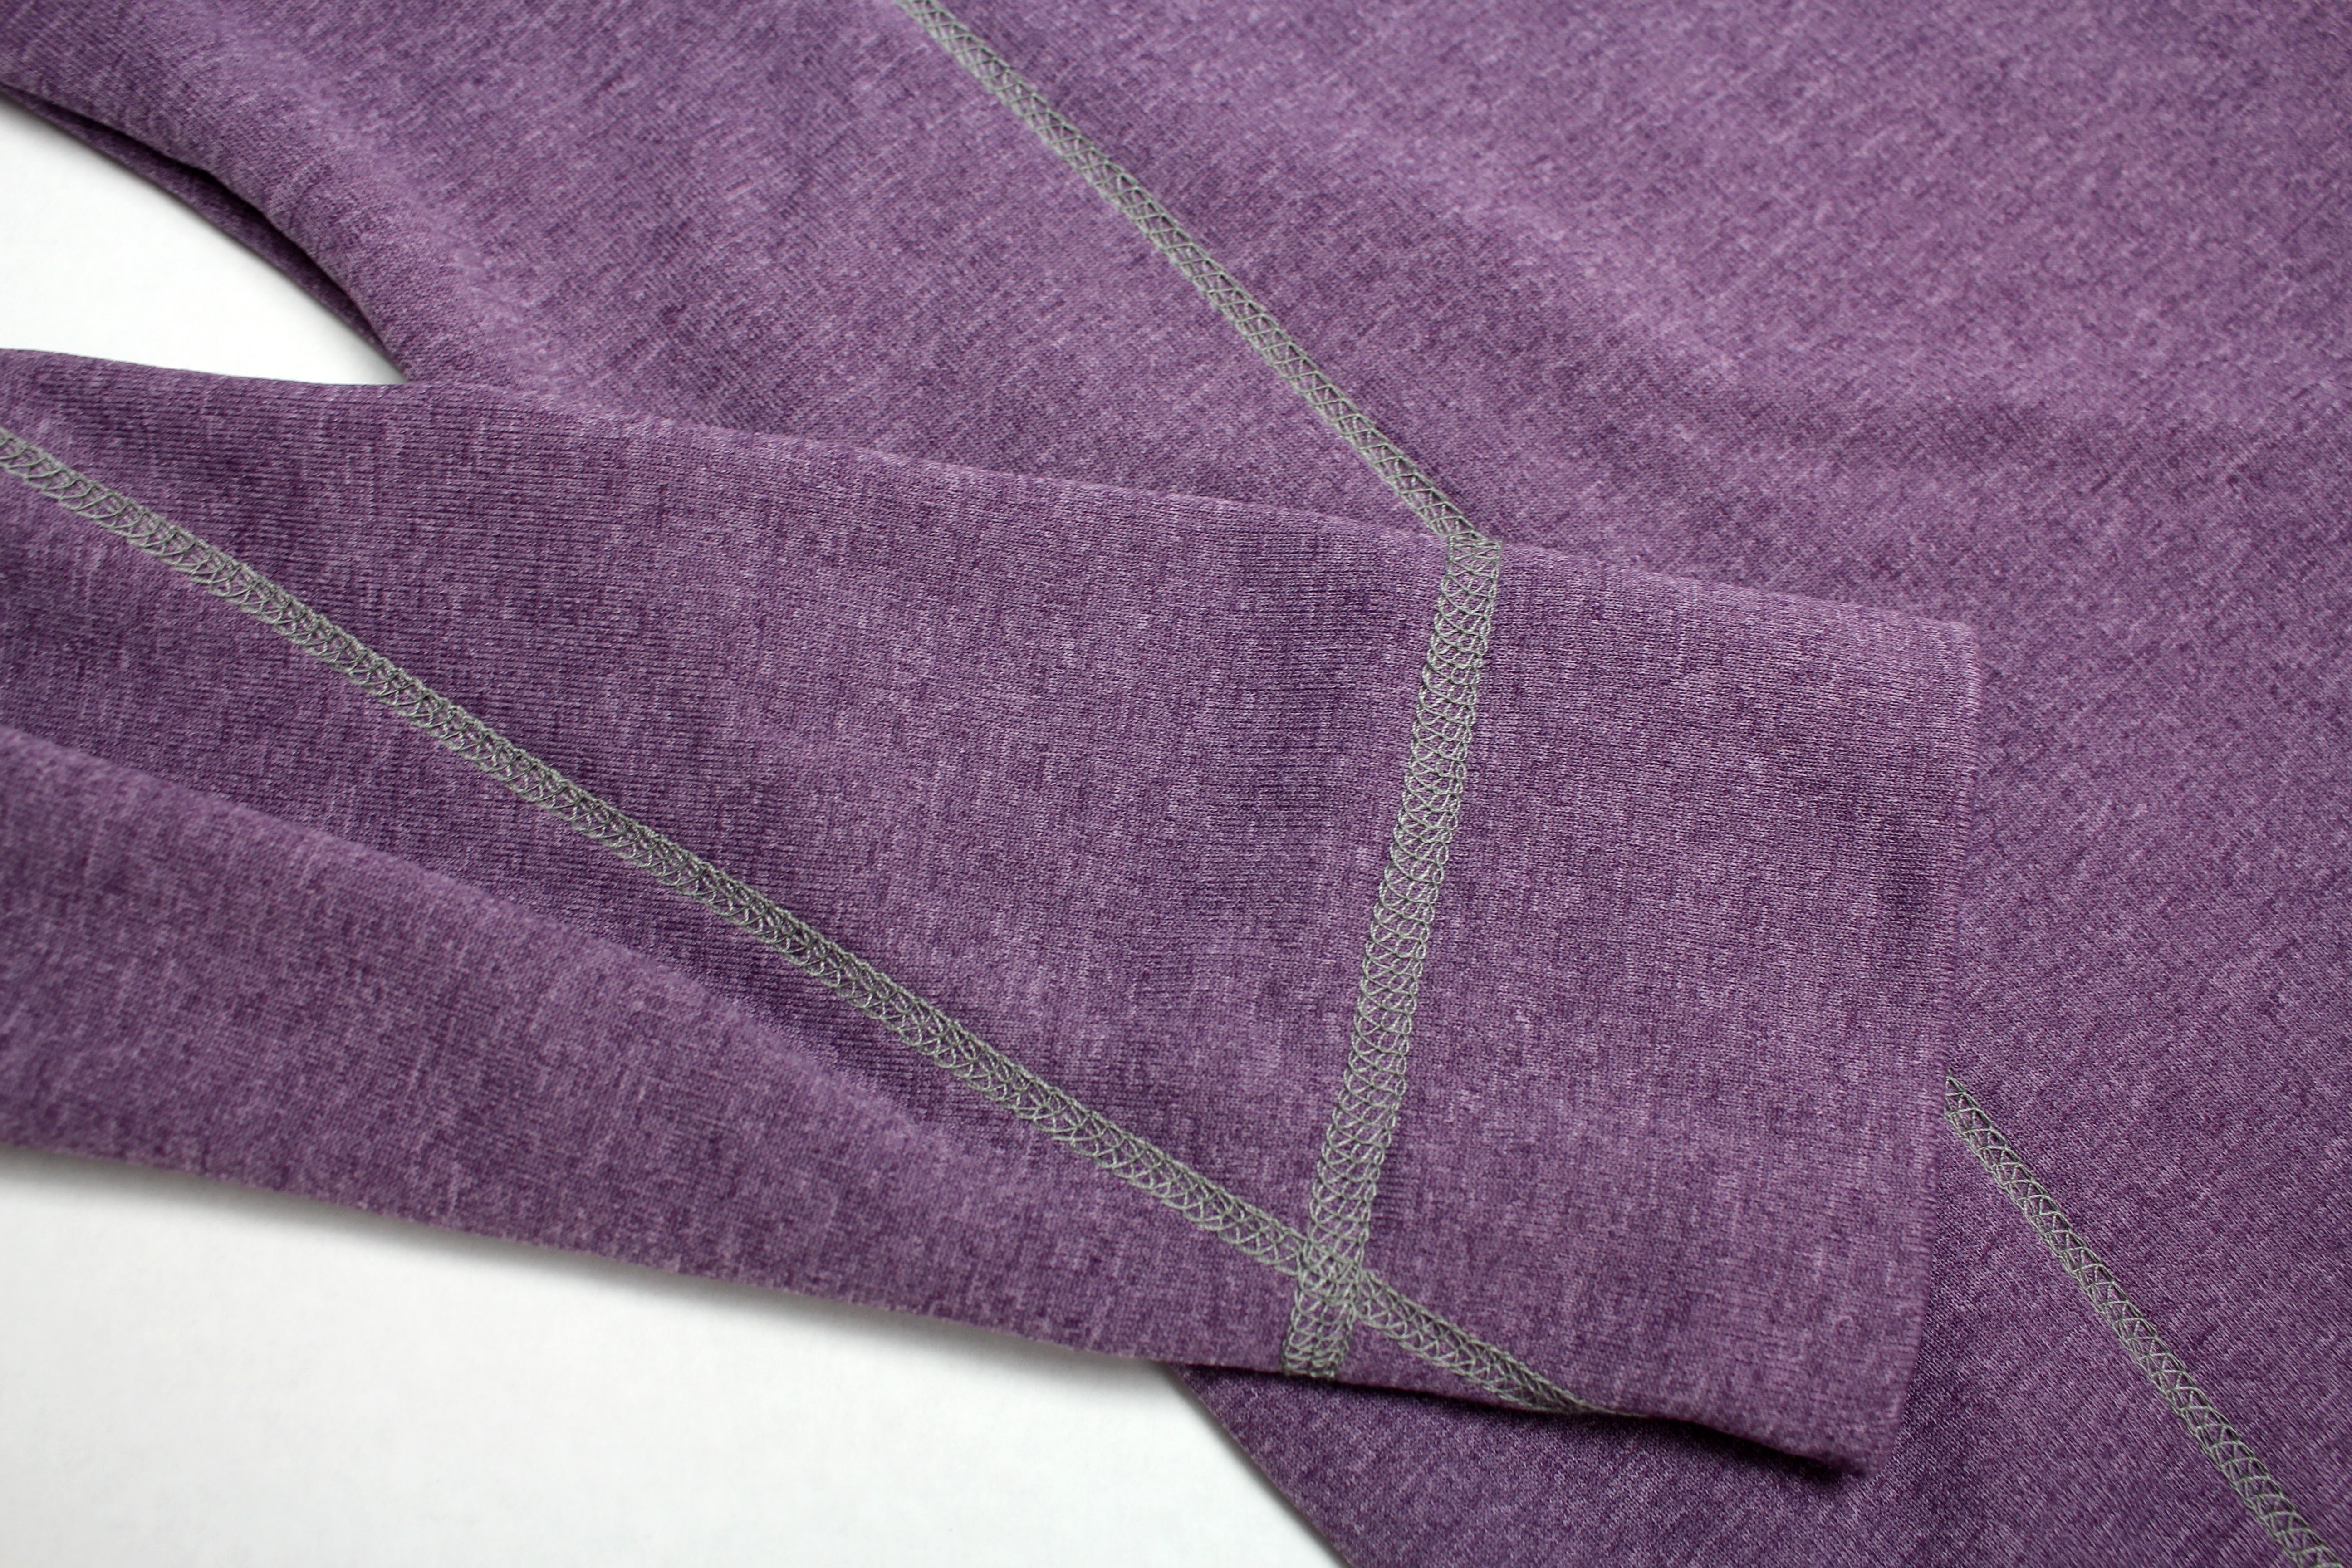
Part 4: Sewing the Placket on the Sleeve
Part 5: Sewing the Sleeves and Side Seam
Part 6: Sewing the Cuffs
Part 7: Sewing the Buttons and Buttonholes
Part 8: Finishing the Hem
Join us! A new video will launch every Saturday on YouTube. Sign up here and never miss a blog post and join the fun on facebook, instagram, twitter, and pinterest . We will share photos on the social side using hashtags #angleawolf #itsseweasy
Can’t wait to see what you sew up! Leave your comments & questions below …
Cheers,

Behind the Scenes LIVE with Angela Wolf

Facebook LIVE every Wednesday at 1:30pm EST
Let’s Talk …
Watch each episode live on facebook or catch the replay here!
<iframe src="https://www.facebook.com/plugins/video.php?href=https%3A%2F%2Fwww.facebook.com%2FAngelaWolfCouture%2Fvideos%2F1748757198488054%2F&show_text=1&width=560" width="560" height="445" style="border:none;overflow:hidden" scrolling="no" frameborder="0" allowTransparency="true" allowFullScreen="true"></iframe>
<iframe src="https://www.facebook.com/plugins/video.php?href=https%3A%2F%2Fwww.facebook.com%2FAngelaWolfCouture%2Fvideos%2F1726881217342319%2F&show_text=1&width=560" width="560" height="445" style="border:none;overflow:hidden" scrolling="no" frameborder="0" allowTransparency="true" allowFullScreen="true"></iframe>
Previous Blog Posts
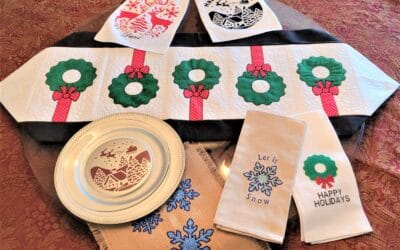
At Your Side Virtually! Episode 228 Quick Christmas & Holiday Gift Decoration Ideas
read more
New Dress Form Unboxing & Giveaway with Joe Vecchiarelli
Birthday Week goes into 40 gifts to Christmas! Celebrating Birthday week then moves into Christmas and the Holiday's with Joe Vecchiarelli! Joe from French European Inc. has been so generous to the Wolfpack with awesome discounts and free dress forms and this year is...

Celebrating 50K YouTube Subscribers!
Let's Celebrate! I can't tell you how excited I was to see 50,000 of you have subscribed to my YouTube channel! I can still remember putting up my first videos 10 years ago. I thought a fun way to celebrate is to do a giveaway every week for the next month. YEAH!...
Episode 199: At Your Side Virtually! Mug Rug and Coffee Deco with Kathy Stipe and Barb Mikolajczyk
Episode 199 ~ At your side 🧵 Virtually! Create a mug run and decorate your coffee mug with vinyl Join Brother Brand Ambassador Angela Wolf and Brother Educator's Kathy Stipe and Barb Mikolajczyk Designing Mug Rugs in My Design Center-Quick and Easy Supplies needed:...

Pant Sloper Fitting Online Course
Pant Sloper Fitting Online Course Learn to fit your own pant sloper! Then take that sloper and turn it into a pattern. This class will be taught in a virtual & online setting; offering 5 live lessons with additional videos for specific fitting issues. You will...

VLOG 238 Behind the Scenes ✂️ LIVE in Angela Wolf’s Studio & Sewing the Lacy Top
VLOG 238 Behind the Scenes ✂️ with Angela Wolf ! Last week we cut out the Lacy top pattern, this week we will serge it together. And I will be drawing 3 lucky winners for the beautiful Shannon Fabric!!! Also, check out the new renovations coming to Angela Wolf's...