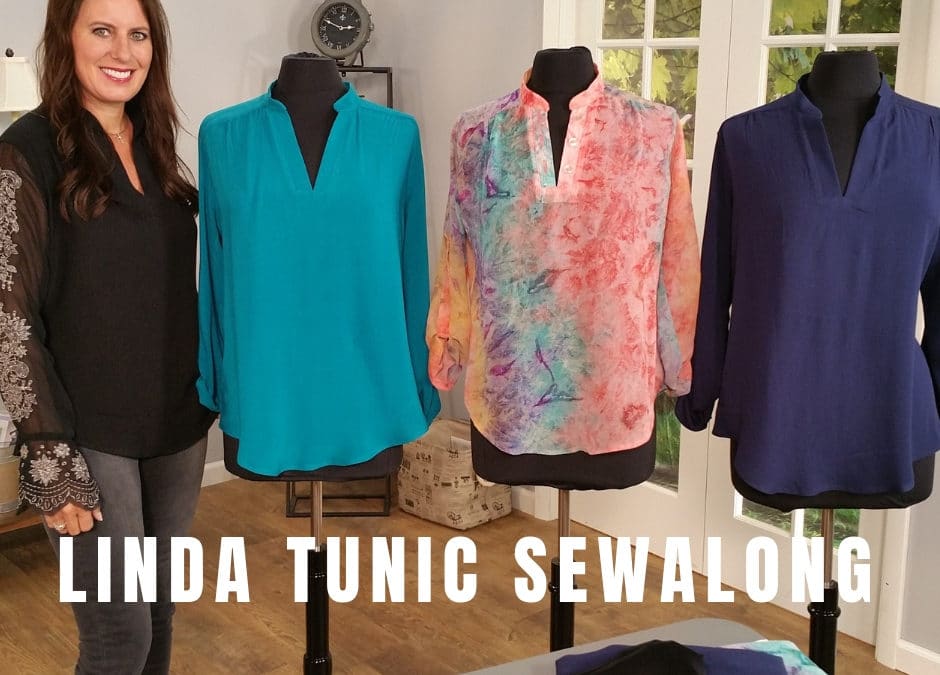


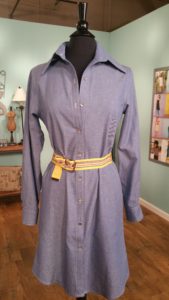

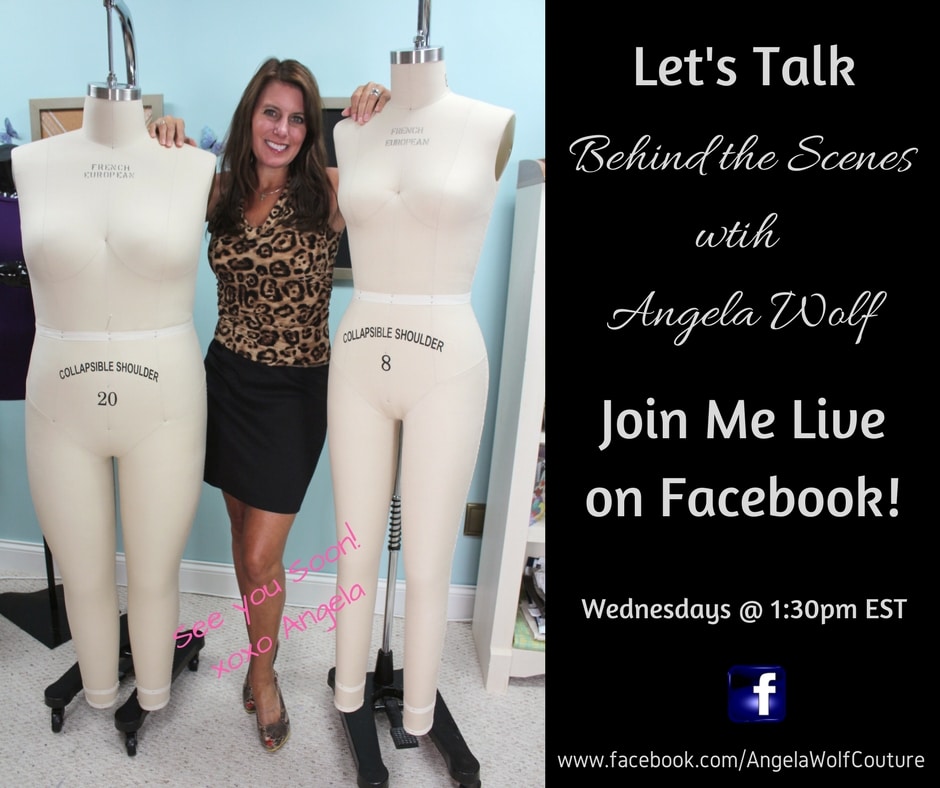

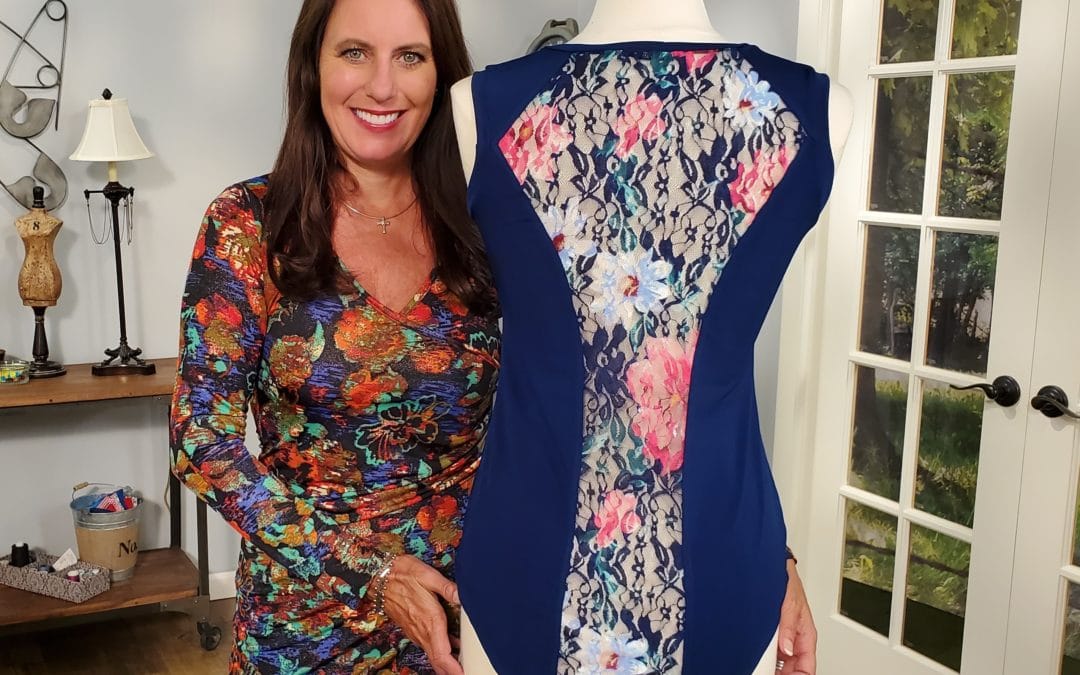
Episode 301 🧵 Behind the Scenes with Angela Wolf Getting into summer and looking for stylish tops to wear with jeans, shorts, or skirts and one of my fist patterns always shows up ... The DelilaDelila Pattern has 9 Options I designed this pattern to be able to sew...
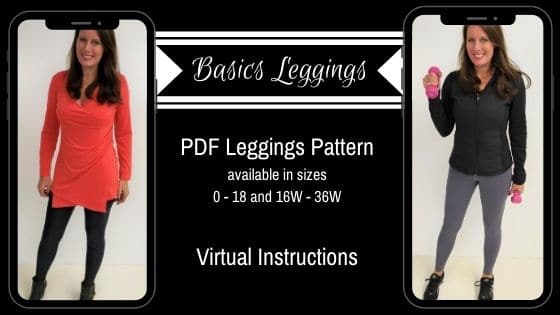
10 TIPS FOR SEWING LEGGINGS & SPORTSWEAR
10 Tips for Sewing Leggings, Sports & Athleisure Wear
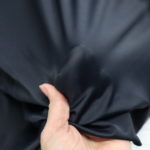
1. FABRIC: Use a quality 4-way stretch fabric, such as a Nylon Spandex Tricot Knit, so the fabric retains its shape (no baggy knee’s  ). Add a touch of Power Mesh Nylon Tricot Knit
2. WICK AWAY: If you plan on working out, look for moisture wicking fabric. Wickaway moves sweat to the outside of the fabric and quickly dries, so your sweat doesn’t soak the fabric.
3. FITTING: Athletic wear is usually fitted, especially leggings. Check the exact measurements on the pattern and compare to your exact measurements. You will want to have the outfit at least 1″ smaller than your size (more than 1″ depending on your size too). This is what we call negative ease.
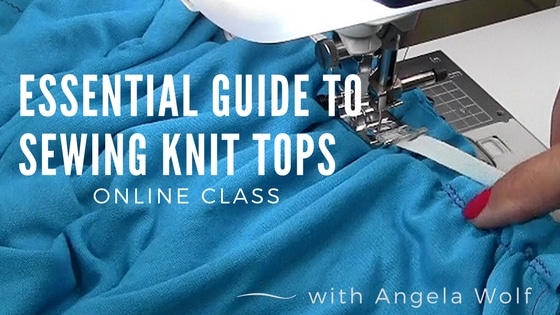
4. NEEDLES: Use a stretch in the sewing machine, serger, and coverstitch.
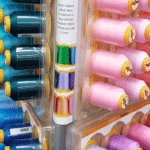
5. THREAD: I use Wooly Poly or Wooly Nylon in the upper and lower loopers on the serger.
6. SERGER STITCH: A 4-thread overlock stitch is stronger than a 3-thread overlock stitch. I use the 4-thread for leggings, fitted workout tops, and sport bras. I use the 3-thread overlock stitch for loose fitting knits and items that won’t have a lot of stress.
7. SEWING: If you don’t have a serger, you an use stretch thread in the sewing machine. Wind the bobbin slowly and use the stretch thread for both the upper thread and bobbin with a straight stitch. Another option is using universal thread and a narrow zigzag stitch.
8. ELASTIC: I use sport and braided elastic in the waistband of my leggings. 1/2″ wide when I am sewing yoga style leggings with a wide waistband. 1″ or 1-1/4″ when sewing more of a leggings style.
9. HEMMING: performance fabric can be slippery and tricky to sew. I steam press the hem and use a tailors clapper to create a creased fold. Then when I run the fabric through the coverstitch machine or sewing machine using a twin needle, the fabric lays nice and flat.
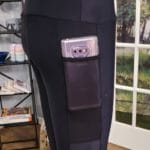
10. ADD A TOUCH OF MESH: Use a coordinating mesh fabric to leggings as an accent to hold your cell phone or inserted into a tank for a trendy style.