Fringe Skirt Sewalong Part 5: Quilting the Lining

Fringe Skirt Sewalong Part 5: Quilting the Lining

Quilting the Lining

Why not add a touch of couture to your tweed fringed skirt and quilt the lining. Similar to a Chanel style jacket, the quilted lining is stylish and luxurious. There is a lot of hand-sewing involved in this process, but it’s worth every stitch ? As you know, I sew many of my skirts and jackets this way and once you wear a quilted garment you will be hooked!

Lining

I mentioned in a previous lesson in the Fringe Skirt Sewalong that is is best to use a natural fiber for the lining.  Here are some of my favorite options:

  • china silk
  • silk charmeuse
  • lightweight cotton
  • sueded silk
  • cotton knit

Cutting the Lining

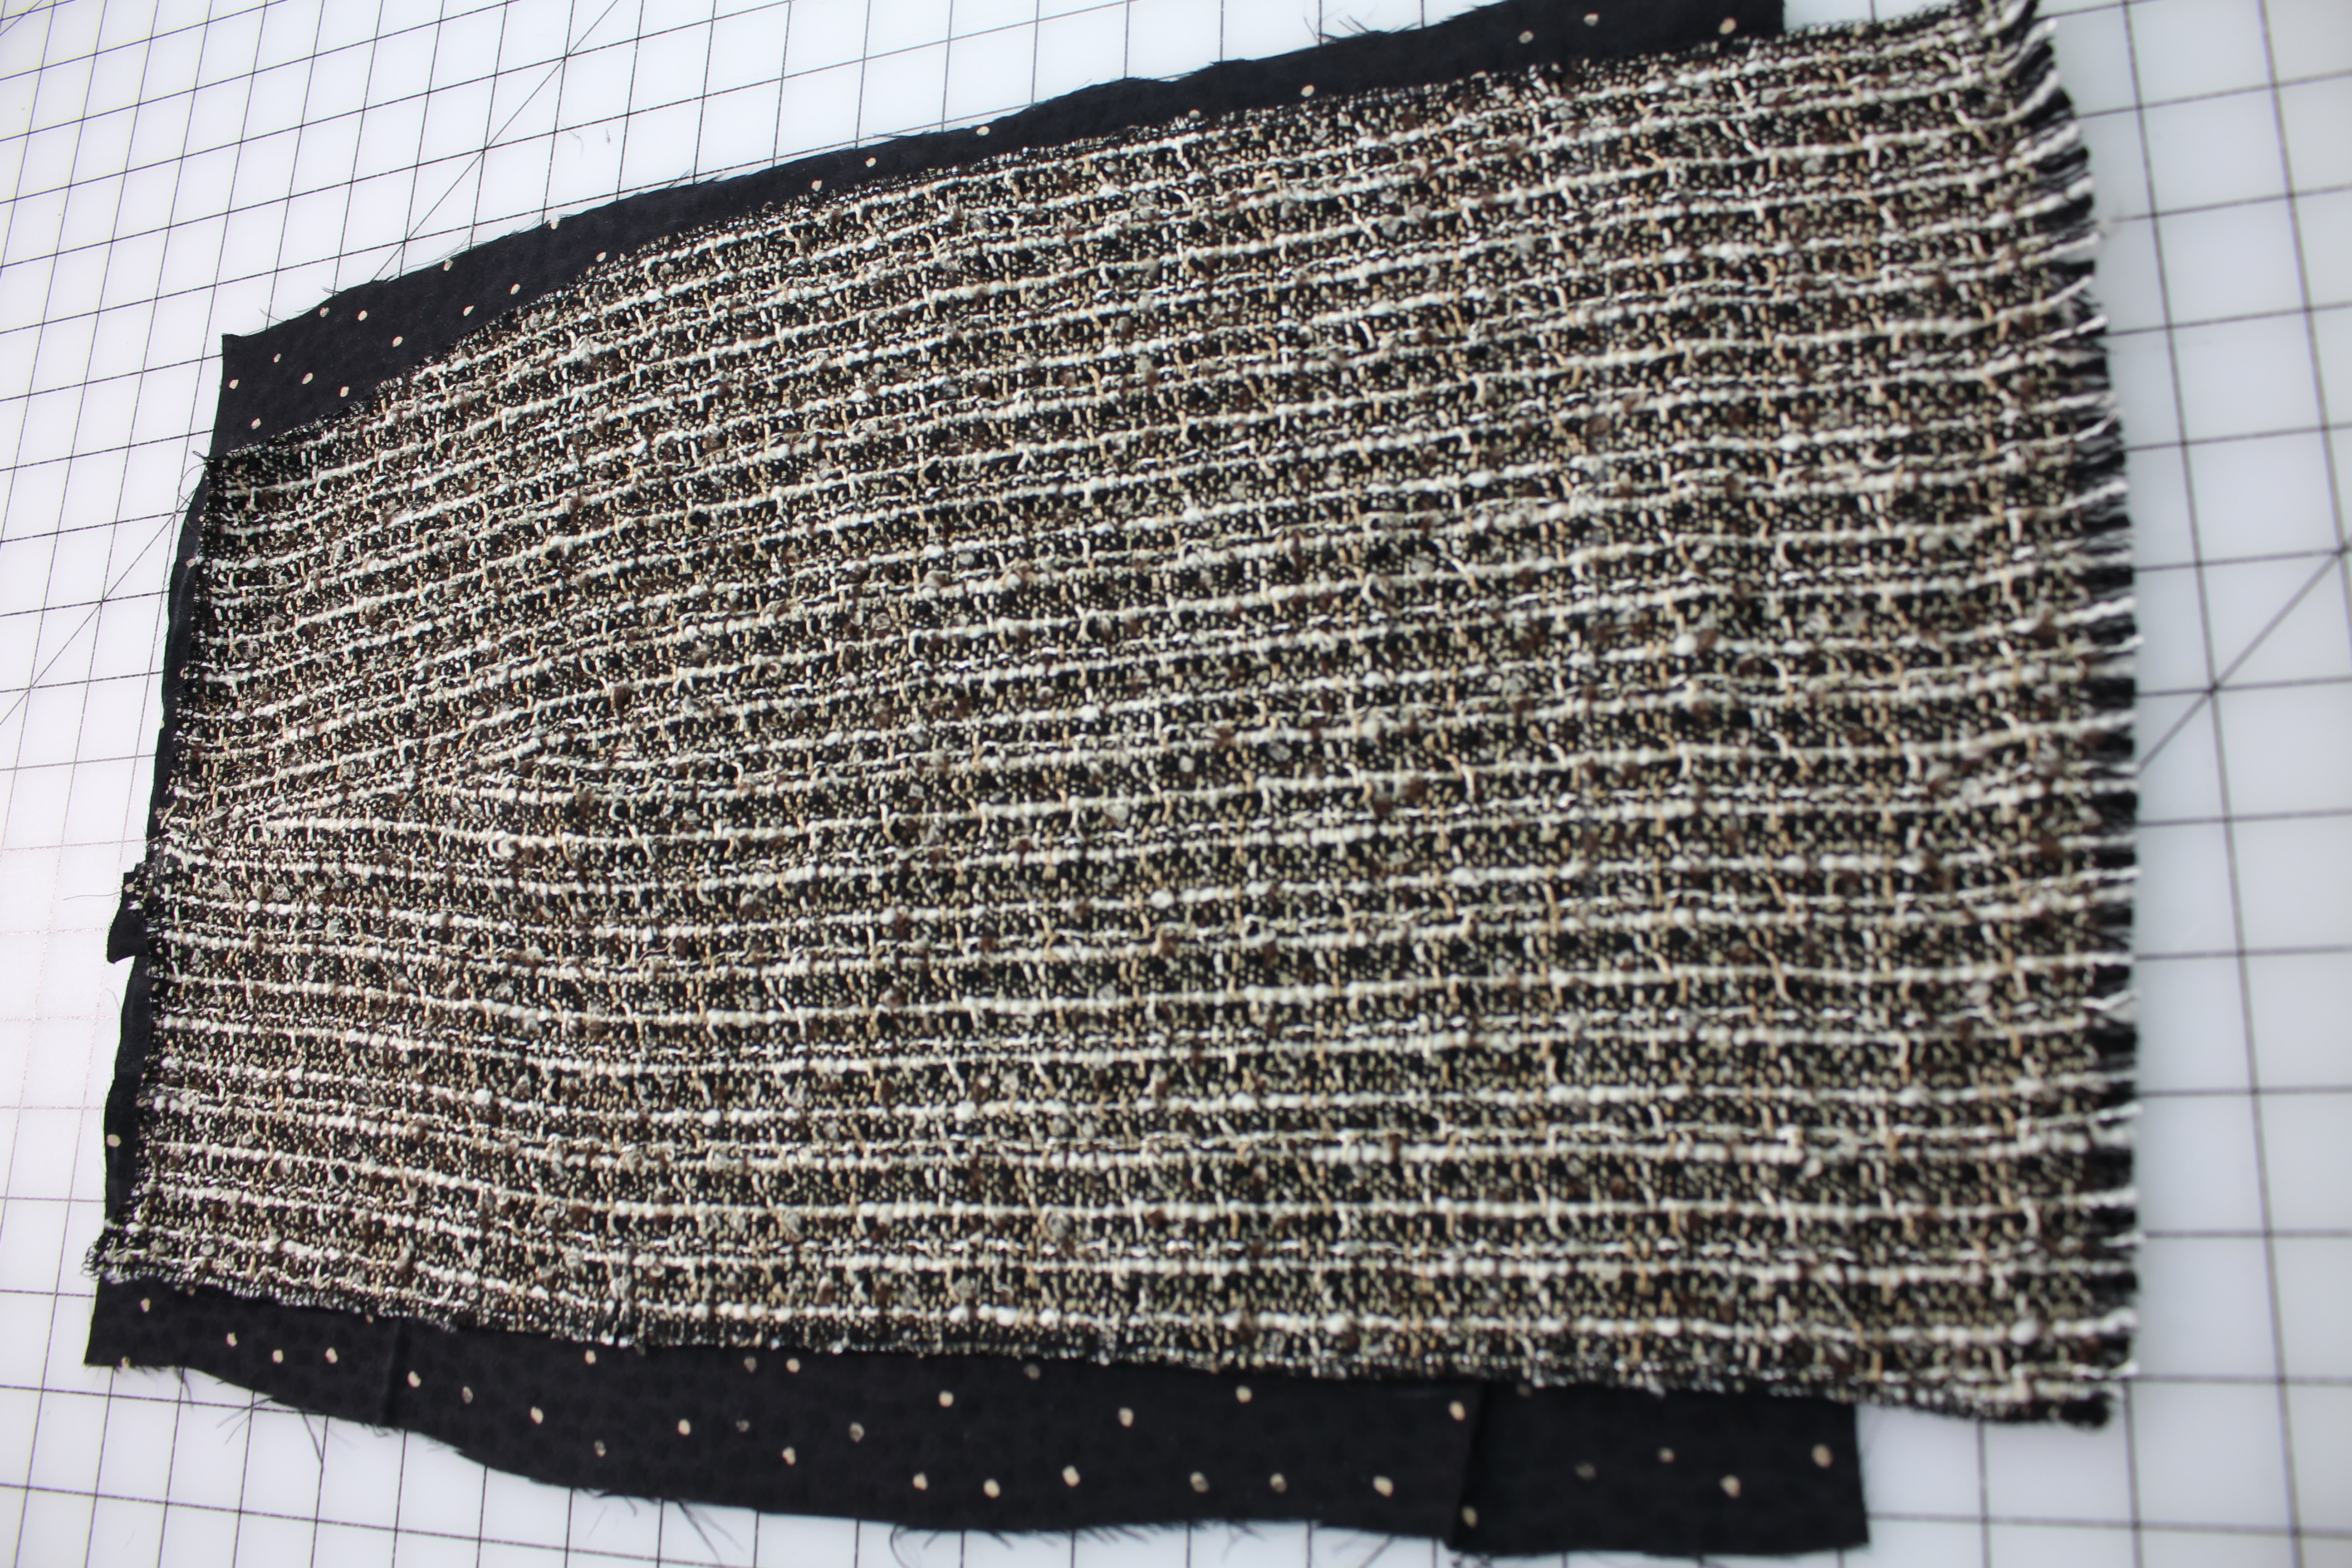
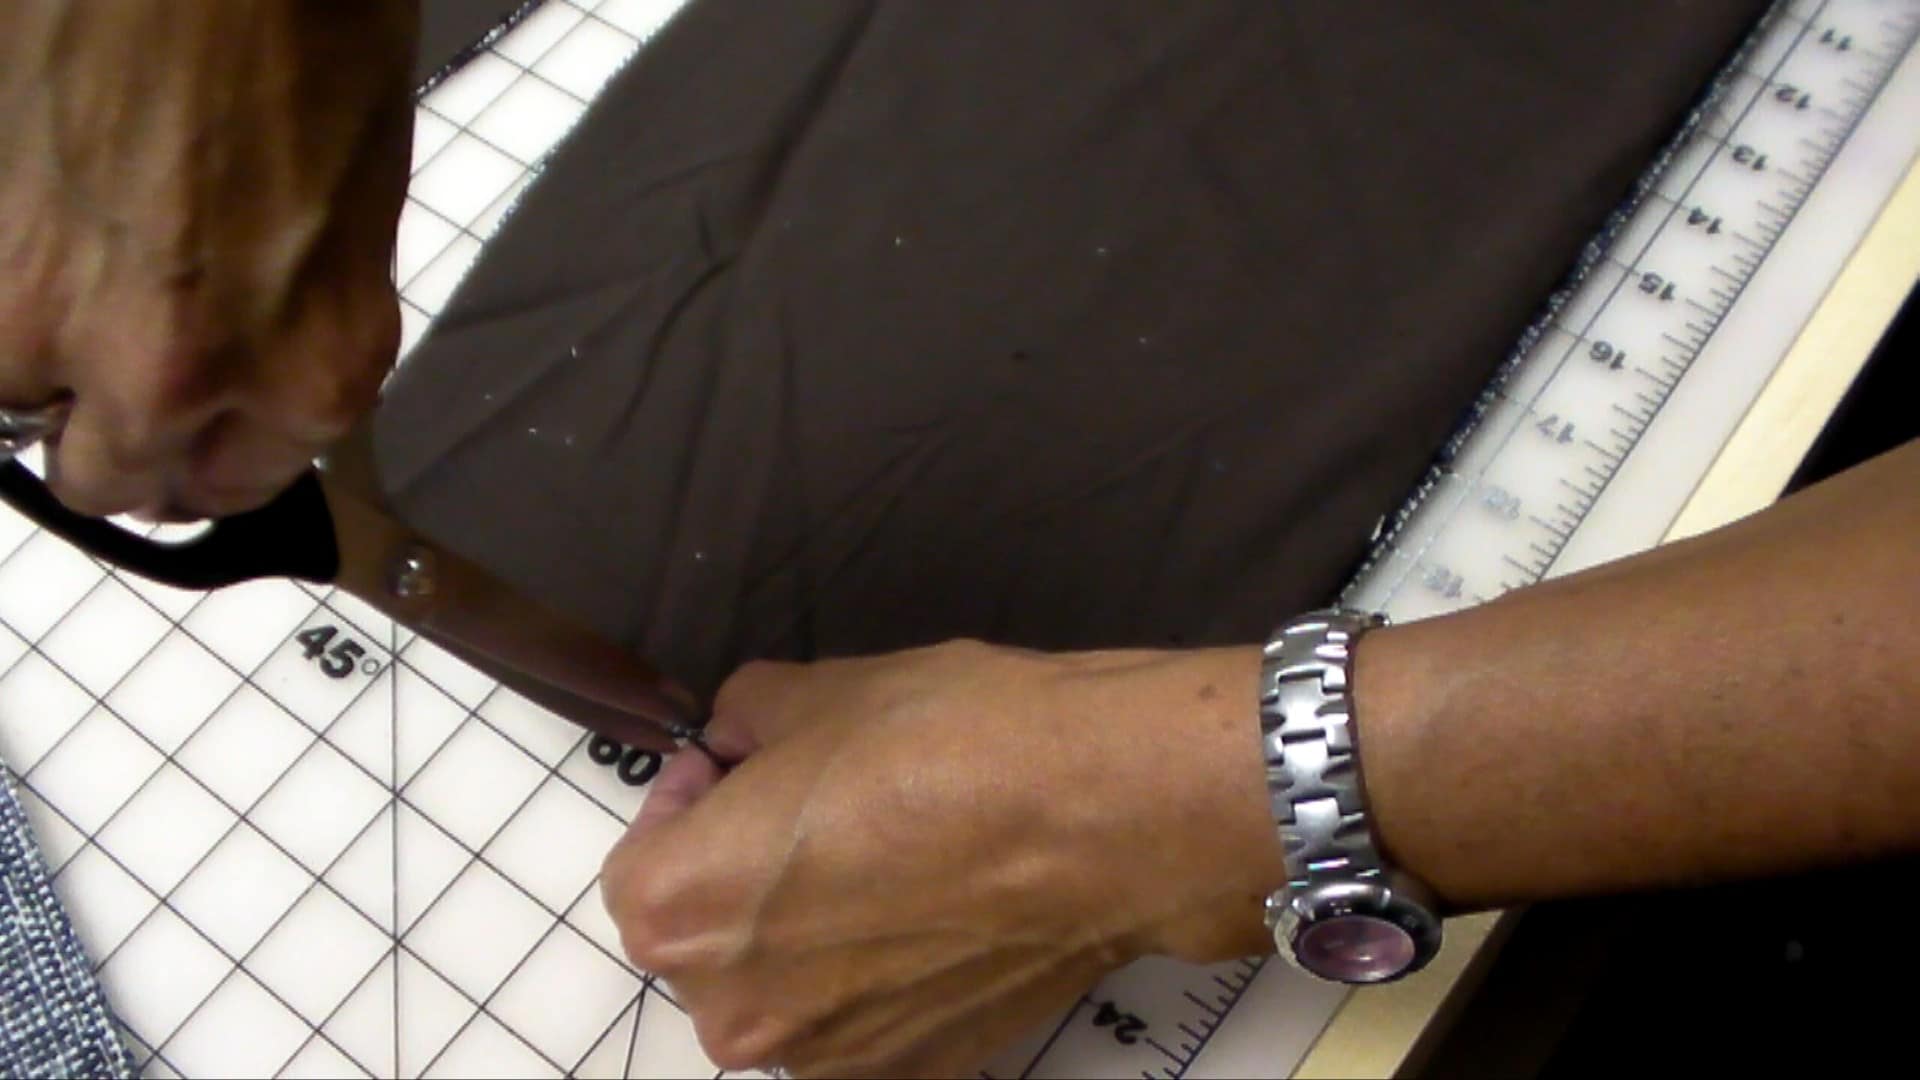
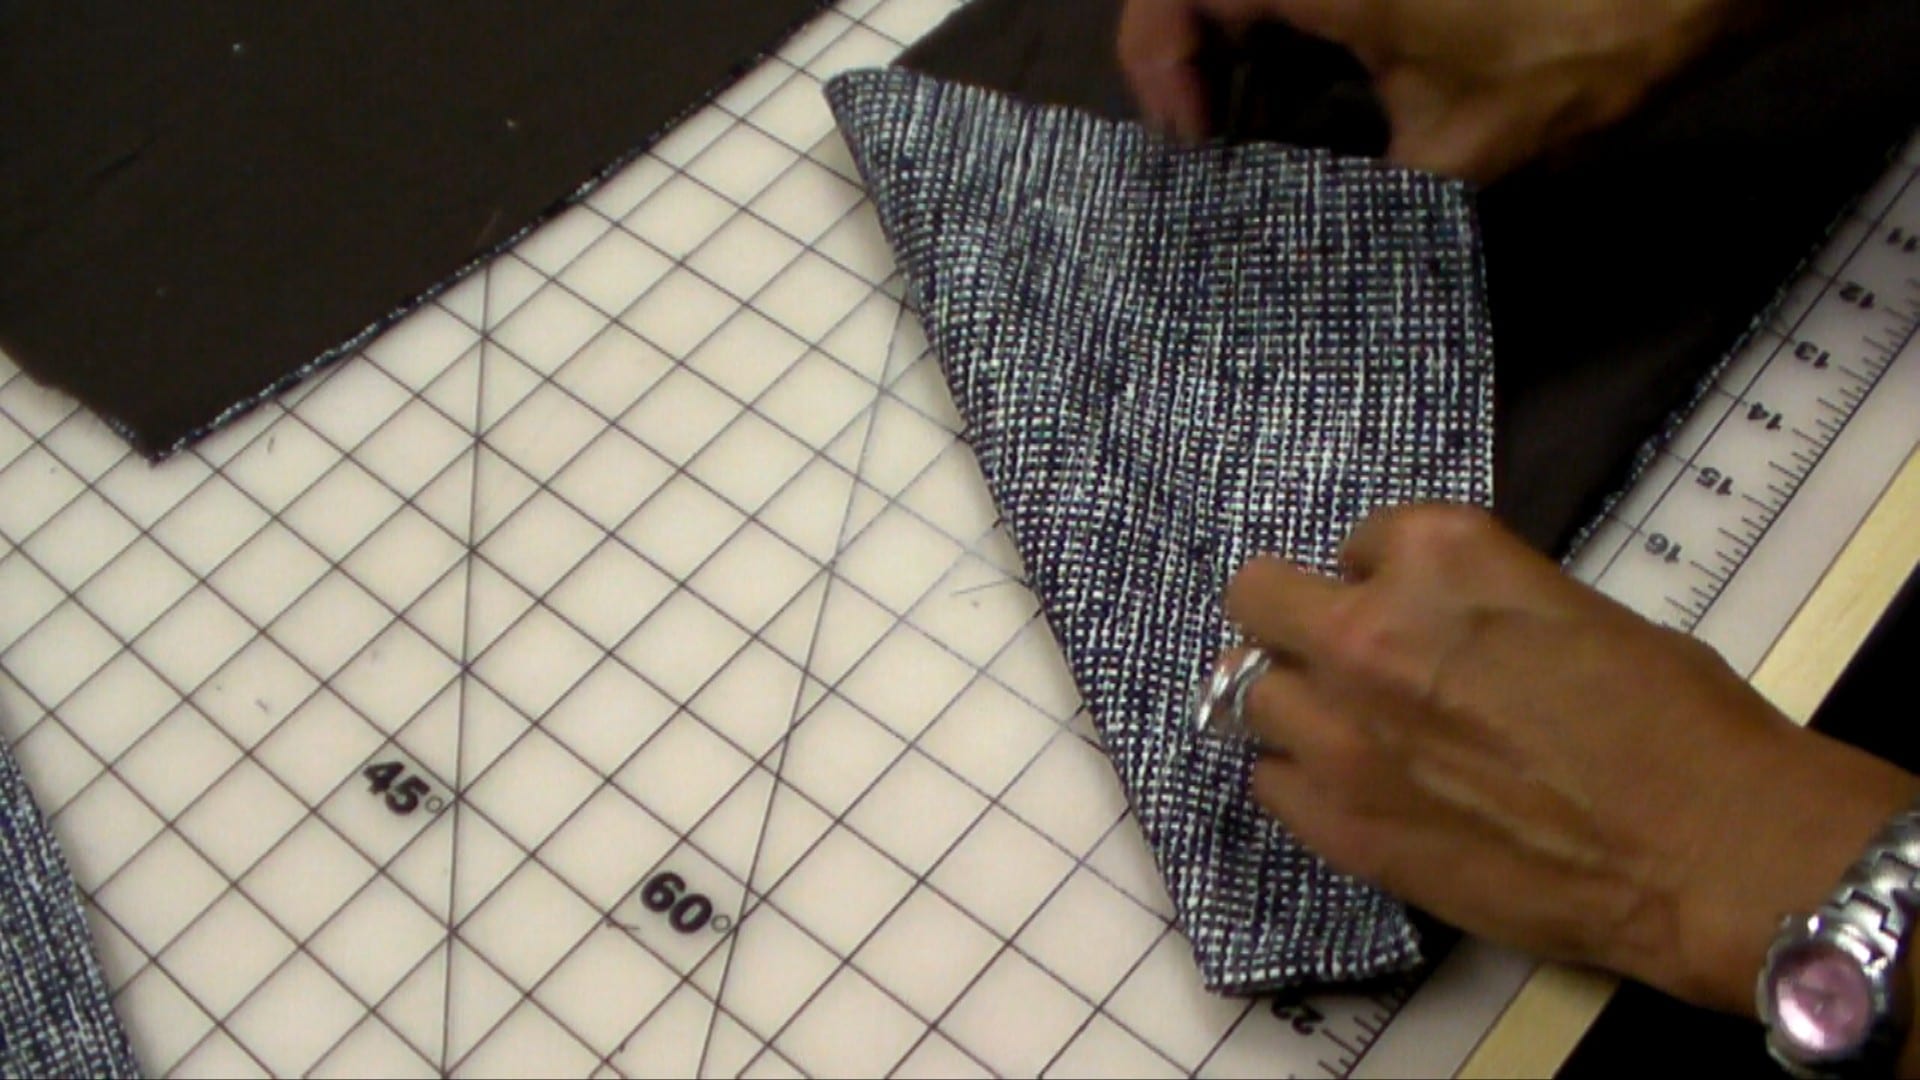
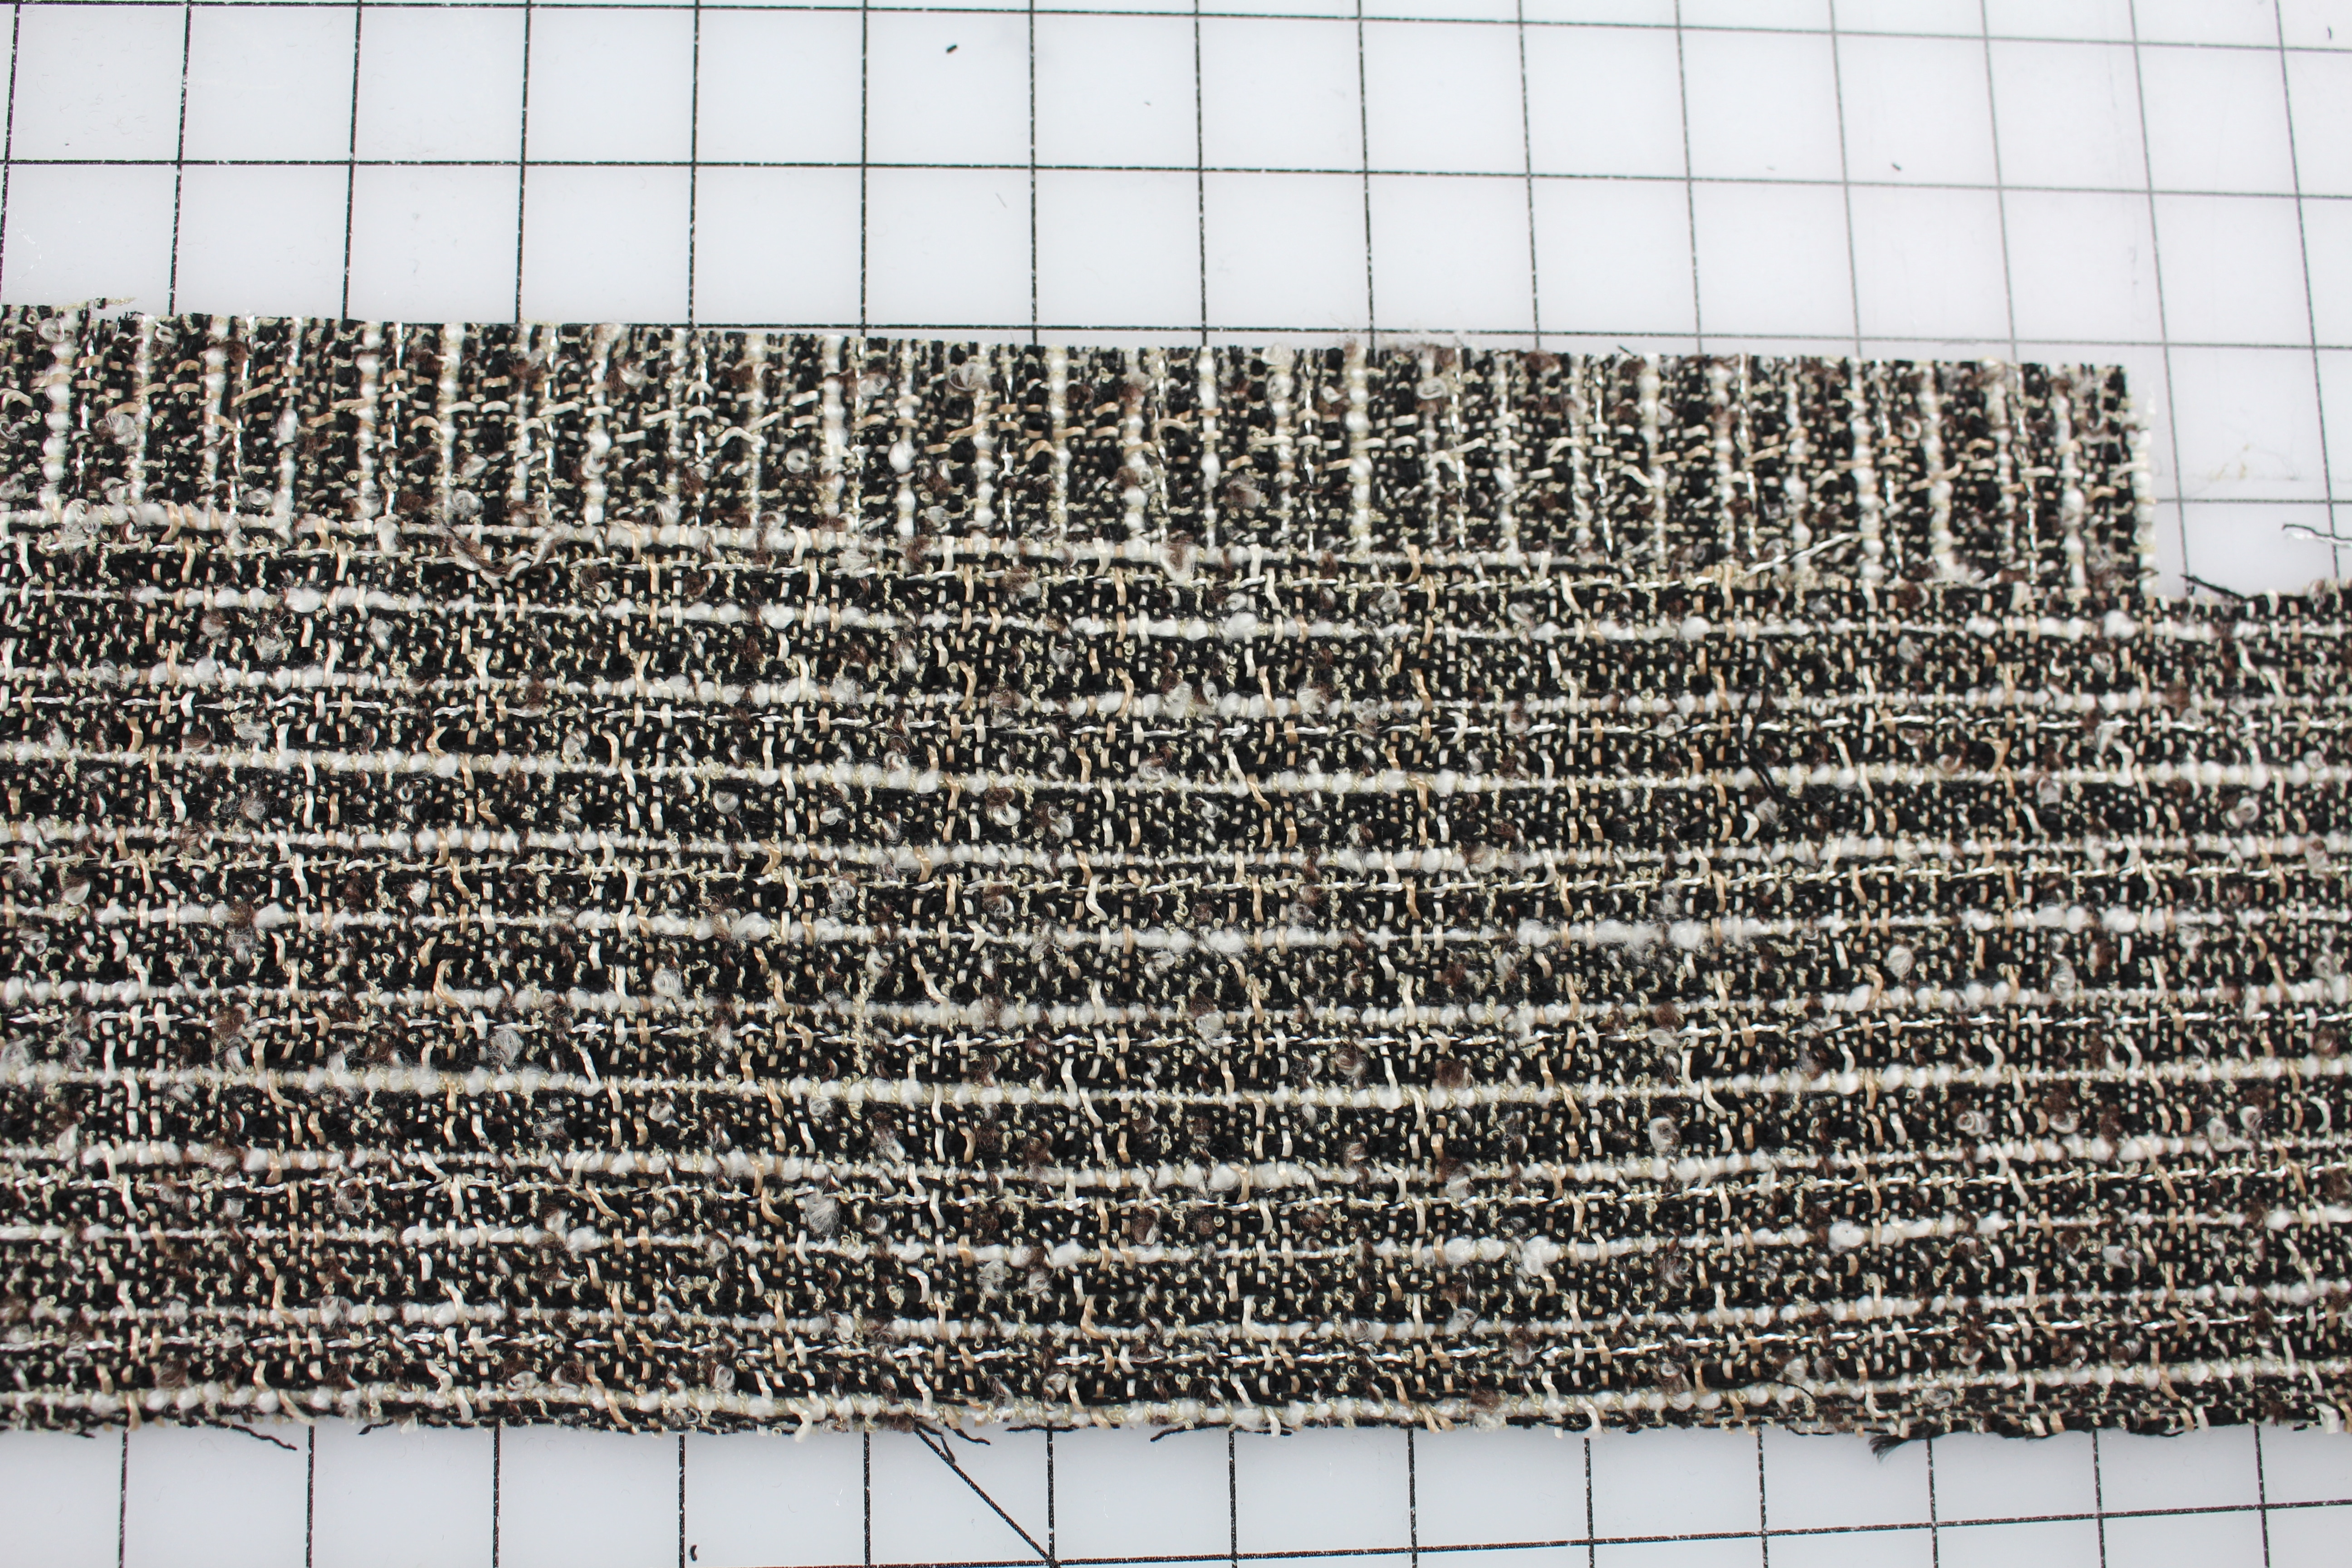
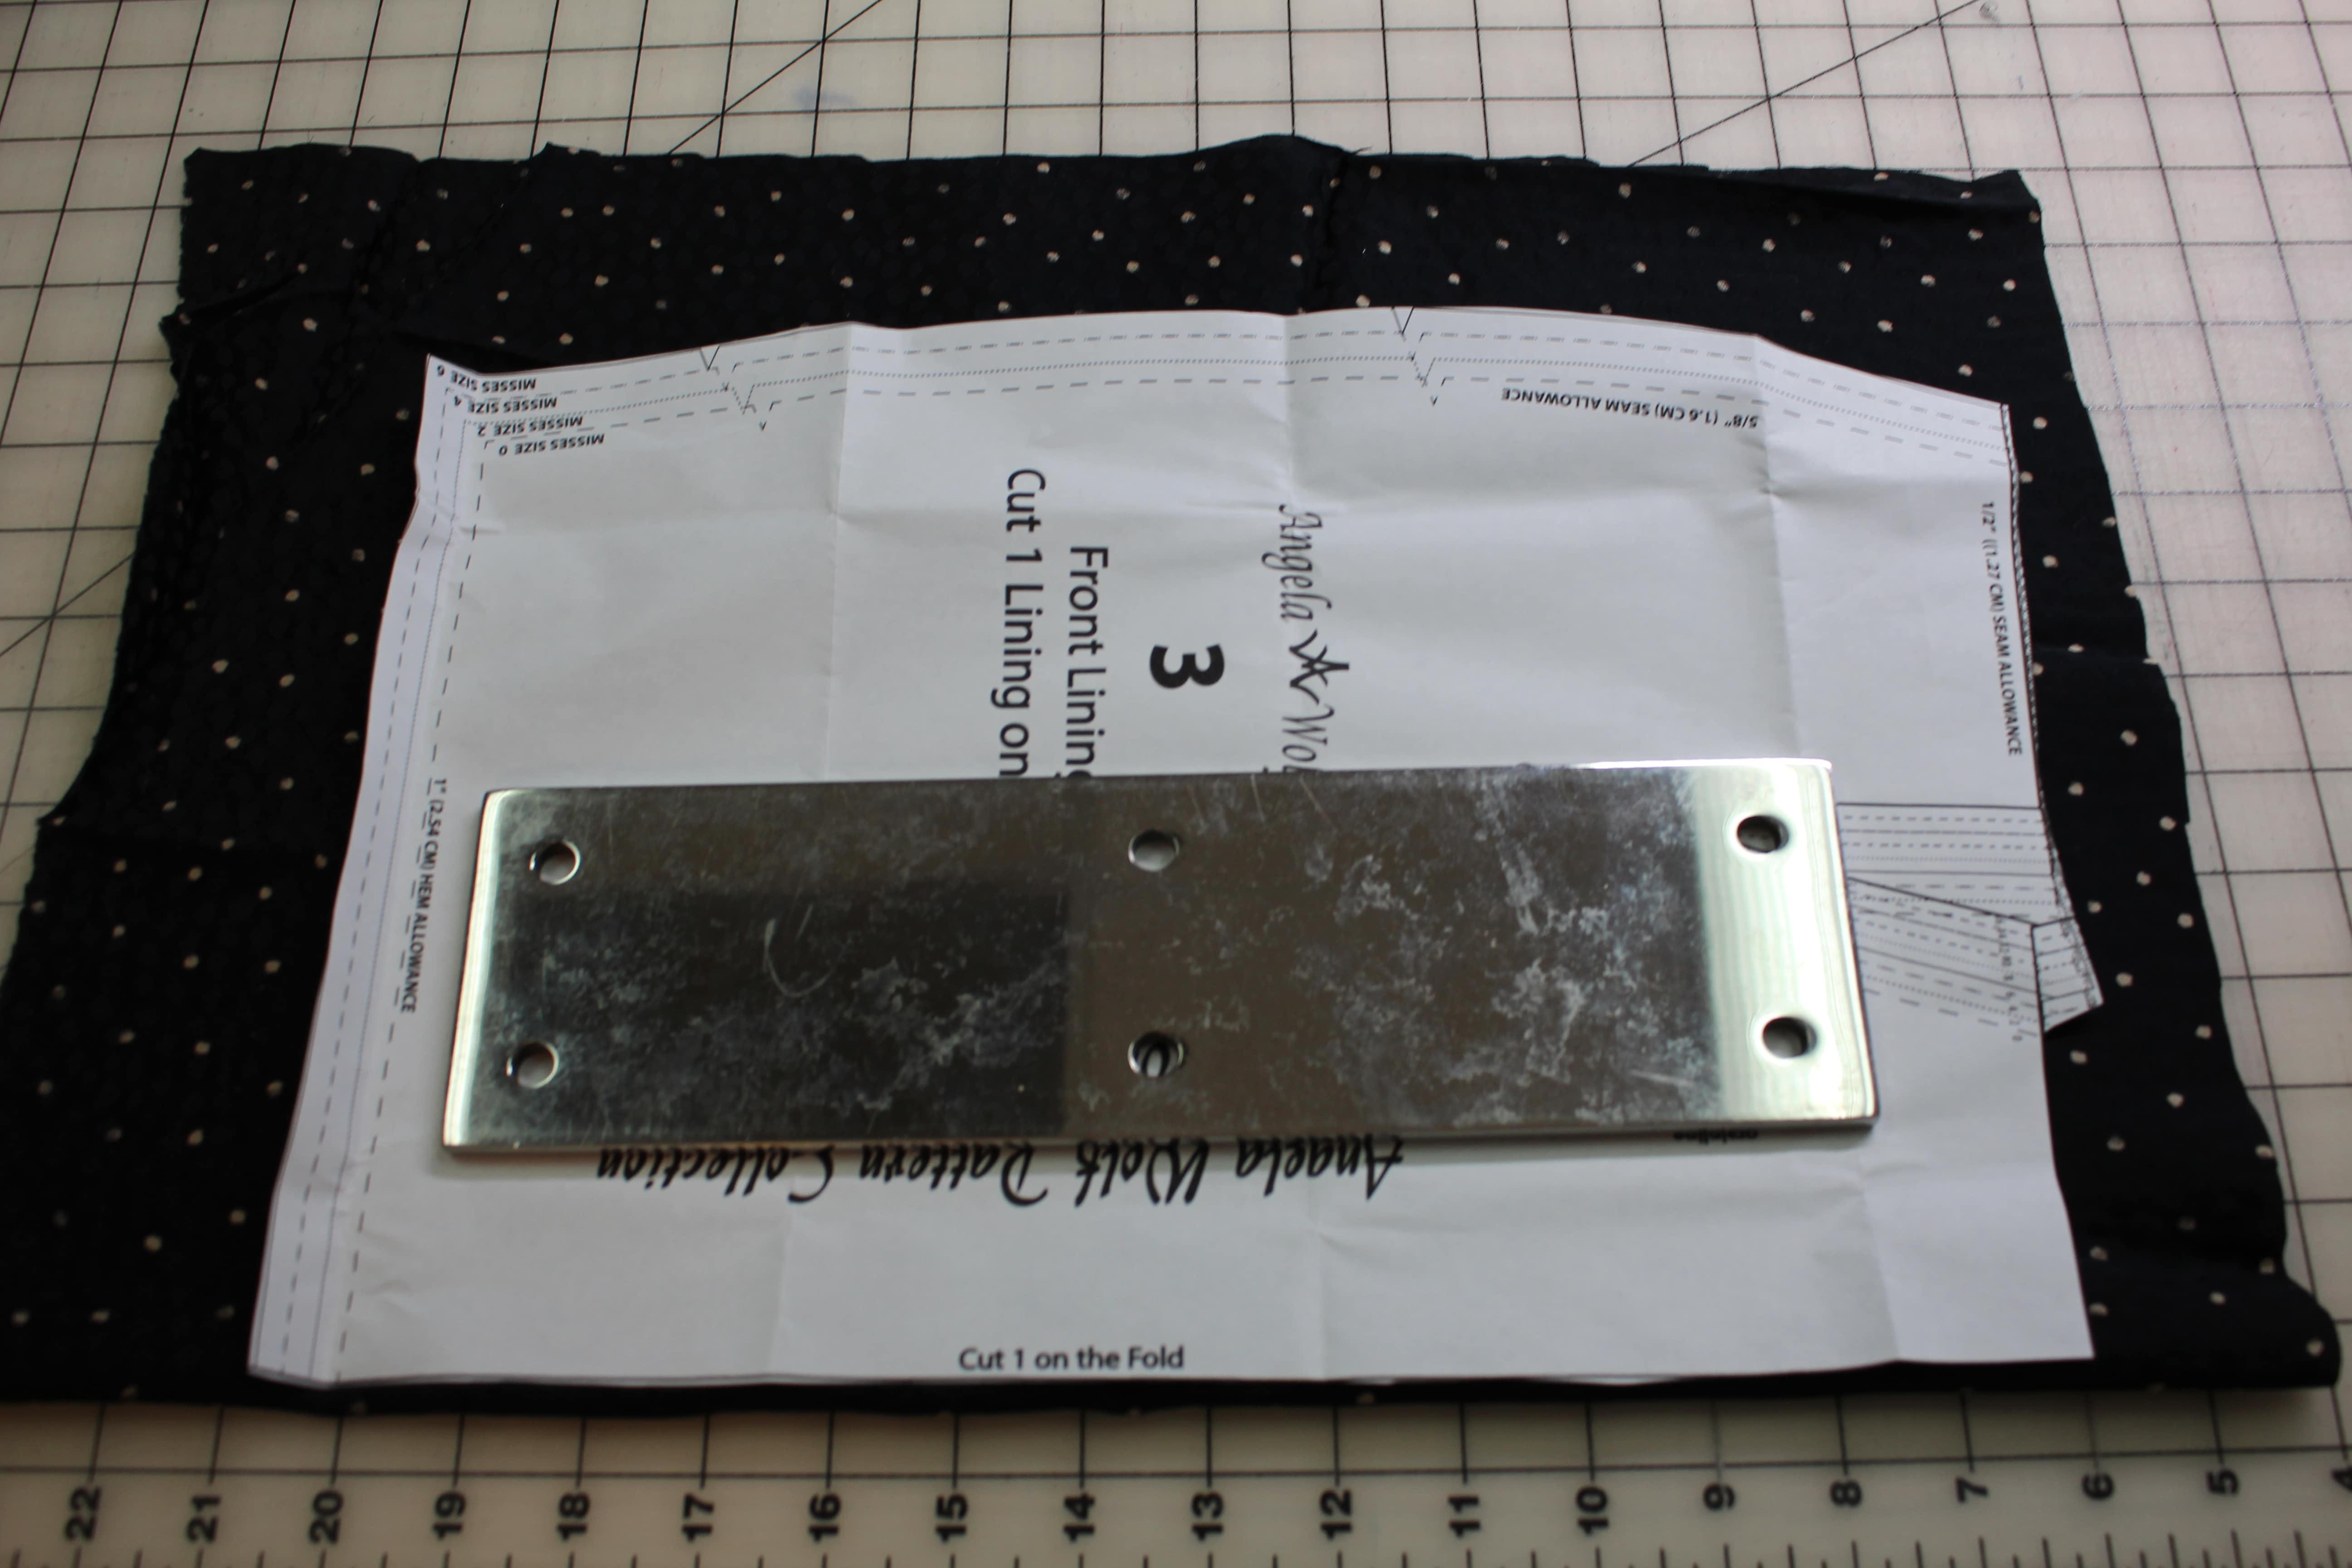
When quilting the lining you will need to cut your lining fabric a little bit wider than your fashion fabric.  I usually lay my muslin or garment fabric on top of the lining as shown:

  • cut the sides of the lining at least 1″ wider than the skirt
  • fold up the fringe hem allowance and cut the lining 1″ longer than the top of the fringe marking

Preparing the Lining and Fashion Fabrics

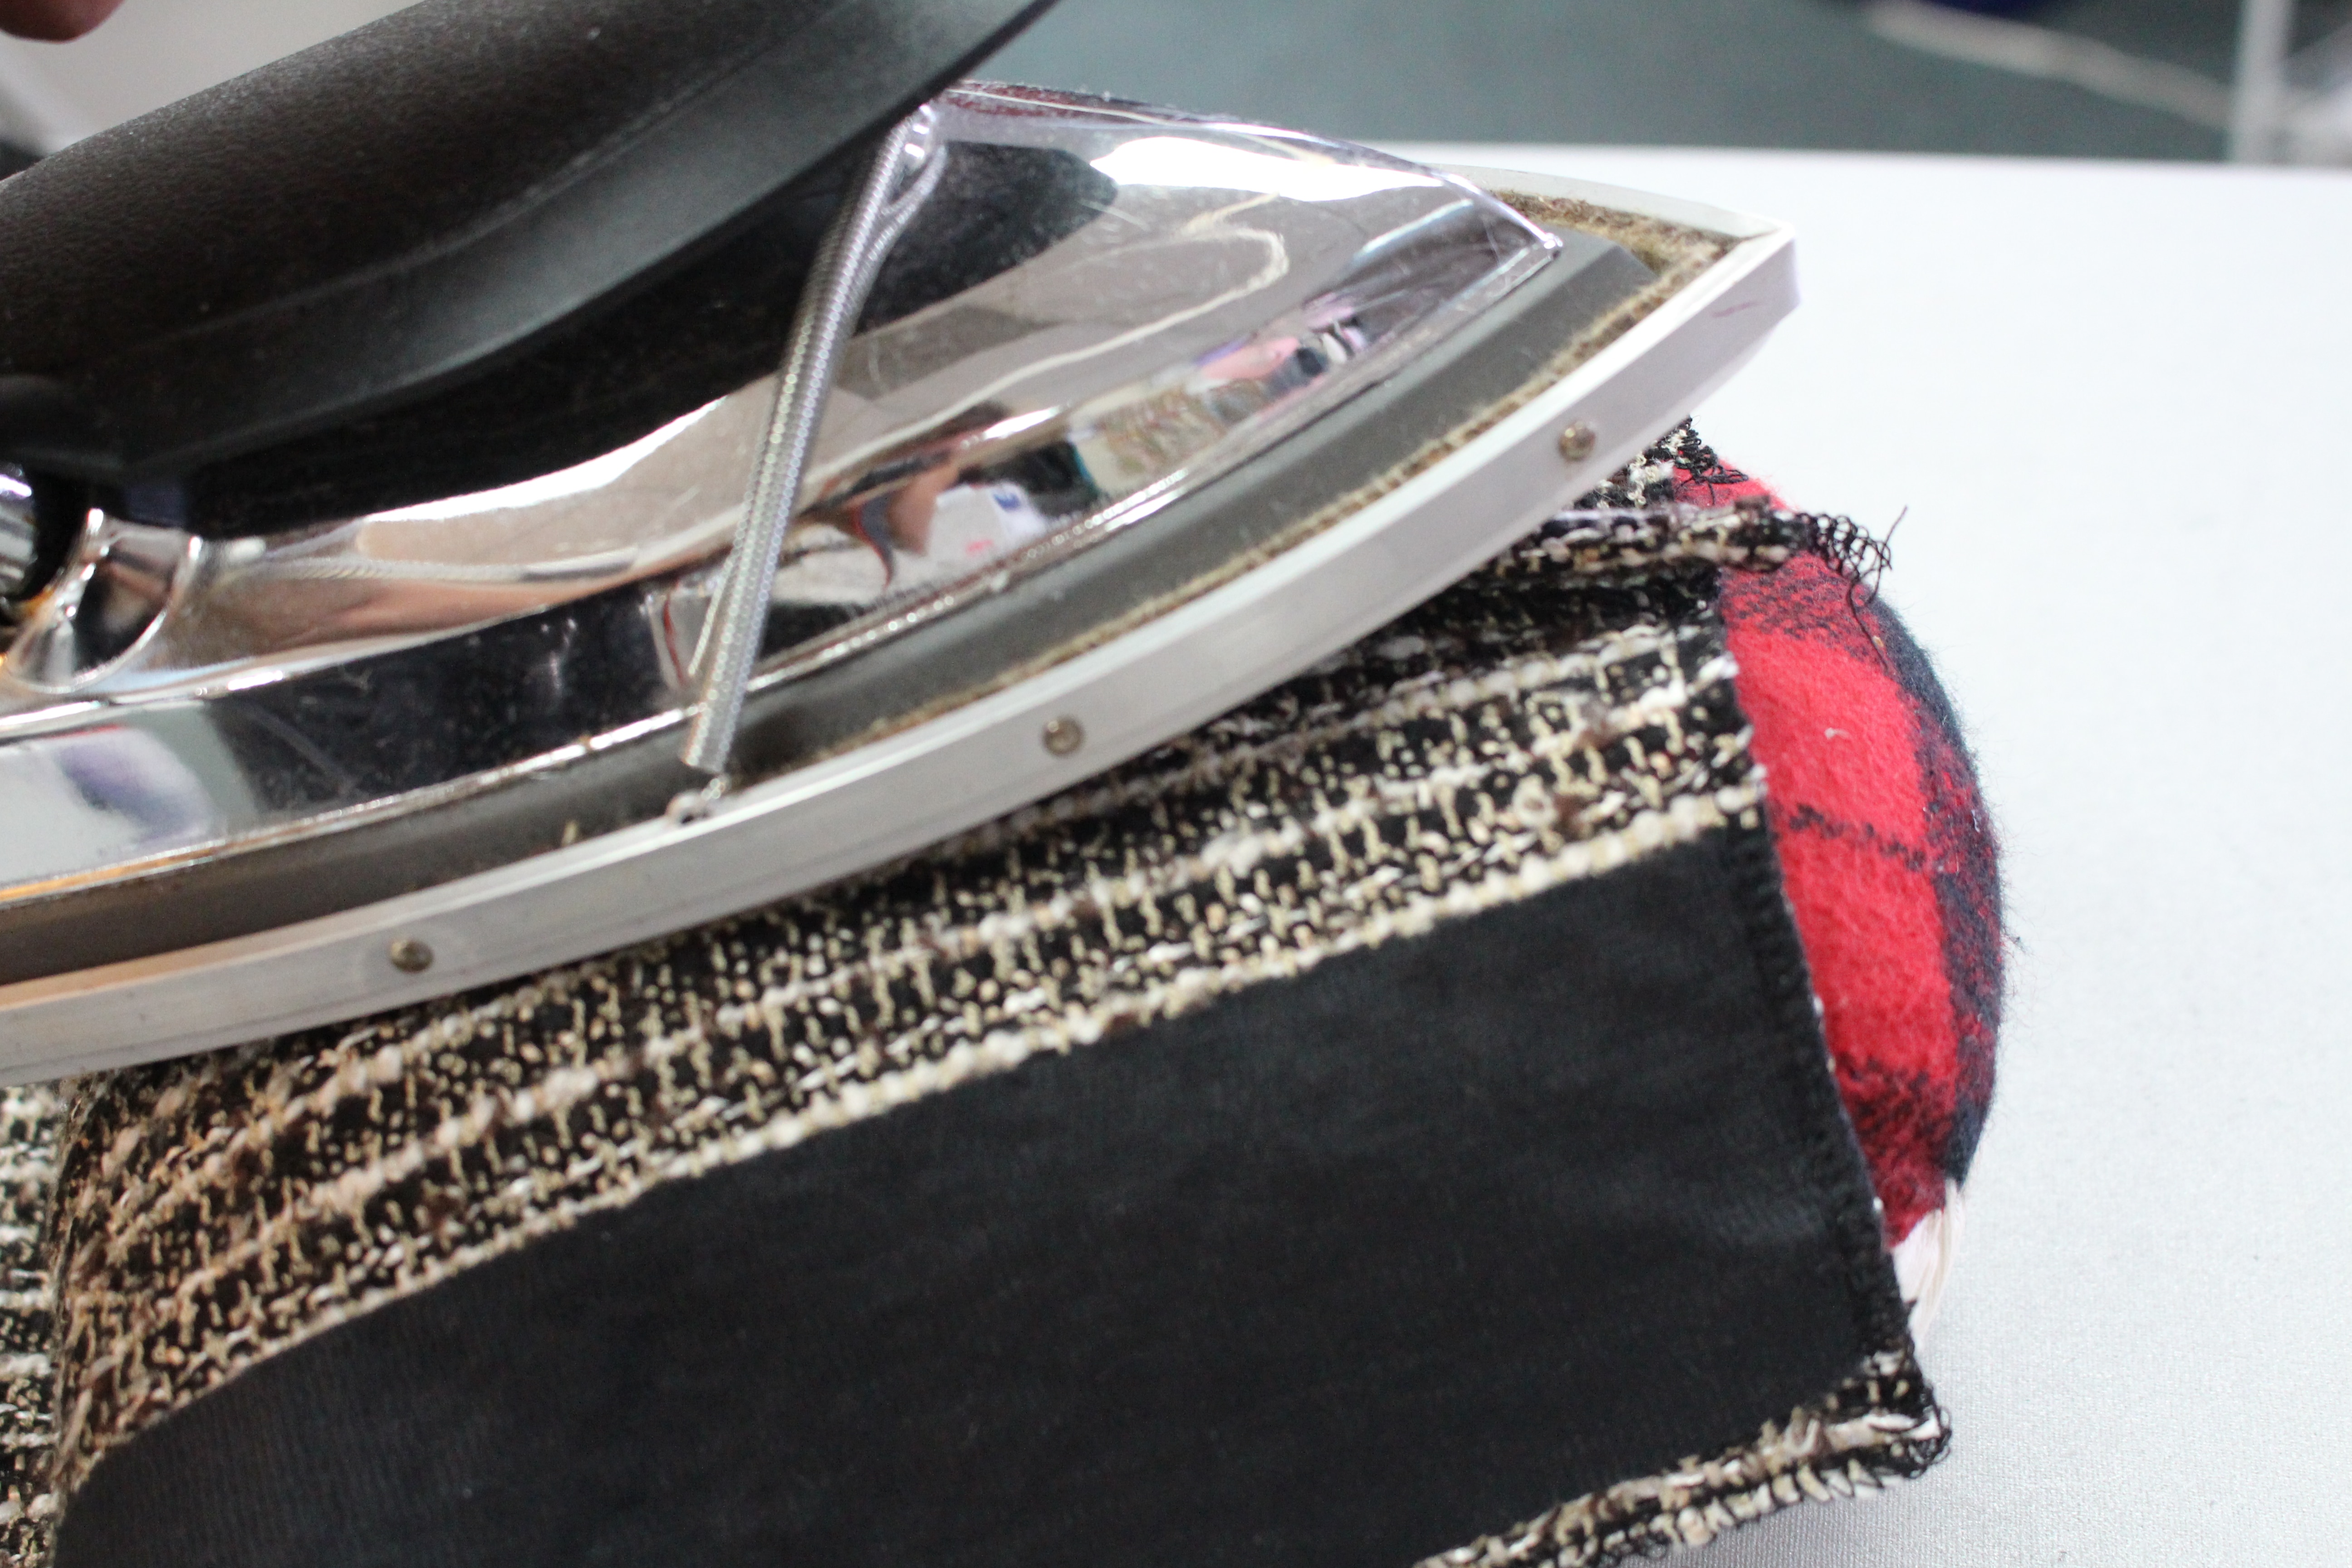
  • Sew the darts on the lining, the same way you did on the fashion fabric.  Press the darts toward the side seams or the opposite direction the dart are pressed on the fashion fabric.
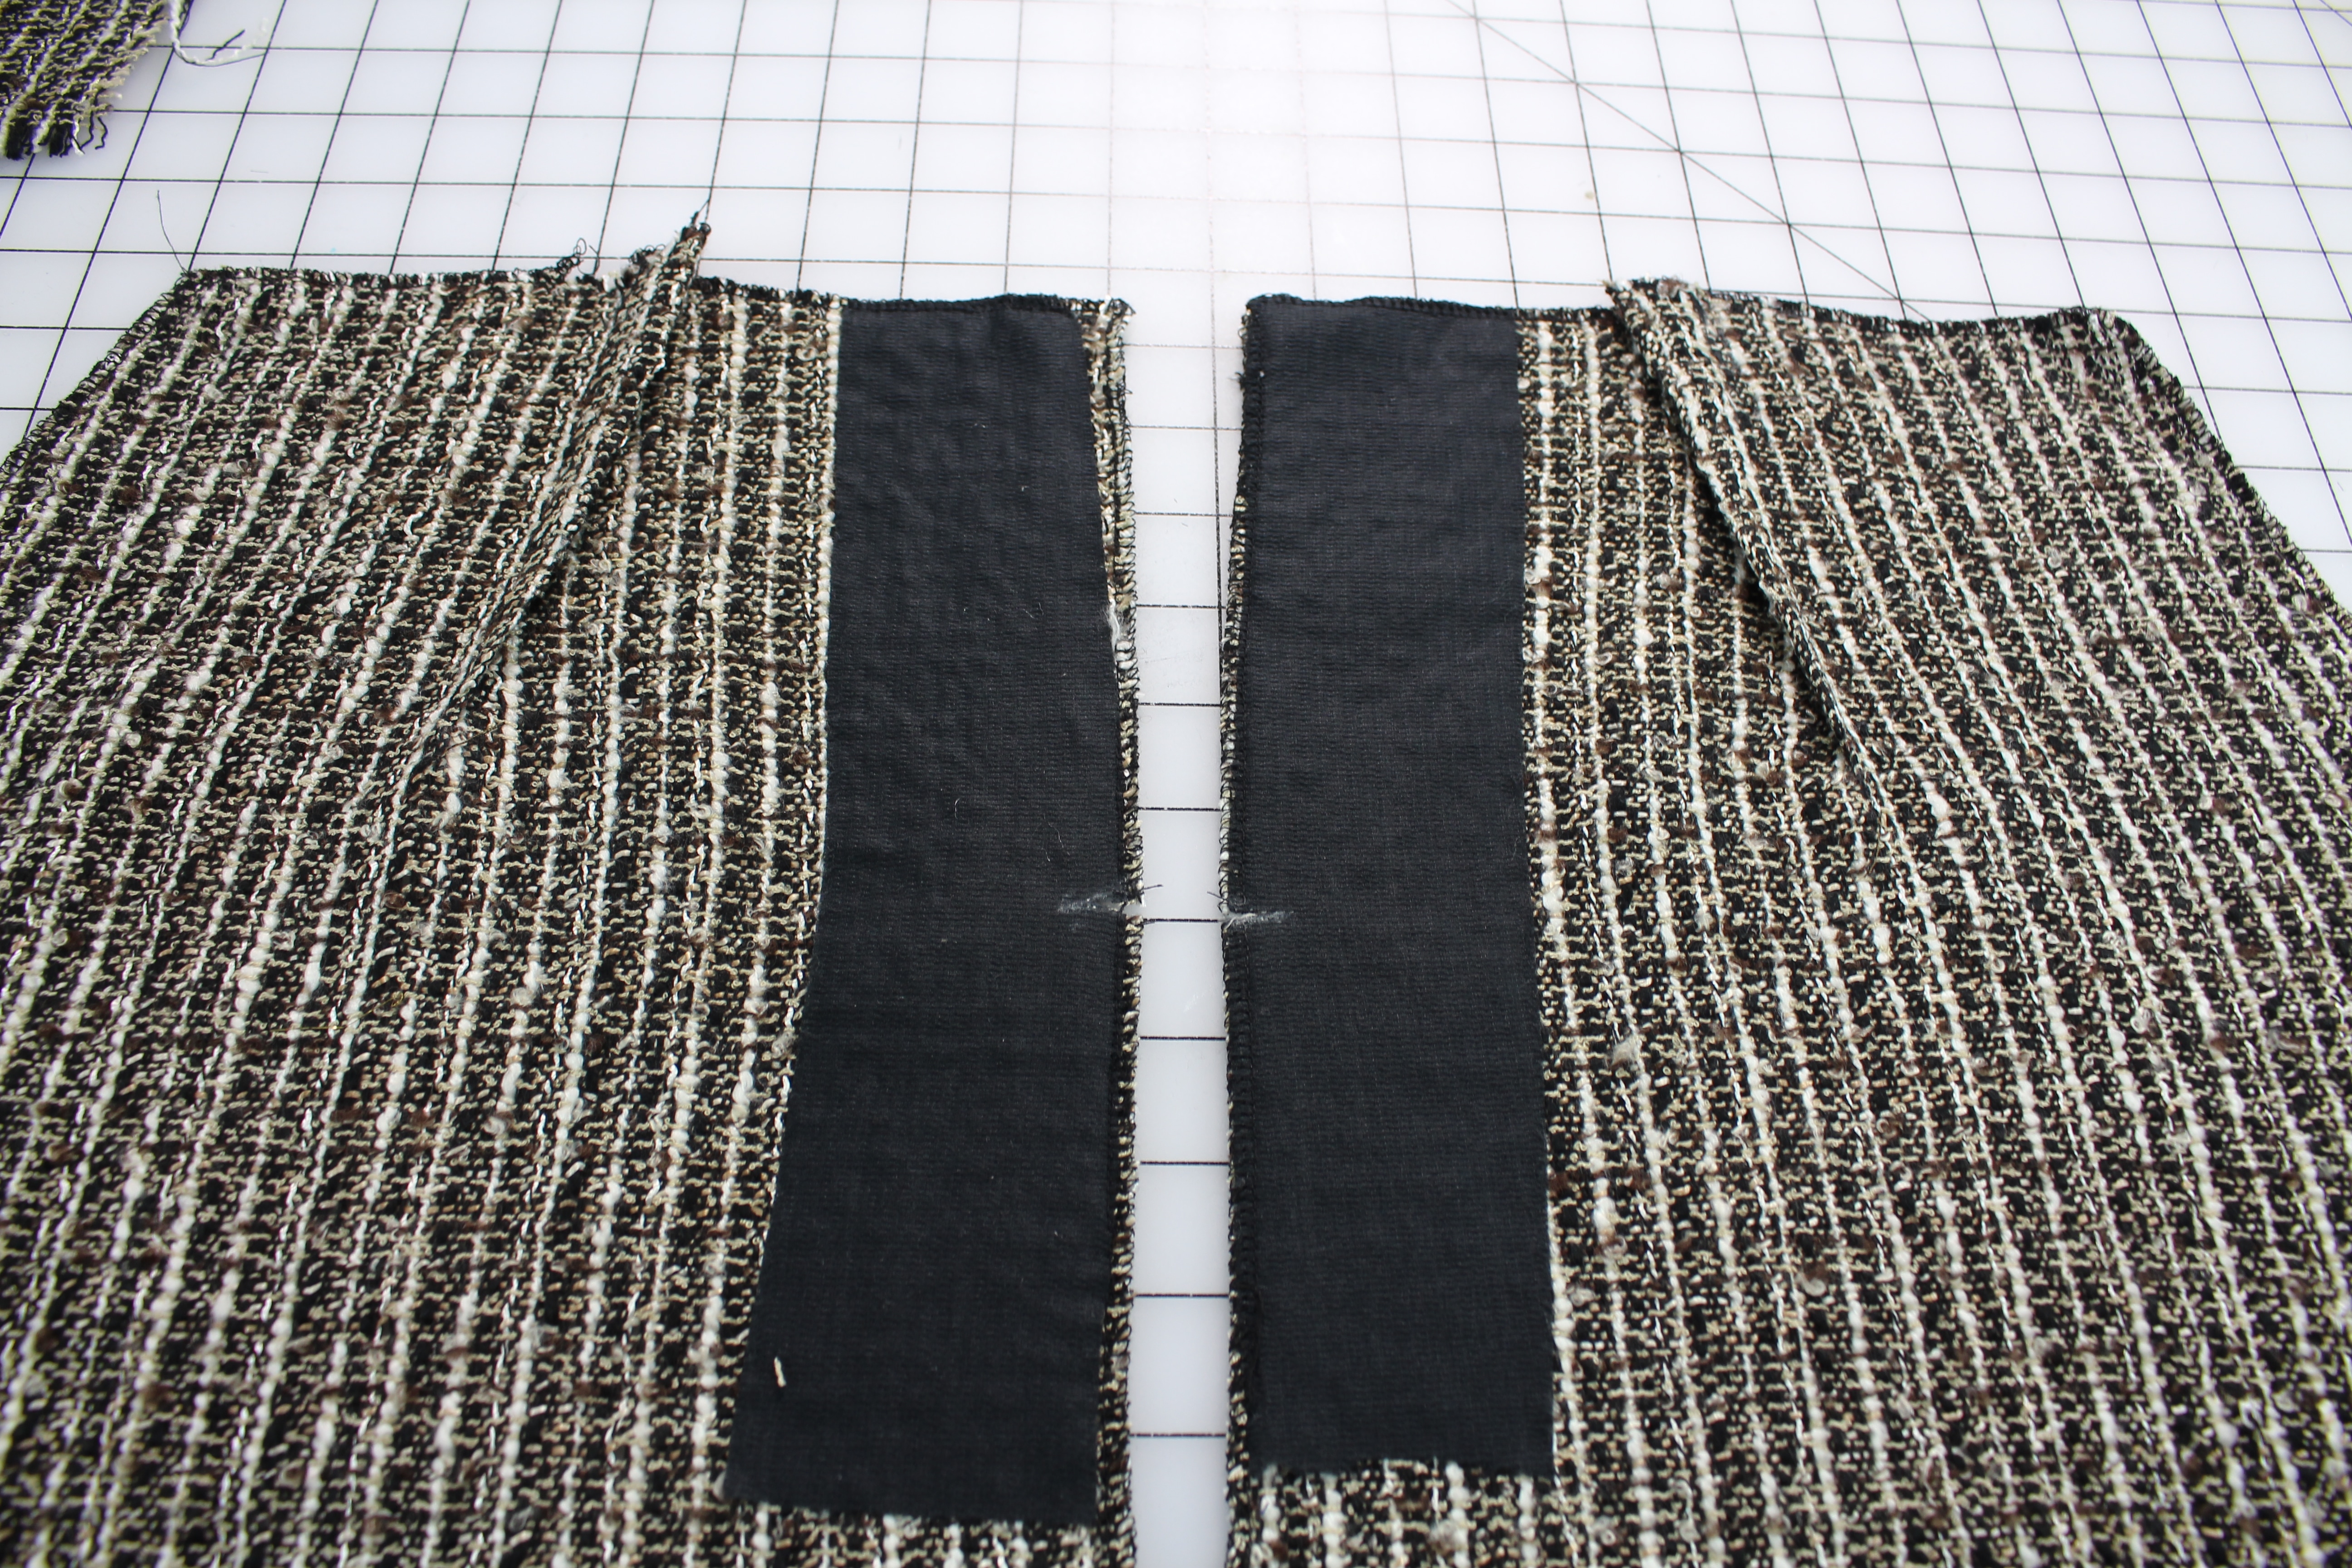
  • Prepare the zipper area on the skirt by pressing the fusible interfacing onto the wrong side of the fabric
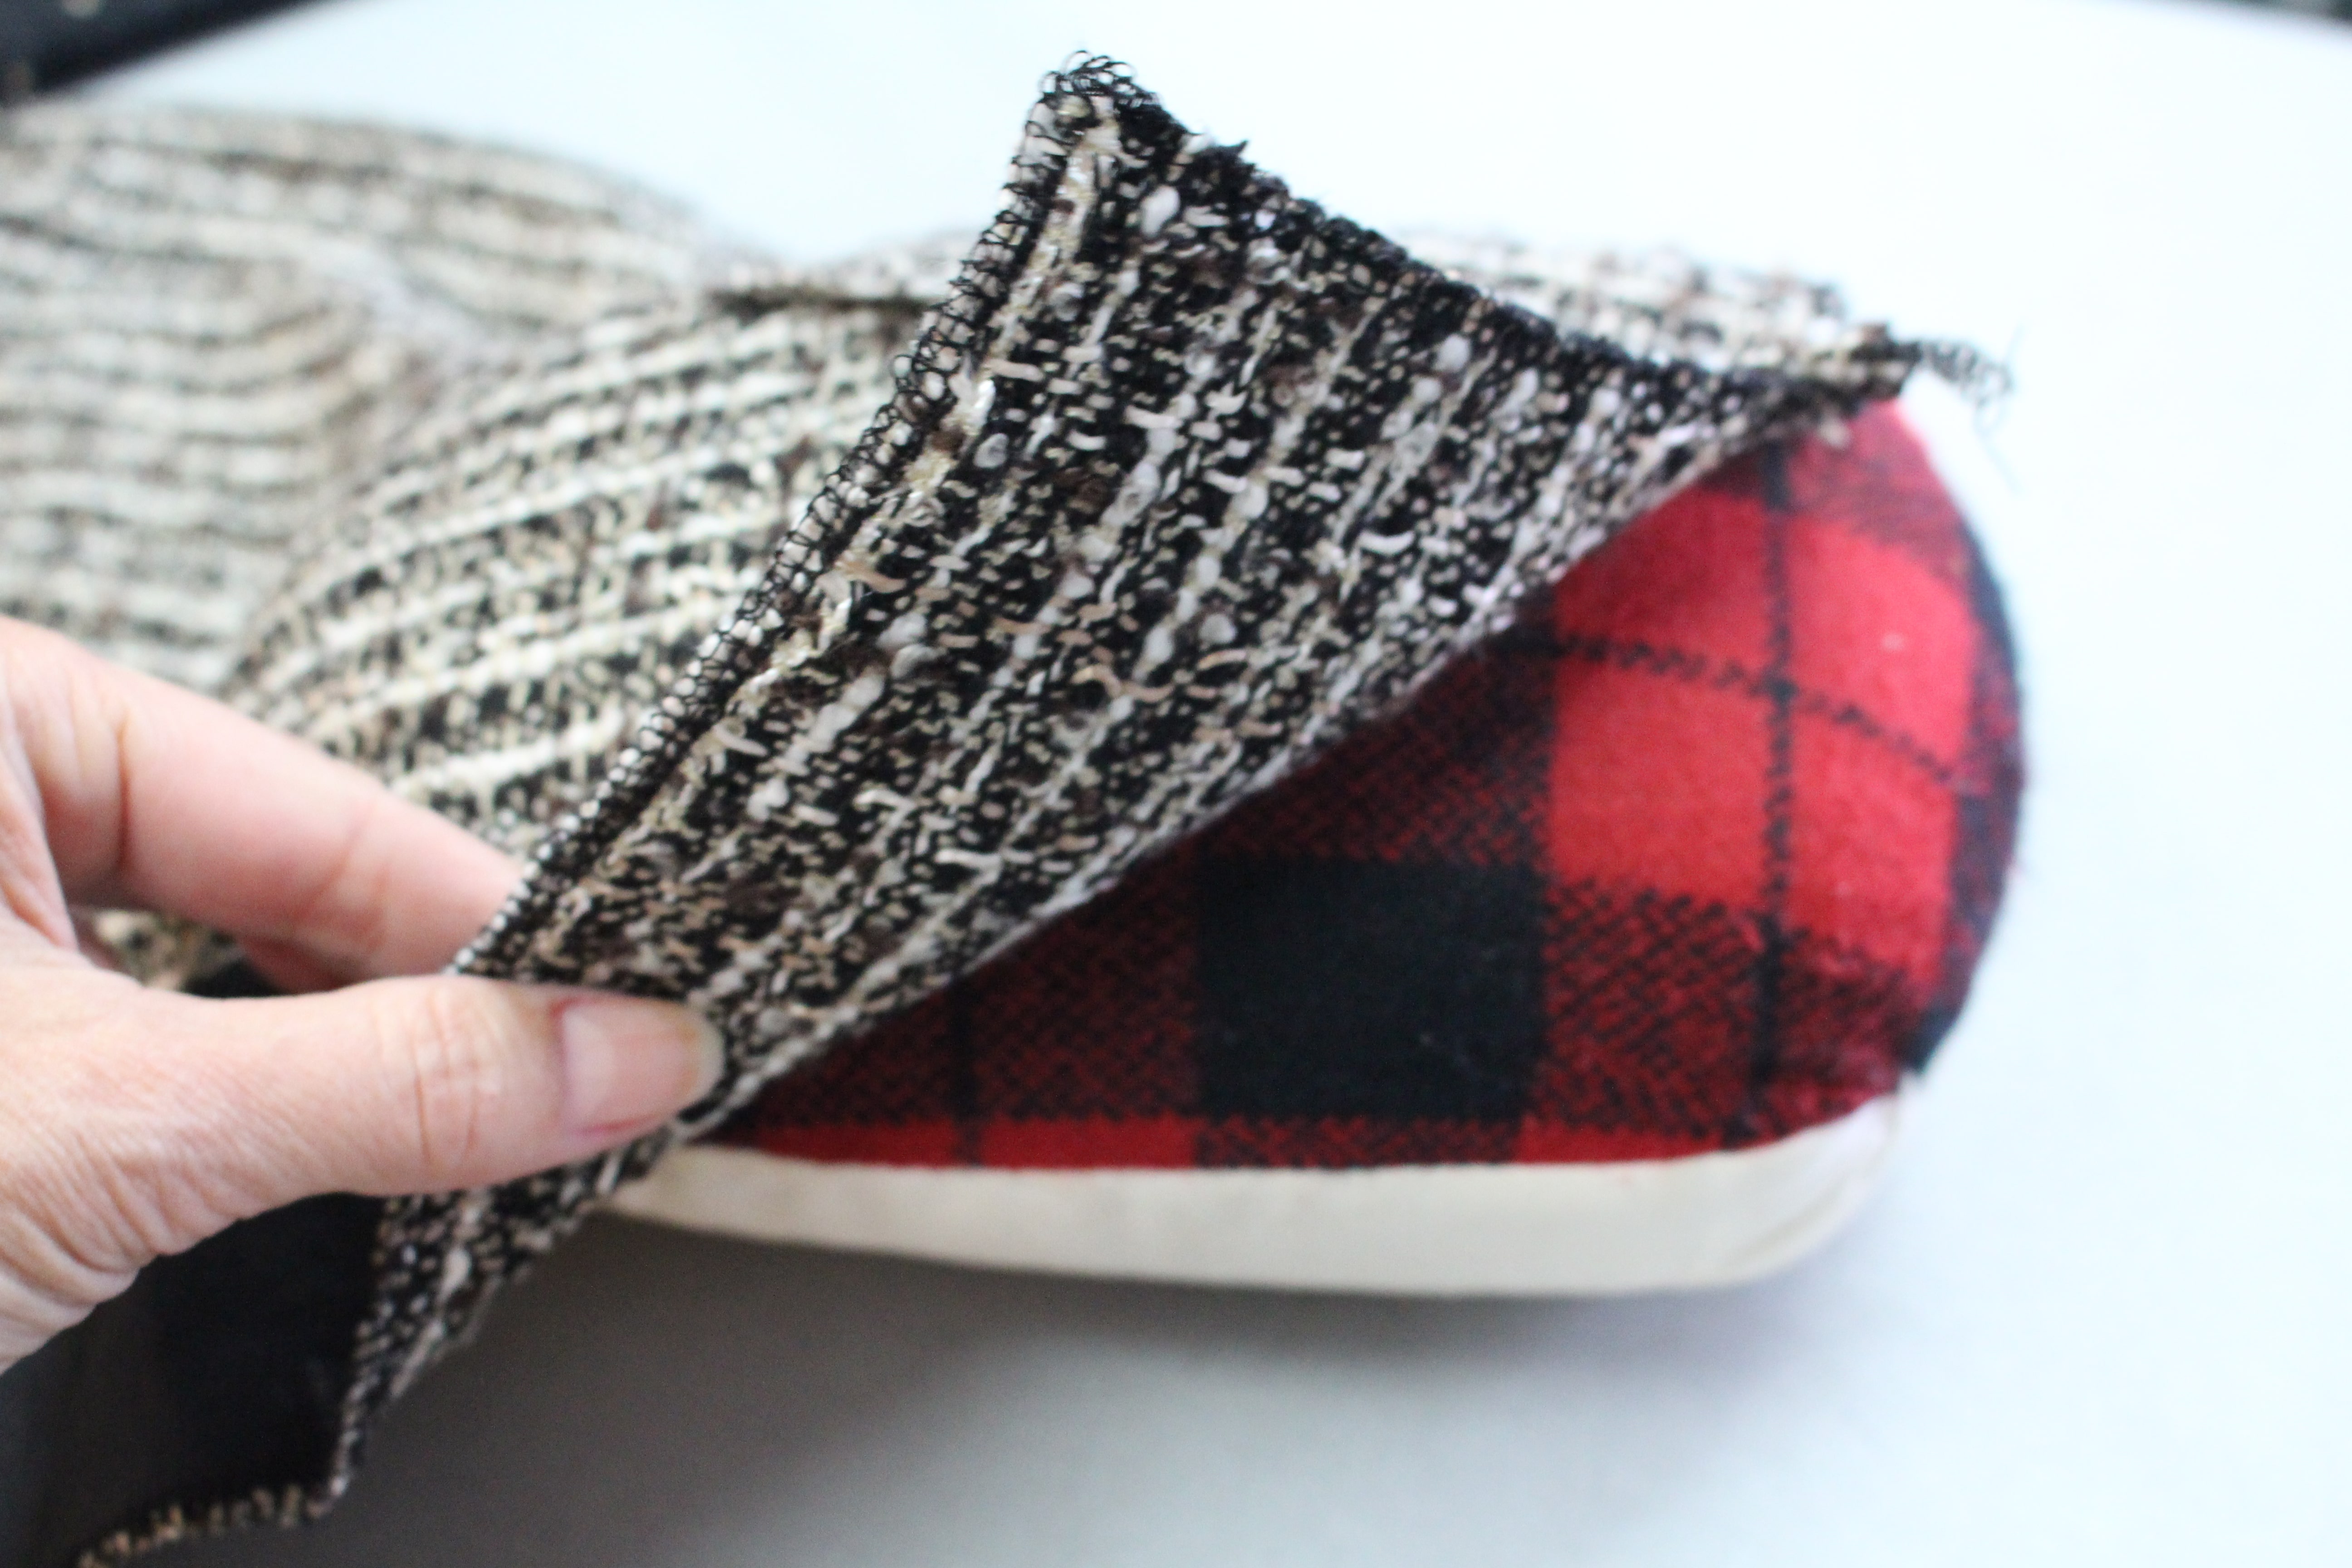
  • If the fashion fabric fabric or lining frays easily, serge the edges of the fabric with a 3-thread wide overlock stitch (DO NOT serge the hem on the fashion fabric!)

Baste the Lining

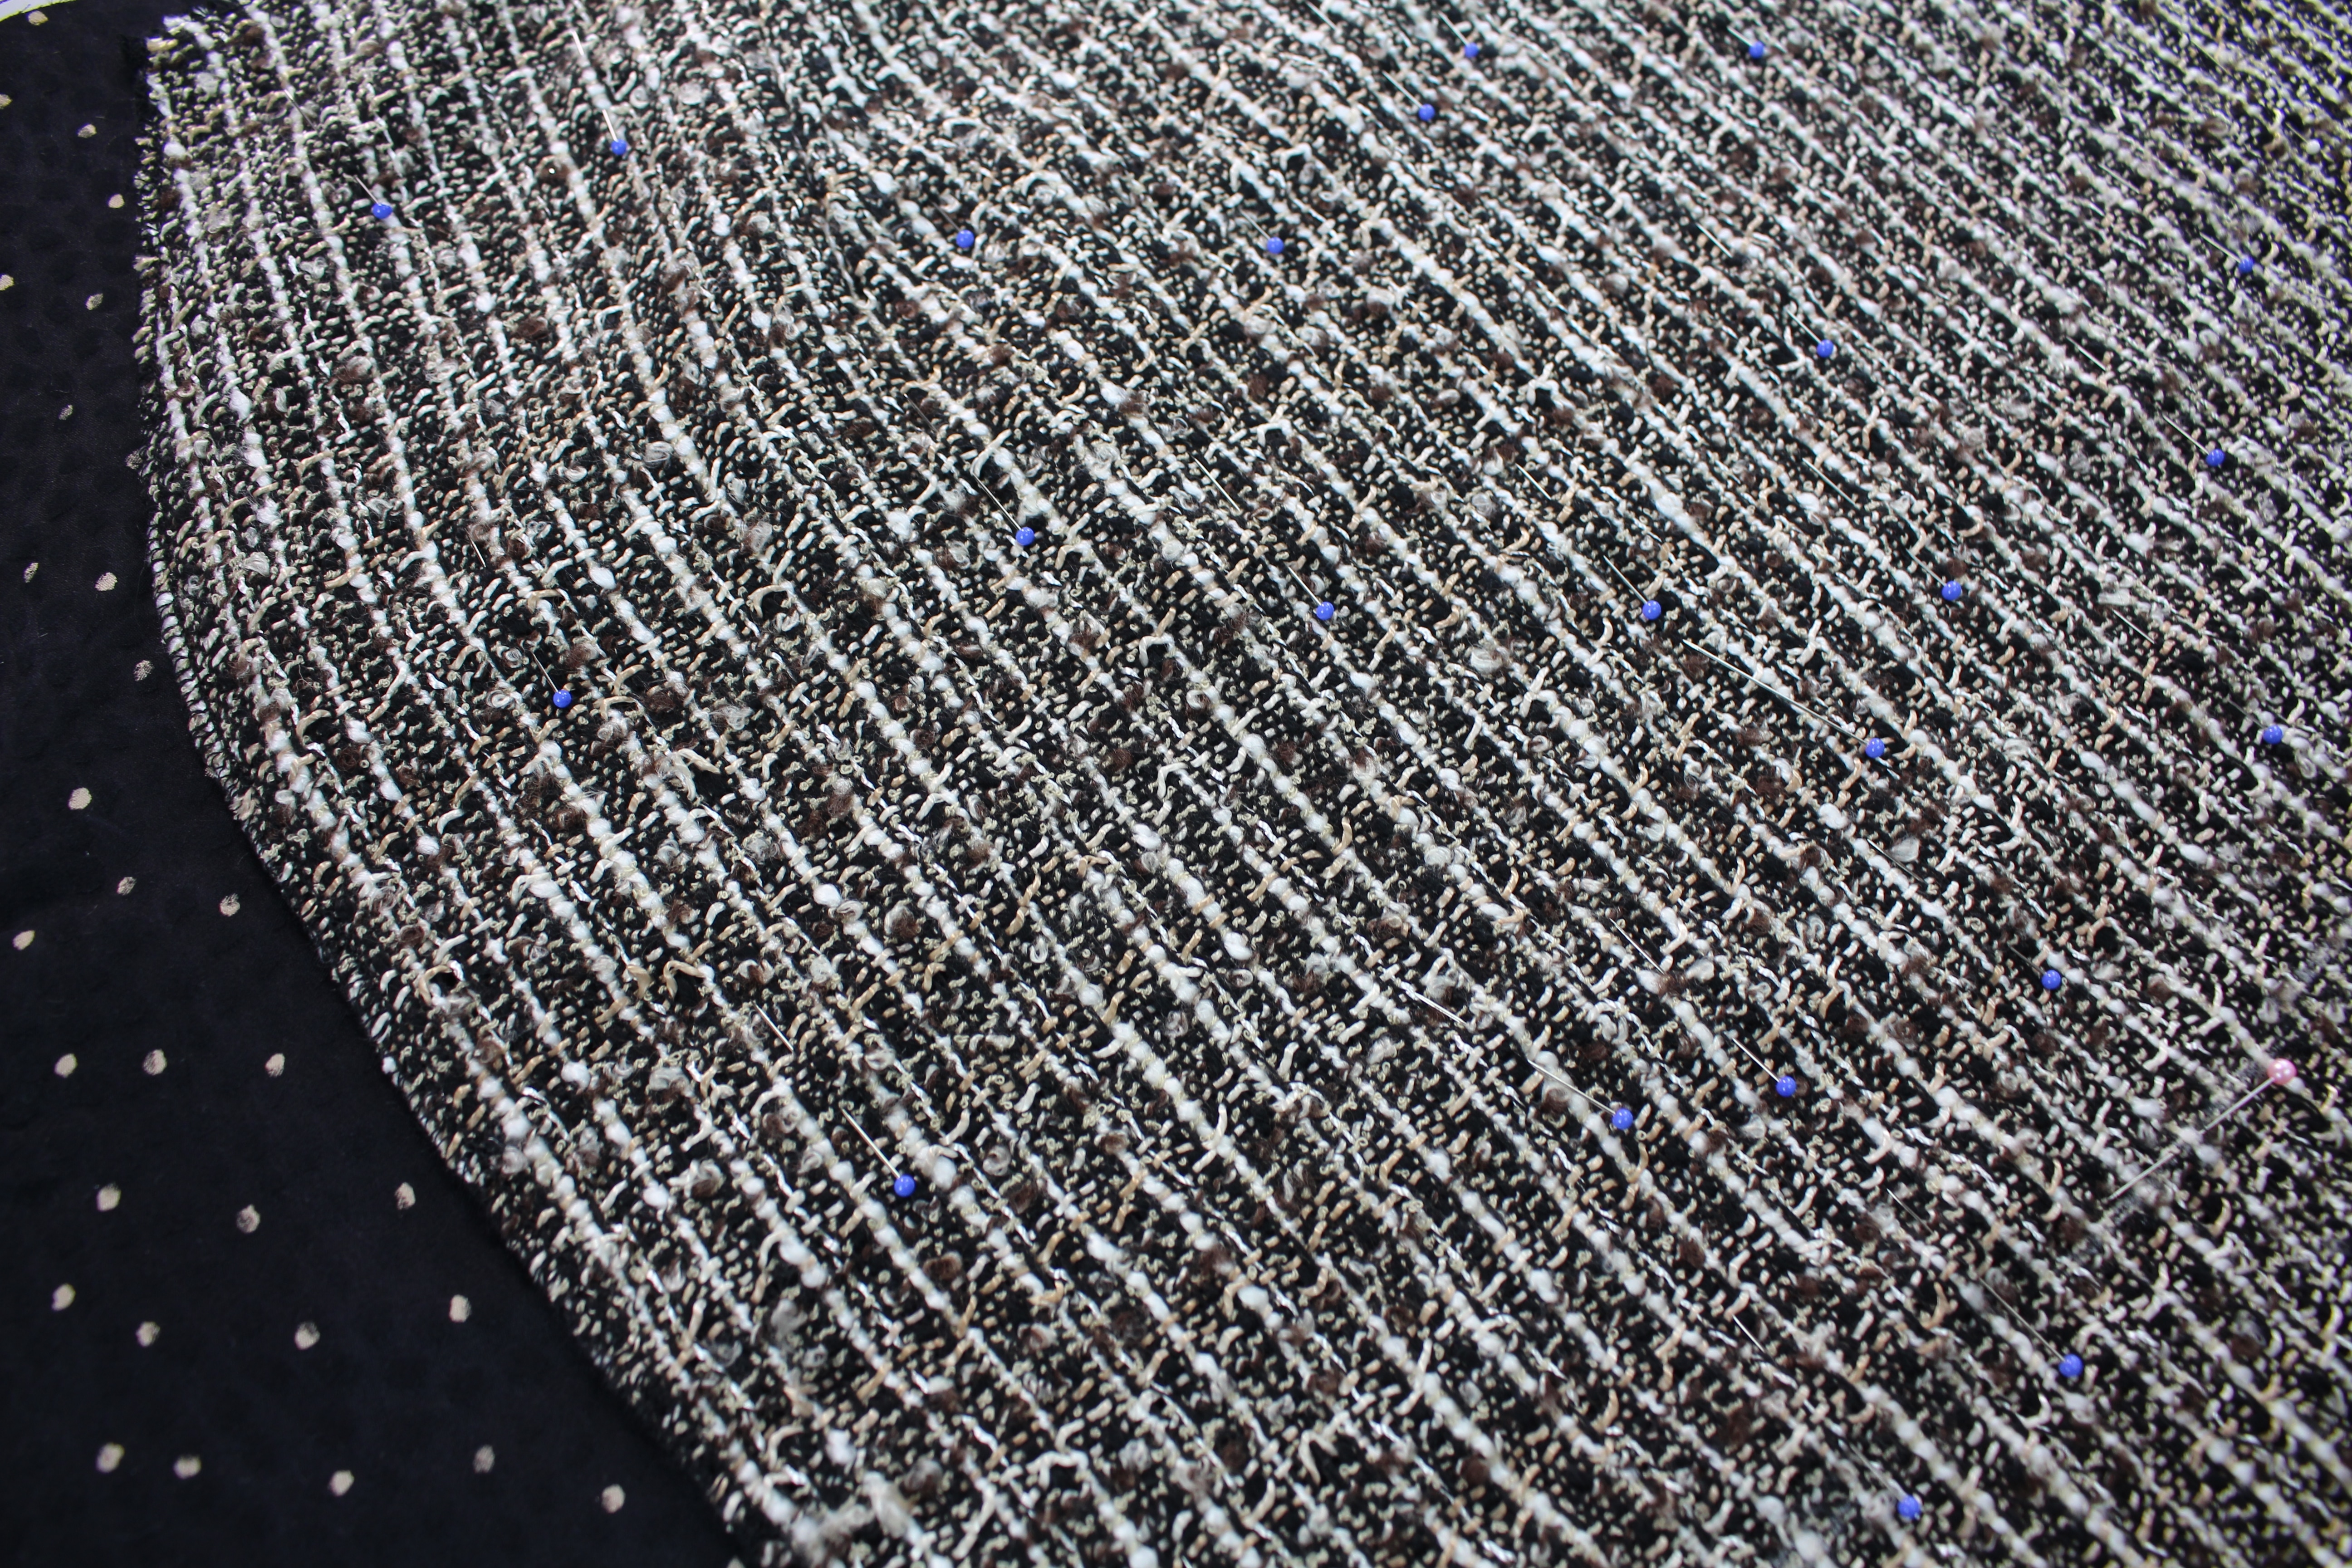
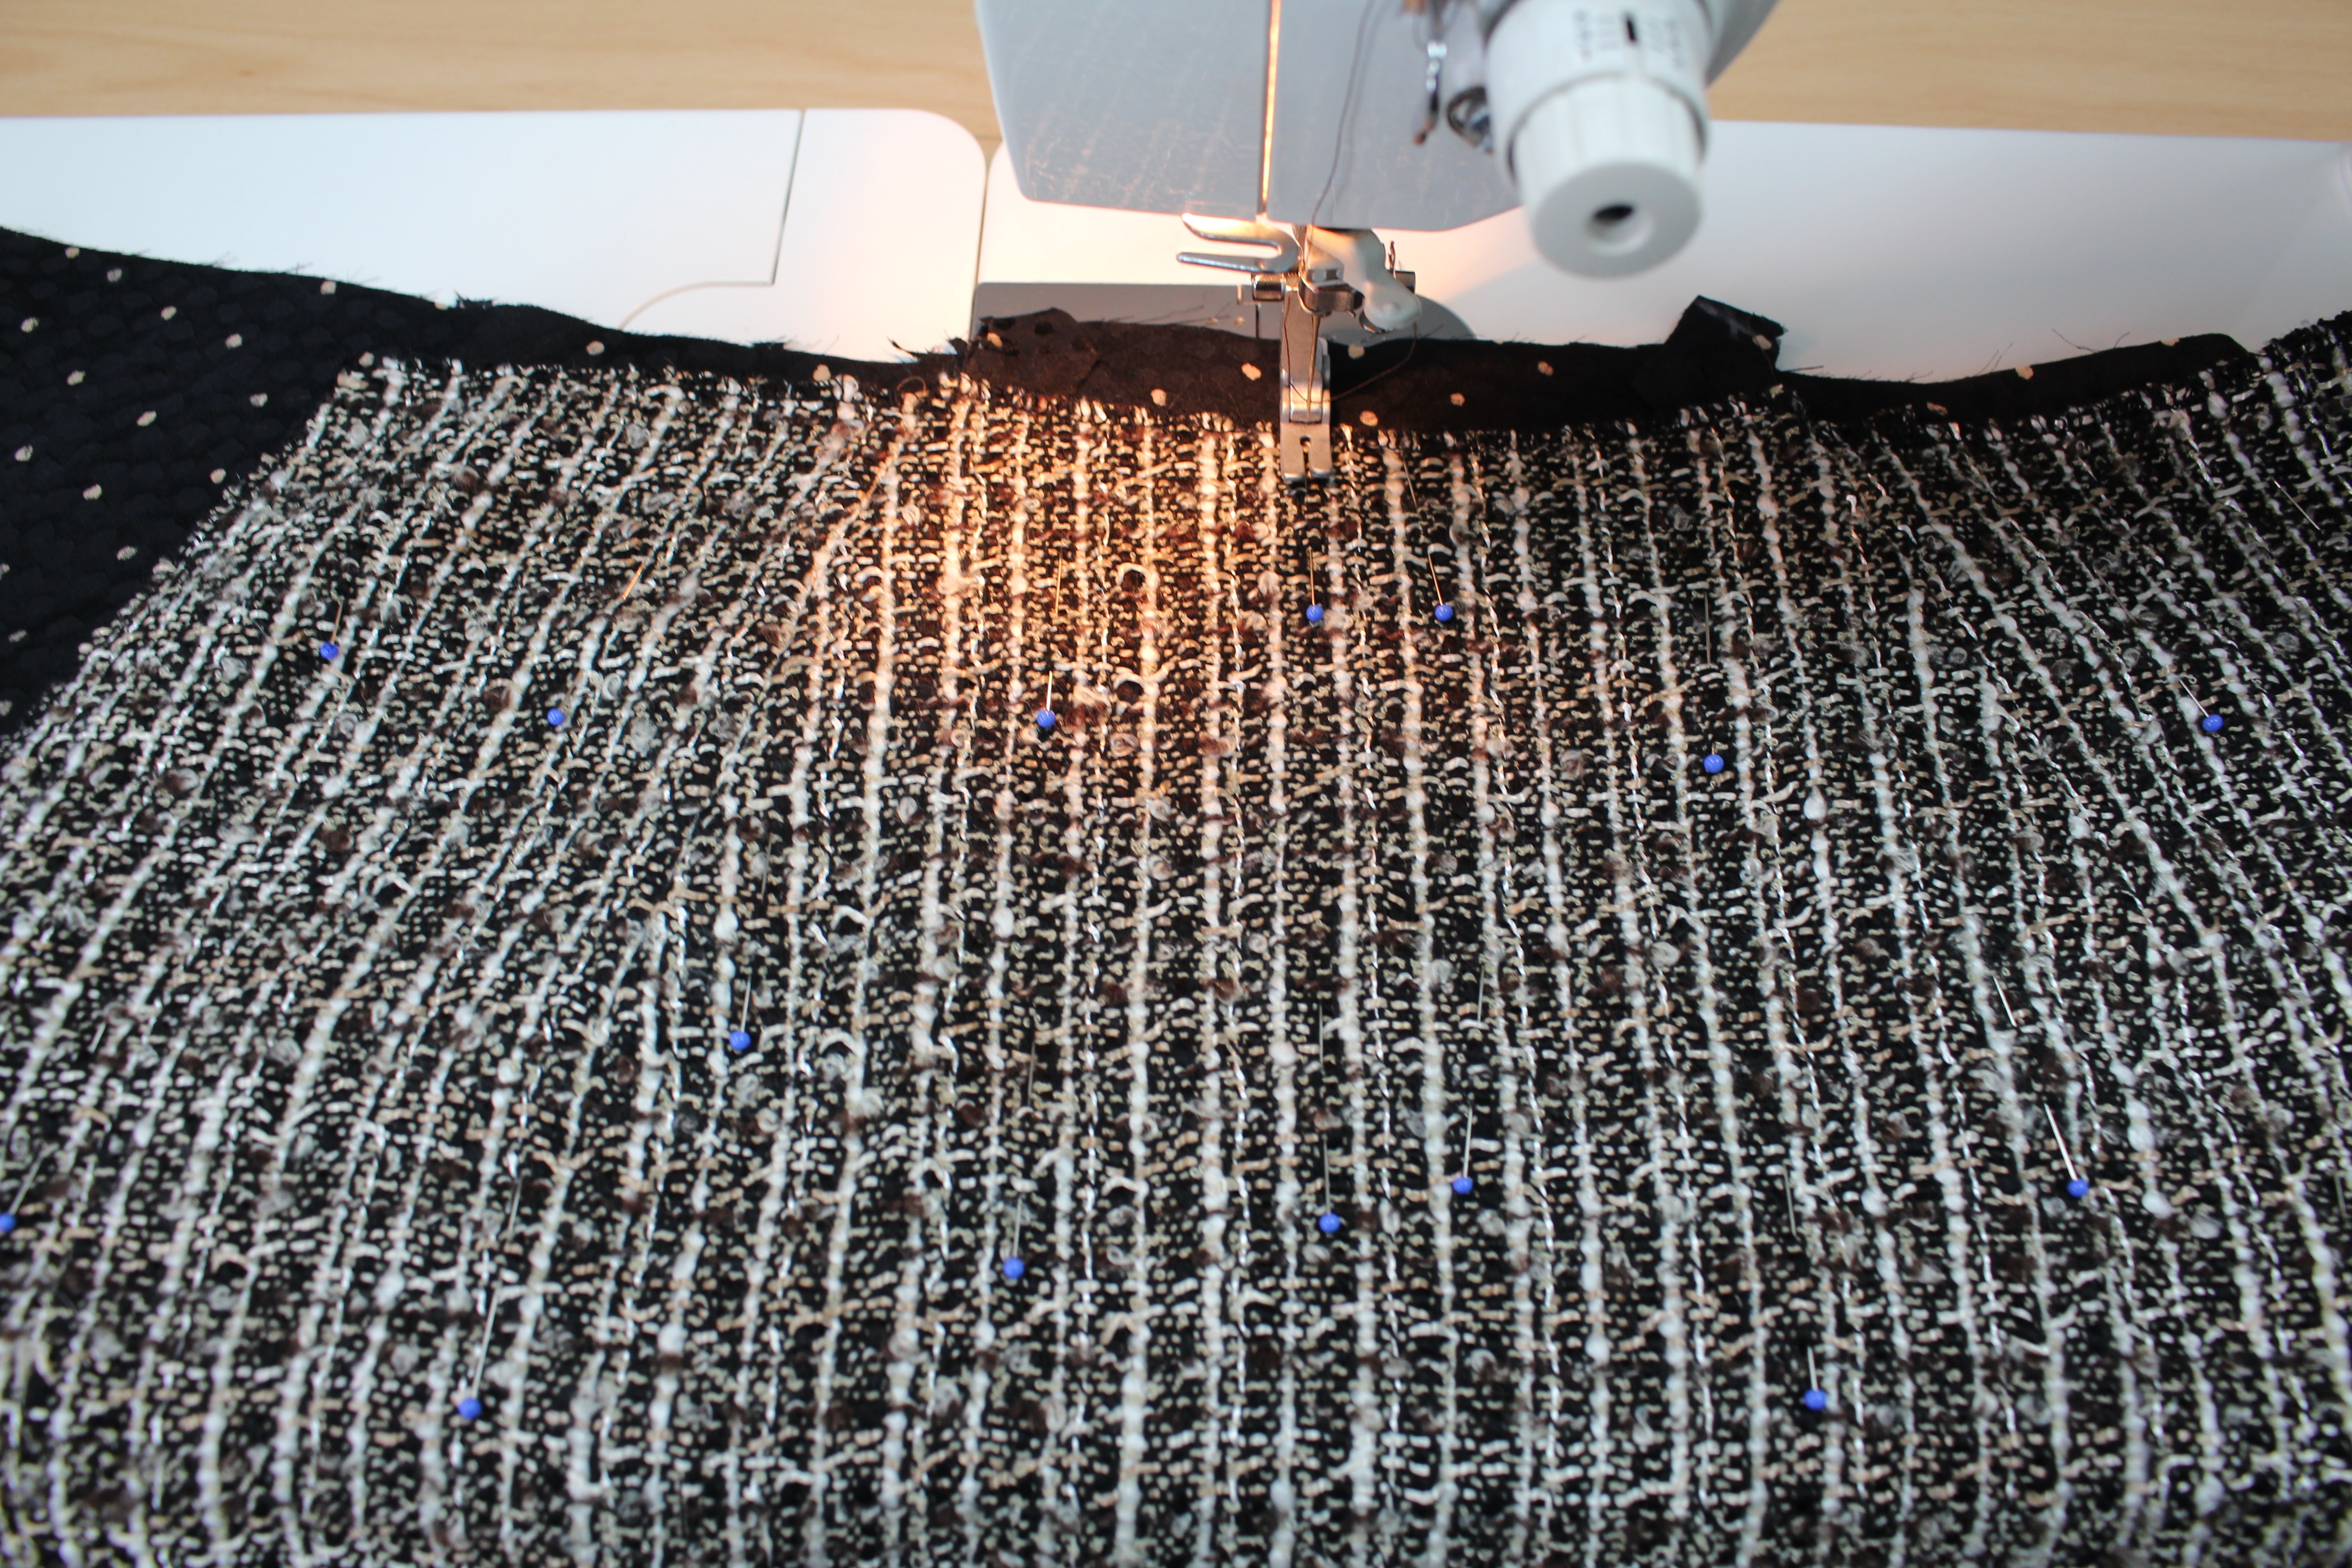
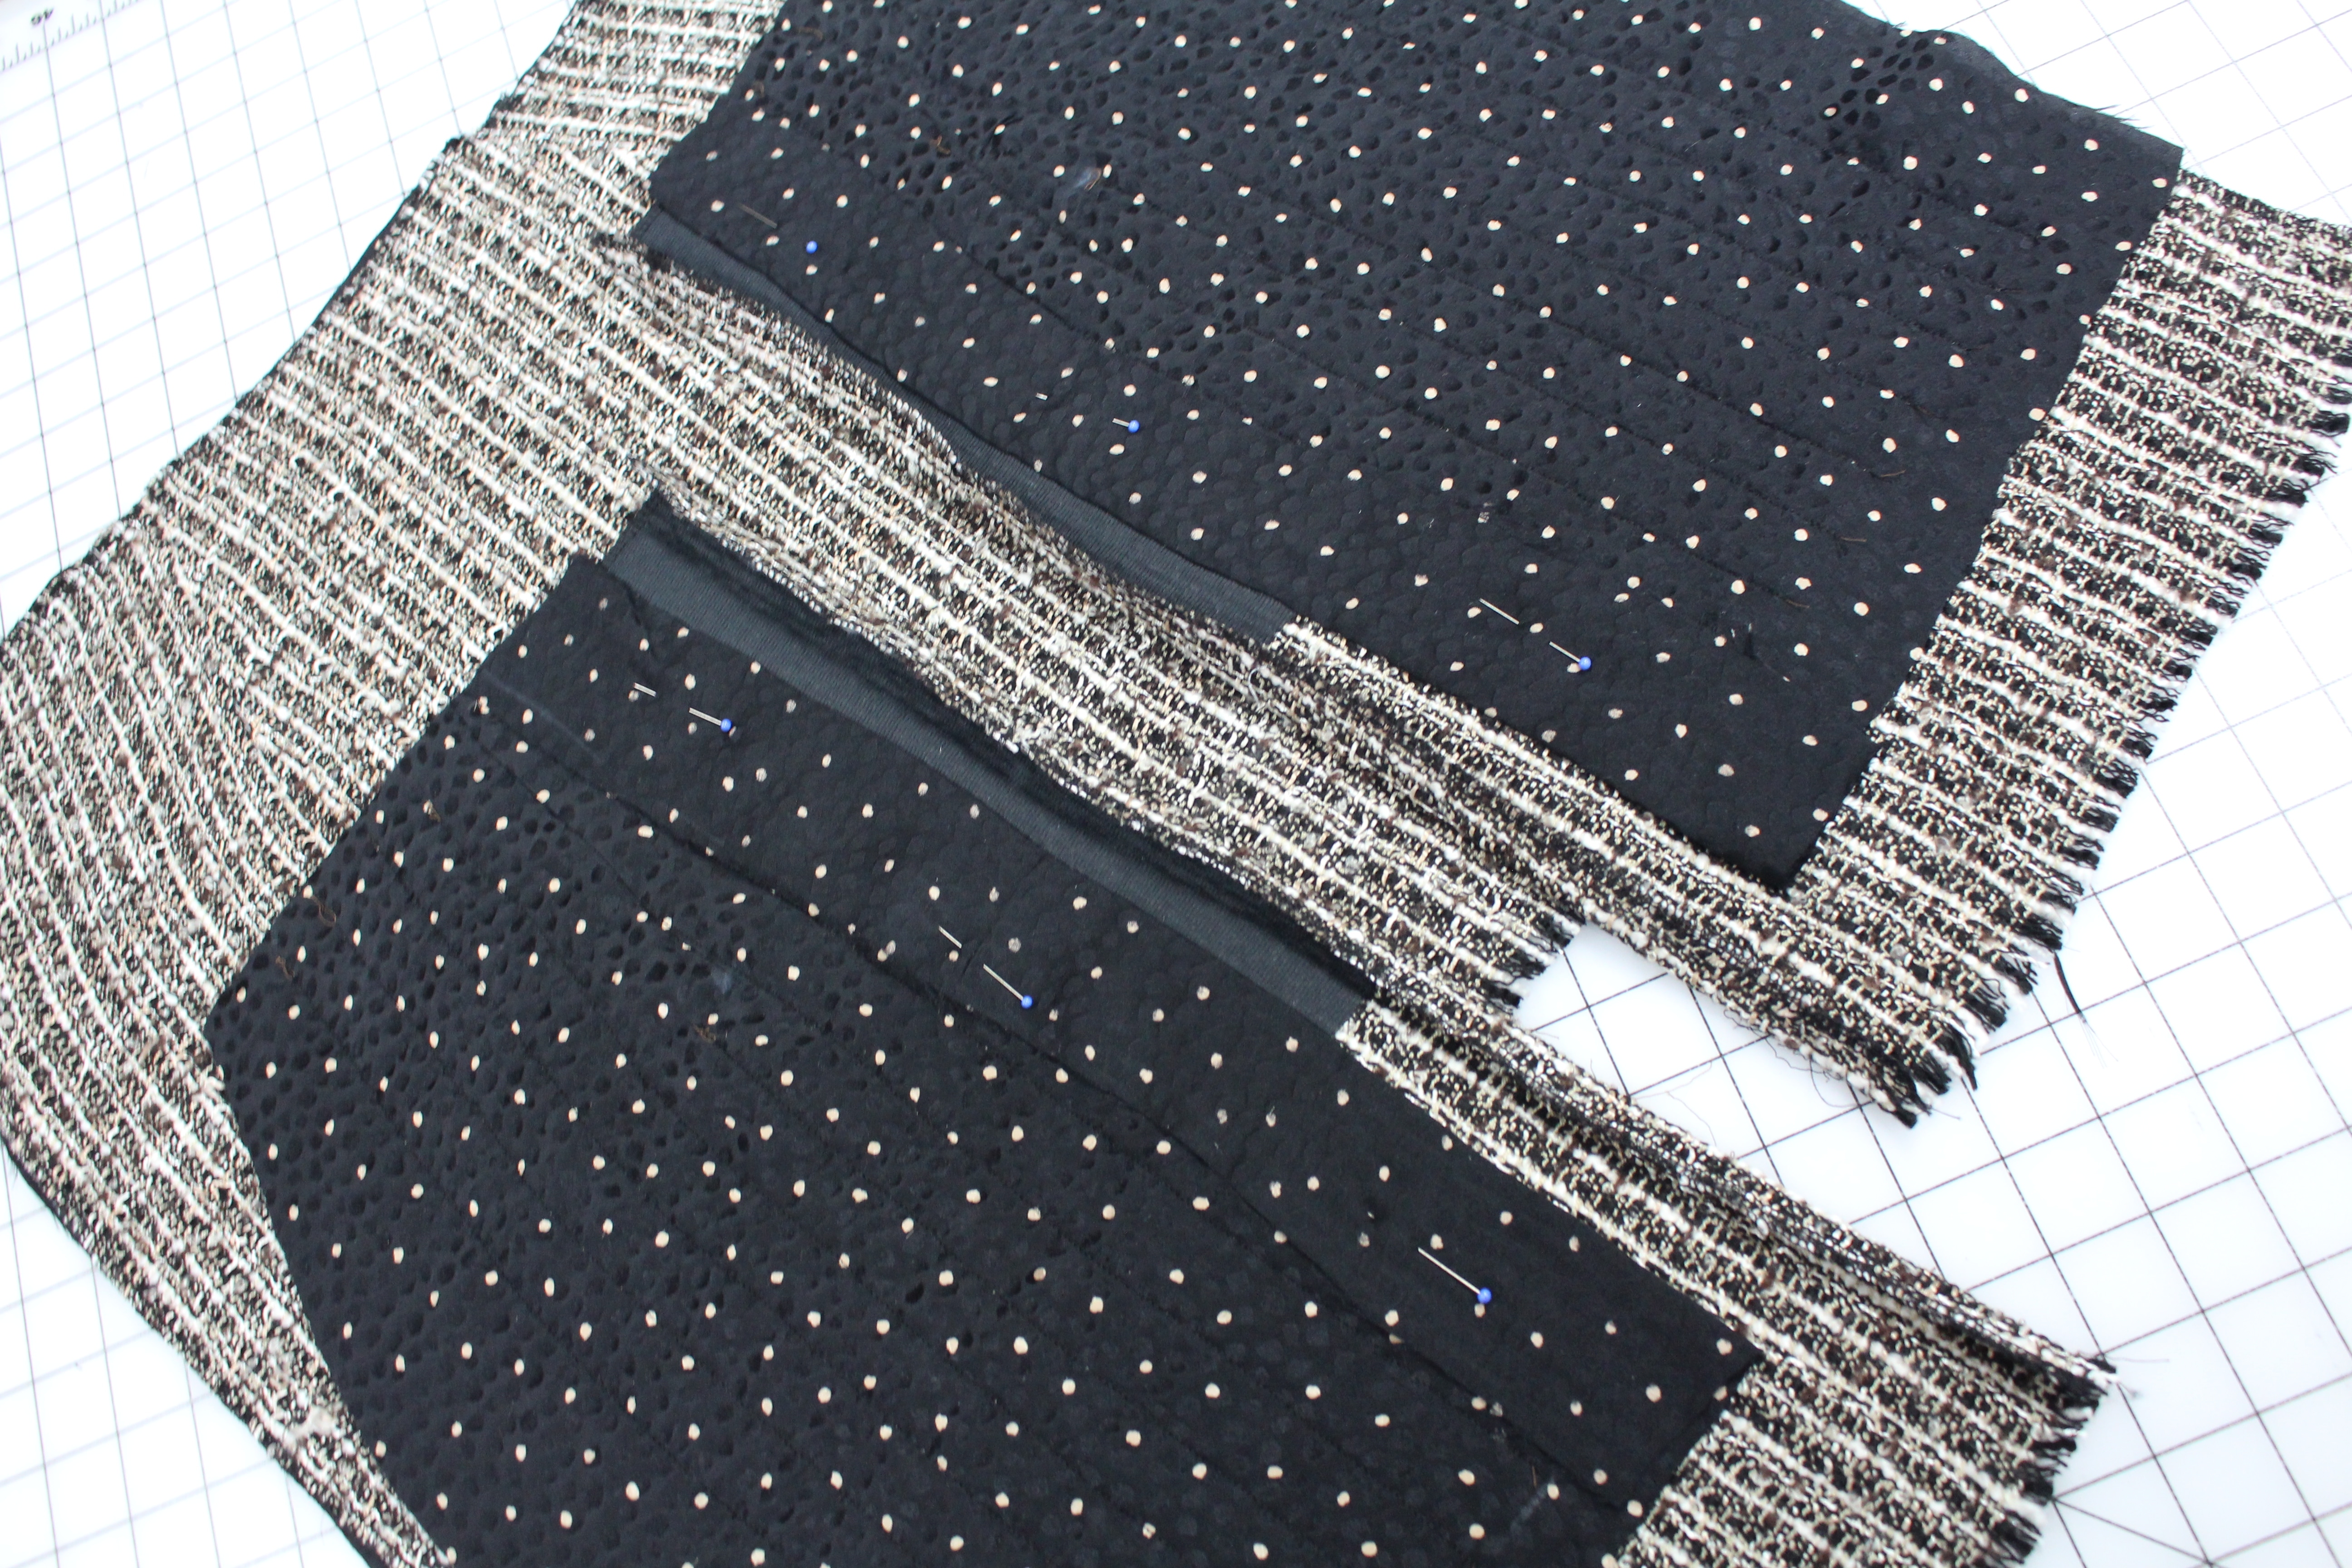
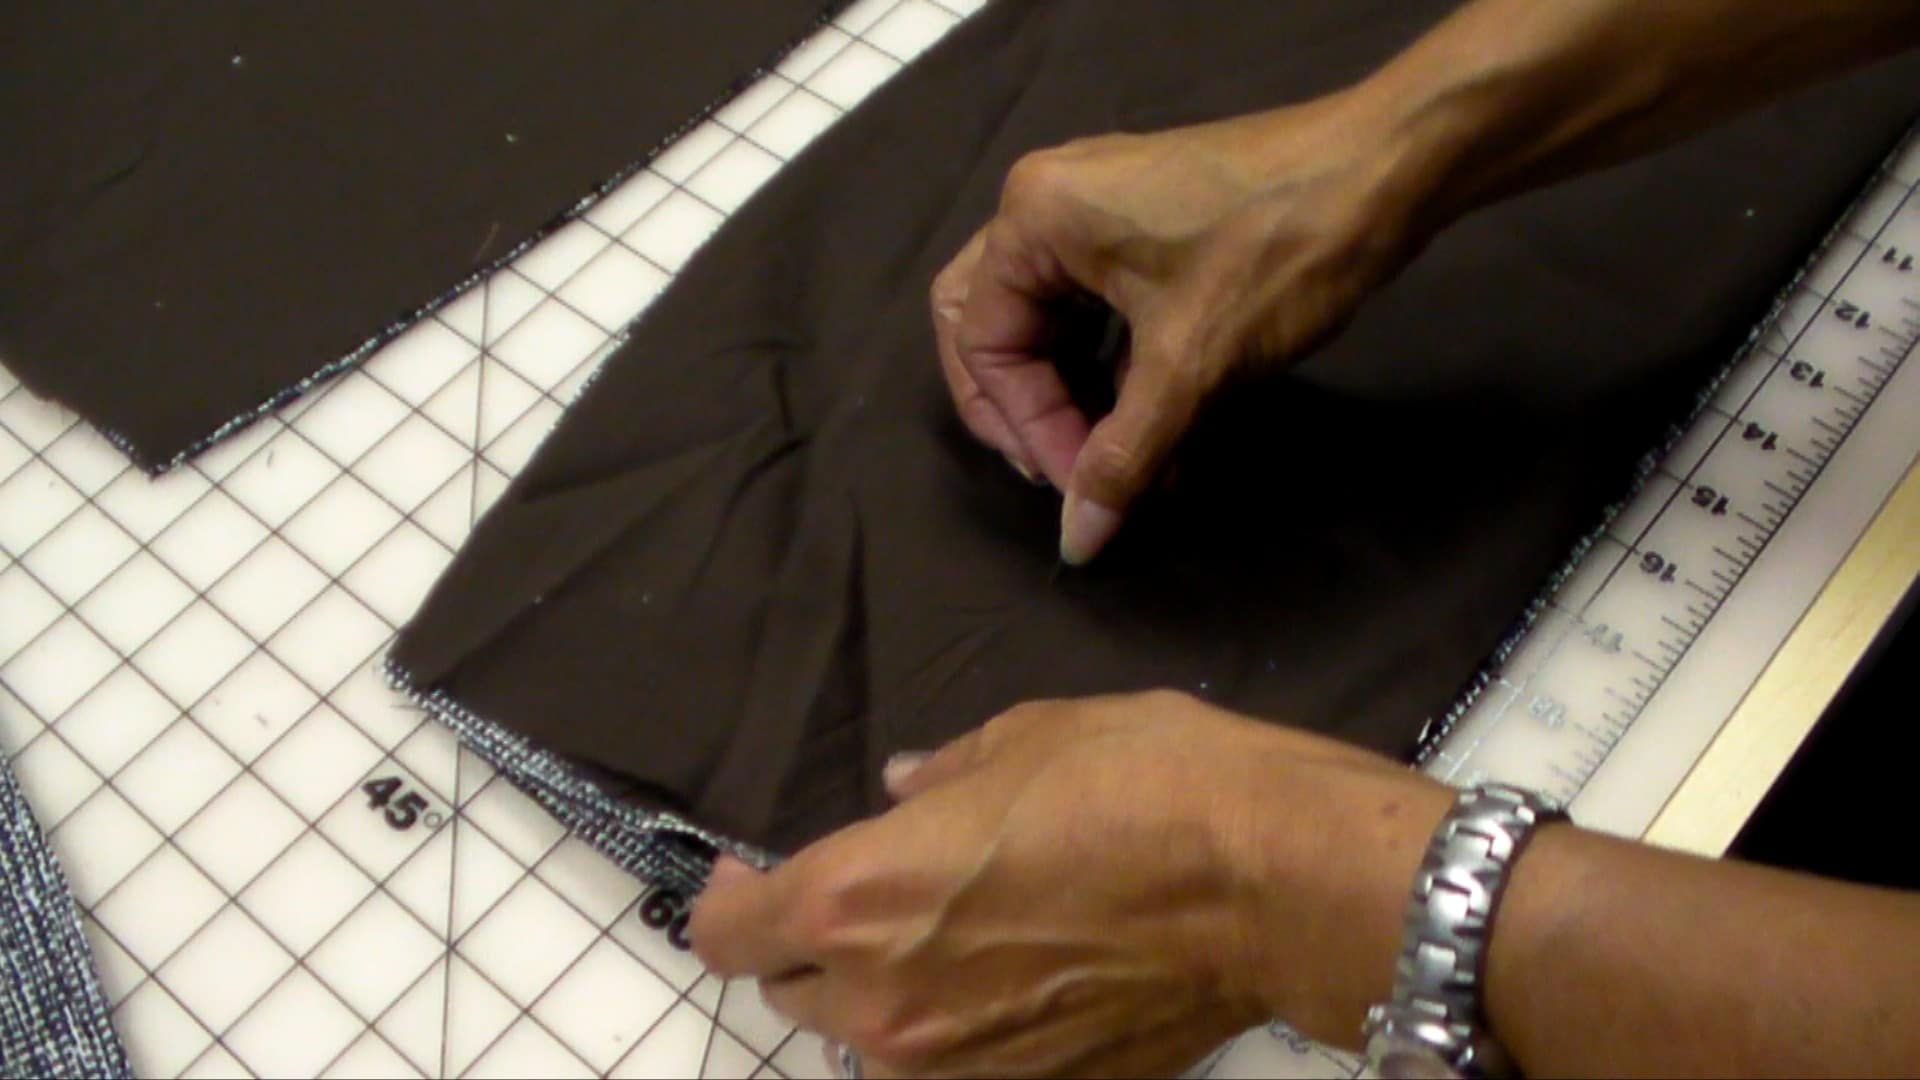
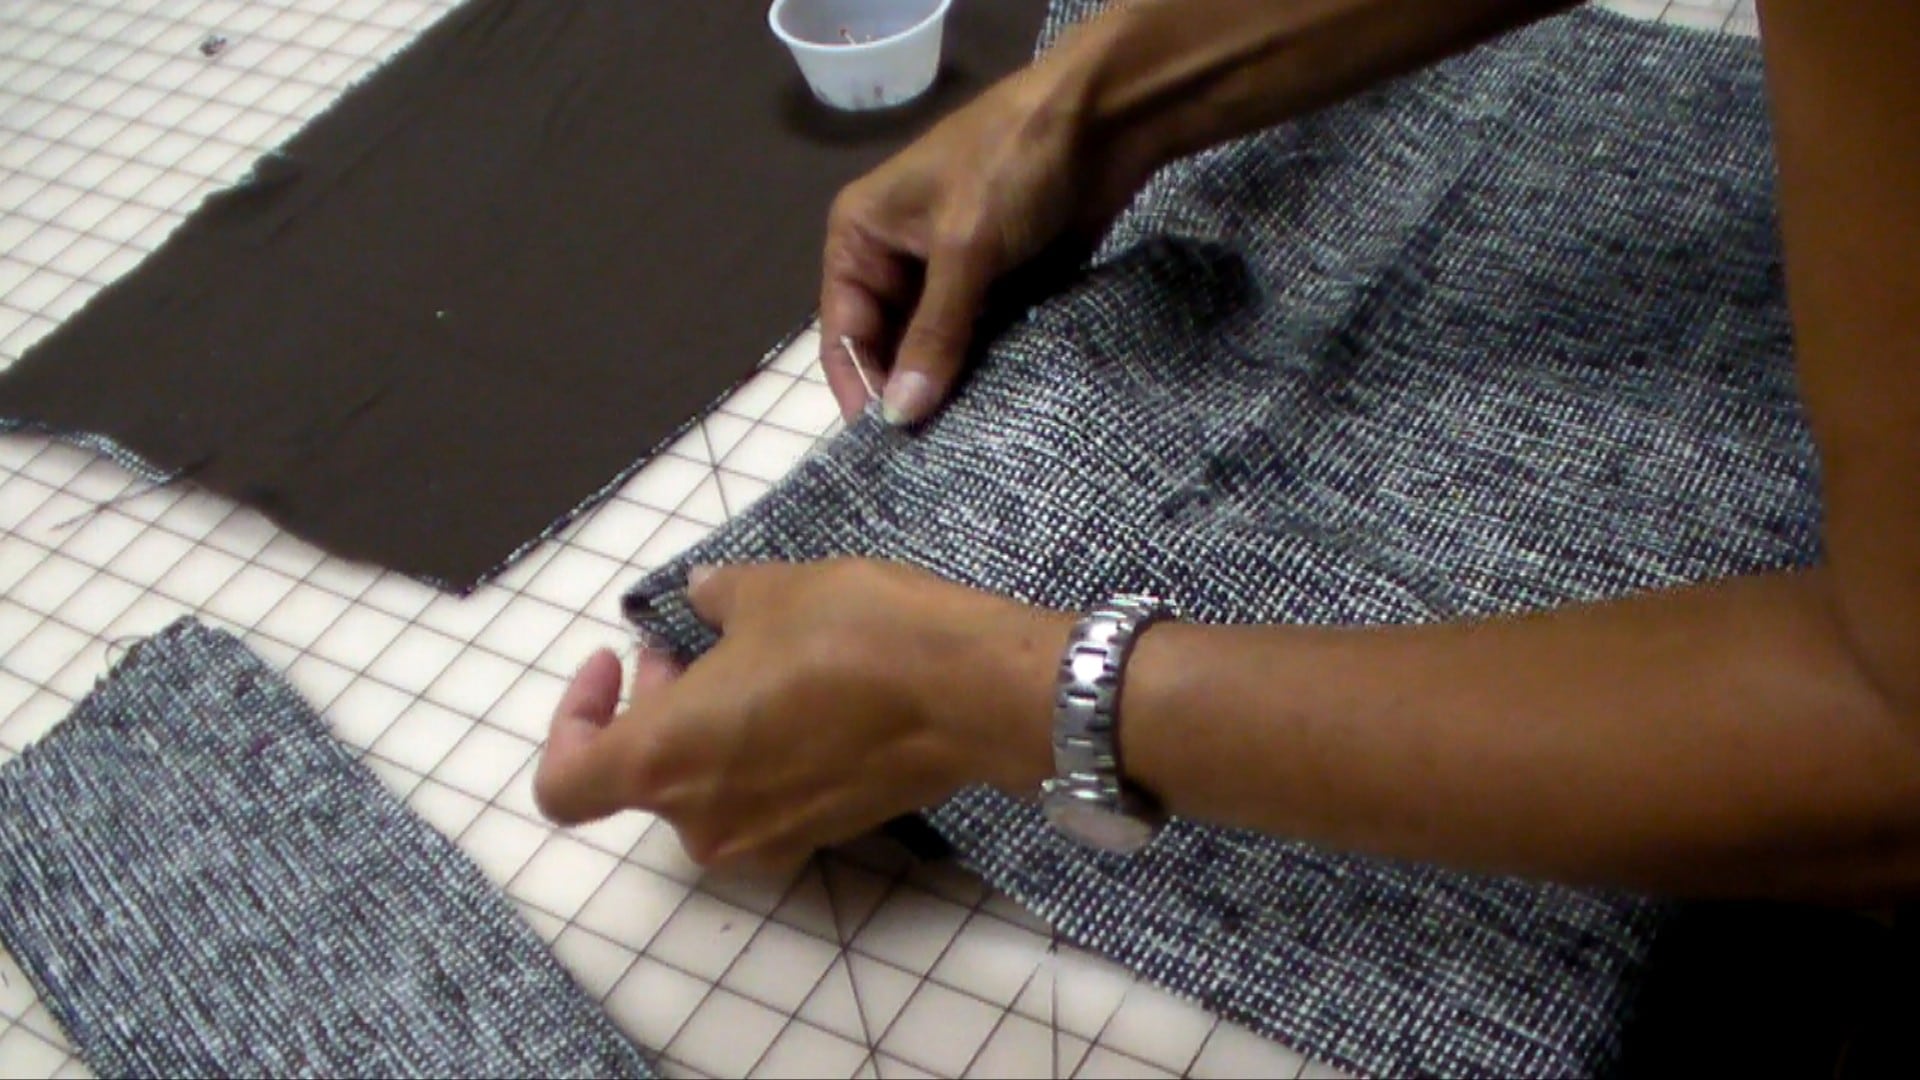
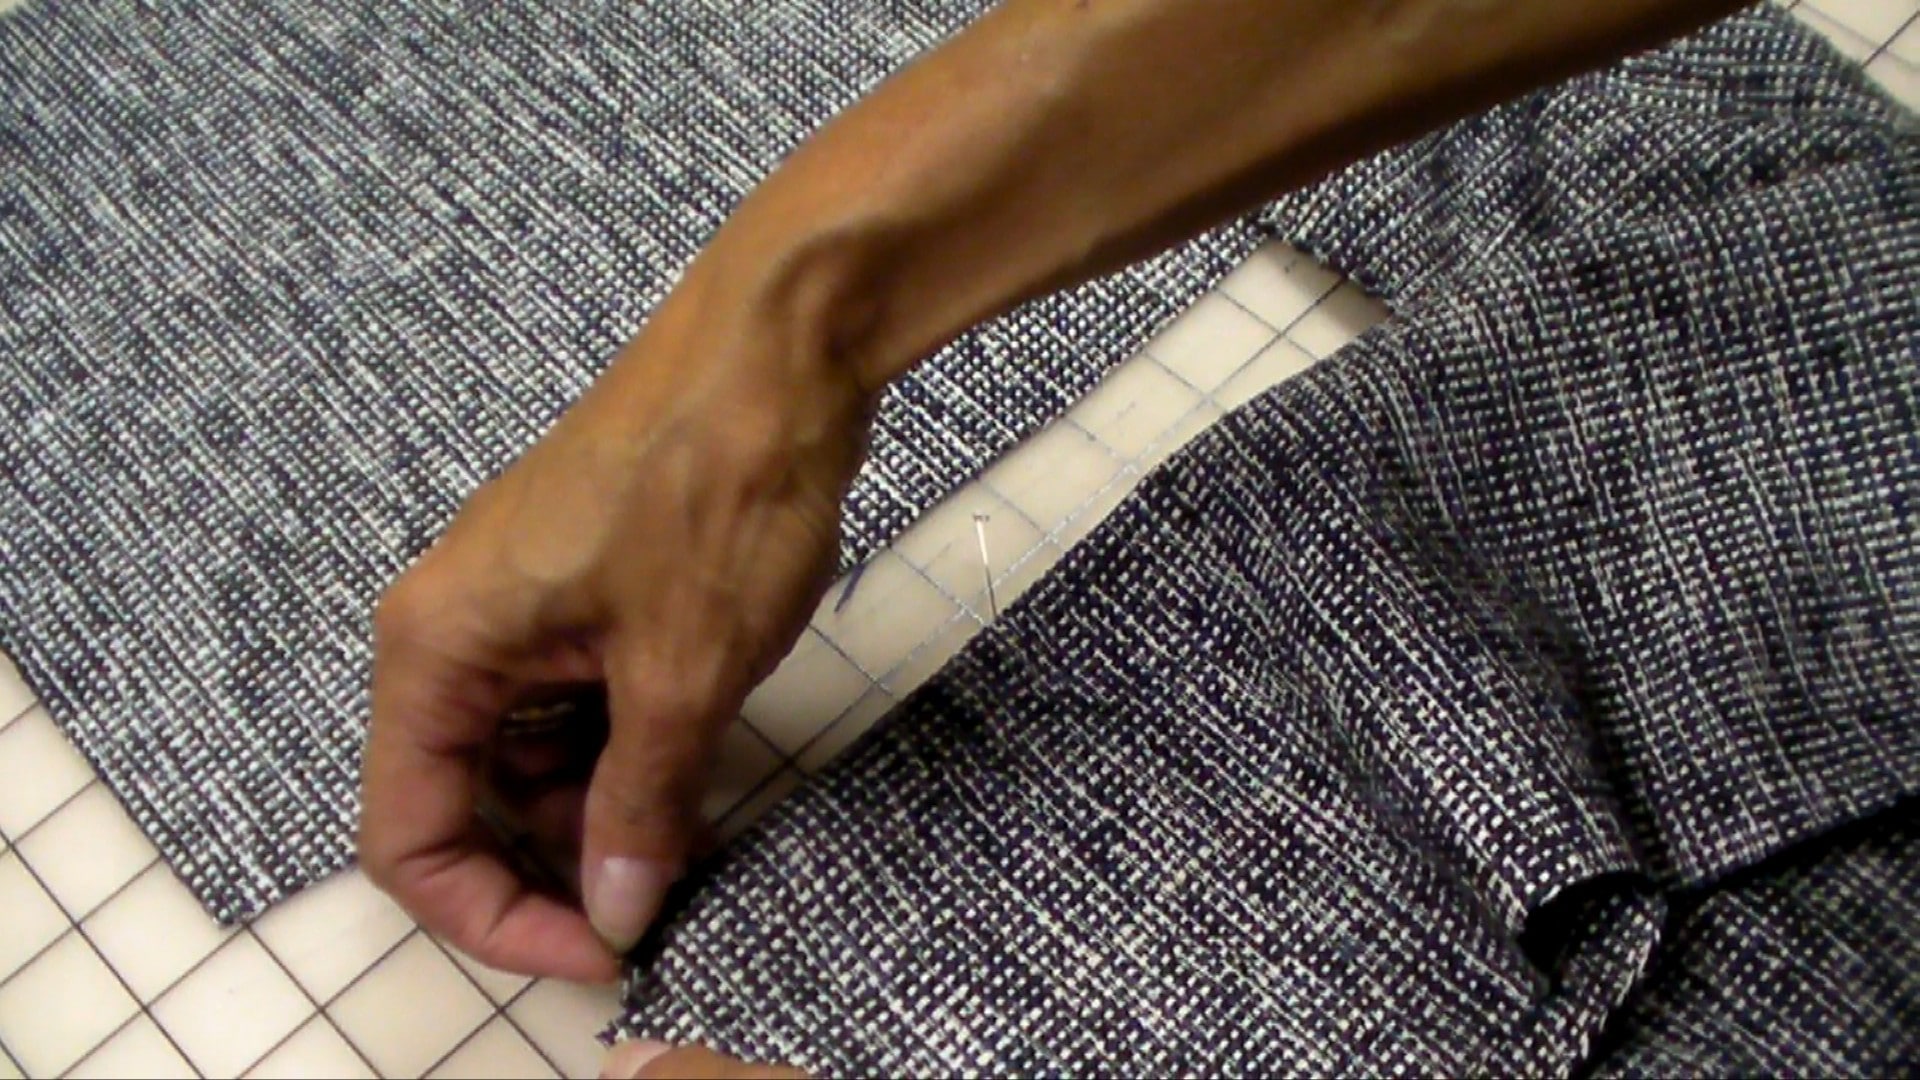
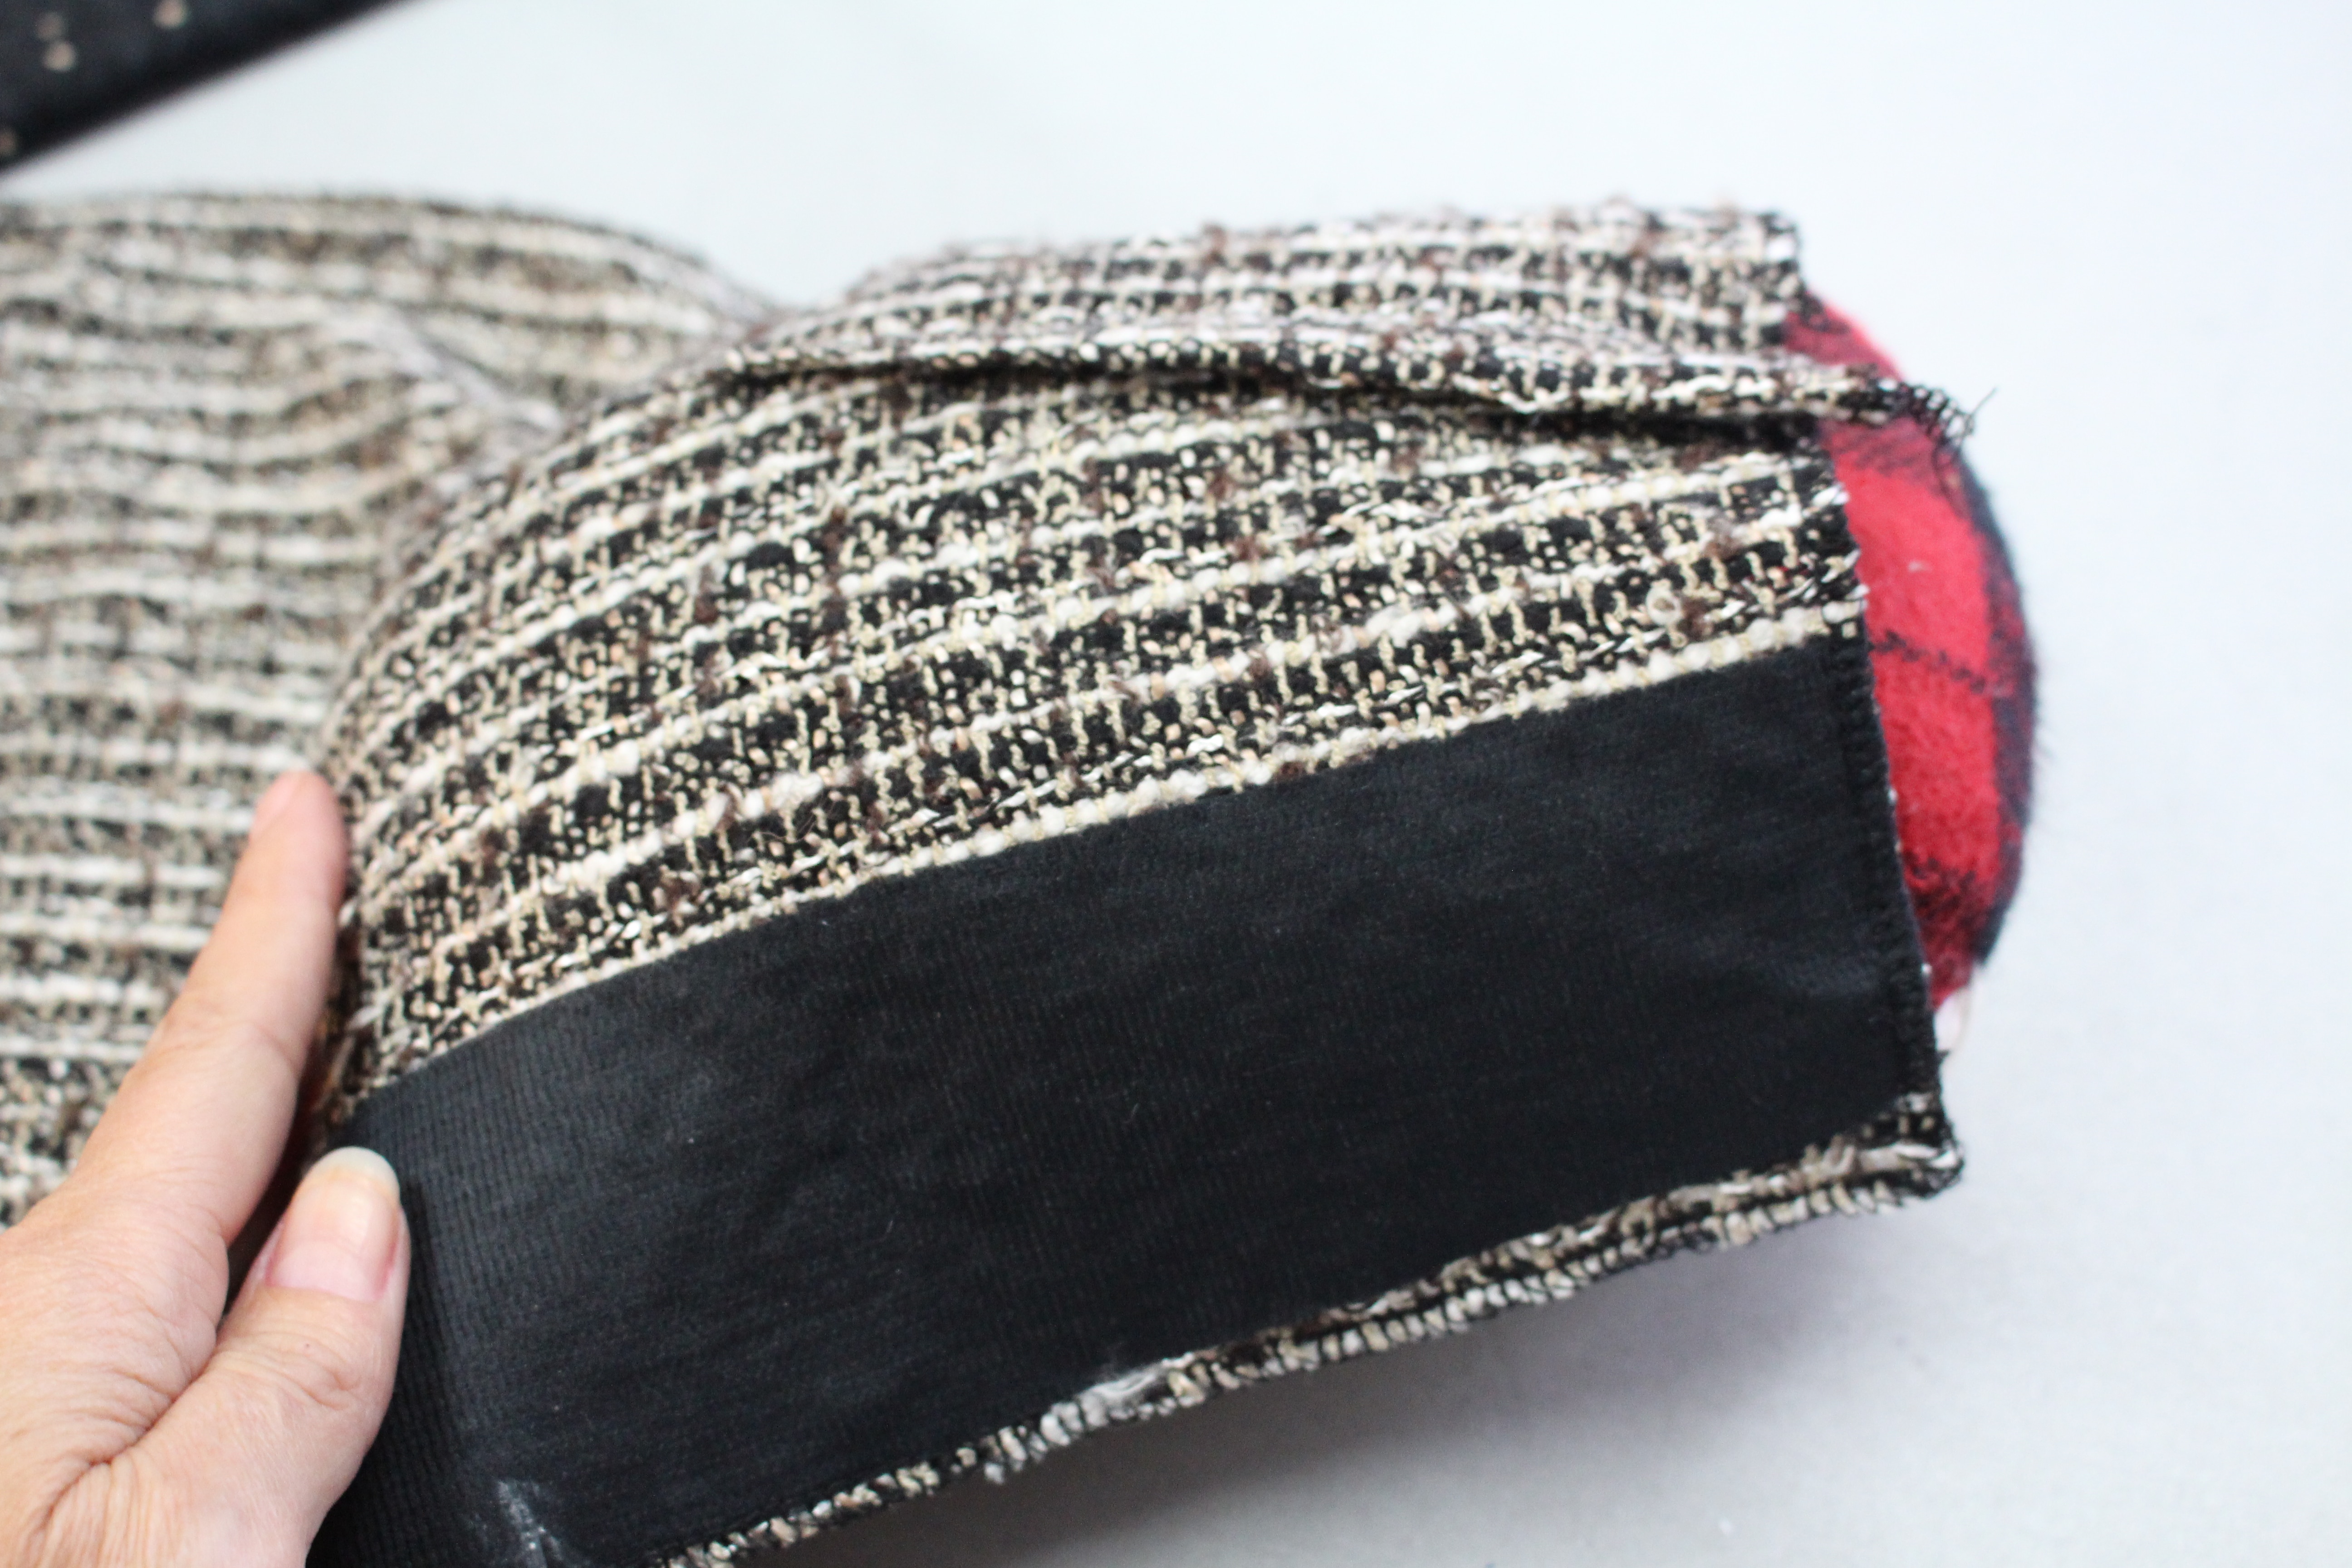
With wrong sides together, lay the tweed fabric on top of the lining. Starting at the waistline, line up the darts on both fabrics.  Pin or hand-baste the fabrics together, starting at the center and moving out toward the side seams.  (see my blue pins in the photo below)

Mark the area that you will not be stitching:

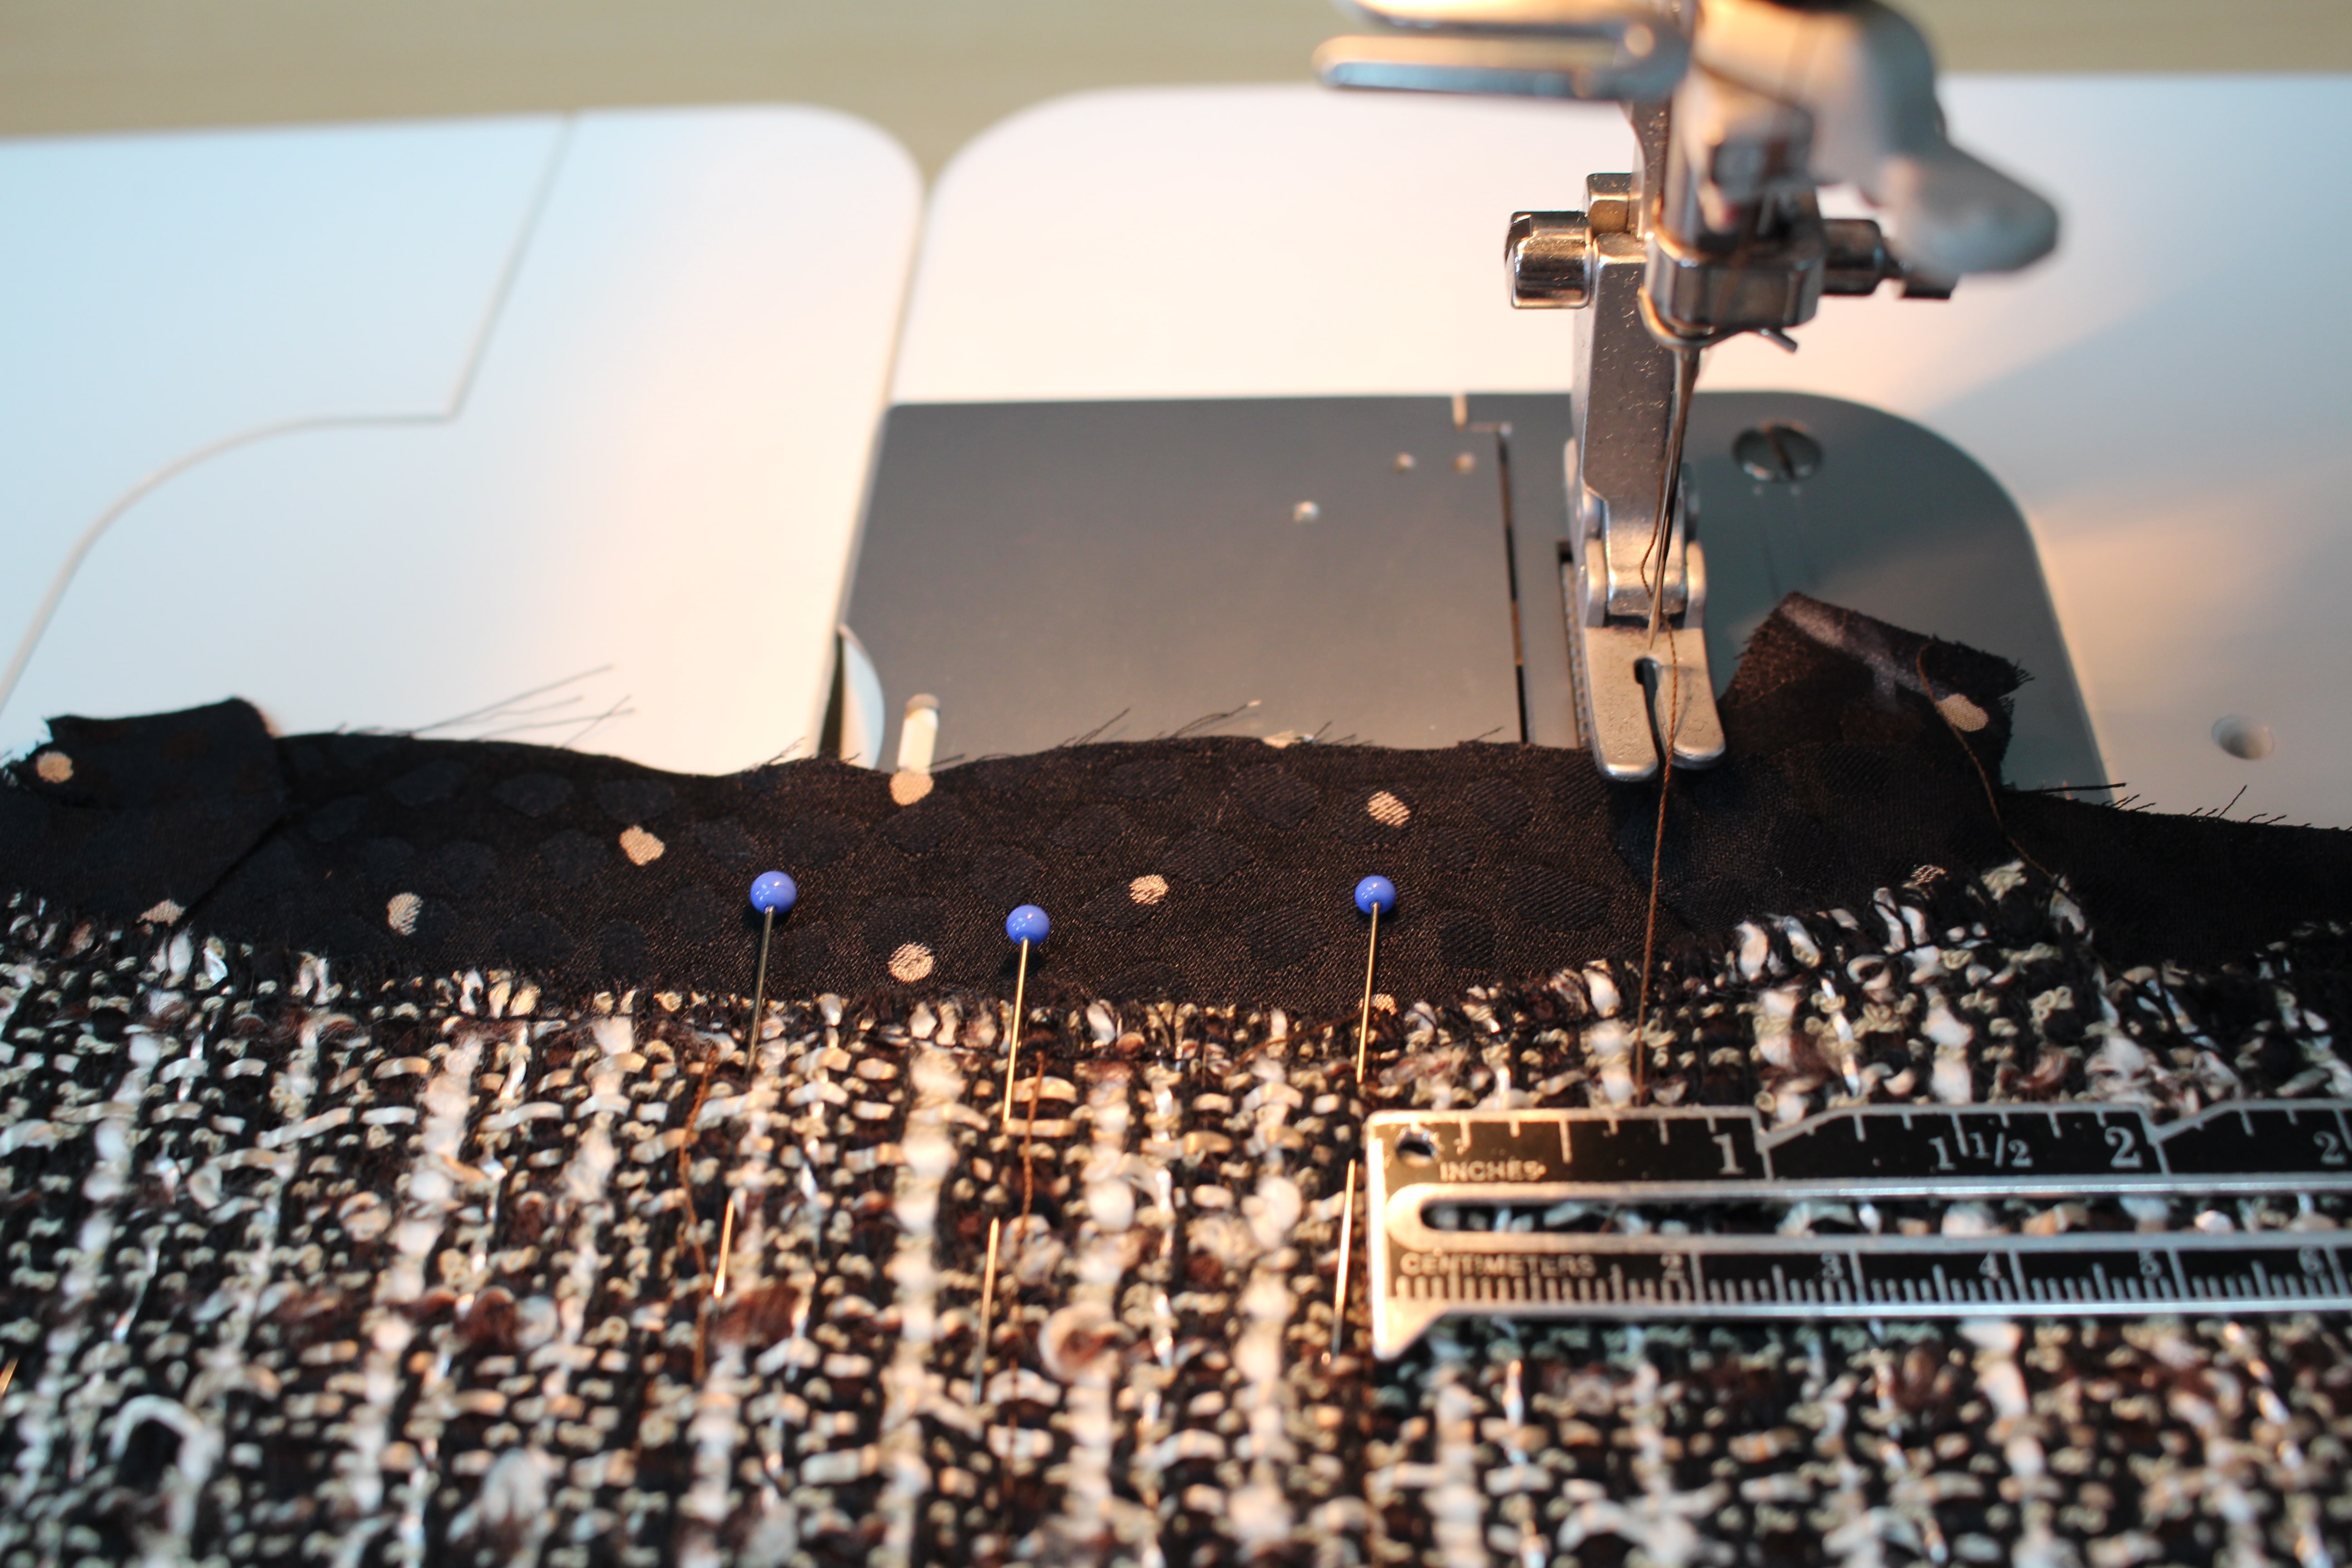
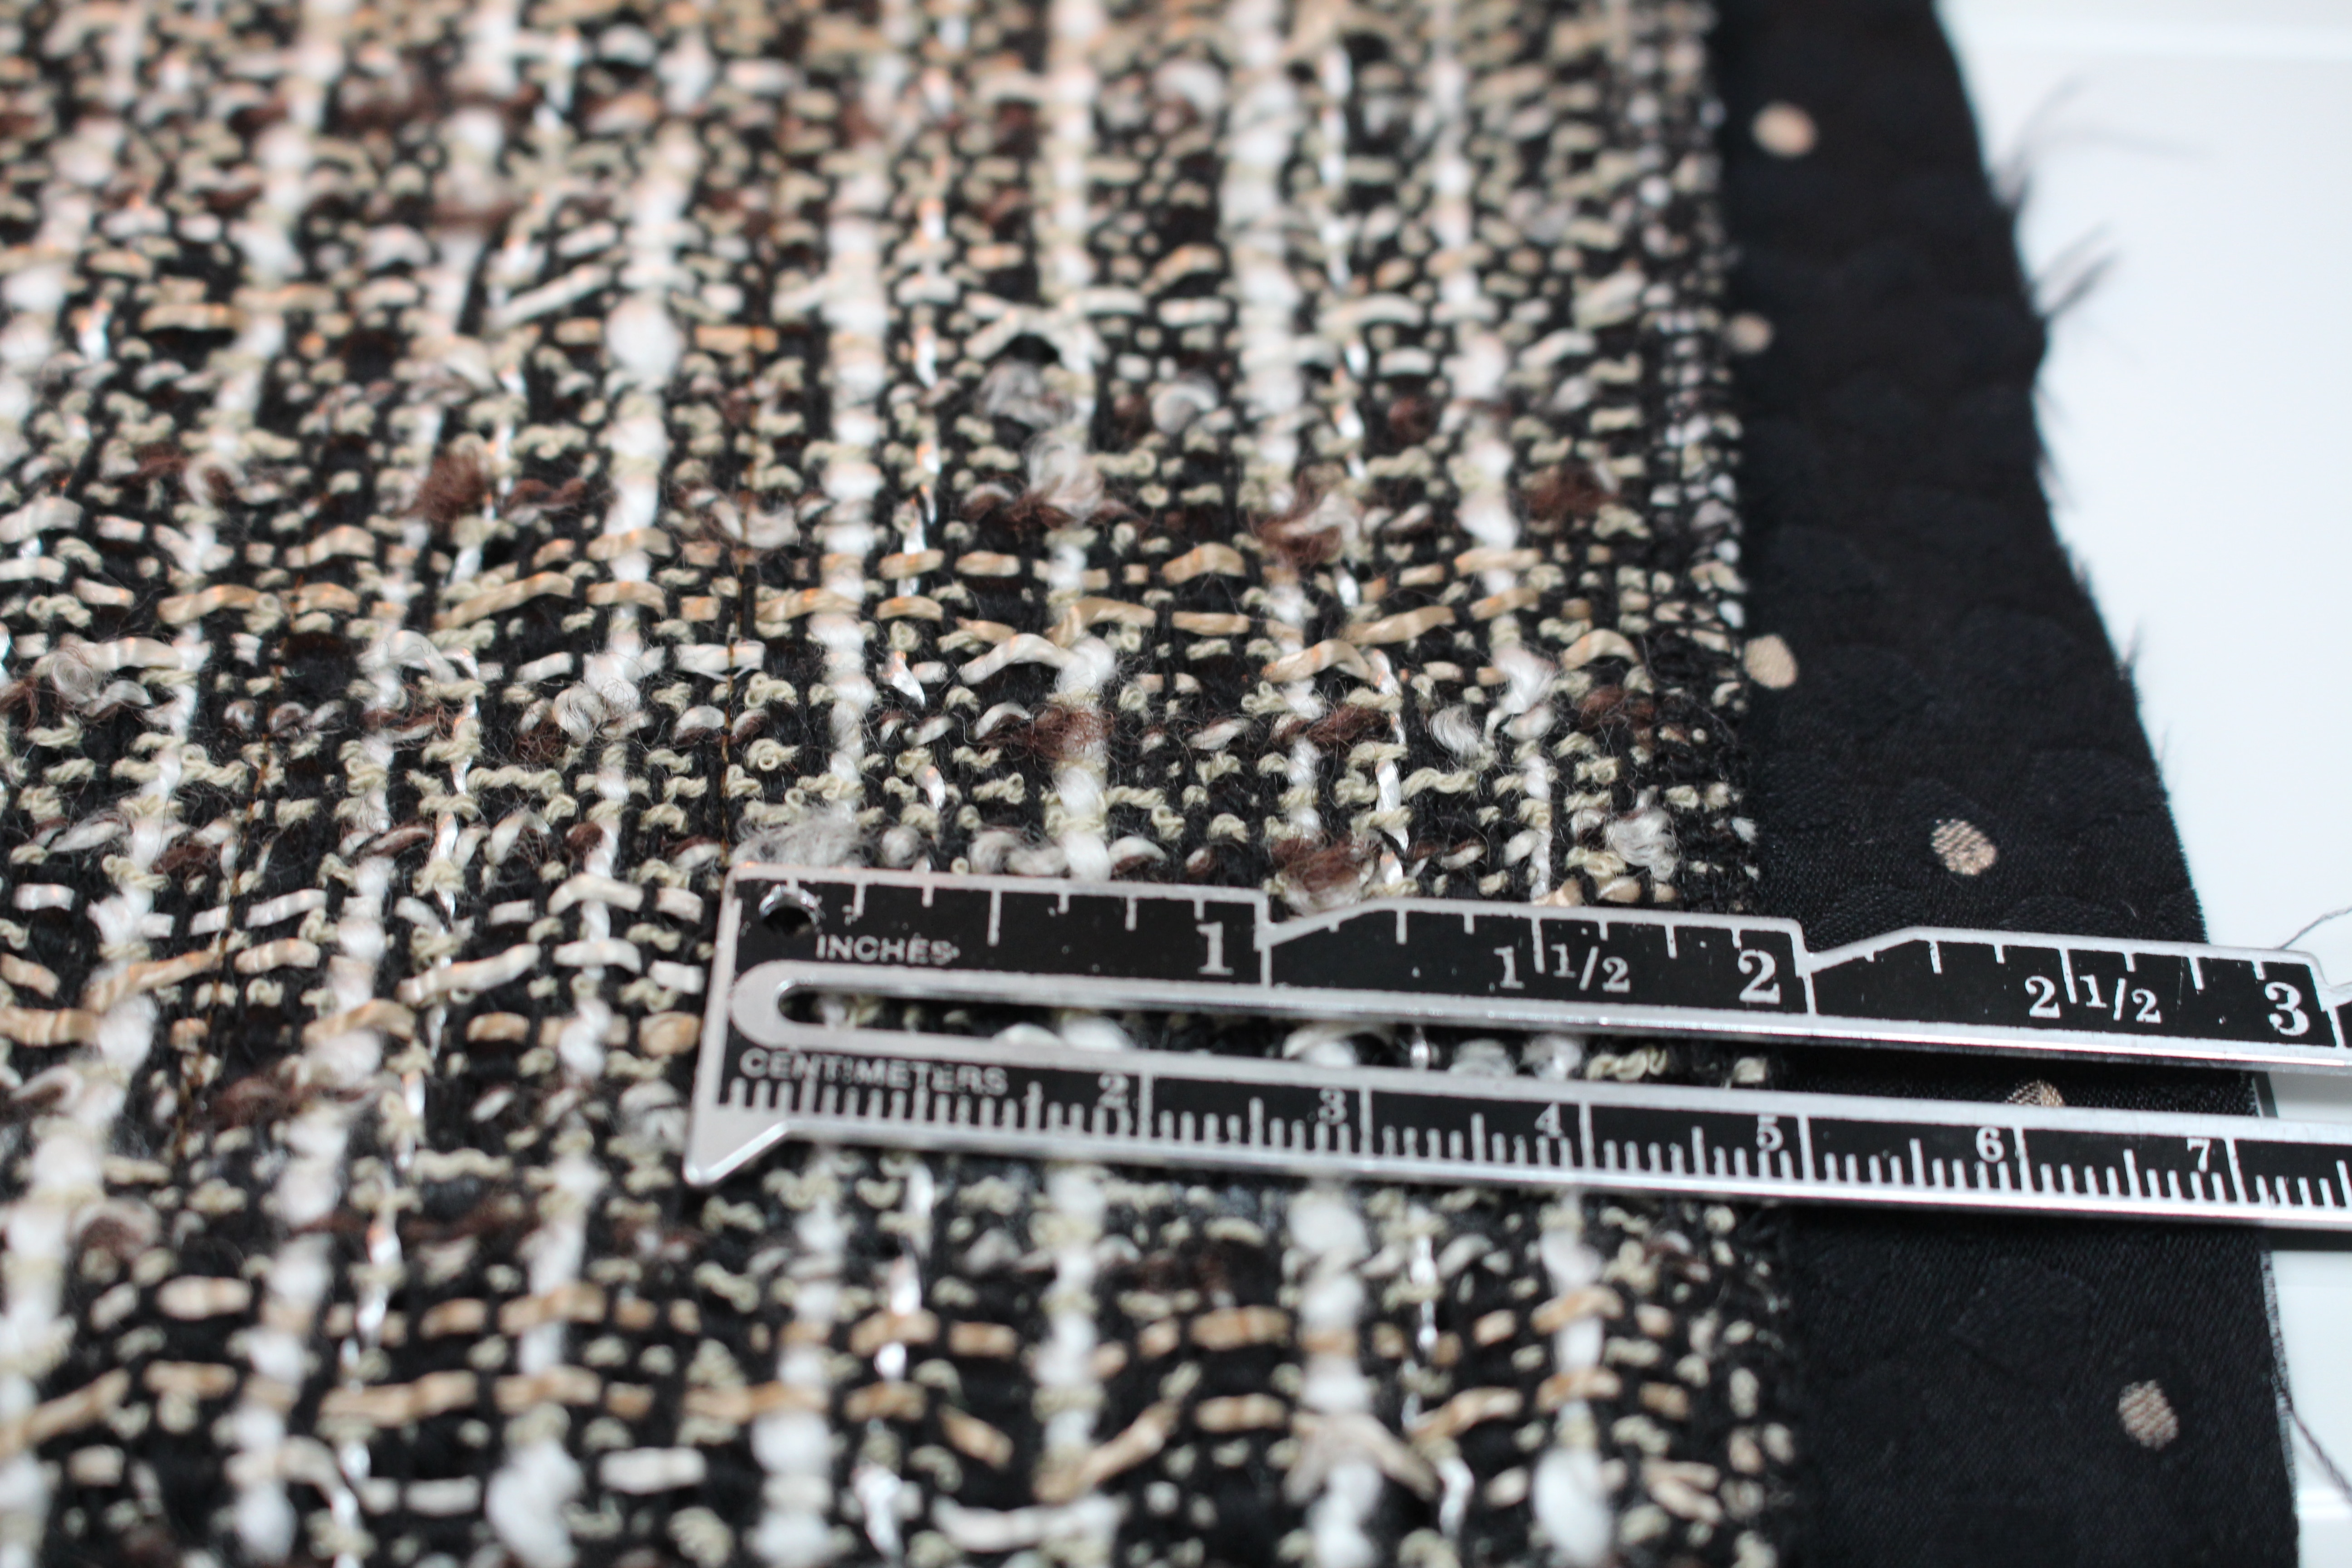
  • Depending on the waistband: 1/2″ from the top edge
  • 2″ from each side seam
  • 2″ from the top of the fringe hemline


Quilting the Lining

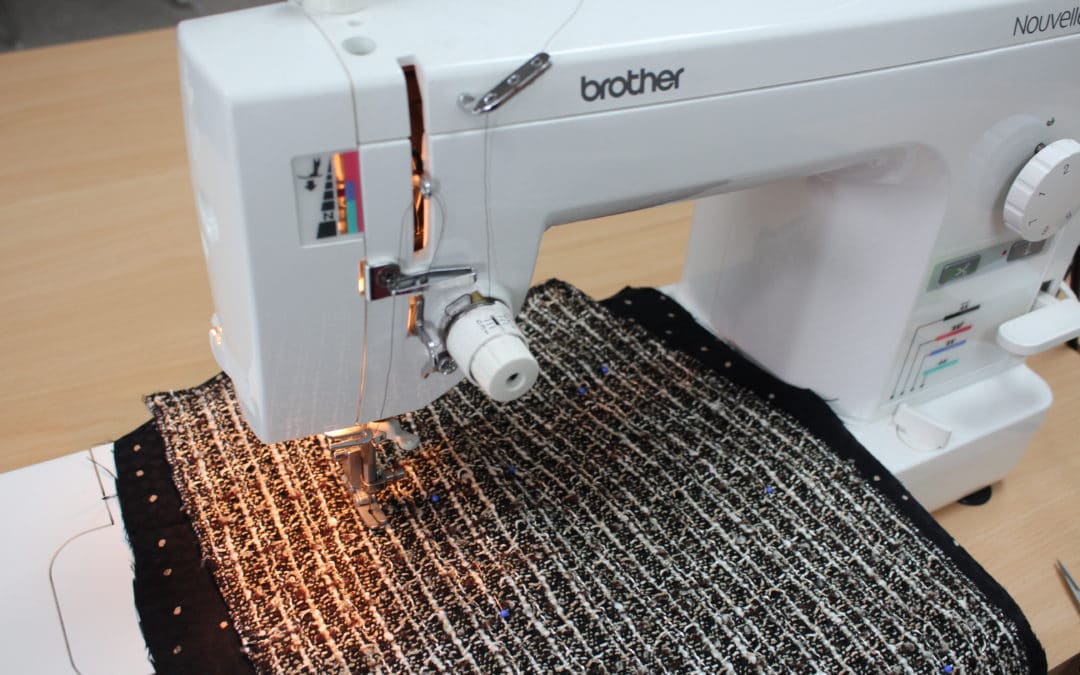
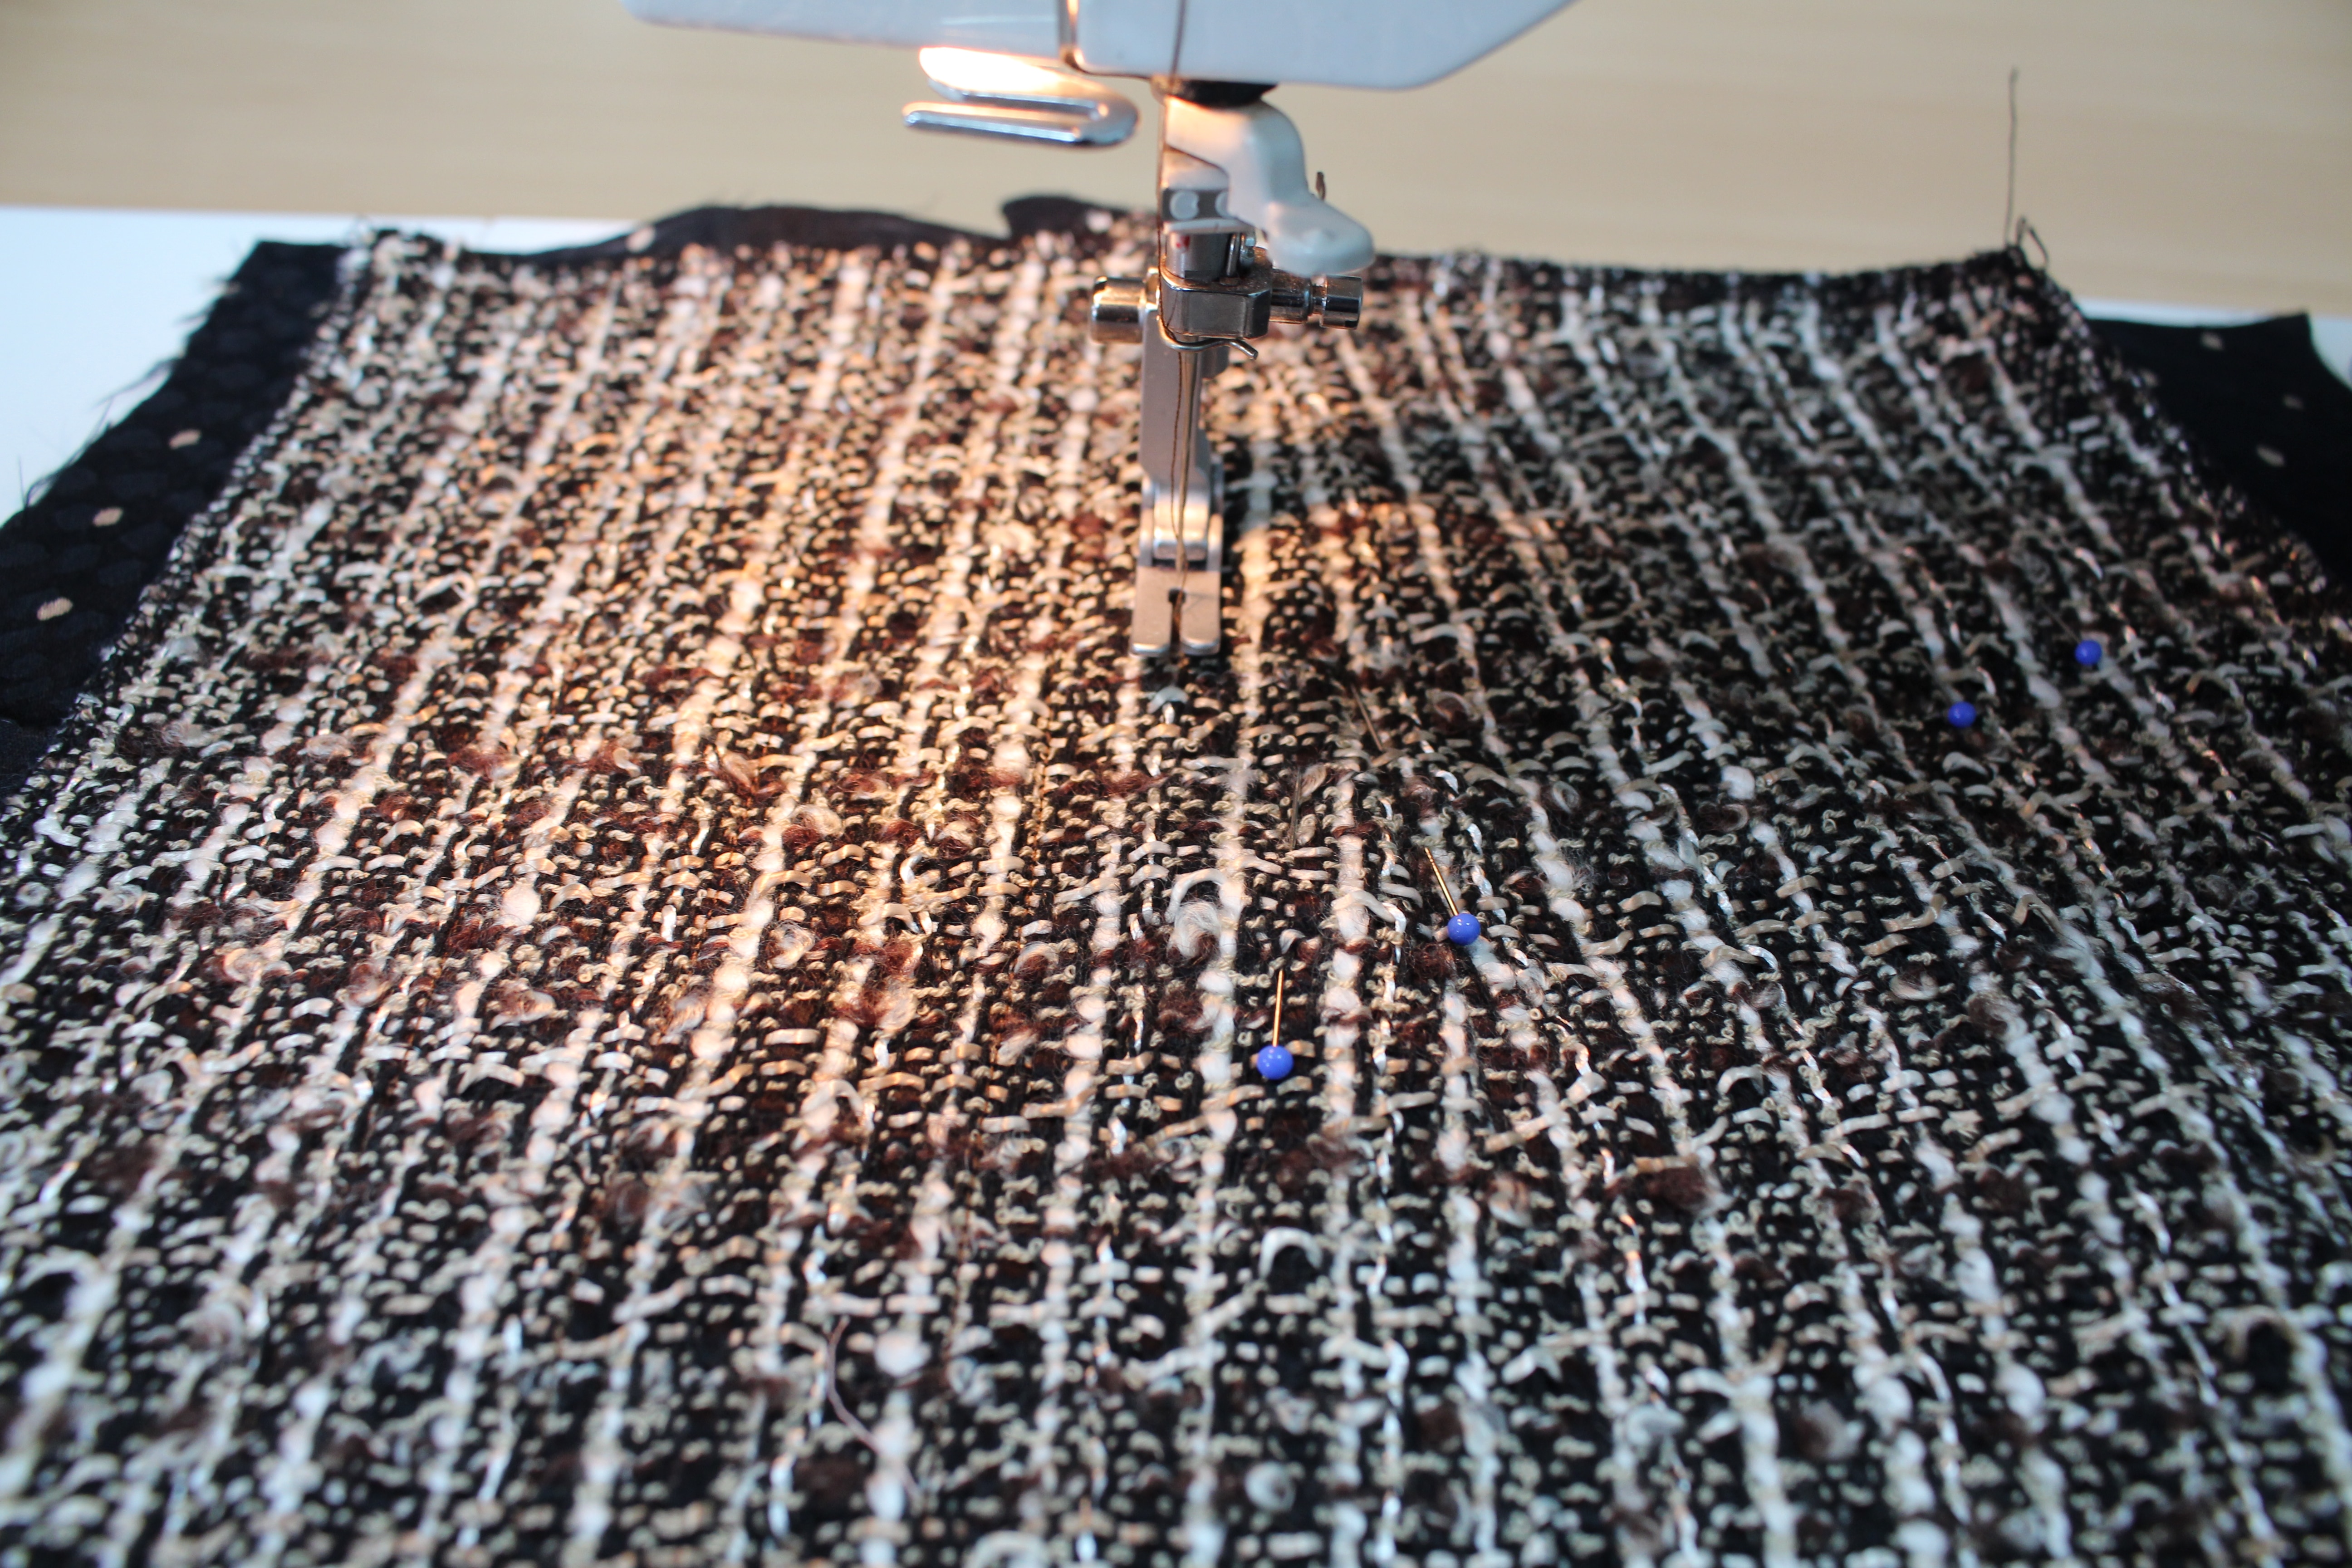
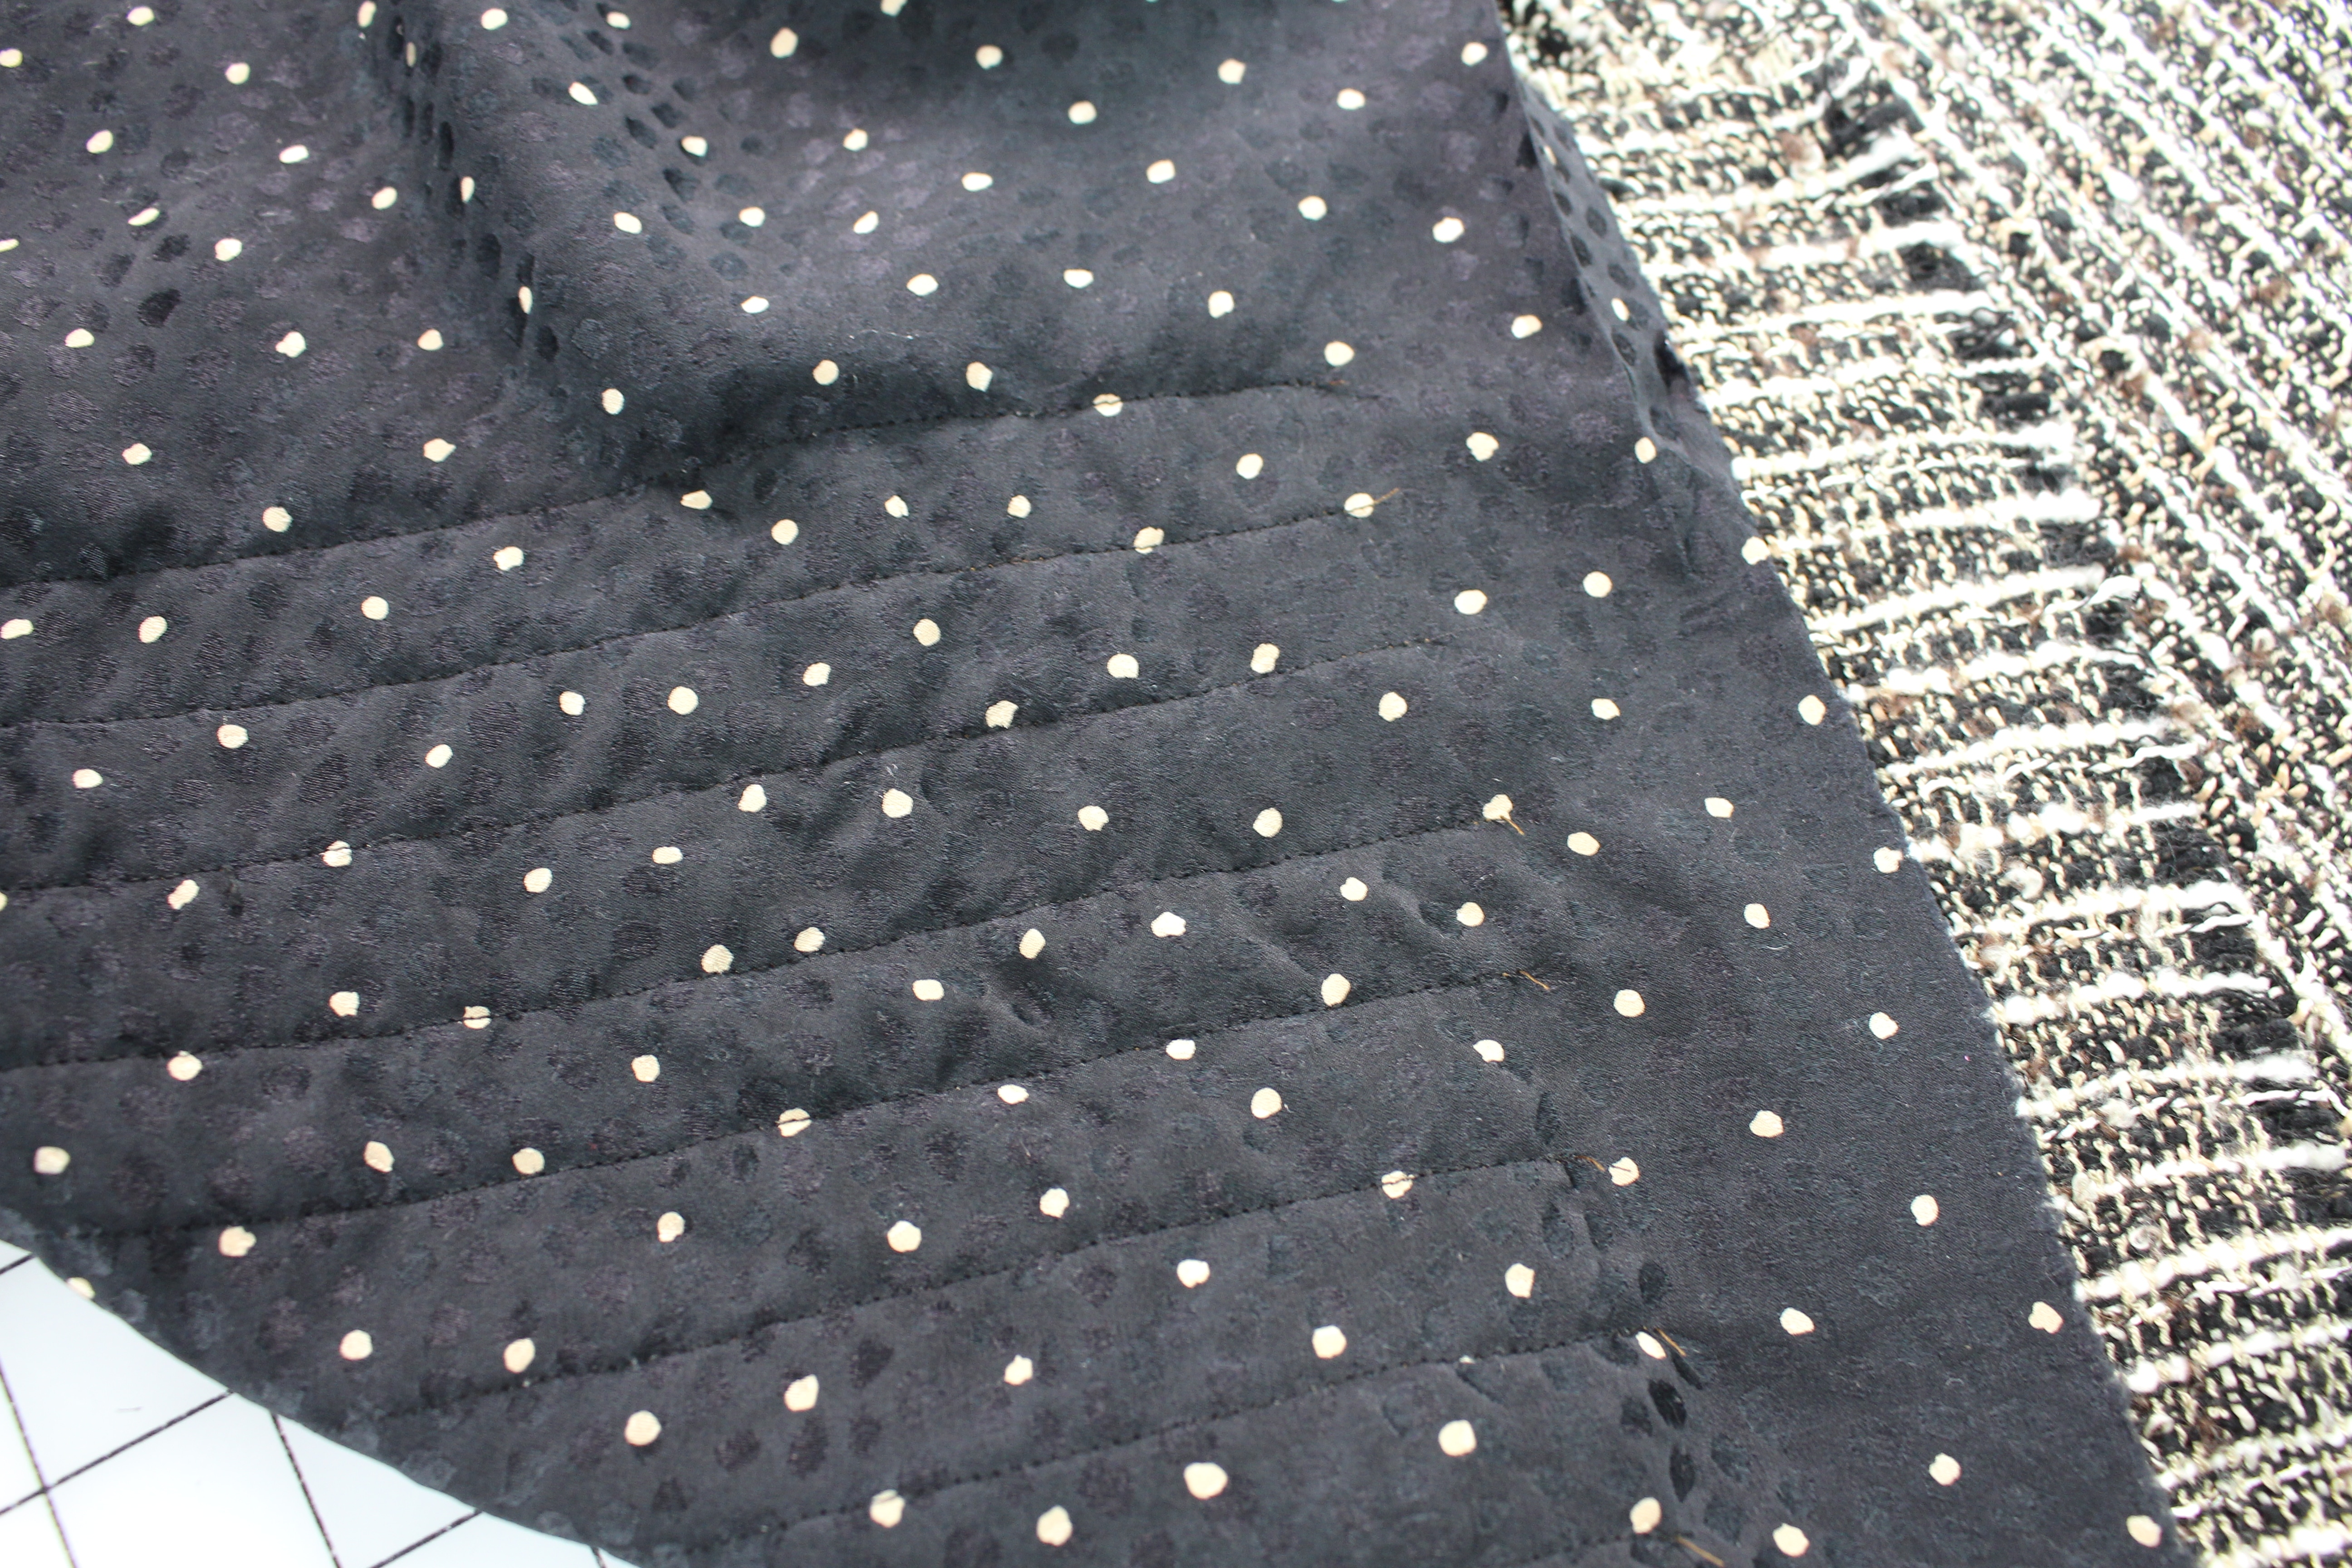
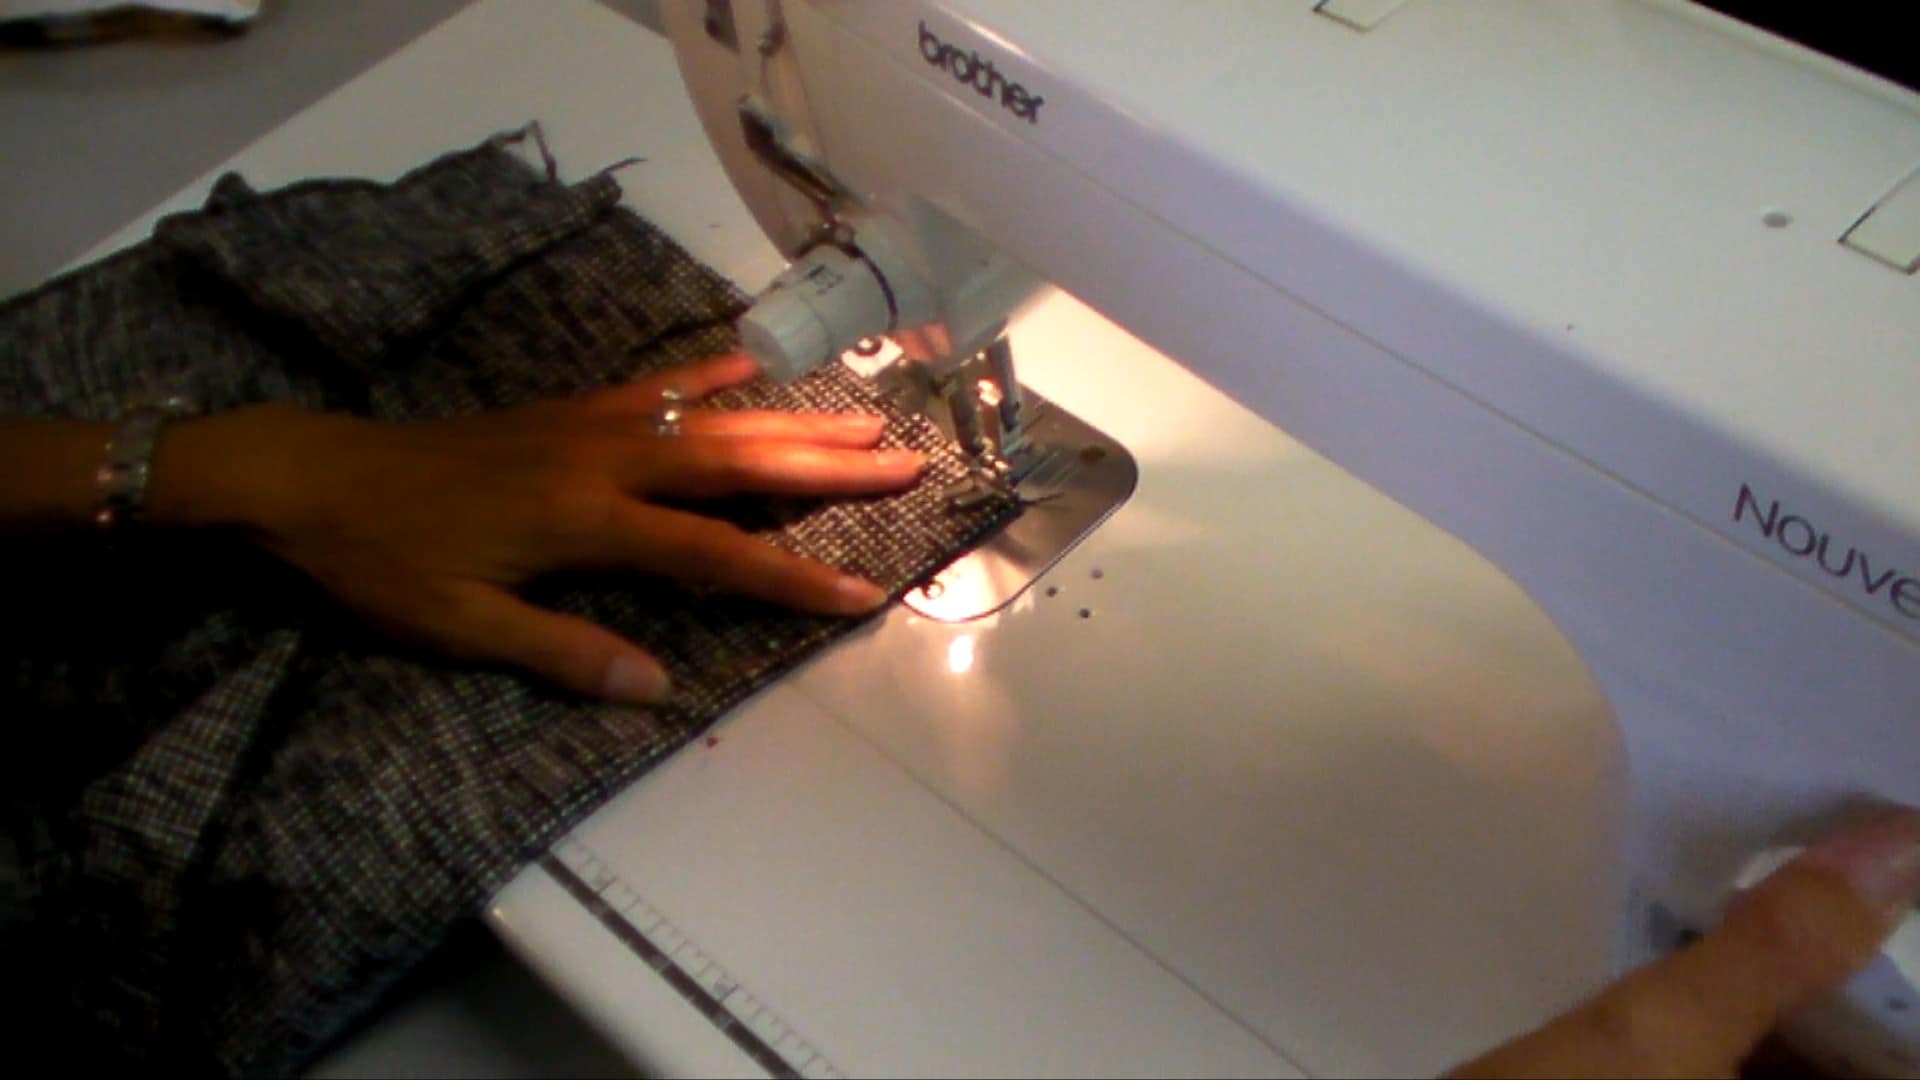
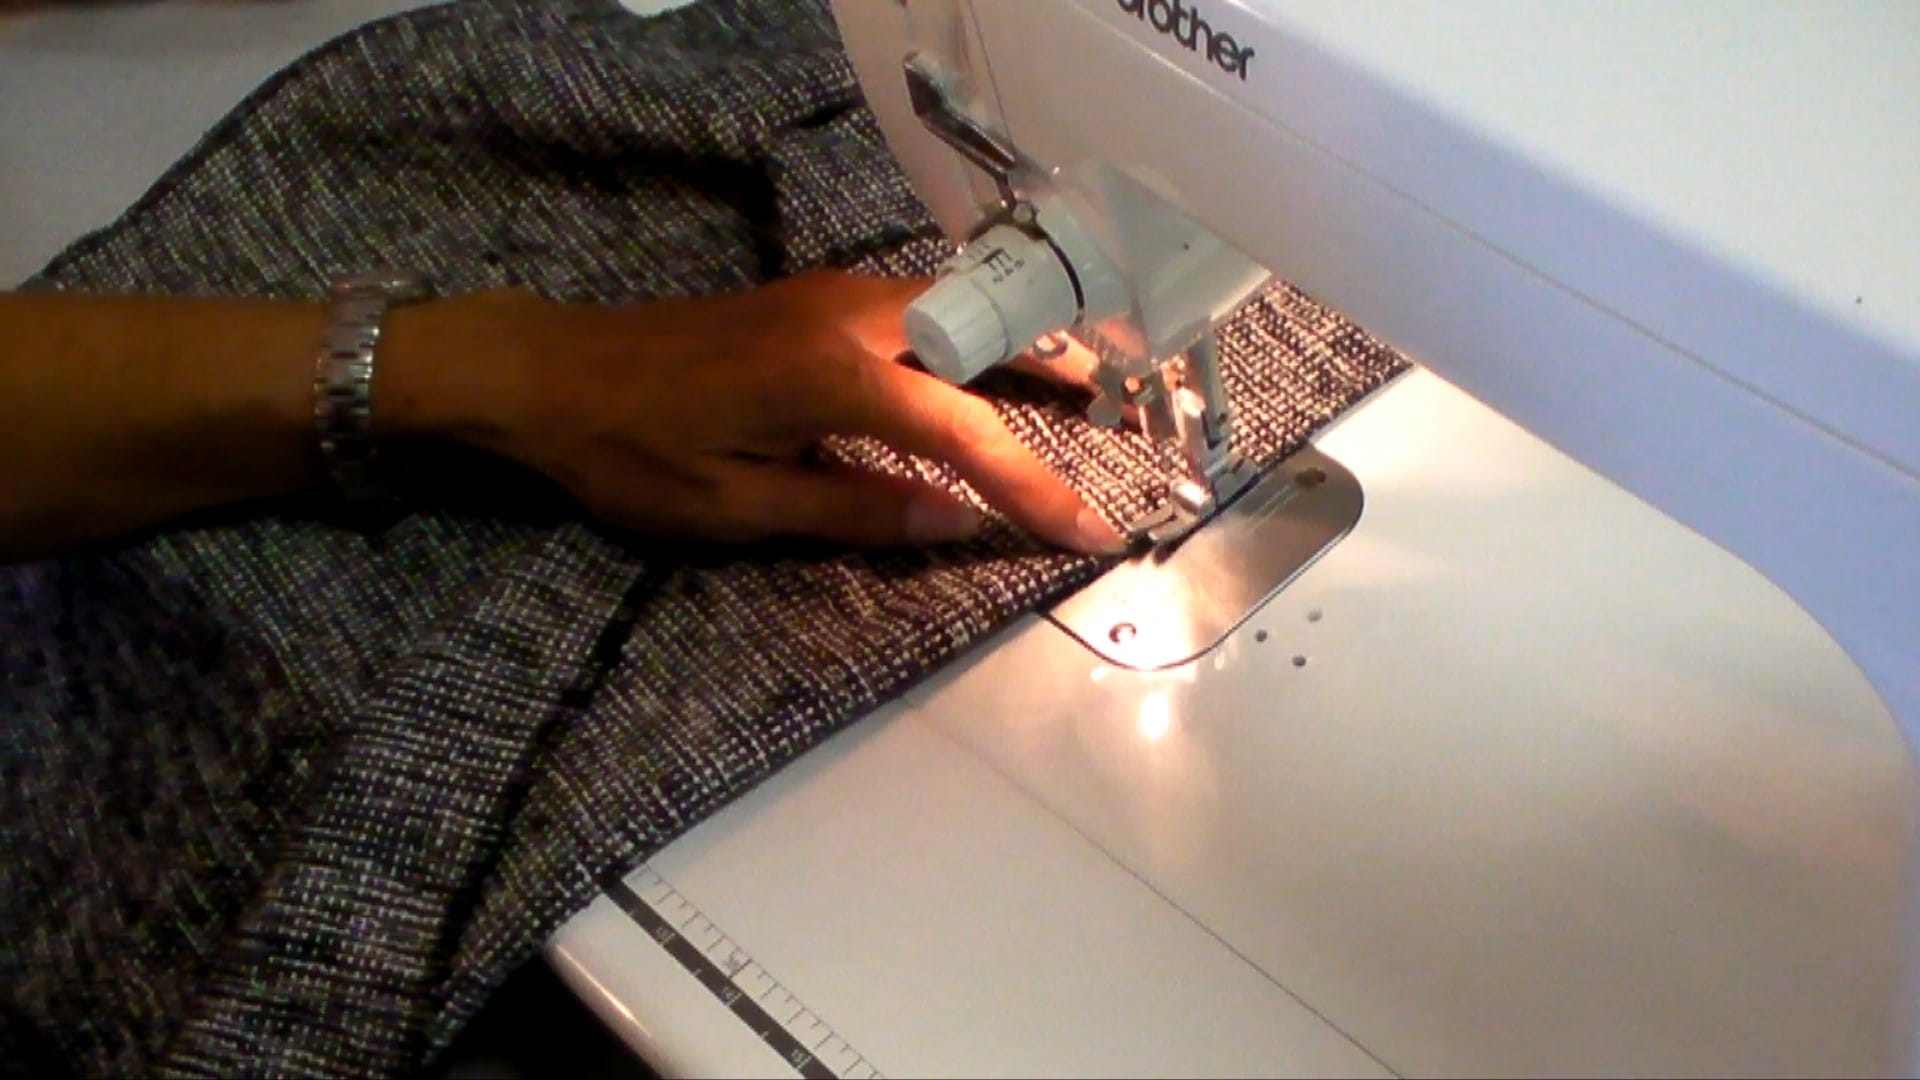
Starting at the top of the waistline in the center of the skirt, line up the needle with the grainline and stitch from the top of the skirt down.  I am using a stitch length of 2.5.

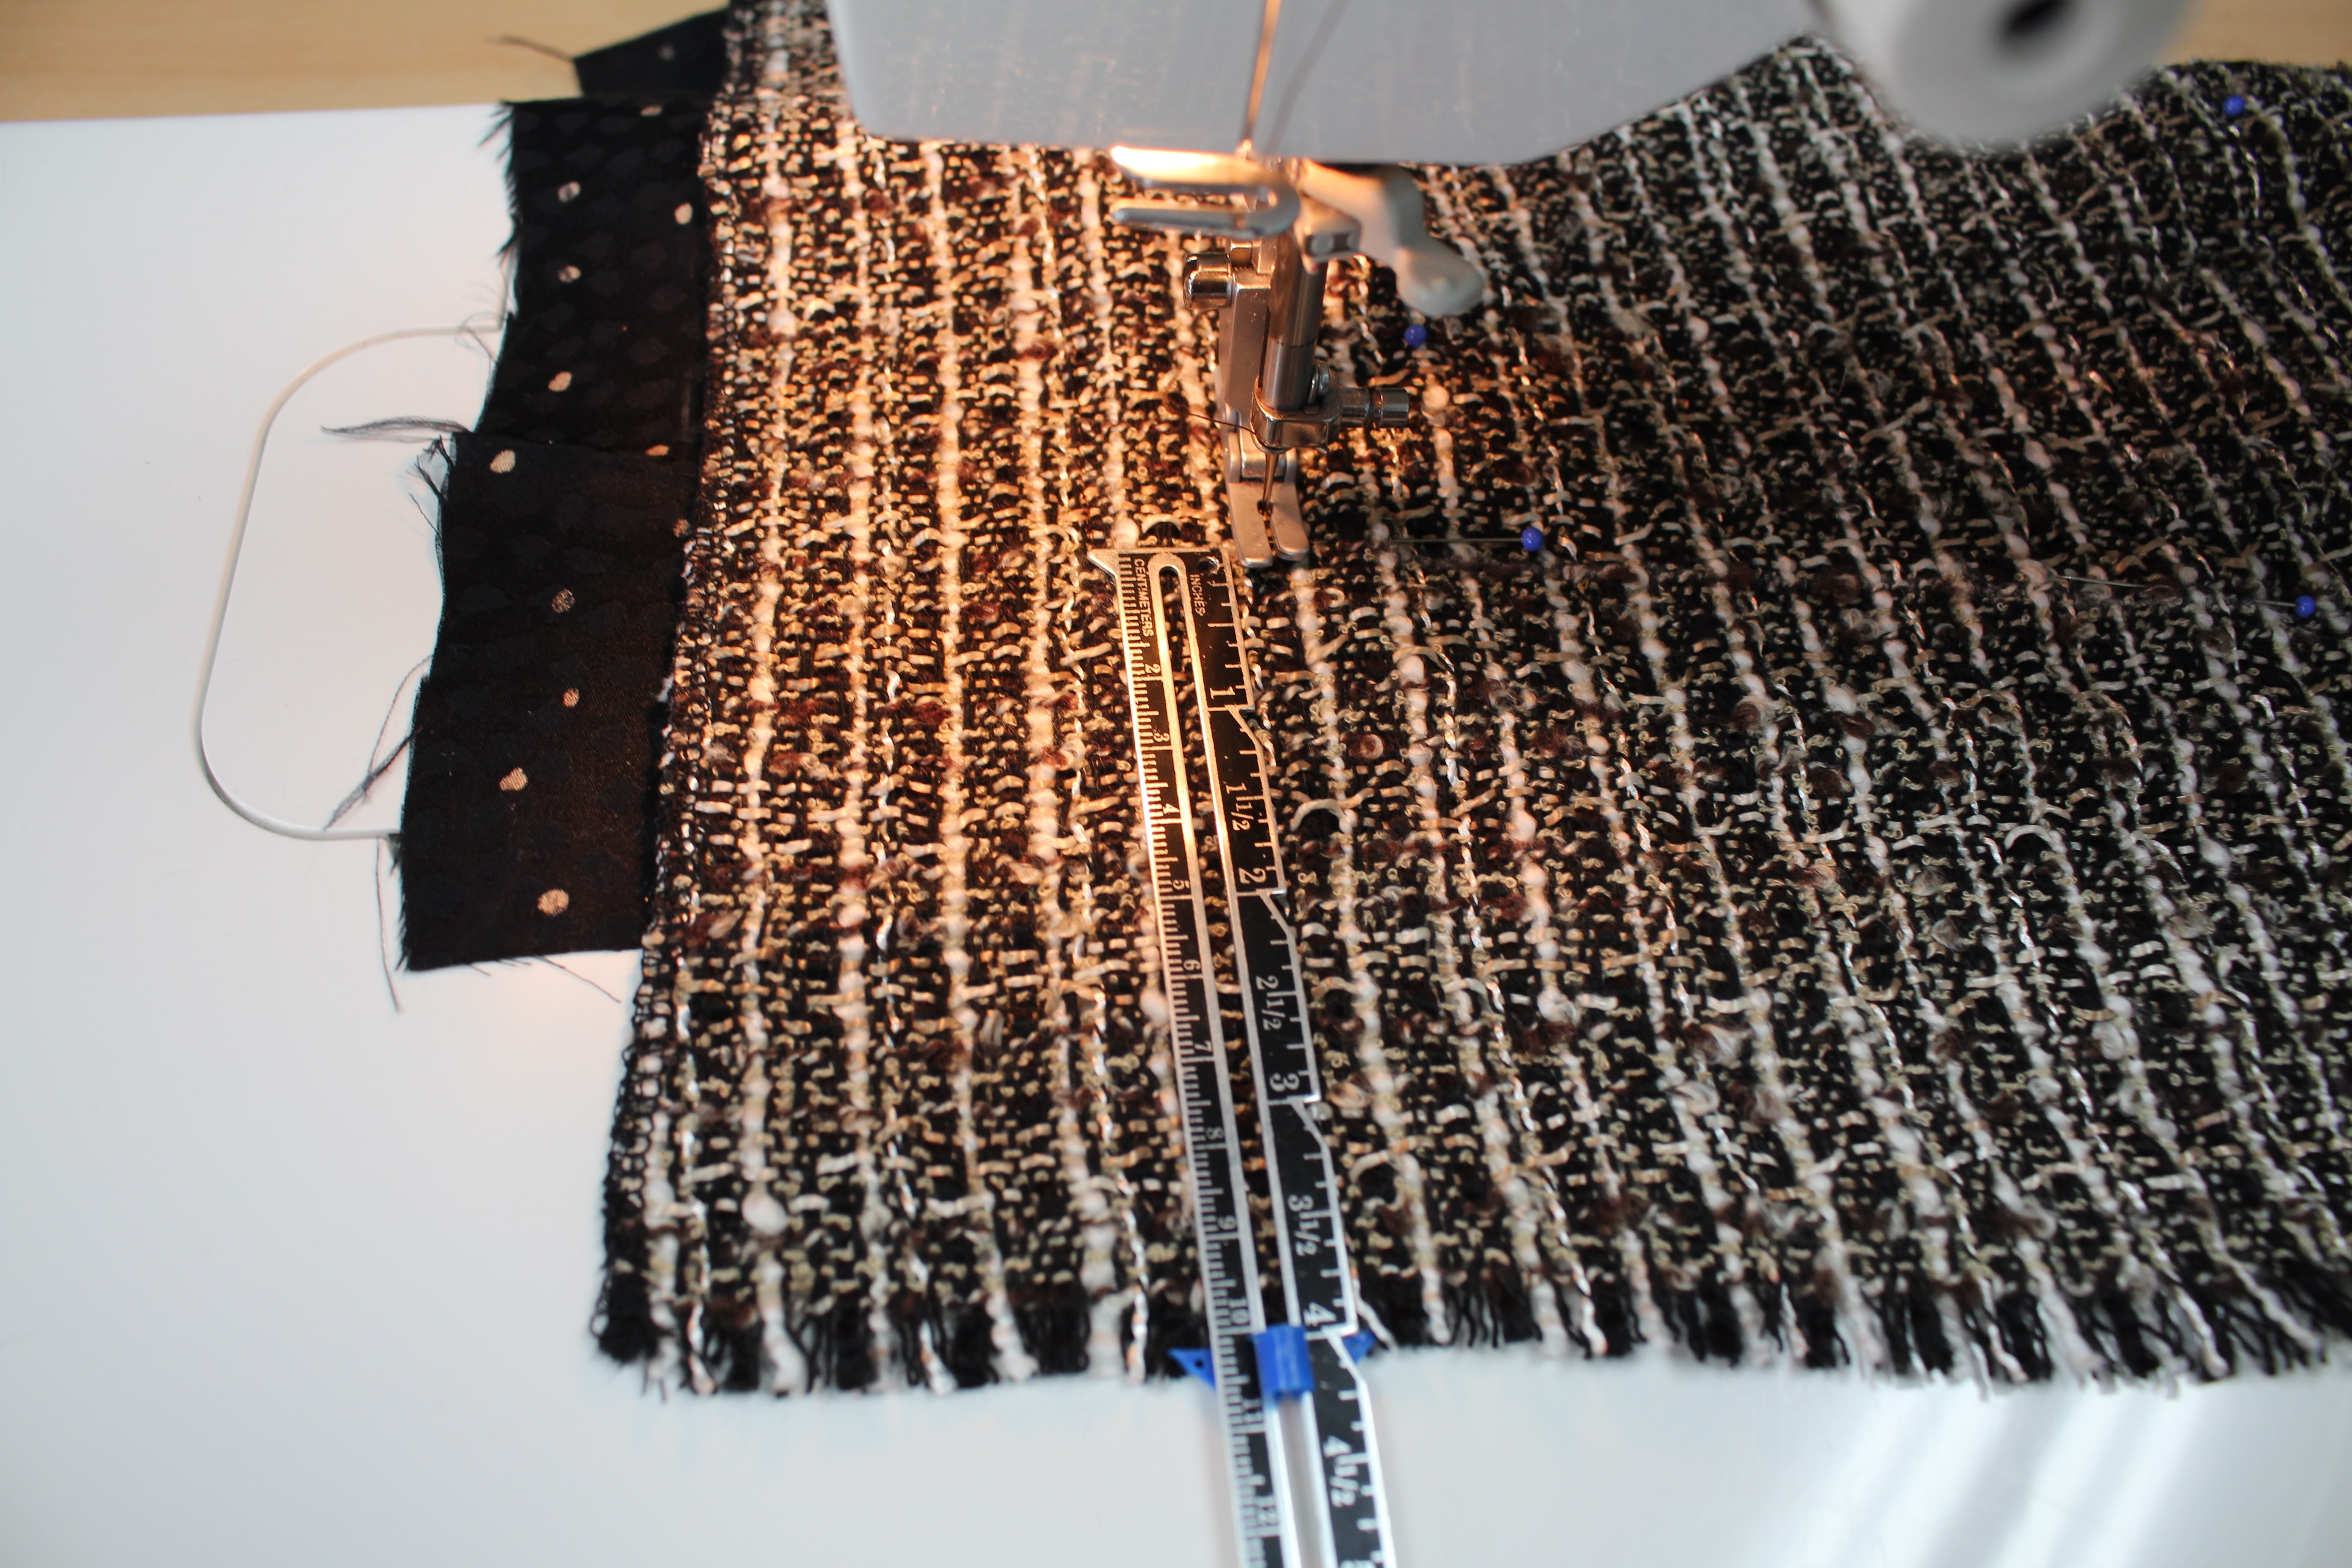
Stop the stitching 1″ to 2″ higher than the top of the fringe placement

Continue to stitch parallel rows 1/2″ to 1″ apart, depending on the fabric design.

Stitch around the darts; stopping or starting the stitches around the dart, not through the dart.

Do not quilt rows within 2″ of the side seam.  This leaves room to sew the seams together and press the seam allowances open.

Quilt the front and both side back pieces


So what do you think – are you going to try this touch of couture on your next tweed skirt?

Let me know your thoughts in the comments below and don’t forget to join the Angela Wolf Patterns Private Facebook Group to share photos, ask questions, and share ideas with your fellow sewer’s!

Cheers,

The Sewalong Schedule:

  1. Fabric & Sourcing (February 10. 2017)
  2. Fitting & Patternhacking  (February 16. 2017)
  3. Cutting & Prep  (February 21. 2017)
  4. All About Darts  (February 23. 2017)
  5. Quilting the Lining  (February 28. 2017)
  6. Invisible Zipper’s  (March 2. 2017)
  7. Waistbands  (March 7. 2017)
  8. Hemming & Fringe  (March 9. 2017)
  9. Show off in the Angela Wolf Facebook Group! 
Sewing News LIVE  Join Brother Brand Ambassadors Angela Wolf, Emily Thompson from Life Sew Savory, and Cindy Hogan from Cynthia’s Embroidery talking quick and easy sewing and crafting projects!  Emily…

Sewing News LIVE Join Brother Brand Ambassadors Angela Wolf, Emily Thompson from Life Sew Savory, and Cindy Hogan from Cynthia’s Embroidery talking quick and easy sewing and crafting projects! Emily…

Sewing News LIVE Join Brother Brand Ambassadors Angela Wolf, Emily Thompson from Life Sew Savory, and Cindy Hogan from Cynthia's Embroidery talking quick and easy sewing and crafting projects! Emily will share her 6 minute leggings for kids tutorial. We will be...
Fringe Skirt Sewalong Part 4: Sewing & Fitting Darts

Fringe Skirt Sewalong Part 4: Sewing & Fitting Darts

Darts have a unique role in clothing.  The obvious reason for adding darts would be for fitting purposes, but they are also used as a design element.  After you try on your muslin, you might find that you need to add additional darts to the front or back waist – this is common if you have a tiny waist.

Any easy way to determine if you will need to add darts is to measure your waist and hips.  A standard pattern will have the waist and hips with a 10 inch difference.

For example:  your natural waist measurement is 26″ and your hips are 40″

A standard pattern would have 40″ hips with a 30″ waist, you would probably need to add 2 darts in order to take in that extra 4″ or your waistband would have a big gap.  Get the idea 🙂

TRANSFERRING DARTS TO THE FABRIC


  • Start by clipping small notches at the waistband at each dart location: a snip at each dart opening.


  • Place a pin through all the layers of muslin and fabric at the tip of the dart


  • On the wrong side of the fabric, find the pin marking the tip of the dart


  • Fold the fabric with right sides together at the dart location


  • Match up the snips at the waistline


Sewing the Darts


  • Start stitching at the largest part of the dart


  • When you get toward the tip of the dart, instead of back-stitching, shorten the stitch length and stitch.  This is less bulk than back-stitching.


Pressing Darts

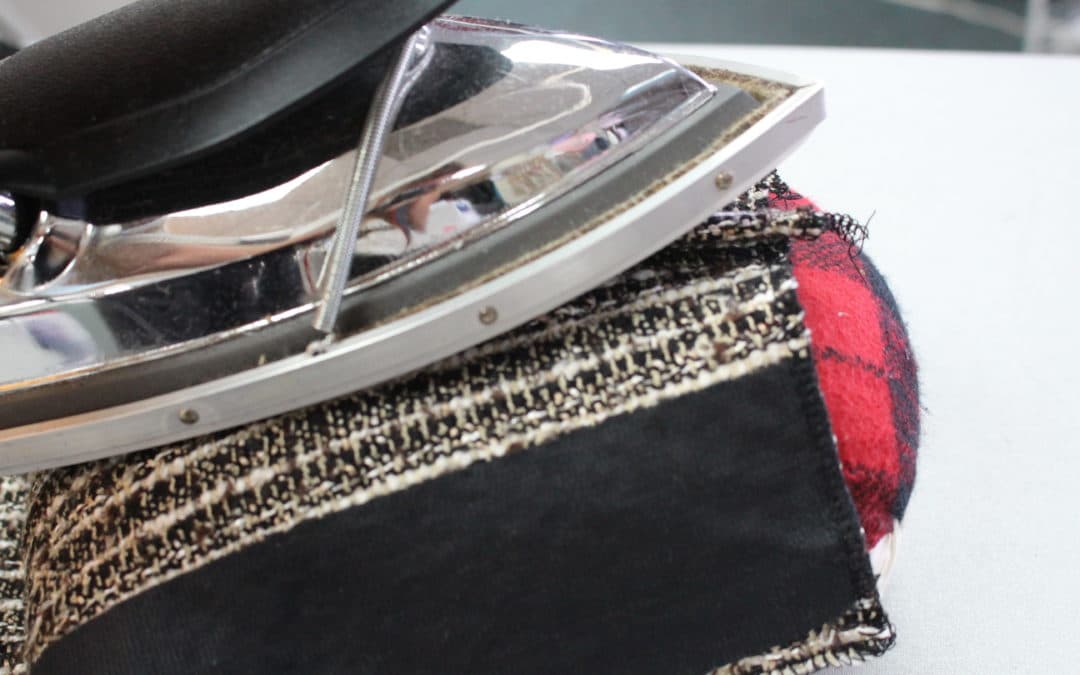
Pressing is the most important part of sewing!  Here is a “Dressmaker Ham”.   On the main side of the pressing ham, the curve matches the curve of a dart.  Why not just press the dart flat on the ironing board?  Because the point of the dart is to accommodate your curves, so you need to press the same curve. Remember to use a lot of steam and the tailors clapper for a crisp edge.

Angela Wolf’s Weekly Facebook Live Show … Lets Talk Dart’s

In case you missed last week’s show, I discussed fitting darts on a dress form and couture sewing tips for altering the curve of the dart for your shape. Click on the video below …

Fringe Skirt Sewalong

It’s not too late to join the fringe skirt sewalong!  Here is the full list of lessons.  See you in the Angela Wolf Facebook Group for comments and questions!  Can’t wait to see your skirts coming together!!!

Cheers,

<div id="fb-root"></div><!-- [et_pb_line_break_holder] --><script>(function(d, s, id) {<!-- [et_pb_line_break_holder] --> var js, fjs = d.getElementsByTagName(s)[0];<!-- [et_pb_line_break_holder] --> if (d.getElementById(id)) return;<!-- [et_pb_line_break_holder] --> js = d.createElement(s); js.id = id;<!-- [et_pb_line_break_holder] --> js.src = "//connect.facebook.net/en_US/sdk.js#xfbml=1&version=v2.8&appId=750948031719233";<!-- [et_pb_line_break_holder] --> fjs.parentNode.insertBefore(js, fjs);<!-- [et_pb_line_break_holder] -->}(document, 'script', 'facebook-jssdk'));</script>
<div class="fb-video" data-href="https://www.facebook.com/AngelaWolfCouture/videos/1444612045569239/" data-width="500" data-show-text="true"><blockquote cite="https://www.facebook.com/AngelaWolfCouture/videos/1444612045569239/" class="fb-xfbml-parse-ignore"><a href="https://www.facebook.com/AngelaWolfCouture/videos/1444612045569239/">Let's Talk Darts!</a><p>Angela Wolf's Live Facebook Show - Let's Talk Darts</p>Posted by <a href="https://www.facebook.com/AngelaWolfCouture/">Angela Wolf</a> on Friday, February 24, 2017</blockquote></div>

The Fringe Skirt Sewalong Schedule:

  1. Fabric & Sourcing (February 10. 2017)
  2. Fitting & Patternhacking  (February 16. 2017)
  3. Cutting & Prep  (February 21. 2017)
  4. All About Darts  (February 23. 2017)
  5. Quilting the Lining  (February 28. 2017)
  6. Invisible Zipper’s  (March 2. 2017)
  7. Waistbands  (March 7. 2017)
  8. Hemming & Fringe  (March 9. 2017)
  9. Show off in the Angela Wolf Facebook Group! 

No Results Found

The page you requested could not be found. Try refining your search, or use the navigation above to locate the post.

Fringe Skirt Sewalong Part 3: Fabric Cutting & Layout

Fringe Skirt Sewalong Part 3: Fabric Cutting & Layout

Laying Out the Pattern & Fabric

We are onto step 3 of the Fringe Skirt Sewalong!  Laying out the pattern and cutting the fabric.  This step is one of the most important steps, because if the fabric is cut off-grain or the fringe cut with the wrong weave the skirt could end up being not so fabulous, if you know what I mean 🙂

Check the Fringe Layout


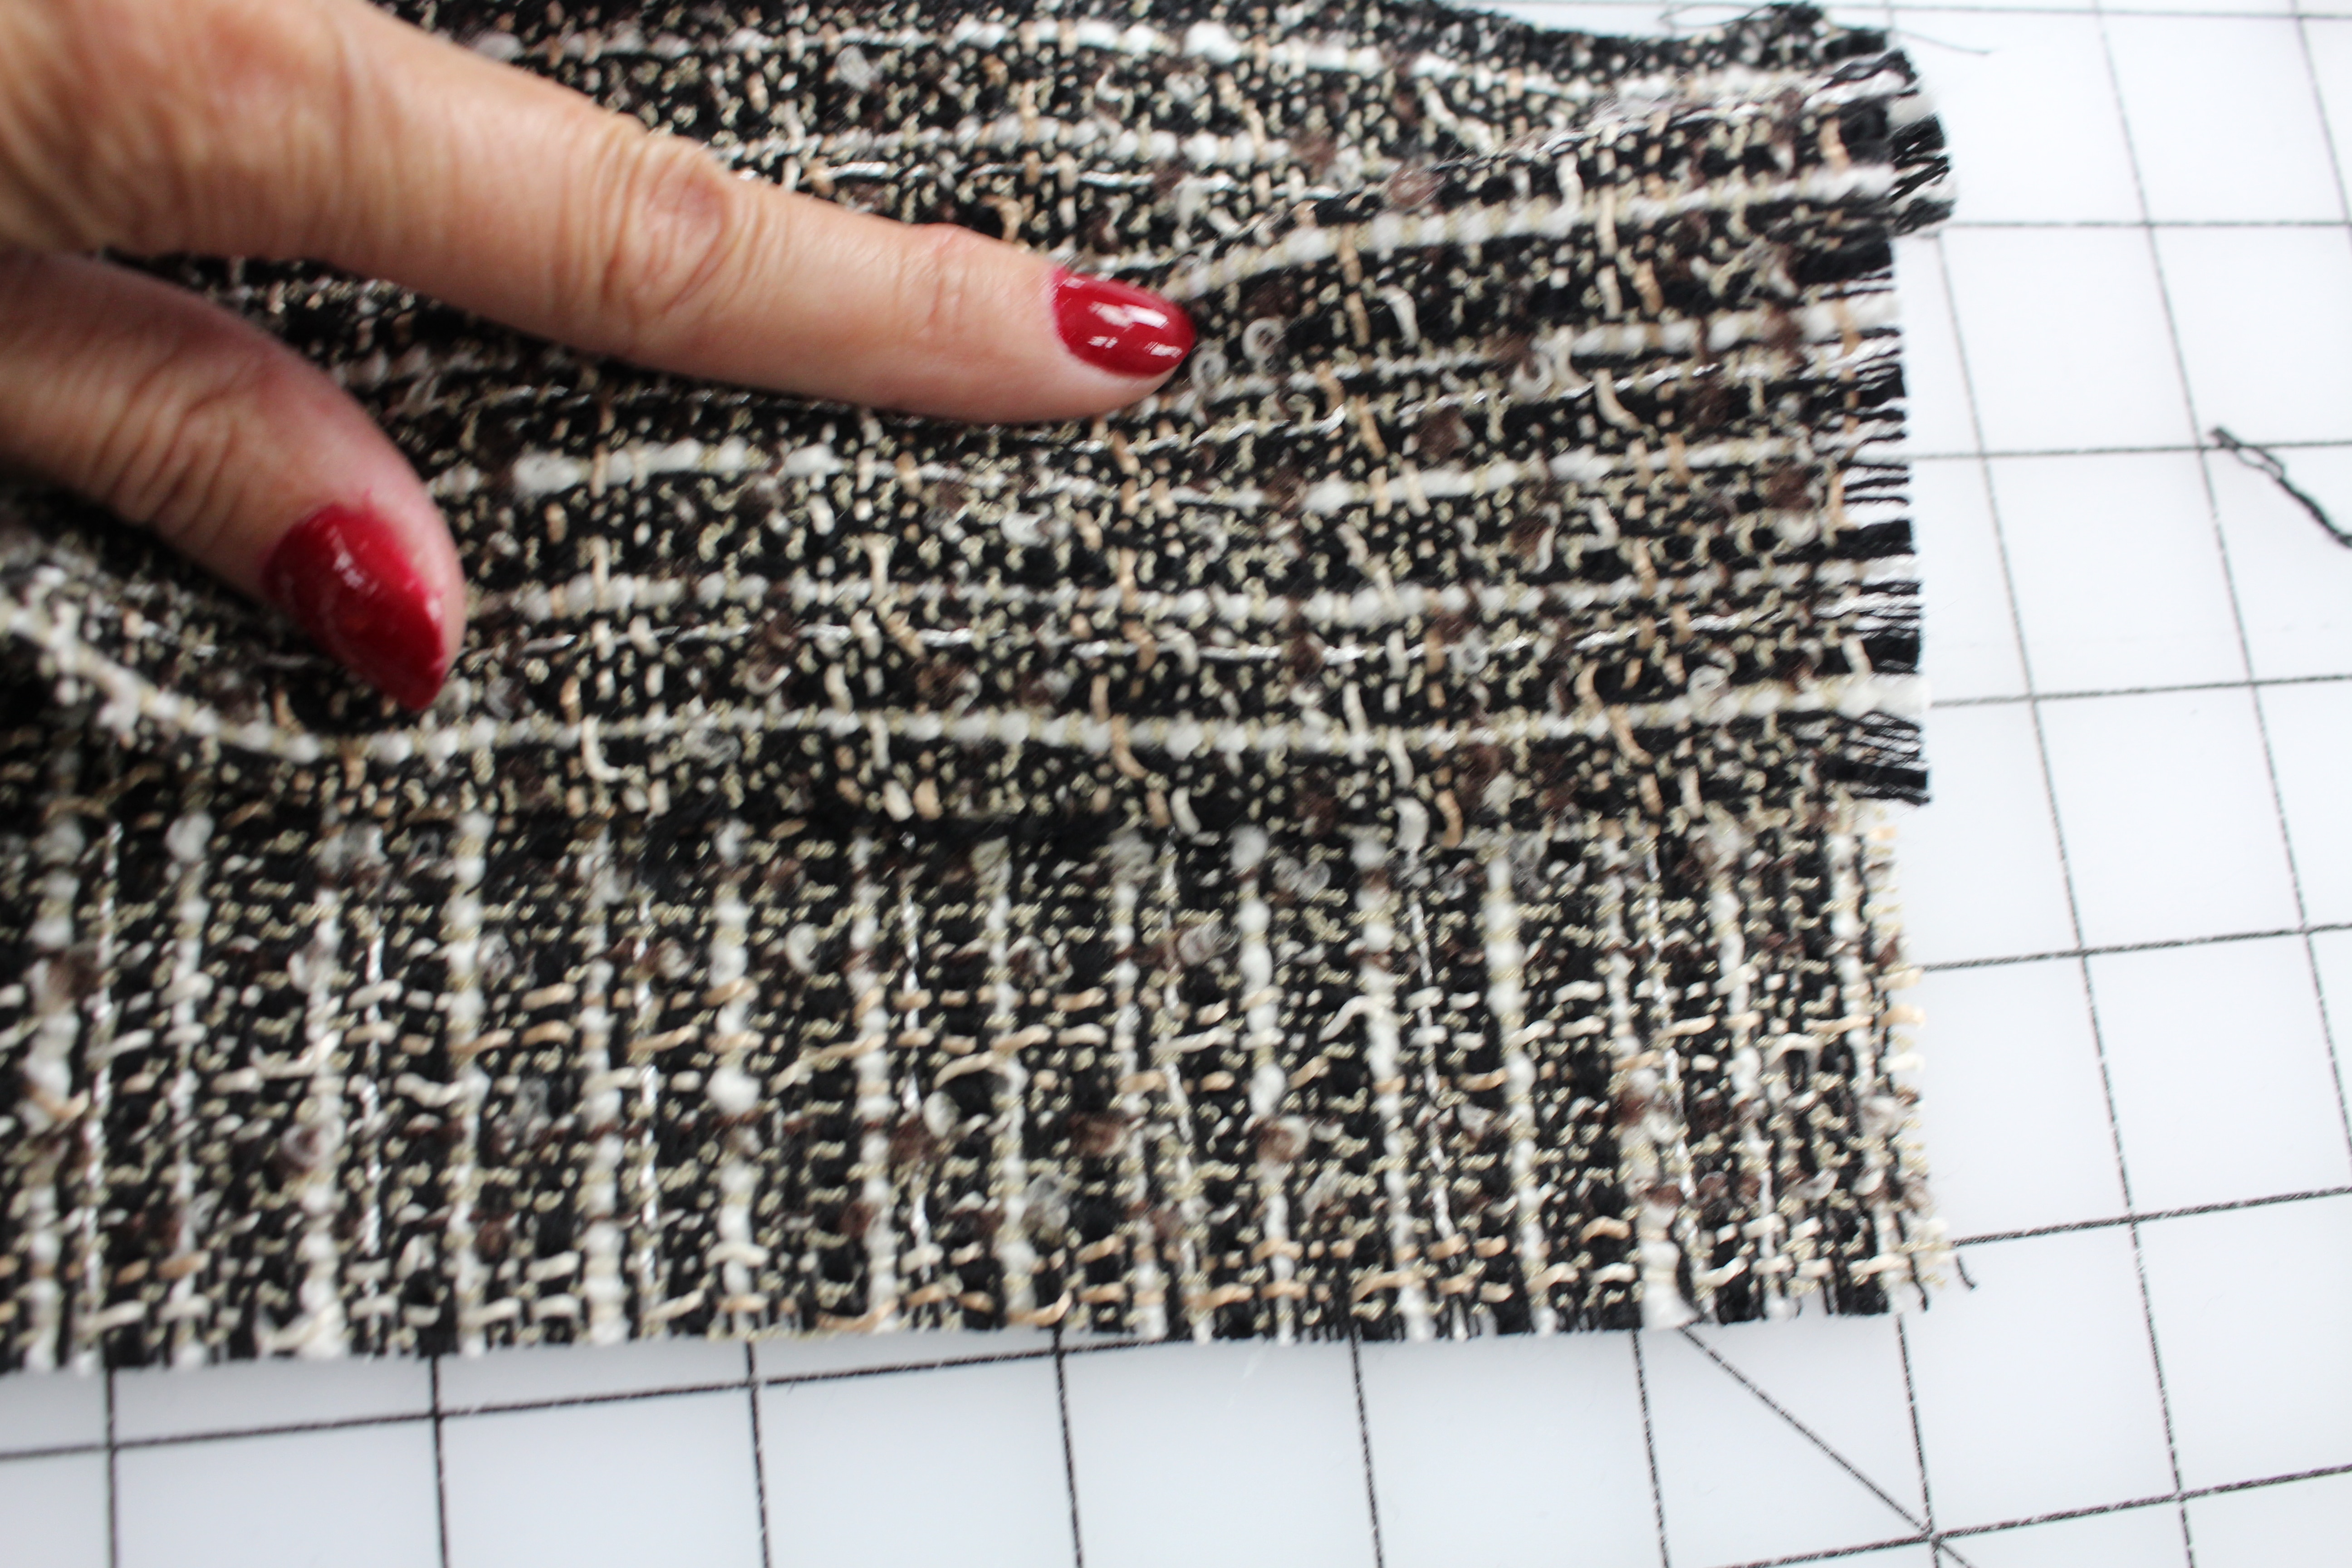
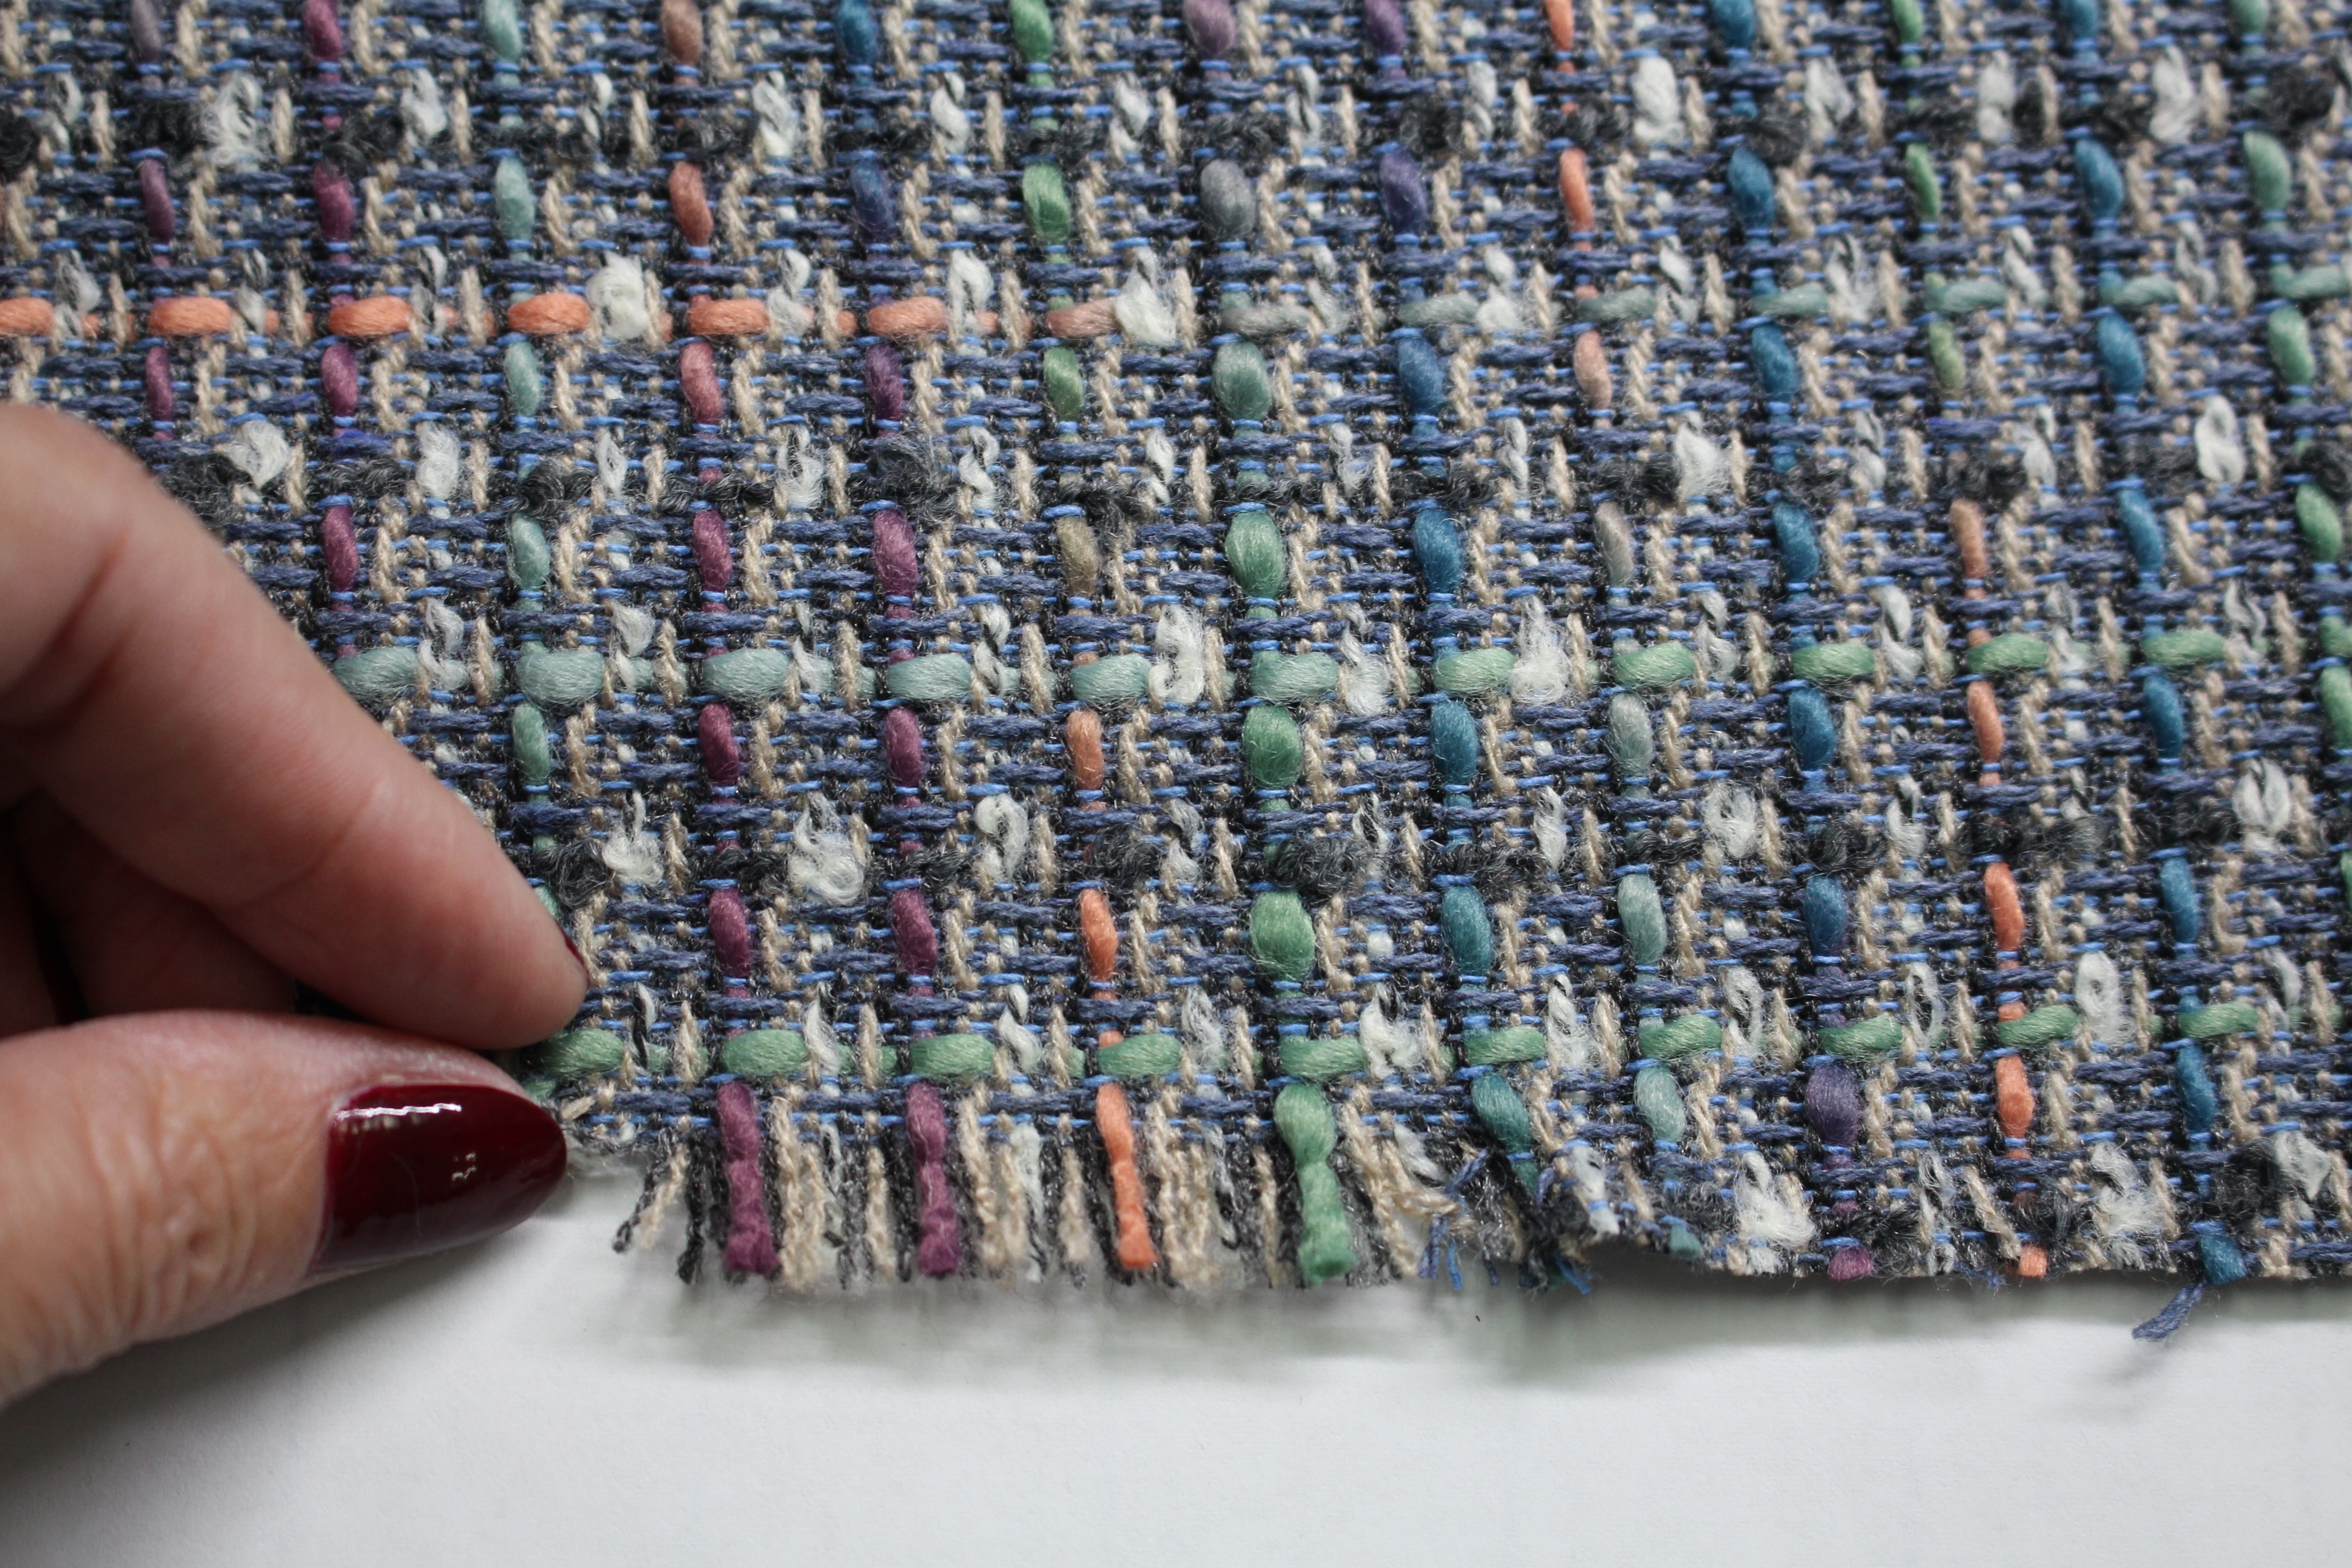
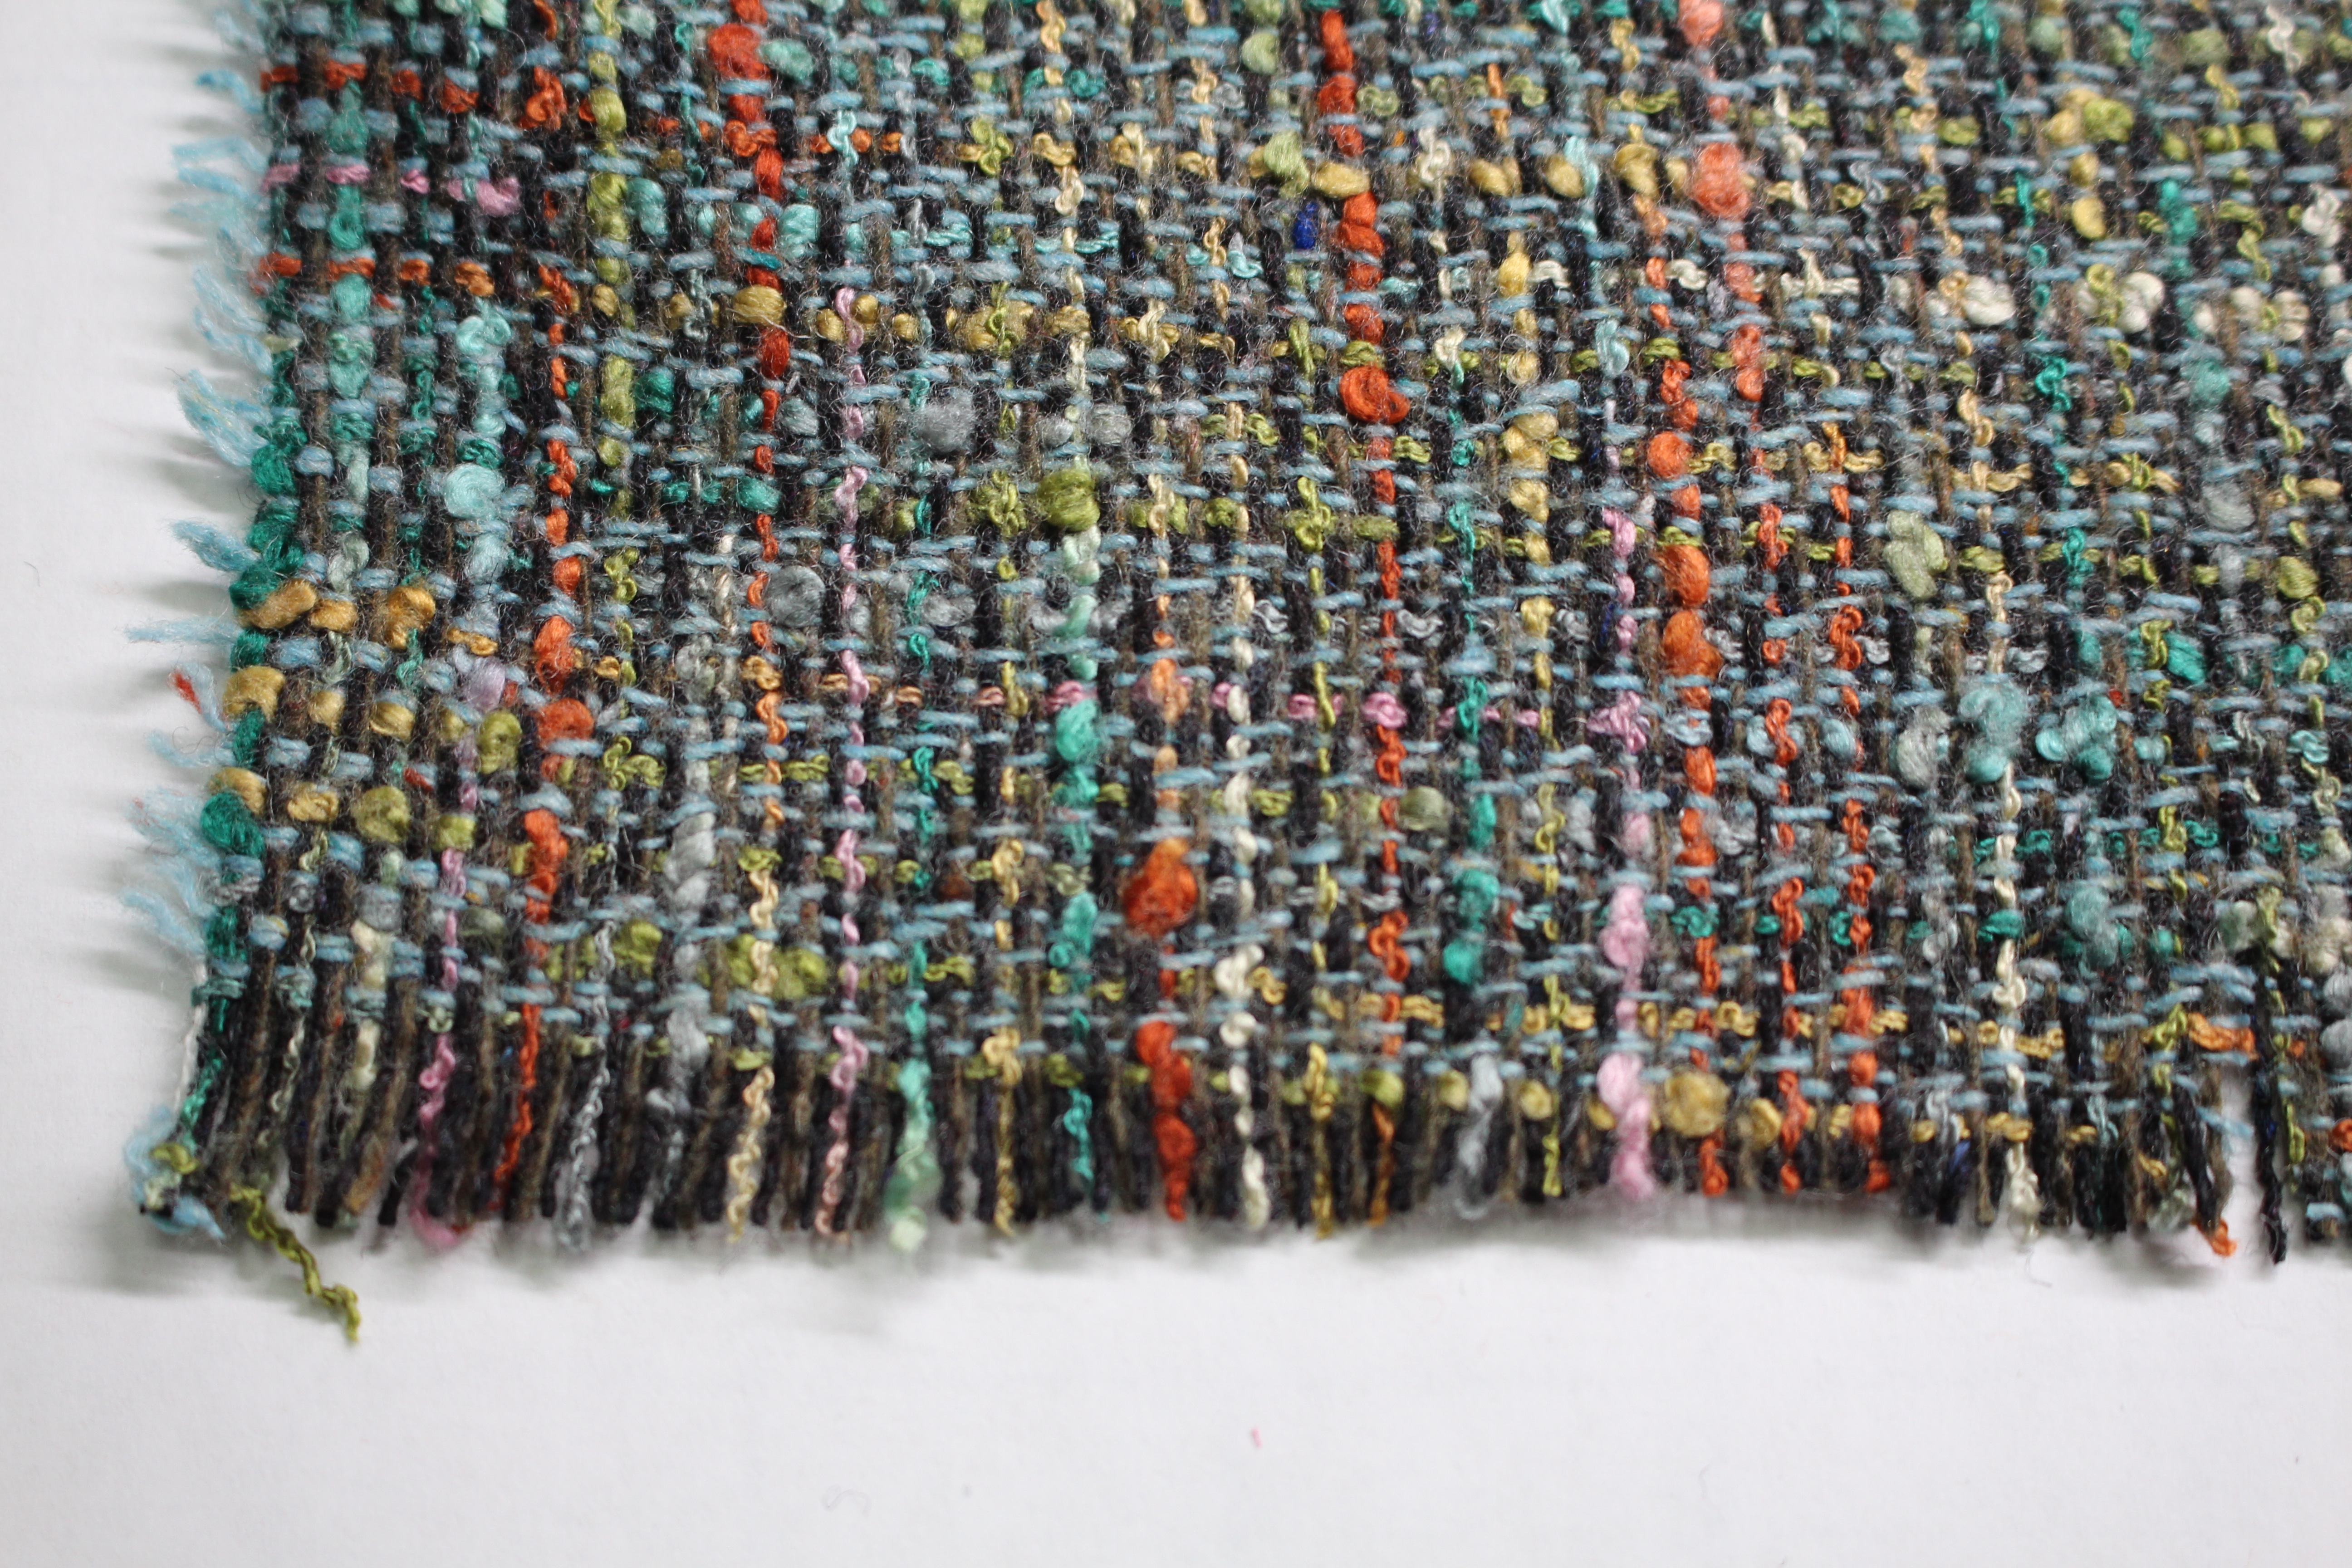
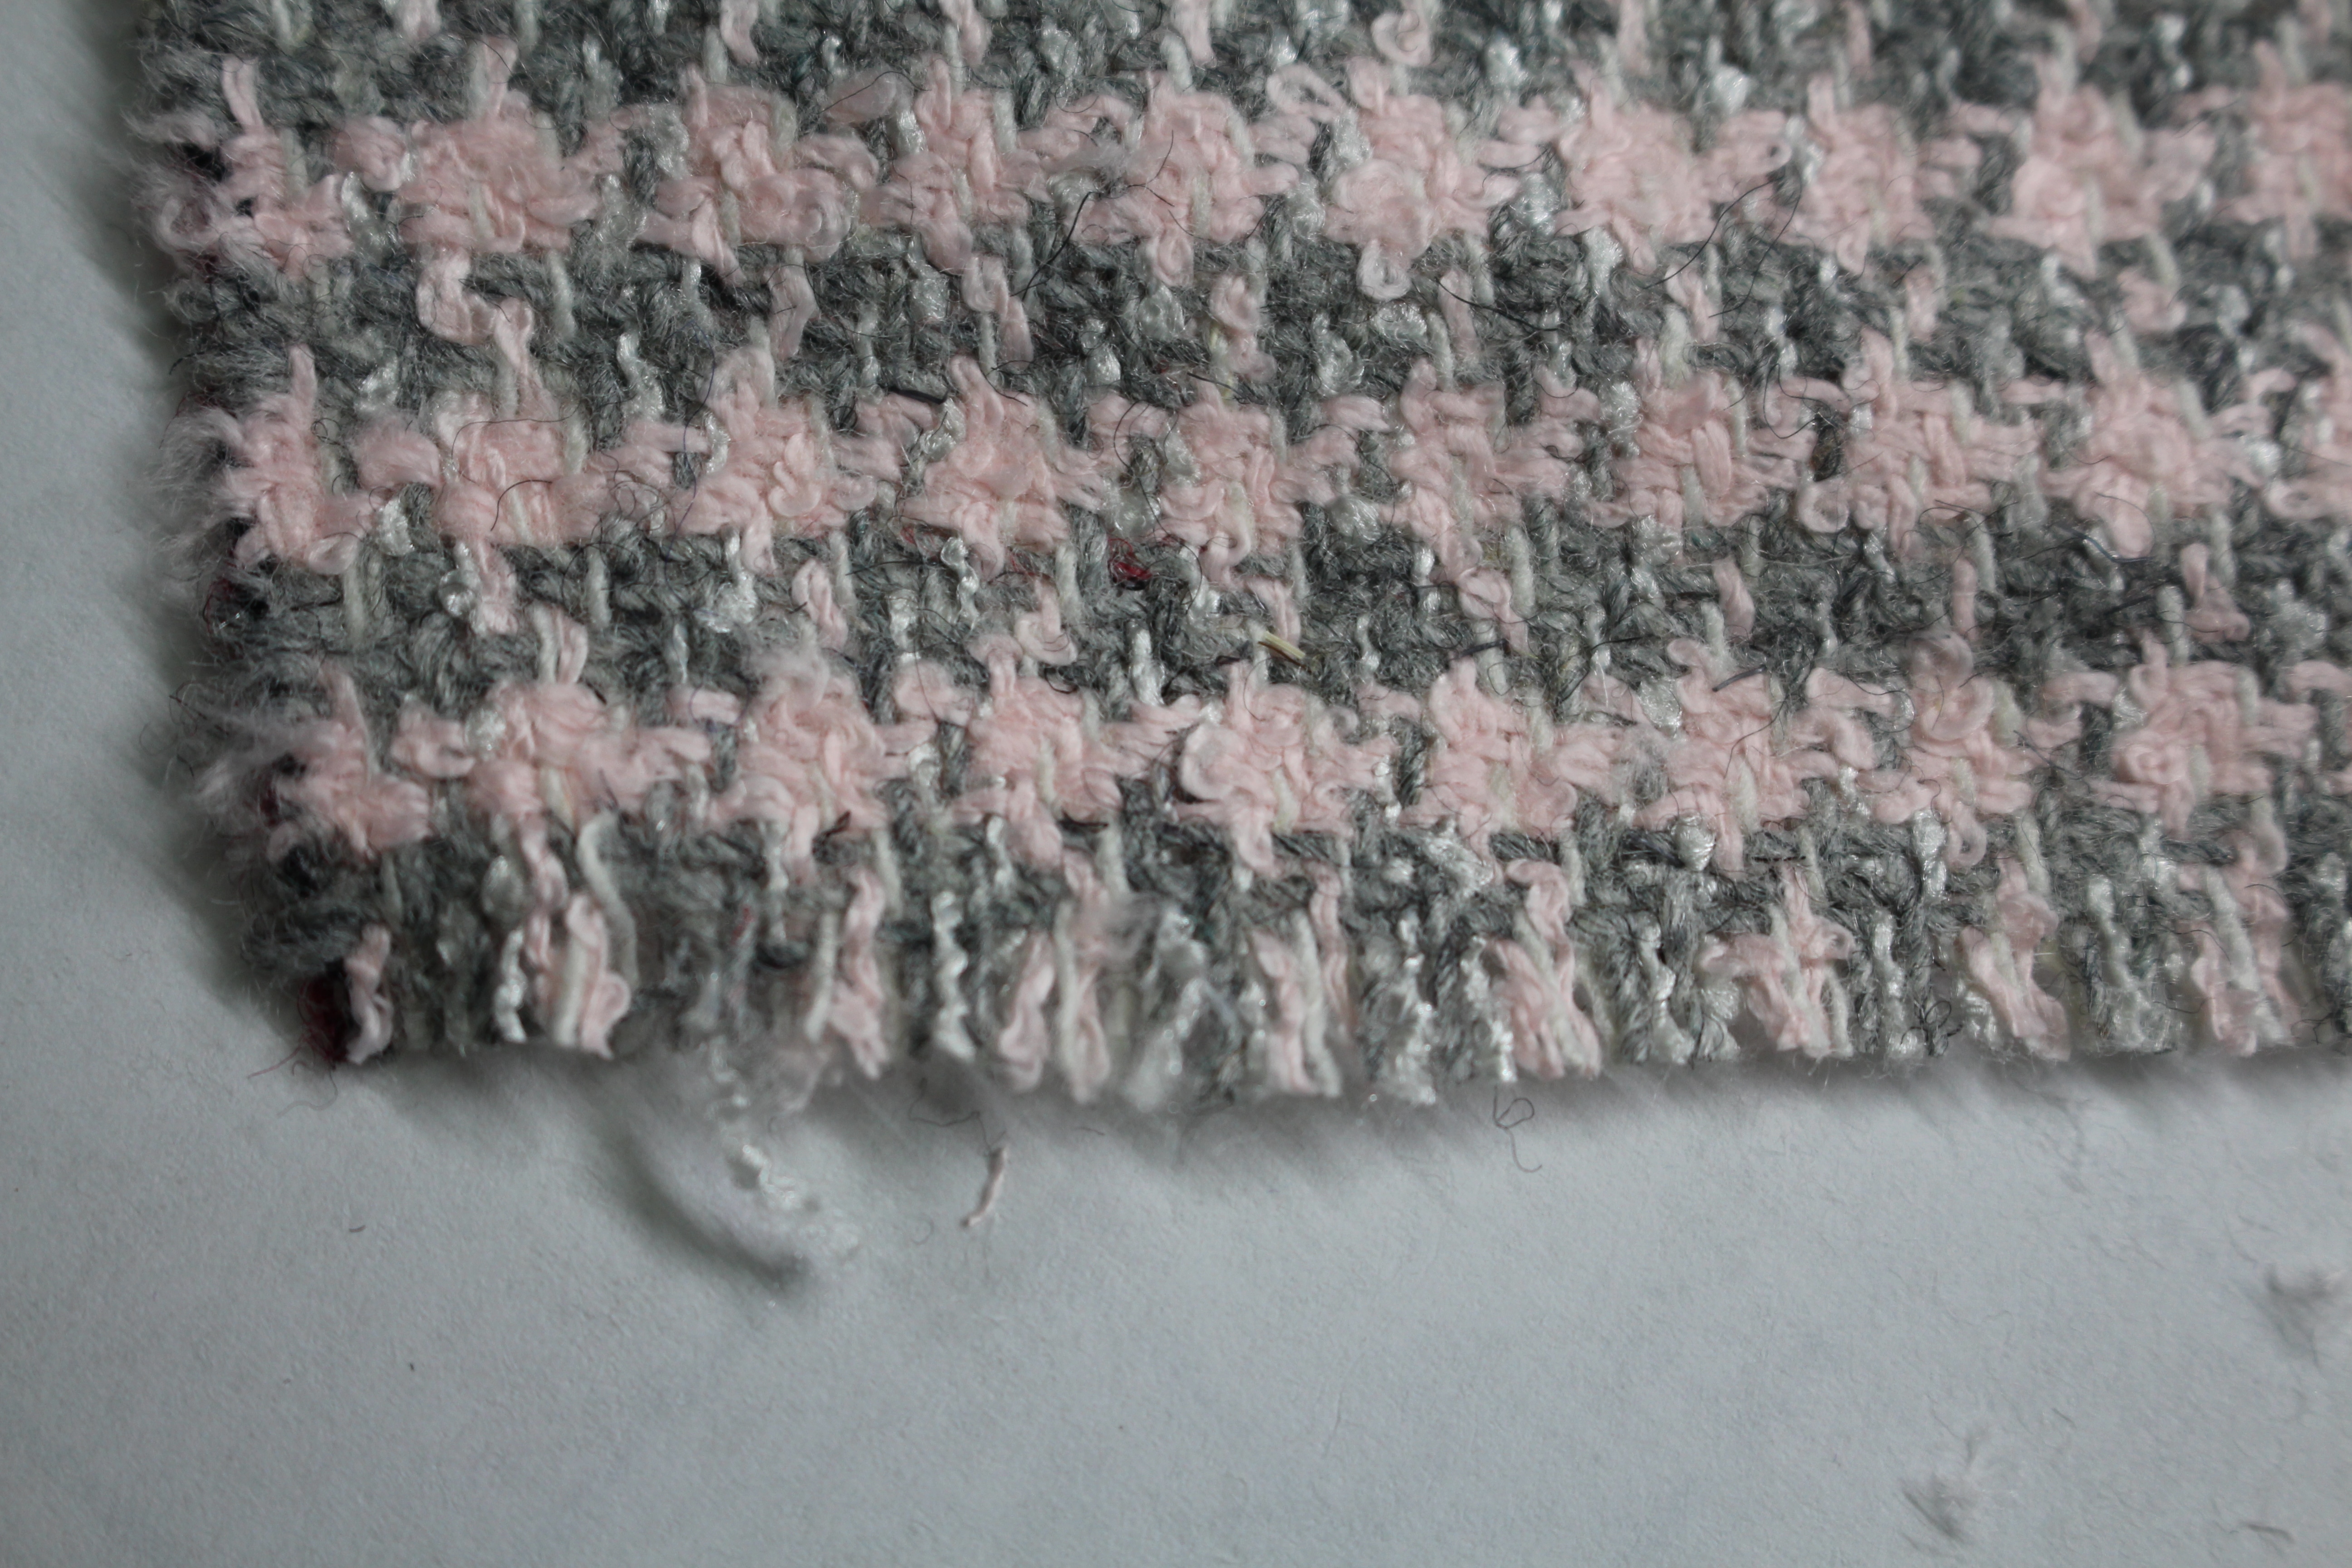
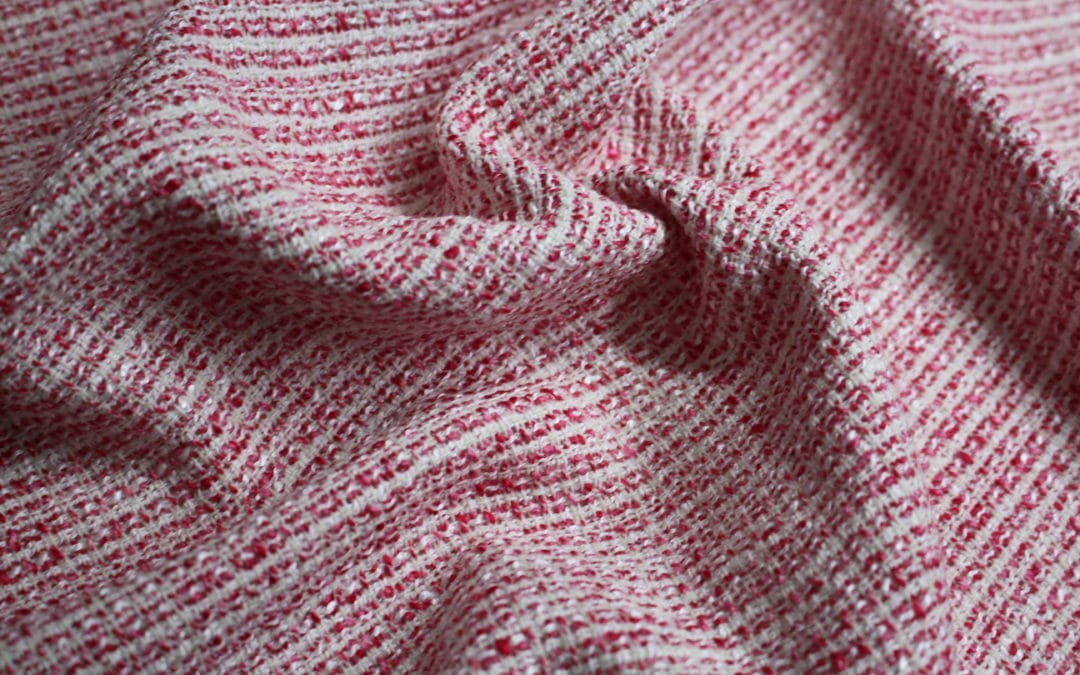
Check the fabric to see which side has the fringe edge you like the most.  Keep in mind this could be the crosswise grainline or lengthwise grainline, or combine them both. Pull away a few strands of the weave in the fabric to see what is left.  Is the fringe full, colorful, all one color … take a look at the samples below:


Keep in mind, the first layer of fringe is attached to the skirt, so layout the skirt pattern the direction where the tweed will look the best.

Laying out the Pattern

Layout the fabric in one layer (instead of folded).  This will allow you to make sure the grainline is straight and you won’t run the risk of the fabric shifting underneath.  An easy way to layout the pattern so the fabric patterns matches at the side seam is to line up the hemlines next to each other as shown below.


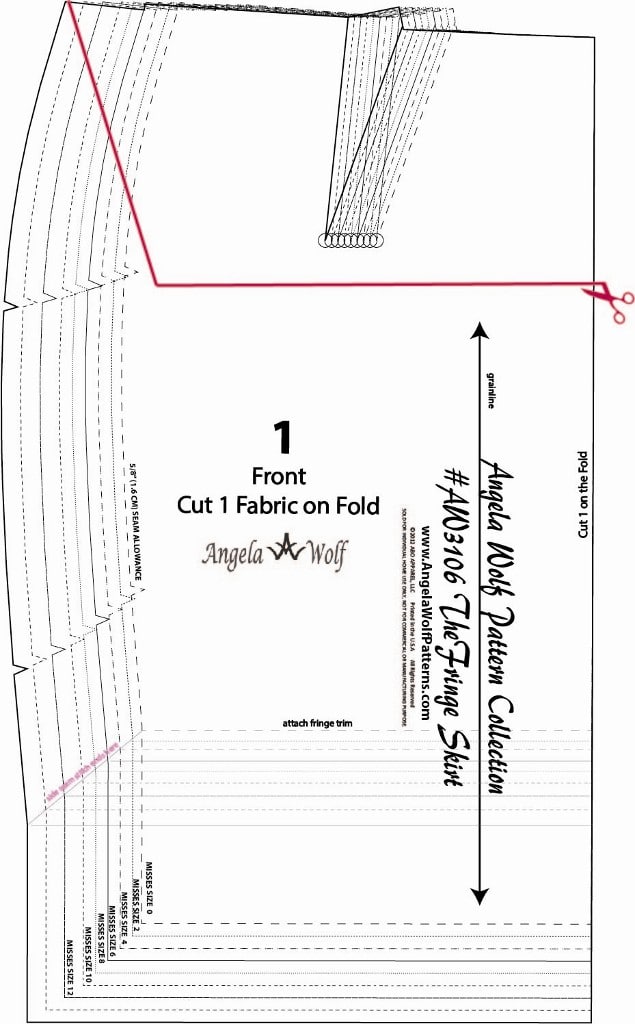
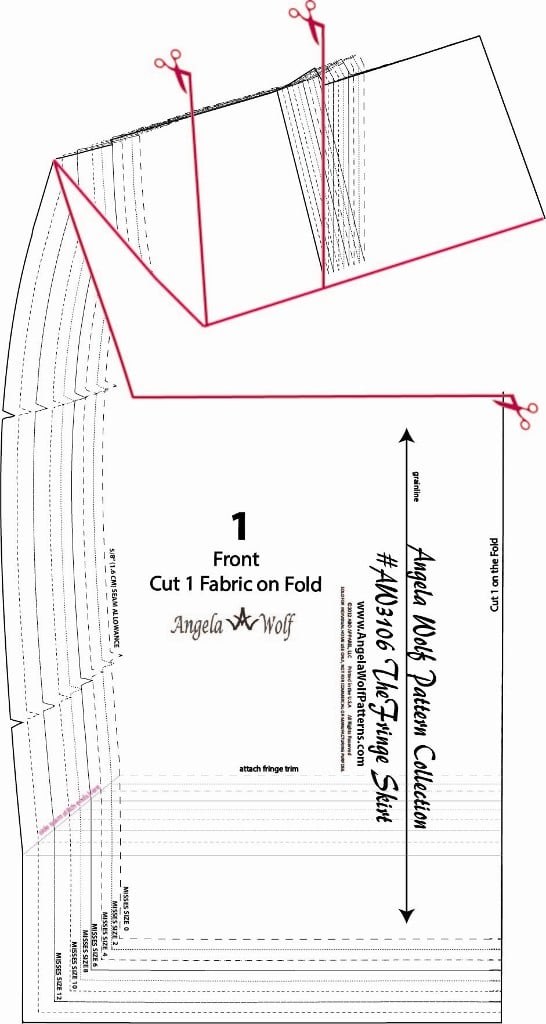
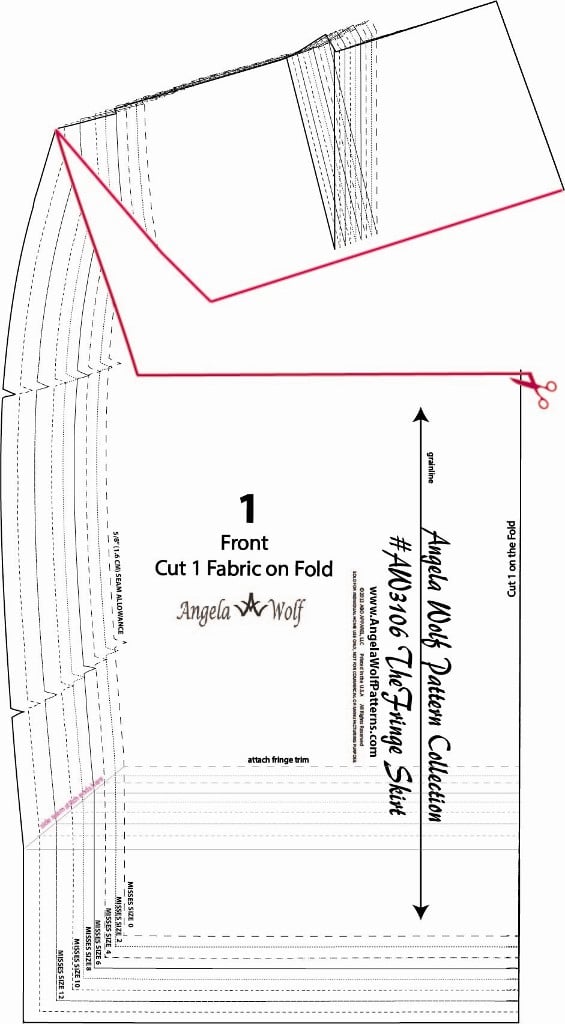
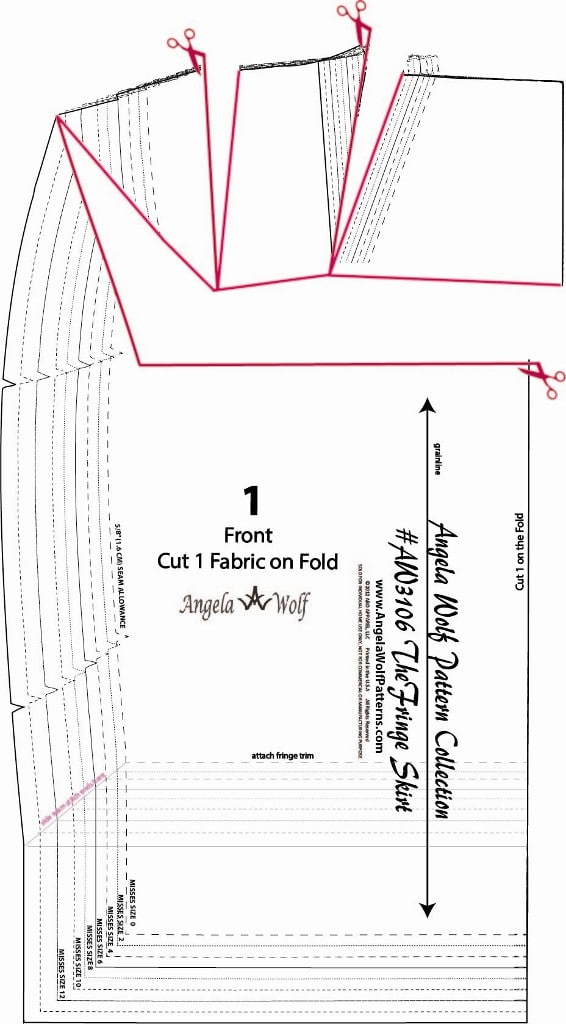
If you are short on fabric or find out you like the fringe cut in a different direction than expected, the fringe pattern piece can be cut into sections as long as you keep the length of the fringe.

Cutting the Lining – Quilted or Bagged Lining

If you are sewing the skirt with a basic lining as the instructions with the pattern indicate, cut the #3 front and #4 back lining pieces of the pattern.   If you are going to add a touch of couture and planning on quilting the lining, lay out each pattern piece and cut the lining larger as shown below.  The lining will be trimmed after each pattern piece is quilted.


See you in the Angela Wolf Facebook Group for comments and questions!  Can’t wait to see your skirts coming together!!!

Cheers,

PREVIOUS LESSON

The Fringe Skirt Sewalong Schedule:

  1. Fabric & Sourcing (February 10. 2017)
  2. Fitting & Patternhacking  (February 16. 2017)
  3. Cutting & Prep  (February 21. 2017)
  4. All About Darts  (February 23. 2017)
  5. Quilting the Lining  (February 28. 2017)
  6. Invisible Zipper’s  (March 2. 2017)
  7. Waistbands  (March 7. 2017)
  8. Hemming & Fringe  (March 9. 2017)
  9. Show off in the Angela Wolf Facebook Group! 

No Results Found

The page you requested could not be found. Try refining your search, or use the navigation above to locate the post.

Fringe Skirt Sewalong Part 2: Fitting & Altering Skirt Patterns

Fringe Skirt Sewalong Part 2: Fitting & Altering Skirt Patterns

Record Your Measurements


Waist: this is your natural waist measurement and you can find this by bending sideway slightly and you will feel the indentation at the waistline

High Hip or Fullest Part of Stomach: somewhere between the natural waistline and hips, it’s different in each of us depending on our body shape

Hips: measure hips at the fullest part

Length: from waistline to where you want skirt to be hemmed – take this measuring from the center front of your body


Compare Your Measurements to the Pattern


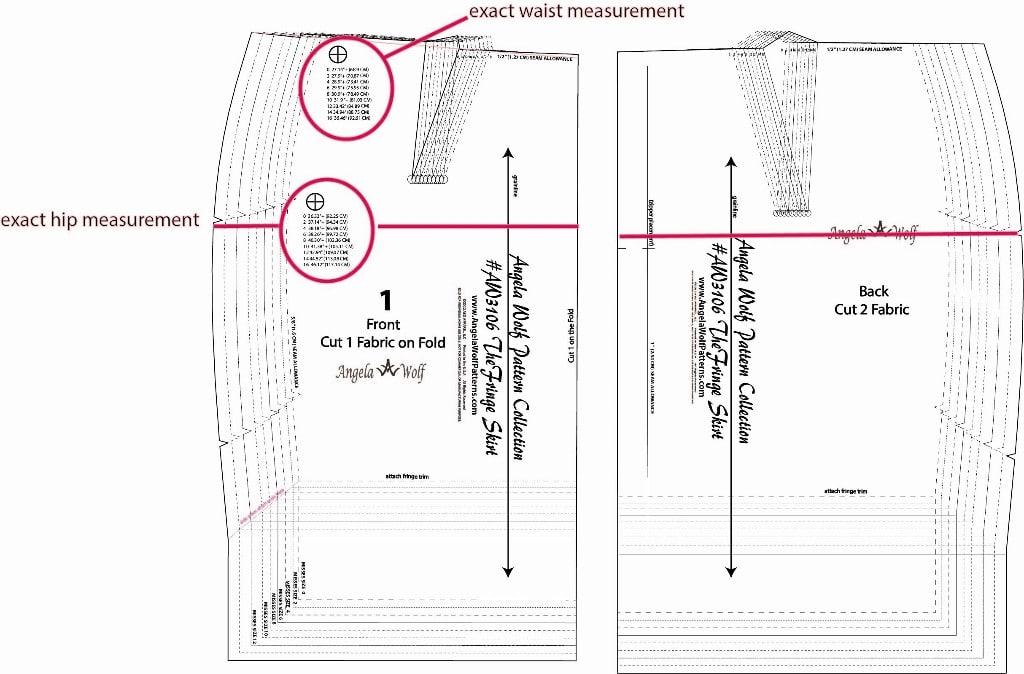
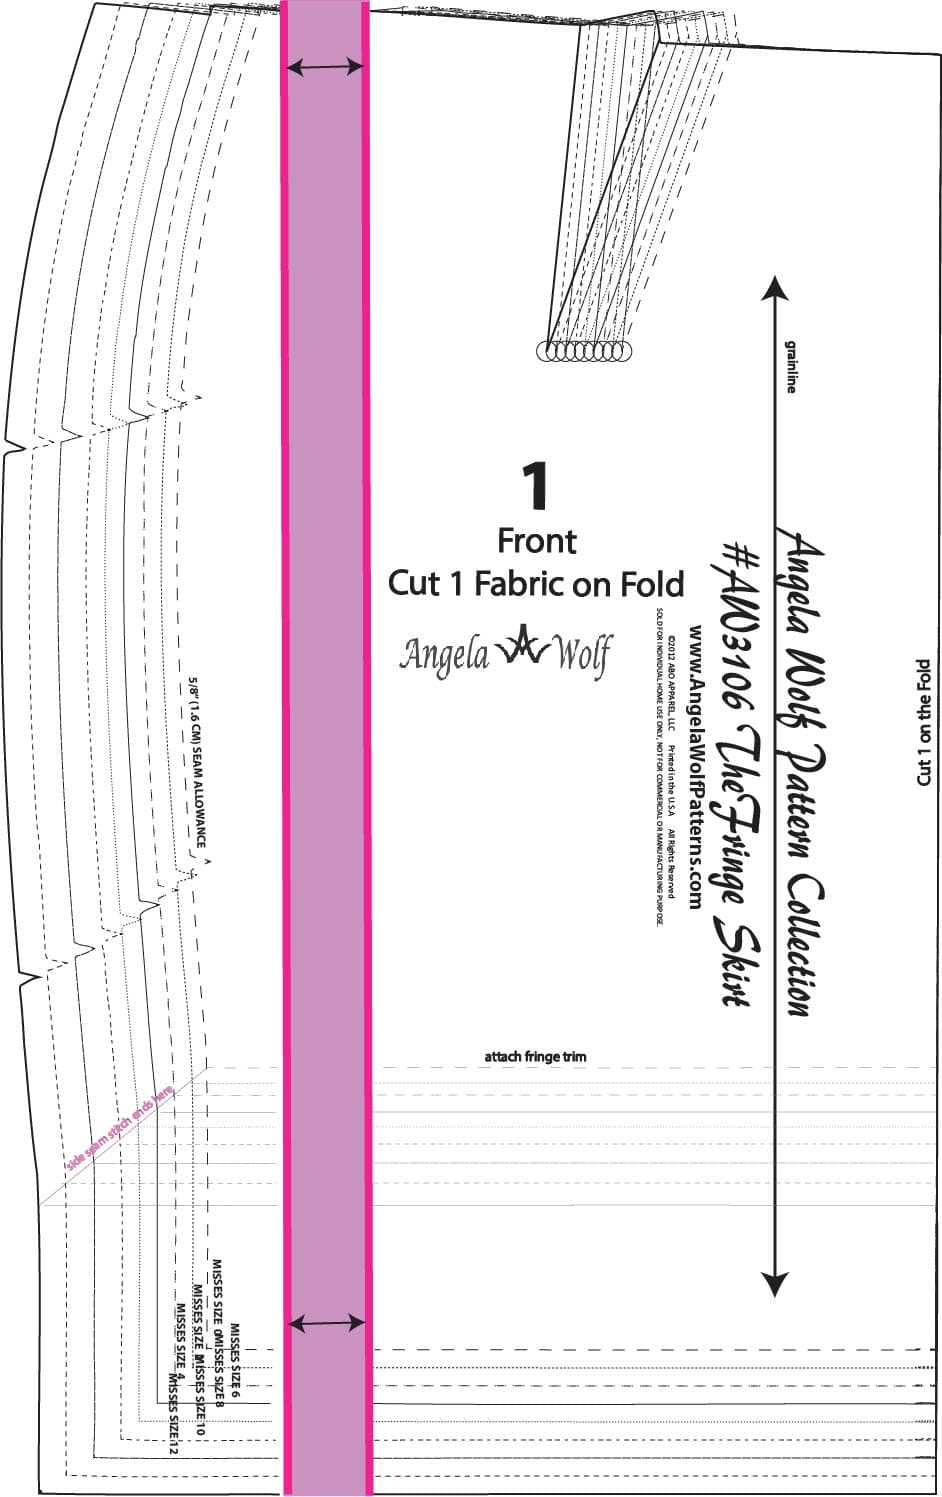
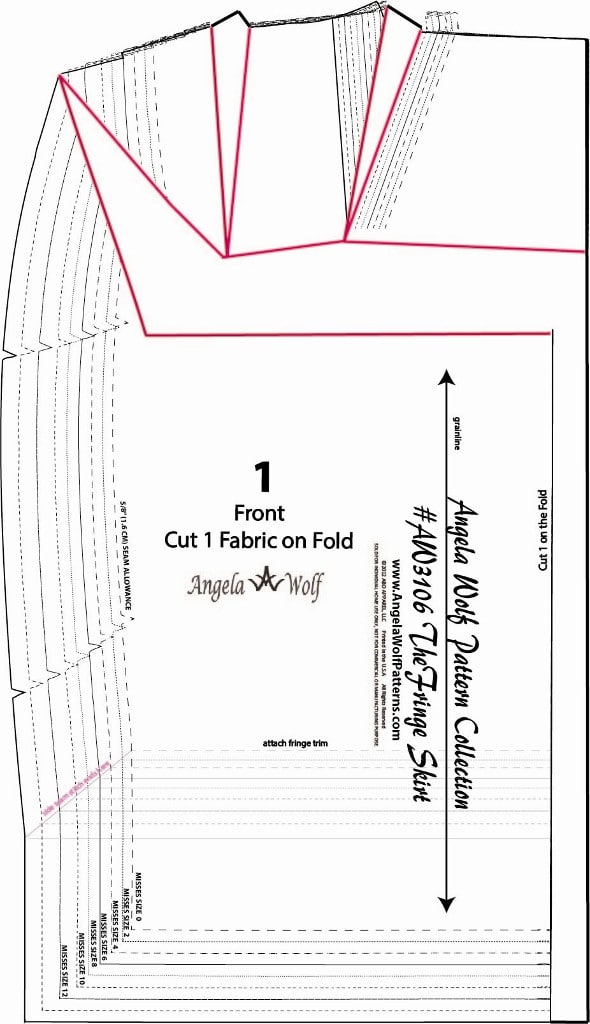
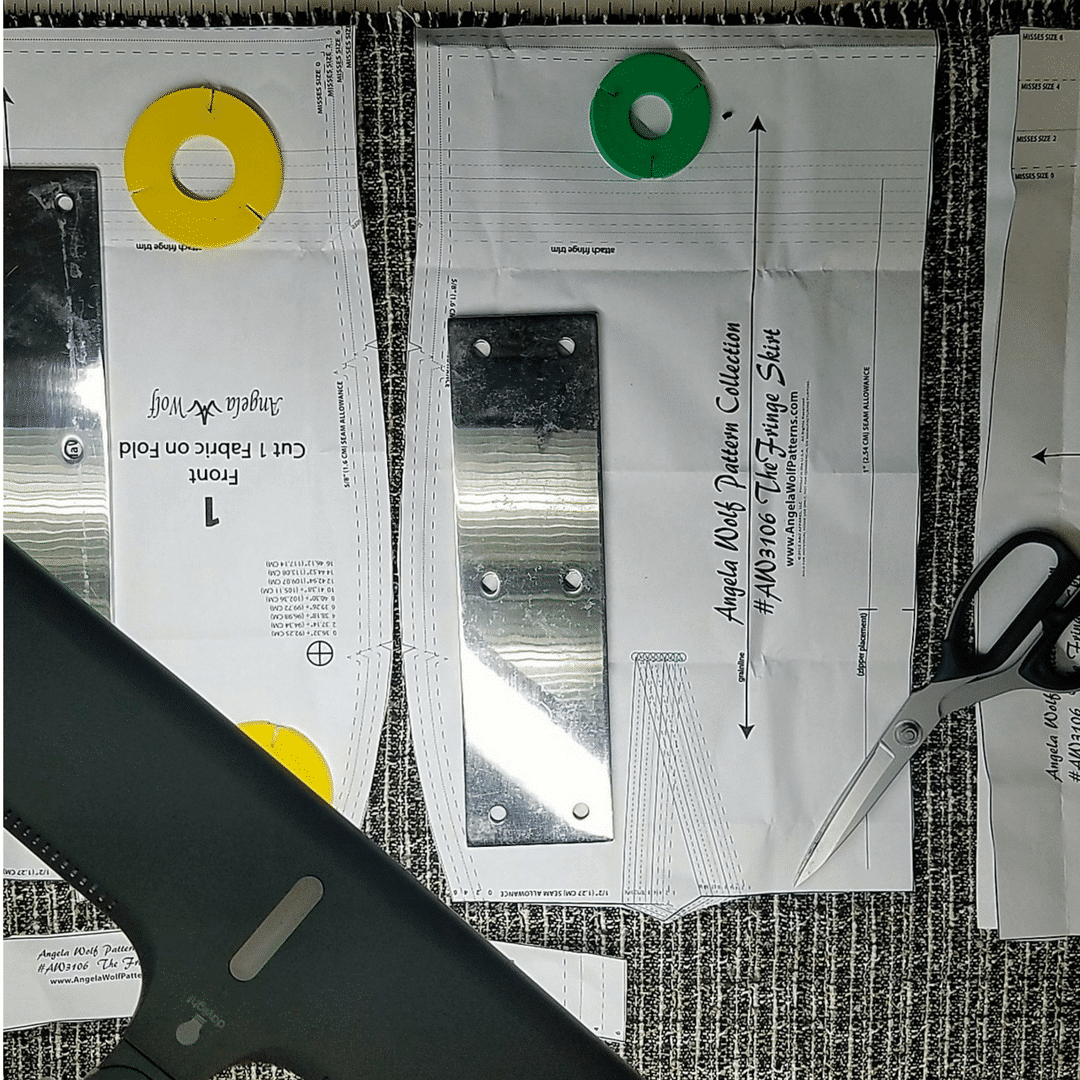
If you look closely on the pattern front you will see two circles with some numbers (shown above). These represent the exact measurements of that specific area when the garment is completed.  For the fringe skirt you will find the exact waist measurement and exact hip measurement.  Use this as a guide when choosing the size of pattern to start with.  Take your hip and waist measurements, add the amount of ease (I prefer 1″ to 2″ for this style when using non-stretch fabric), and use this measurement to choose the size on the pattern to start with.

Adjusting the Length


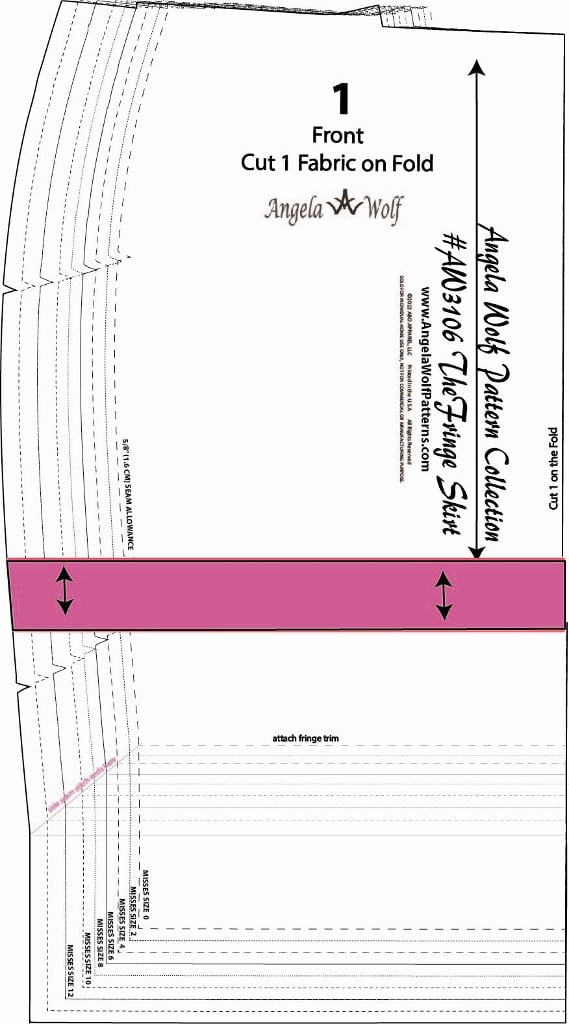
This skirt can be any length you want!  To shorten or lengthen follow the steps below.  If you need to lengthen or shorten the pattern in the hip or stomach area, follow the same steps, but draw the line across the pattern in the area that needs adjusting..
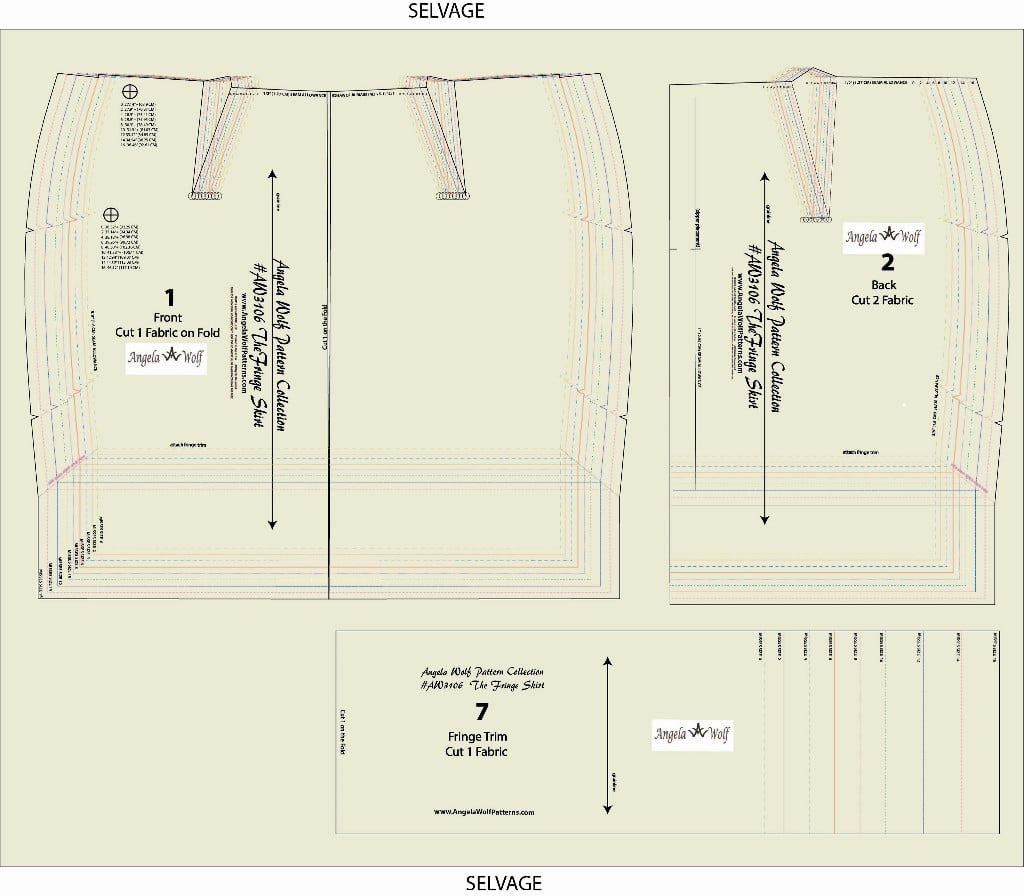
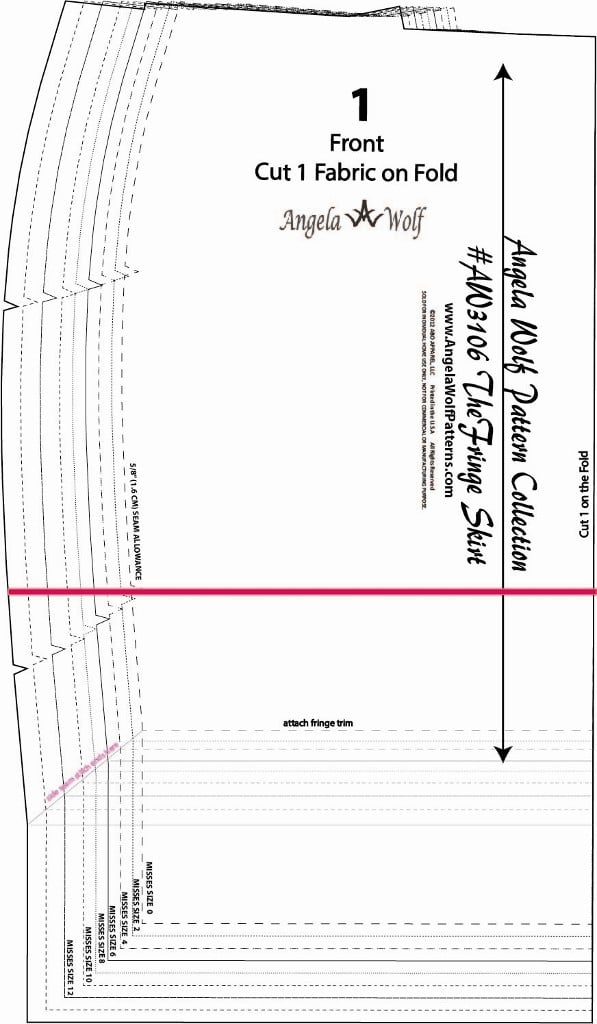
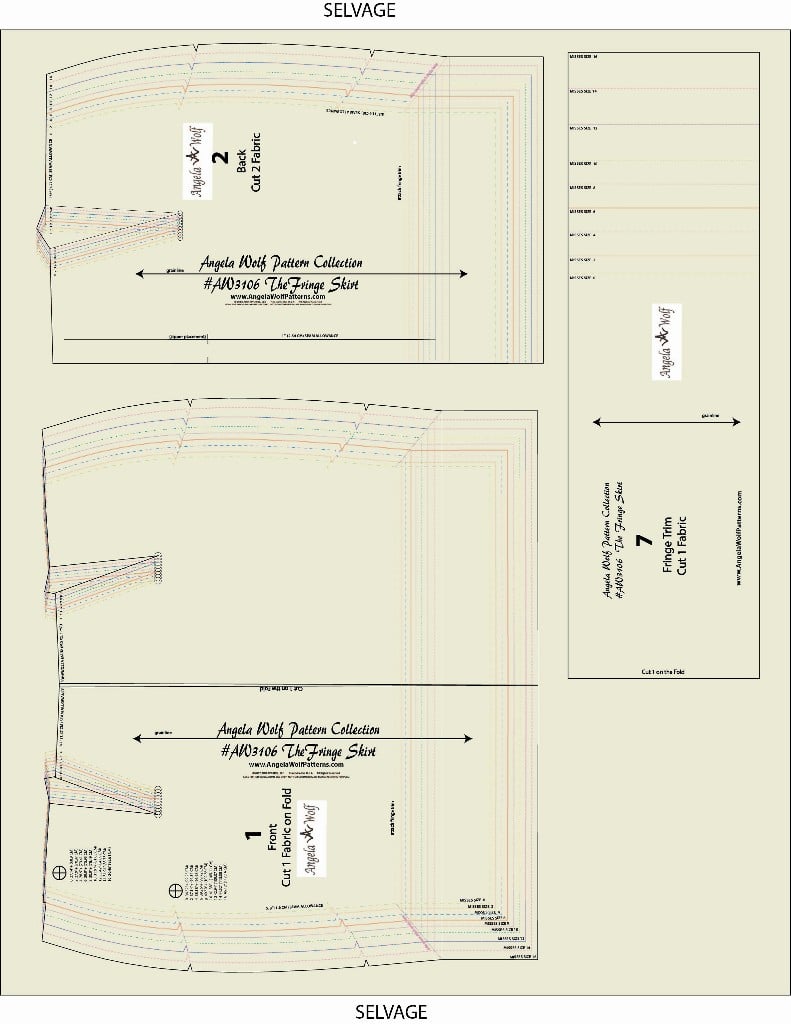
  1. Draw a line across the pattern below the hips, parallel to the grainline. Cut across the line and spread the pattern the amount you want to lengthen.
2.  Add paper to the pattern to fill the gap and true the seam lines. To make the skirt shorter, fold the pattern along the pink line.

Adjusting the Entire Pattern Larger or Smaller


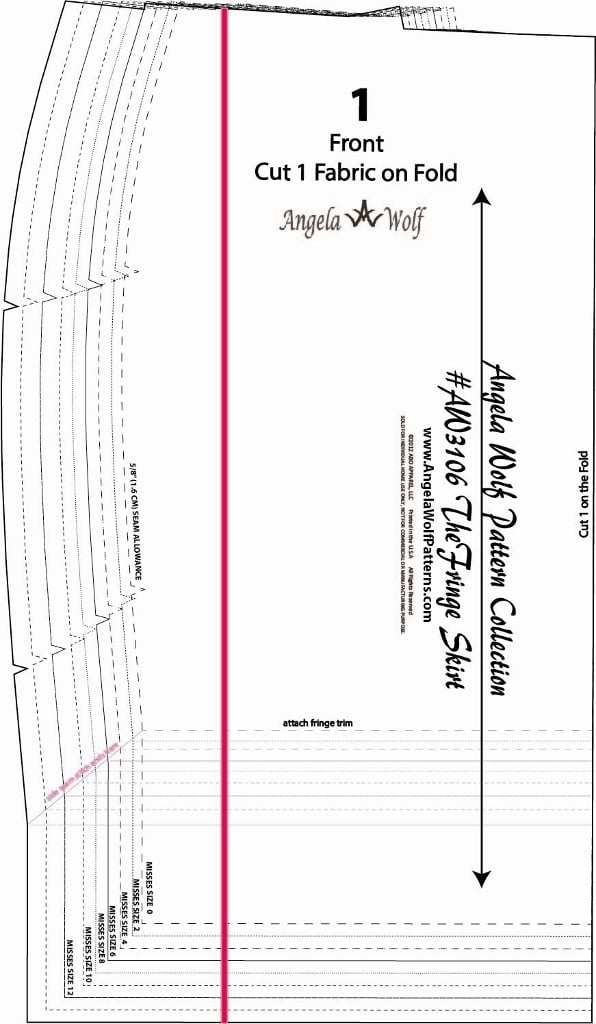
This pattern goes up to a size 16. If you want to alter the pattern for a size larger than 16, determine the amount that needs to be added to the pattern.  Let’s say we need to add 4” to the overall width.  This will mean we need to add 2” to the front and 2” to the back.  (To make the pattern smaller, follow the same steps and instead of spreading the pattern at the designated areas, decrease the amount as needed.)


  1.  Draw a line from the waist to the hem, parallel to the grainline on the front #1 pattern piece.

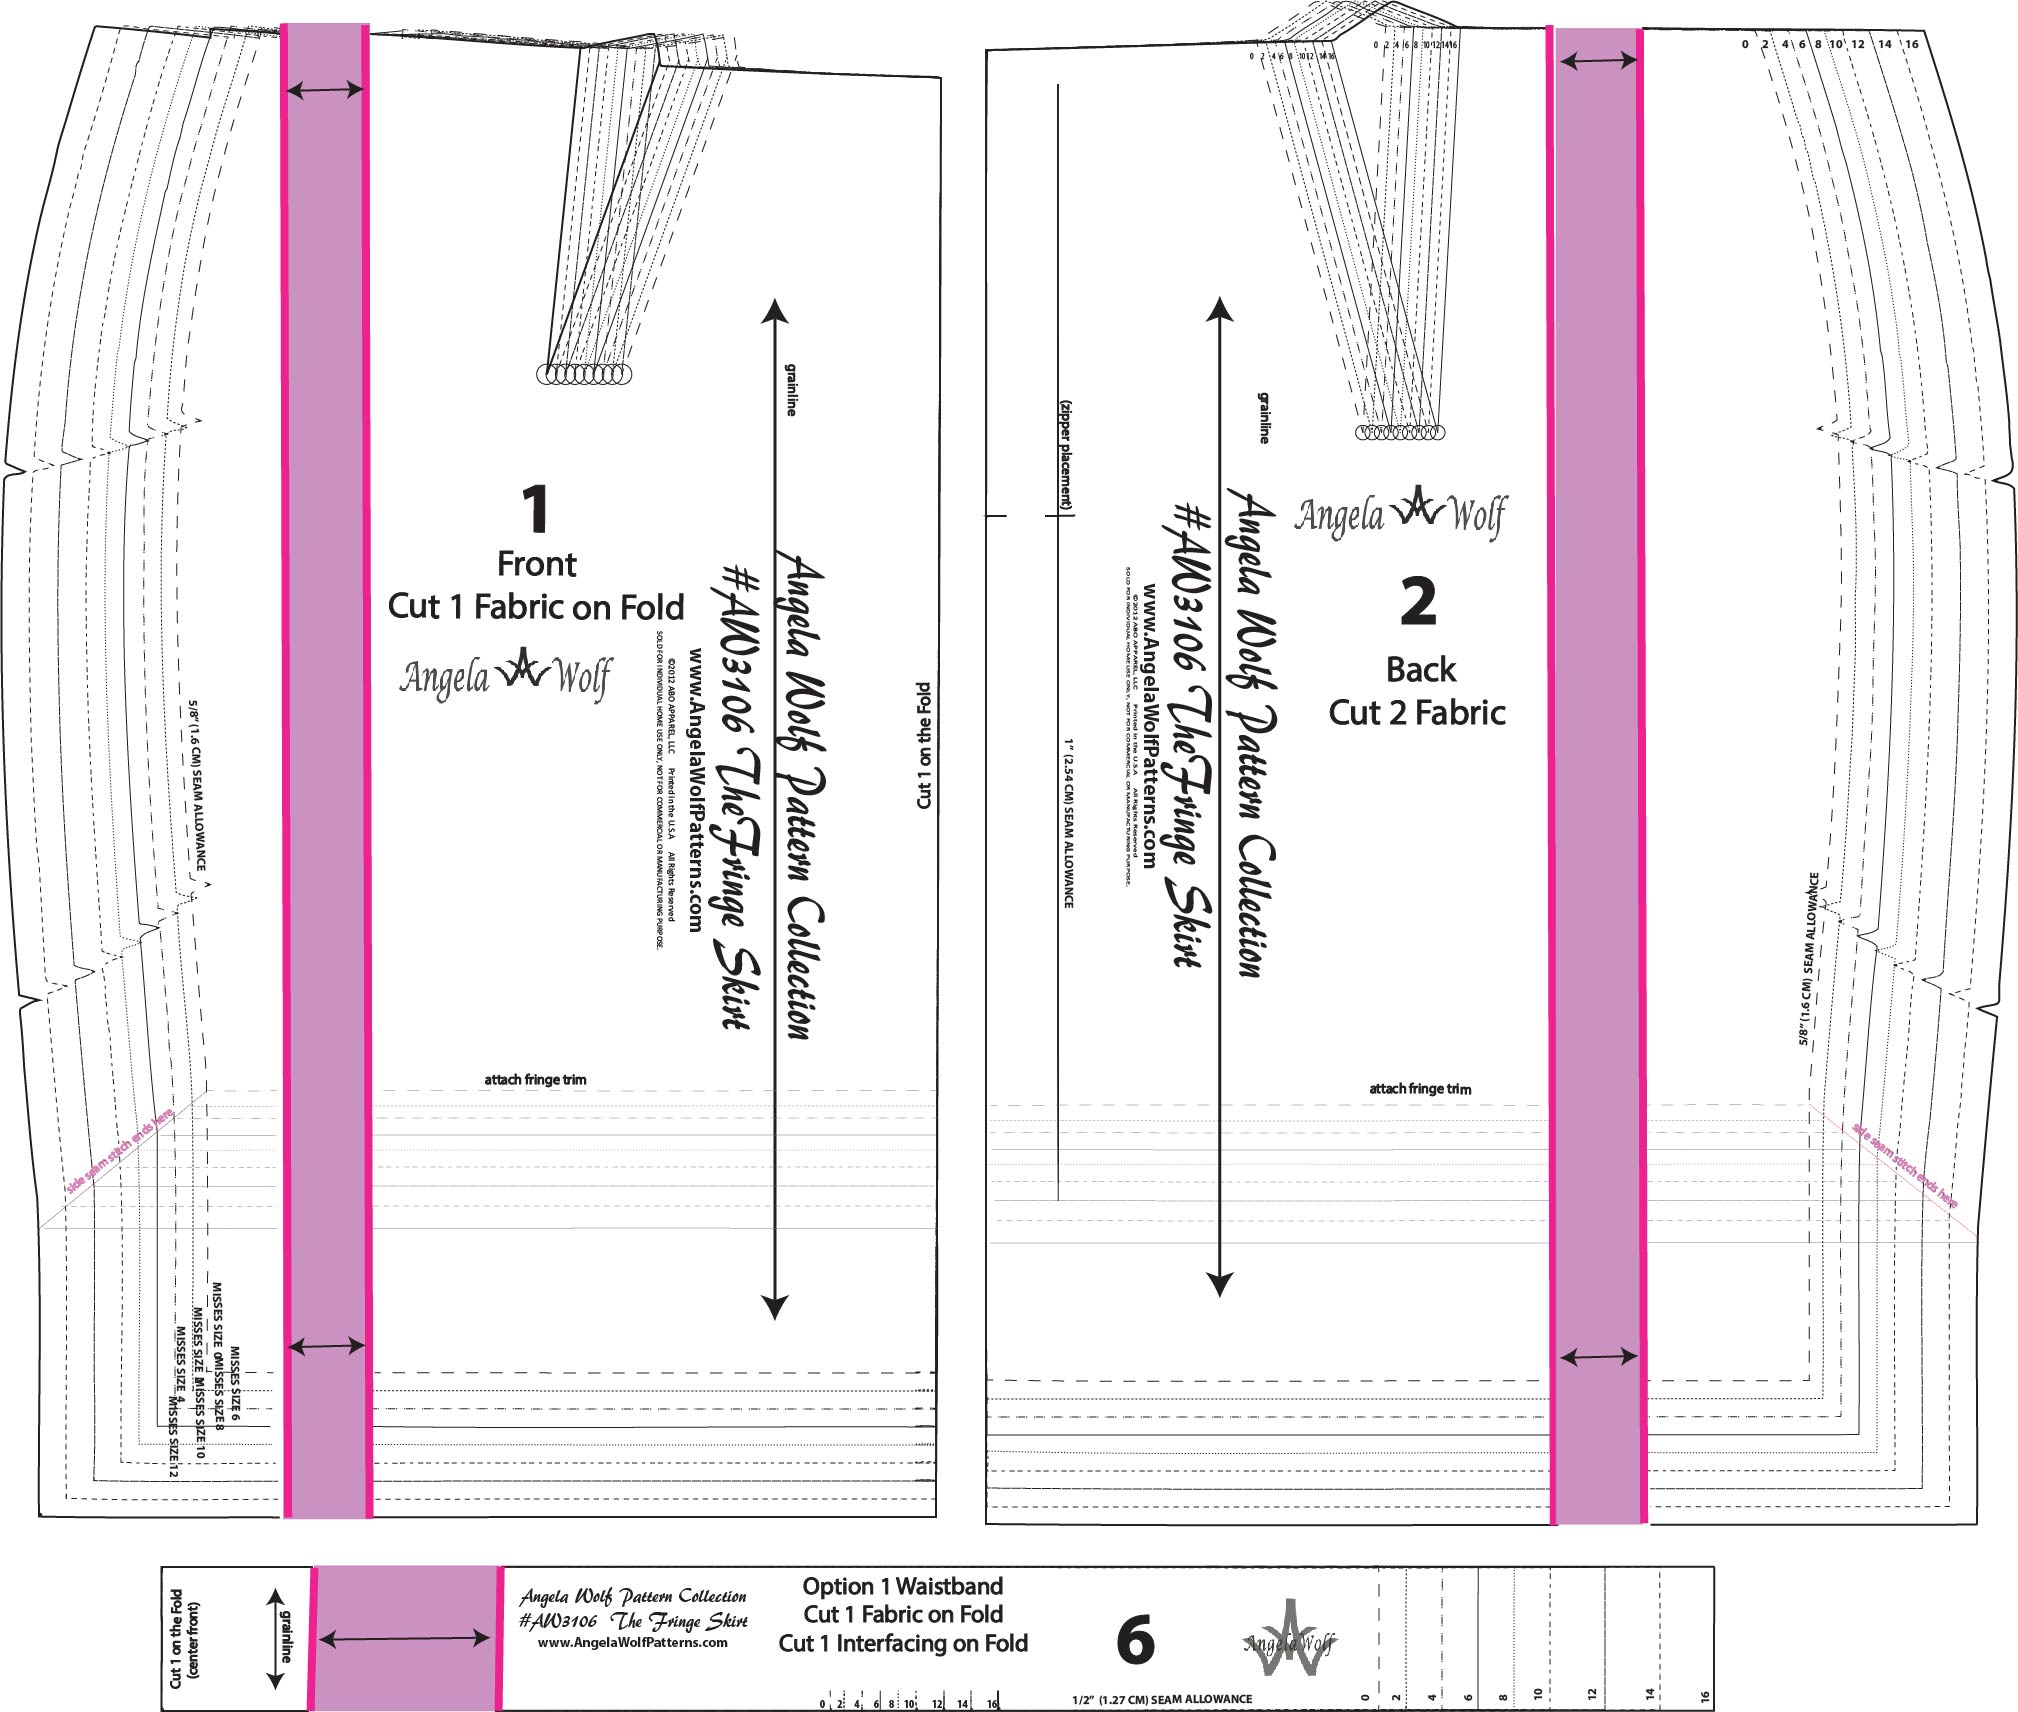
2. Cut along the pink line and spread the pattern 1” (the pattern is on the fold, by adding 1” we are really adding 2” to the entire front piece.  Do the same for the front lining #3 pattern piece, back pattern piece #2, and back lining piece #4.

Adjust the waistband the same way.  Keeping with the example for an overall 4” adjustment:

  • Waistband Pattern #5 – spread pattern 4”
  • Waistband Pattern #6 – spread pattern 2”
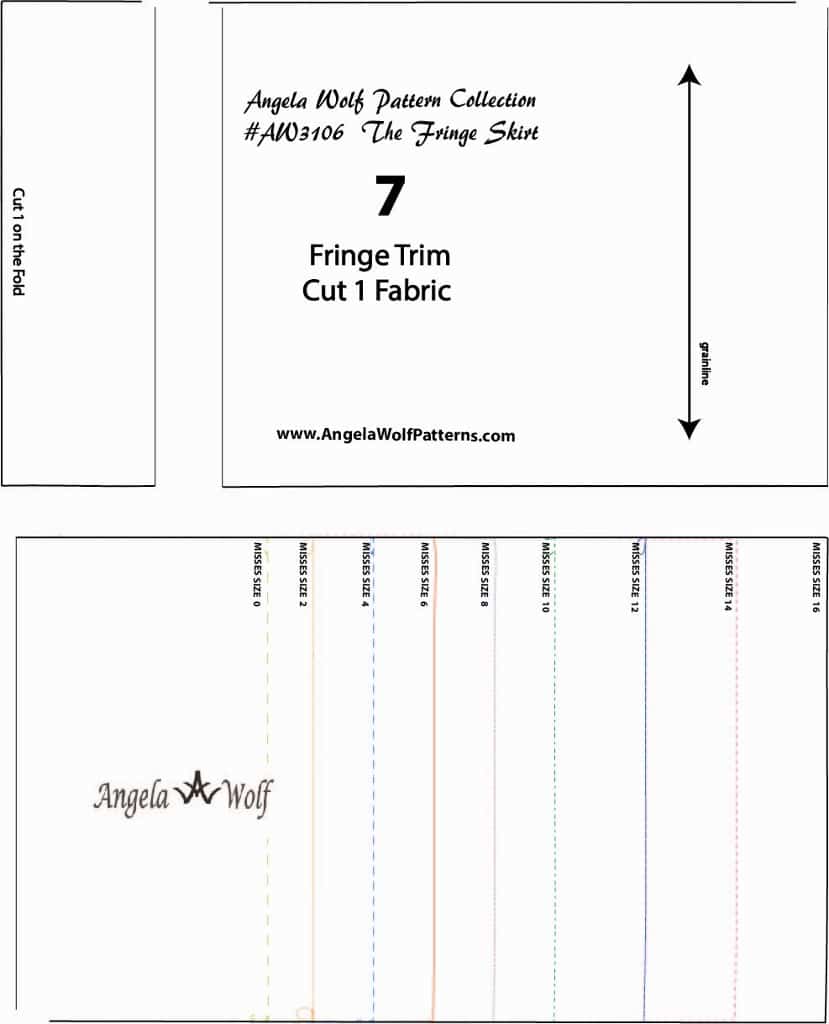
  • Fringe Trim Pattern #7 – spread pattern 2”


Adjusting the Pattern for a Round Tummy


If you try on the muslin of the skirt pattern and its too tight in the stomach area and the hemline rides higher in the front than the back, this is the pattern alteration for you.  The changes will add width and length to the pattern in the area needed.

This is the same alteration that would be used for the back pattern piece if you need more room in the tush 🙂

  1. Draw a line across the pattern (in the stomach area) as shown.

3. Cut into the dart area, leaving a hinge at the edge of the first line. Depending on how much the pattern will be extended, you might need to cut a second dart area as shown.

2. Cut across the line, leaving a hinge at the waistline.

4. Spread out the darts until the center front is parallel to the grainline.

5. True the waistline and draw a new center front line, using the top pattern piece as the guide. The amount extended will need to be added to the waistband and fringe pattern pieces.

These are some common pattern alterations needed for the fringe skirt pattern. Be sure to join the Angela Wolf Patterns Facebook group to share photos, ask questions, and click here to be notified by email when each blog post goes up for the Fringe skirt sewalong!

Cheers,

The Fringe Skirt Sewalong Schedule:

  1. Fabric & Sourcing (February 10. 2017)
  2. Fitting & Patternhacking  (February 16. 2017)
  3. Cutting & Prep  (February 21. 2017)
  4. All About Darts  (February 23. 2017)
  5. Quilting the Lining  (February 28. 2017)
  6. Invisible Zipper’s  (March 2. 2017)
  7. Waistbands  (March 7. 2017)
  8. Hemming & Fringe  (March 9. 2017)
  9. Show off in the Angela Wolf Facebook Group! 

Fringe Skirt Sewalong Part 1: Choosing Fabrics

Fringe Skirt Sewalong Part 1: Choosing Fabrics

The Fringe Skirt Pattern


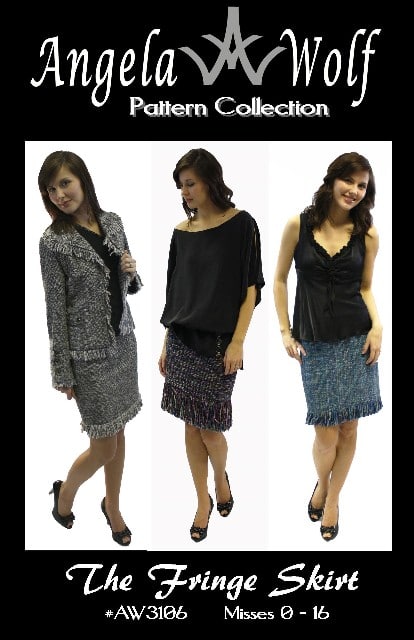
The Fringe Skirt Pattern: The Angela Wolf Fringe Skirt Pattern is available here in print and digital format. You can also find the pattern at many local retailers.

Garment Fabric: tweed, boucle, join the facebook group of resources on choosing fabrics.

Lining: Any lightweight fabric will work for the lining polyester, acetate, satin, cotton – my favorite is bemberg rayon, silk charmeuse, and china silk.  If you plan on adding a touch of couture by quilting the lining choose a natural fiber fabric for the lining.

Interfacing: A lightweight fusi-knit interfacing is used in the zipper area and in the waistband

Notions: 9″ invisible zipper, hook and eye, universal all purpose thread or silk thread, hand sewing needle, pins, scissors, sewing machine needle size 80/12, awl or something to unravel the fabric to make the tweed, zipper foot,


Fabrics & Supplies


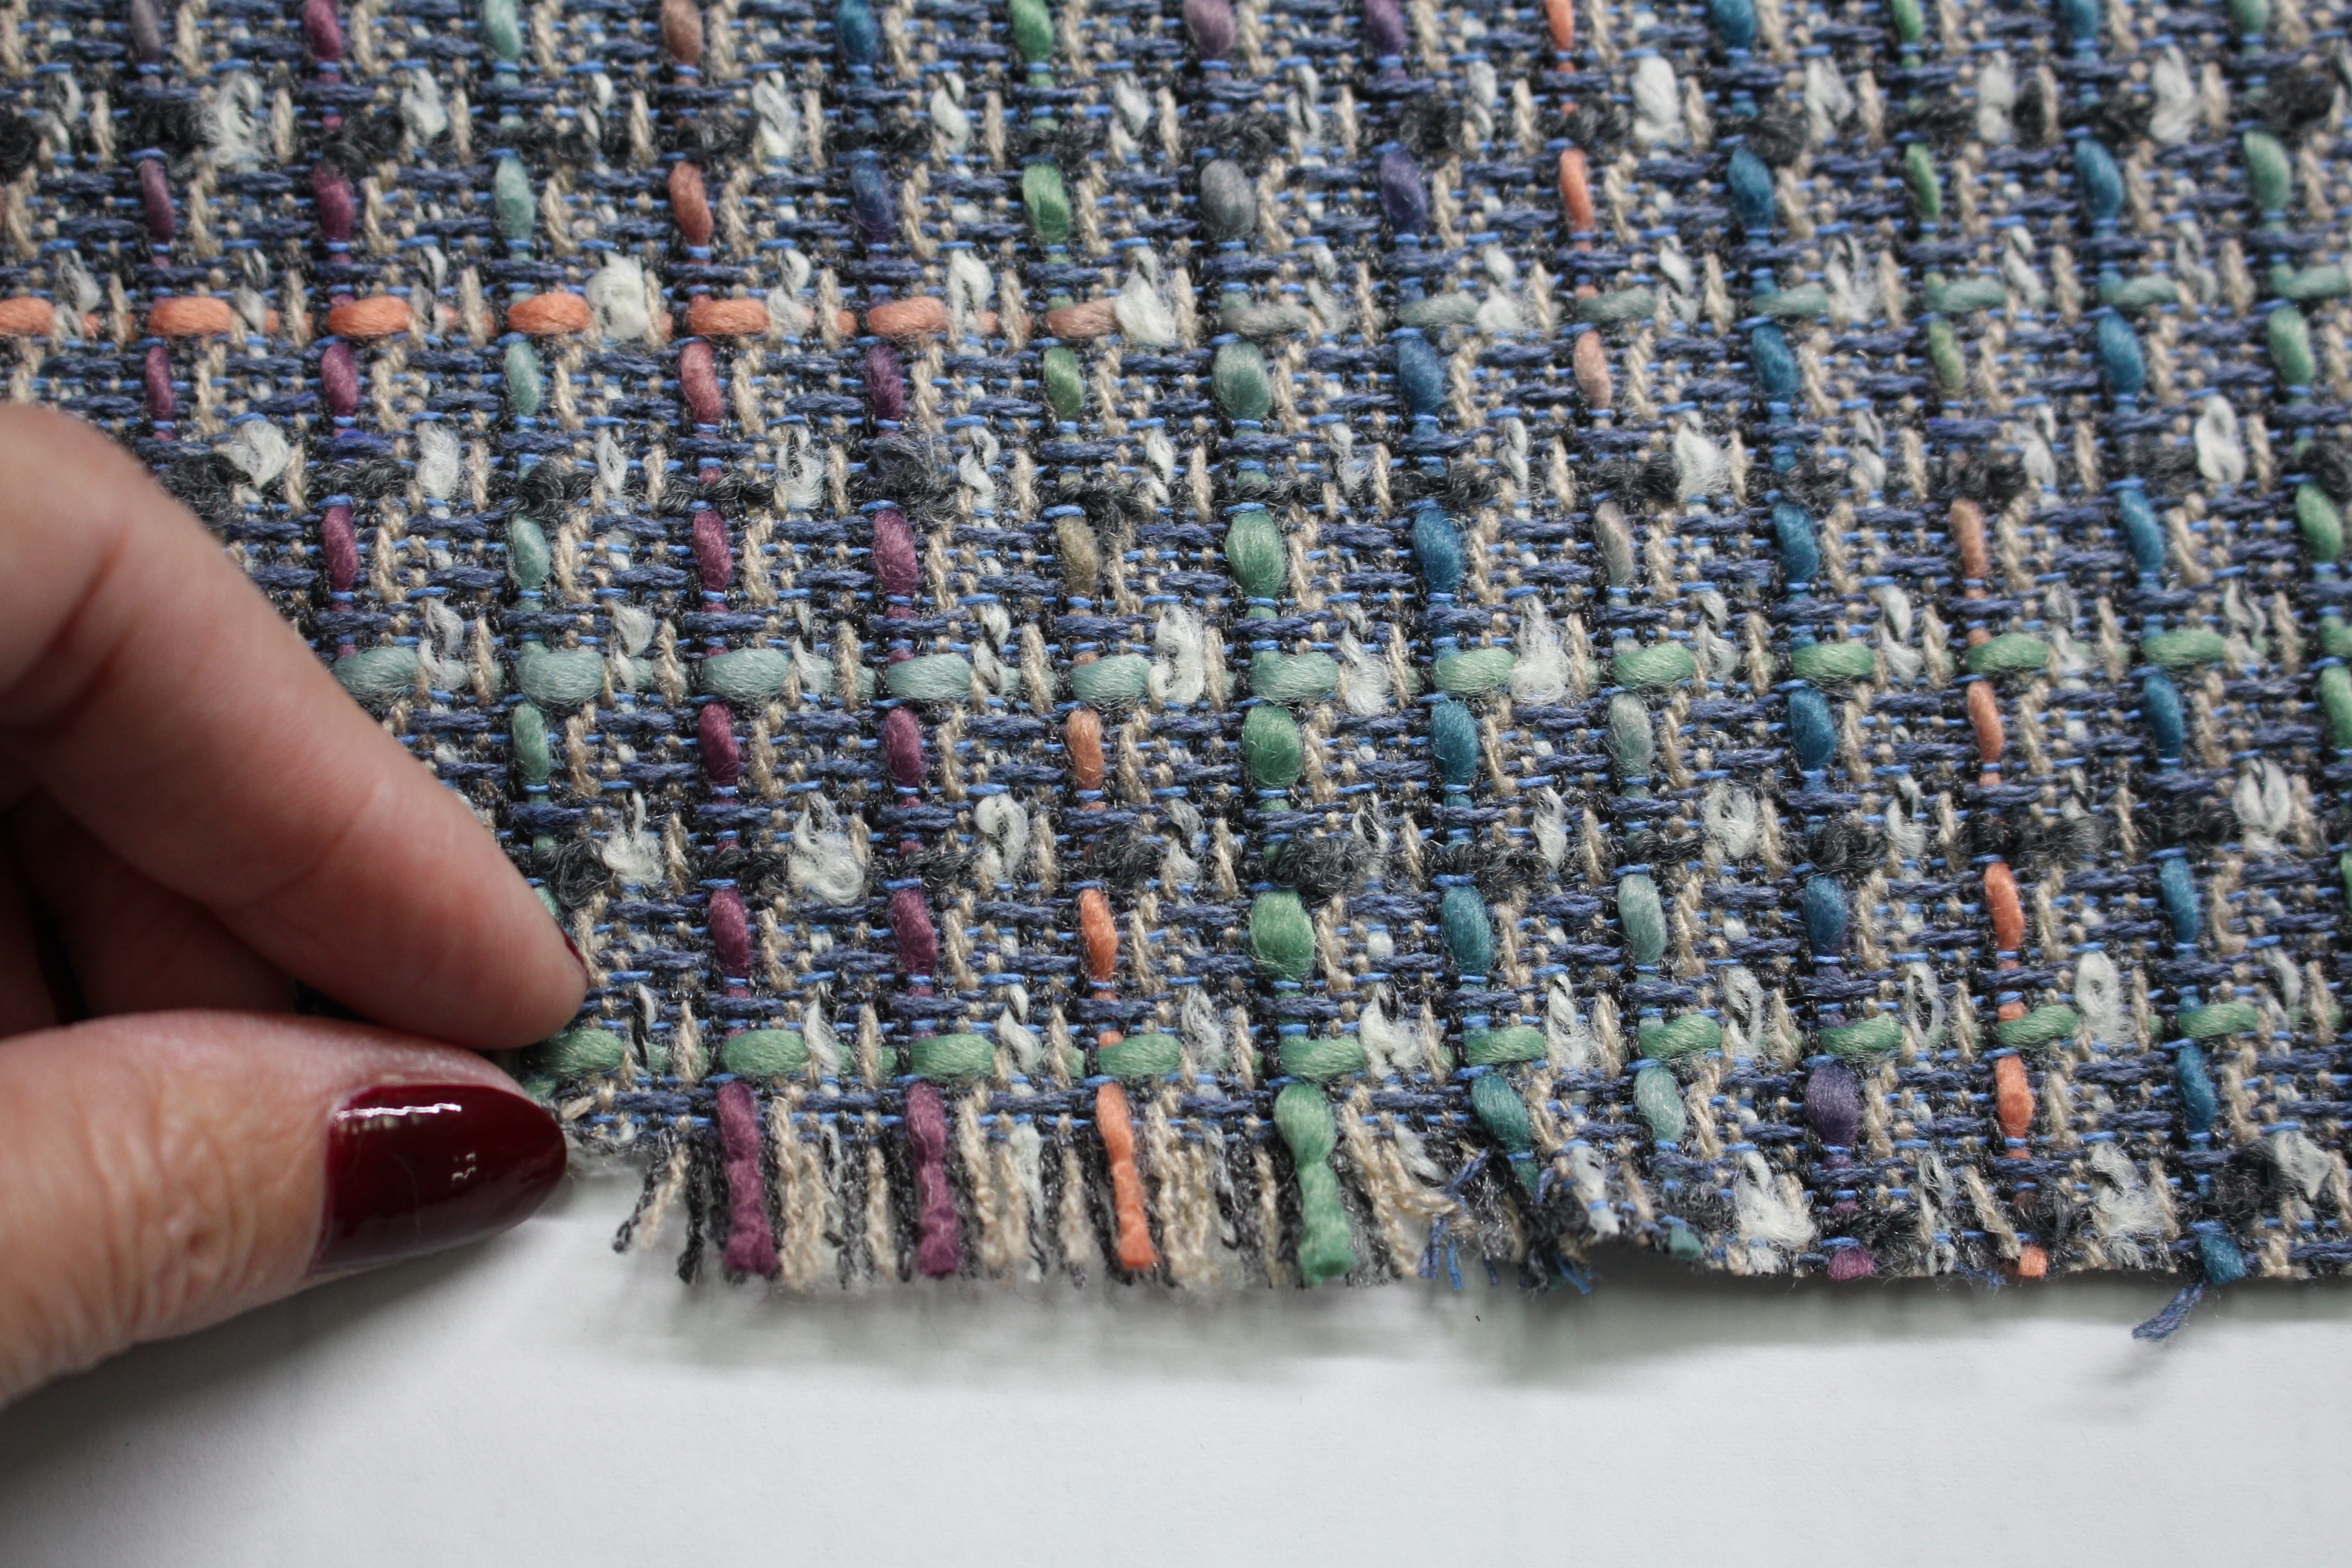
The fringe on the skirt is made with three layers of fabric. A tweed or boucle is an ideal fabric for this pattern, simply because it’s easy to unravel the fabric as shown below.

 Pre-Shrink the Fabrics


It’s important to pre-shrink the fabrics before cutting, especially if the fabric is a natural fiber.  Do this by steam pressing.  You can also take the fabric to the dry cleaners and ask them to “steam press” the fabric.  Note: Just dry cleaning will not pre-shrink the fabric, it has to be STEAM PRESSED.  If you plan on washing and drying the finished skirt, then wash and dry the fabric the same way.

Join Angela Wolf’s Private Facebook Group!


We are all sharing fabric sources in the Angela Wolf Facebook Group. Join the fun 🙂

The Sewalong Schedule:

  1. Fabric & Sourcing (February 10.2017)
  2. Fitting & Patternhacking  (February 16.2017)
  3. Cutting & Prep  (February 21.2017)
  4. All About Darts  (February 23.2017)
  5. Quilting the Lining  (February 28 2017)
  6. Invisible Zipper’s  (March 2 2017)
  7. Waistbands  (March 7.2017)
  8. Hemming & Fringe  (March 9 2017)
  9. Show off in the Angela Wolf Facebook Group! 

Learn to Sew Custom Removable Shoulder Pads

Learn to Sew Custom Removable Shoulder Pads

Ask Angela …: There are countless women like me who must have the same question to ask, so I’ll make an attempt to speak for the group. After reaching those golden years, we start to wonder why our clothes — especially shirts and blouses — seem to have lost all sense of shape. We might just as well be wearing ponchos because our collective shoulders have gradually disappeared over the years. How about a hint on making conservative shoulder pads . . . not like the 80’s kind and not just for jackets/coats and blazers. I would like something that can be used with casual or dress shirts and blouses, so it should not be too bulky.
Sure hope you can address this problem — I’ve seen you on It’s Sew Easy many times and feel that if anybody can solve this issue, it is Angela.
Sincerely,
Sarah
P.S. My next project will be creating a bra with suspenders to keep it in place. Any ideas?

Sarah from Ohio

This was a great question from Sarah, and although I’m not going to talk about making your own shoulder pads, I am going to give you a few tips that have worked for other clients of mine in the past.

All of us have different body shapes, meaning I might not need the same thickness of shoulder pad as you or maybe I don’t need extra padding at all.  With that being said, there are just as many sizes and styles of shoulder pads.

Do you remember the shoulder pads of the 80s – they were very, very, VERY LARGE! In fact, I’m pretty sure the shoulders of the jackets extended at least 2 inches past the actual edge of any female’s shoulder.  I always laugh at some of the old photos where I am wearing enormously huge shoulder pads – my head looks SO small! 🙂

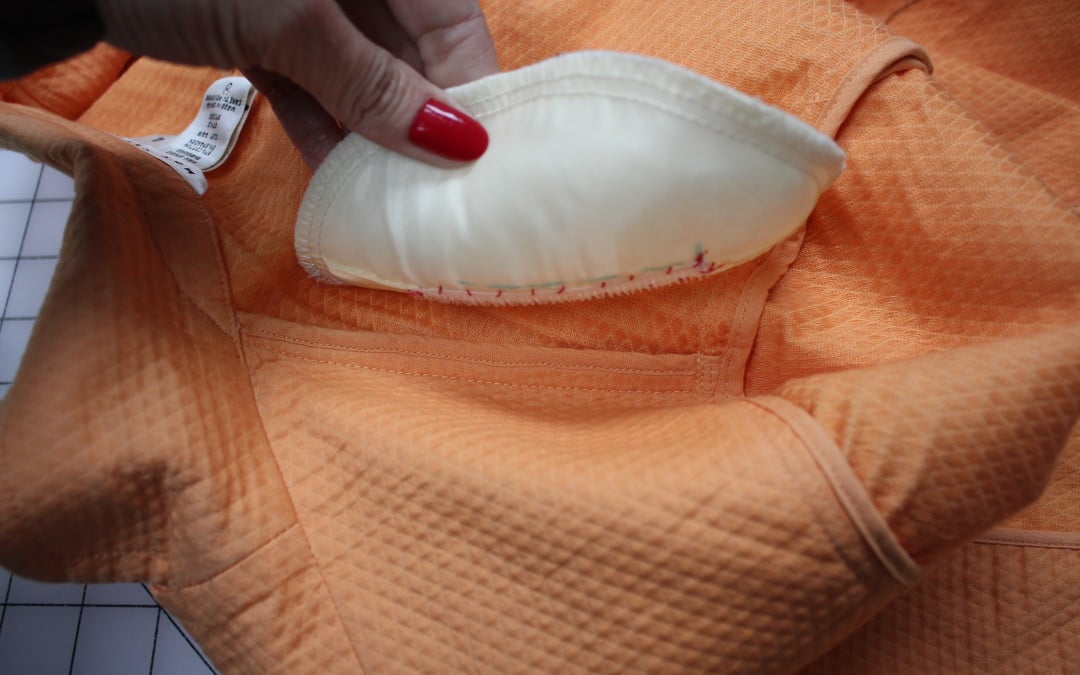
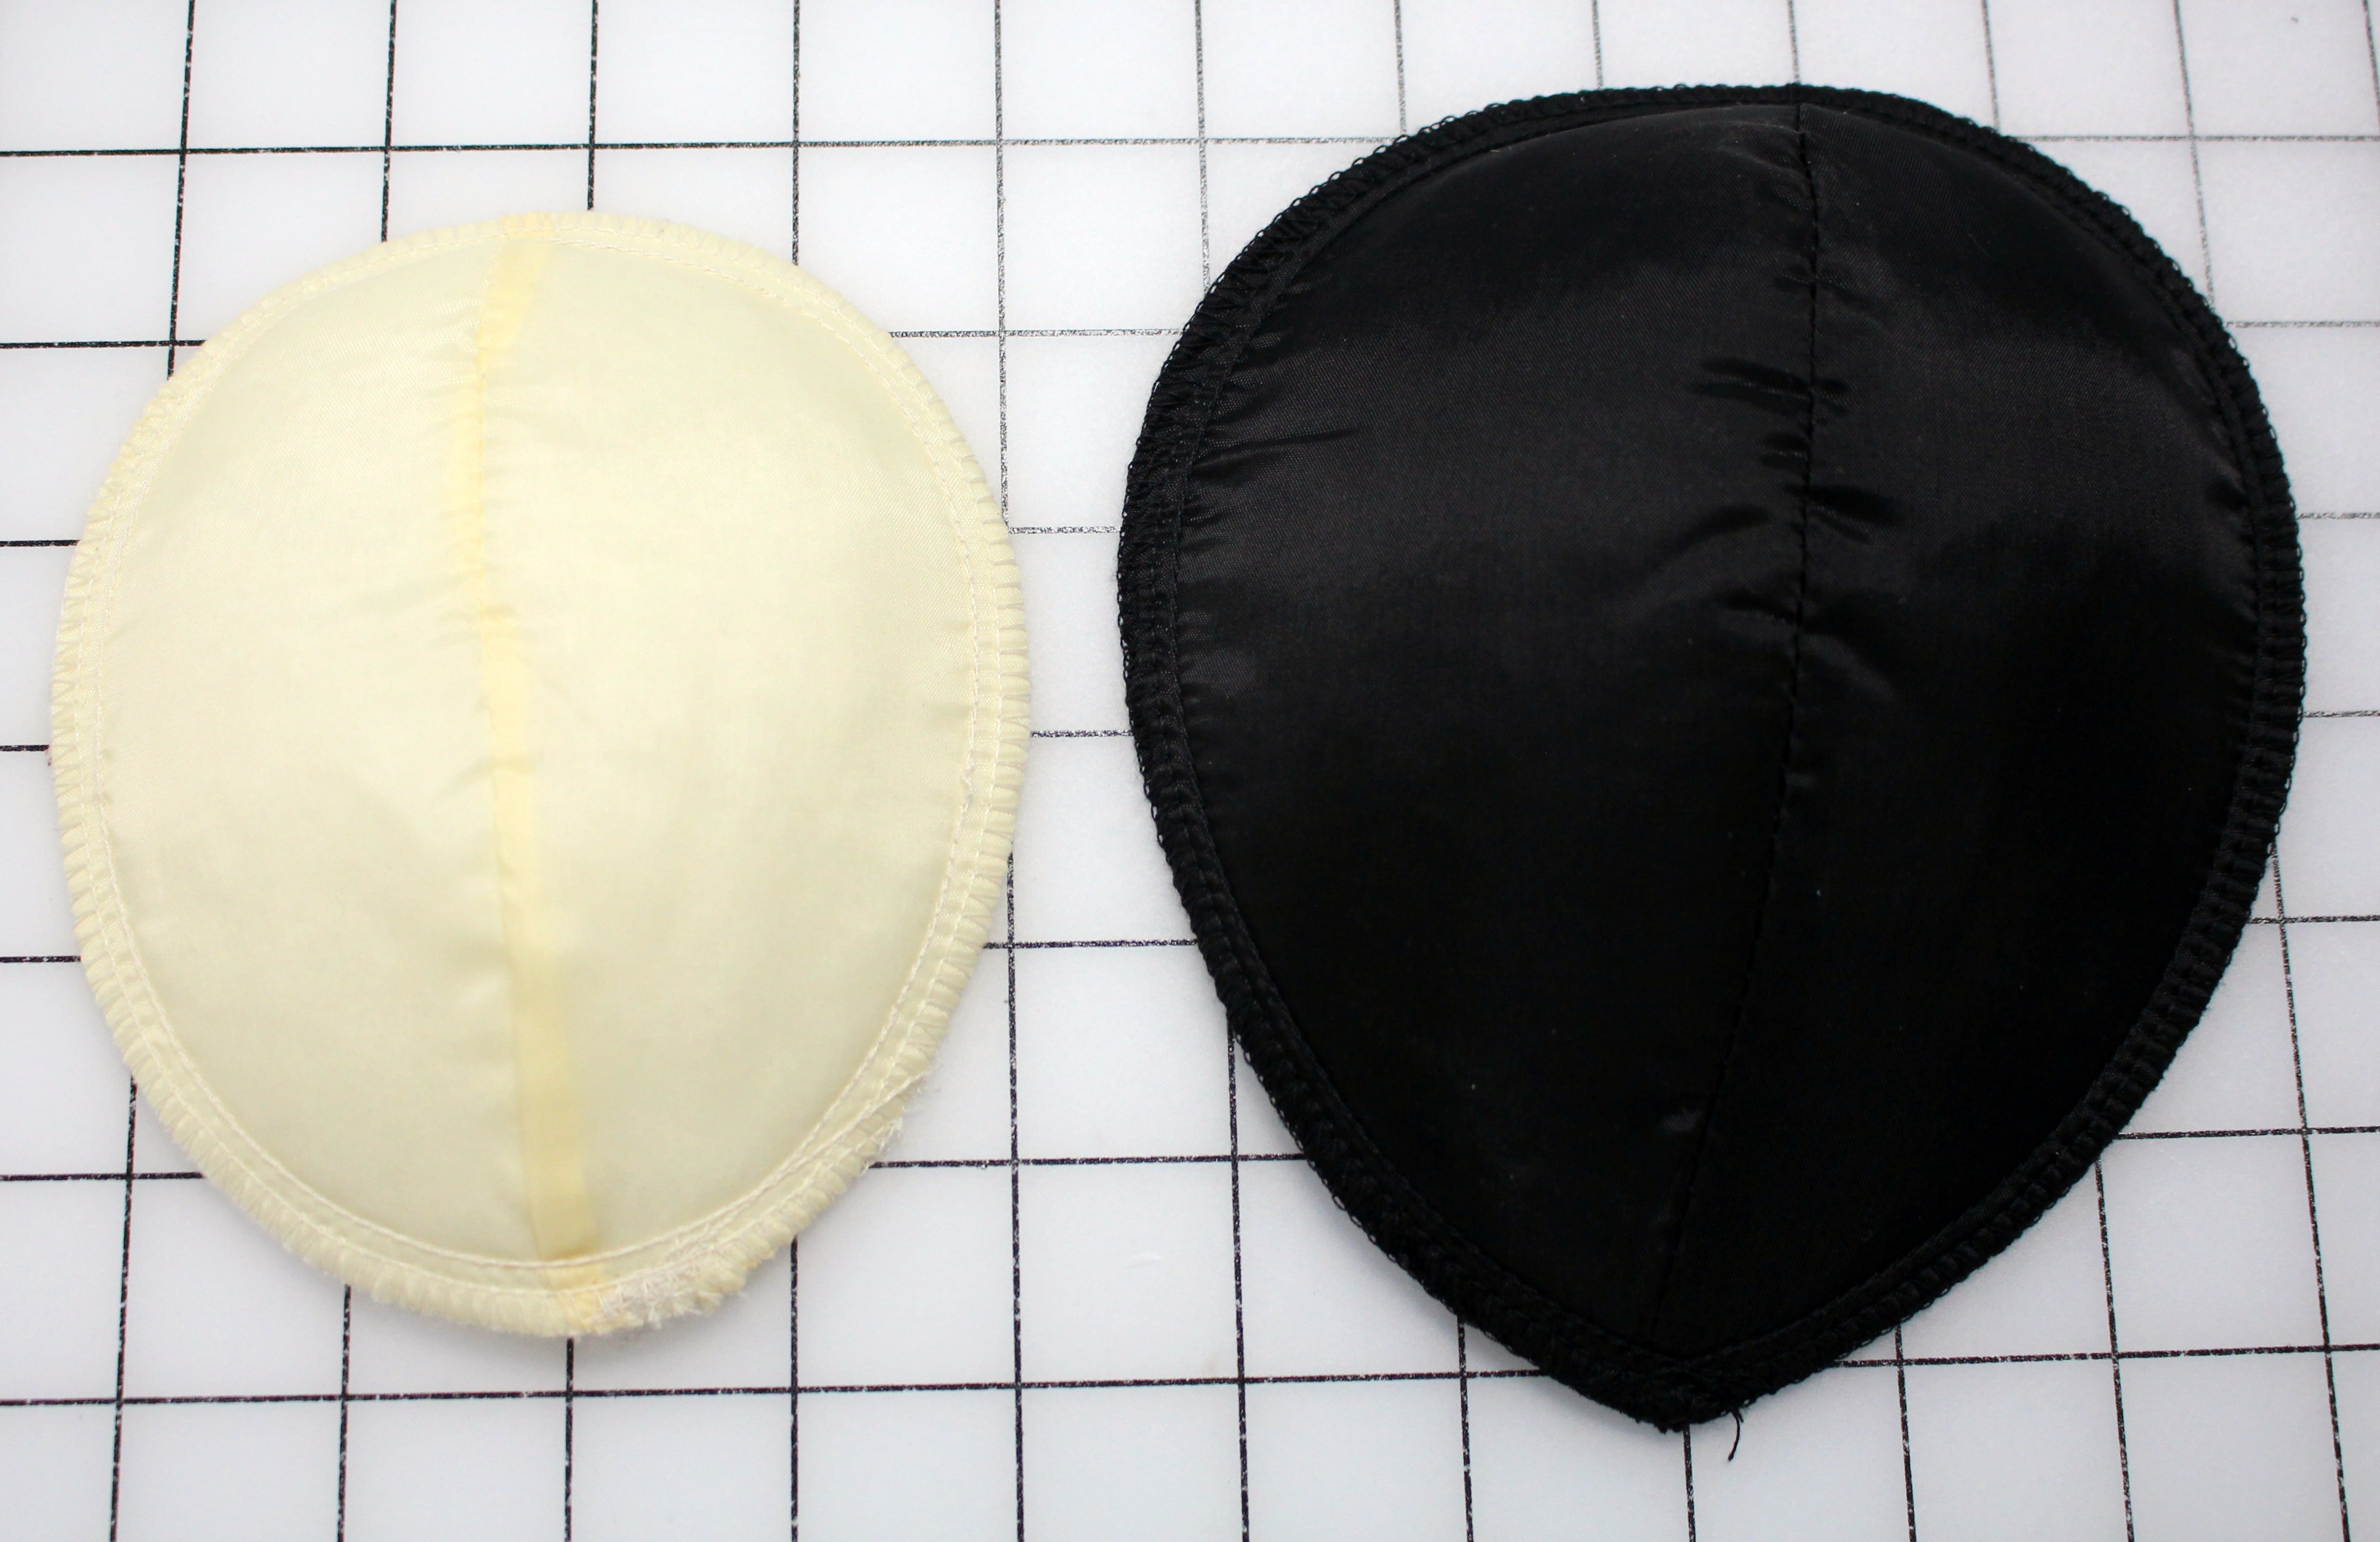
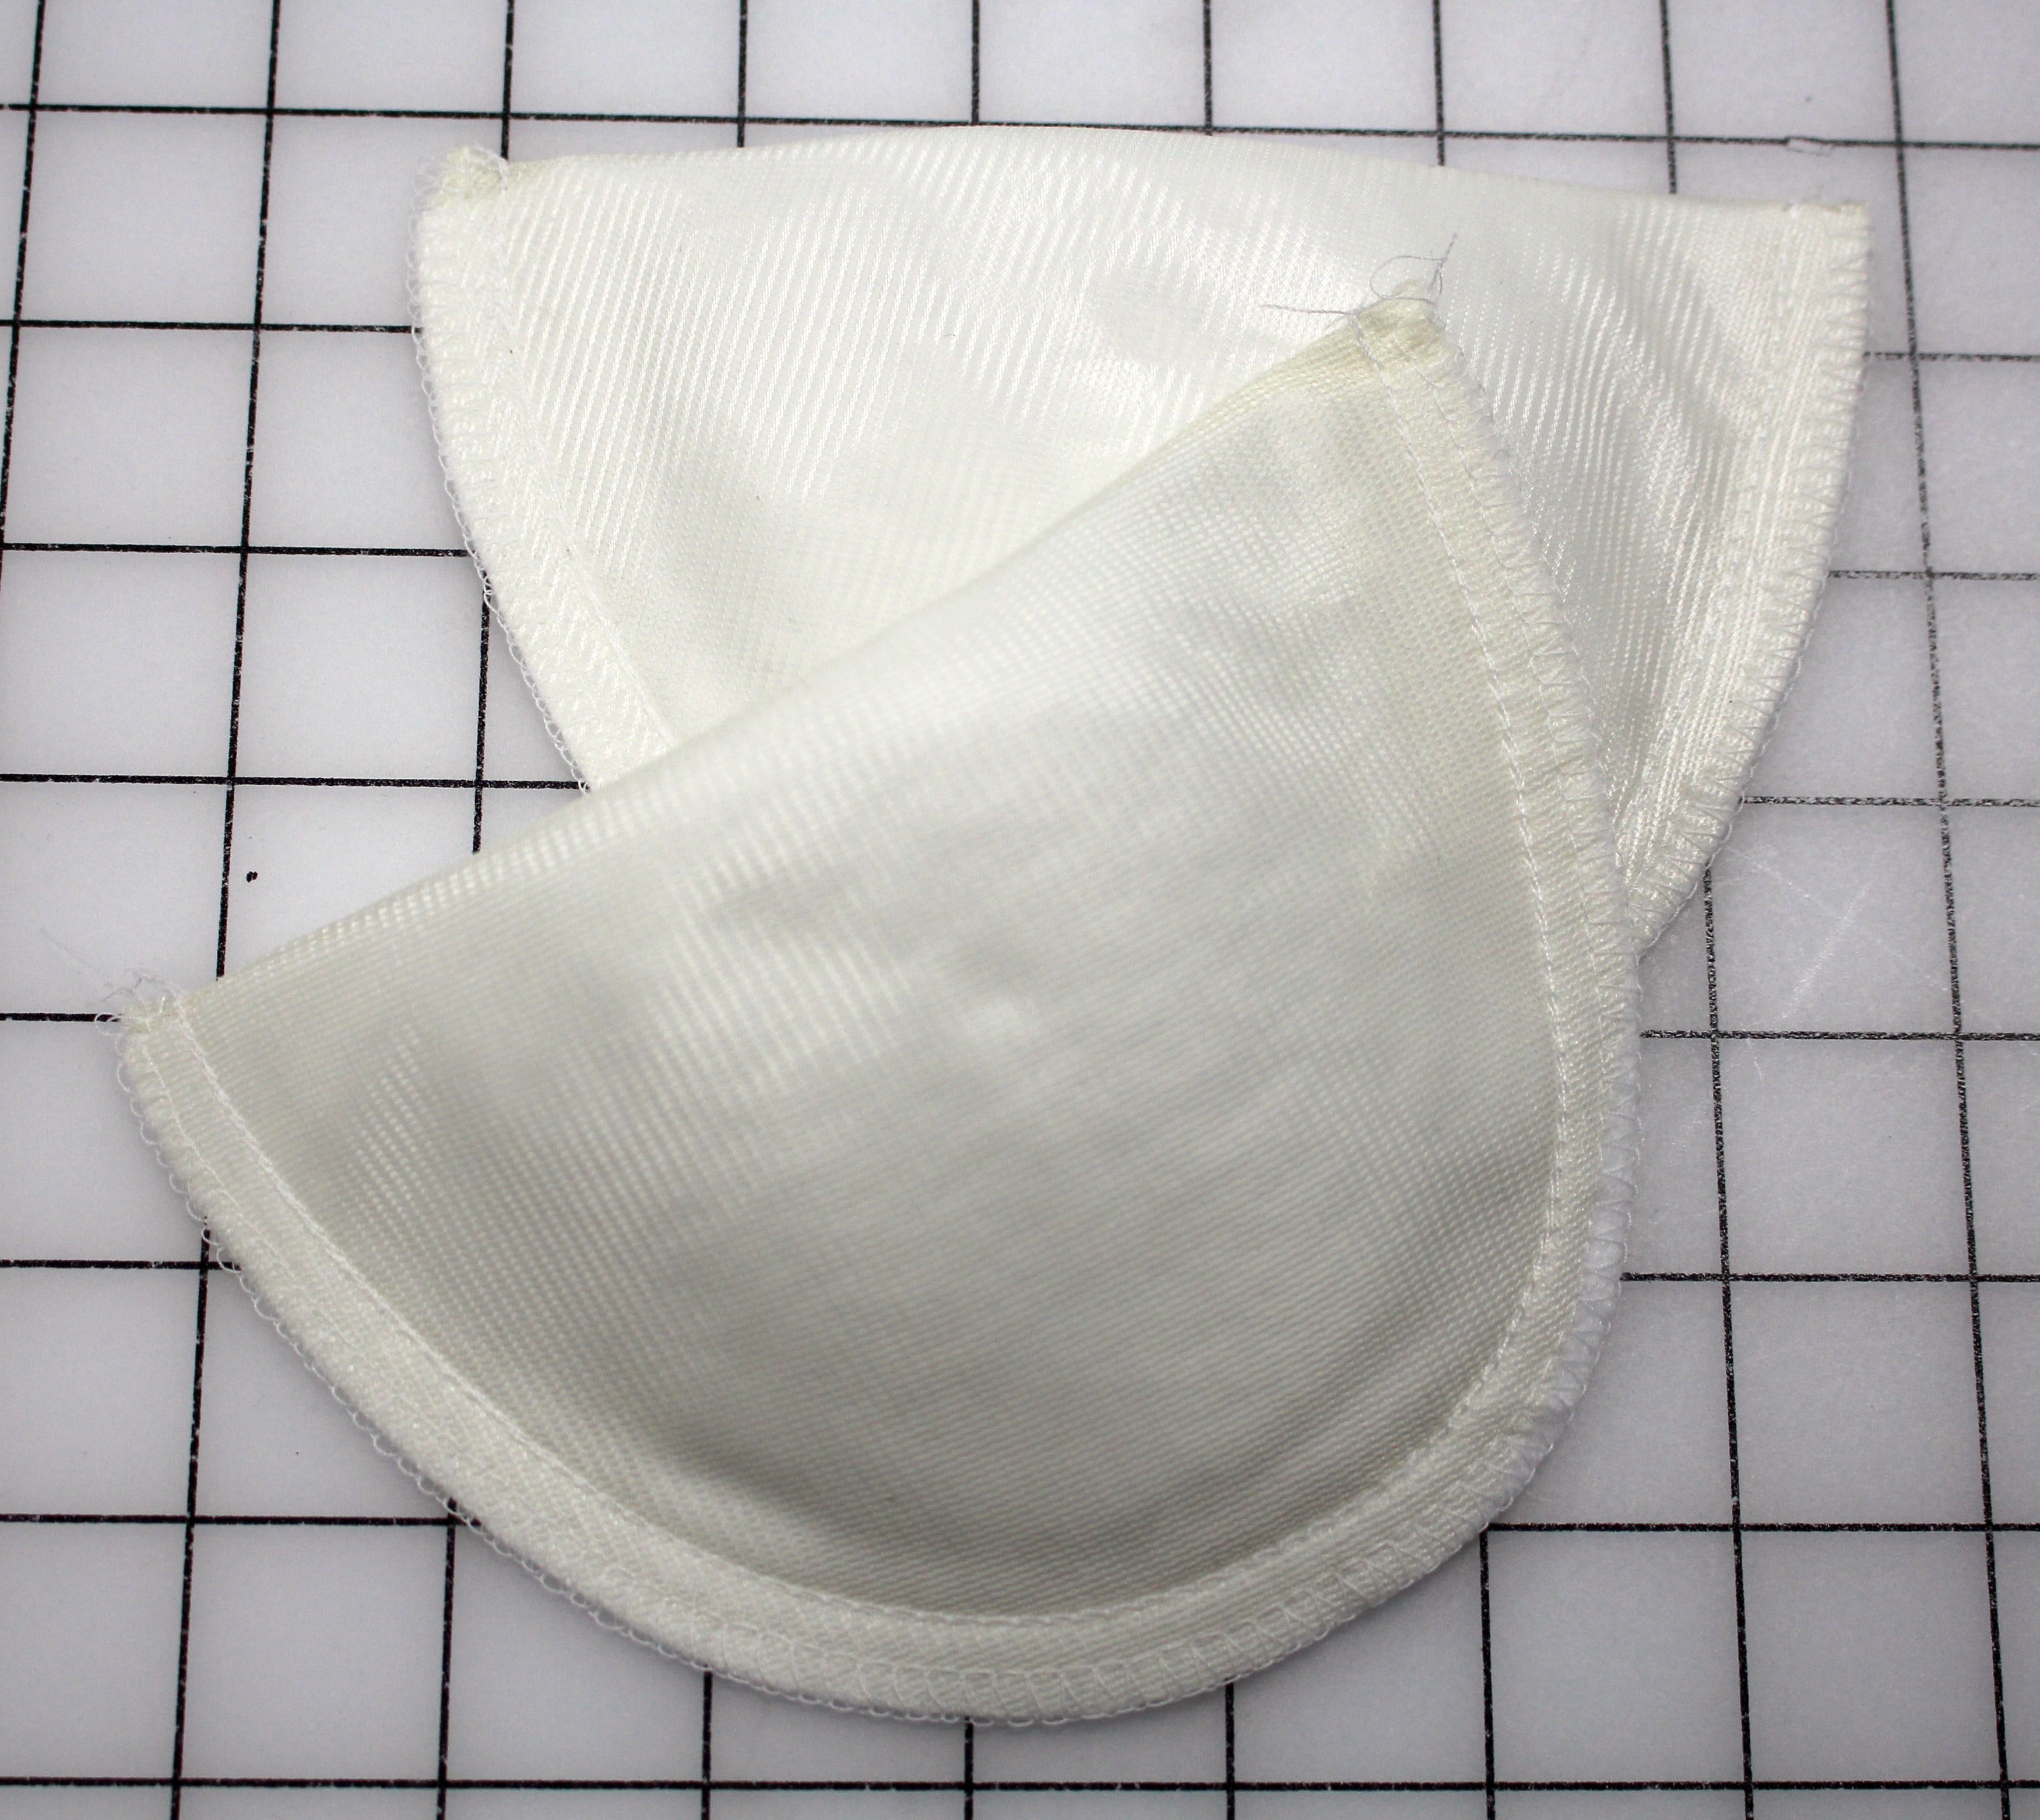
Take a look at these two shoulder pads. Both are considered a raglan shoulder pad, meaning that part of the shoulder pad will be directly on your shoulder and a small part of the shoulder pad will extend past your shoulder to fill in the sleeve cap.  These are typically used for jackets, but the smaller one will work in tops as well.

This shoulder pad is very thin and a perfect option for blouses and tops.  It gives that soft edge to your shoulder and evens out your profile, without standing out that you are wearing shoulder pads..

It can get rather expensive to add shoulder pads to every top that you own, not to mention shoulder pads turn out disastrously after being washed.  So why not design your own removable shoulder pads!

You will need:

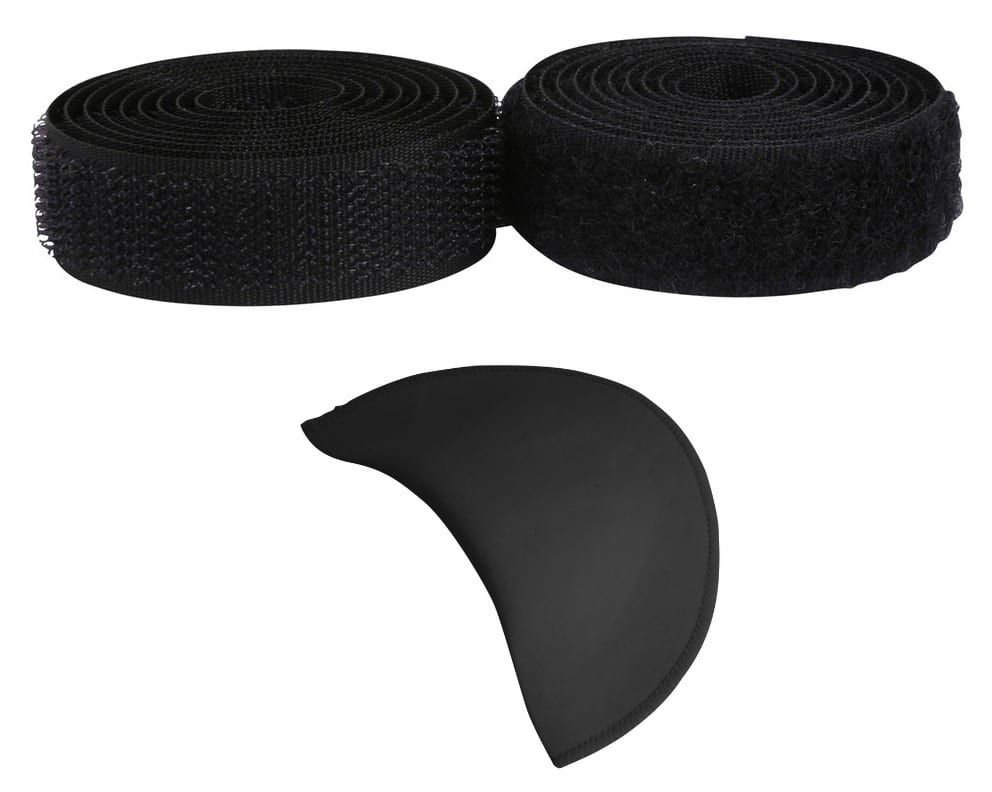
1” wide Hook & Loop tape; which comes in a variety of colors including beige, black, foliage green, olive drab, and white

Shoulder pad options I would consider:

Hand Sewing Needle and Thread

CHOOSING A SHOULDER PAD

Shoulder pads are listed by thickness and length.  The thickness is the height of the shoulder pad, so if you are looking for the bare minimal to even out the shoulder area – start with the ¼” thick shoulder pad.  For unlined jackets and sweaters consider using the raglan shoulder pads (which is what I will be using here). For knit tops and blouses, choose a flatter shoulder pad that won’t extend into the sleeve cap but the straight edge will line up with the edge of your shoulder.

PREPARE HOOK AND LOOP TAPE

Take a close look at the hook and loop tape.  There is a softer side (which will be attached to your garments) usually referred to as the loop side.  Then, there is the hook side that is (more…)

Sewing Tutorial: Hemming Pants with Cuffs

Sewing Tutorial: Hemming Pants with Cuffs

Although I teach three Tailoring Ready-to-Wear classes on Craftsy, there are a few alterations that many students ask about that were not included in the classes.  One of the most common questions: “How do I hem pants with a cuff?”  Hemming cuffed pants is very simple, but its important to pay attention to the measurements or you run the risk of hemming the pants too short.
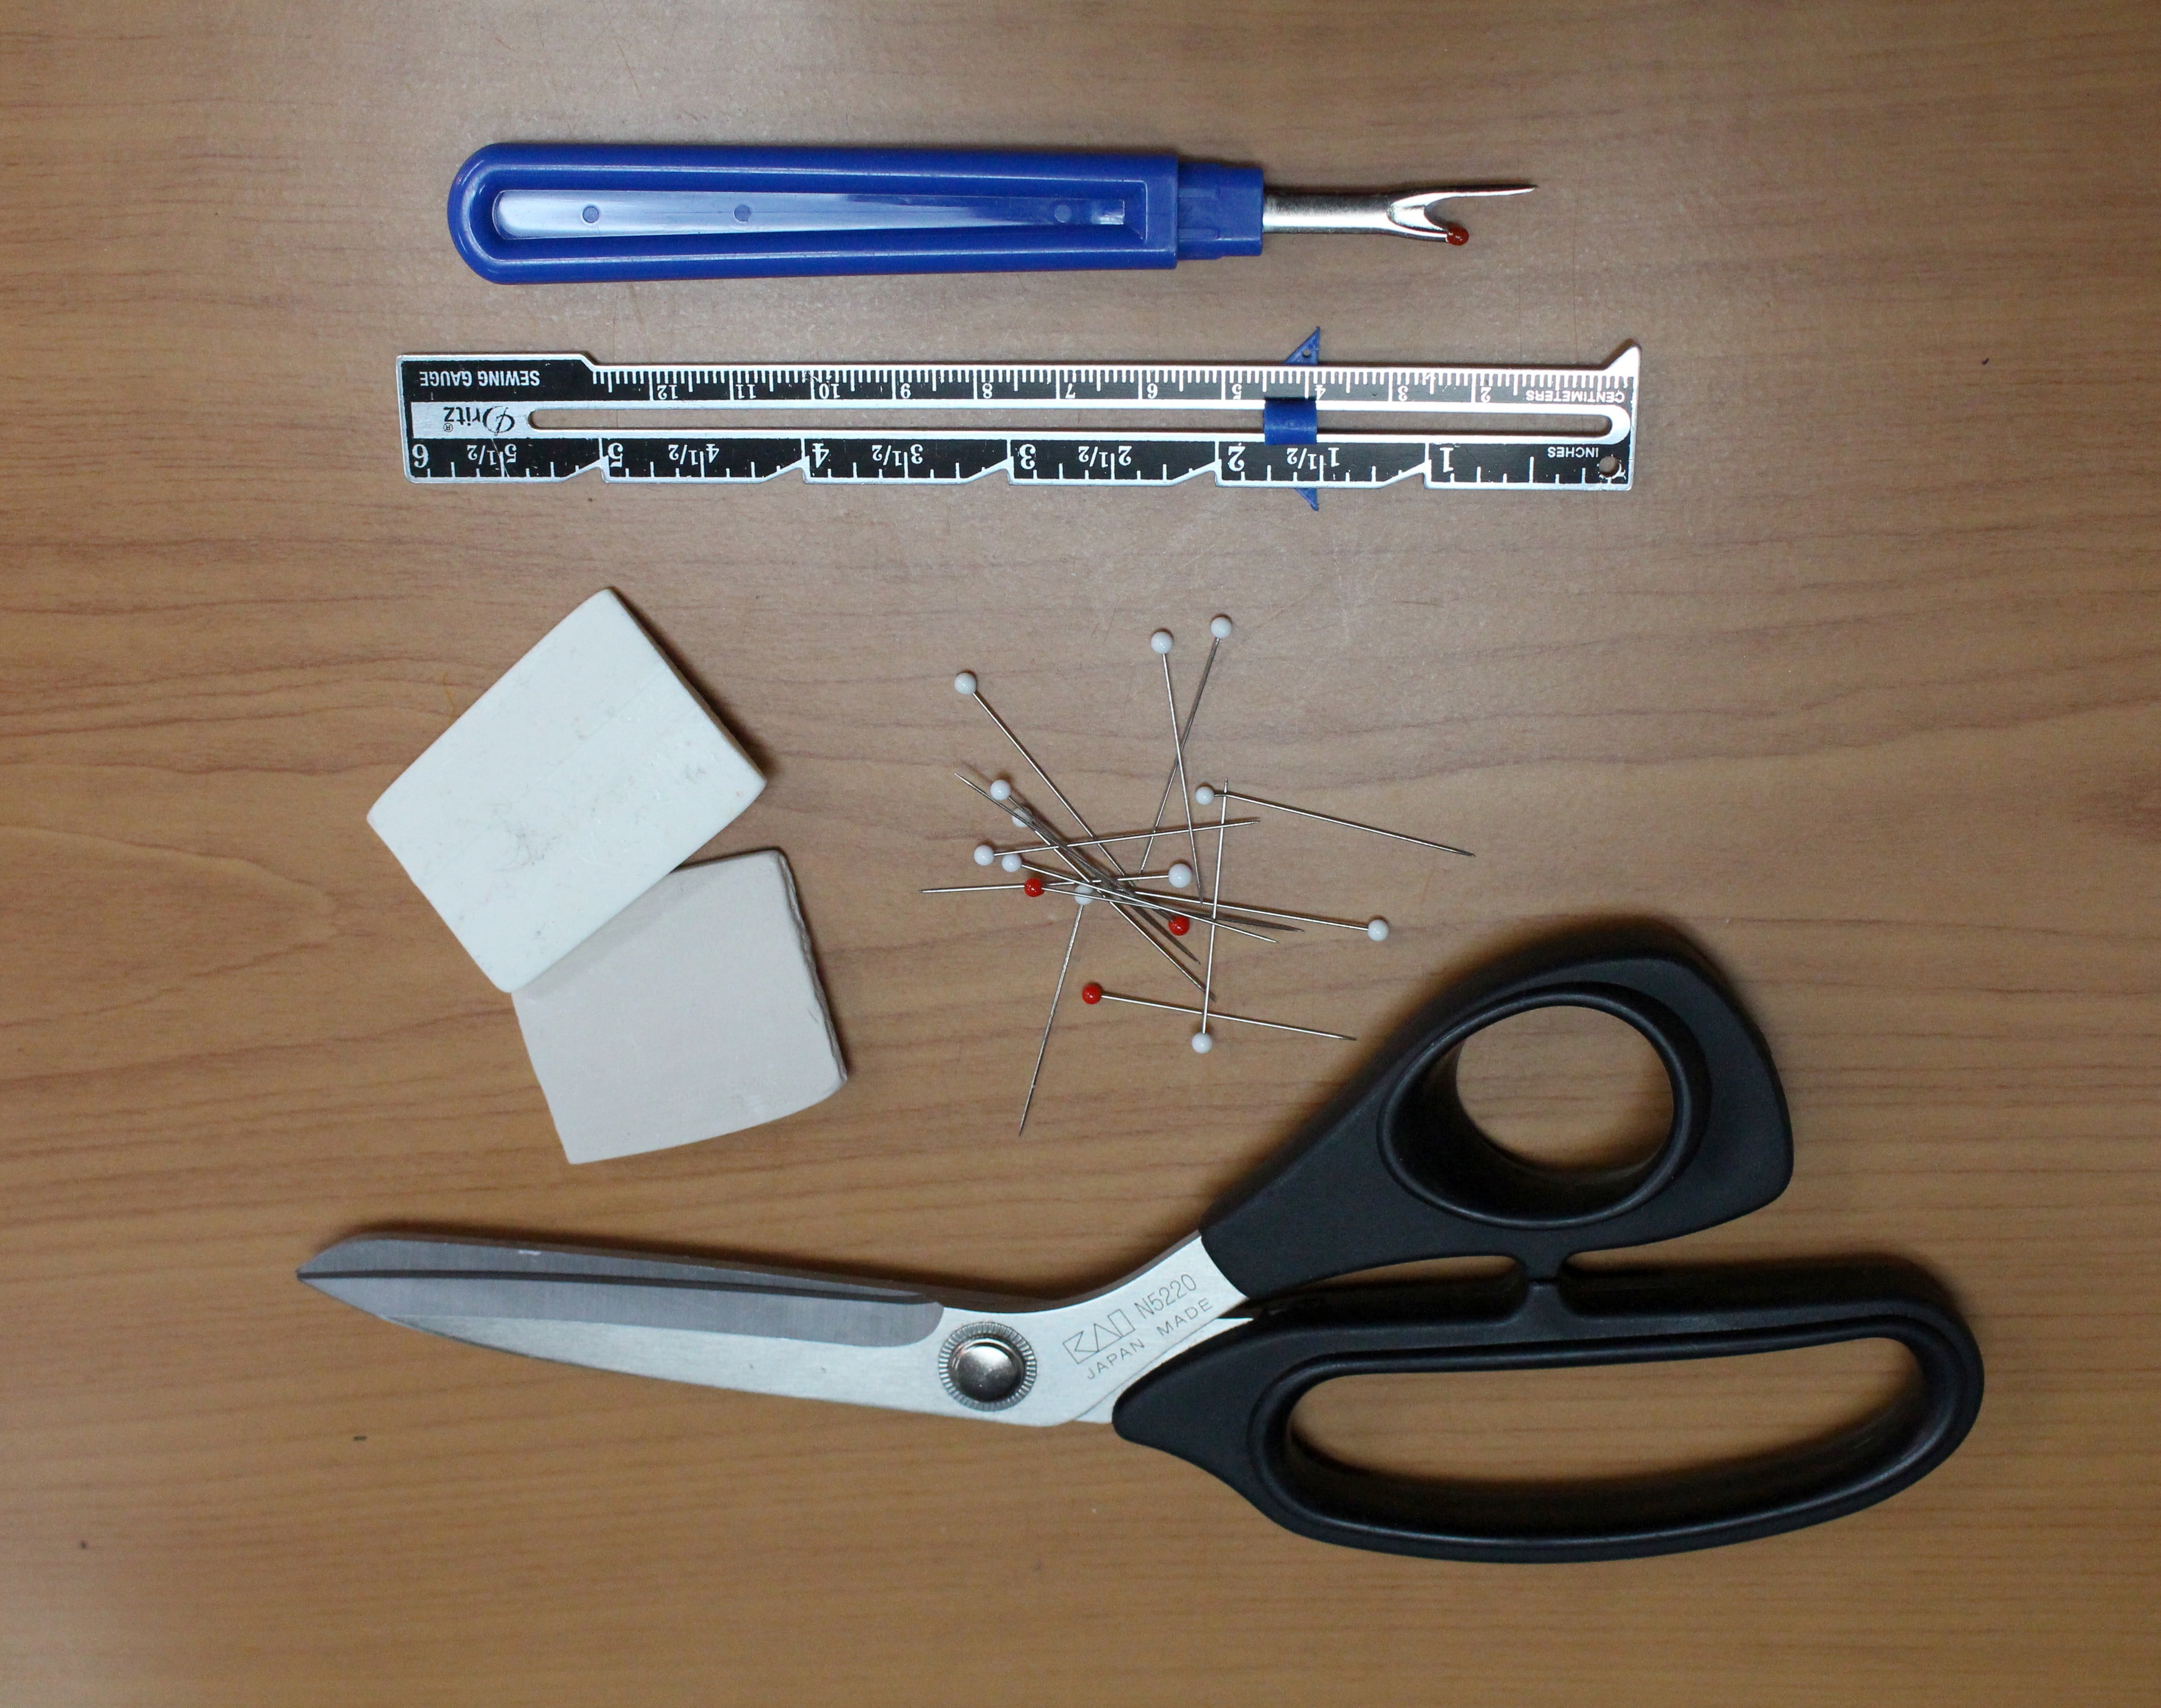
To get started these are the supplies from WAWAK SEWING you will need:

Let’s Get Started … Hemming Cuffs!

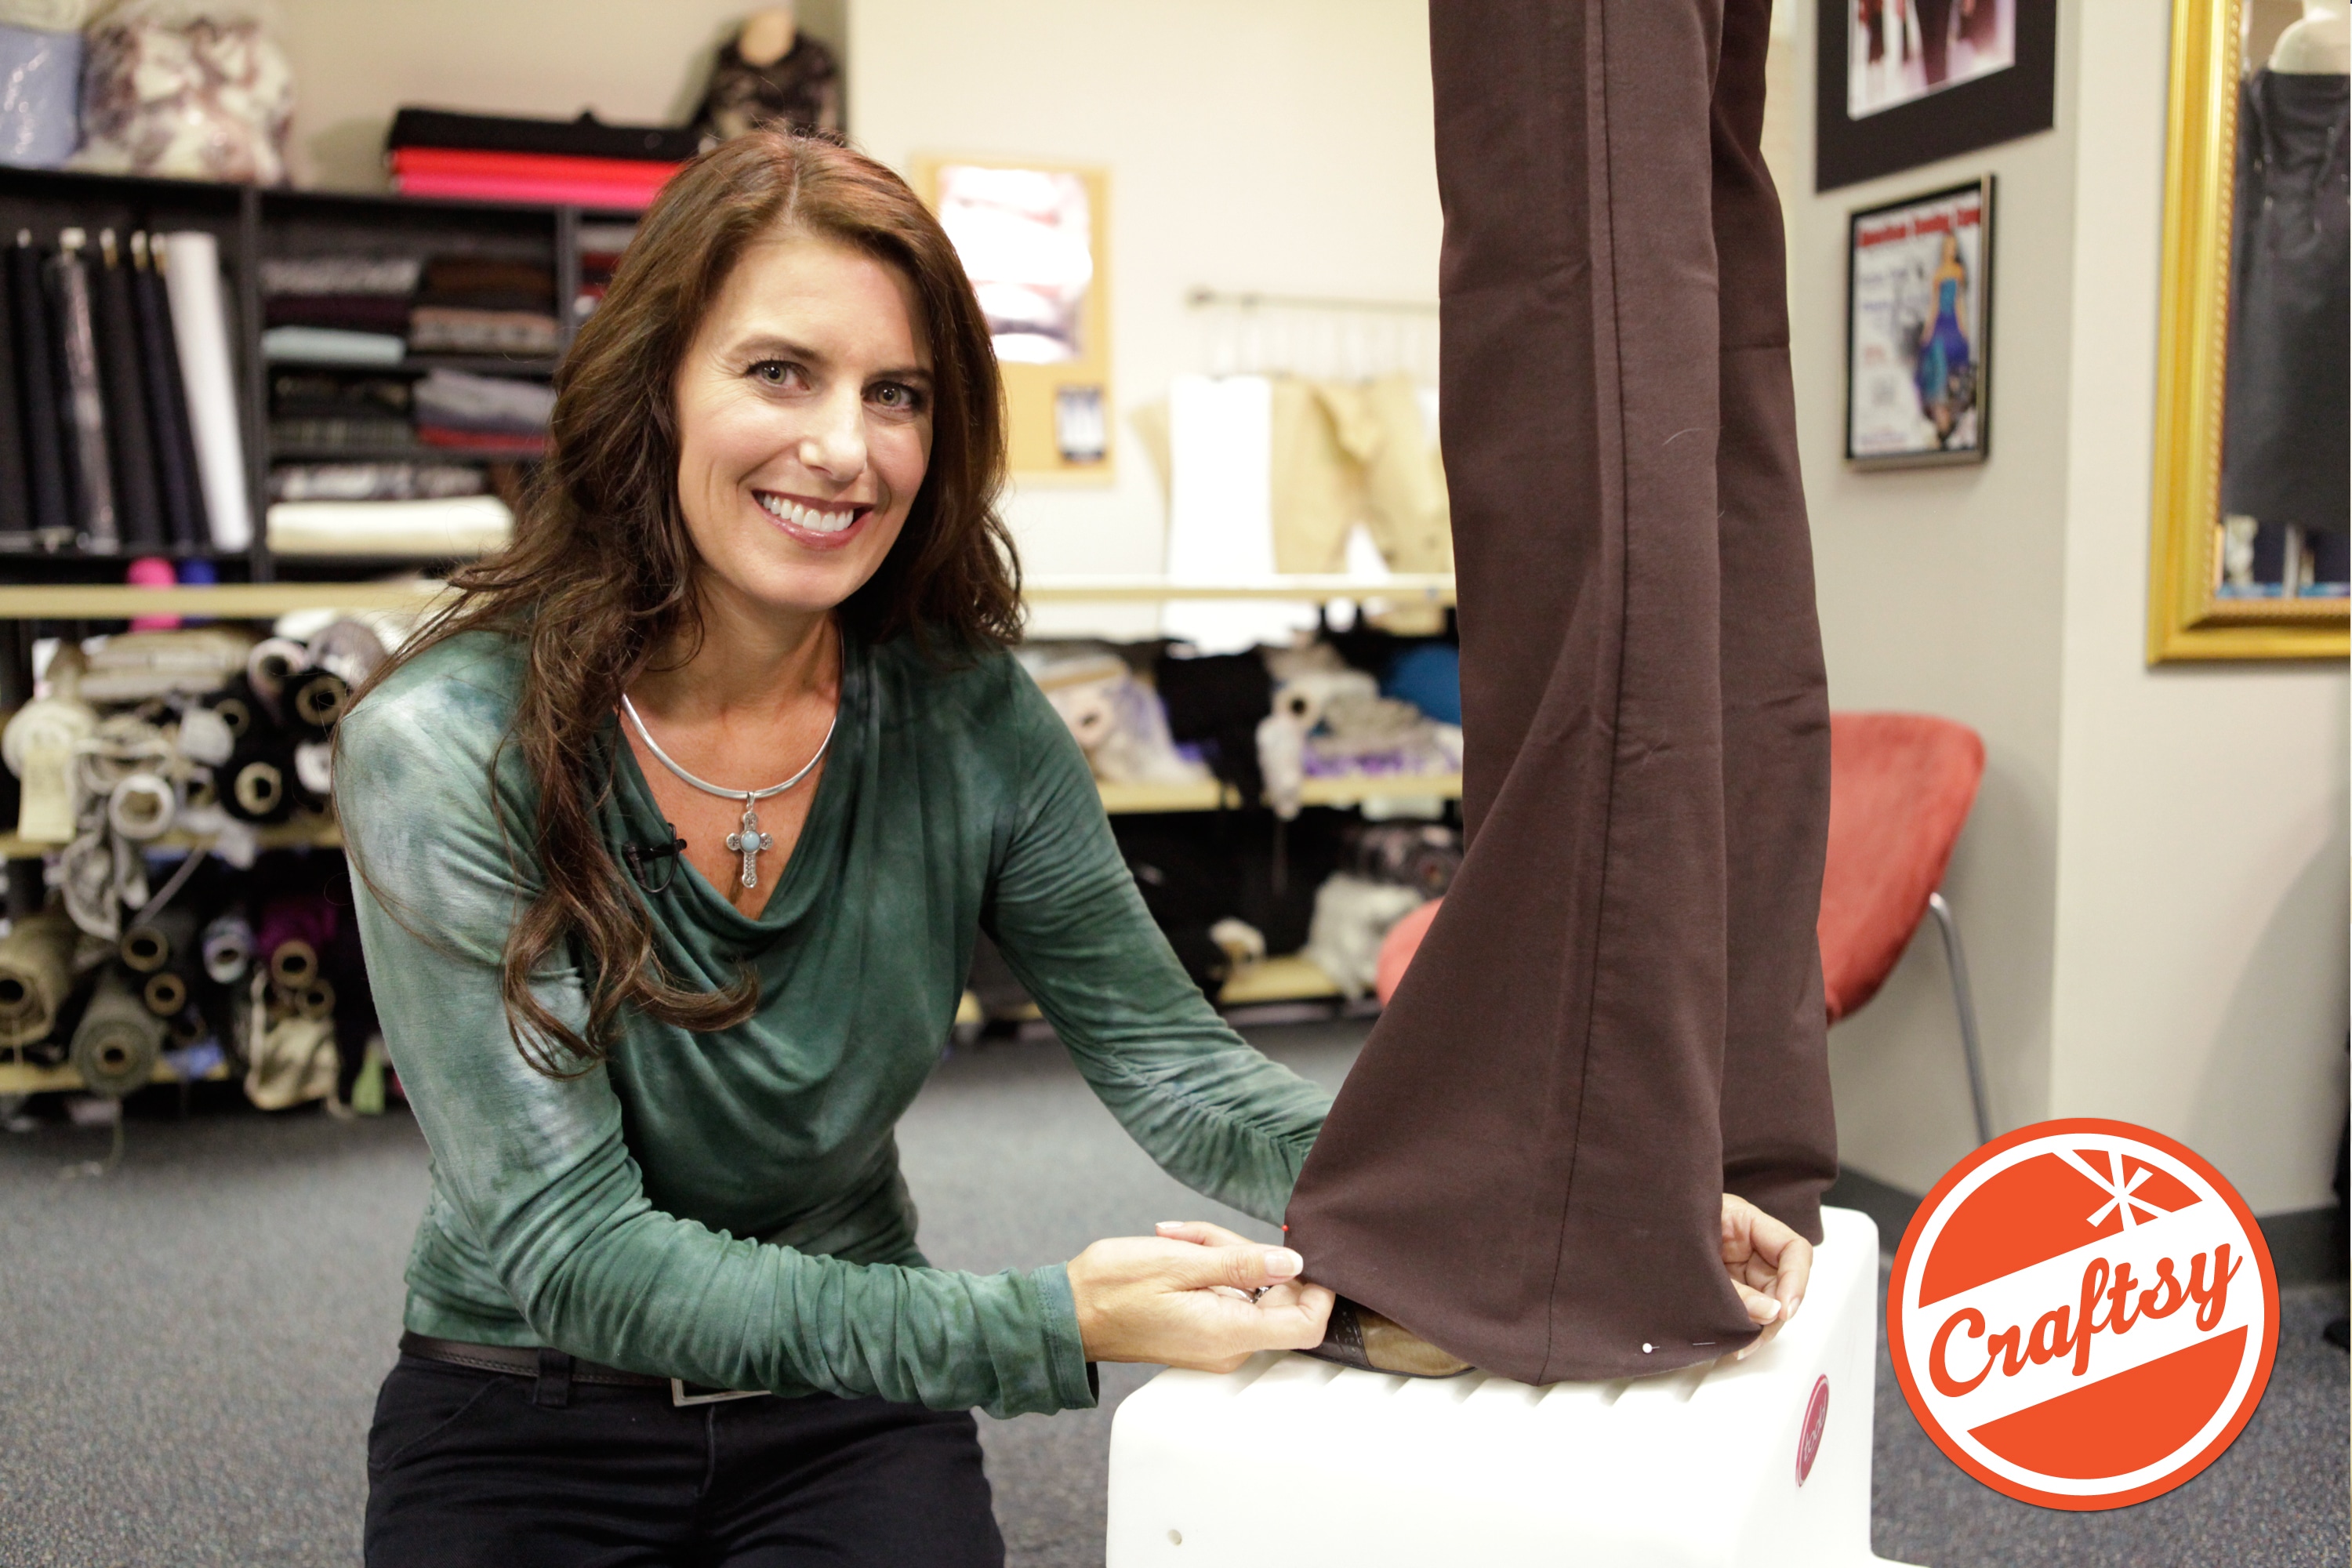
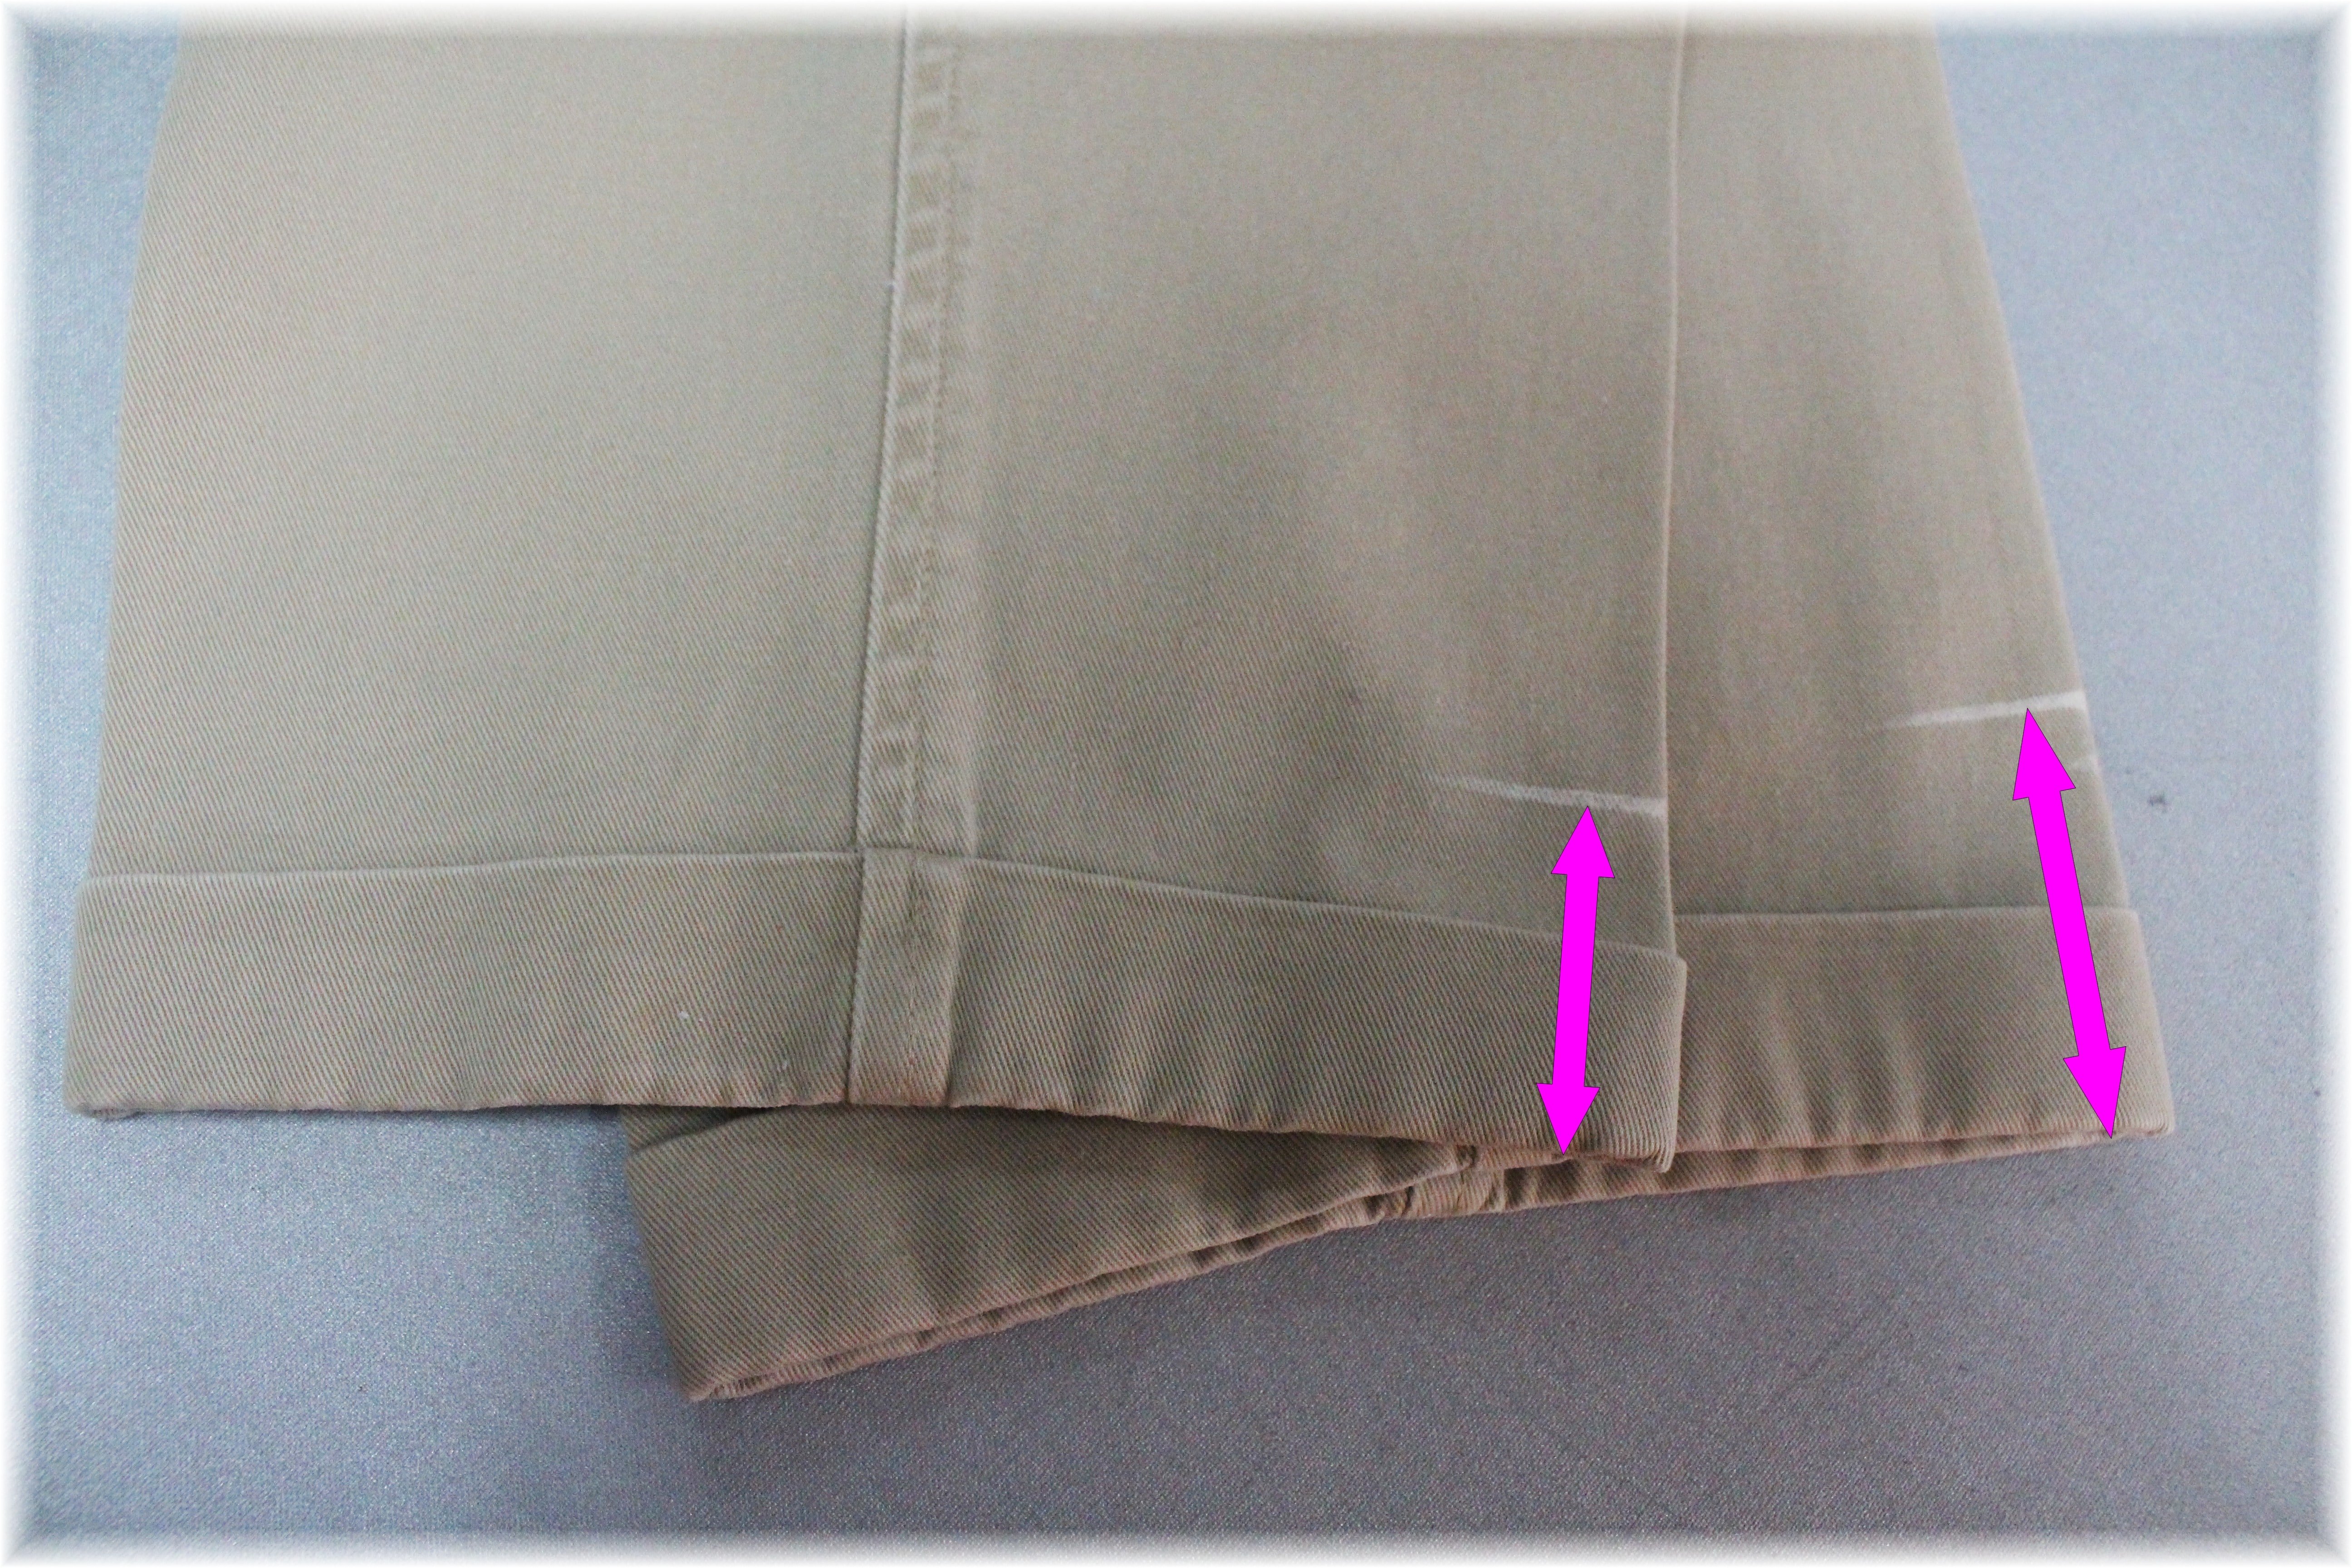
STEP 1:   Mark the hem. Try on the pants and turn up each pant leg.  Mark the bottom edge of the new hemline with chalk.
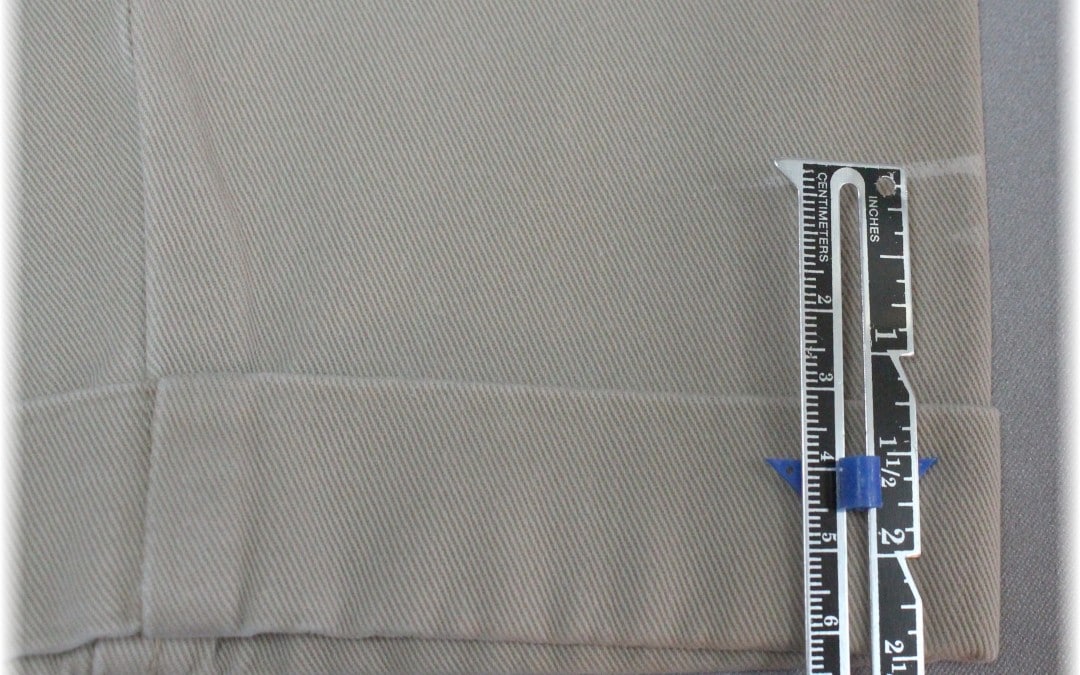
STEP 2:  Measure the amount to be hemmed: measure from the original hemline to the chalk mark.
j
Designer Tip: Be sure to measure both legs, as quite often there is a difference!
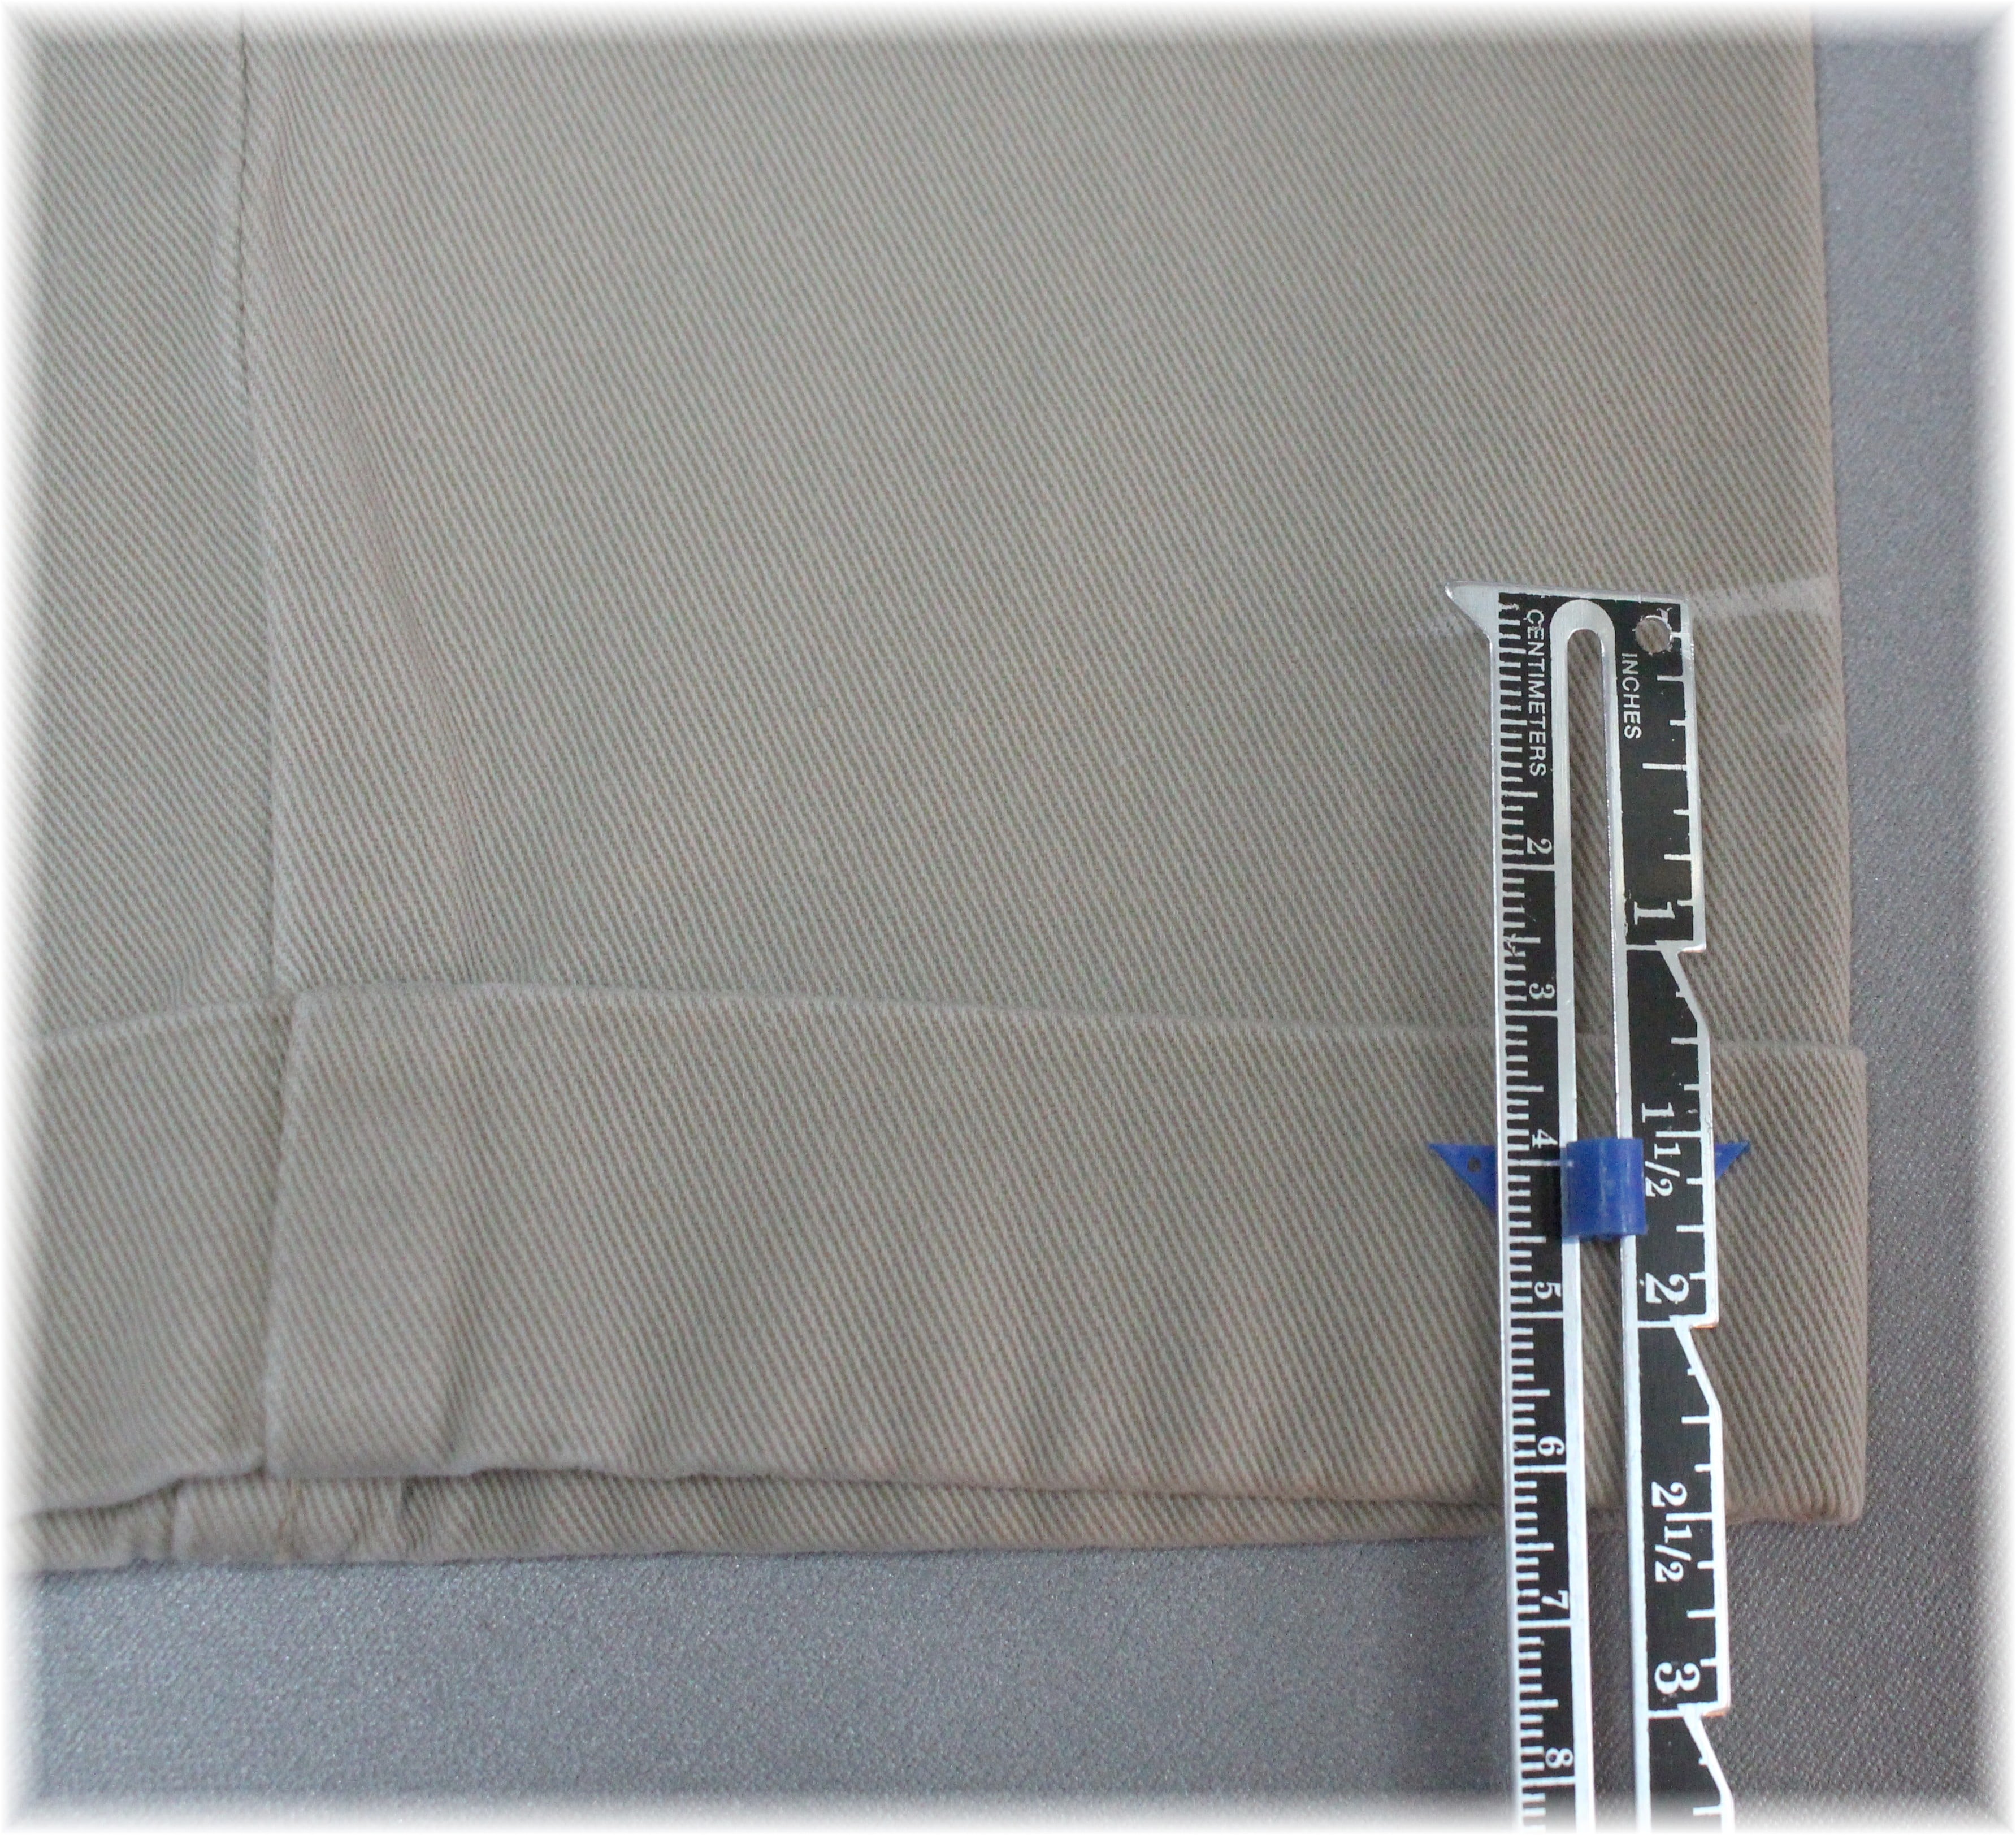
Step 3: Measure the width of the original cuff. (more…)

Learn How to Embellish Fabric with the Serger!

Learn How to Embellish Fabric with the Serger!

4900---Quick-Serger-Projects-8_retouchedI have been experimenting with various ways to create custom fabrics. You might have seen photos on my Facebook page with a few of my favorites by embellishing with:

  • embroidery
  • needle felting
  • scanNcut
  • thread art with the Dream Frame
  • couching

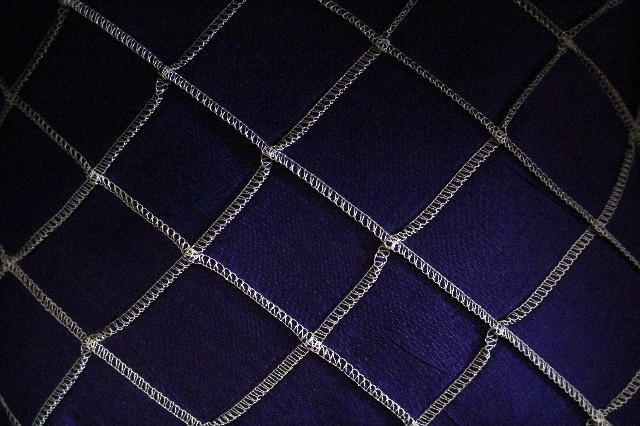
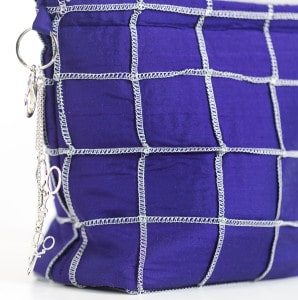
One that you might be surprised about is using the serger with a simple 3-thread overlock stitch and the blind hem foot. This purple bad is a perfect example. We made that bag in my Craftsy Class Sew with your Serger – Quick & Easy Gifts and most recently at the American Sewing Expo. I could see using this fabric as a collar or cuffs, color blocking – what about the flap on my back jean pockets!

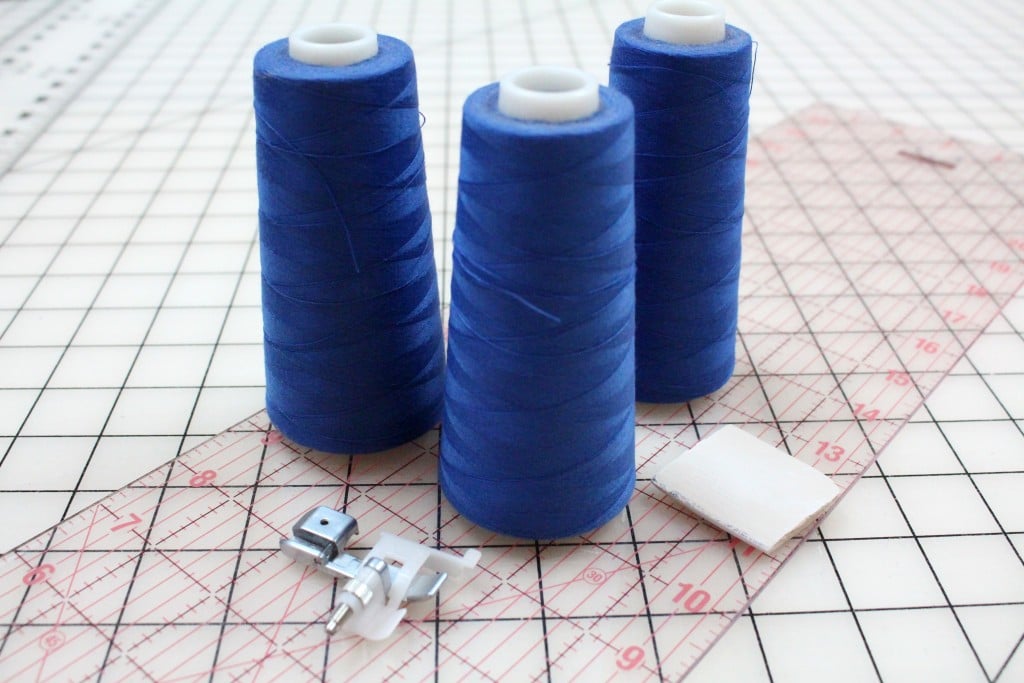
Supplies from WAWAK sewing:

E ANGELA WOLF SERGING FABRIC5PREPARE THE FABRIC

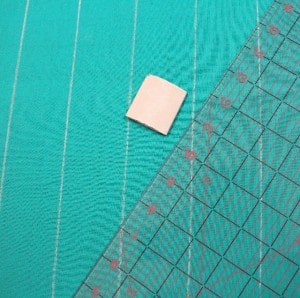
1.Cut your fabric larger than you need for the pattern piece, the serged line takes out a minimum ¼” of fabric. Chalk mark lines parallel to the grainline. Choose any width you want, these are 2” apart.

2. Chalk mark lines perpendicular to the previous chalk lines.

angela wolf serged fabric 2


angela wolf serged fabric 3

SET UP SERGER

3. Set up the serger for a 3-thread wide overlock stitch. Dis-engage the knife and attach the blind-hem foot (your blind hem foot might look different, check your manual)angela wolf serged fabric 6

E ANGELA WOLF SERGING FABRIC2E ANGELA WOLF SERGING FABRIC4


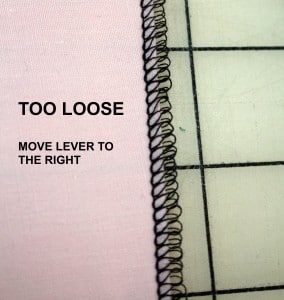
4.Test your stitch: fold a piece of fabric and (more…)

Video Tutorial on How to Clean a Dirty Iron!

Video Tutorial on How to Clean a Dirty Iron!

<script type="text/javascript" src="https://angelawolf.evsuite.com/player/d2hpY2gtaXJvbi1xLWEtYW5nZWxhLXdvbGYubXA0/?container=evp-5GK5RUN01N"></script><div id="evp-5GK5RUN01N" data-role="evp-video" data-evp-id="d2hpY2gtaXJvbi1xLWEtYW5nZWxhLXdvbGYubXA0"></div>

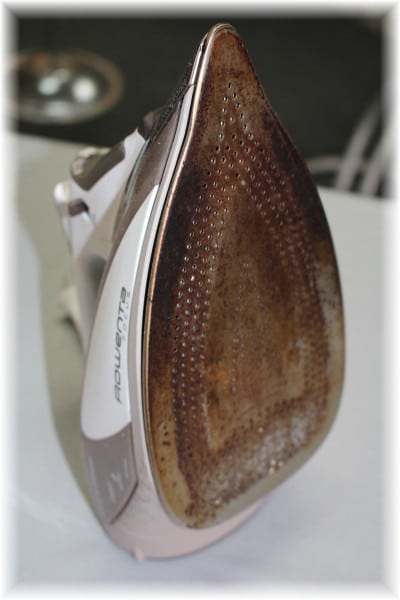
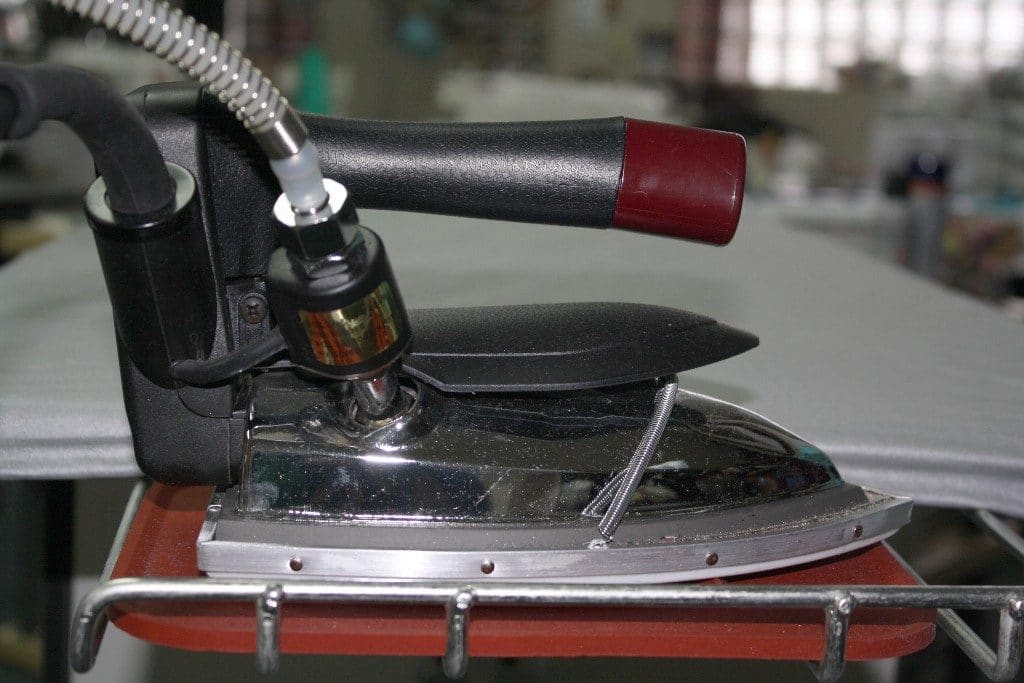
Welcome to Ask Angela where your questions get answered in detail! This weeks question is from  Glenda and you can watch the video above (click here if you don’t see the video).   You will find a tutorial on how to clean a dirty iron face and even a  preview of my favorite steam iron.

Leave me a comment below with your experience cleaning irons and if you have a favorite iron you must share with the rest of us!  Feel free to submit a question for an upcoming episode.

Cheers,

Angela Wolf

angela wolf pressing 1

(items in this blog contain affiliate links)

<iframe style="width:120px;height:240px;" marginwidth="0" marginheight="0" scrolling="no" frameborder="0" src="//ws-na.amazon-adsystem.com/widgets/q?ServiceVersion=20070822&OneJS=1&Operation=GetAdHtml&MarketPlace=US&source=ss&ref=as_ss_li_til&ad_type=product_link&tracking_id=angel0df-20&marketplace=amazon®ion=US&placement=B01M8K5T2I&asins=B01M8K5T2I&linkId=084d730a56138a4a769784f6bc20da6d&show_border=true&link_opens_in_new_window=true"></iframe>
<iframe style="width:120px;height:240px;" marginwidth="0" marginheight="0" scrolling="no" frameborder="0" src="//ws-na.amazon-adsystem.com/widgets/q?ServiceVersion=20070822&OneJS=1&Operation=GetAdHtml&MarketPlace=US&source=ss&ref=as_ss_li_til&ad_type=product_link&tracking_id=angel0df-20&marketplace=amazon®ion=US&placement=B008J4V1J8&asins=B008J4V1J8&linkId=57fa7d18fddfe4f63bad7aa5bf8ea869&show_border=true&link_opens_in_new_window=true"></iframe>
<iframe style="width:120px;height:240px;" marginwidth="0" marginheight="0" scrolling="no" frameborder="0" src="//ws-na.amazon-adsystem.com/widgets/q?ServiceVersion=20070822&OneJS=1&Operation=GetAdHtml&MarketPlace=US&source=ss&ref=as_ss_li_til&ad_type=product_link&tracking_id=angel0df-20&marketplace=amazon®ion=US&placement=B0006V875S&asins=B0006V875S&linkId=834ca1cce2407e48962b7052c8148a32&show_border=true&link_opens_in_new_window=true"></iframe>
<iframe style="width:120px;height:240px;" marginwidth="0" marginheight="0" scrolling="no" frameborder="0" src="//ws-na.amazon-adsystem.com/widgets/q?ServiceVersion=20070822&OneJS=1&Operation=GetAdHtml&MarketPlace=US&source=ss&ref=as_ss_li_til&ad_type=product_link&tracking_id=angel0df-20&marketplace=amazon®ion=US&placement=B00FZM1PUM&asins=B00FZM1PUM&linkId=60f752f3b8601b606b0a62ee69f51714&show_border=true&link_opens_in_new_window=true"></iframe>

325: Learn to Sew an Envelops Purse Clutch with Angel Wolf

Envelope Pattern There are three download versions for the envelope pattern: Full Layout - Use this for projector printing or printing on a plotter.   ENVELOPE PURSE Letter Size Printing - Use this when printing letter size paper (8.5" x 11").  Print pages 1-8, the...

Ep. 303 Delila Knit Top Part 3

Episode 303 🧵 Behind the Scenes with Angela Wolf The last part of our Delila Slit Sleeve Sewalong!  Have you checked out all the Delila tops posted in our private Angela Wolf Patterns Group?   So cute!!! Angie Hotchkiss ~  Angela Wolf Facebook GroupDarlene Deck ~...

Ep. 302 Delila Knit Top Sewalong Part 2

Episode 302 🧵 Behind the Scenes with Angela Wolf We are onto part 2 in the Delila sew along!  We have cut our fabric and ready to sew.  Did you have any questions about fitting?  If so, be sure to take your photos with questions to the Angela Wolf Patterns Facebook...

Ep. 301 Delila Knit Top Sewalong Part 1

Episode 301 🧵 Behind the Scenes with Angela Wolf Getting into summer and looking for stylish tops to wear with jeans, shorts, or skirts and one of my fist patterns always shows up ... The DelilaDelila Pattern has 9 Options  I designed this pattern to be able to sew...

Ep. 260 Sewing the Shirley Wrap Top with a Sweater Knit

Episode 260 🧵 Behind the Scenes with Angela Wolf ~ Sew the Shirley Wrap with a Sweater Knit The Shirley Wrap pattern is so versatile and this time we will use a thicker, sweater knit fabric.    You can find the Shirley pattern in PDF and paper patterns in size XXS -...

Sewing with CraftOptics is a Great Solution for the Eyes!

Have you see the WOW package from CraftOptics? I met Jeff Caplan from CraftOptics a few years ago in Puyallup, his booth was around the corner from Kai Scissors.   I was intrigued by the glasses and loved hearing the comments that people would say after trying them...
VLOG 250 Behind the Scenes ✂️ Unbox Craft Optics & Sleeve Hack

Episode 250 ~ At your side 🧵 Virtually!  Unboxing Craft Optics & Sleeve Hack Behind the Scenes Episode 250 Included an interview with Jeff from CraftOptics and an unboxing of my new WOW glasses.  Then I kick off Birthday sewing month with a sleeve hack for another...

At Your Side Virtually! Episode 228 Quick Christmas & Holiday Gift Decoration Ideas

Quick & Easy Christmas & Holiday Decor Quick Table Runner Instructions Fabric Requirements: a. Center fabric: Sew together seven of the quilted blocksmade in the 7 7/8 x 14 in hoop. Five of the blocks will havethe applique design and the two ends will be...

Episode 199: At Your Side Virtually! Mug Rug and Coffee Deco with Kathy Stipe and Barb Mikolajczyk

Episode 199 ~ At your side 🧵 Virtually! Create a mug run and decorate your coffee mug with vinyl Join Brother Brand Ambassador Angela Wolf and Brother Educator's Kathy Stipe and Barb Mikolajczyk Designing Mug Rugs in My Design Center-Quick and Easy Supplies needed:...

Pant Sloper Fitting Online Course

Pant Sloper Fitting Online Course Learn to fit your own pant sloper! Then take that sloper and turn it into a pattern. This class will be taught in a virtual & online setting; offering 5 live lessons with additional videos for specific fitting issues. You will...

VLOG 238 Behind the Scenes ✂️ LIVE in Angela Wolf’s Studio & Sewing the Lacy Top

VLOG 238 Behind the Scenes ✂️ with Angela Wolf ! Last week we cut out the Lacy top pattern, this week we will serge it together. And I will be drawing 3 lucky winners for the beautiful Shannon Fabric!!! Also, check out the new renovations coming to Angela Wolf's...

Episode 198: At Your Side Virtually! Create a thread catcher and pin cushion

Episode 198 ~ At your side 🧵 Virtually! Create a Thread Catcher & Pin Cushion with Jerry GranataSupply List & Instructions for Thread Catcher • Brother Stellaire XP2 or comparable machine to embroider and sew, or both• Feet you will need: - Embroidery foot, J...

Choosing Easy Sewing Patterns for Beginner Sewing Success!

Choosing Easy Sewing Patterns for Beginner Sewing Success!

Sew confident beginning sewing angela wolfHopefully you had time over the weekend to spiff up your sewing room. My Craftsy class Sew Confident: Essential Techniques for Beginners” has officially launched and we are already just shy of 500 students. Very Exciting!

CONGRATULATIONS!

First things first, congratulations to Tracey McKoy from Baltimore, Maryland. Tracey was last weeks lucky winner and has already joined us in the Craftsy classroom. Guess what else I found out? She enjoys fishing! Good thing Craftsy drew her name or you might think I was swayed 🙂

Let’s Giveaway Another Class!

Angela Wolf sewing for beginners Crafty

There was such a HUGE response to the class giveaway, I am going to giveaway another Sew Confident Craftsy class! To enter this time, simply leave a comment below telling me why you would love to win this class,  joining students from all over the world – 1 random winner will be drawn Friday at midnight, EST … Good Luck! 🙂

Wondering what’s covered in the class? Here is a link to the trailer video and as promised a SPECIAL 50% DISCOUNT if you would like to join us today.


Beginners Guide to Fashion Sewing


Let’s get started! In case you missed last week’s message, the series for beginner sewing starts now.

Part 1. Choosing a Pattern

What’s the big deal about finding a pattern anyway? Scan the pattern books, find a cute cover photos, and you are ready for sewing success, right?

Angela Wolf fashion seiwng patterns for beginners

If only we can all be so fortunate, but in most cases the scenario pans out a little differently. I recall sewing my first pair of pants. The pattern cover showed a tall, elegant model (more…)

Pin It on Pinterest