

I am very excited to team up with Mathew Boudreaux (Mister Domestic) as part of his blog party launching his new fabric collection Loved to Pieces! I had the choice of many of his beautiful fabrics and chose a beautiful 100% rayon fabric to sew the Kate Skirt...
Shirt Dress Sewalong: Sewing the Sleeve Placket
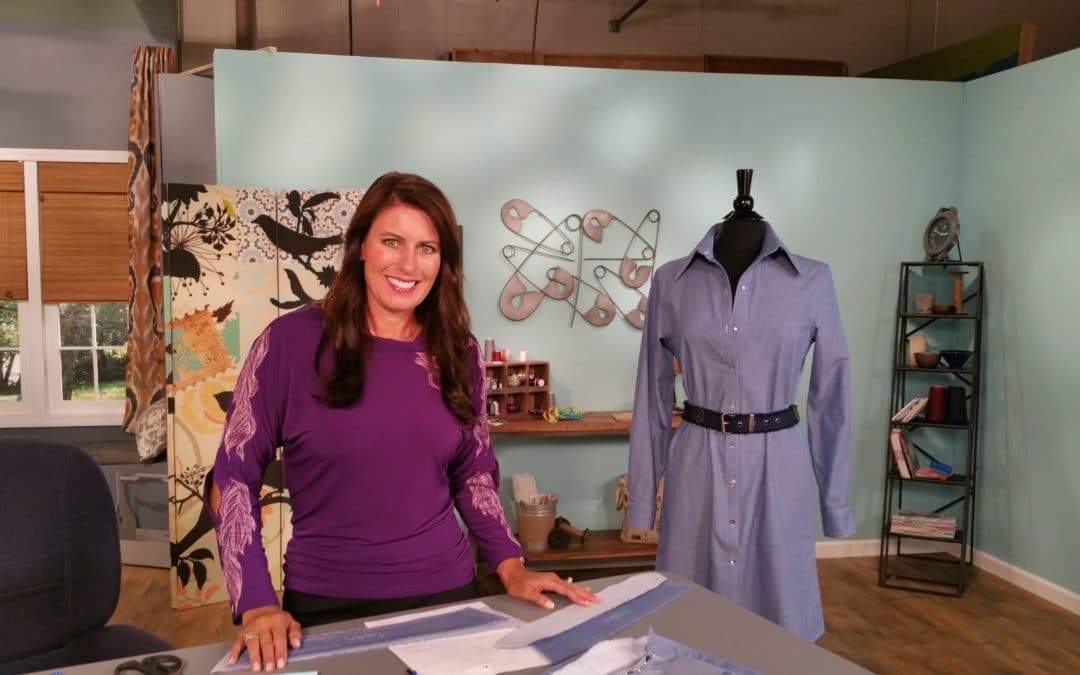
It’s Sew Easy TV’s Shirt Dress Sewalong 
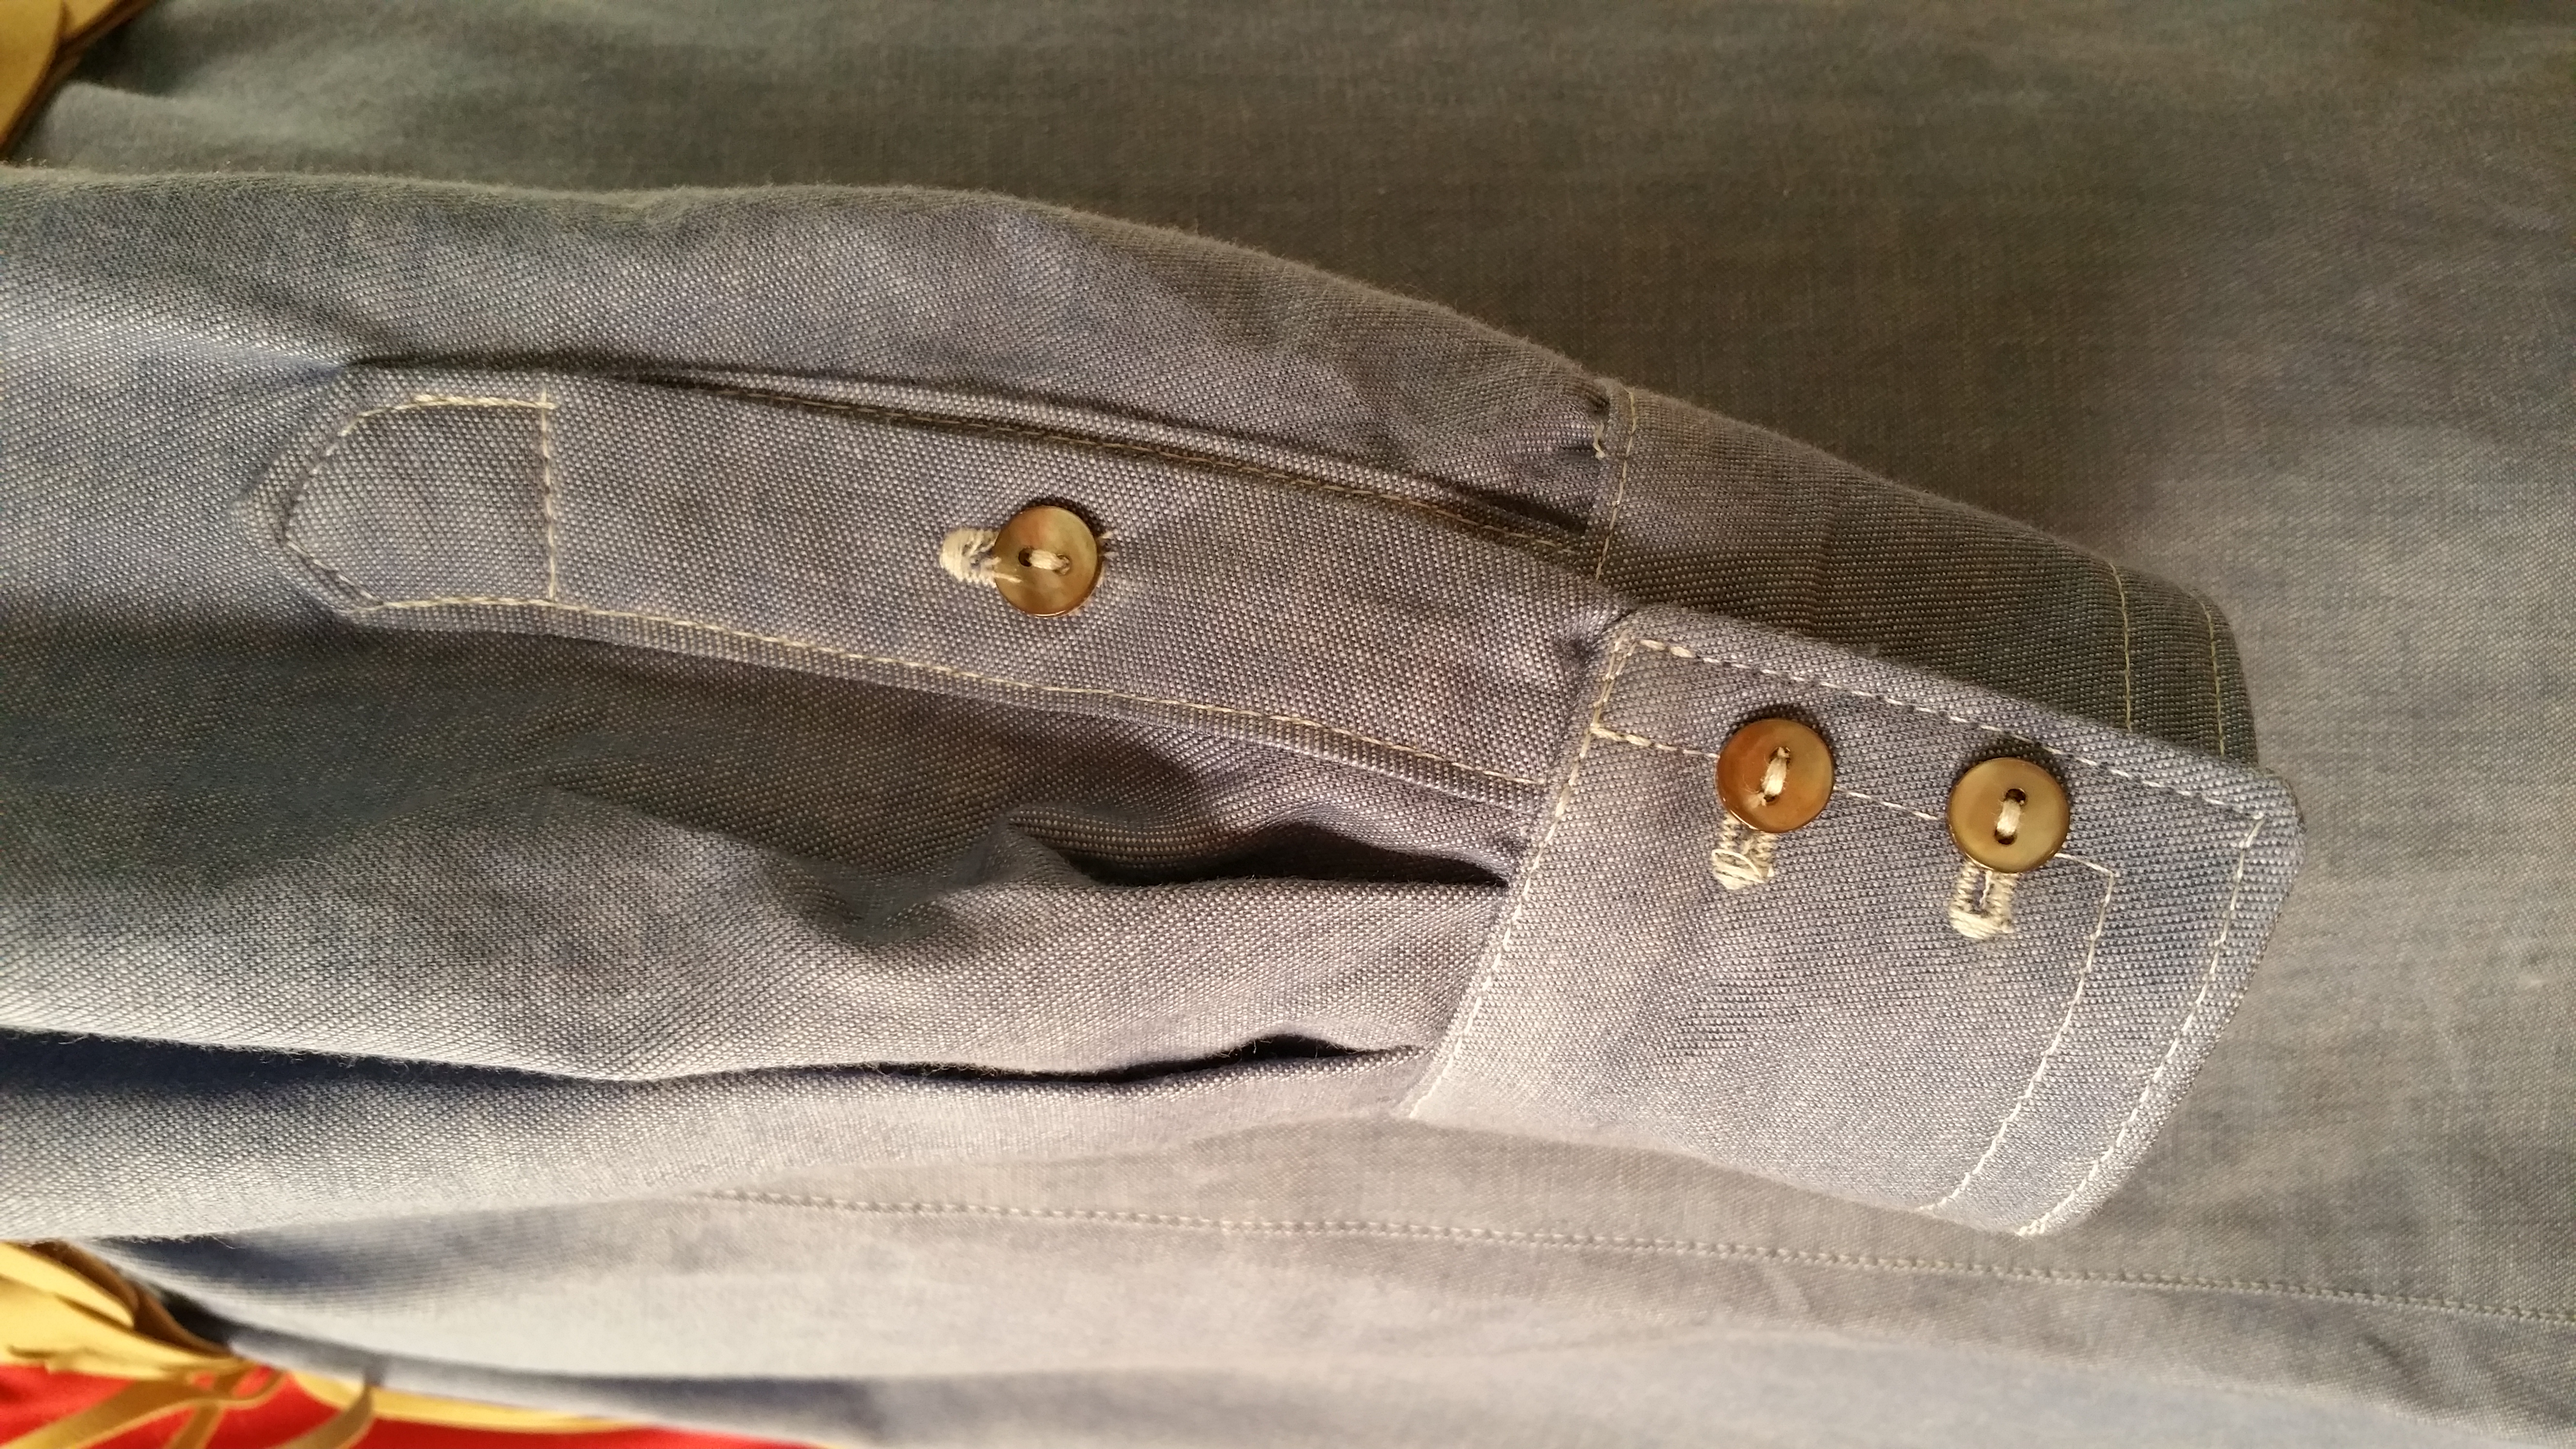
Part 4: Sewing the Placket on the Sleeve
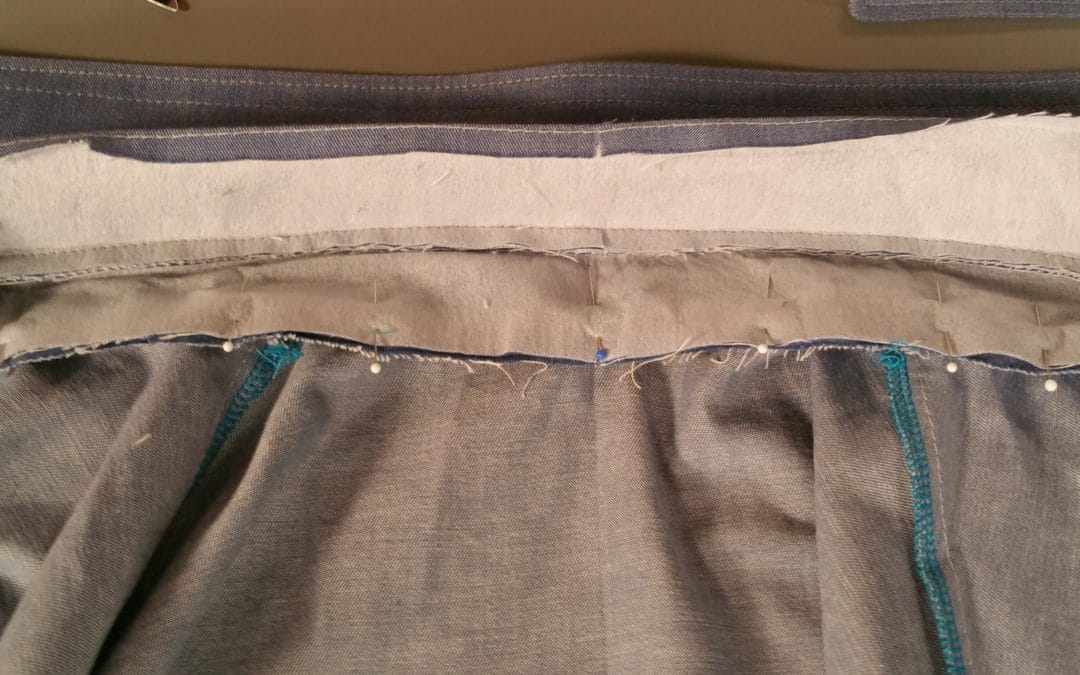
There are many ways to sew the sleeve placket and depending on your pattern you might have a one piece or two piece placket. If you have a two piece placket, you can change it to one piece and follow the steps I have shown in the tutorial. I learned this technique from altering men’s ready-to-wear and thought THIS WAS SO EASY (It’s Sew Easy LOL!)
The video from It’s Sew Easy tv is a brief tutorial on sewing the placket including pressing and topstitching. As far as interfacing, keep the interfacing out of the seam allowances or the placket will be too stiff.
I am going to work on another shirt dress out of chiffon and definitely going to add embroidery. Now is the time to embroider the sleeve, before we sew the side seams. Just an idea 🙂
<iframe width="560" height="315" src="https://www.youtube.com/embed/Pz0yYCZkKdE?rel=0" frameborder="0" allow="autoplay; encrypted-media" allowfullscreen></iframe>
Supplies used in this video
- Interfacing
- I use a fusi-knit fusible tricot interfacing – a woven or sew in interfacing will also work
- Test the interfacing on a scrap of fabric to make sure it doesn’t show through
- Buttons
- Thread
- Universal polyester thread
- Silk or cotton thread adds a nice finish for the topstitching
- Pressing Tools
- Basic Sewing Supplies
- Seam Ripper, Measuring Tape, Tailors Chalk, Pins,
- Here are links to my Amazon shopping list.
Sewalong Schedule
Here is the blog schedule for the season long sew-along with links to the tutorials and live Q&A on my blog (each link will open on the date listed). Season 14 of It’s Sew Easy had begun airing on PBS and Create TV; you will be able to watch each episode there first (depending on when your specific station begins airing the show).
Part 1: Announcing the Shirt Dress Sewalong with Angela Wolf on It’s Sew Easy
Episode 1401: Choosing and prepping fabrics, patterns, and sizing
Part 2: Sewing the Front Placket Episode 1402: Sewing the front placket
Part 3: Attaching the Collar Episode 1404: Attaching the collar
Part 4: Sewing the Placket on the Sleeve Episode 1405: Sewing the placket on the sleeve
Part 5: Sewing the Sleeves and Side Seam Episode 1406: Sewing the sleeves and side seams (1/27/2018)
Part 6: Sewing the Cuffs Episode 1408: Sewing the cuffs (2/3/2018)
Part 7: Sewing the Buttons and Buttonholes Episode 1409: Buttons and buttonholes (2/10/2018)
Part 8: Finishing the Hem Episode 1413: Finishing the hem with a rolled hem (2/17/2018)
Join us! A new video will arrive on YouTube every Saturday. Sign up here and never miss a blog post and join the fun on facebook, instagram, twitter, and pinterest . We will share photos on the social side using hashtags #angleawolf #itseweasy
Can’t wait to see what you sew up! Leave your comments & questions below …
Cheers,

Previous Blog Posts

Kate Skirt Meets Loved To Pieces from Mister Domestic
read more

Shirt Dress Sewalong: Sewing the Sleeve Placket
It's Sew Easy TV's Shirt Dress Sewalong Part 4: Sewing the Placket on the Sleeve There are many ways to sew the sleeve placket and depending on your pattern you might have a one piece or two piece placket. If you have a two piece placket, you can change...

Shirt Dress Sewalong: Attaching the Collar
It's Sew Easy TV's Shirt Dress Sewalong Part 3 Attaching the Collar Sewing the collar and collar band can be intimidating, but it's easier than you might thing. The most important is the topstitching, this is what makes your shirt or shirtdress look...
Shirt Dress Sewalong: Sewing the Front Placket
How to Sew the Front Placket It's Sew Easy TV's Shirt Dress Sewalong - Part 2 Tips for Attaching Interfacing Pressing fusible interfacing to the fabric is easy if you follow these tips: Use a press cloth underneath the garment to prevent the fusible from...
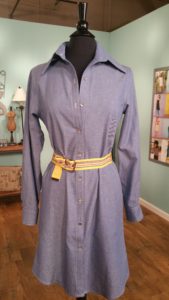
Announcing the Shirt Dress Sewalong on It’s Sew Easy TV
It's Sew Easy TV's Shirt Dress Sewalong Announcing the shirt dress sewalong! This season of It’s Sew Easy I will be sewing a shirt dress from beginning to end and you can follow along each week watching each episode of It’s Sew Easy! To get started you will need to...

SEW A WARDROBE ? ANGELA WOLF BIRTHDAY SEWATHON
ANGELA WOLF'S BIRTHDAY WEEK SEWATHON! ? I have nothing to wear! ? What started as a casual comment on my facebook live show turned into a week long sewathon with fabulous giveaways and lot's of sewing! I plan to sew Monday thru Friday, trying to add new...
Behind the Scenes LIVE with Angela Wolf

Facebook LIVE every Wednesday at 1:30pm EST
Let’s Talk …
Watch each episode live on facebook or catch the replay here!
<iframe src="https://www.facebook.com/plugins/video.php?href=https%3A%2F%2Fwww.facebook.com%2FAngelaWolfCouture%2Fvideos%2F1748757198488054%2F&show_text=1&width=560" width="560" height="445" style="border:none;overflow:hidden" scrolling="no" frameborder="0" allowTransparency="true" allowFullScreen="true"></iframe>
<iframe src="https://www.facebook.com/plugins/video.php?href=https%3A%2F%2Fwww.facebook.com%2FAngelaWolfCouture%2Fvideos%2F1726881217342319%2F&show_text=1&width=560" width="560" height="445" style="border:none;overflow:hidden" scrolling="no" frameborder="0" allowTransparency="true" allowFullScreen="true"></iframe>


 2. Cut along the green line, cutting up to the side seam put NOT through the edge.


