Chloe Trench Sew Along

Chloe Trench Sew Along

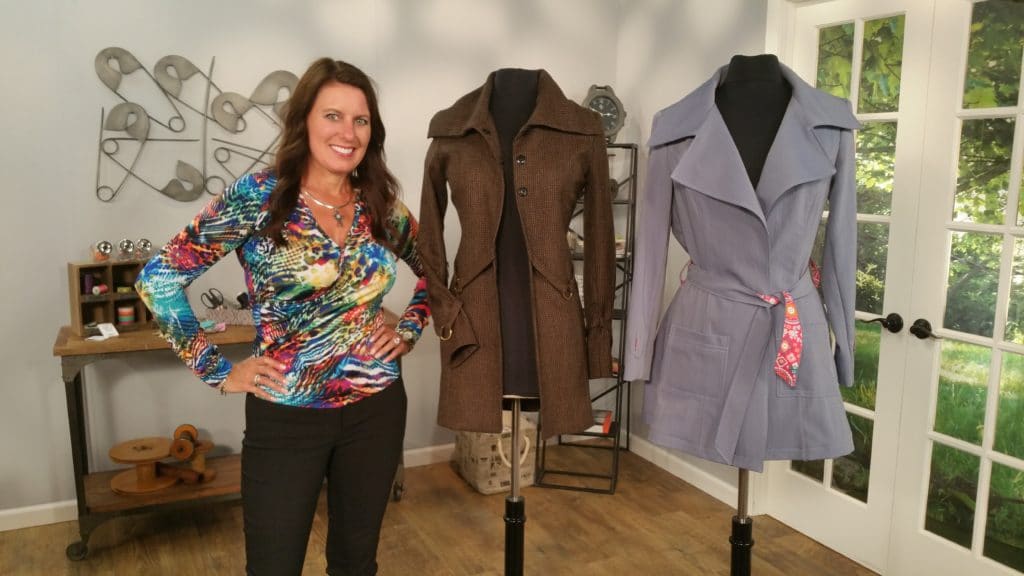
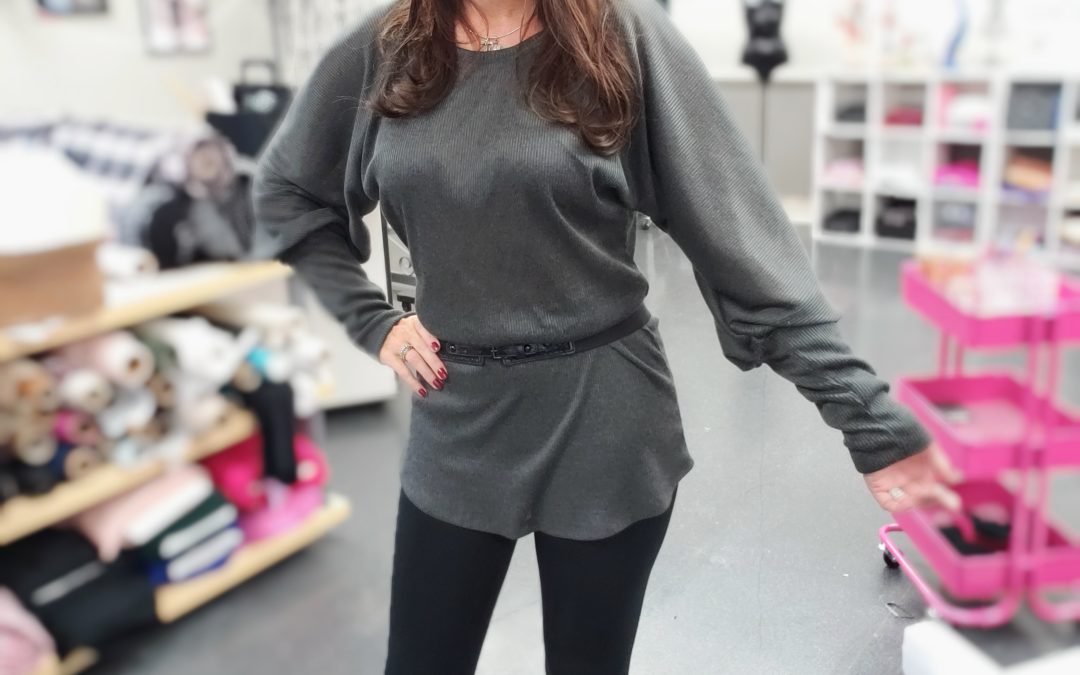
A trench coat is a great jacket for any season and I thought this would be a great sew along to kick off 2020!  You can find short excerpts of sewing my Chloe Trench Pattern in season 18 of It’s Sew Easy TV and each of the episodes are listed in the Fashion Sewing Club and on my YouTube Channel.  I will also list these on each blog post as we go through the sew along. 

The Chloe Trench Sewalong will last 5 weeks, with each week focusing on a different part of the jacket sewing process.  The free live sessions will be on Facebook, YouTube, and Angela Wolf Patterns Facebook Group.  More in-depth live shows will take place on the Fashion Sewing Club.  All of the dates listed below are subject to change, be sure to sign up for my Newsletter so you don’t miss a thing! Now let’s get sewing!


Chloe Trench Supplies

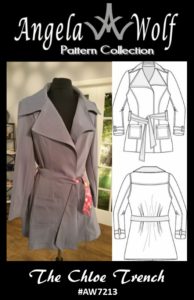
Grab your copy of the Chloe Trench Pattern in either a personally signed Paper Version with includes paper pattern printed in full color along with a spiral bound notebook for the directions or Digital Download.  (Available from size 0 to 36W)

You can find the patterns, interfacing, and pressing supplies here at www.AngelaWolfPatterns.com and get 10% OFF with coupon code: NEWYEAR2020  (all caps)

Fashion Sewing Club Members get 25% OFF all patterns & supplies during the month of January 2020 – visit the club website for your coupon code.   


Chloe Trench Sew Along Schedule:

The activities for the Chloe Trench will be combined of blog posts and live shows; some of these shows are free and some are exclusive to Fashion Sewing Club Members.  Click here to learn more about the Fashion Sewing Club

Week 1: Choosing Fabric, Size, Interfacing, and Prep

Week 2: Fitting, Cutting, Interfacing (BONUS for FSC: Lining Options)


Week 3: Interfacing, Finishing Seams, & Getting Started Sewing

Week 4: Sleeves & Hemming

  • February 4th 3:00 pm EST Live Chat Fashion Sewing Club
    • Mark your calendar, a link will be posted closer to the date


Week 5: Top stitching, Final Touches, Show & Tell

  • February 10th 6:00 pm EST Live Chat Fashion Sewing Club
    • Mark your calendar, a link will be posted closer to the date


Please Note: All of these dates are subject to change. Make sure you are signed up for my newsletter to stay up to date. 

To get started check out my video below from It’s Sew Easy TV.  This will show you ideas for fabric and interfacing.  We will discuss this further in the live Q&A and weekly behind the scenes show.  Are you going to join the sew along?  Leave me a comment if you have any question or need help finding fabric.   


Can’t wait to see what you sew up!

Cheers,

Linda Tunic Sewalong

Linda Tunic Sewalong

Linda Tunic Sewalong

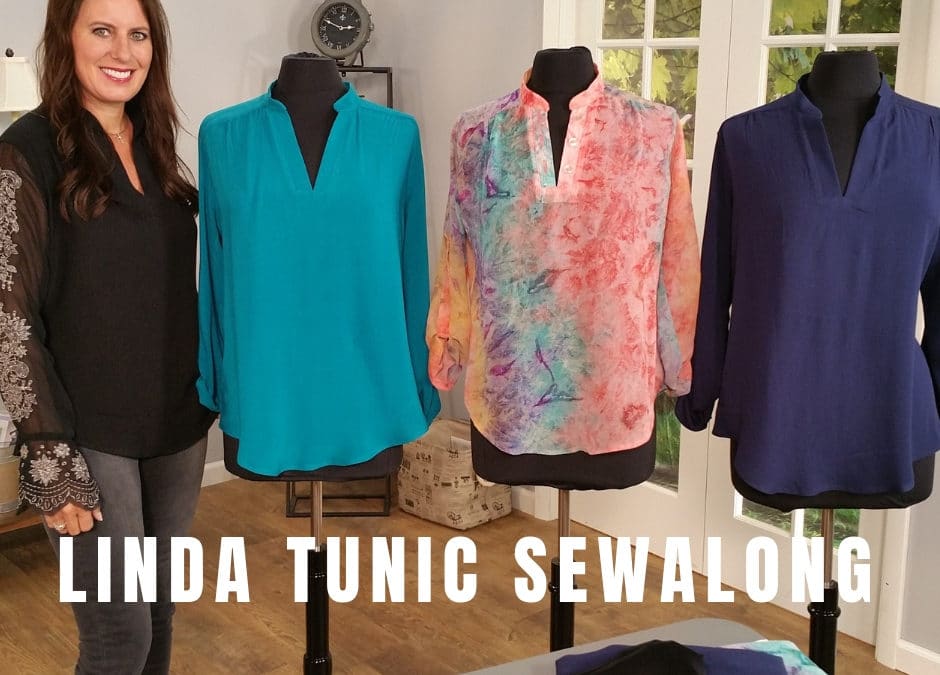
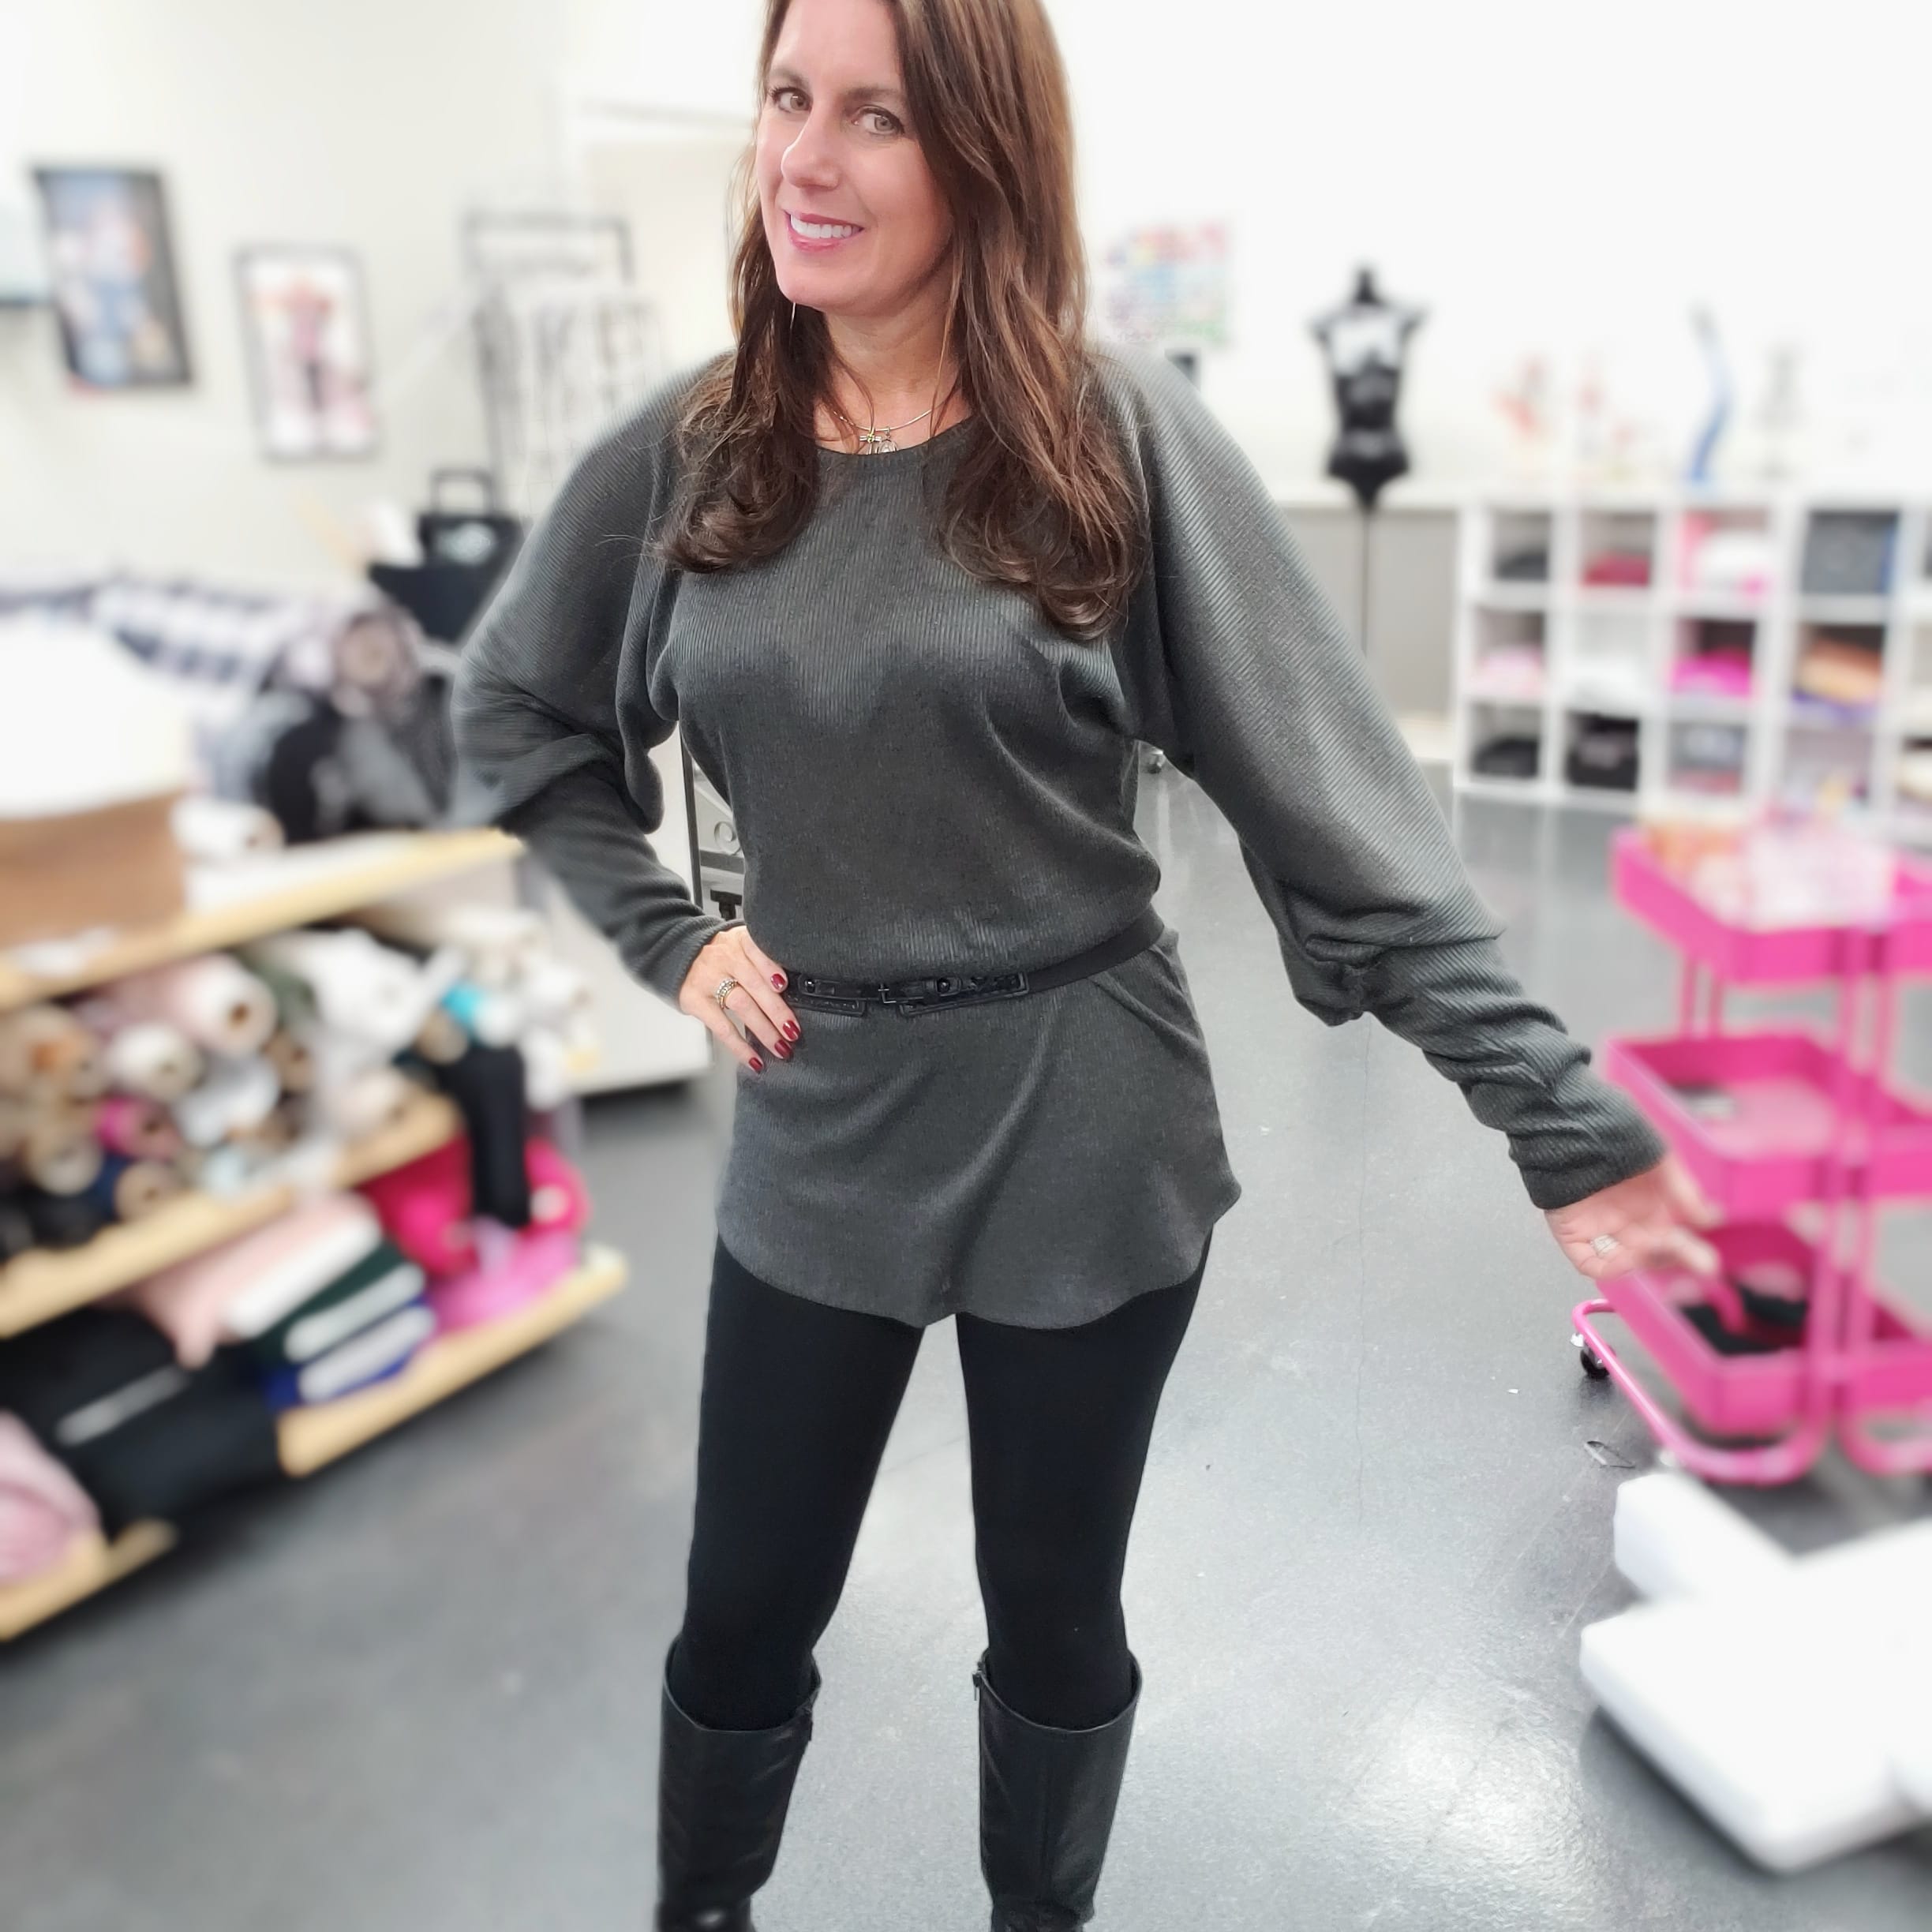
I am so excited to launch my newest pattern THE LINDA TUNIC!  I named this pattern for my mom (Linda :)) because she loves this style top and always looks so classy!  I used this pattern in taping Season 17 on It’s Sew Easy TV, which includes video tutorials for each step; including a few fun patternhacks.   

Grab your personally signed copy of the Linda Tunic in either the Paper Version with includes paper pattern printed in full color along with a spiral bound notebook for the directions or Digital Download.  

 First thing to do is catch up on this season of It’s Sew Easy in order to get an overview of the entire sewing process.  You can watch these on my YouTube channel here:

Get Started  Lesson 1  Lesson 2  Lesson 3  Lesson 4   (lesson 4 is really lesson 6 because we added a few patternhacks in there :))

We will be sharing photo’s and exchanging sewing tutorials in the  Angela Wolf Patterns Private Facebook Group.  The sewalong is a time for asking questions in a live environment and share photos of your new top with your sewing friends ♥

Official Sewalong Schedule …
Mark Your Calendar!

July 2 Getting Started!  Fabric, Size, Neckline Alterations, and Cutting

Replay of the Facebook Live is above or visit Angela Wolf Facebook Page

July 8 Fitting & Final Cut

Join for a LIVE Q&A session talking about fit and cutting the pattern

  Here is the link to save your spot!

July 15 Sewing Front Placket

Join for a LIVE Q&A session showing how to sew the front placket and pattern hacks!

       Here is the link to save your spot!


powered by Crowdcast

July 17 Gathering and Yoke

Join on the weekly Behind the Scenes LIVE facebook show at the Angela Wolf Facebook Page at 1:30pm Eastern                Standard Time   Click here to join  (replay will be here immediately after the LIVE show for those not on Facebook 🙂

July 26 Sewing the Sleeve Tabs and Inserting Sleeves and Hemming!

Join for a LIVE Q&A session showing how to sew the front placket and pattern hacks!

       Here is the link to save your spot!


August 7 ♥ Show &Tell ♥

        Join on the weekly Behind the Scenes LIVE Facebook show at the Angela Wolf Facebook Page at 1:30pm Eastern                Standard Time   Click here to join  (replay will be here immediately after the LIVE show for those not on Facebook 🙂


Check back here for Live Show links and replays.  Sign up for my newsletter  and you will receive all the info right in your email box!

Can’t wait to see what you sew up!

Cheers,

Purchase the DIYStyle® Pattern and Cutting System

Click here to check out the mats!

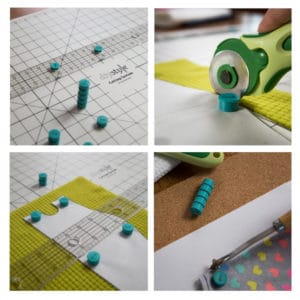
Finally, a way to cut fabric fast and precise! No more pins or pattern weights. The new DIYStyle® MAGNETIC Pattern and Cutting System can be used to both Cut Fabrics and Make Patterns! The base set includes a multi-use double sided 24” x 36” mat, 36” Pro T-square, and a set of 12 FabricMagnets™ in storage tube.

Birthday Week Sewing Marathon!!!

Birthday Week Sewing Marathon!!!

Episode 104 Behind the Scenes LIVE ? Houston Quilt Festival Recap, Tutorial on using the Projector for Embroidery, Announcing New Events in 2019 and Getting Ready for Original Sewing & Quilt Expo in Novi ? See you soon! xoxo Angela

Launching Birthday Week Sewing Marathon! 


I love this time of year, escpecially because I try to take a few hours each day to focus on sewing for myself.  Although, the week never takes on the full sewing vacation I would love to enjoy, but at least it gets me thinking about new projects and adds a few new outfits to the closet.  I have included all of the live videos that week and each has lessons that will give you ideas for customizing your clothing.  

Vlog Episode 106:  A look at some fabric I found lat week in Novi and some ideas for sewing projects this week, particularly patternhacking the Delila into a dress.  This episode will show how to alter your pattern and create a stylich dress.

Vlog Episode 107: Our usual weekly live show, Behind the Scenes shows the finally with my new delila pattern hack.  I also sho

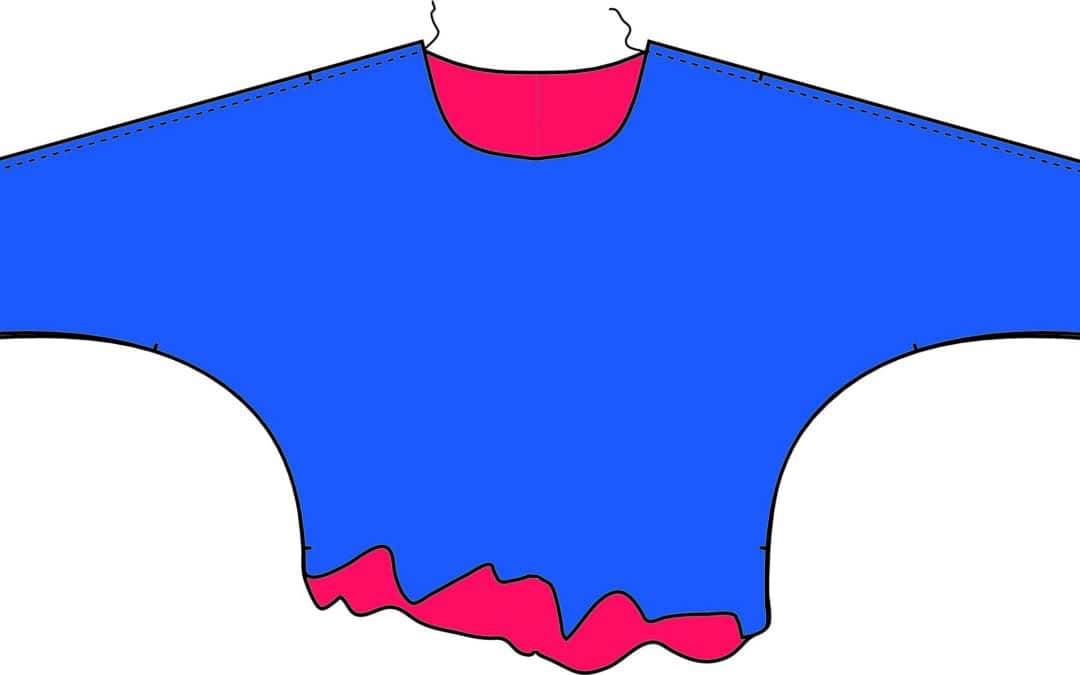
Vlog Episode 108:  Check out this lace and bleaching kit I found in my stash while unpacking at the new studio!  I also show how I transformed a Ruched-T pattern into this fabulous stretch fleece sporty top with coverstitch or souble coverstitching.  

Vlog Epsiode 109: Sherpa fabric and a look at my custom couture crocheted trim


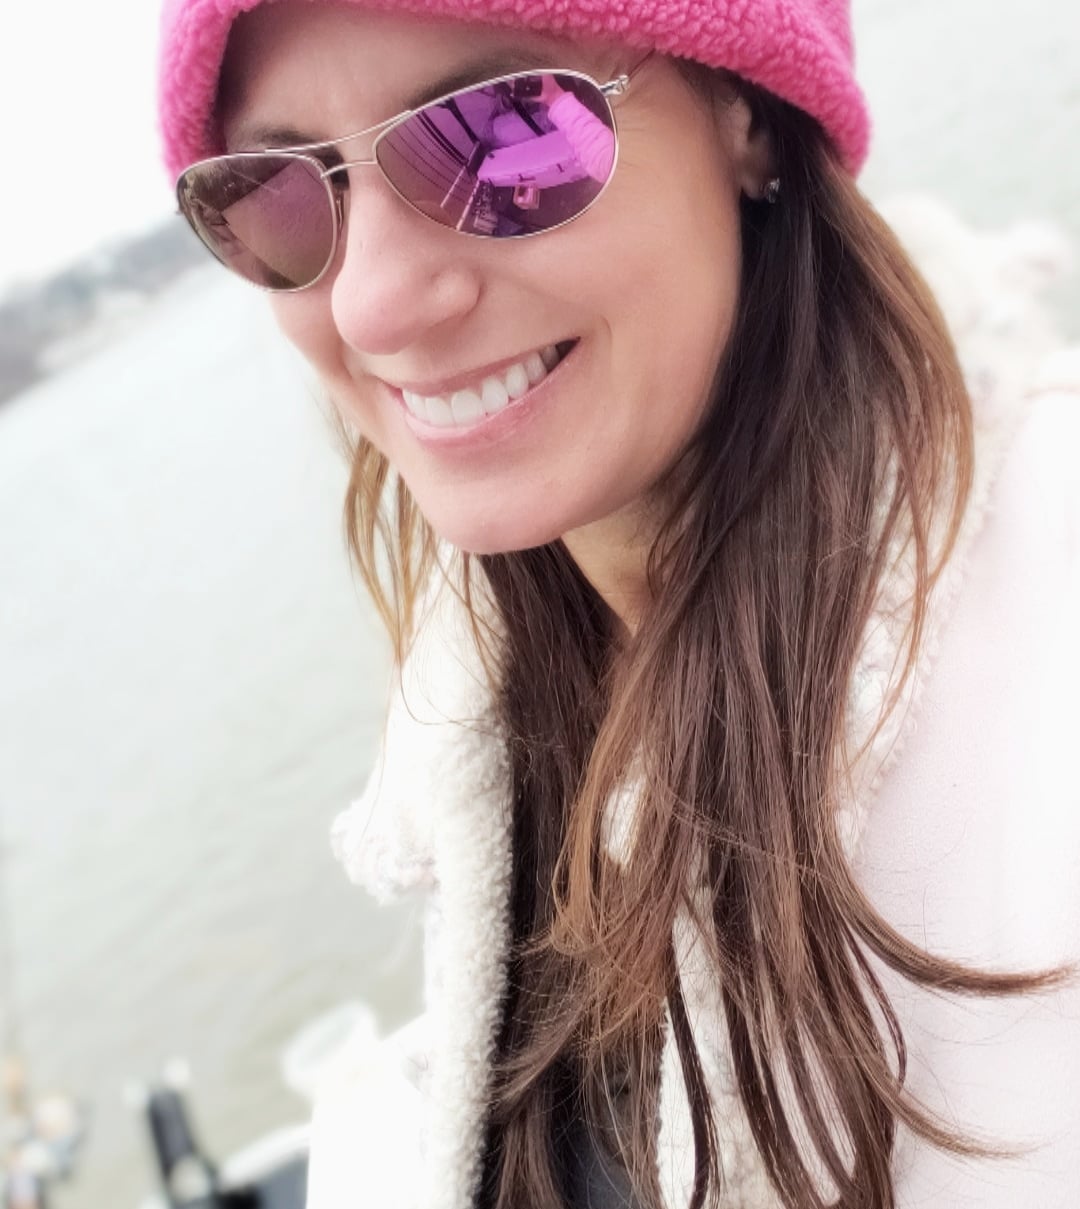
At the end of the week I took some time for a steelhead fishing trip on the St. Joseph River sporting my sherpa jacket!  I hope you had as much fun as I did this week and as you heard in the last video, I am sewing until Christmas!!! Be sure to leave your comments below and let me know what you are sewing this season.  

See you next week,

xoxo

Start your FREE 7 Day Bluprint Trial! Dive into thousands of hours of expert taught videos.
Ep. 302 Delila Knit Top Sewalong Part 2

Ep. 302 Delila Knit Top Sewalong Part 2

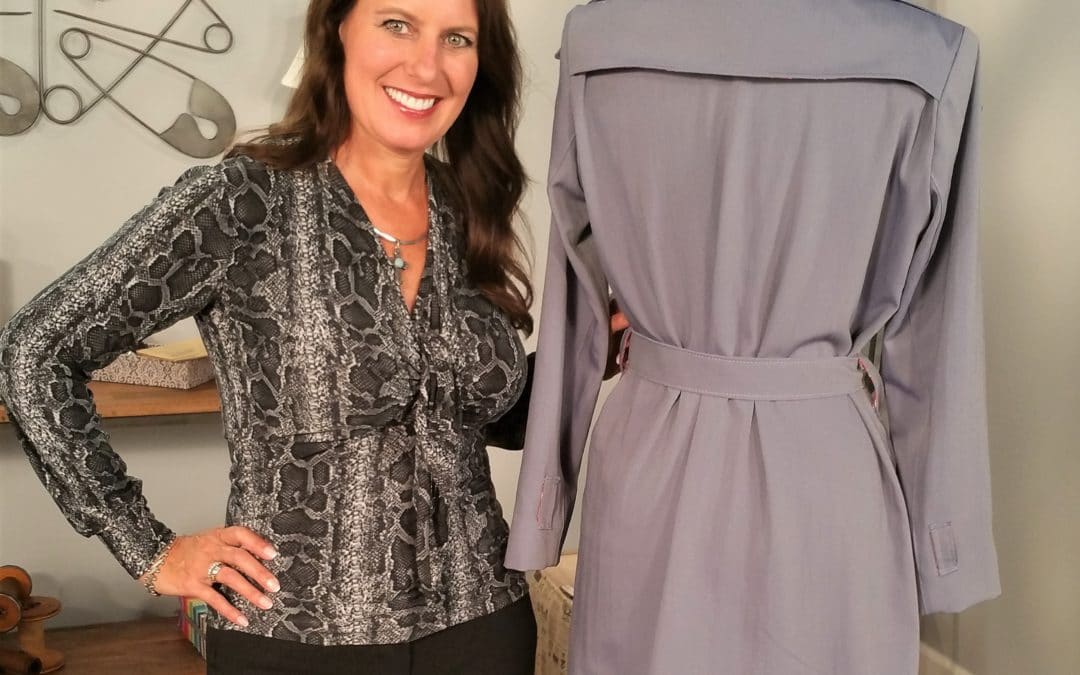
Episode 302 🧵 Behind the Scenes with Angela Wolf We are onto part 2 in the Delila sew along!  We have cut our fabric and ready to sew.  Did you have any questions about fitting?  If so, be sure to take your photos with questions to the Angela Wolf Patterns Facebook...
read more
Ep. 301 Delila Knit Top Sewalong Part 1

Ep. 301 Delila Knit Top Sewalong Part 1

Episode 301 🧵 Behind the Scenes with Angela Wolf Getting into summer and looking for stylish tops to wear with jeans, shorts, or skirts and one of my fist patterns always shows up ... The DelilaDelila Pattern has 9 Options  I designed this pattern to be able to sew...

read more
Ep. 260 Sewing the Shirley Wrap Top with a Sweater Knit

Ep. 260 Sewing the Shirley Wrap Top with a Sweater Knit

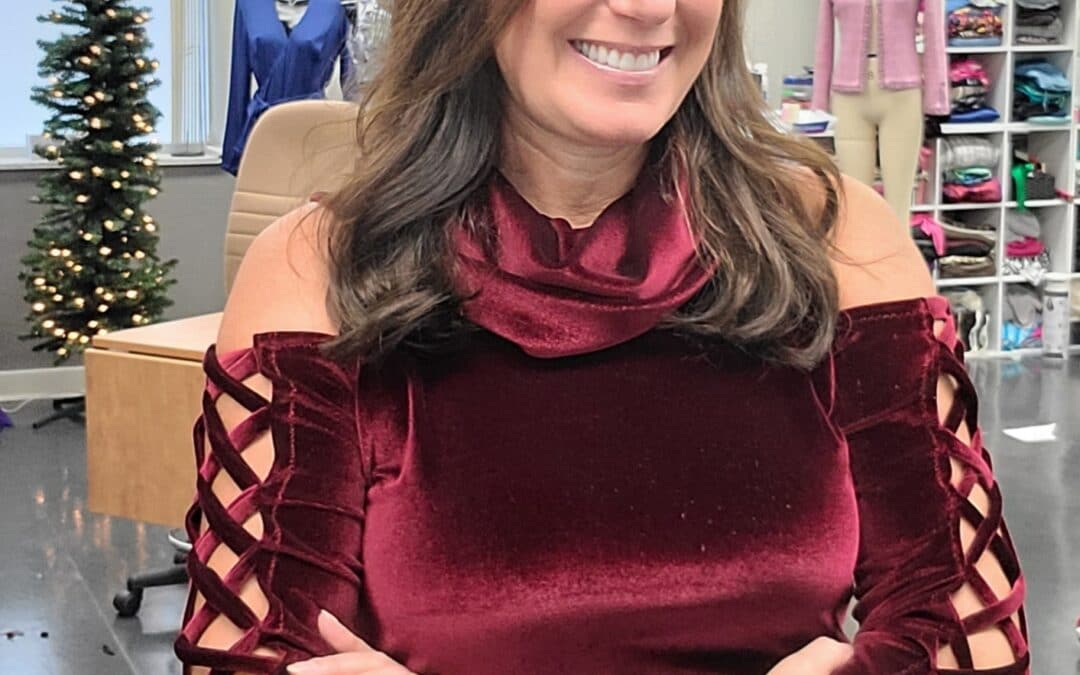
Episode 260 🧵 Behind the Scenes with Angela Wolf ~ Sew the Shirley Wrap with a Sweater Knit The Shirley Wrap pattern is so versatile and this time we will use a thicker, sweater knit fabric.    You can find the Shirley pattern in PDF and paper patterns in size XXS -...
read more
Sewing with CraftOptics is a Great Solution for the Eyes!

Sewing with CraftOptics is a Great Solution for the Eyes!

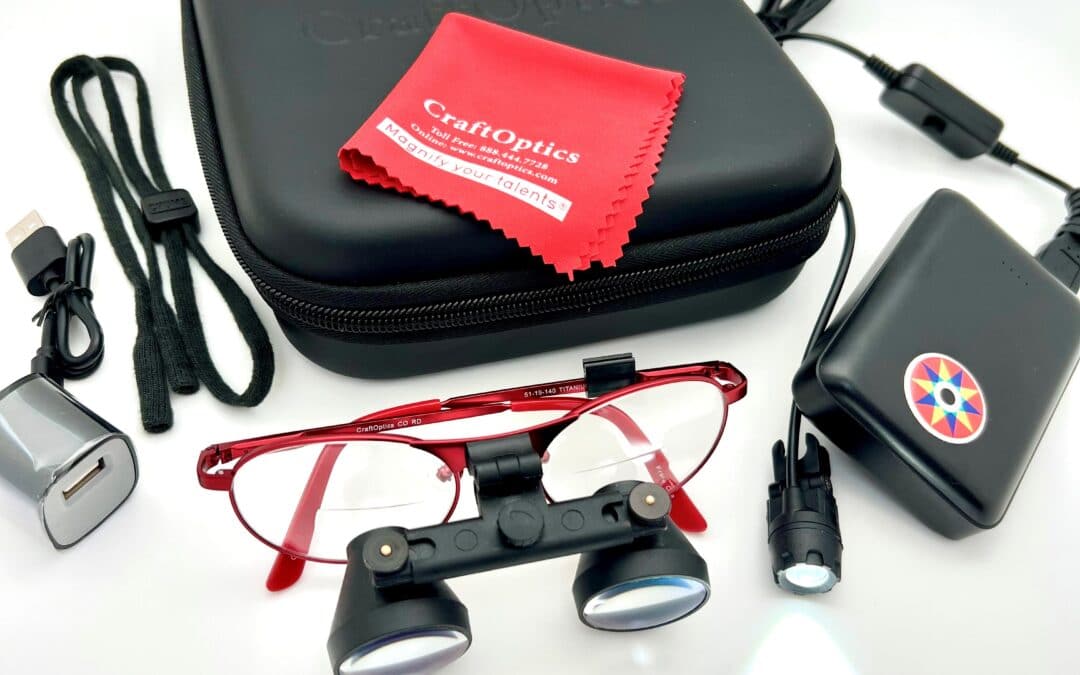
Have you see the WOW package from CraftOptics? I met Jeff Caplan from CraftOptics a few years ago in Puyallup, his booth was around the corner from Kai Scissors.   I was intrigued by the glasses and loved hearing the comments that people would say after trying them...

read more
NEW Skini-Mini Angela Wolf Martelli Ruler Kits

NEW Skini-Mini Angela Wolf Martelli Ruler Kits

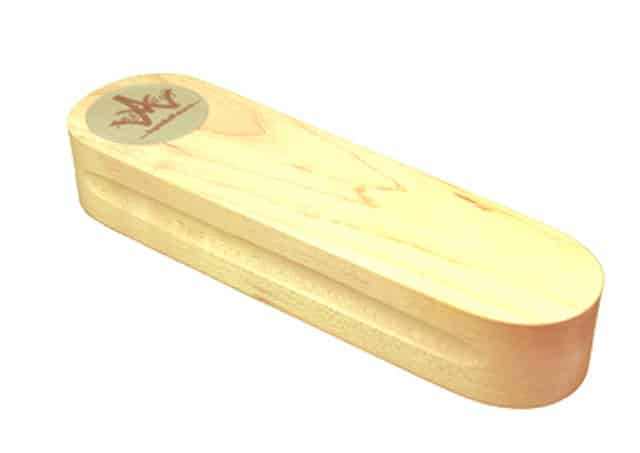
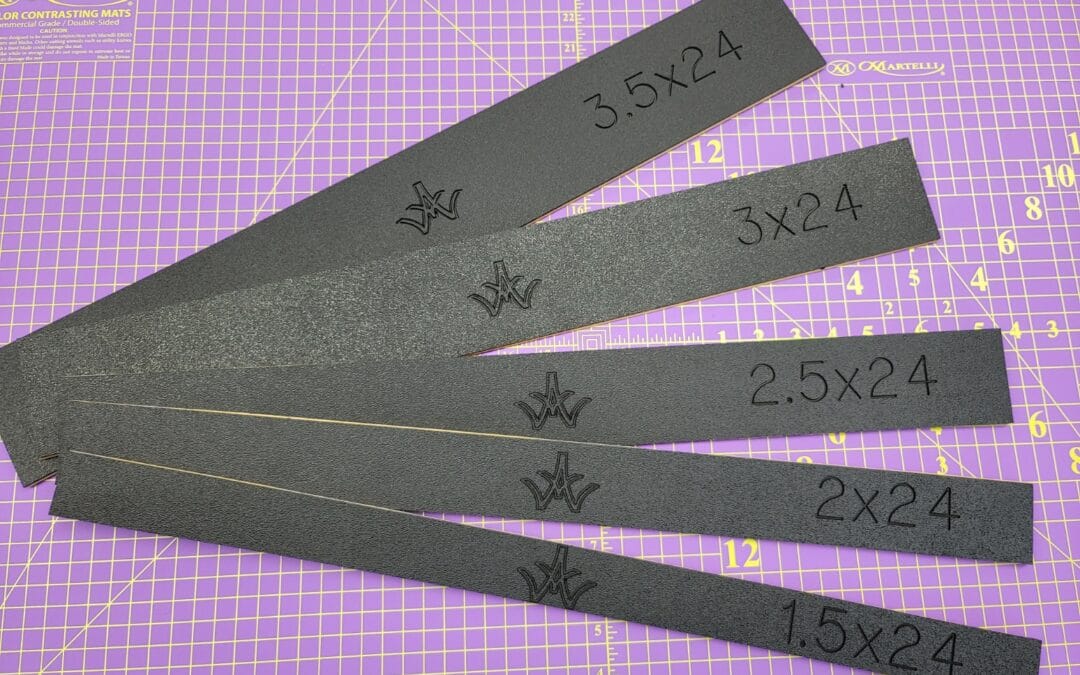
New Angela Wolf & Martelli Ruler Sets I am so excited to announce my new ruler set designed by Martelli.  In case you are new to Martelli, they are a family owned business located in Florida.  I have been testing some of their products the last few months and I am...

read more
DIY: Refashion Jeans with Trim

DIY: Refashion Jeans with Trim

Refashion Jeans with Trim 

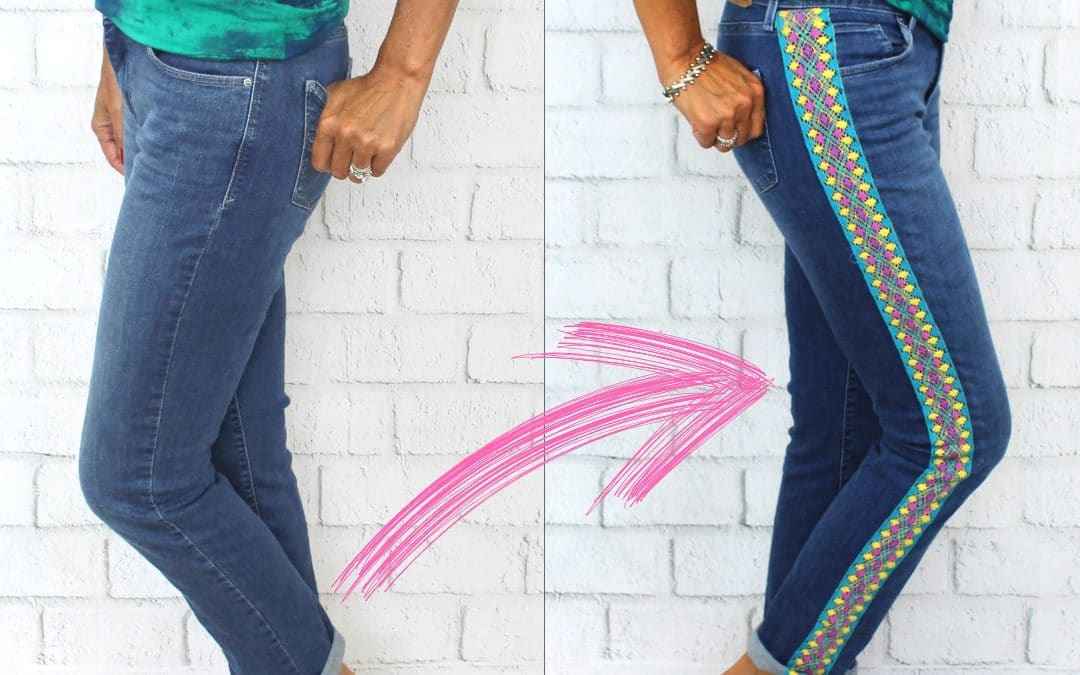
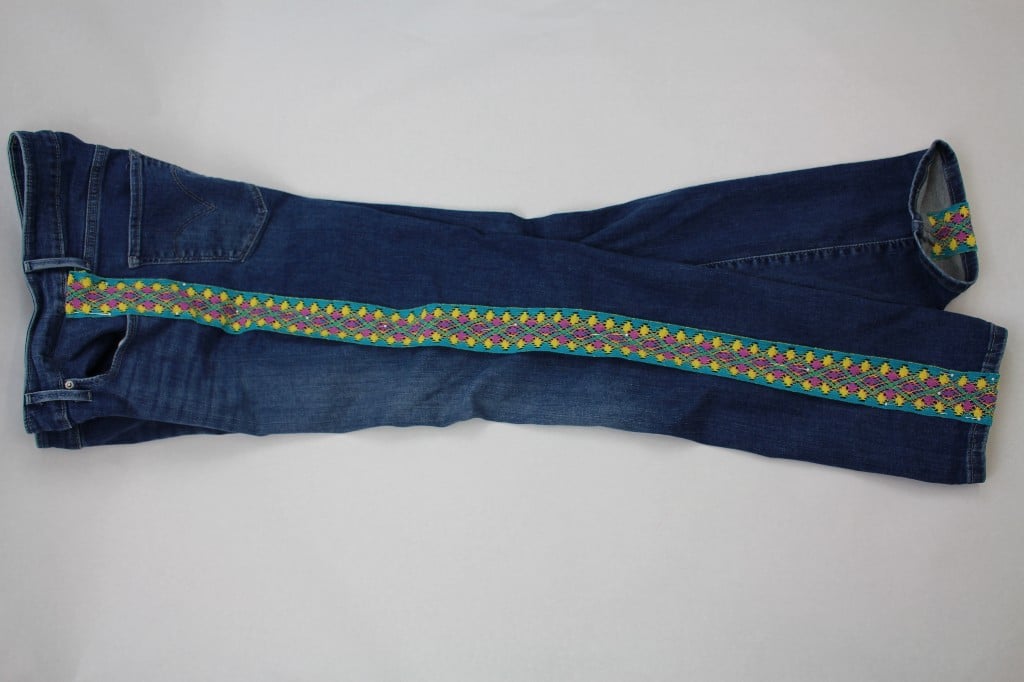
You might have noticed some of the fashions of the late 60’s and 70’s making a comeback on the store shelves, from floral fabrics to embellished jeans. How about adding crocheted ribbon trim along the outside leg!  This is so easy!!!

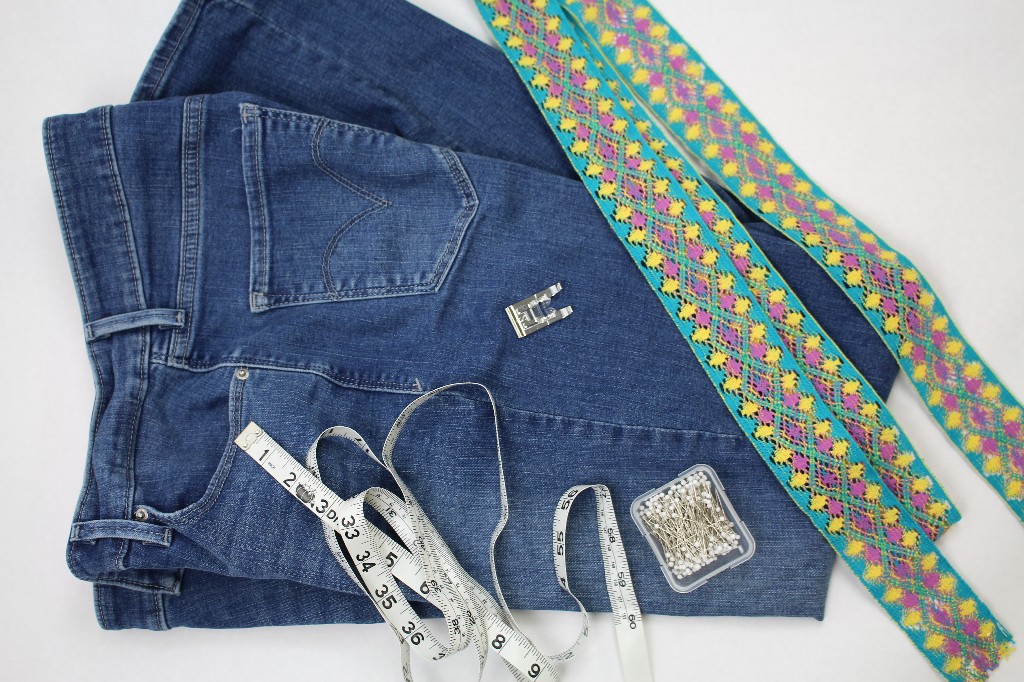
Supplies:

  • Jeans
  • Measuring tape
  • Pins
  • Ribbon or trim (check that the trim is washable)

PREPPING

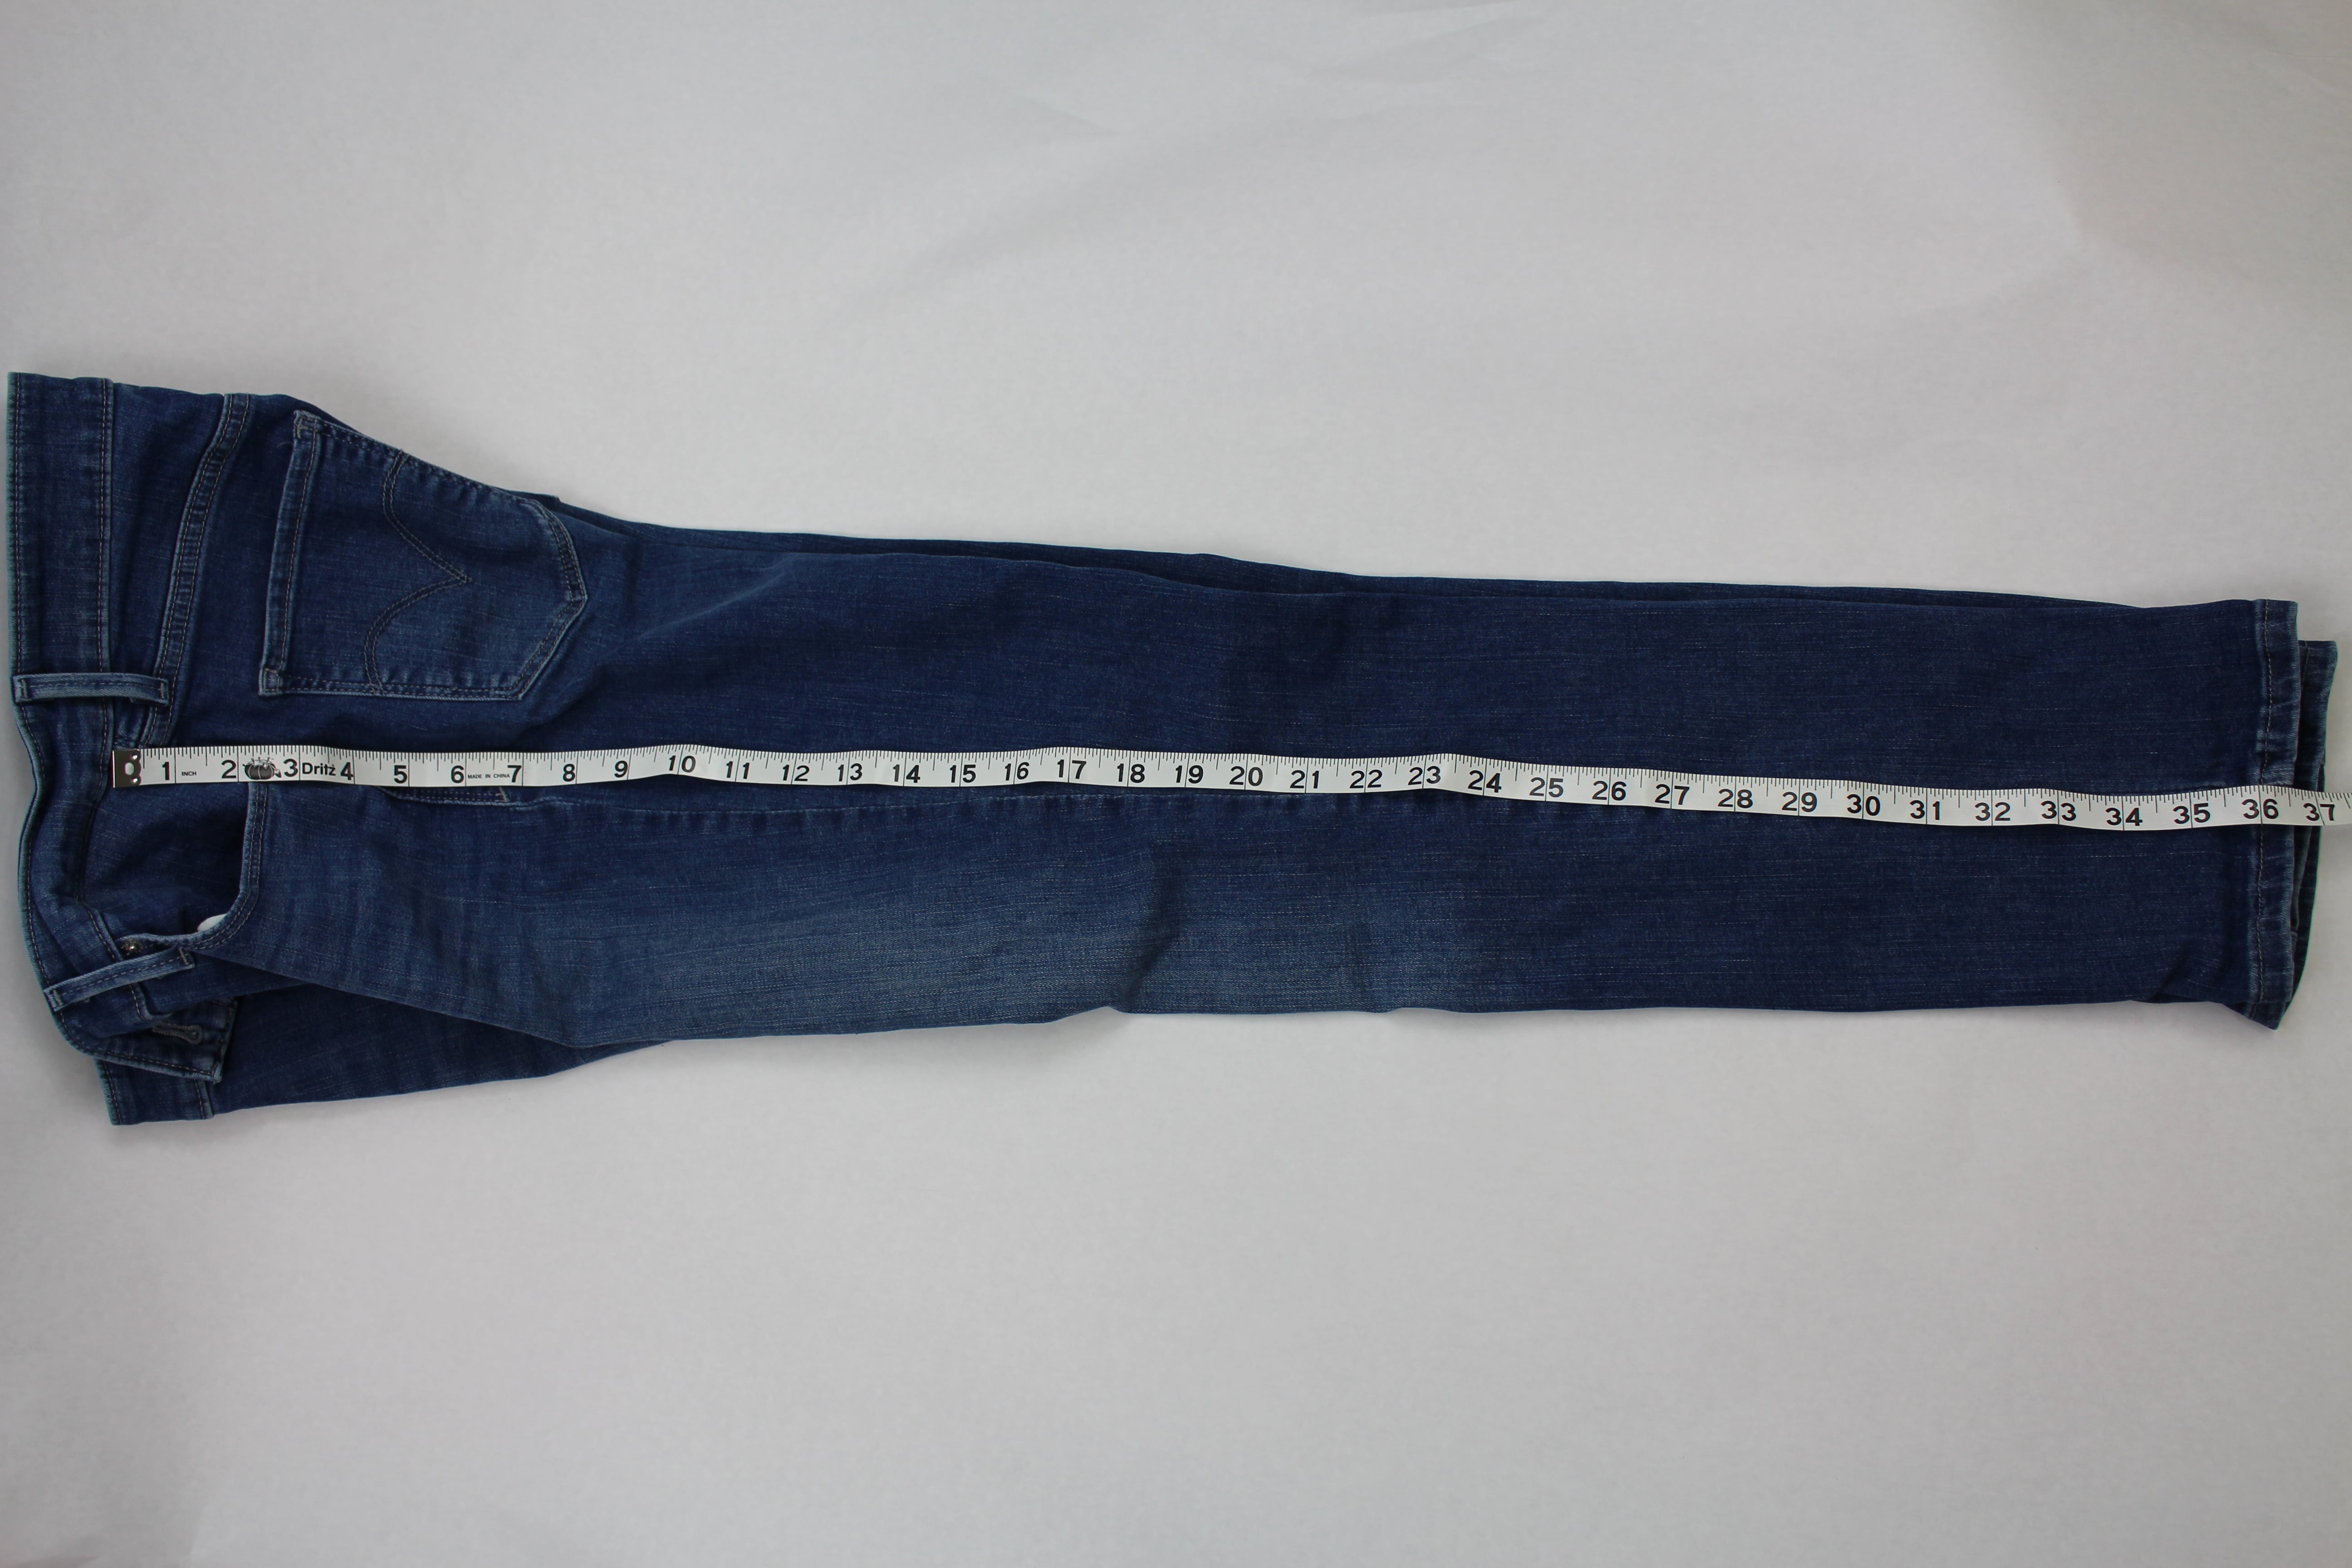
  1. Measure the outside of the jean leg from the bottom edge of the waistband to the hem.

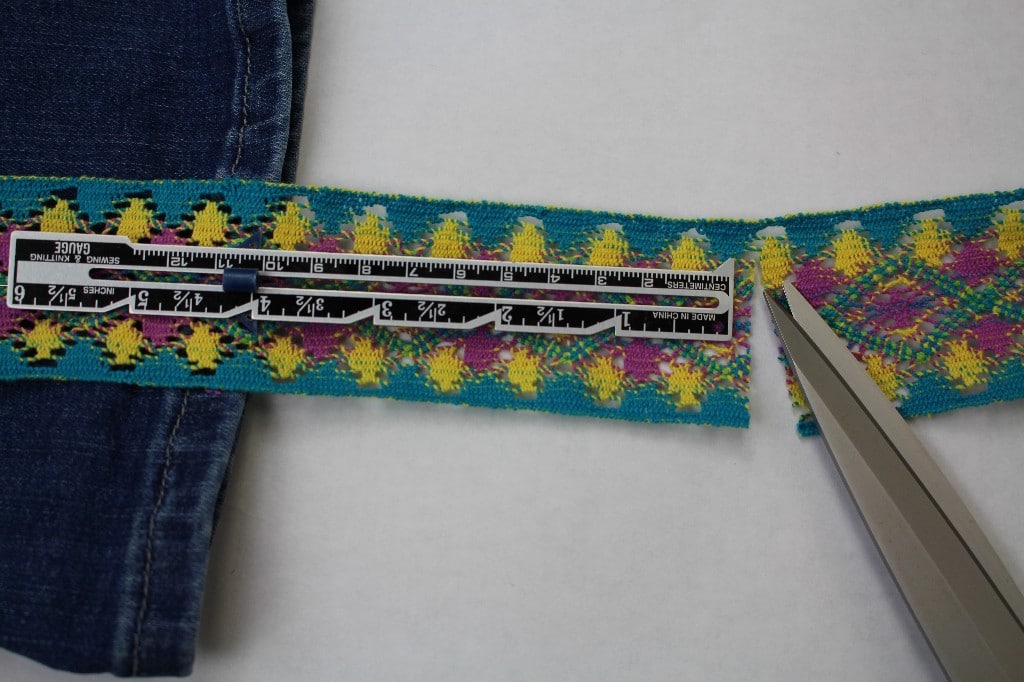
2. Add 6 inches to the outside leg measurement and cut 2 pieces of trim that exact length.

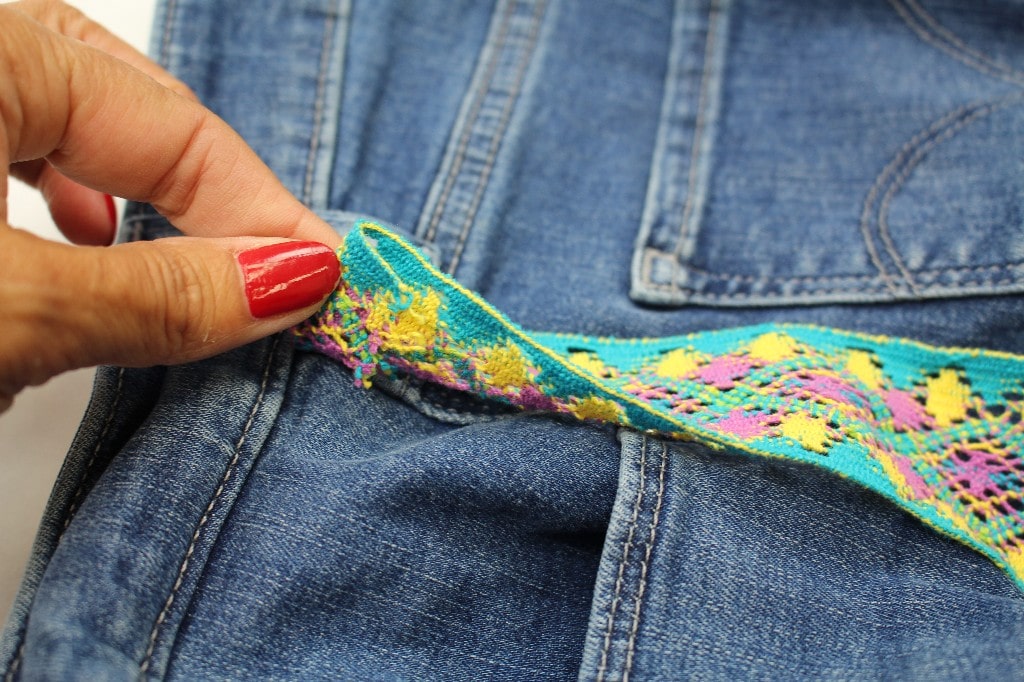
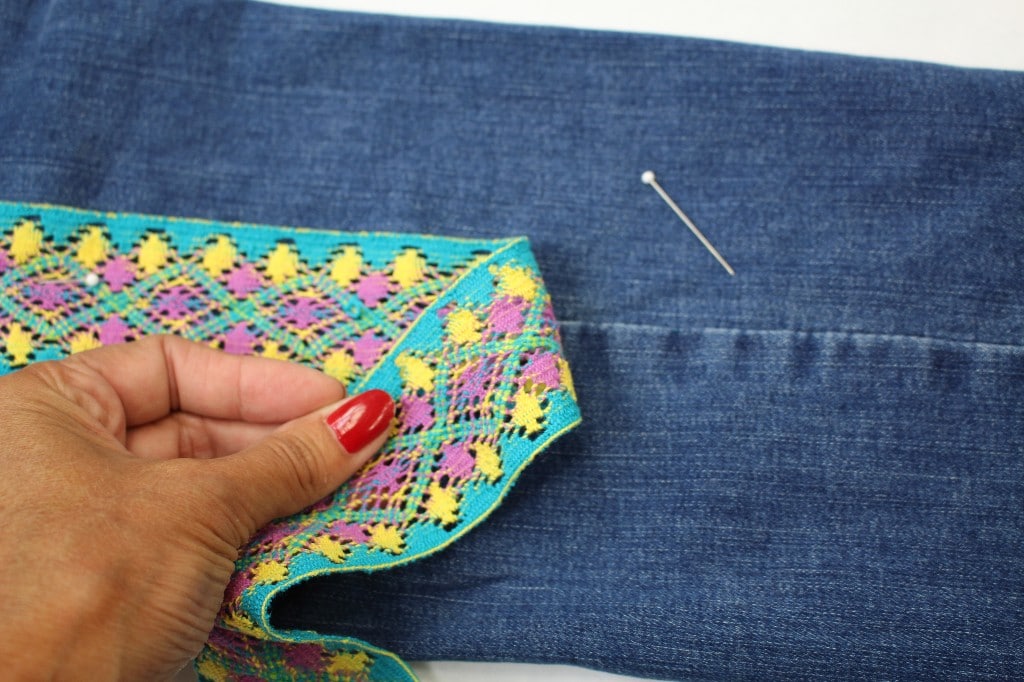
3. Starting at the edge of the waistband, center the trim with the outside leg seam. Fold under the raw edge of the trim about ½” and pin.

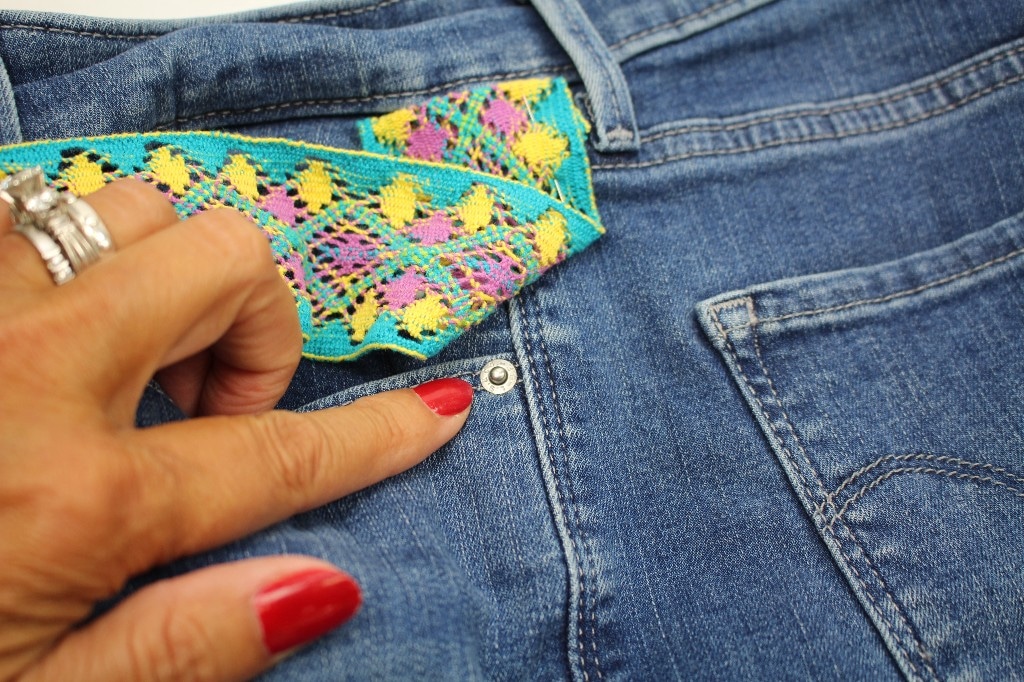
4. Continue to pin the trim along the outside leg seam. Be sure to look for metal rivets or other hardware! Here I have a rive and I will make sure to mark this spot as to not break the sewing machine needle.

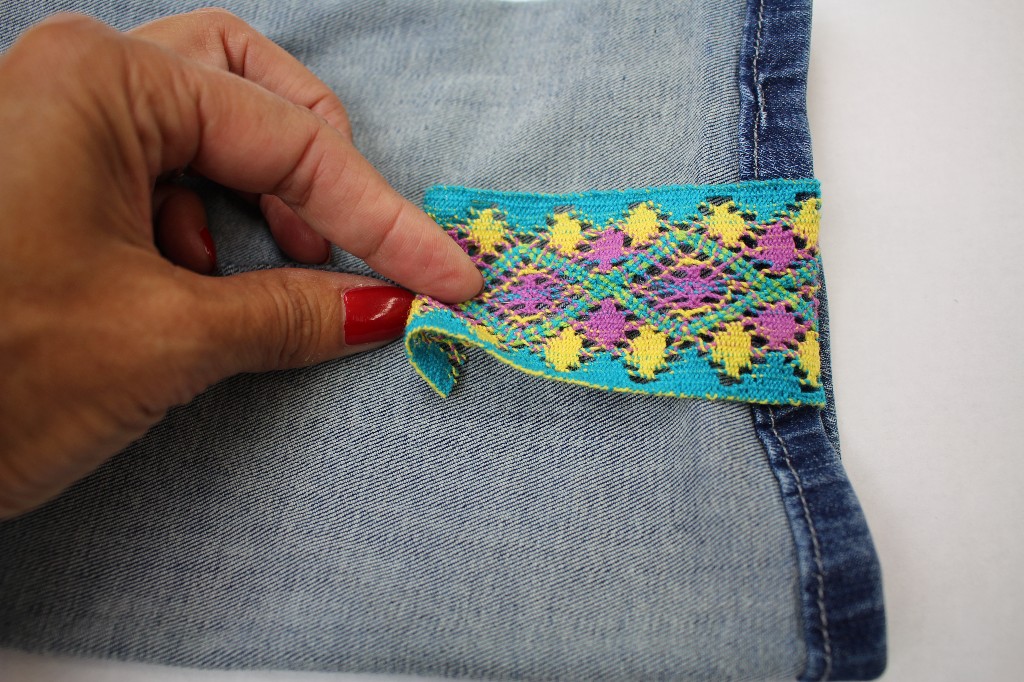
5. Pin the ribbon/ trim all the way to the hemline. If you plan on folding up the jeans, measure 4 inches below the hemline and cut the trim.  If you are not going to fold up the jean hem, measure 2 inches and cut off any excess ribbon.

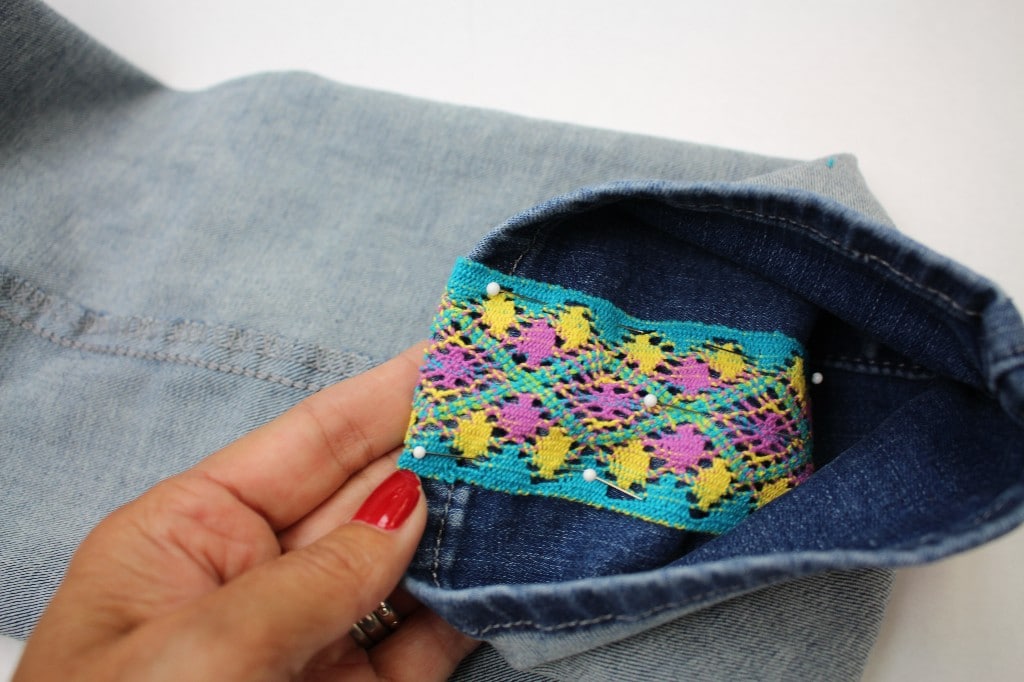
6. Turn the jeans inside out. Center the ribbon on the seam allowance, fold under the raw edge ½” and pin in place.

7. Follow these steps on both outside leg seams.


SEWING

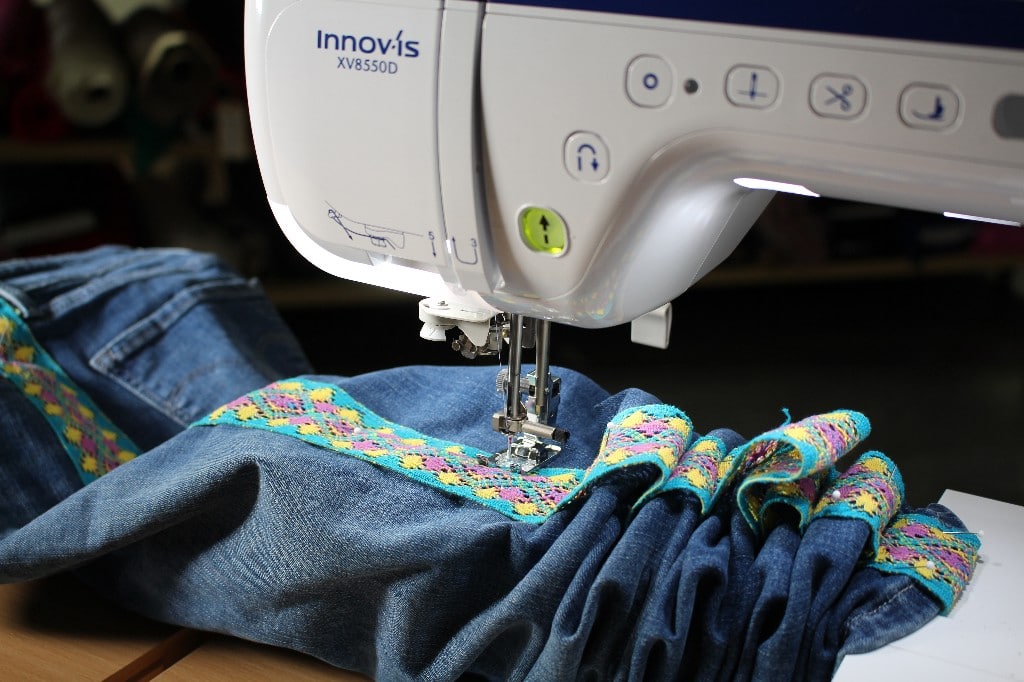
Depending on the style and size of the jeans, it can be challenging sewing all the way down to the narrow hemline.  To make is easier we are going to utilize the sewing sideways feature!

8. Set up the machine for sewing a straight stitch and move the needle all the way to the far-right position. Slide the jeans under the foot starting at the waistline. To read the full blog post, head over to my post as a Brother Expert Consultant on the Brother Stitching Social.

Looking for more ideas on refashioning jeans, check out my blog post on embellishing jeans with embroidery.Be sure to share photos on the social side #angelawolf – I always love to see what you are working on!

Cheers,

<iframe style="width:120px;height:240px;" marginwidth="0" marginheight="0" scrolling="no" frameborder="0" src="//ws-na.amazon-adsystem.com/widgets/q?ServiceVersion=20070822&OneJS=1&Operation=GetAdHtml&MarketPlace=US&source=ss&ref=as_ss_li_til&ad_type=product_link&tracking_id=angel0df-20&language=en_US&marketplace=amazon®ion=US&placement=B071Z2SX53&asins=B071Z2SX53&linkId=34a5a3fa8e0e9521990c5e781b560157&show_border=true&link_opens_in_new_window=true"></iframe>
<iframe style="width:120px;height:240px;" marginwidth="0" marginheight="0" scrolling="no" frameborder="0" src="//ws-na.amazon-adsystem.com/widgets/q?ServiceVersion=20070822&OneJS=1&Operation=GetAdHtml&MarketPlace=US&source=ss&ref=as_ss_li_til&ad_type=product_link&tracking_id=angel0df-20&language=en_US&marketplace=amazon®ion=US&placement=B07DCVHH5Z&asins=B07DCVHH5Z&linkId=c9d70b3a4f4346aad36d9f2bd43b7210&show_border=true&link_opens_in_new_window=true"></iframe>
<a target="_blank" href="https://shareasale.com/r.cfm?b=1173404&u=1586241&m=29190&urllink=&afftrack="><img src="https://static.shareasale.com/image/29190/300x2509.jpg" border="0" alt="FREE 7 Day Bluprint Trial at Craftsy.com" /></a>
Sewing with CraftOptics is a Great Solution for the Eyes!

Sewing with CraftOptics is a Great Solution for the Eyes!

Have you see the WOW package from CraftOptics? I met Jeff Caplan from CraftOptics a few years ago in Puyallup, his booth was around the corner from Kai Scissors.   I was intrigued by the glasses and loved hearing the comments that people would say after trying them...

NEW Skini-Mini Angela Wolf Martelli Ruler Kits

NEW Skini-Mini Angela Wolf Martelli Ruler Kits

New Angela Wolf & Martelli Ruler Sets I am so excited to announce my new ruler set designed by Martelli.  In case you are new to Martelli, they are a family owned business located in Florida.  I have been testing some of their products the last few months and I am...

New Dress Form Unboxing & Giveaway with Joe Vecchiarelli

New Dress Form Unboxing & Giveaway with Joe Vecchiarelli

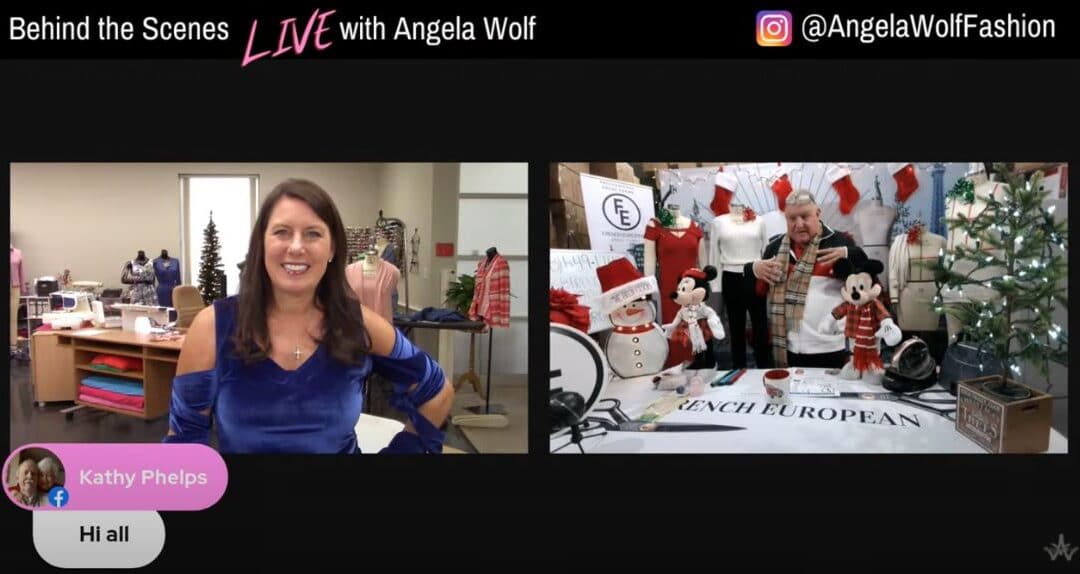
Birthday Week goes into 40 gifts to Christmas! Celebrating Birthday week then moves into Christmas and the Holiday's with Joe Vecchiarelli! Joe from French European Inc. has been so generous to the Wolfpack with awesome discounts and free dress forms and this year is...

Celebrating 50K YouTube Subscribers!

Celebrating 50K YouTube Subscribers!

Let's Celebrate! I can't tell you how excited I was to see 50,000 of you have subscribed to my YouTube channel!  I can still remember putting up my first videos 10 years ago.  I thought a fun way to celebrate is to do a giveaway every week for the next month.  YEAH!...

Pant Sloper Fitting Online Course

Pant Sloper Fitting Online Course

Pant Sloper Fitting Online Course Learn to fit your own pant sloper! Then take that sloper and turn it into a pattern. This class will be taught in a virtual & online setting; offering 5 live lessons with additional videos for specific fitting issues. You will...

Kate Skirt Meets Loved To Pieces from Mister Domestic

Kate Skirt Meets Loved To Pieces from Mister Domestic

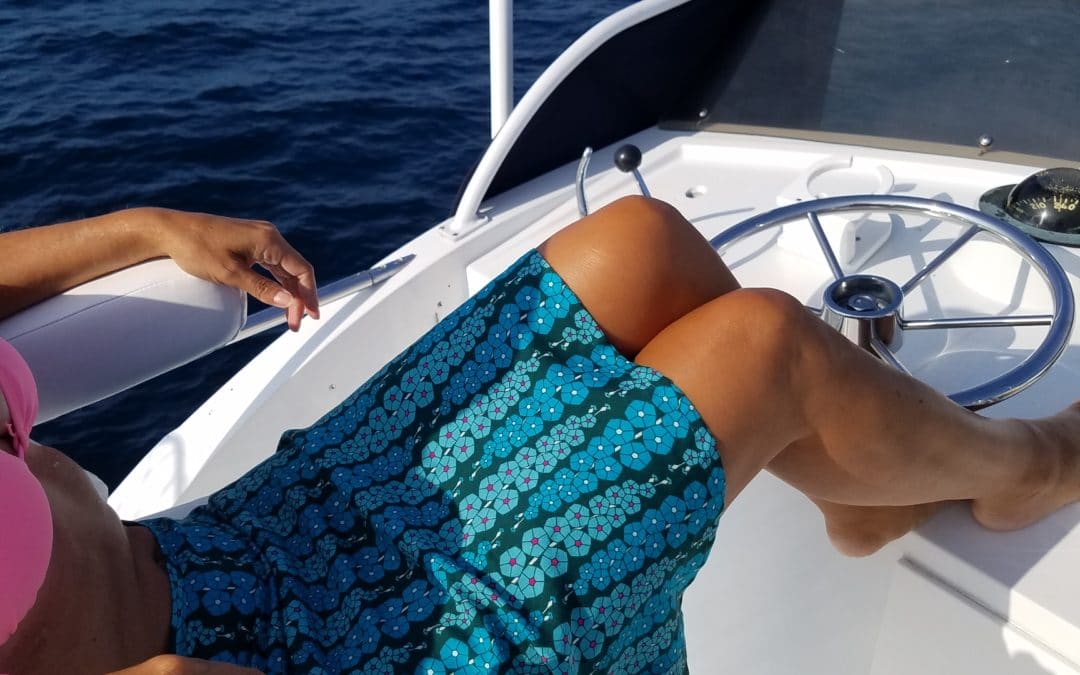
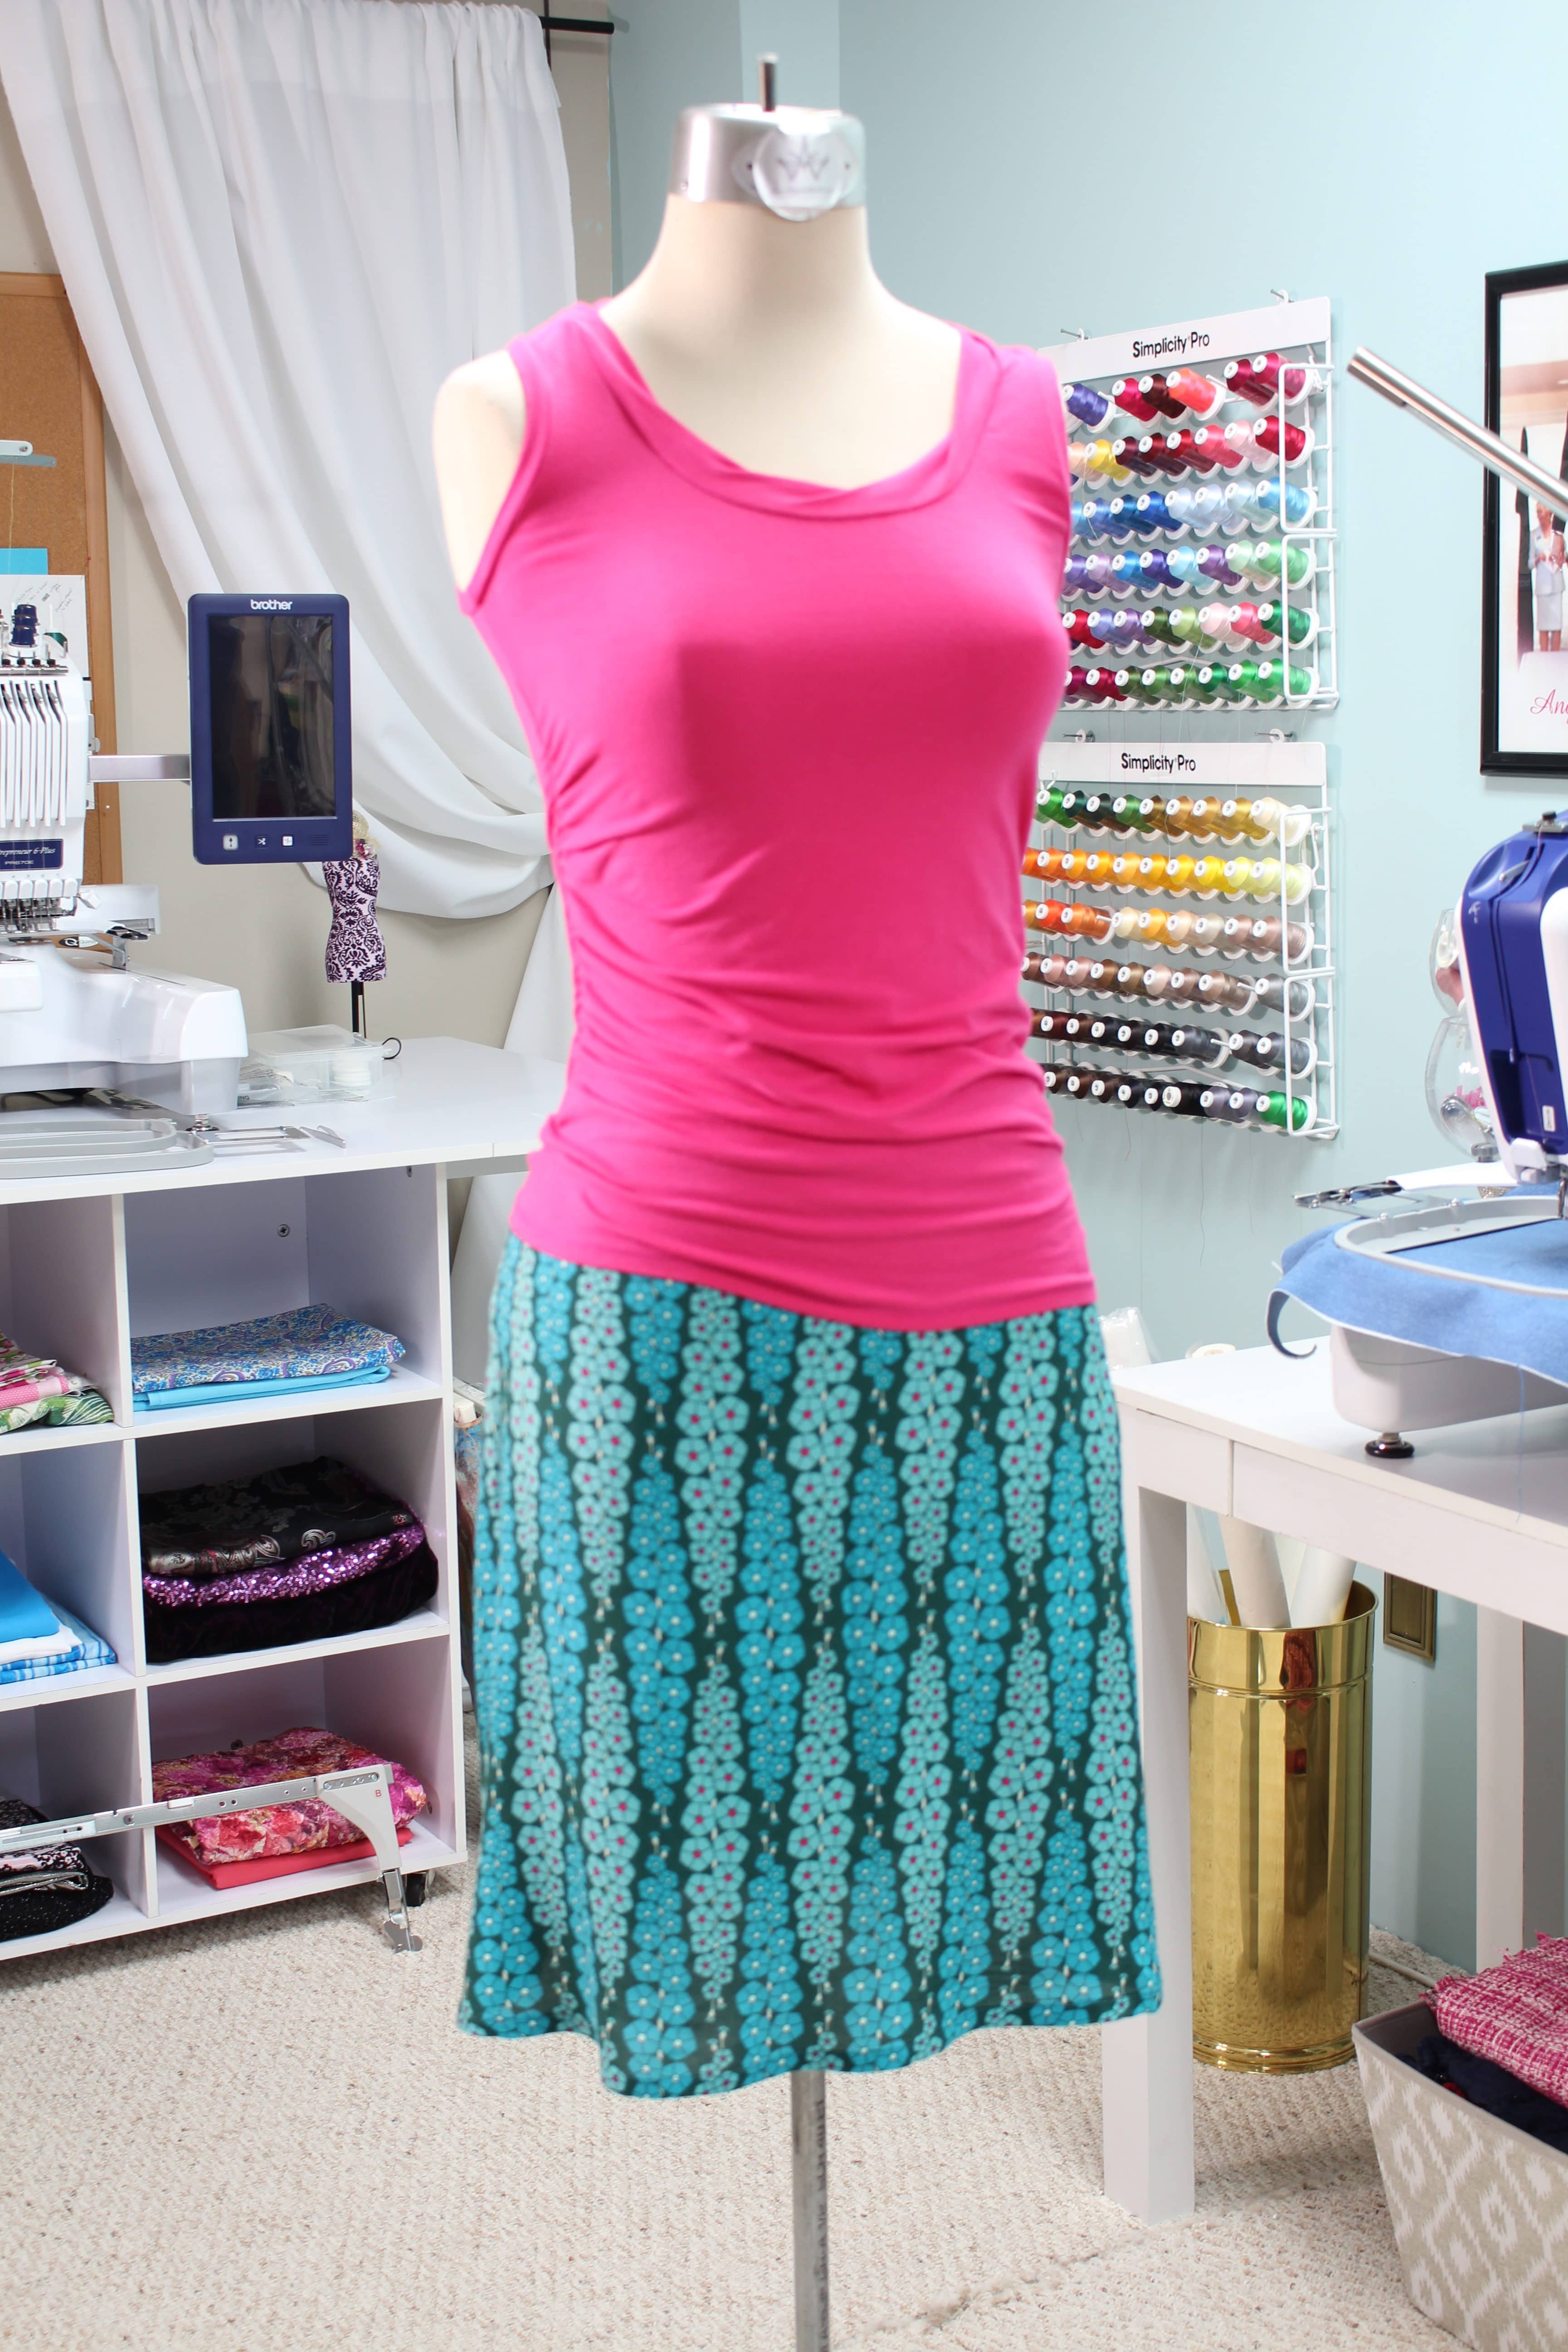
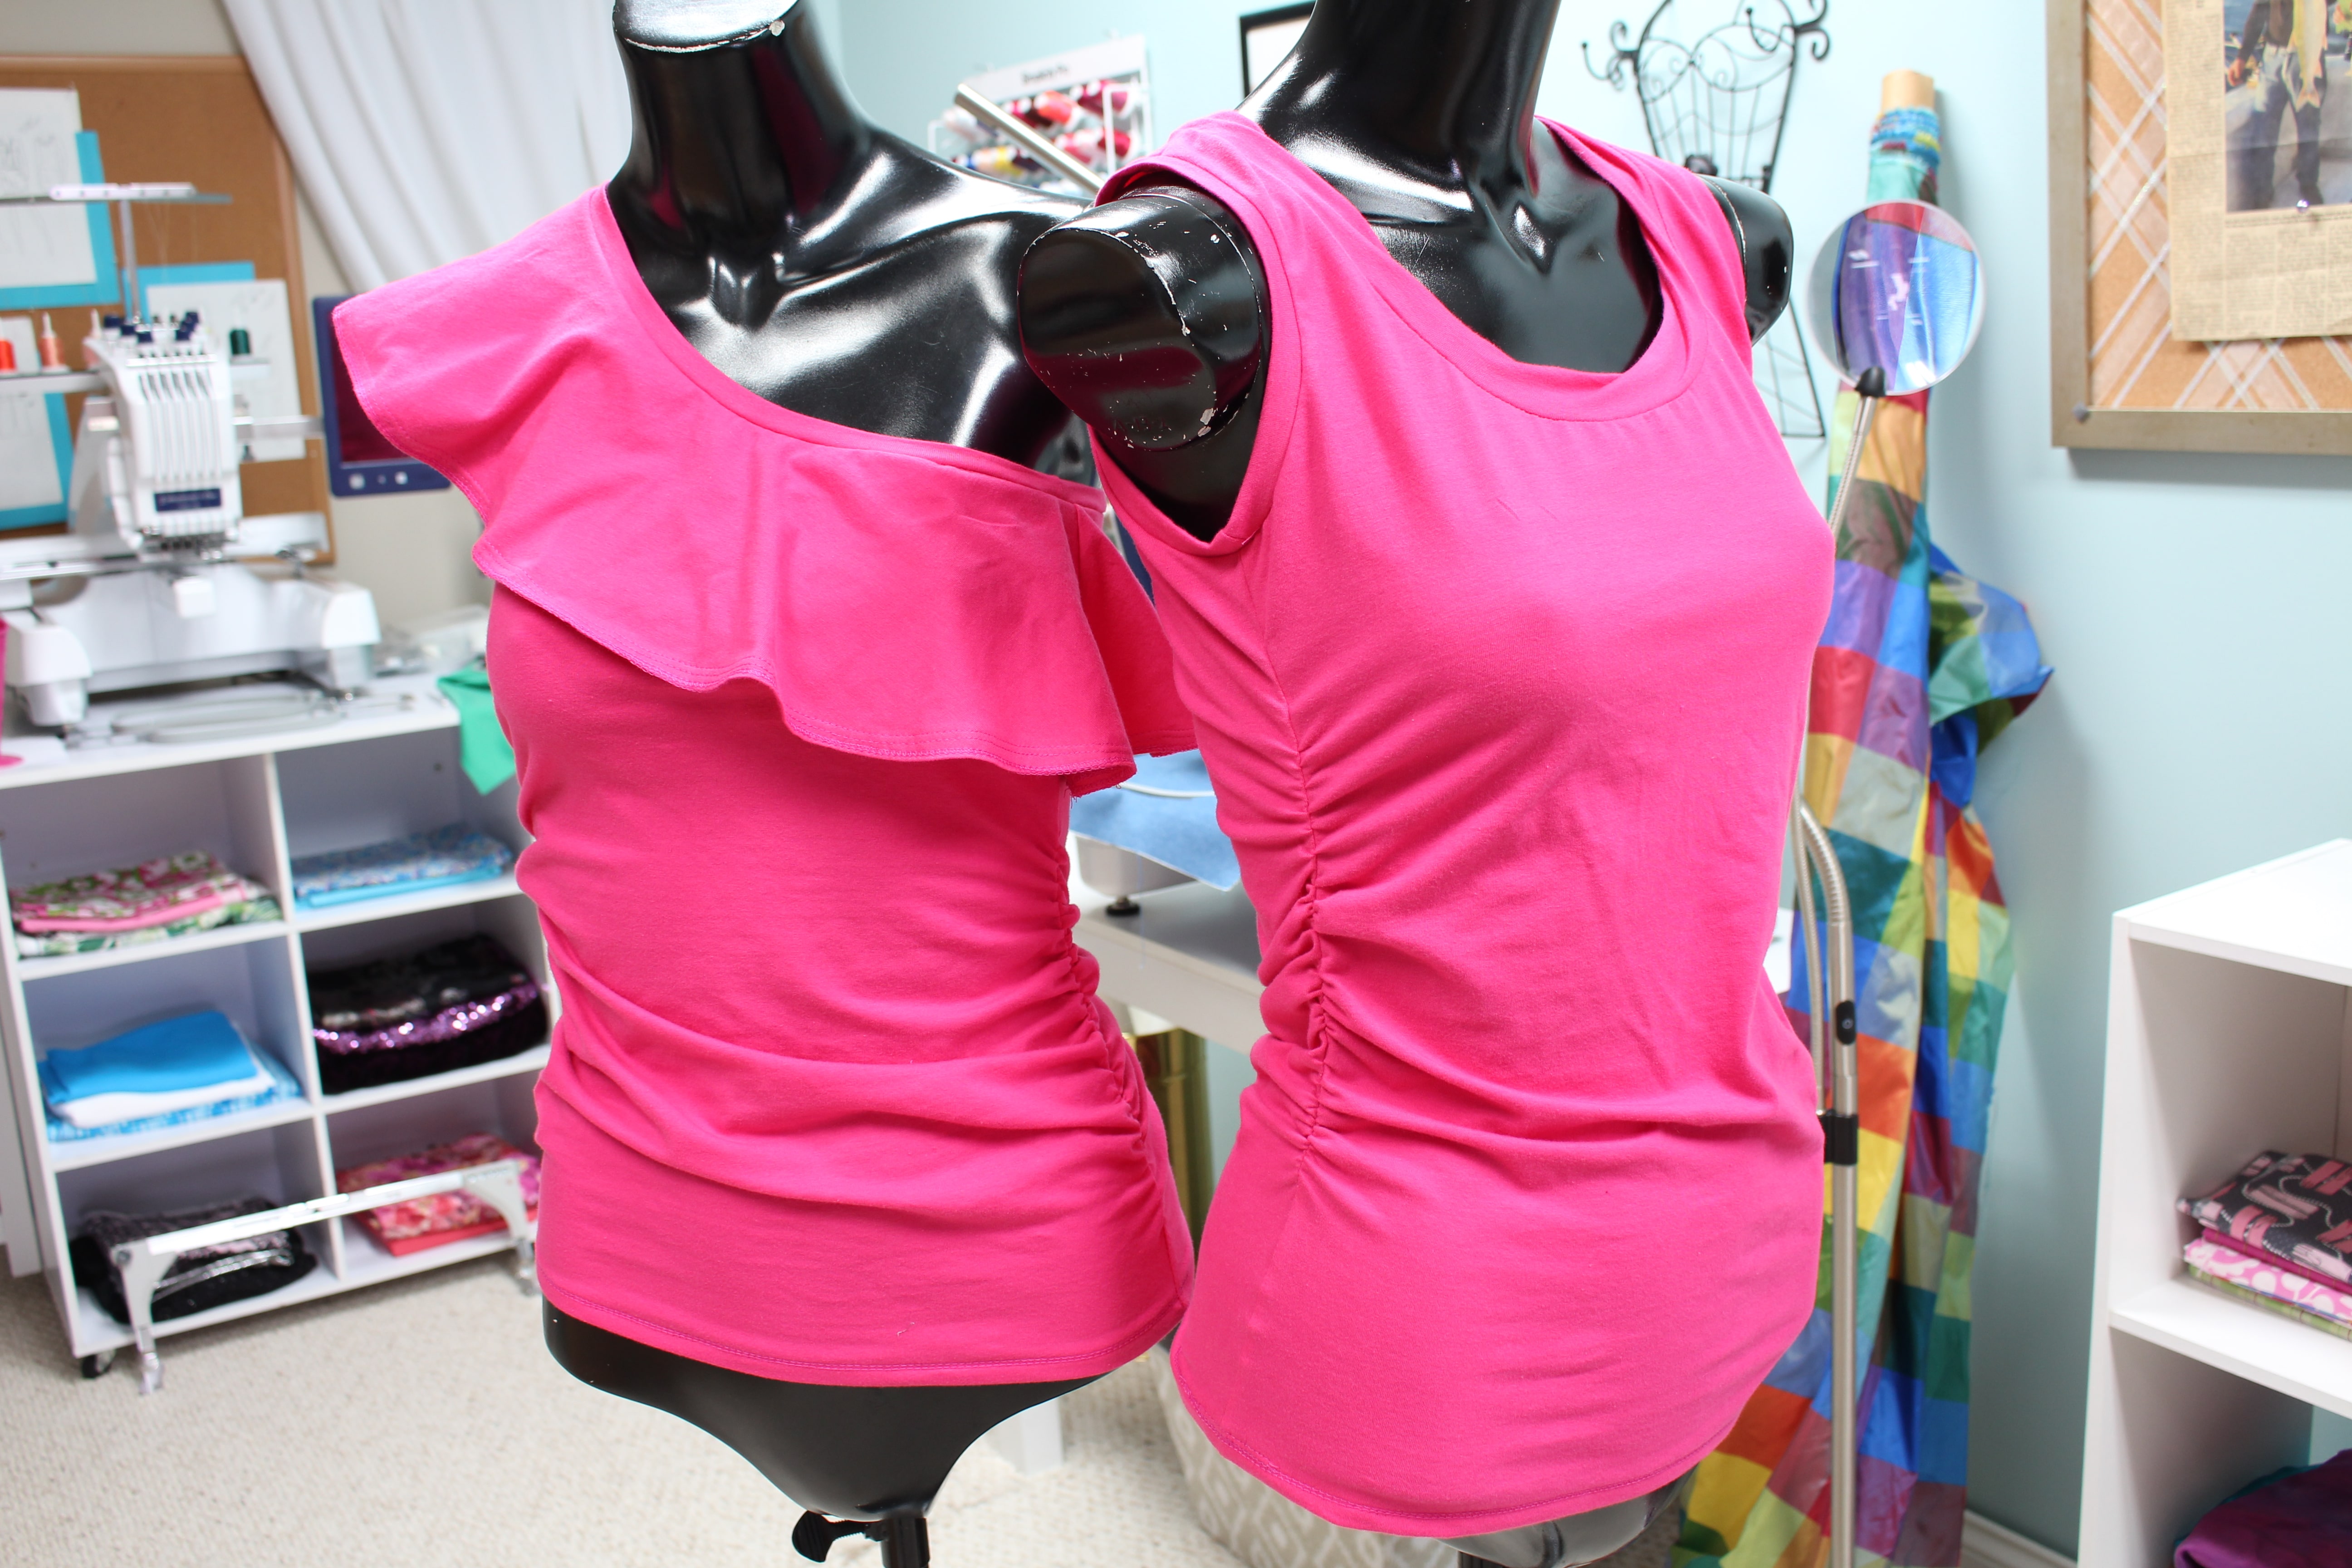
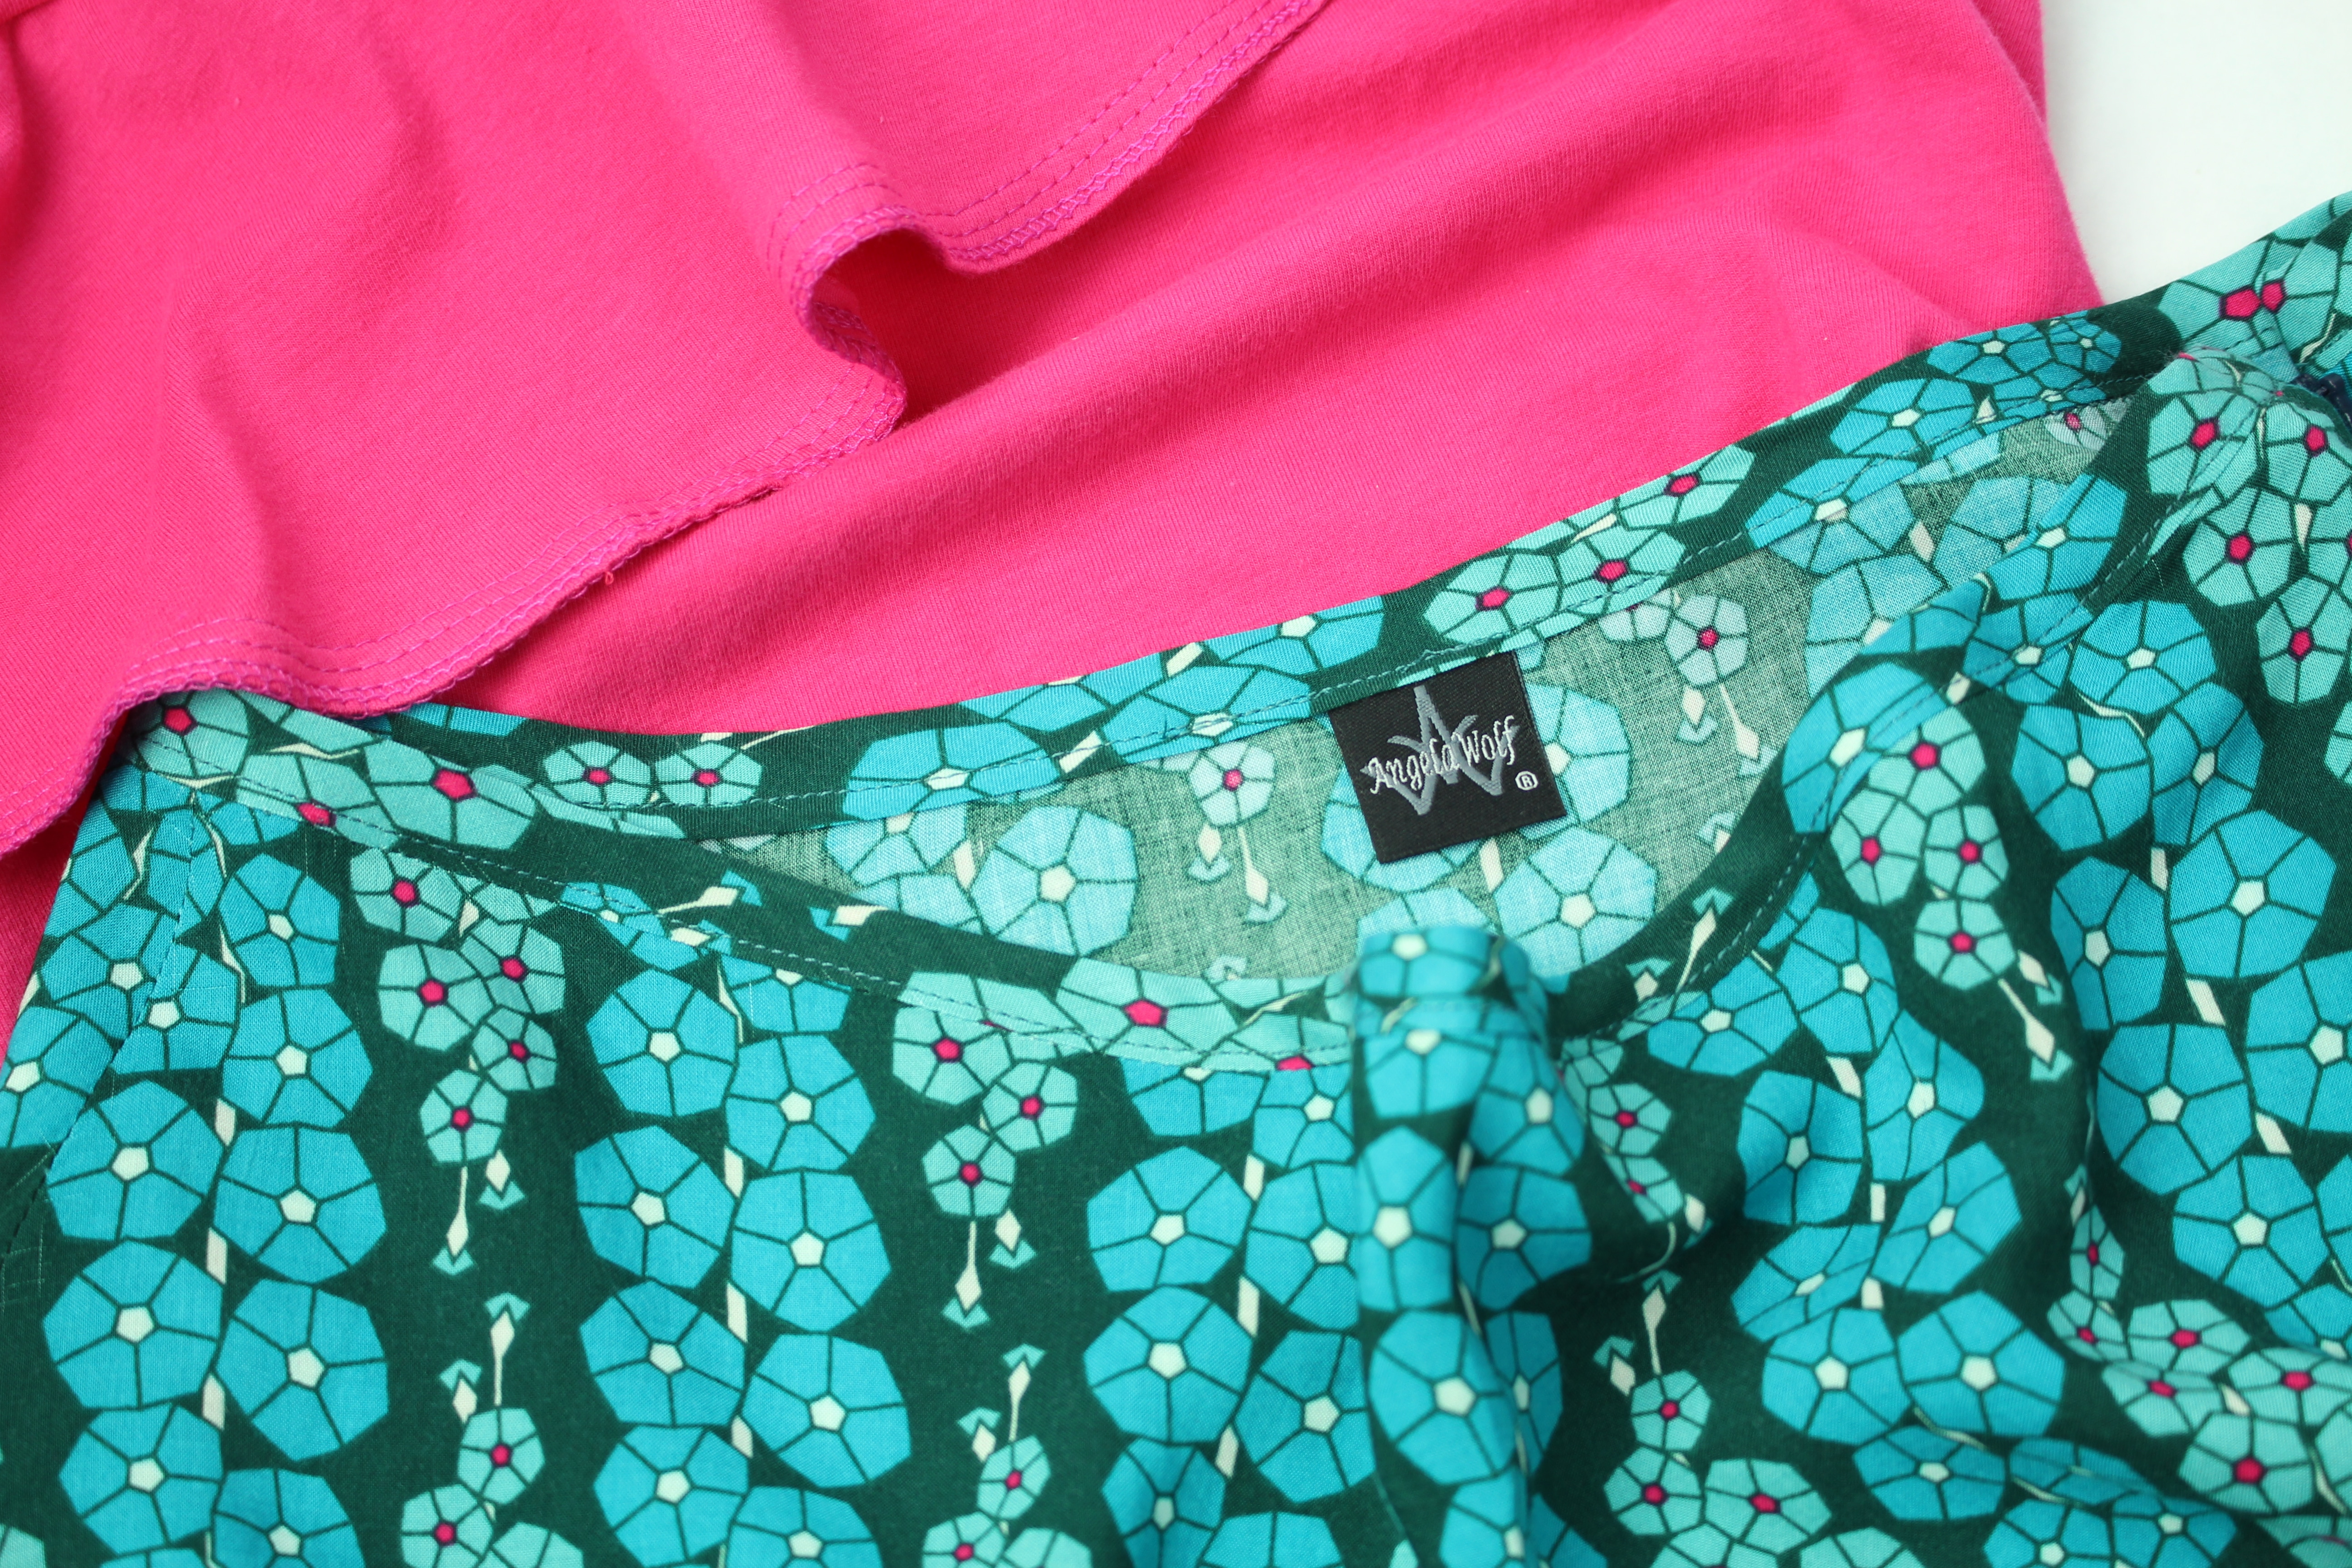
I am very excited to team up with Mathew Boudreaux (Mister Domestic) as part of his blog party launching his new fabric collection Loved to Pieces!  I had the choice of many of his beautiful fabrics and chose a beautiful 100% rayon fabric to sew the Kate Skirt Pattern. Of course I needed a top to go with the skirt, so I opted for a cotton / lycra knit Art Gallery Fabric with a color that coordinated with small circles in the rayon fabric.
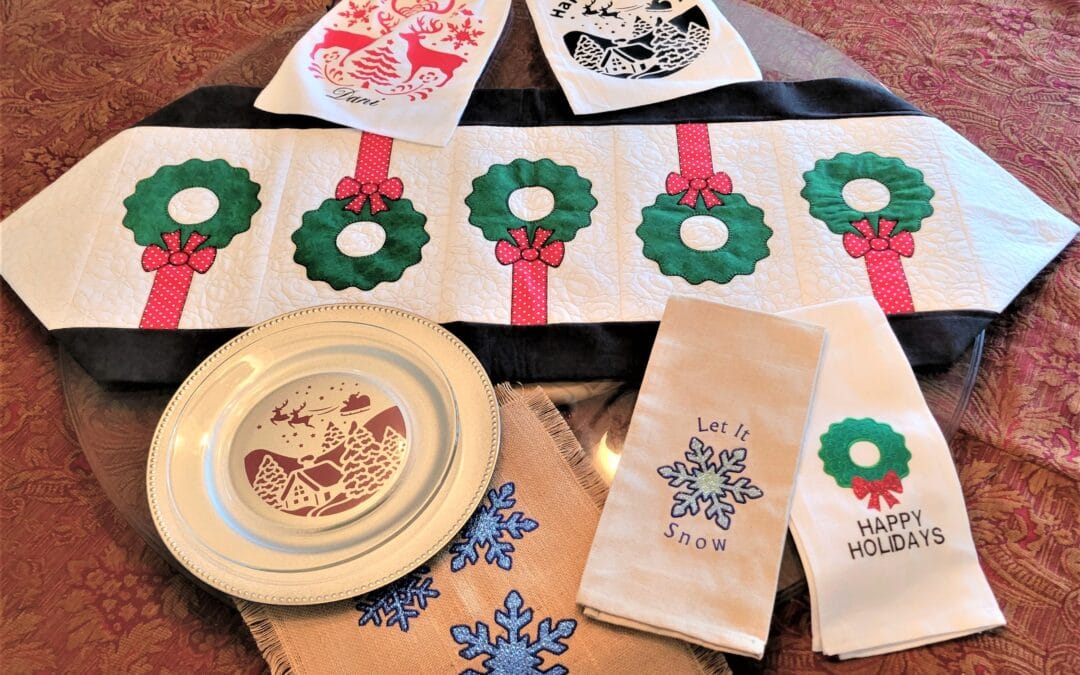
When this fabric arrived it was even better than I expected.  The drape of the rayon was so light and airy and the cotton knit had great recovery!

Pre-Shrink

The first step is to pre-shrink the fabric.  I washed and dried each piece individually, just in case there was any bleeding. Both pieces came out just fine, in face they hardly wrinkled at all!  The rayon fabric frayed slightly and the cotton fabric tends to roll at the ends, but those are easy to work with.
Cutting The Kate Skirt

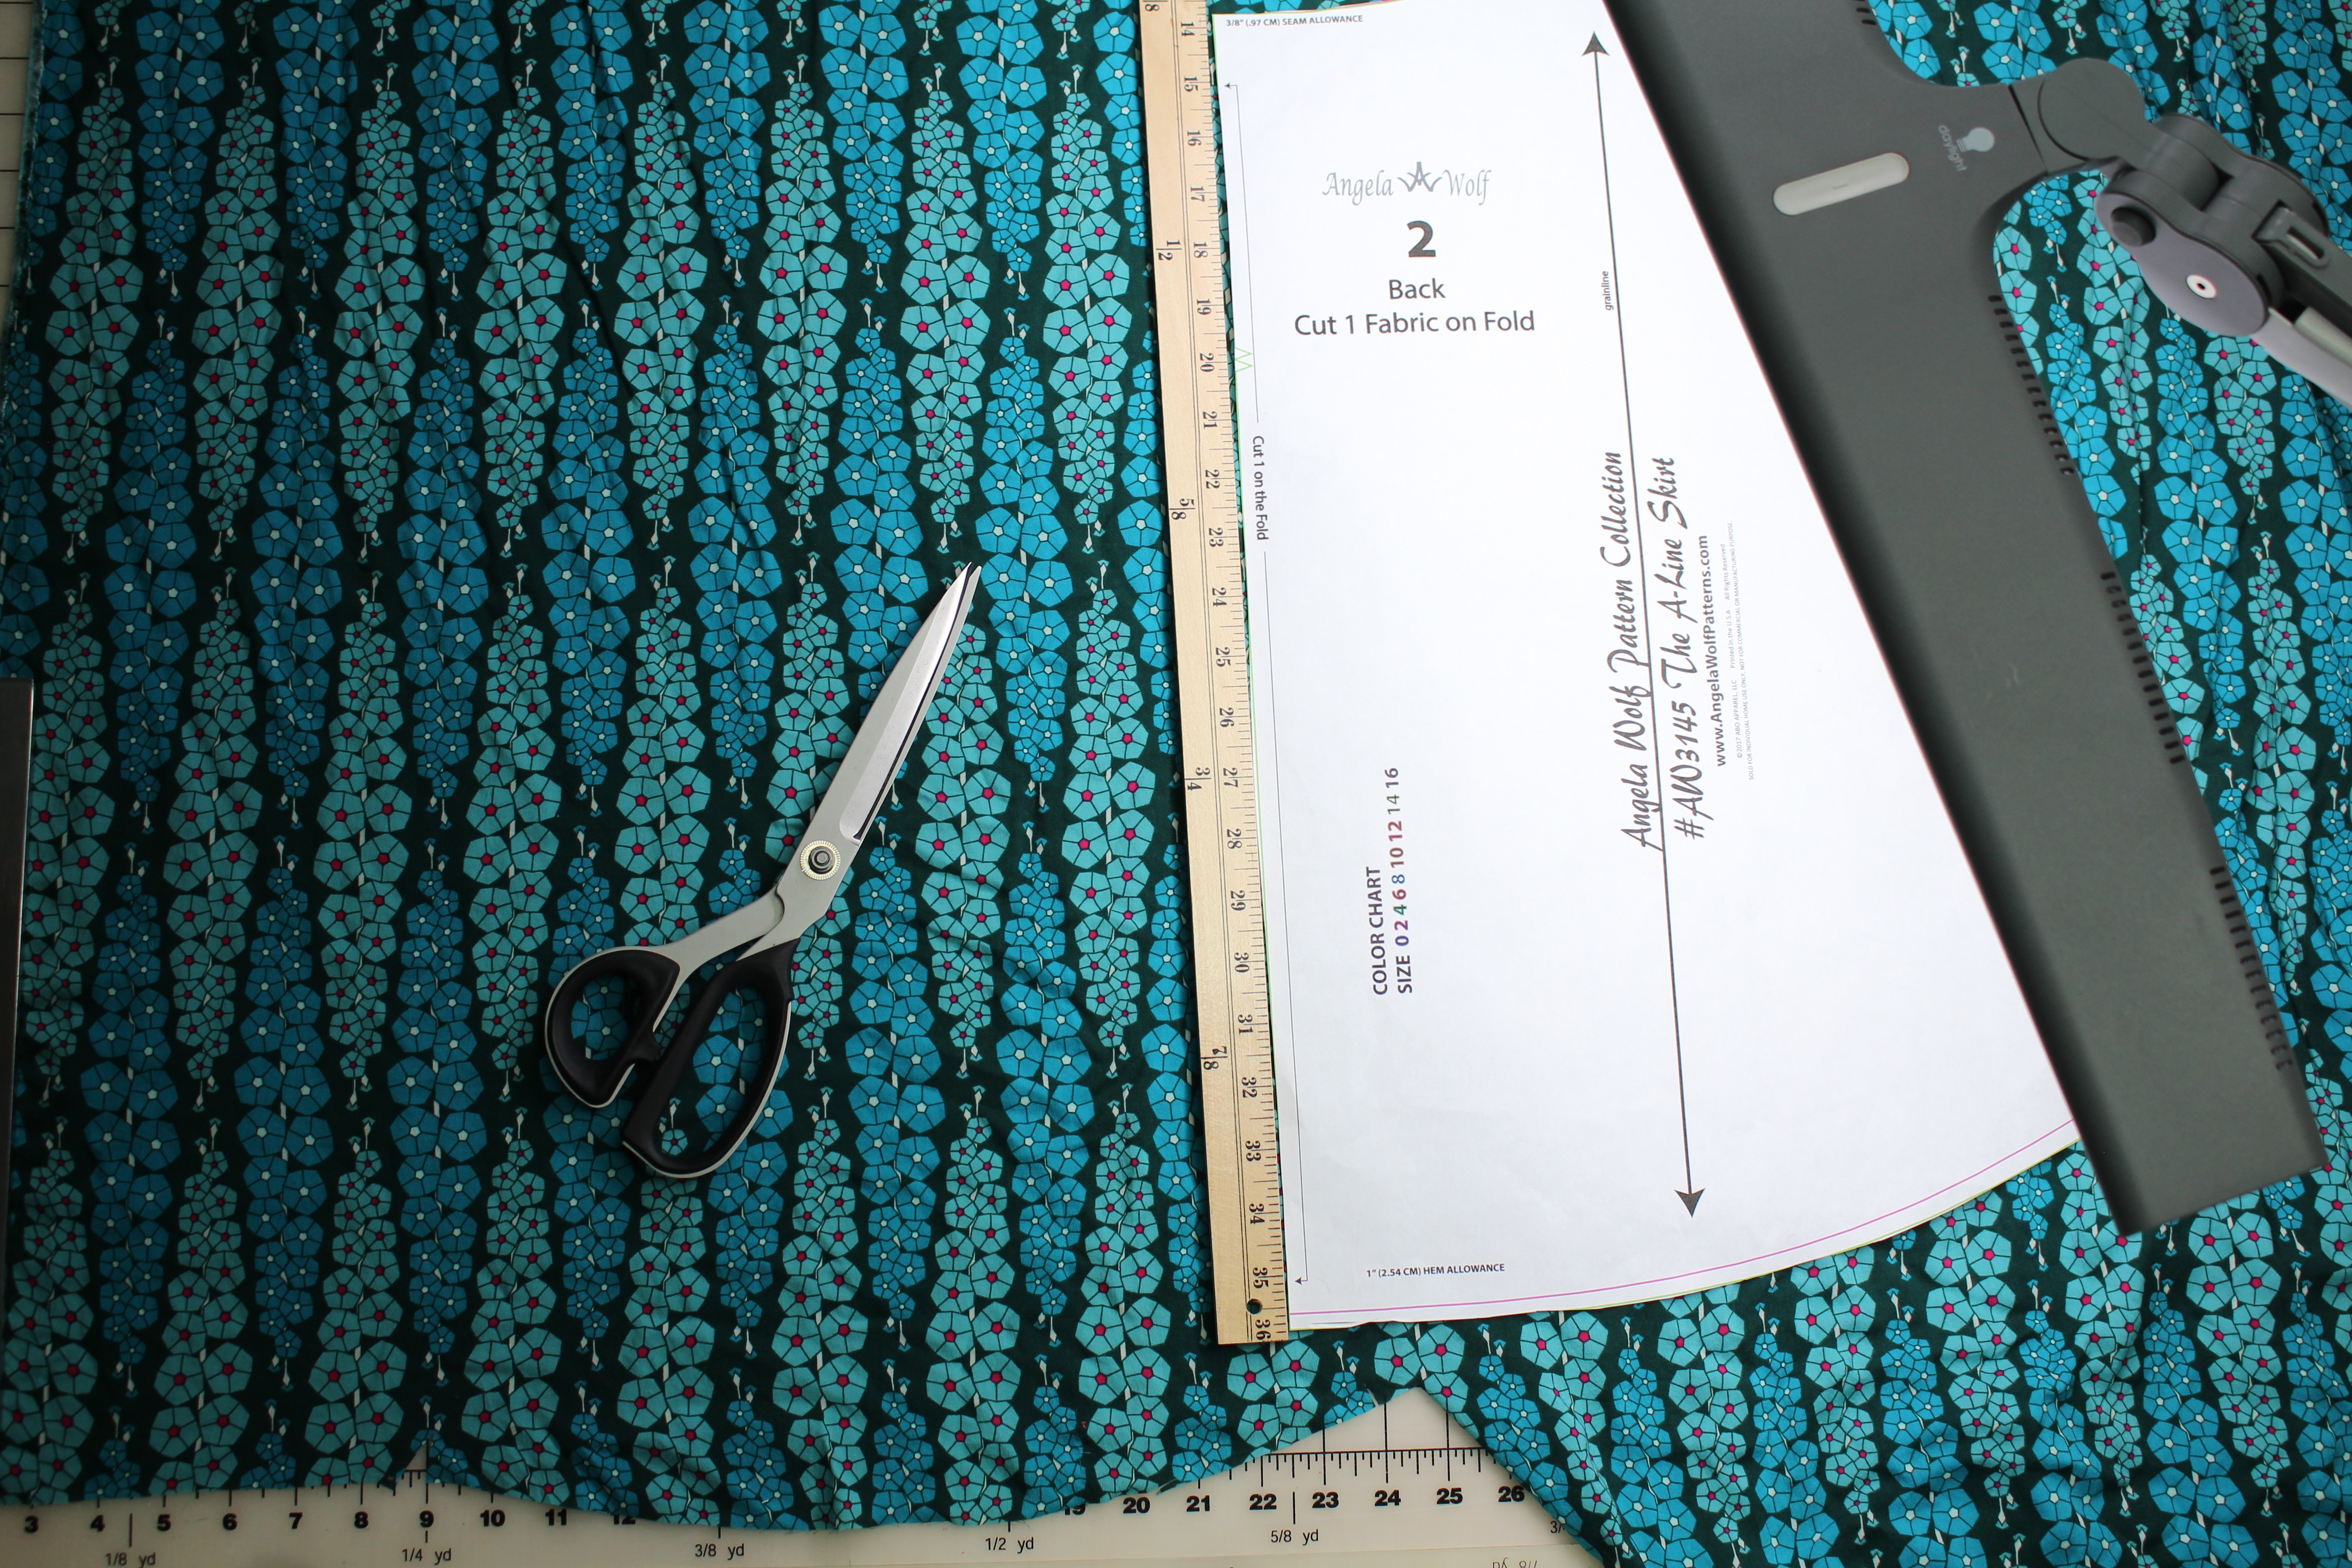
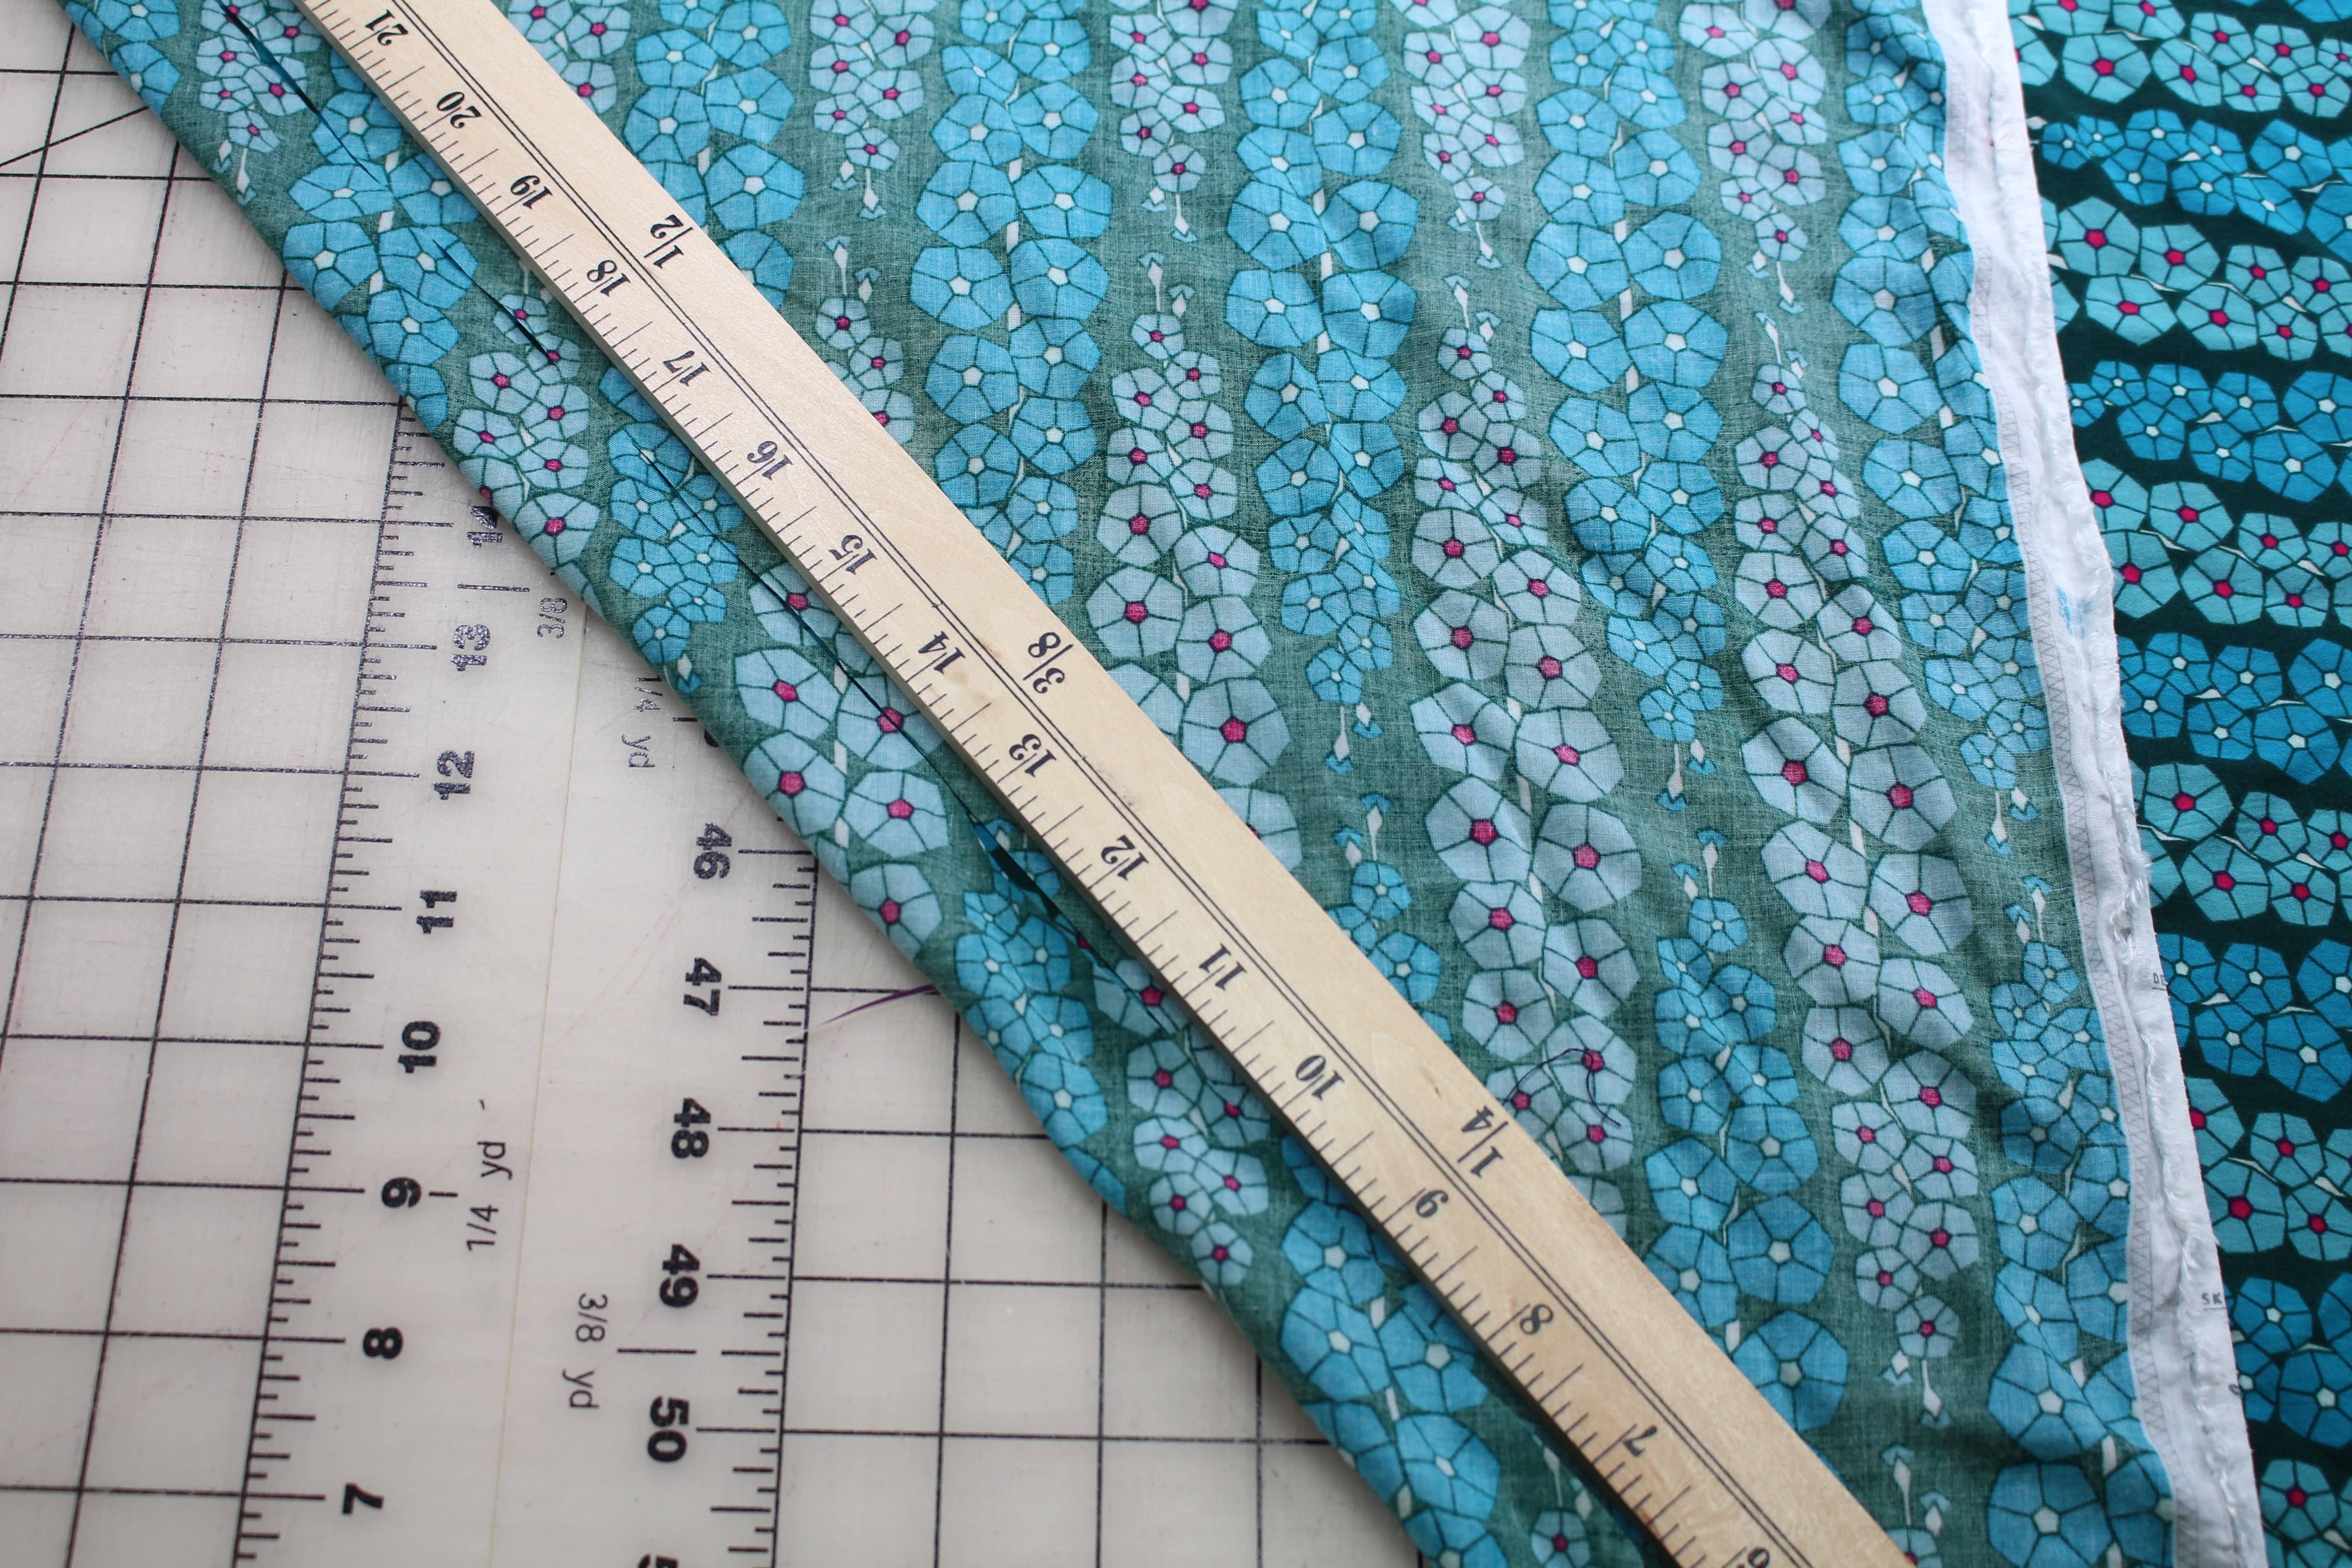
Because of the print, I chose to cut the skirt with one layer of fabric (meaning I didn’t fold the fabric).  The fabric is so lightweight and tends to shift which can cause issues matching up prints and grainlines.  After laying out the fabric, I used a yard stick to check the fabric grainlines.  They look pretty straight here, so I cut one side of the skirt and then folded the pattern over to cute the other side.

Bias Waistband

I altered the Kate Skirt pattern by cutting the waistband on the bias.  This fabric is so lightweight, it reminds me of silk charmeuse. I prefer bias waistbands for silk skirt, so thought the same for this one.  Not only is it comfortable, it works the print.

Finishing the Edges and Zipper Insertion

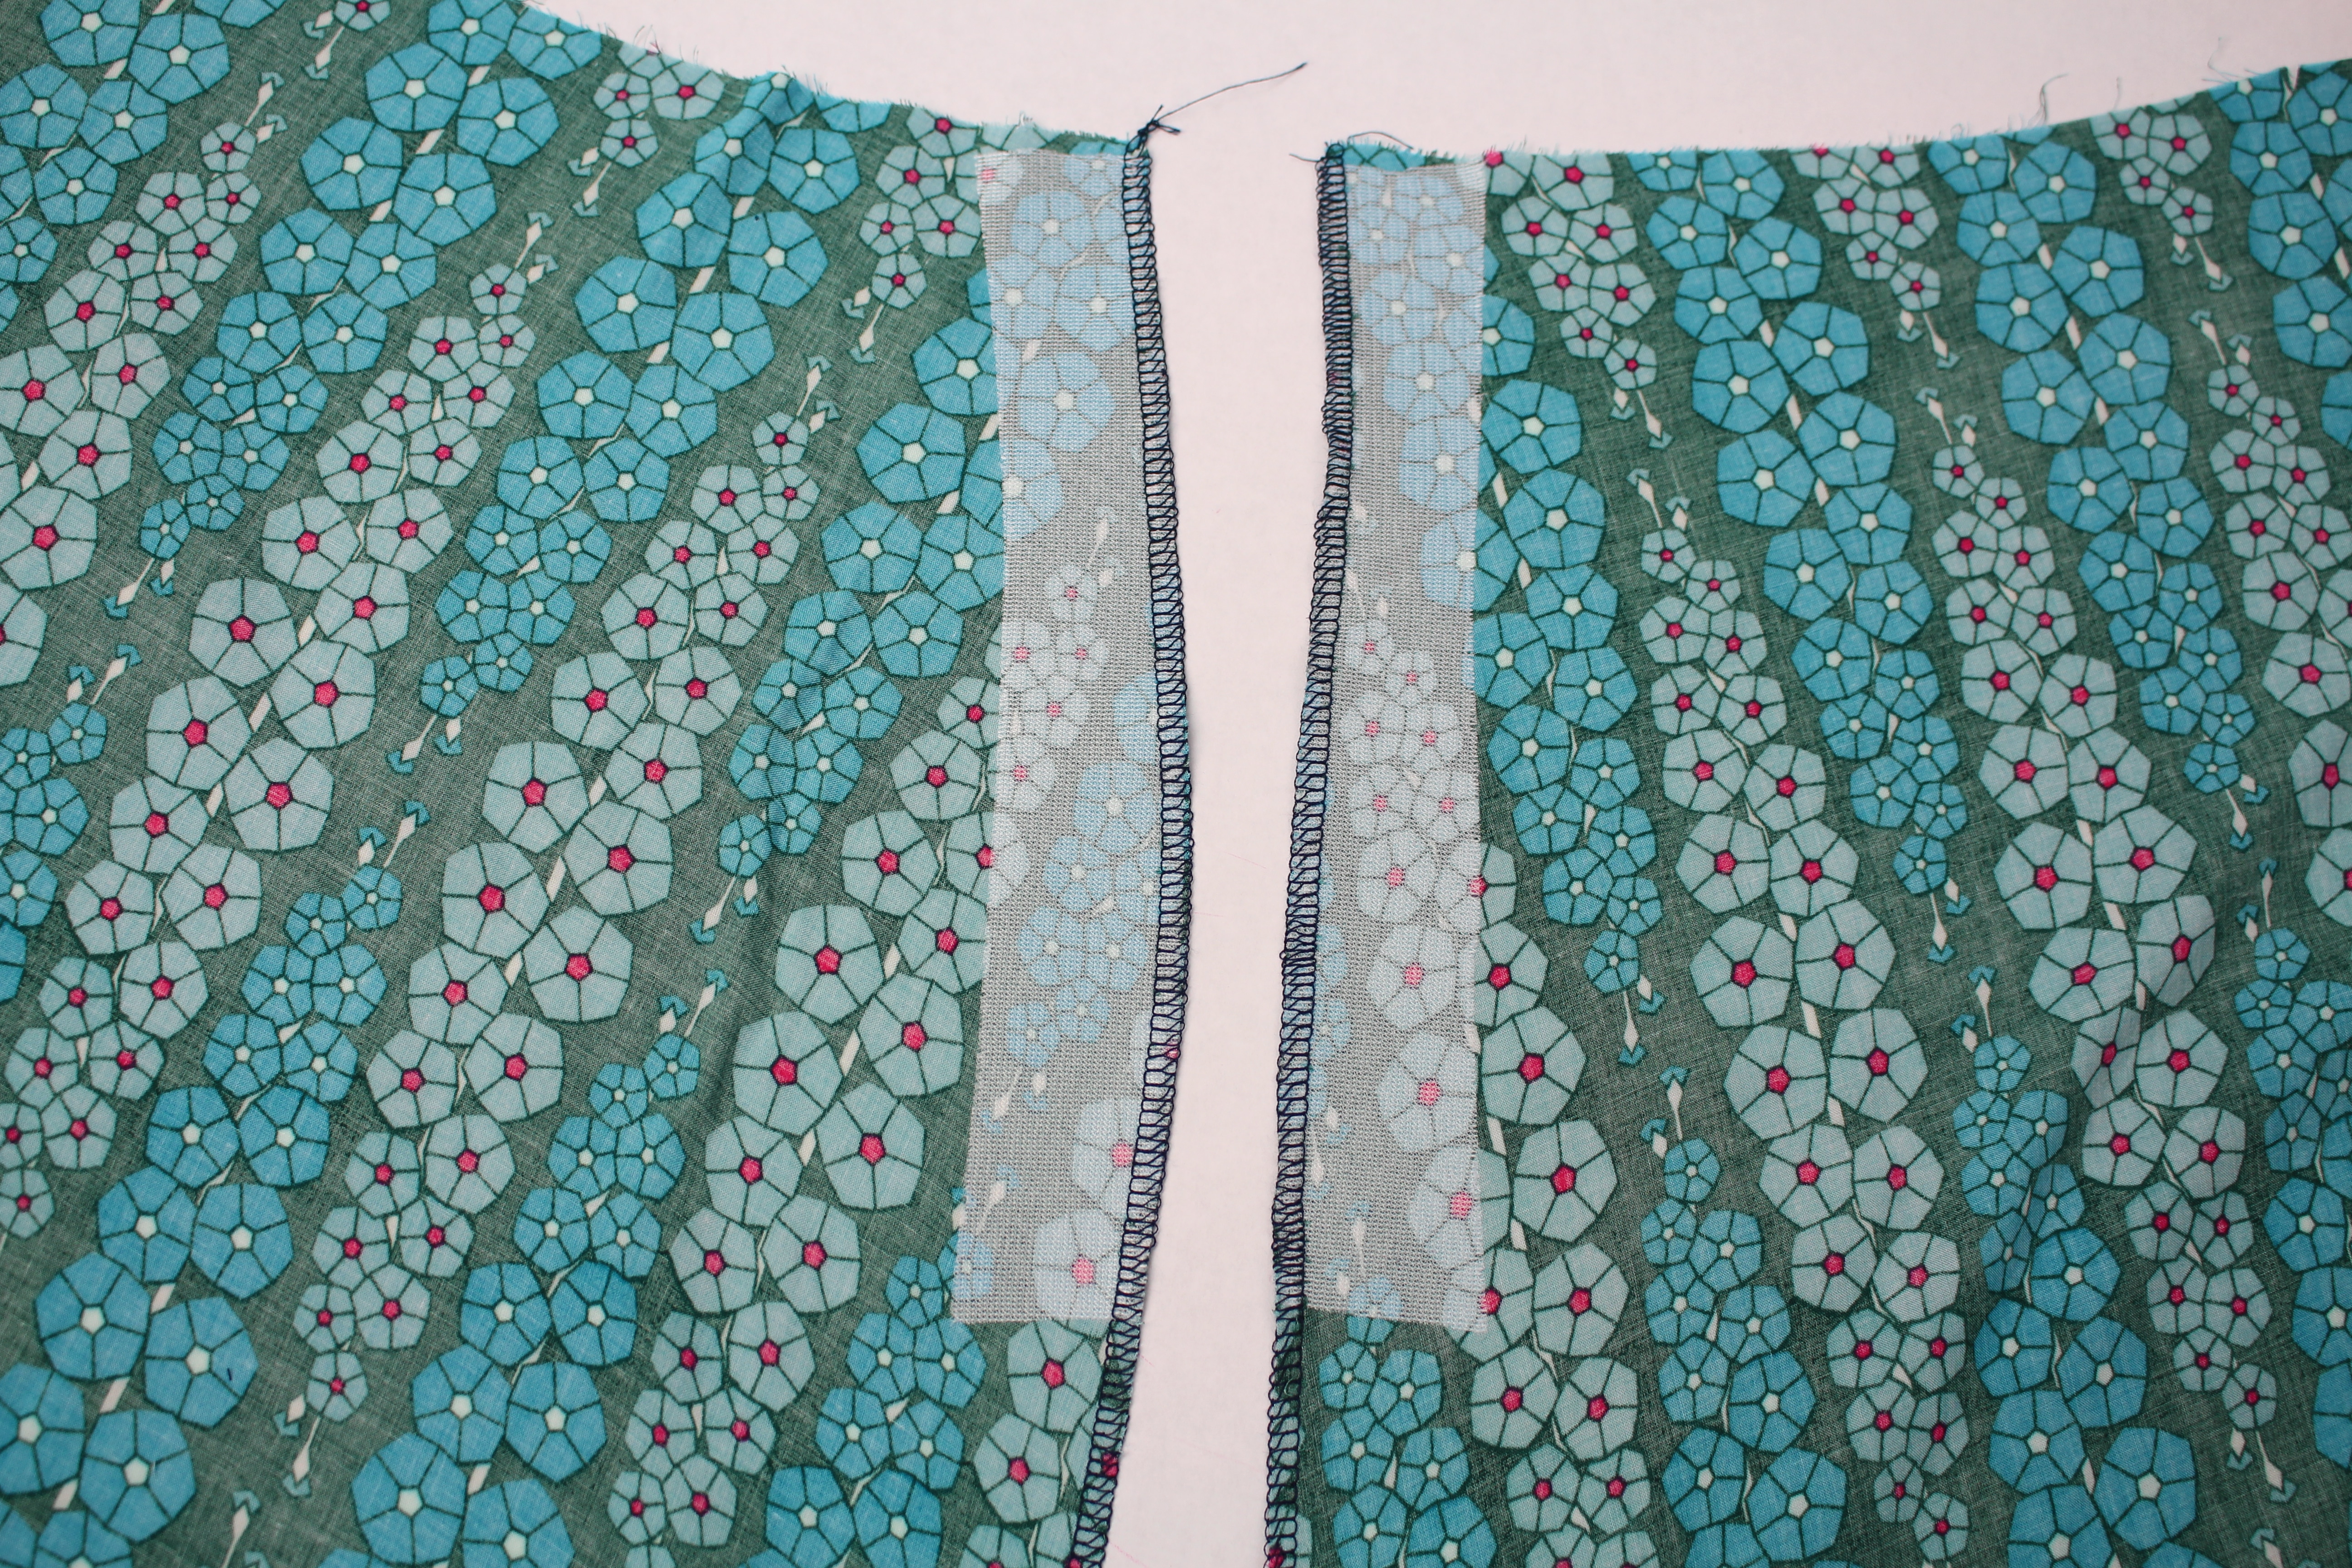
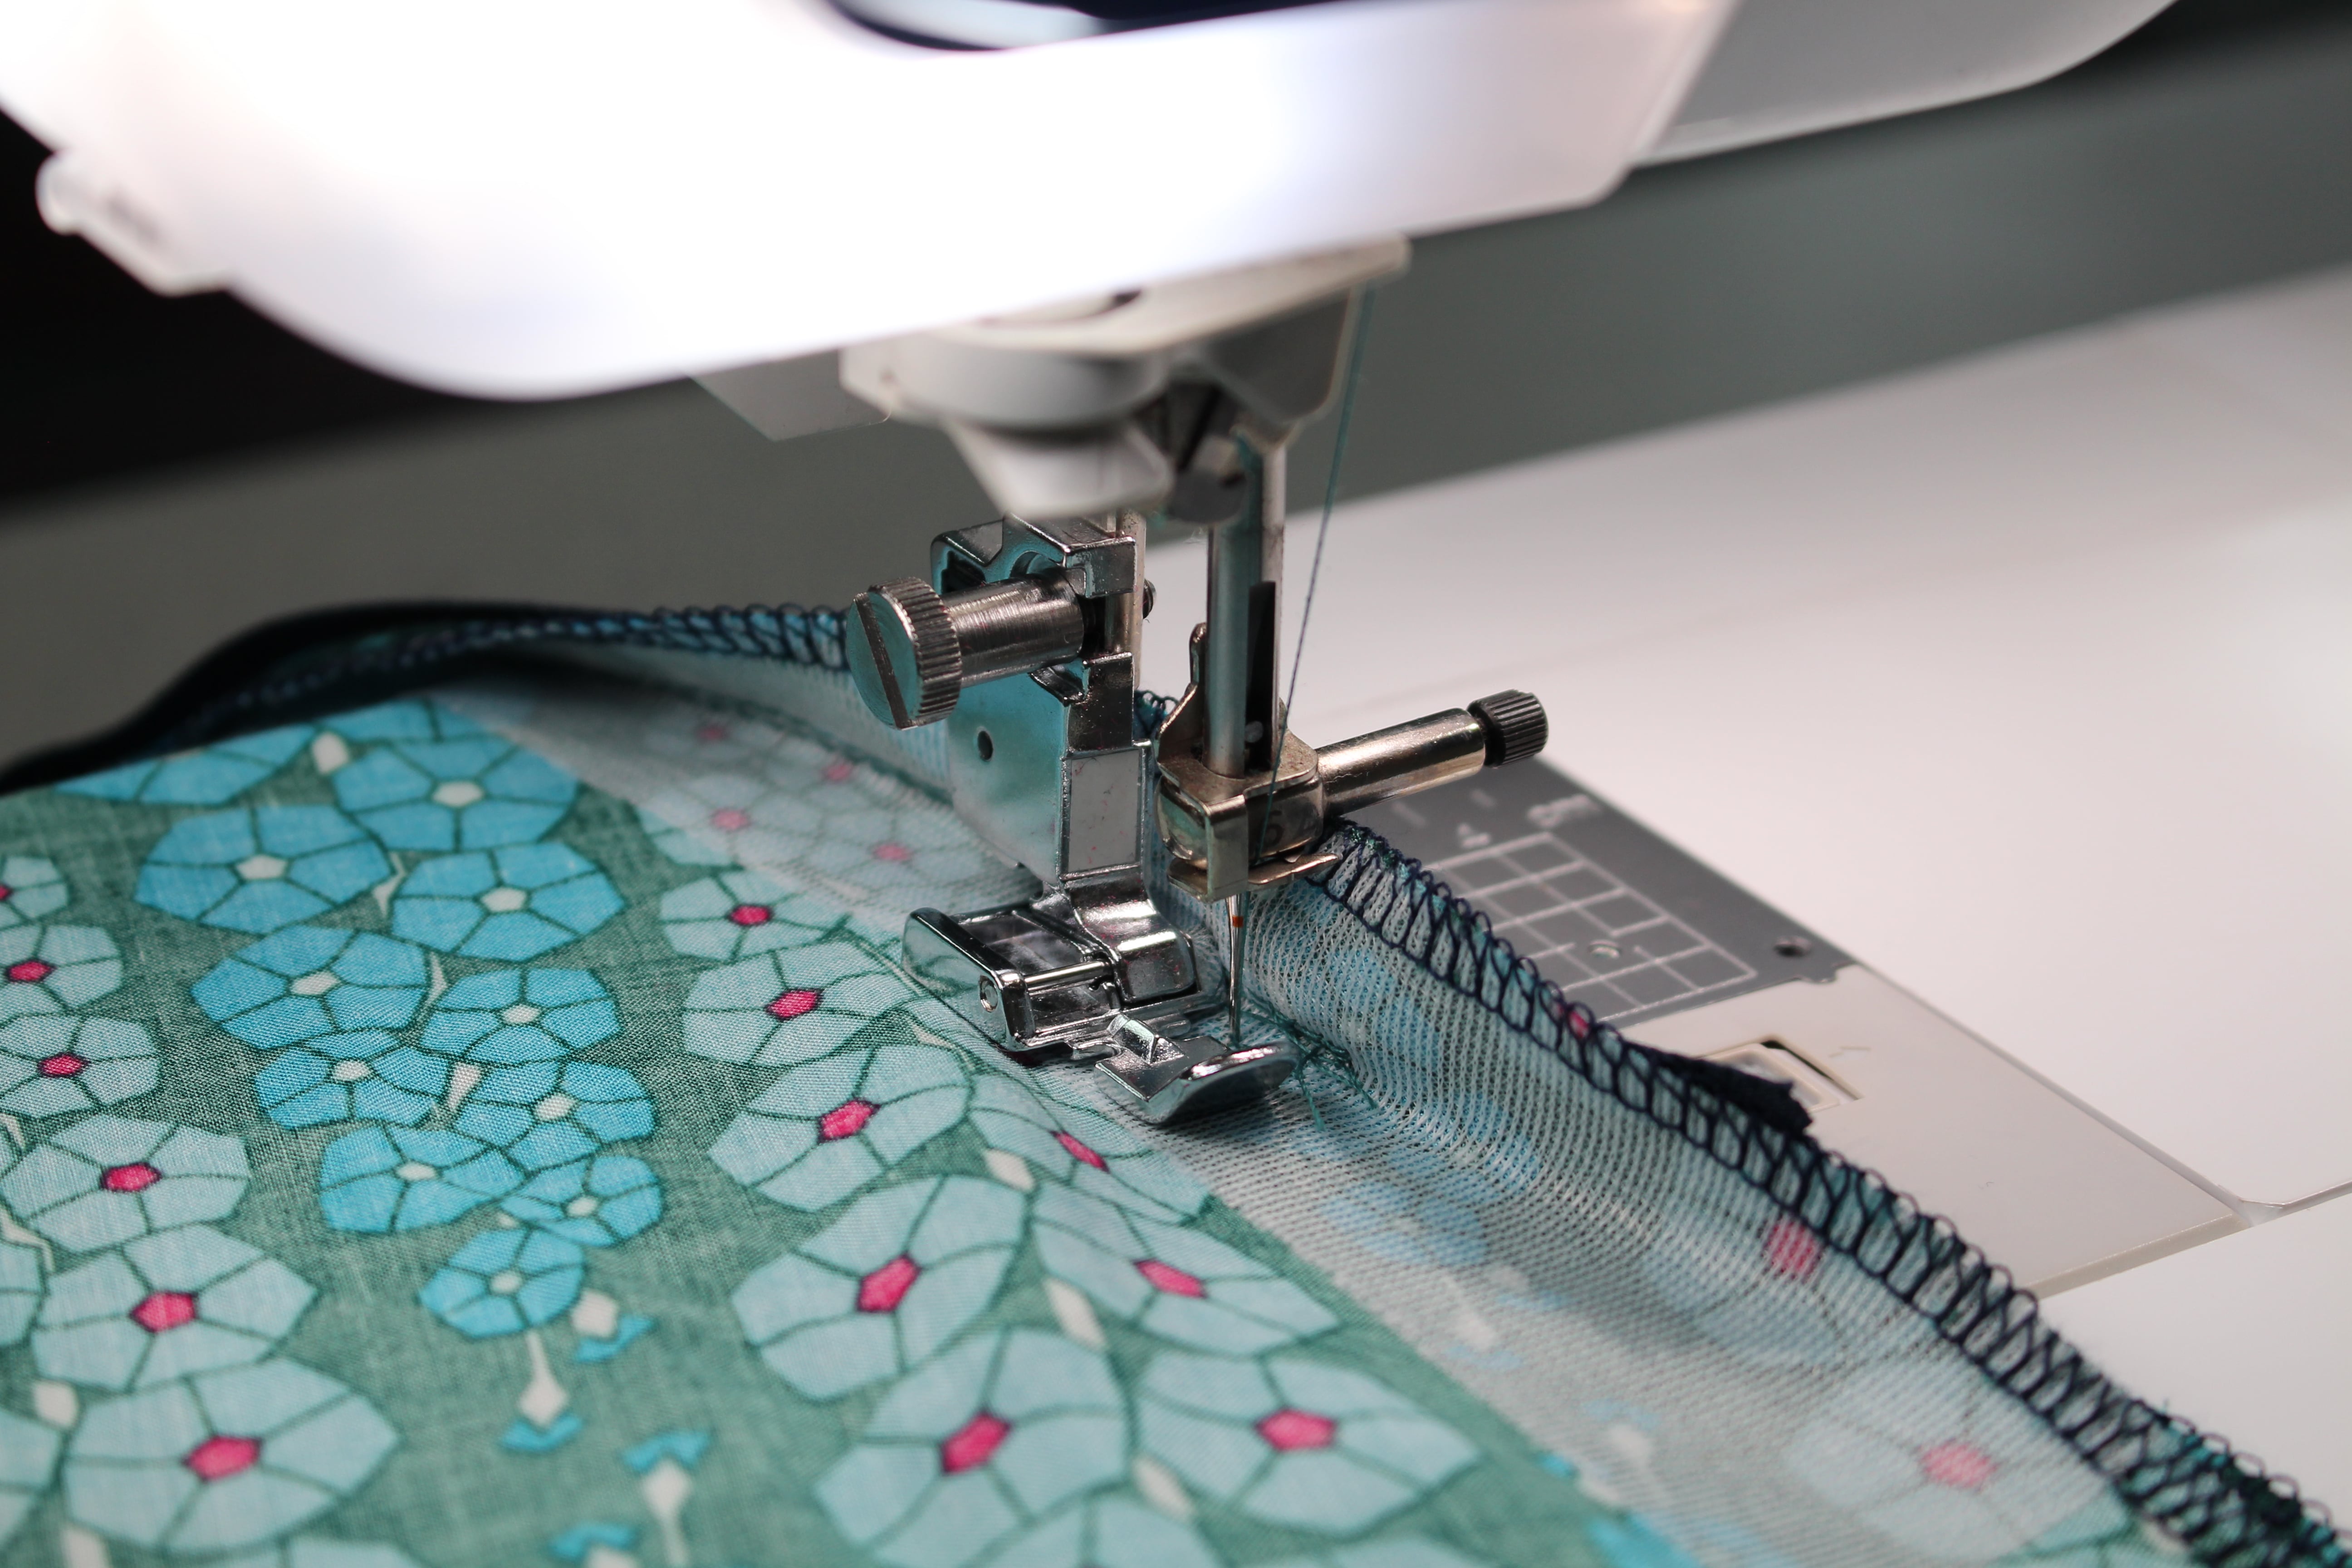
As I mentioned earlier, the rayon fabric tends to fray a little.  After cutting out the skirt, I ran the edges through the serger to finish the edges (I used a 3-thread wide overlock stitch).  But before serging the edges, press the fusible interfacing in the zipper location (see pattern instructions).  The fusible interfacing is light enough to not show through the fabric right side and prevent the fabric from stretching out while sewing in the zipper.

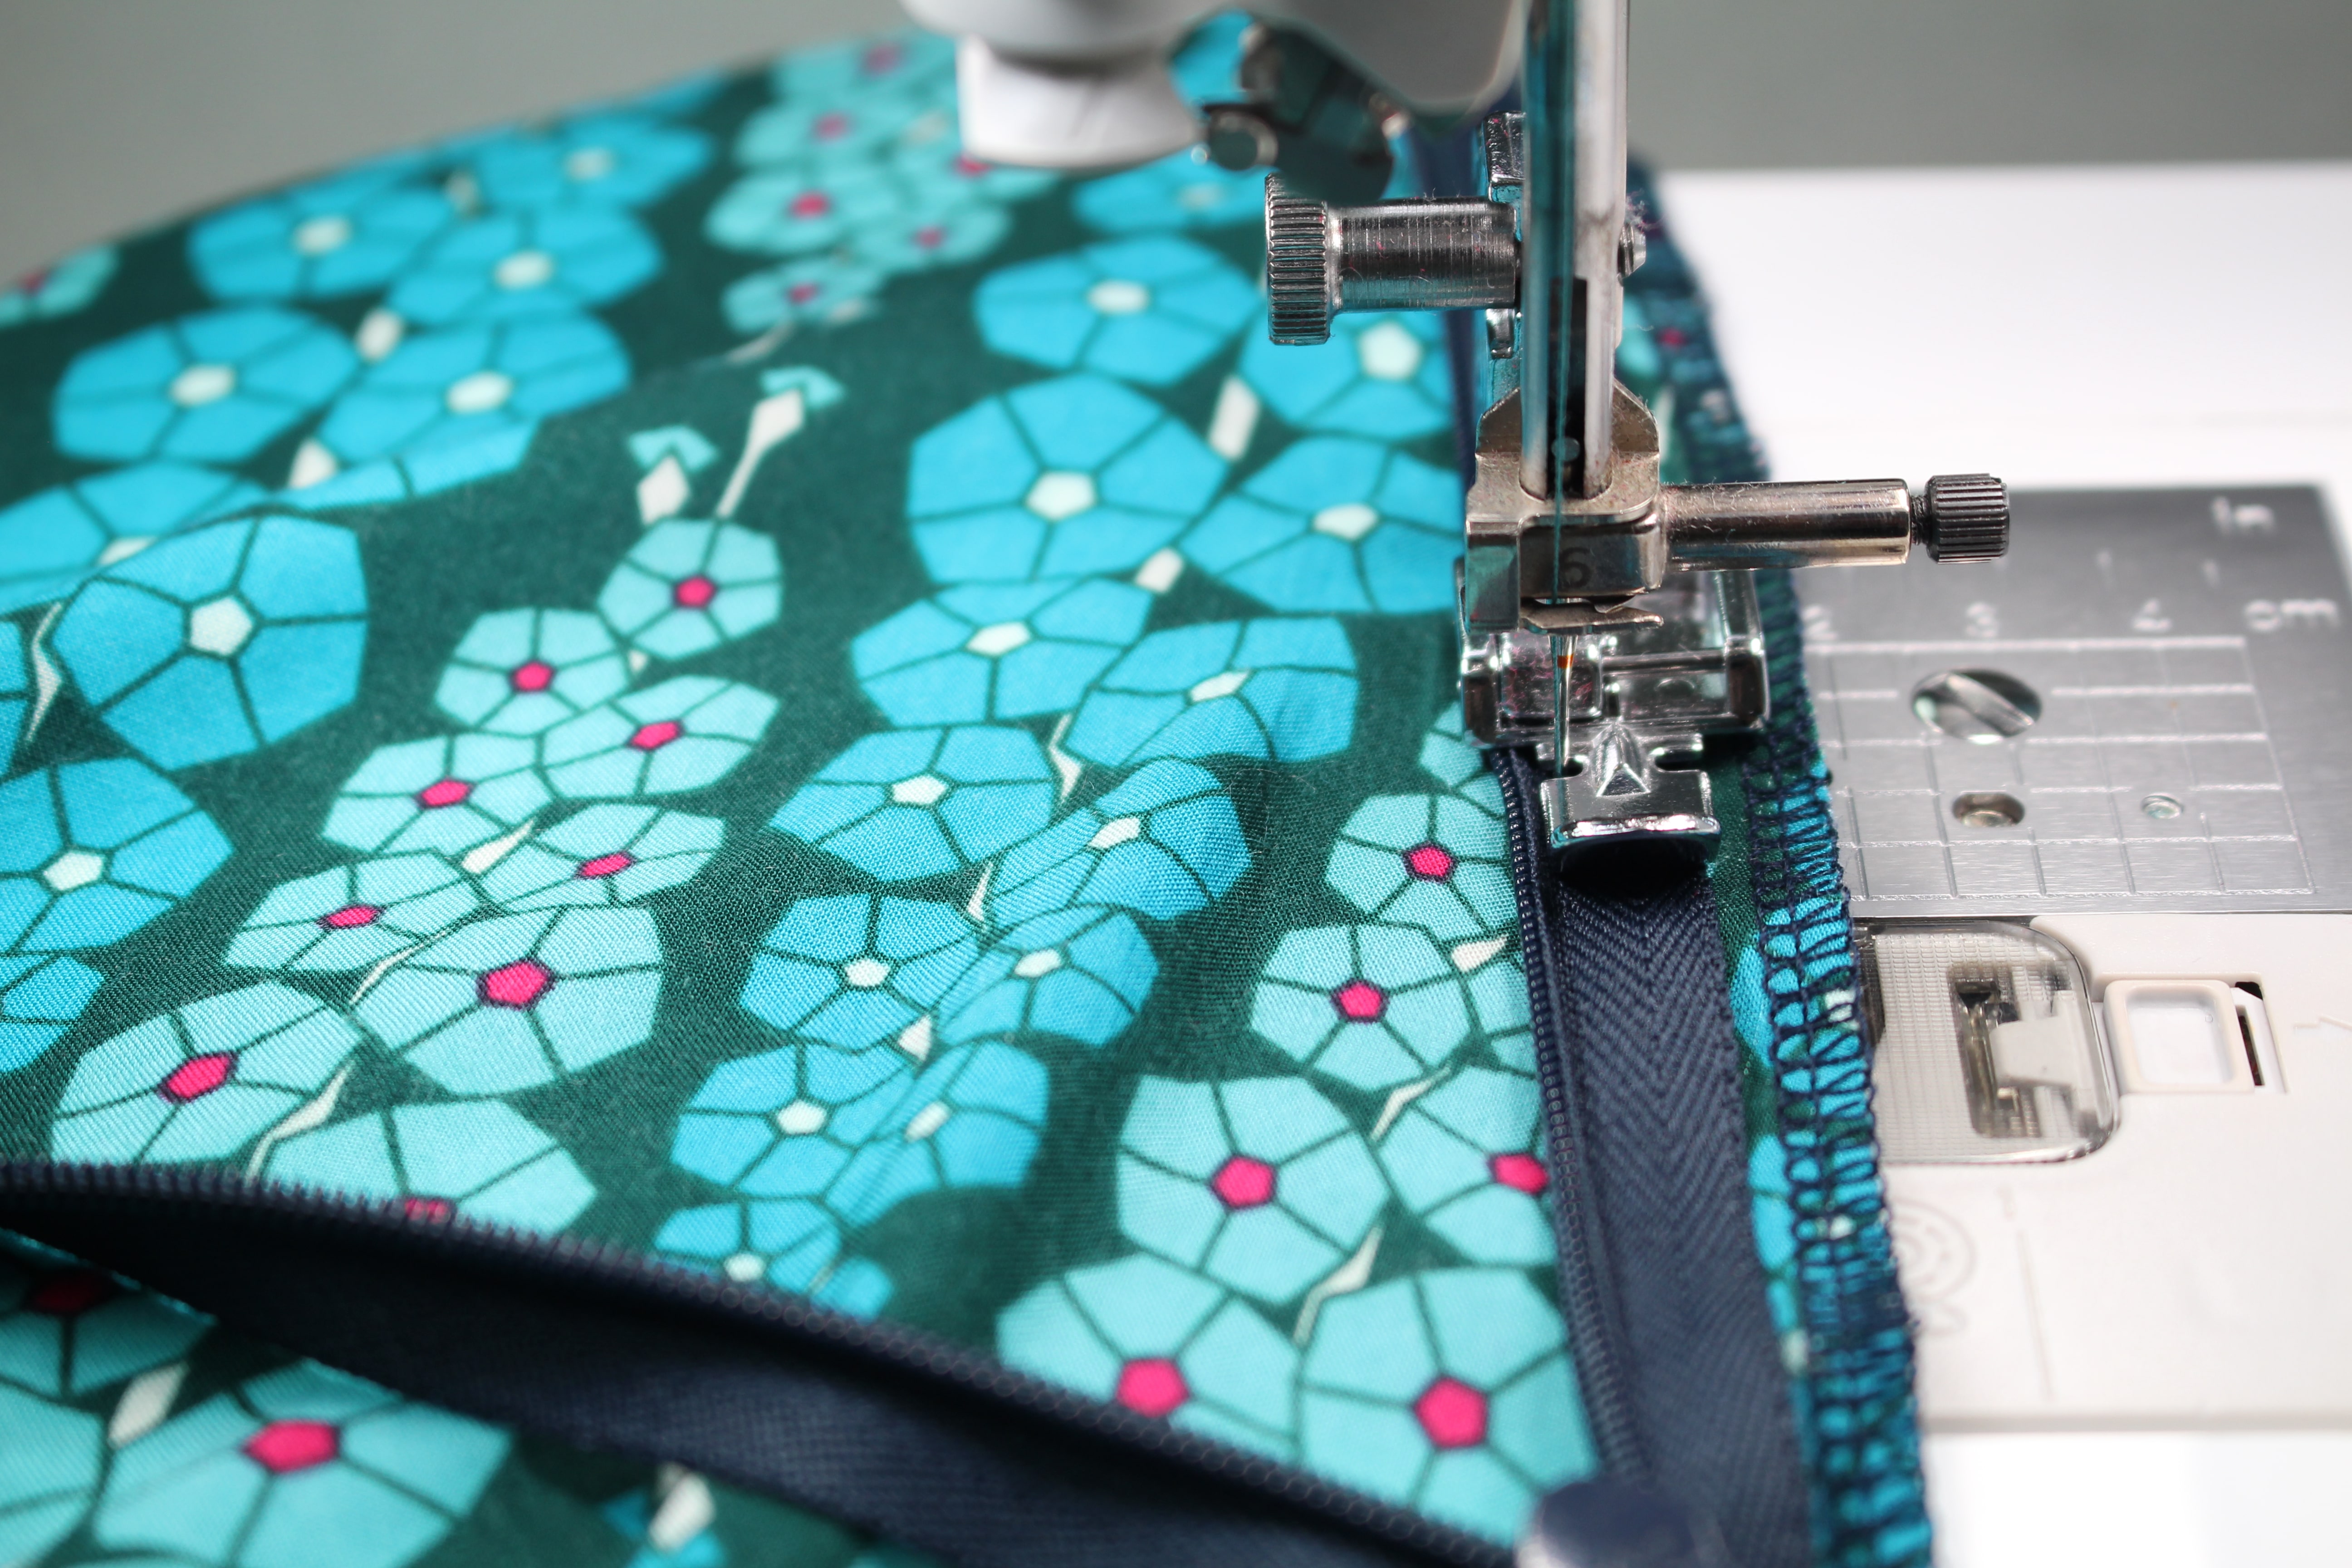
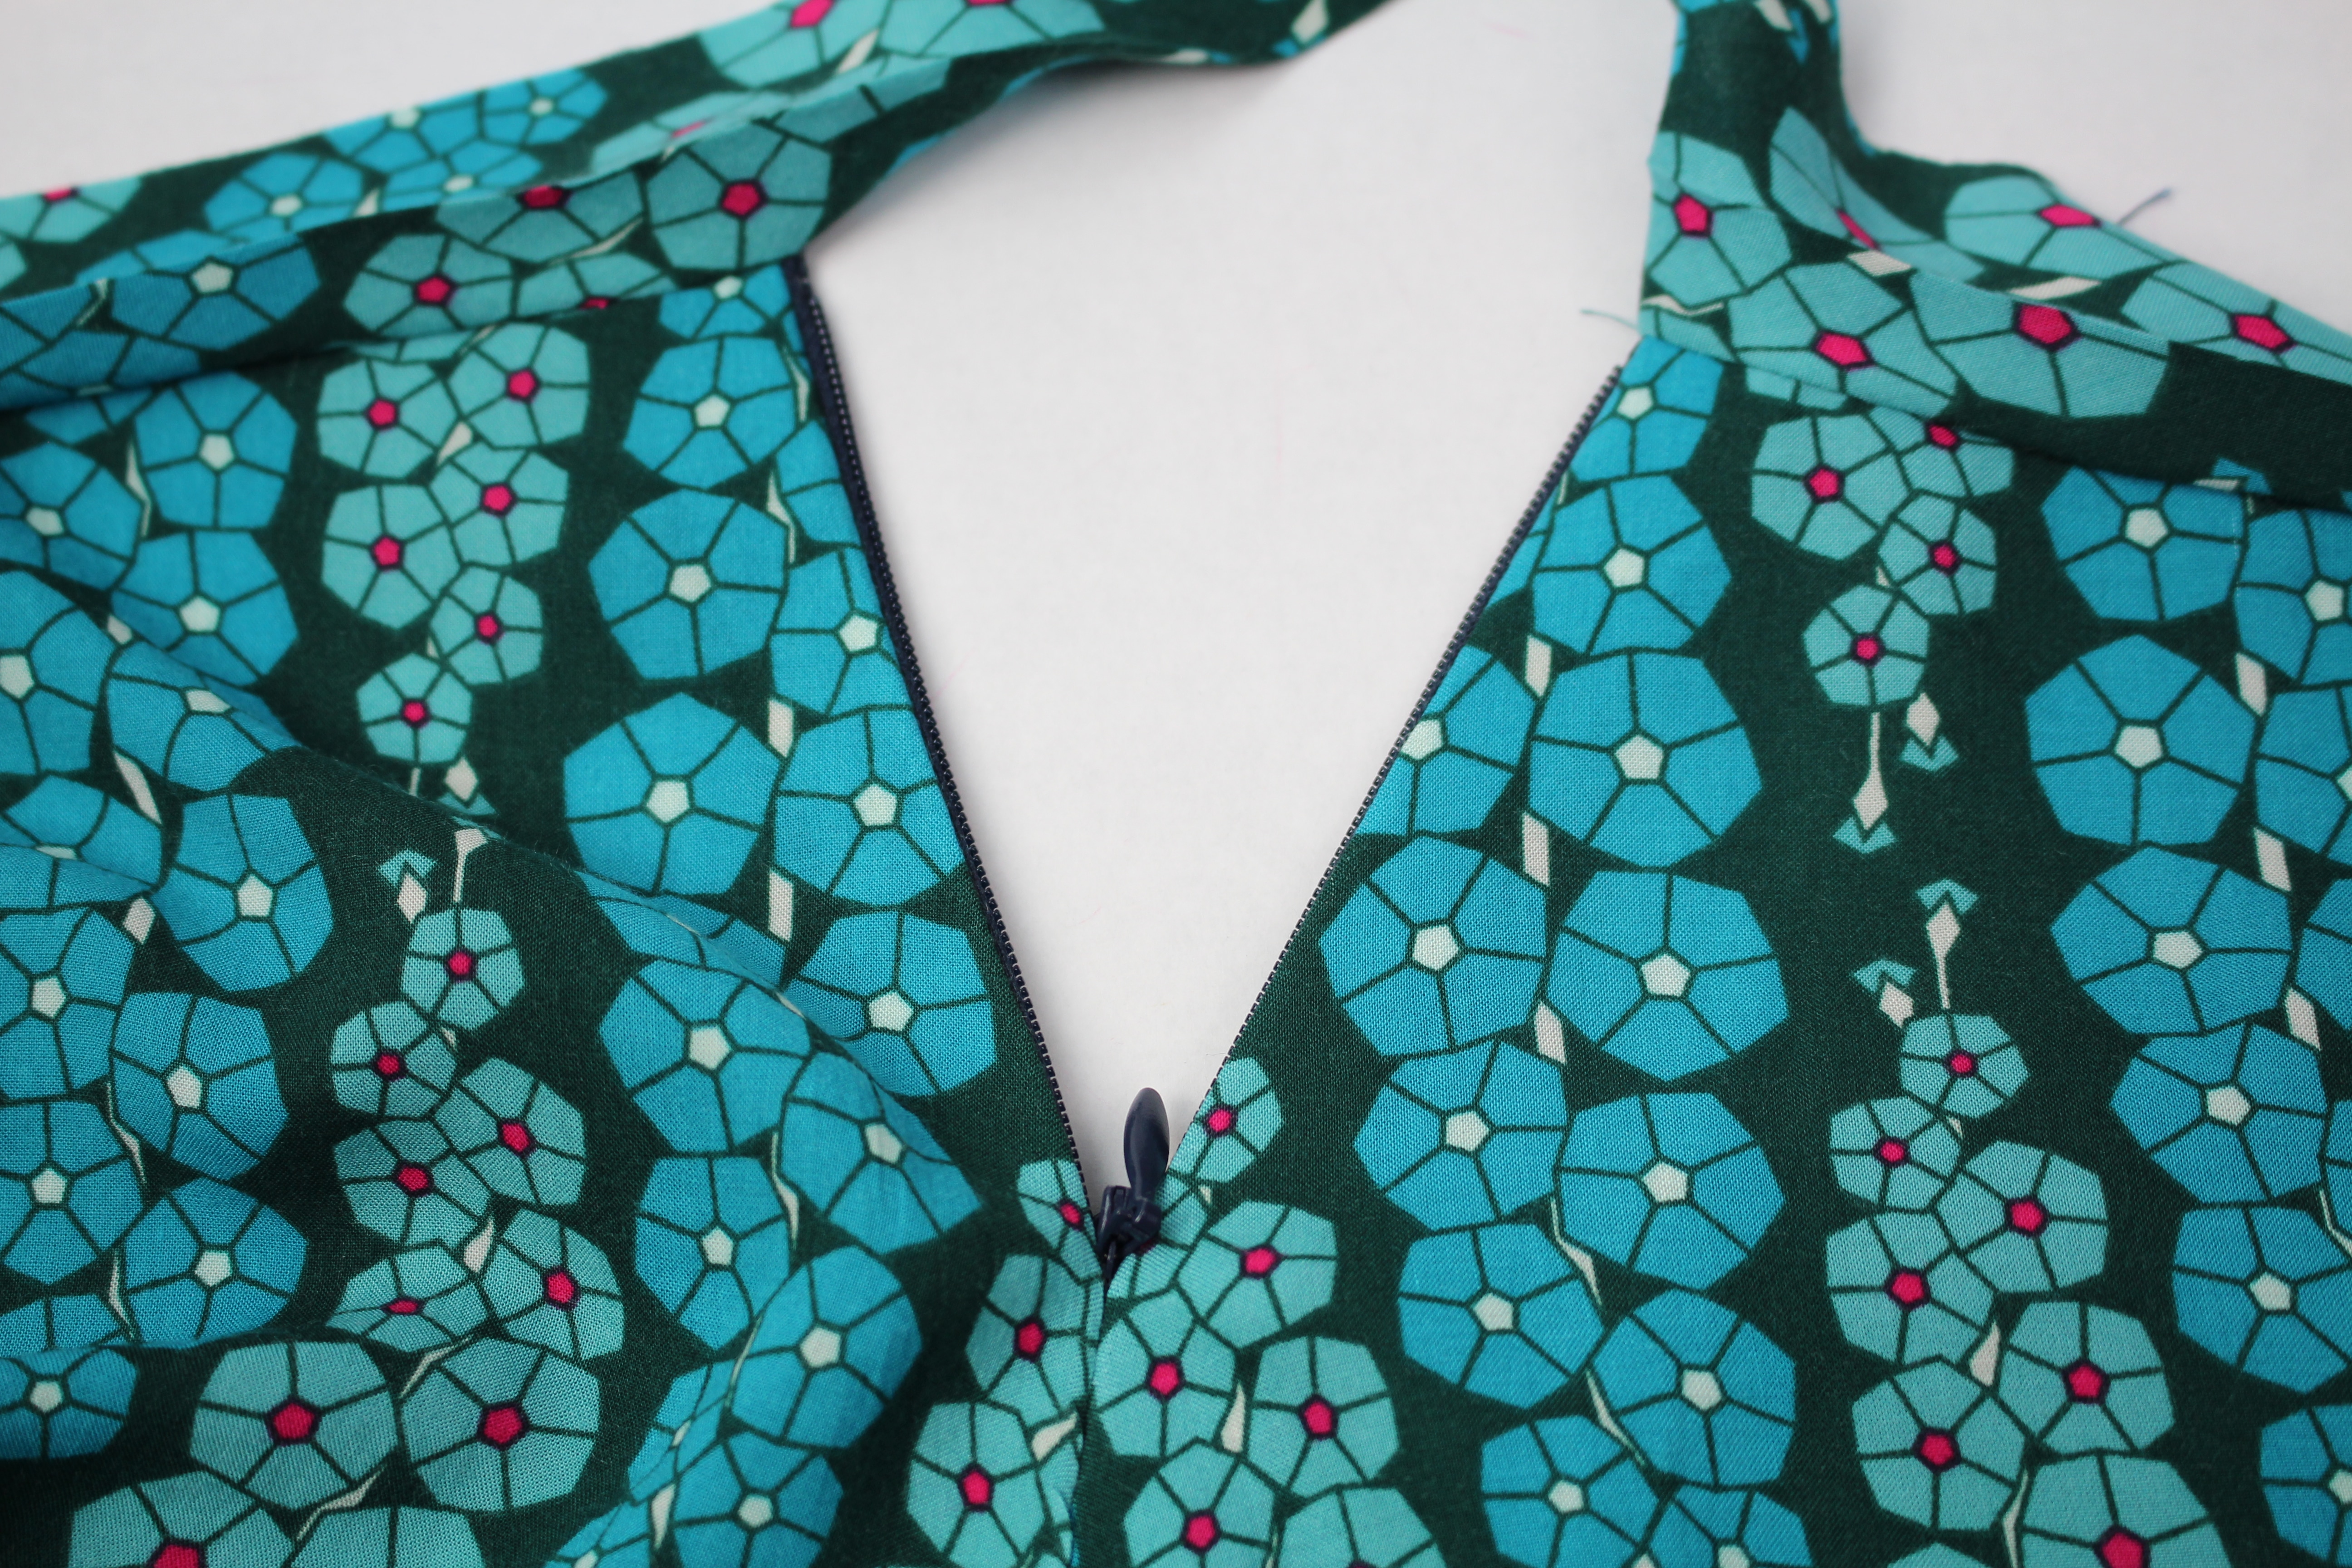
The next step is to sew in the invisible zipper and sew the side seams.

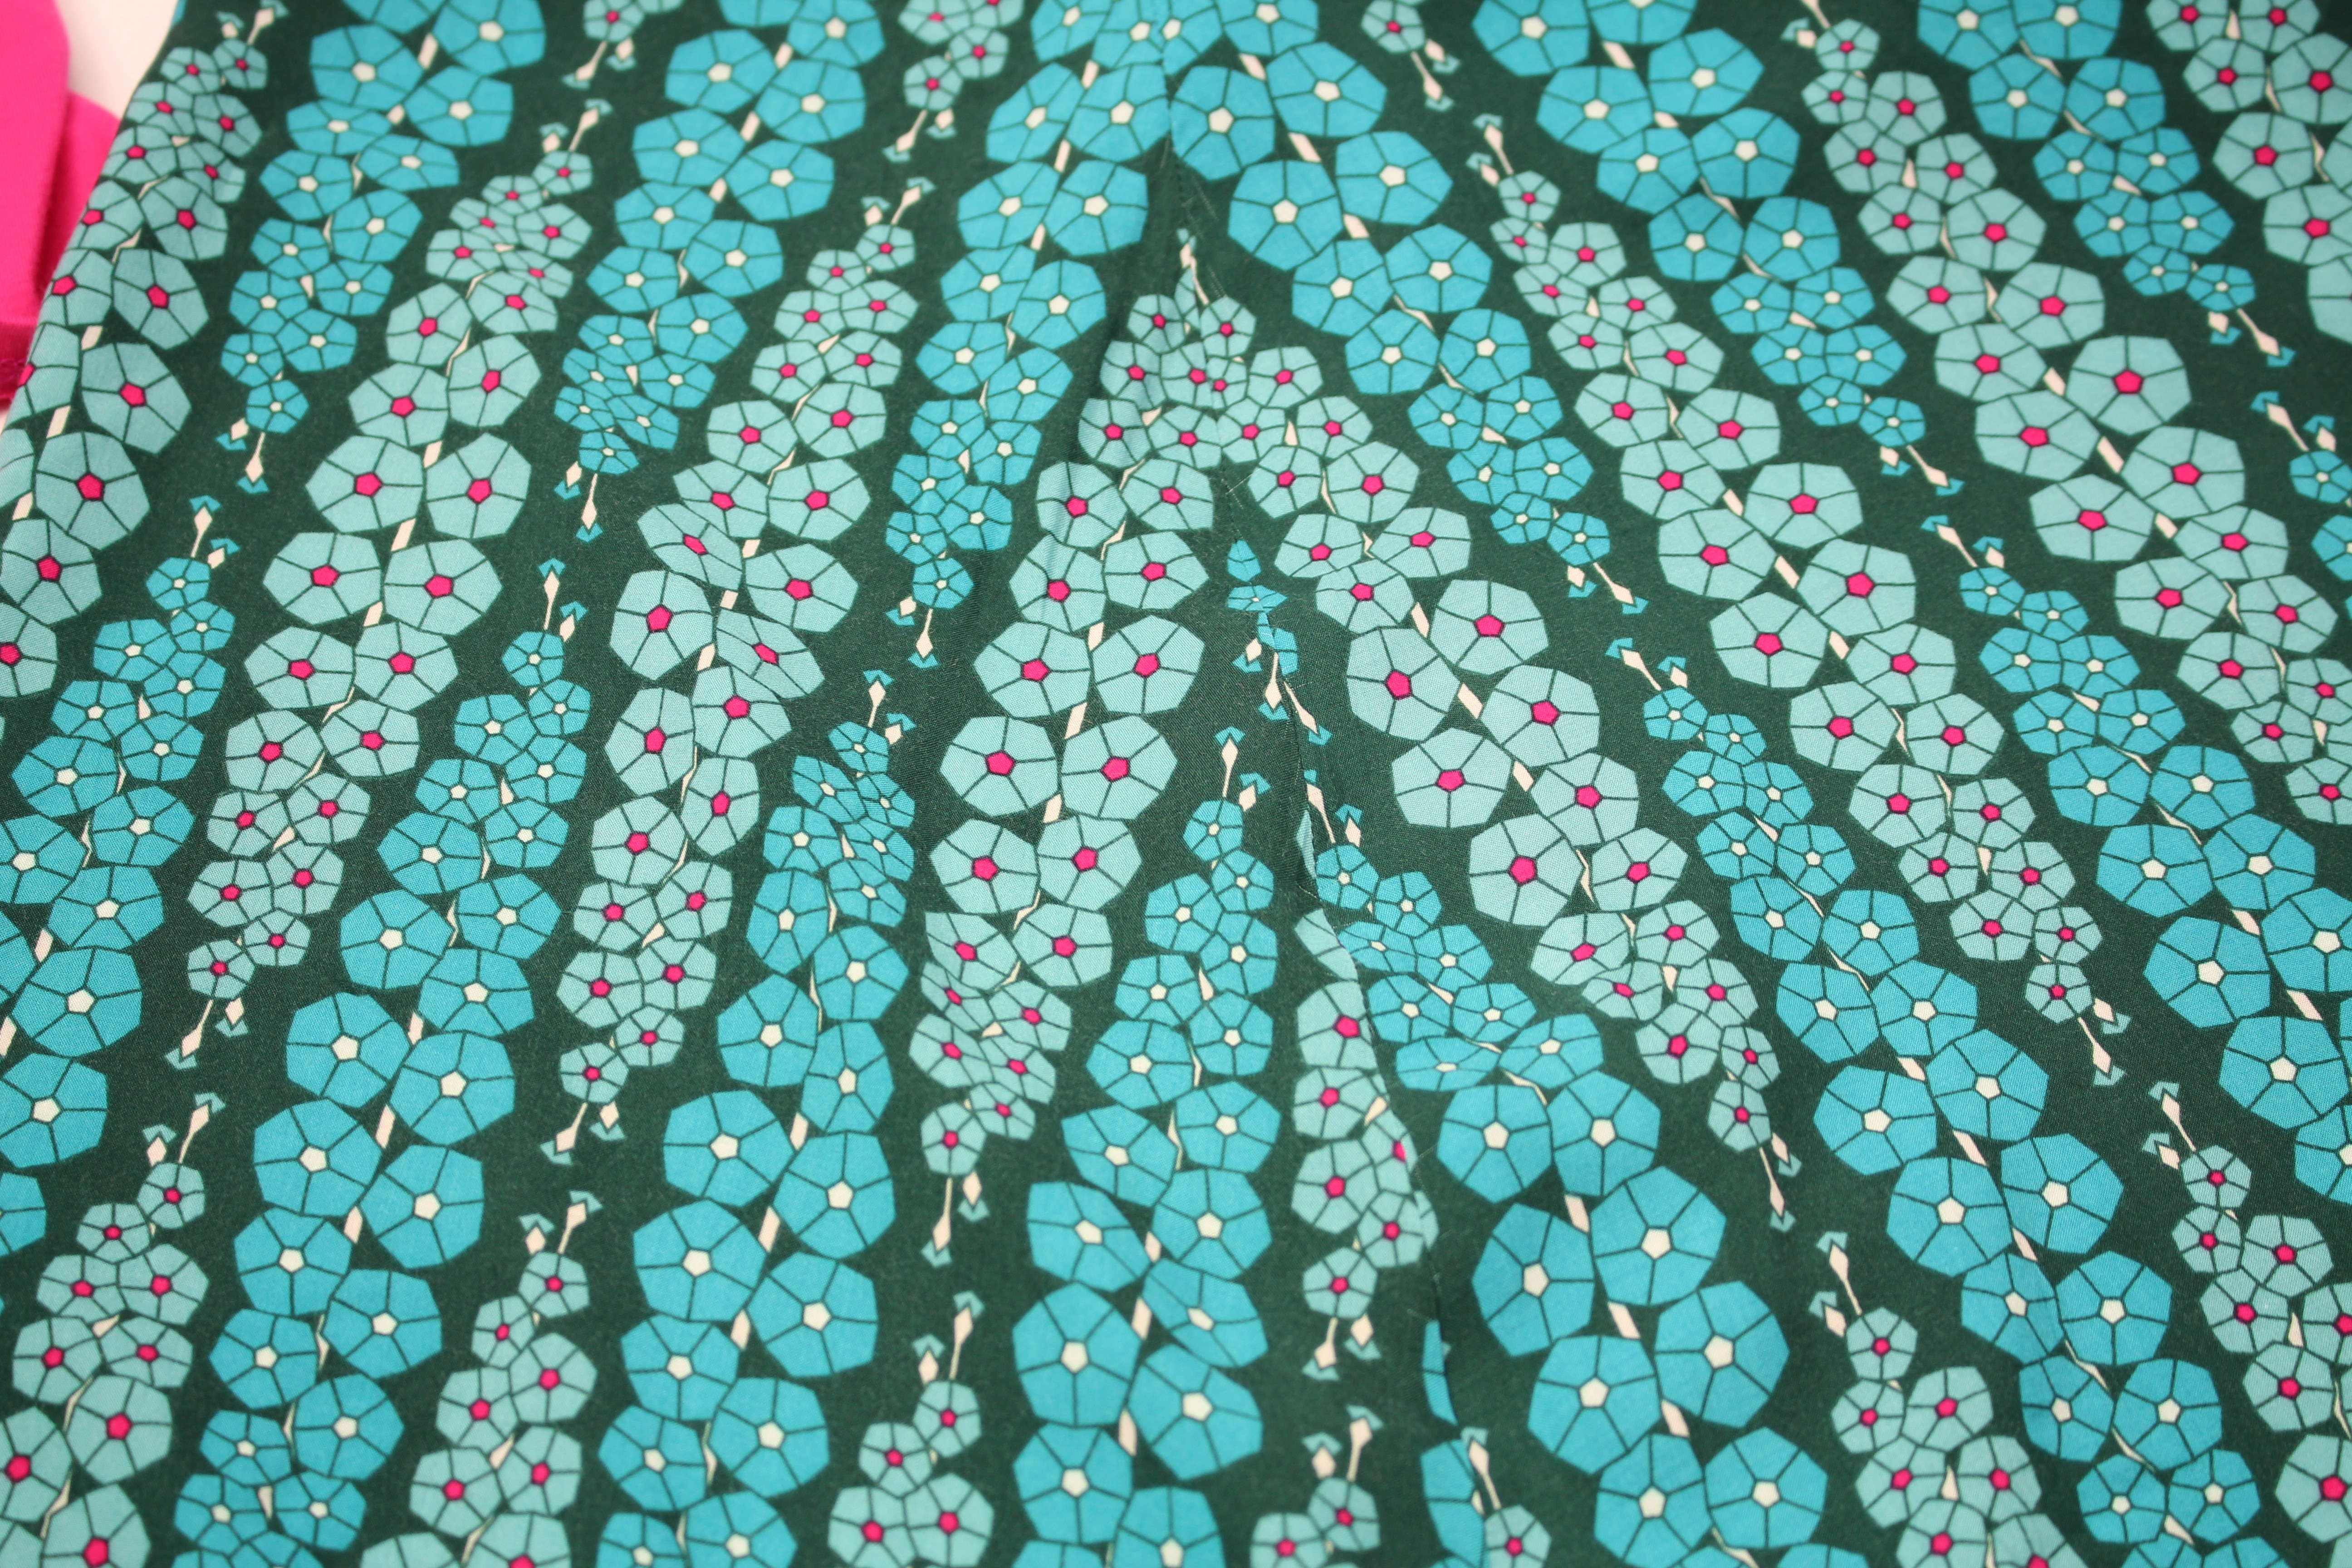
Check the pattern lining up on the side seam.  It looks pretty good here 🙂

The next step is to attach the waistband …

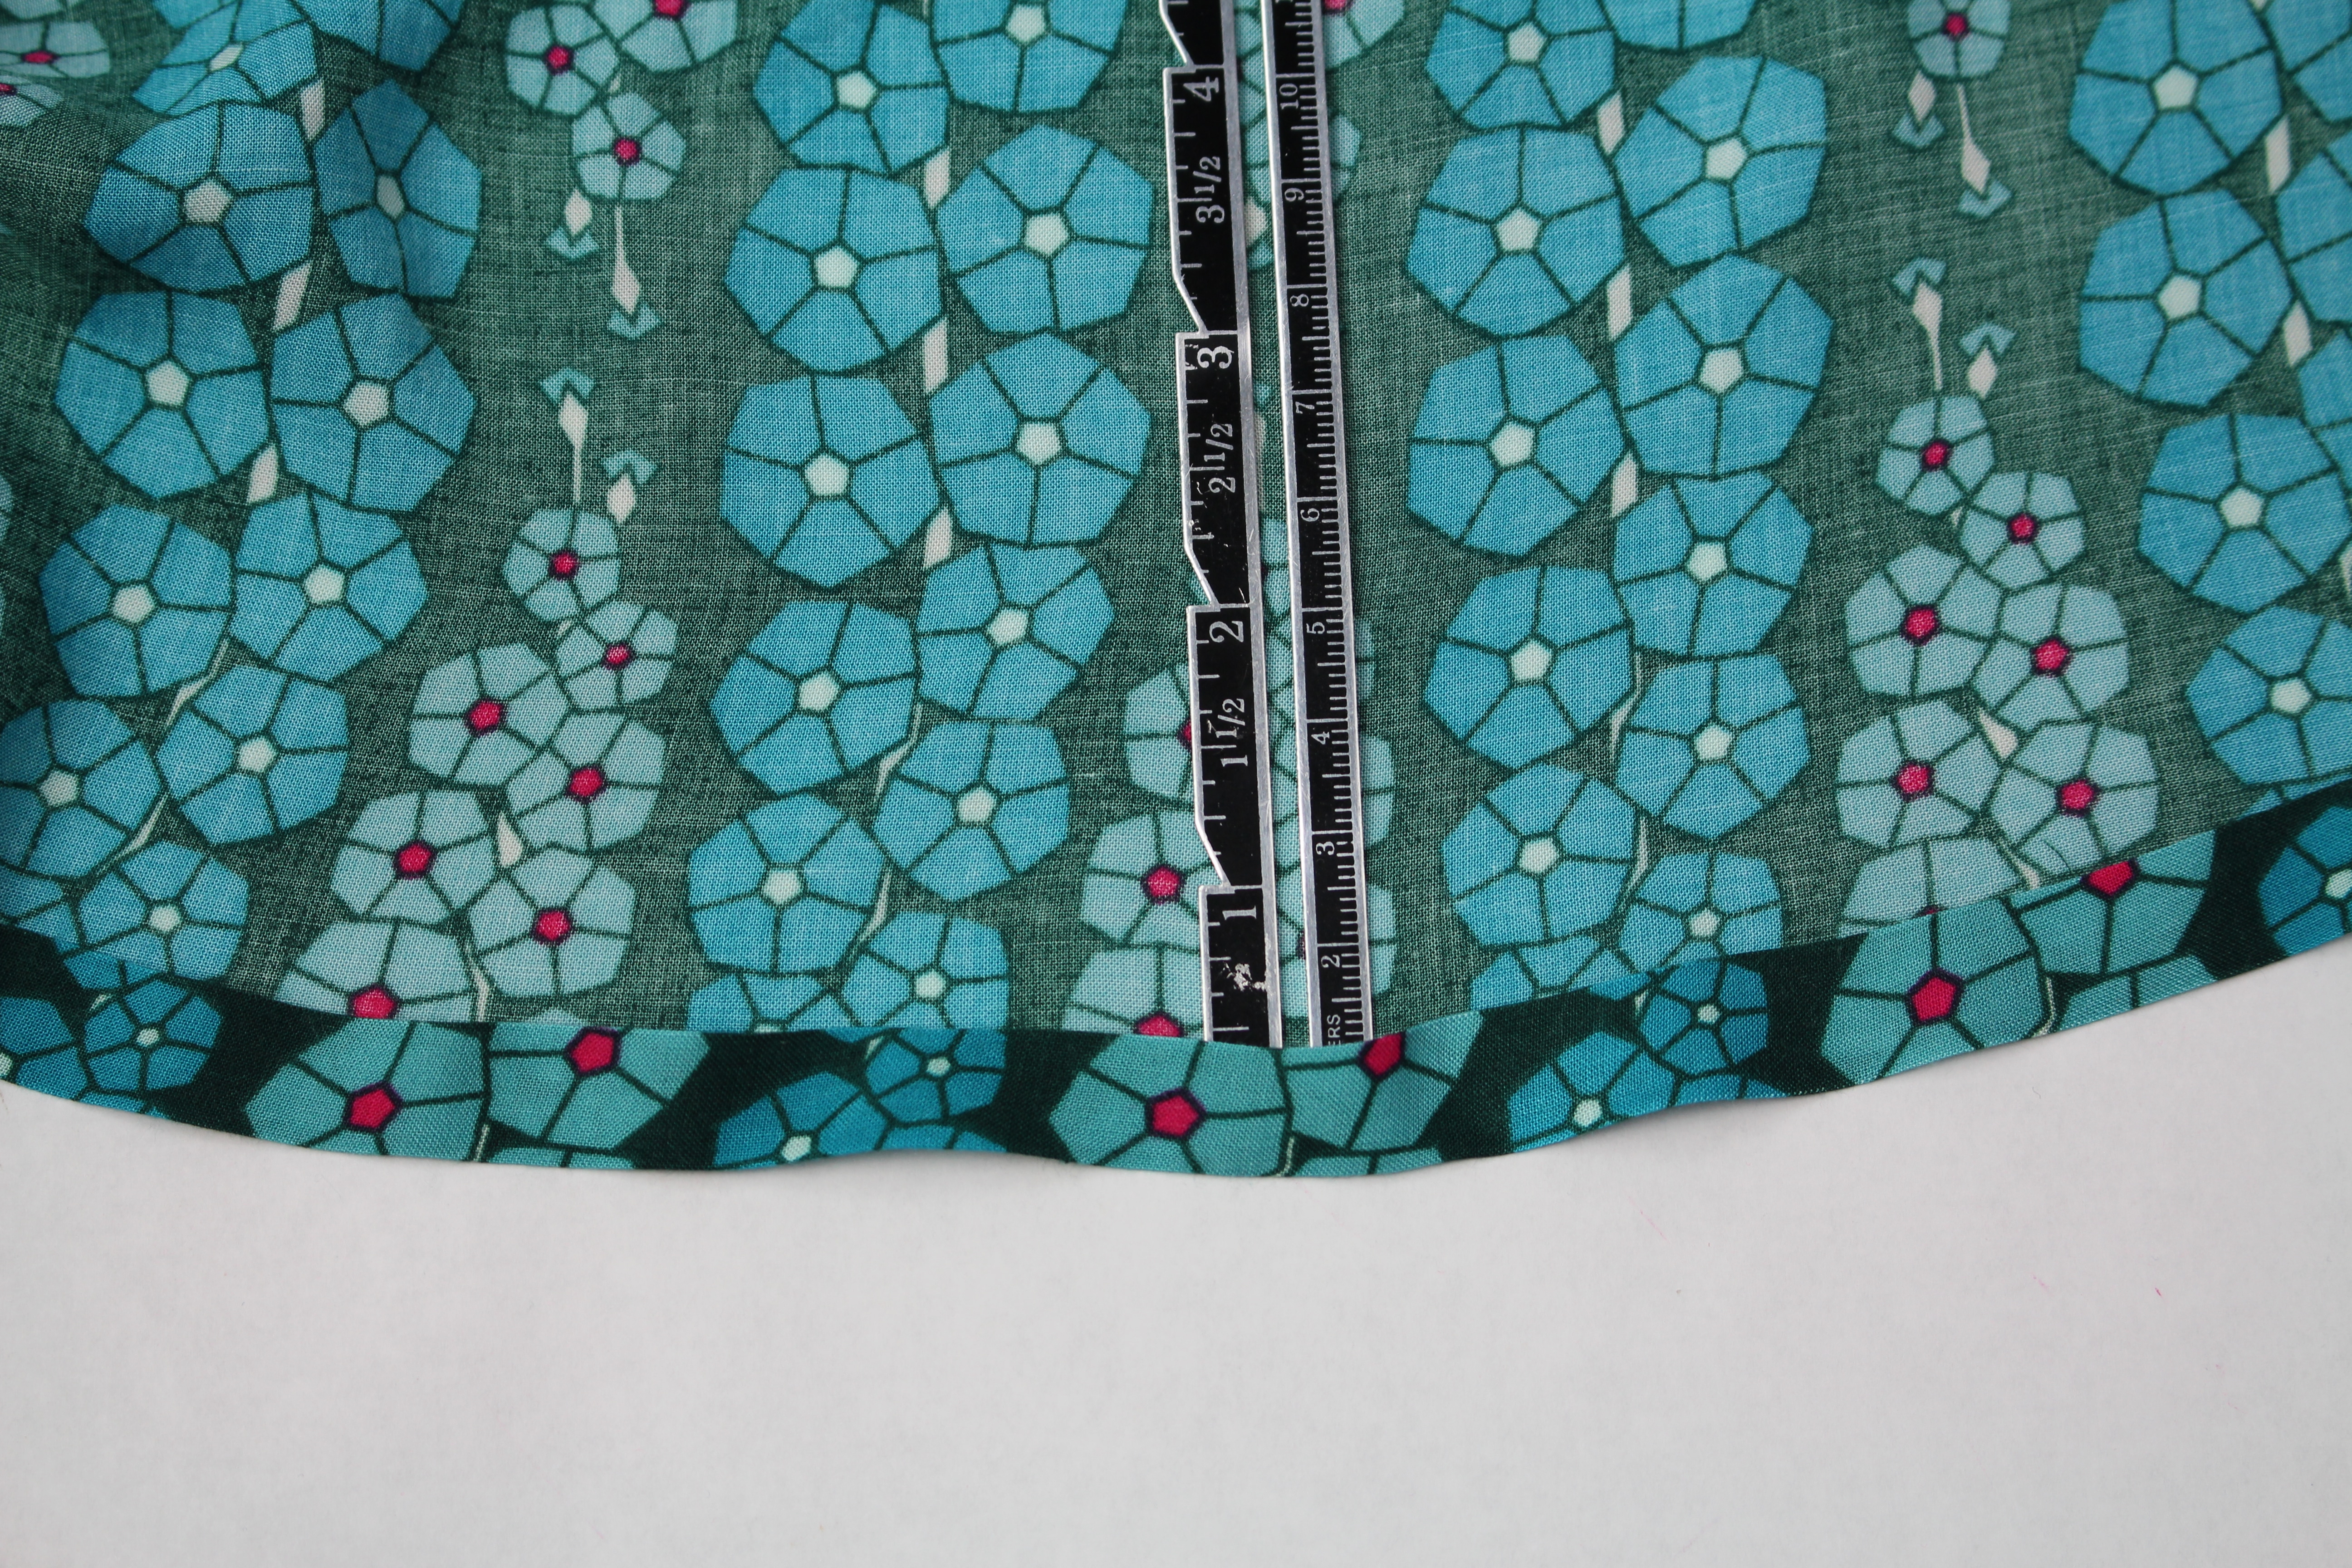
And lastly, the hem.  Turn the bottom of the skirt up 1/2″ toward the wrong side of the fabric and press.  Use a tailor’s clapper for a crisp crease.  Turn the hem up another 1/2″ and press. Topstitch the folded hem in place.

Here are a couple of YouTube videos showing how to sew the skirt if you want to follow along:

Here is a list of all the talented bloggers sharing in Mathew’s big fabric launch for Art Gallery Fabrics. And be sure to visit Mathew’s Mister Domestic Instagram for weekly fabric giveaways!

MISTER DOMESTIC’S LOVED TO PIECES BLOG PARTY

I will talk about the cotton shirts on Episode 88 of my facebook live show Behind the Scenes Wednesday, July 18th at 11:00am , where I will also interview Mathew about his new fabric launch.  Be sure to join us live or on the replay!

Cheers,

TUTORIAL: DIY CUSTOM MONOGRAM EMBROIDERED FABRIC ENVELOPE

TUTORIAL: DIY CUSTOM MONOGRAM EMBROIDERED FABRIC ENVELOPE

Easy Sewing Project for Mother’s Day or Any Special Day ♥

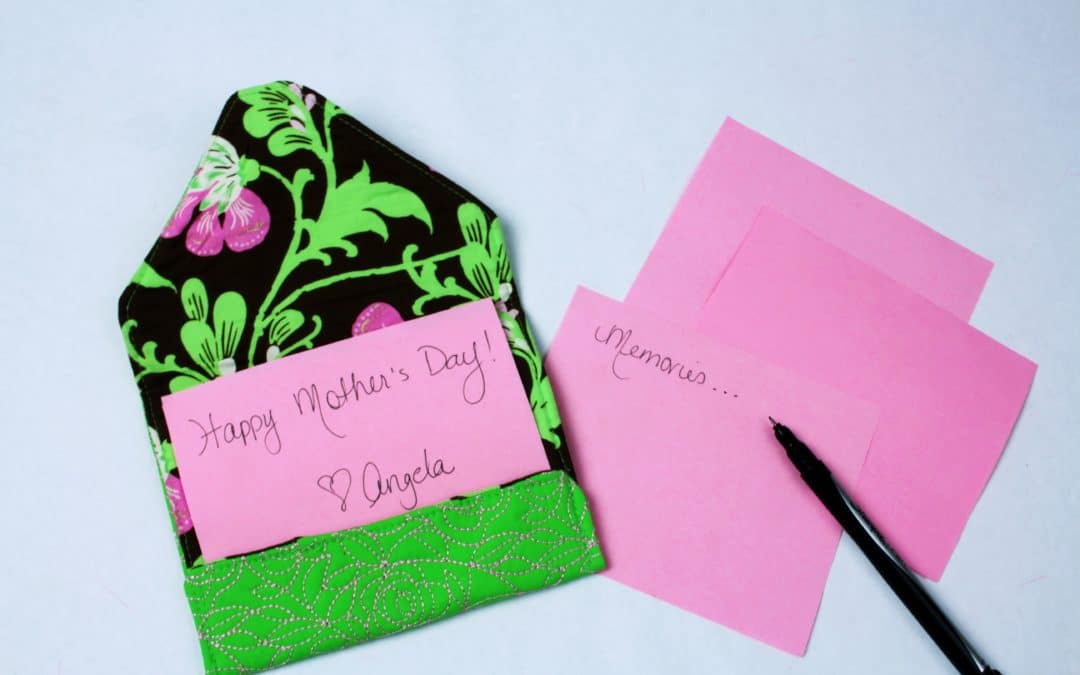
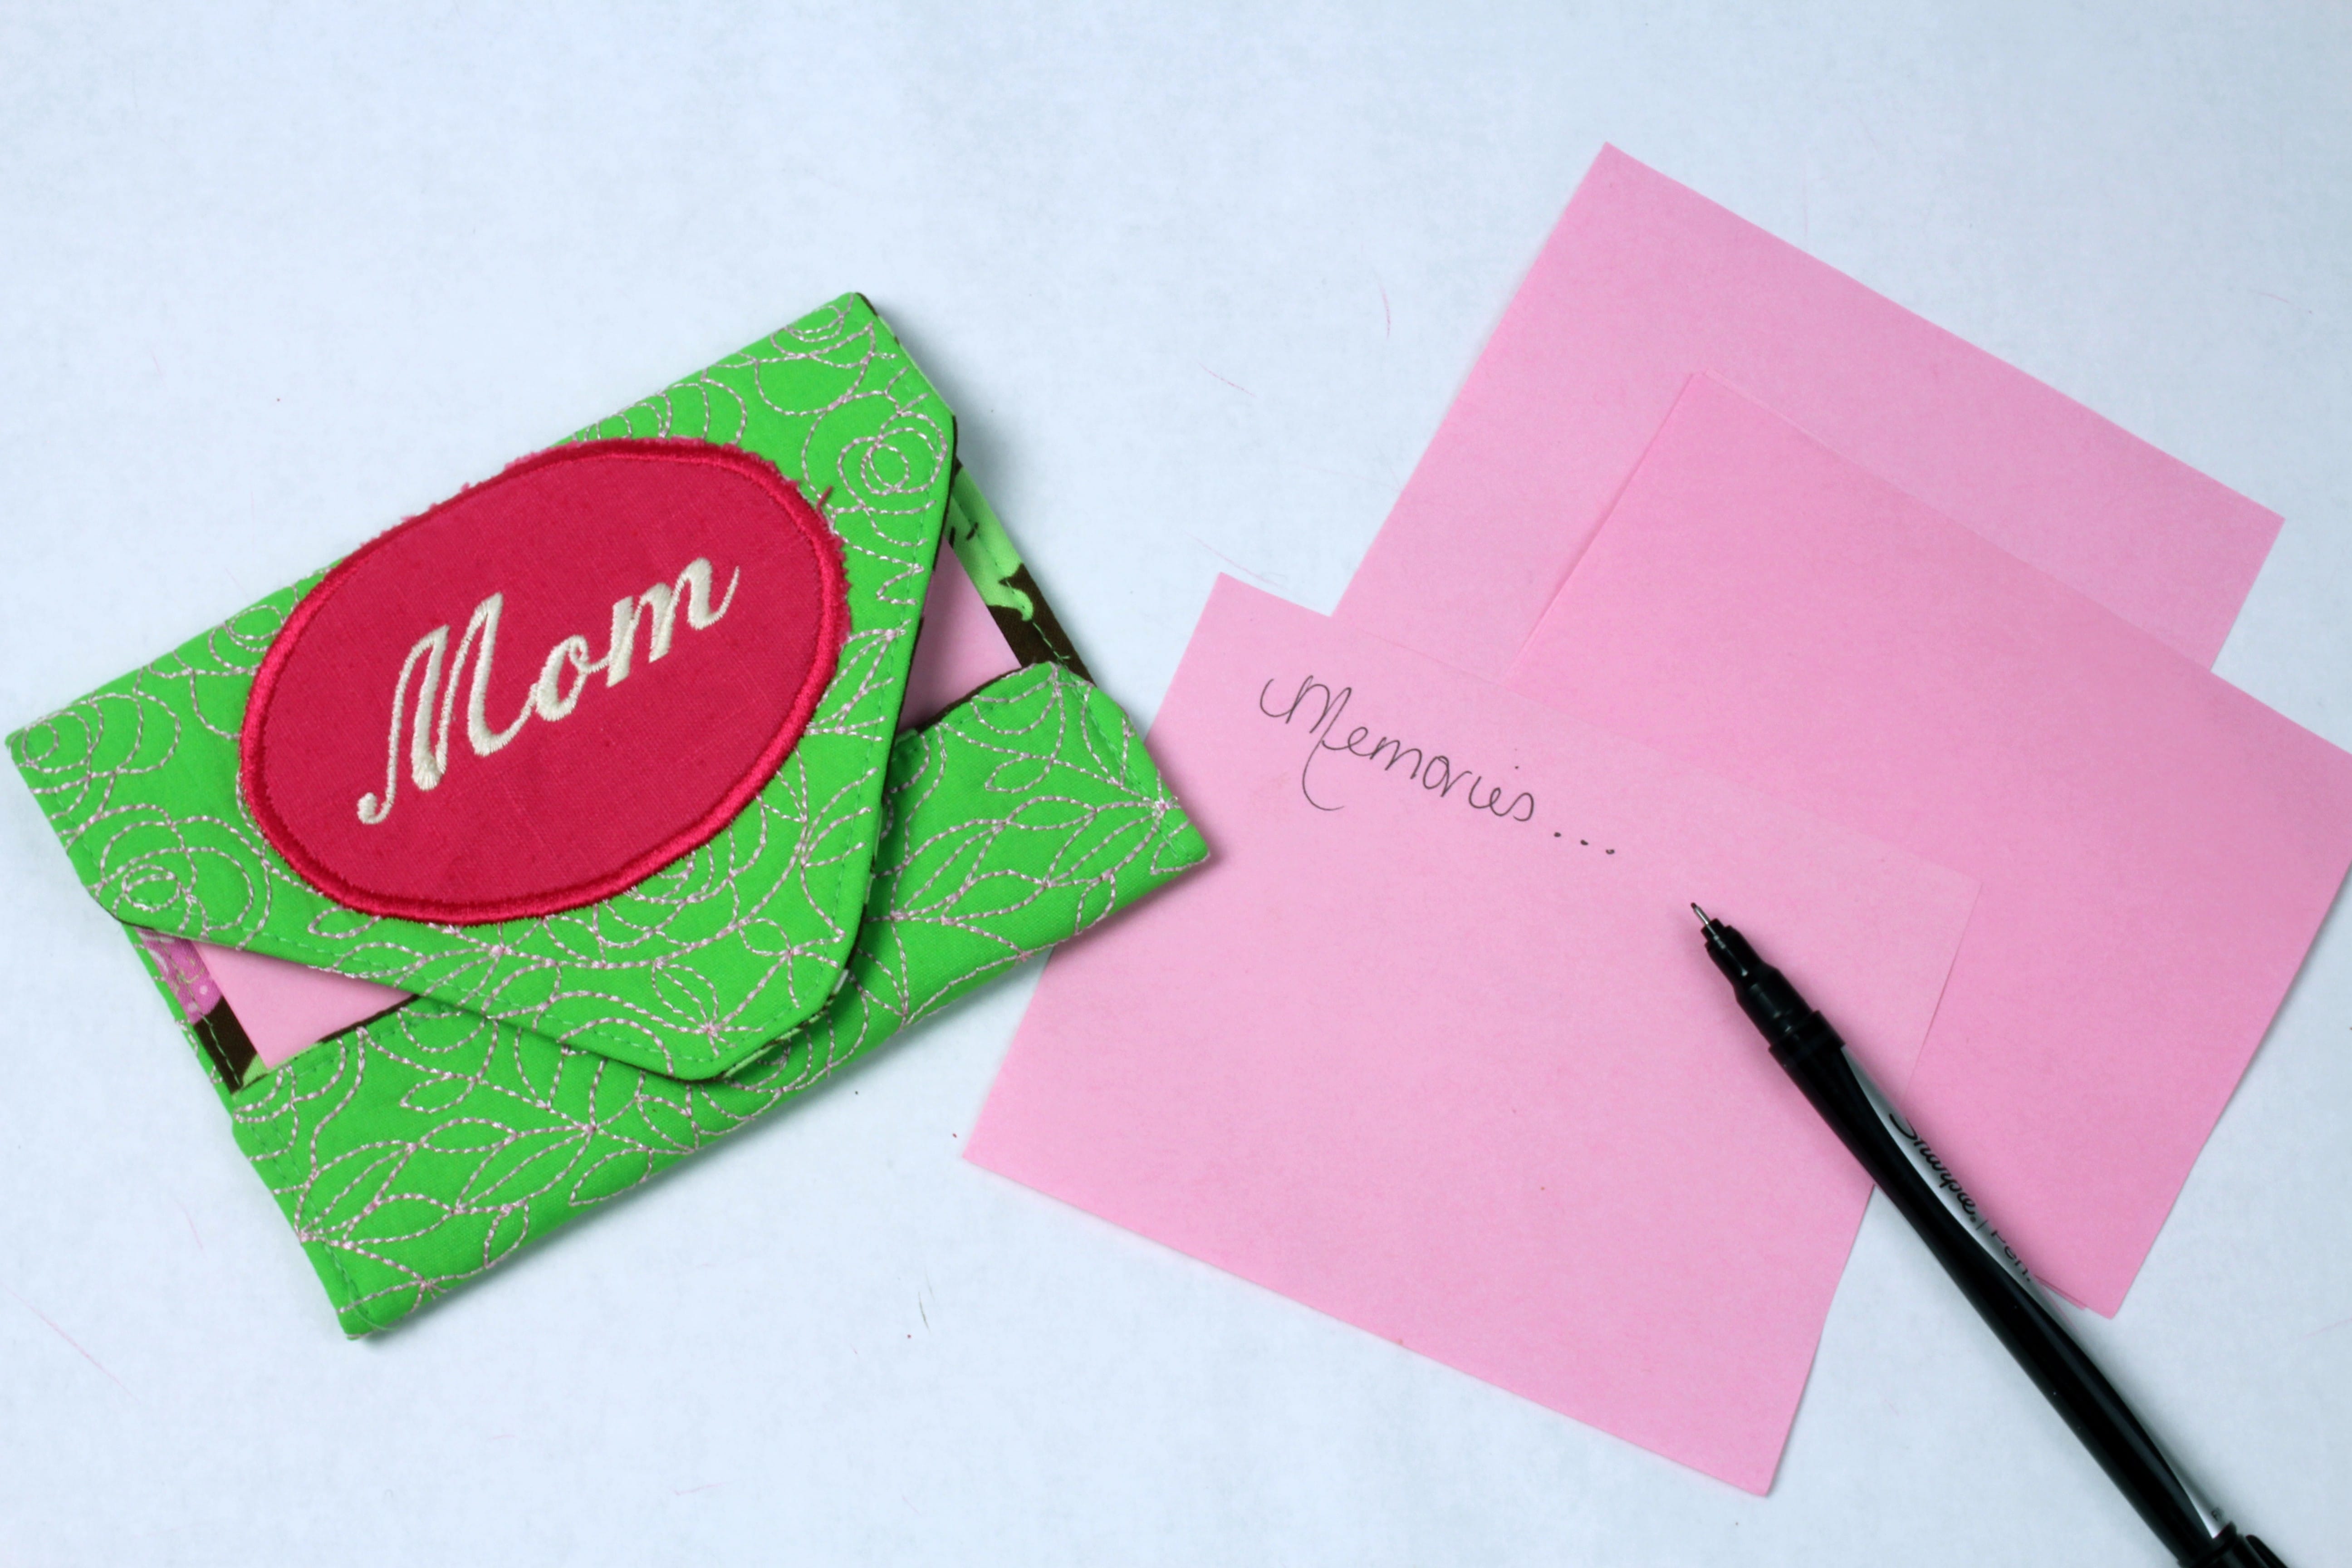
I was recently going through memory boxes and came across letters from a few people so dear to my heart that have since passed away.  This made me think, I hardly write letters anymore!  An email, text, and the occasional phone call – that’s the trend these days.  With Mother’s Day coming up I thought this would be a perfect time to get the pen out.  Even better, embroider a custom envelope Mom can keep the letters in ?

Each year I try to come up with something unique and personal to send my Mom on Mother’s Day.  She love’s handwritten letters, so why not add a custom monogrammed envelope that she can keep the letters or use for something else – maybe to hold makeup or coupons.  Something small she can carry that will remind her how special she is to all of us kids ♥

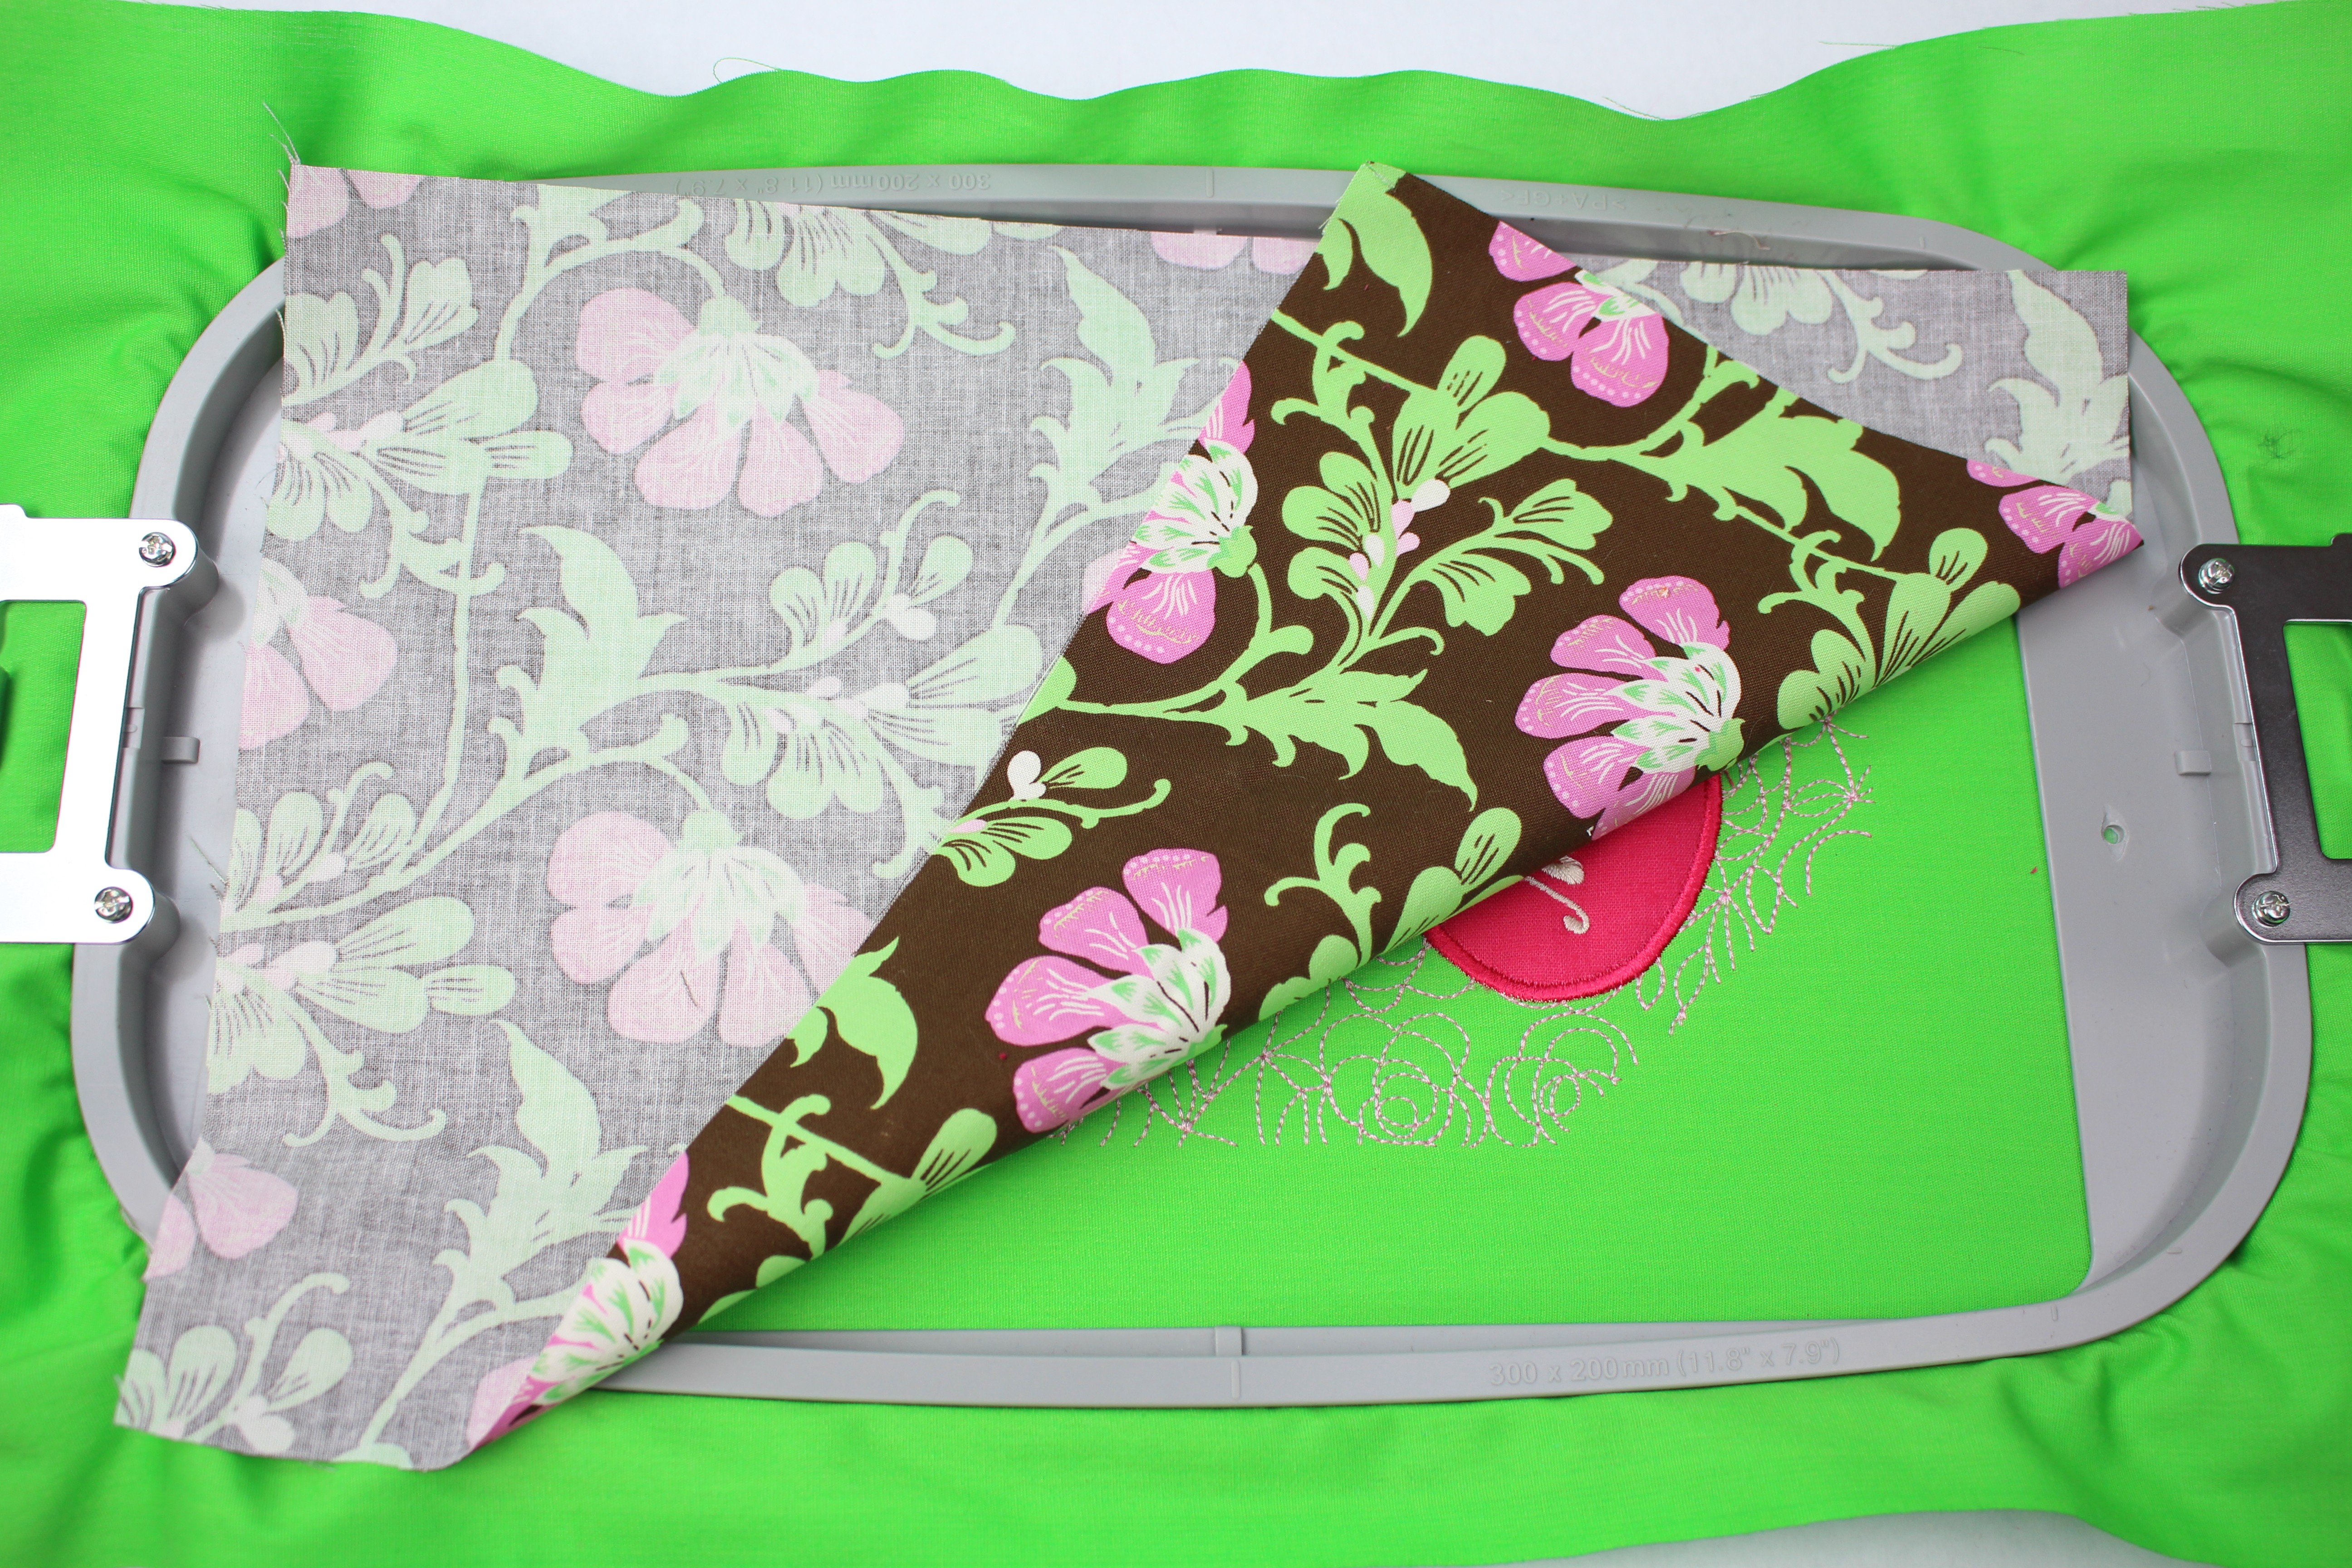
This project is very easy and only takes about 30 minutes (even faster if you are on the Brother 10-needle)

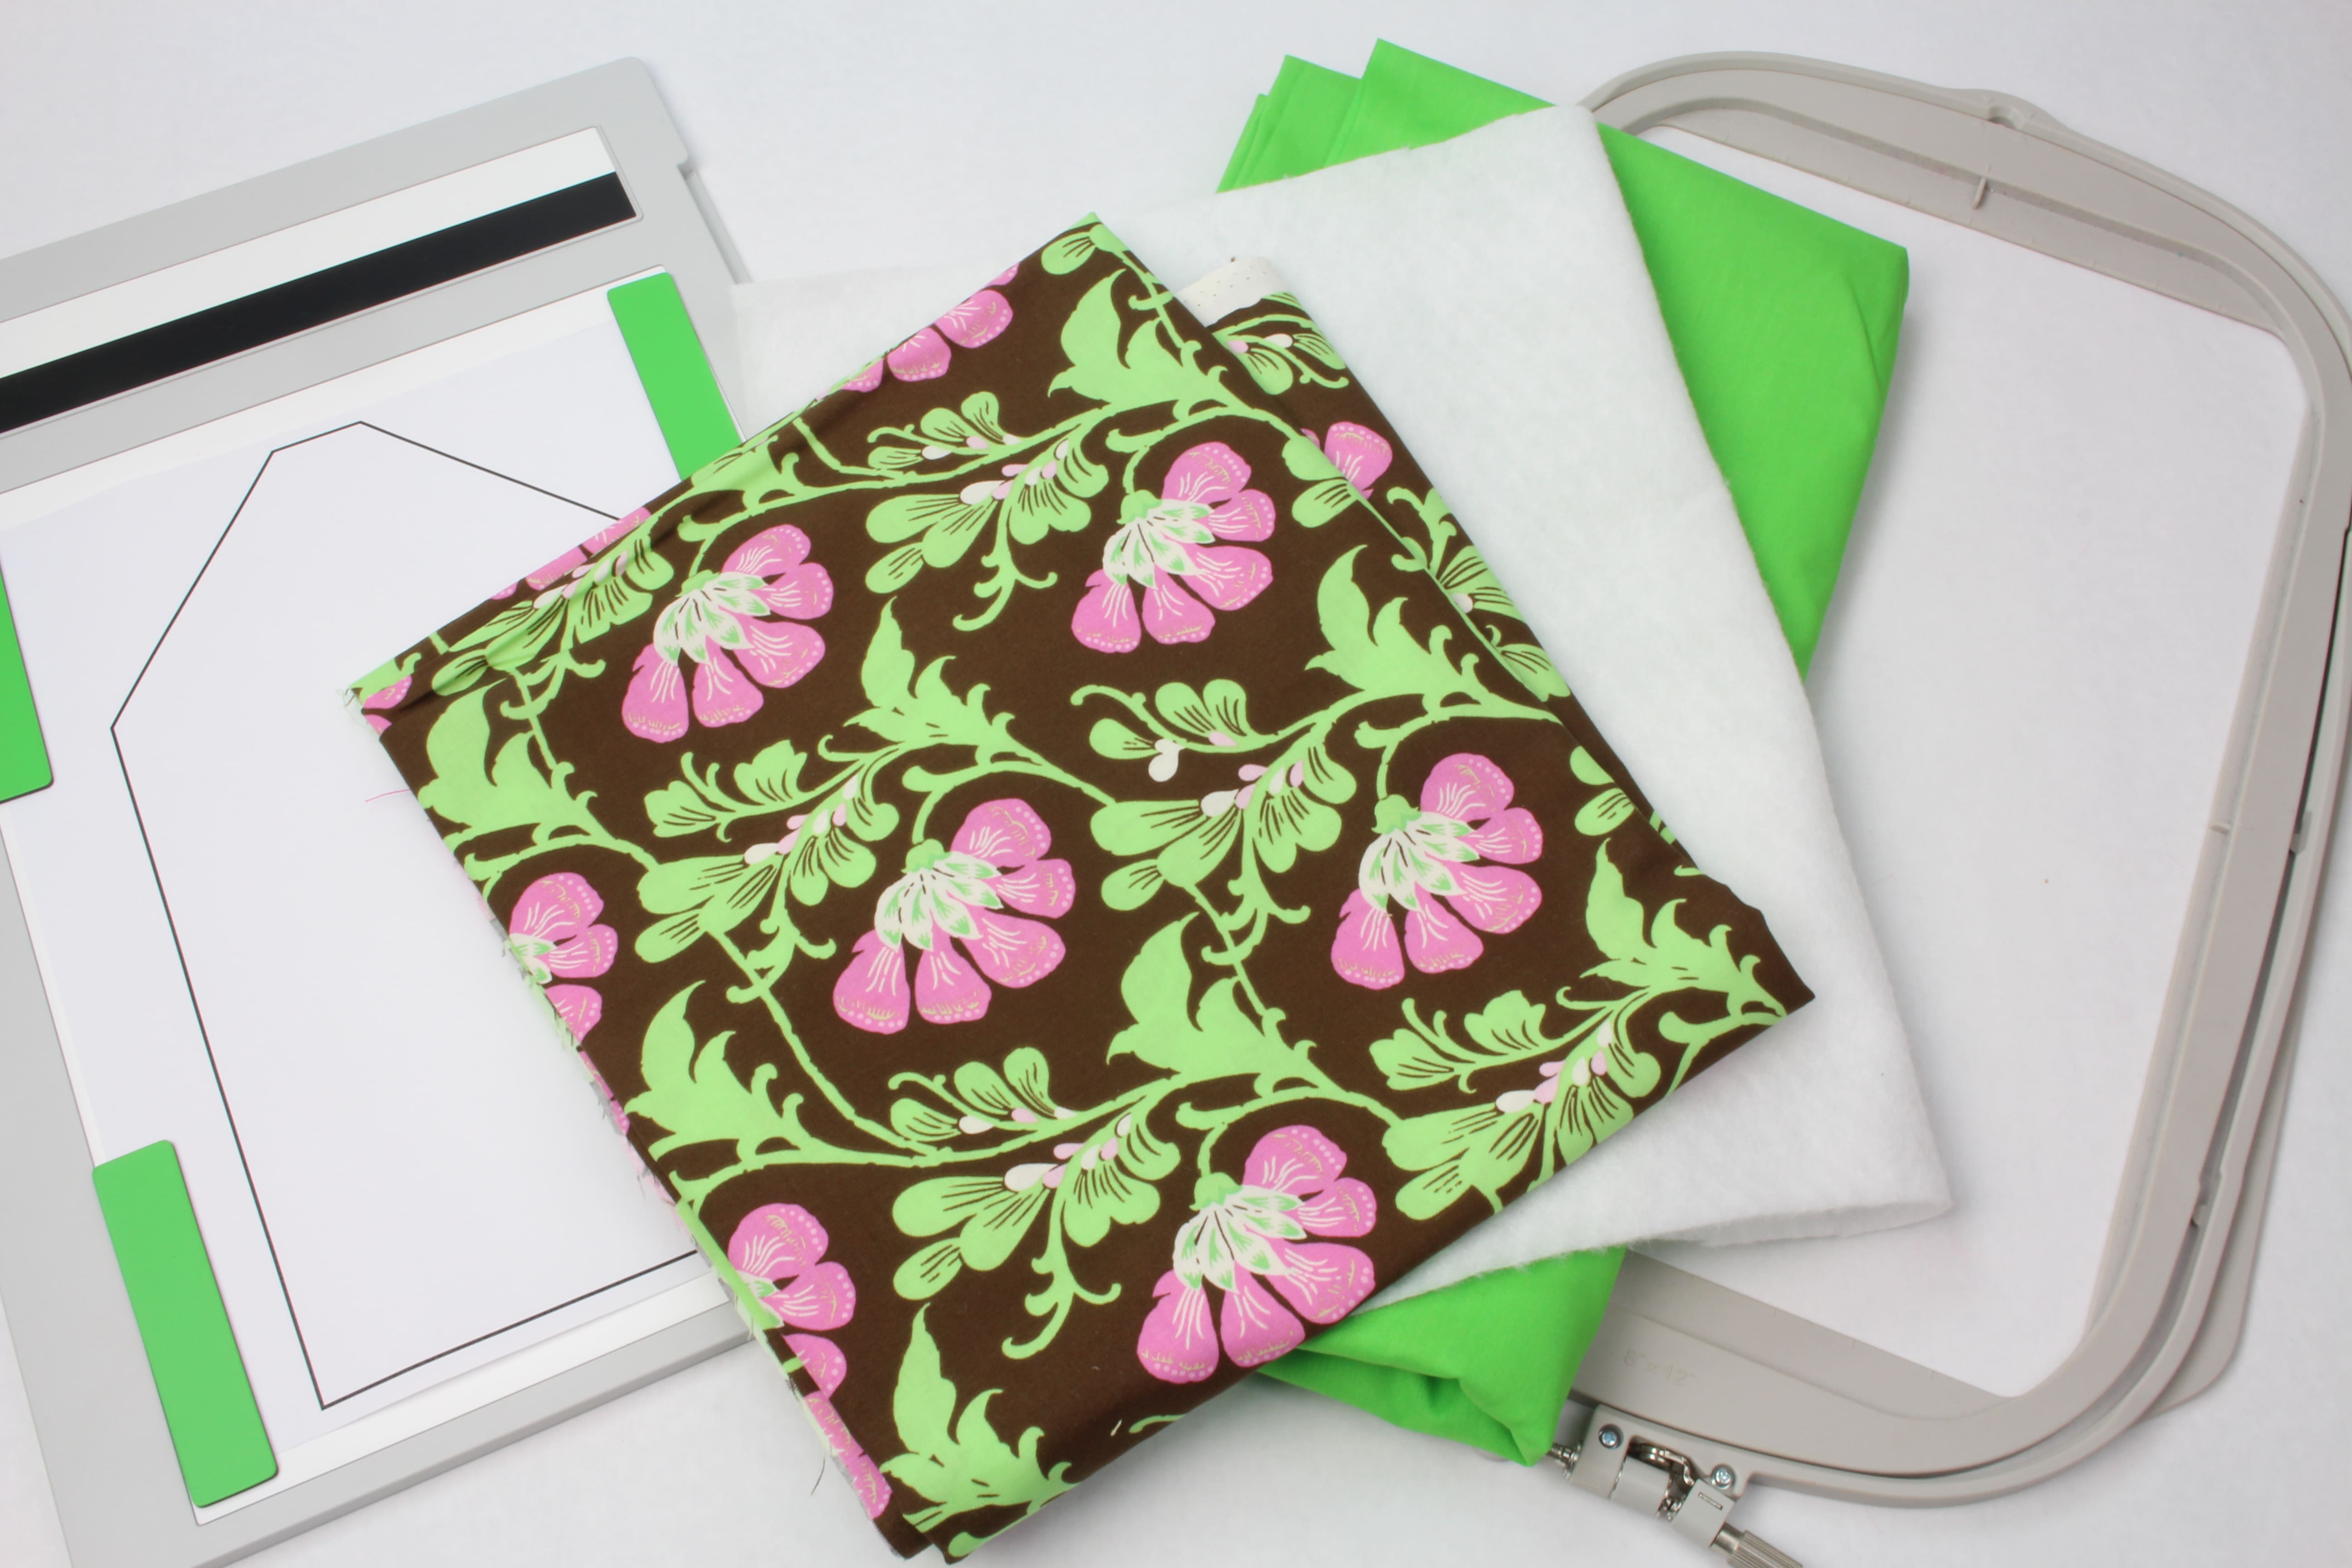
Supplies:

To read the full blog, head over to my post as a Brother Expert Consultant on the Brother Stitching Sewcial. This envelope is a cute idea for any gift, now I just need to add the personal note ♥Let me know what you think and be sure to share photos of your embroidered envelope.  #brothersews #angelawolf

Happy Mother’s Day ♥


<a target="_blank" href="https://shareasale.com/r.cfm?b=1130525&u=1586241&m=29190&urllink=&afftrack="><img src="https://static.shareasale.com/image/29190/320x1002.jpg" border="0" alt="Craftsy Unlimited FREE 7 day trial at Craftsy.com" /></a>

Behind the scenes Houston quilt festival

Behind the scenes Houston quilt festival

TIPS ON HOW TO SEW FAUX LEATHER!

  Leather is a major trend this season and continues on into the spring, yes leather for spring and summer!  Here are a few tips to get you started: TIP 1. FABRIC Check the fabric for flaws, especially in faux leather you might find...

DIY Project: How to Sew Fleece Texting Gloves

This is a fun and easy sewing project; sewing fleece texting gloves.  You know I can't resist coming up with a few fun gifts items to sew. How about a pair of texting gloves! I don't know about you, but I really get annoyed when I have to take off my gloves in order...

Fringe Skirt Sewalong Part 3: Fabric Cutting & Layout

Laying Out the Pattern & Fabric We are onto step 3 of the Fringe Skirt Sewalong!  Laying out the pattern and cutting the fabric.  This step is one of the most important steps, because if the fabric is cut off-grain or the fringe cut with the wrong weave the skirt...
Embroidery 102 Embroider Small Letters Recipe Project Virtual Class

Embroidery 102 How to Embroider Small Letters with Angela Wolf and Cindy Hogan Learn how to embroider small letters on a thin kitchen towel and fine cotton or linen - perfect for napkins!   Learn the best stabilizers, thread, and hooping techniques.  Cindy's digitized...

Pin It on Pinterest