Episode 137: My Design Center Embroidery Stabilizer Wraps
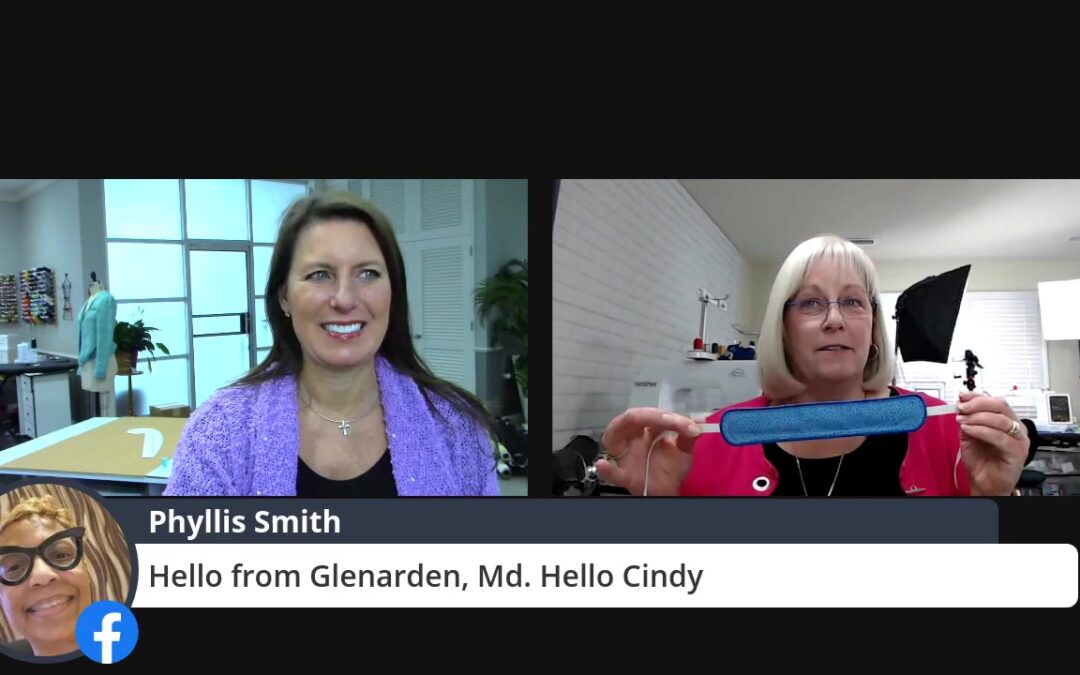
Episode 137: At Your Side Virtually! Embroidery Stabilizer Wraps
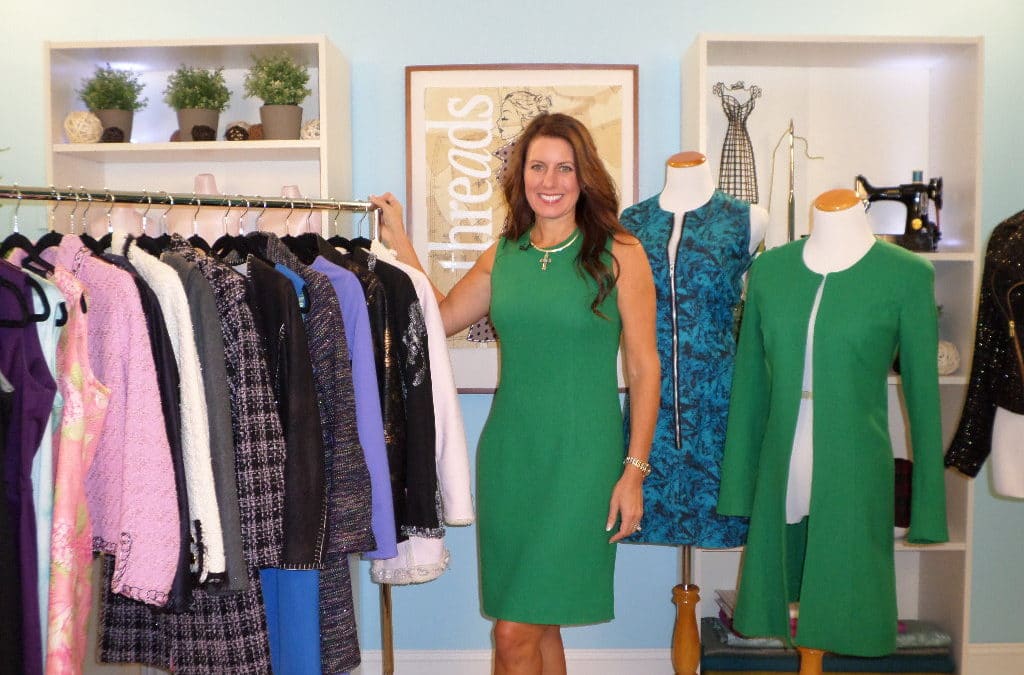
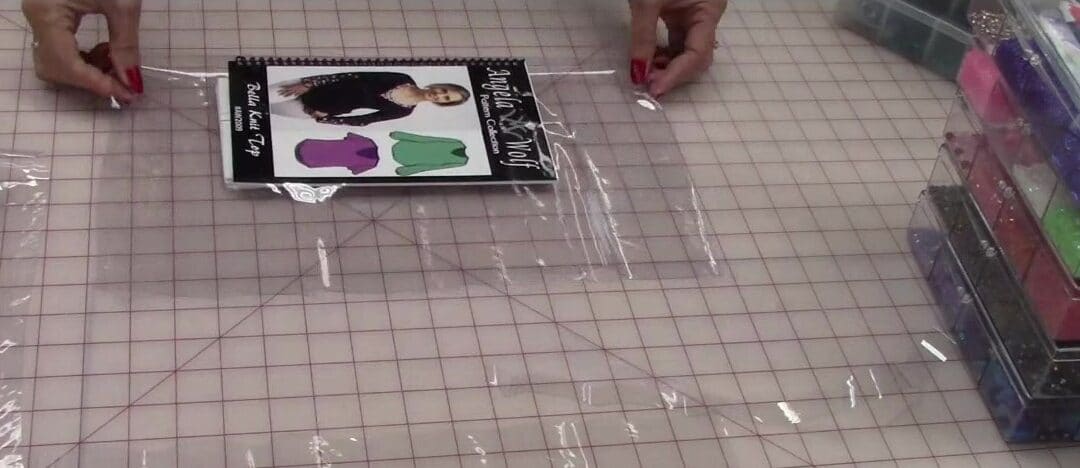
In this live Facebook and YouTube episode, join Angela Wolf and Cindy Hogan with a tutorial using My Design Center creating embroidery stabilizer wraps.
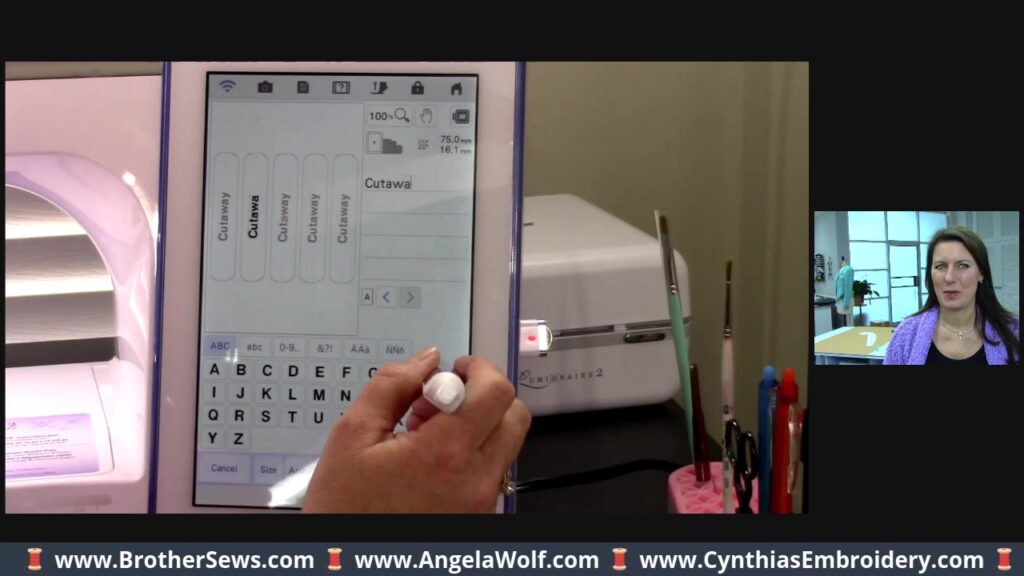
Download Cindy’s wrap design here.
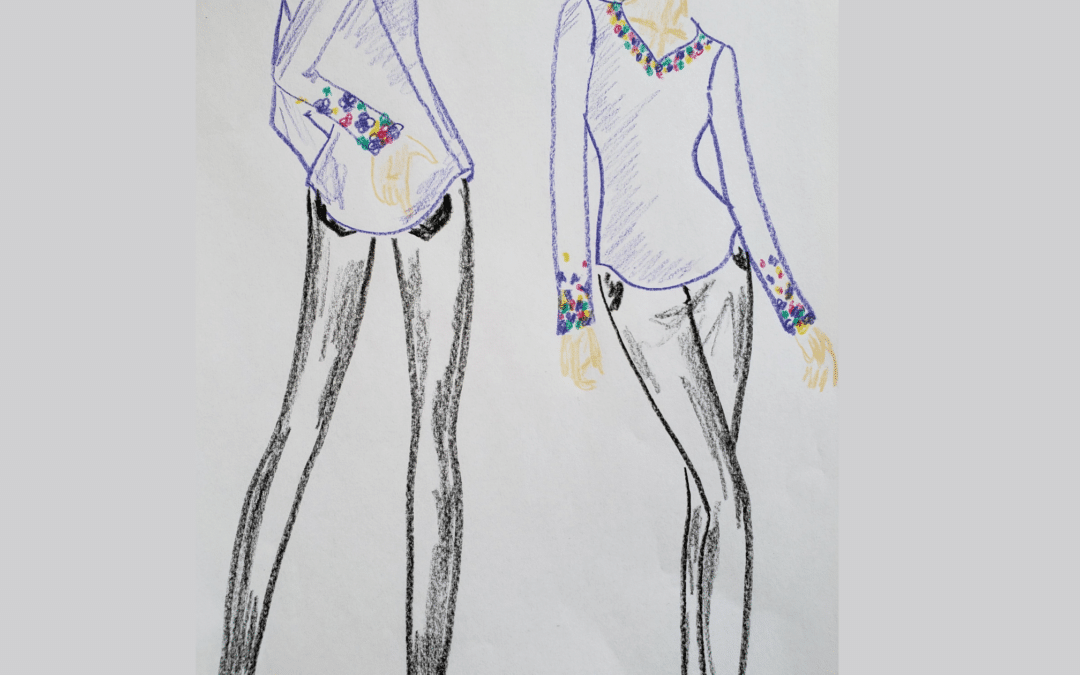
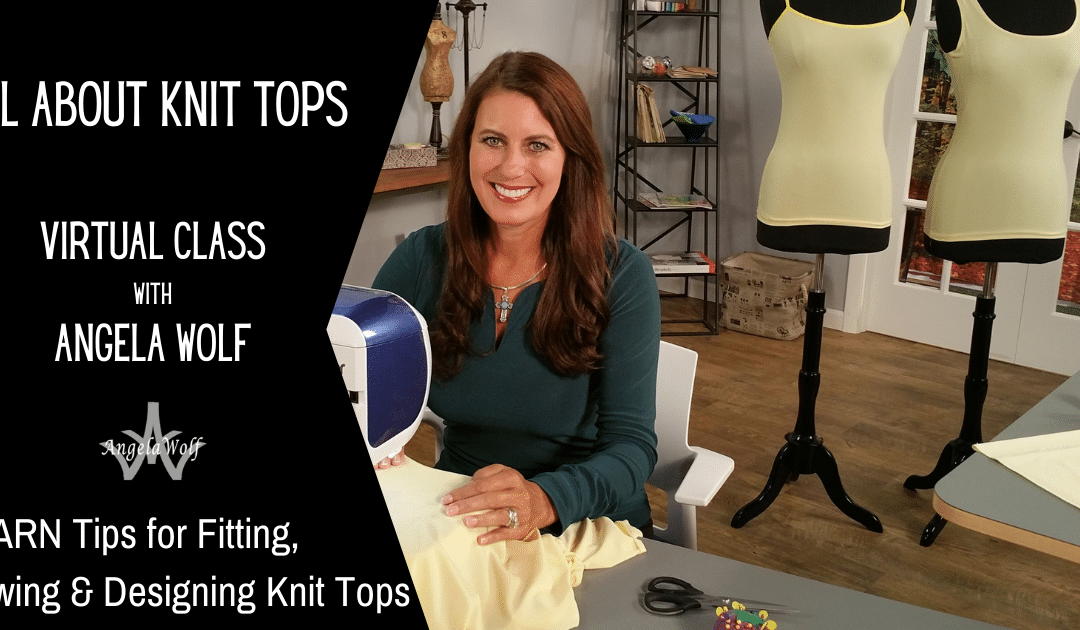
I just love the color coded look of these too! You can watch the replay here on Facebook or below I posted the YouTube version. I also included the video tutorial how to make the sweater I am wearing.
Leave me a comment below on how do you store your embroidery stabilizer?
Cheers,


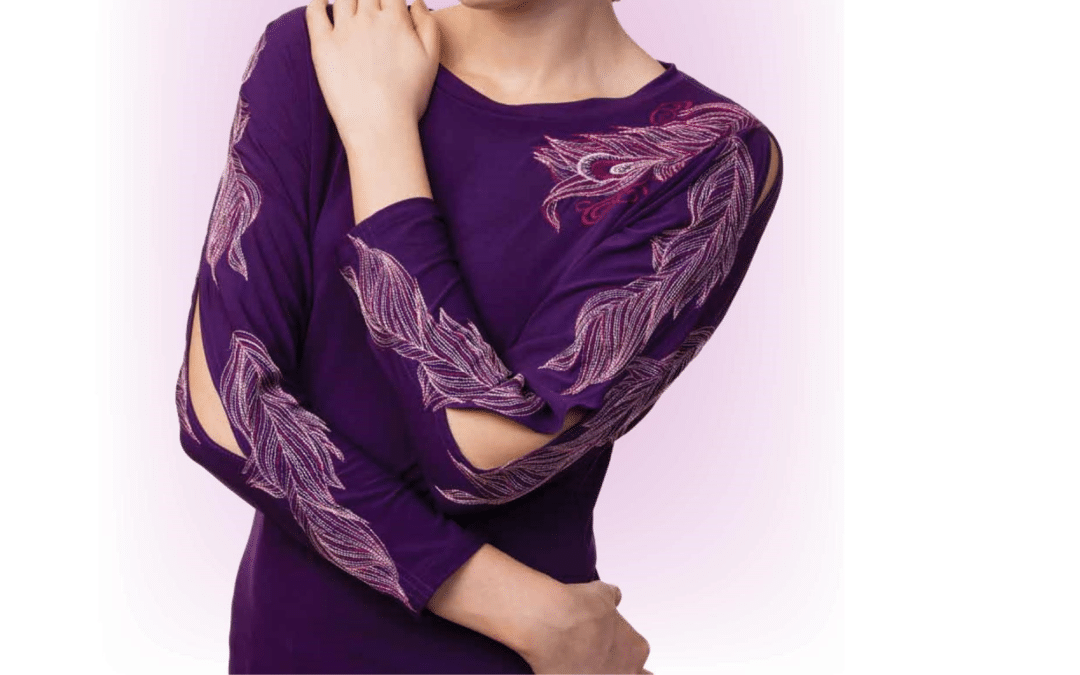
Knit Fabric with at least 3% lycra / spandex such as rayon knit, ITY knit, jersey knit,

Softloc Wooly Poly has a light stretch and super soft thread and ideal to use in the serger and coverstitch loopers.

Tailor’s Clapper for pressing up the hem allowances.


")


")