No Results Found
The page you requested could not be found. Try refining your search, or use the navigation above to locate the post.

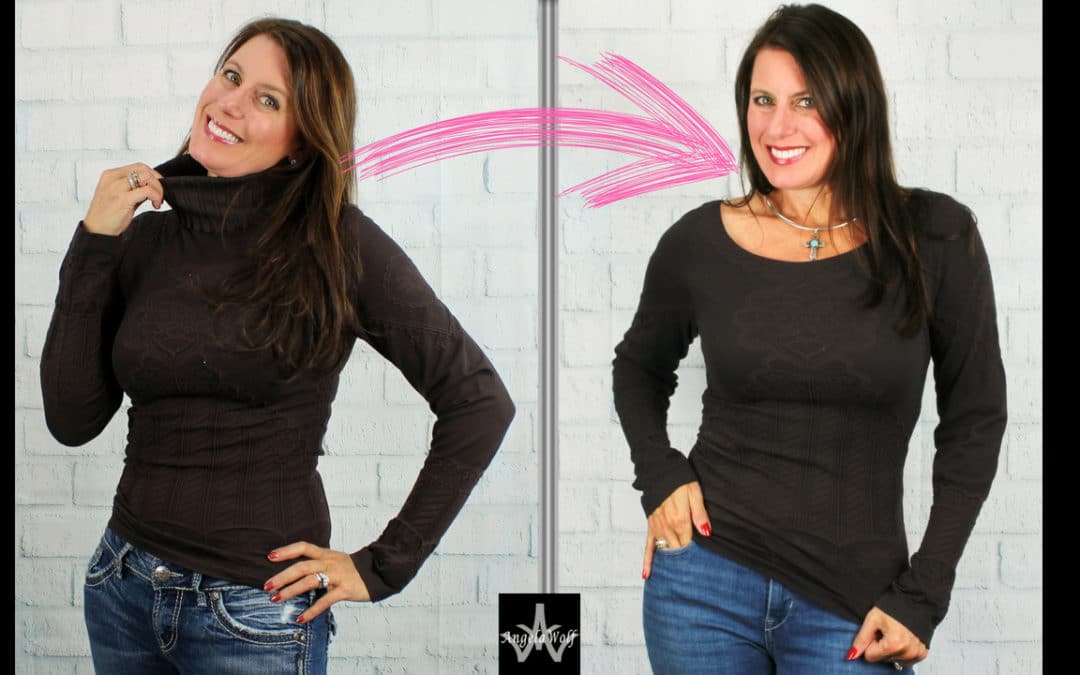

Here is another recycle project for the turtlenecks in our closet and its easy – perfect for beginners! For this sewing tutorial I am using a turtleneck that has a design, but any tank top will work. Click below for the video tutorial and here is a quick recap.
SUPPLIES:
Start by marking the new boat neckline on the turtleneck. I am using a dress form and following the design on the turtleneck. Another option is to measure from the center front and back neck down to the top of the newly desired neckline.
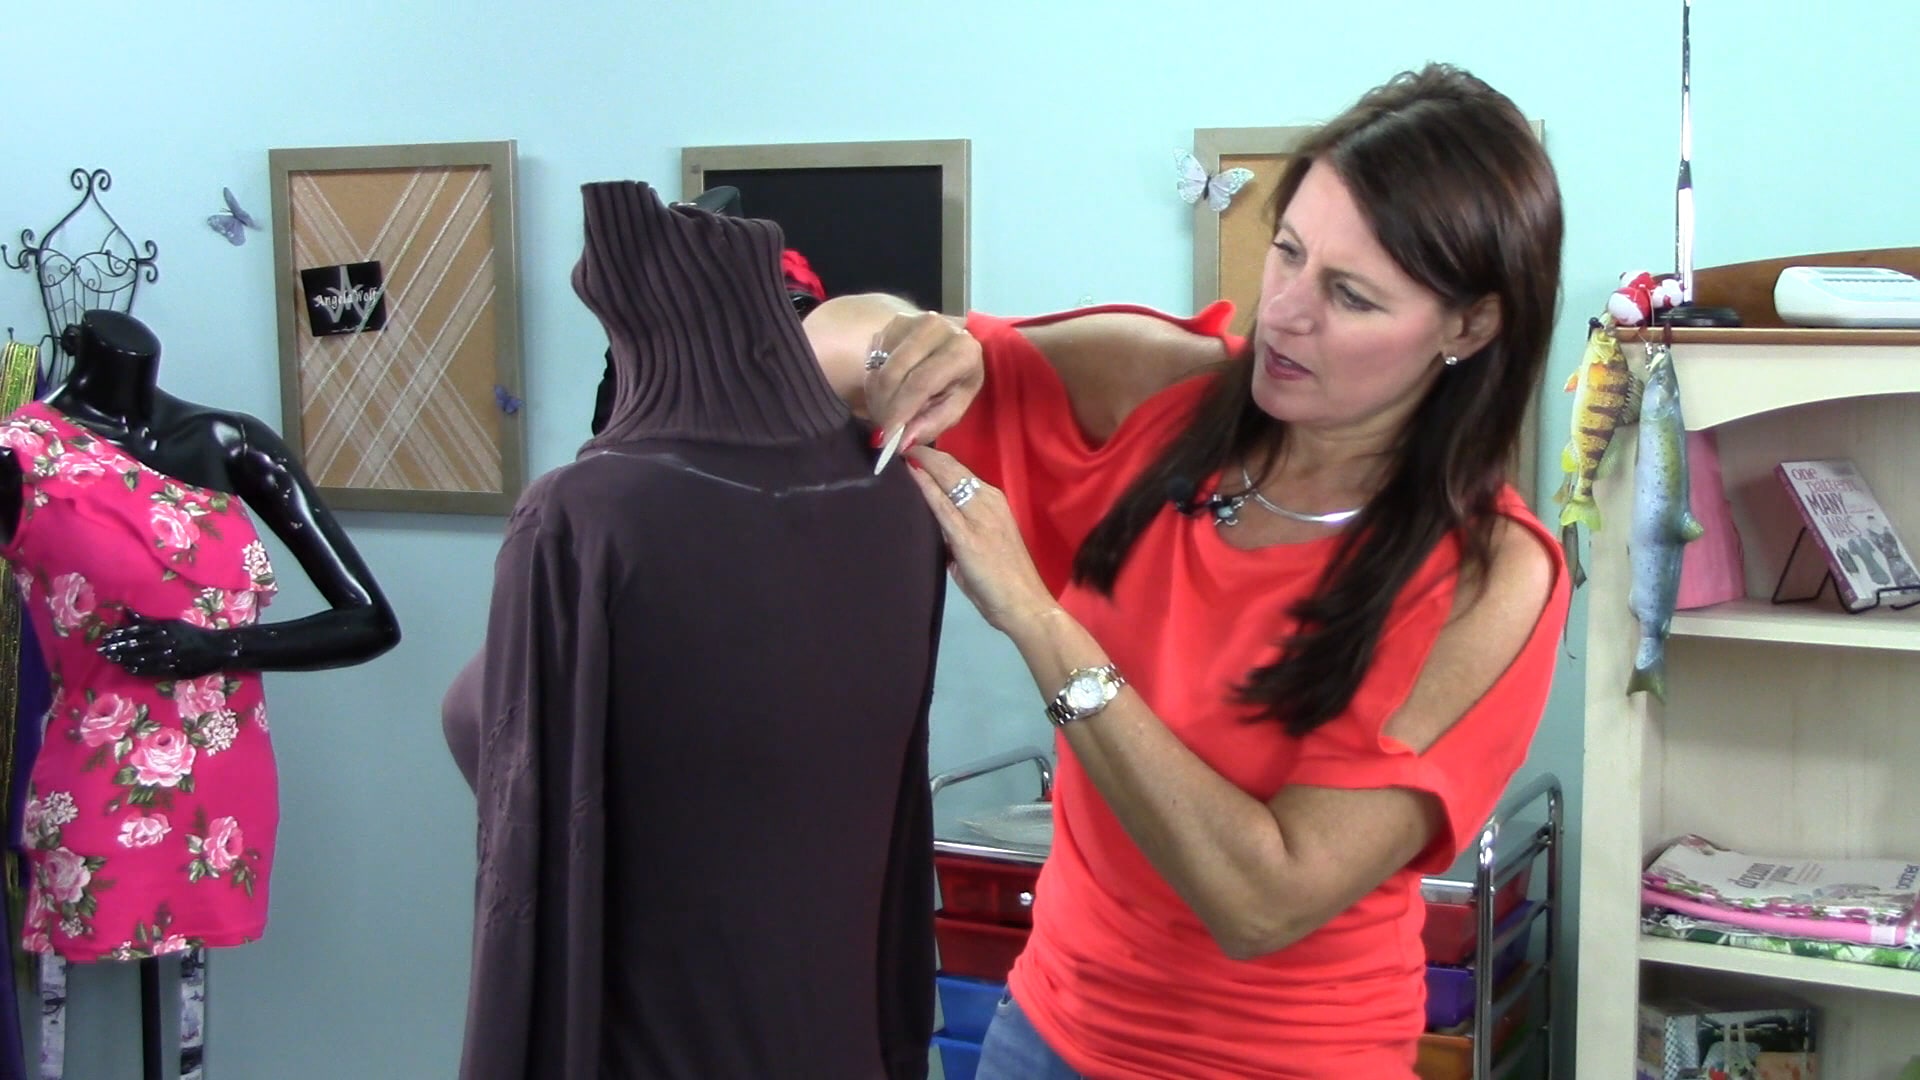
Add a ½” seam allowance and mark the new cutting line. Start cutting higher than the new marking to test the fabric for fraying.
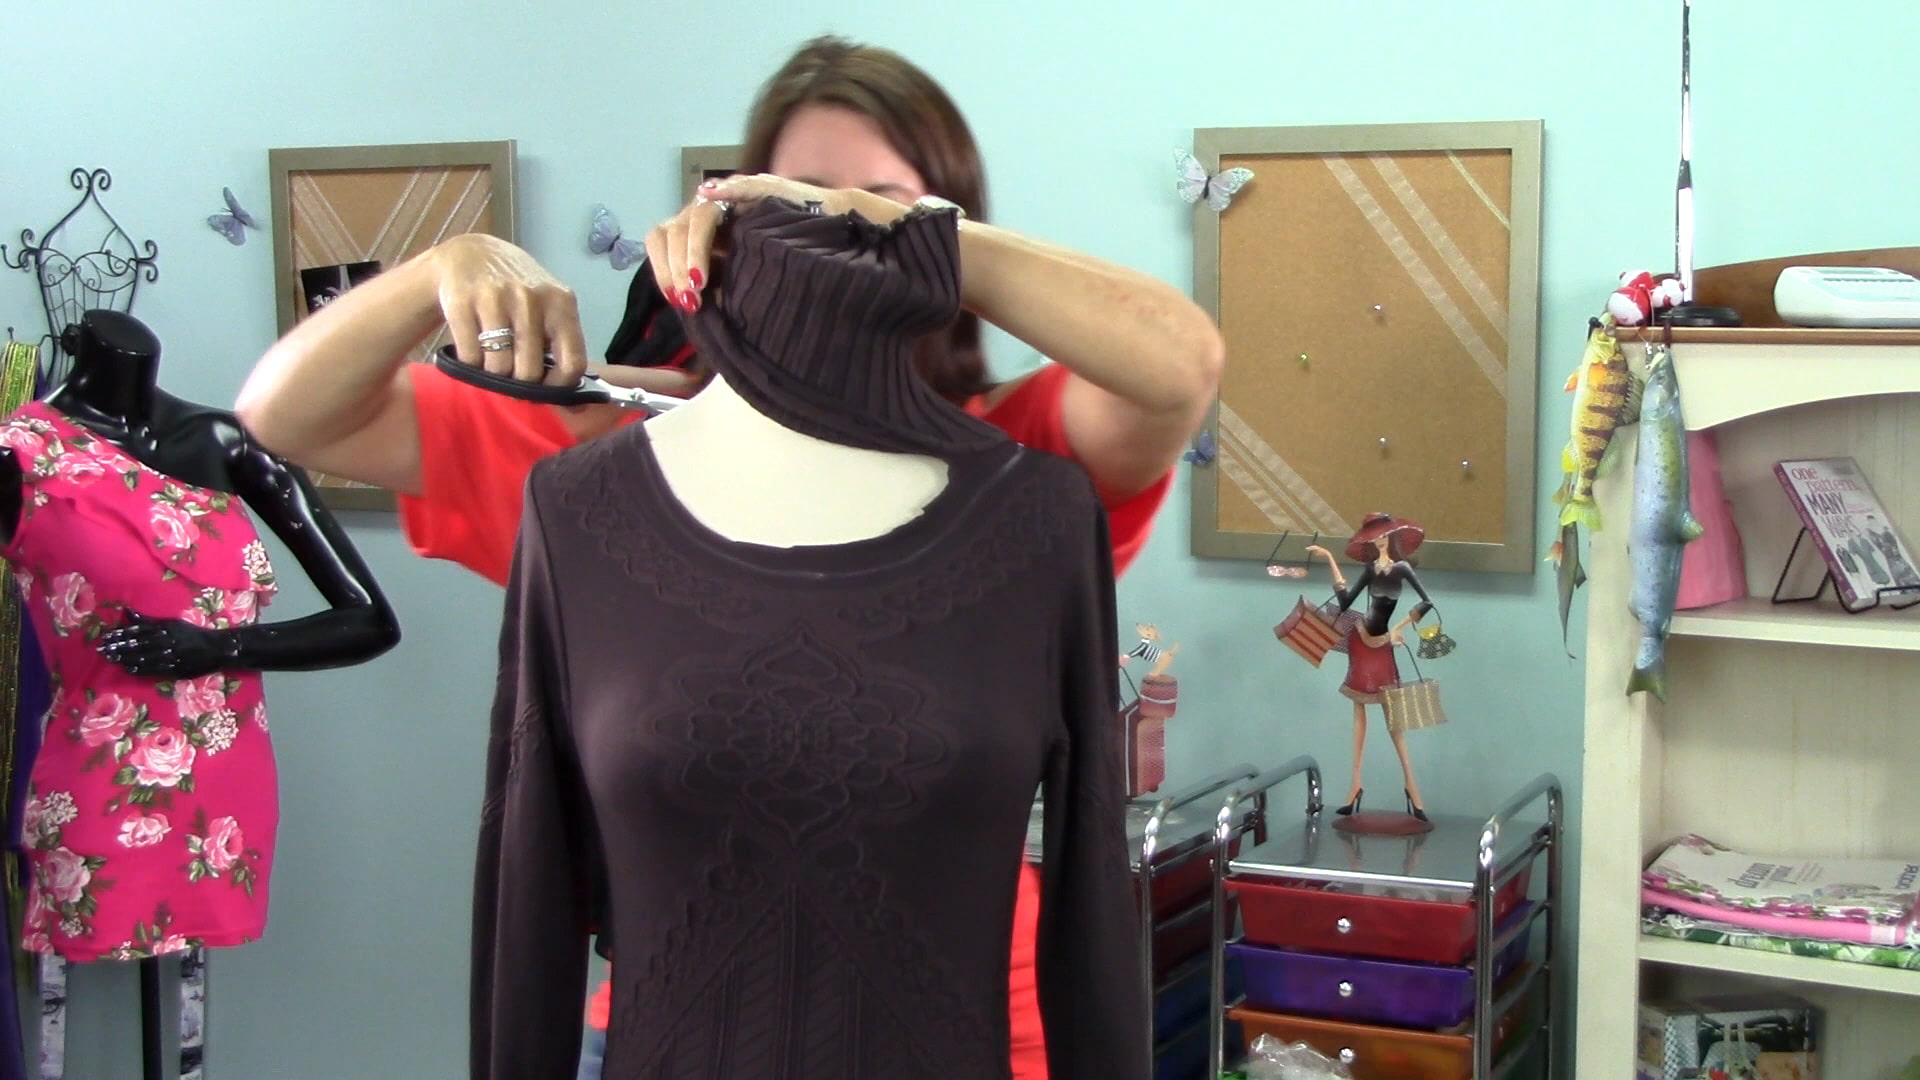
If it is determined the fabric does not fray, then go ahead and cut along the last chalk marked line. If the fabric does fray, leave an extra 1” of fabric from the chalk marked line until after you attach the elastic.
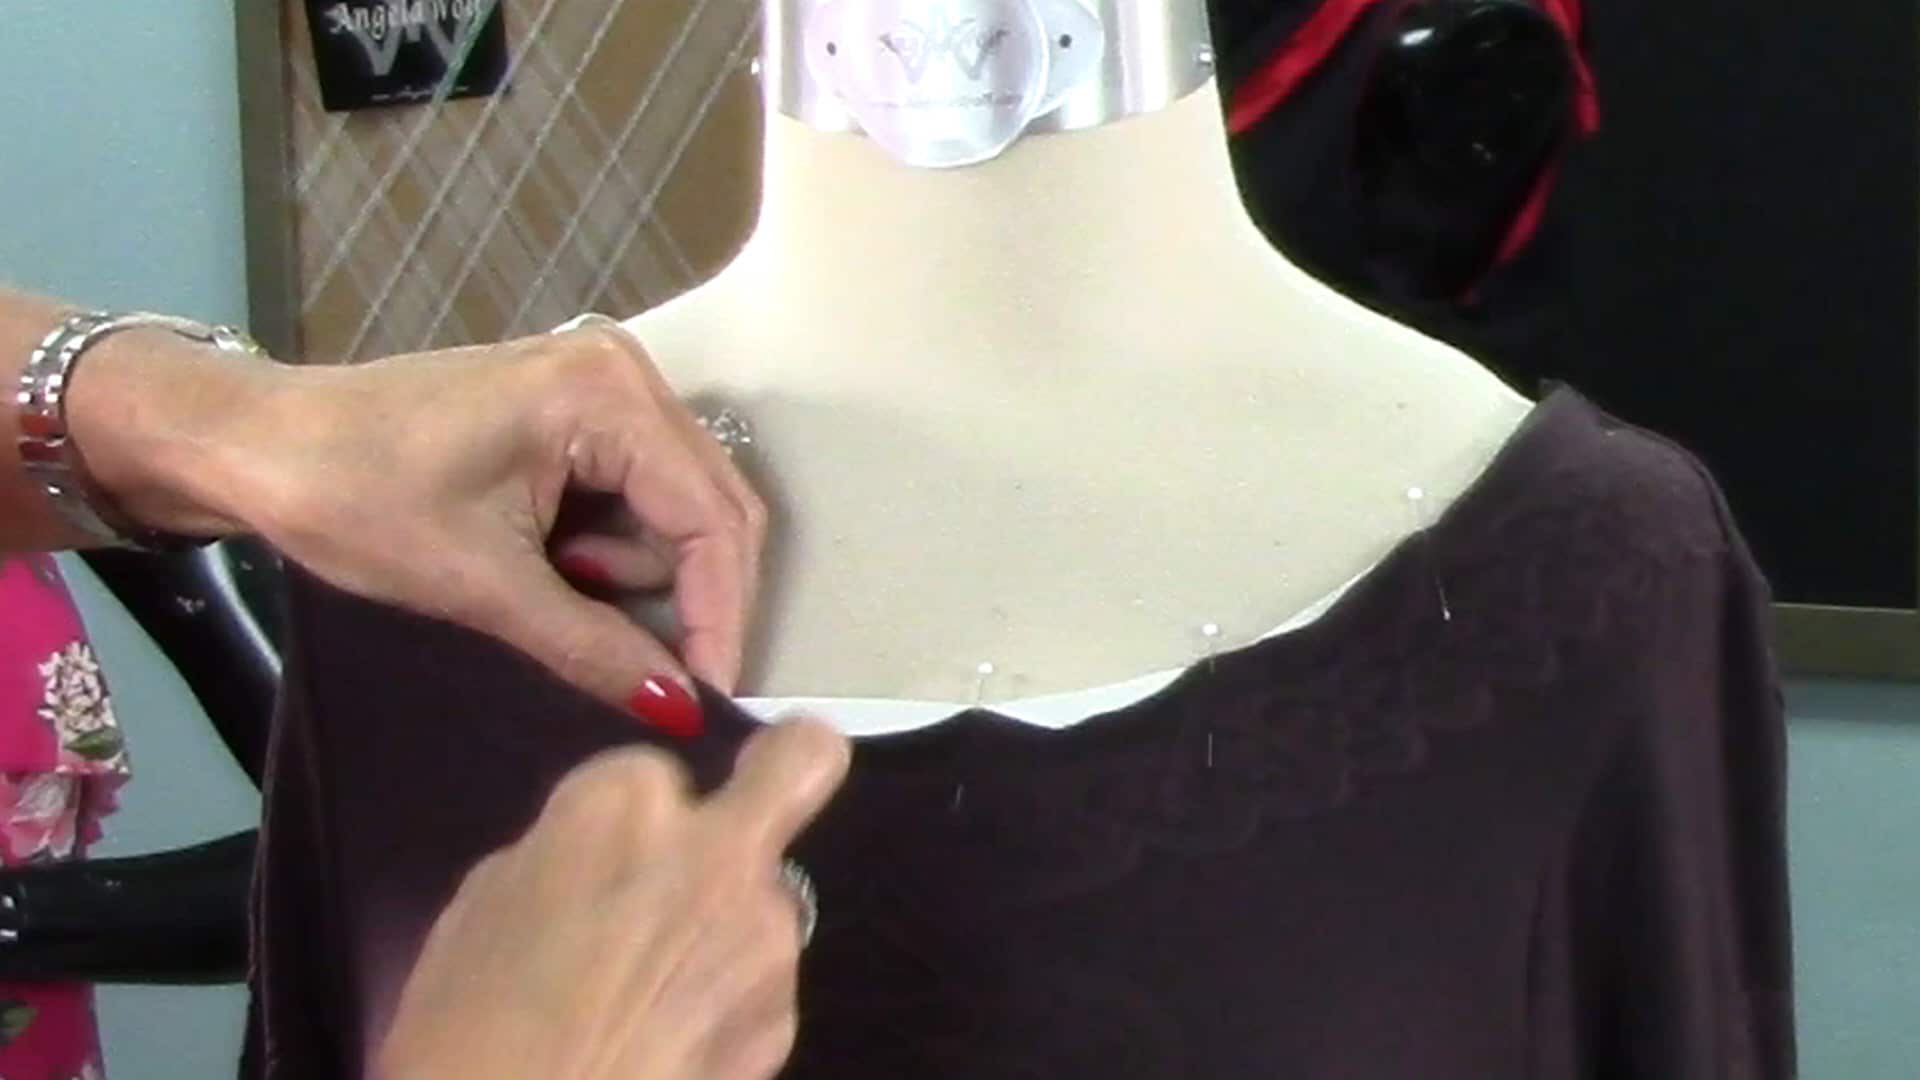
Measure around the circumference around the new neckline. Subtract 1” from that measurement and cut the elastic the same length. Start from the center front and pin the elastic to the wrong side of the fabric. Stretch the elastic as you pin so the elastic is a little shorter in length than the fabric. Continue to pin all the way around the top. When you get to the center back, cross the elastic ends and pin to secure. To read the full blog, head over to my post as a Brother Expert Consultant on the Brother Stitching Sewcial or watch the video below.
I would love to see your creative designs, be sure to tag me if you post a photo #angelawolf #brothersews
Cheers,
I would love to see your creative designs, be sure to tag me if you post a photo #angelawolf #brothersews
Cheers,

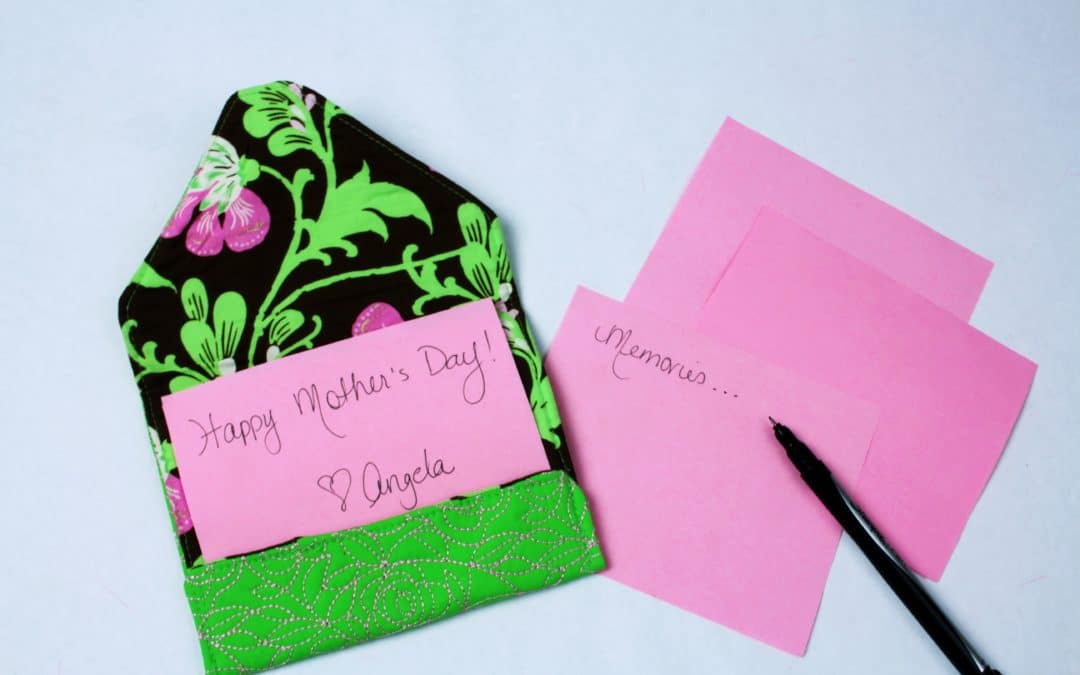
I was recently going through memory boxes and came across letters from a few people so dear to my heart that have since passed away. This made me think, I hardly write letters anymore! An email, text, and the occasional phone call – that’s the trend these days. With Mother’s Day coming up I thought this would be a perfect time to get the pen out. Even better, embroider a custom envelope Mom can keep the letters in ?
Each year I try to come up with something unique and personal to send my Mom on Mother’s Day. She love’s handwritten letters, so why not add a custom monogrammed envelope that she can keep the letters or use for something else – maybe to hold makeup or coupons. Something small she can carry that will remind her how special she is to all of us kids ♥
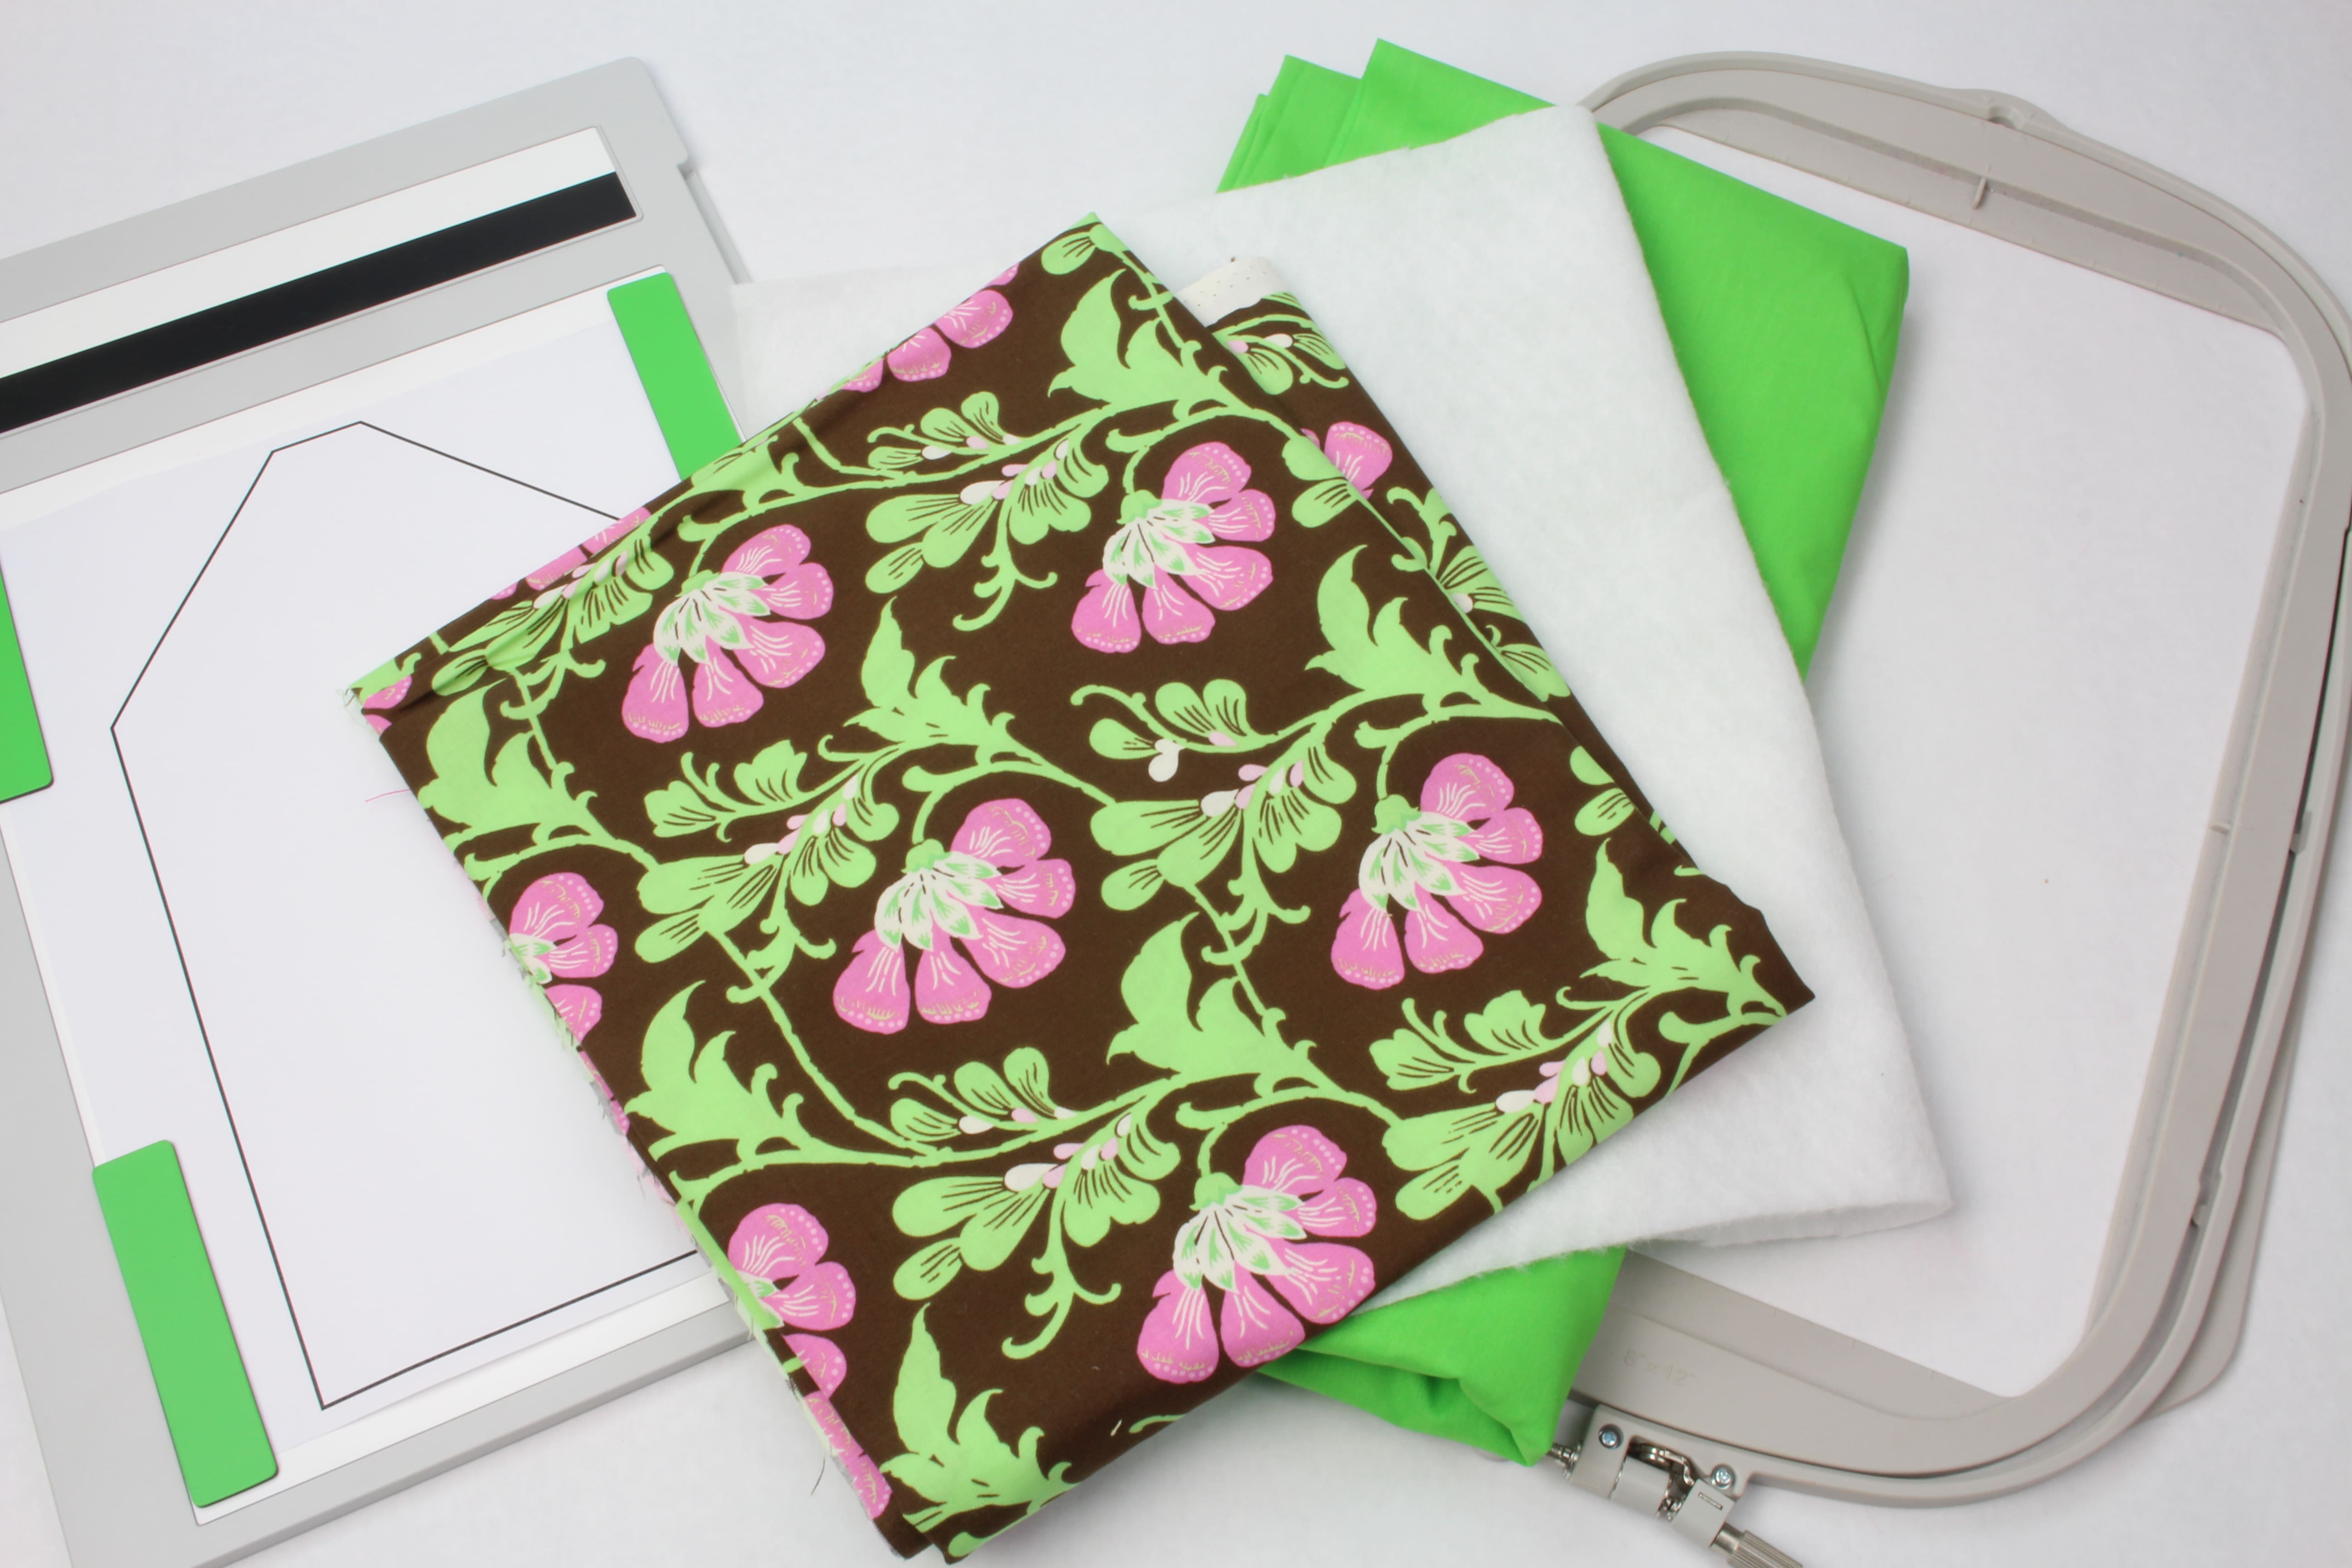
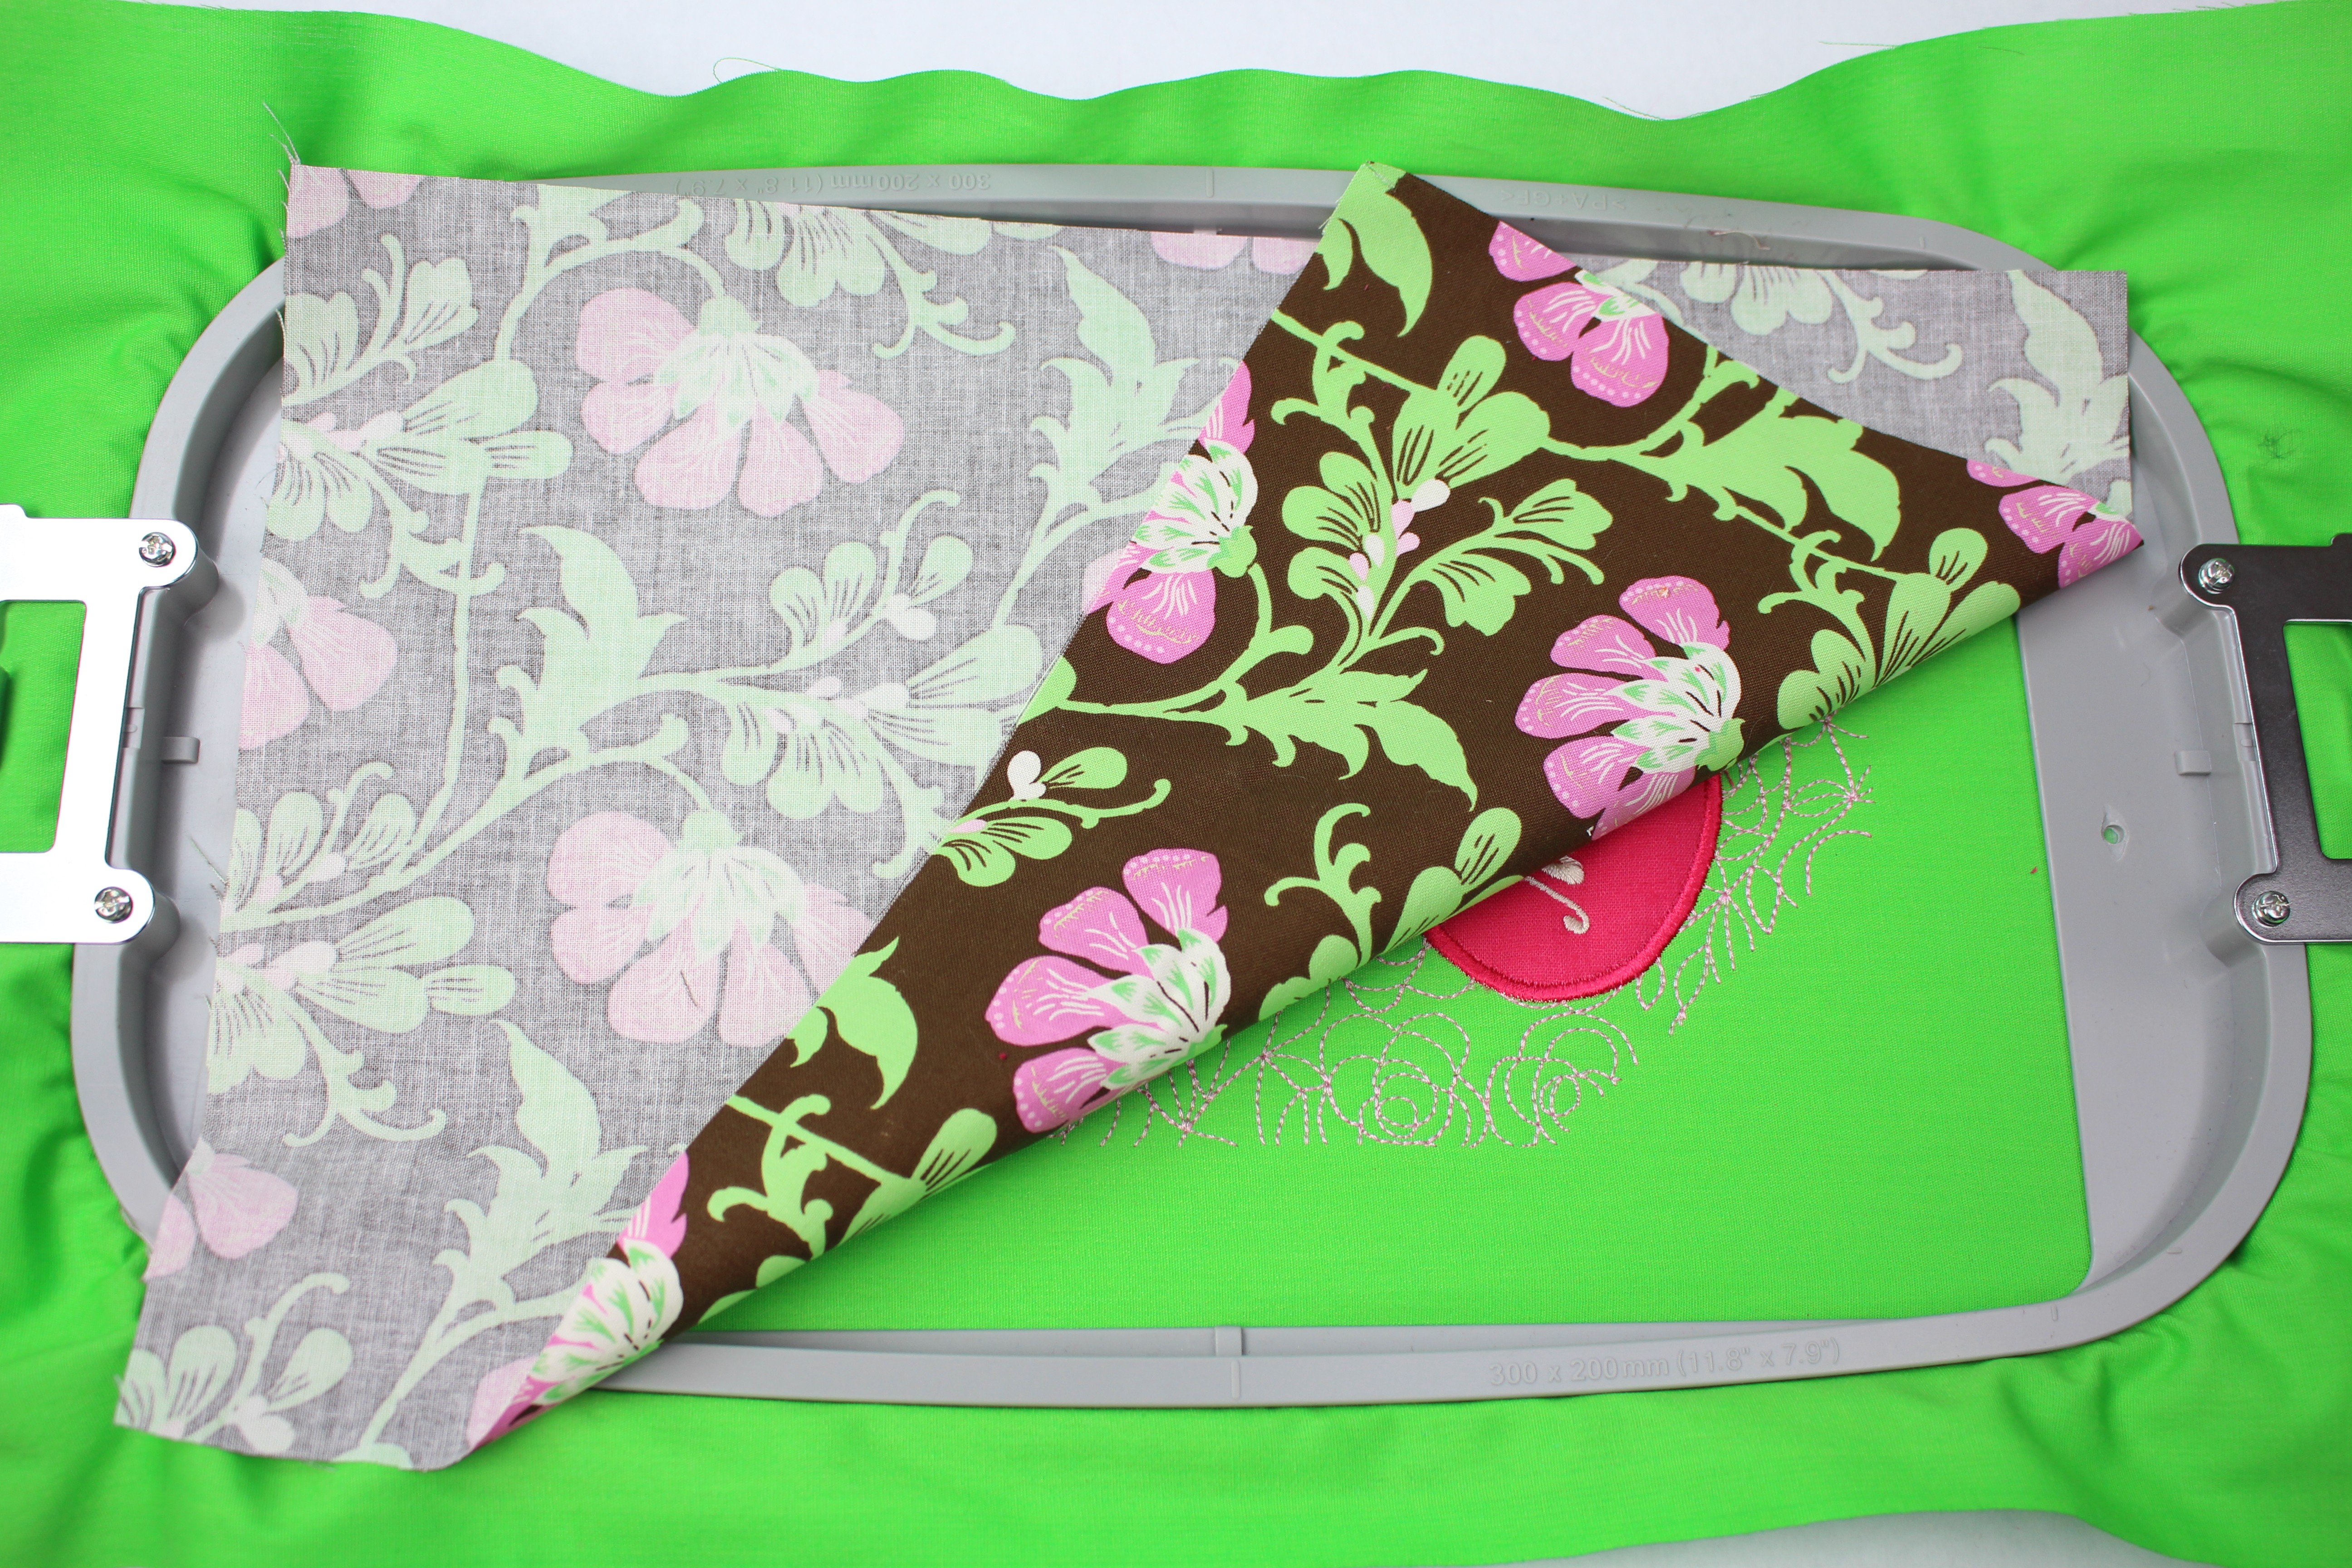
This project is very easy and only takes about 30 minutes (even faster if you are on the Brother 10-needle)
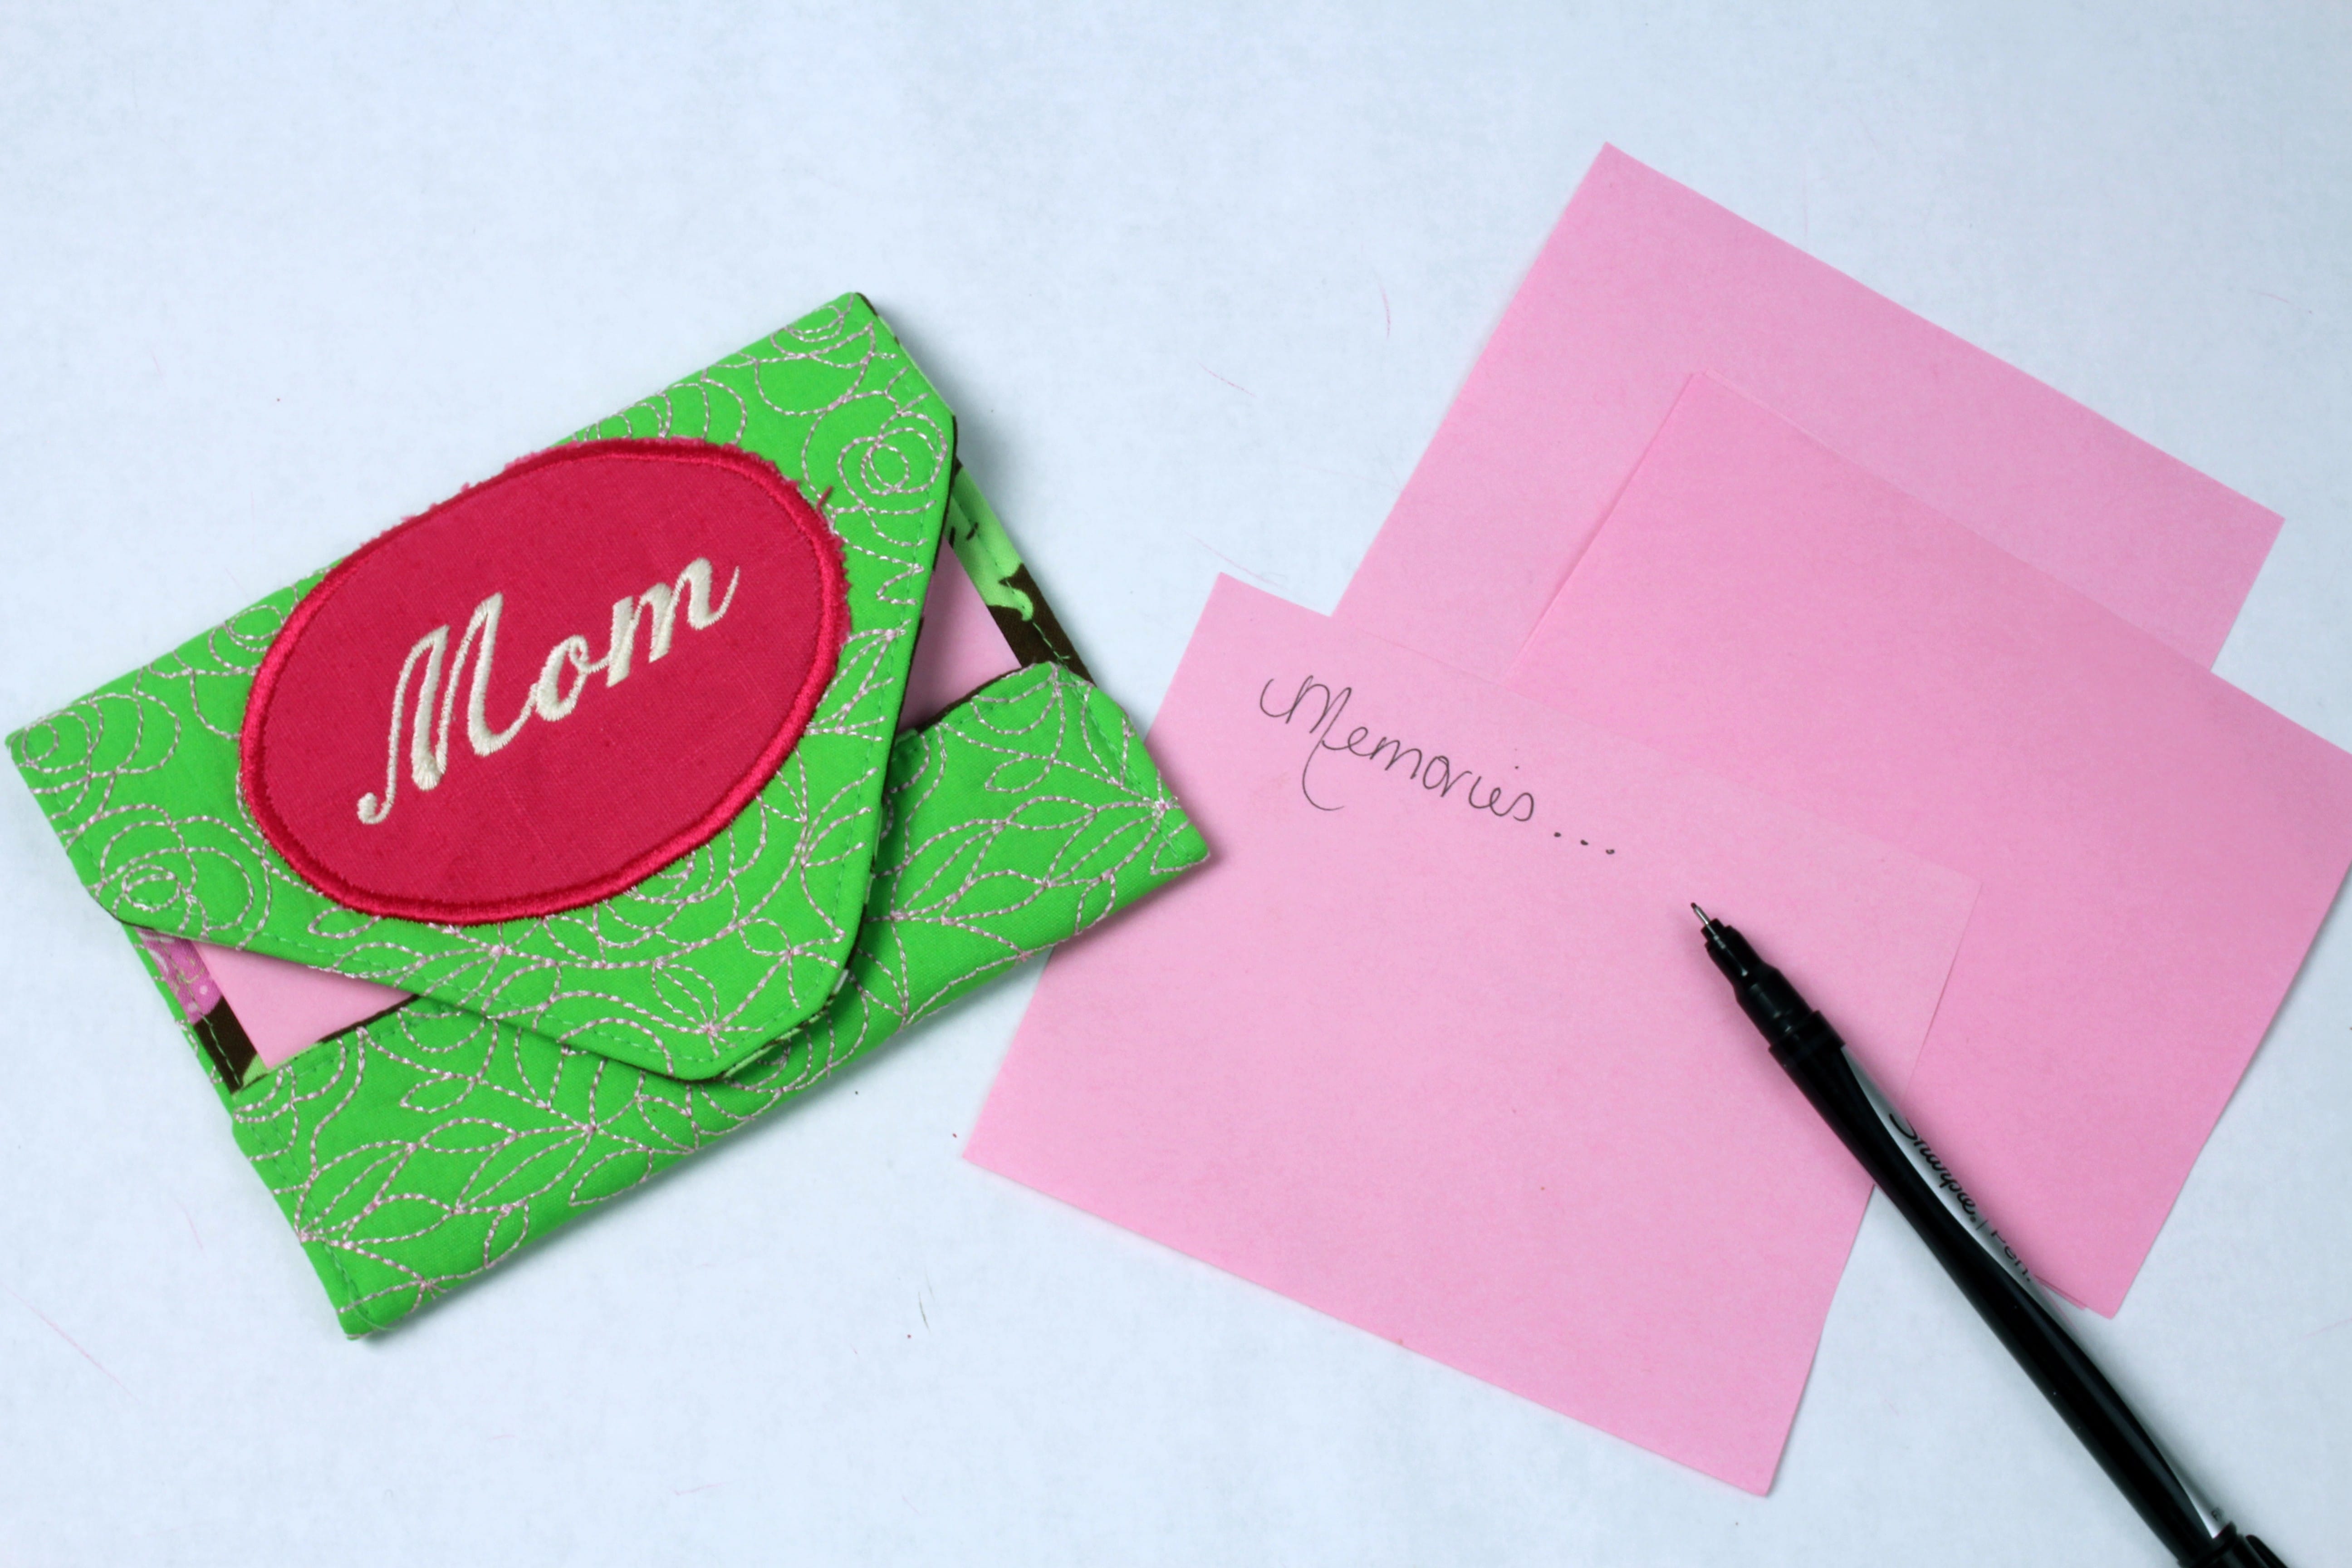
To read the full blog, head over to my post as a Brother Expert Consultant on the Brother Stitching Sewcial. This envelope is a cute idea for any gift, now I just need to add the personal note ♥Let me know what you think and be sure to share photos of your embroidered envelope. #brothersews #angelawolf
Happy Mother’s Day ♥
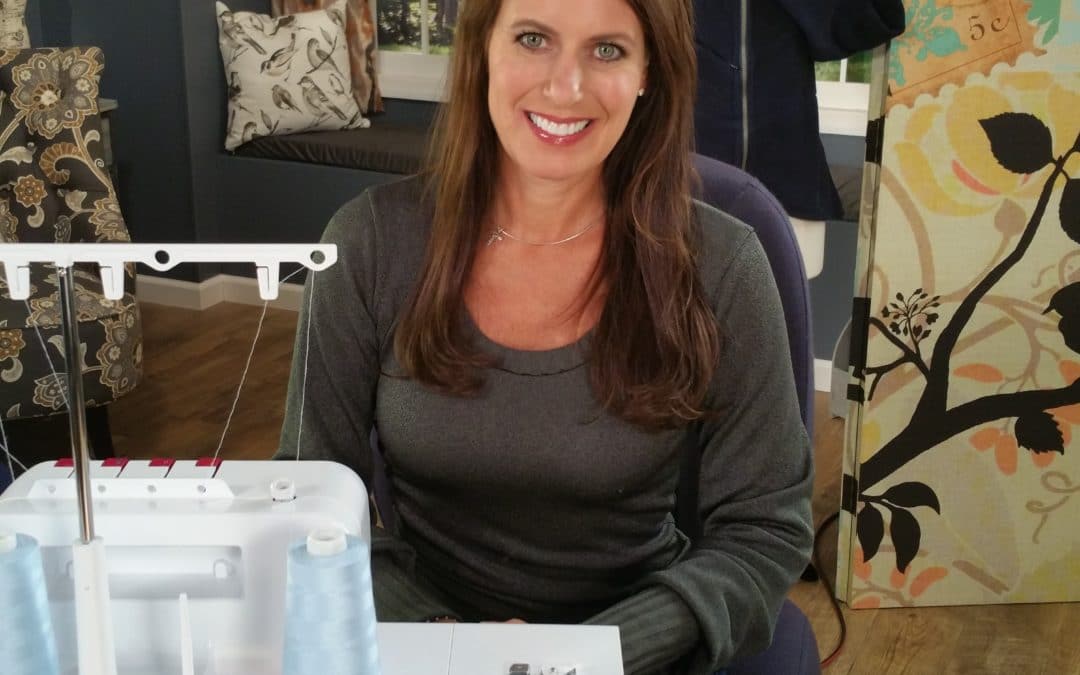
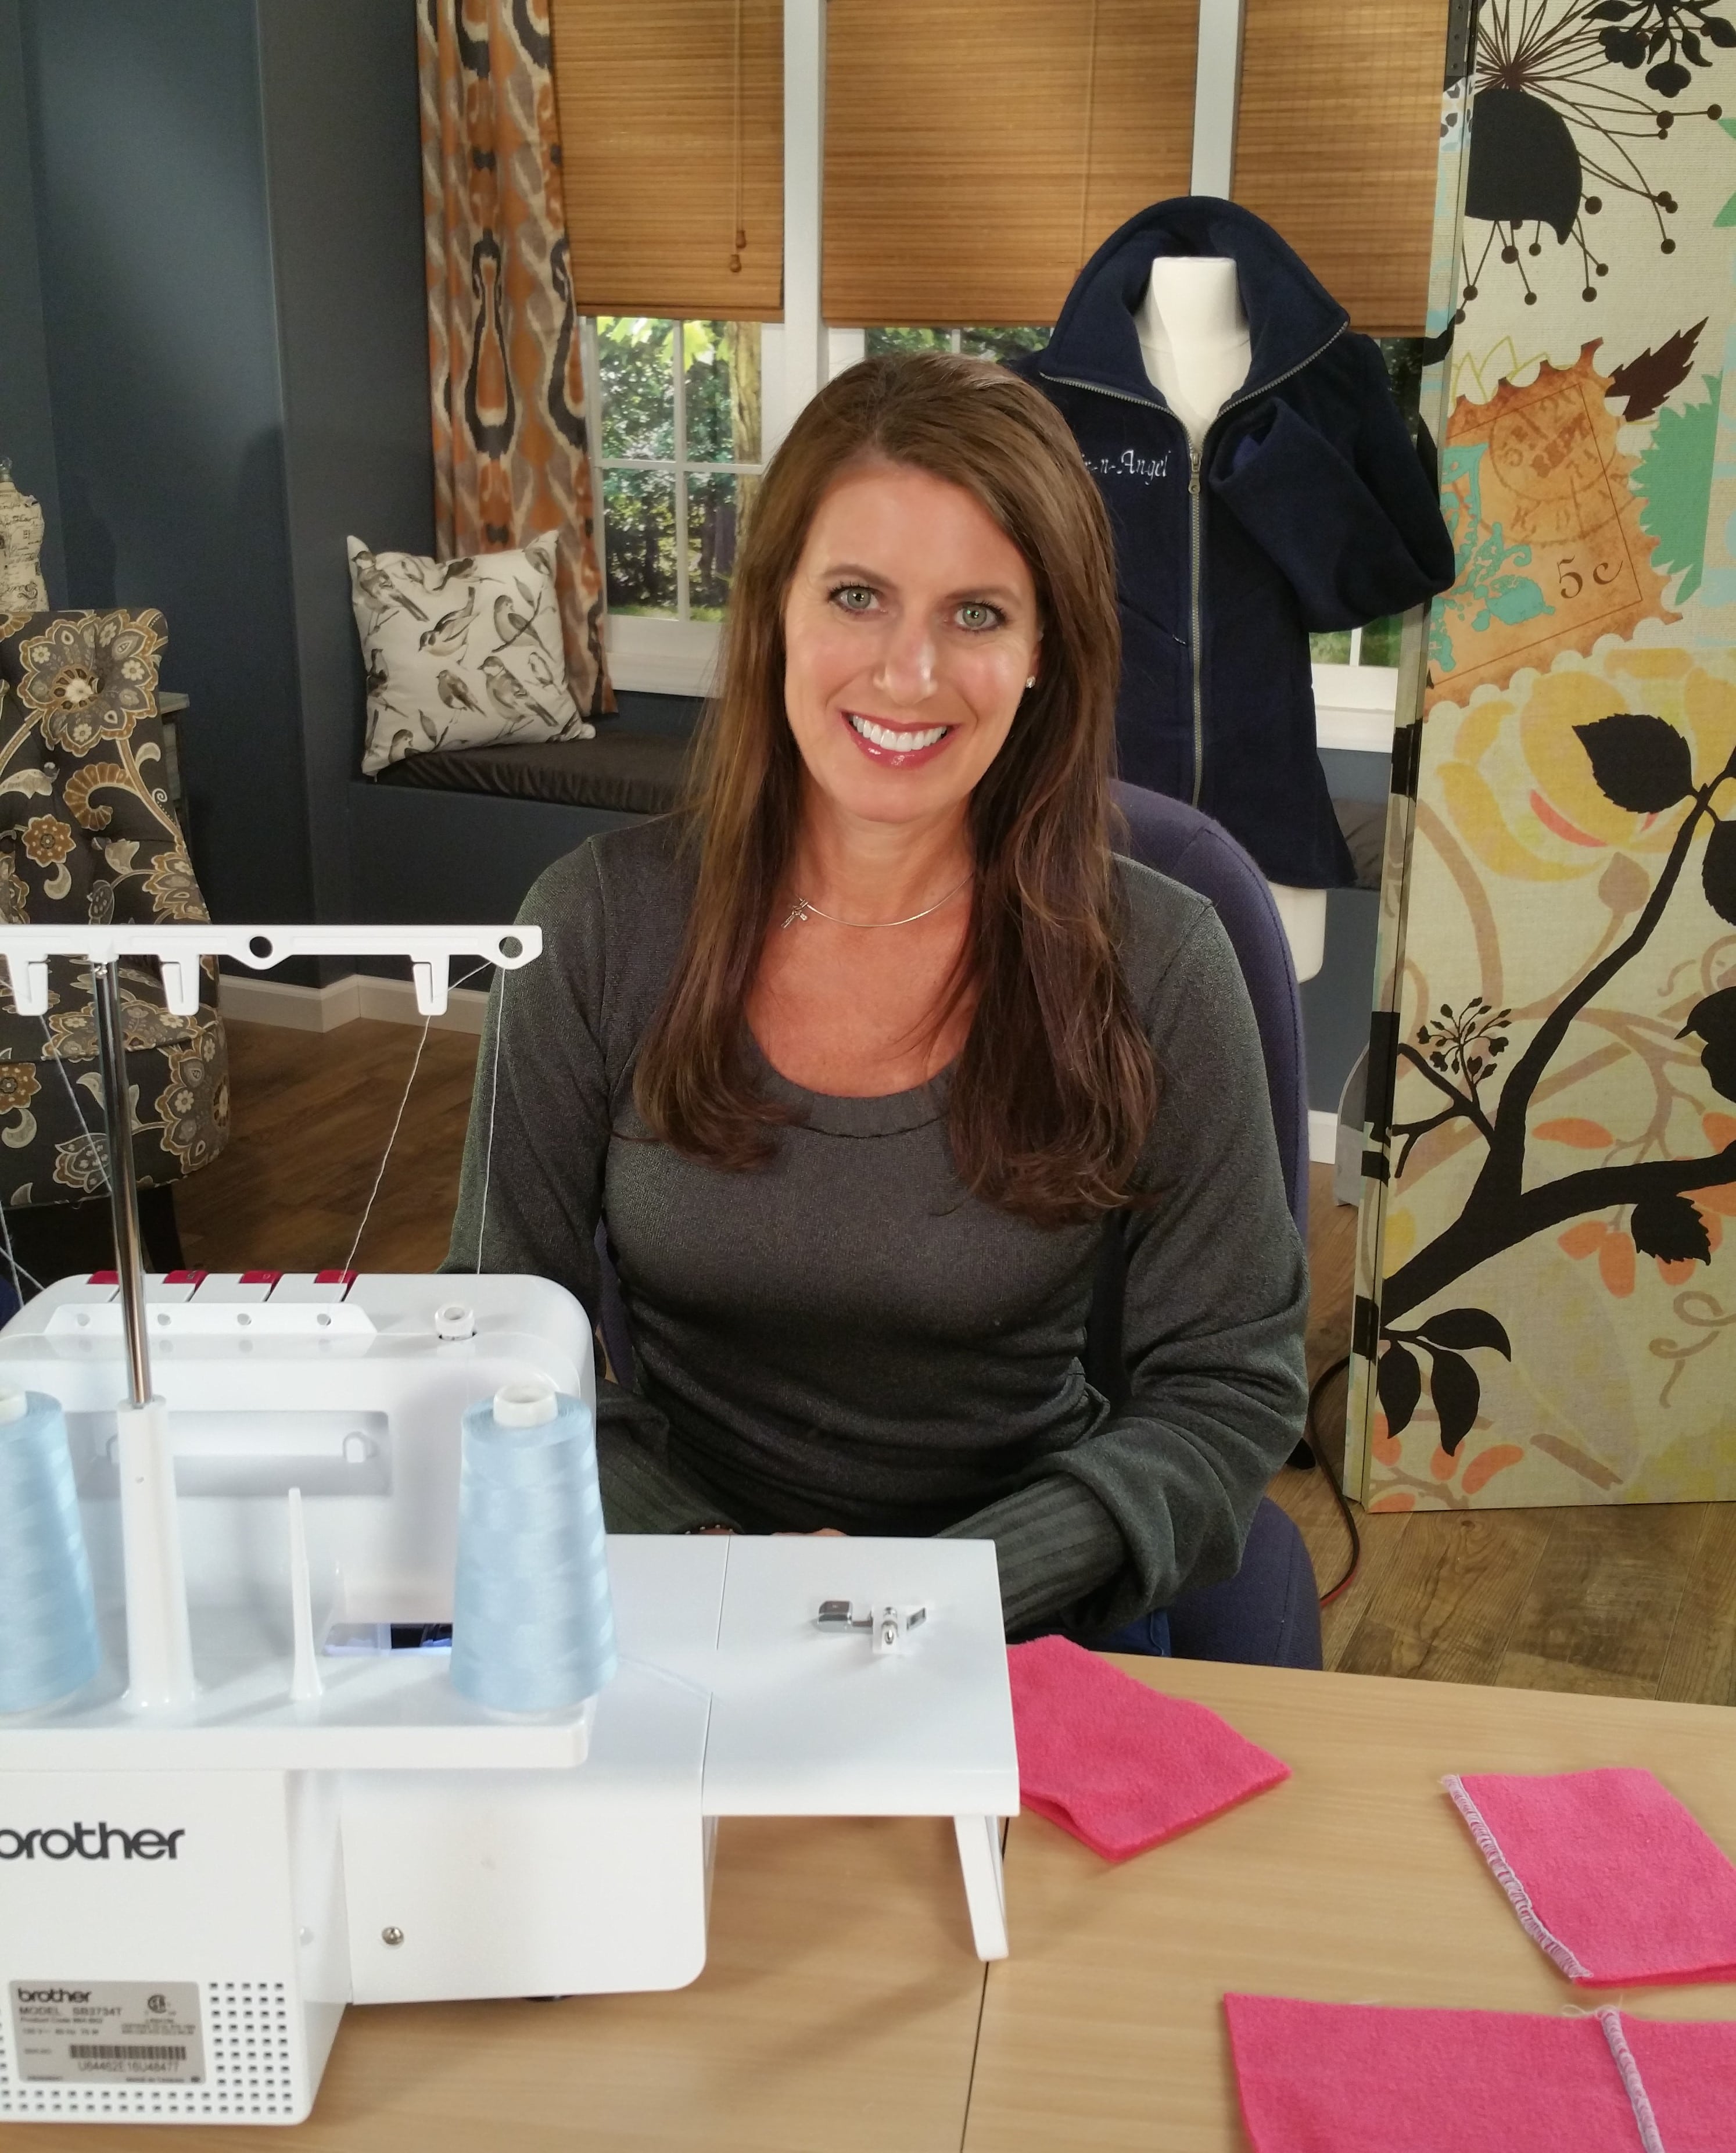
There are so many stitches we can do with our serger / overlock machines! You might recognize the flatlock stitch as seen on sportswear or a decorative stitch used to connect two pieces of fabric. This stitch is fun and easy to do!
Supplies:
Use the blind hem foot – alter the settings on the foot to stitch across half of the fabric.
Watch the It’s Sew Easy Episode below for details on where to position the fabric to create the flatlock stitch. Be sure to test the fabric and stitch before starting a project. Depending on the thickness of the fabric, the blind hem foot will need to be adjusted to the right or left for a wider or narrower stitch.
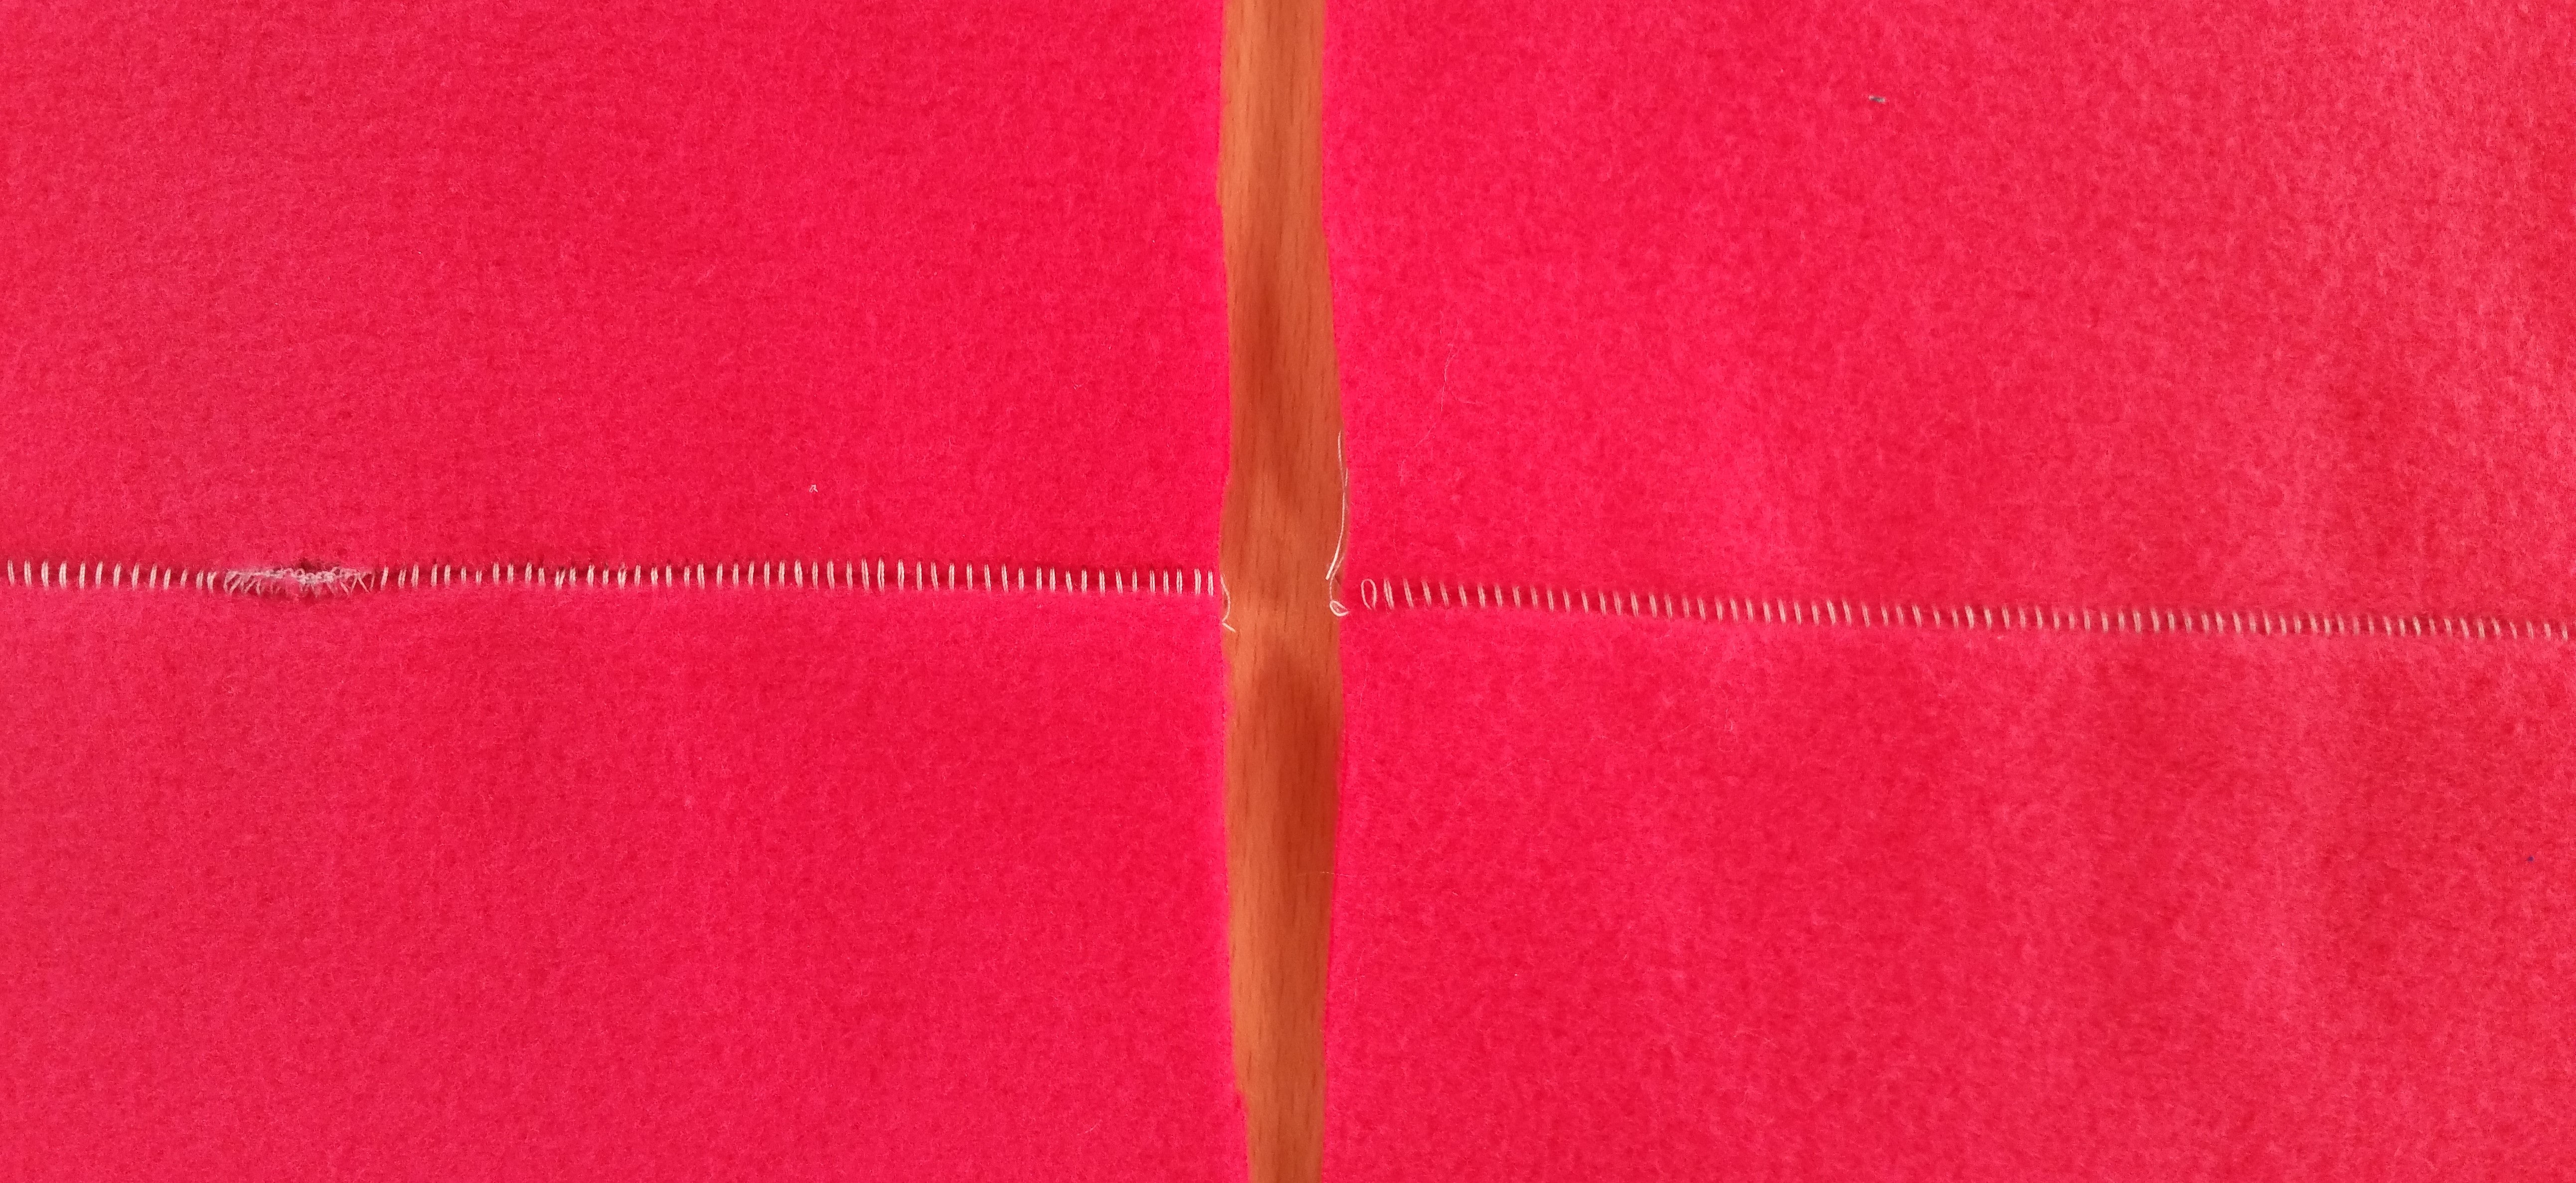
The photo to the left shows where the stitch width was too narrow and slipped off the fabric, thus creating a hole. The photo to the right looks much better.
Let me know when you try this stitch. I would love to see your creativity with this one 🙂
Cheers,

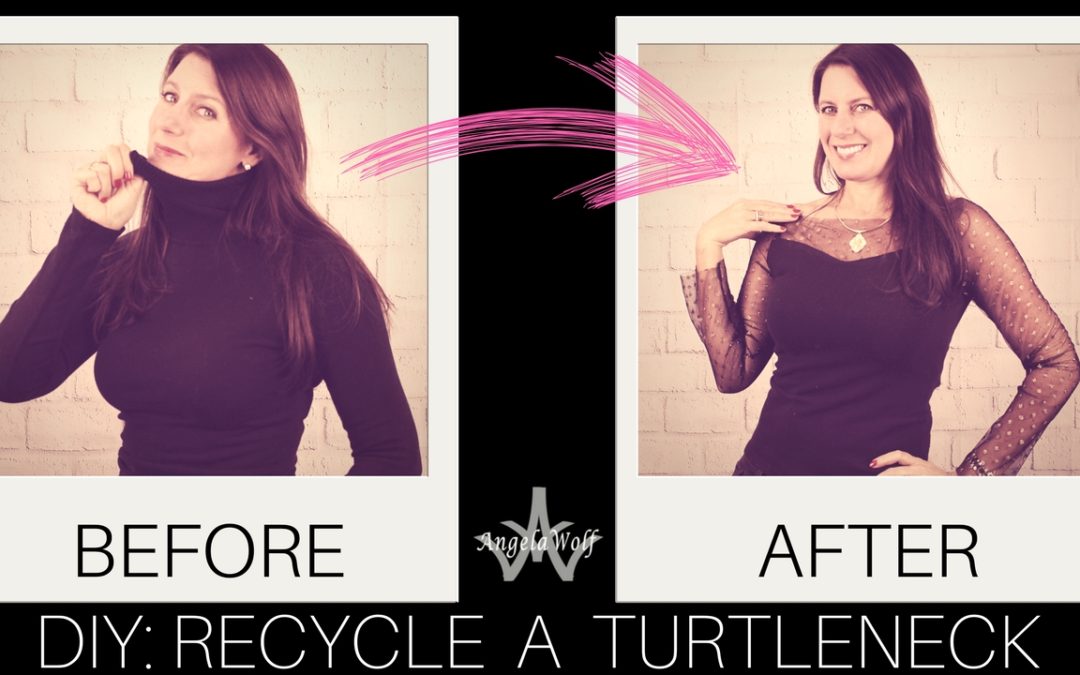
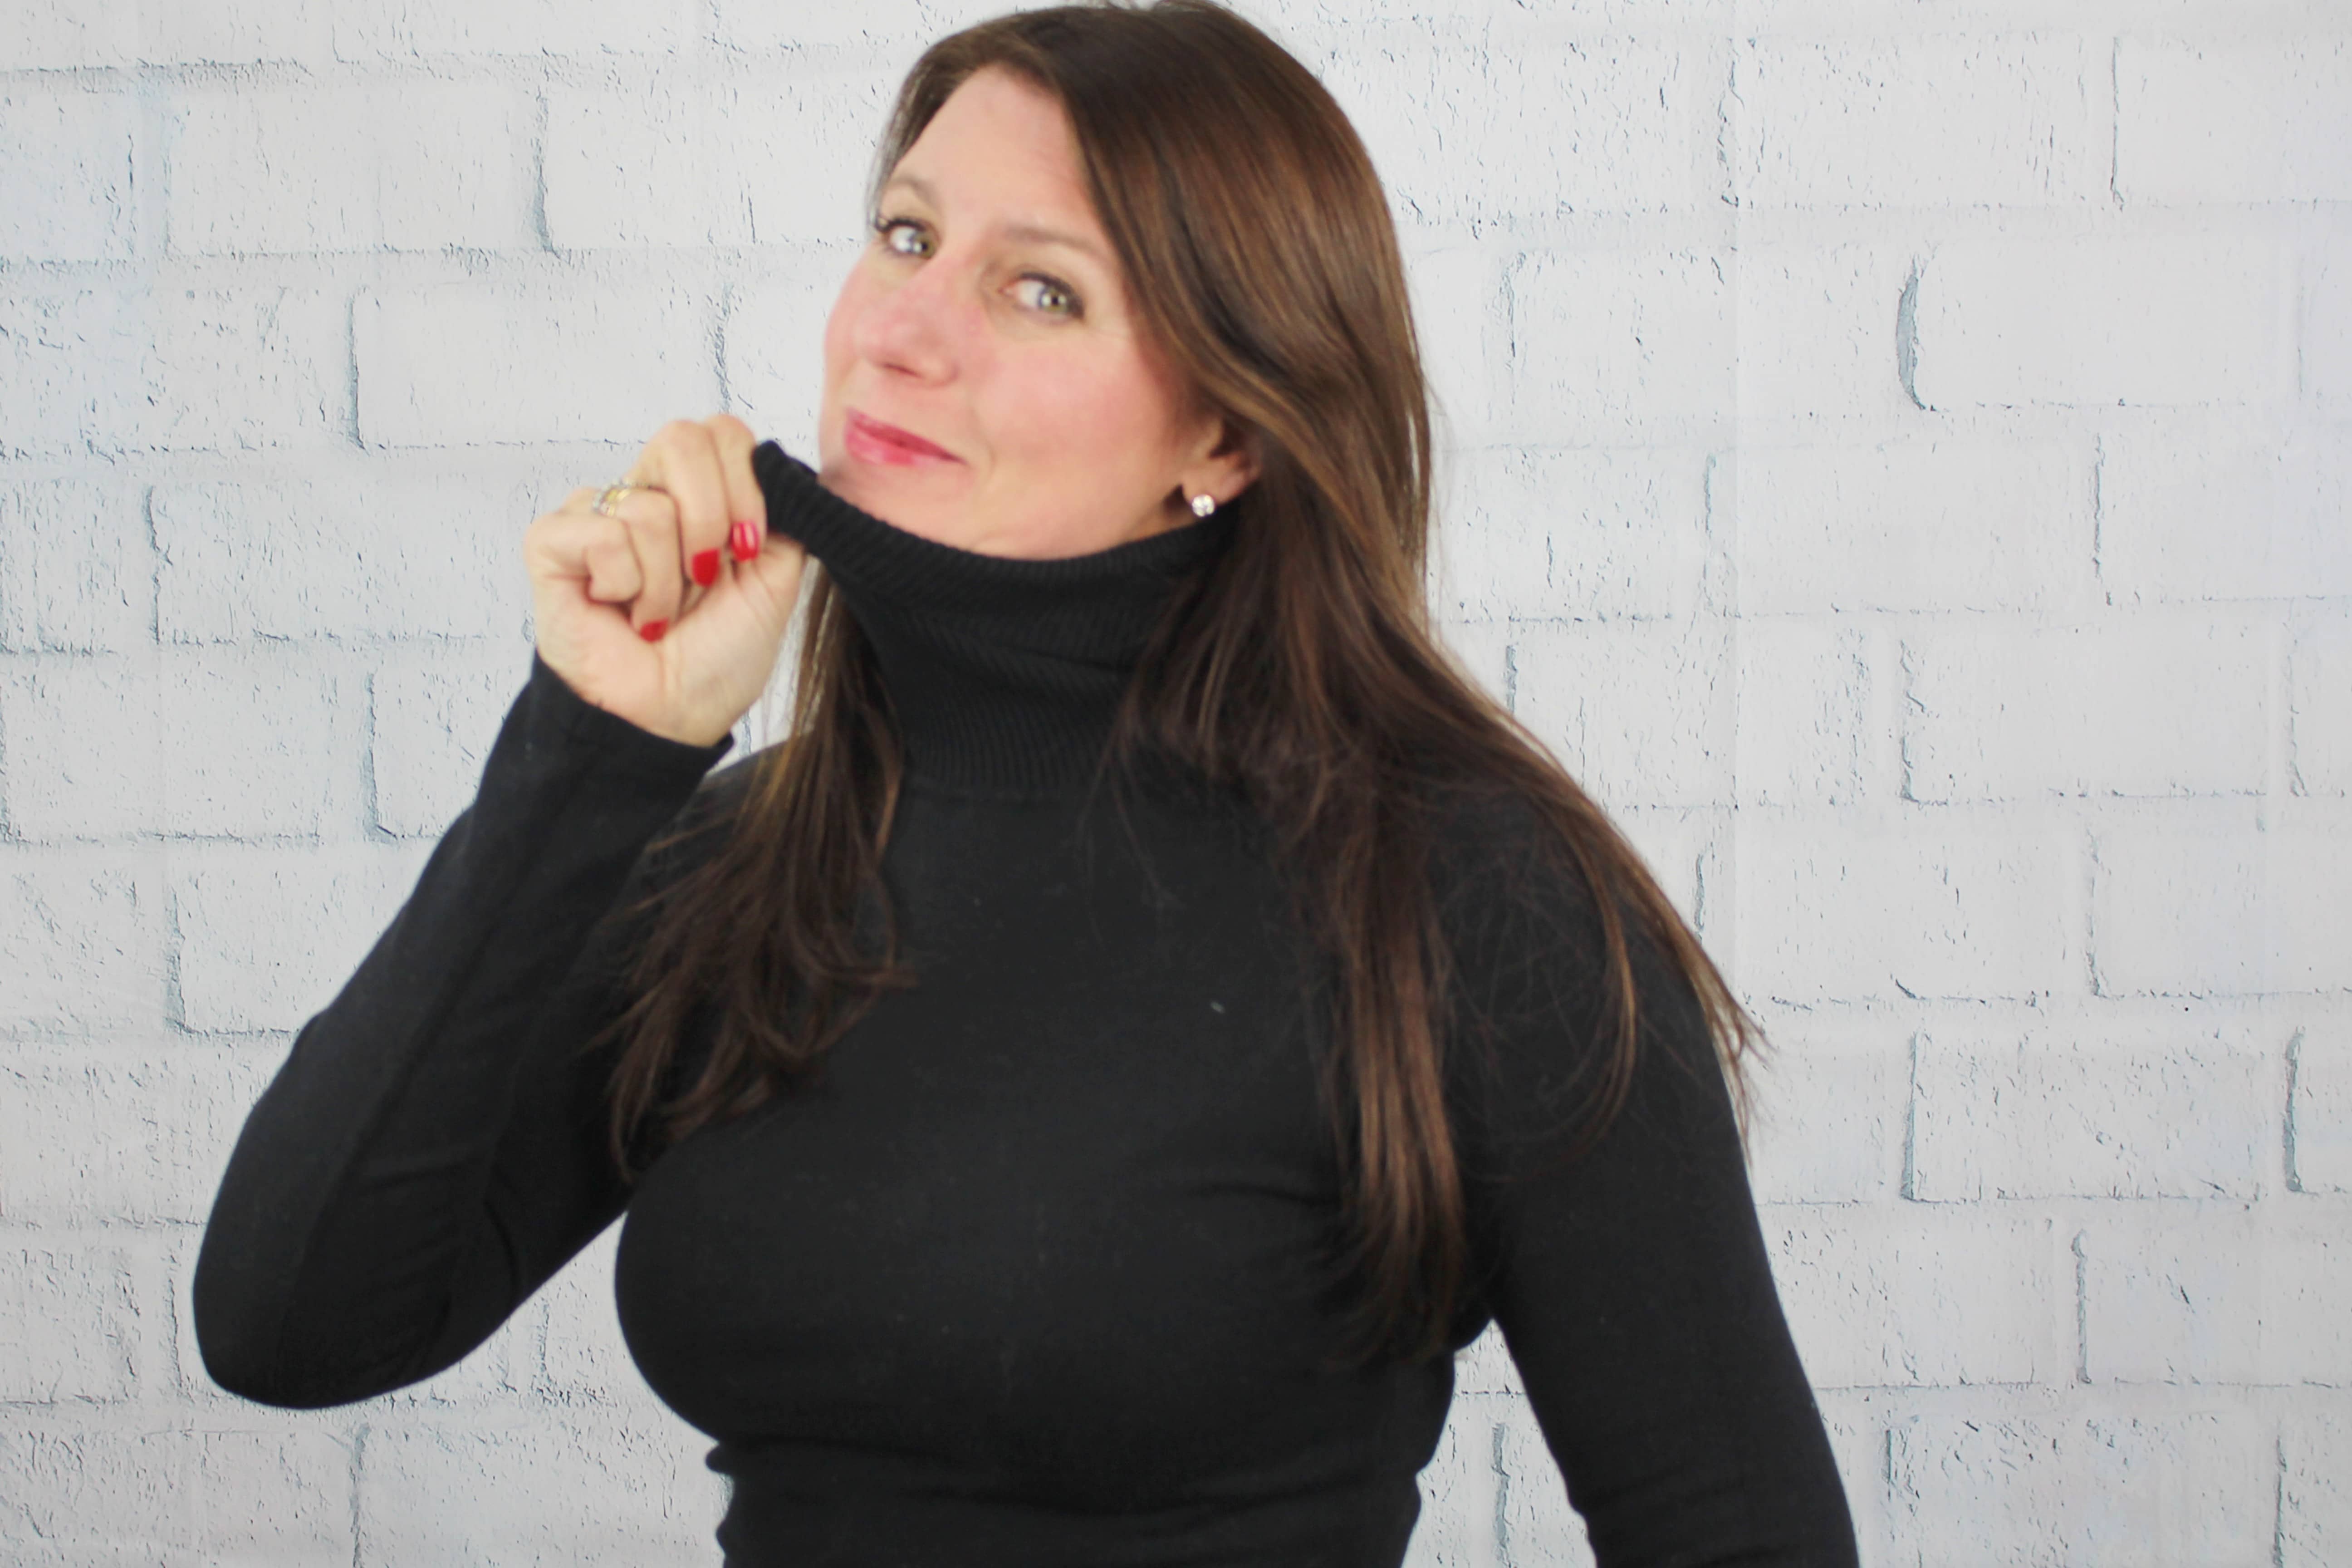
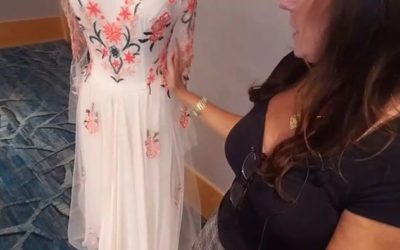
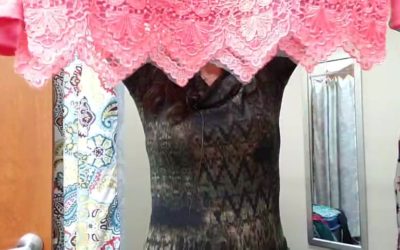
I have a few turtlenecks that are made of beautiful fabrics, but I can’t stand the high, tight neckline. Time for another DIY recycle project to makeover this sweater! The look of see through fabric, embroidered, and embellished tulle are so trendy right now – why not add a touch of glamour 🙂 I have listed all the steps here and included a video below with the full tutorial.
Supplies: Turtleneck, Tulle Fabric, Sewing Supplies including scissors, quilters ruler, tailors chalk, pins, universal or stretch thread (you can find the sewing supplies here on my amazon page)
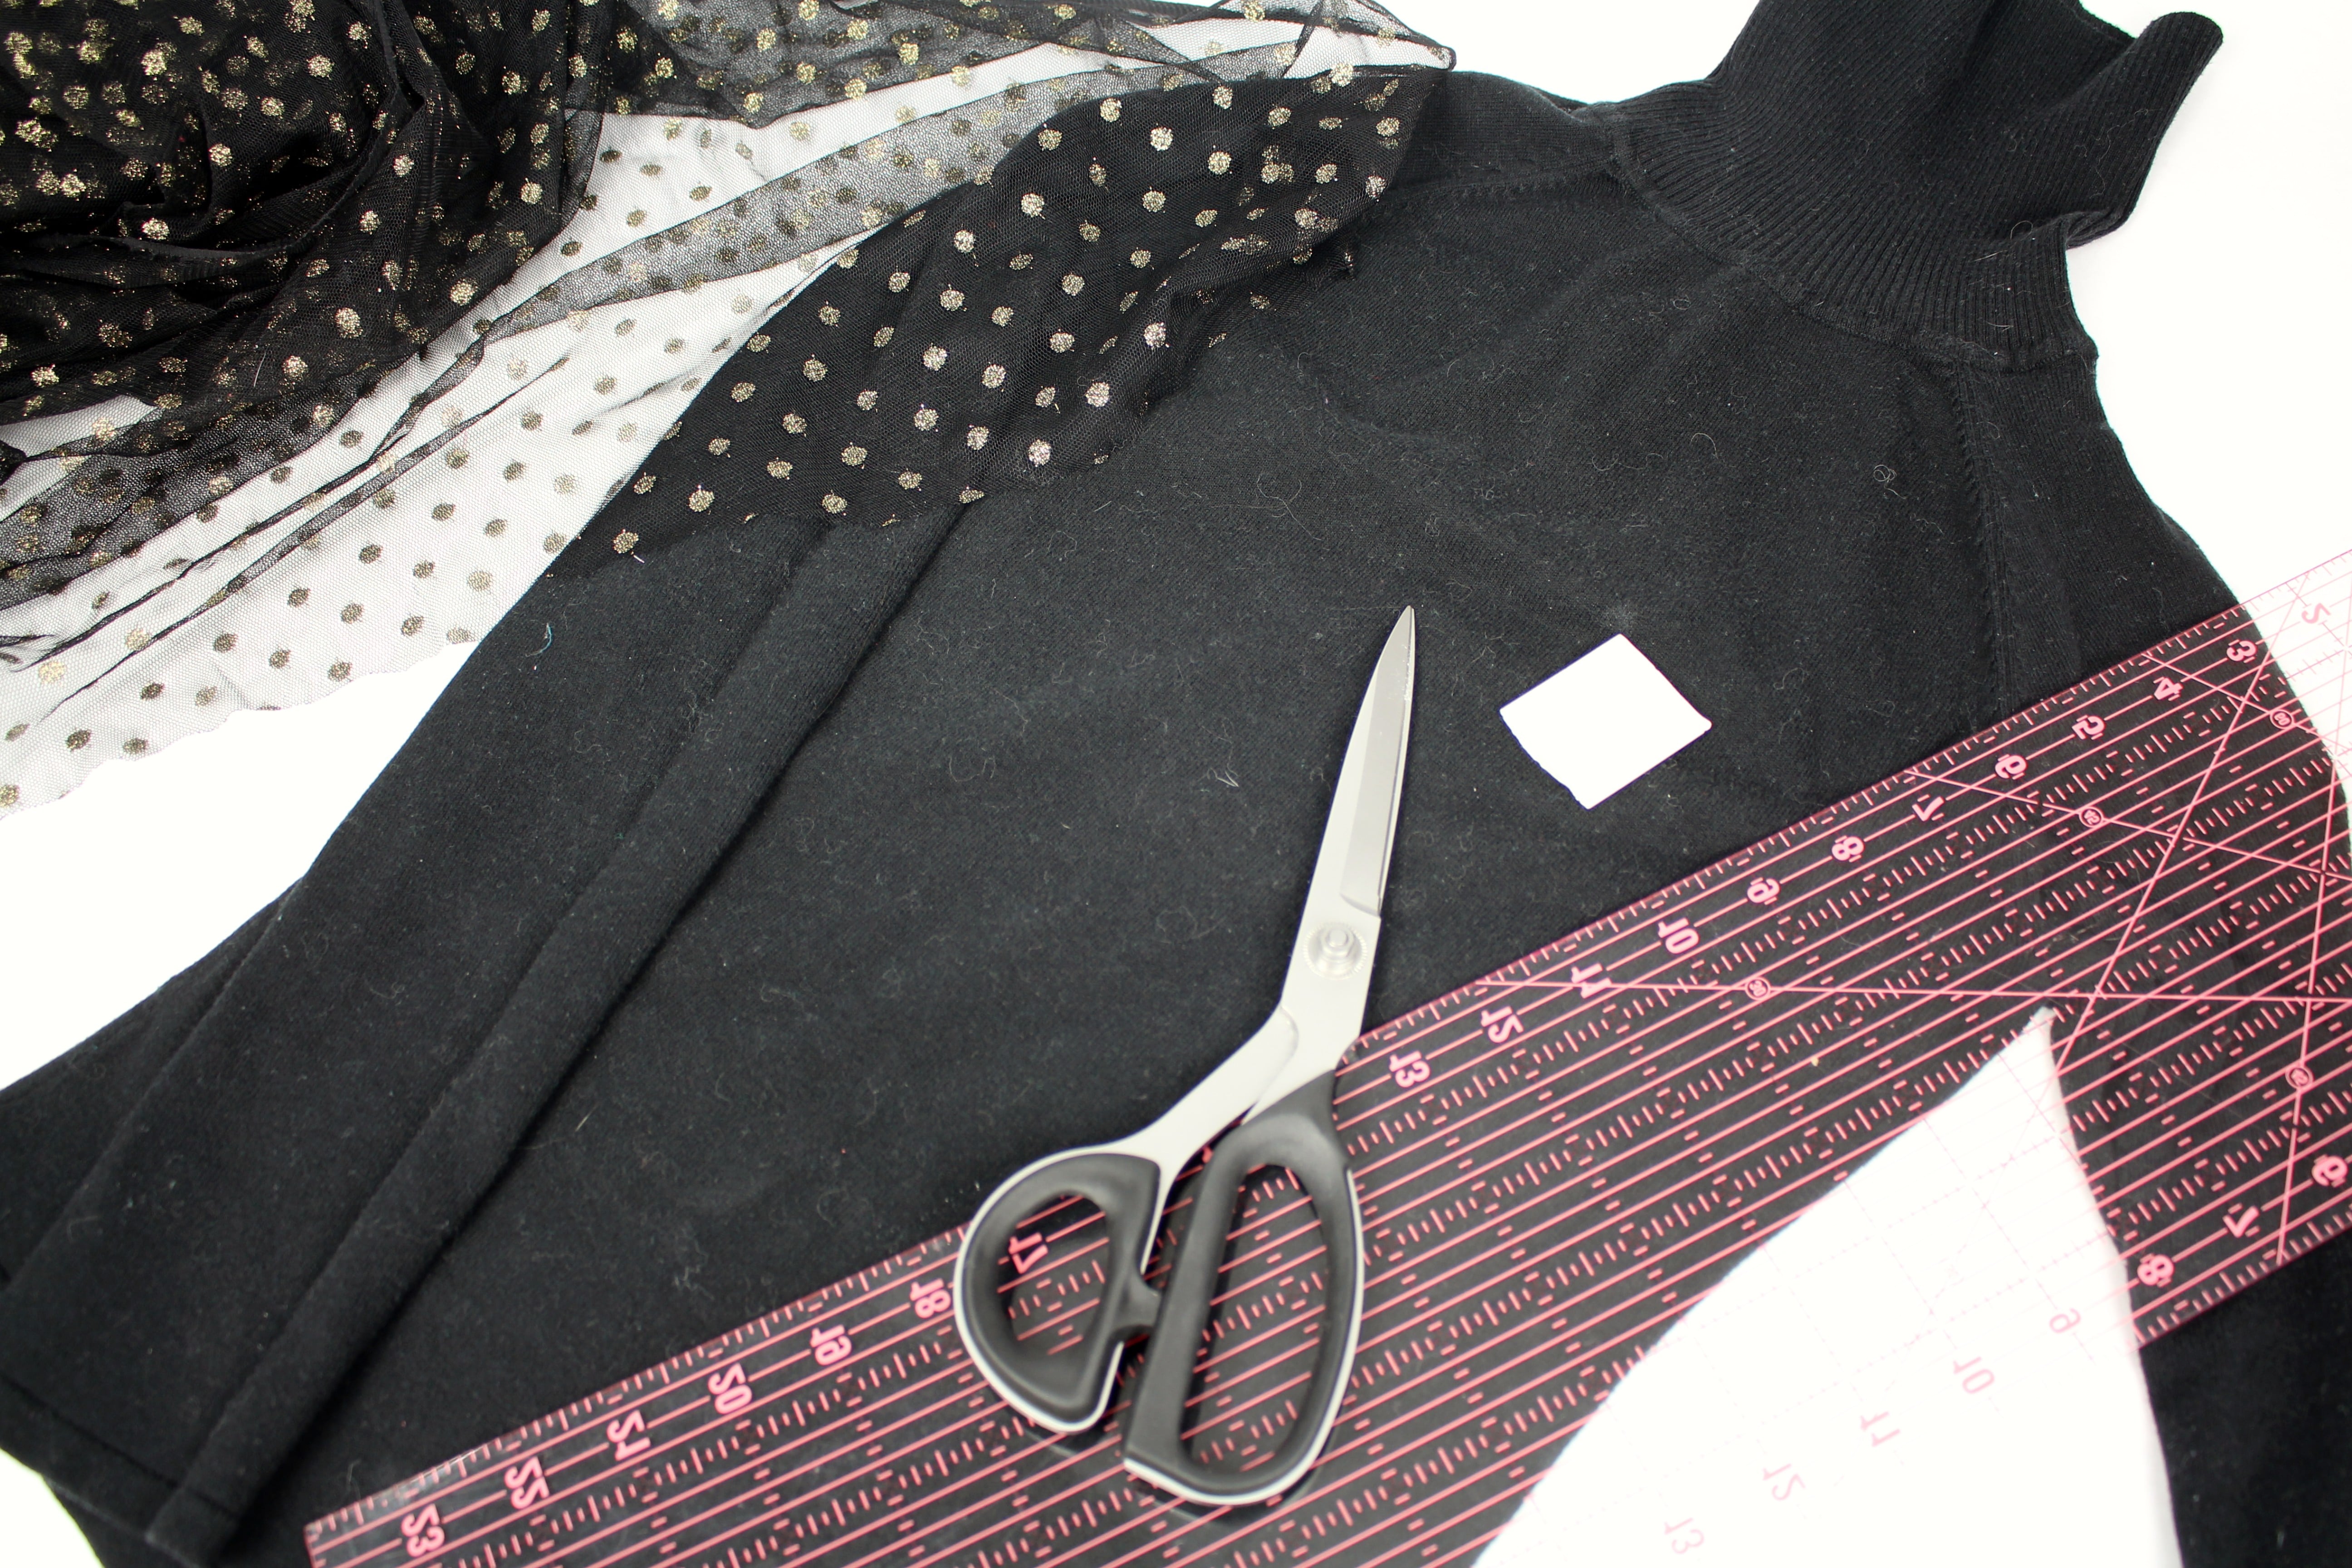
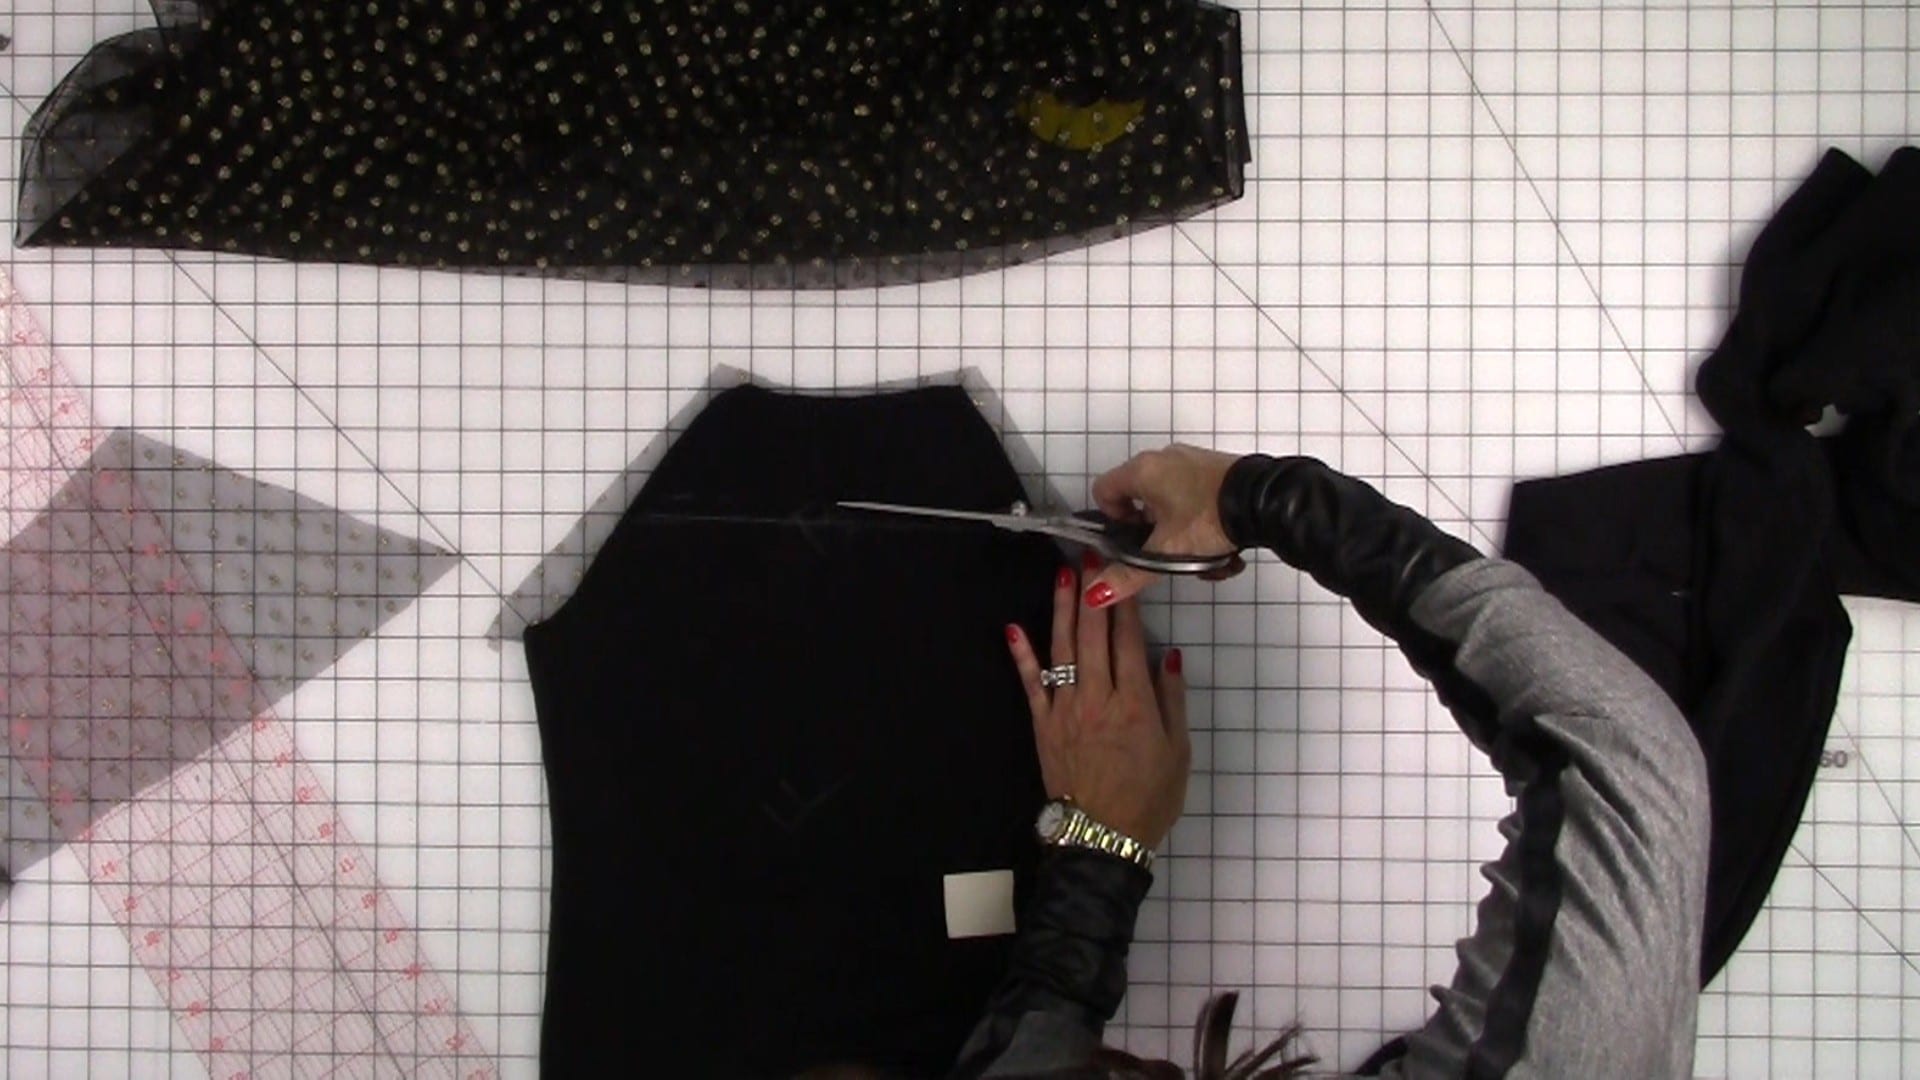
The first thing we are going to do is cut off the sleeves and collar (my turtleneck has a raglan sleeve, but any sleeve style will work). Cut inside of the sleeve seamline and underneath the collar. Save the sleeves to use as a pattern.

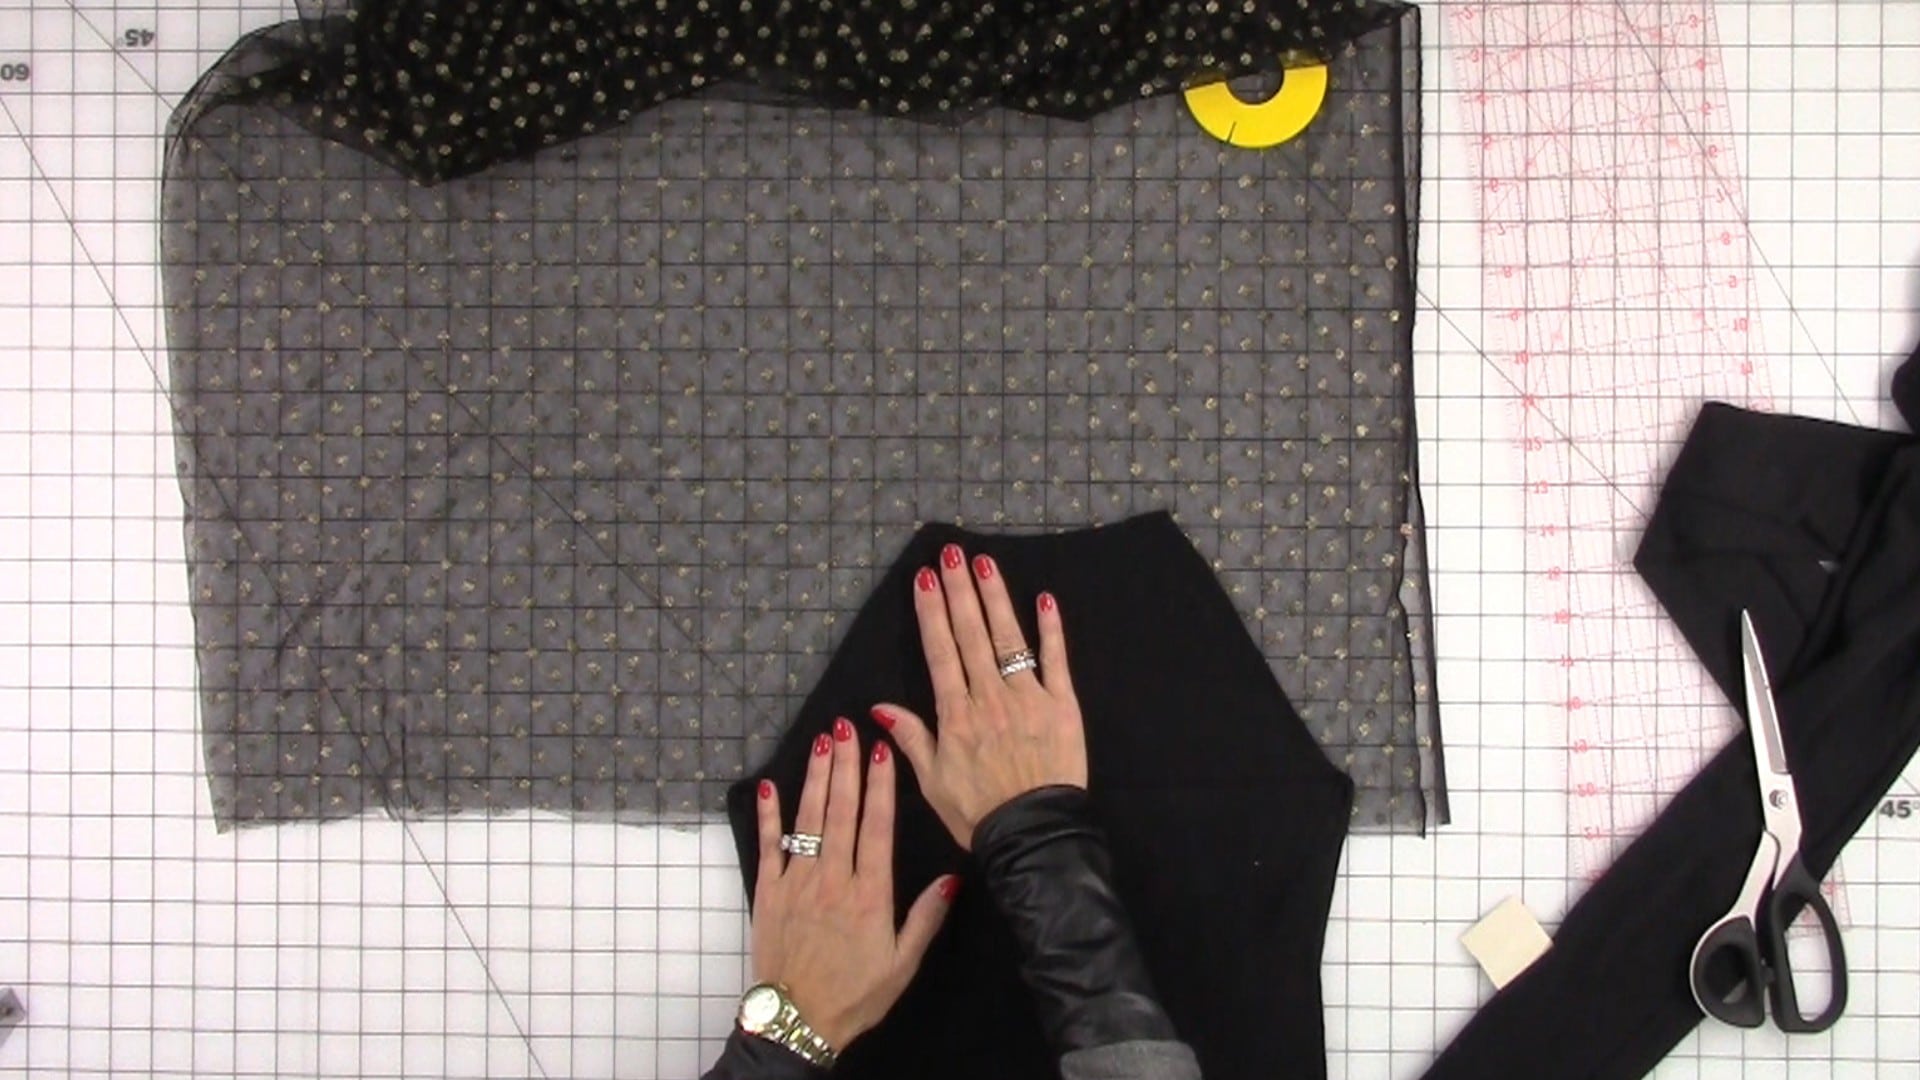
Mark the back of the sweater: Trace the back for the sweater outline onto the tulle fabric from the underarm up.
Mark a line across the sweater where you want the sweater fabric to meet the tulle fabric. Add a seam allowance and cut. Align the sweater with the tulle fabric. add a seam allowance onto the tulle fabric and cut. (the video below shows all these steps in detail).
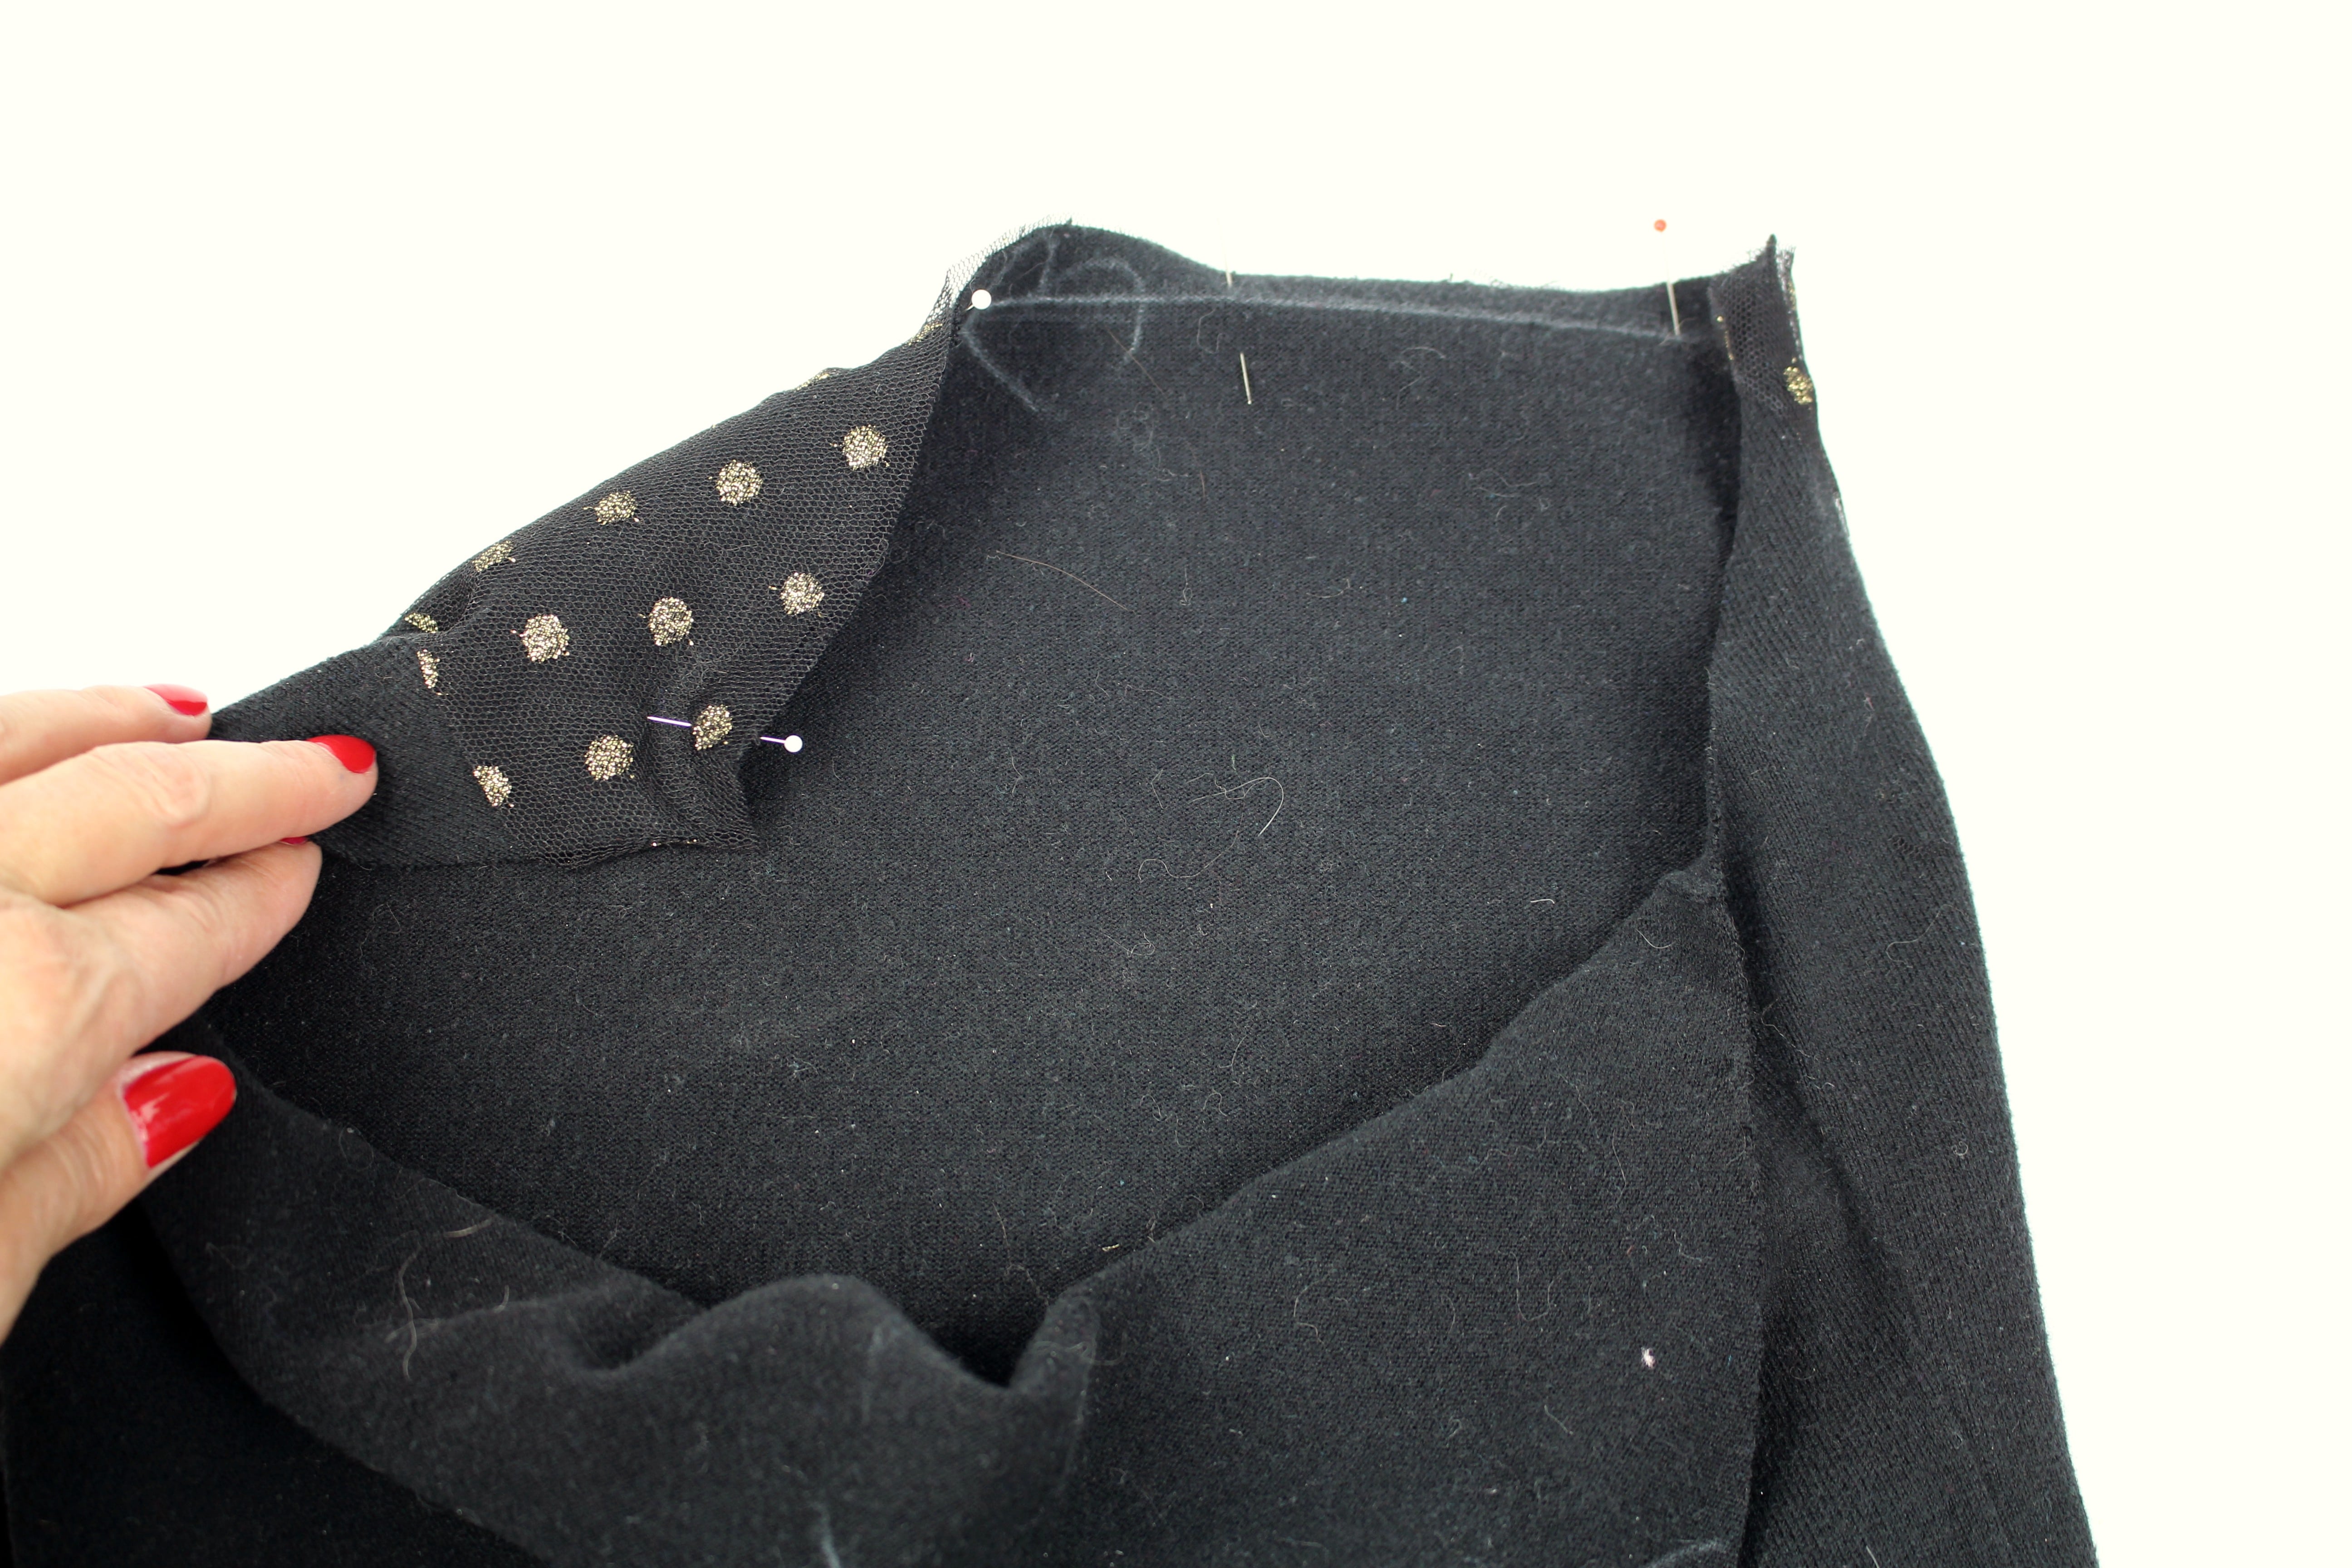
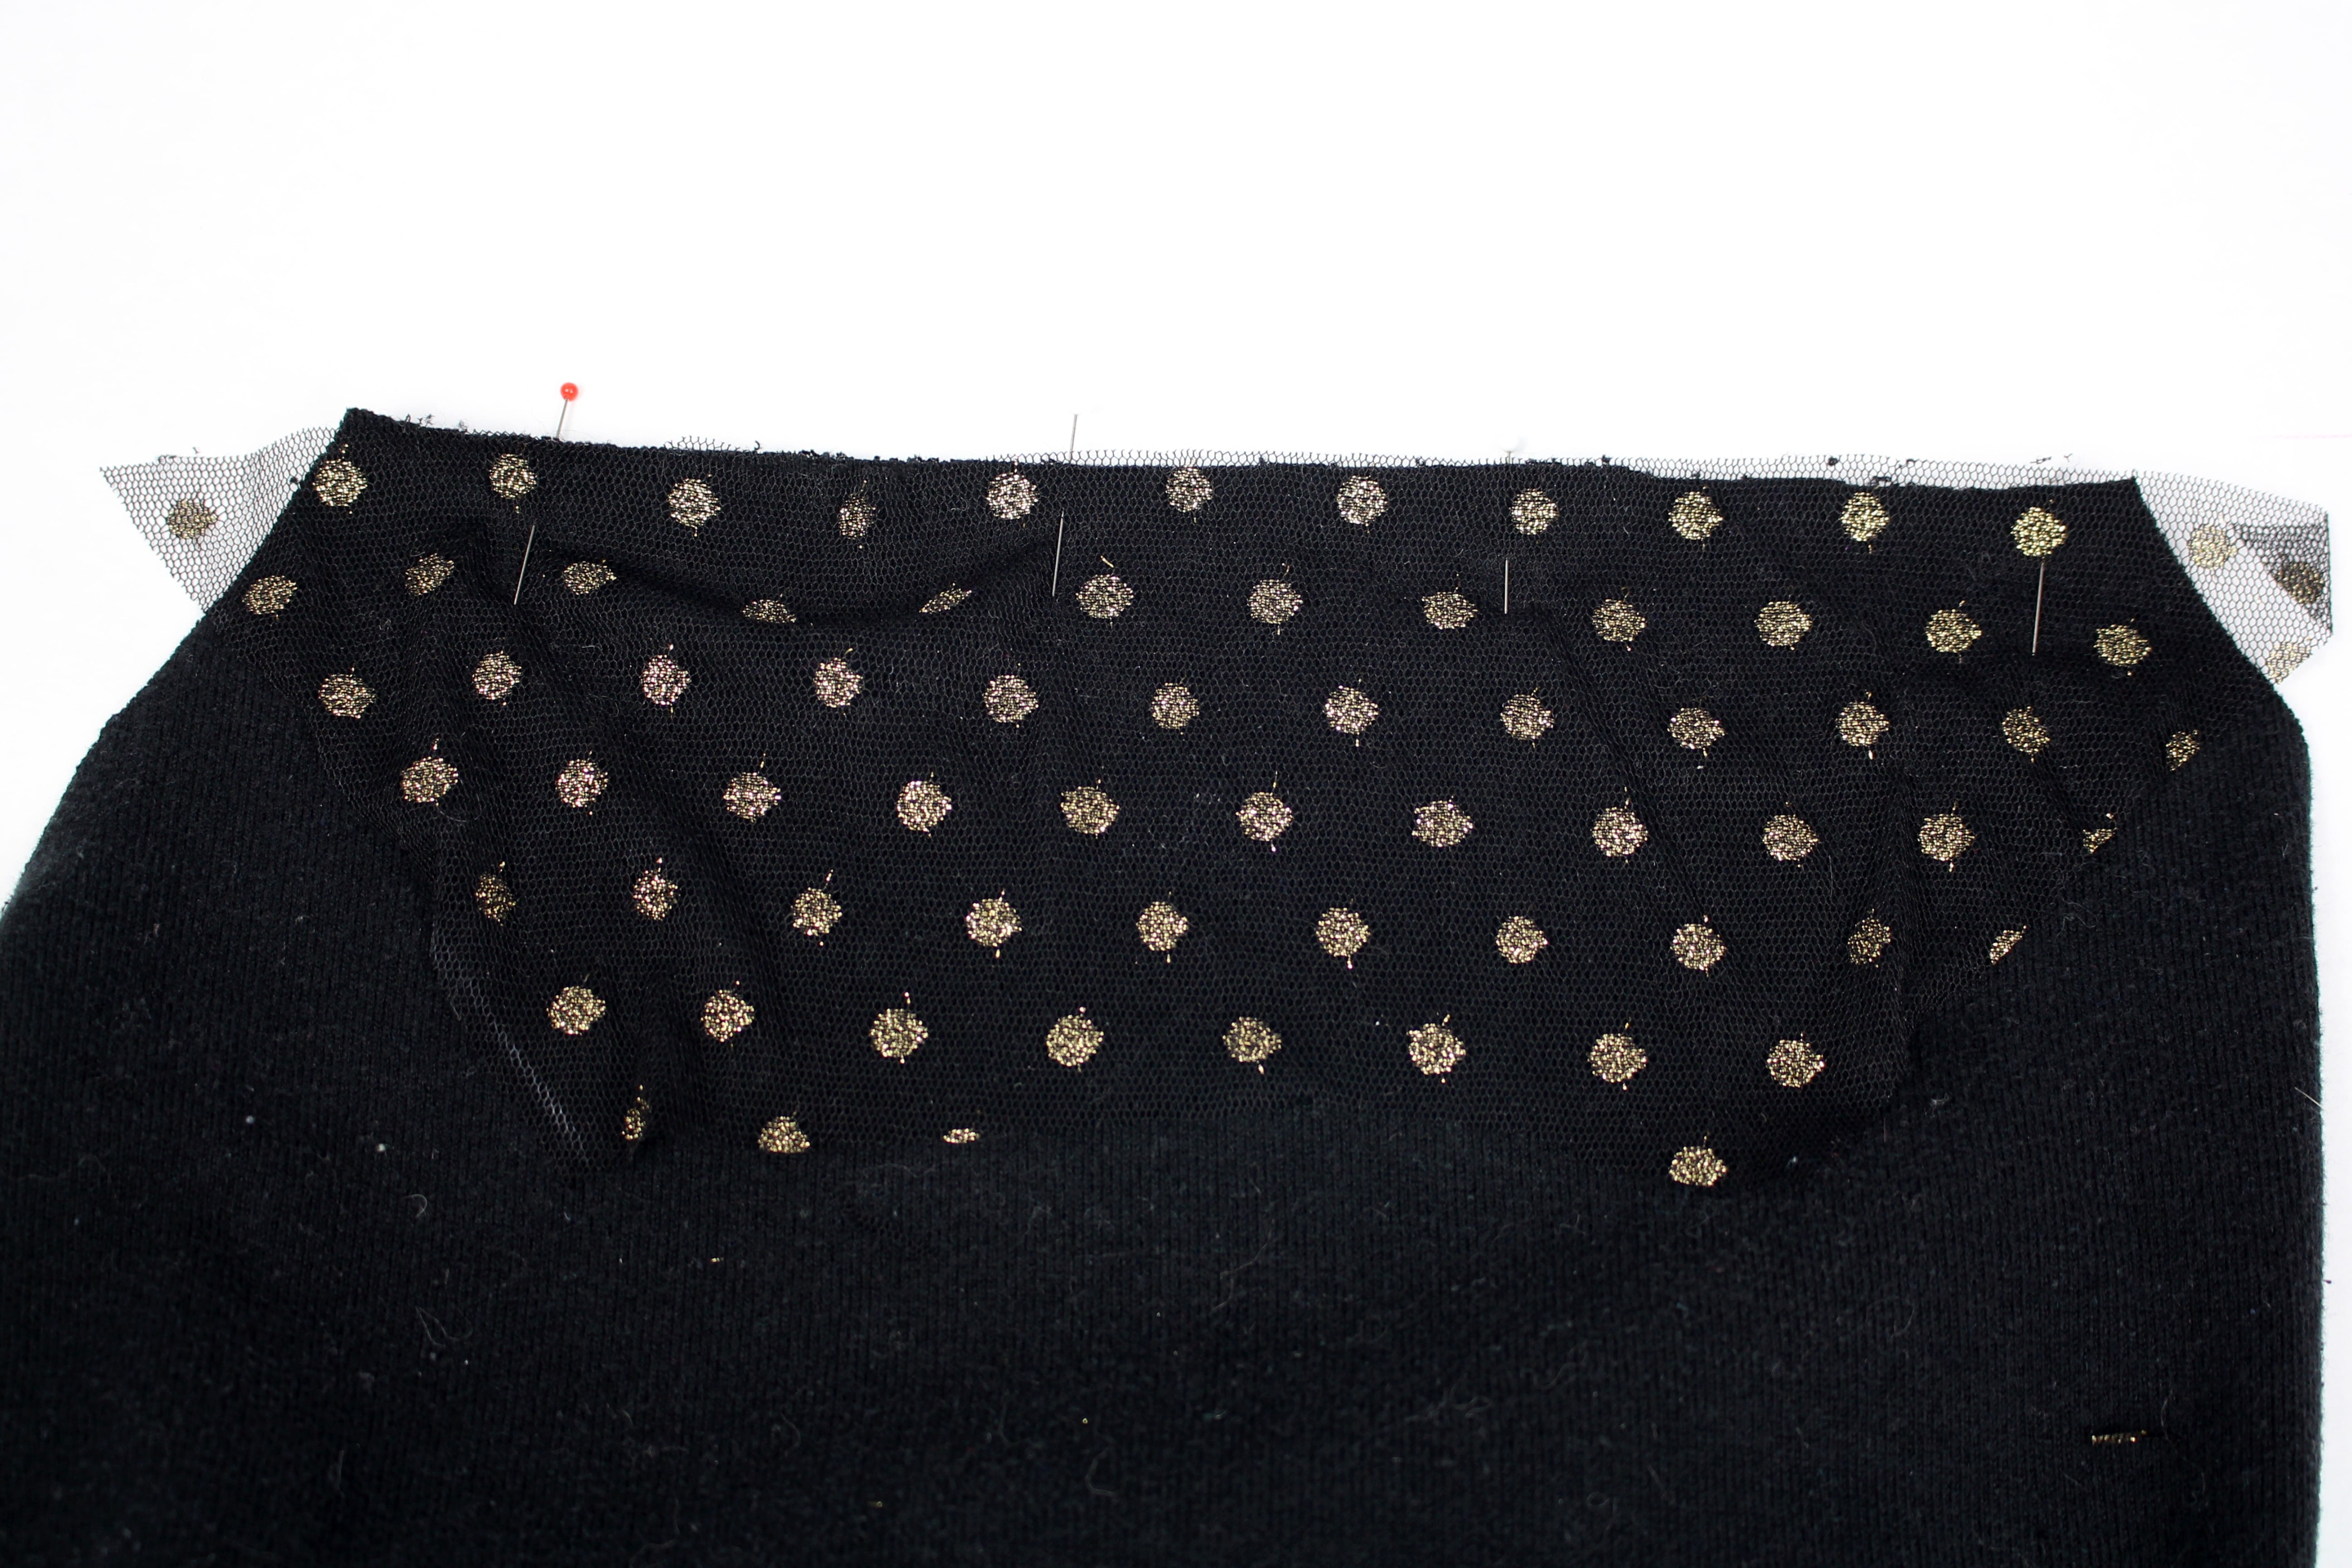
With right sides together, pin the tulle fabric to the sweater fabric.
Click on the video below to watch the full tutorial or head over to my post as a Brother Expert Consultant on the Brother Stitching Sewcial.
Are you going to try this cute restyle? Leave a comment below and tell me what you think 🙂
Cheers,

The page you requested could not be found. Try refining your search, or use the navigation above to locate the post.


I was so excited to see this new double sided top coverstitch machine by Brother! I can think of so many applications for these decorative stitches including sportswear, decorative stitching, chainstitch, hemming knits, and so much more. I am going to start a set of tutorials with the top cover stitch machine by showing you an in-depth look at threading the machine, including the top cover thread. At first it might look intimidating, but threading is quite simple.
Start by taking you machine out of the box and remove the packaging tape. You will find a dust cover, manual (always keep that handy), a plug with pedal attachment, accessory box, and DVD. If you have more than one machine in your sewing studio here is a tip: place all machine parts in a decorative box and keep each box next to the coordinating machine.
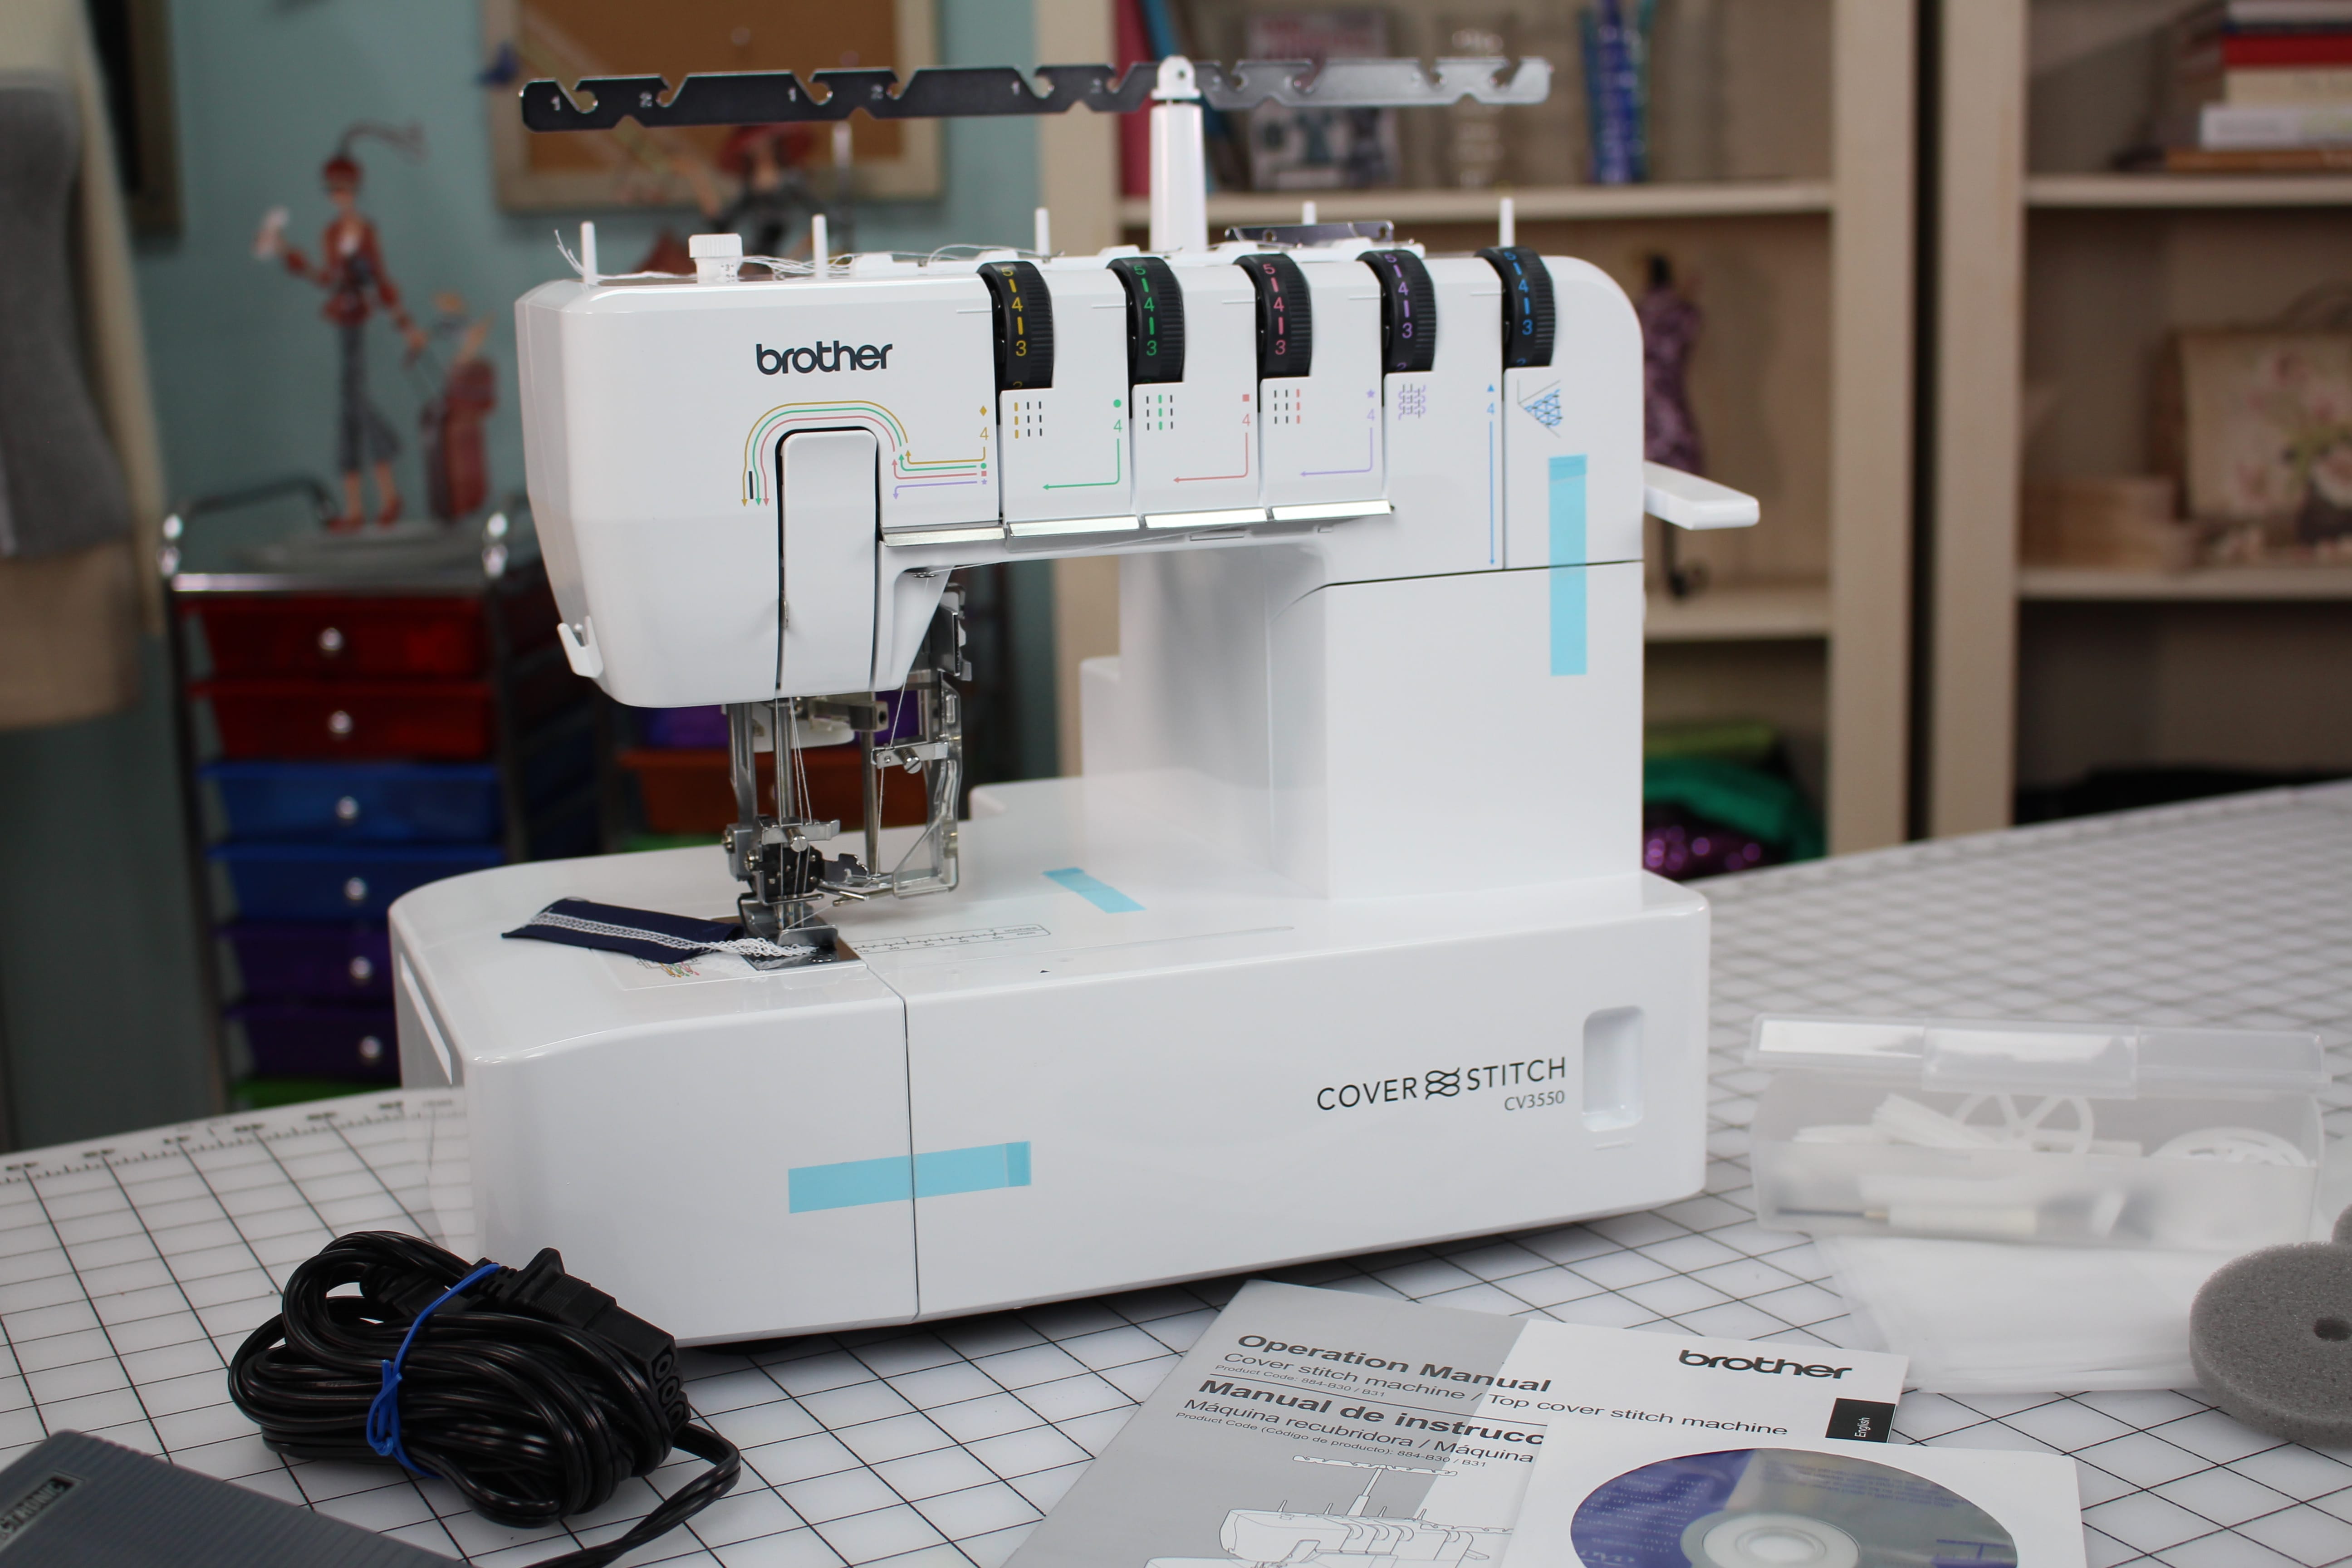
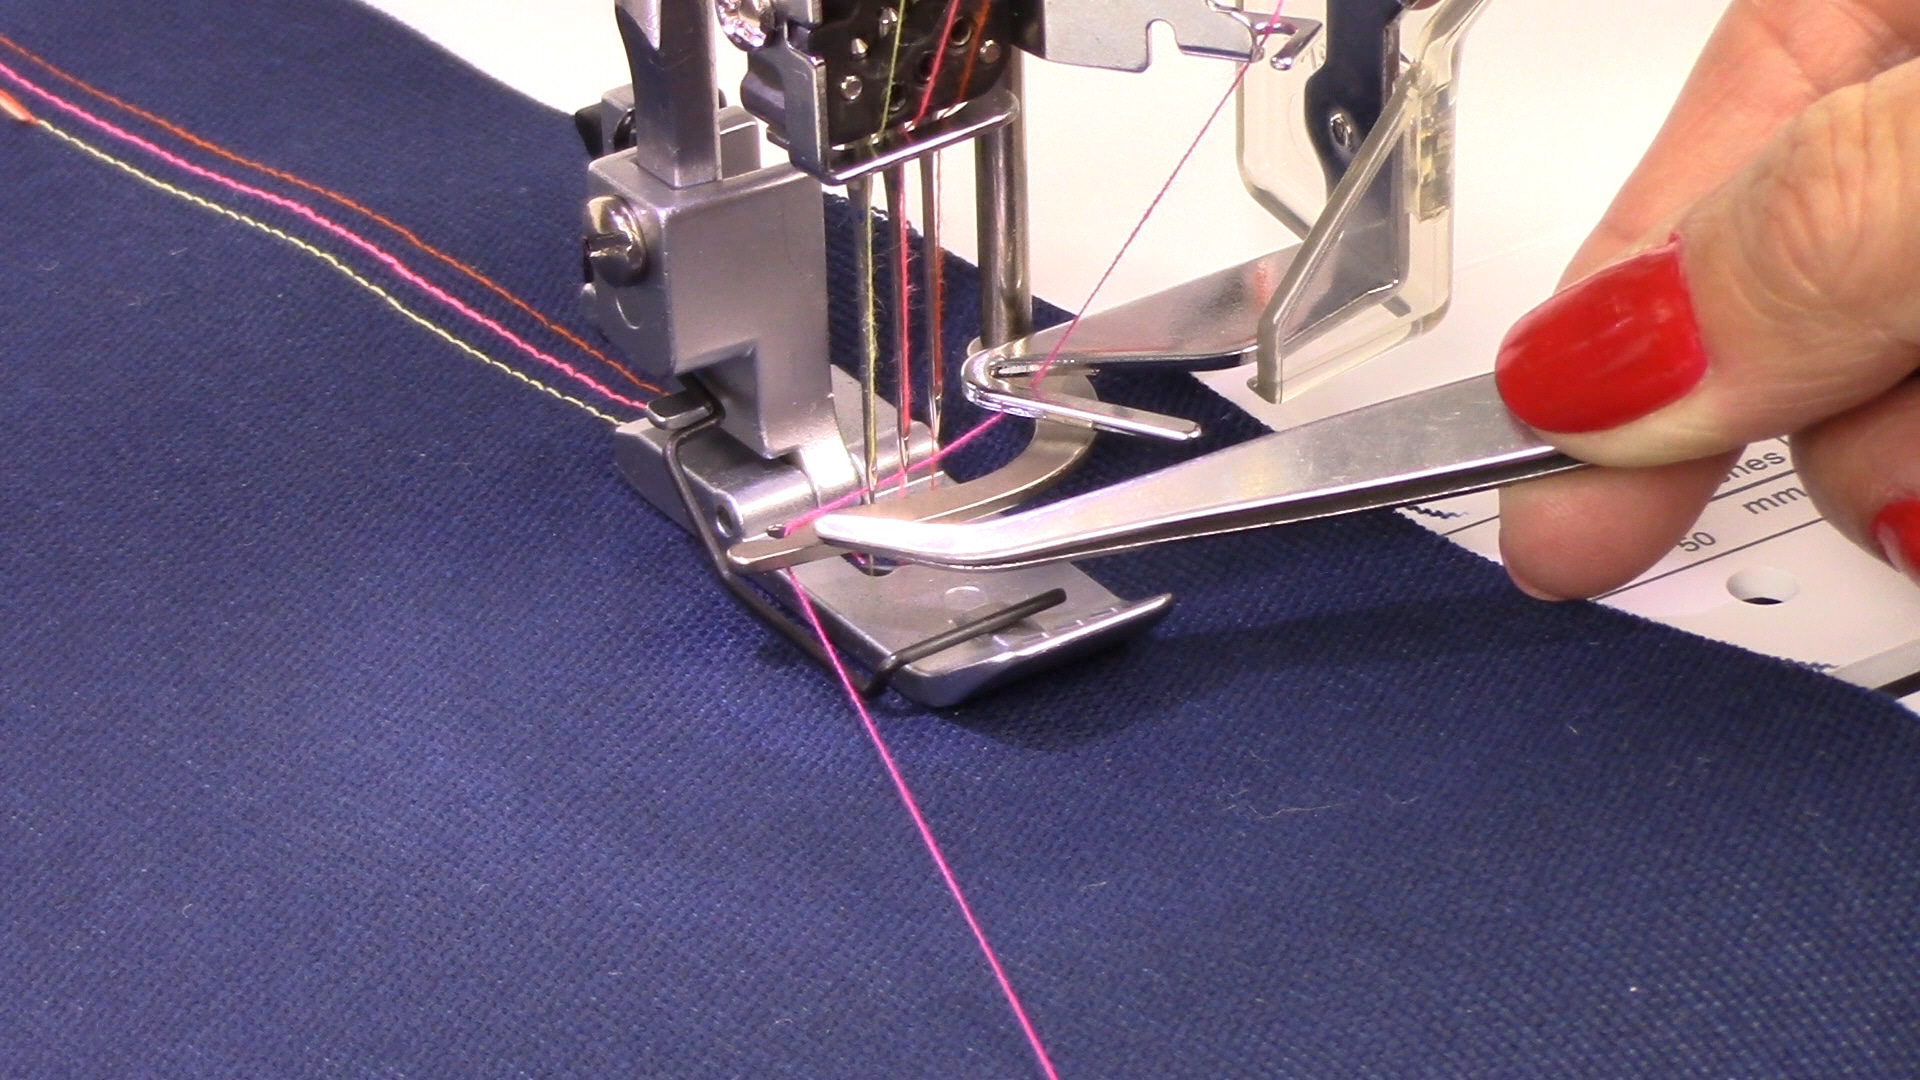
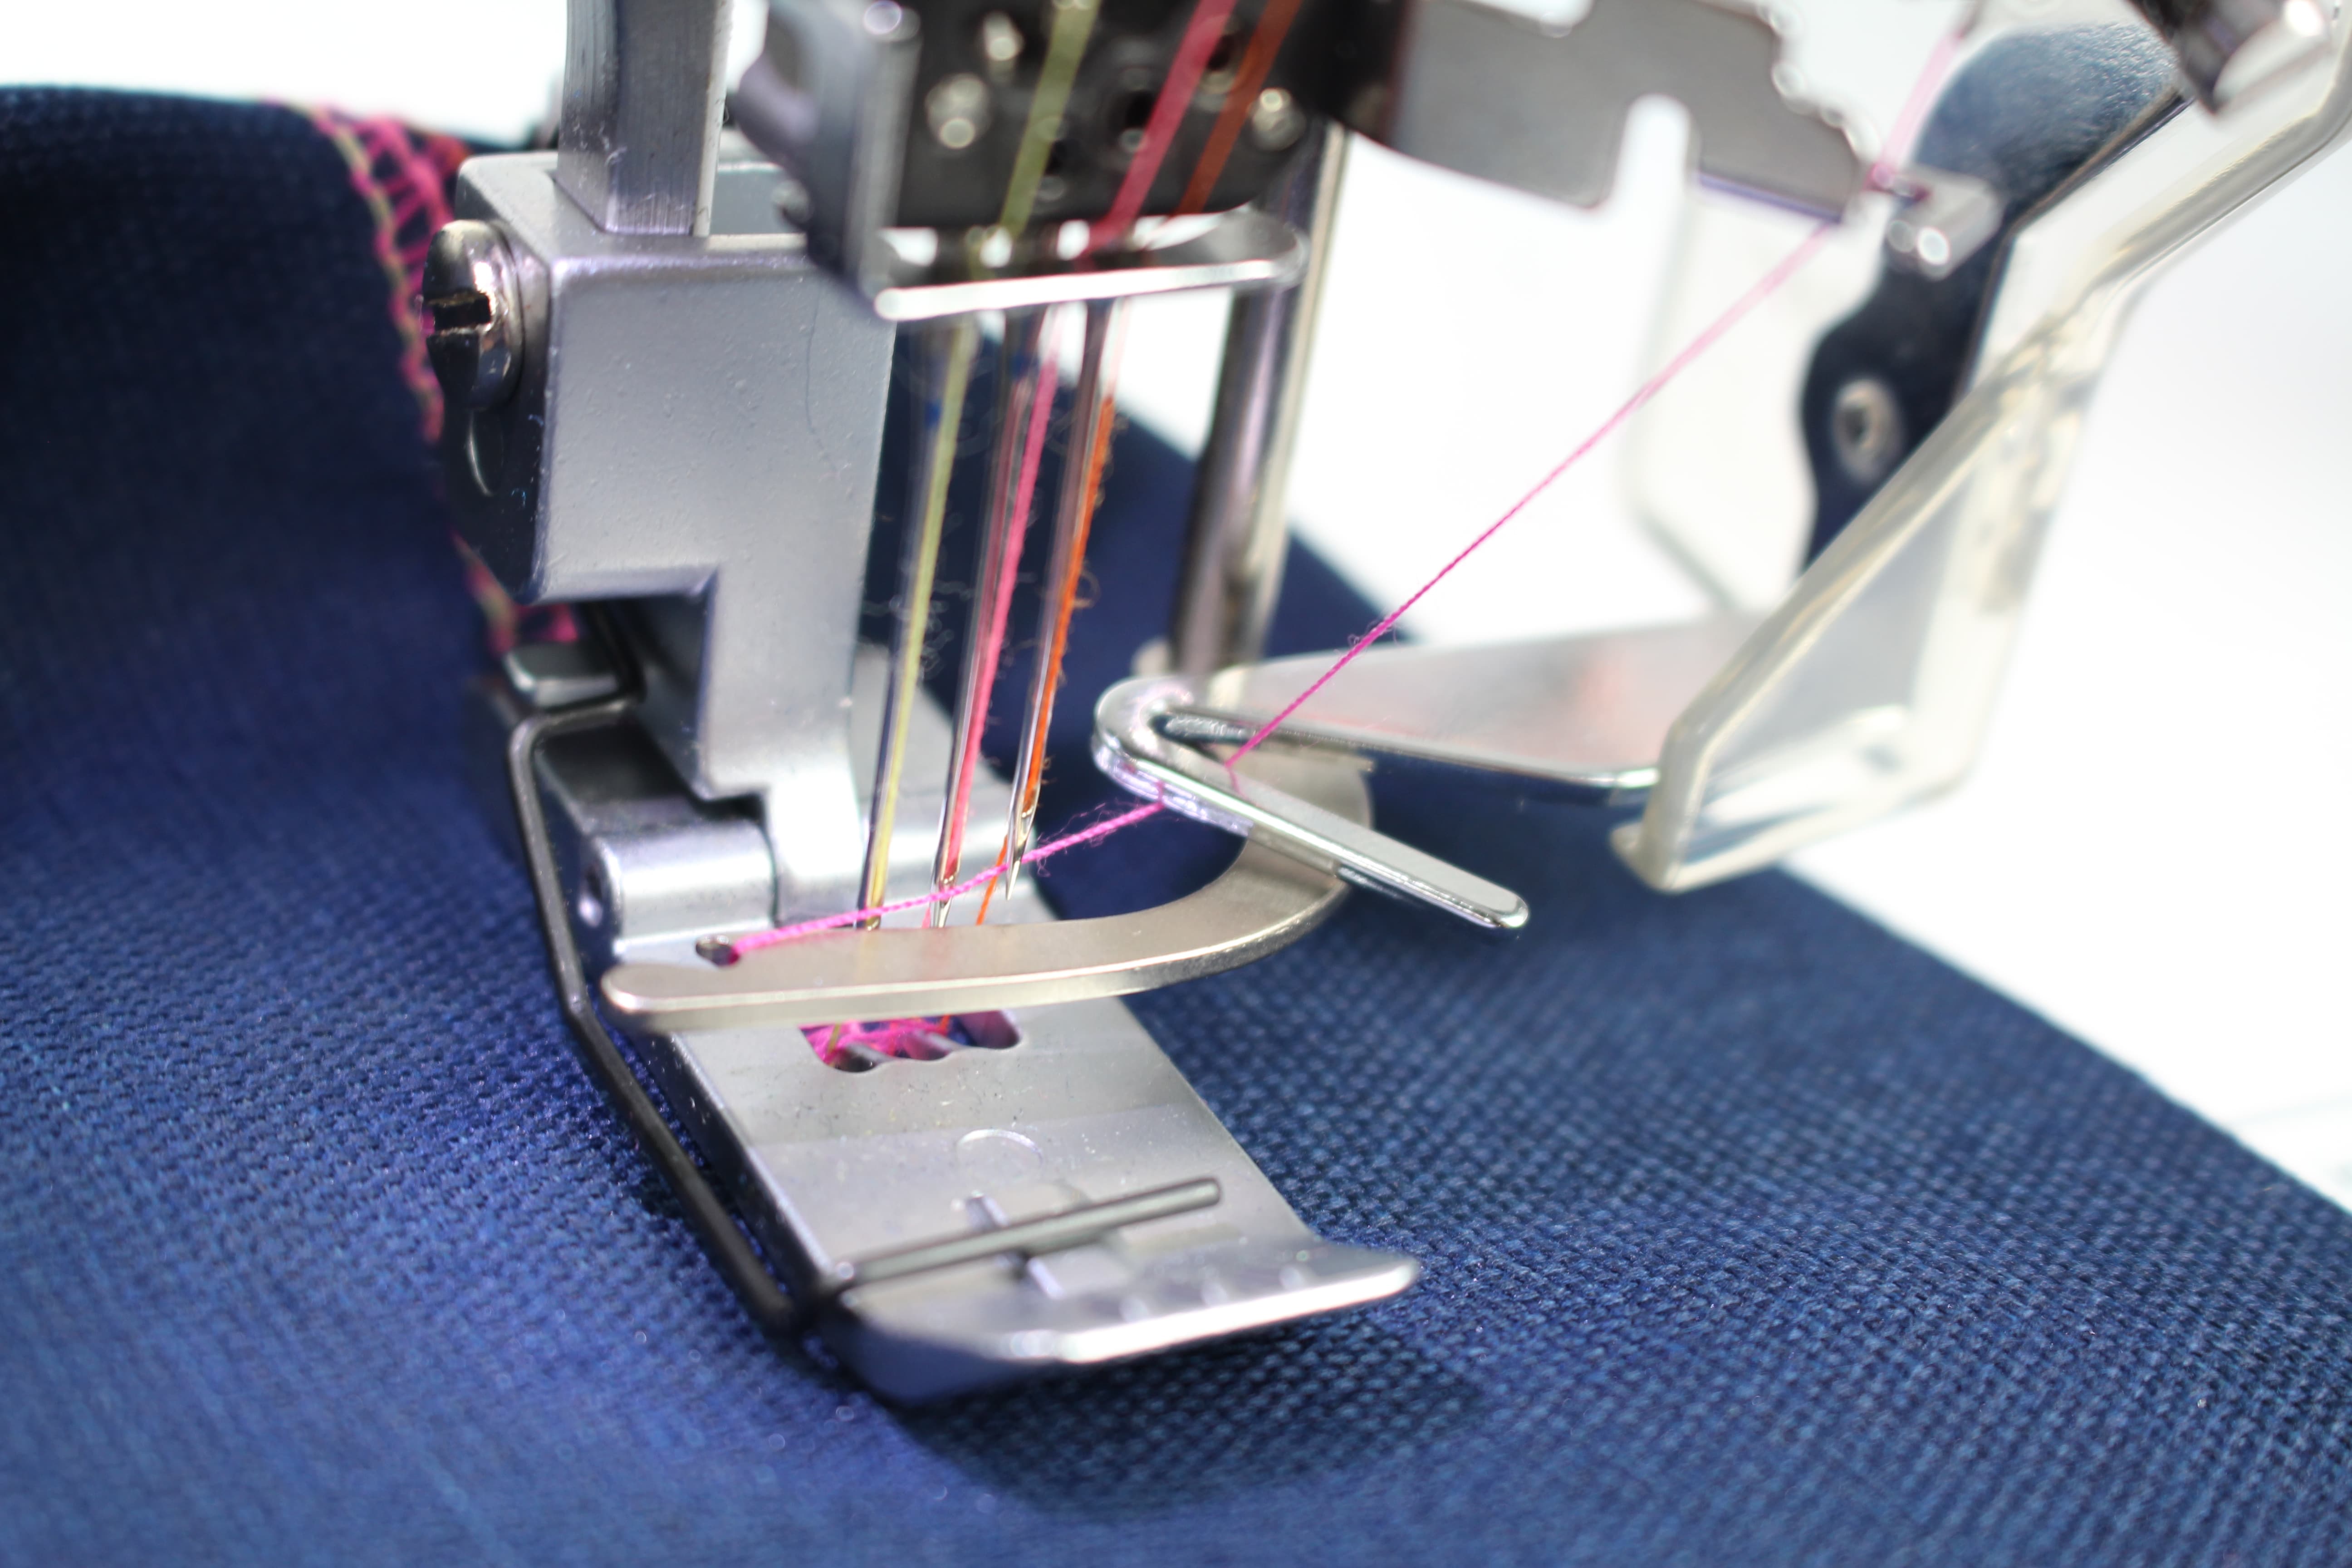
If your machine already has the top coverstitch threaders attached it will look like the photo below. If not, the video will show you how to remove and reattach these parts. You will need 5 spools of serger thread to thread the entire machine (I am going to use different colors so you can see a little better). When threading the coverstitch machine, start with the looper which is the spool on the far right side. You will then move onto threading the needles. For this demonstration I am using all three needles.
To read the full blog about threading the coverstitch machine, head over to my post as a Brother Expert Consultant on the Brother Stitching Sewcial.

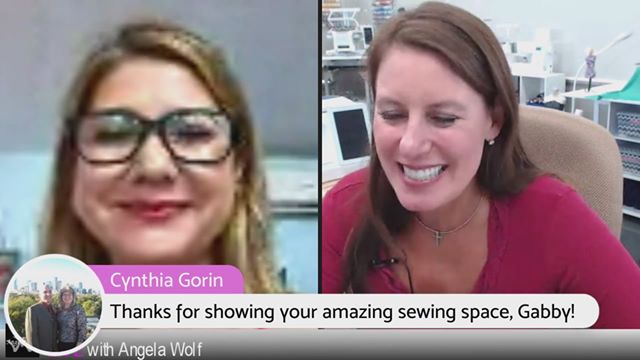
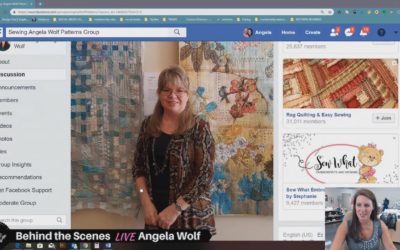
Episode 94 Behind the Scenes LIVE with Angela Wolf Special guest Gabby shows off her sewing space and shares sewing room tips and tricks for organizing! Then take a closer look at the Luminaire, which I am unboxing as we speak See you soon! Angela
Episode 93 Behind the Scenes Live with Angela Wolf ... Let's Drape a Wrap Skirt, studio move update, and our usual live Q&A See you soon, Angela
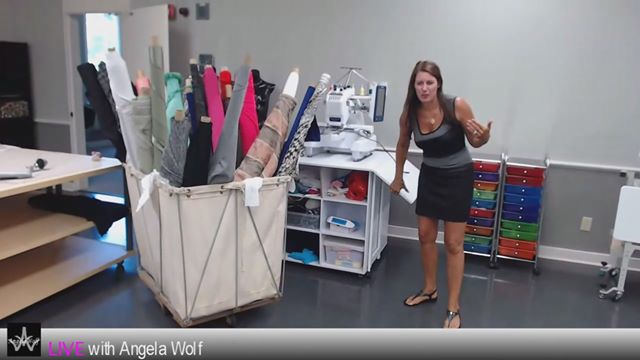
Episode 92 Behind the Scenes with Angela Wolf LIVE at the new studio!
Episode 91 Behind the Scenes LIVE with Angela Wolf - talking a recap of the Brother B2B convention, a look at the fabrics for It's Sew Easy projects, and new building update!
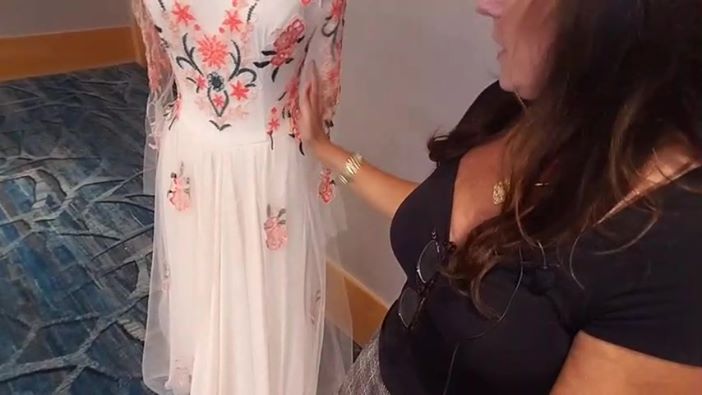
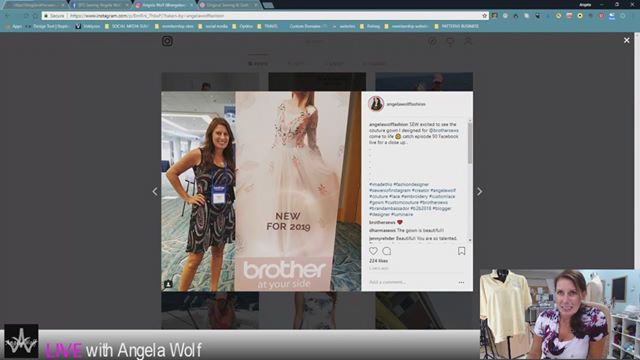
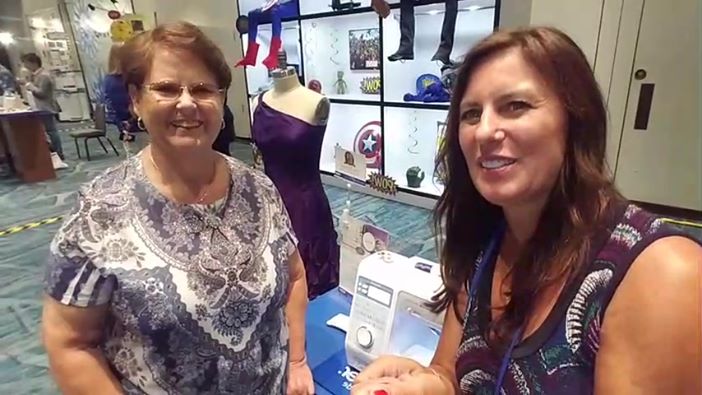
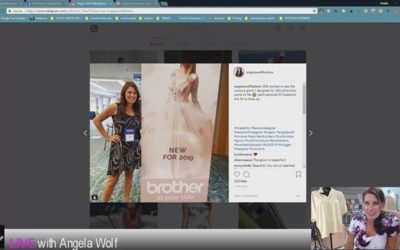
Episode 90 behind the scenes Live in Orlando, Florida at the Brother Sews B2B convention showing off my gowns and embroidered dresses, the new Luminaire Innovis-XP1 and the travel sewing machine NS80PRW. And say hi to Joanne Banko and Cindy Hogan Cynthia's Embroidery...
Live with Sandy in Orlando at Brother B2B
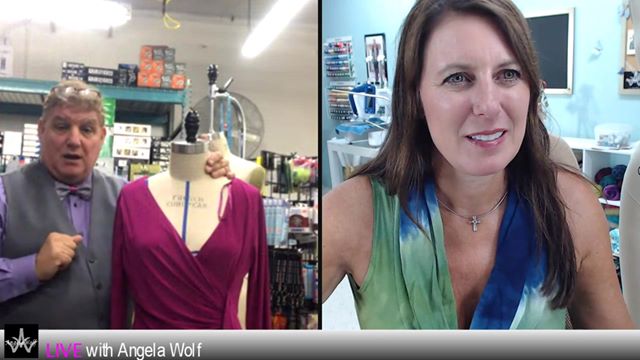
Episode 89 Behind the Scenes LIVE with Angela Wolf talking with Joe Vecchiarelli Joe shares tips for padding a dress form and what to do when you lose weight He's going to catch us up on behind the scenes with Dancing with the Stars and he has an unbelievable deal on...
Episode 88 Behind the Scenes LIVE with Angela Wolf today's guest is Mathew Boudreaux AKA Mister Domestic talking about his new fabric collection, loved to pieces month long blog party, giveaways, and more! See you soon! Angela
I am very excited to team up with Mathew Boudreaux (Mister Domestic) as part of his blog party launching his new fabric collection Loved to Pieces! I had the choice of many of his beautiful fabrics and chose a beautiful 100% rayon fabric to sew the Kate Skirt...
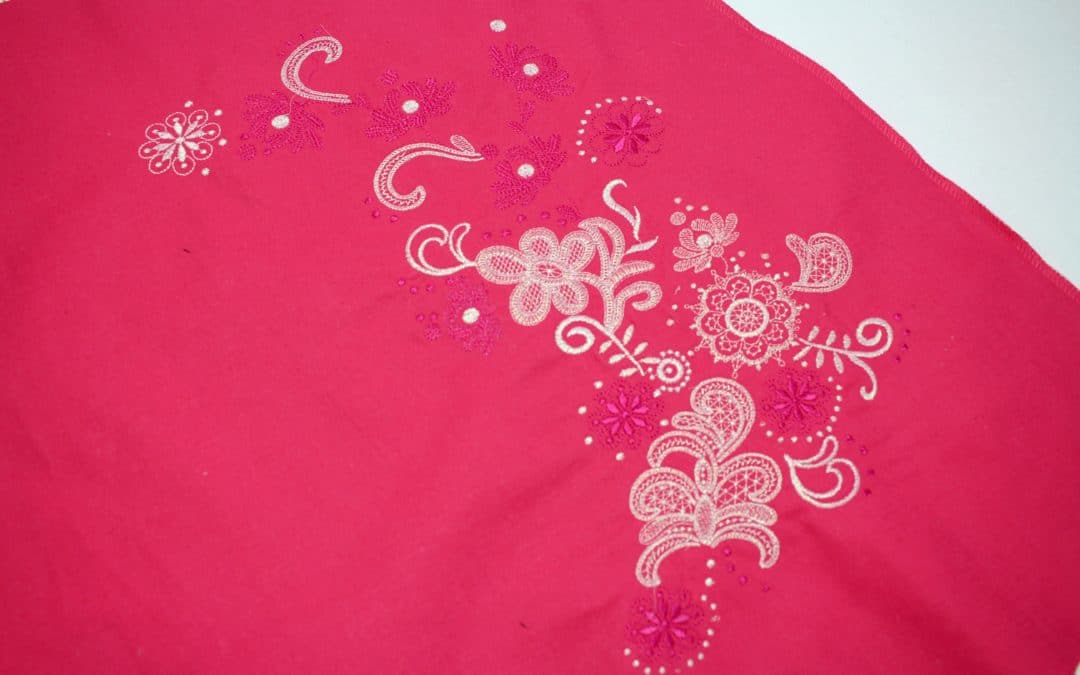
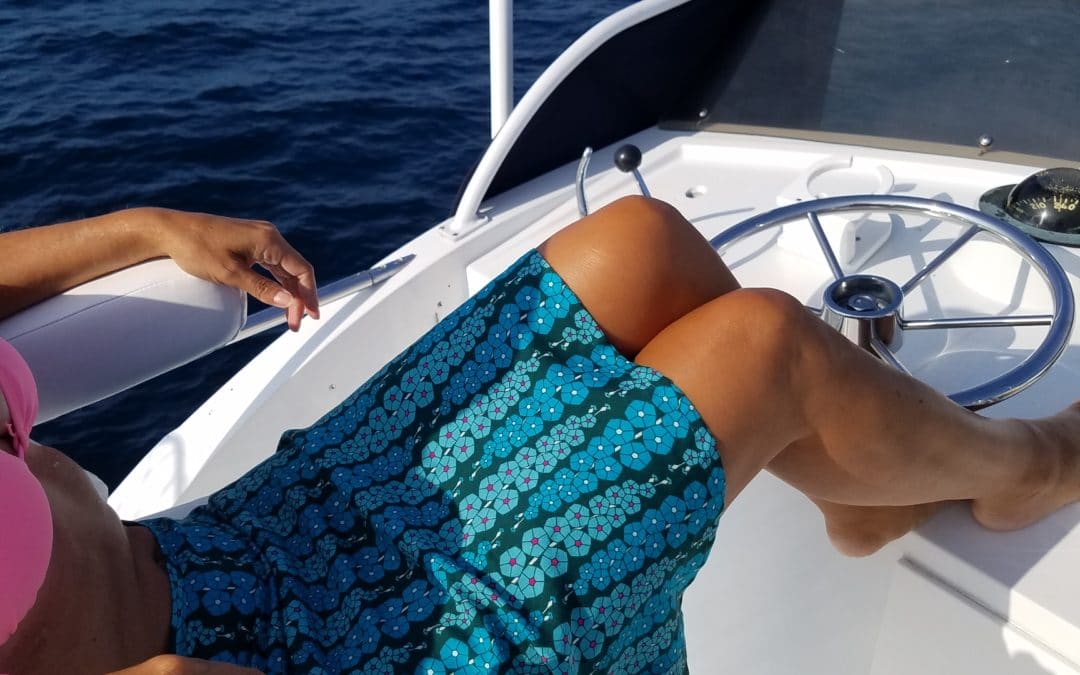
Embroidery is such a hot trend this spring! Whether you are sewing a skirt from scratch or recycling one from the back of your closet, adding a touch of embroidery can create an entirely fresh look. Keep in mind this would look great on a dress too ?
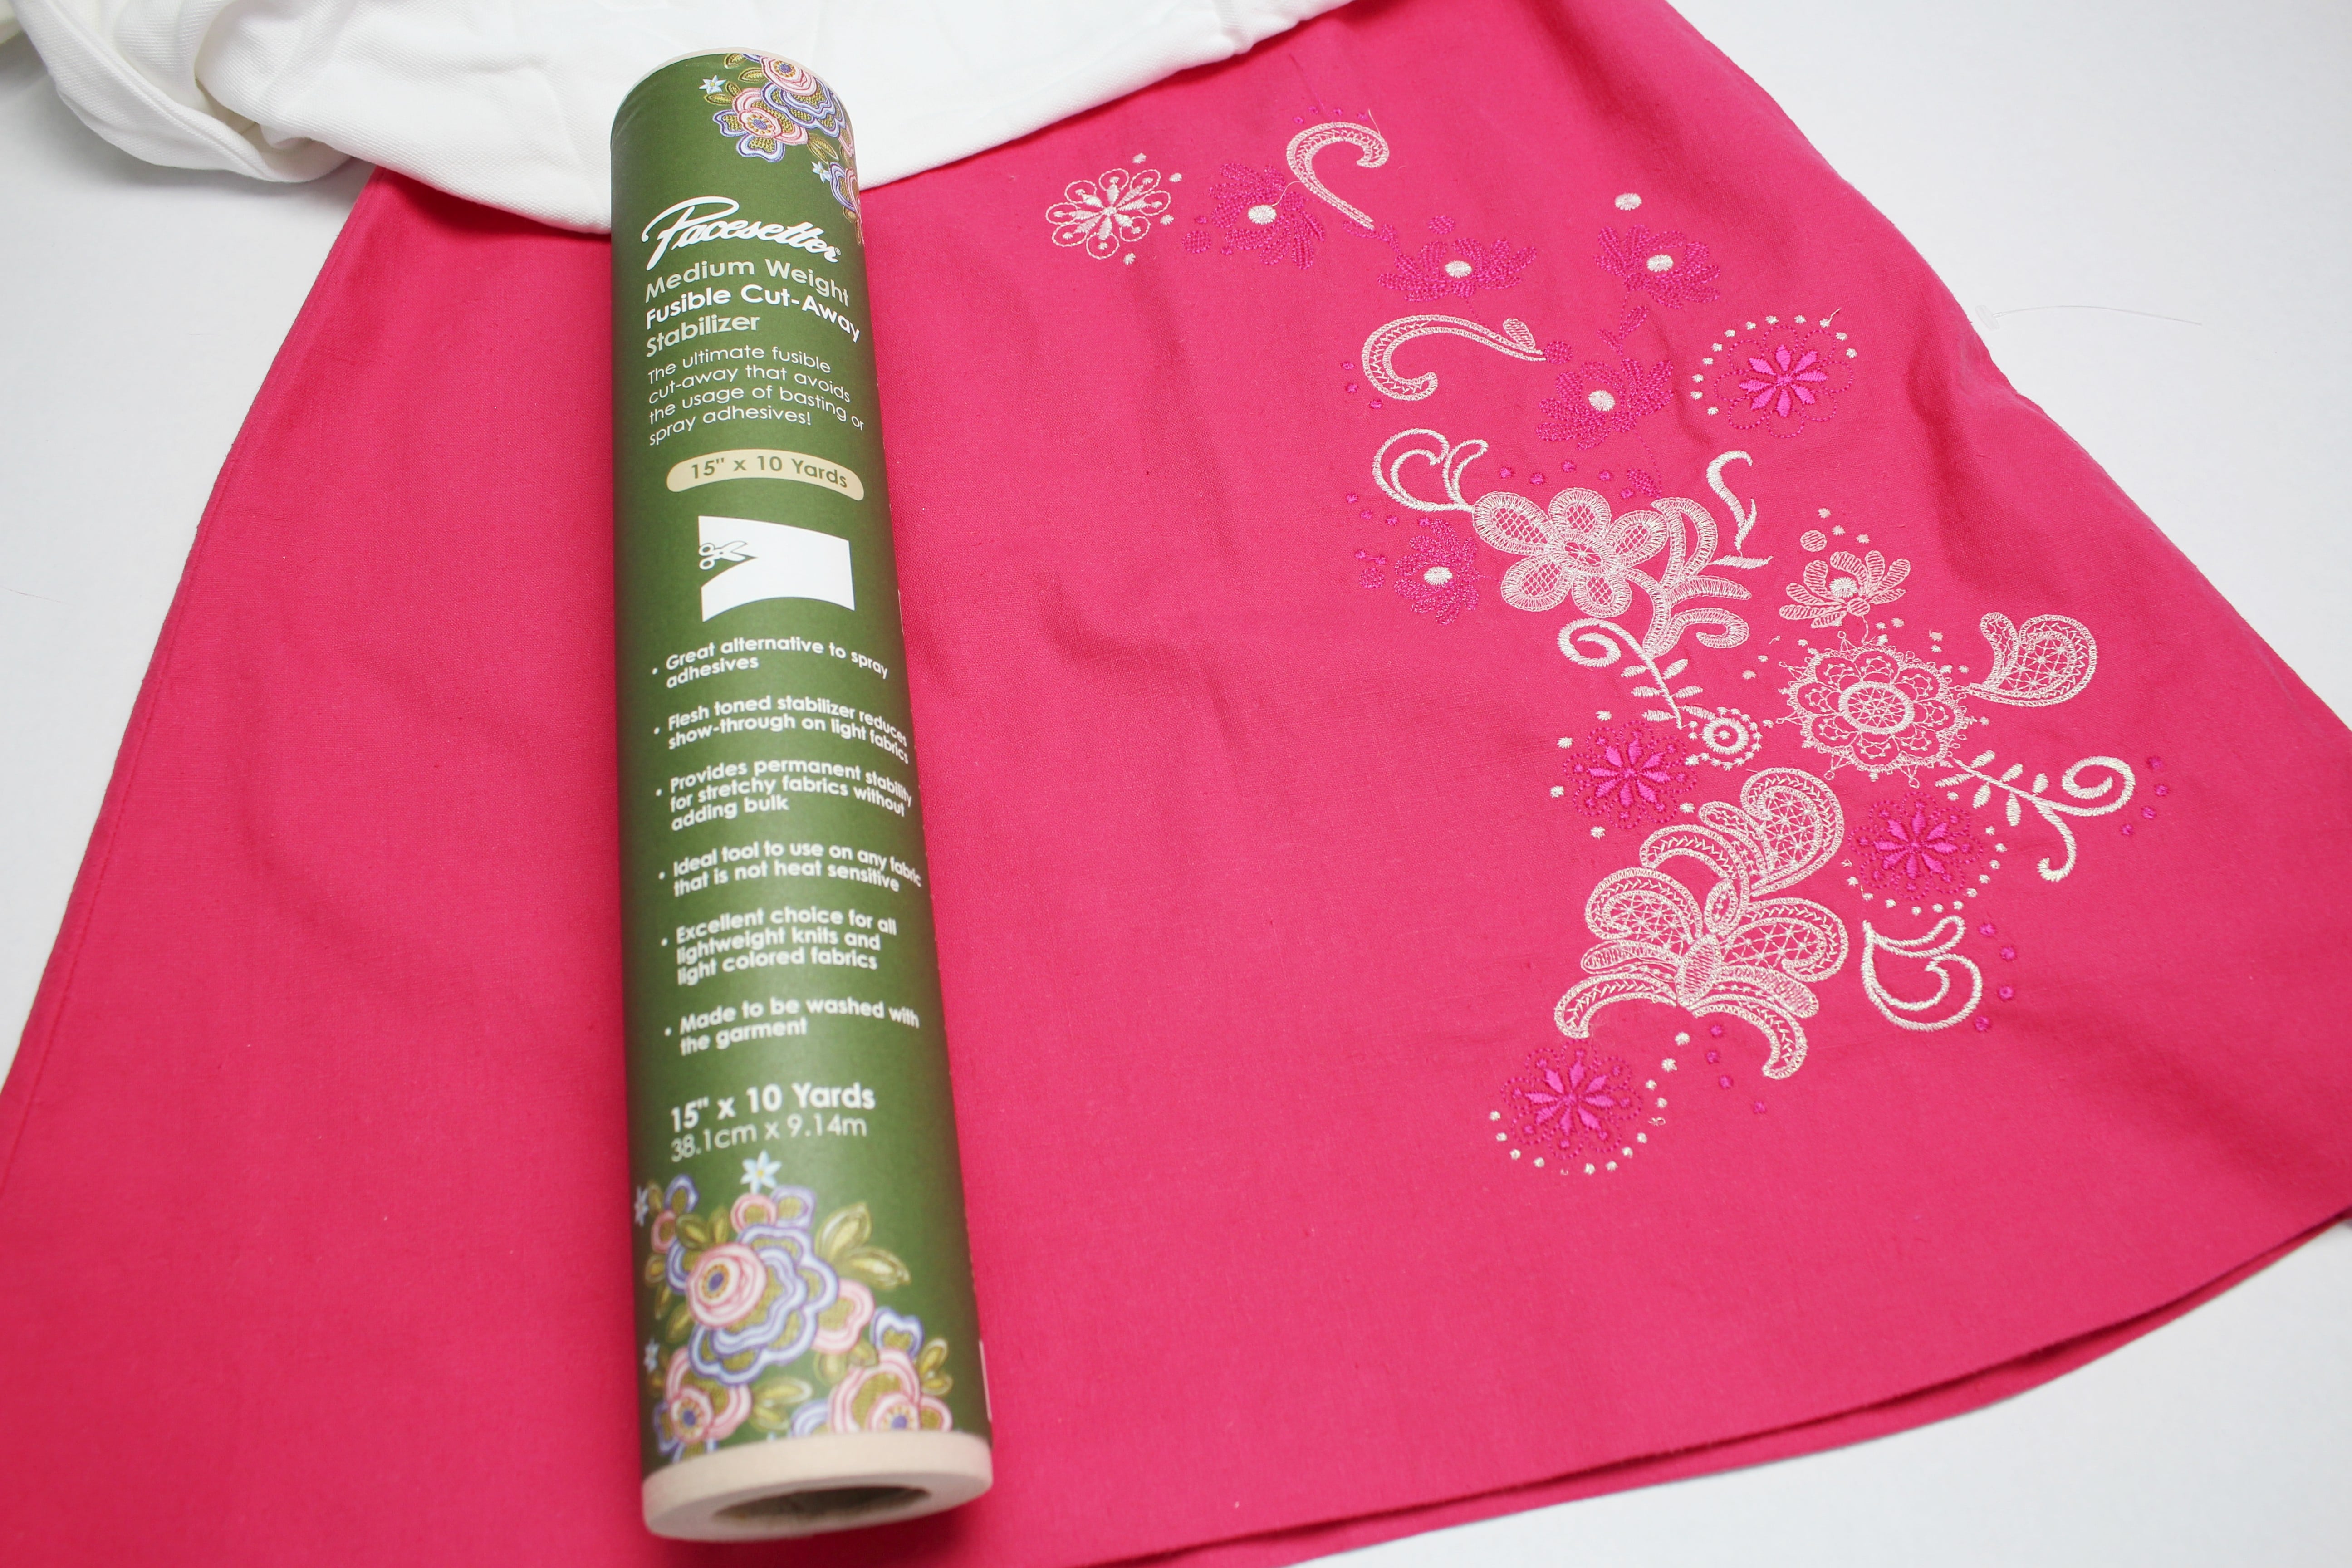
Supplies:
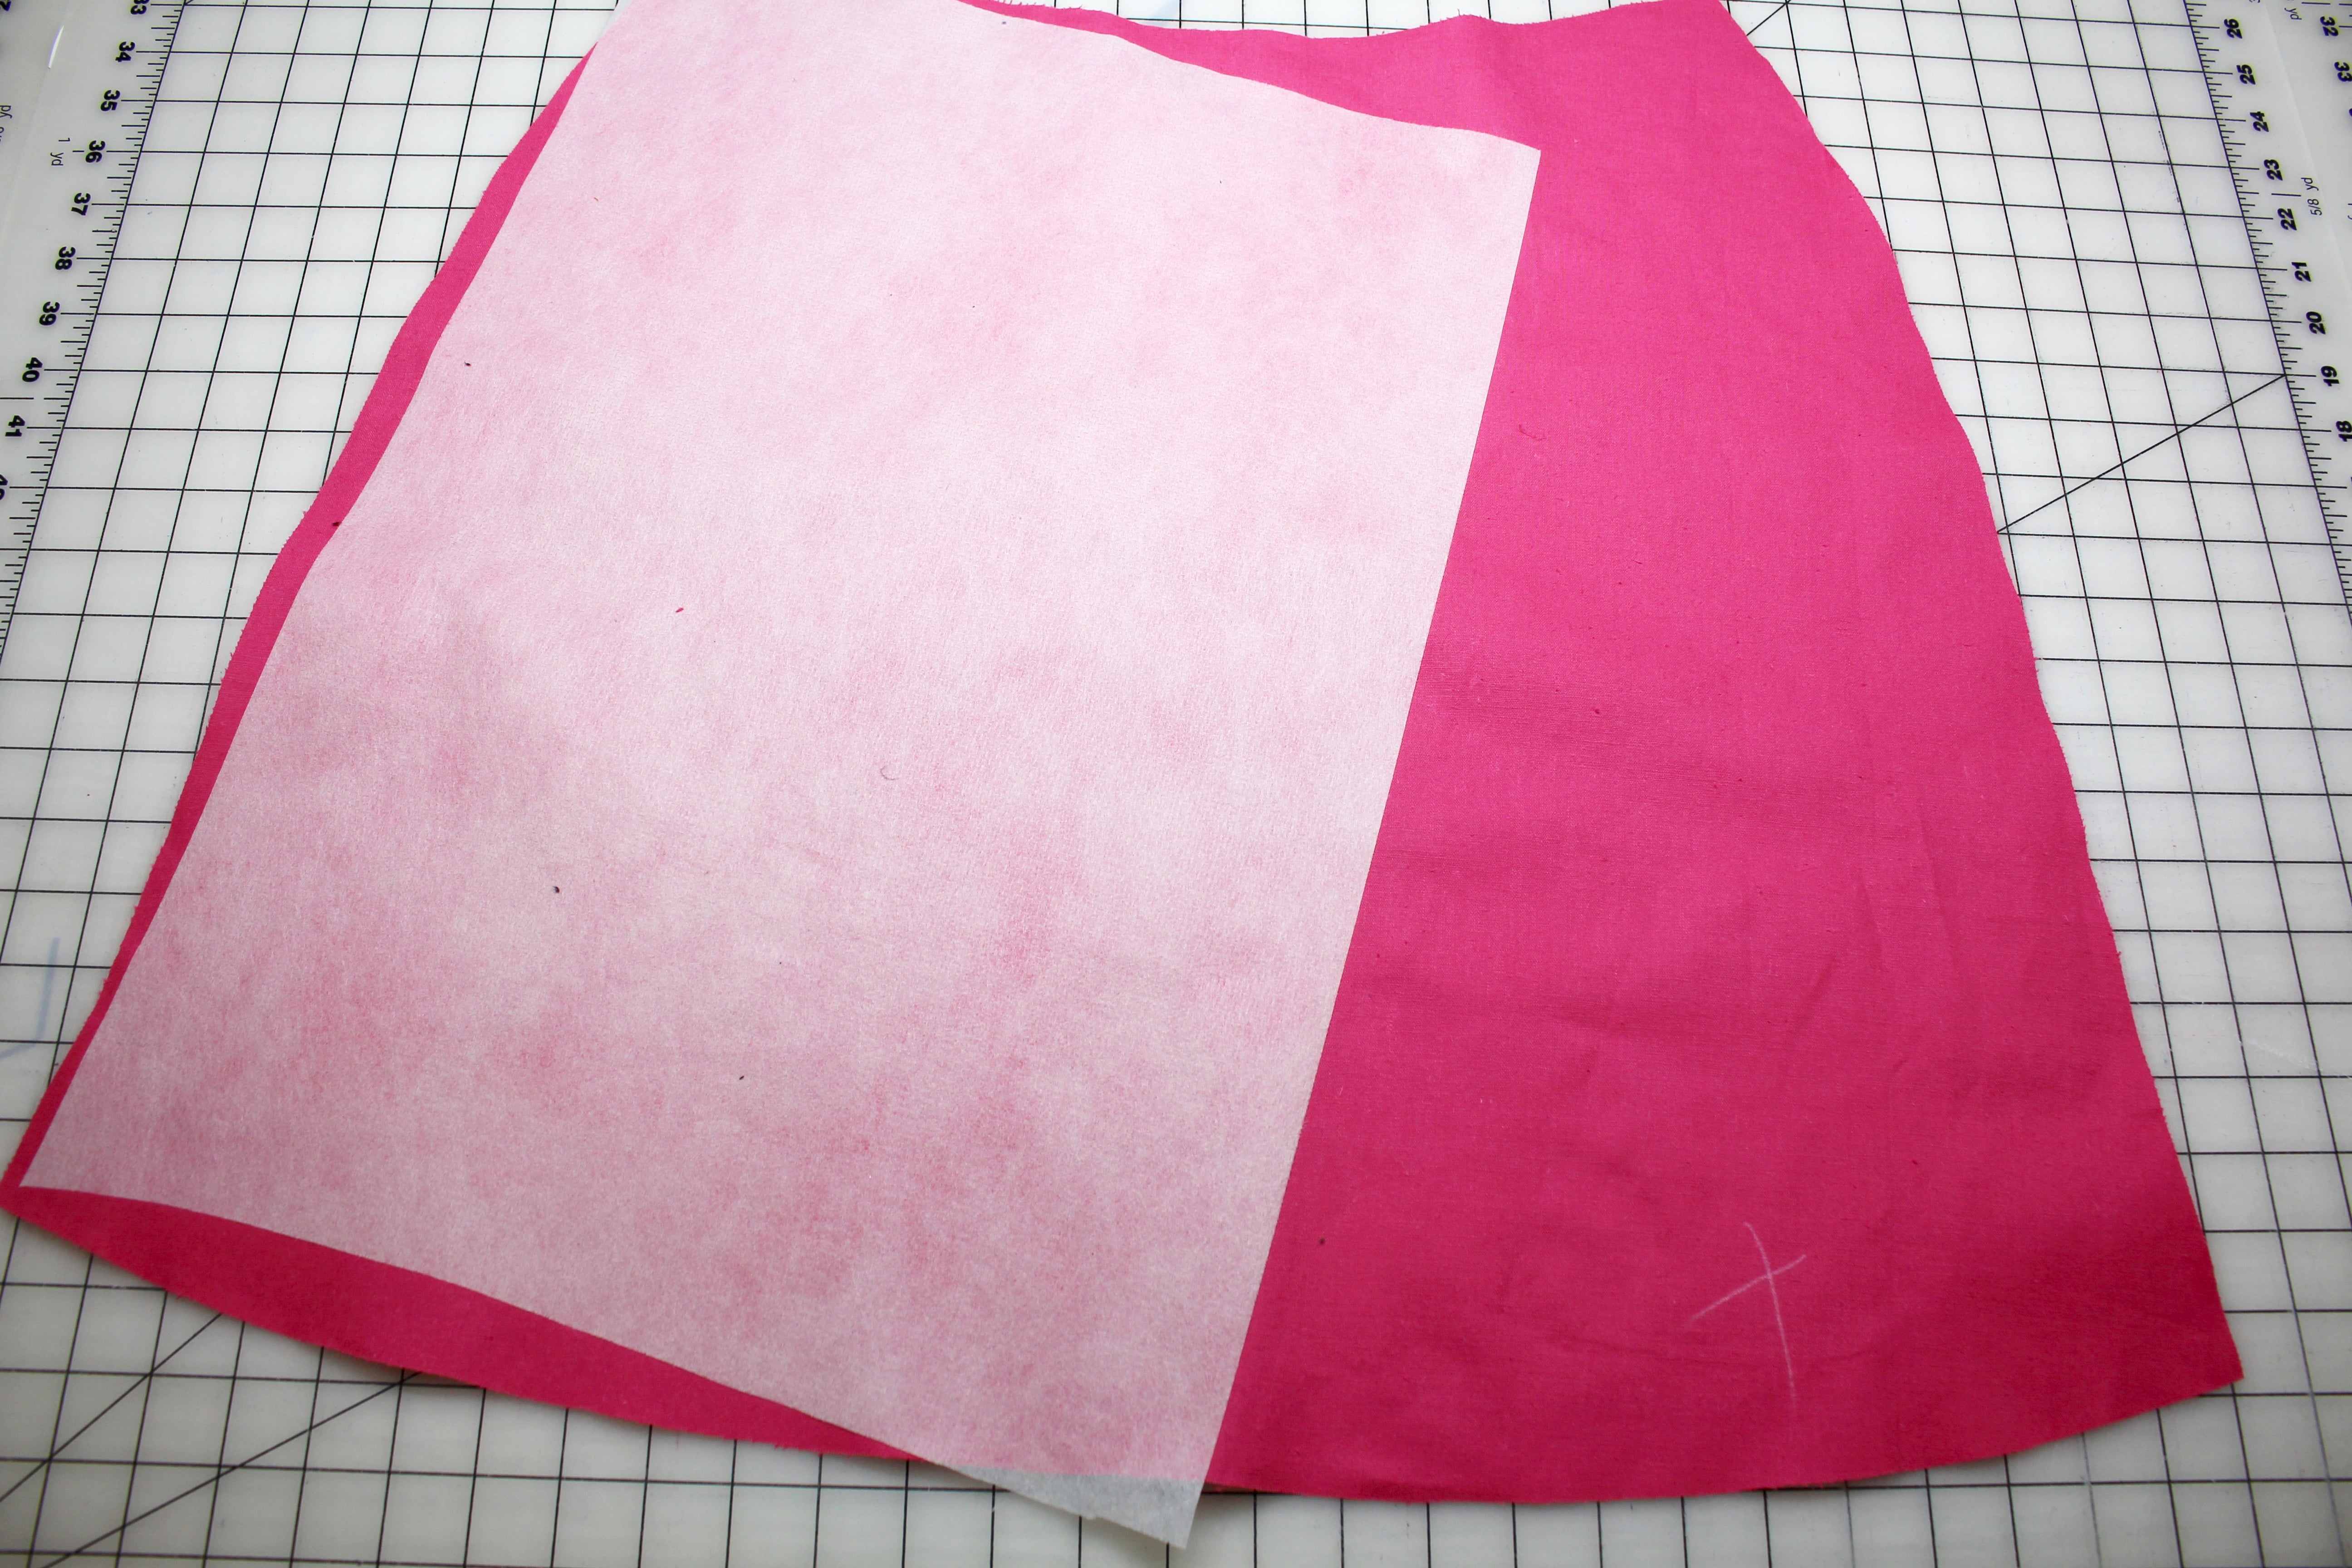
DESIGNER TIP: My skirt fabric is a linen blend, but the stabilizer I am using would work great on rayon, cotton sateen, denim, wool, and cotton blends. JUST be careful with satin, silk blends, and velvet (to name a few). You don’t want to damage the fabric from the iron when pressing on the fusible stabilizer; it’s best to test the stabilizer on a swatch of fabric first.
Determine the placement for the embroidery on the skirt. I am going to focus on one side of the front of the skirt; marking that spot with a fabric pen or tailors chalk. Press the embroidery stabilizer on the wrong side of the fabric covering the area to be embroidered.
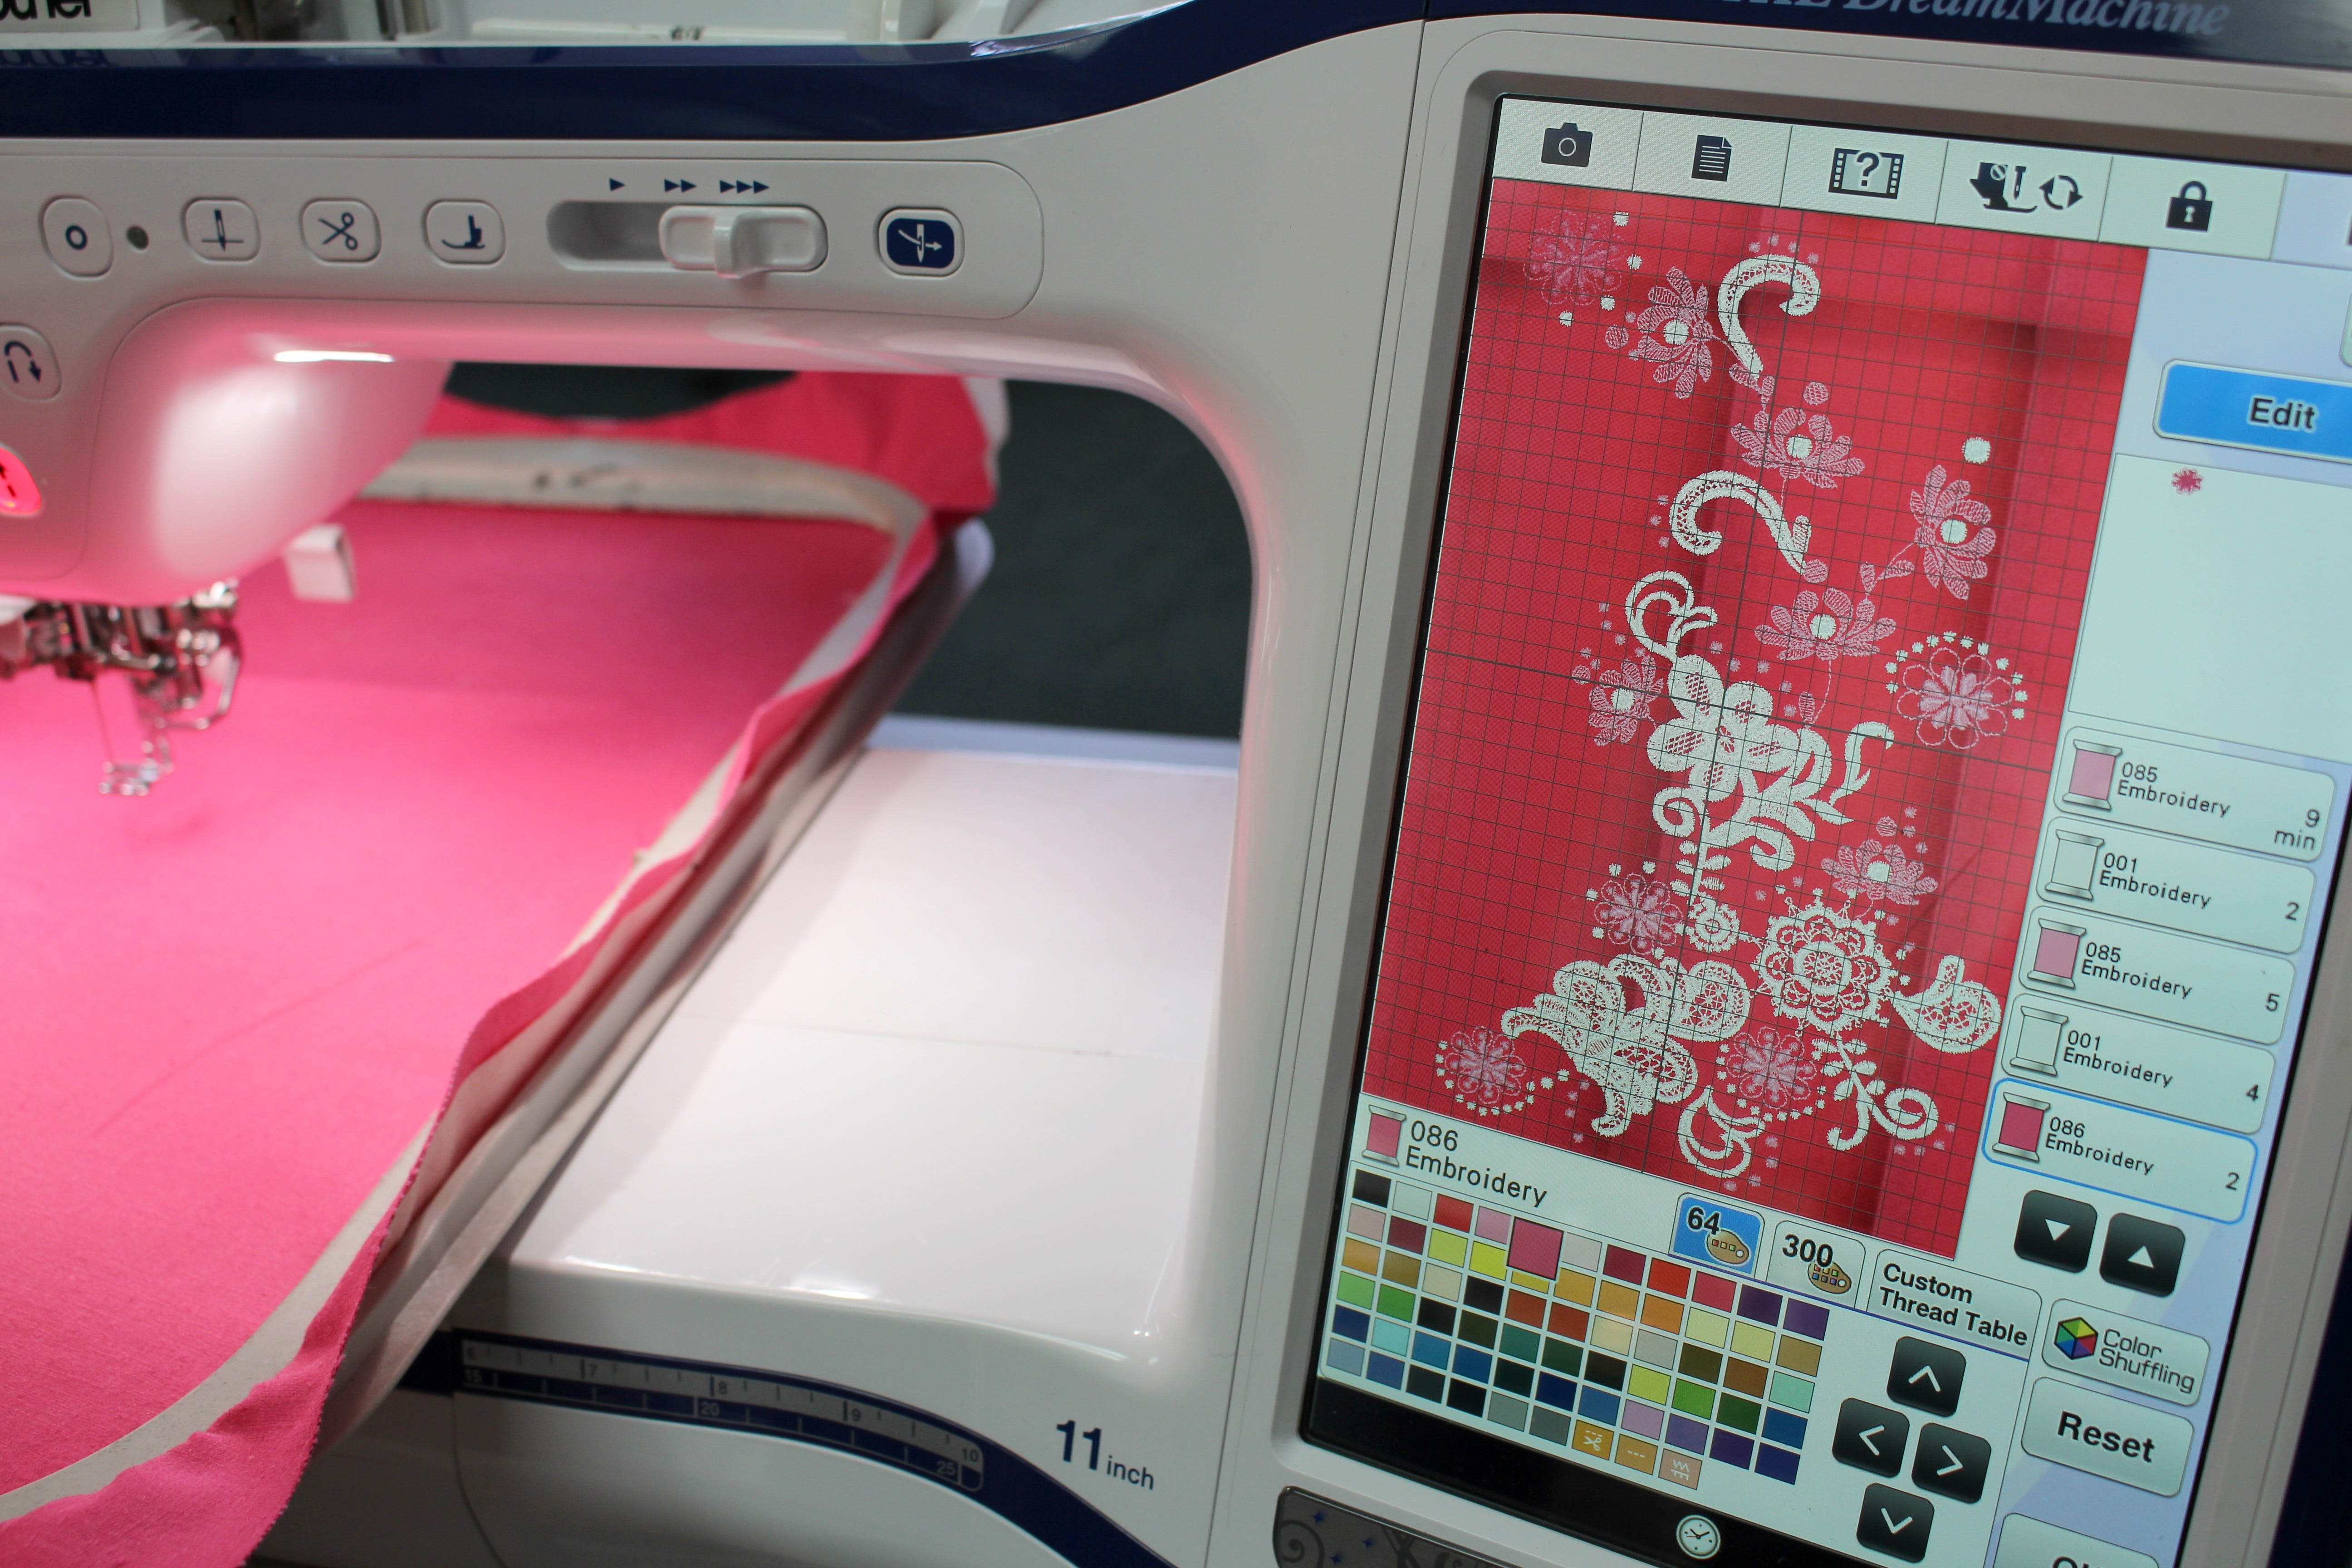
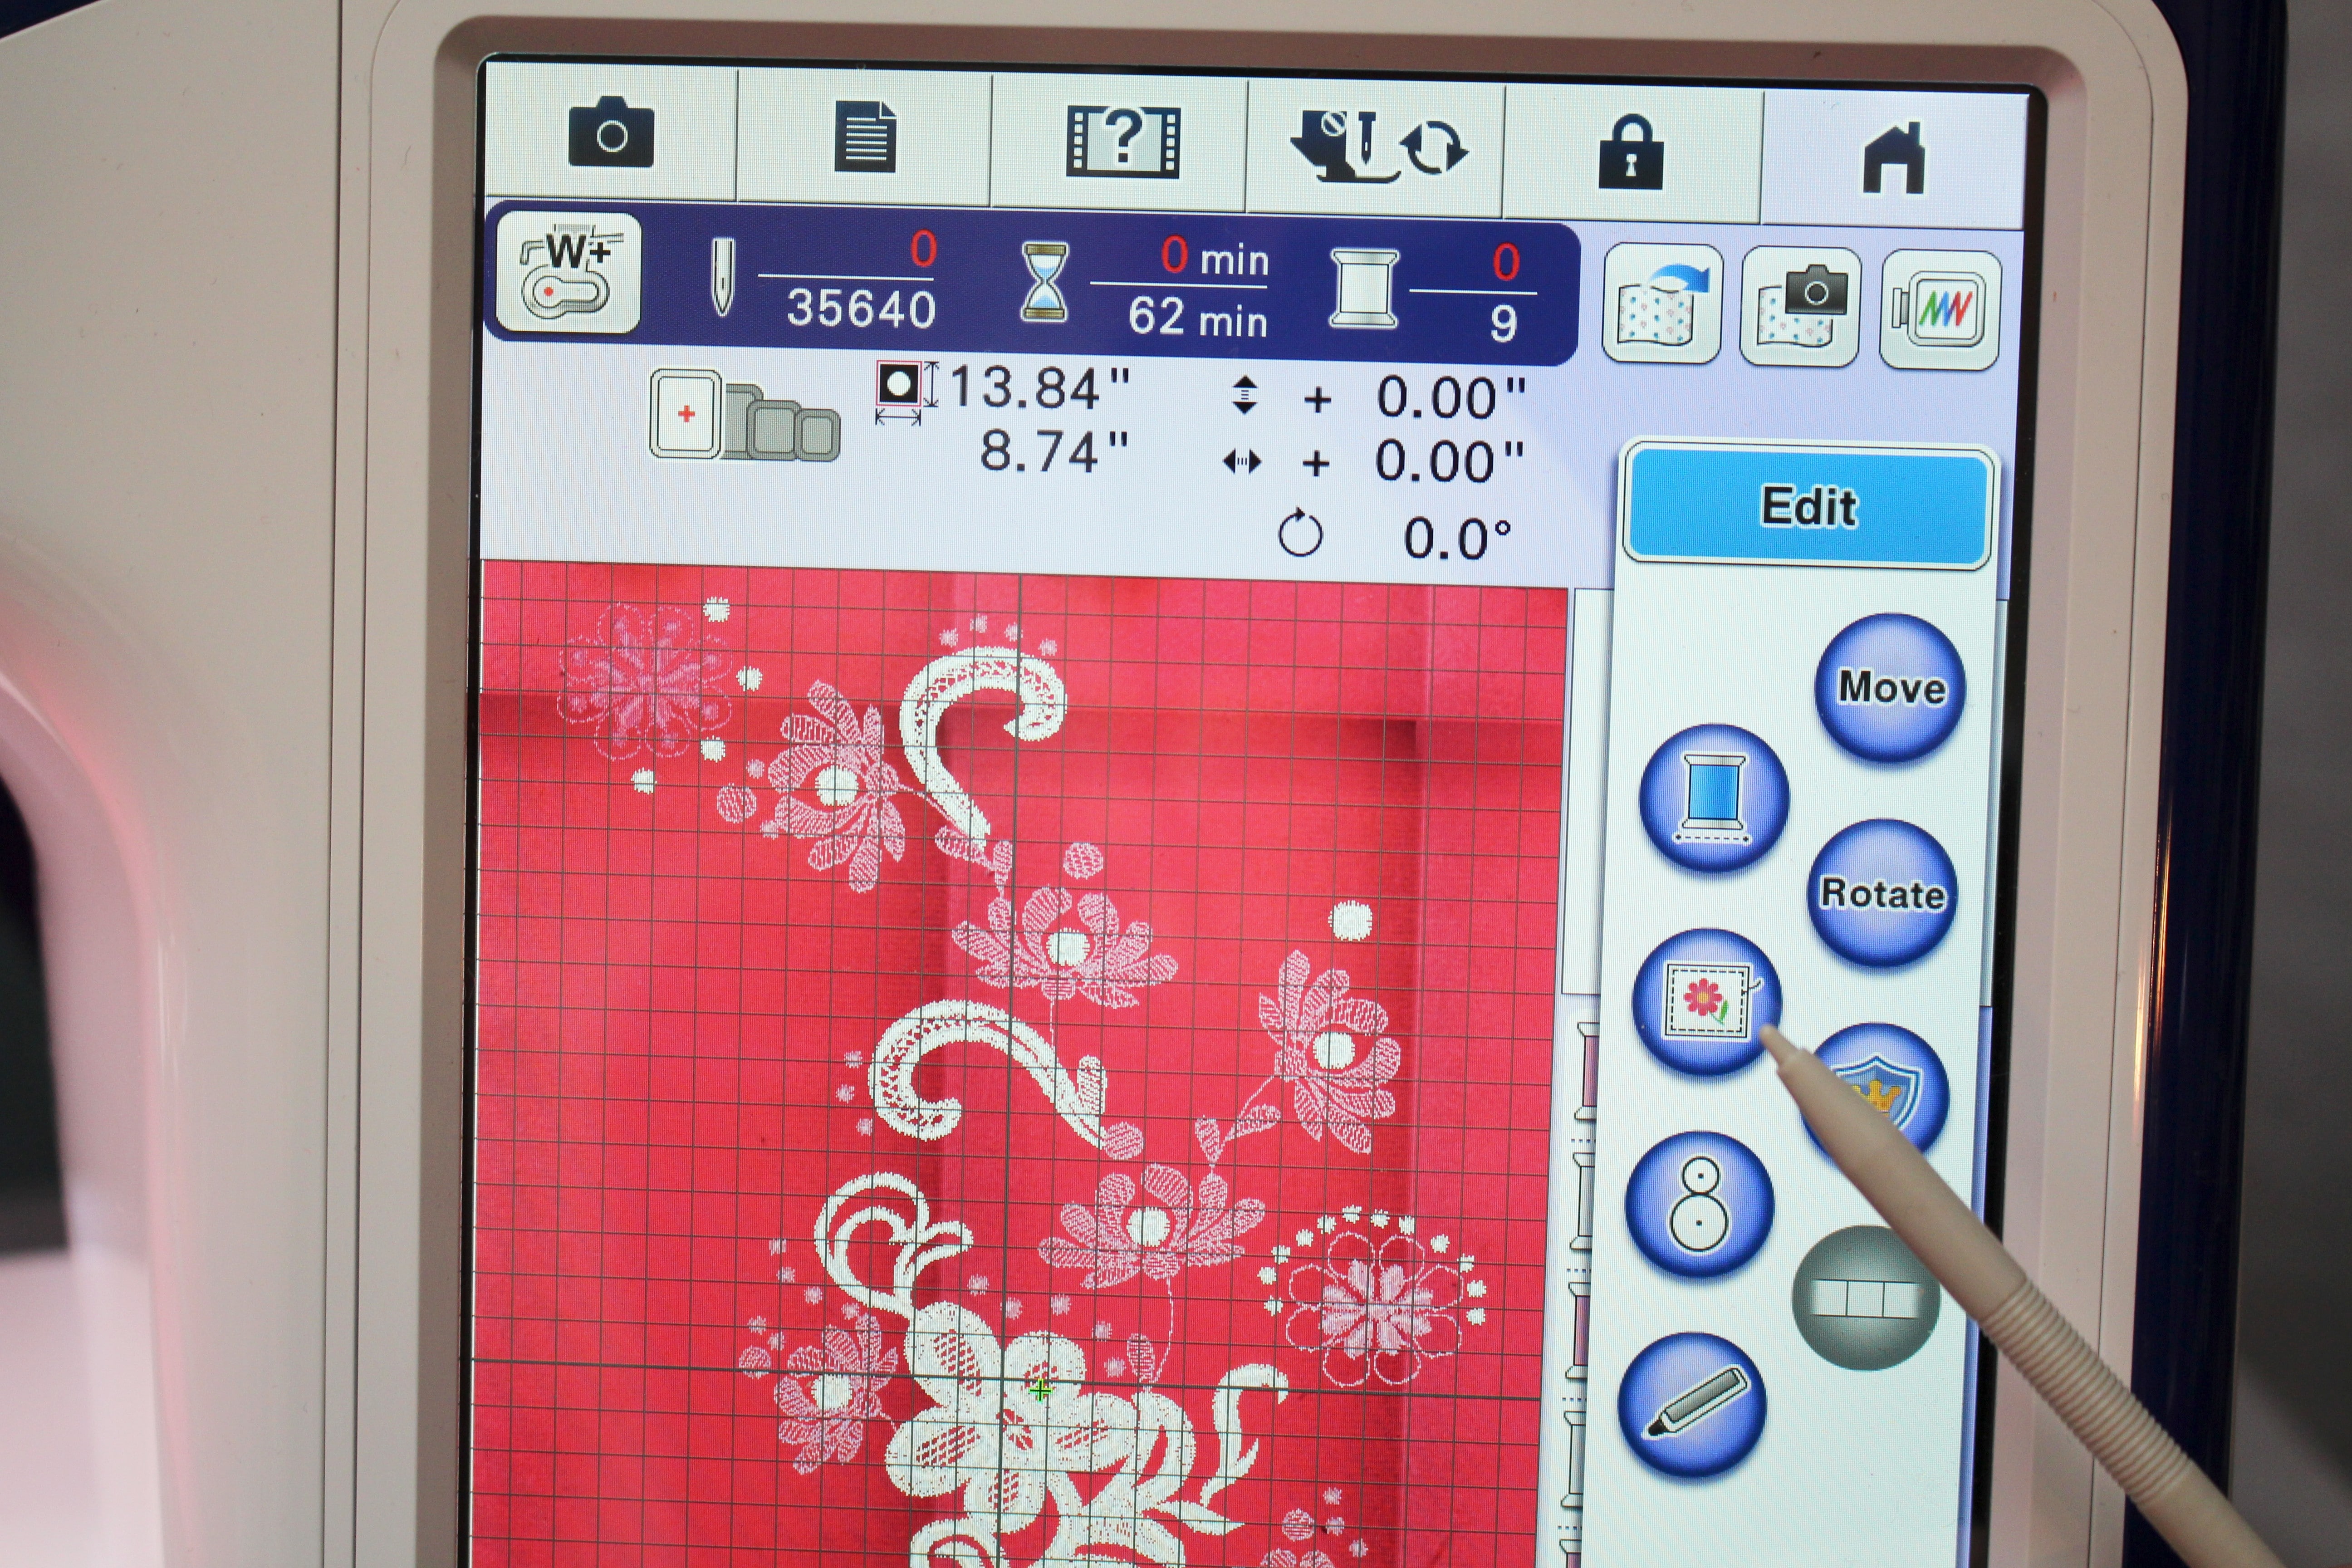
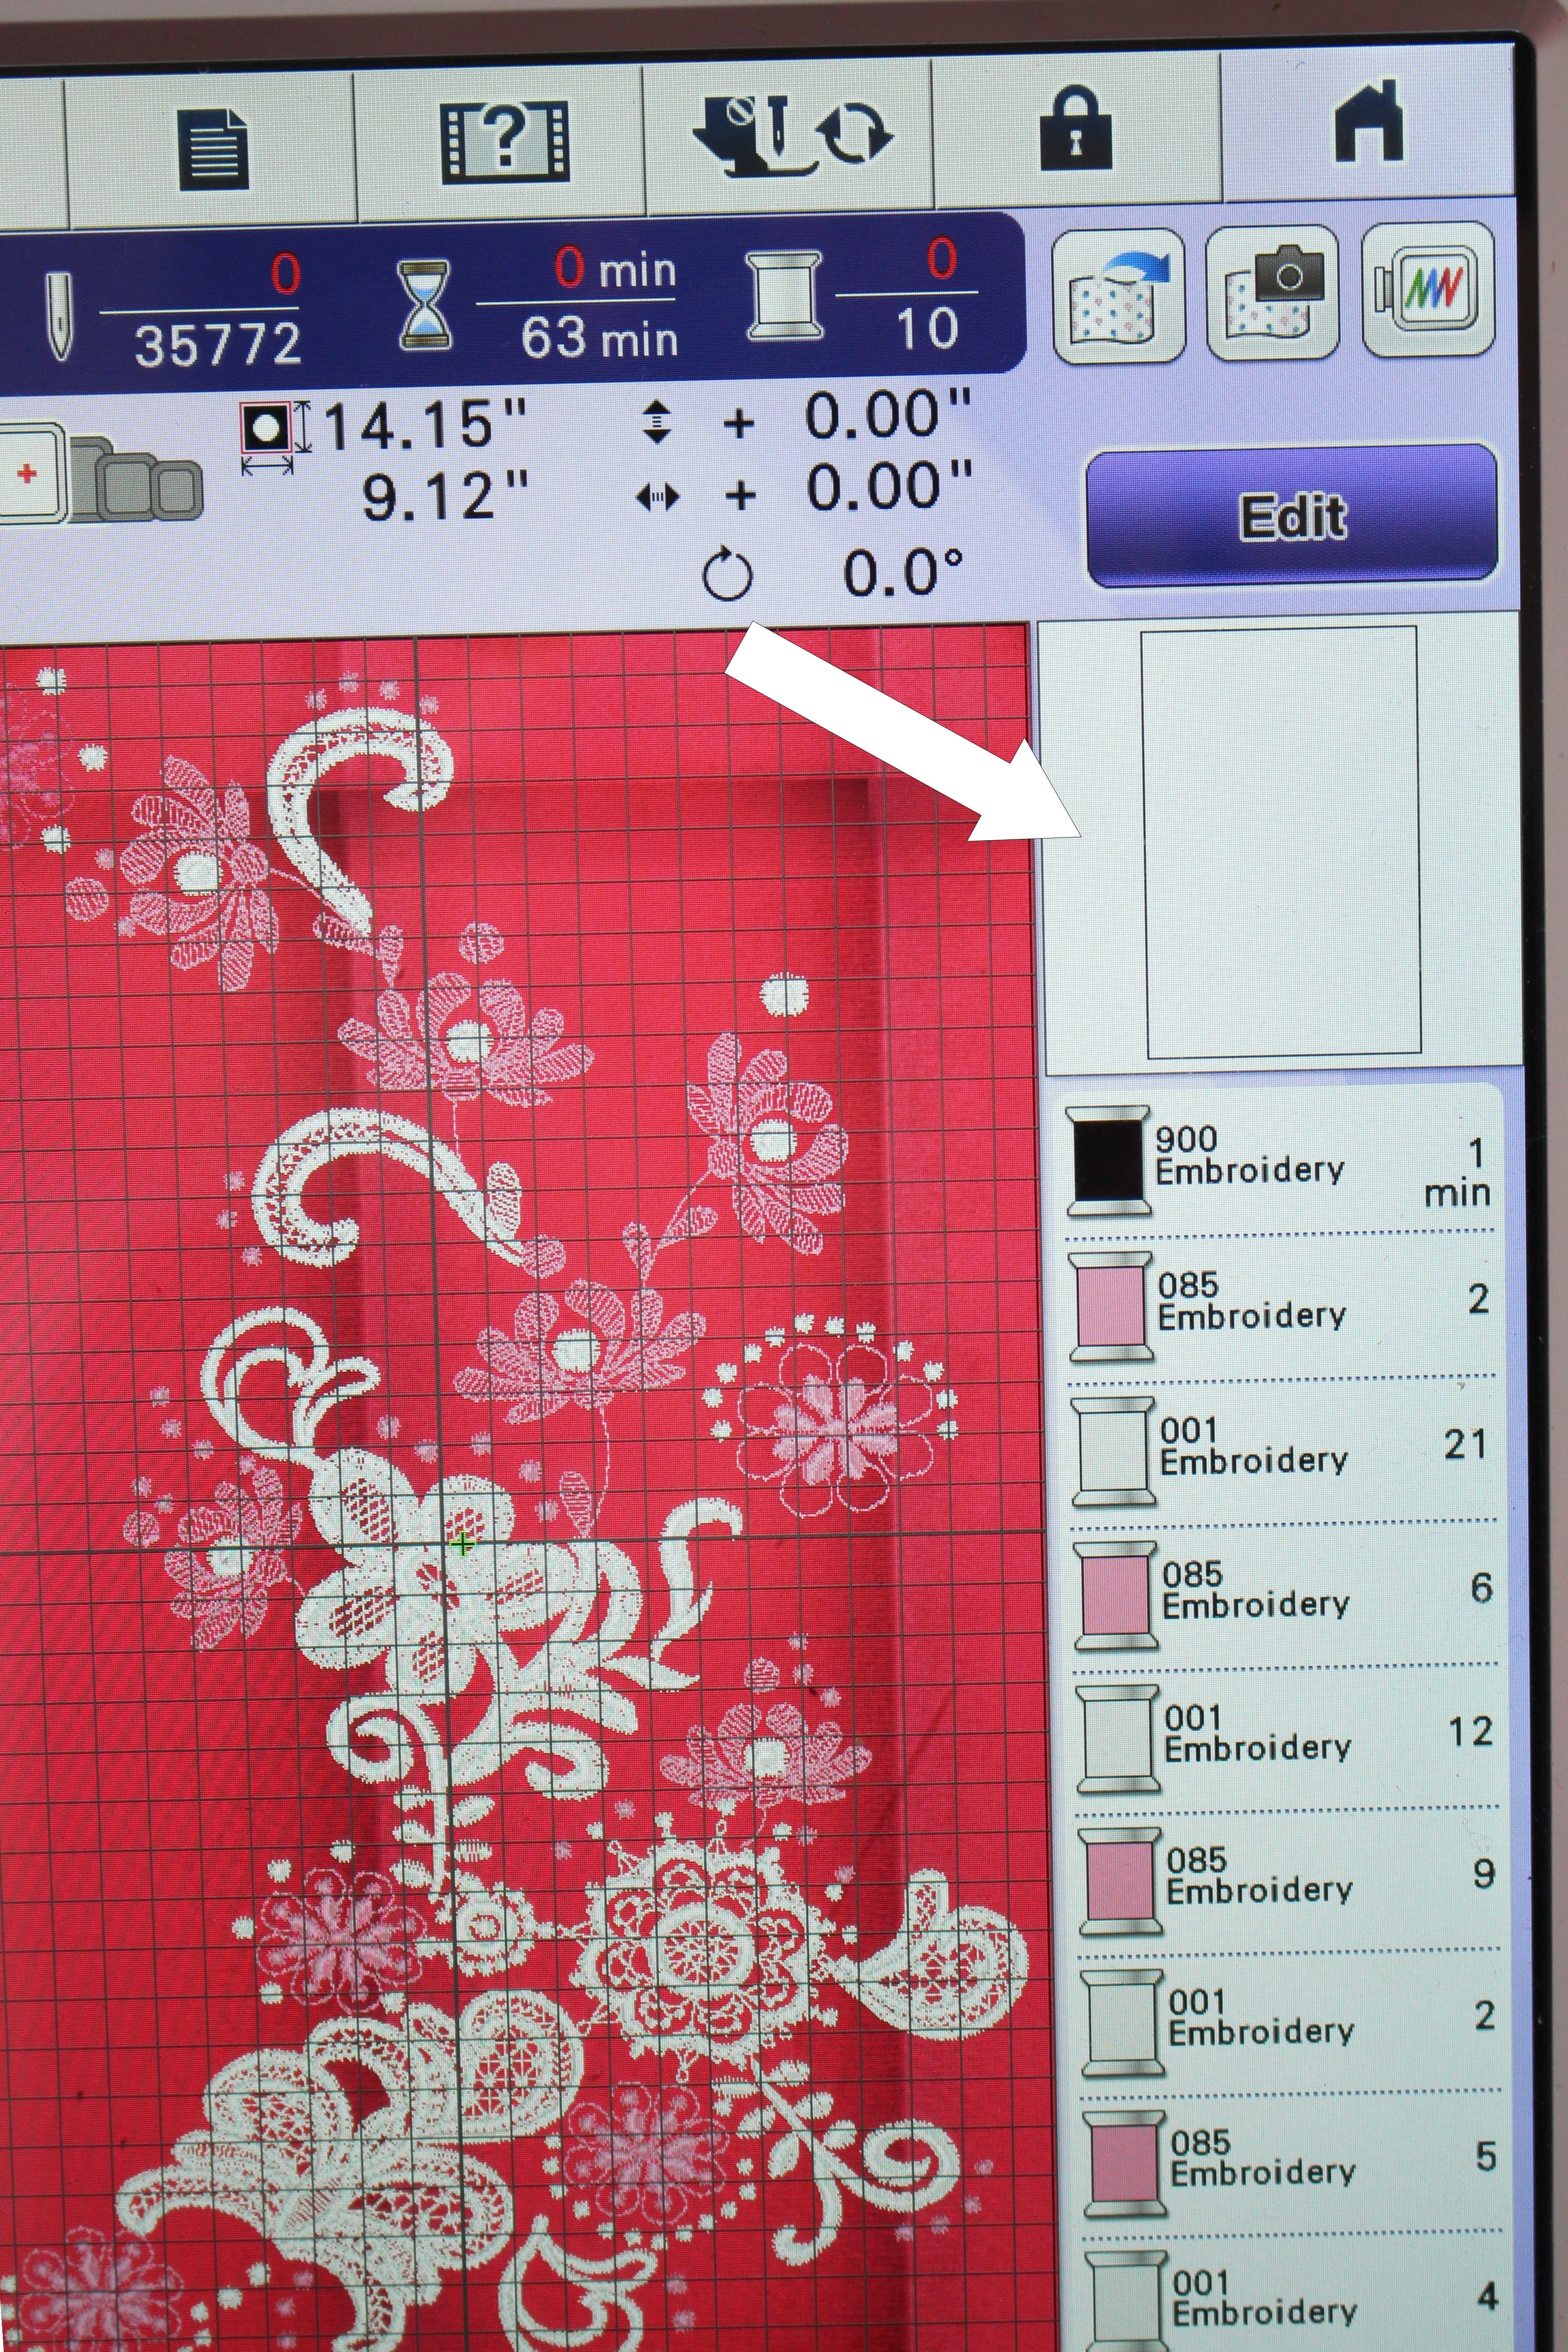
Hoop the fabric and insert the hoop into the machine. Choose an embroidery design or add a couple of designs onto the screen. Scan the fabric in and move the embroidery design as needed. If you don’t have the scanning feature on your sewing machine, use an embroidery placement marker such as the snowman or other tools.

You can read the full blog, head over to my post as a Brother Expert Consultant on the Brother Stitching Sewcial. Be sure to share photos of embellished Kate skirt #angelawolf #brothersews
Cheers,
Episode 94 Behind the Scenes LIVE with Angela Wolf Special guest Gabby shows off her sewing space and shares sewing room tips and tricks for organizing! Then take a closer look at the Luminaire, which I am unboxing as we speak See you soon! Angela
Episode 93 Behind the Scenes Live with Angela Wolf ... Let's Drape a Wrap Skirt, studio move update, and our usual live Q&A See you soon, Angela
Episode 92 Behind the Scenes with Angela Wolf LIVE at the new studio!
Episode 91 Behind the Scenes LIVE with Angela Wolf - talking a recap of the Brother B2B convention, a look at the fabrics for It's Sew Easy projects, and new building update!
Episode 90 behind the scenes Live in Orlando, Florida at the Brother Sews B2B convention showing off my gowns and embroidered dresses, the new Luminaire Innovis-XP1 and the travel sewing machine NS80PRW. And say hi to Joanne Banko and Cindy Hogan Cynthia's Embroidery...
Live with Sandy in Orlando at Brother B2B
Episode 89 Behind the Scenes LIVE with Angela Wolf talking with Joe Vecchiarelli Joe shares tips for padding a dress form and what to do when you lose weight He's going to catch us up on behind the scenes with Dancing with the Stars and he has an unbelievable deal on...
Episode 88 Behind the Scenes LIVE with Angela Wolf today's guest is Mathew Boudreaux AKA Mister Domestic talking about his new fabric collection, loved to pieces month long blog party, giveaways, and more! See you soon! Angela
I am very excited to team up with Mathew Boudreaux (Mister Domestic) as part of his blog party launching his new fabric collection Loved to Pieces! I had the choice of many of his beautiful fabrics and chose a beautiful 100% rayon fabric to sew the Kate Skirt...
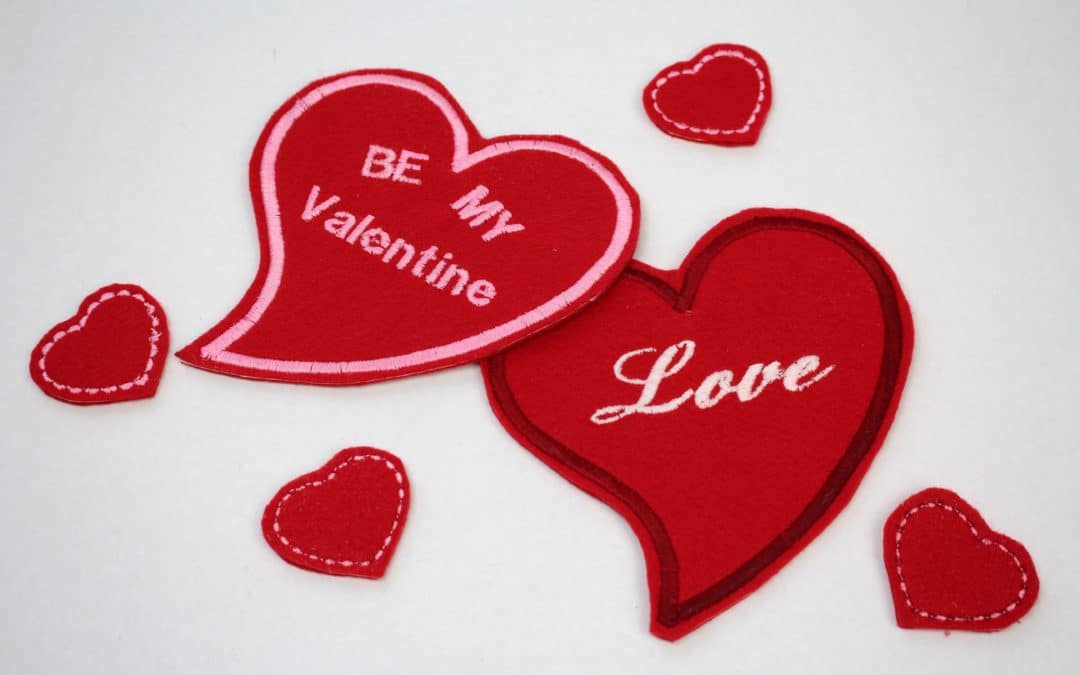
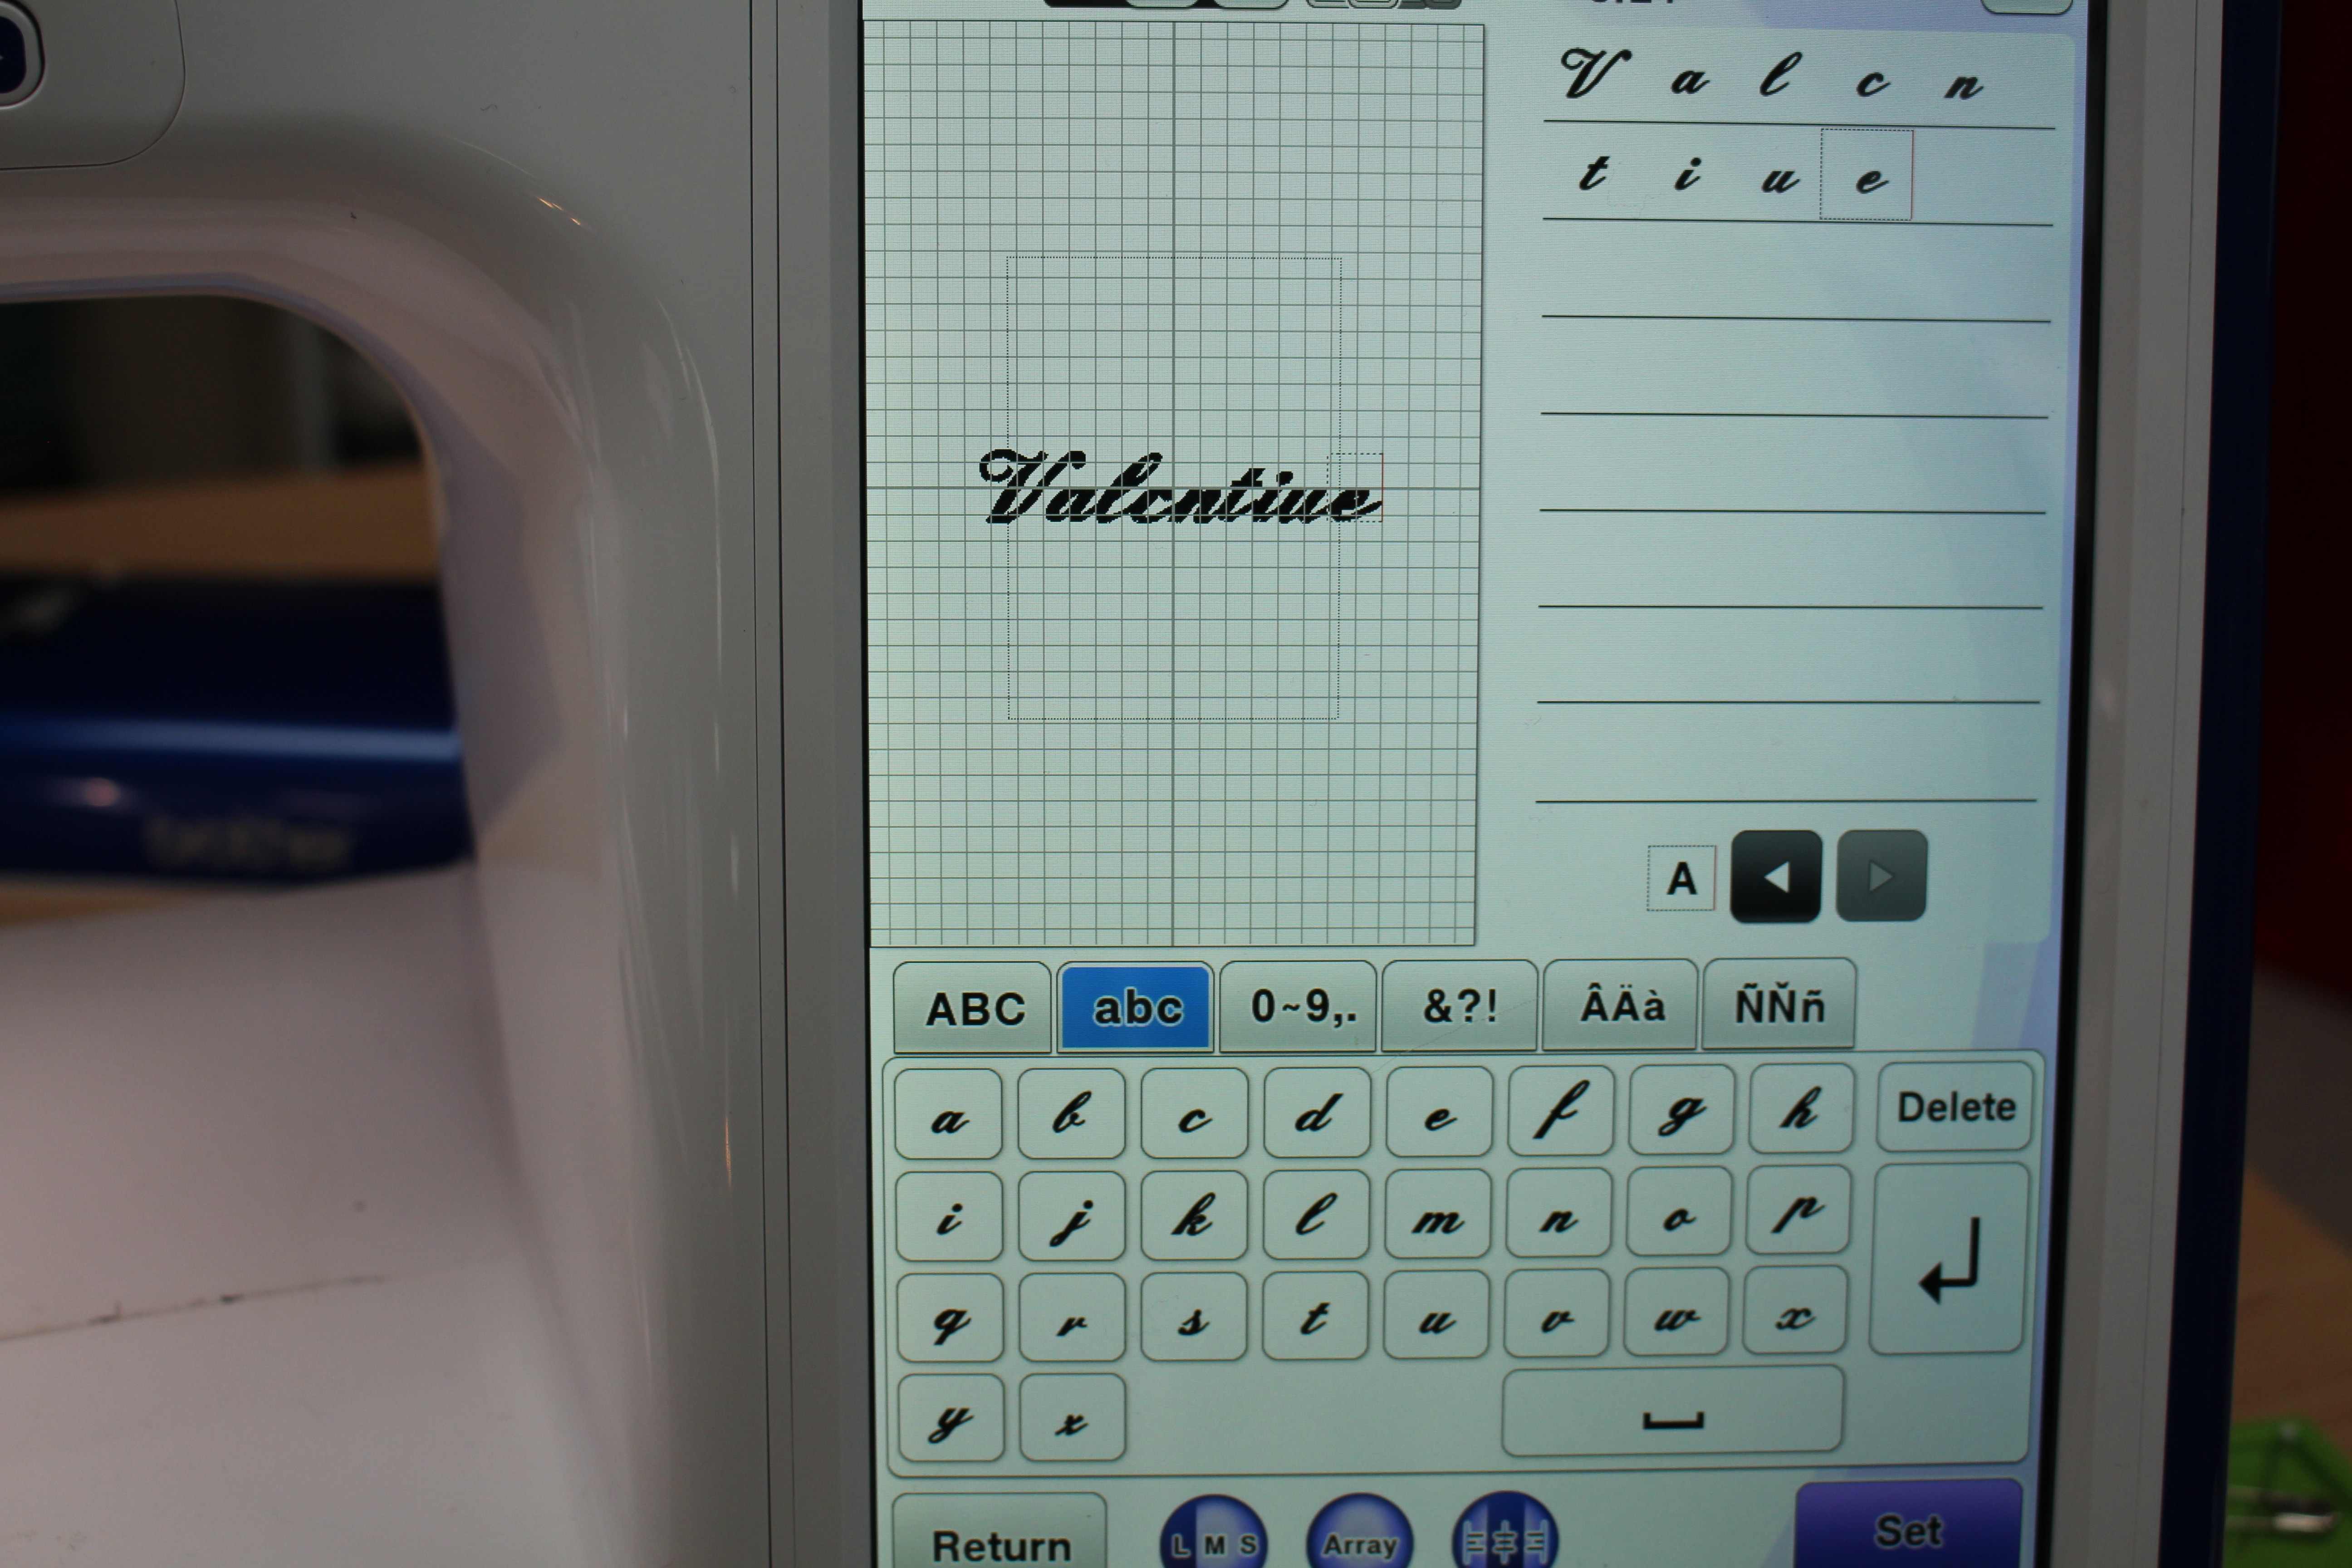
I am always looking for cute decorations for Valentine’s day, maybe it’s just that I love the color red ? Custom embroidered felt hearts is a fun way to share the love. This is a quick tutorial using My Design Center on the Brother sewing machine. Photo 1
Supplies: felt, tearaway embroidery stabilizer, water soluble topper, embroidery thread, scissors
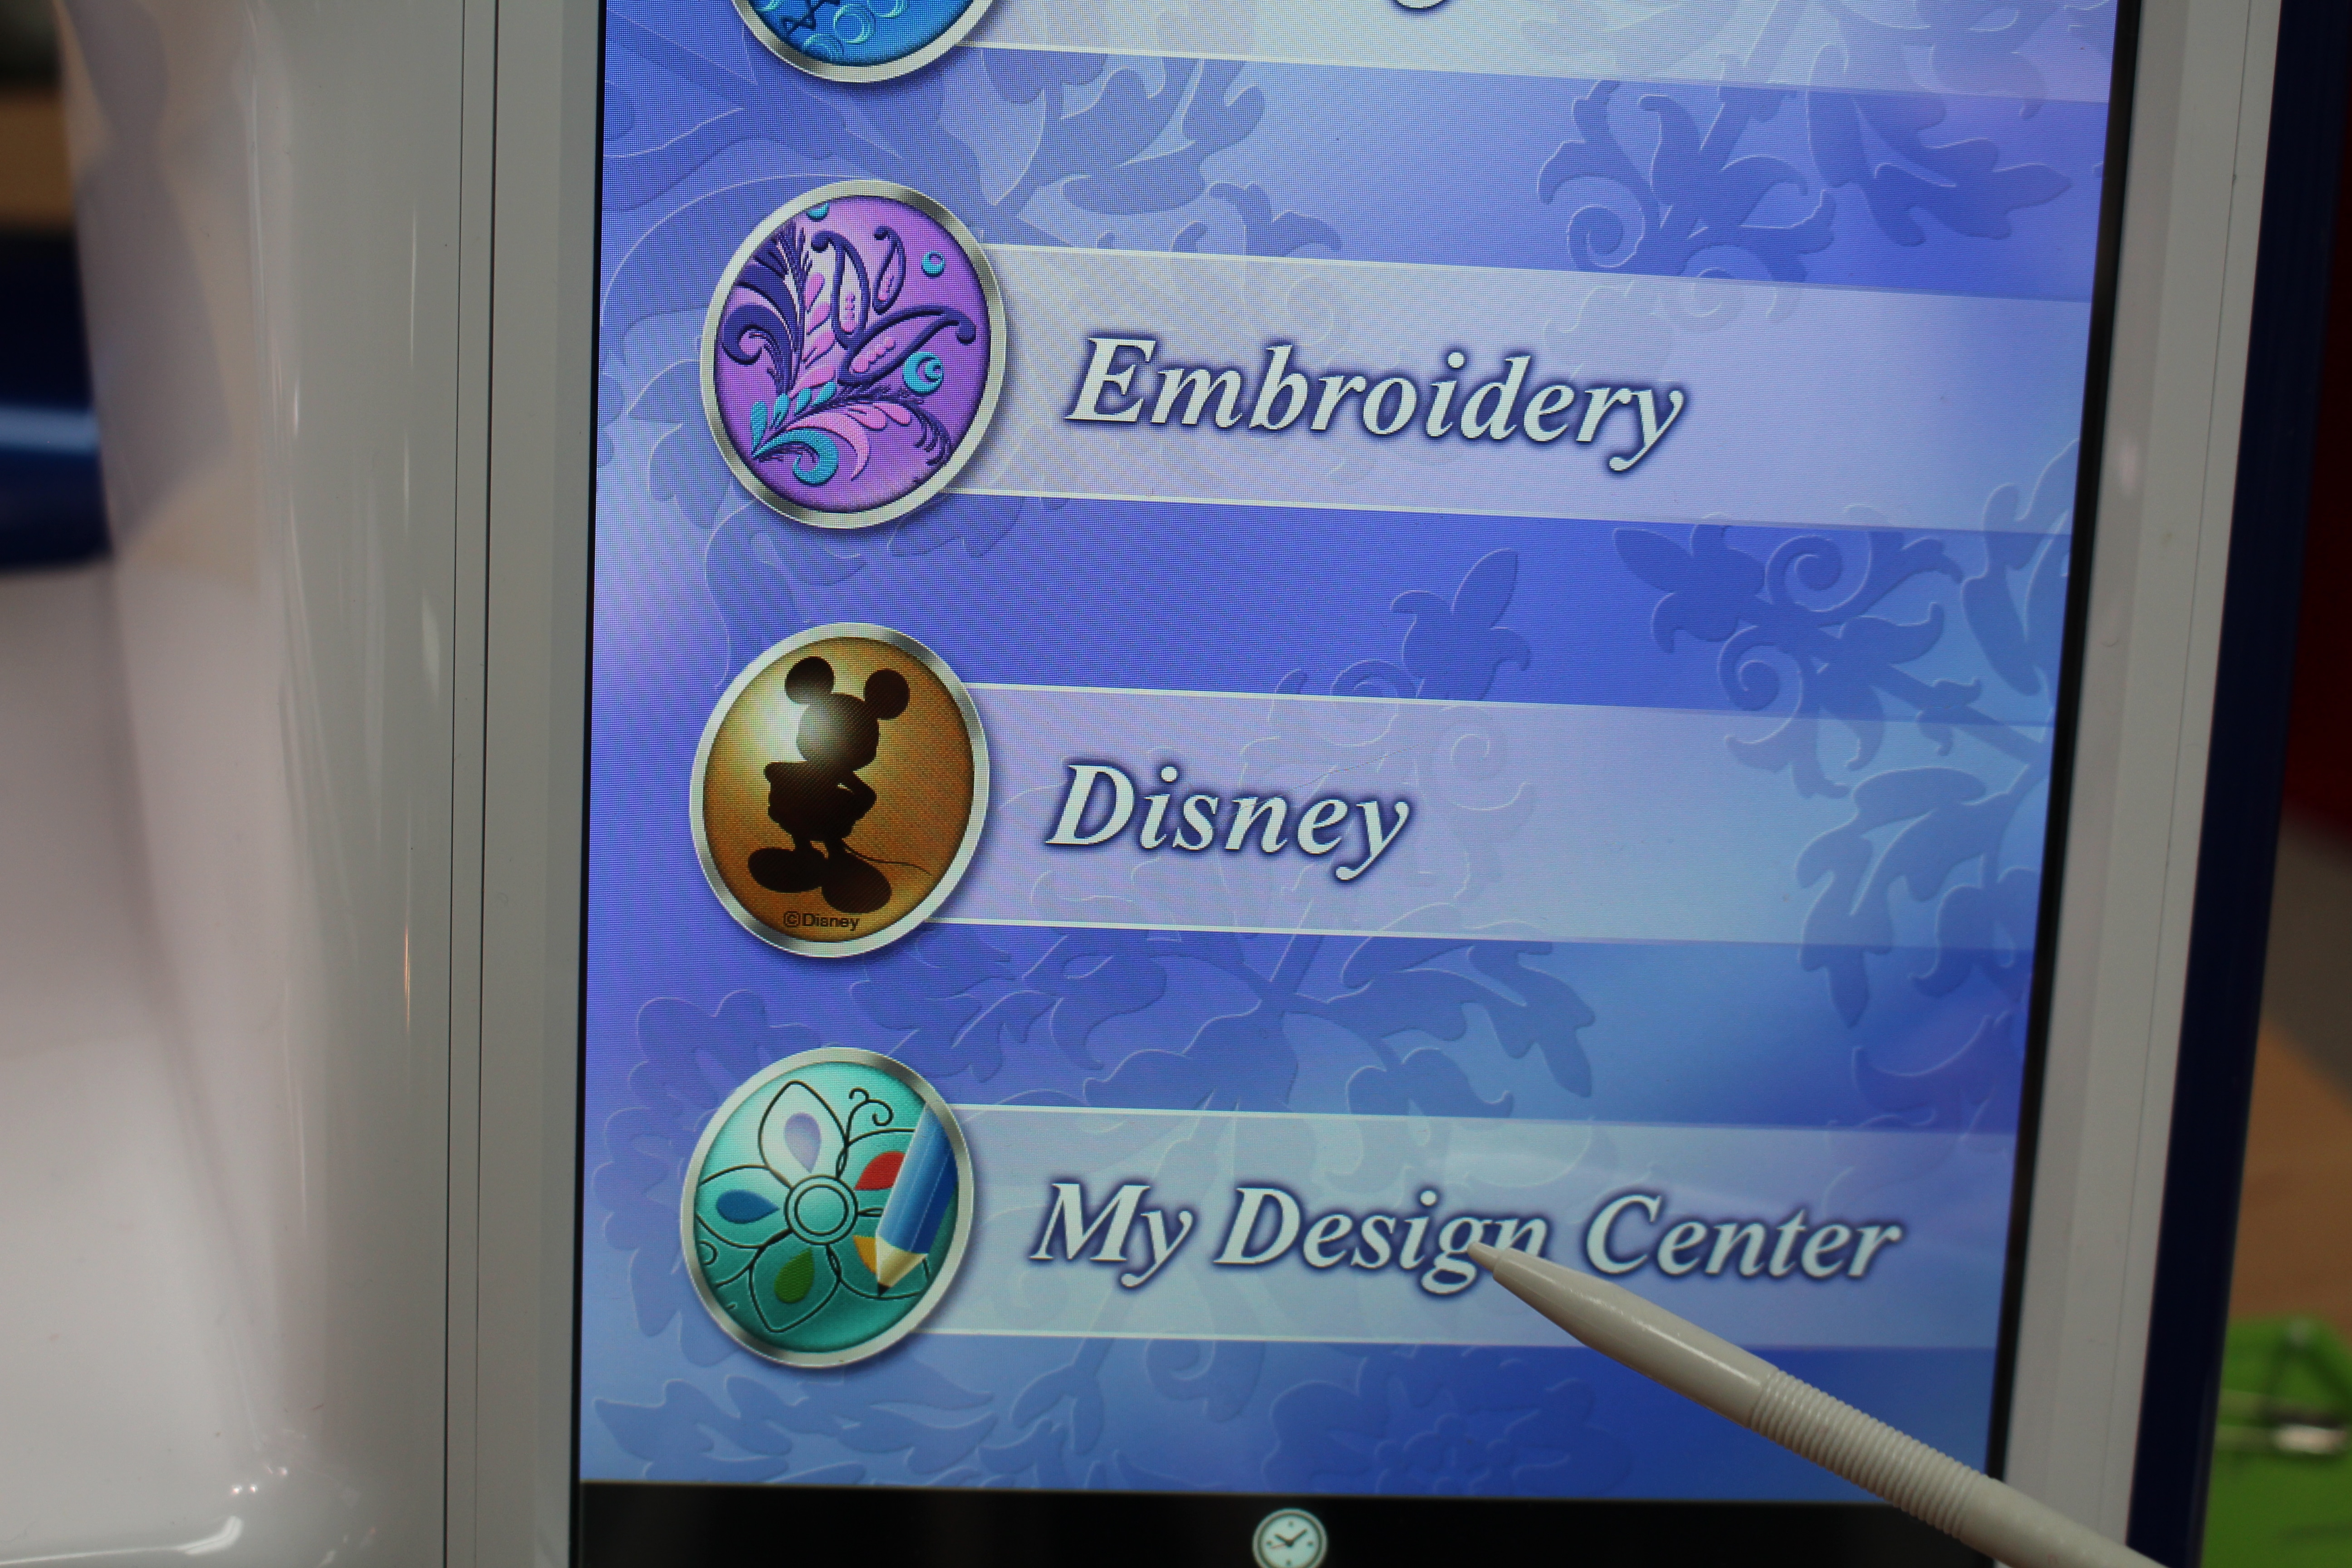

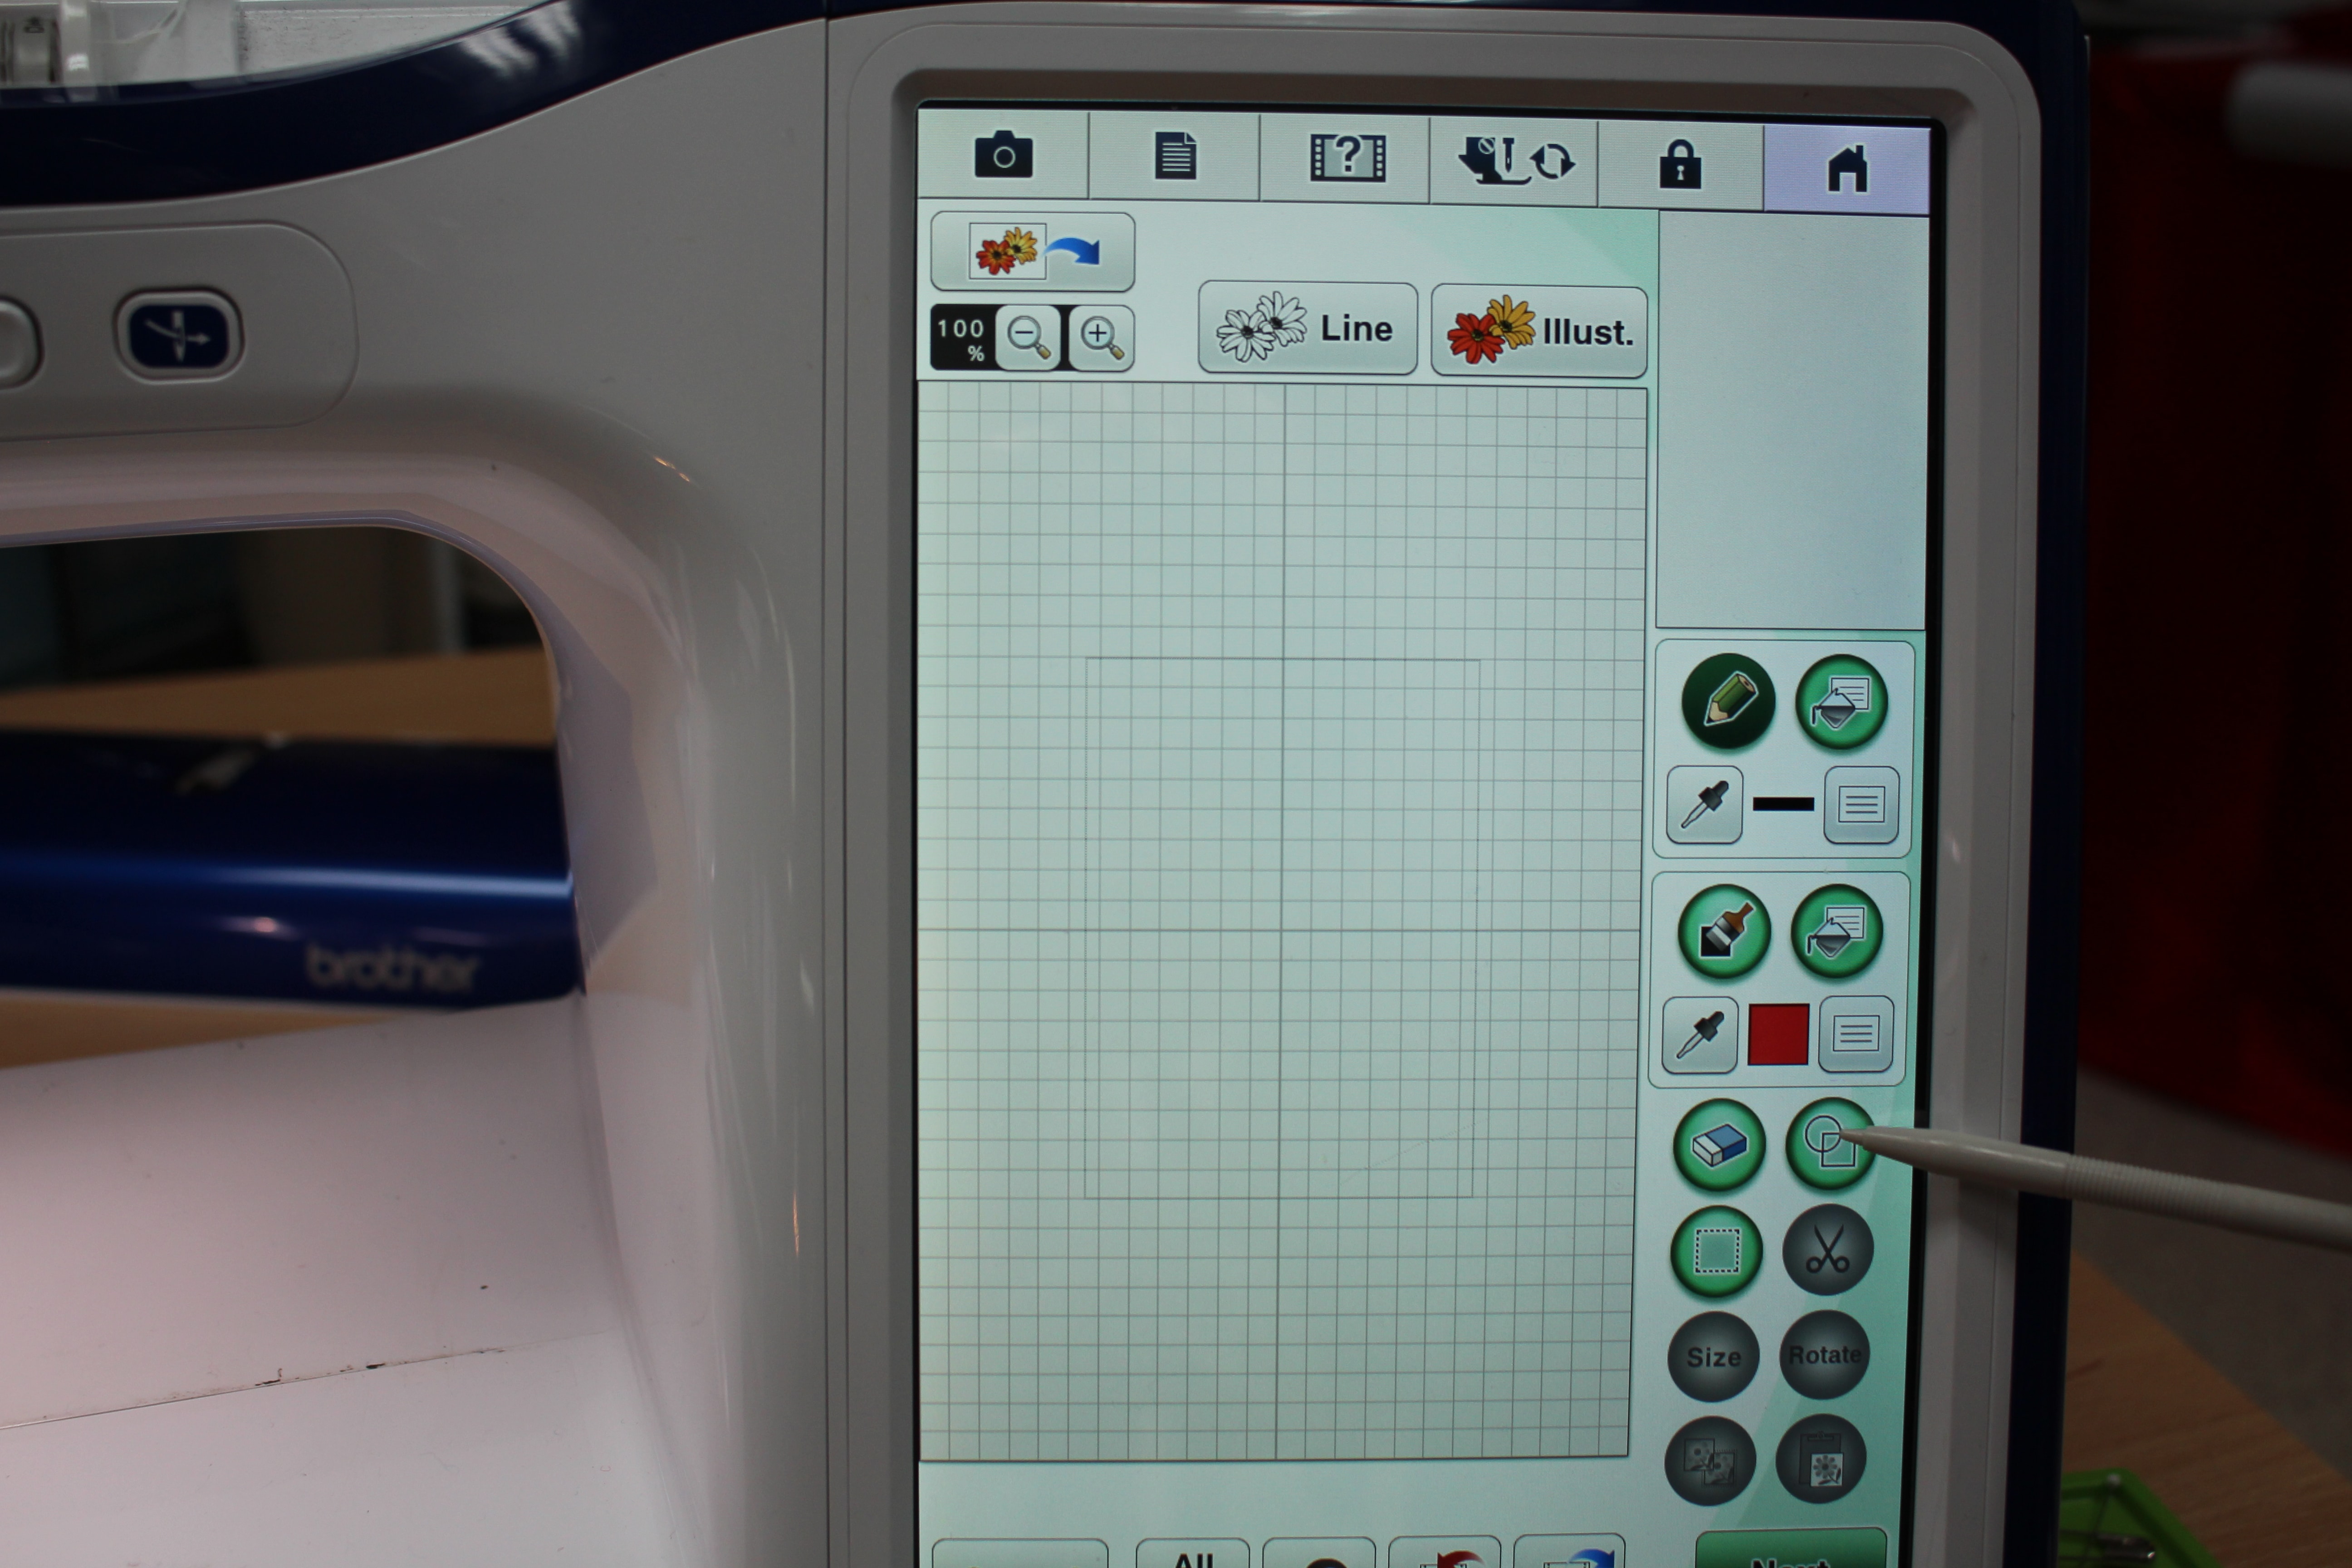
Click on the SHAPE. You will find a heart shape on the first page, but if you have the upgrades or THE Dream Machine 2 click on the icon for additional shapes.
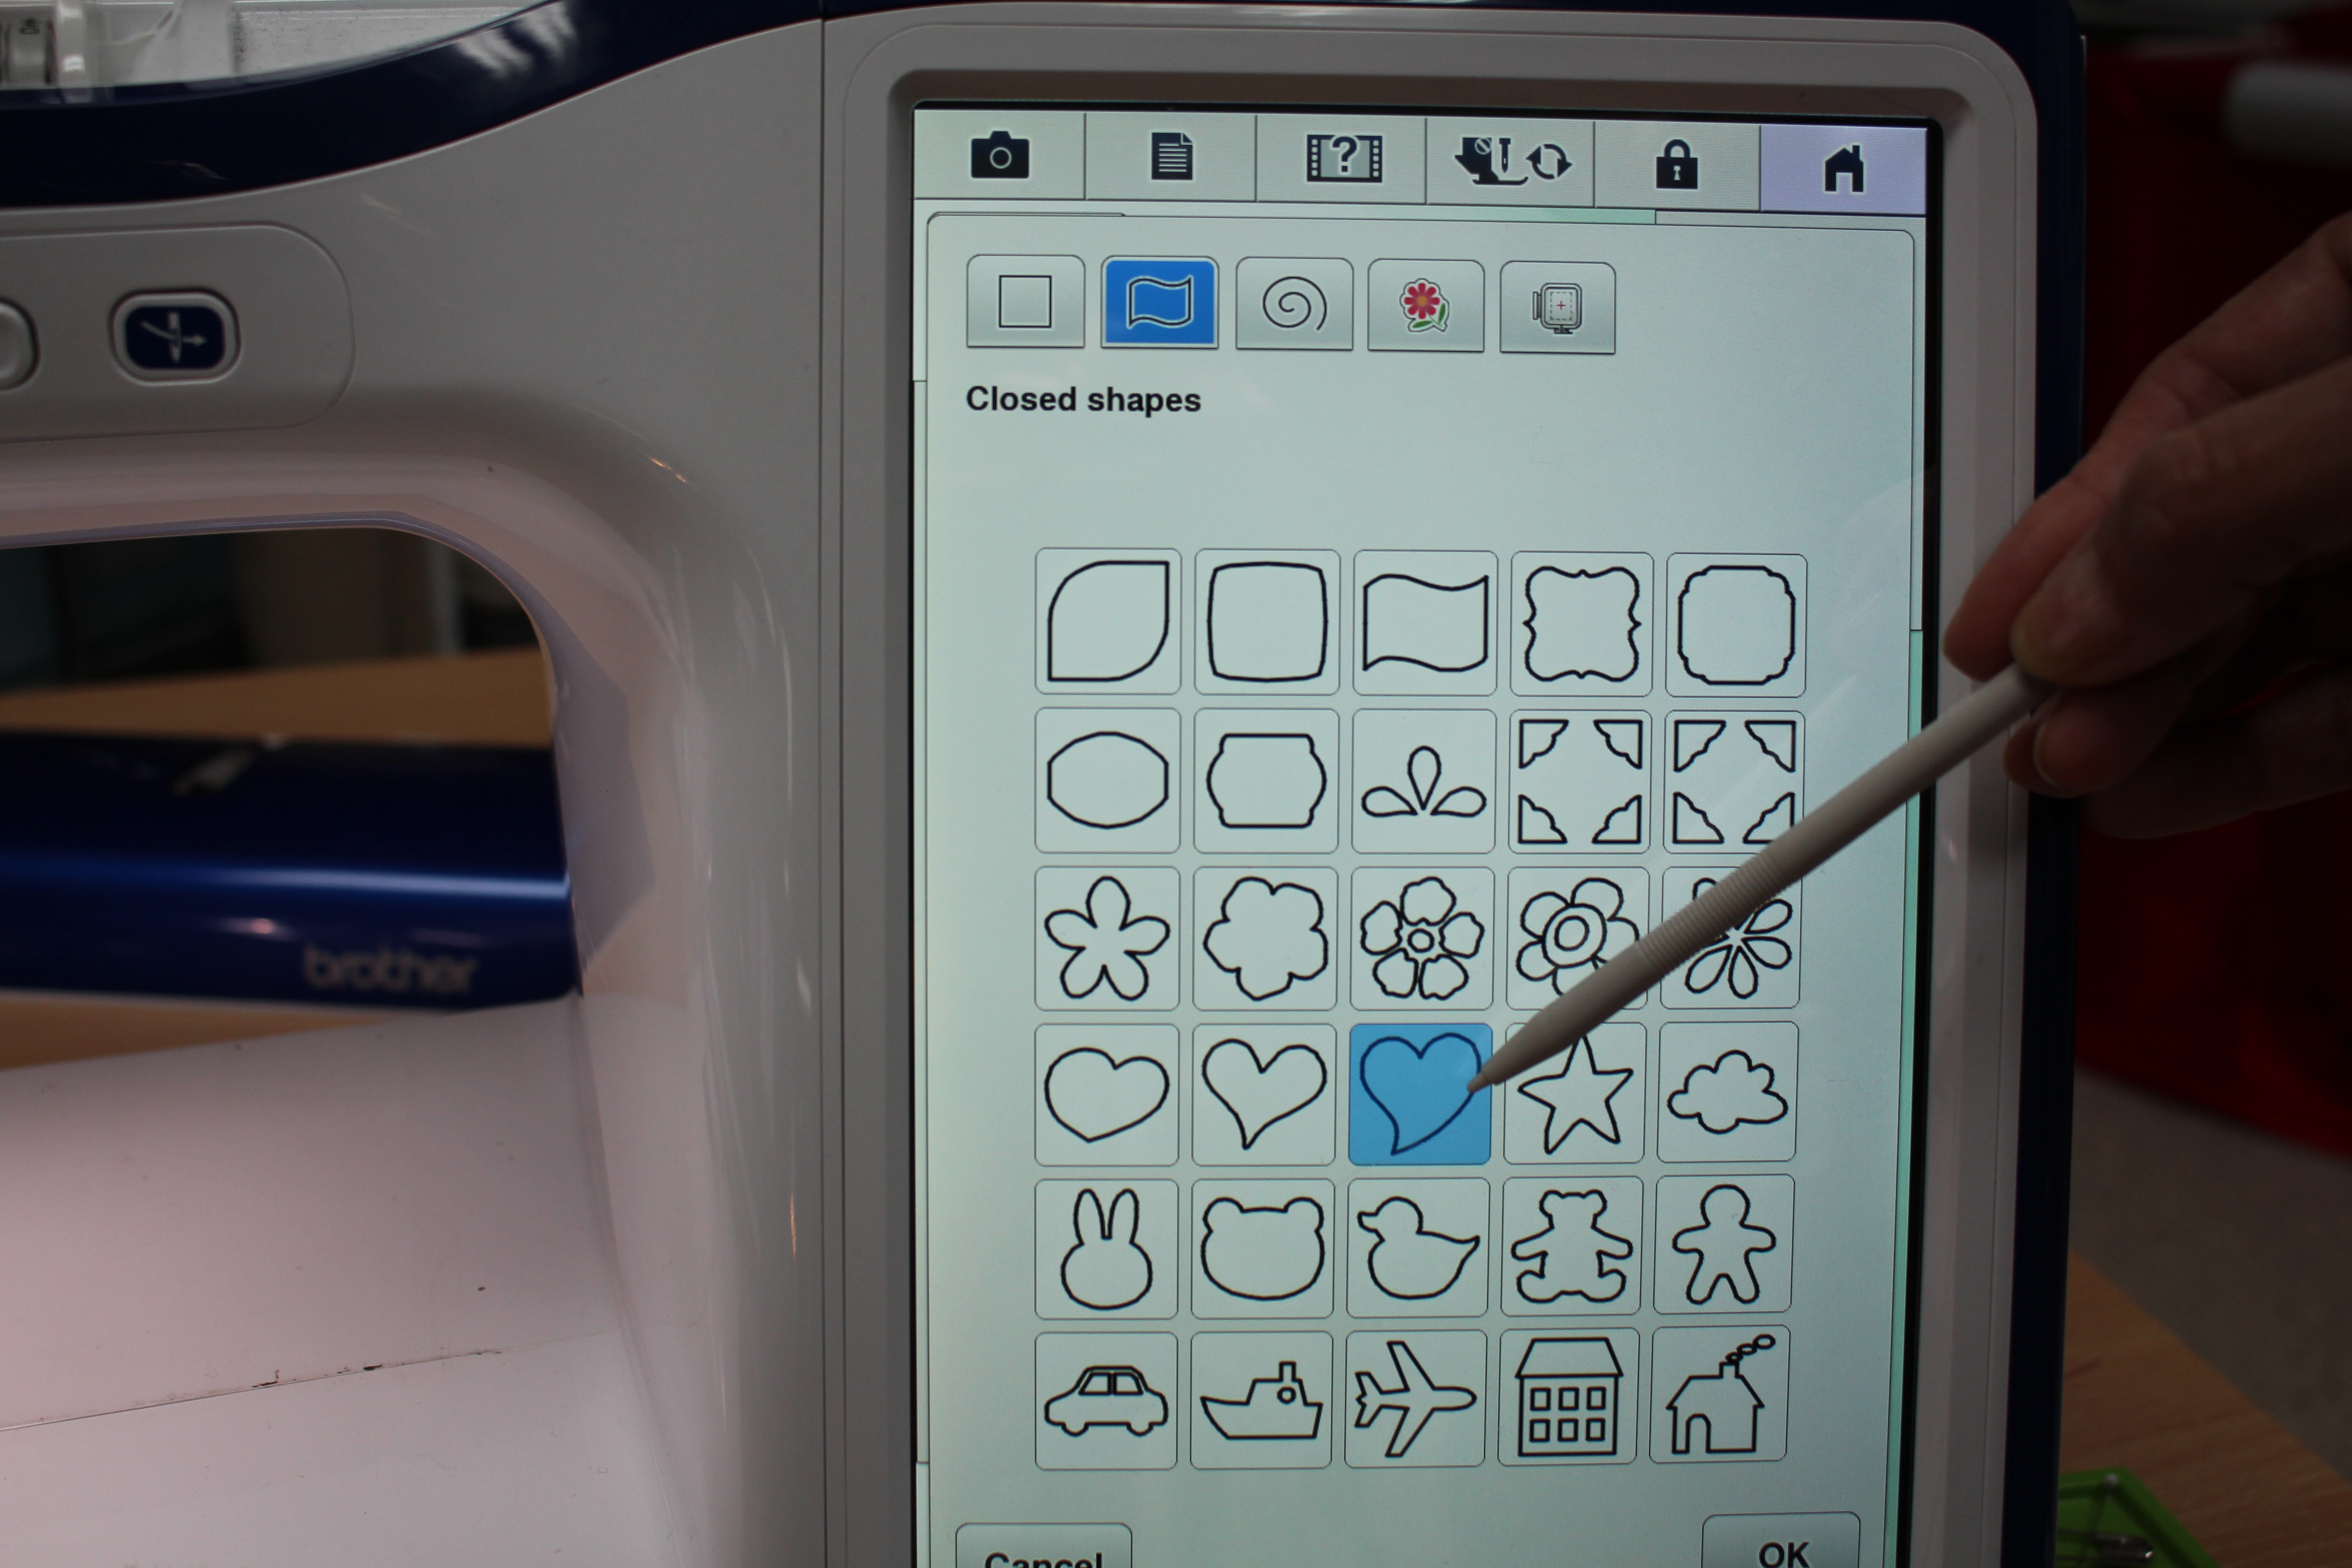
On this page you will find a few different heart shapes, choose you favorite.
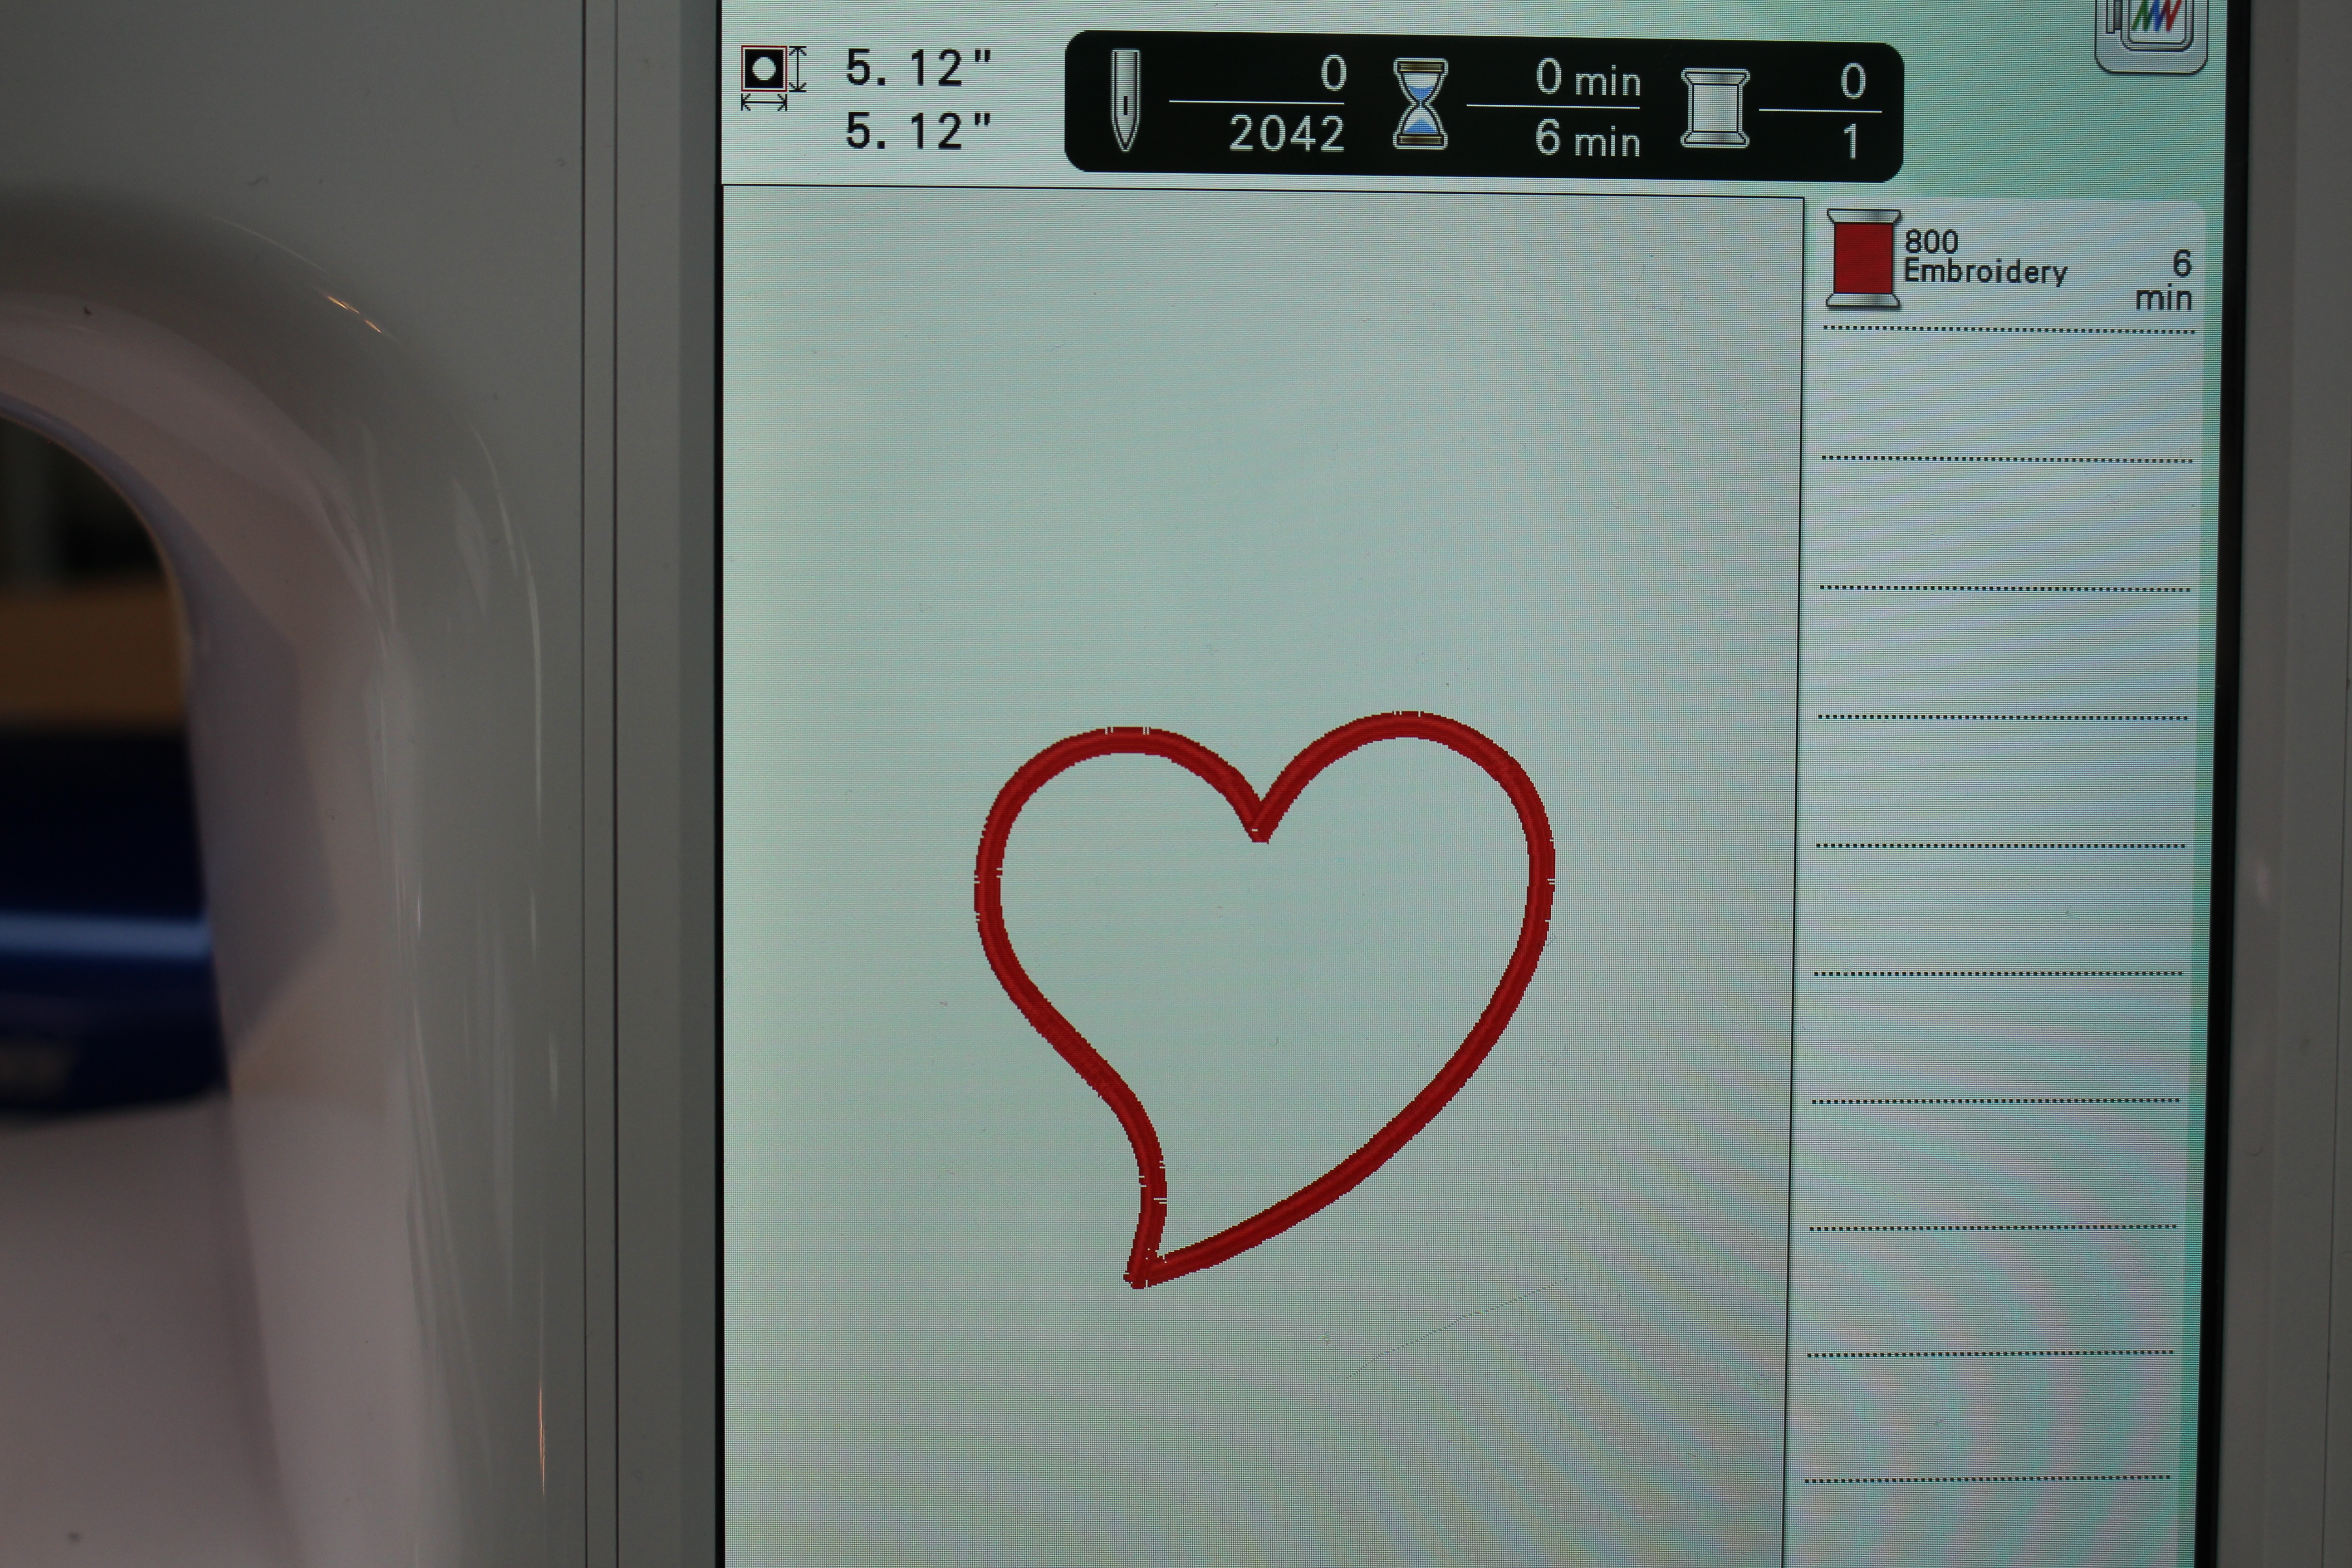
Alter the size of the heart if you want it larger or smaller. Send the design to embroidery, but before you set the design check the stitches. There are five options. I choose the satin stitch, but there are other fun one’s too.
I decided to widen the ZIGZAG WIDTH. Save the design if you want to quickly access it later and click SET.
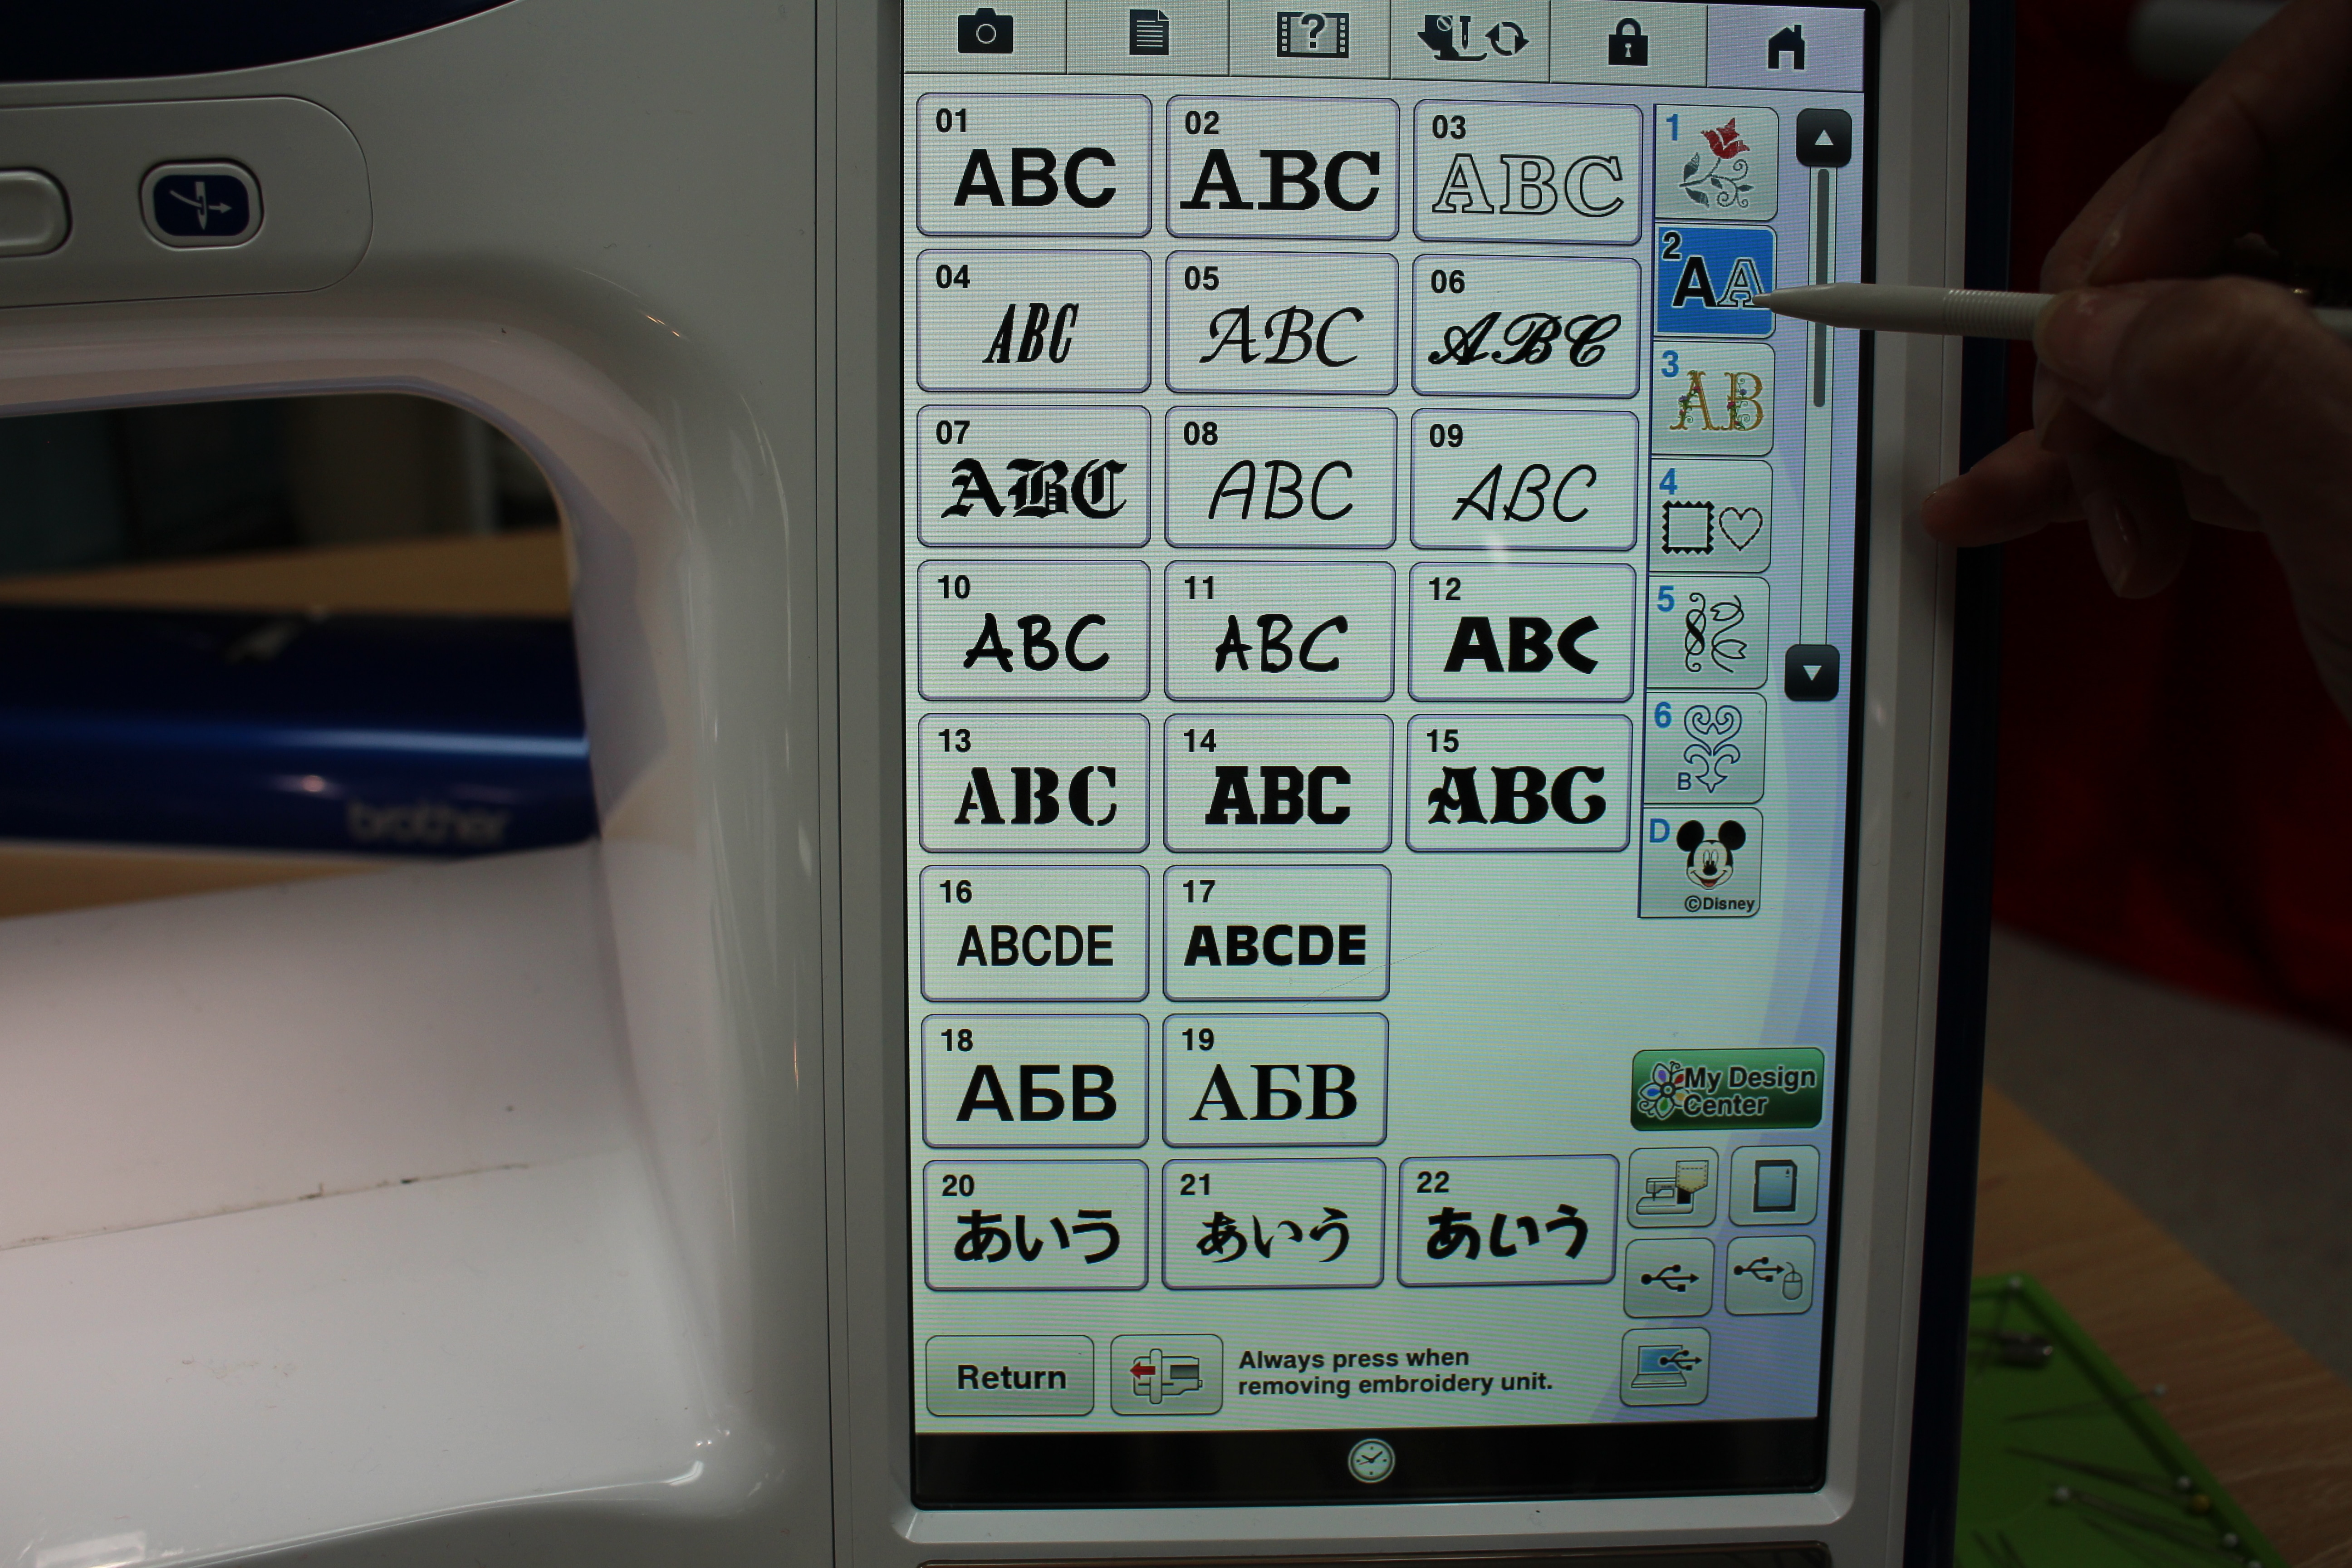
Click on ADD and choose a font.
Type in your “Valentine Message” and remember you can make the letters large, medium, or small and there are options for capital and lower case letters. Photo 26
To read the full blog, head over to my post as a Brother Expert Consultant on the Brother Stitching Sewcial. Be sure to share photos of your bags #angleawolf #brothersews
Happy Valentine’s Day ♥
Cheers,

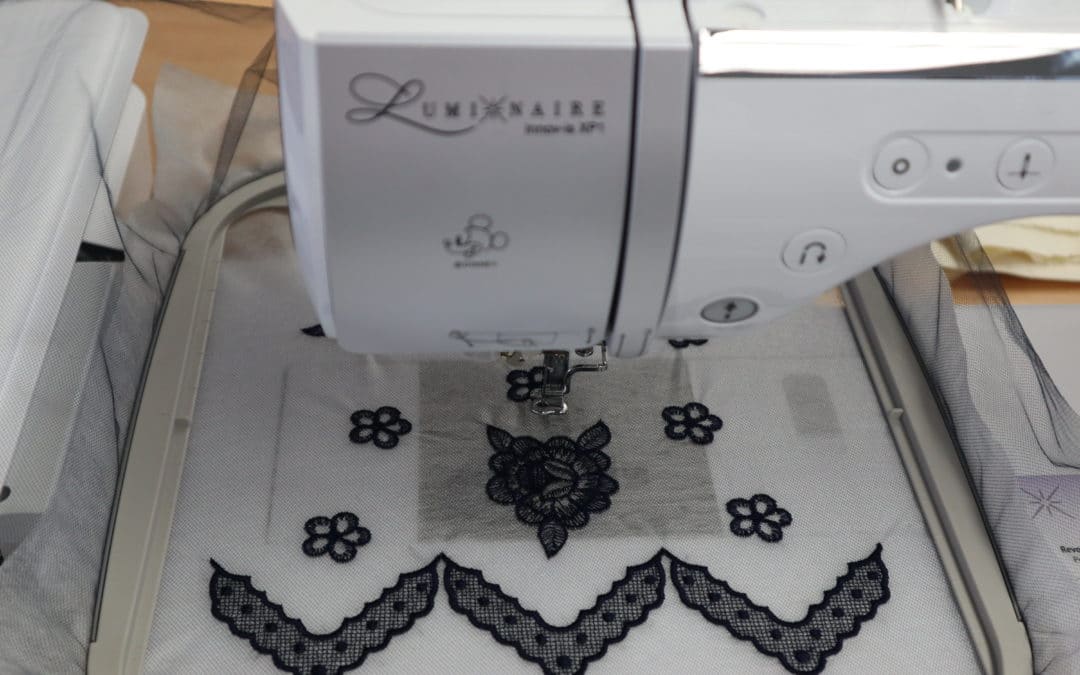
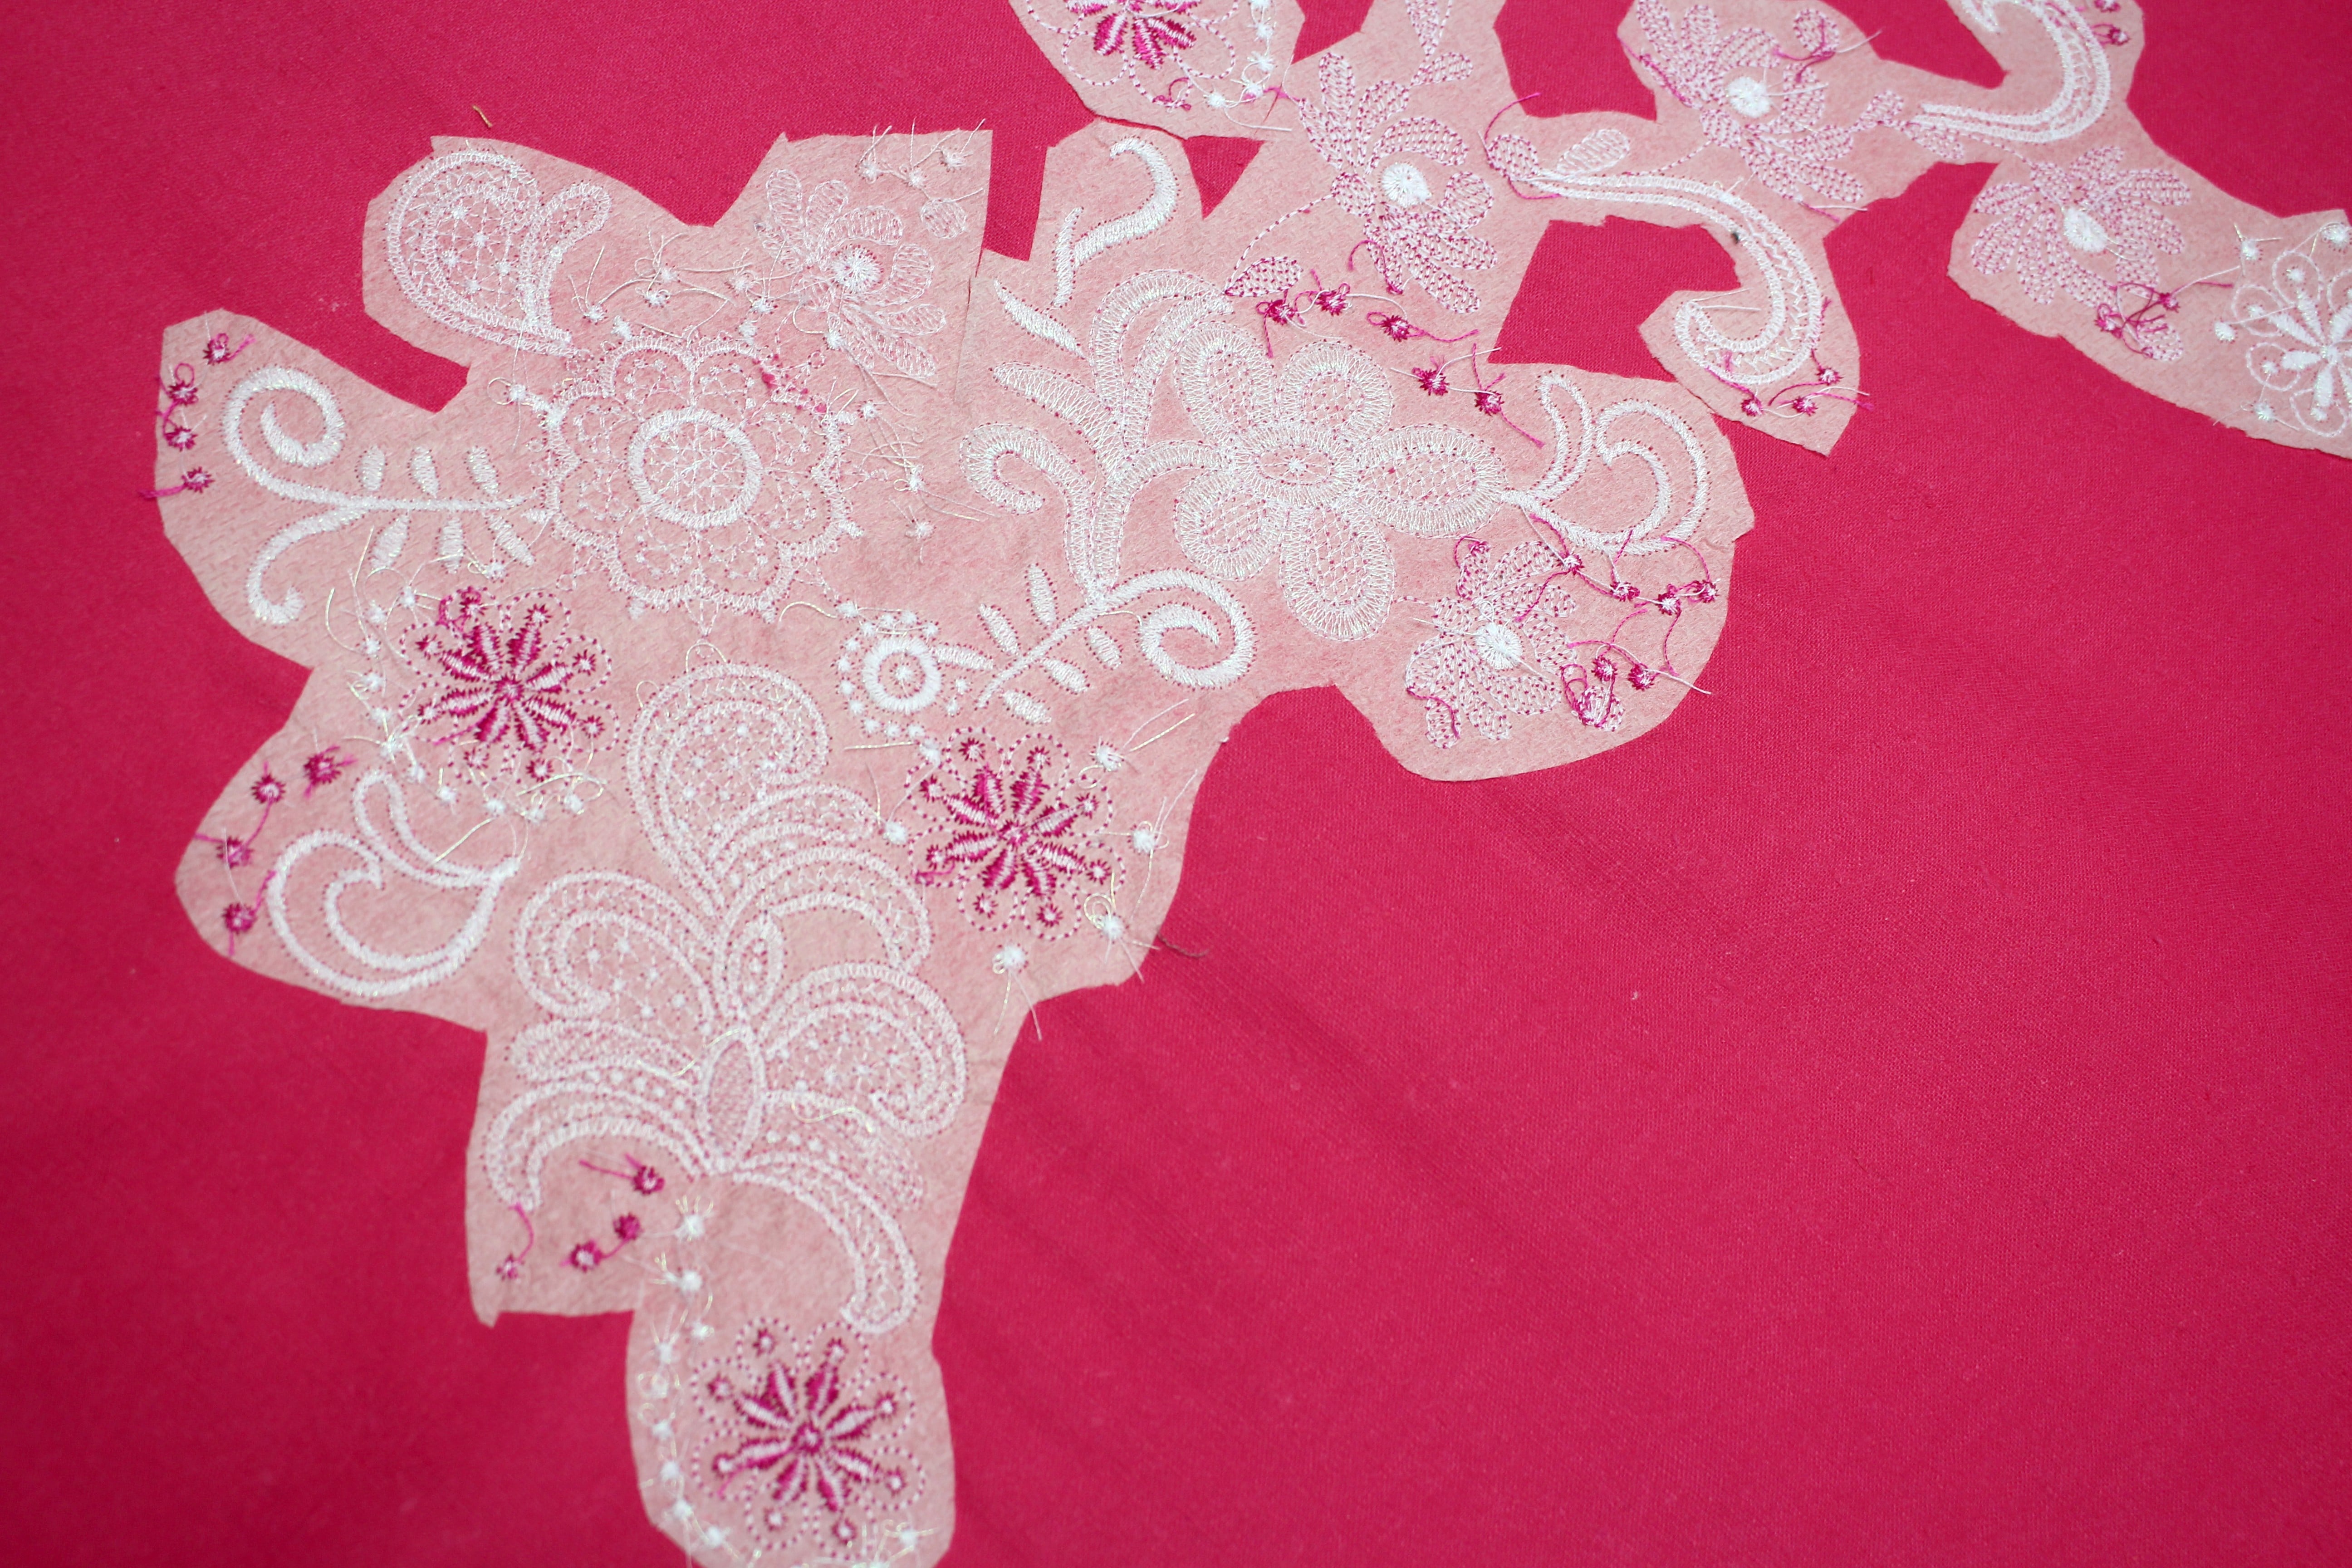
How to Embroider Lace on Tulle With the launch of my new lace embroidery collection A Touch of Lace, I thought this would be a good time to share a few tutorials showing how to embroider lace. I am going to start with my all time favorite, embroidering on tulle...
Behind the Scenes LIVE @sewingexpo Atlanta
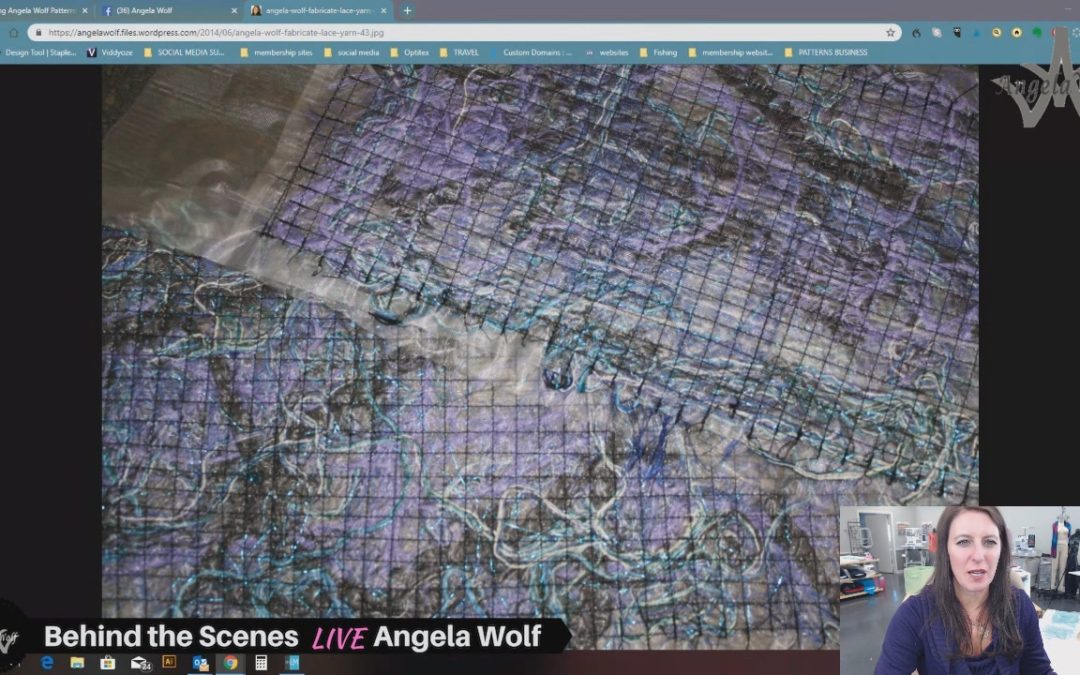
VLOG 124 Friday with Friends Check out my yarn fabric coming together! And let's see what the wolf pack has been sewing
Vlog 122 Fan Friday Drawing Winner's!!!! The Touch of Lace Embroidery collection has a final count and no one chose the correct answer! SO I will draw a random winner Also drawing a new grand prize winner for the Puyallup fashion show! And finally showing off your...
Vlog 121 behind the scenes Angela Wolf at VDTA
Vlog 120 behind the scenes live on its sew easy
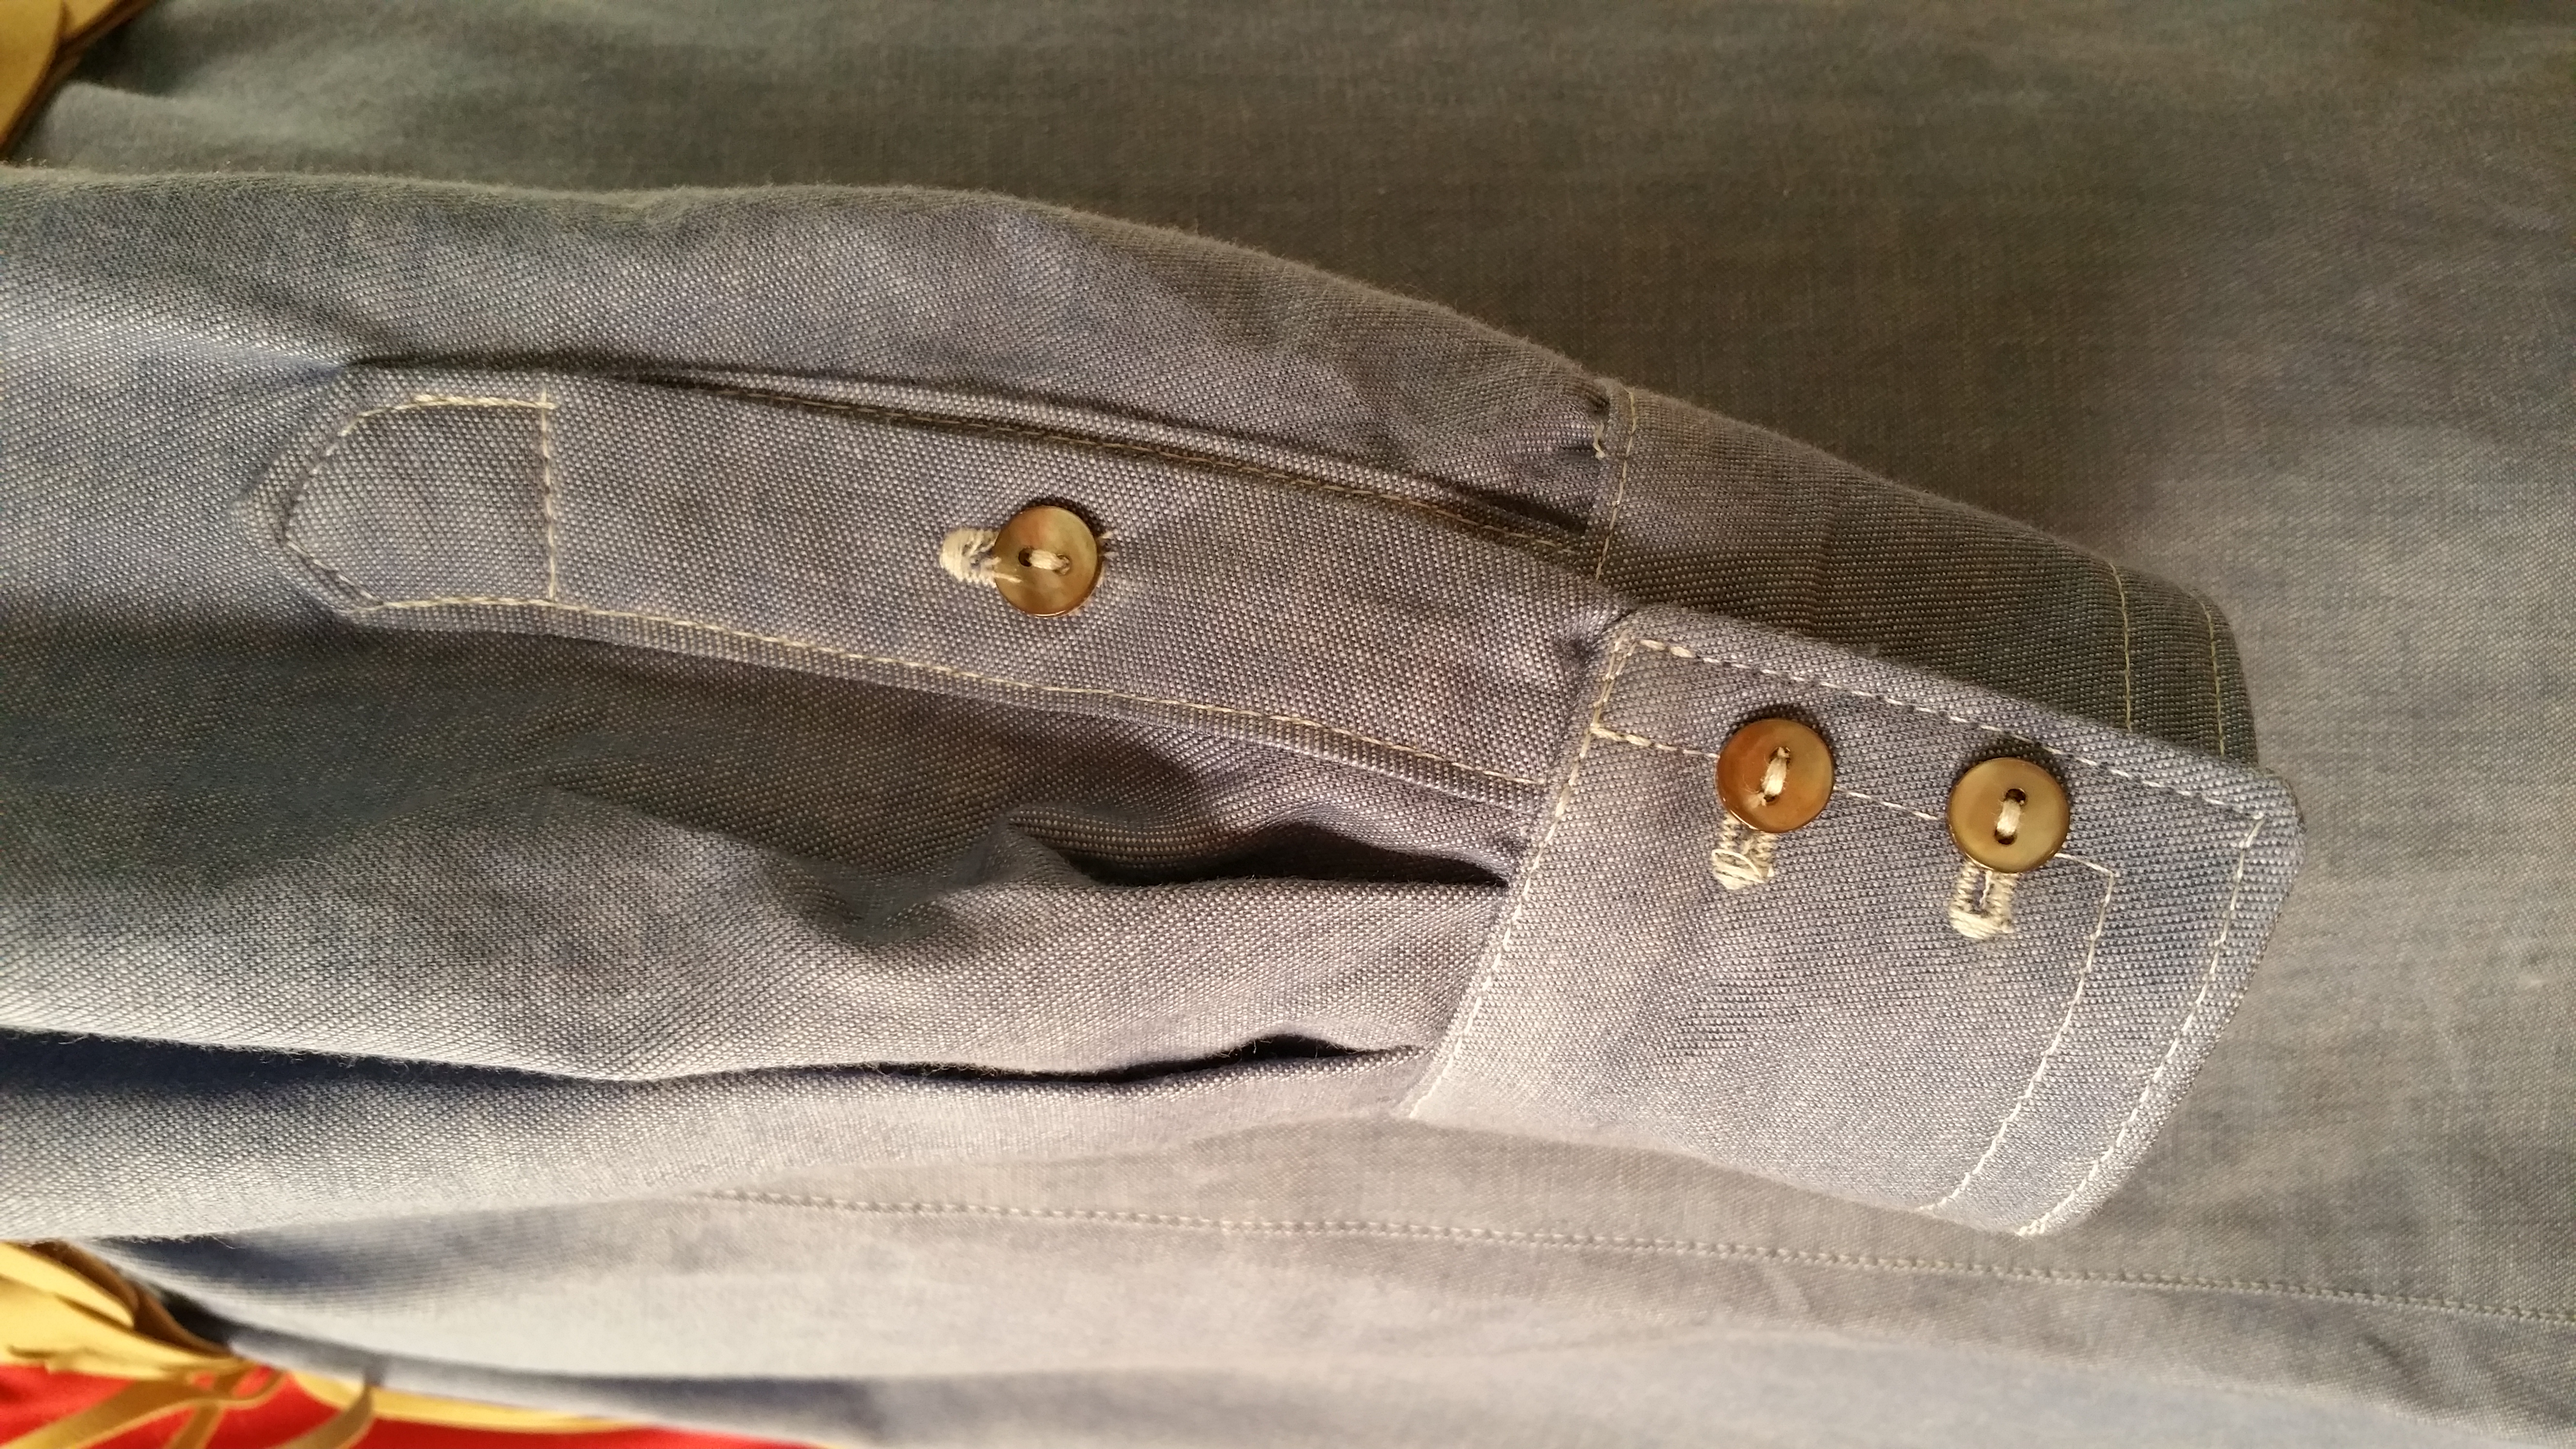
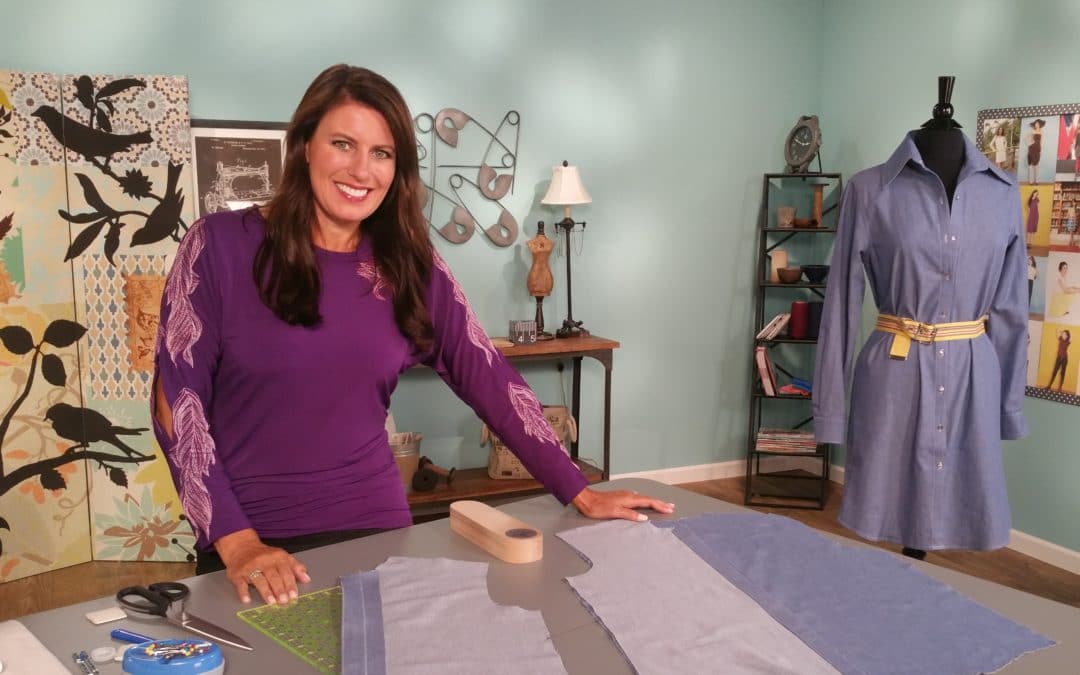
There are many ways to sew the sleeve placket and depending on your pattern you might have a one piece or two piece placket. If you have a two piece placket, you can change it to one piece and follow the steps I have shown in the tutorial. I learned this technique from altering men’s ready-to-wear and thought THIS WAS SO EASY (It’s Sew Easy LOL!)
The video from It’s Sew Easy tv is a brief tutorial on sewing the placket including pressing and topstitching. As far as interfacing, keep the interfacing out of the seam allowances or the placket will be too stiff.
I am going to work on another shirt dress out of chiffon and definitely going to add embroidery. Now is the time to embroider the sleeve, before we sew the side seams. Just an idea 🙂

Here is the blog schedule for the season long sew-along with links to the tutorials and live Q&A on my blog (each link will open on the date listed). Season 14 of It’s Sew Easy had begun airing on PBS and Create TV; you will be able to watch each episode there first (depending on when your specific station begins airing the show).
Part 1: Announcing the Shirt Dress Sewalong with Angela Wolf on It’s Sew Easy
Episode 1401: Choosing and prepping fabrics, patterns, and sizing
Part 2: Sewing the Front Placket Episode 1402: Sewing the front placket
Part 3: Attaching the Collar Episode 1404: Attaching the collar
Part 4: Sewing the Placket on the Sleeve Episode 1405: Sewing the placket on the sleeve
Part 5: Sewing the Sleeves and Side Seam Episode 1406: Sewing the sleeves and side seams (1/27/2018)
Part 6: Sewing the Cuffs Episode 1408: Sewing the cuffs (2/3/2018)
Part 7: Sewing the Buttons and Buttonholes Episode 1409: Buttons and buttonholes (2/10/2018)
Part 8: Finishing the Hem Episode 1413: Finishing the hem with a rolled hem (2/17/2018)
Join us! A new video will arrive on YouTube every Saturday. Sign up here and never miss a blog post and join the fun on facebook, instagram, twitter, and pinterest . We will share photos on the social side using hashtags #angleawolf #itseweasy
Can’t wait to see what you sew up! Leave your comments & questions below …
Cheers,

The page you requested could not be found. Try refining your search, or use the navigation above to locate the post.

Watch each episode live on facebook or catch the replay here!
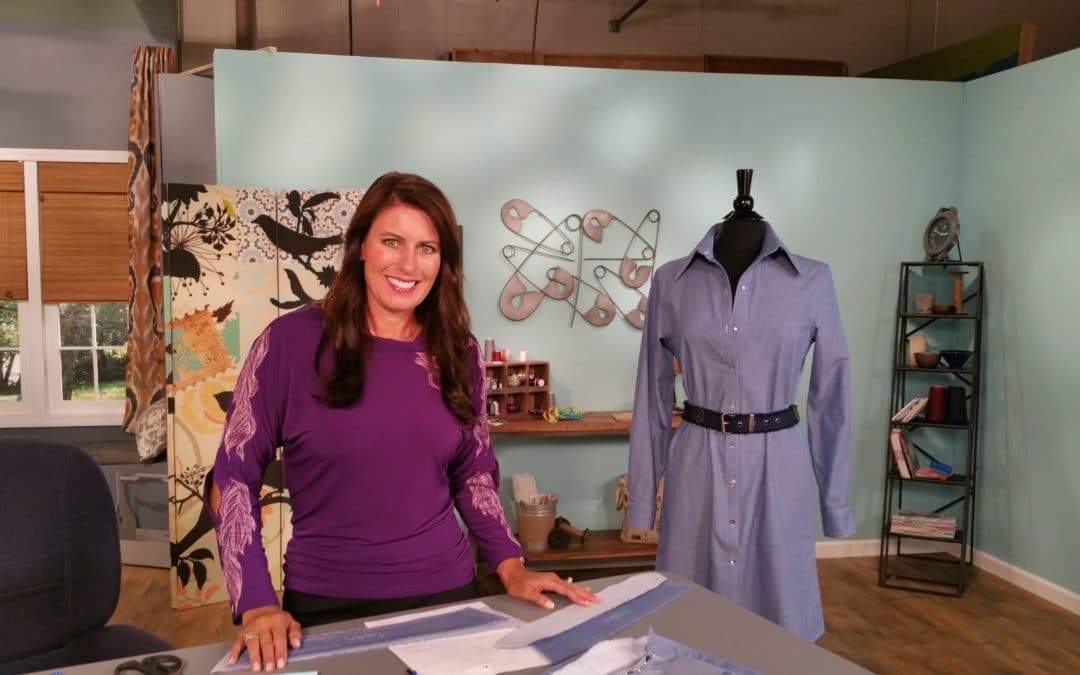
Sewing the collar and collar band can be intimidating, but it’s easier than you might thing. The most important is the topstitching, this is what makes your shirt or shirtdress look expensive. Watch the video below for a quick preview of sewing the collar.

Here is the blog schedule for the season long sew-along with links to the tutorials and live Q&A on my blog (each link will open on the date listed). Season 14 of It’s Sew Easy had begun airing on PBS and Create TV; you will be able to watch each episode there first (depending on when your specific station begins airing the show).
Part 1: Announcing the Shirt Dress Sewalong with Angela Wolf on It’s Sew Easy
Episode 1401: Choosing and prepping fabrics, patterns, and sizing
Part 2: Sewing the Front Placket Episode 1402: Sewing the front placket
Part 3: Attaching the Collar Episode 1404: Attaching the collar
Part 4: Sewing the Placket on the Sleeve Episode 1405: Sewing the placket on the sleeve (1/20/2018)
Part 5: Sewing the Sleeves and Side Seam Episode 1406: Sewing the sleeves and side seams (1/27/2018)
Part 6: Sewing the Cuffs Episode 1408: Sewing the cuffs (2/3/2018)
Part 7: Sewing the Buttons and Buttonholes Episode 1409: Buttons and buttonholes (2/10/2018)
Part 8: Finishing the Hem Episode 1413: Finishing the hem with a rolled hem (2/17/2018)
Join us! A new video will arrive on YouTube every Saturday. Sign up here and never miss a blog post and join the fun on facebook, instagram, twitter, and pinterest . We will share photos on the social side using hashtags #angleawolf #itseweasy #shirtdresssewalong
Can’t wait to see what you sew up! Leave your comments & questions below …
Cheers,
Watch each episode live on facebook or catch the replay here!
Behind the Scenes LIVE @sewingexpo Atlanta

VLOG 124 Friday with Friends Check out my yarn fabric coming together! And let's see what the wolf pack has been sewing
Vlog 122 Fan Friday Drawing Winner's!!!! The Touch of Lace Embroidery collection has a final count and no one chose the correct answer! SO I will draw a random winner Also drawing a new grand prize winner for the Puyallup fashion show! And finally showing off your...
Vlog 121 behind the scenes Angela Wolf at VDTA
Vlog 120 behind the scenes live on its sew easy
Vlog 119 Behind the Scenes LIVE with Angela Wolf Showing off the fabulous outfits made by the Wolf Pack Katie will be joining us to draw a winner to Sewing & Stitchery Expo in Puyallup @sewexpo Announcing a few exciting things coming up See you soon
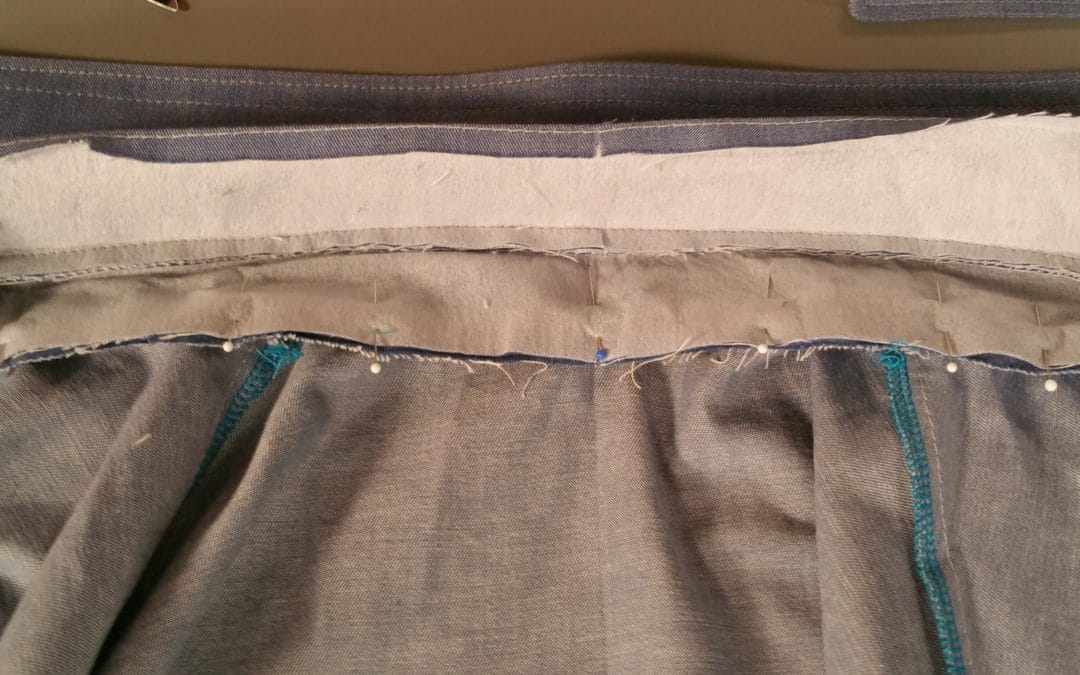
Pressing fusible interfacing to the fabric is easy if you follow these tips:
You can use various fabrics for a press cloth. I tend to use a lightweight cotton or muslin fabric because that is what I typically have on hand. Cheese cloth is another option and Silk organza is another favorite.
Here are some of the supplies I used in this episode:
You will find links to many of these items on my Amazon shopping list.
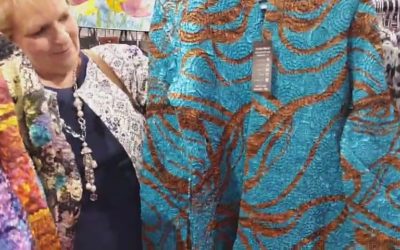
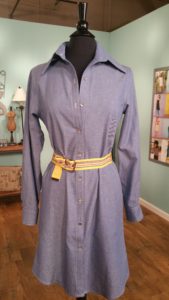
Have you thought of sewing this shirtdress with a different fabric than the traditional cotton? This week’s episode of Behind the Scenes showed some fabric ideas for the sewalong including silk, velvet burnout, and more!
Here is the blog schedule for the season long sew-along with links to the tutorials and live Q&A on my blog (each link will open on the date listed). Season 14 of It’s Sew Easy had begun airing on PBS and Create TV; you will be able to watch each episode there first (depending on when your specific station begins airing the show).
Join us! A new video will upload on YouTube every Saturday. Sign up here and never miss a blog post and join the fun on facebook, instagram, twitter, and pinterest . We will share photos on the social side using hashtags #angleawolf #itseweasy #shirtdresssewalong
Can’t wait to see what you sew up! Leave your comments & questions below …
Cheers,
Watch each episode live on facebook or catch the replay here!
Behind the Scenes LIVE @sewingexpo Atlanta
VLOG 124 Friday with Friends Check out my yarn fabric coming together! And let's see what the wolf pack has been sewing
Vlog 122 Fan Friday Drawing Winner's!!!! The Touch of Lace Embroidery collection has a final count and no one chose the correct answer! SO I will draw a random winner Also drawing a new grand prize winner for the Puyallup fashion show! And finally showing off your...
Vlog 121 behind the scenes Angela Wolf at VDTA
Vlog 120 behind the scenes live on its sew easy
Vlog 119 Behind the Scenes LIVE with Angela Wolf Showing off the fabulous outfits made by the Wolf Pack Katie will be joining us to draw a winner to Sewing & Stitchery Expo in Puyallup @sewexpo Announcing a few exciting things coming up See you soon


