
How to Embroider Lace on Tulle
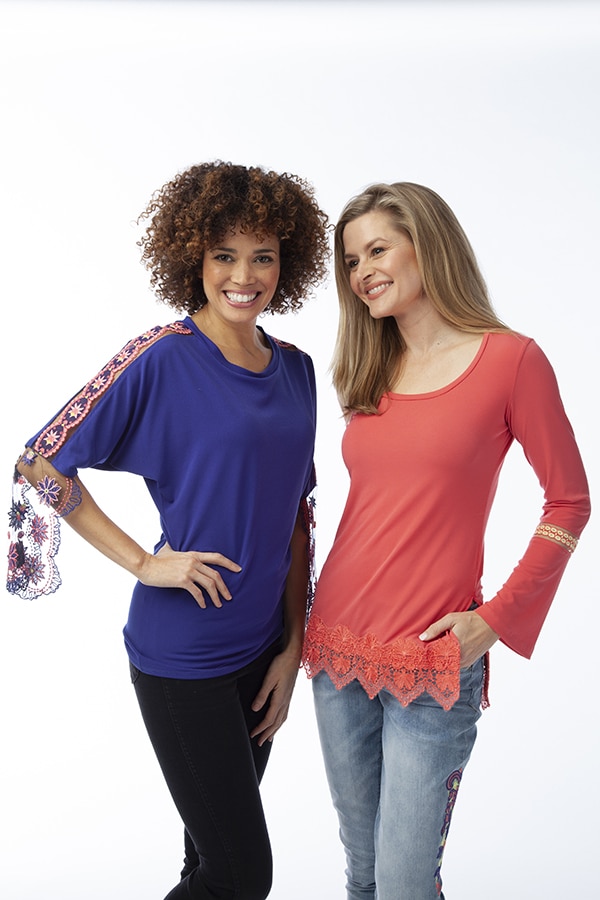
With the launch of my new lace embroidery collection A Touch of Lace, I thought this would be a good time to share a few tutorials showing how to embroider lace. I am going to start with my all time favorite, embroidering on tulle fabric. You might have seen my outfits with what I call “removable tattoos”. These sleeves are designed by embroidering on tulle fabric; then I cut out my sleeves from the embroidered tulle fabric. Let me show you how easy this is!
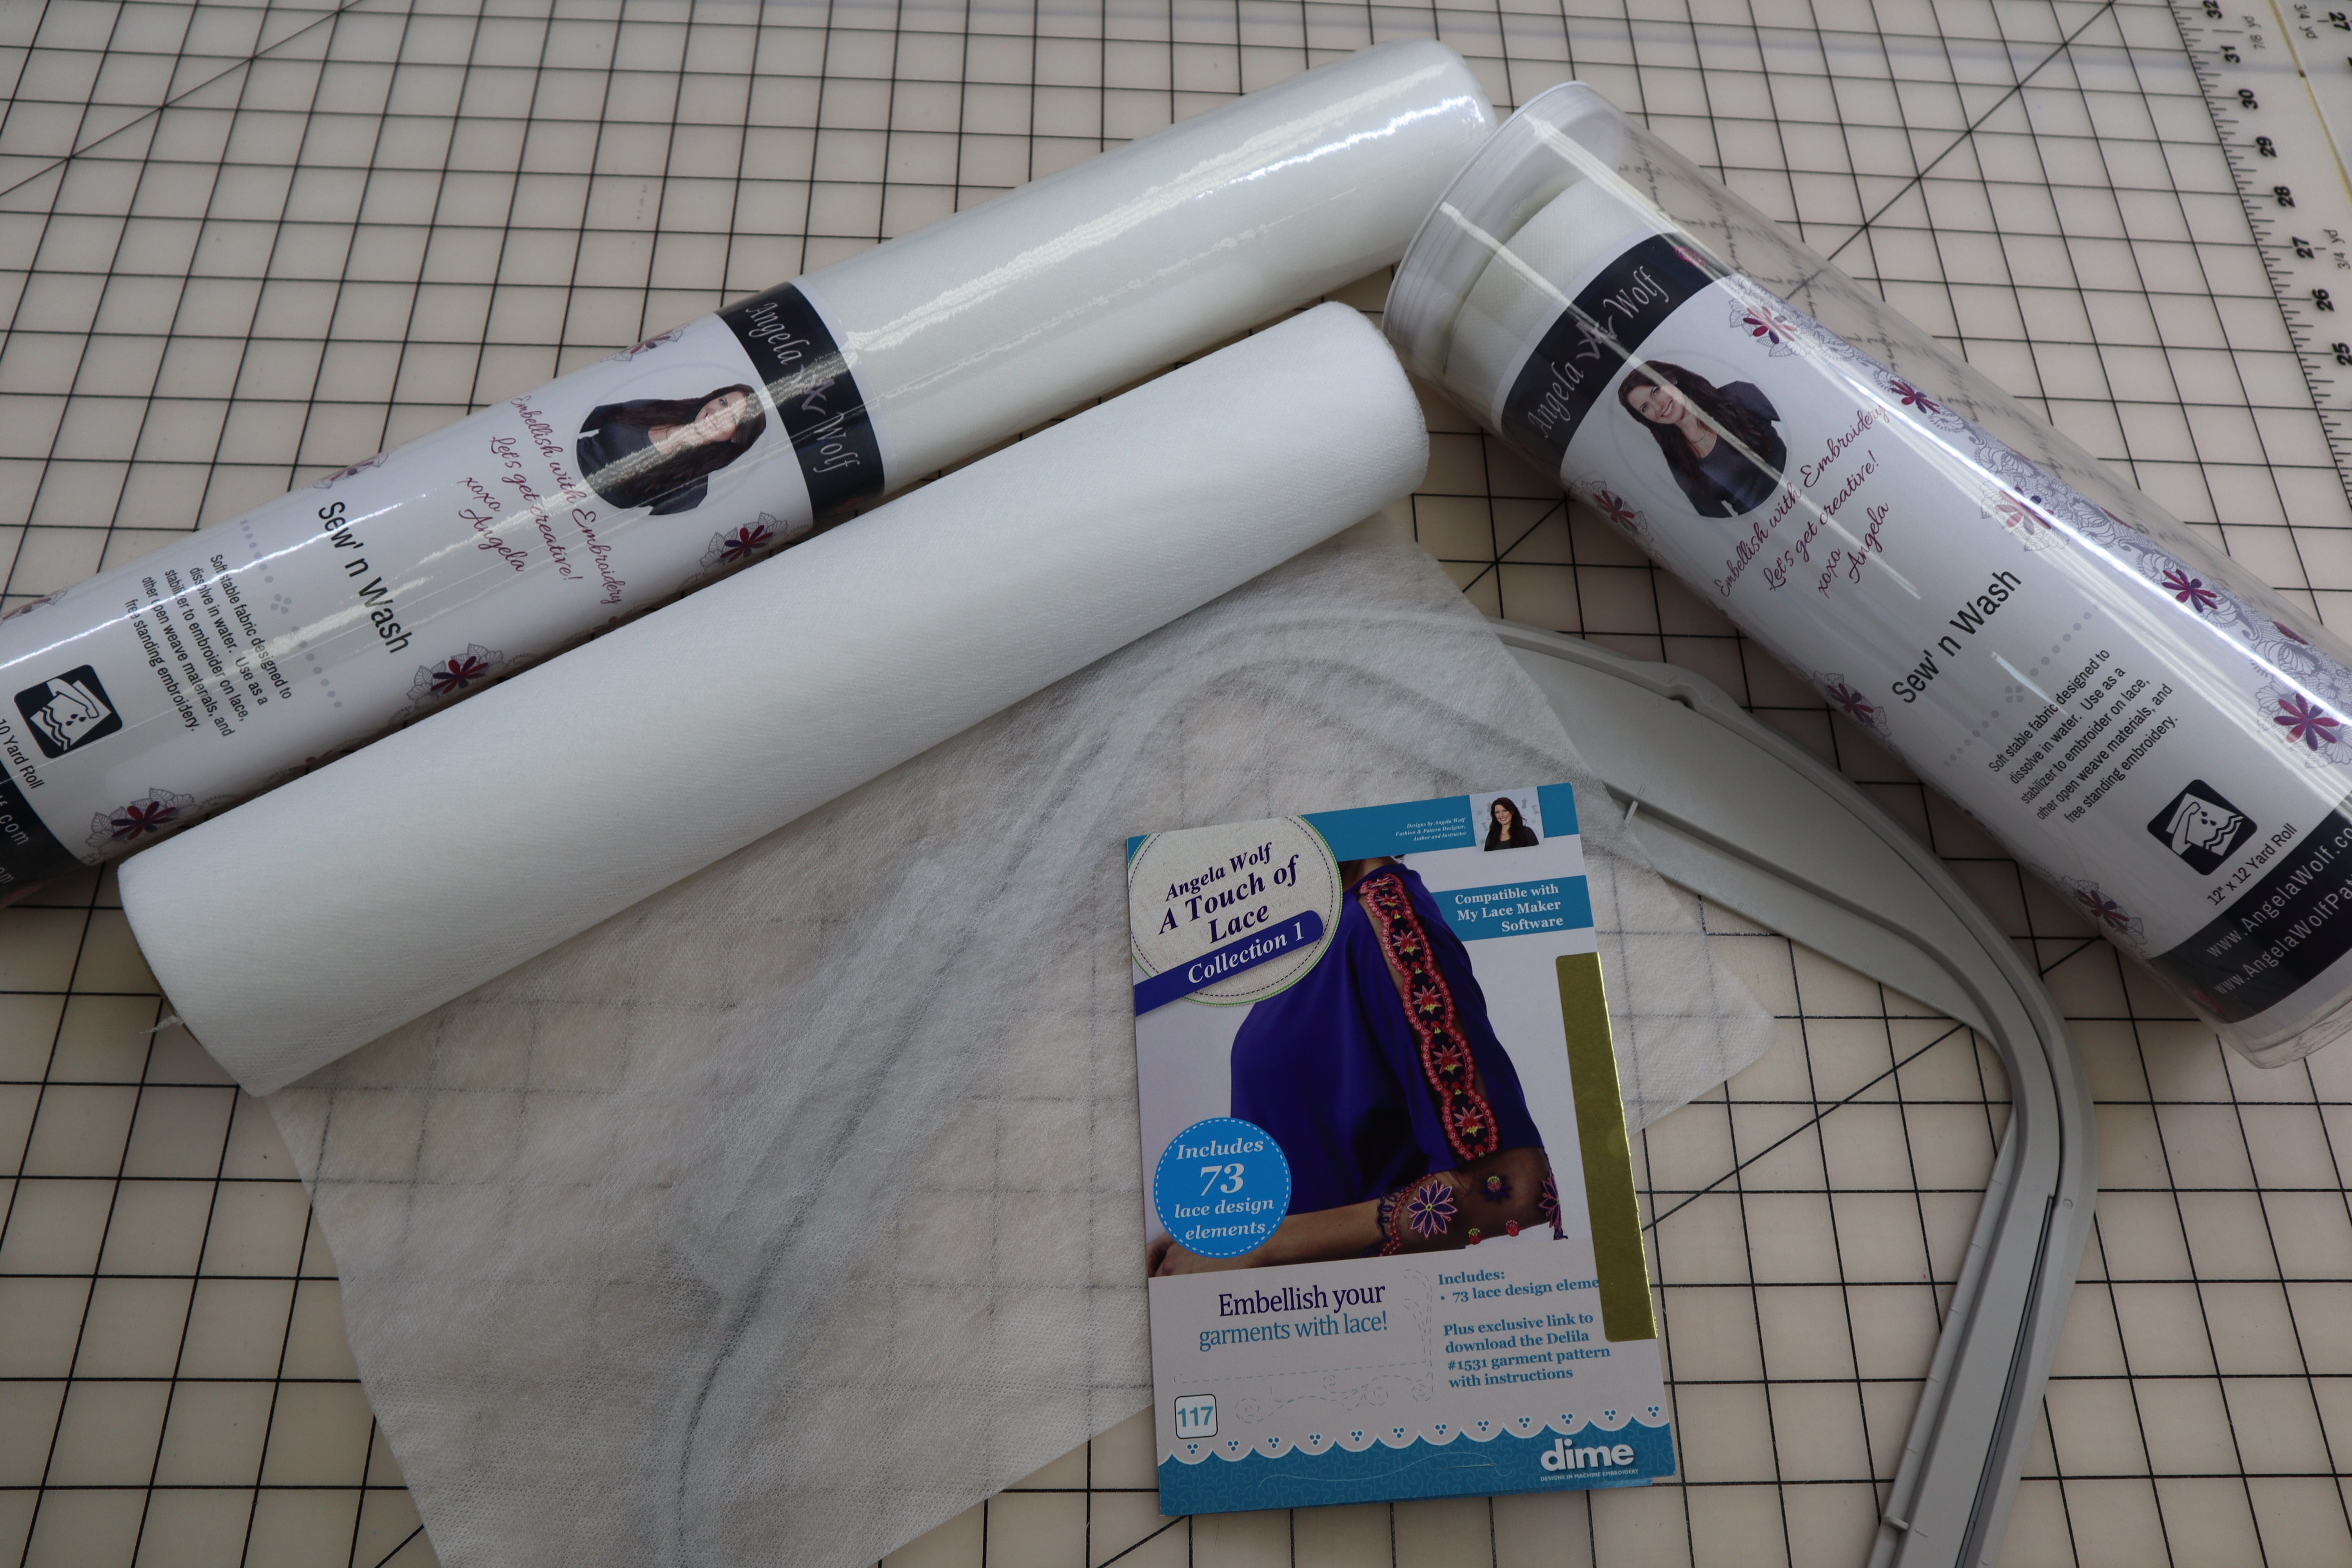
Supplies:
- Tulle Fabric
- Sew N Wash Embroidery Stabilizer
- A Touch of Lace Embroidery Collection
- Rayon or Polyester Embroidery Thread
- #10 or #12 Embroidery Needle
Choosing Tulle Fabric
When you start looking for tulle fabric, you might get a little overwhelmed with the options. The main thing is to check the texture and hand of the fabric. For example, since I am using the tulle for a garment I want the fabric to be soft to the touch. I also prefer a drape vs. a stiff fabric. How can you tell? If you get a chance to shop for the tulle fabric in person, hold the fabric in your hand. Does the fabric lay stiff like a sheet of paper, or does the fabric drape softly? Does the fabric feel soft or scratchy? If you are shopping online it’s a little harder to tell, but you can always purchase a small swatch. Although tulle fabric isn’t very expensive, you might as well order whatever you need for your project. Worse case you can use the tulle in a gift bag!
Fabric Color
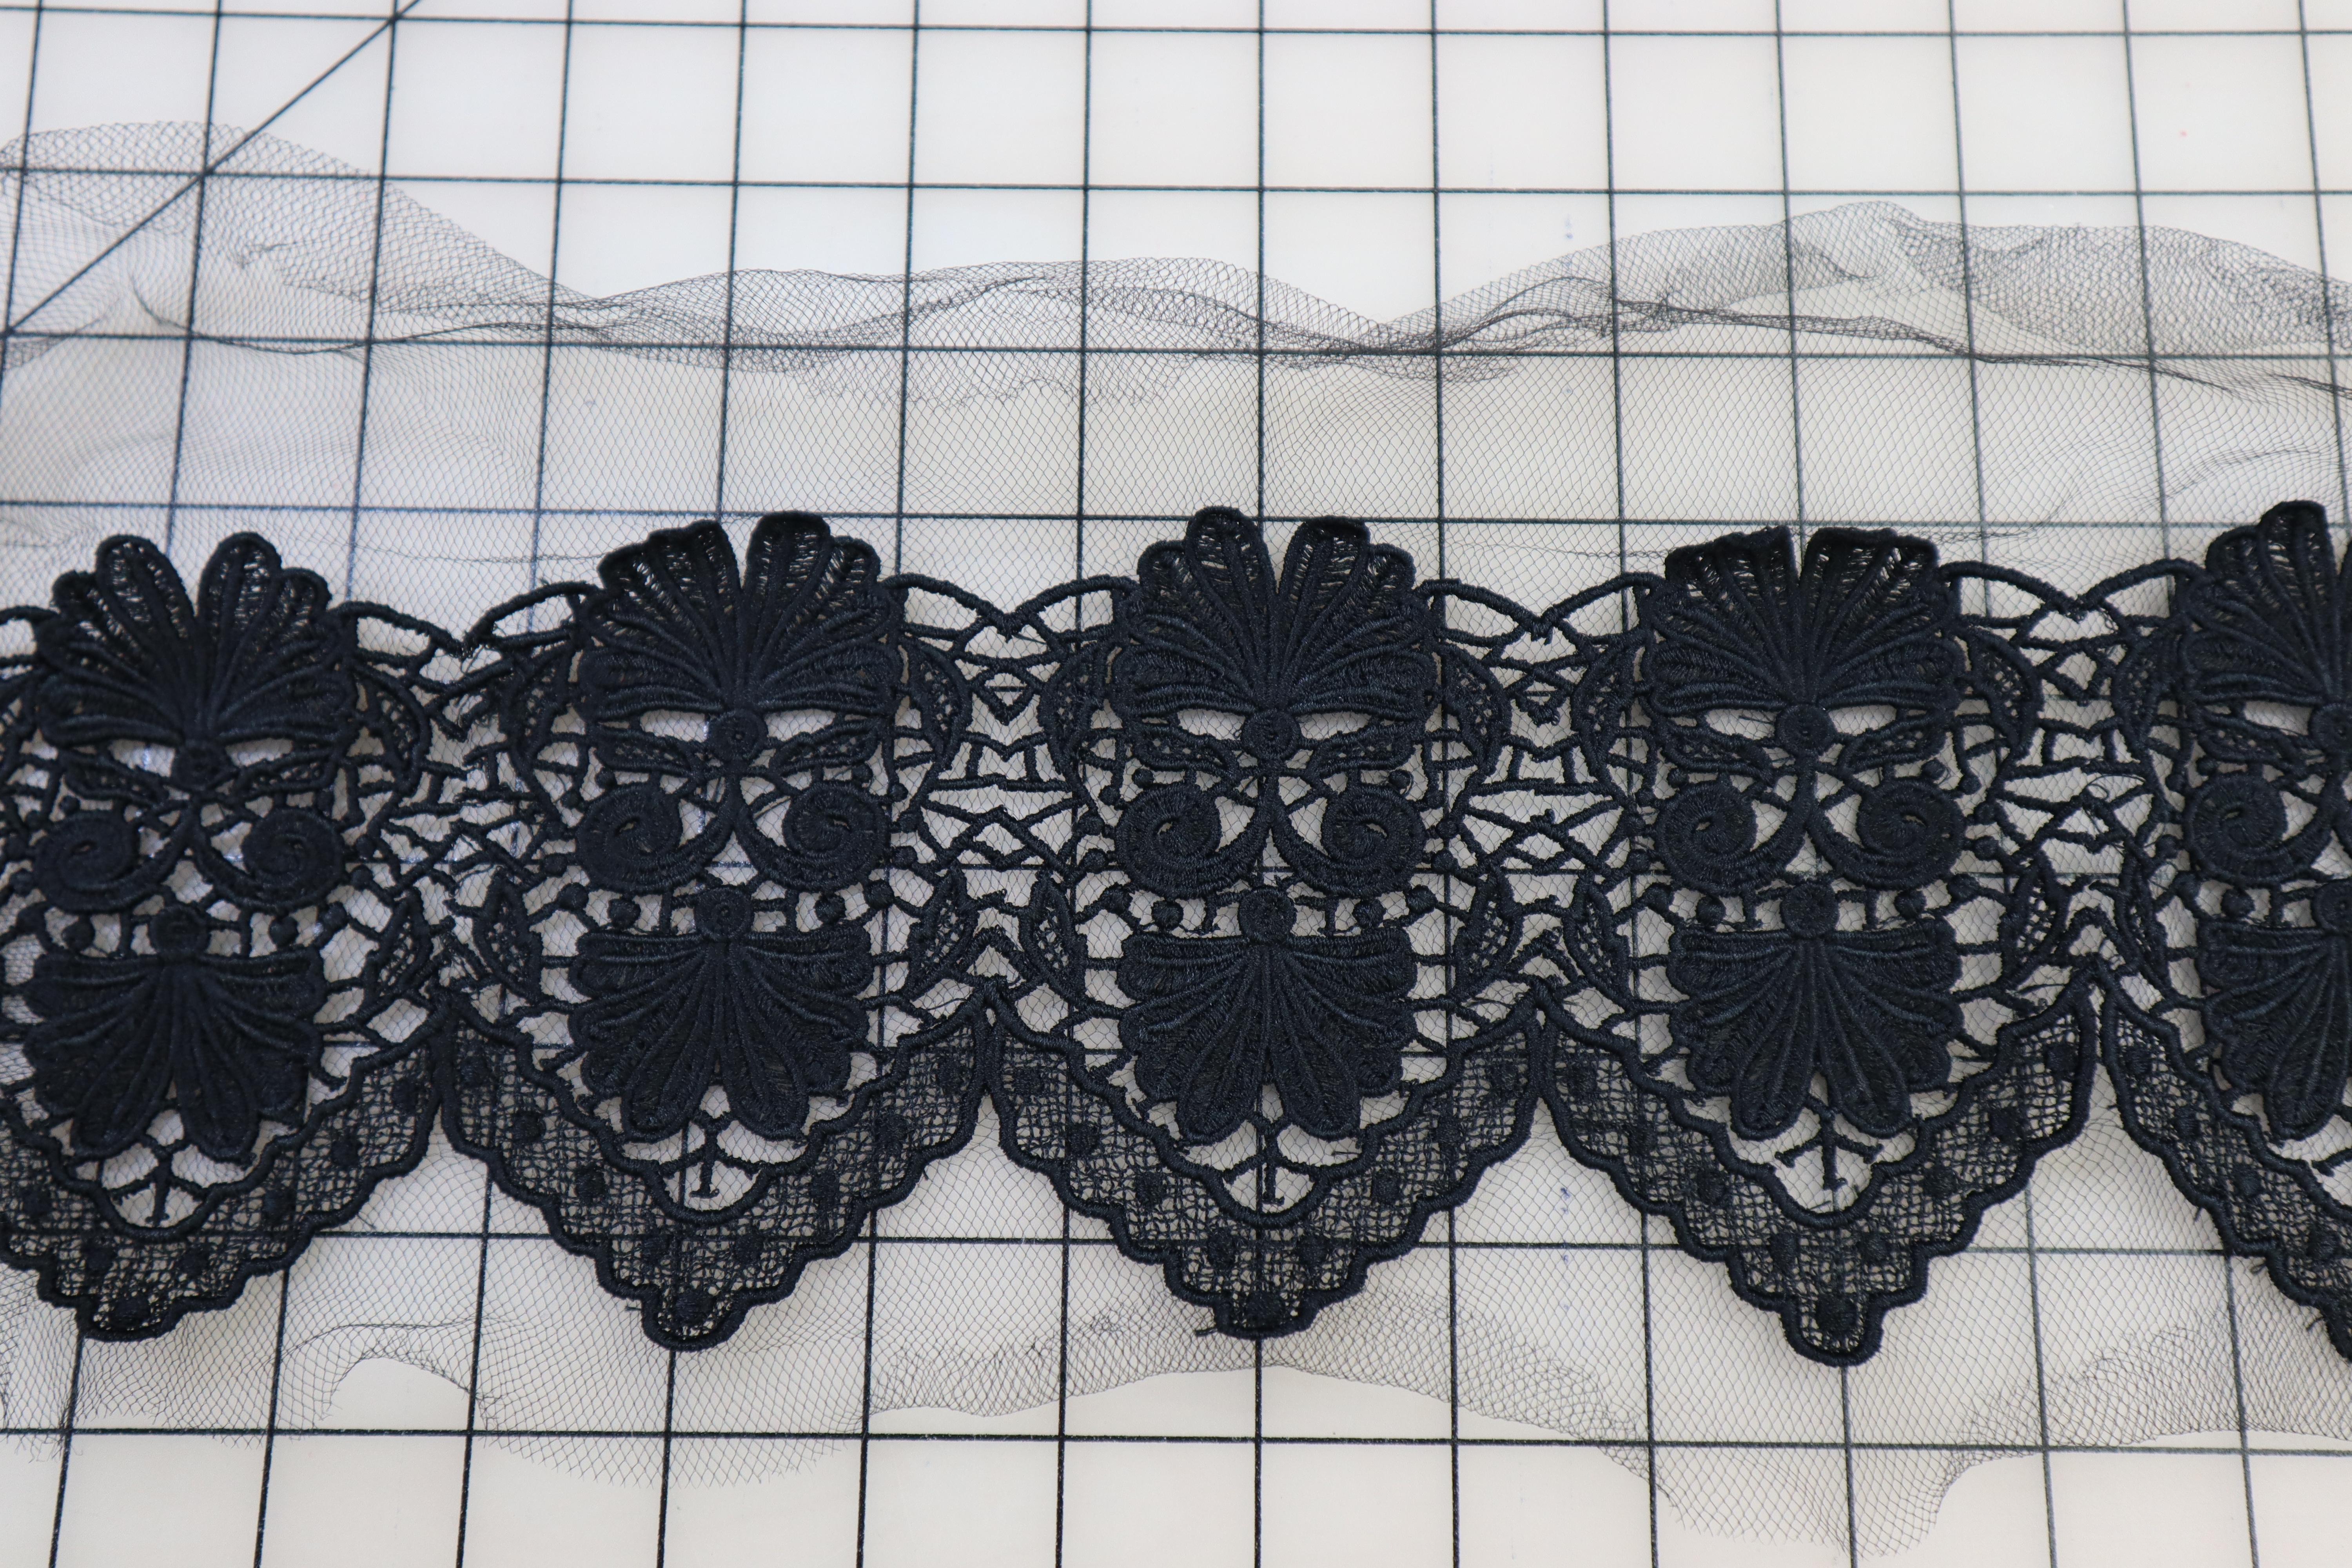
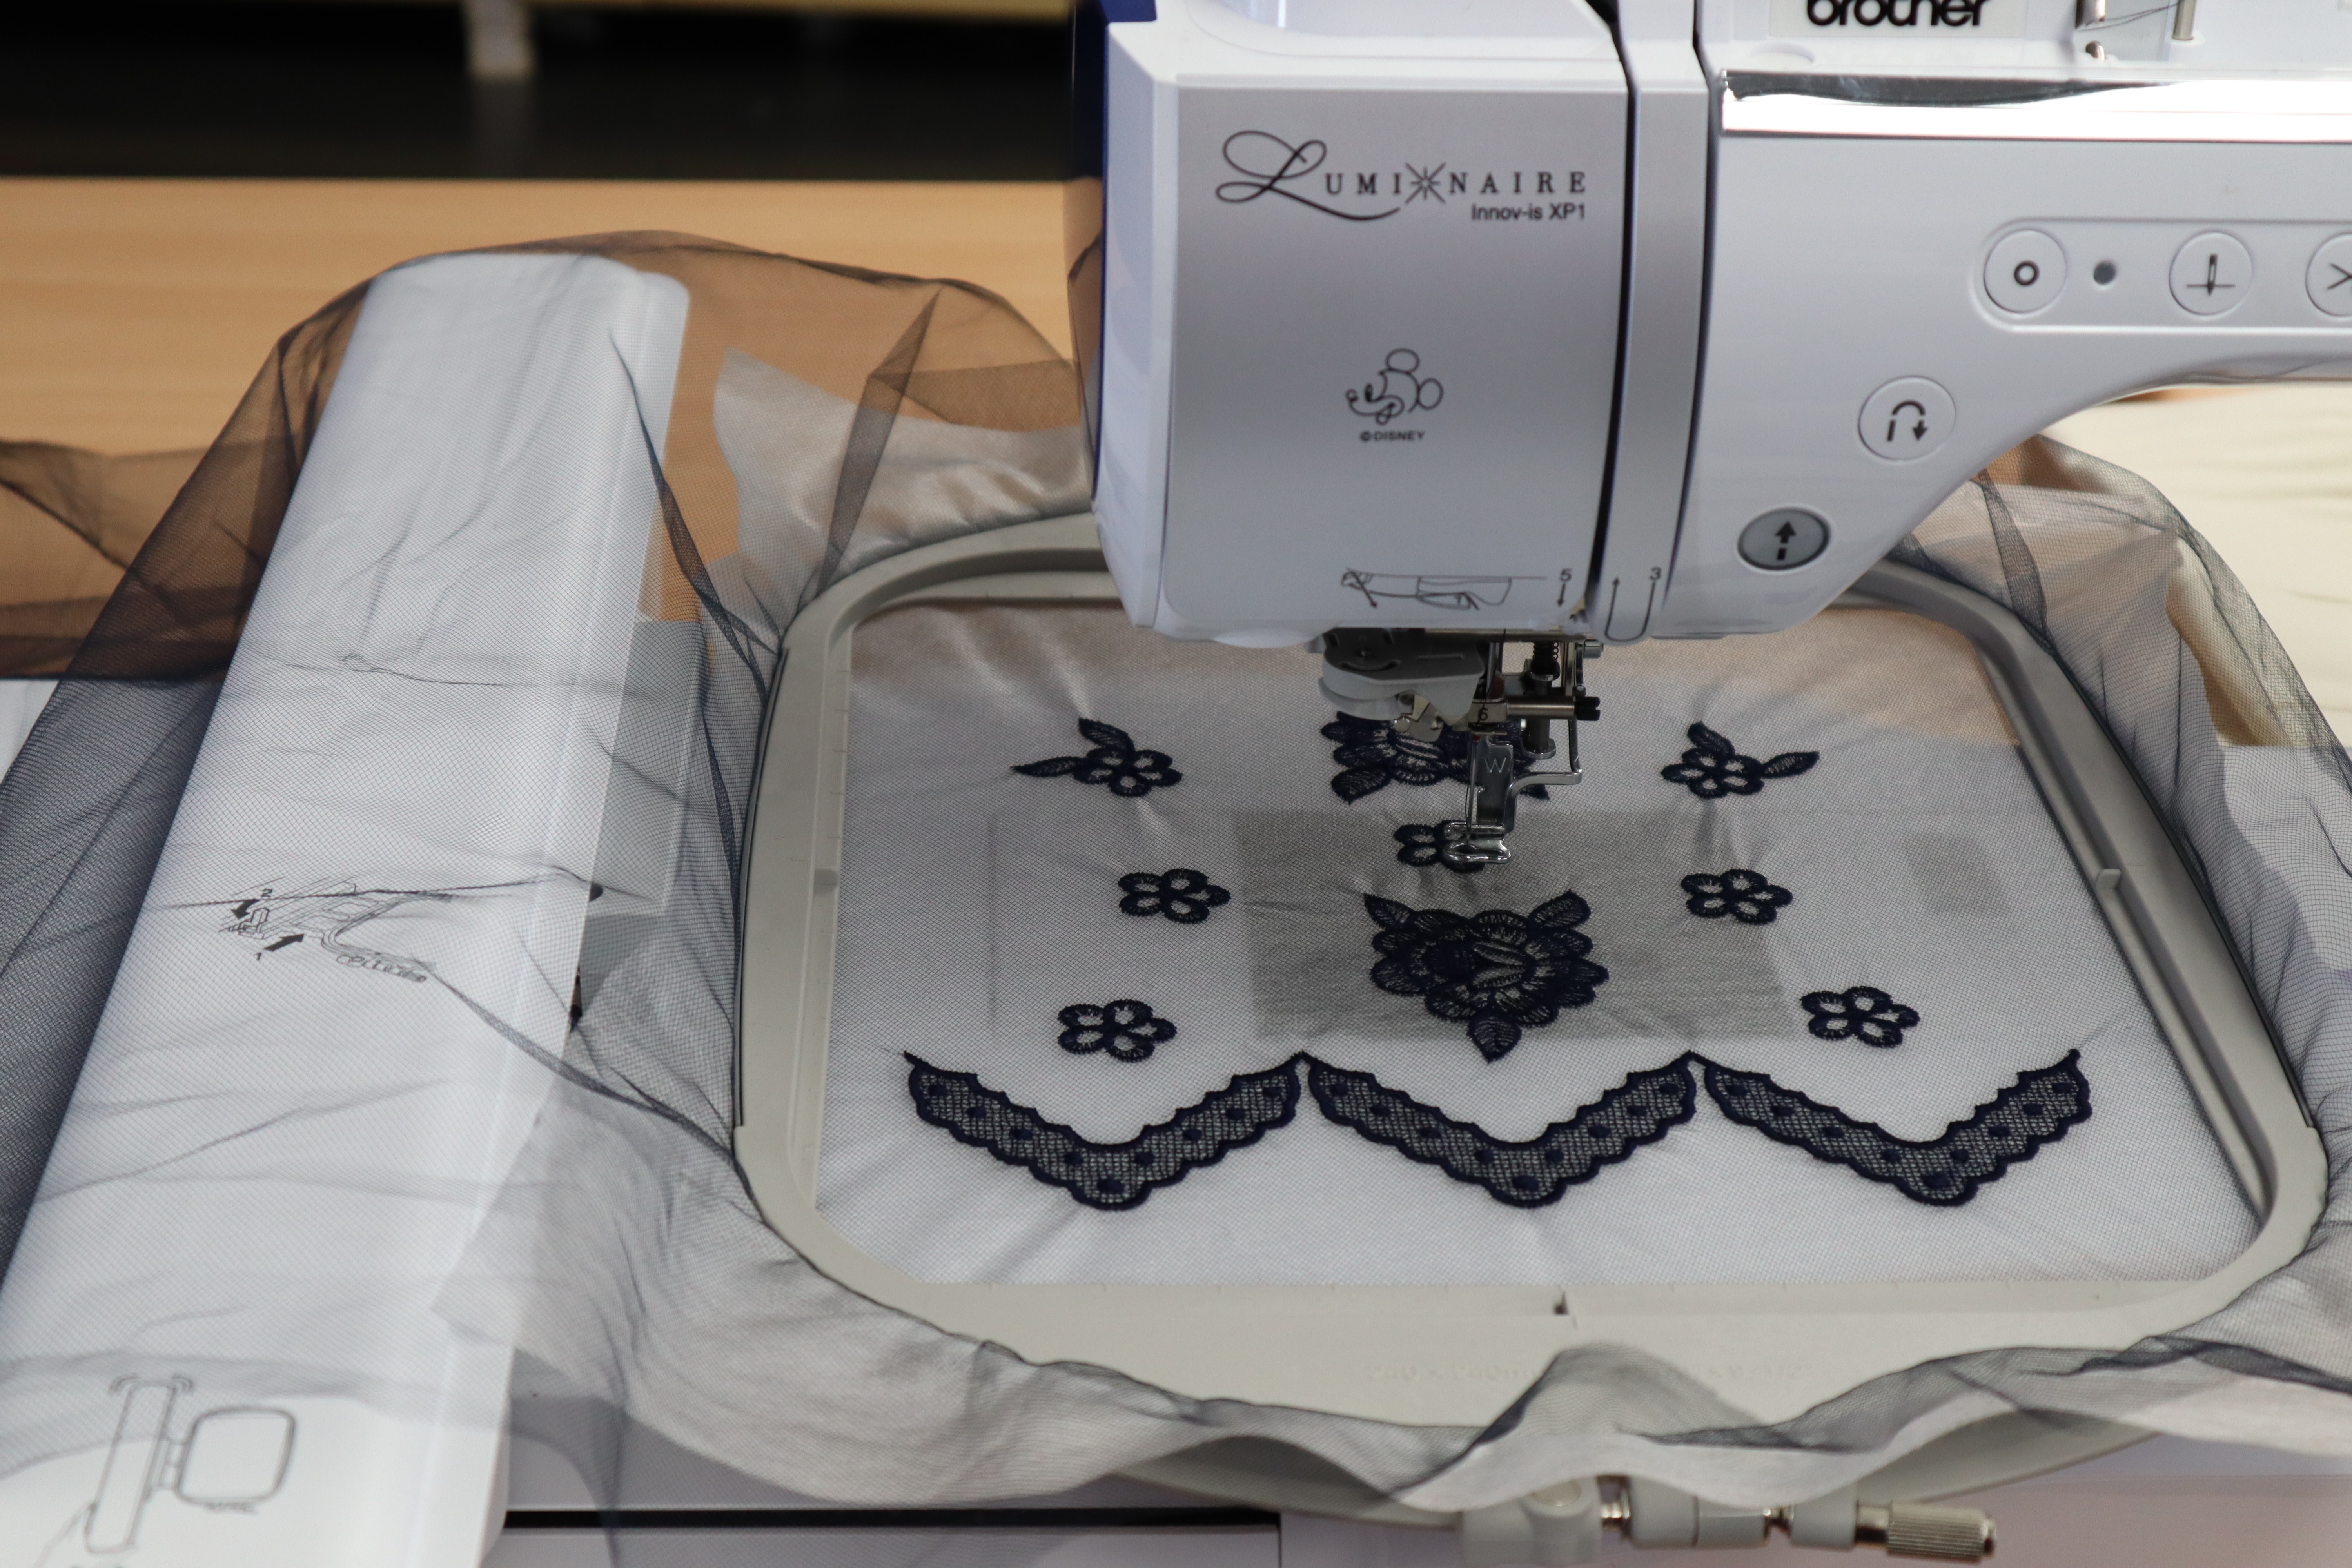
Tulle fabric comes in numerous colors, which makes this fabric fabulous for garment projects. Black, white, brown, and cream are my go to colors for nude or see through sleeves. Hold the fabric up to your skin; you might be surprised at how see thru this fabric really is. Another option is to choose a color to coordinate with a specific project. Below is a sample using navy tulle with navy thread and black tulle with black thread. I will talk more about the color of the fabric in the next few tutorials.
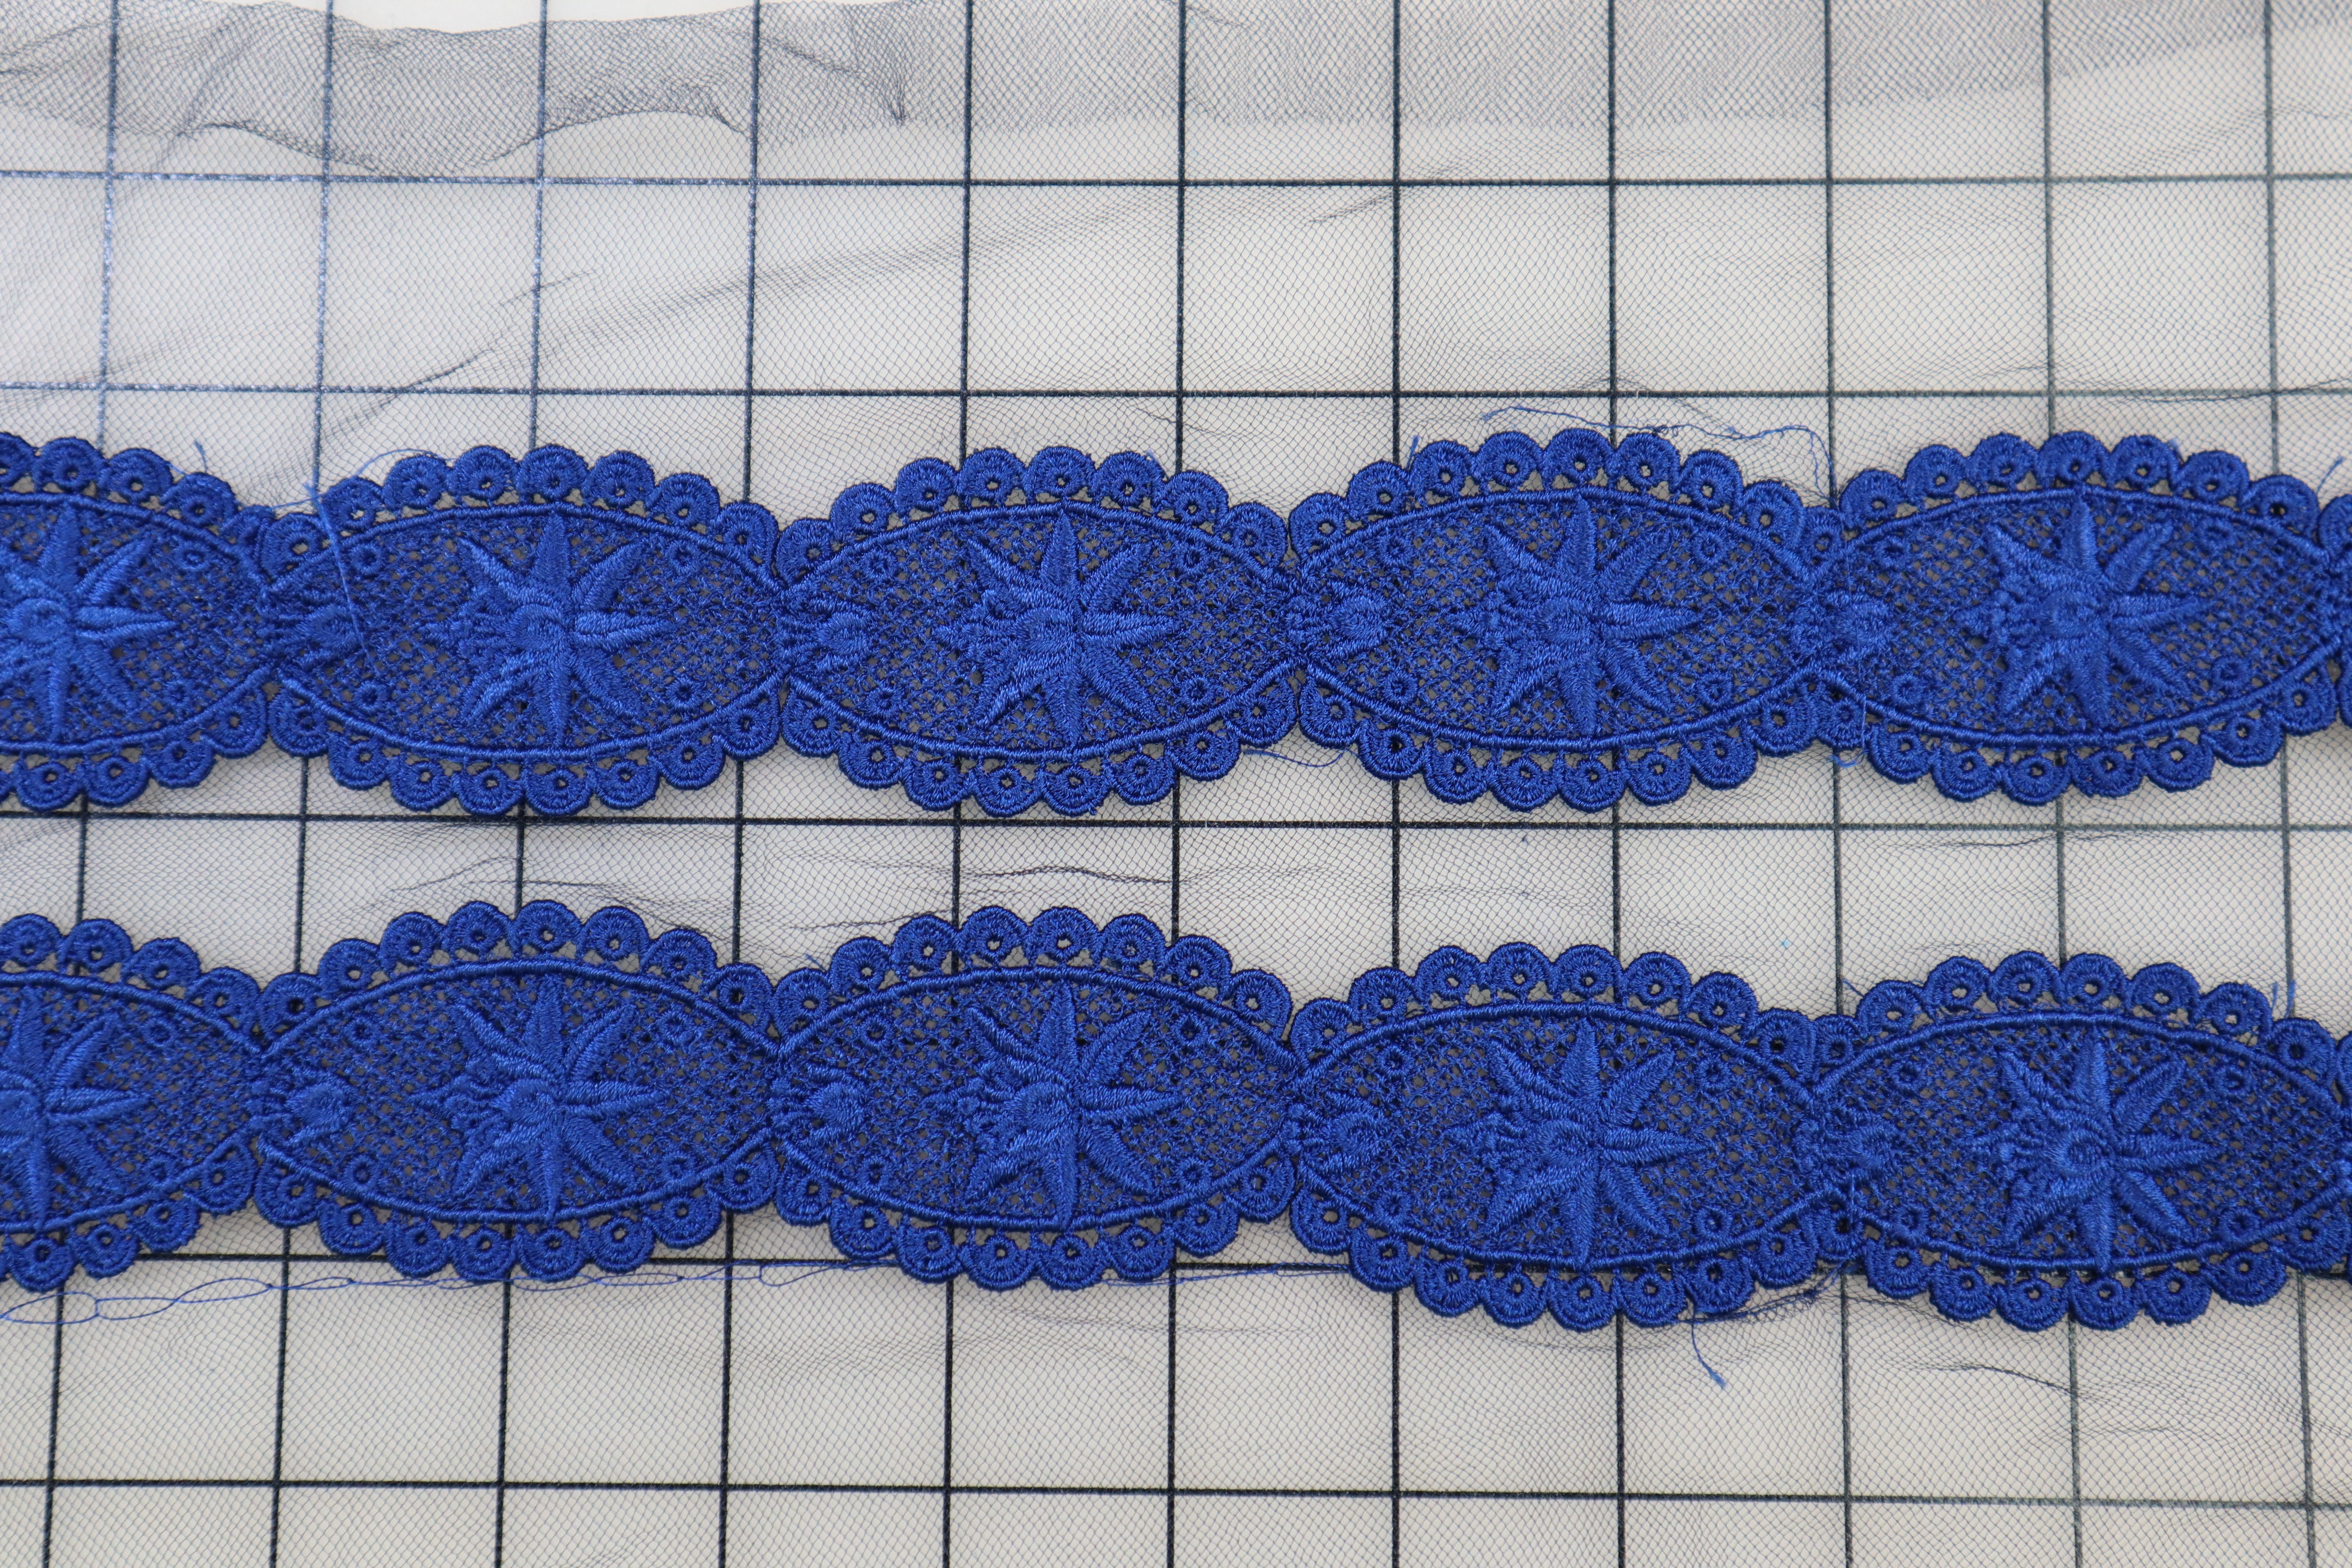
Navy Tulle Sample
Black Tulle Sample
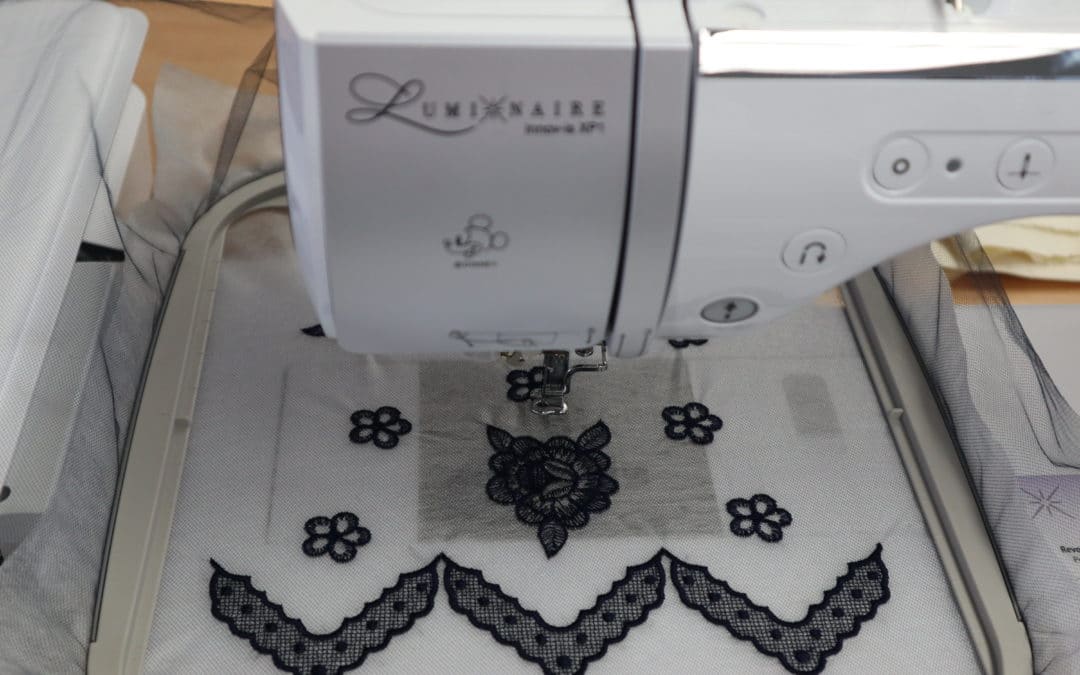
How to Hoop Tulle
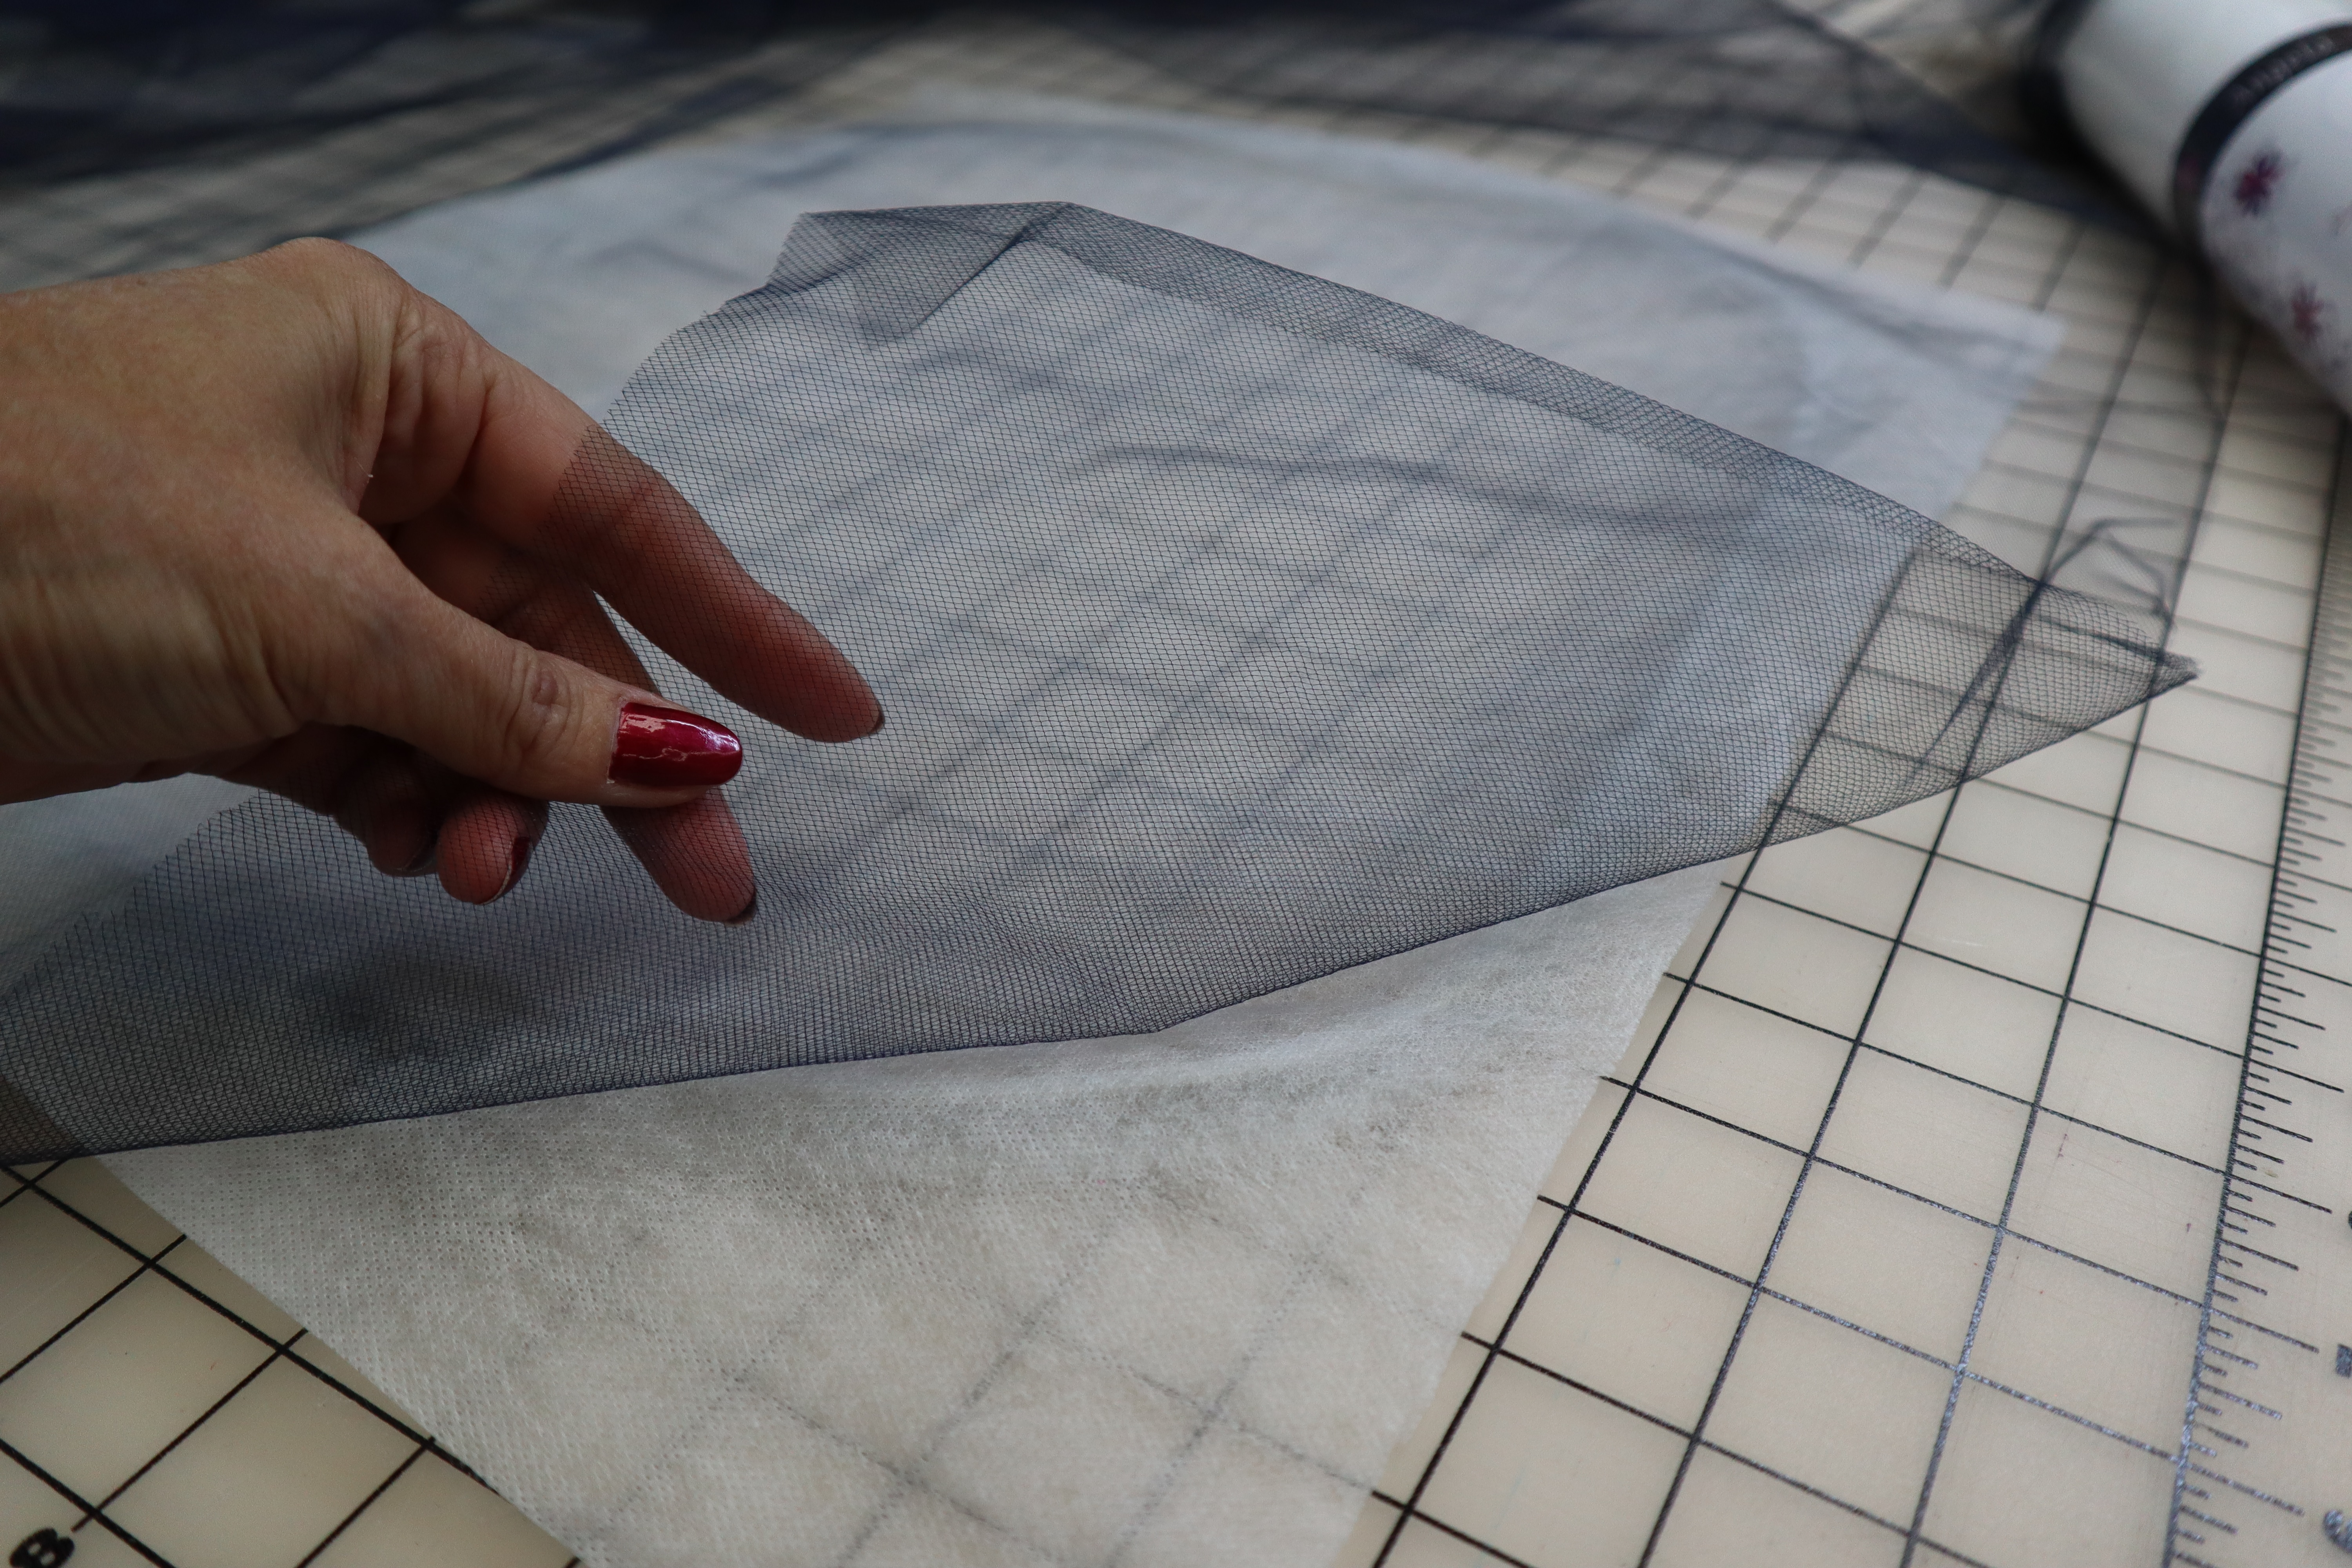
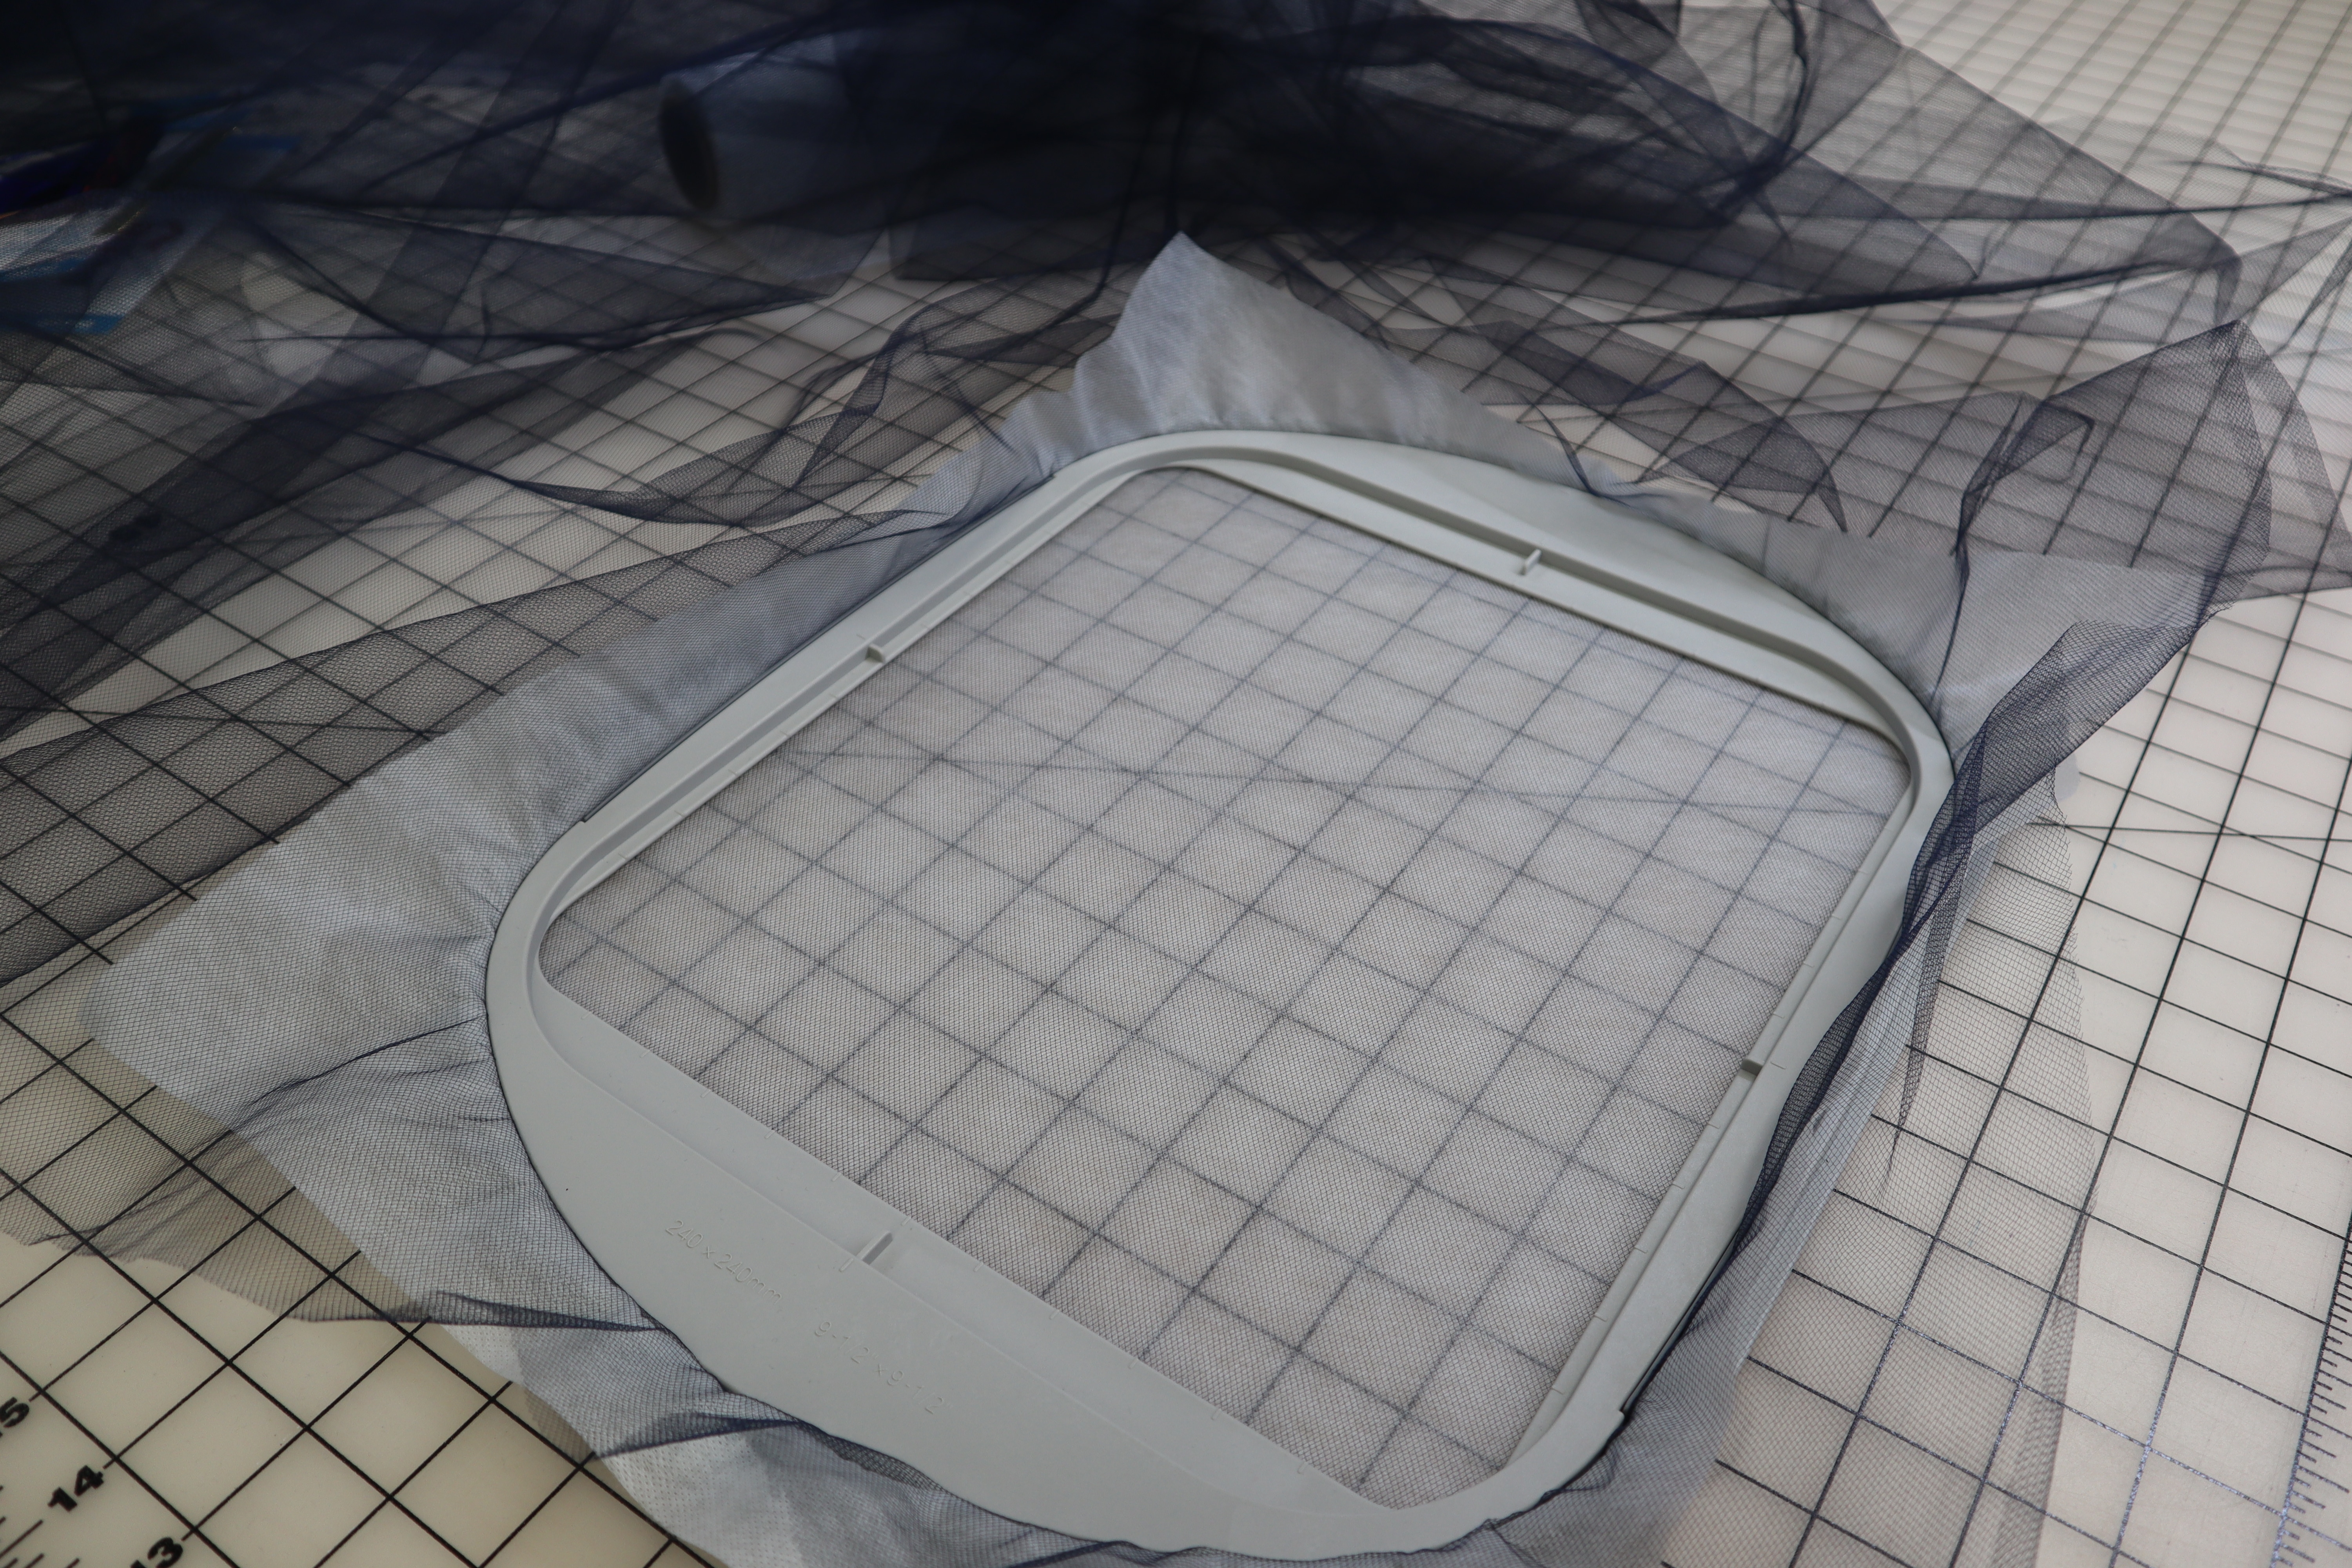
1. Open the embroidery hoop and place the lower section of the hoop on a flat surface. Center the Sew’N Wash Embroidery Stabilizer over the hoop, making sure the stabilizer covers the entire hoop.
TIP: Sew’N Wash embroidery stabilizer comes in different widths. I usually keep 12″ and 20″ wide on hand; the 20″ wide is ideal for the larger hoops.

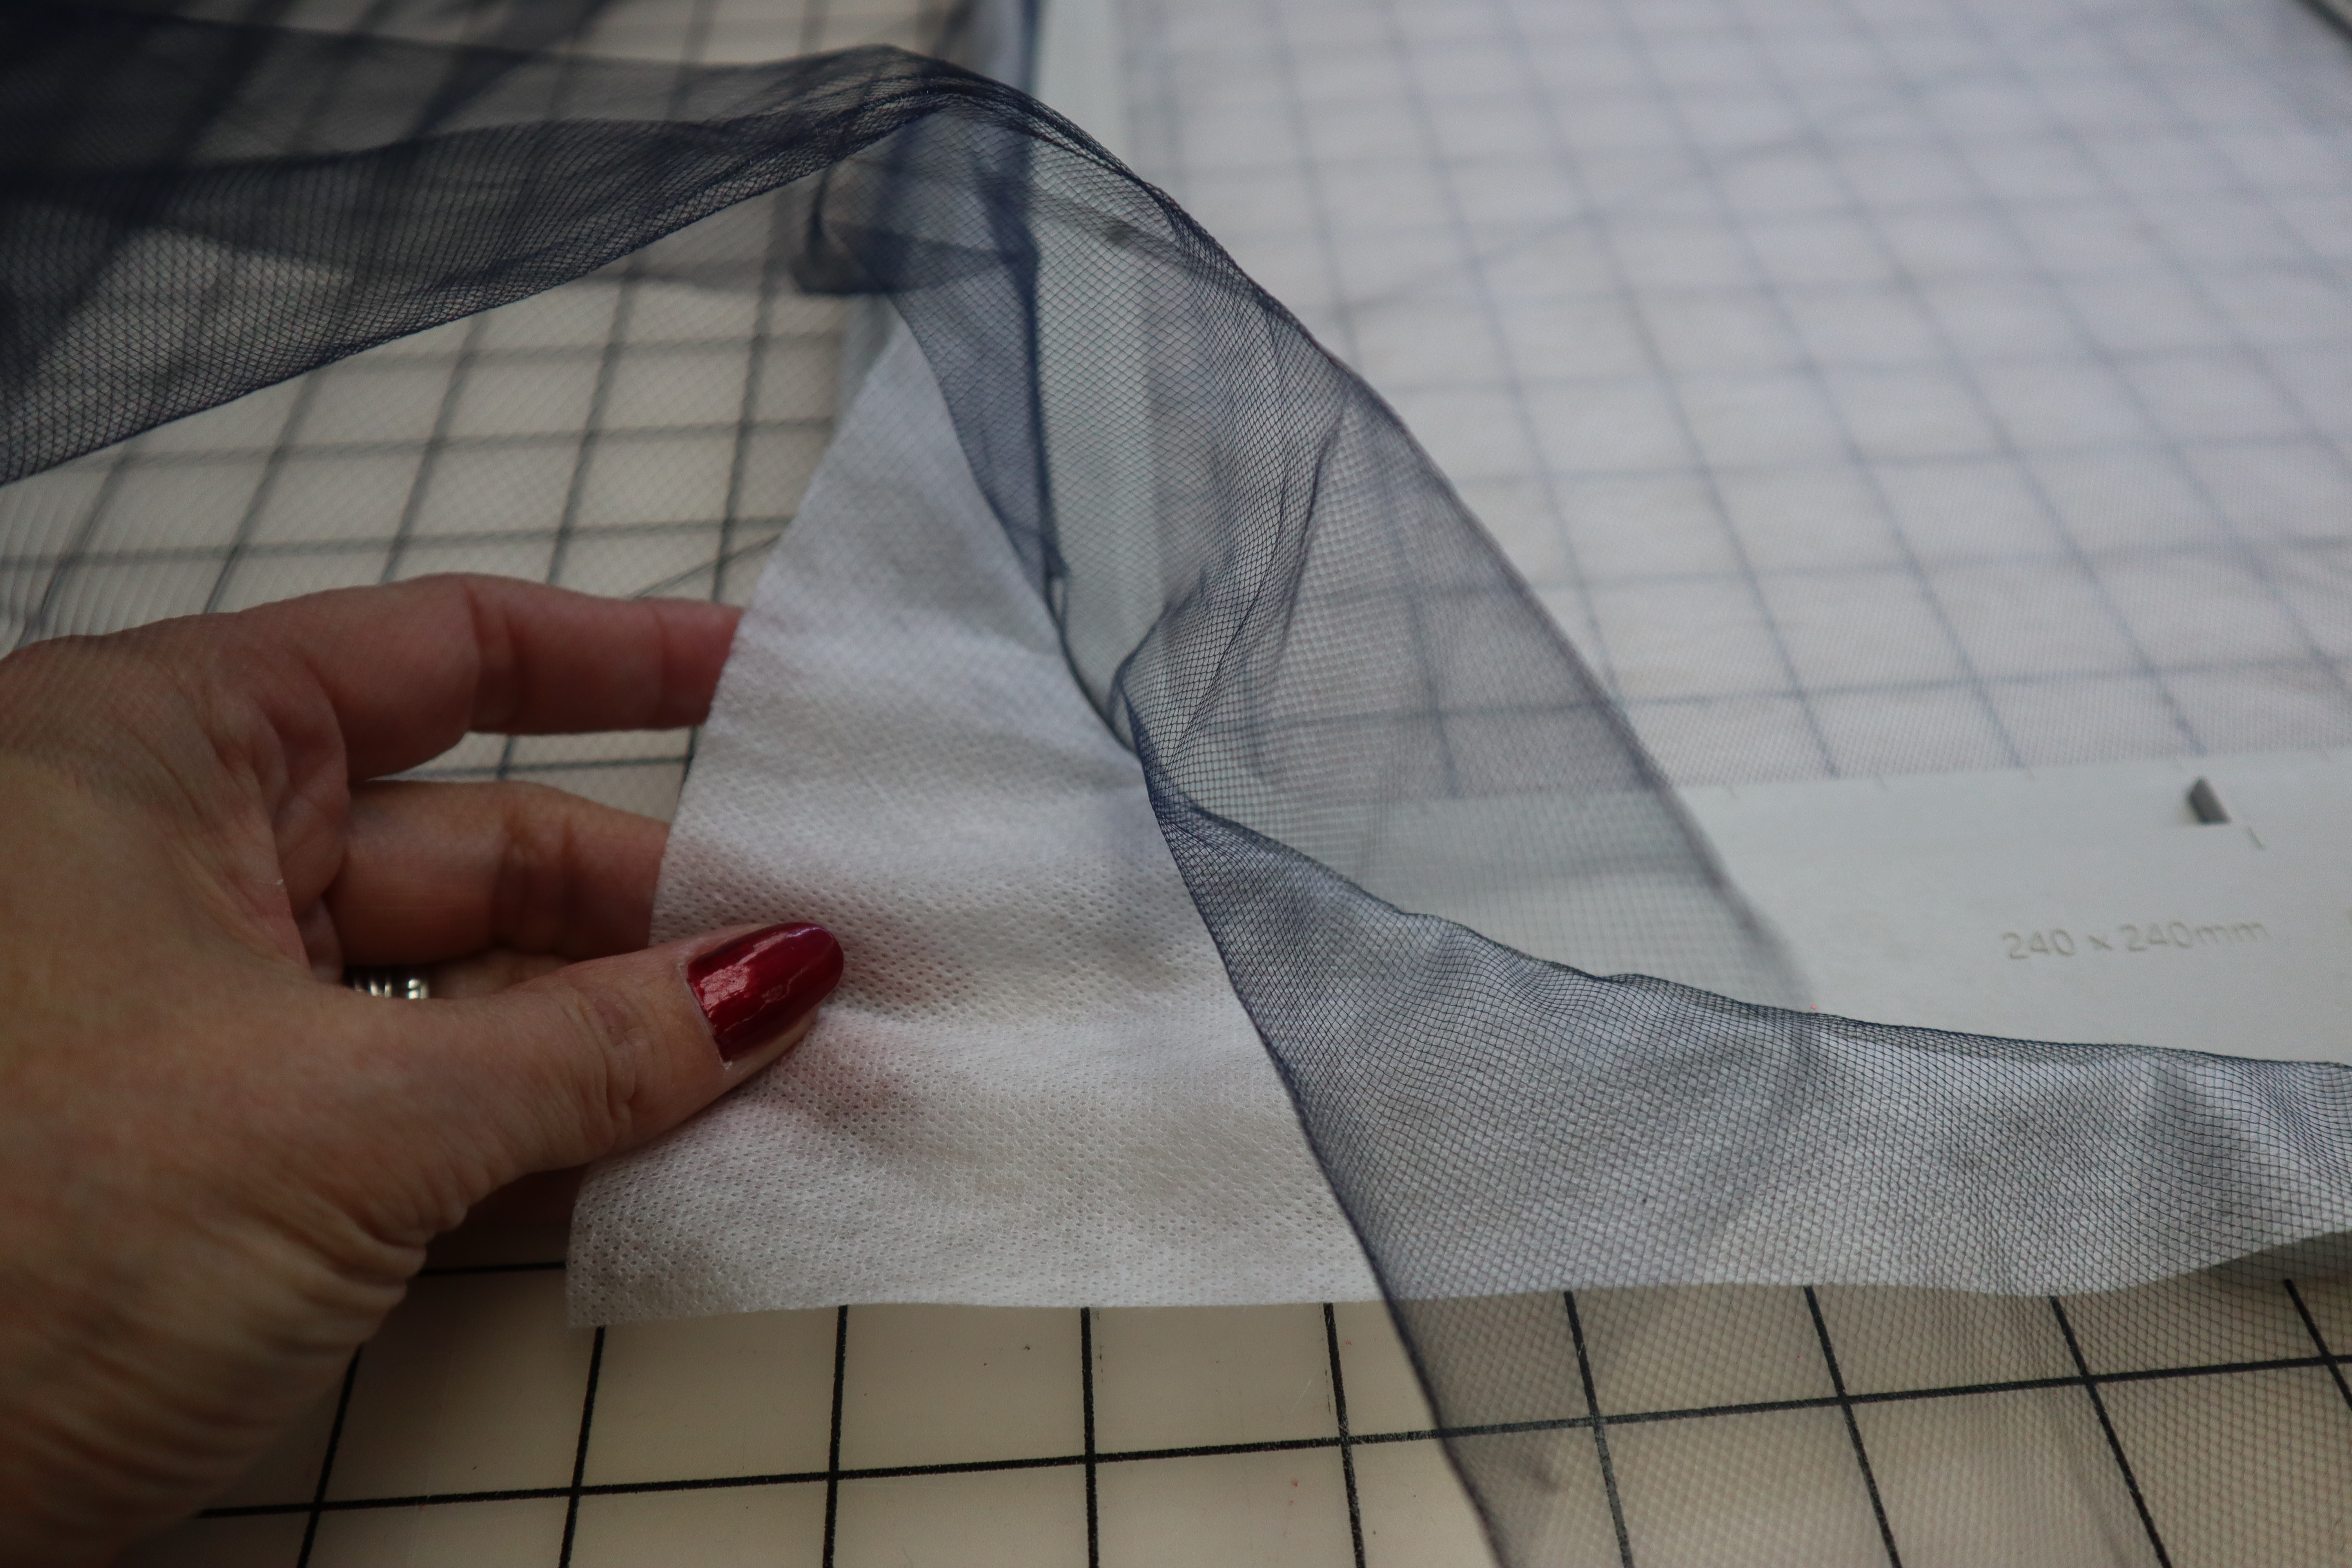
2. Layer the tulle fabric, leaving at least 2″ excess around the hoop.
3. Place the top of the embroidery hoop onto the layers. Gently push the hoop together, leaving the tension loose.
4. Gently pull the Sew’N Wash embroidery stabilizer tight at each corner of the embroidery hoop. Check to make sure there are no wrinkles in the stabilizer.
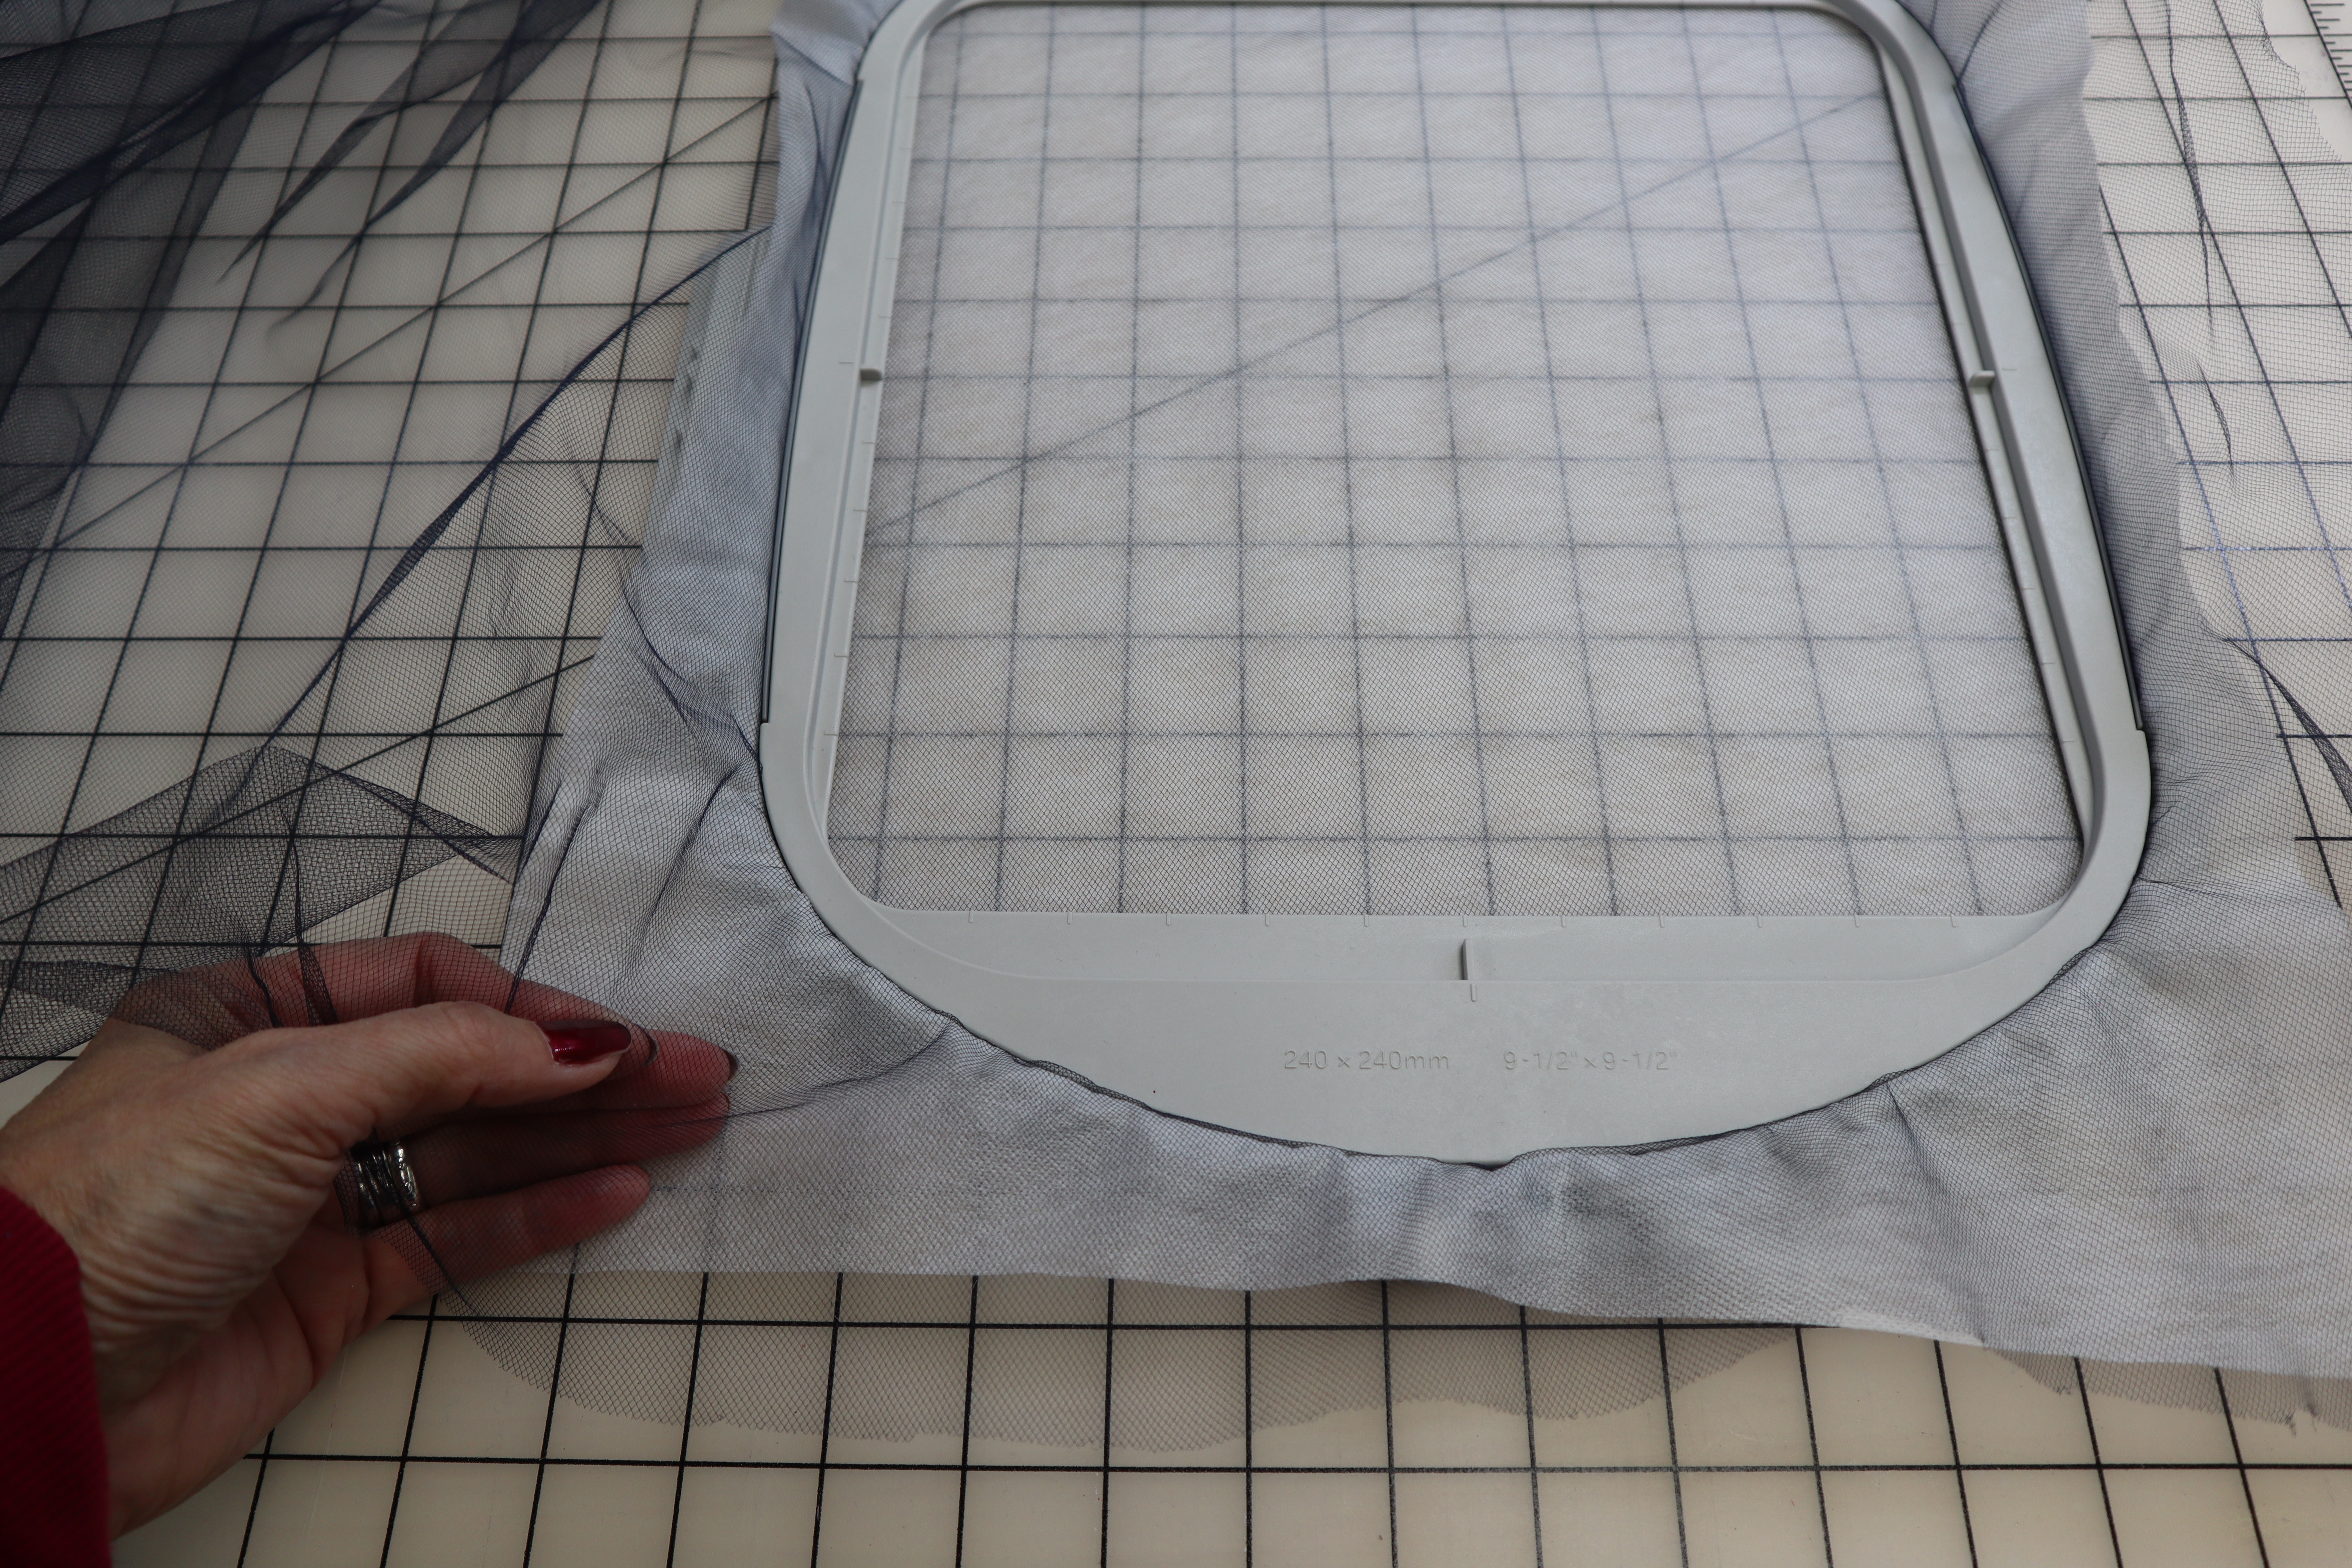
5. Do the same for the tulle fabric, but be very gentle when pulling the fabric as the tulle fabric can tear very easily!
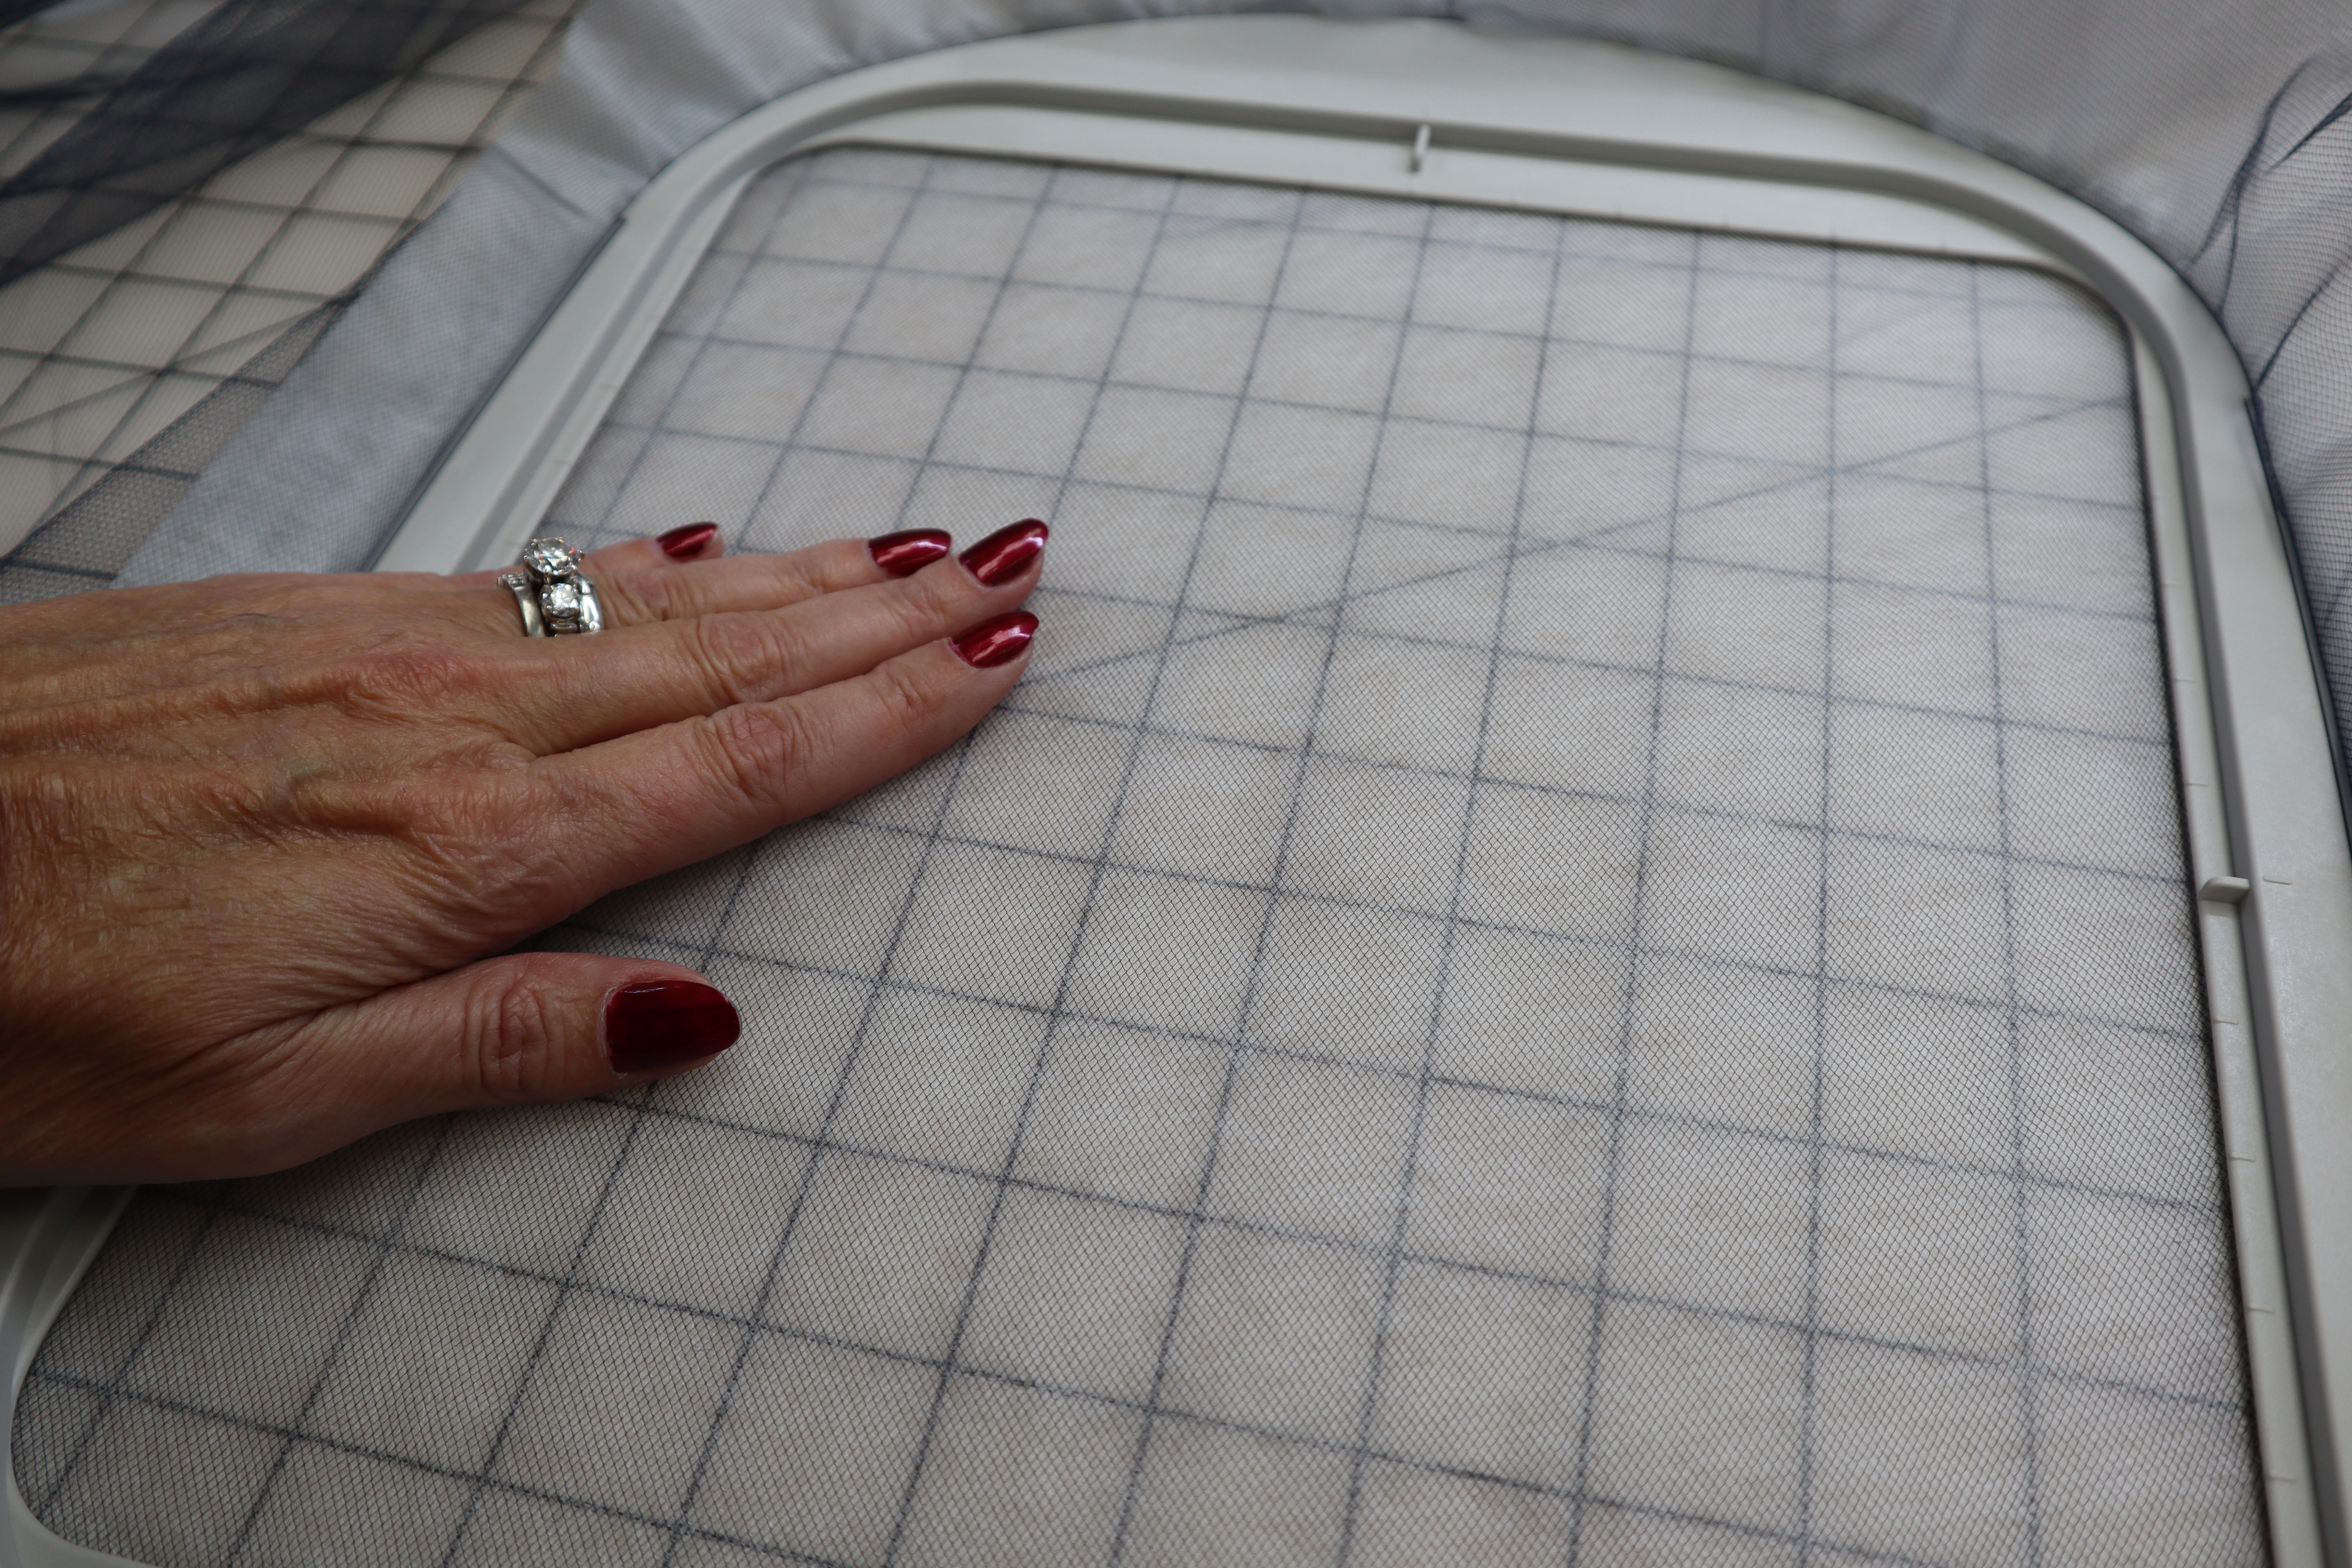
6. Tighten the hoop a little. Slide your hand across the center of the hoop checking for wrinkles or puckers.
7. When you are satisified with the hooping, tighten the hoop and you are ready to start embroidering.
Thread & Bobbin
I use different embroidery threads including rayon and polyester, each offers a different look to your project. I would suggest experimenting with a few different weights and textures to determine your favorite. Keep the samples in a notebook so you can refer back. I typically use the same color thread in the bobbin as I use for the top embroidery. This takes more time when embroiderying a design with multiple colors, but if you are going to see the backside of the embroidery it is worth the extra task.
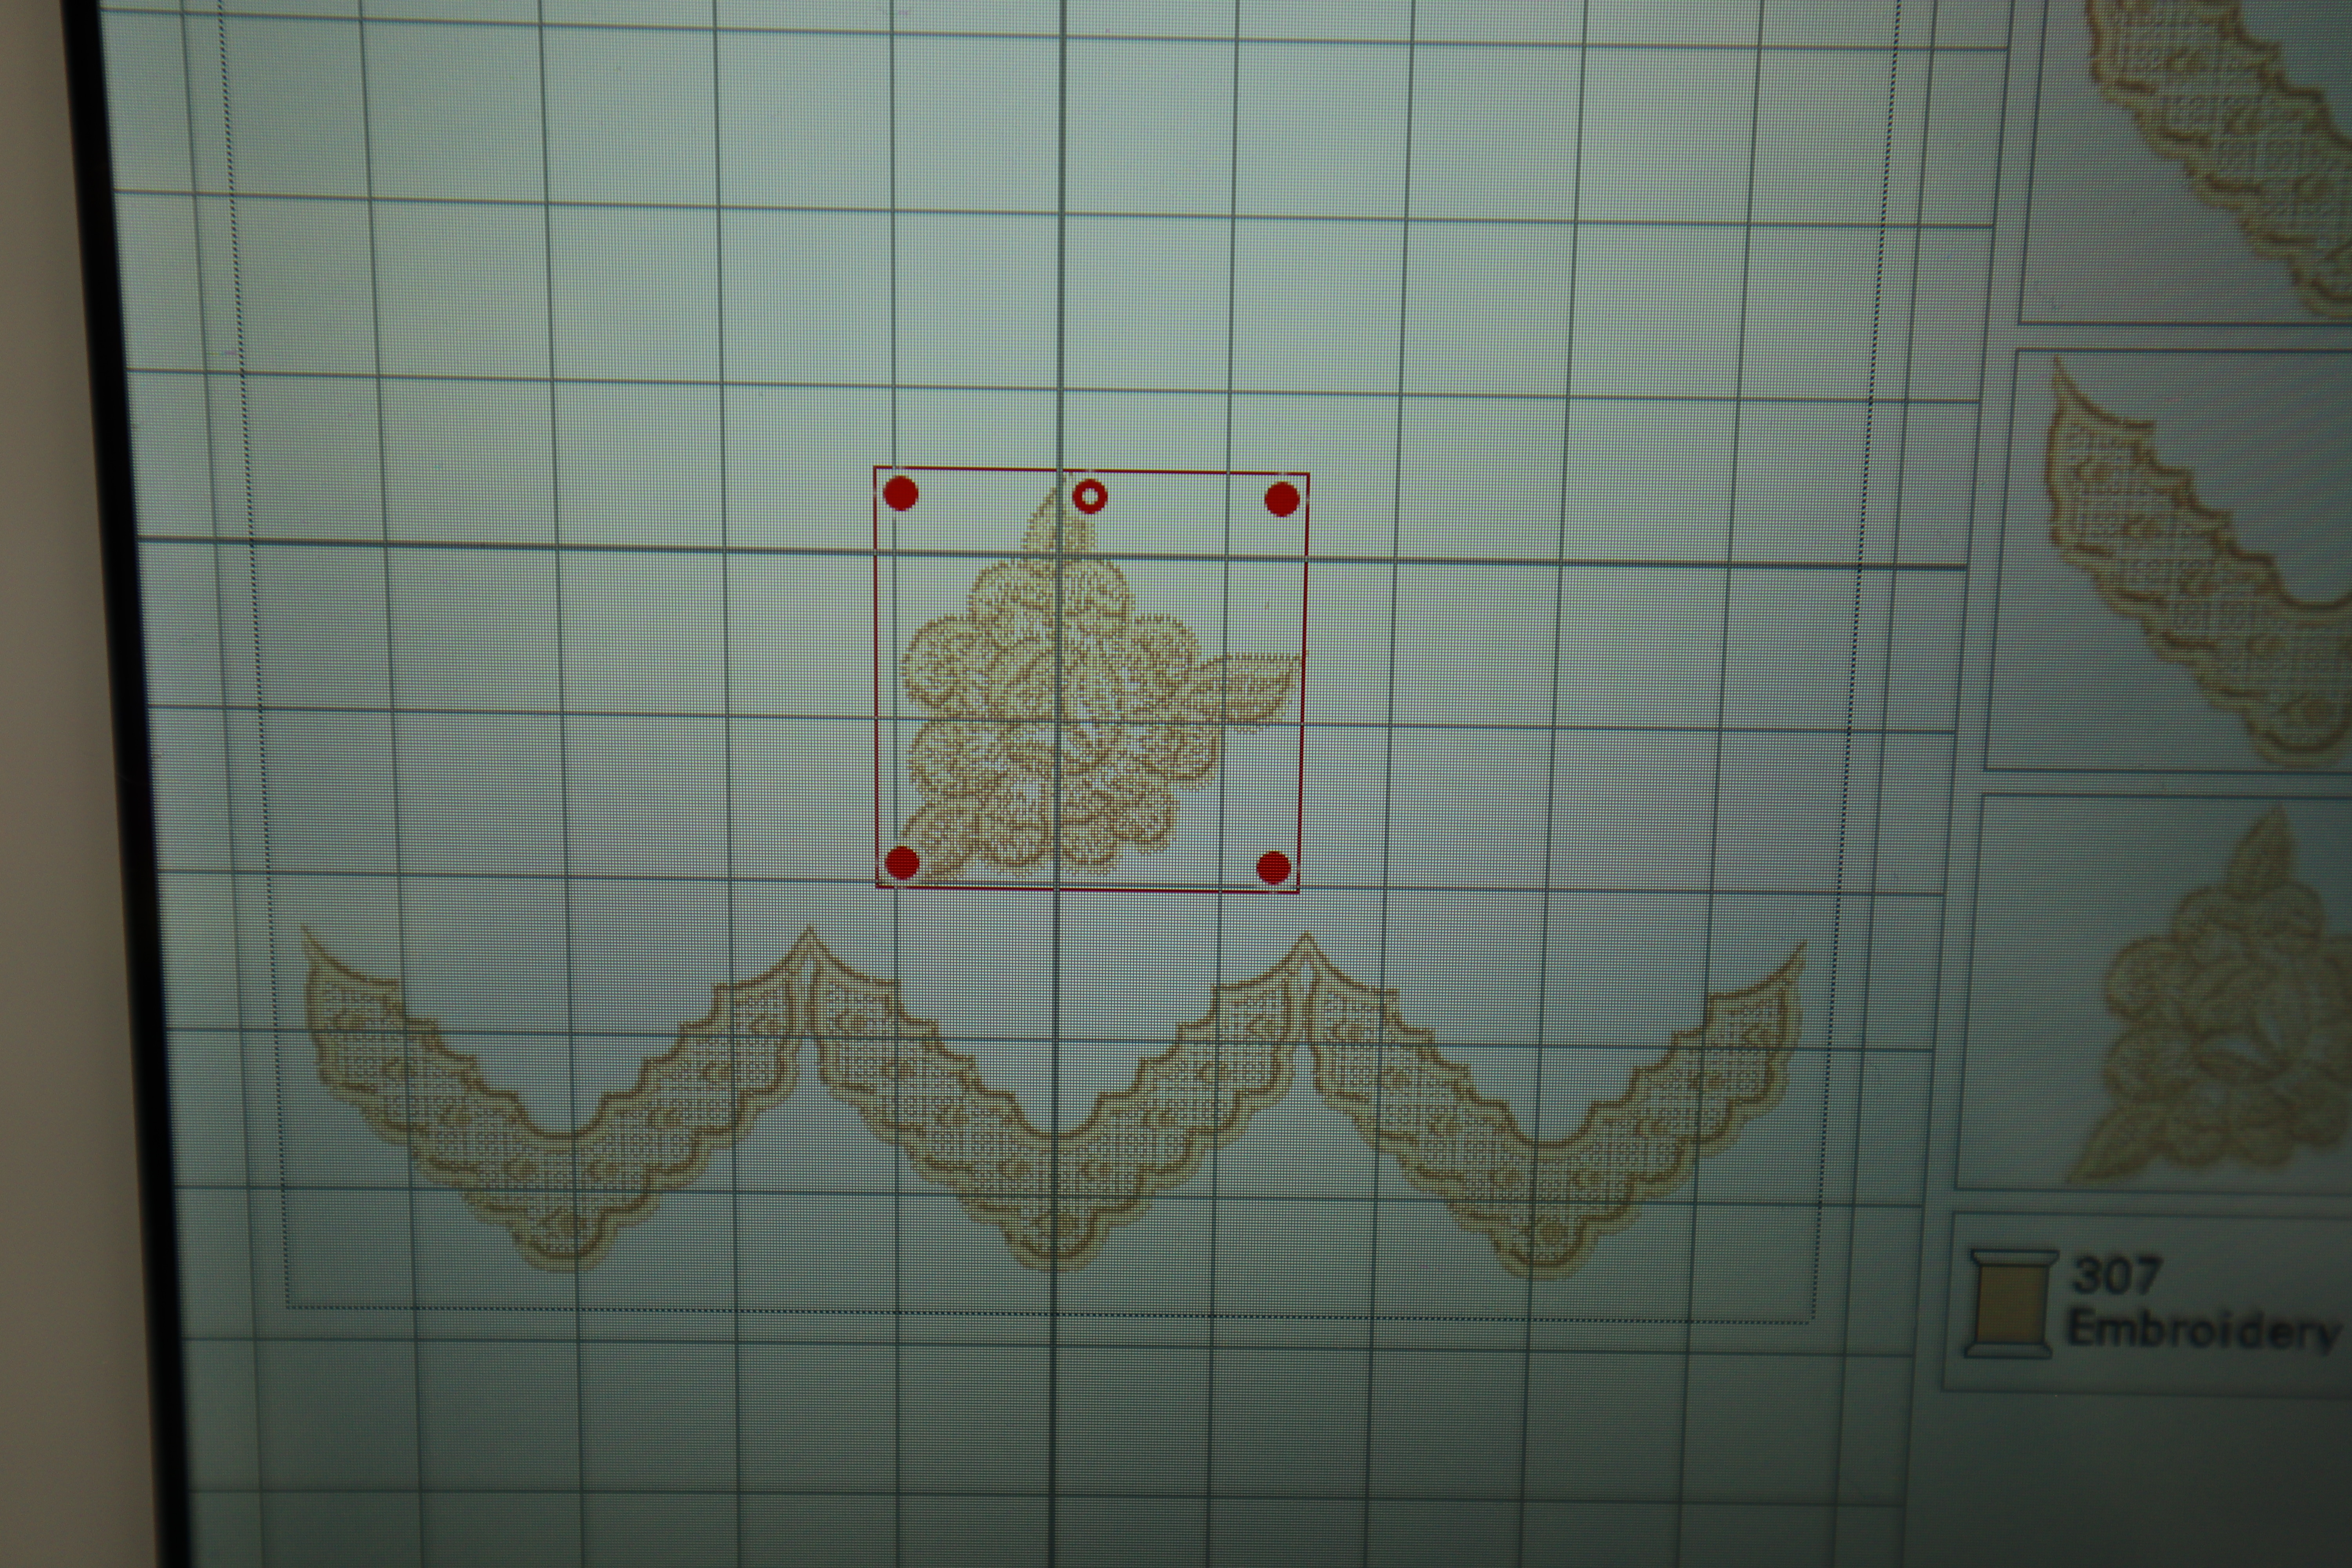

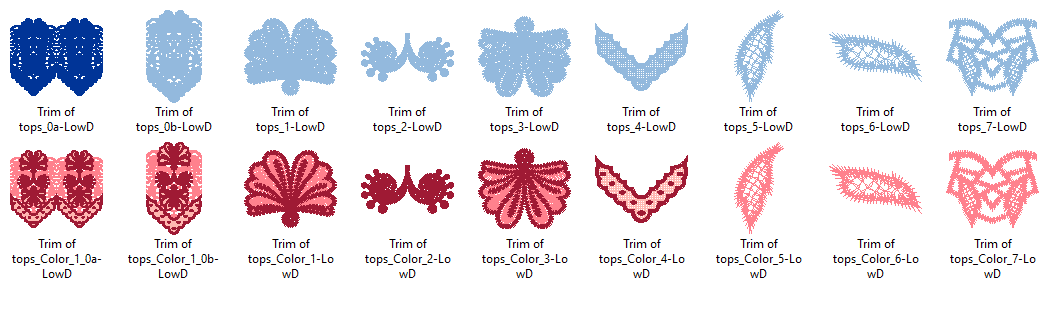
Choosing an Embroidery Design
Depending on the area of the garment this embroidered tulle will be used for, choosing a design is very important. In my embroidery collection A Touch of Lace, I have included low density versions of each design. A low density designs has less stitches which will offer a softer, less stiff fabric when the embroidery if finished. If you opt for a dense design, make sure the lace will be used on a fitted area of the garment, for example the bicep area on a fitted sleeve. The tightness of the sleeve will prevent the thicker embroidery design from curling.
You are ready to embroider! Hopefully this tutorial will get you started to embroider on tulle. The next tutorials will give you some ideas for using the newly embroidered fabric. Can’t wait to see what you embroider with my new lace collection. Be sure to share photos of what you are embroidering using hashtag #angelawolf
Cheers,


Share This
Share this post with your friends!