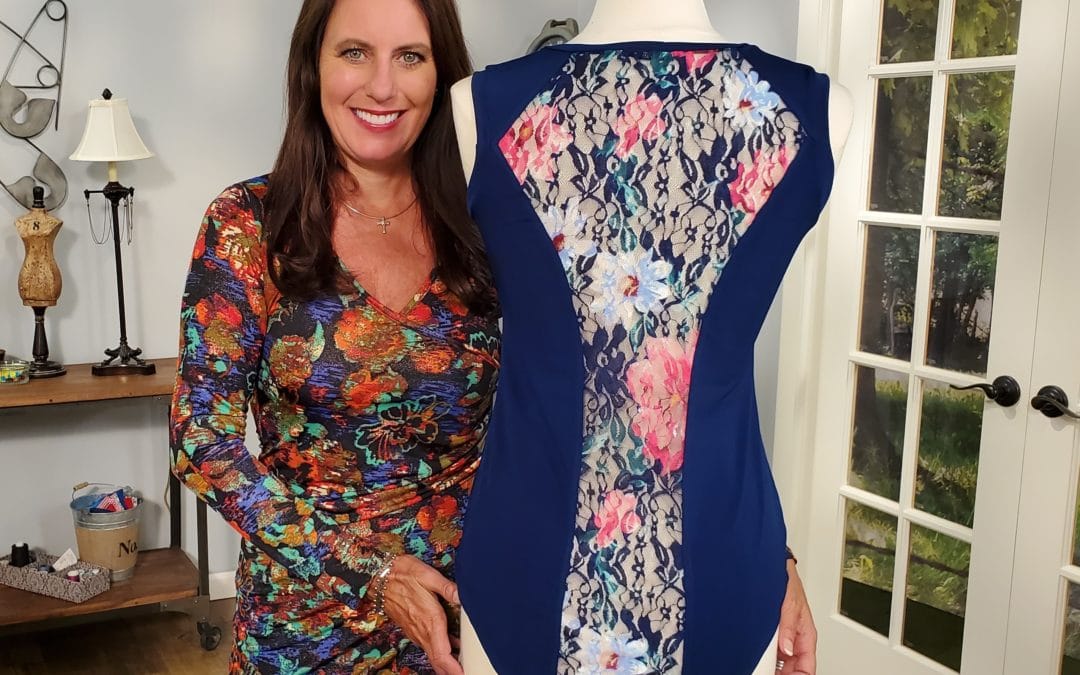


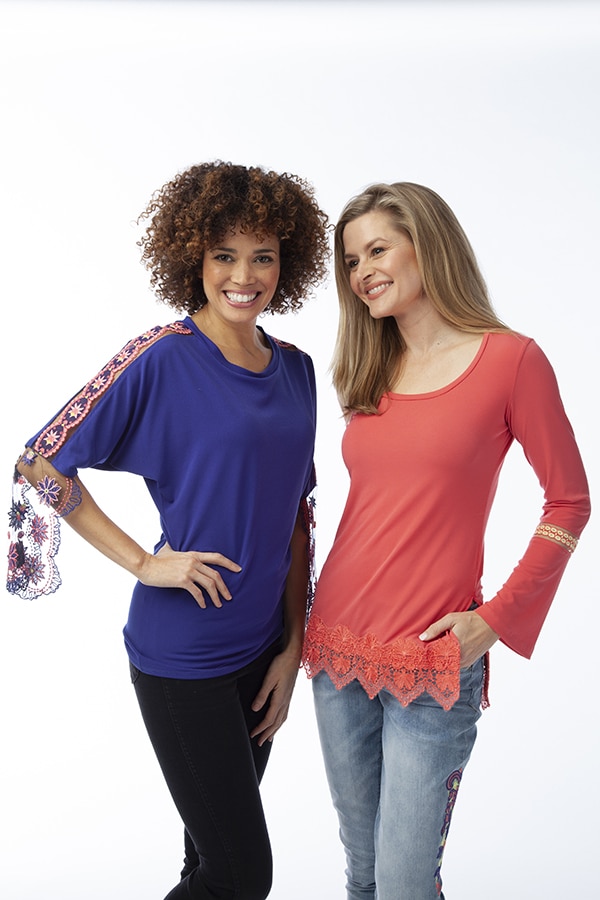


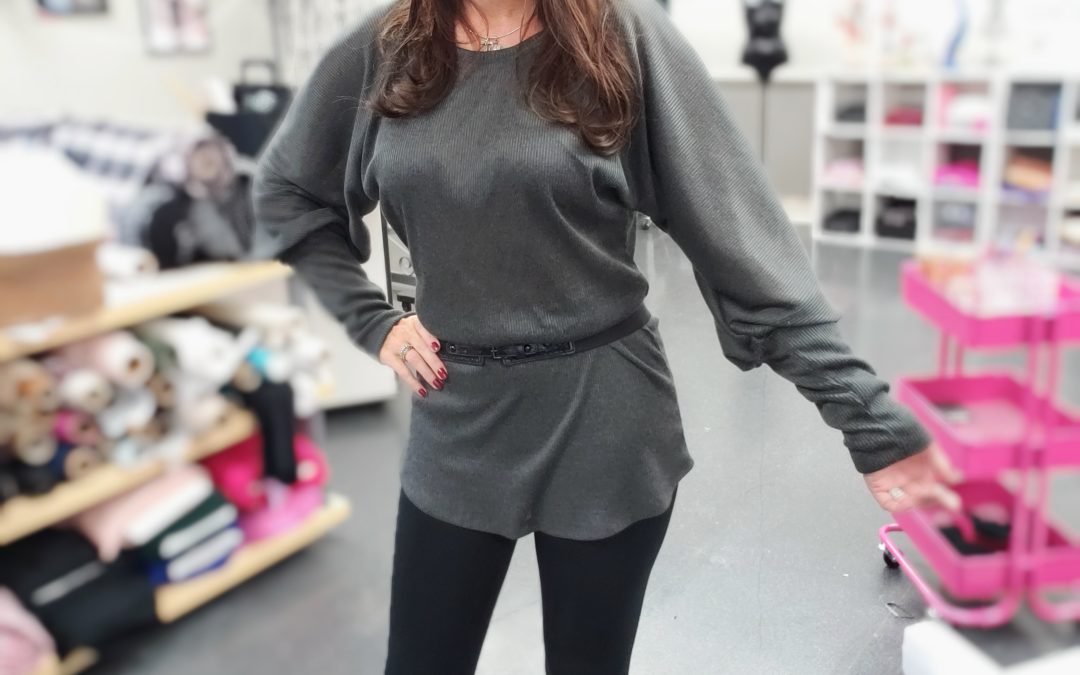
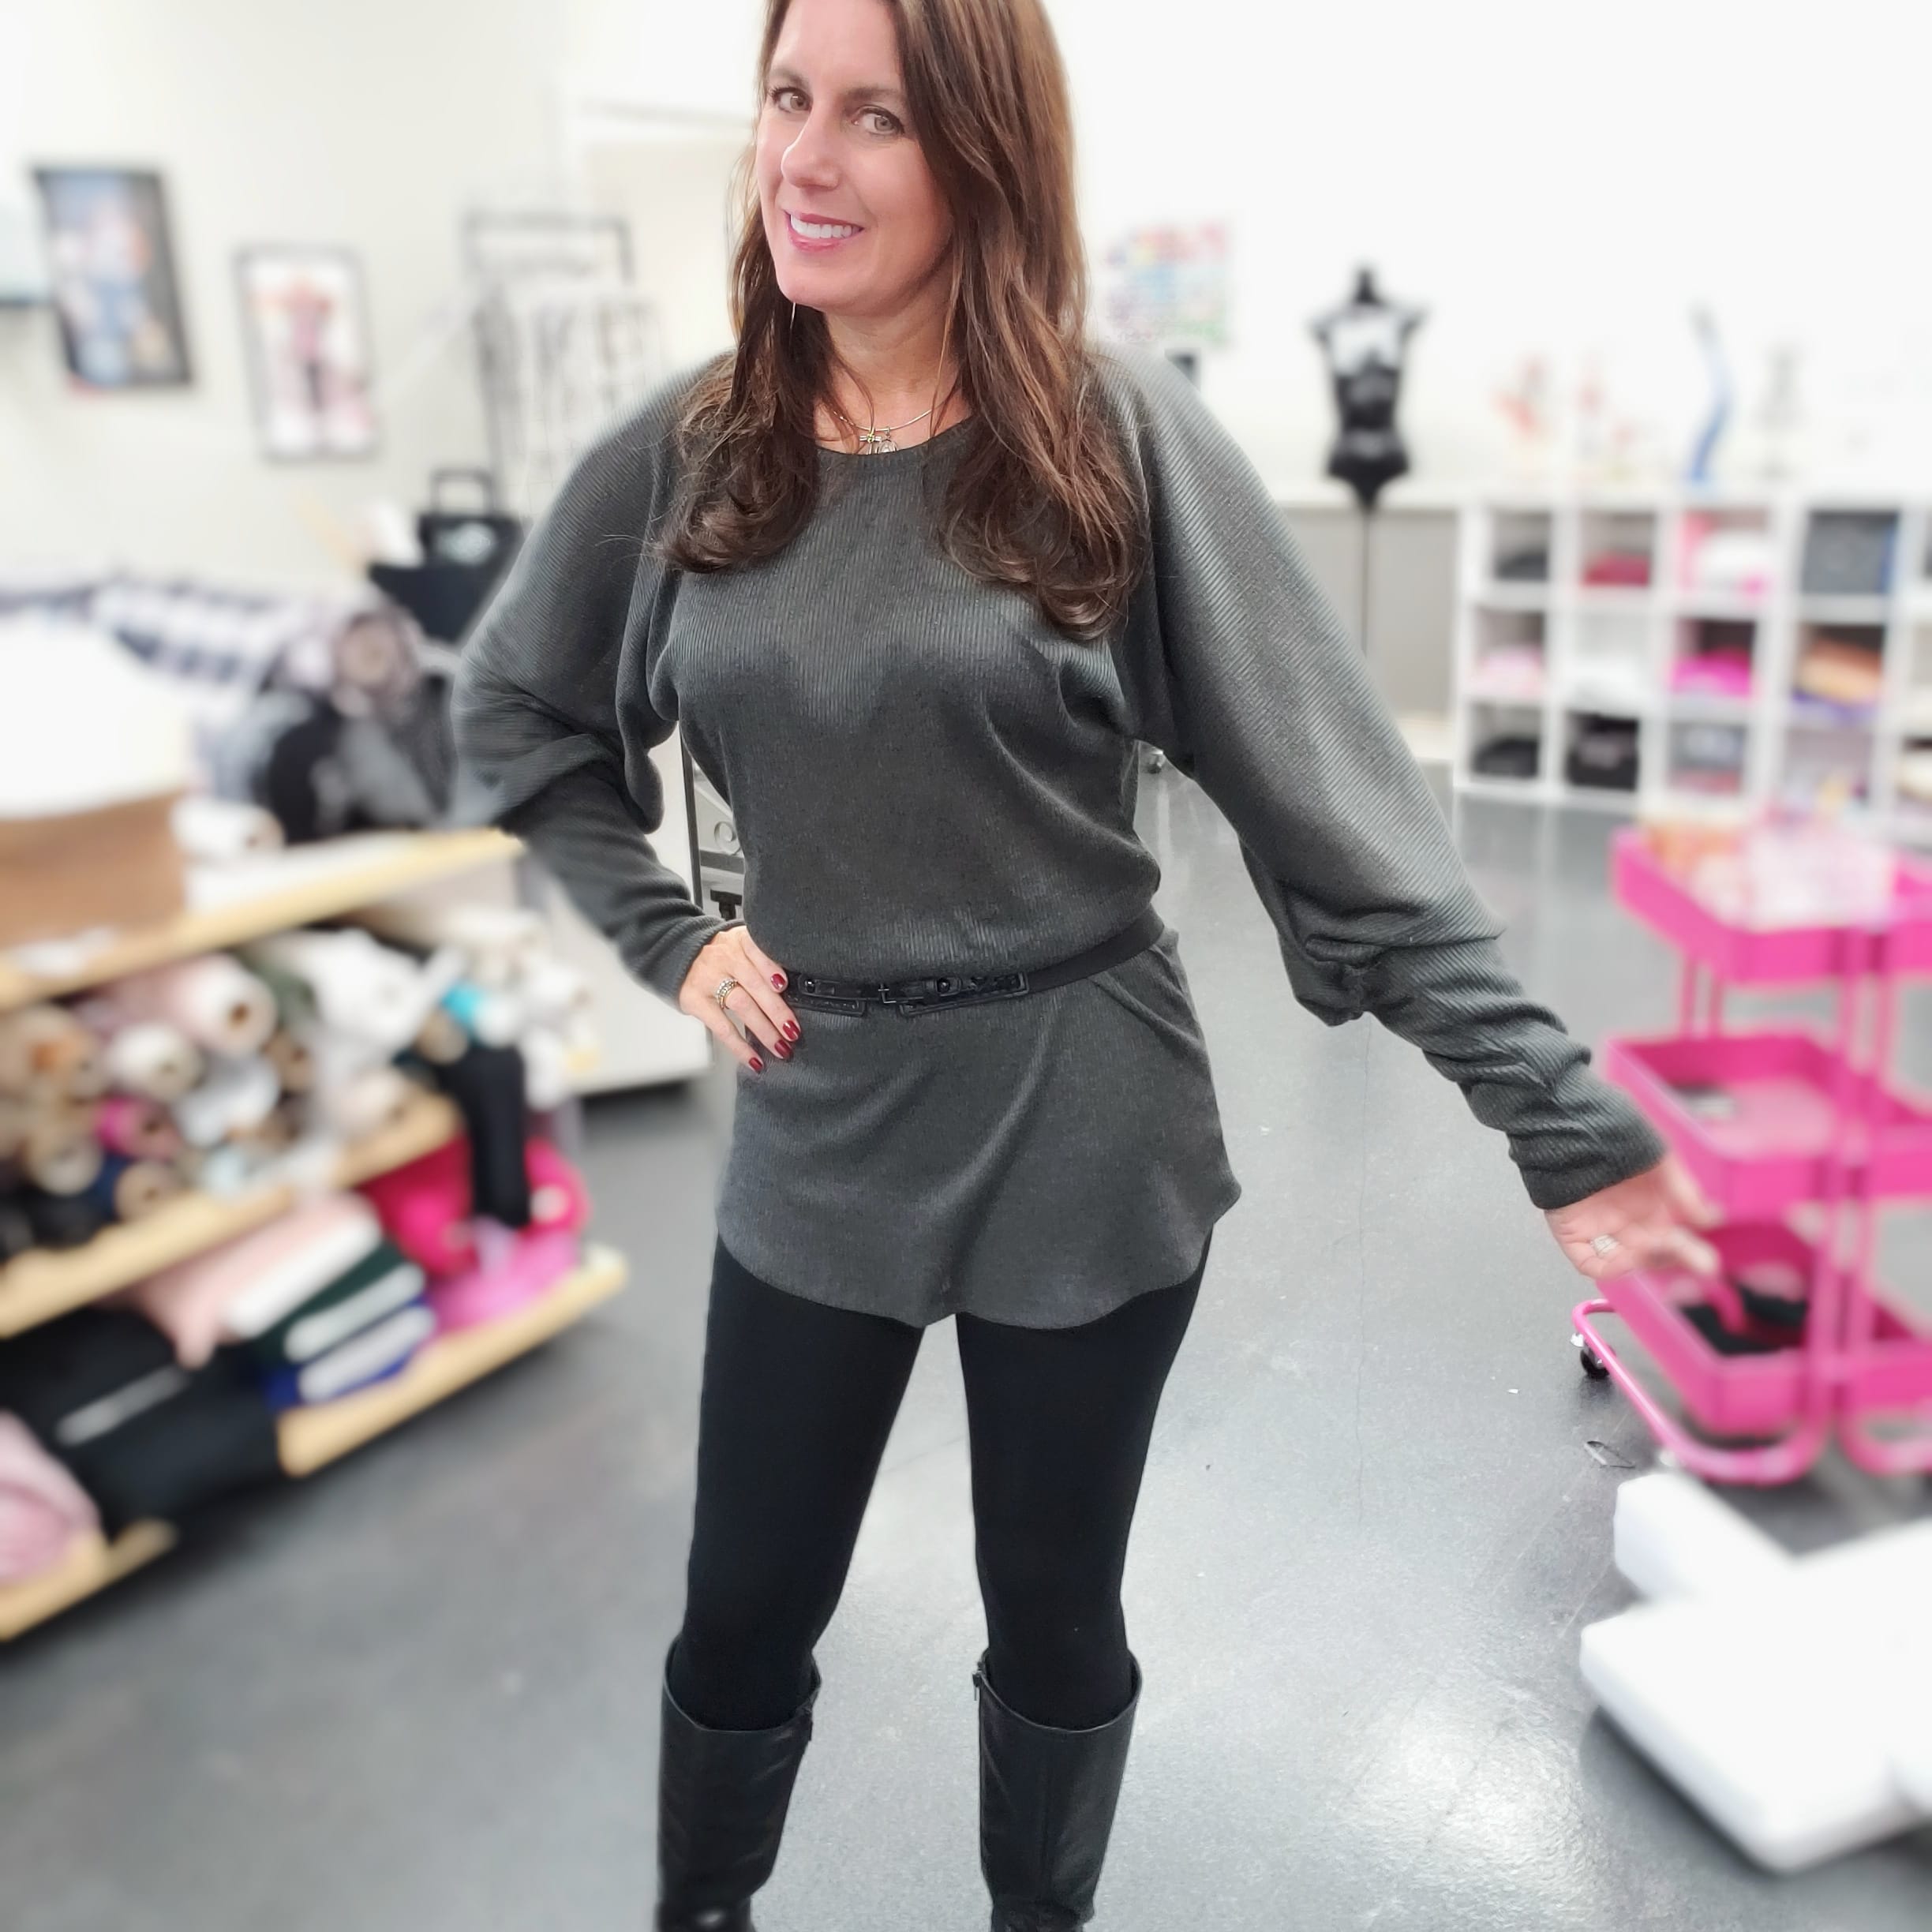


The Lacy Knit Top Sewing Pattern The design for the Lacy Knit Top was a result of our everlasting Covid lockdown! Whether lounging at home, working in the studio, or working out in our home gym ~ this top hit the mark. Semi-fitted in the bust area, looser thru the...
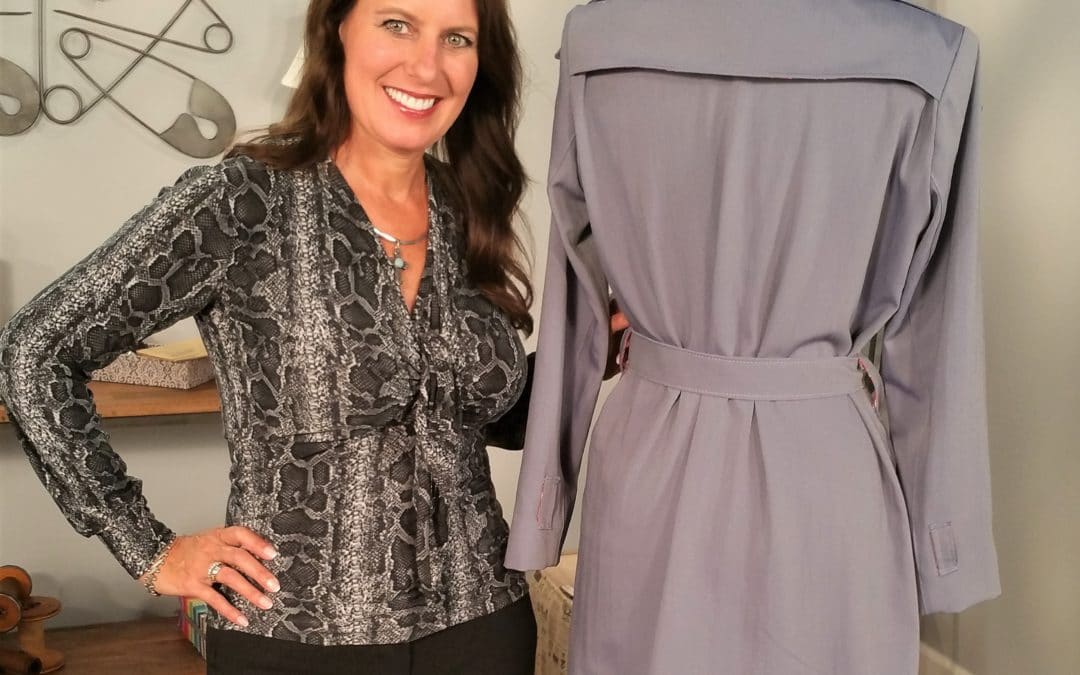
Chloe Trench Sew Along
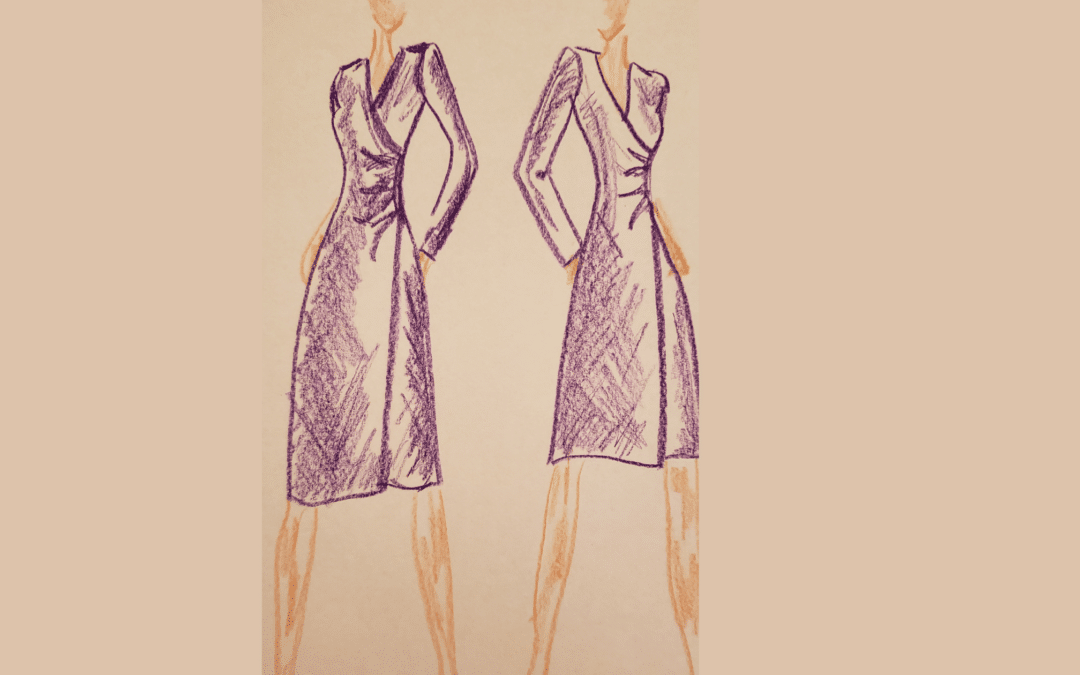
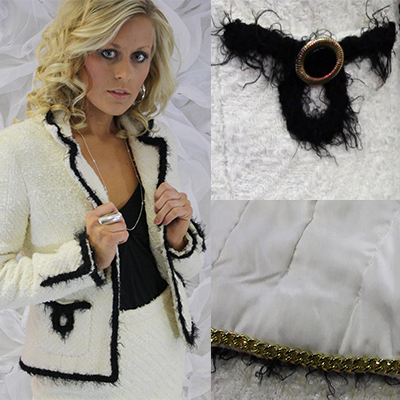
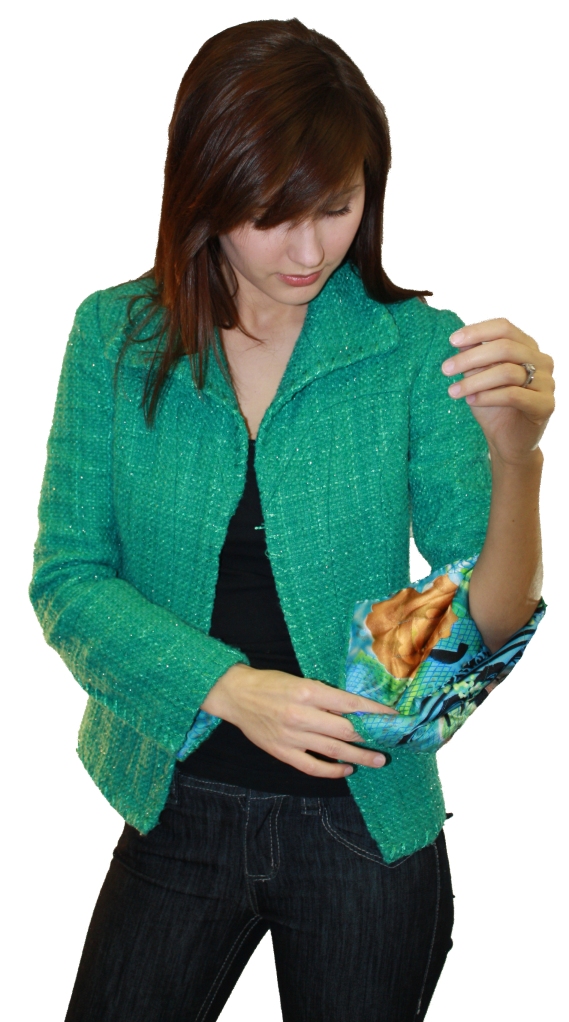
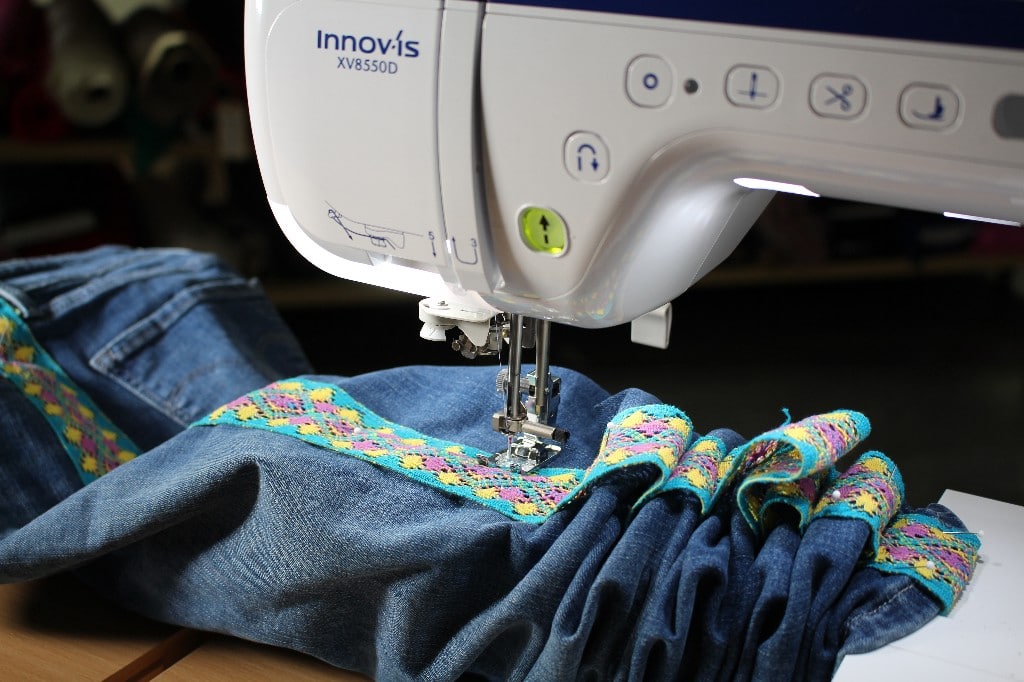
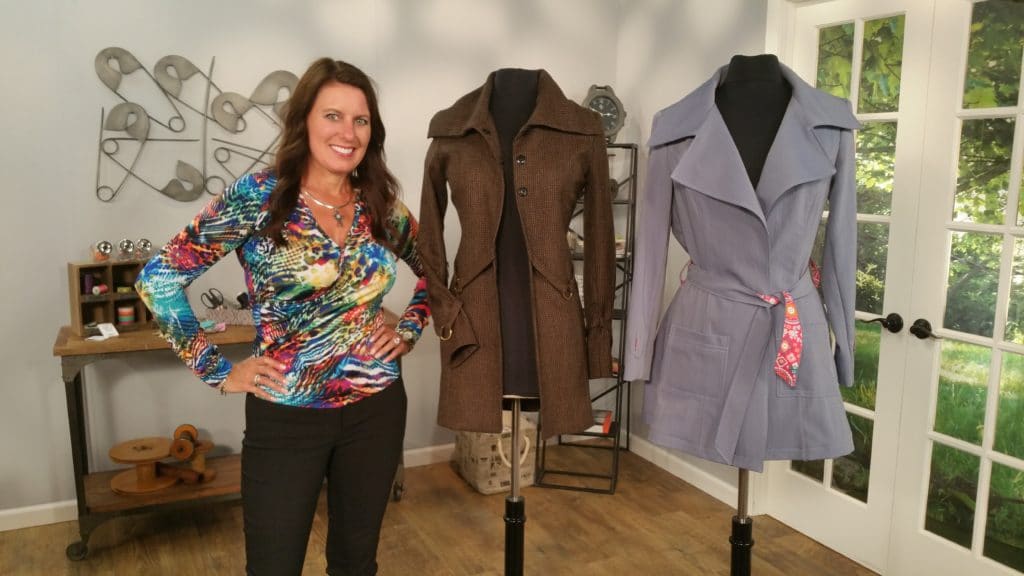
A trench coat is a great jacket for any season and I thought this would be a great sew along to kick off 2020! You can find short excerpts of sewing my Chloe Trench Pattern in season 18 of It’s Sew Easy TV and each of the episodes are listed in the Fashion Sewing Club and on my YouTube Channel. I will also list these on each blog post as we go through the sew along.
The Chloe Trench Sewalong will last 5 weeks, with each week focusing on a different part of the jacket sewing process. The free live sessions will be on Facebook, YouTube, and Angela Wolf Patterns Facebook Group. More in-depth live shows will take place on the Fashion Sewing Club. All of the dates listed below are subject to change, be sure to sign up for my Newsletter so you don’t miss a thing! Now let’s get sewing!
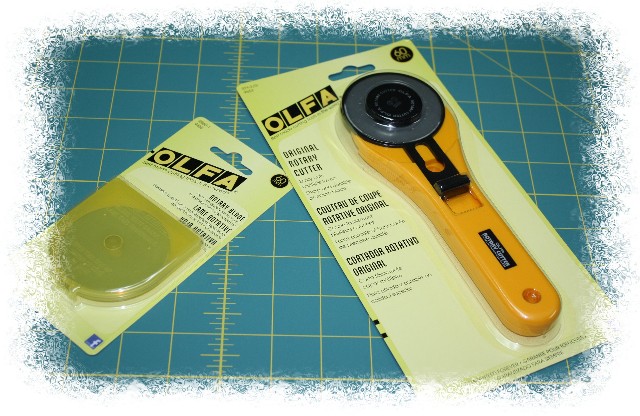
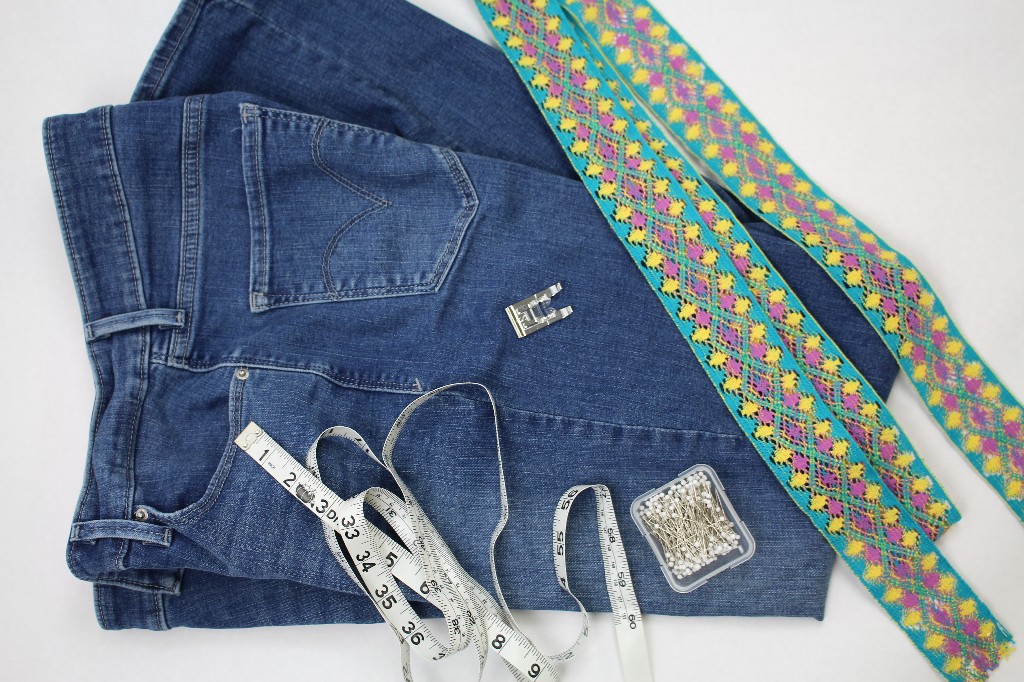
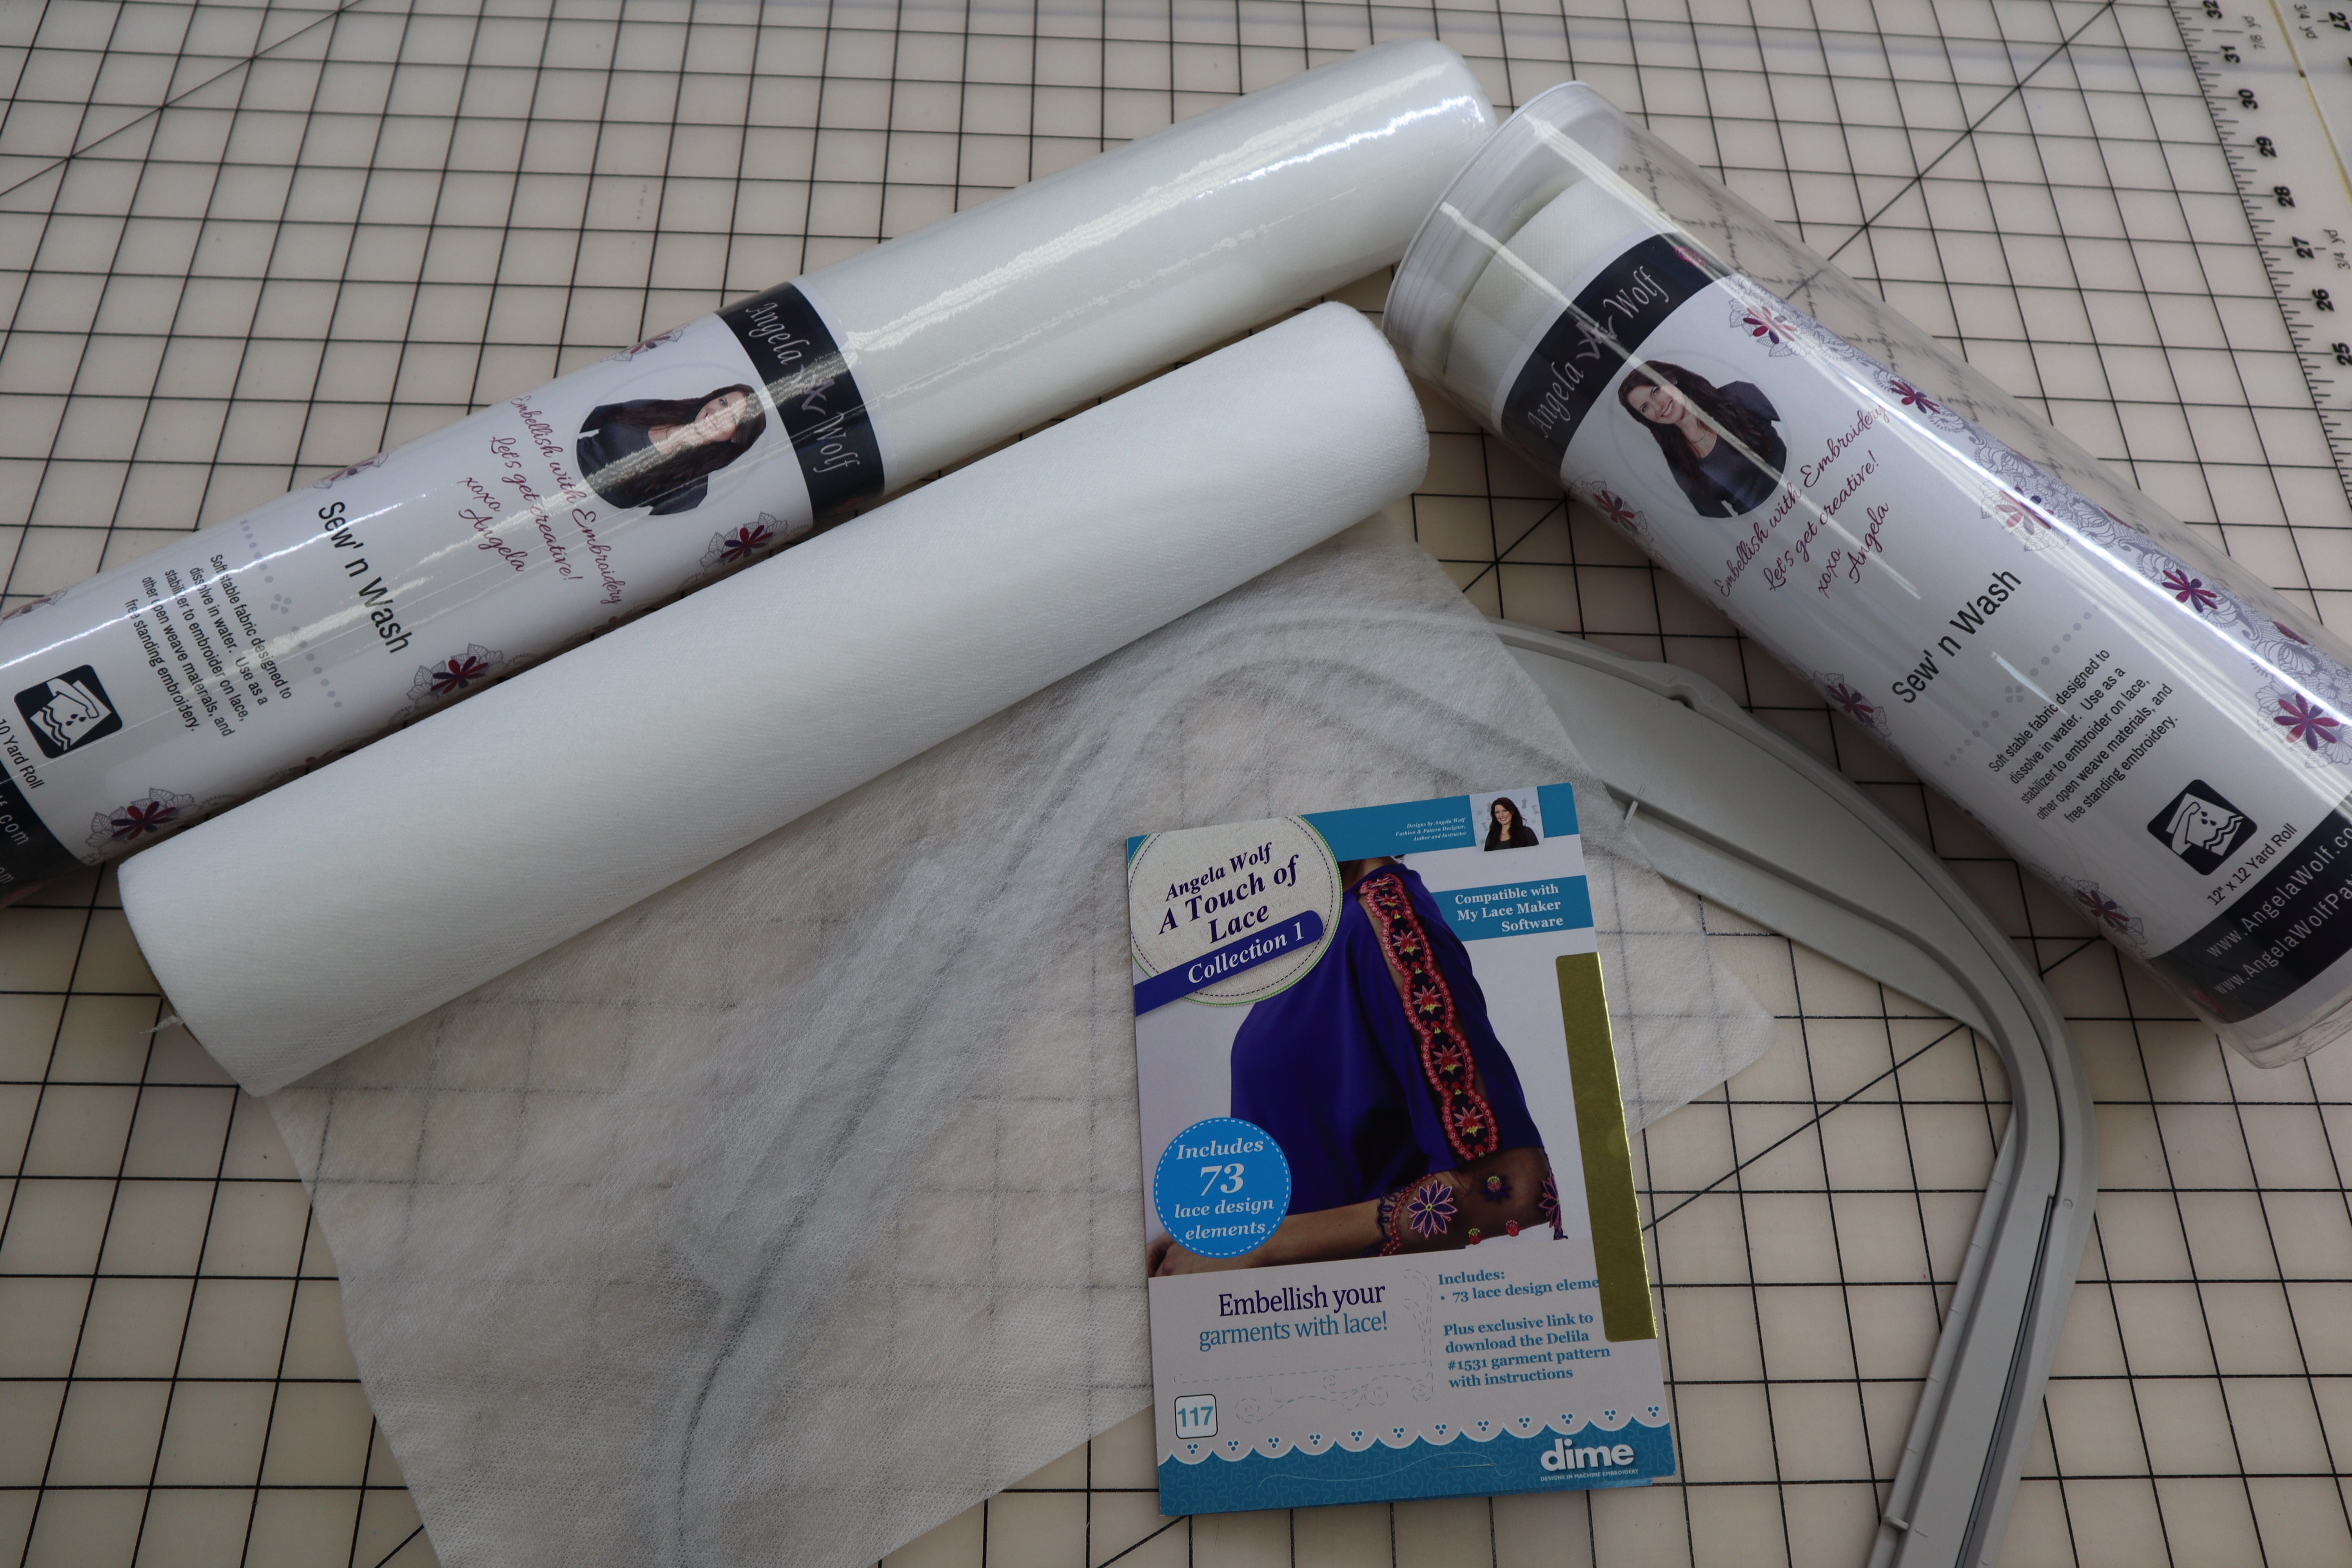
Chloe Trench Supplies
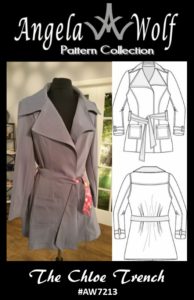
Grab your copy of the Chloe Trench Pattern in either a personally signed Paper Version with includes paper pattern printed in full color along with a spiral bound notebook for the directions or Digital Download. (Available from size 0 to 36W)
You can find the patterns, interfacing, and pressing supplies here at www.AngelaWolfPatterns.com and get 10% OFF with coupon code: NEWYEAR2020 (all caps)
Fashion Sewing Club Members get 25% OFF all patterns & supplies during the month of January 2020 – visit the club website for your coupon code.
Chloe Trench Sew Along Schedule:
The activities for the Chloe Trench will be combined of blog posts and live shows; some of these shows are free and some are exclusive to Fashion Sewing Club Members. Click here to learn more about the Fashion Sewing Club.
Week 1: Choosing Fabric, Size, Interfacing, and Prep
- January 14th 5:00 pm EST Live Chat Fashion Sewing Club Members
- January 15th 1:45 pm EST Facebook and YouTube Live
- January 16th 4:00 pm EST Live Chat in the Angela Wolf Patterns Group
- Angela Wolf Patterns is a FREE Facebook group click here to join.
Week 2: Fitting, Cutting, Interfacing (BONUS for FSC: Lining Options)
- January 21st 4:00 pm EST – LIVE Q&A: Discussing Fabric, Interfacing, and Choosing a Size
- January 23rd 2:00 pm EST Live Chat Fashion Sewing Club
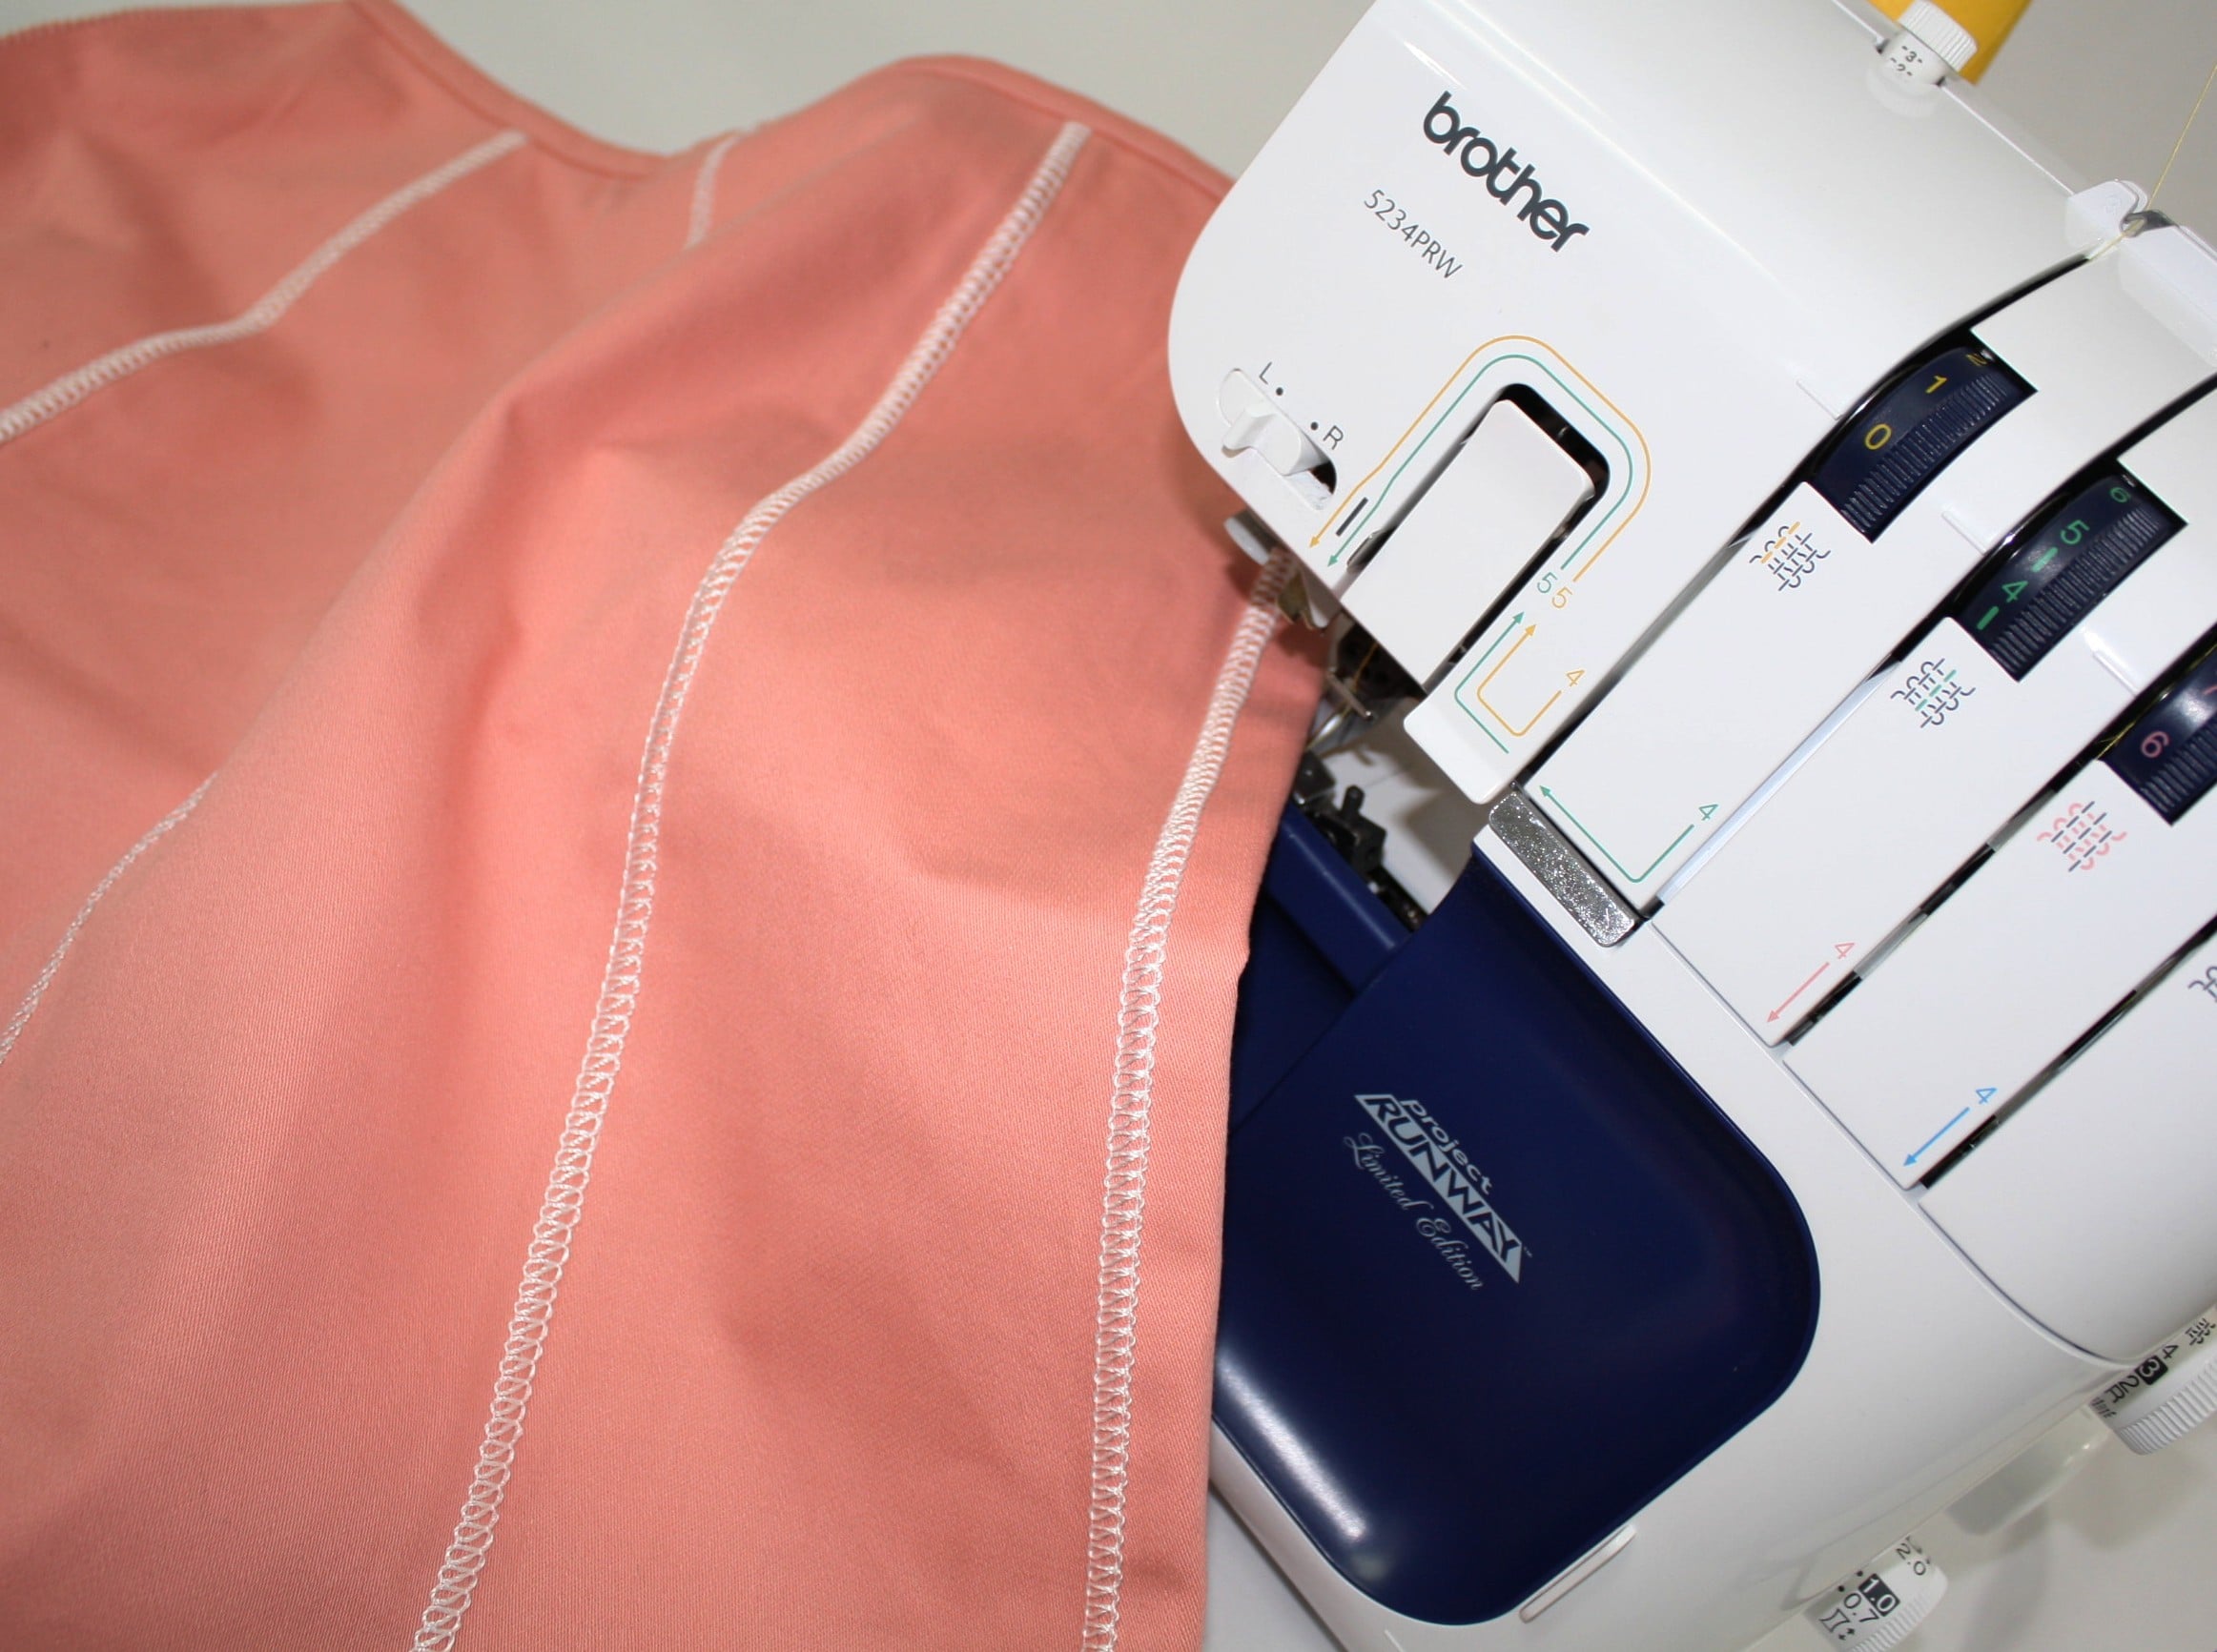
Week 3: Interfacing, Finishing Seams, & Getting Started Sewing
- January 28th 6:00 pm EST Live Chat Fashion Sewing Club
- January 29th 1:30 pm EST Facebook and YouTube Live – Showing off Your Progress & Brother Disney ScanNCut Giveaway Click here to watch on Facebook or Click here to watch on YouTube
Week 4: Sleeves & Hemming
- February 4th 3:00 pm EST Live Chat Fashion Sewing Club
- Mark your calendar, a link will be posted closer to the date
- February 5th 1:30 pm EST Facebook and YouTube Live
Week 5: Top stitching, Final Touches, Show & Tell
- February 10th 6:00 pm EST Live Chat Fashion Sewing Club
- Mark your calendar, a link will be posted closer to the date
- February 12th 1:30 pm EST Facebook and YouTube Live
Please Note: All of these dates are subject to change. Make sure you are signed up for my newsletter to stay up to date.
To get started check out my video below from It’s Sew Easy TV. This will show you ideas for fabric and interfacing. We will discuss this further in the live Q&A and weekly behind the scenes show. Are you going to join the sew along? Leave me a comment if you have any question or need help finding fabric.
Can’t wait to see what you sew up!
Cheers,