No Results Found
The page you requested could not be found. Try refining your search, or use the navigation above to locate the post.

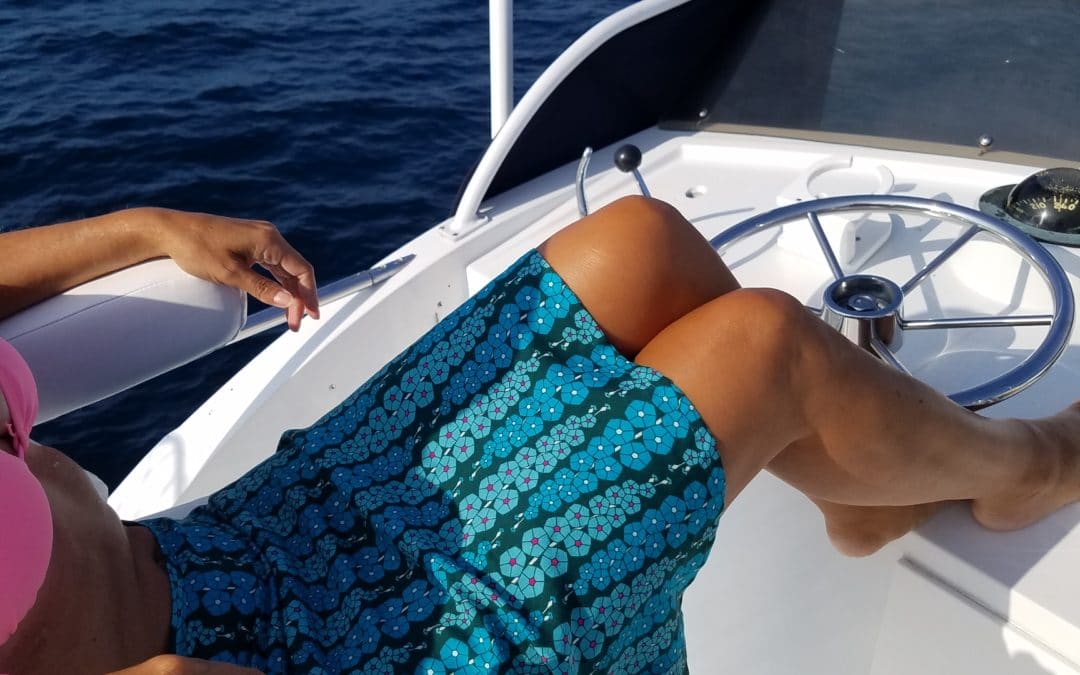
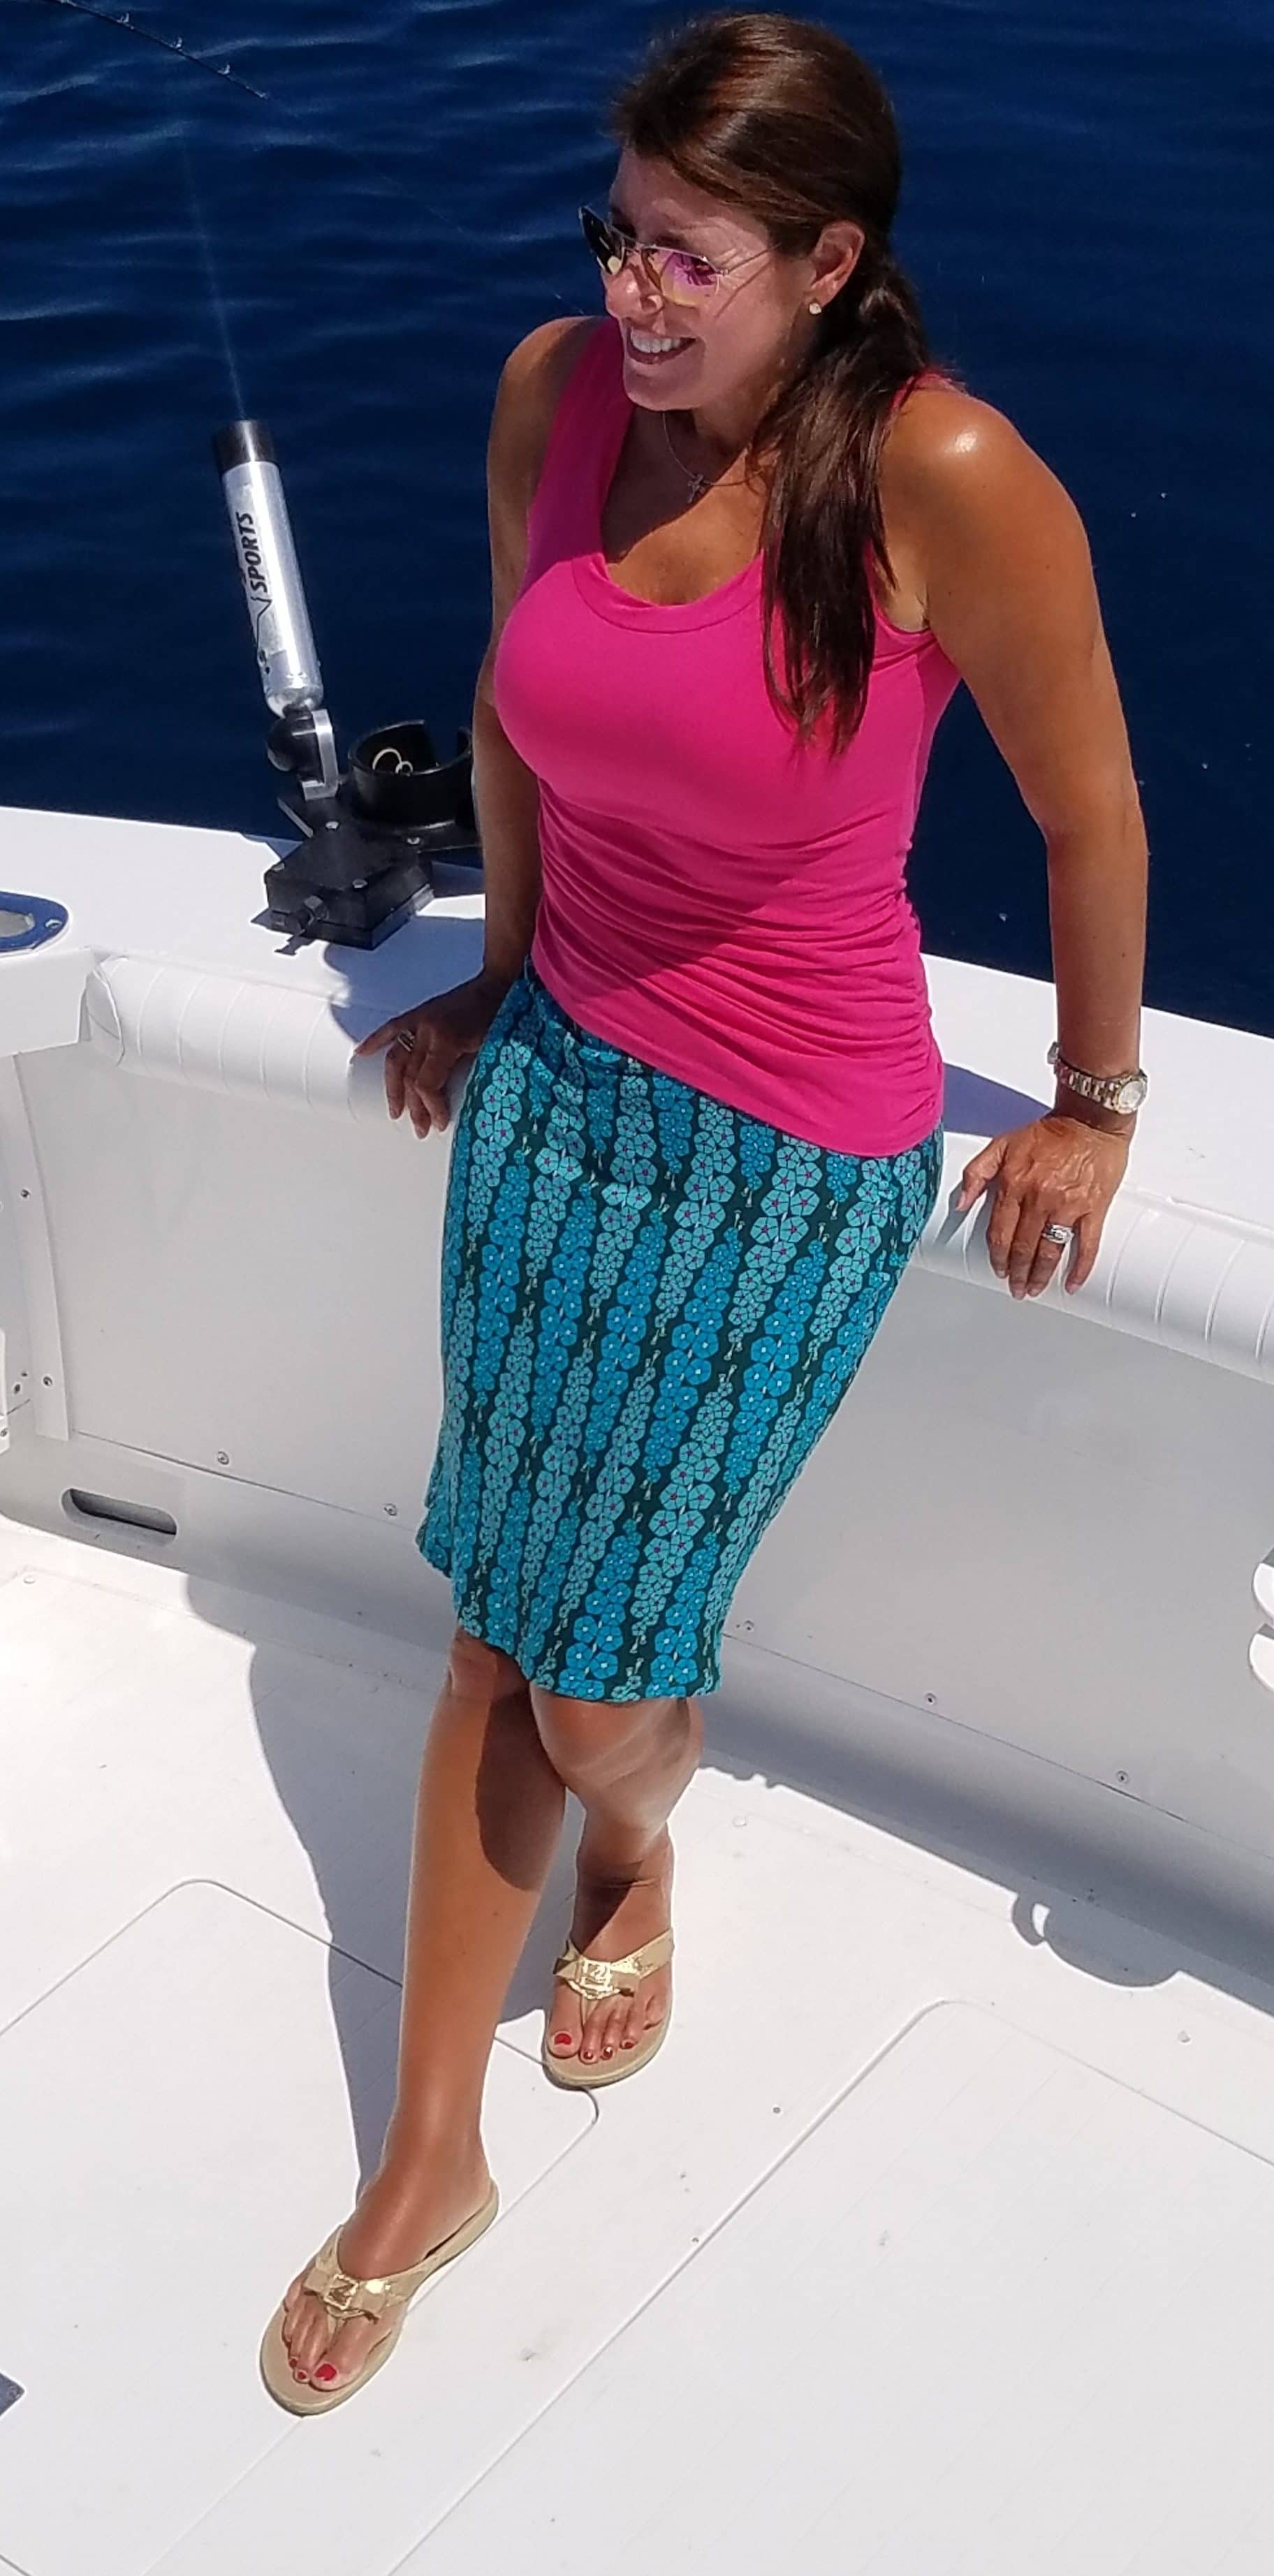
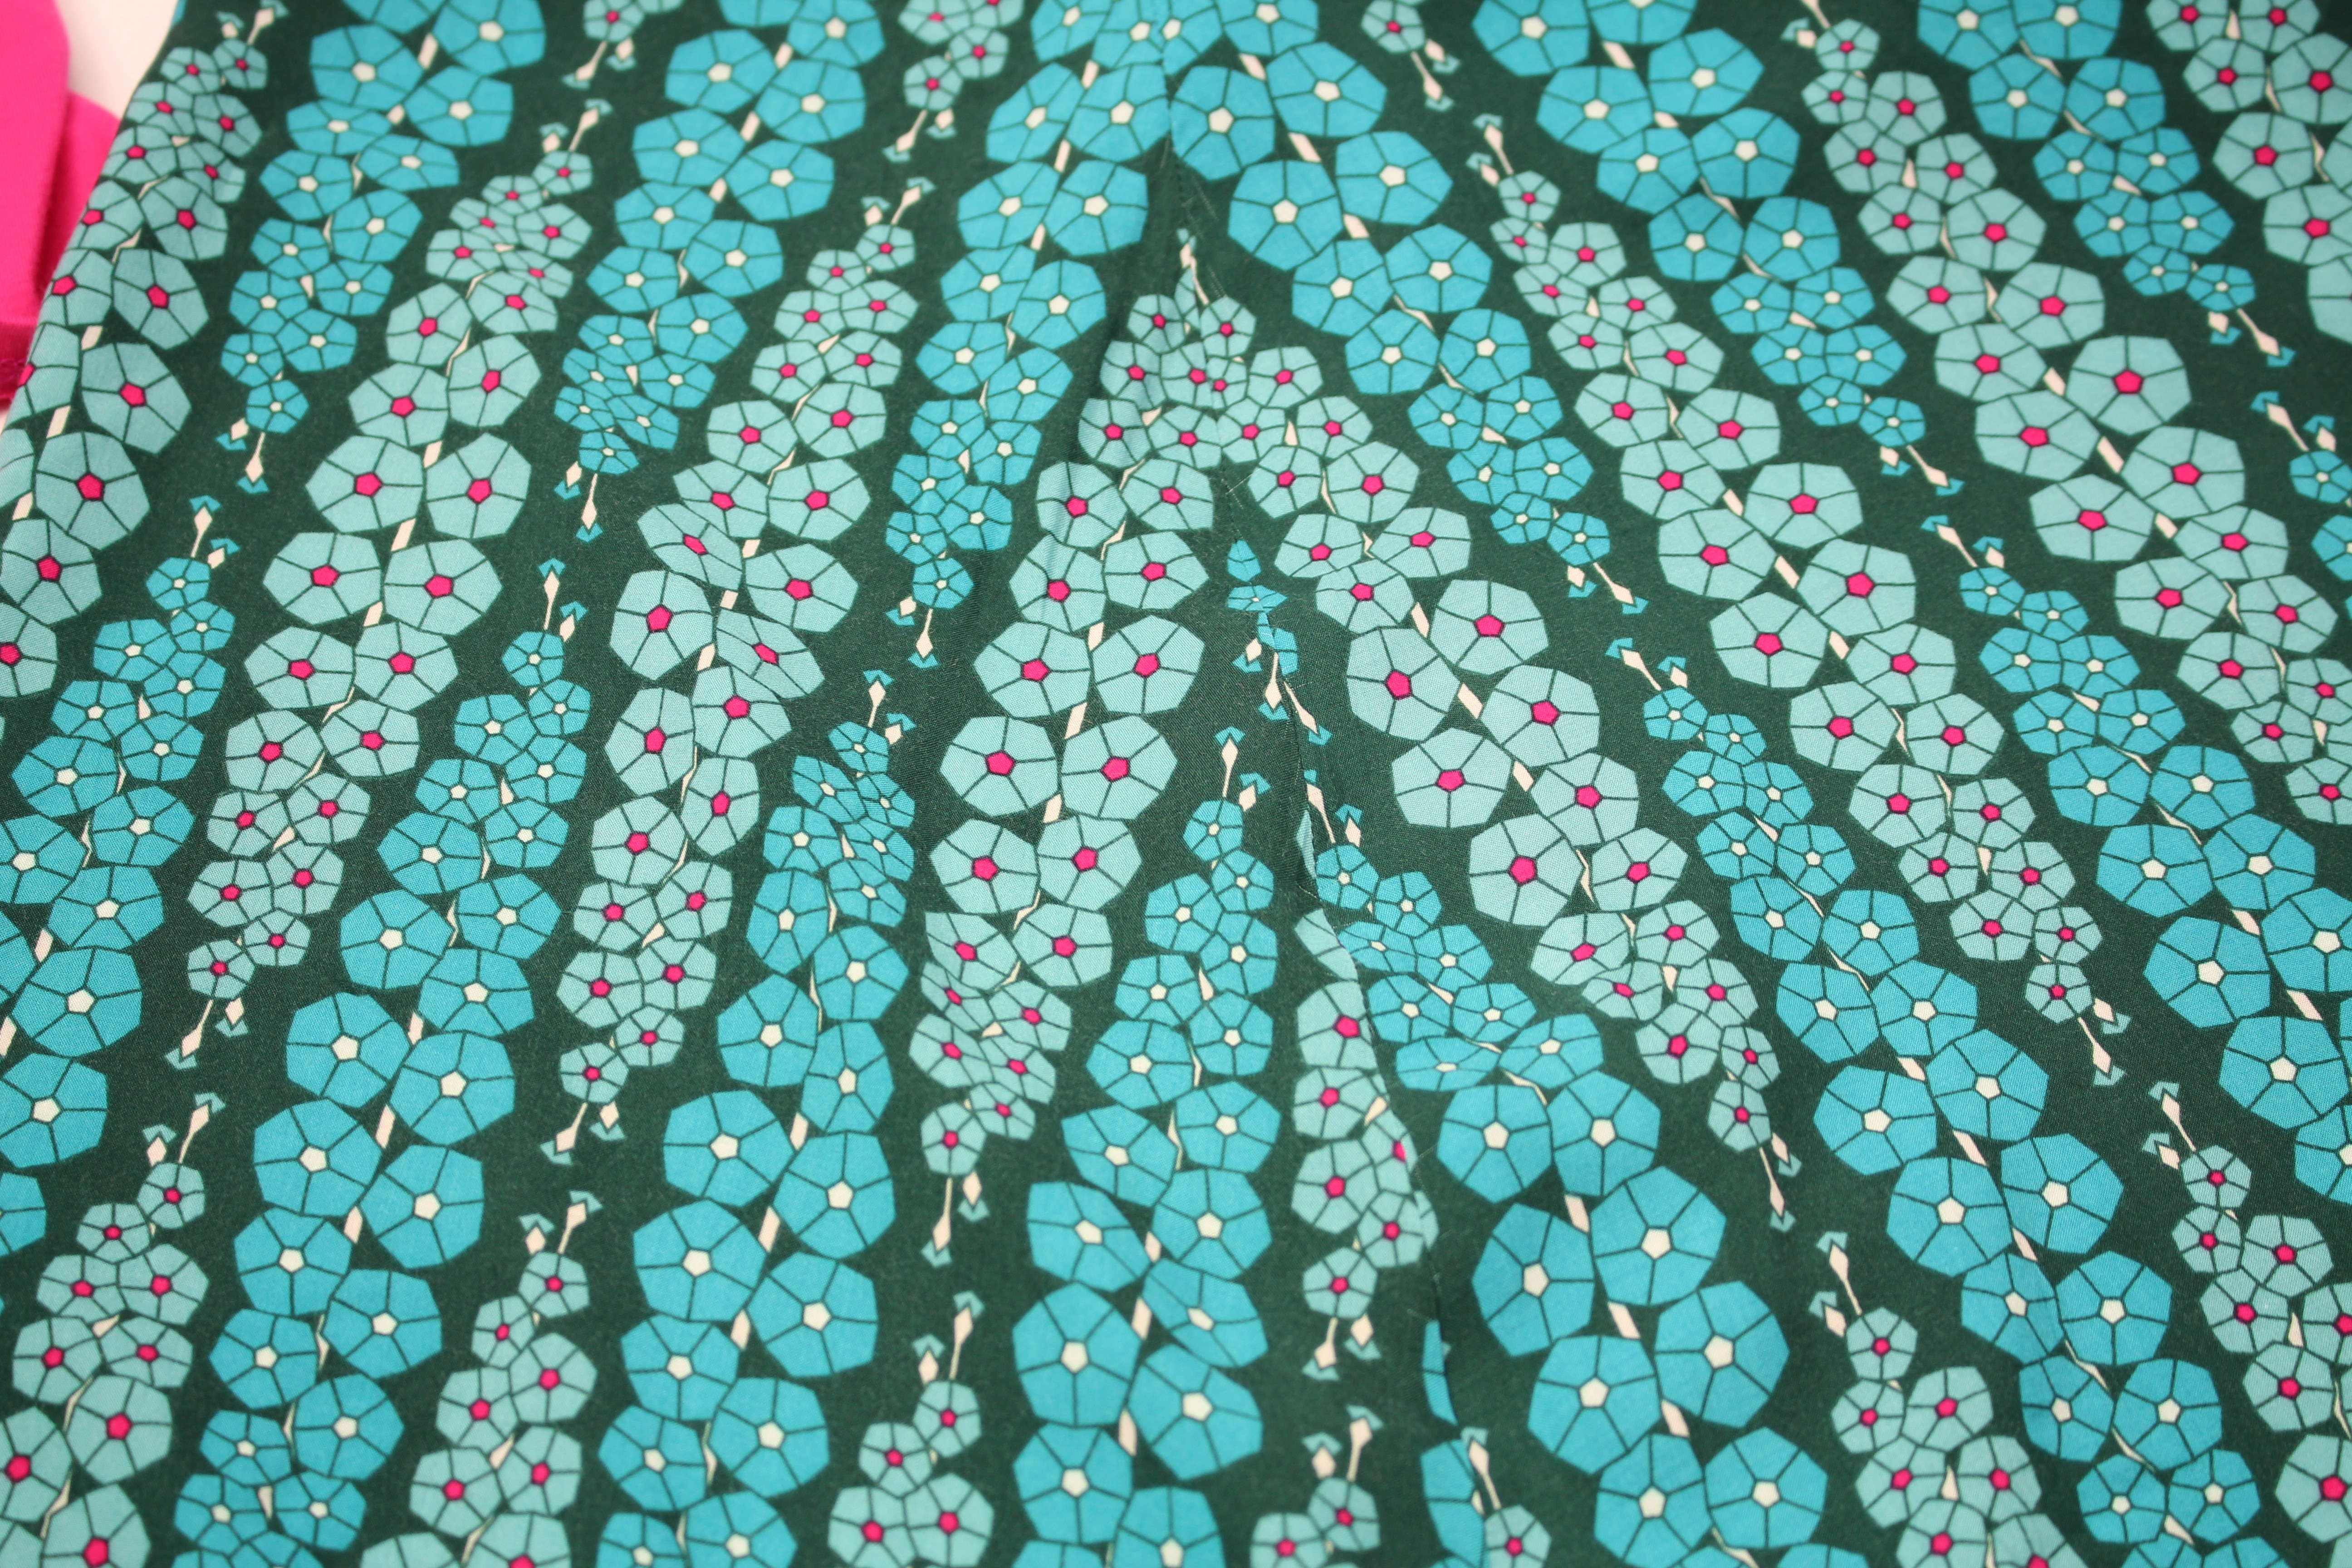
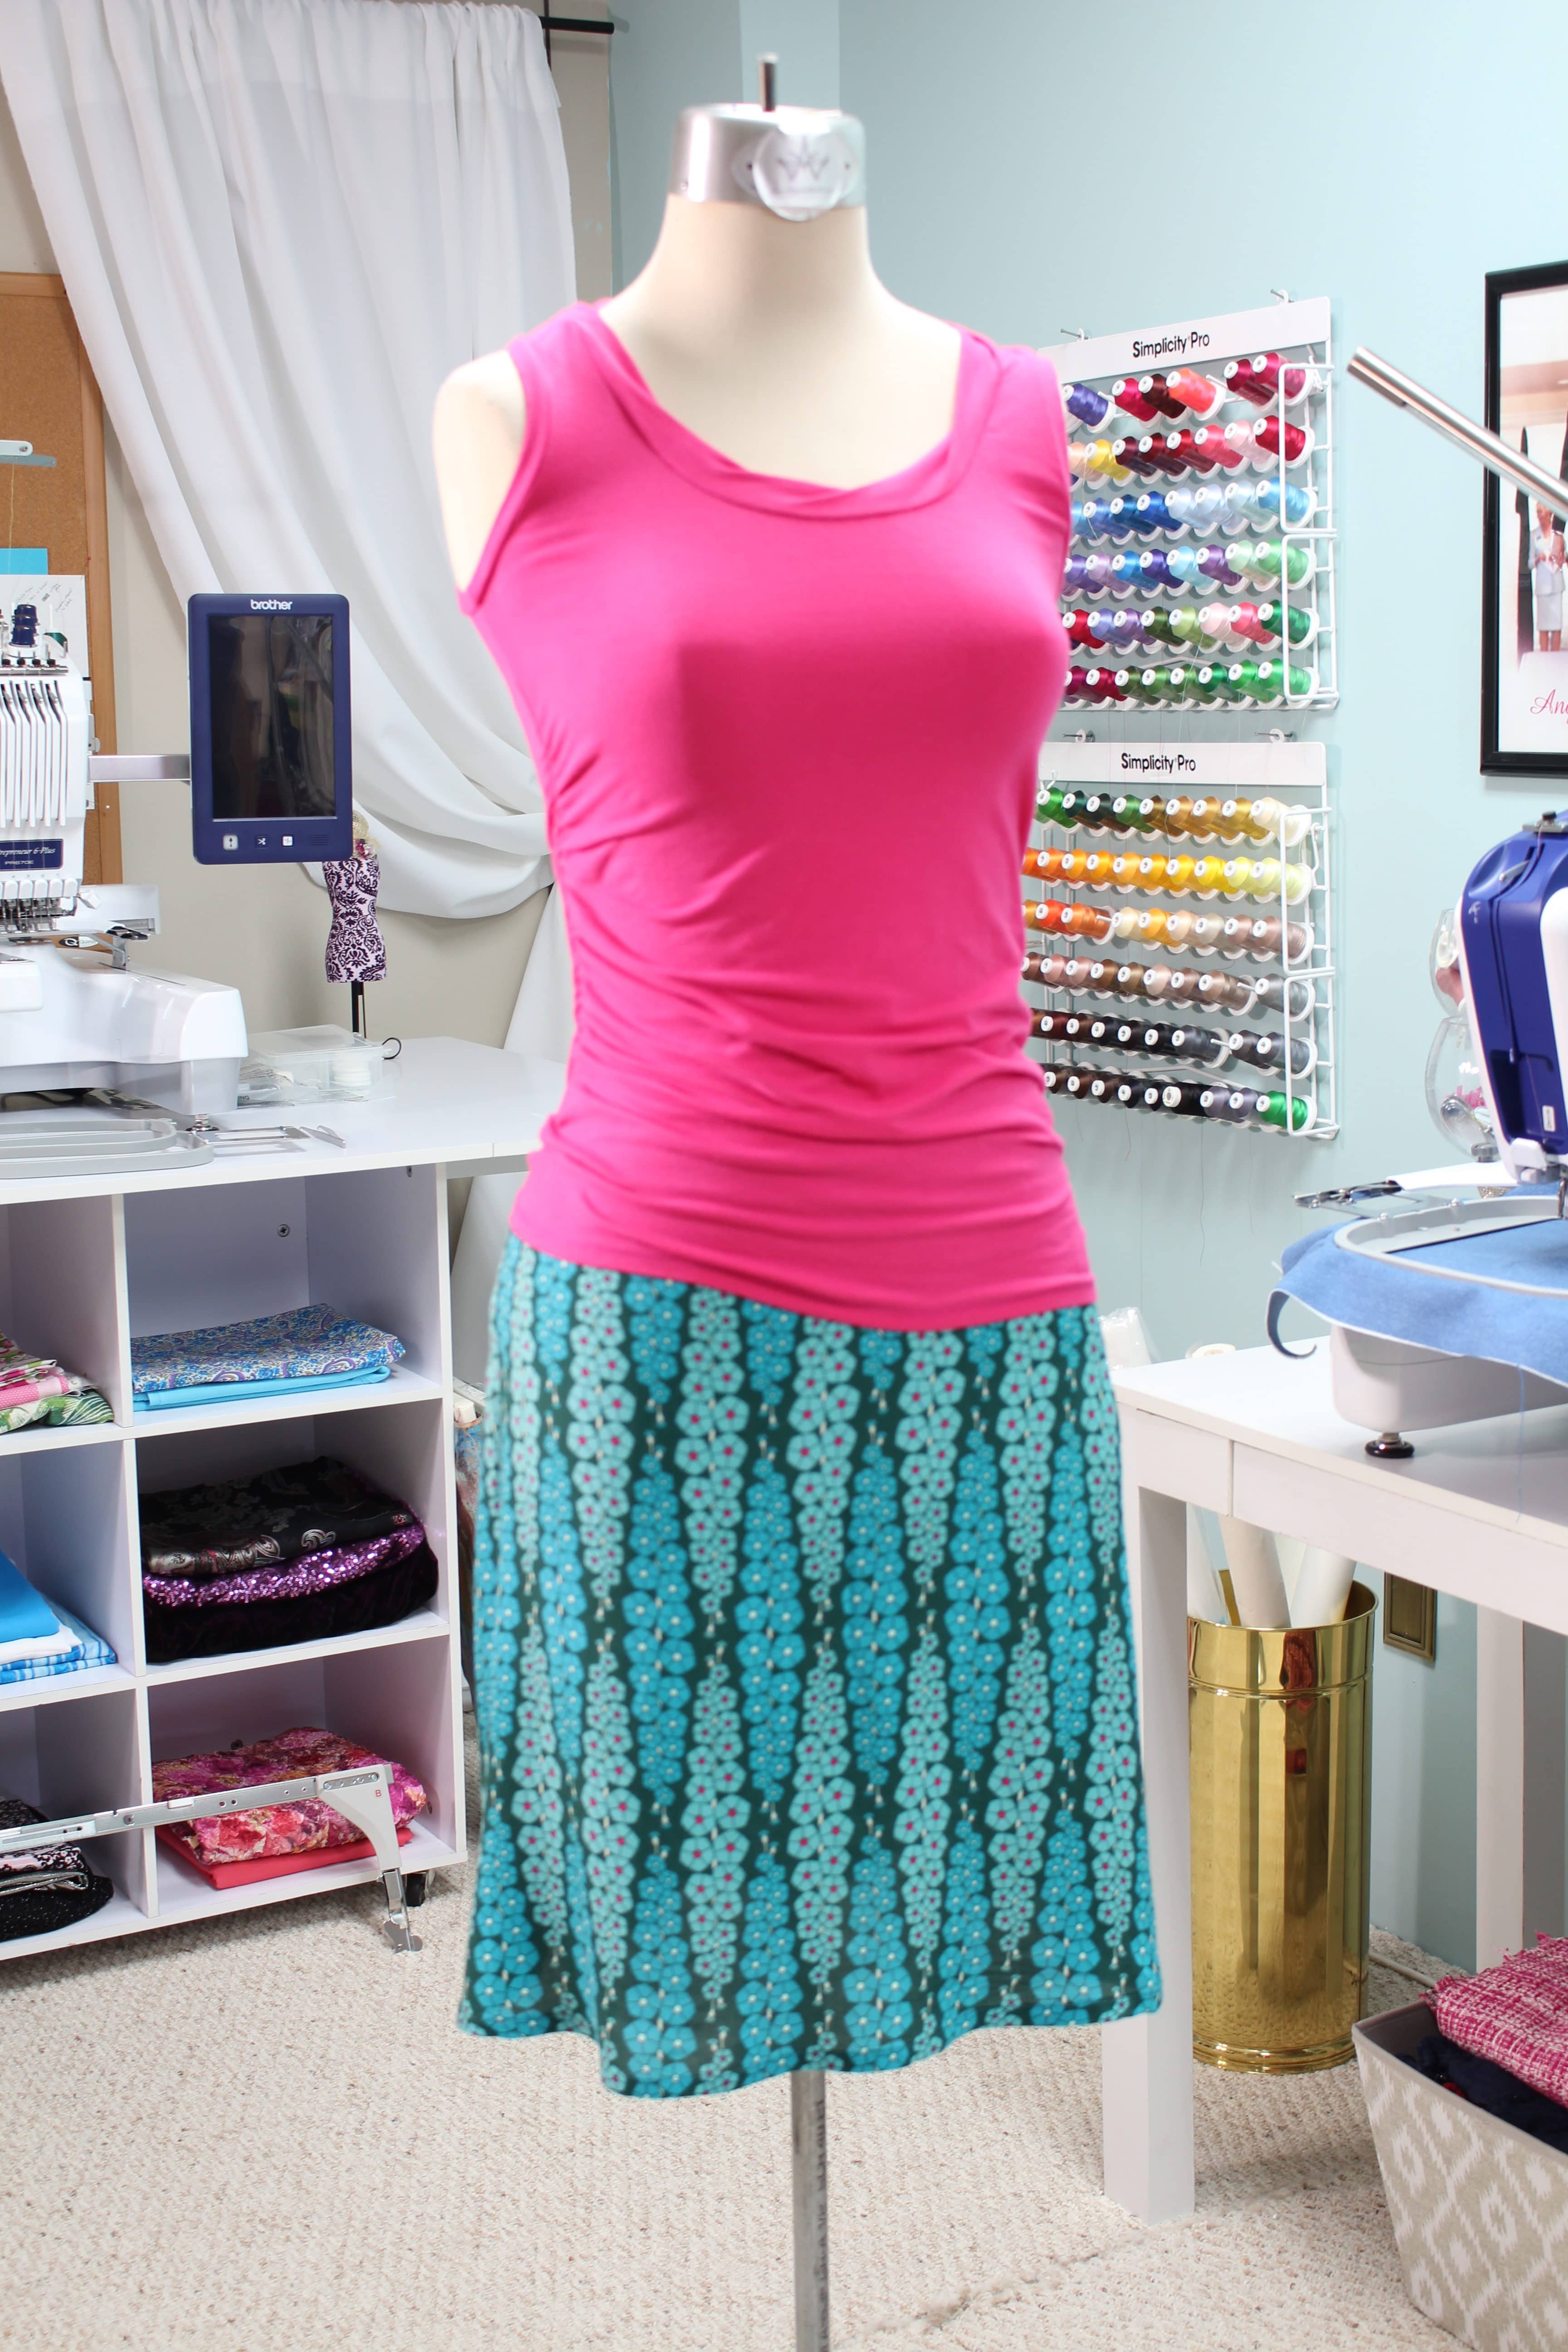
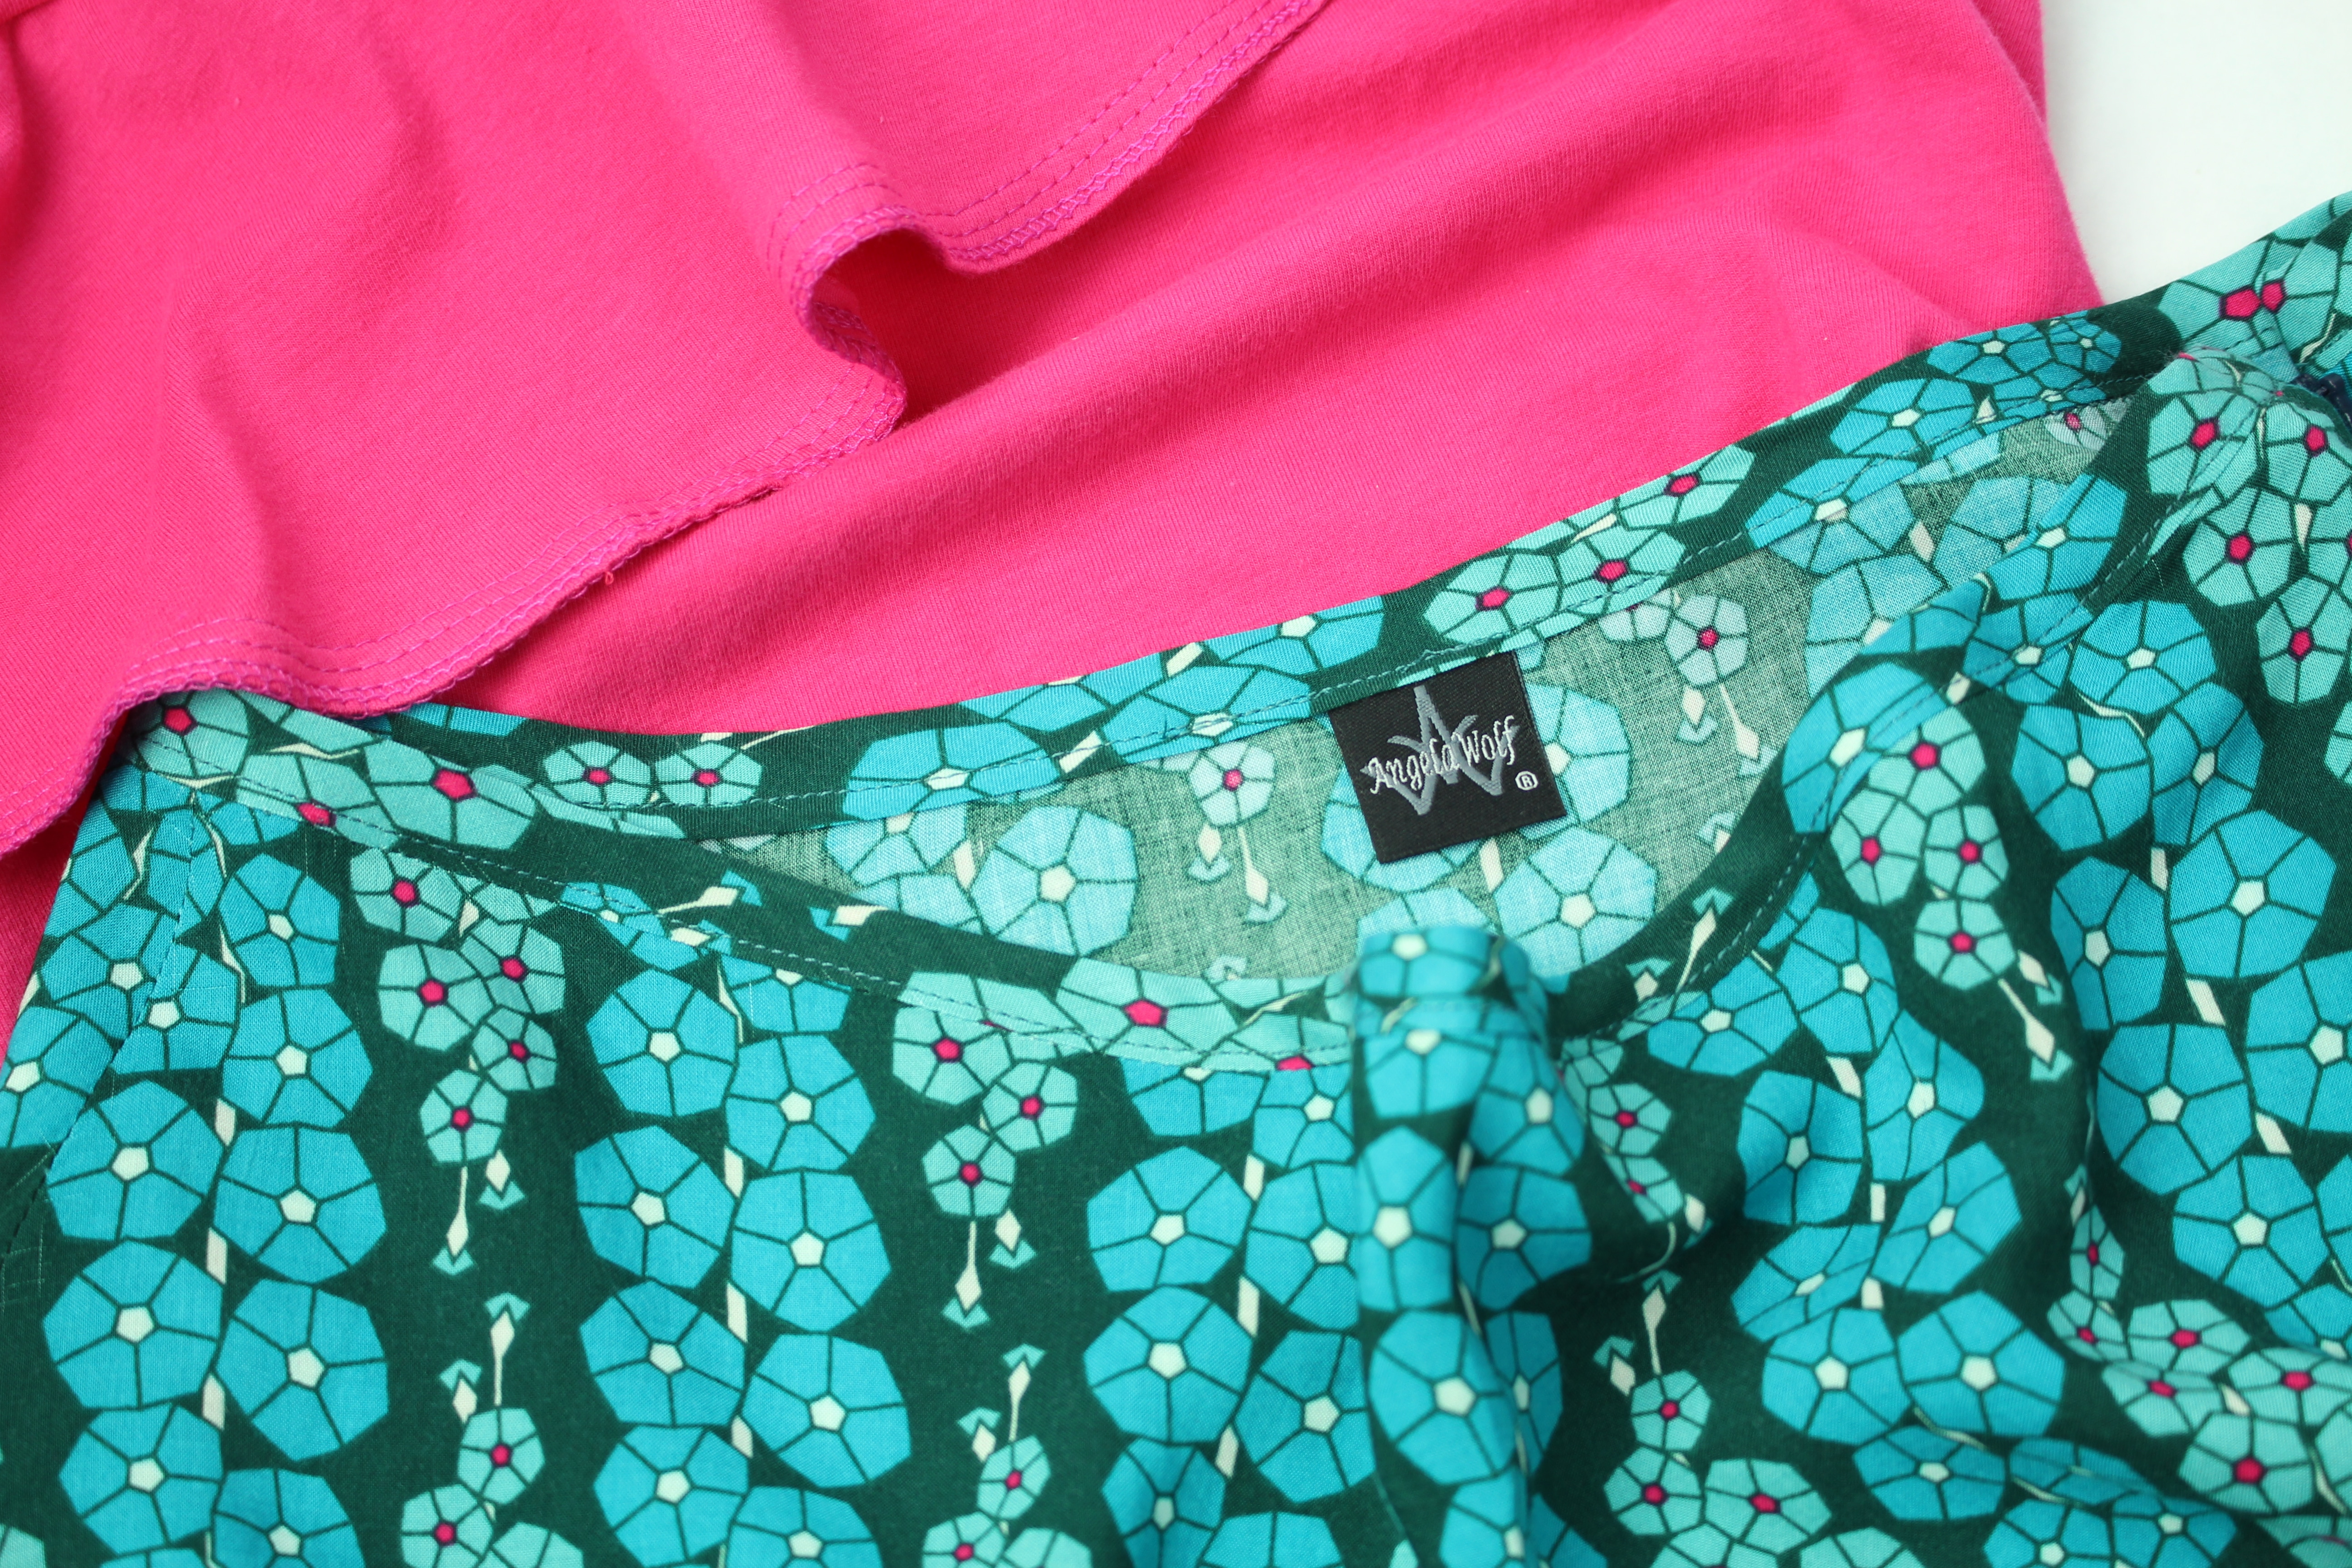
I am very excited to team up with Mathew Boudreaux (Mister Domestic) as part of his blog party launching his new fabric collection Loved to Pieces! I had the choice of many of his beautiful fabrics and chose a beautiful 100% rayon fabric to sew the Kate Skirt Pattern. Of course I needed a top to go with the skirt, so I opted for a cotton / lycra knit Art Gallery Fabric with a color that coordinated with small circles in the rayon fabric.
When this fabric arrived it was even better than I expected. The drape of the rayon was so light and airy and the cotton knit had great recovery!
The first step is to pre-shrink the fabric. I washed and dried each piece individually, just in case there was any bleeding. Both pieces came out just fine, in face they hardly wrinkled at all! The rayon fabric frayed slightly and the cotton fabric tends to roll at the ends, but those are easy to work with.
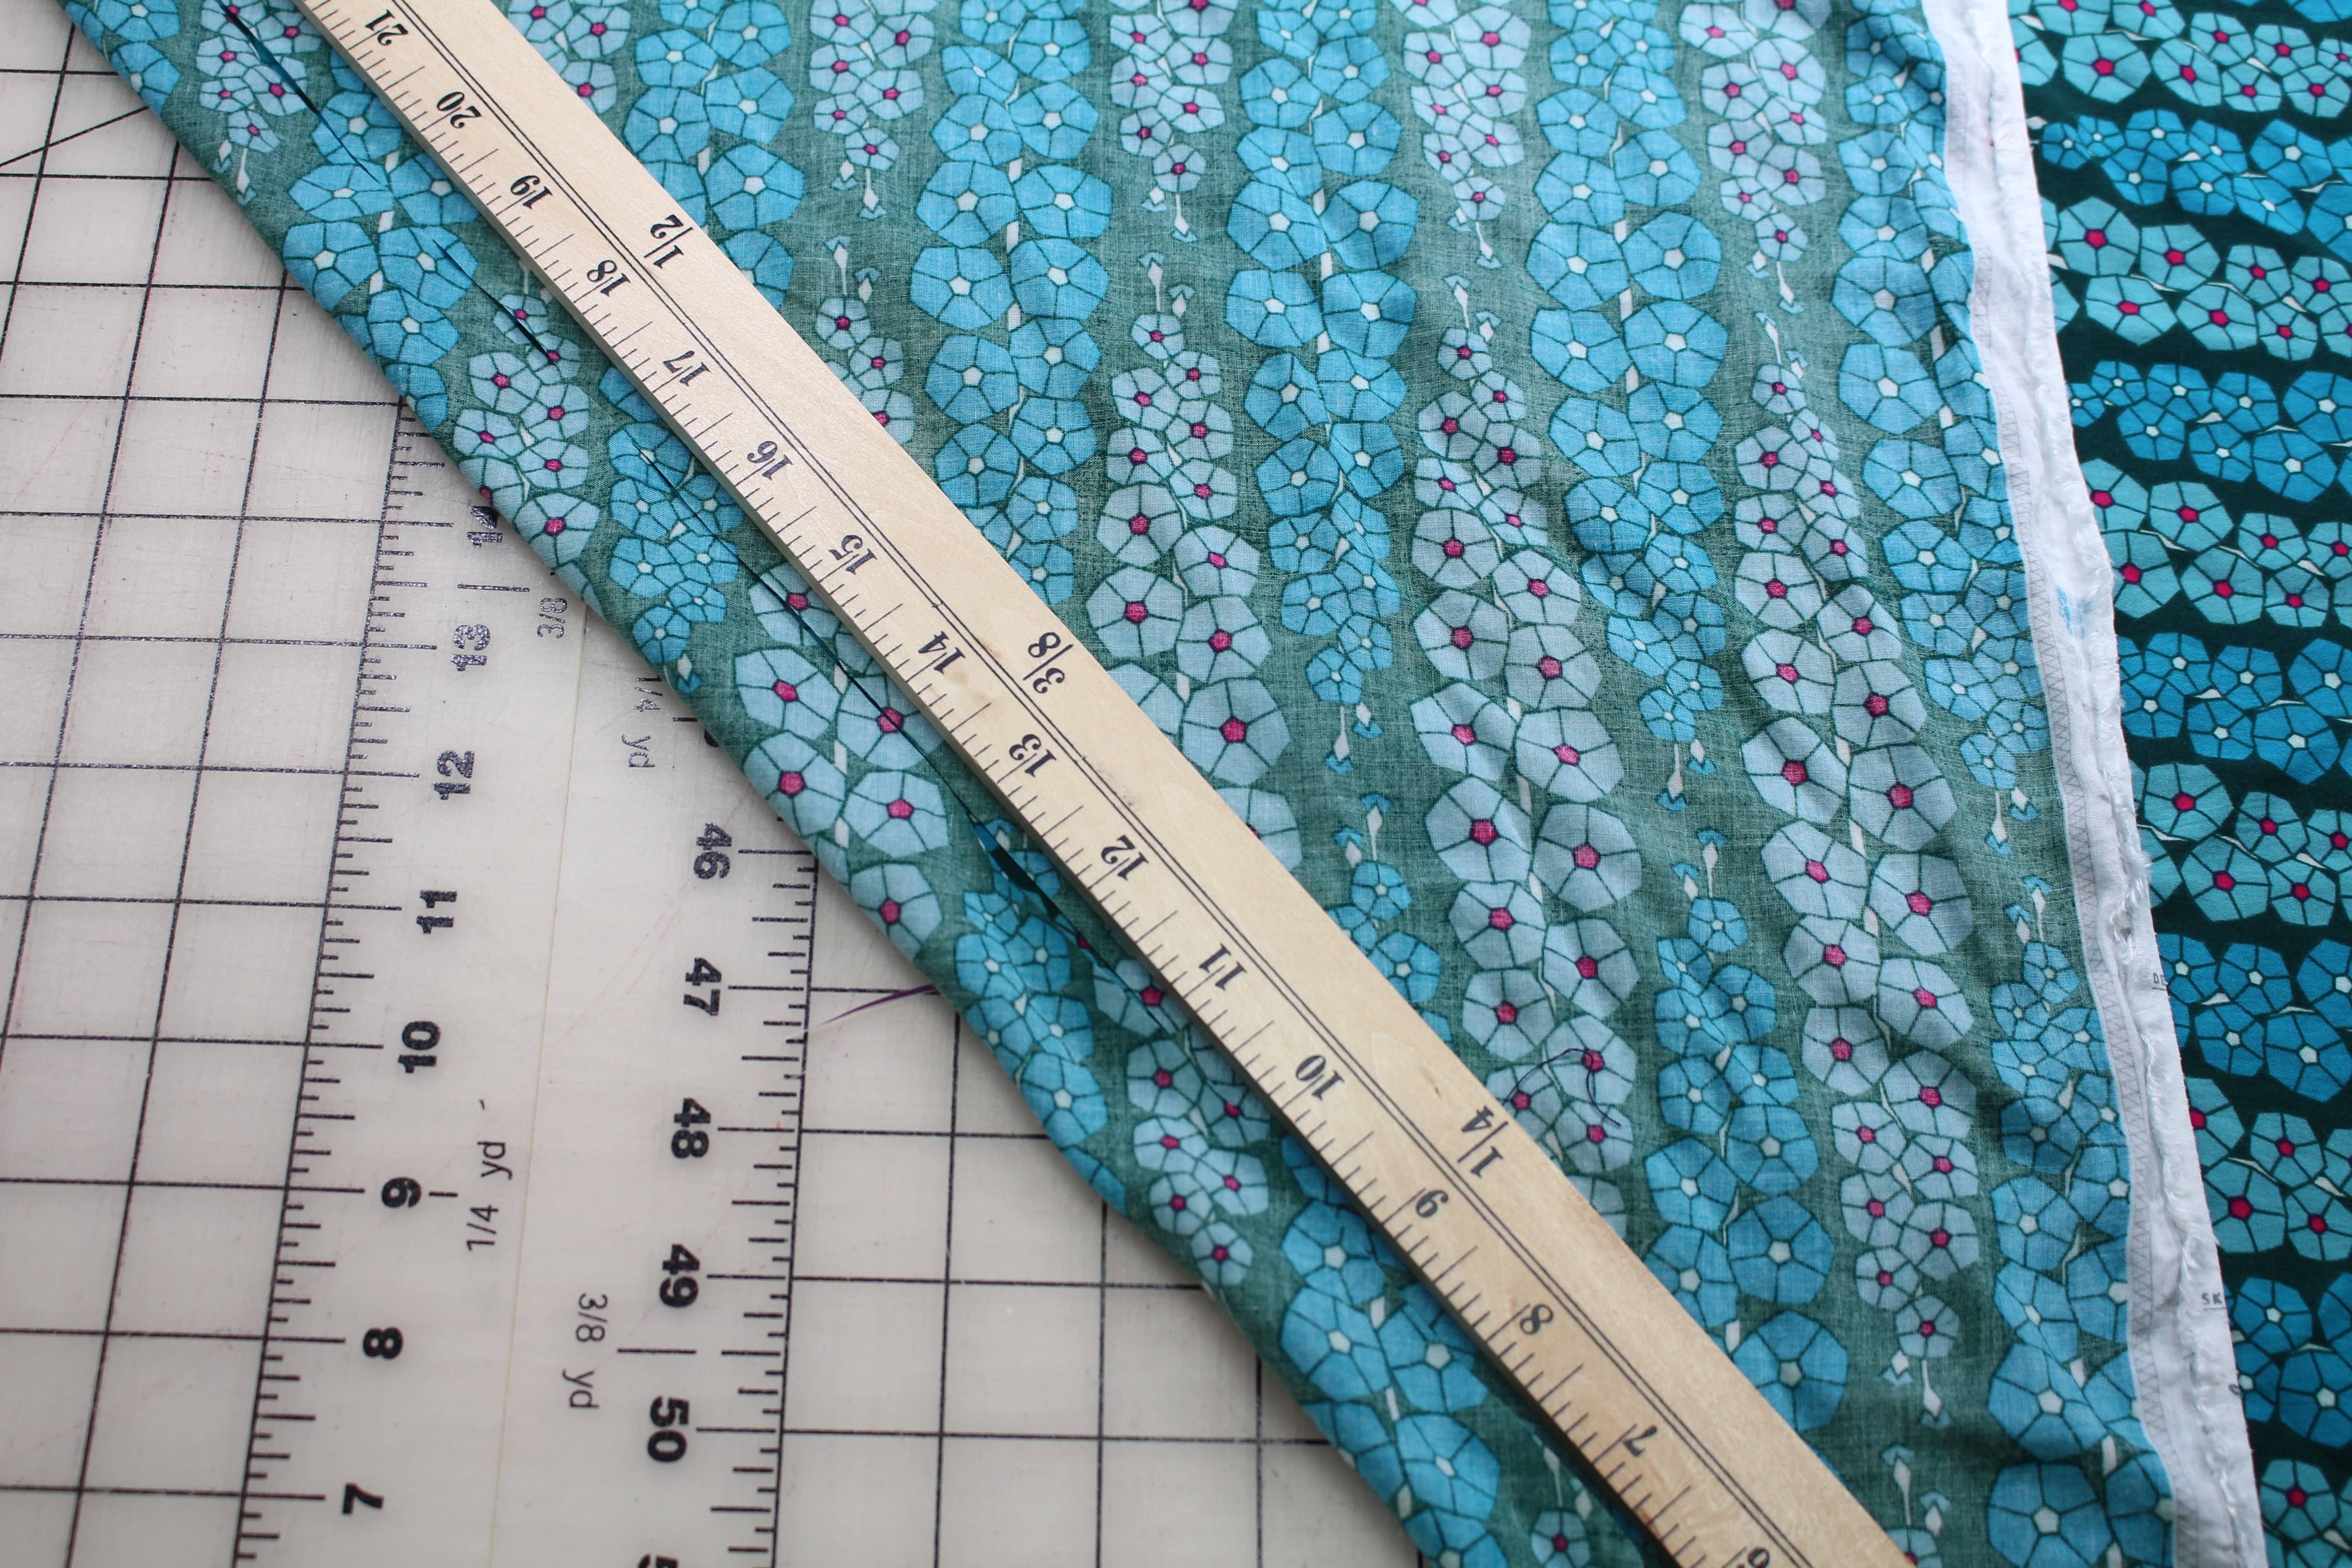
Because of the print, I chose to cut the skirt with one layer of fabric (meaning I didn’t fold the fabric). The fabric is so lightweight and tends to shift which can cause issues matching up prints and grainlines. After laying out the fabric, I used a yard stick to check the fabric grainlines. They look pretty straight here, so I cut one side of the skirt and then folded the pattern over to cute the other side.

I altered the Kate Skirt pattern by cutting the waistband on the bias. This fabric is so lightweight, it reminds me of silk charmeuse. I prefer bias waistbands for silk skirt, so thought the same for this one. Not only is it comfortable, it works the print.
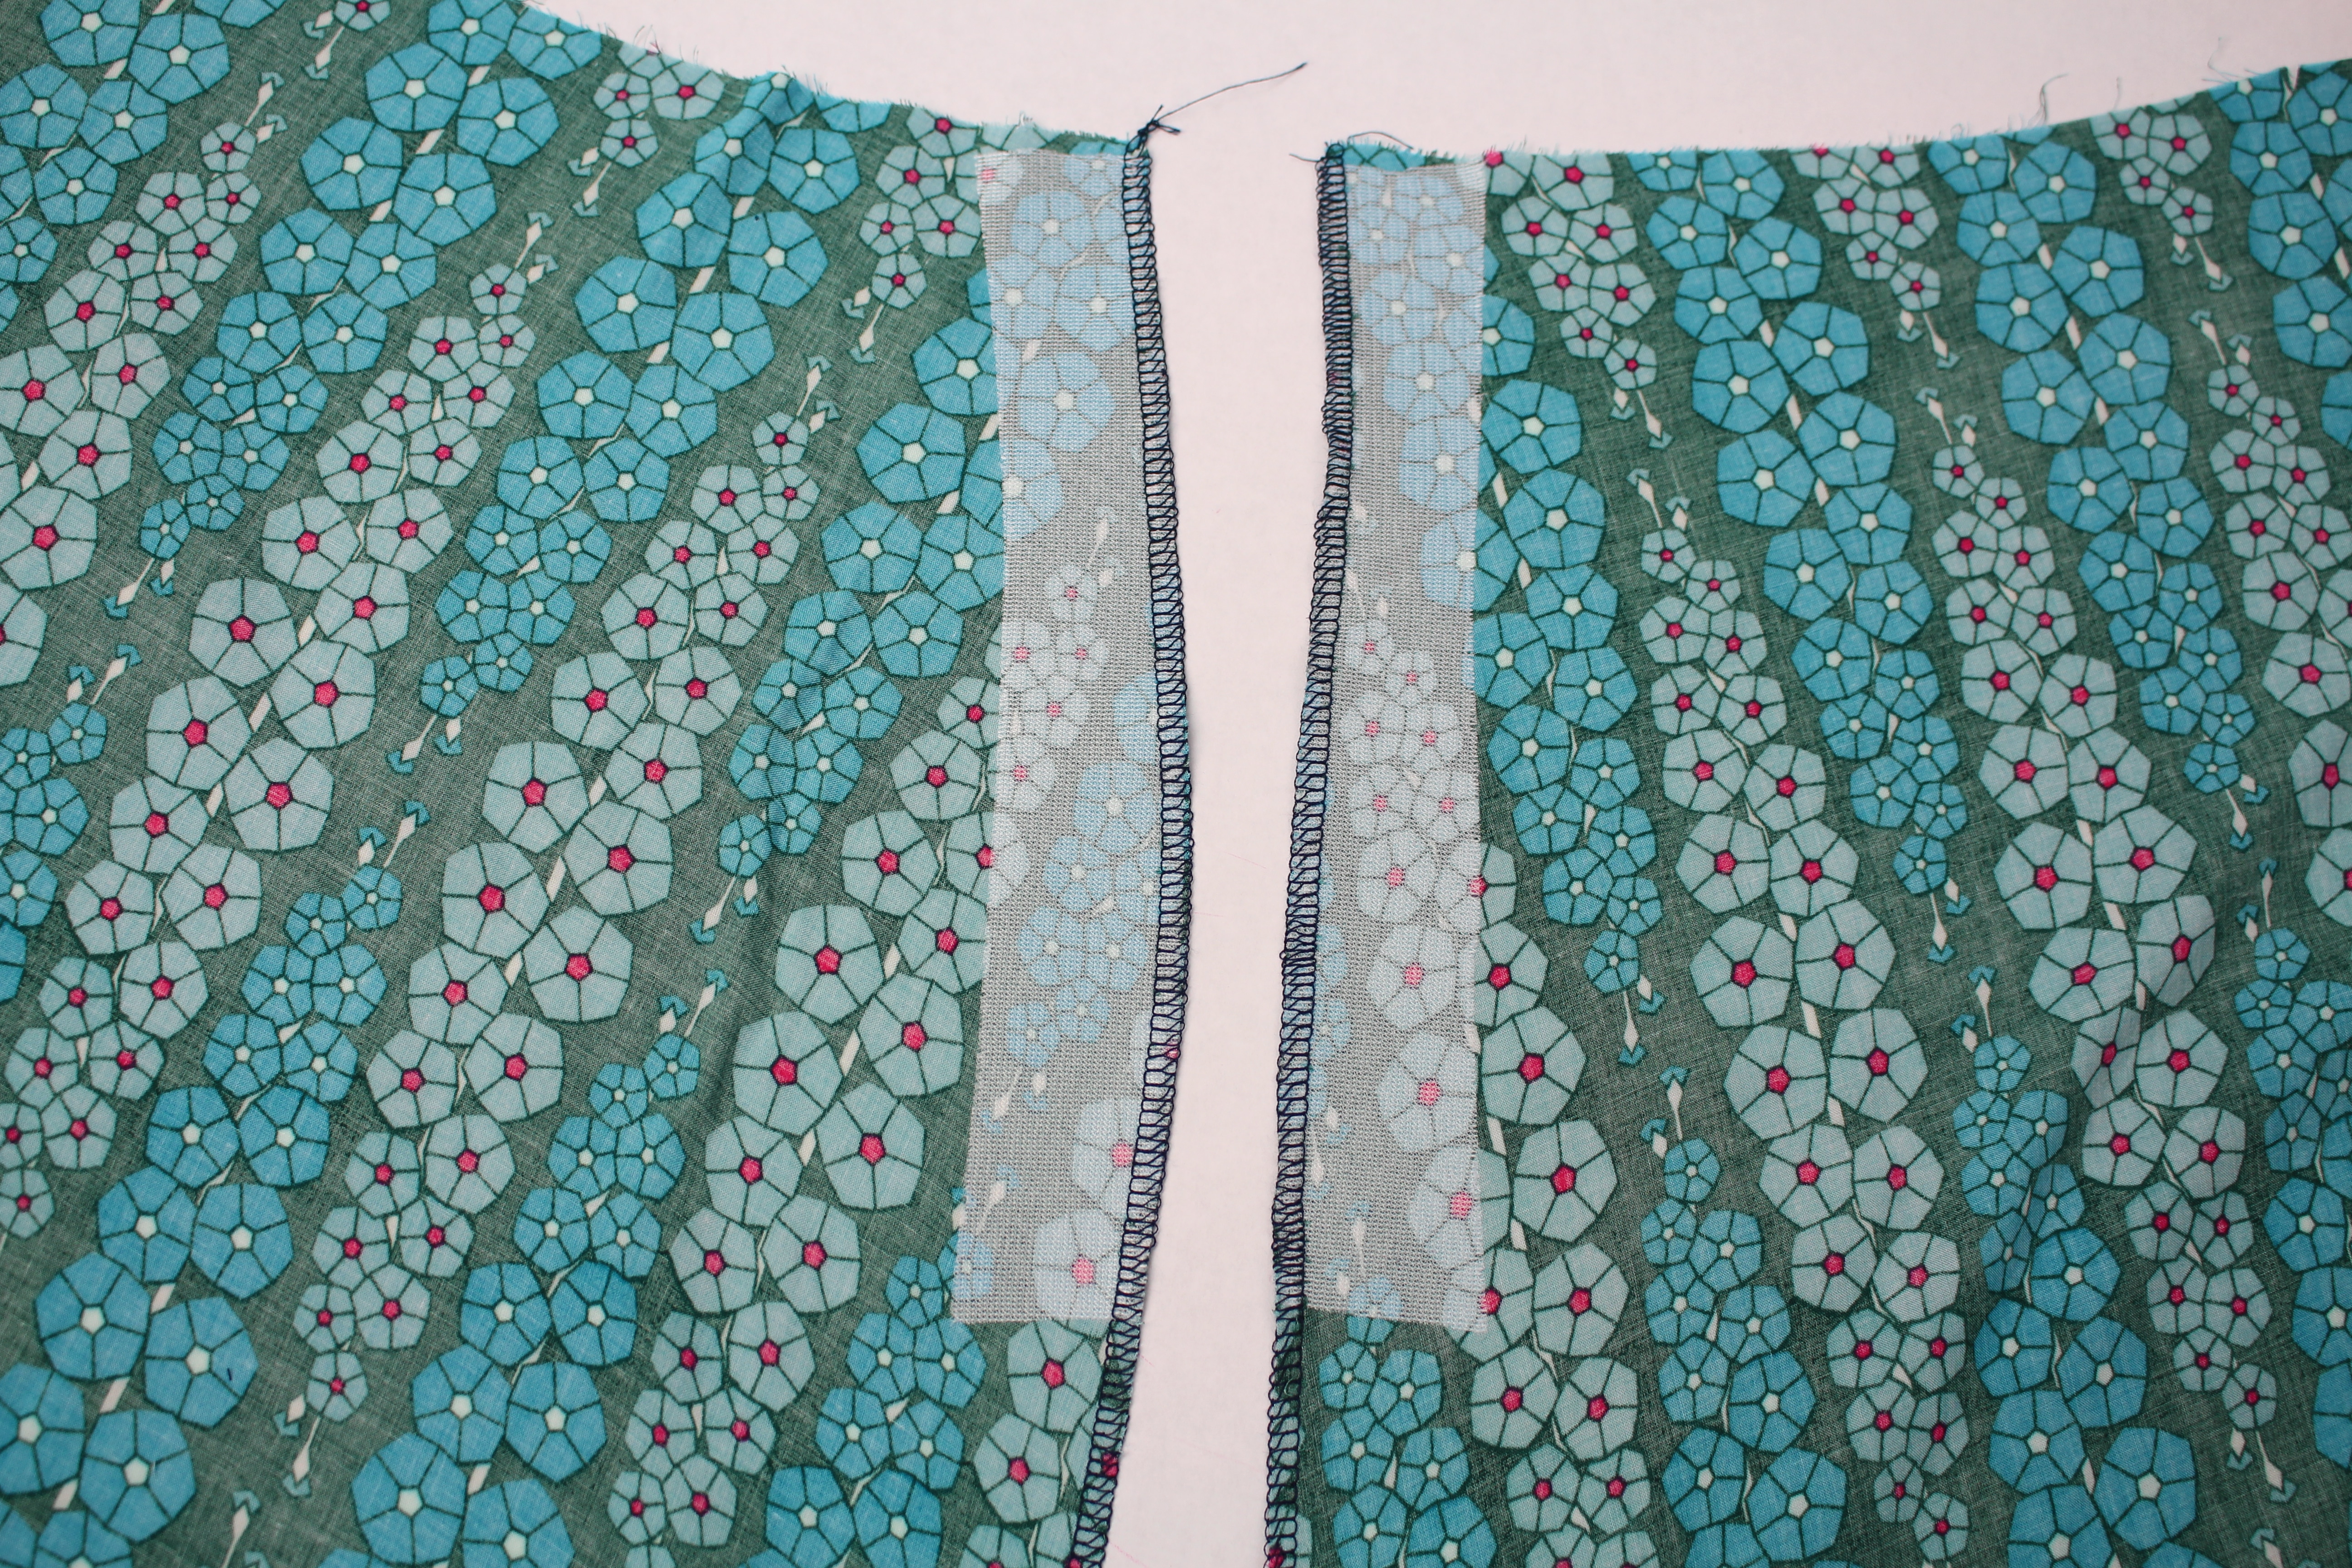
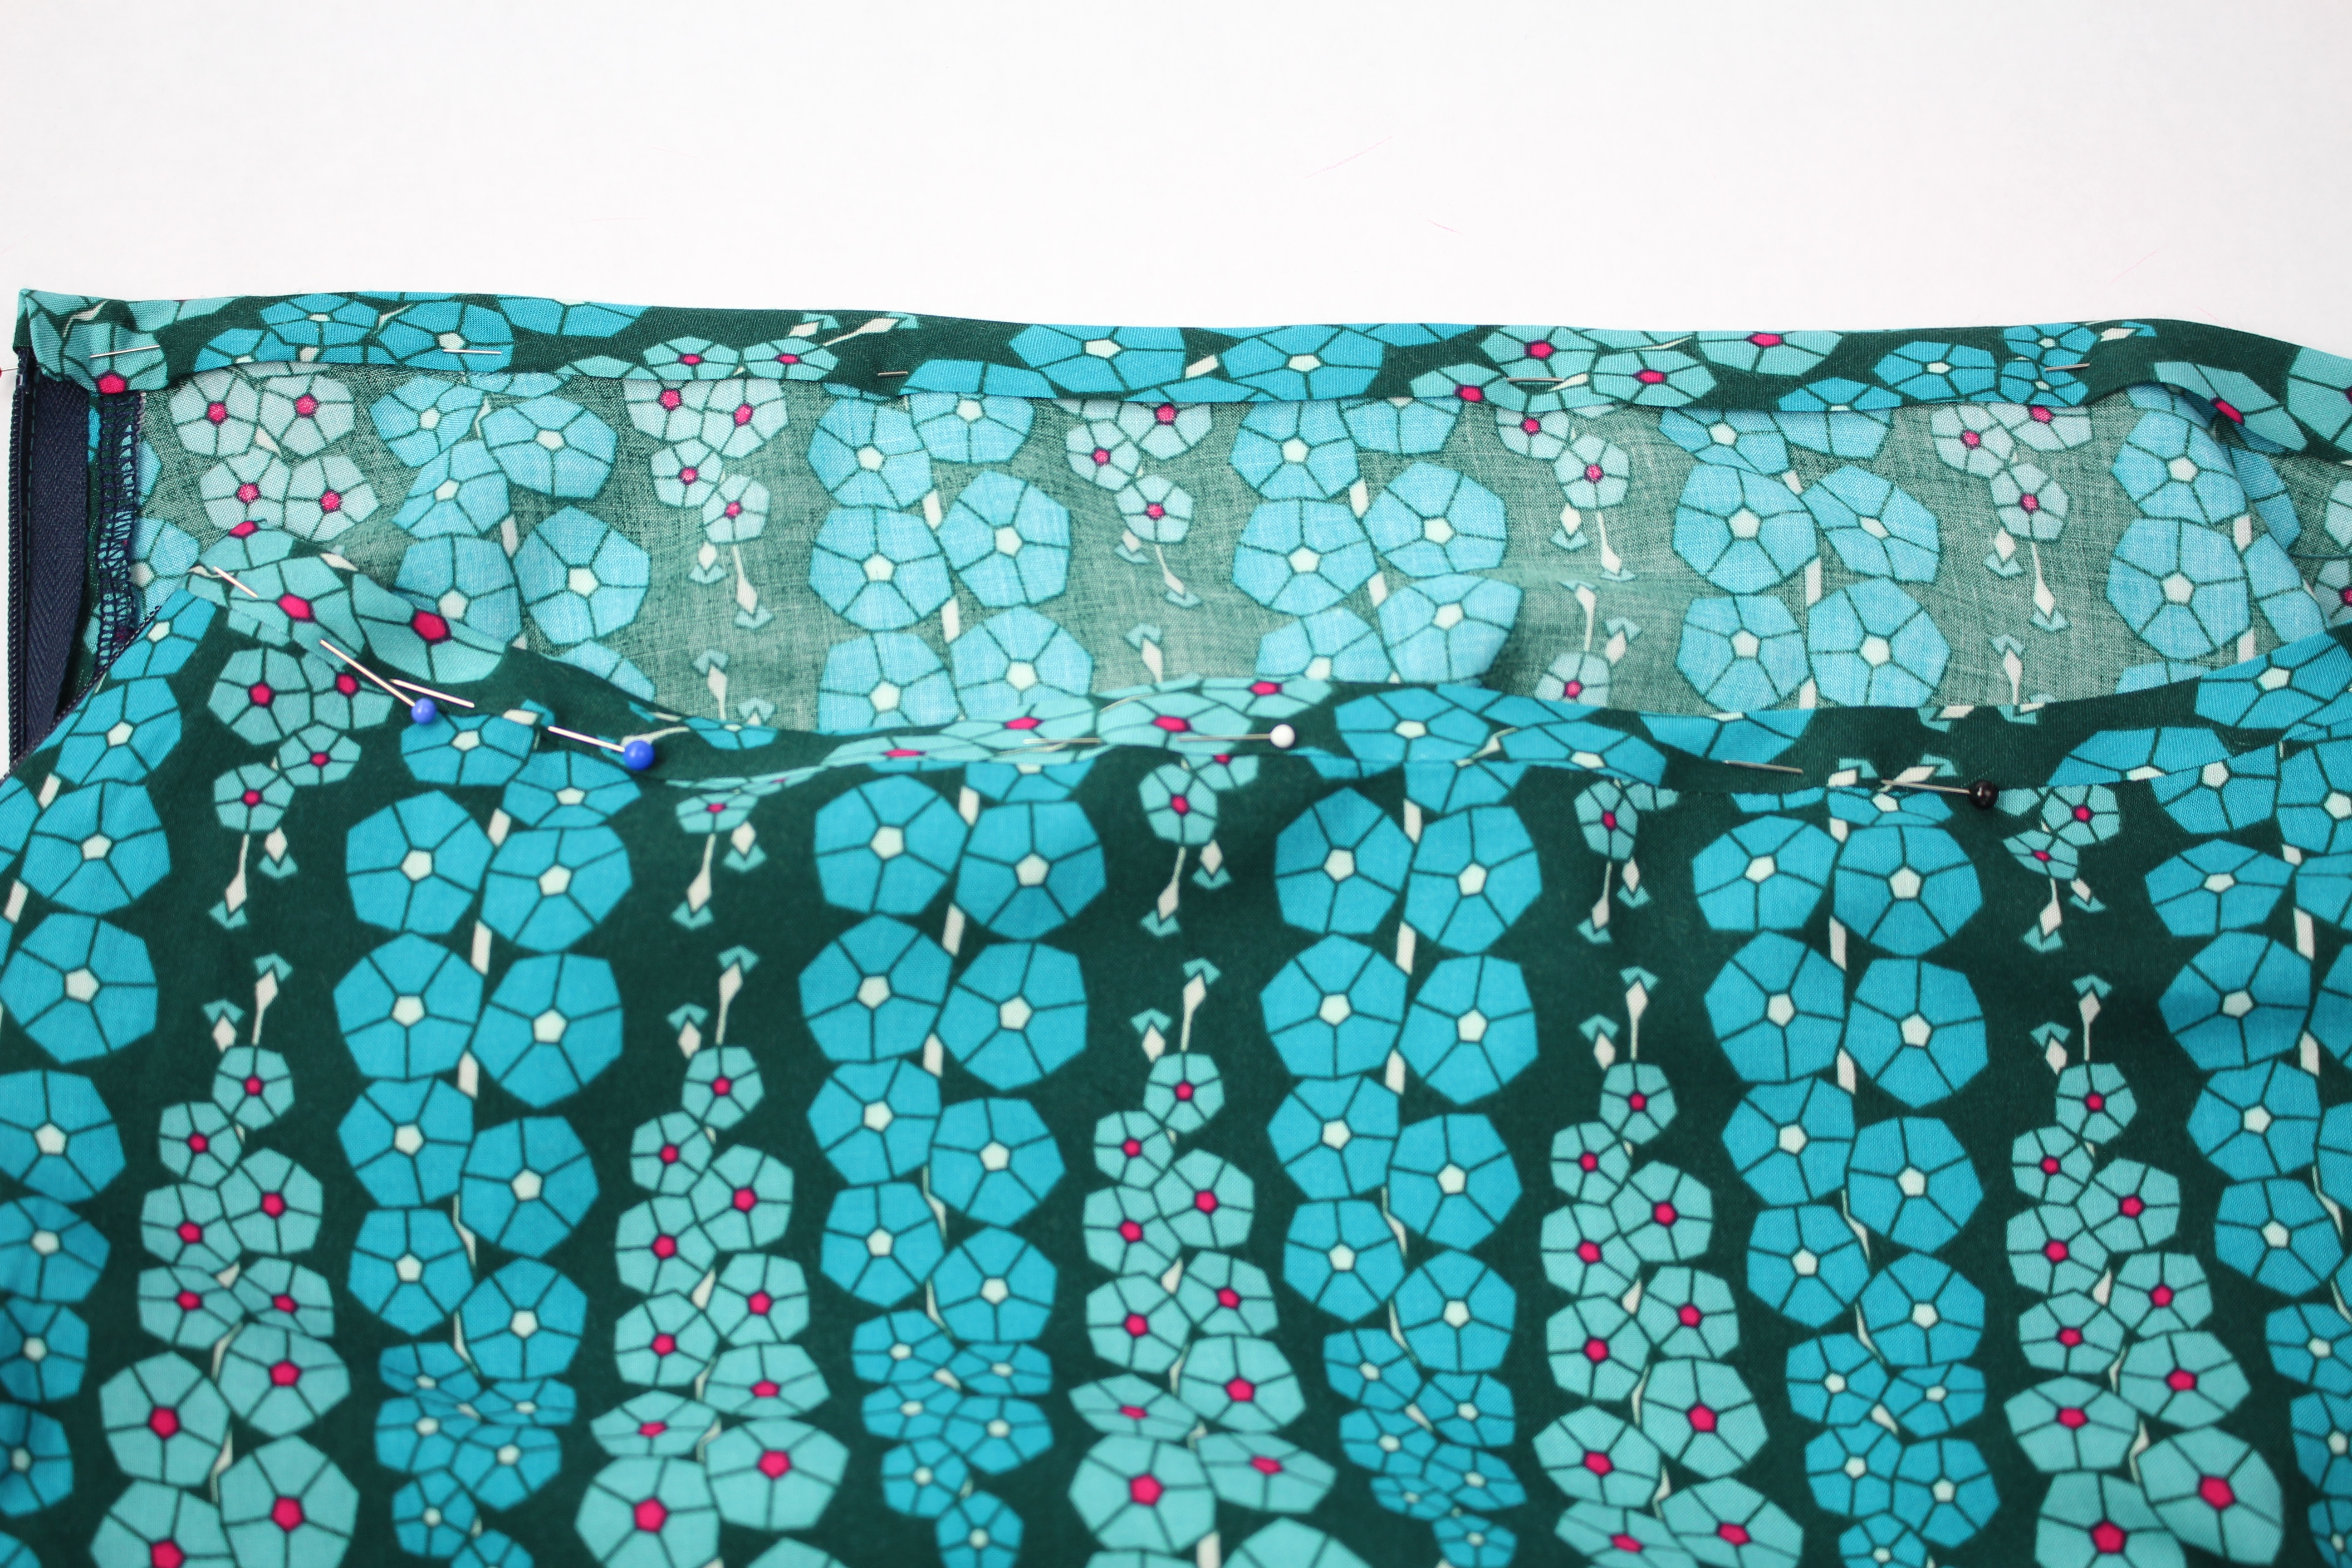
As I mentioned earlier, the rayon fabric tends to fray a little. After cutting out the skirt, I ran the edges through the serger to finish the edges (I used a 3-thread wide overlock stitch). But before serging the edges, press the fusible interfacing in the zipper location (see pattern instructions). The fusible interfacing is light enough to not show through the fabric right side and prevent the fabric from stretching out while sewing in the zipper.
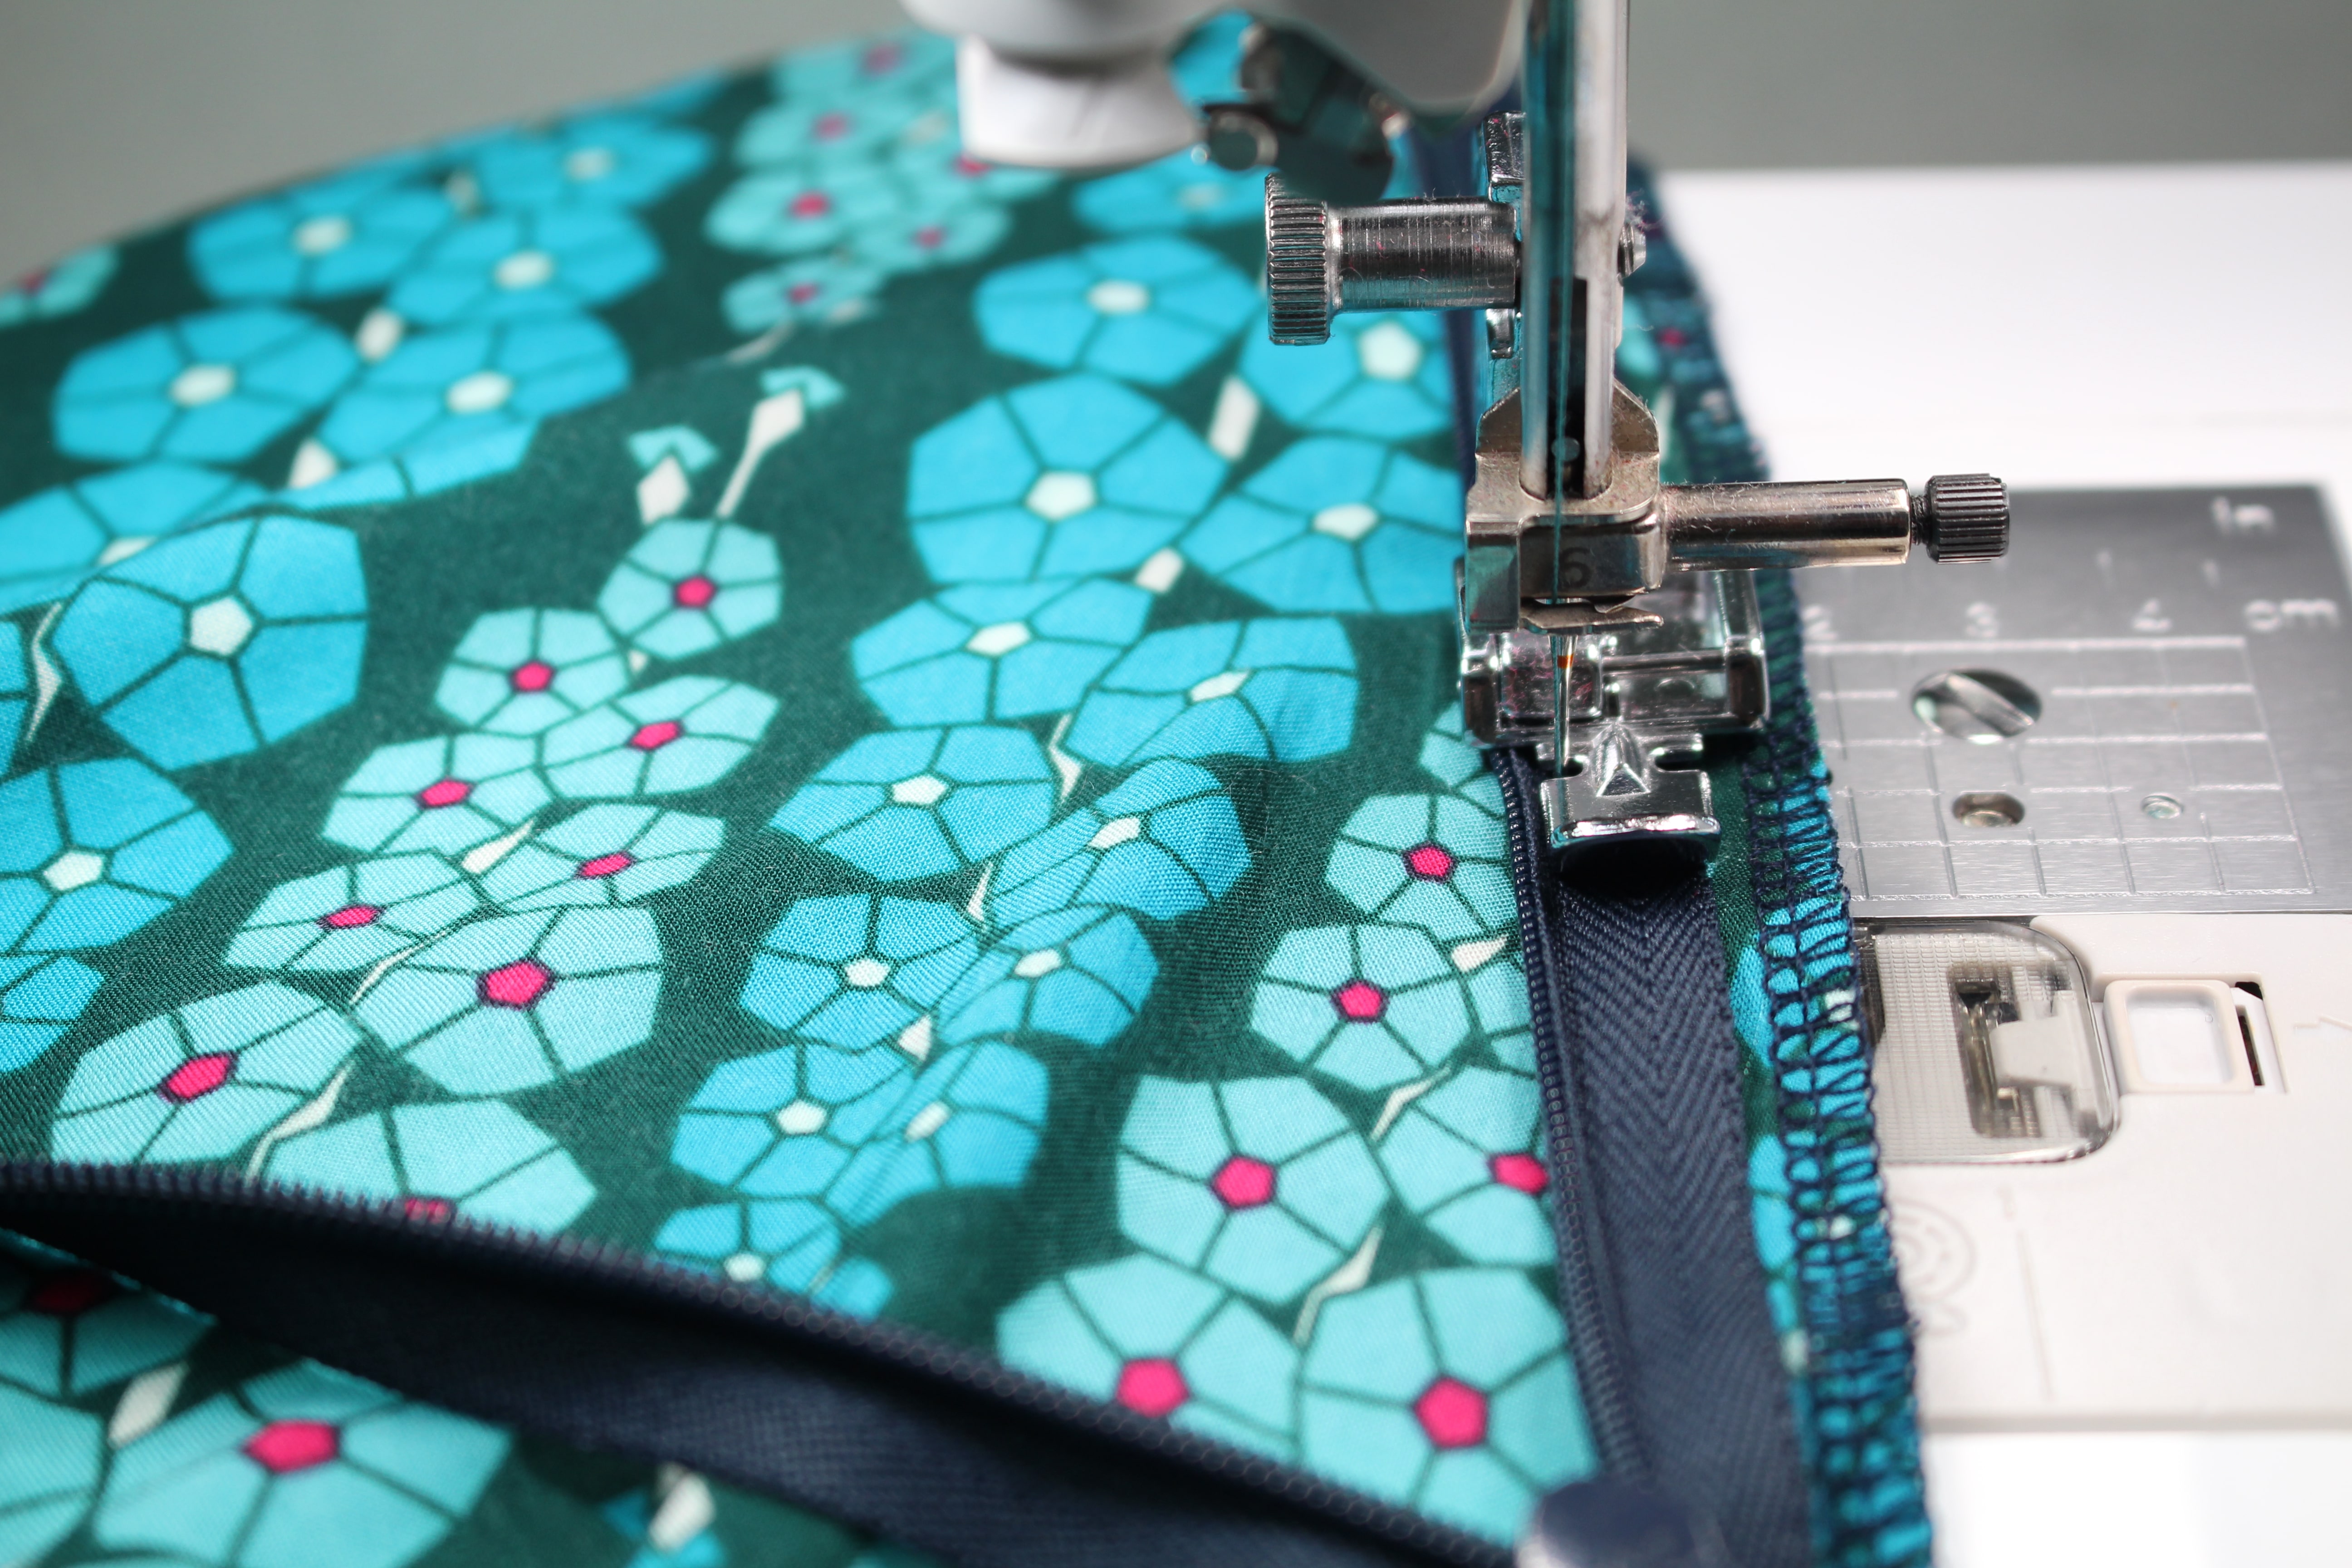
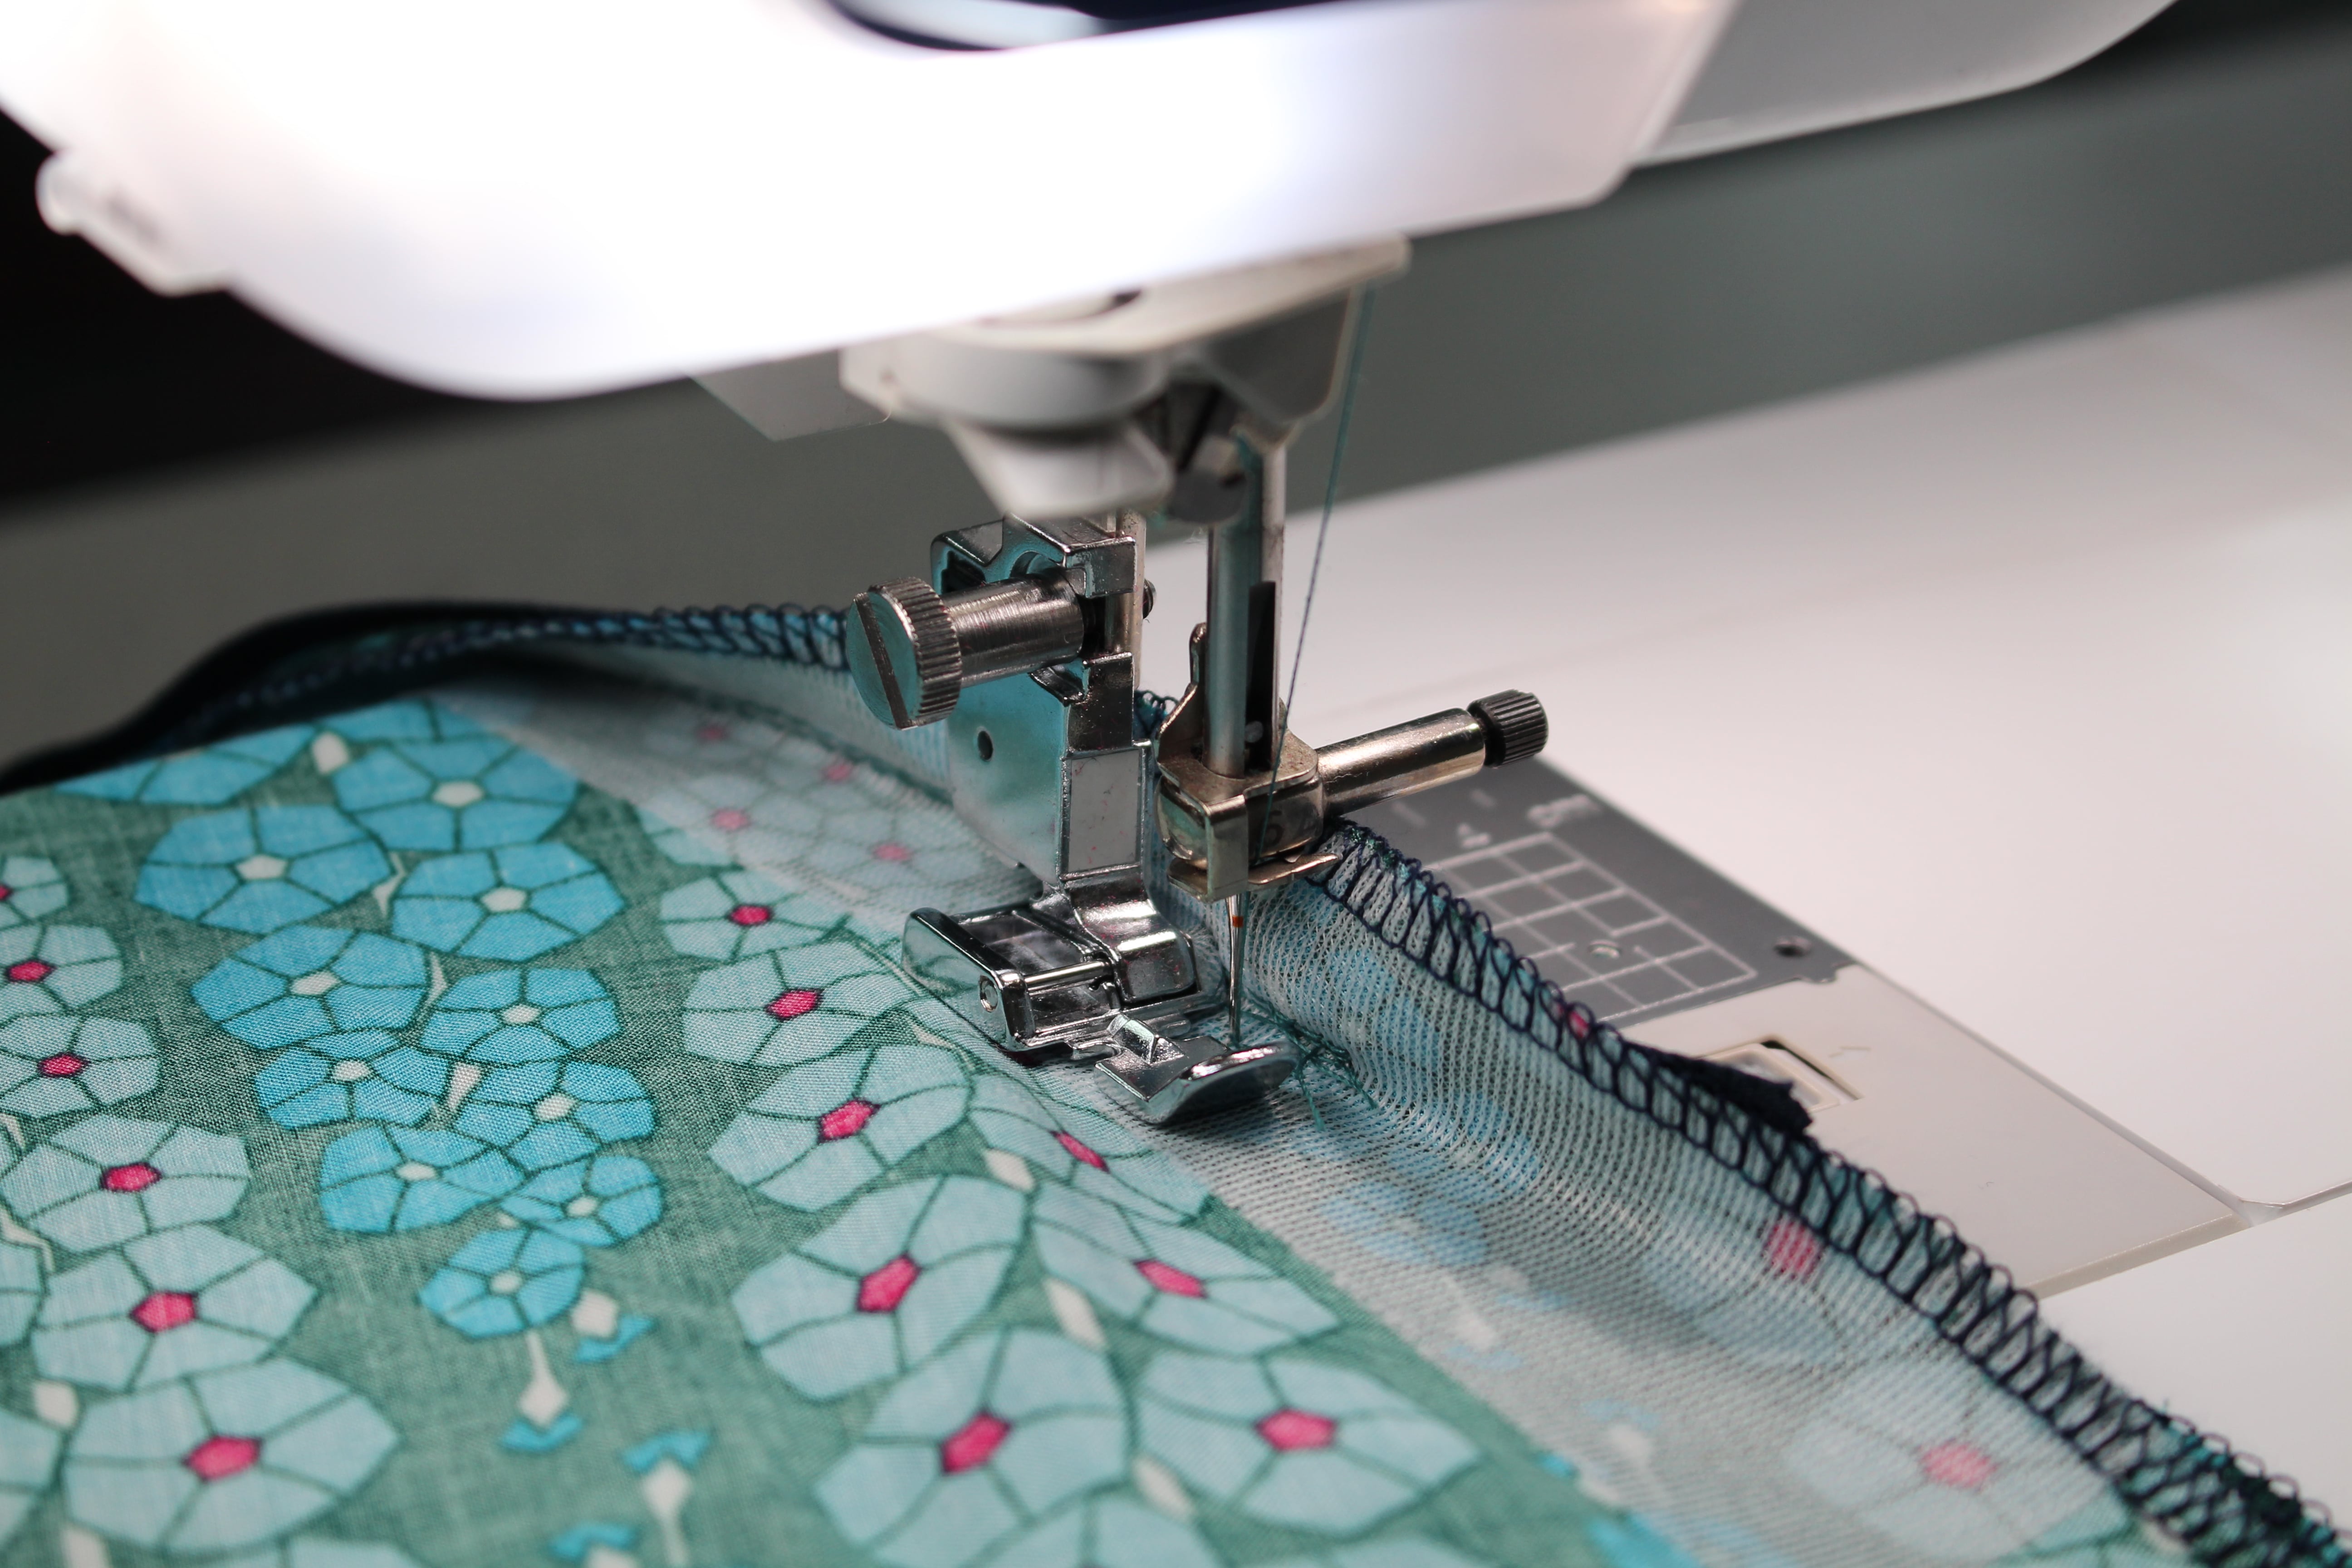
The next step is to sew in the invisible zipper and sew the side seams.
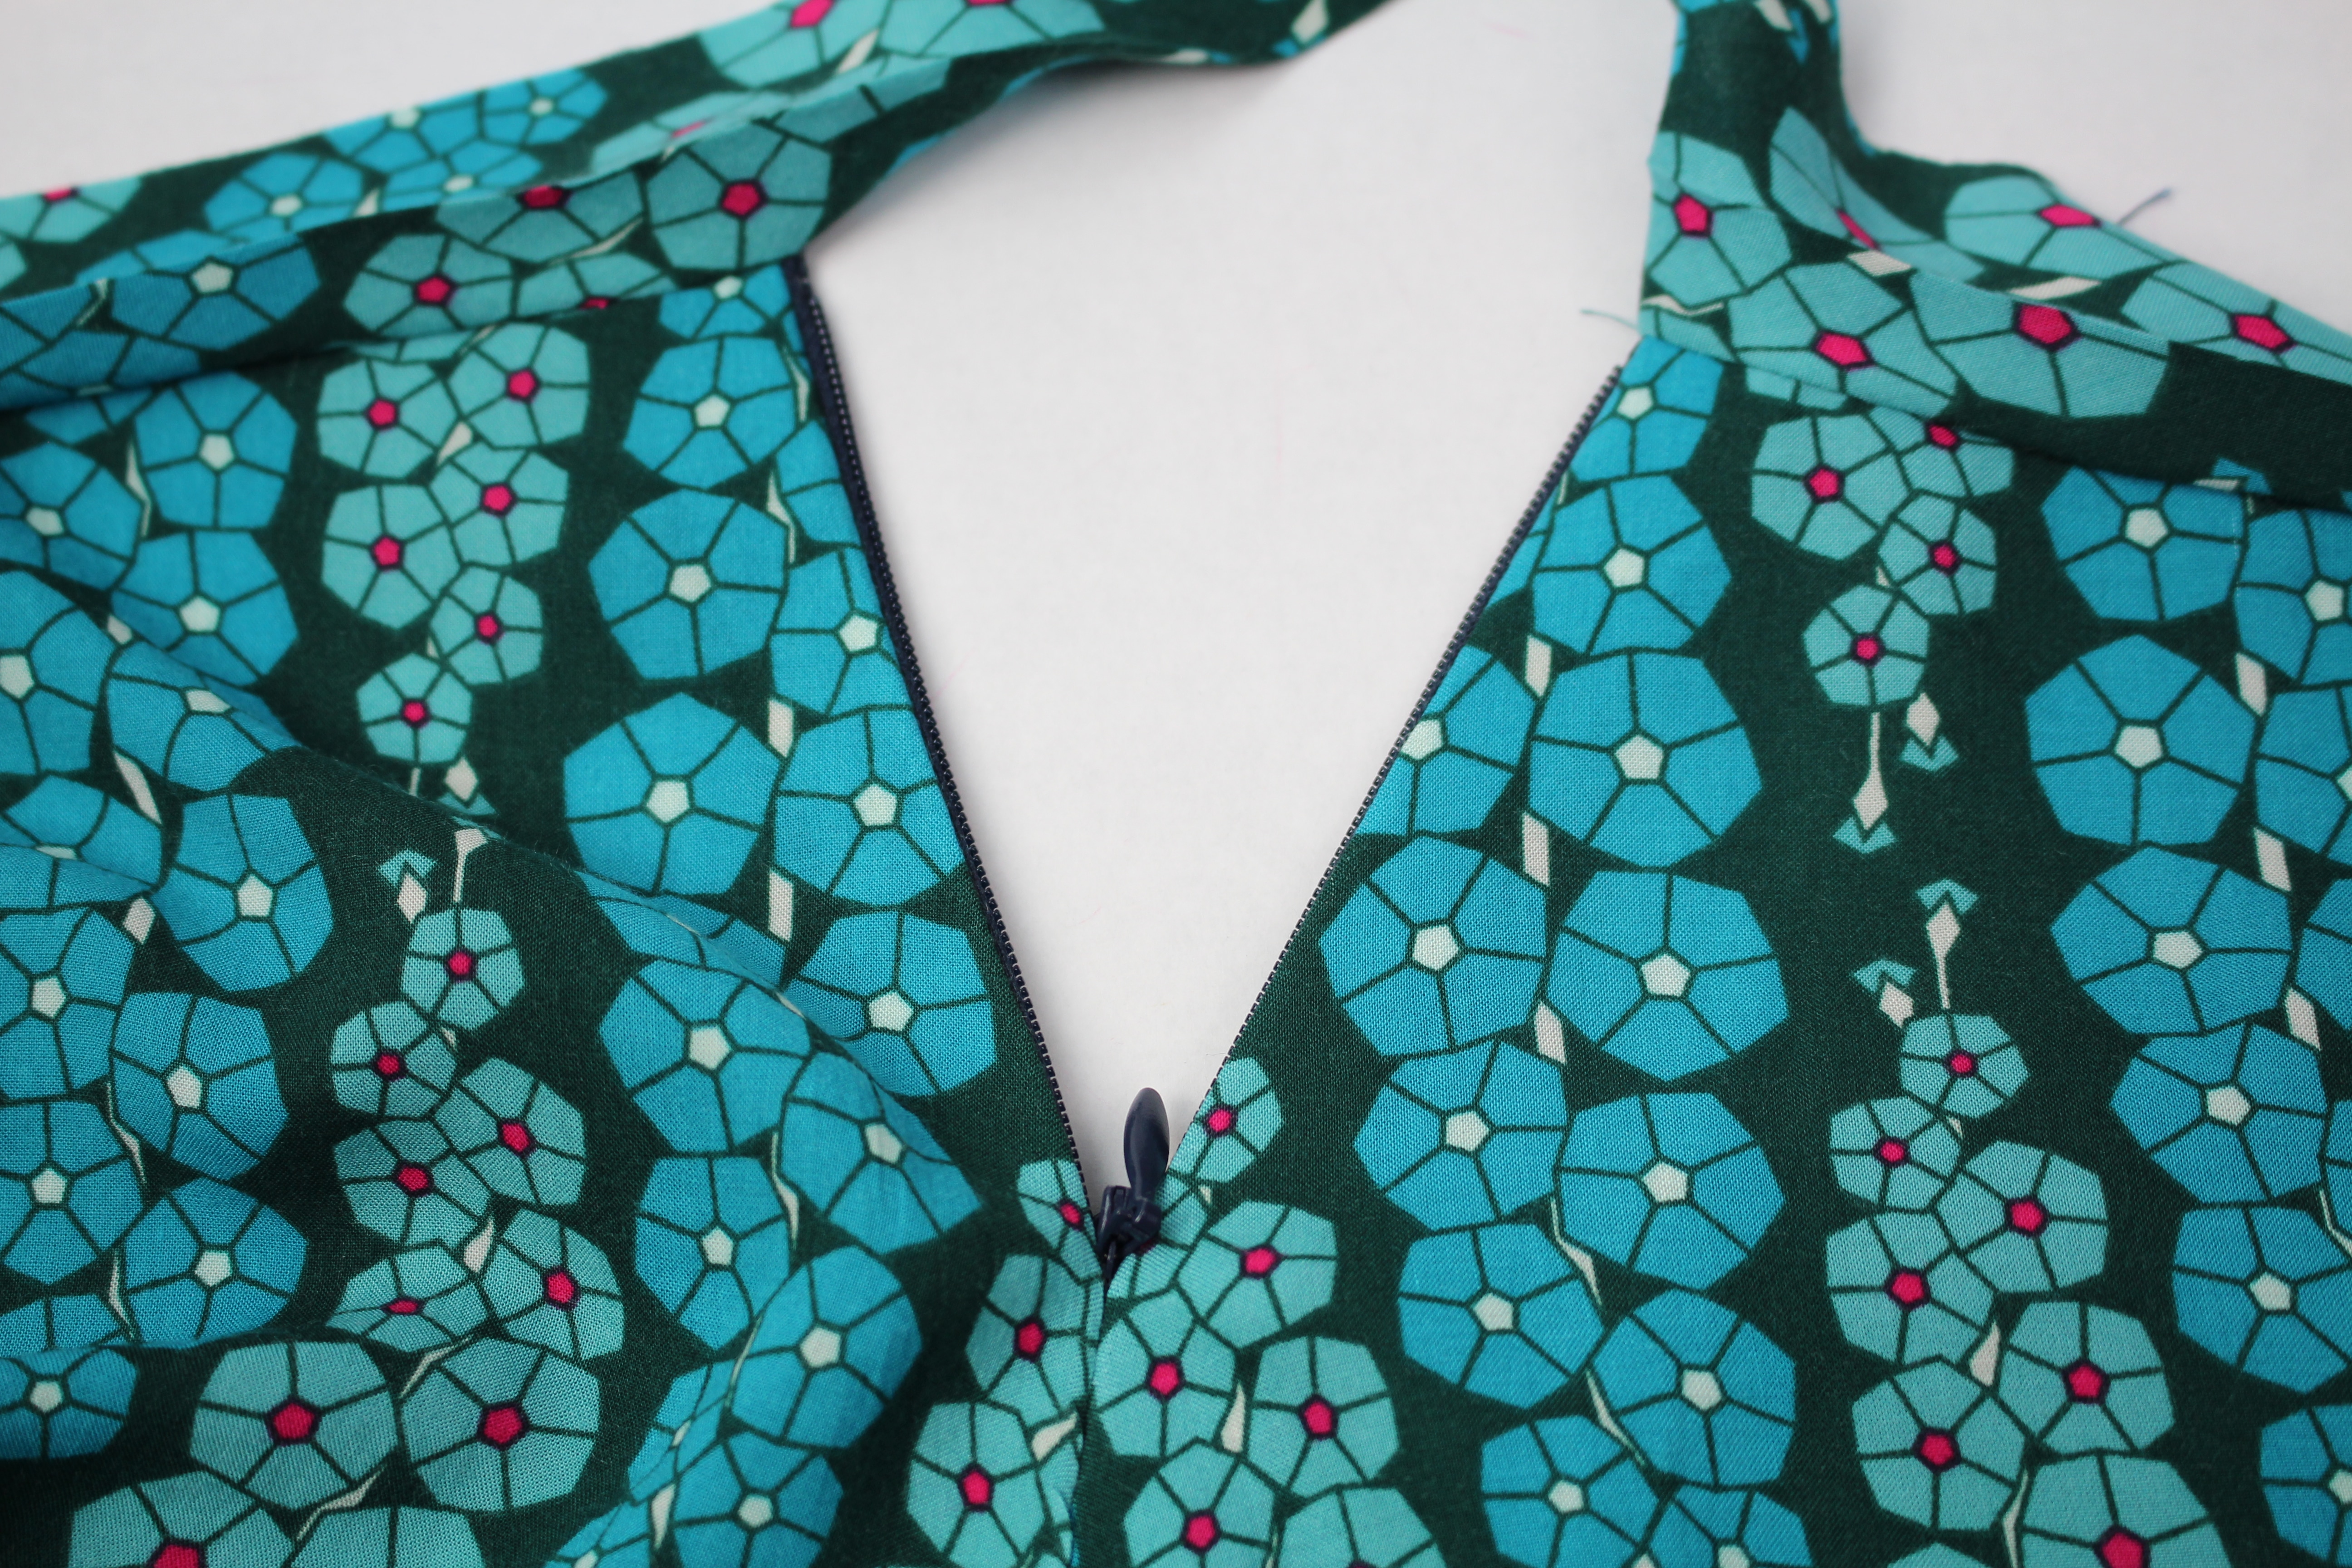
Check the pattern lining up on the side seam. It looks pretty good here 🙂
The next step is to attach the waistband …
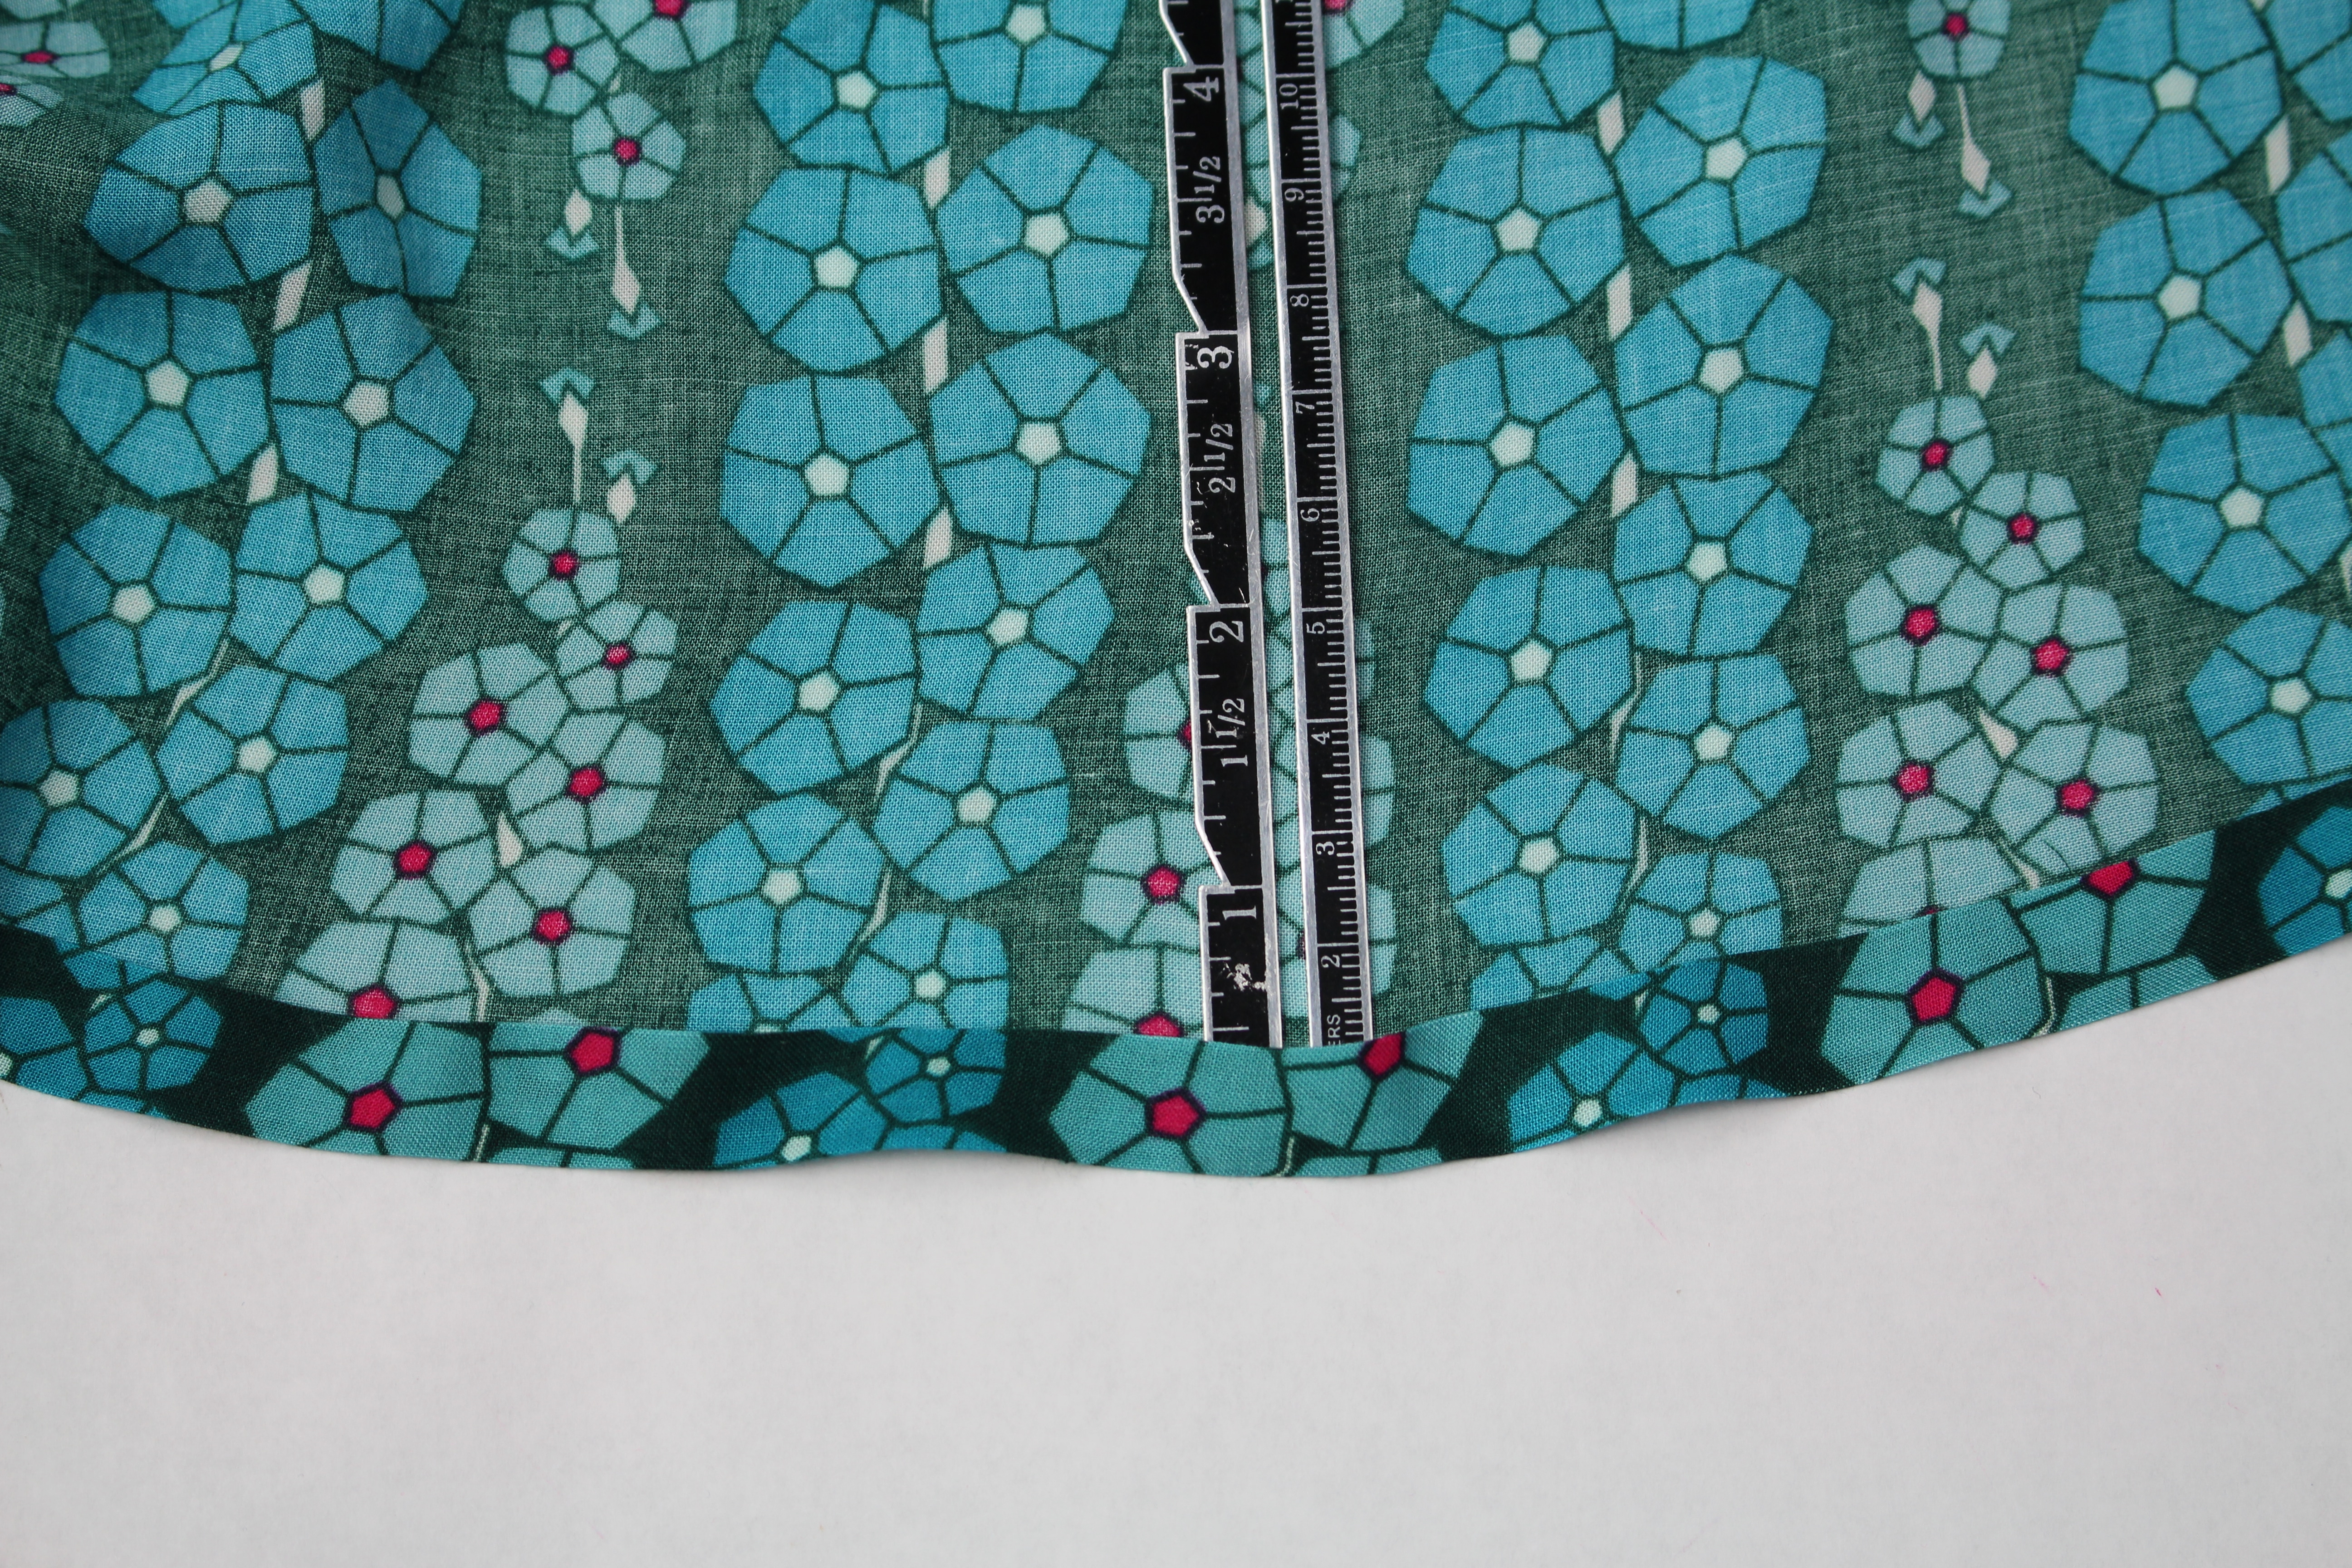
And lastly, the hem. Turn the bottom of the skirt up 1/2″ toward the wrong side of the fabric and press. Use a tailor’s clapper for a crisp crease. Turn the hem up another 1/2″ and press. Topstitch the folded hem in place.
Here are a couple of YouTube videos showing how to sew the skirt if you want to follow along:
Here is a list of all the talented bloggers sharing in Mathew’s big fabric launch for Art Gallery Fabrics. And be sure to visit Mathew’s Mister Domestic Instagram for weekly fabric giveaways!
MISTER DOMESTIC’S LOVED TO PIECES BLOG PARTY
I will talk about the cotton shirts on Episode 88 of my facebook live show Behind the Scenes Wednesday, July 18th at 11:00am , where I will also interview Mathew about his new fabric launch. Be sure to join us live or on the replay!
Cheers,


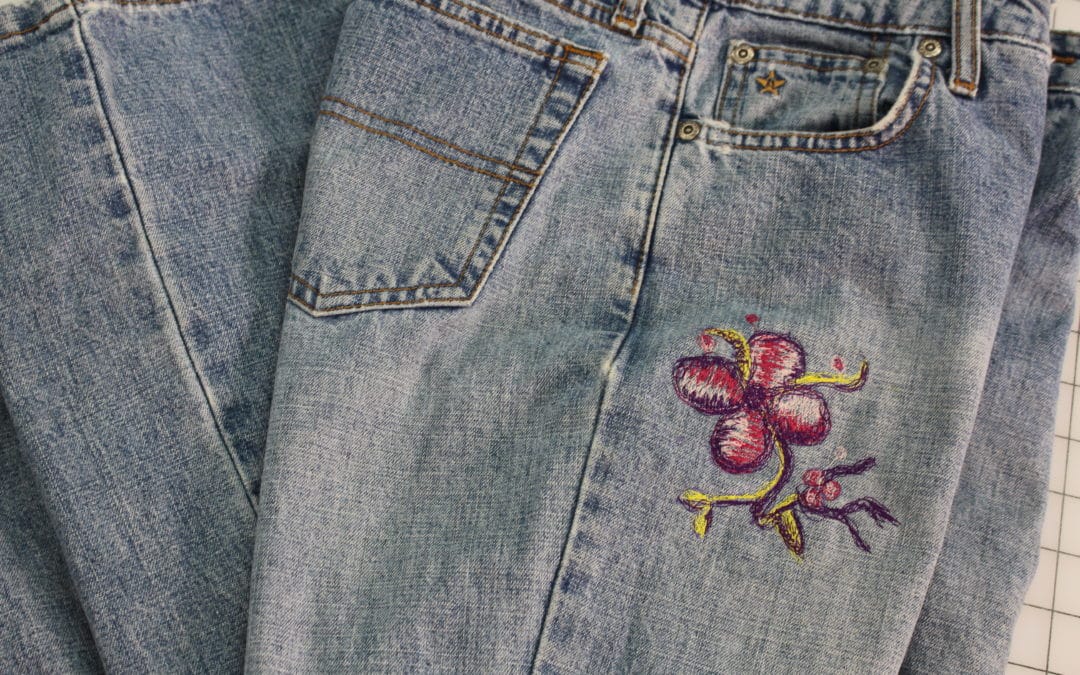
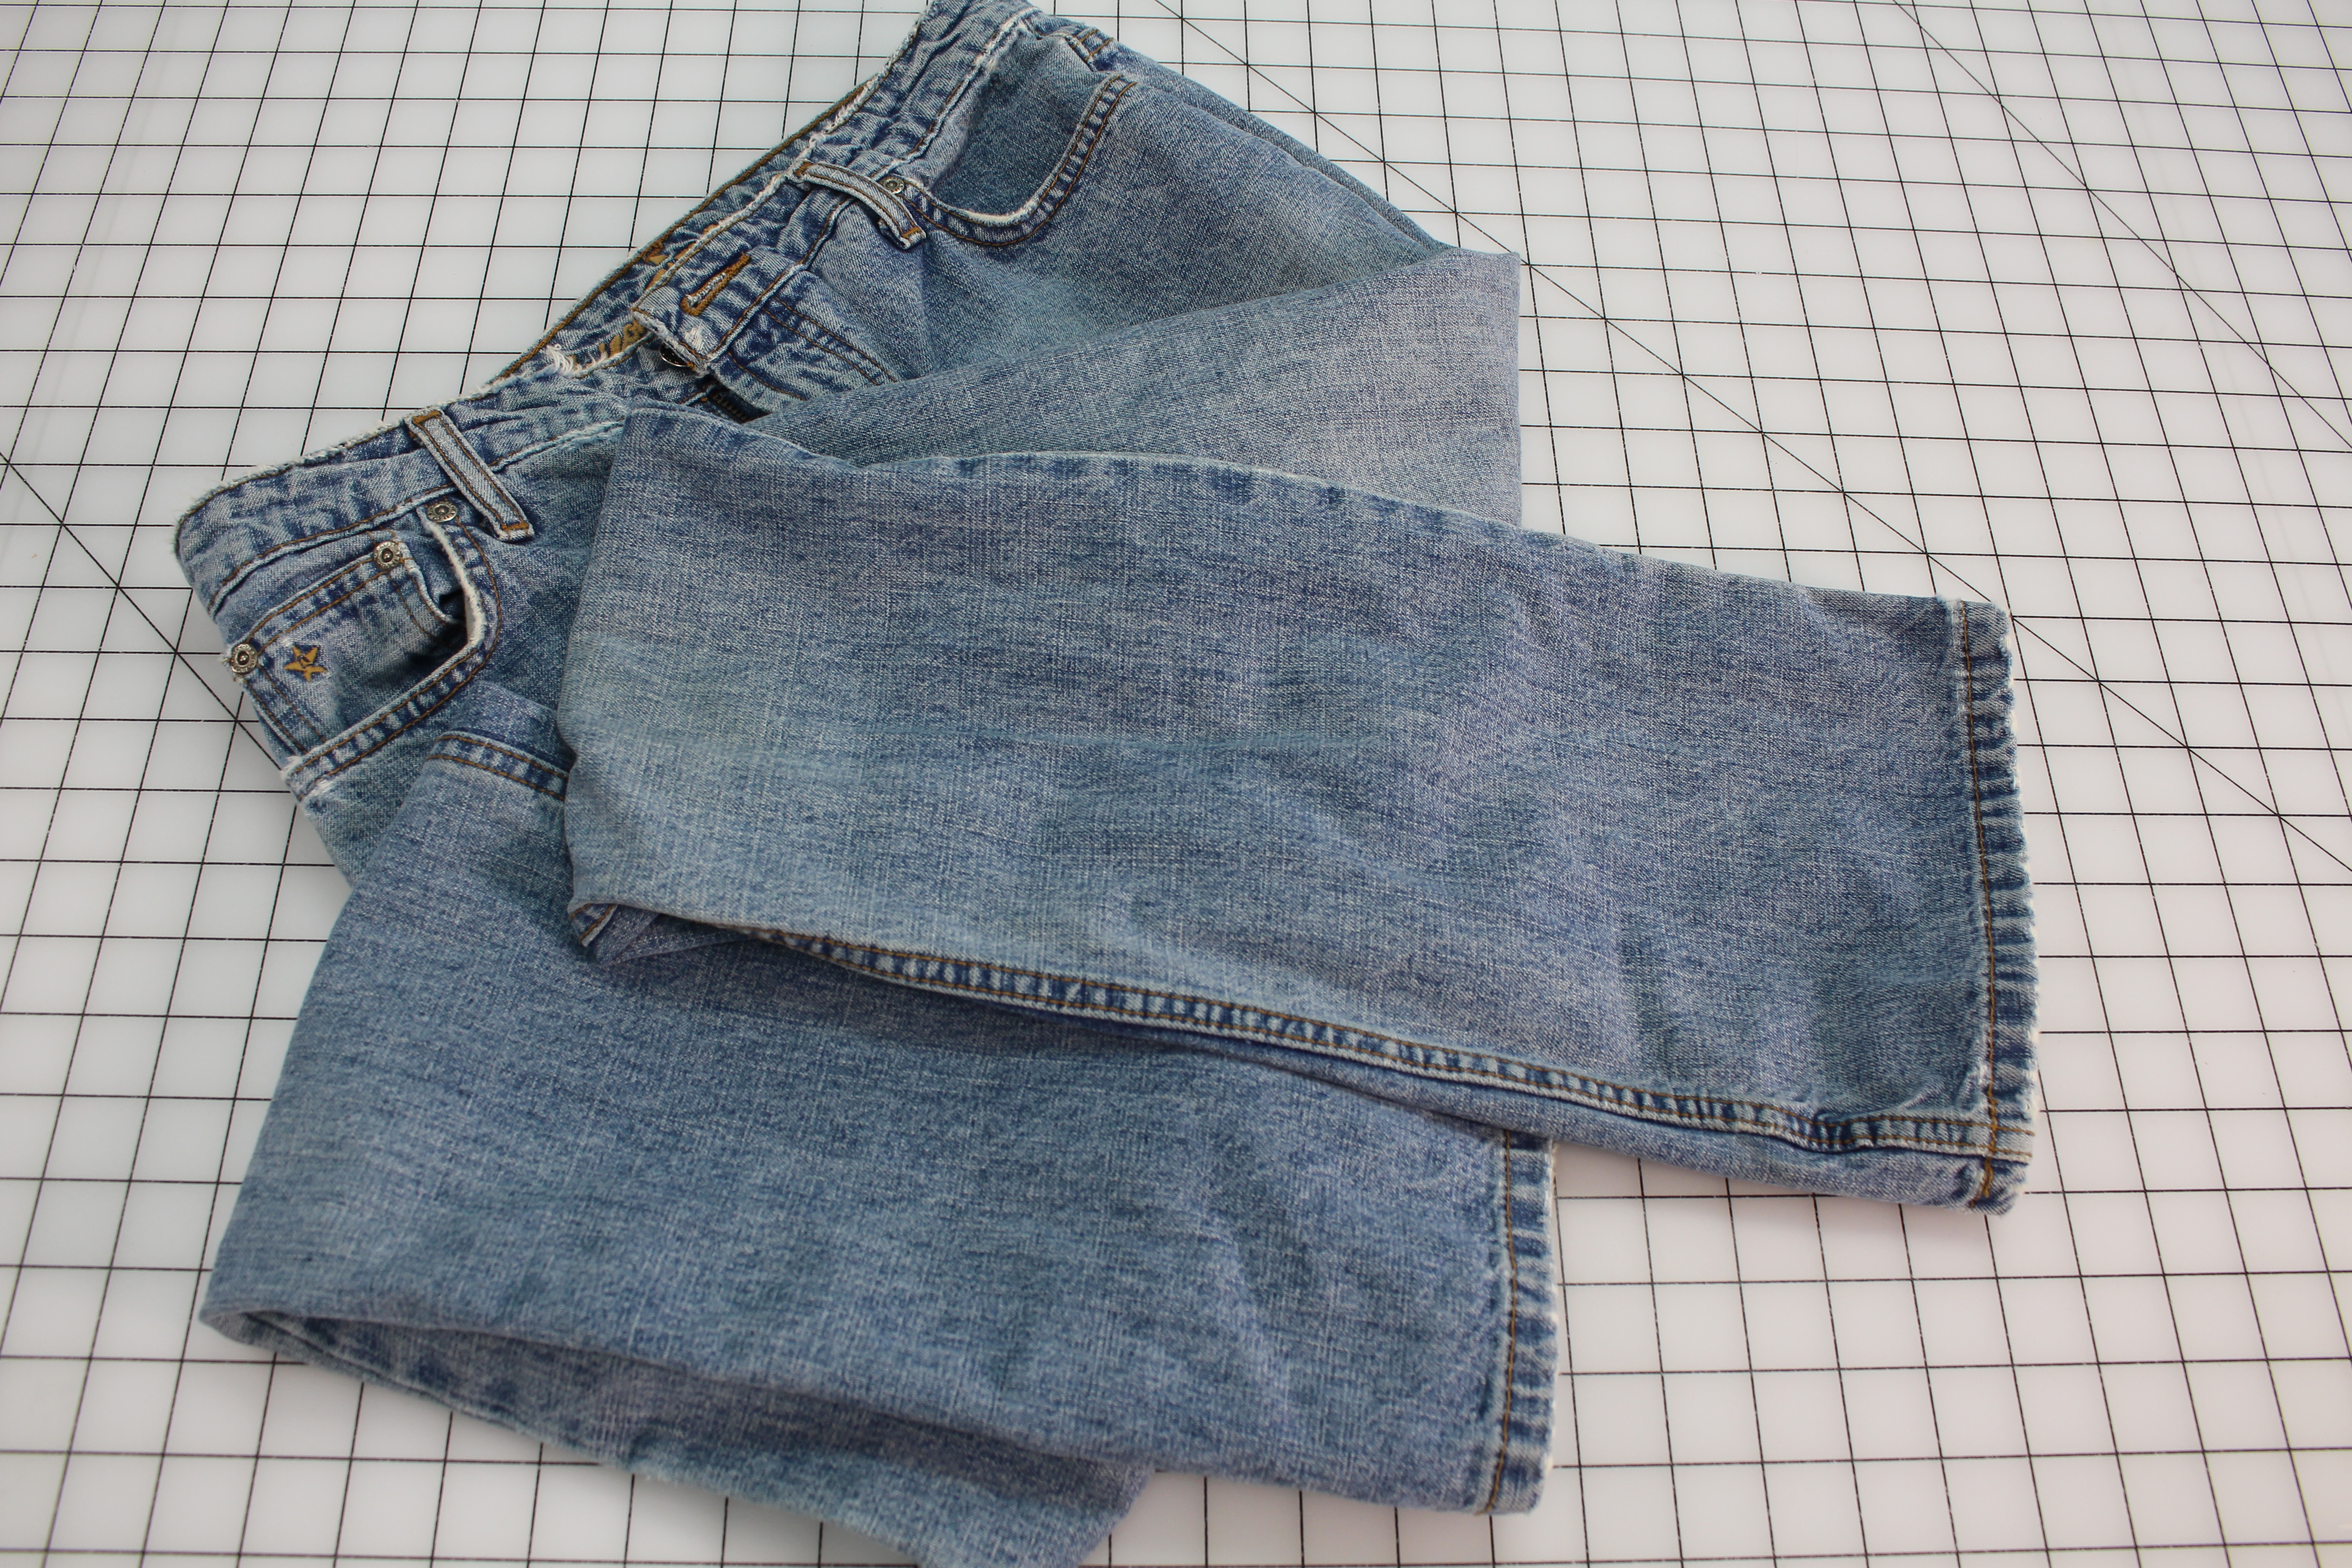
An easy way to restyle or upcycle jeans is to add a touch of embroidery. Free motion embroidery, also referred to as thread painting, is so easy and you don’t even need an embroidery machine for this technique. Instead we are going to use free motion quilting / embroidery techniques.
Try on the jeans and determine where you want the embellishment to go. A few things to keep in mind:
Don’t place the embroidery:
Good places for the embroidery:
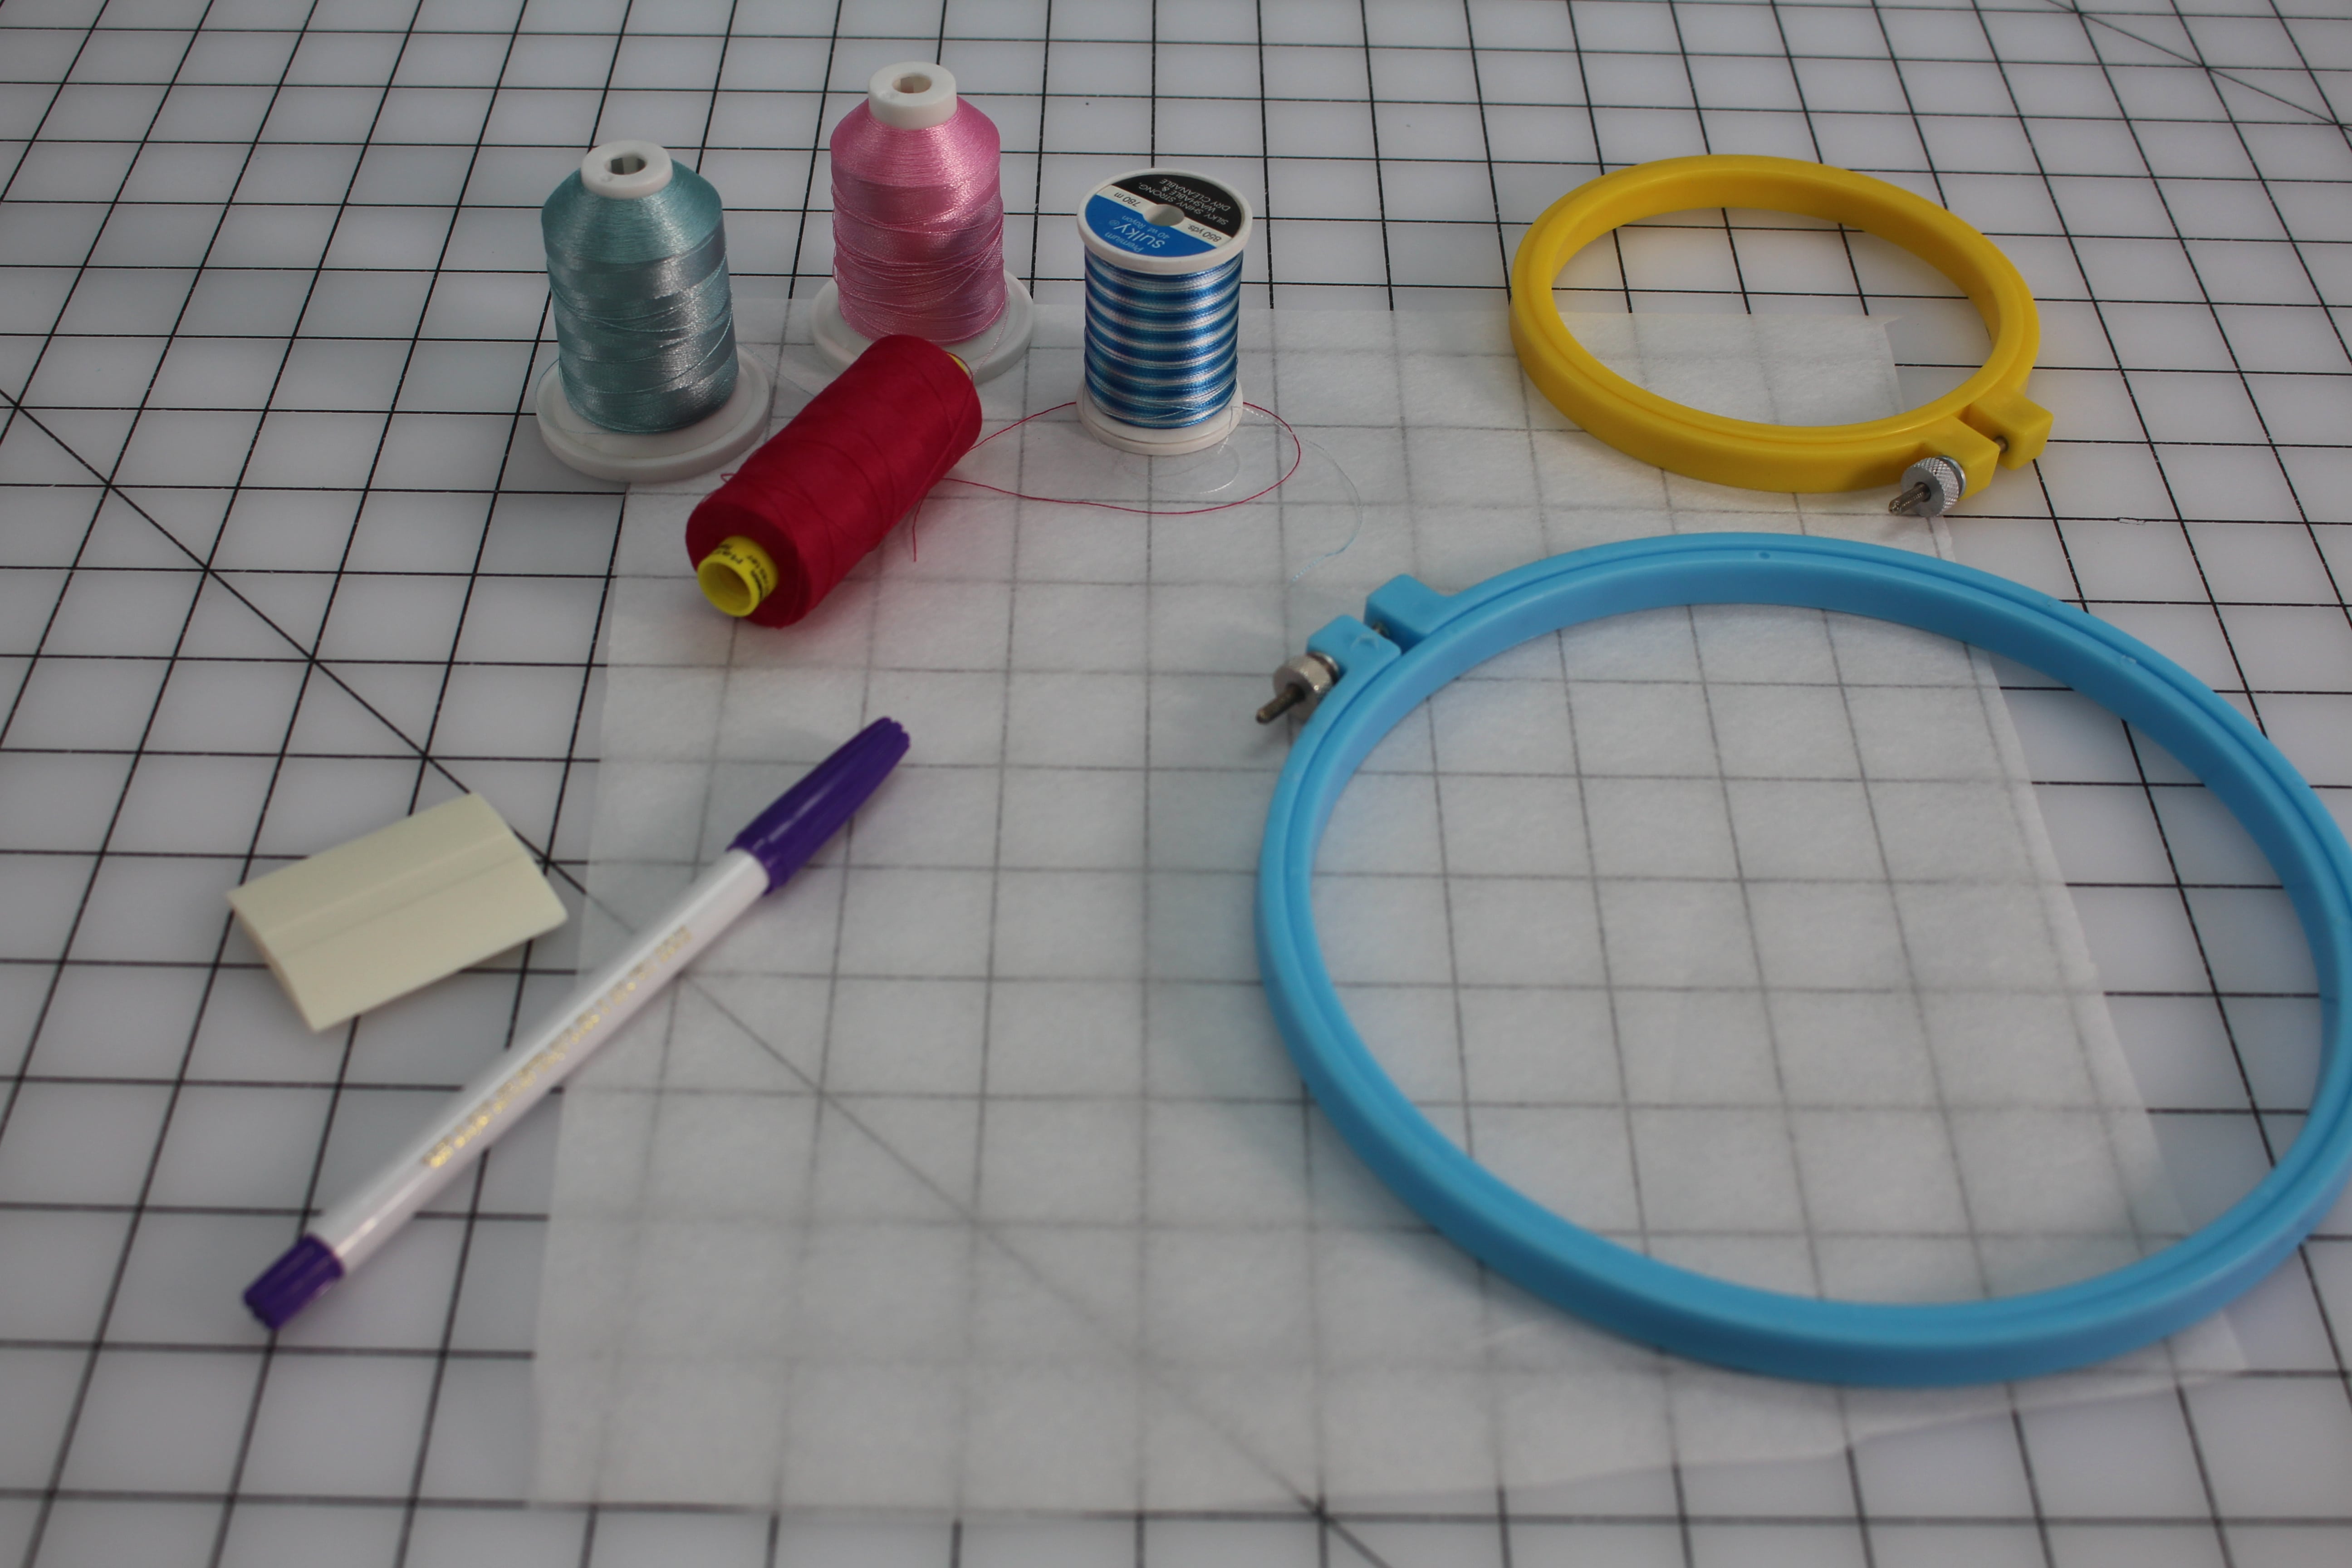
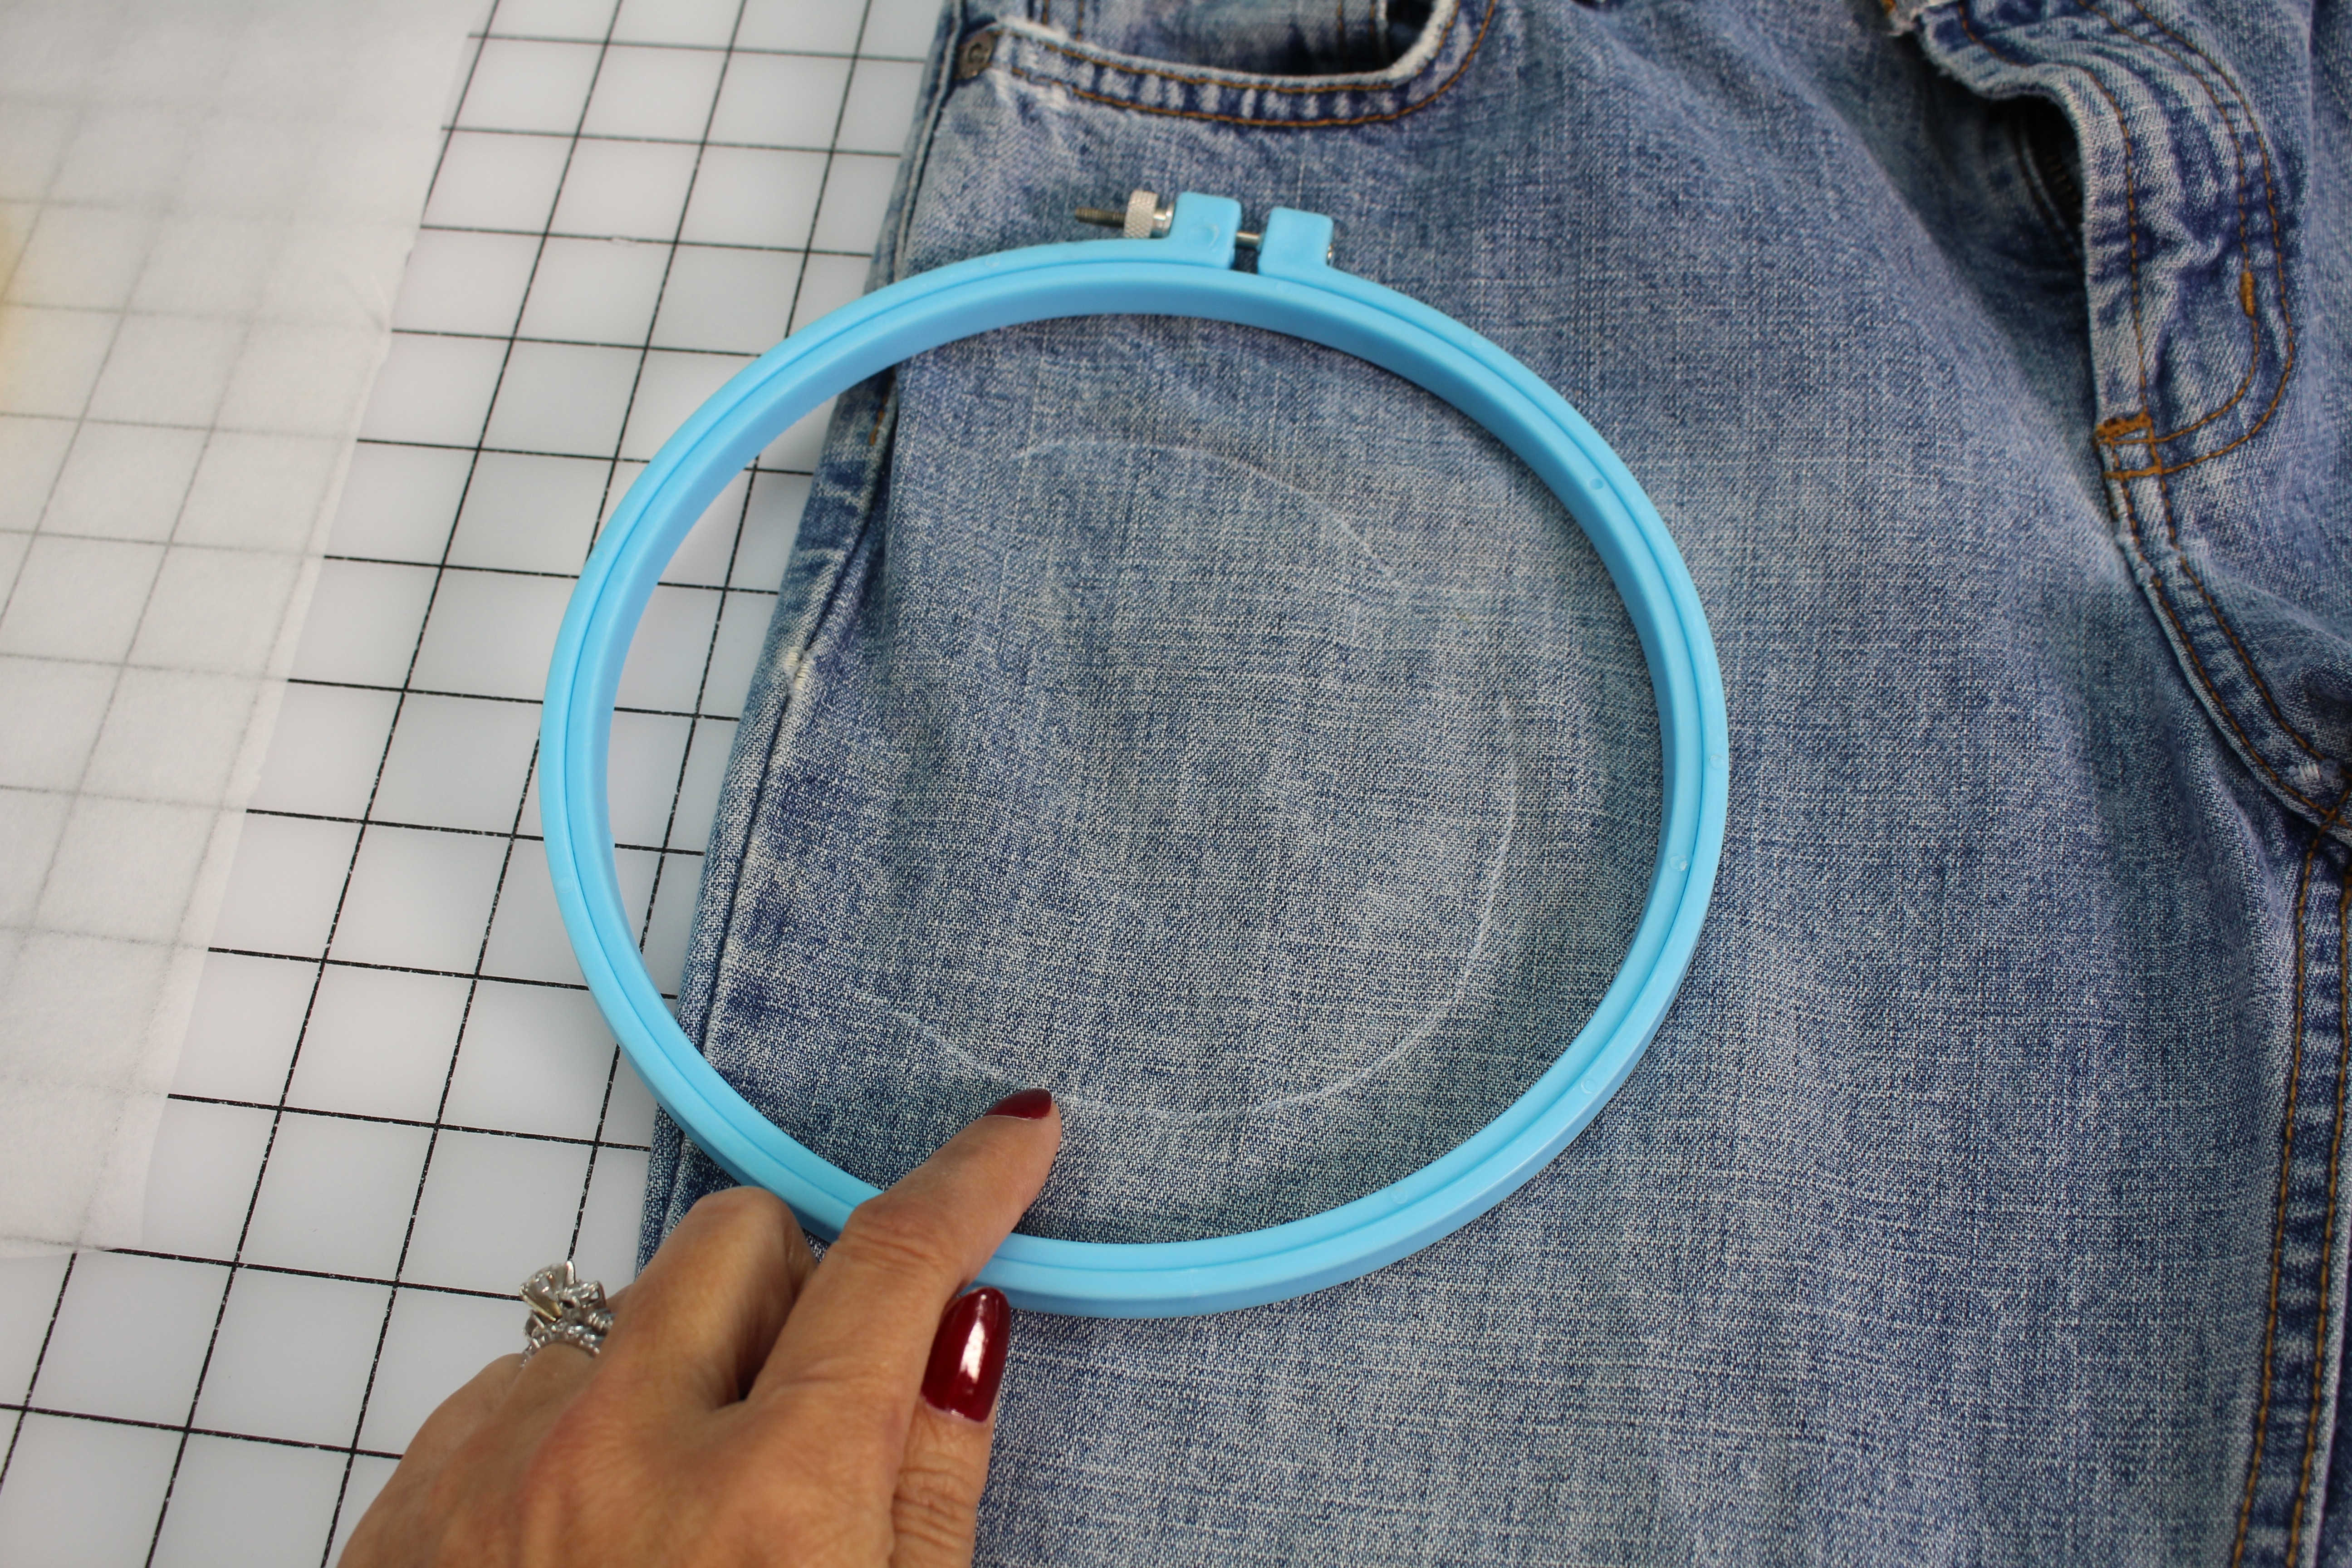
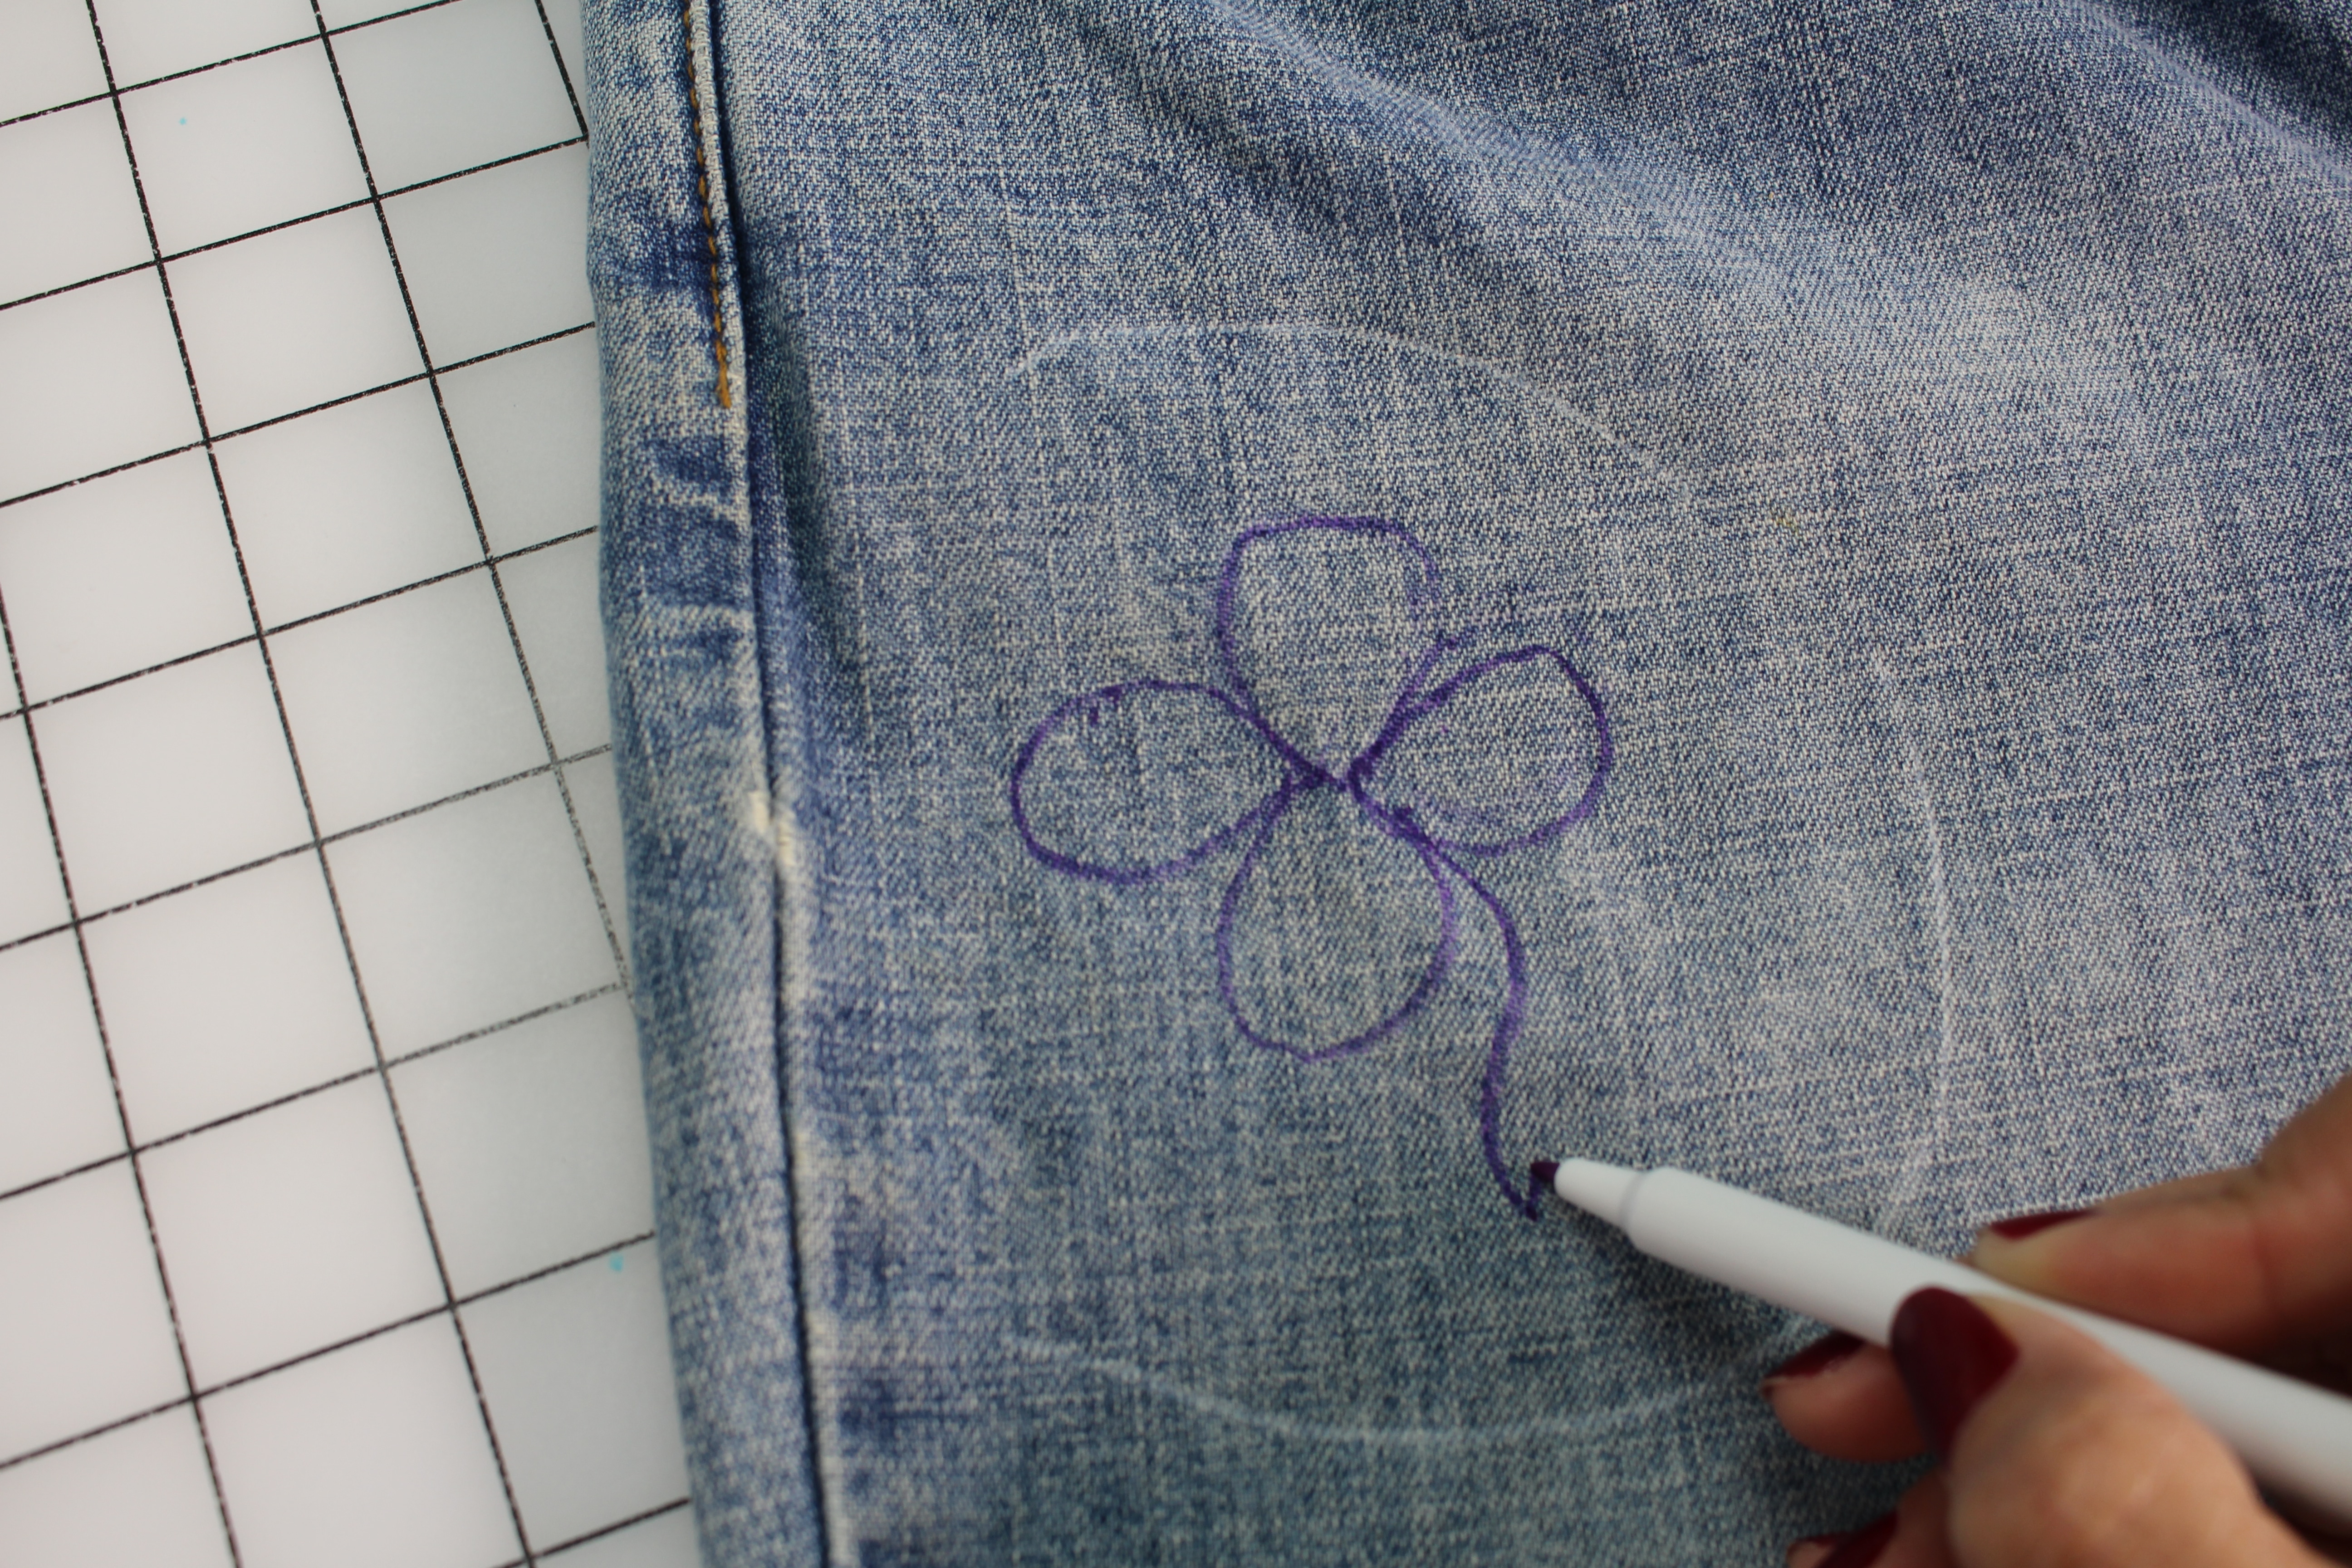
Choose a hoop size that can easily fit into the jean pant leg and large enough for the design you have in mind. Using tailors chalk, mark the placement for the design.
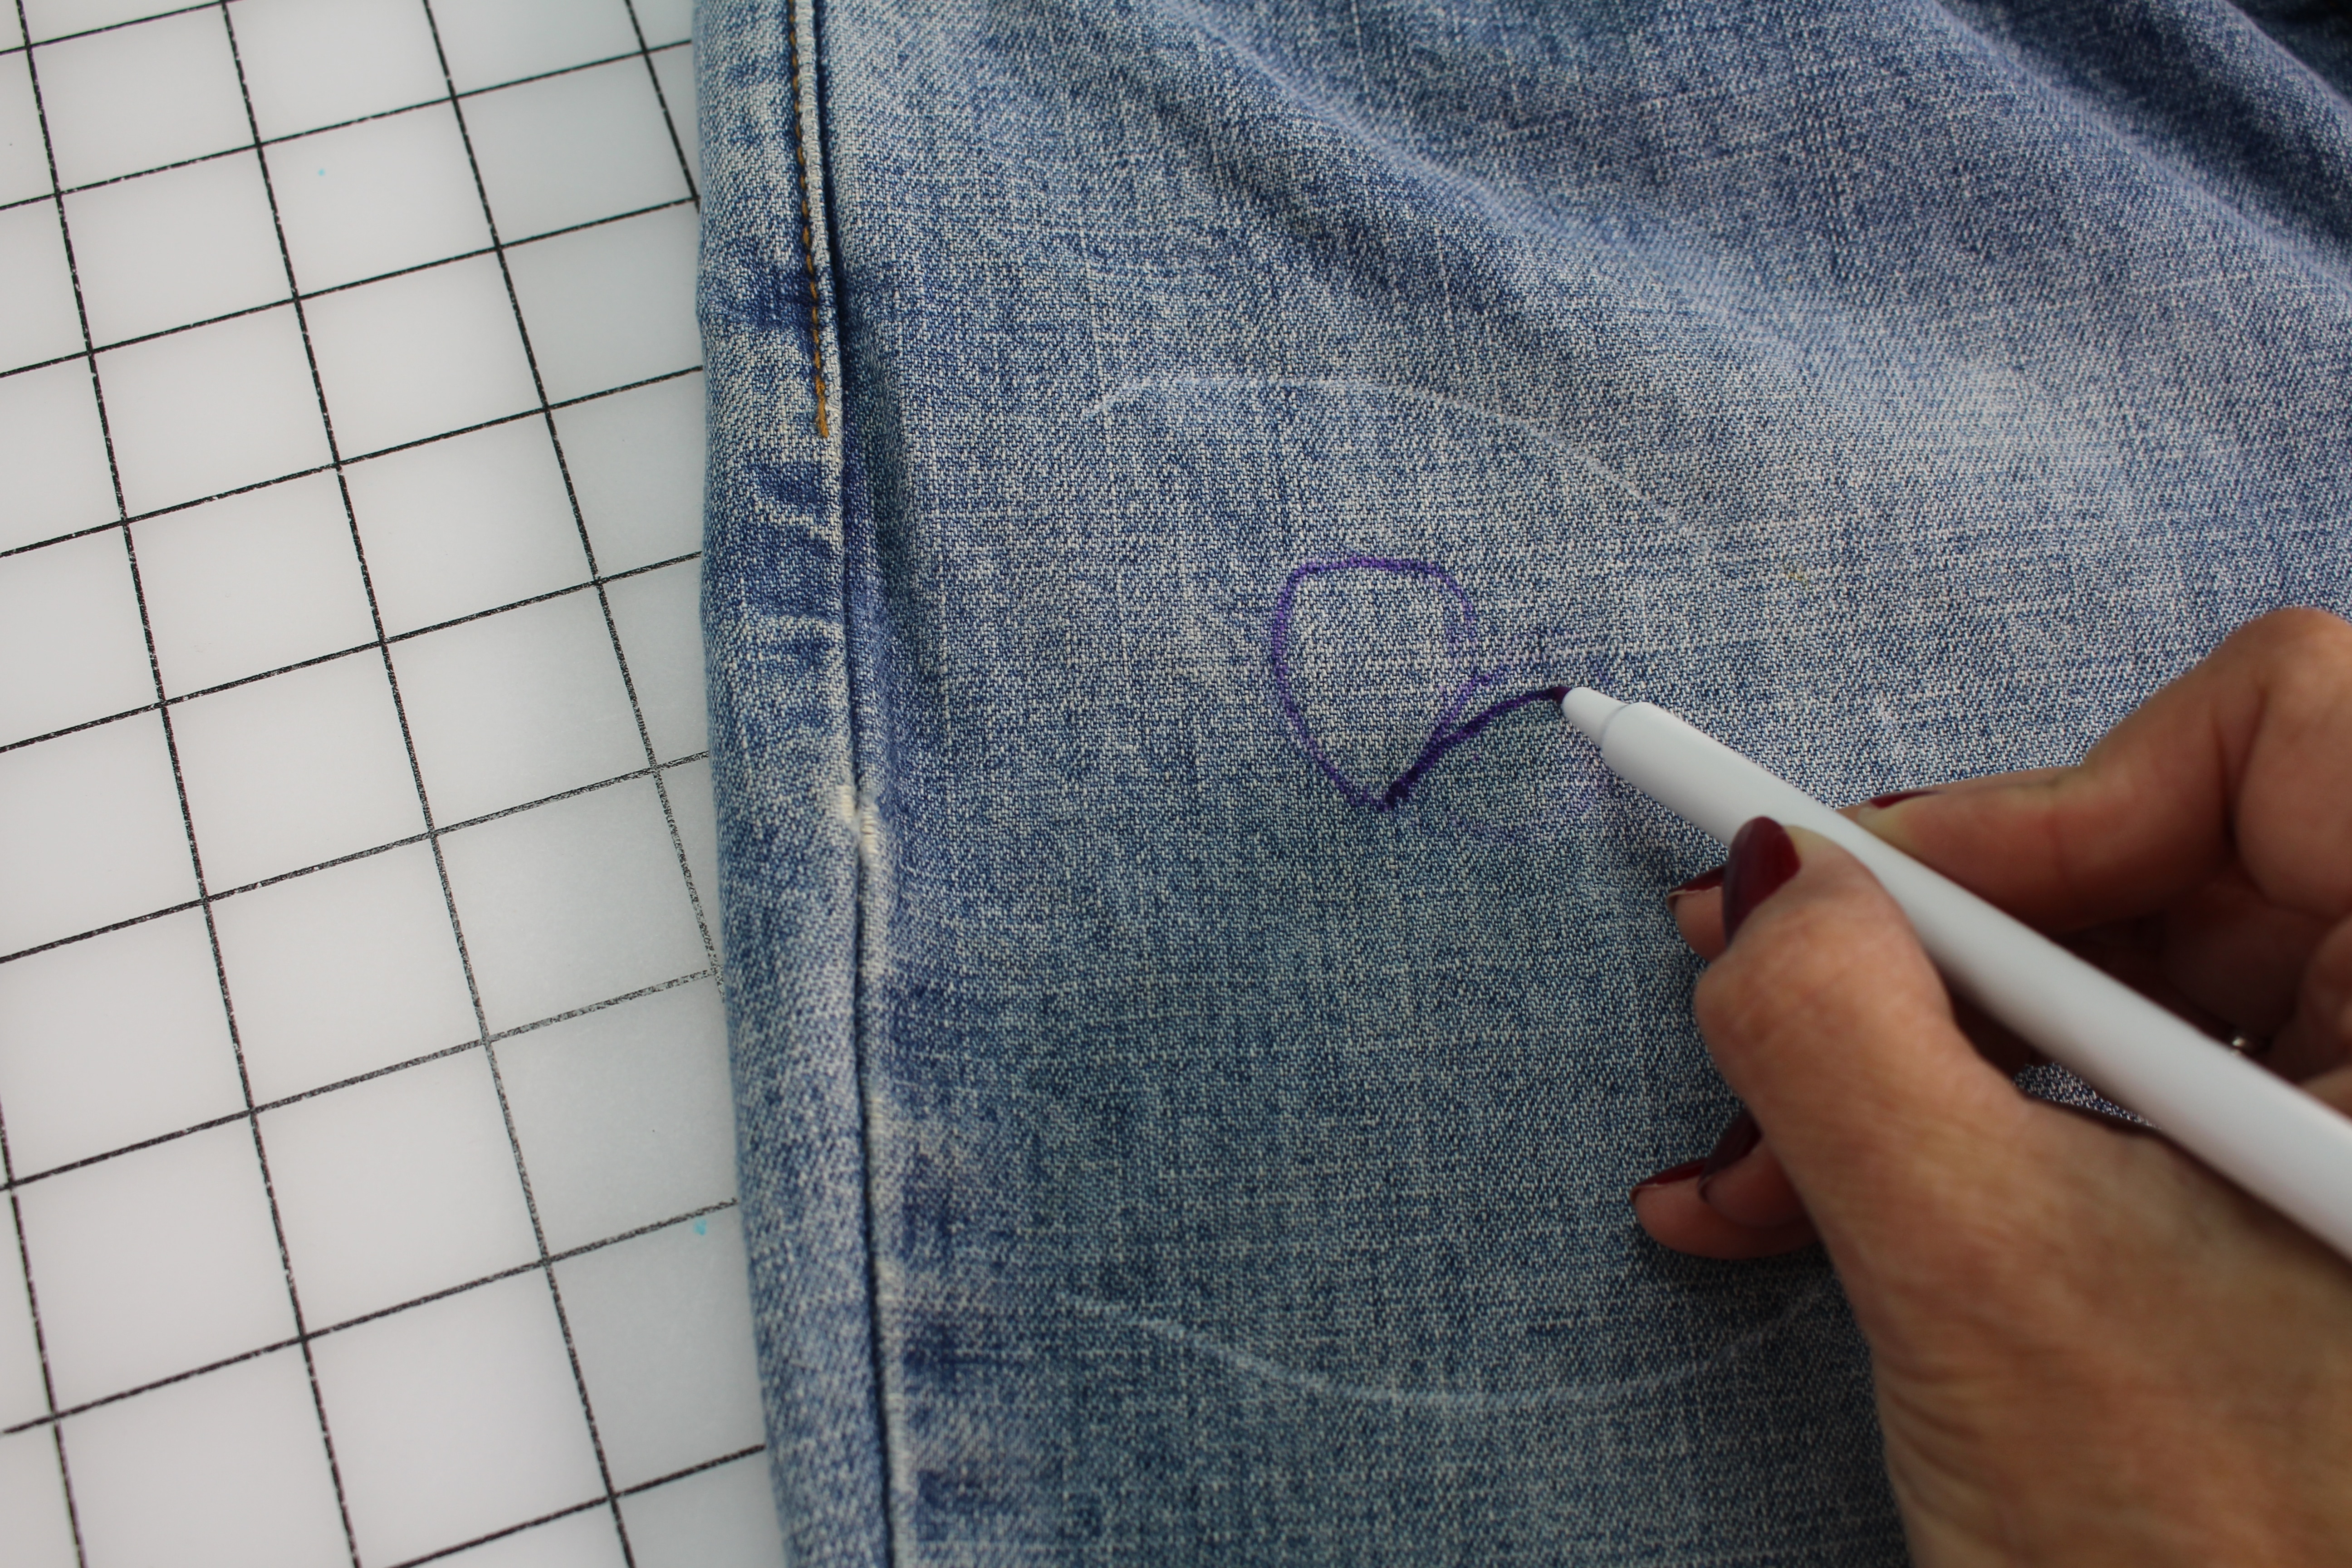
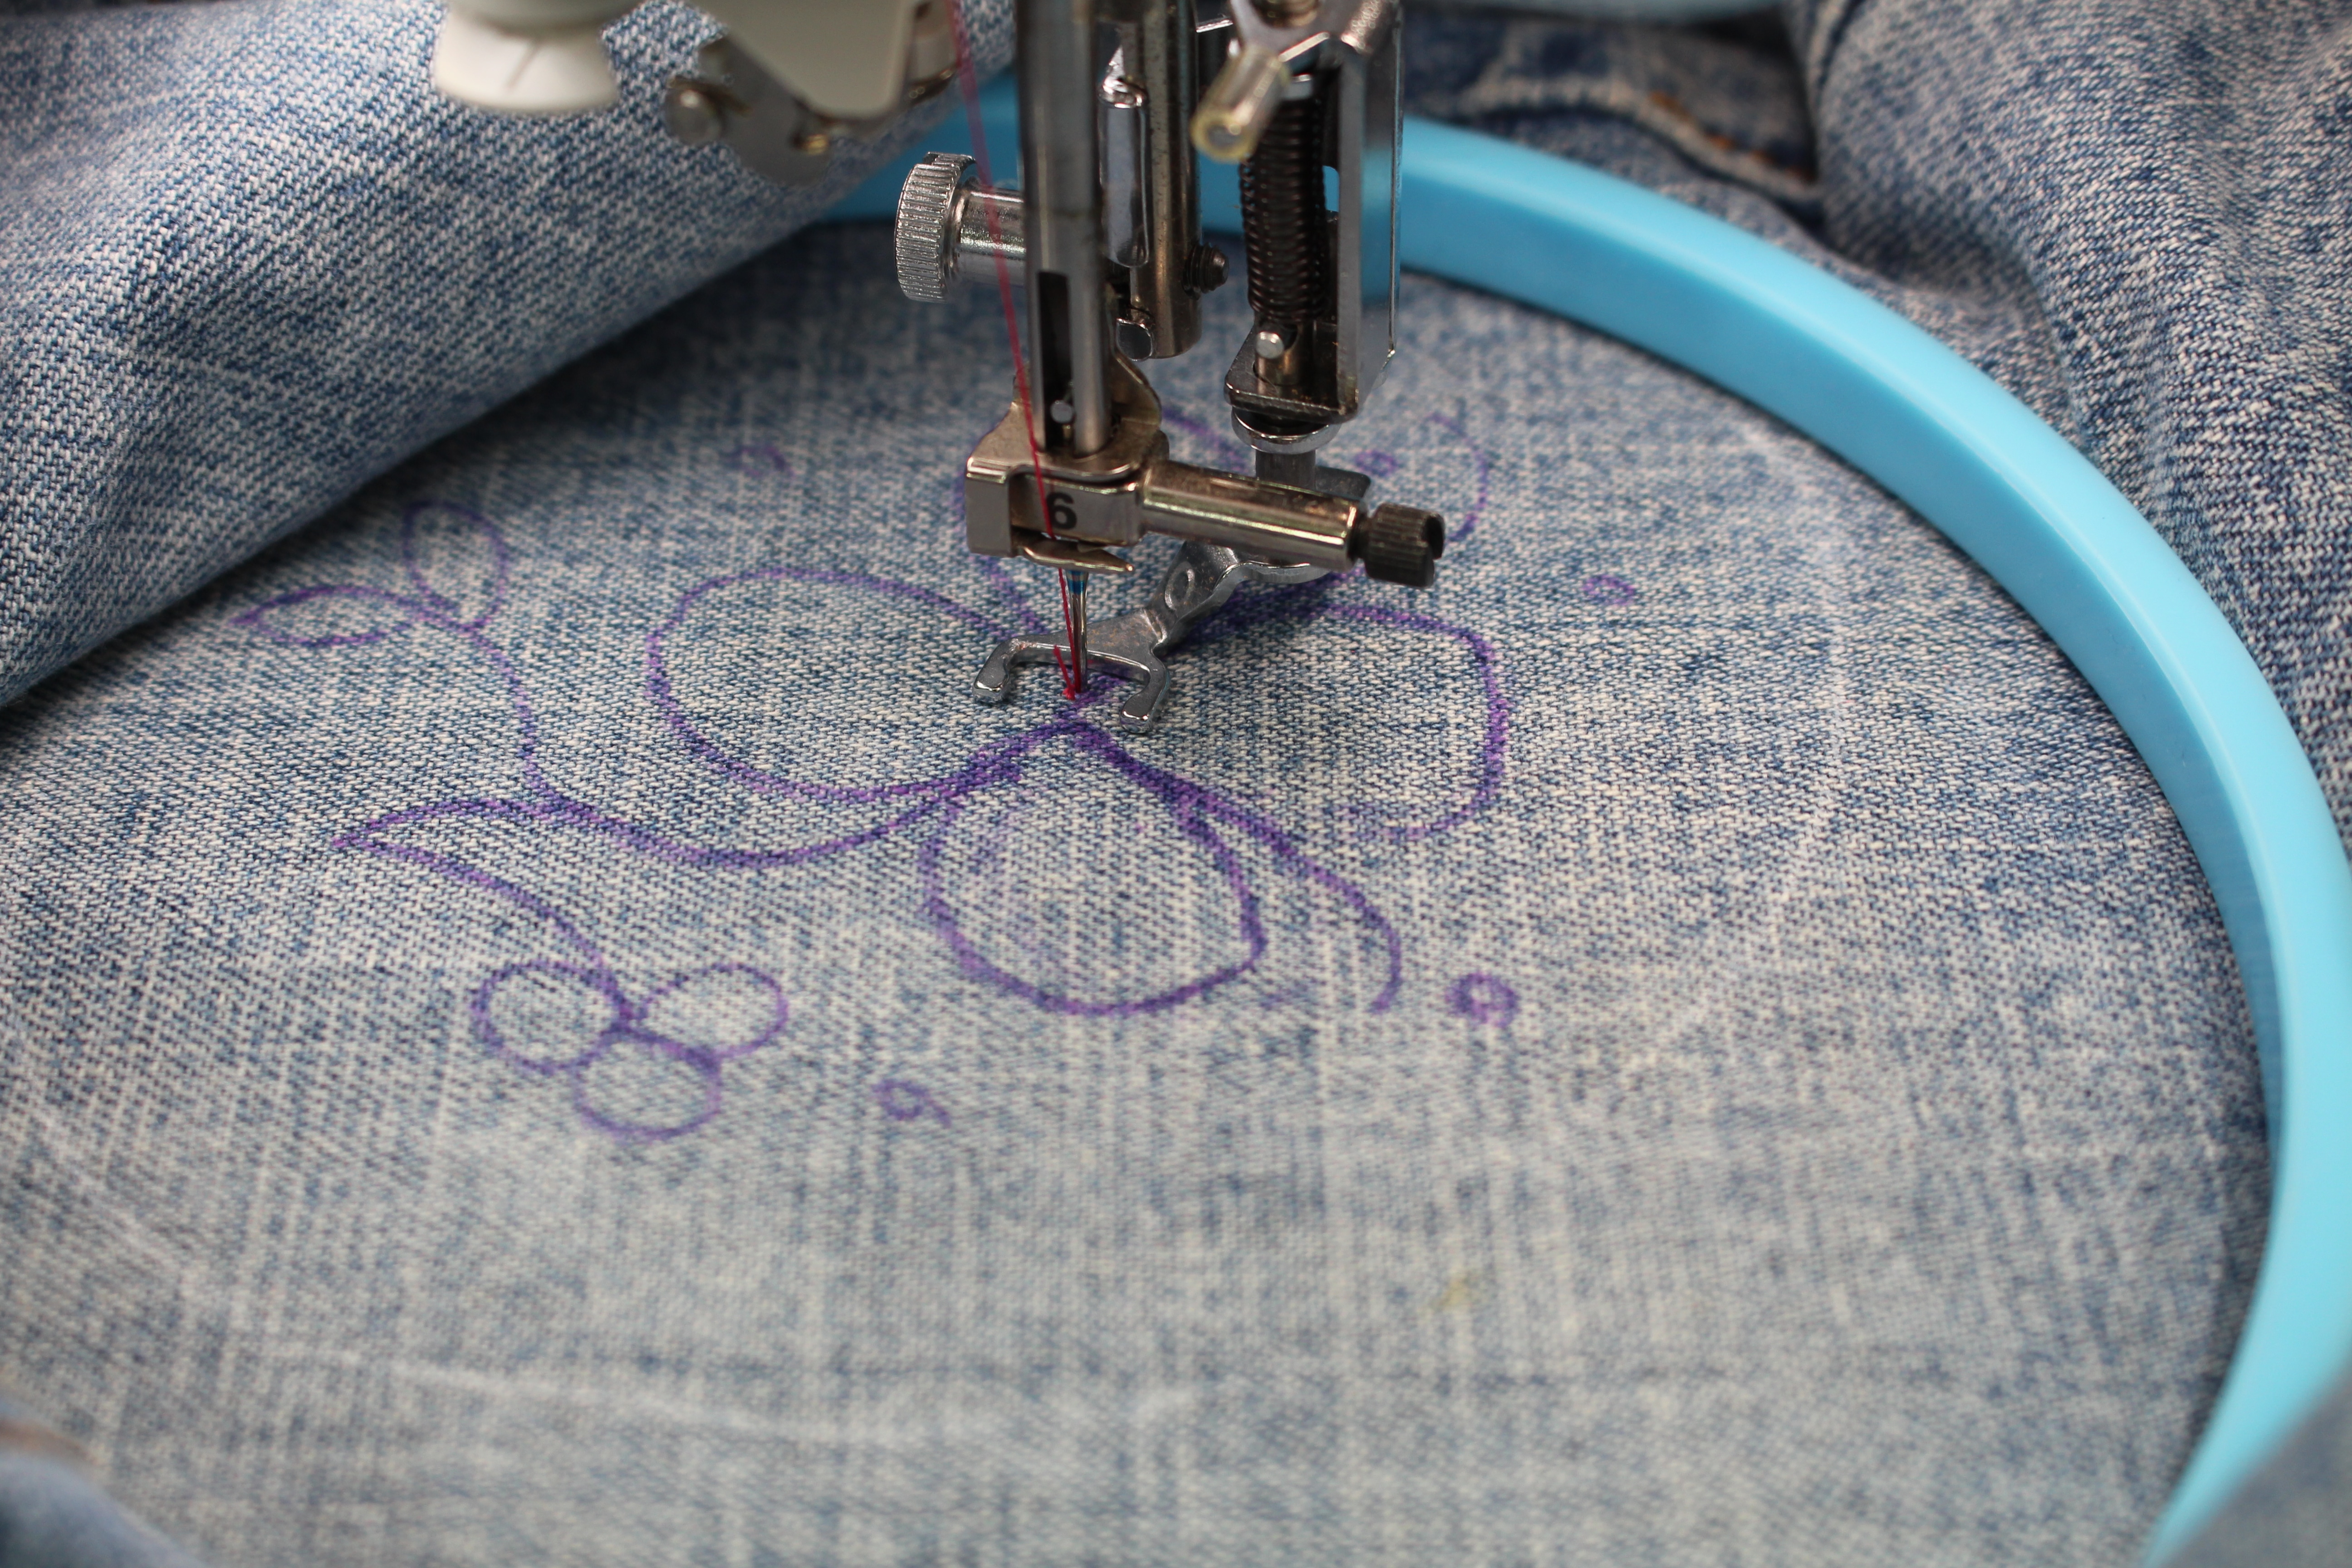
Draw a design with a fabric pen.

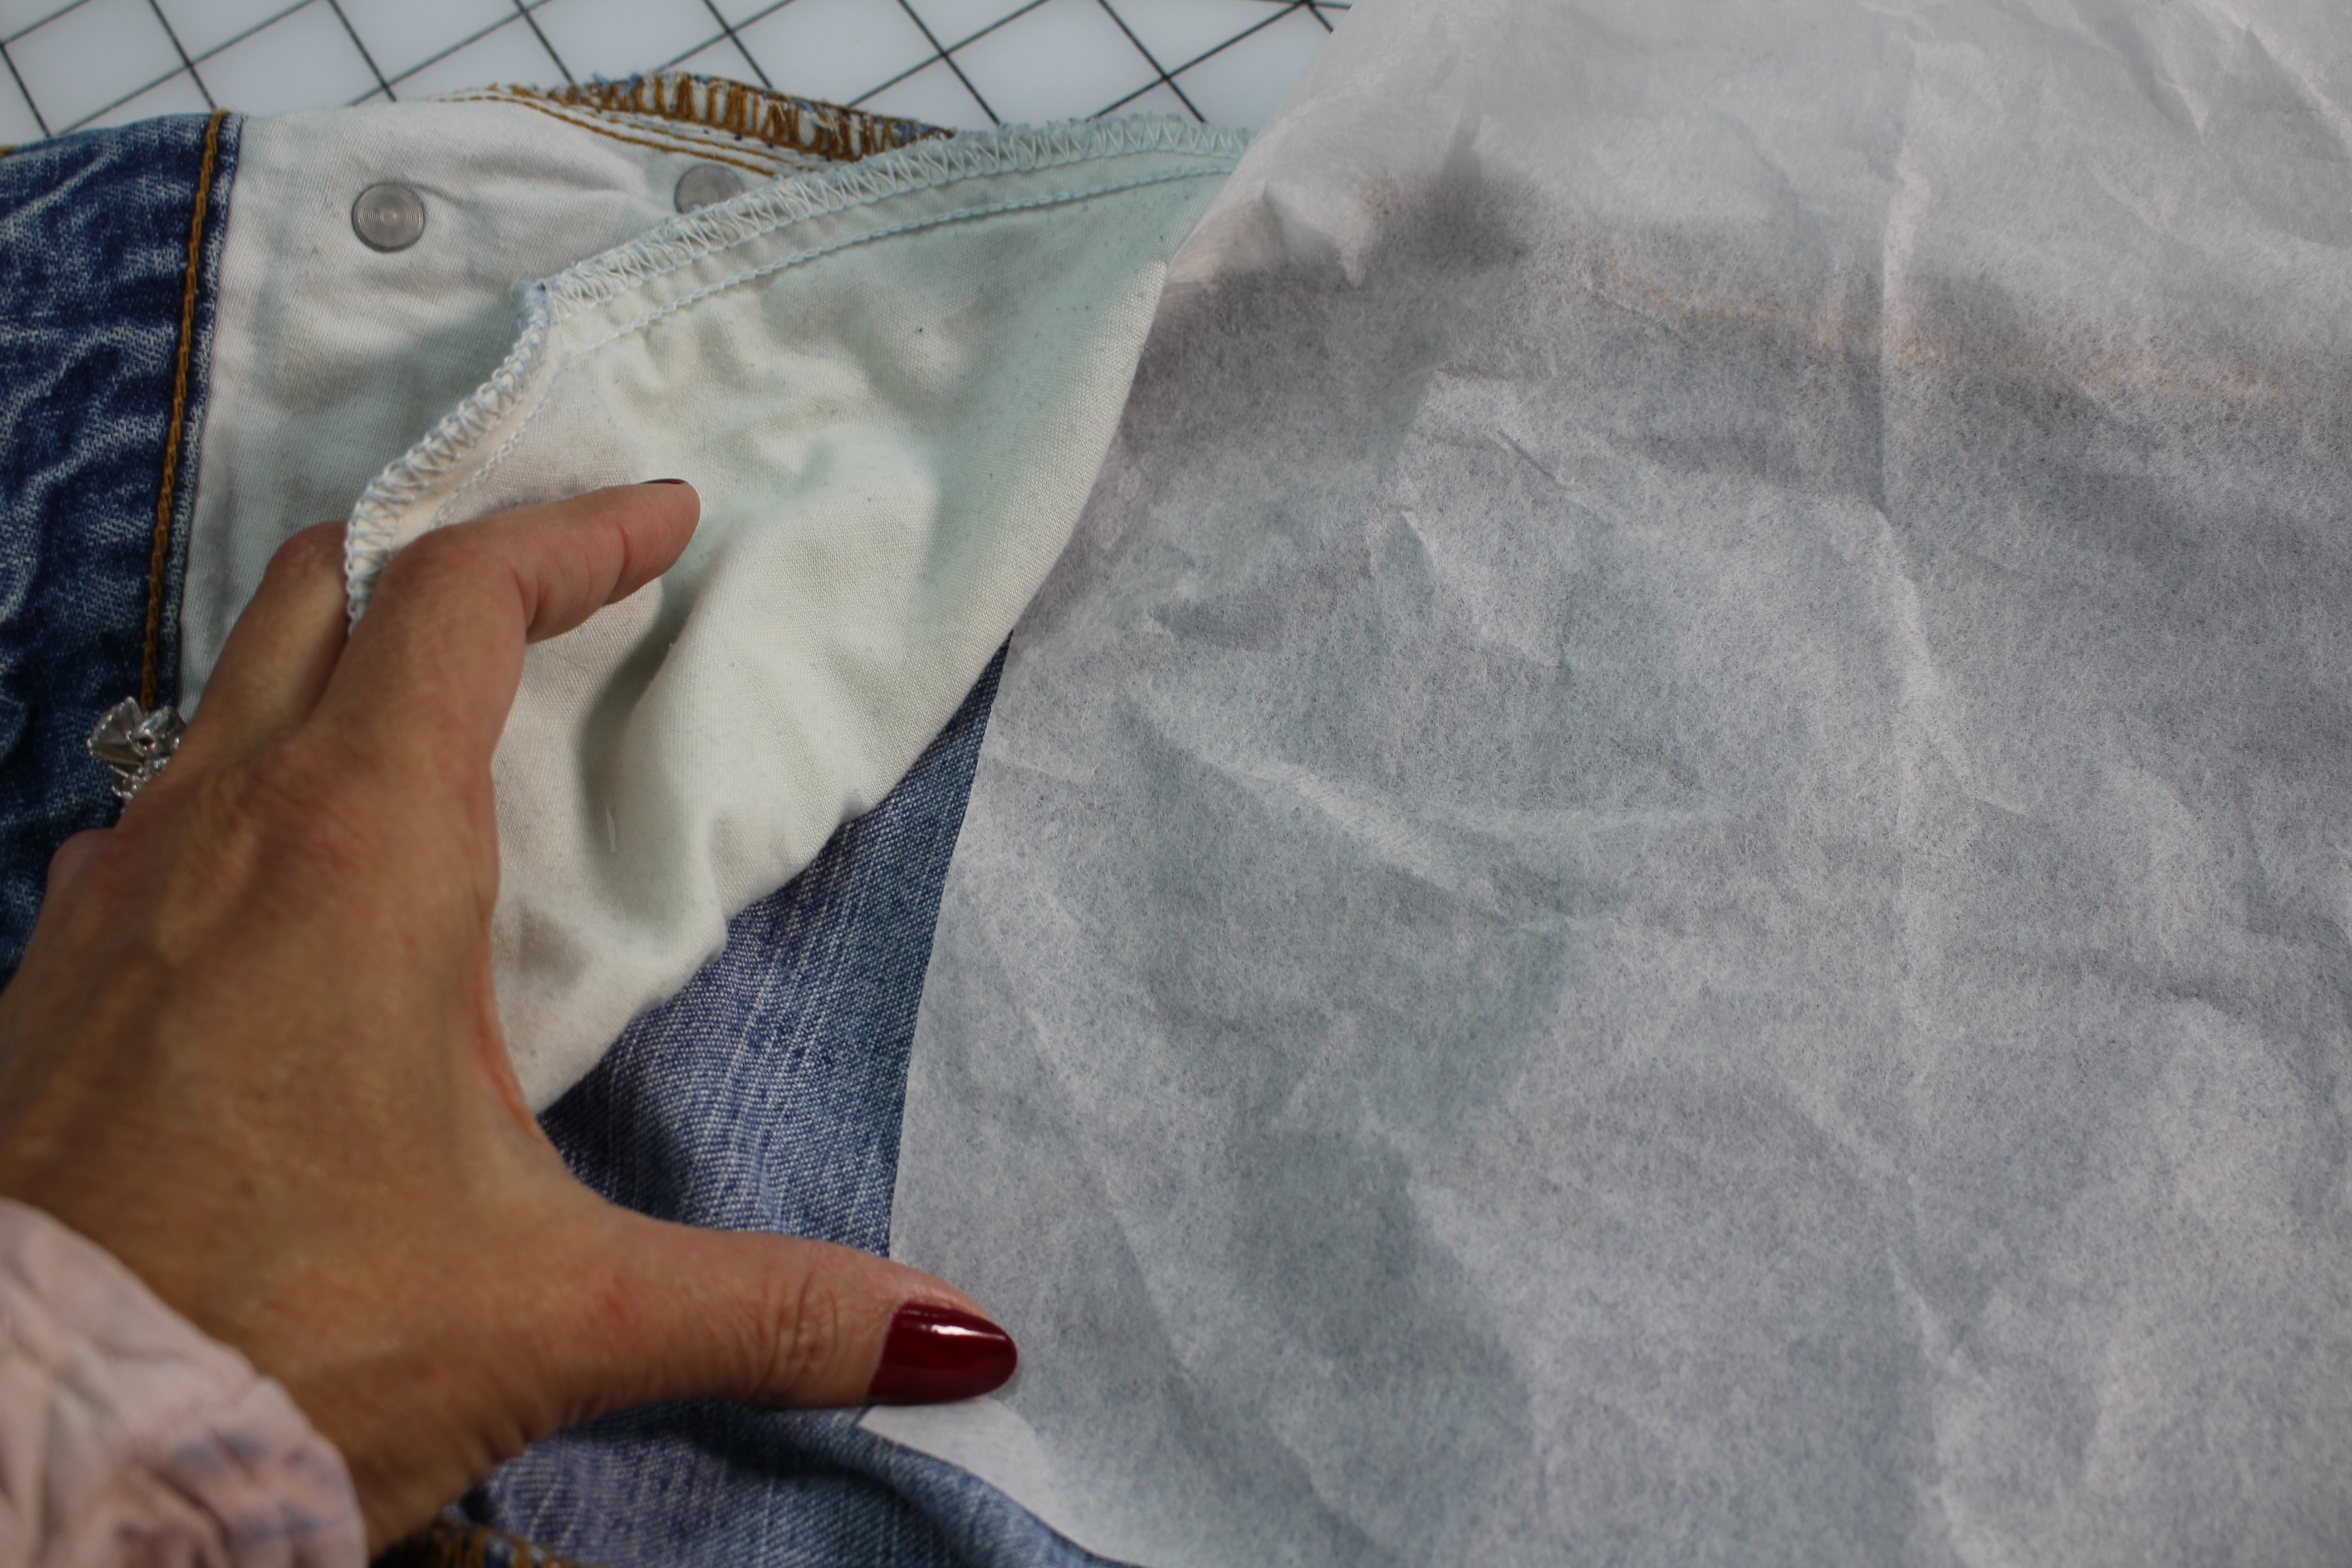
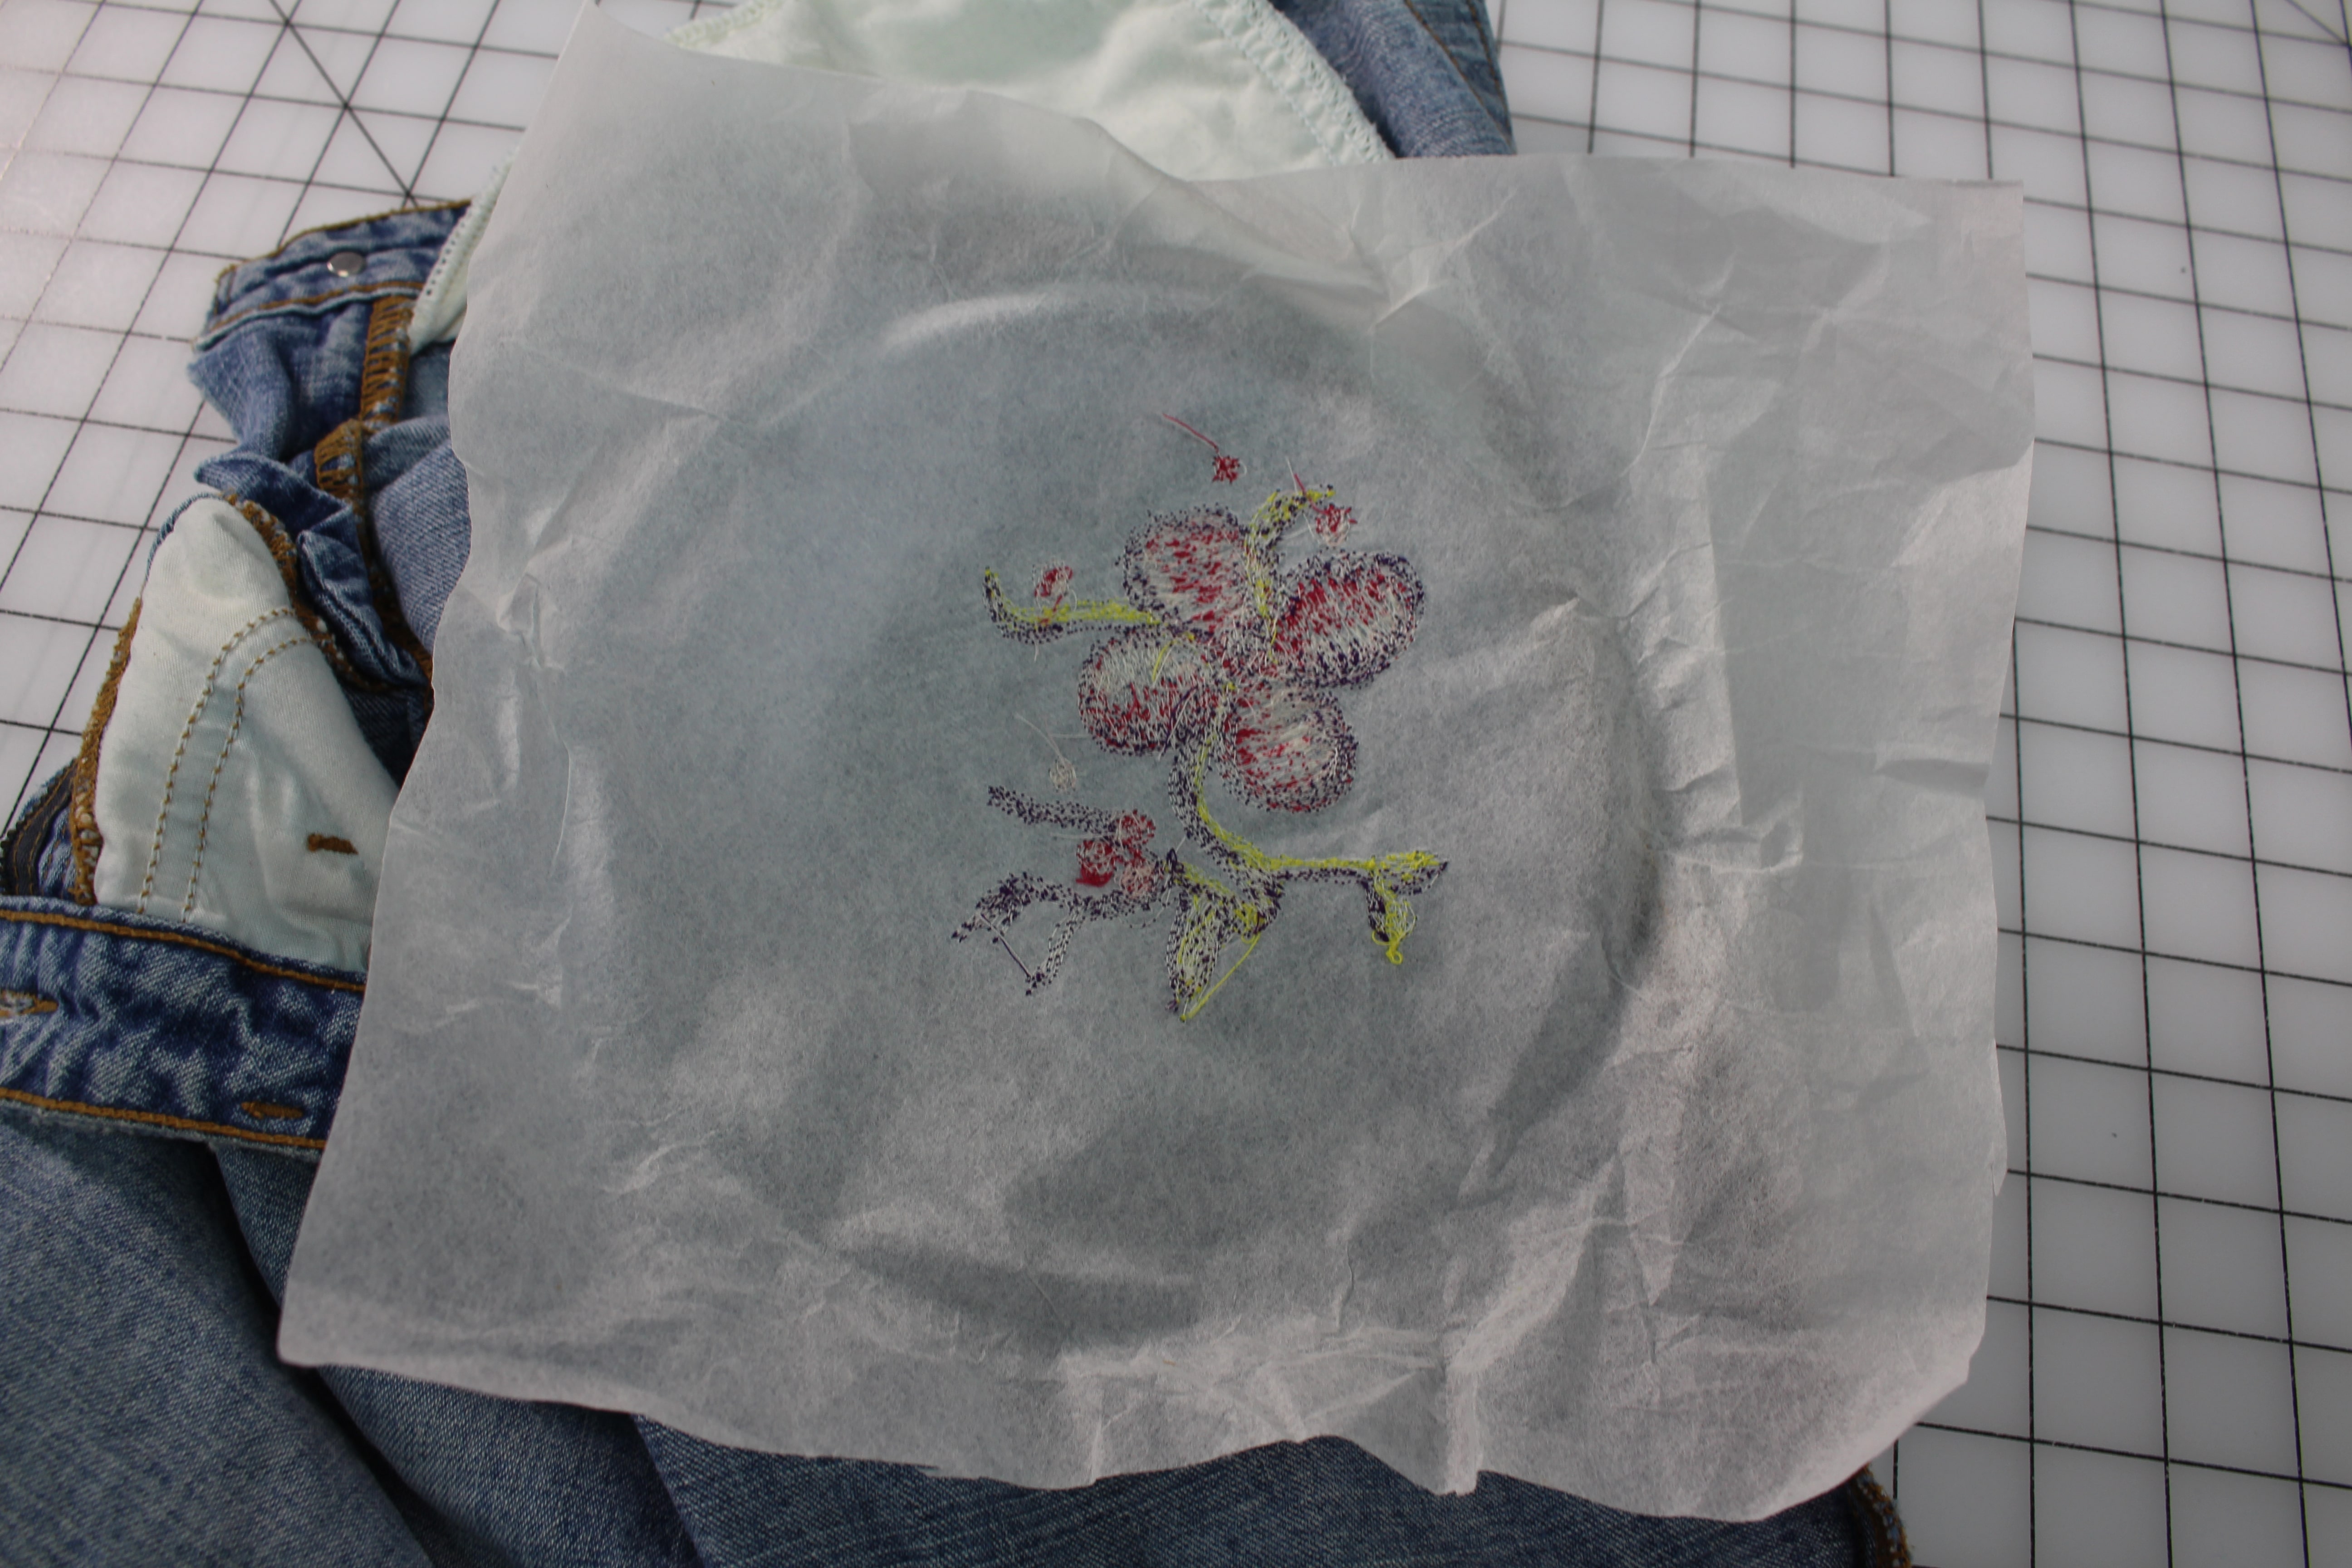
Slide the stabilizer into the jeans leg behind the design area. My design is close to the front pocket, so I will pull the pocket lining out of the hooping area.
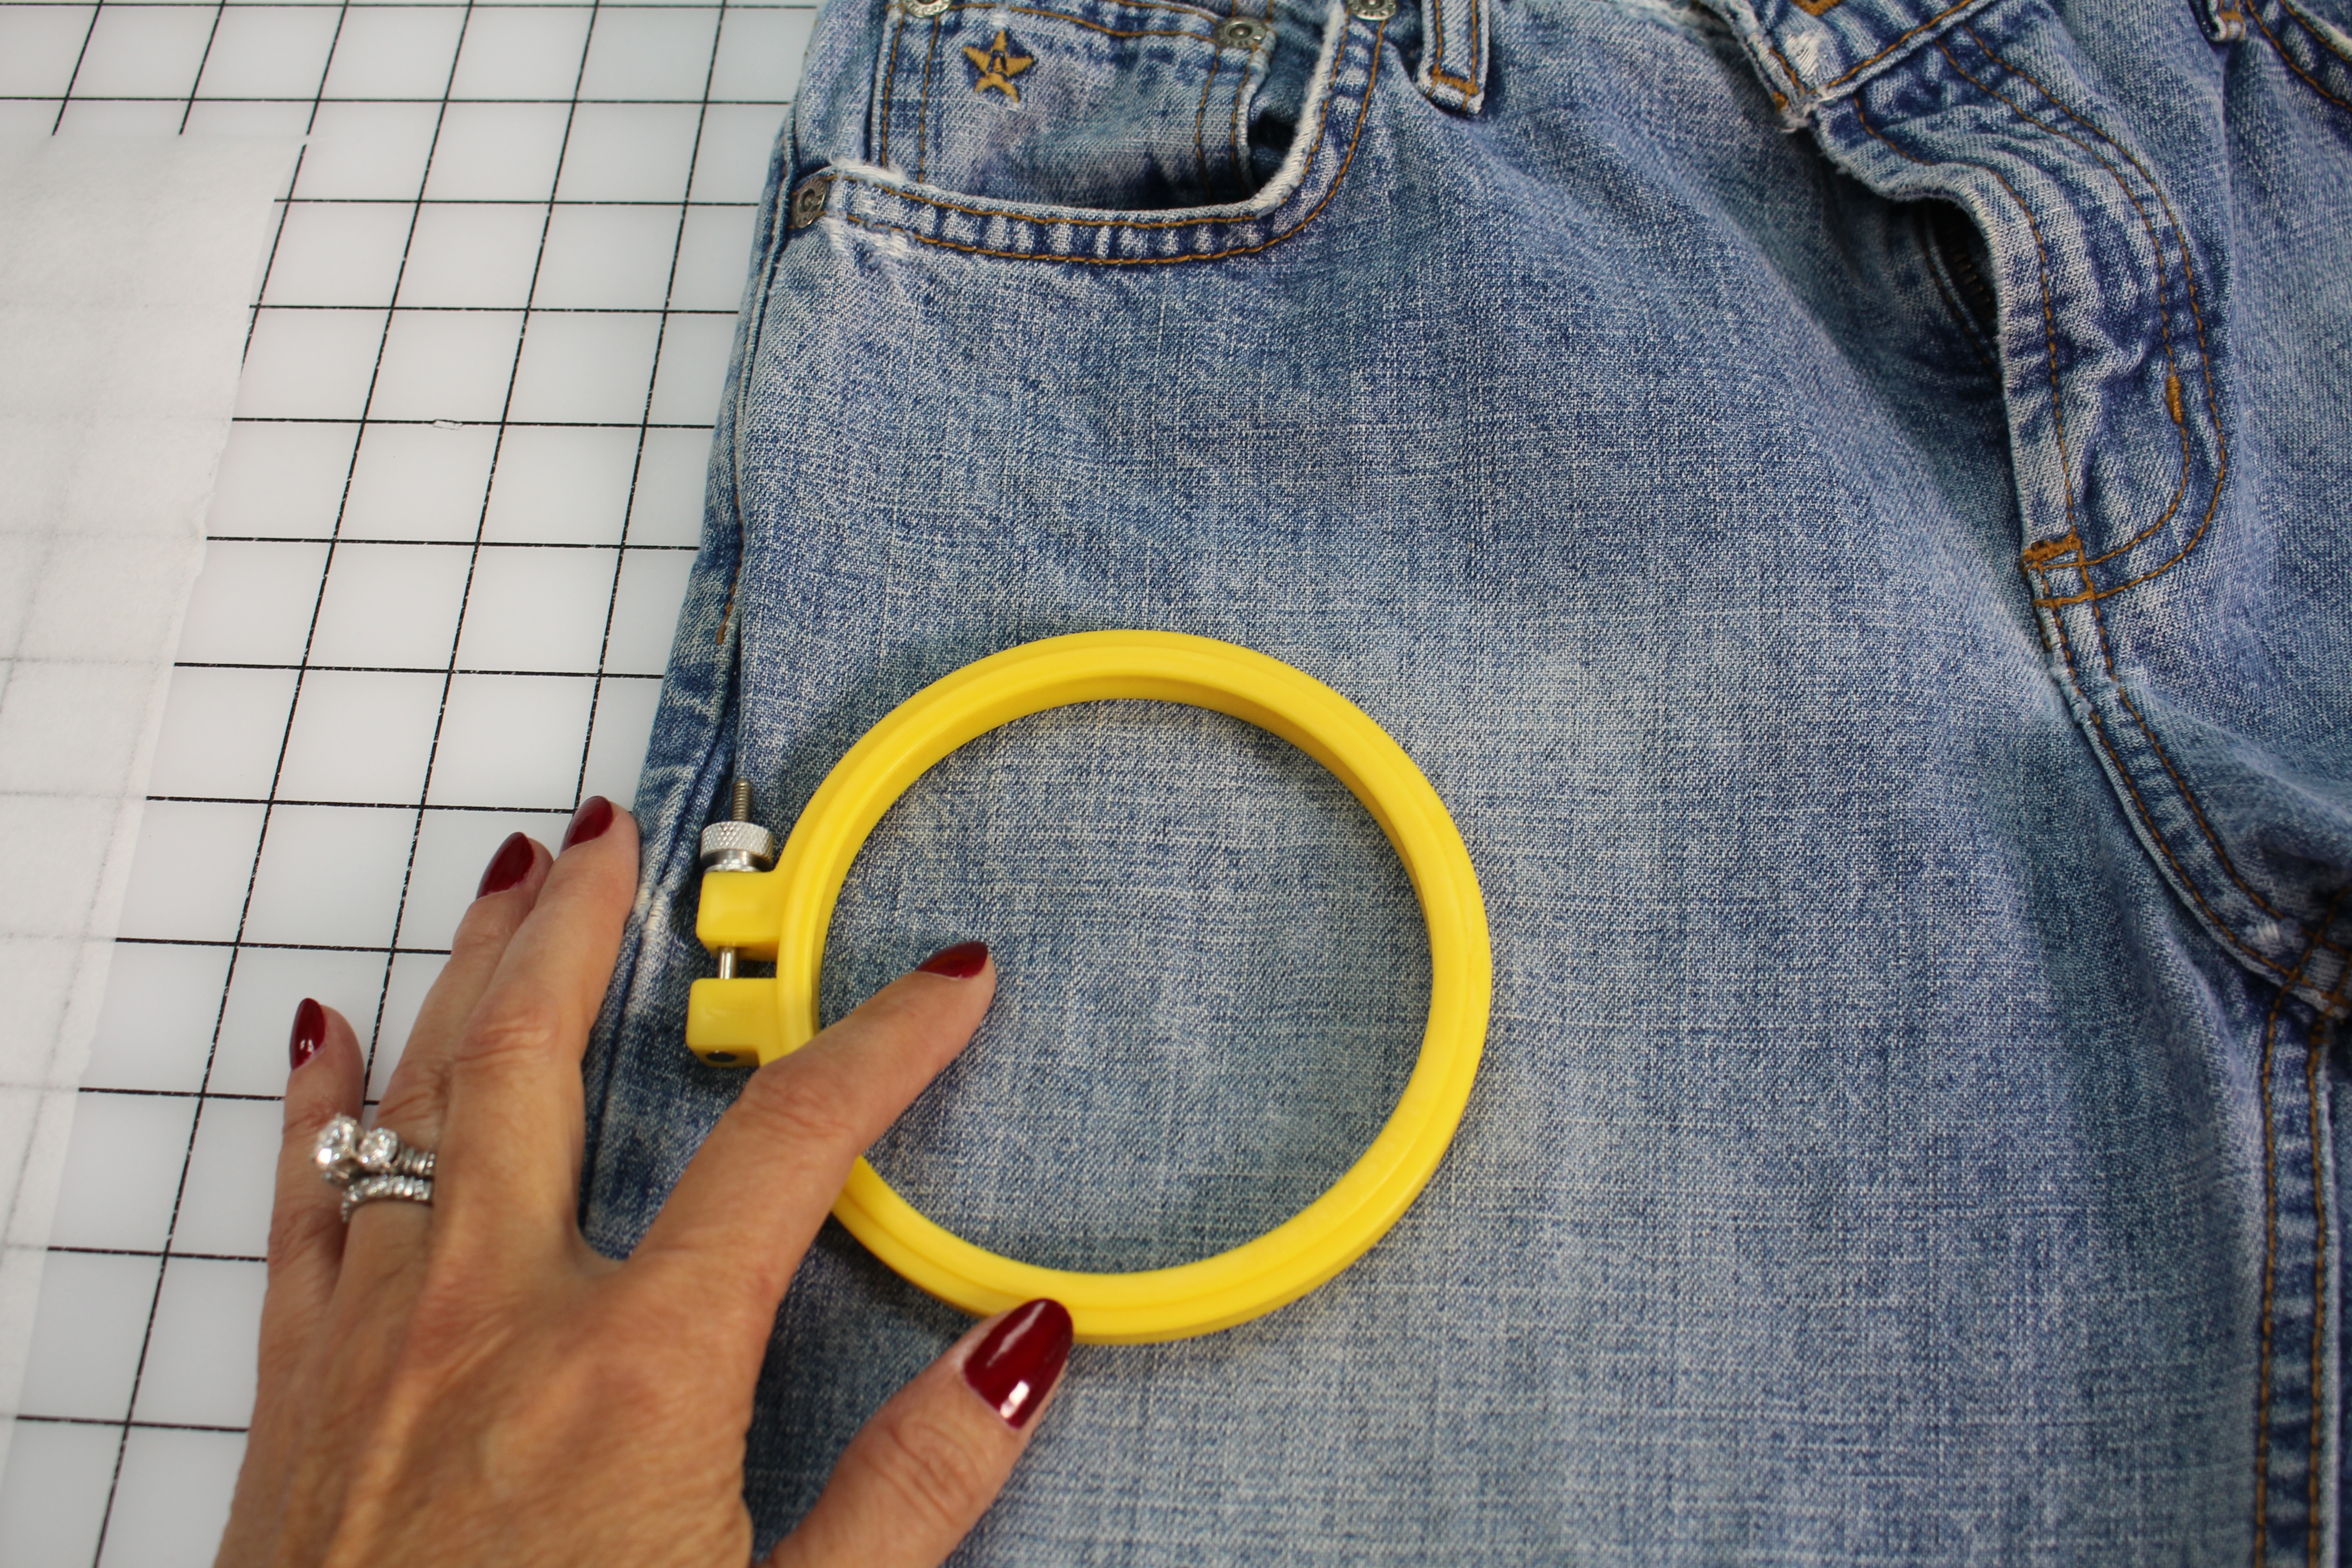
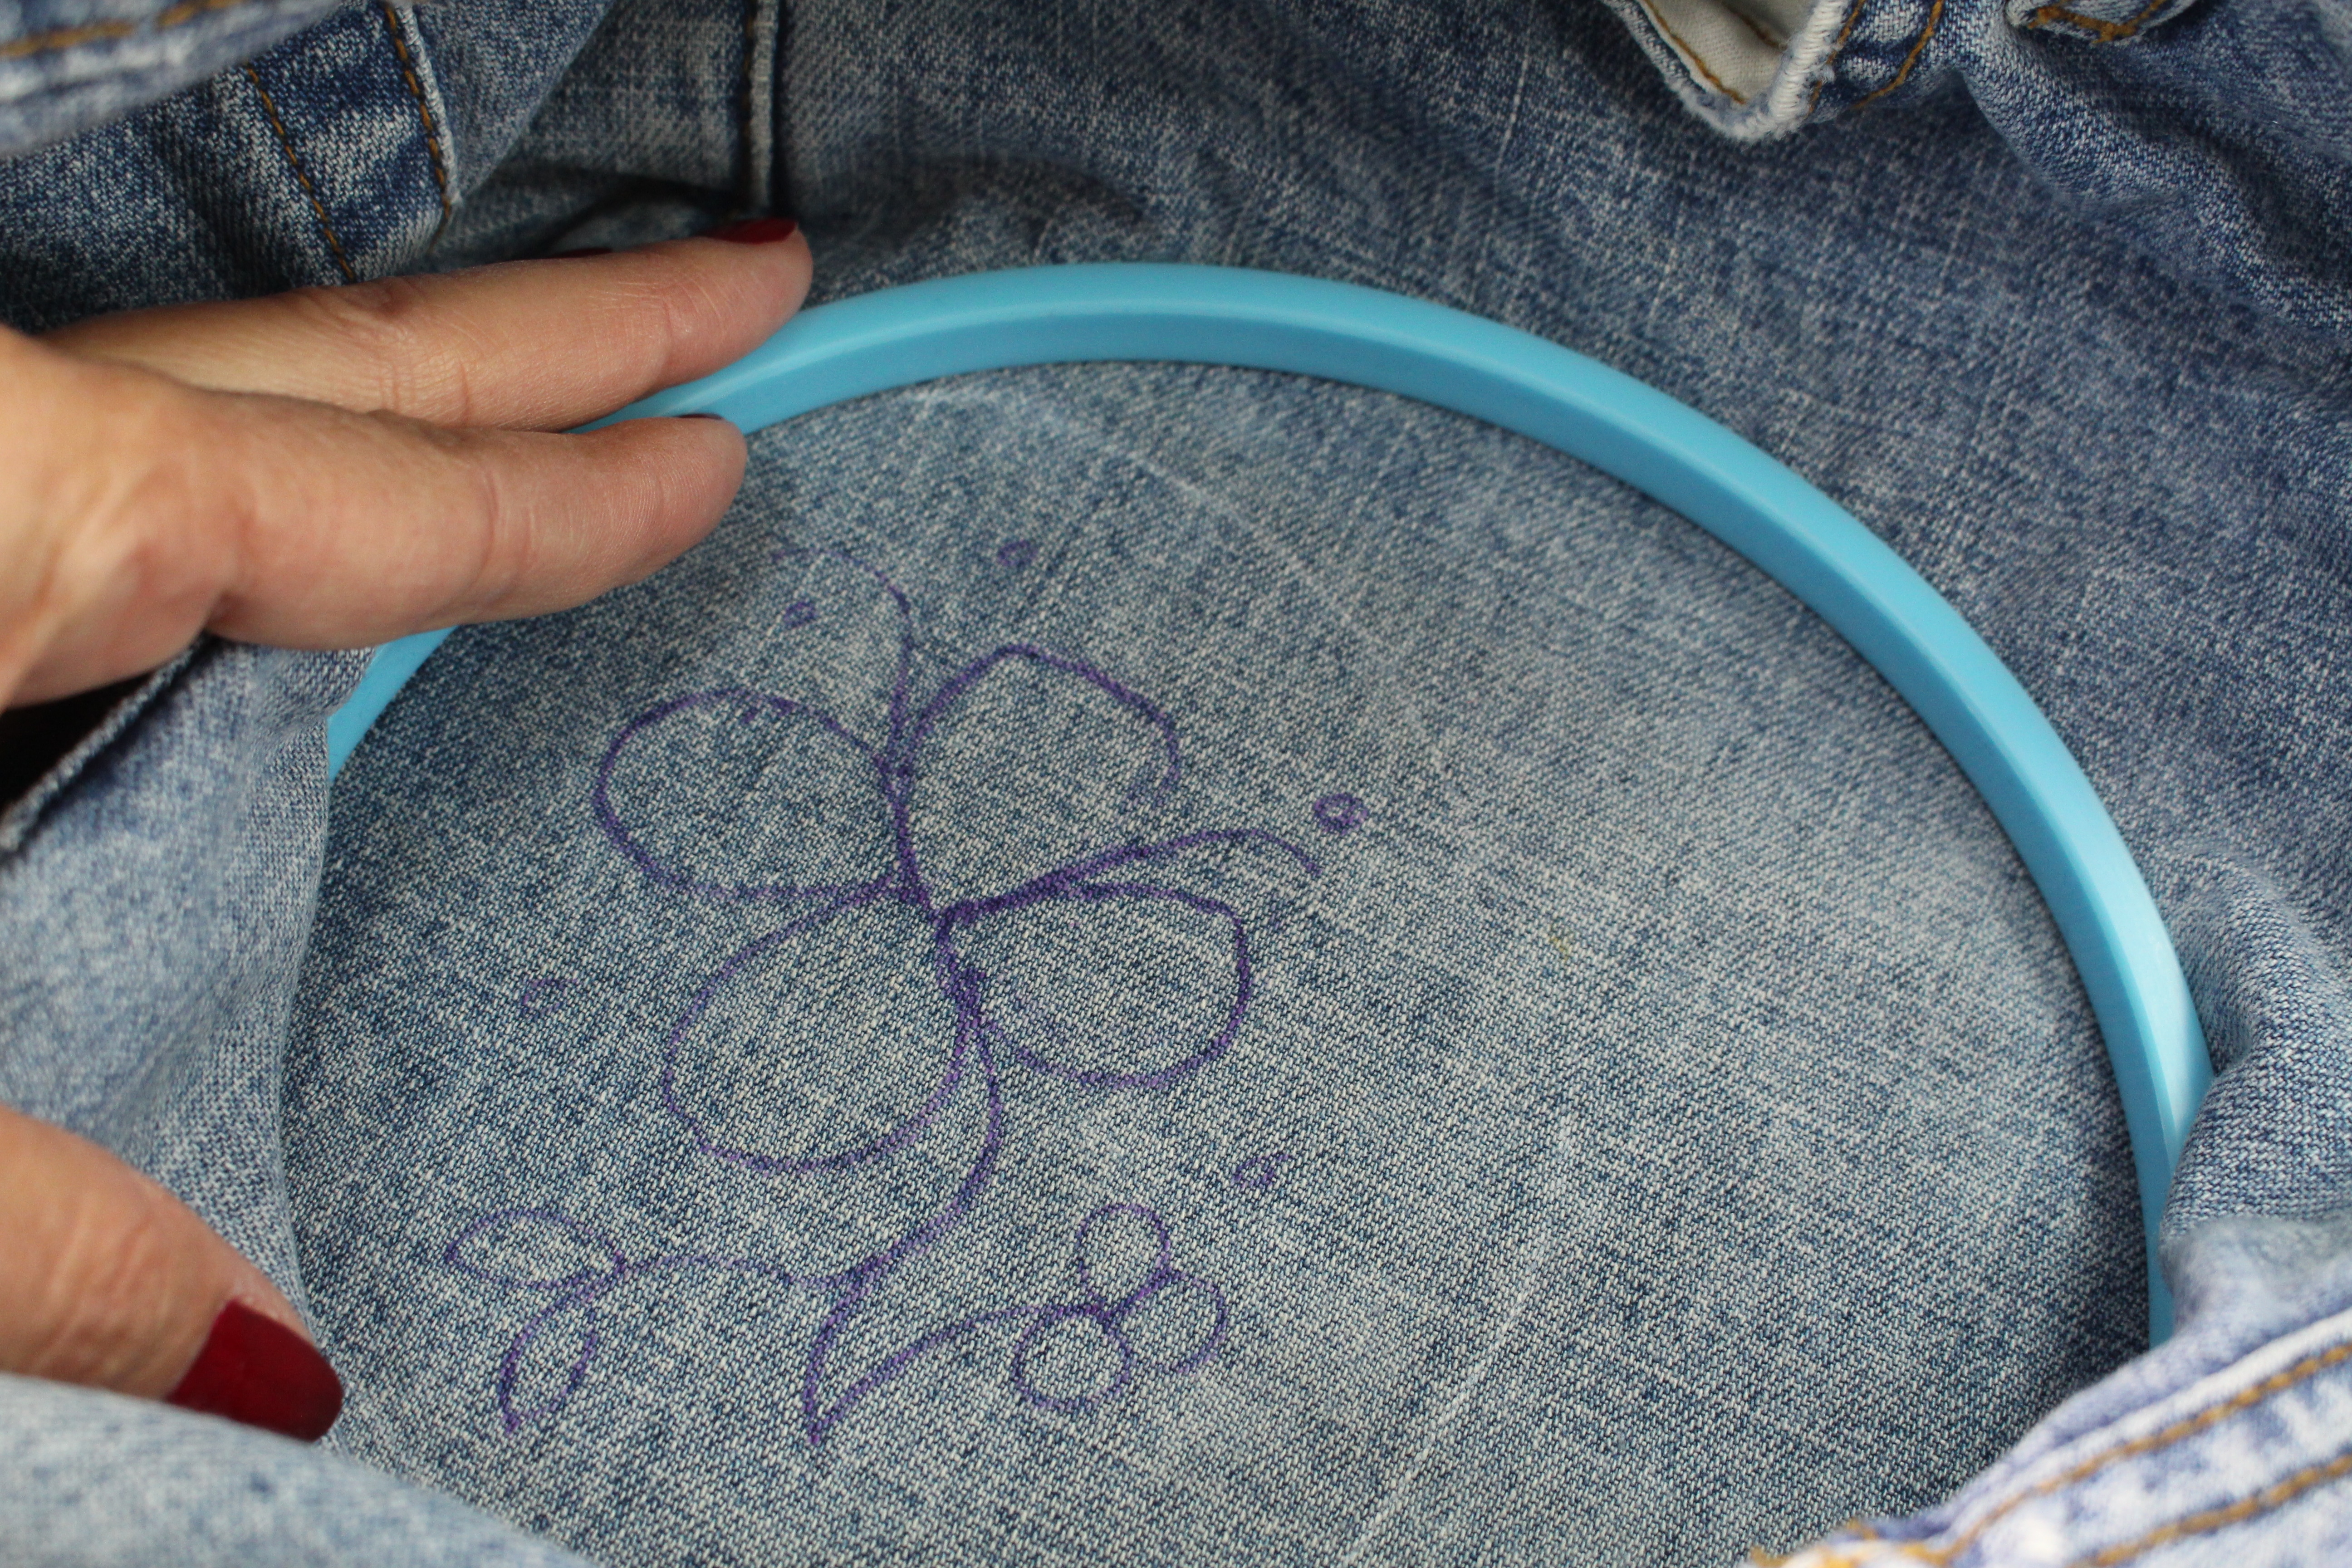
Align the smaller inside hoop on the outside of the jean leg with the larger hoop and stabilizer inside the jeans leg.
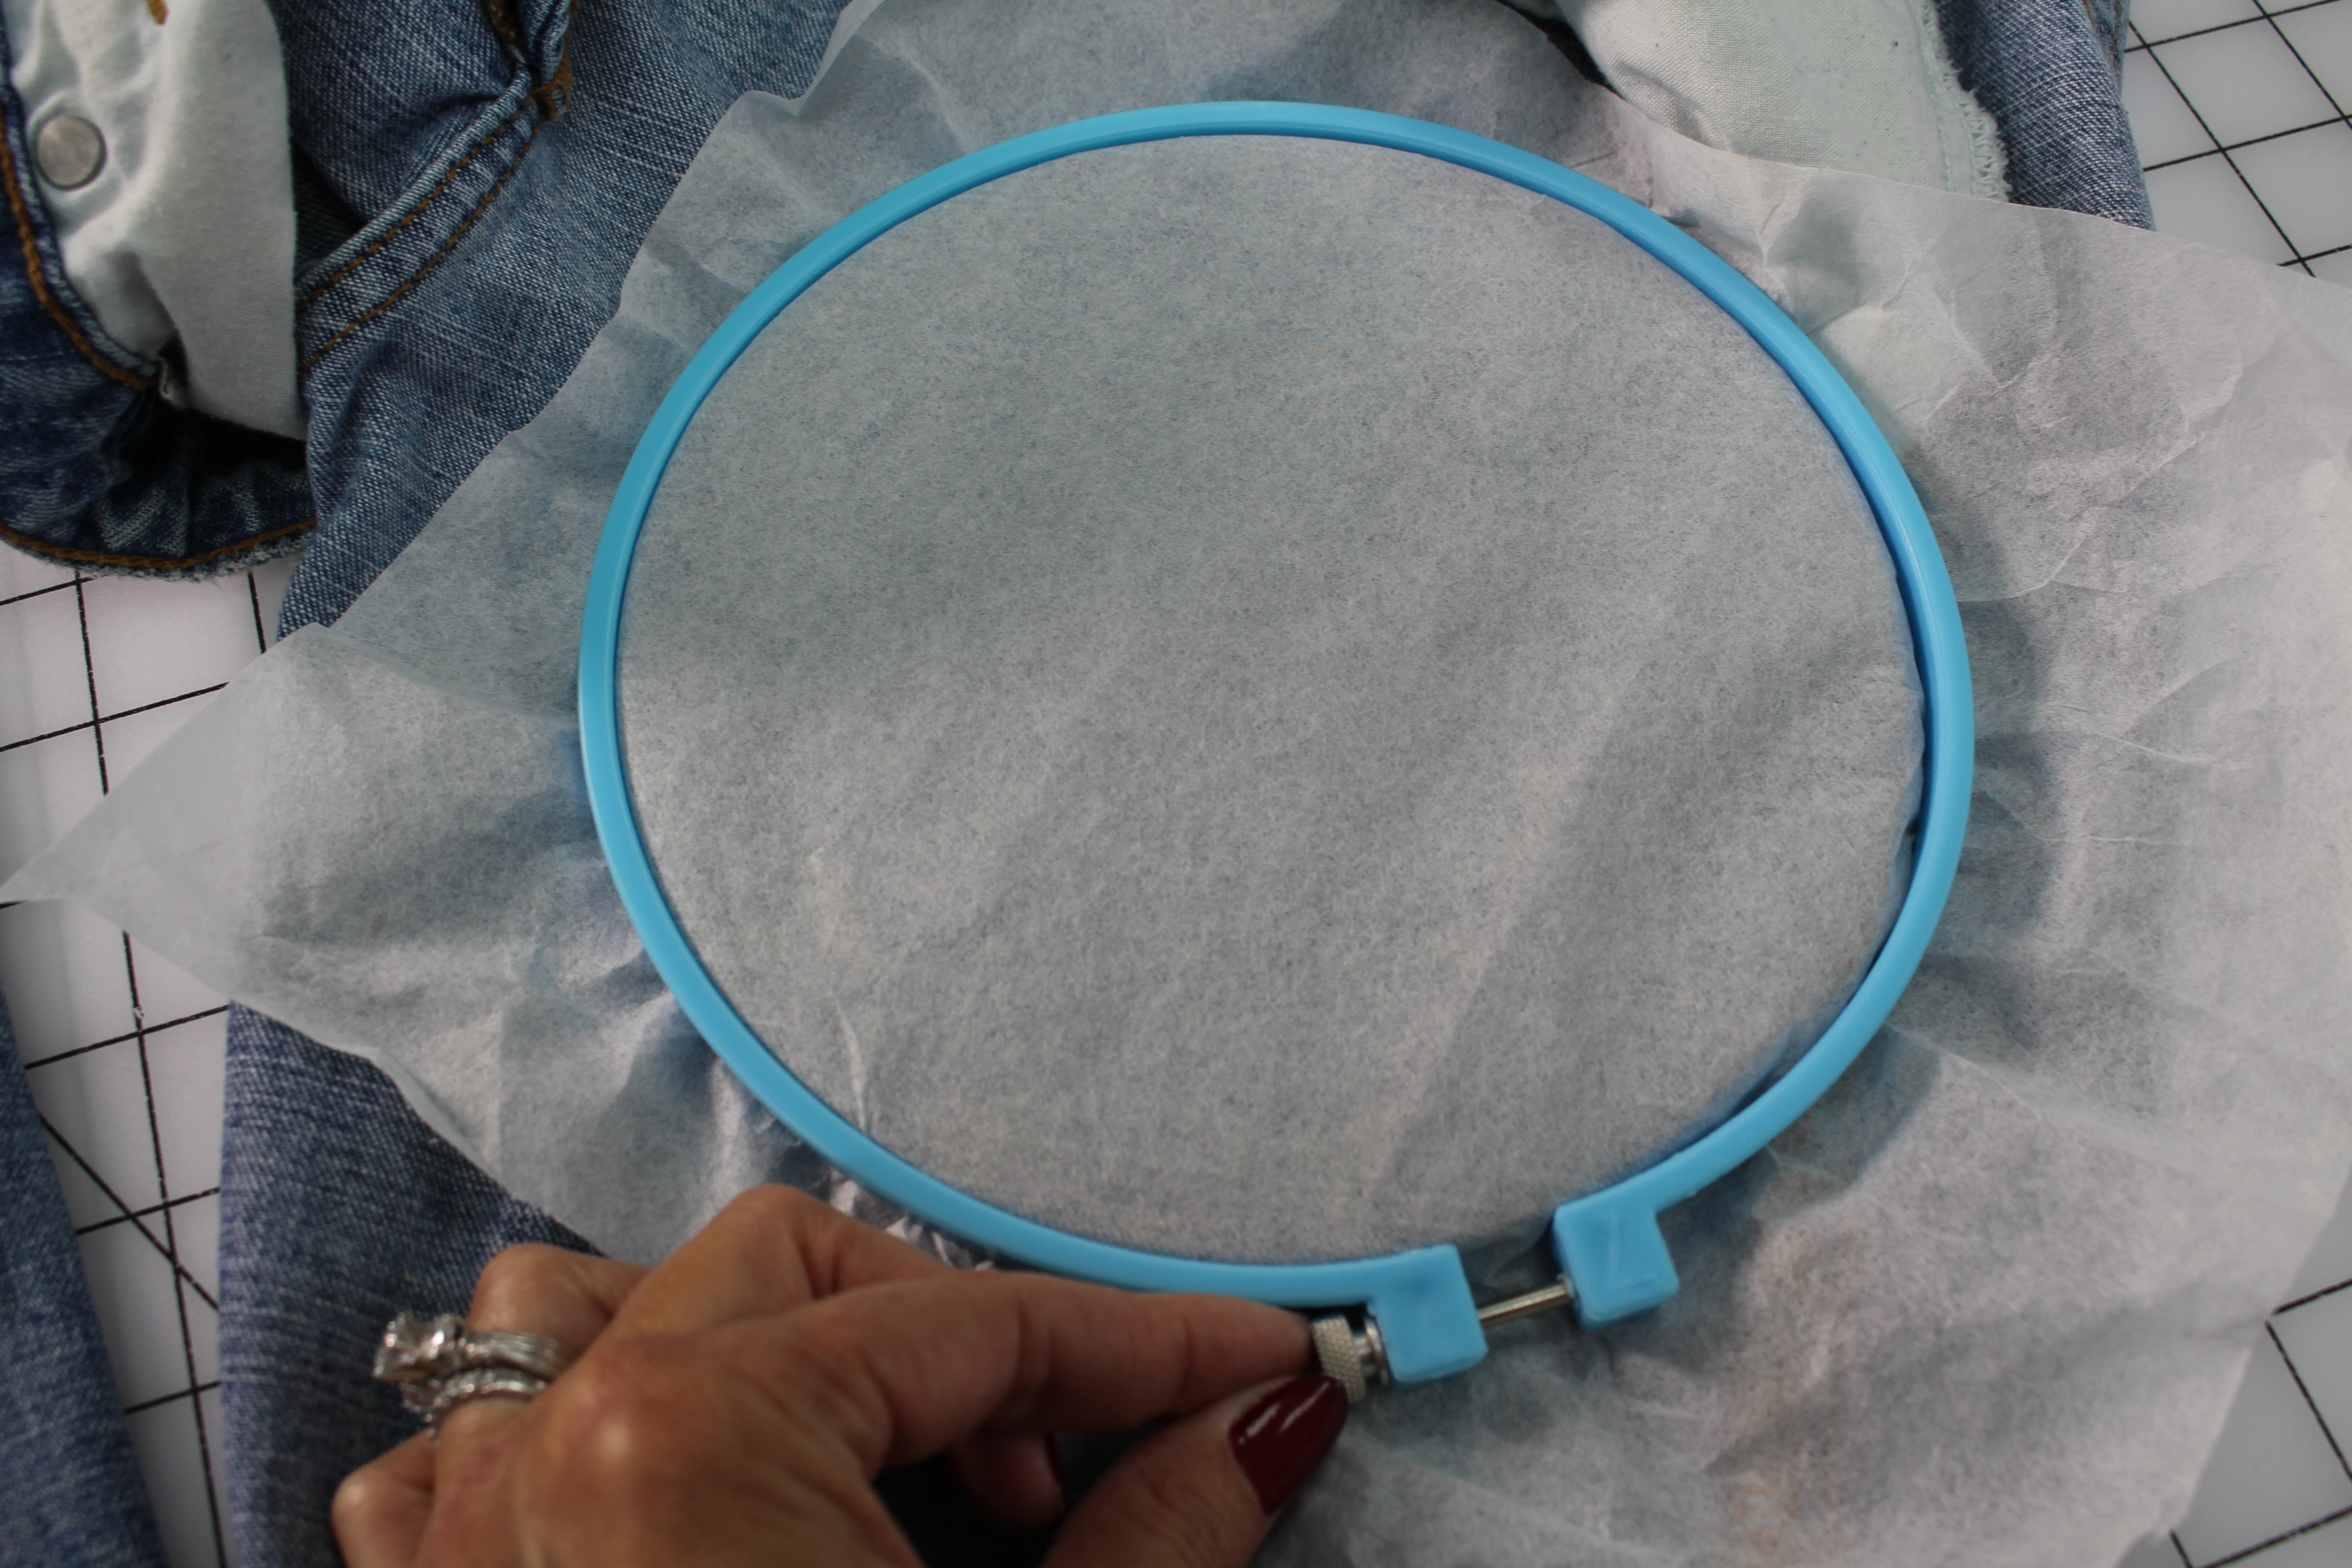
Push the hoop closed, encasing the jean fabric and stabilizer, and tighten the screw on the hoop.
Set the sewing machine up for free motion quilting and slide the hoop under the presser foot, making sure to keep the back of the jean leg out of the way. We only want the fabric in the hoop under the needle on the machine.

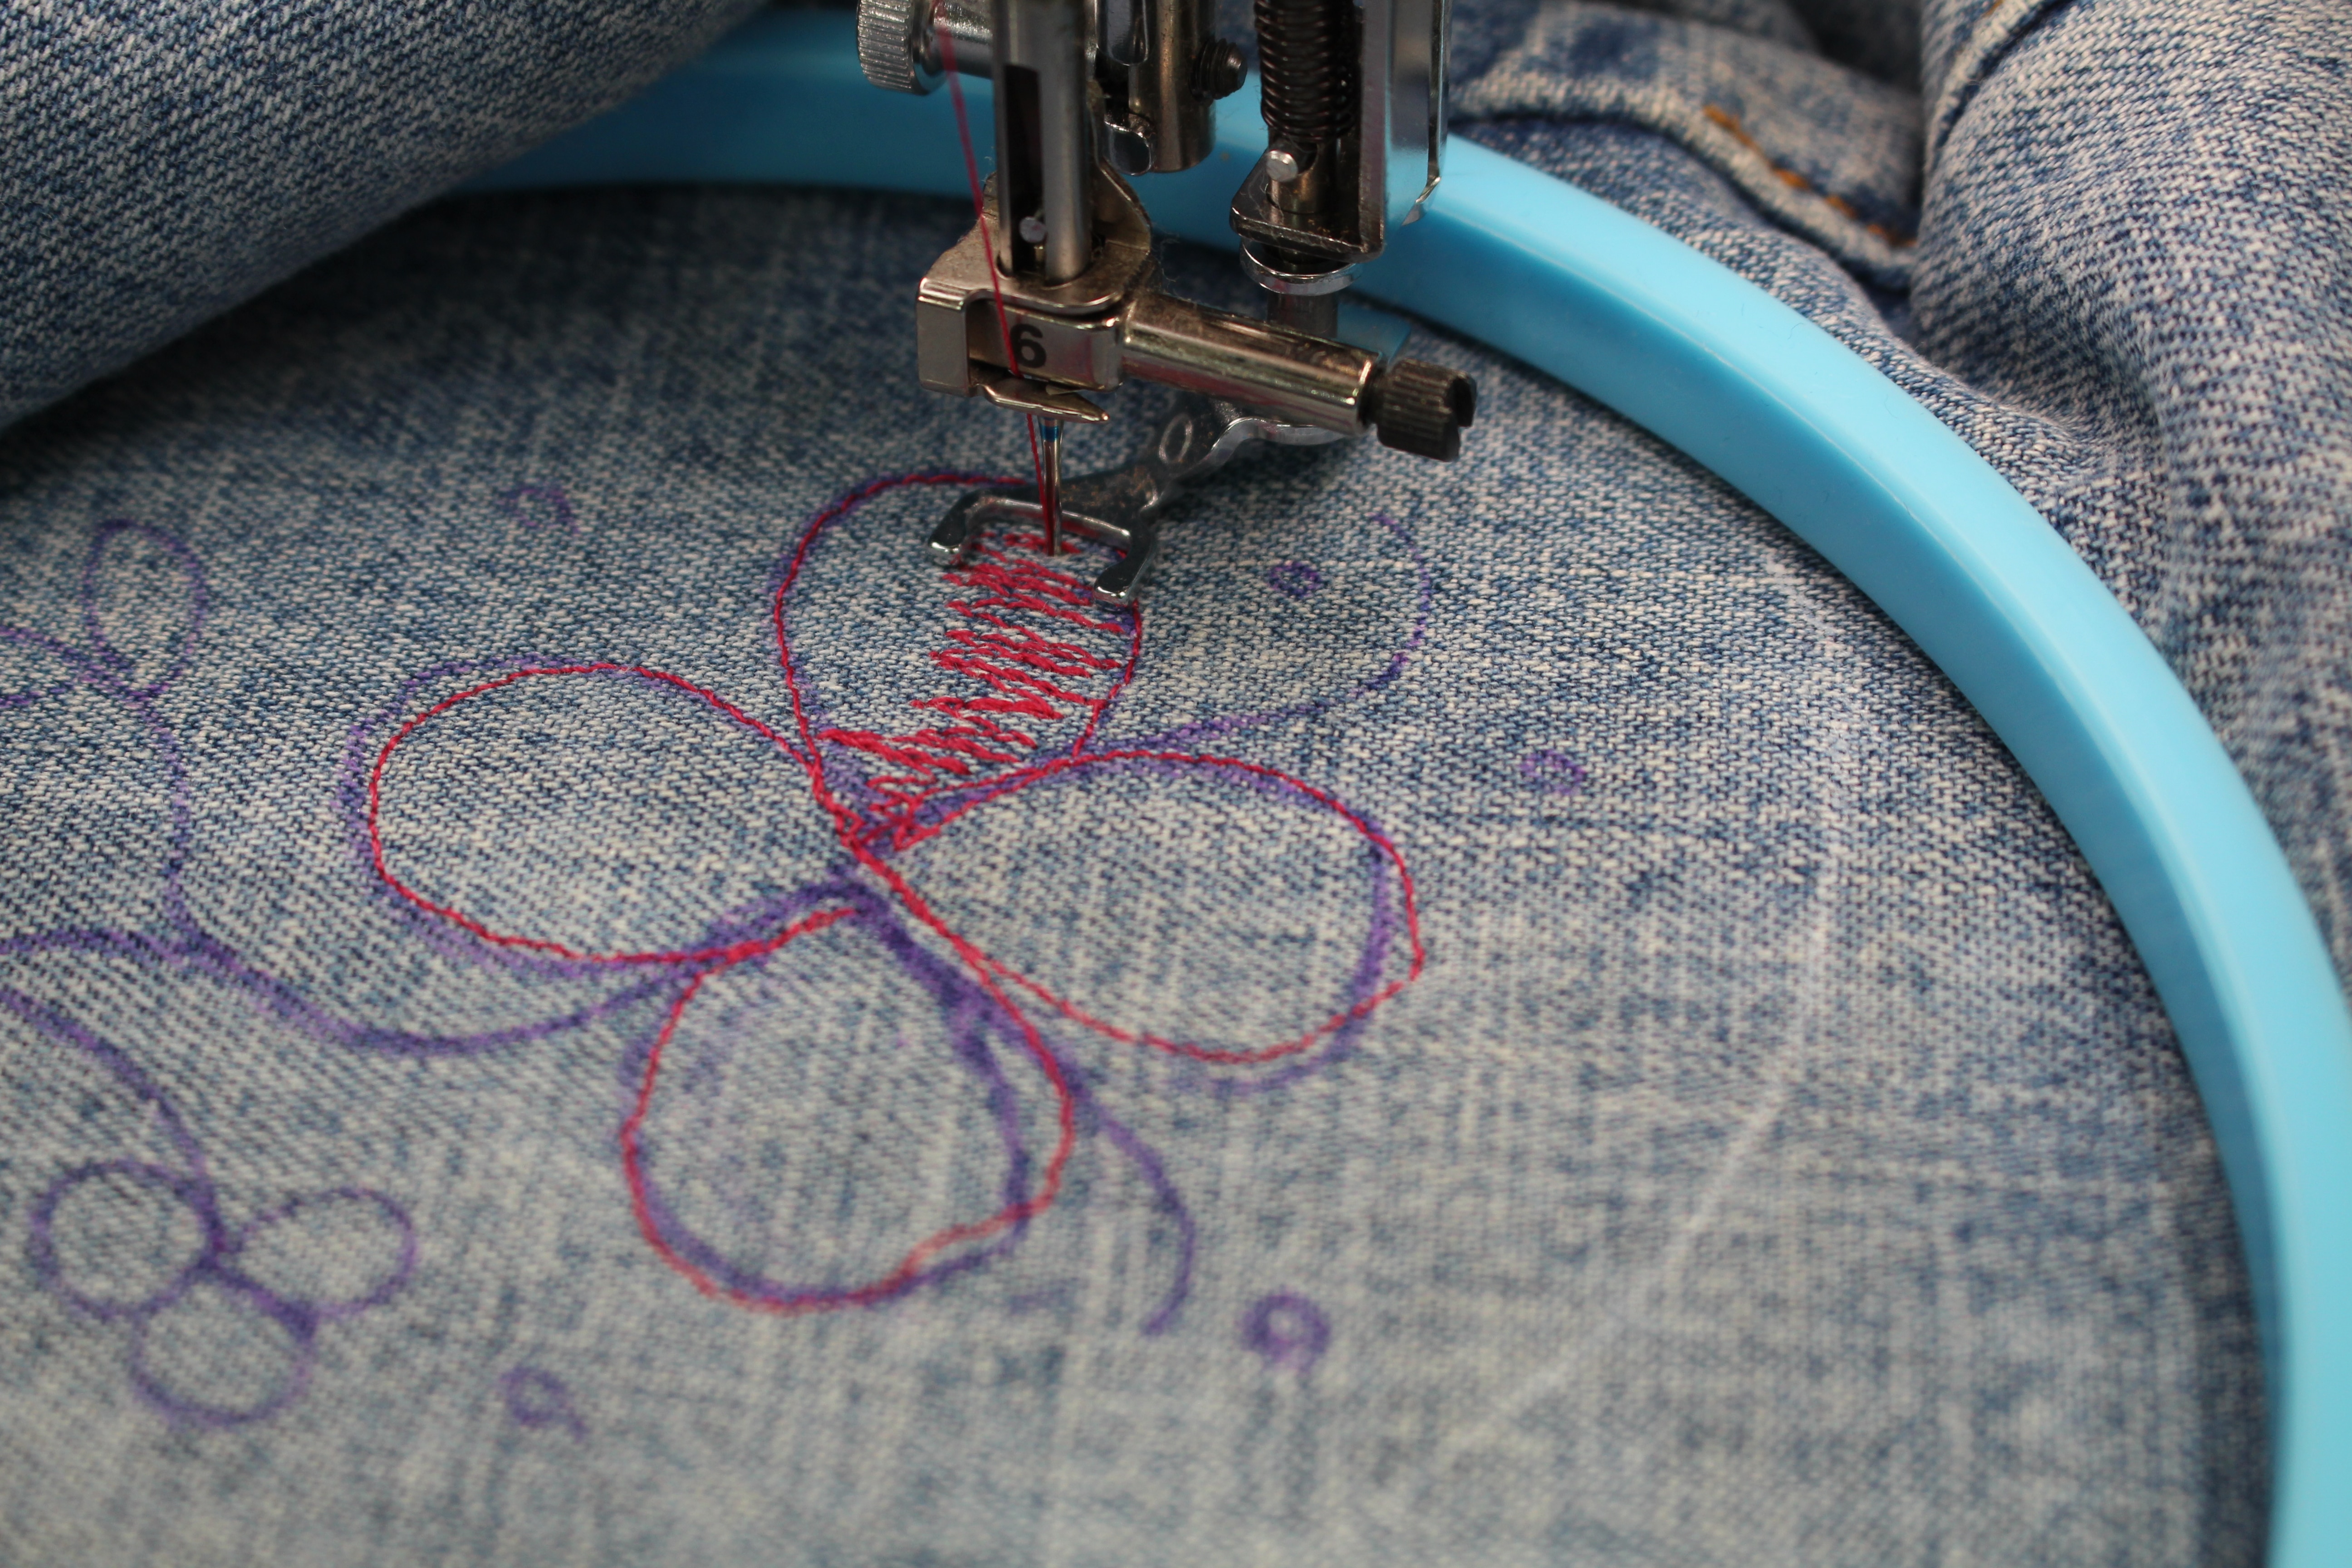
Start in the middle of the design and fill in the design with thread.
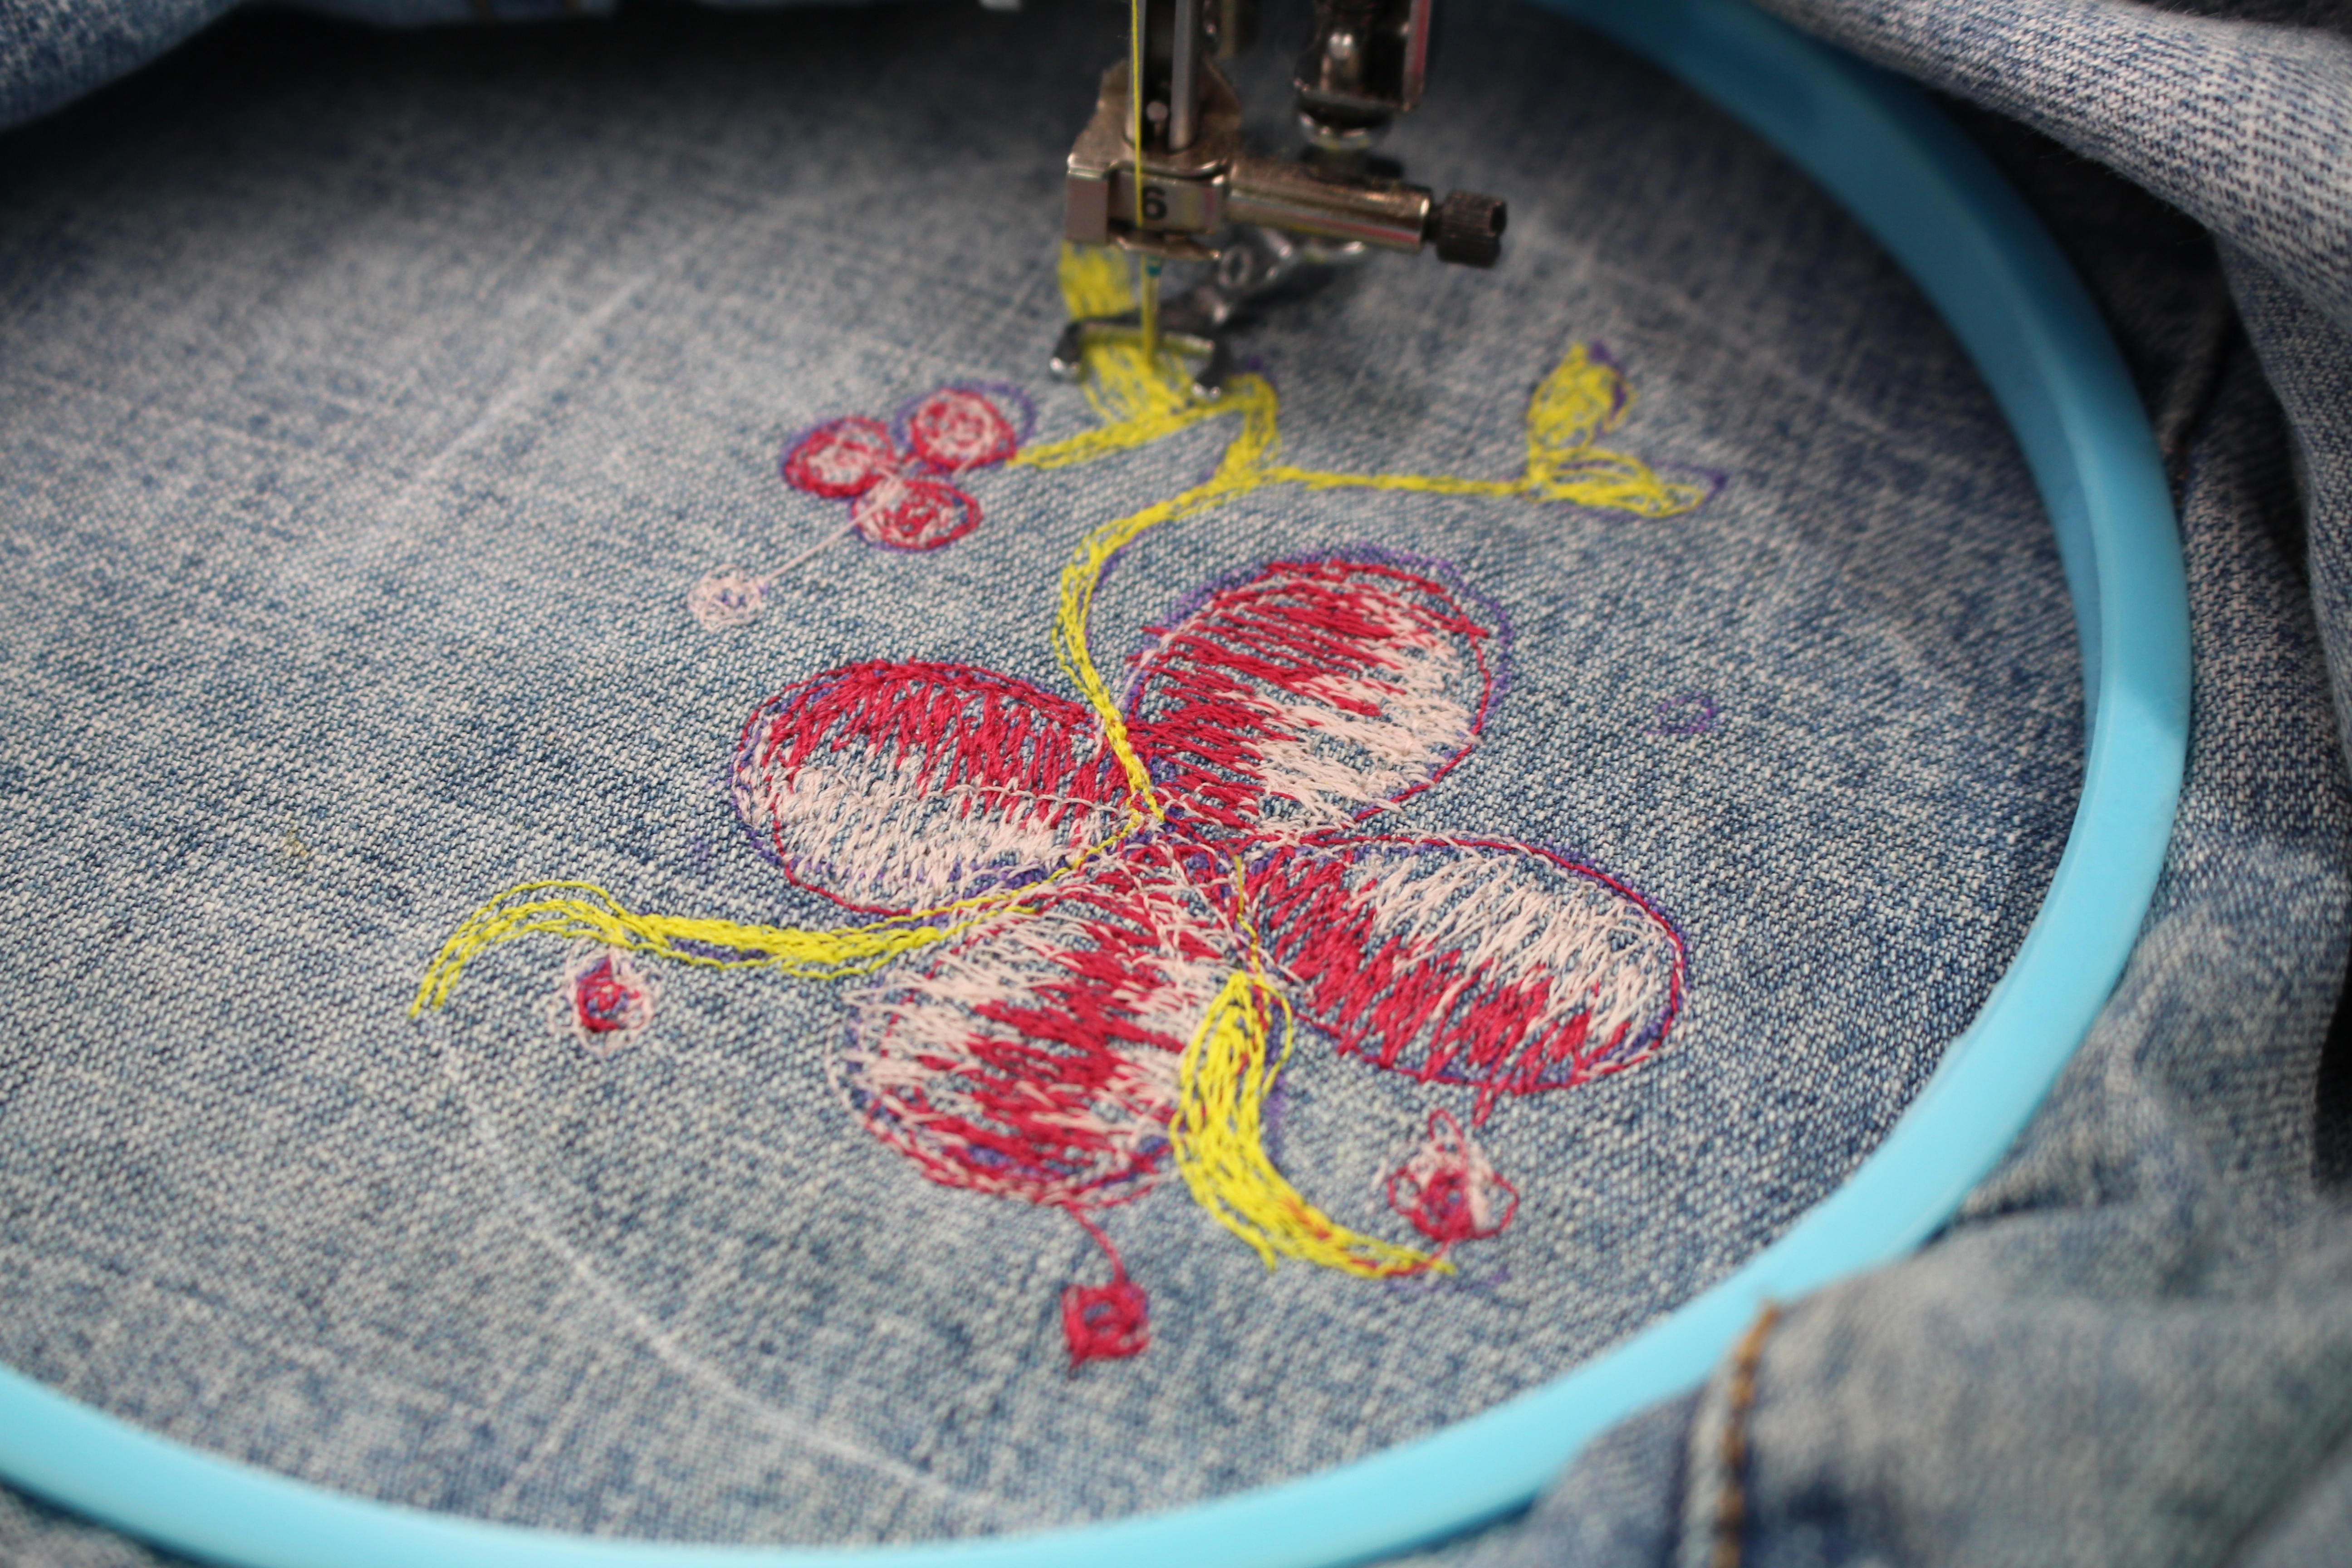
Here I have outlined the design first. Then fill in the petals by moving the machine back and forth with thread. This is your design, so don’t worry about perfection, just have fun! Continue to change colors of thread and paint away J
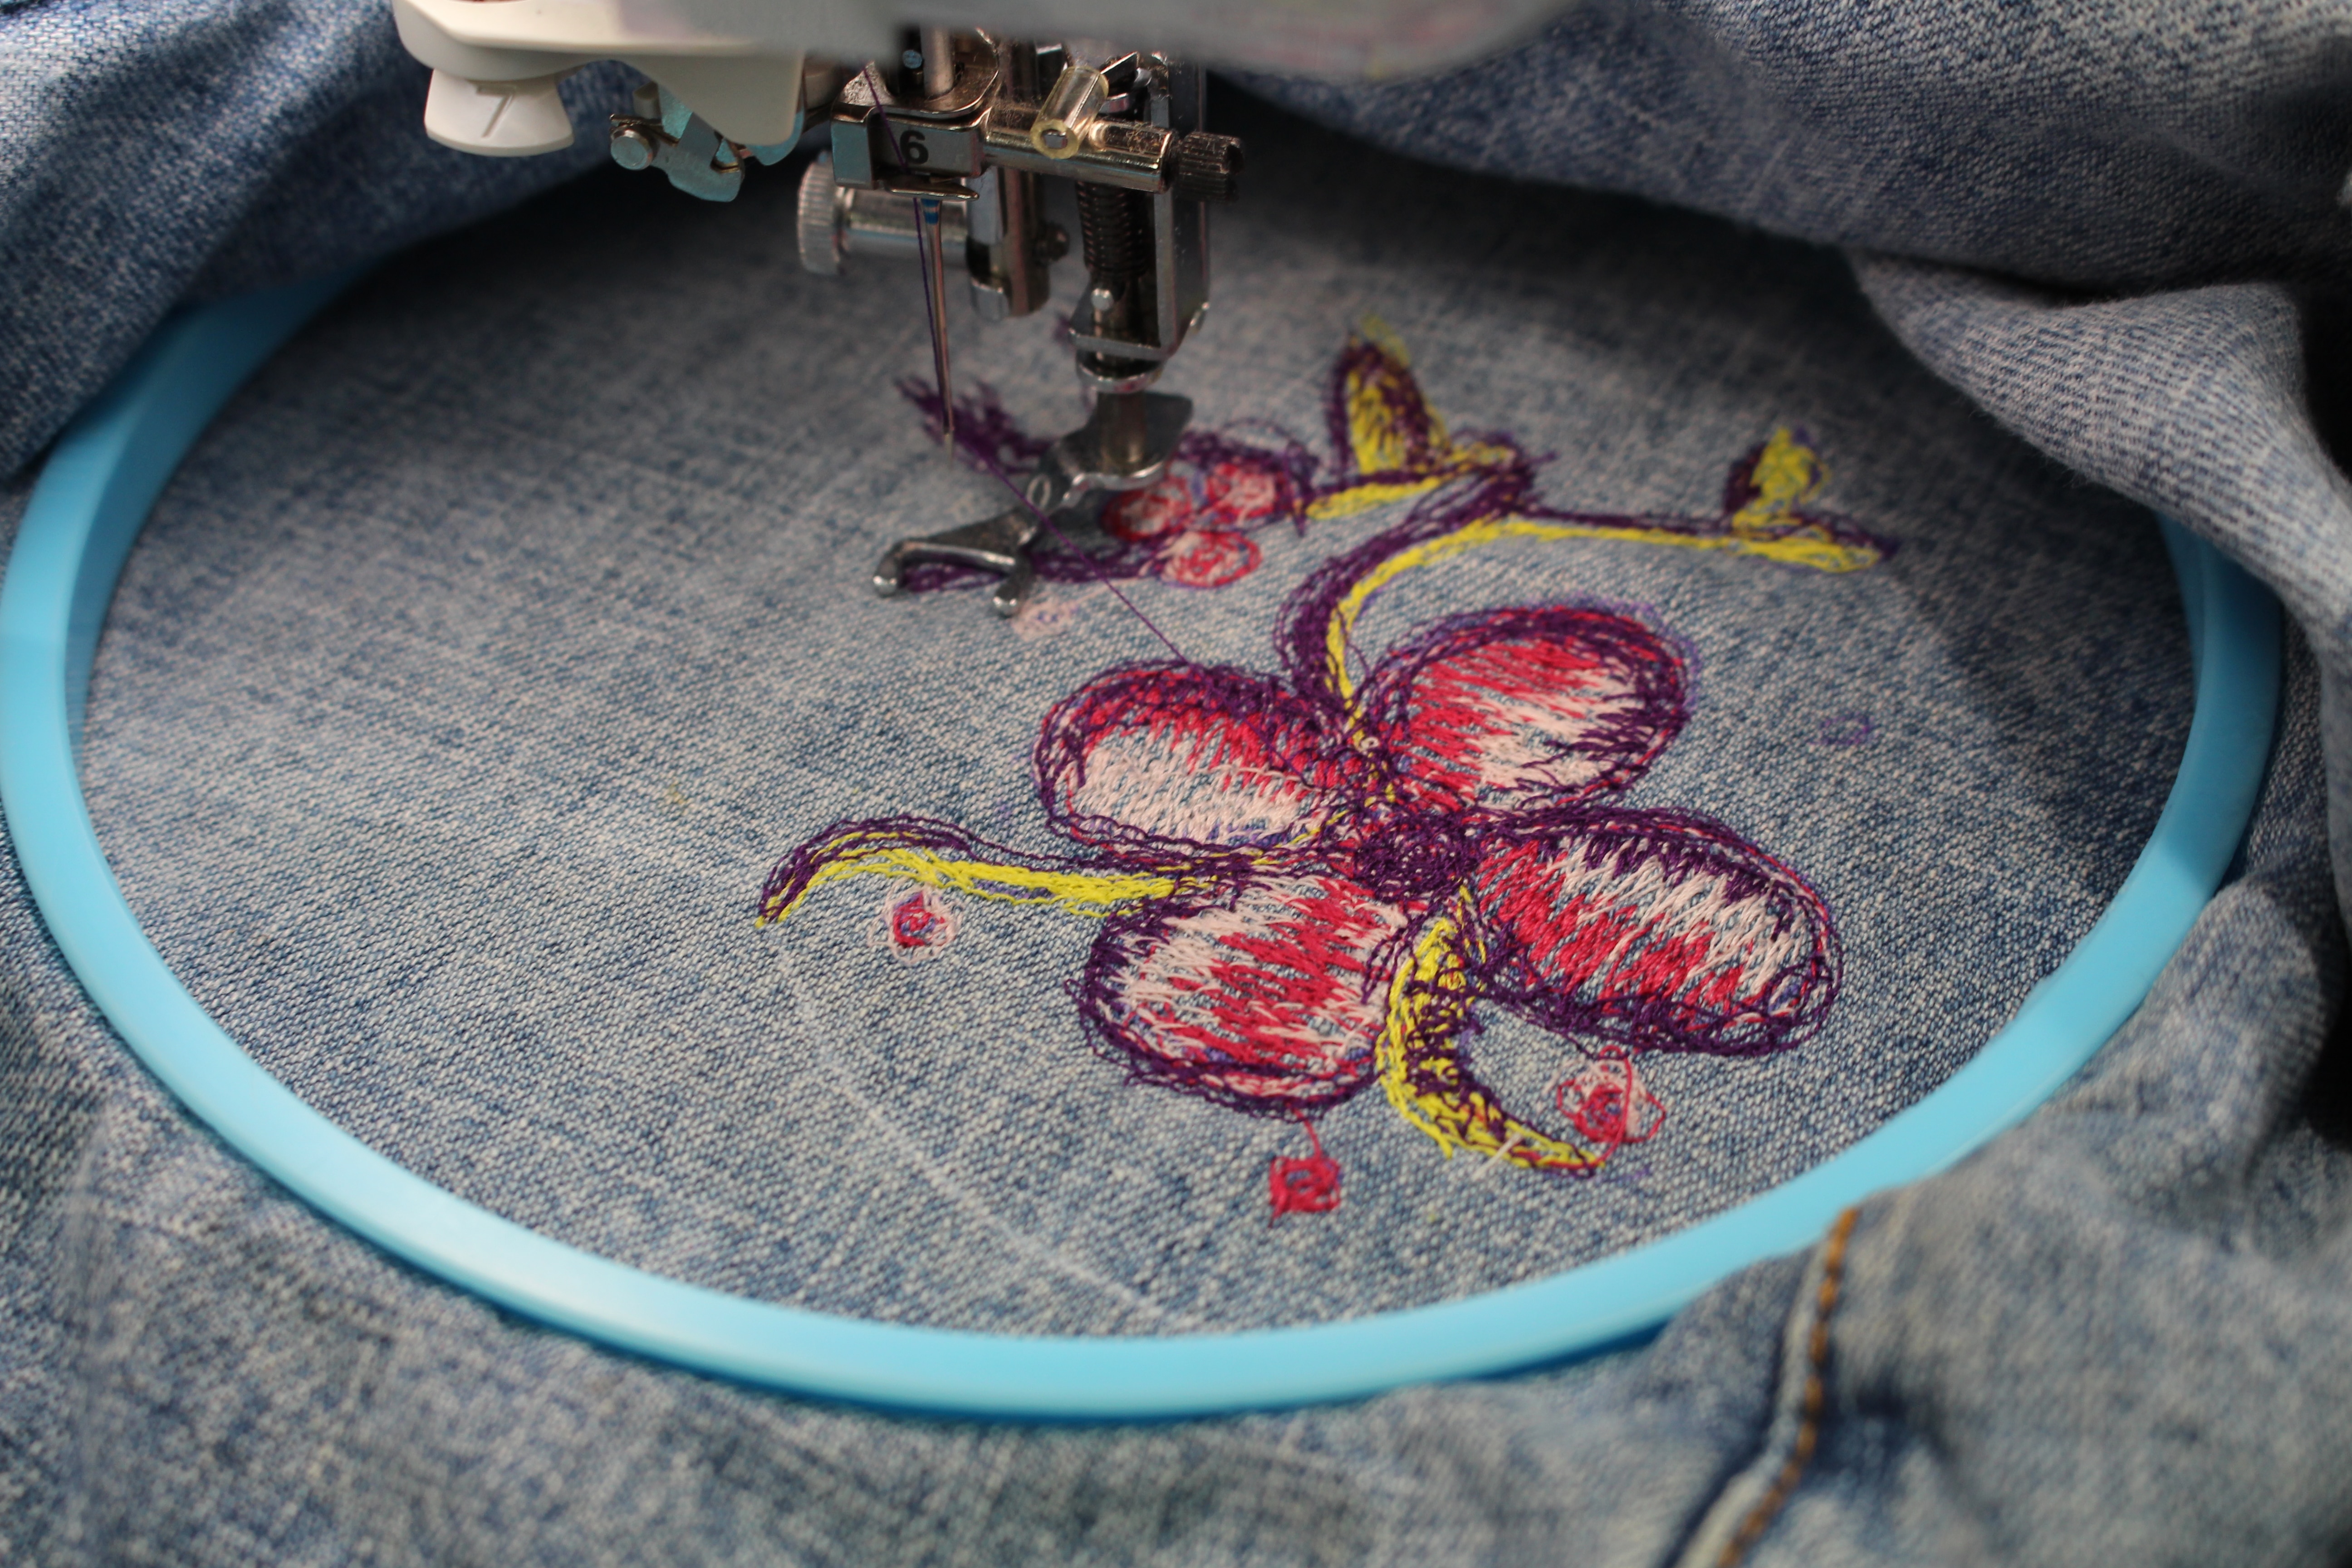
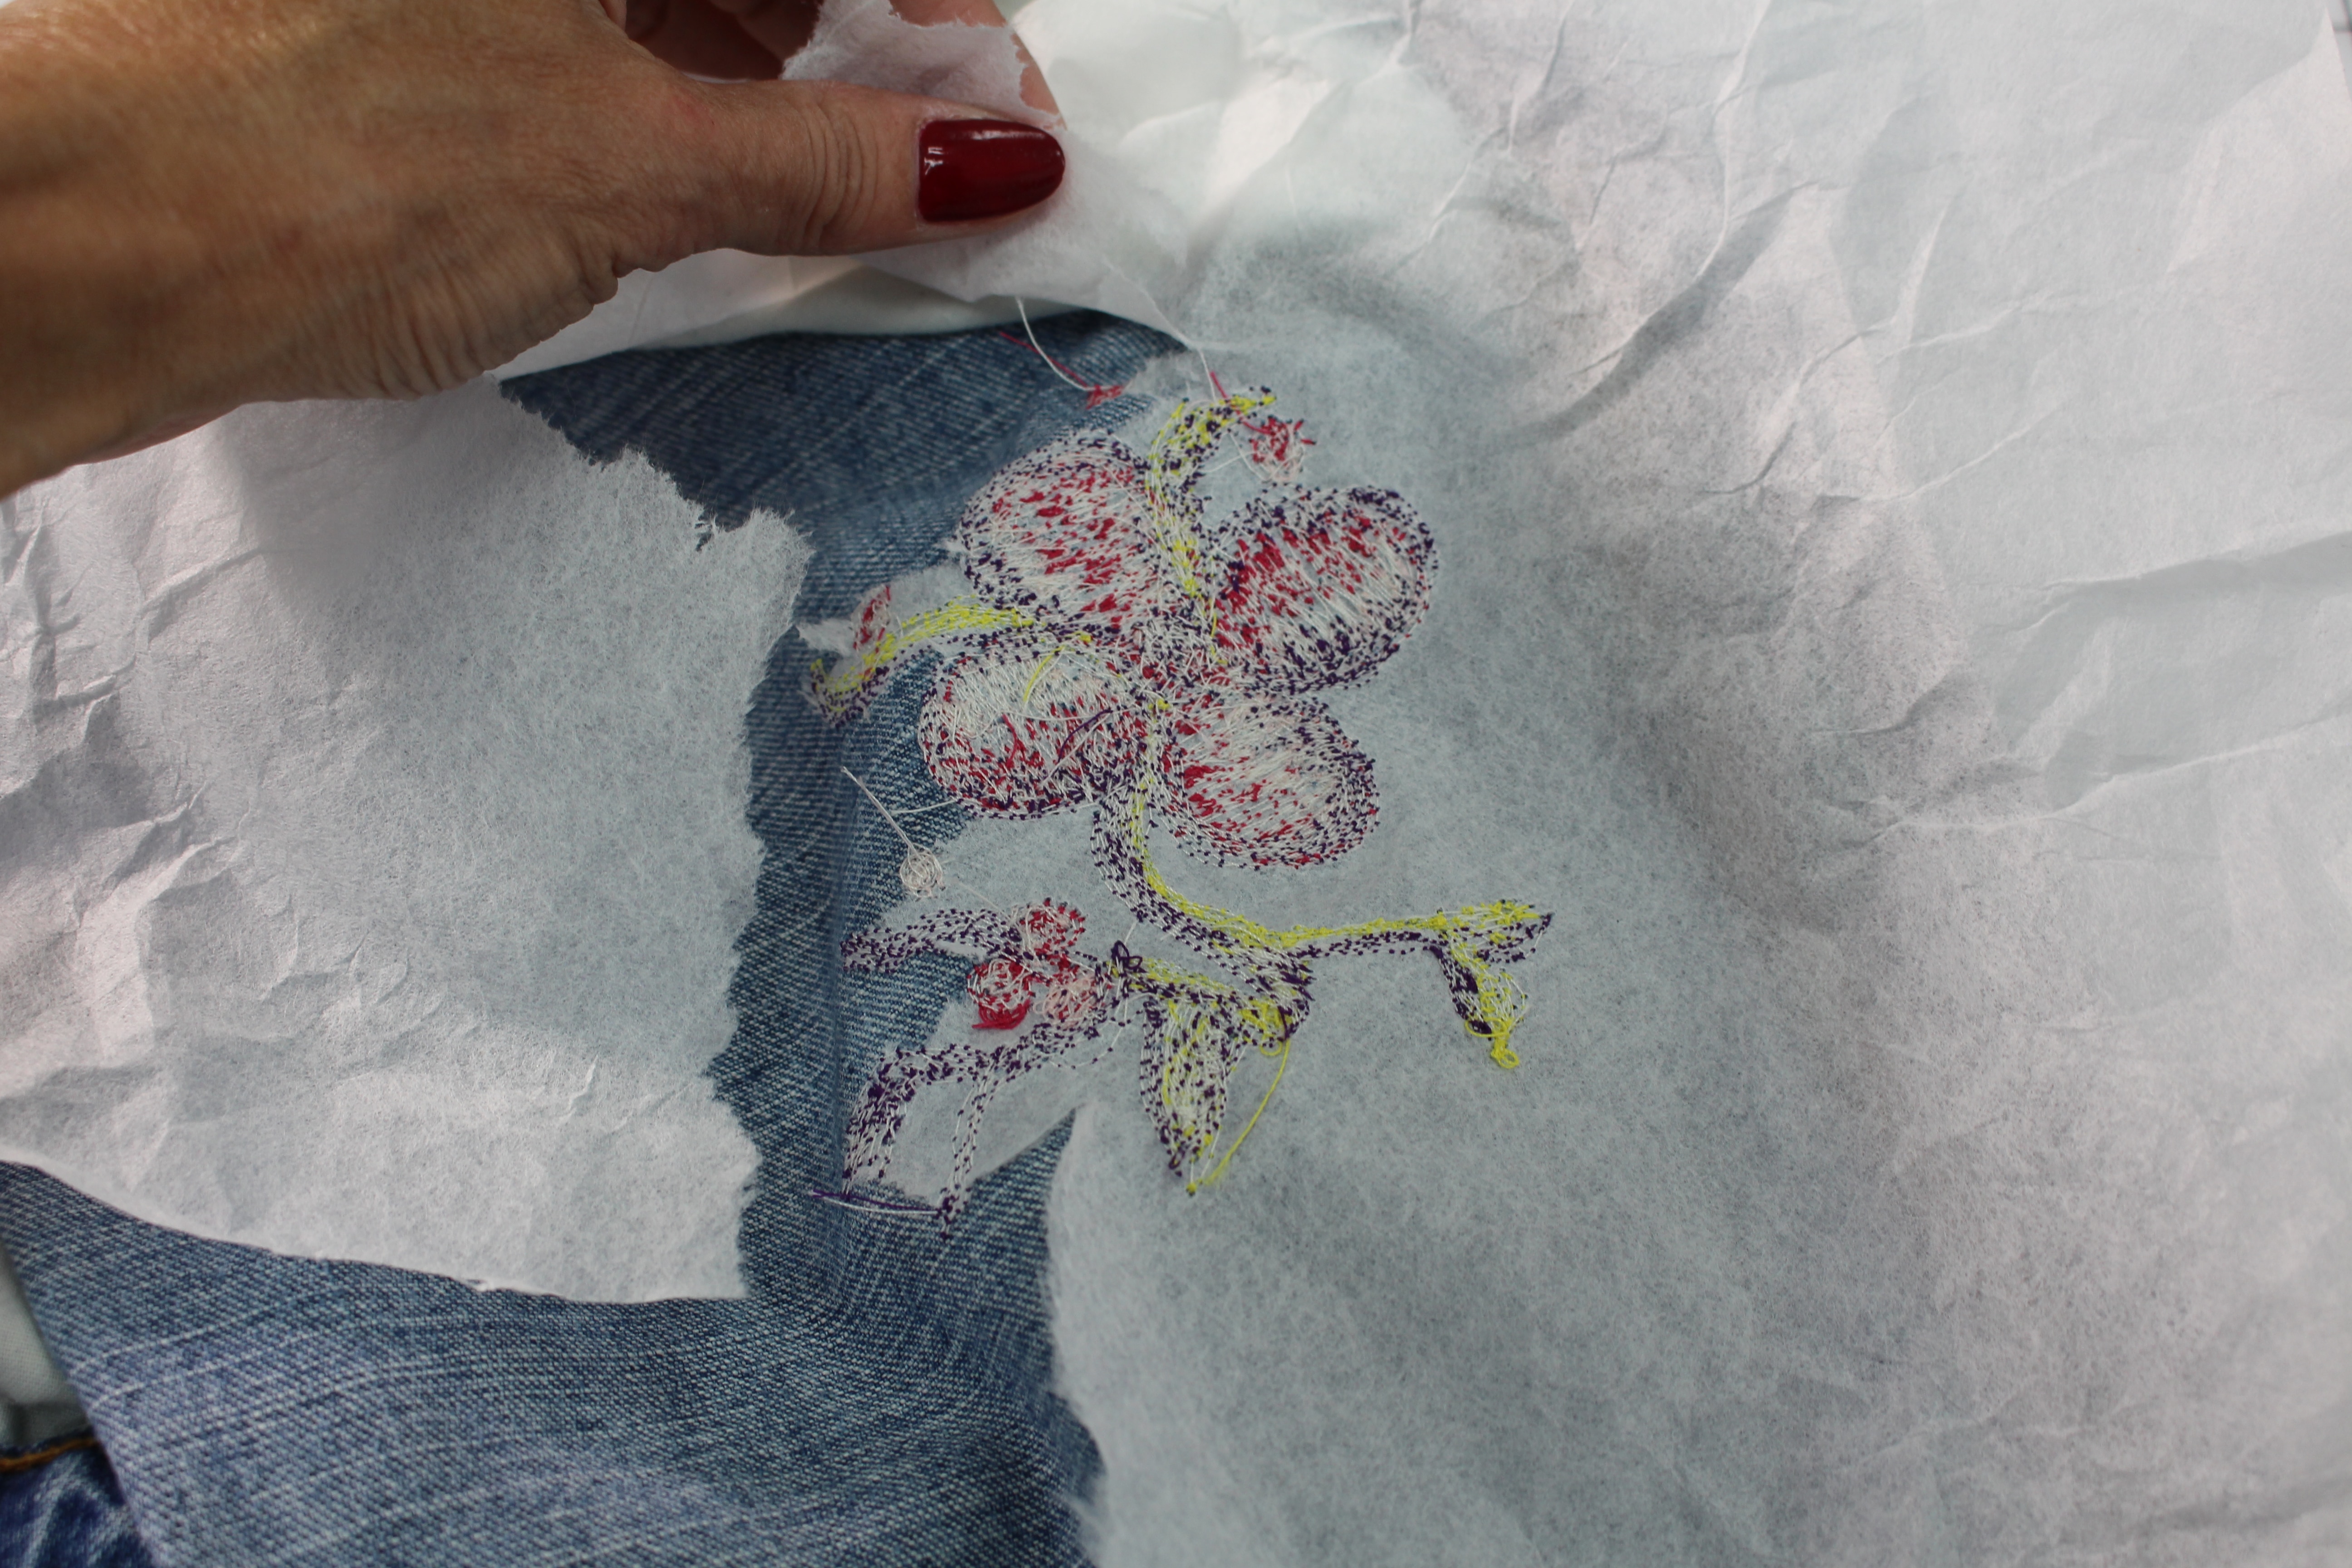
When you are all finished designing, remove the hoop and tear-a-way the stabilizer.
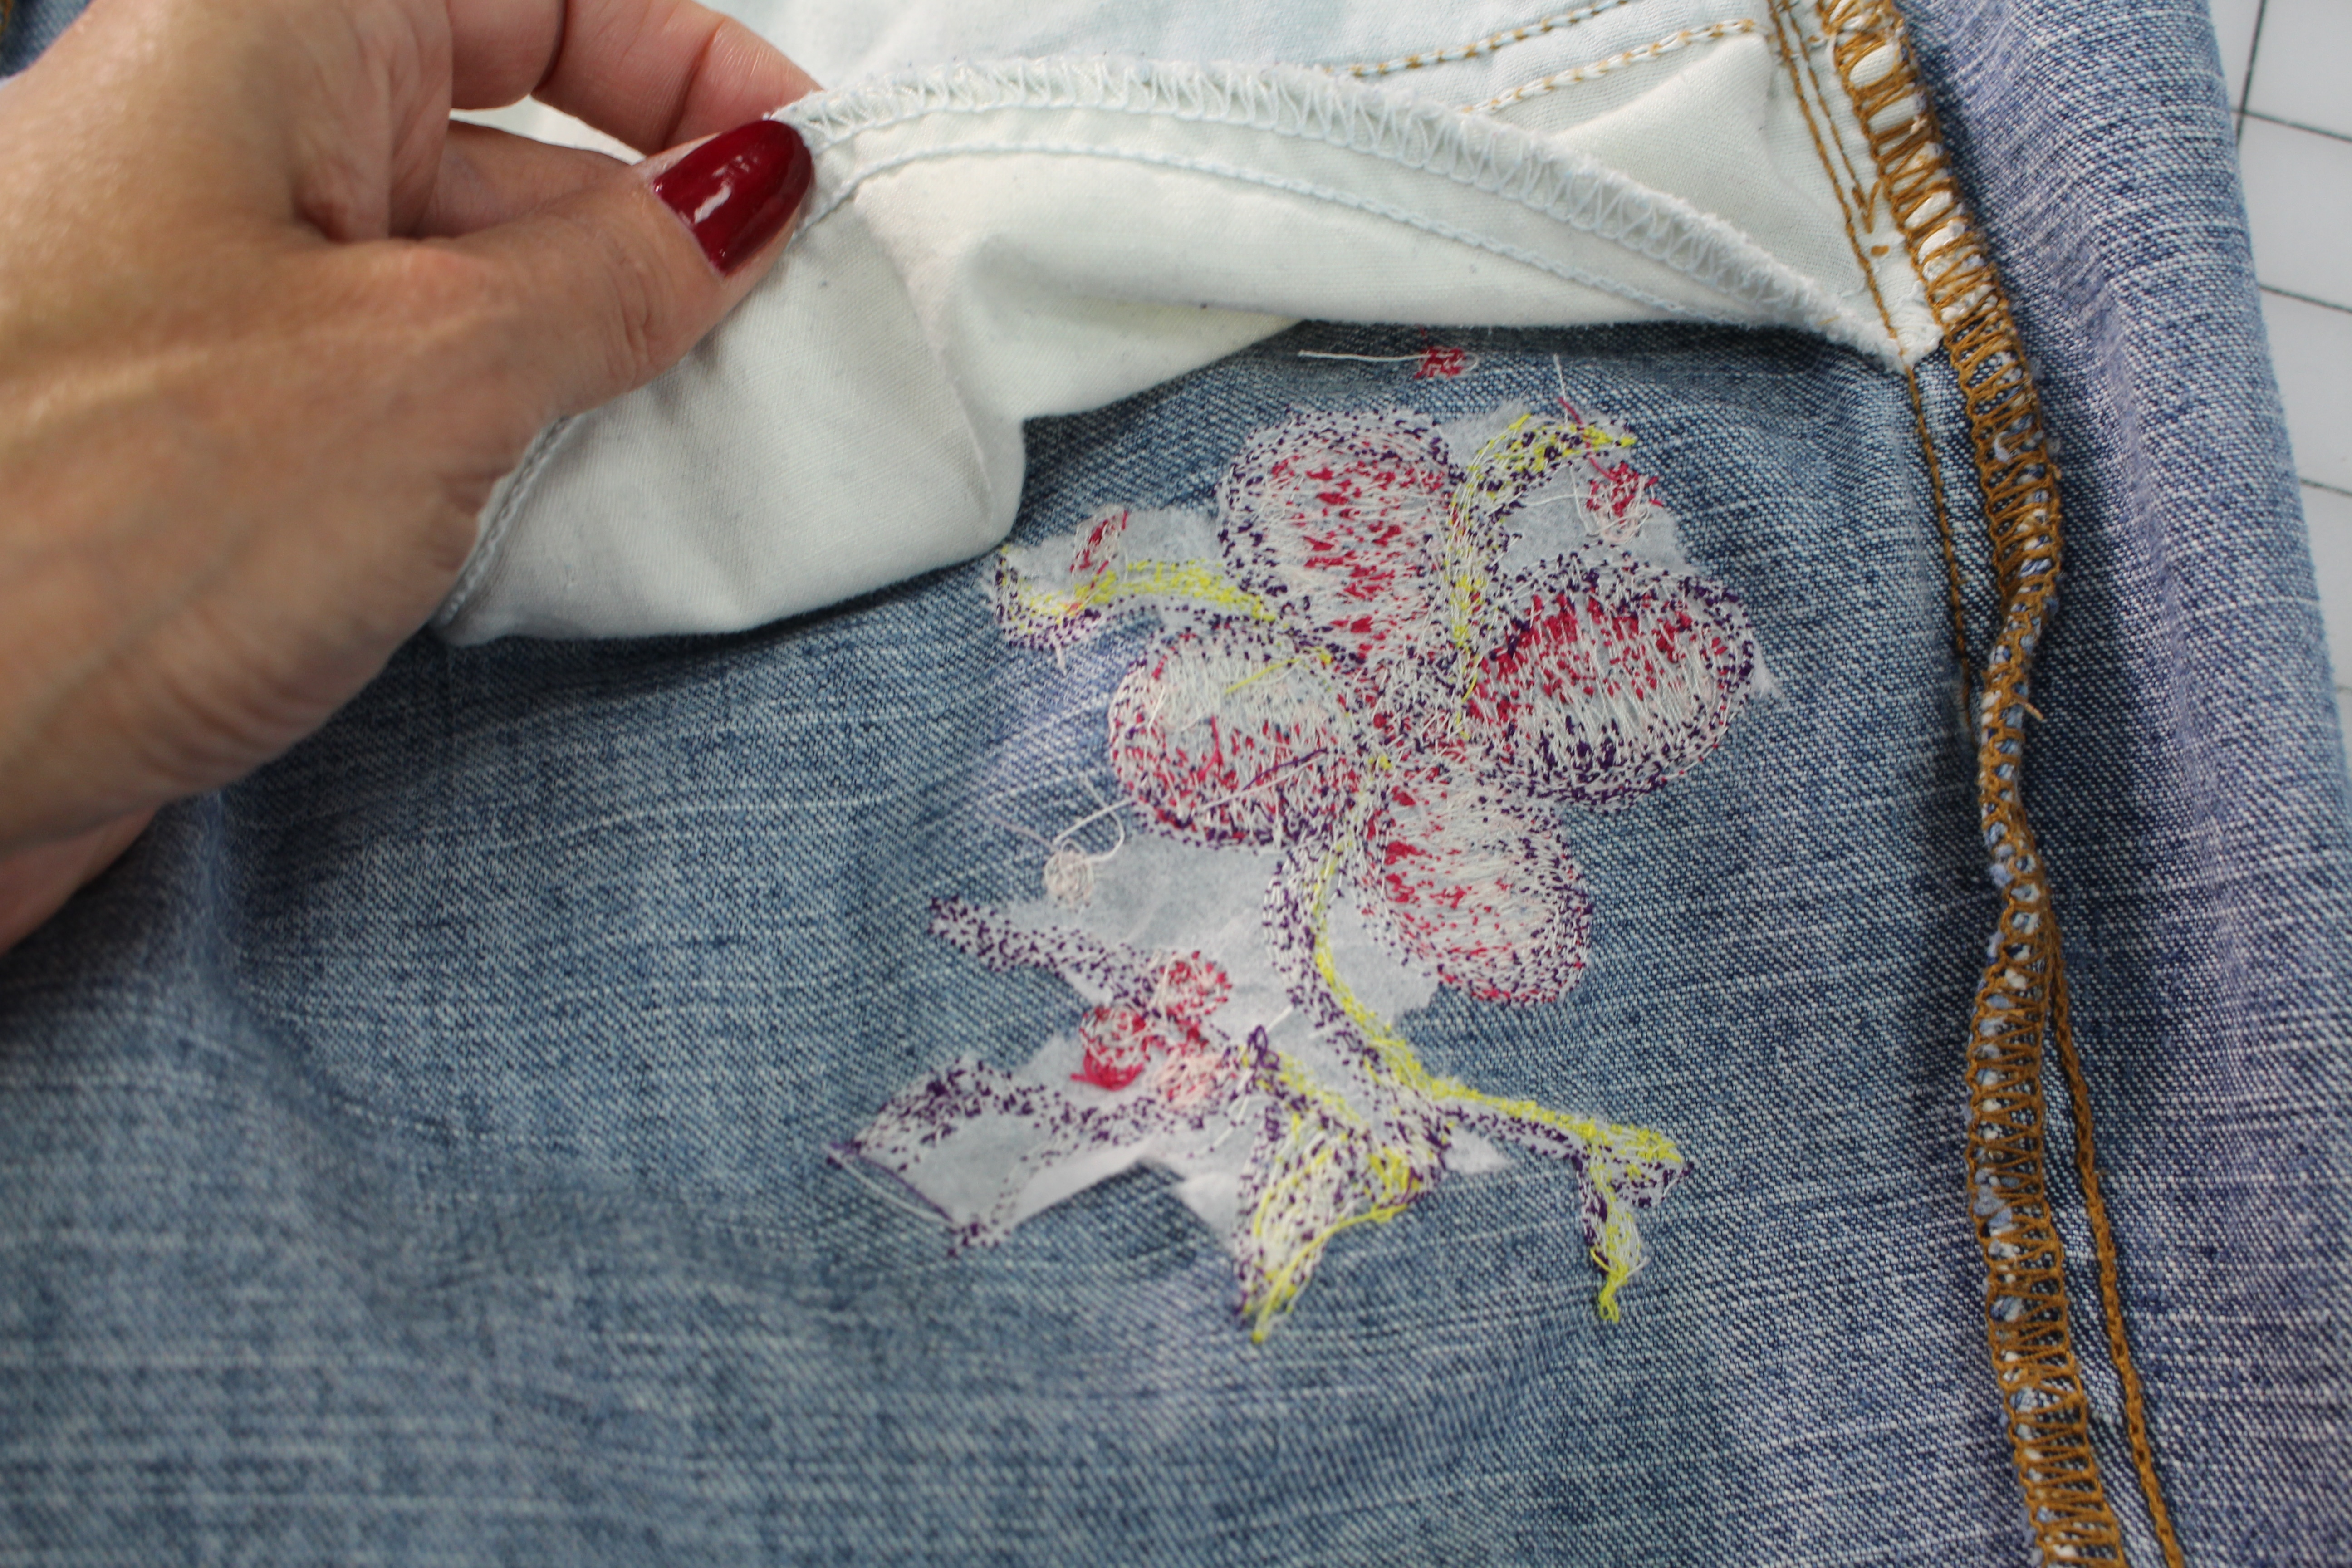
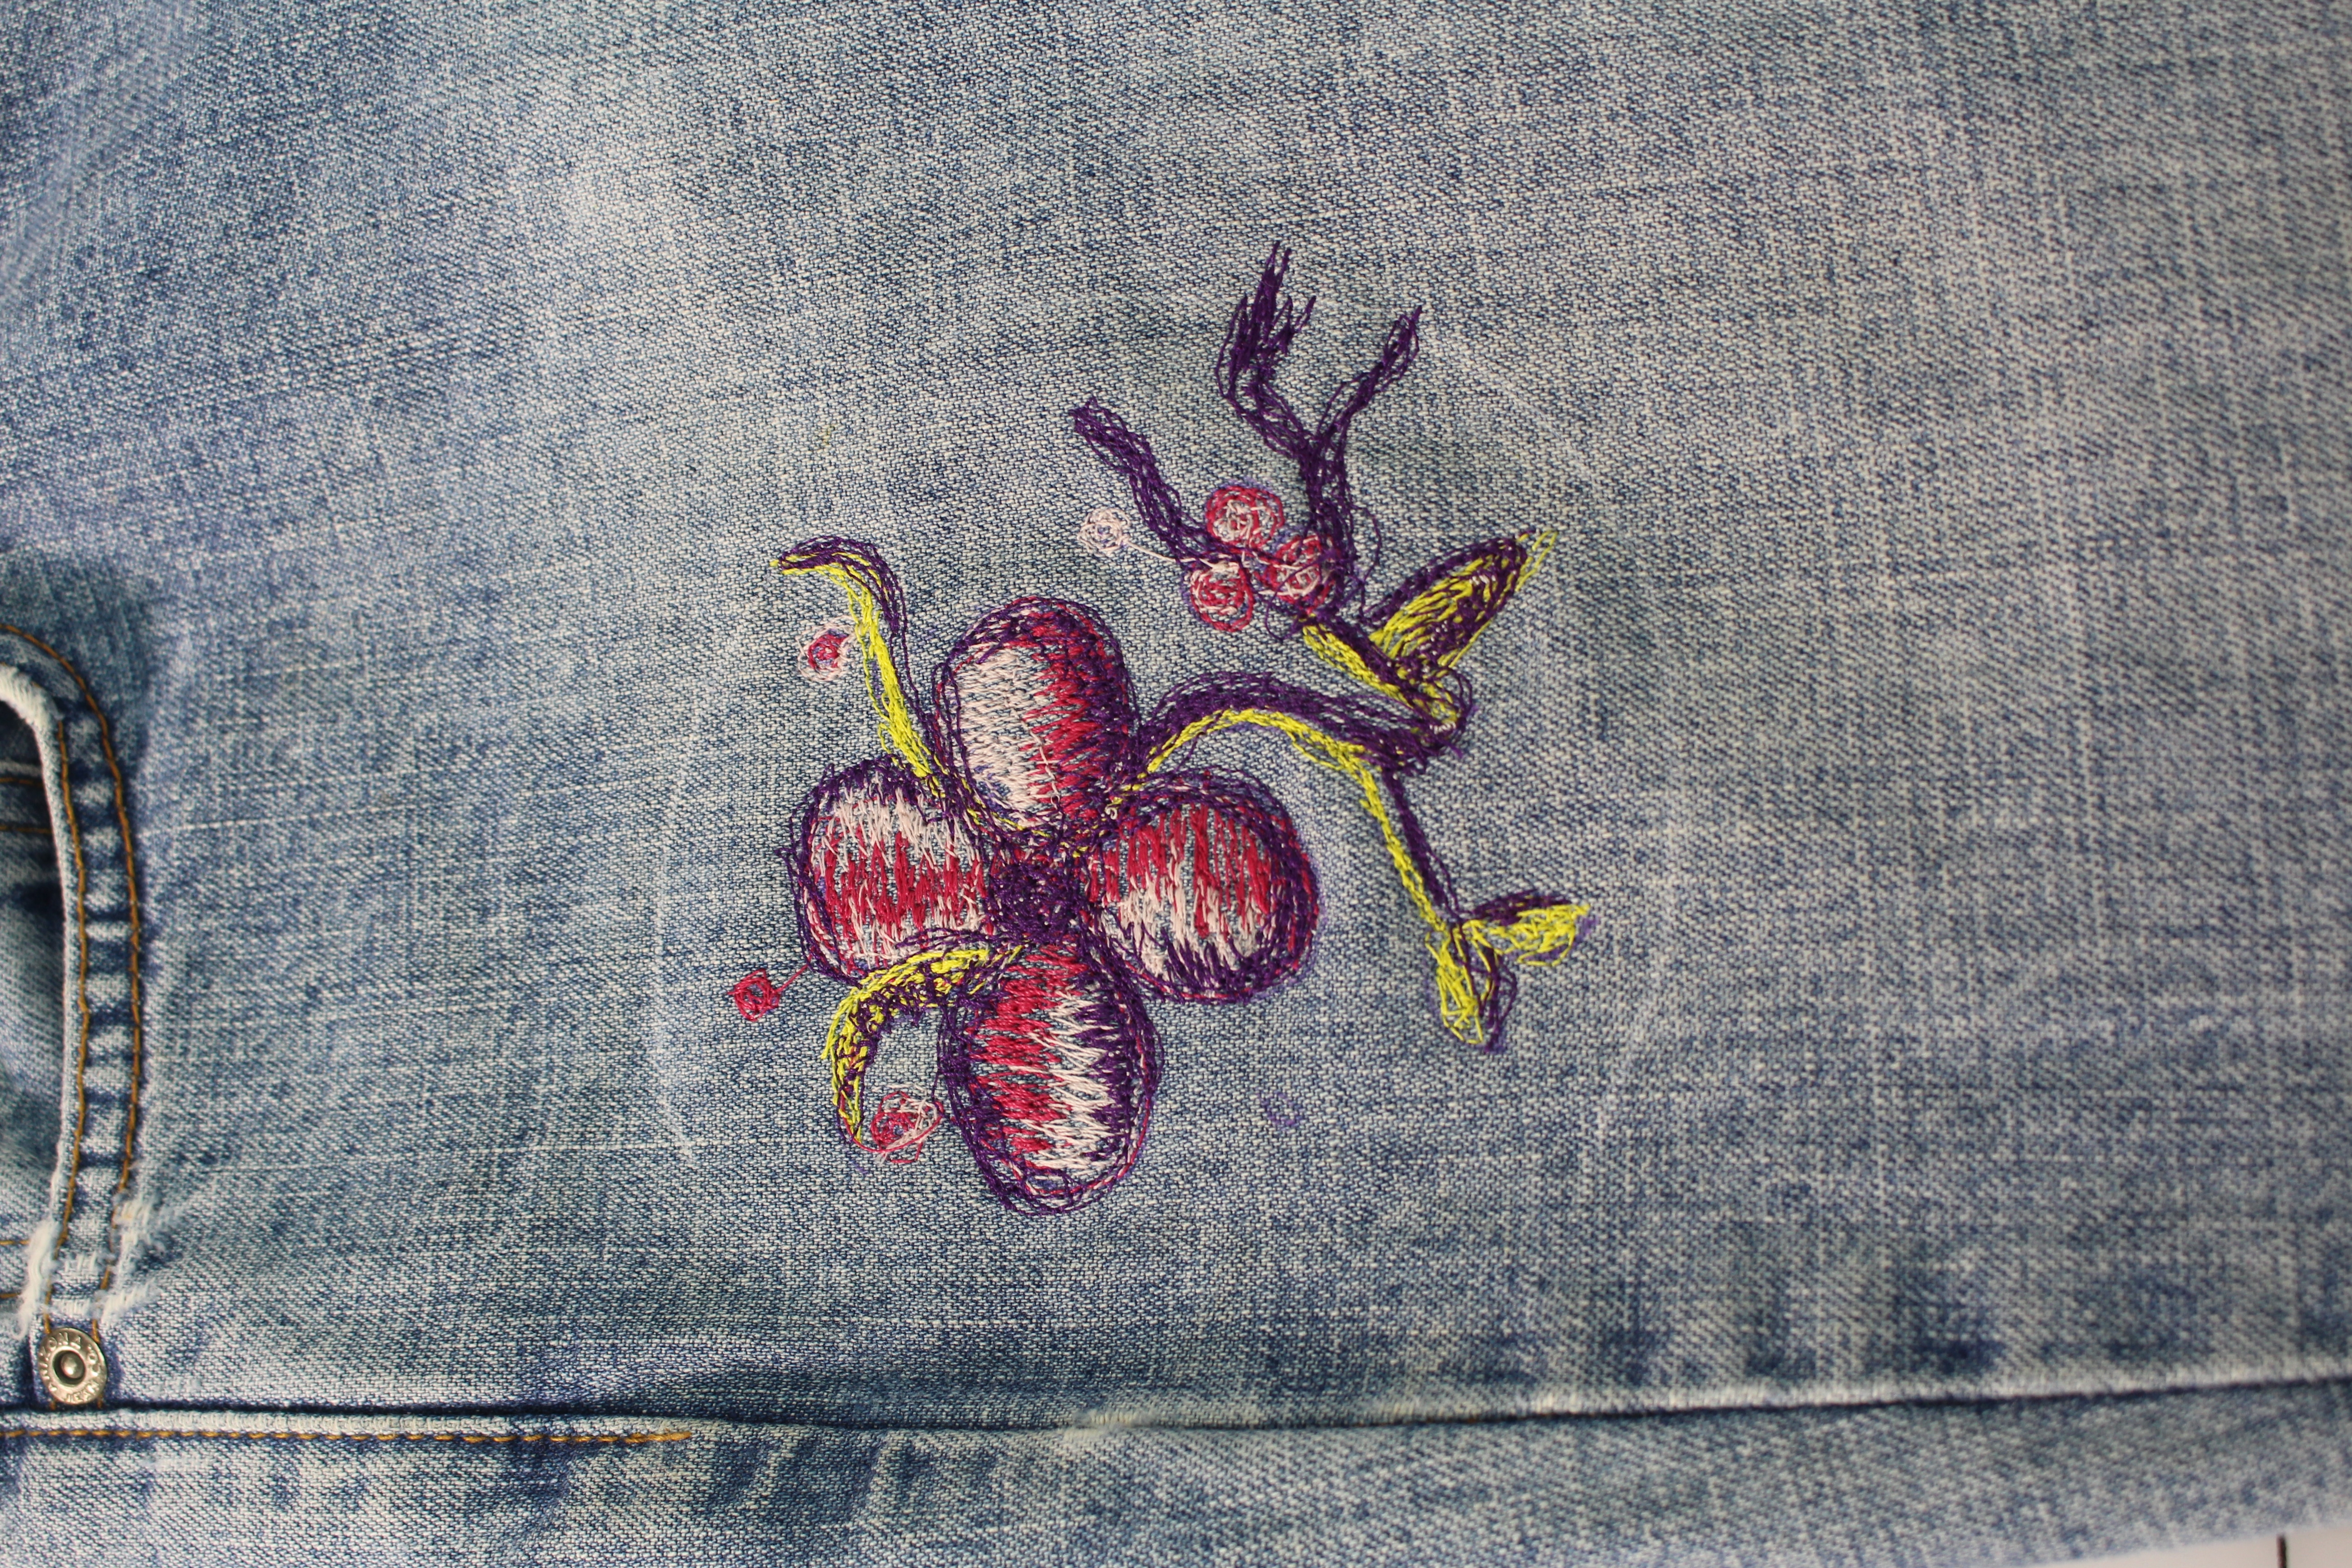
You can see here how my design falls just under the front pocket, perfect! Brush off the chalk marks and your new embellished jeans are ready to go! Be sure to join me on the social side using #angelawolf ♥ I always love to see what you are working on.
Cheers,
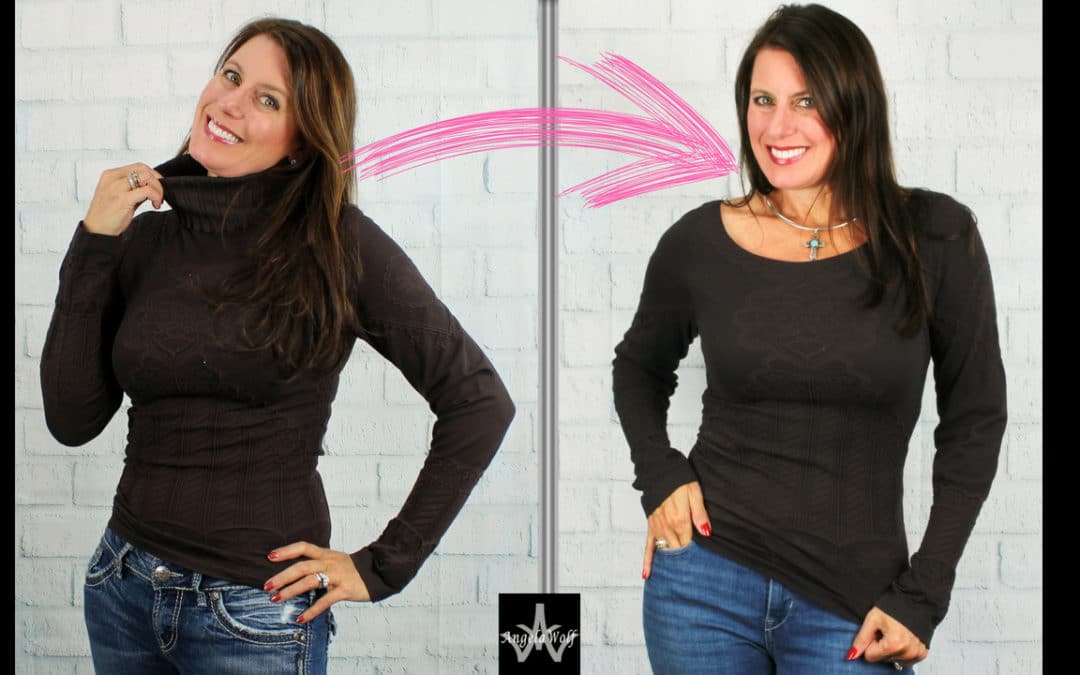

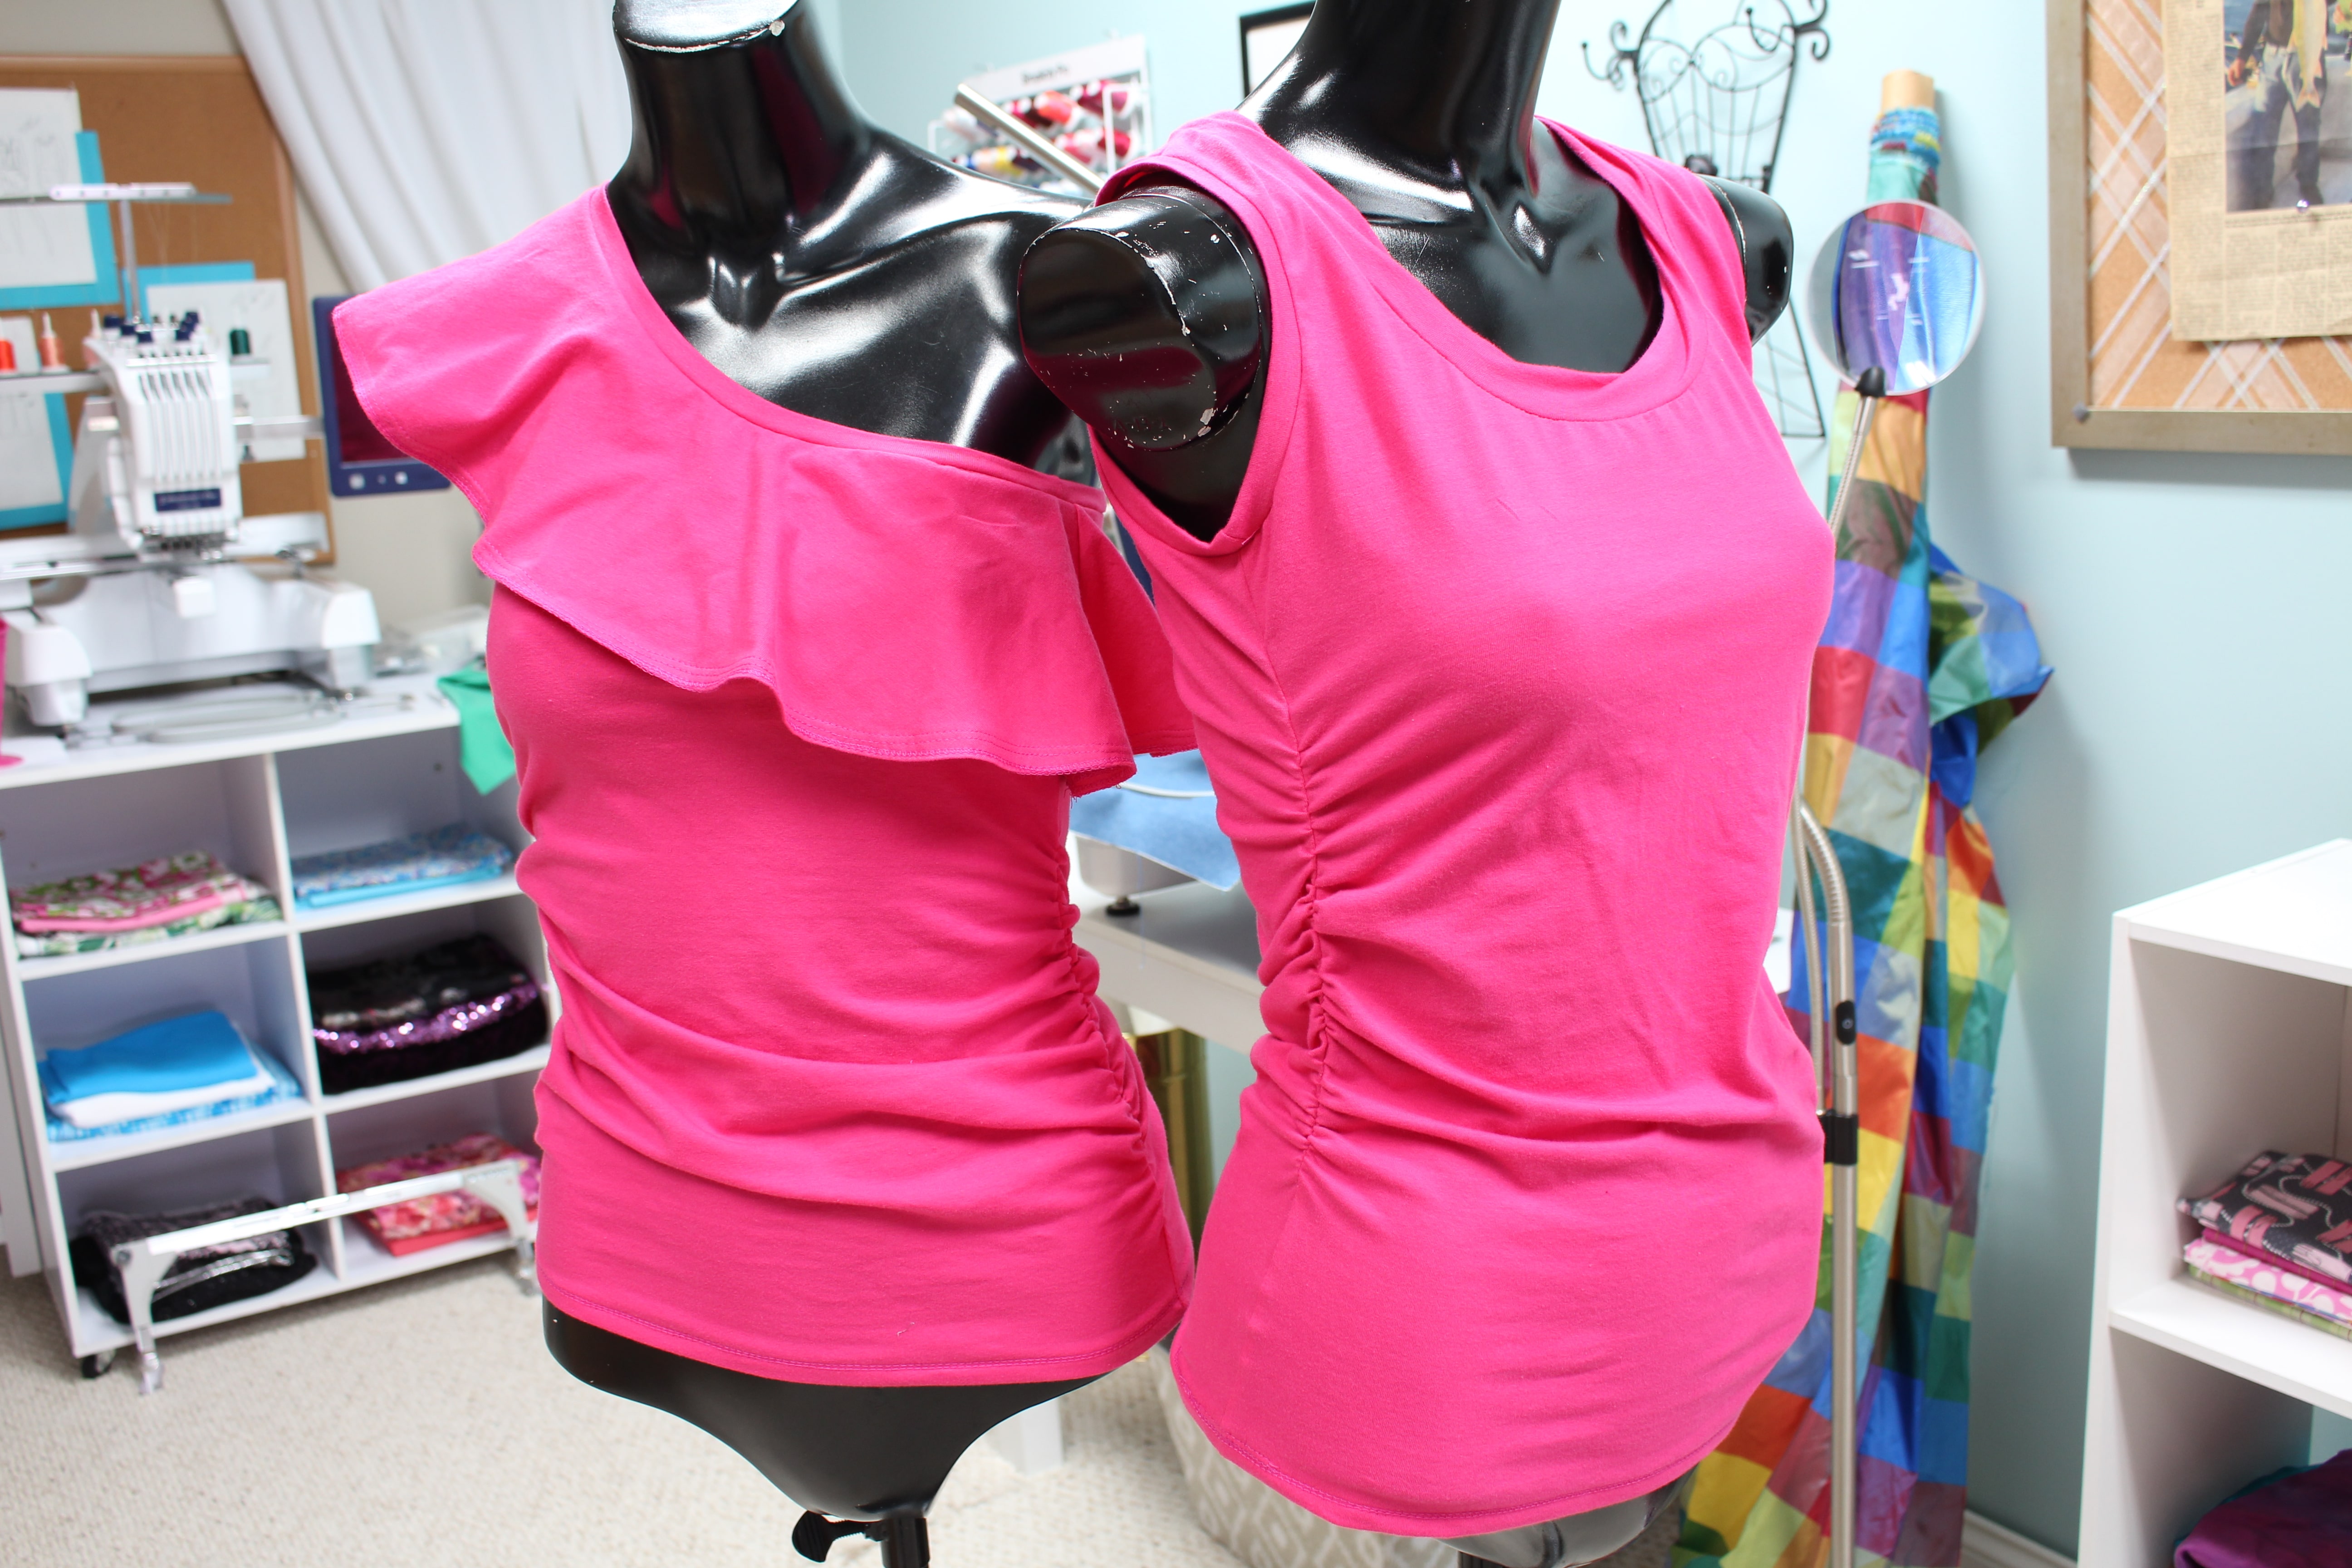
Here is another recycle project for the turtlenecks in our closet and its easy – perfect for beginners! For this sewing tutorial I am using a turtleneck that has a design, but any tank top will work. Click below for the video tutorial and here is a quick recap.
SUPPLIES:
Start by marking the new boat neckline on the turtleneck. I am using a dress form and following the design on the turtleneck. Another option is to measure from the center front and back neck down to the top of the newly desired neckline.
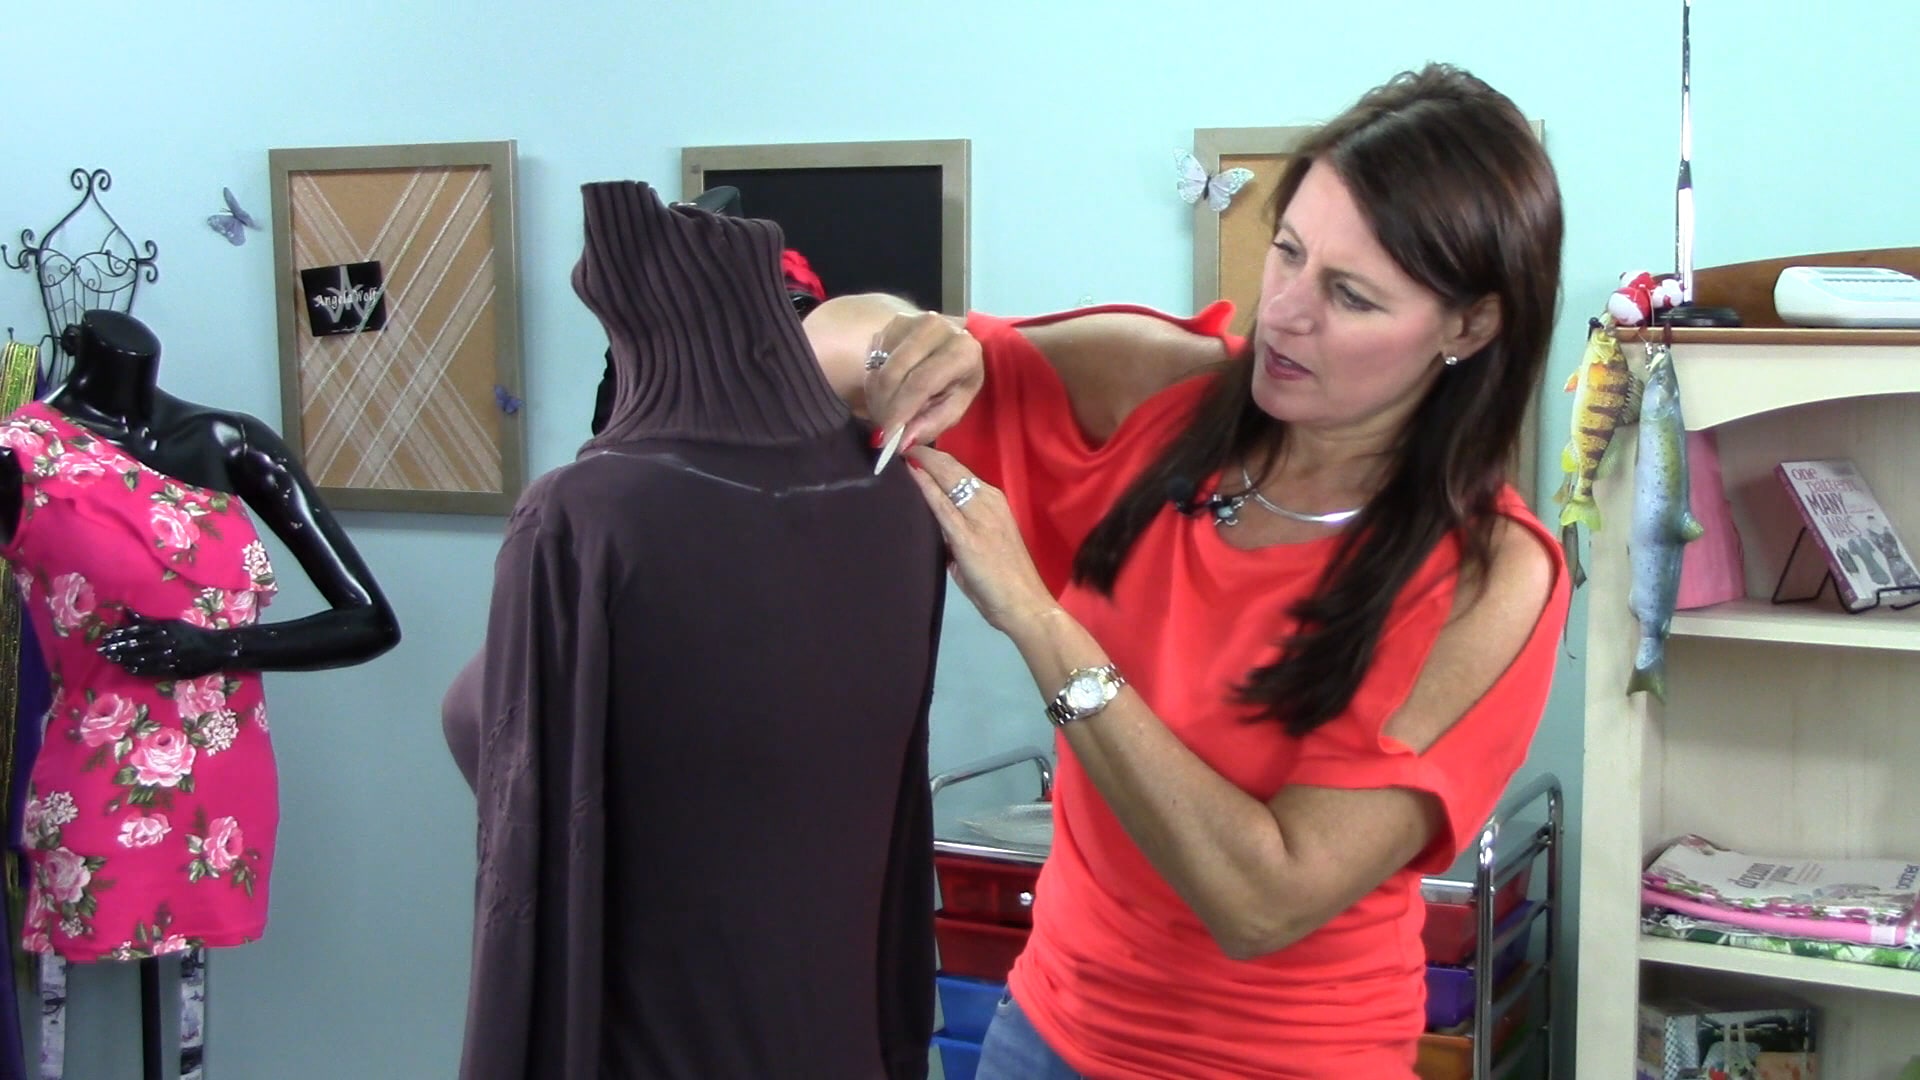
Add a ½” seam allowance and mark the new cutting line. Start cutting higher than the new marking to test the fabric for fraying.
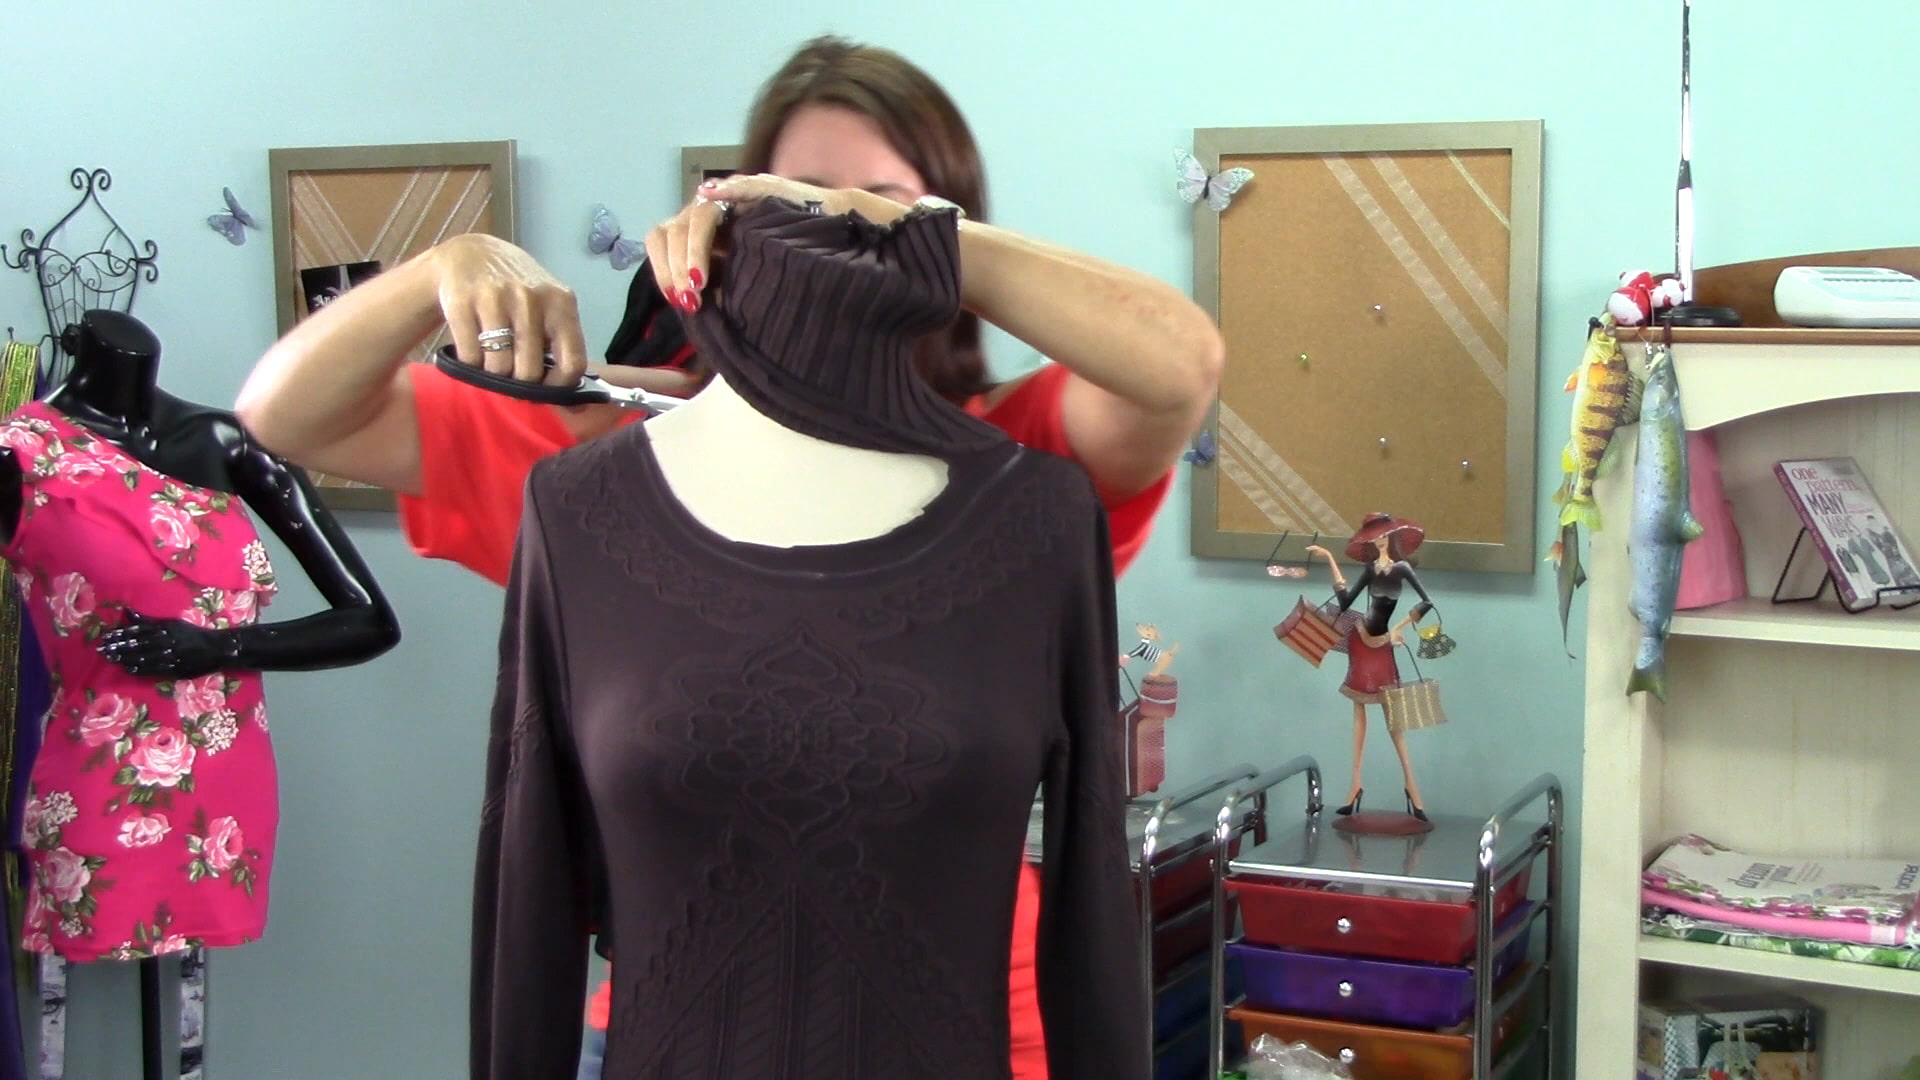
If it is determined the fabric does not fray, then go ahead and cut along the last chalk marked line. If the fabric does fray, leave an extra 1” of fabric from the chalk marked line until after you attach the elastic.
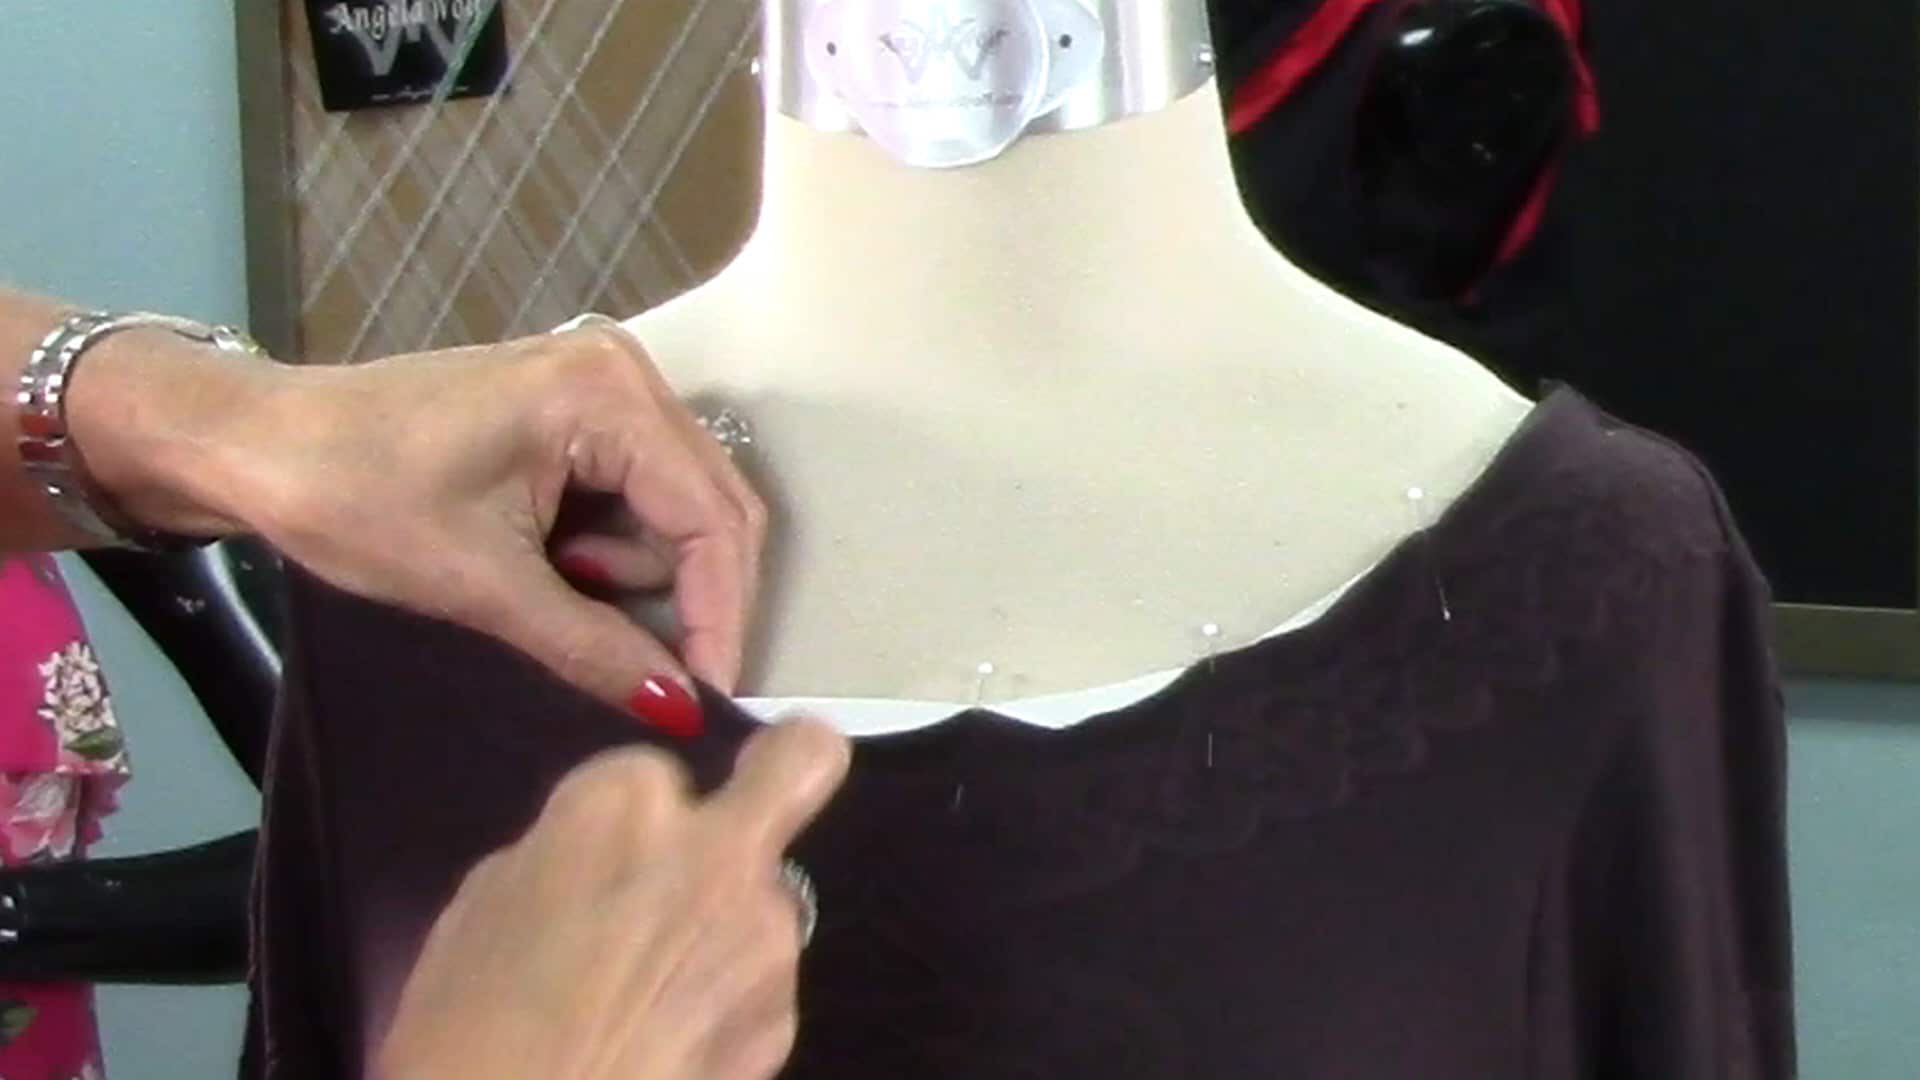
Measure around the circumference around the new neckline. Subtract 1” from that measurement and cut the elastic the same length. Start from the center front and pin the elastic to the wrong side of the fabric. Stretch the elastic as you pin so the elastic is a little shorter in length than the fabric. Continue to pin all the way around the top. When you get to the center back, cross the elastic ends and pin to secure. To read the full blog, head over to my post as a Brother Expert Consultant on the Brother Stitching Sewcial or watch the video below.
I would love to see your creative designs, be sure to tag me if you post a photo #angelawolf #brothersews
Cheers,
I would love to see your creative designs, be sure to tag me if you post a photo #angelawolf #brothersews
Cheers,
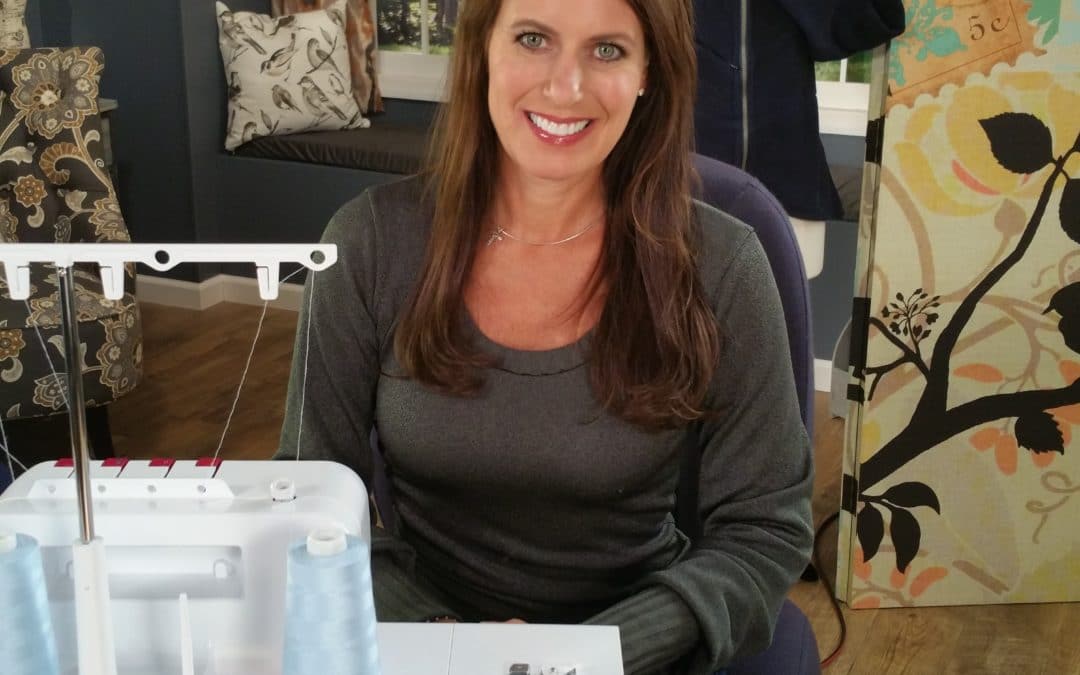
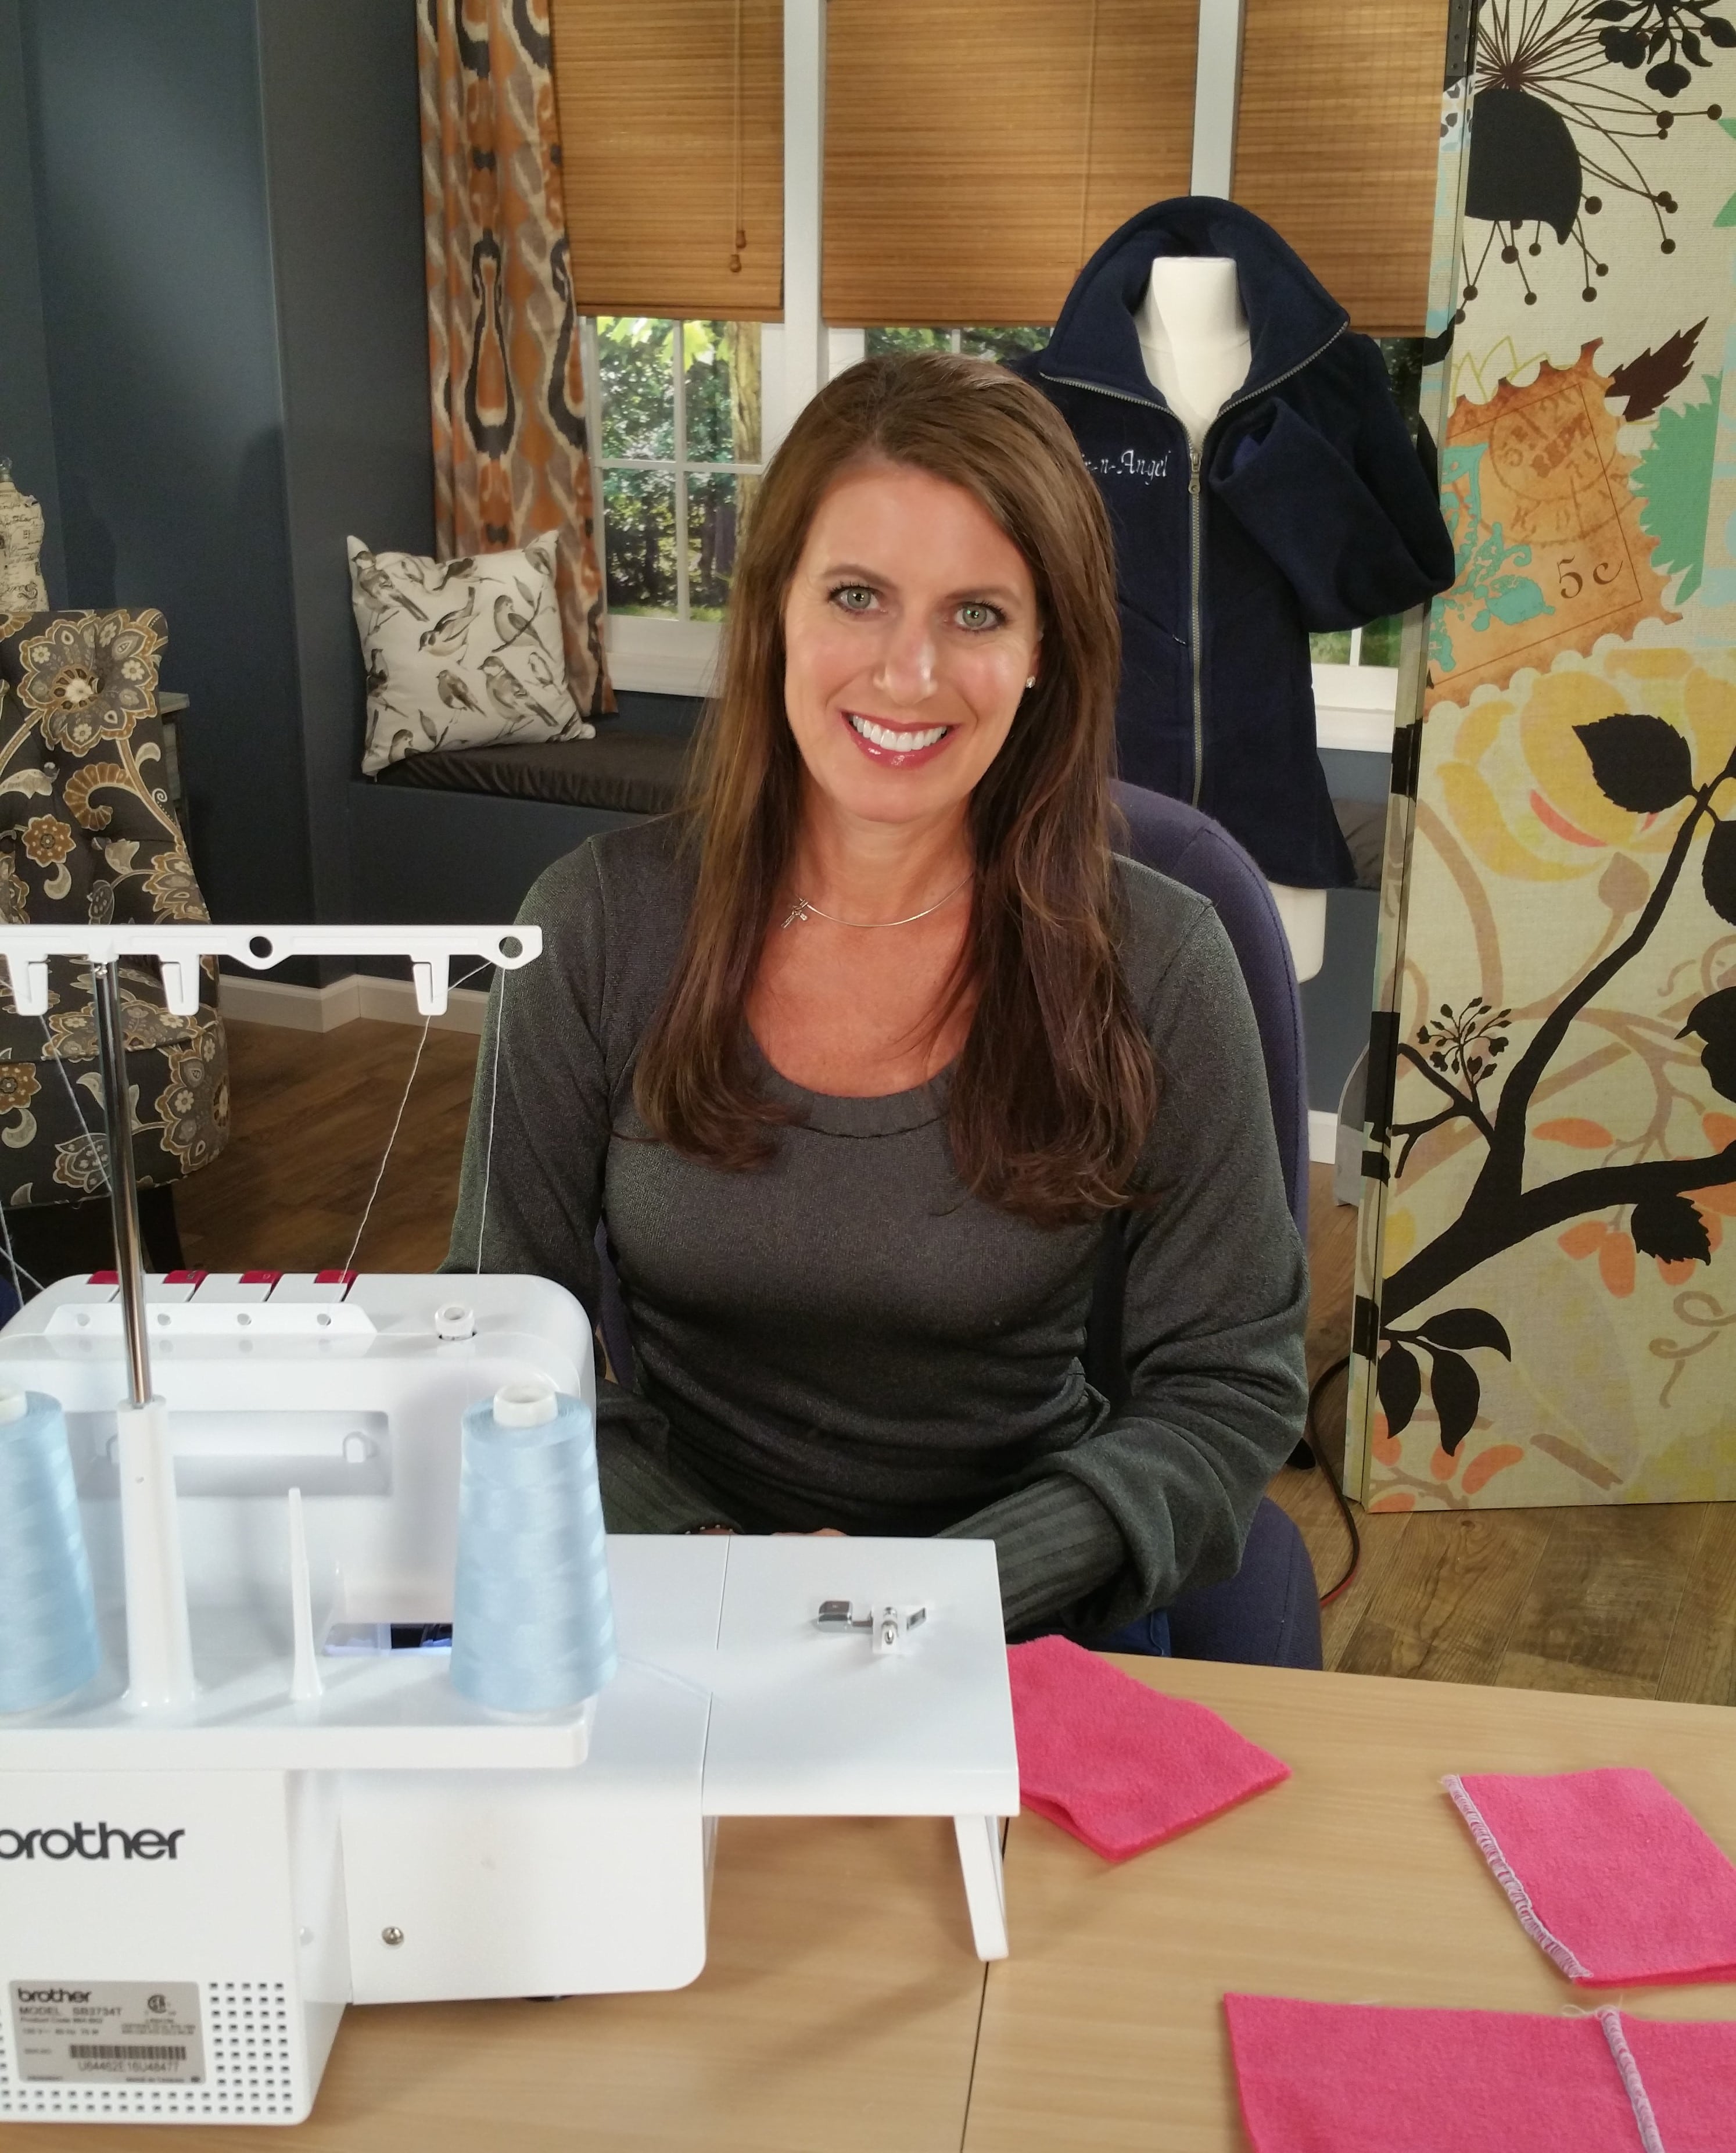
There are so many stitches we can do with our serger / overlock machines! You might recognize the flatlock stitch as seen on sportswear or a decorative stitch used to connect two pieces of fabric. This stitch is fun and easy to do!
Supplies:
Use the blind hem foot – alter the settings on the foot to stitch across half of the fabric.
Watch the It’s Sew Easy Episode below for details on where to position the fabric to create the flatlock stitch. Be sure to test the fabric and stitch before starting a project. Depending on the thickness of the fabric, the blind hem foot will need to be adjusted to the right or left for a wider or narrower stitch.
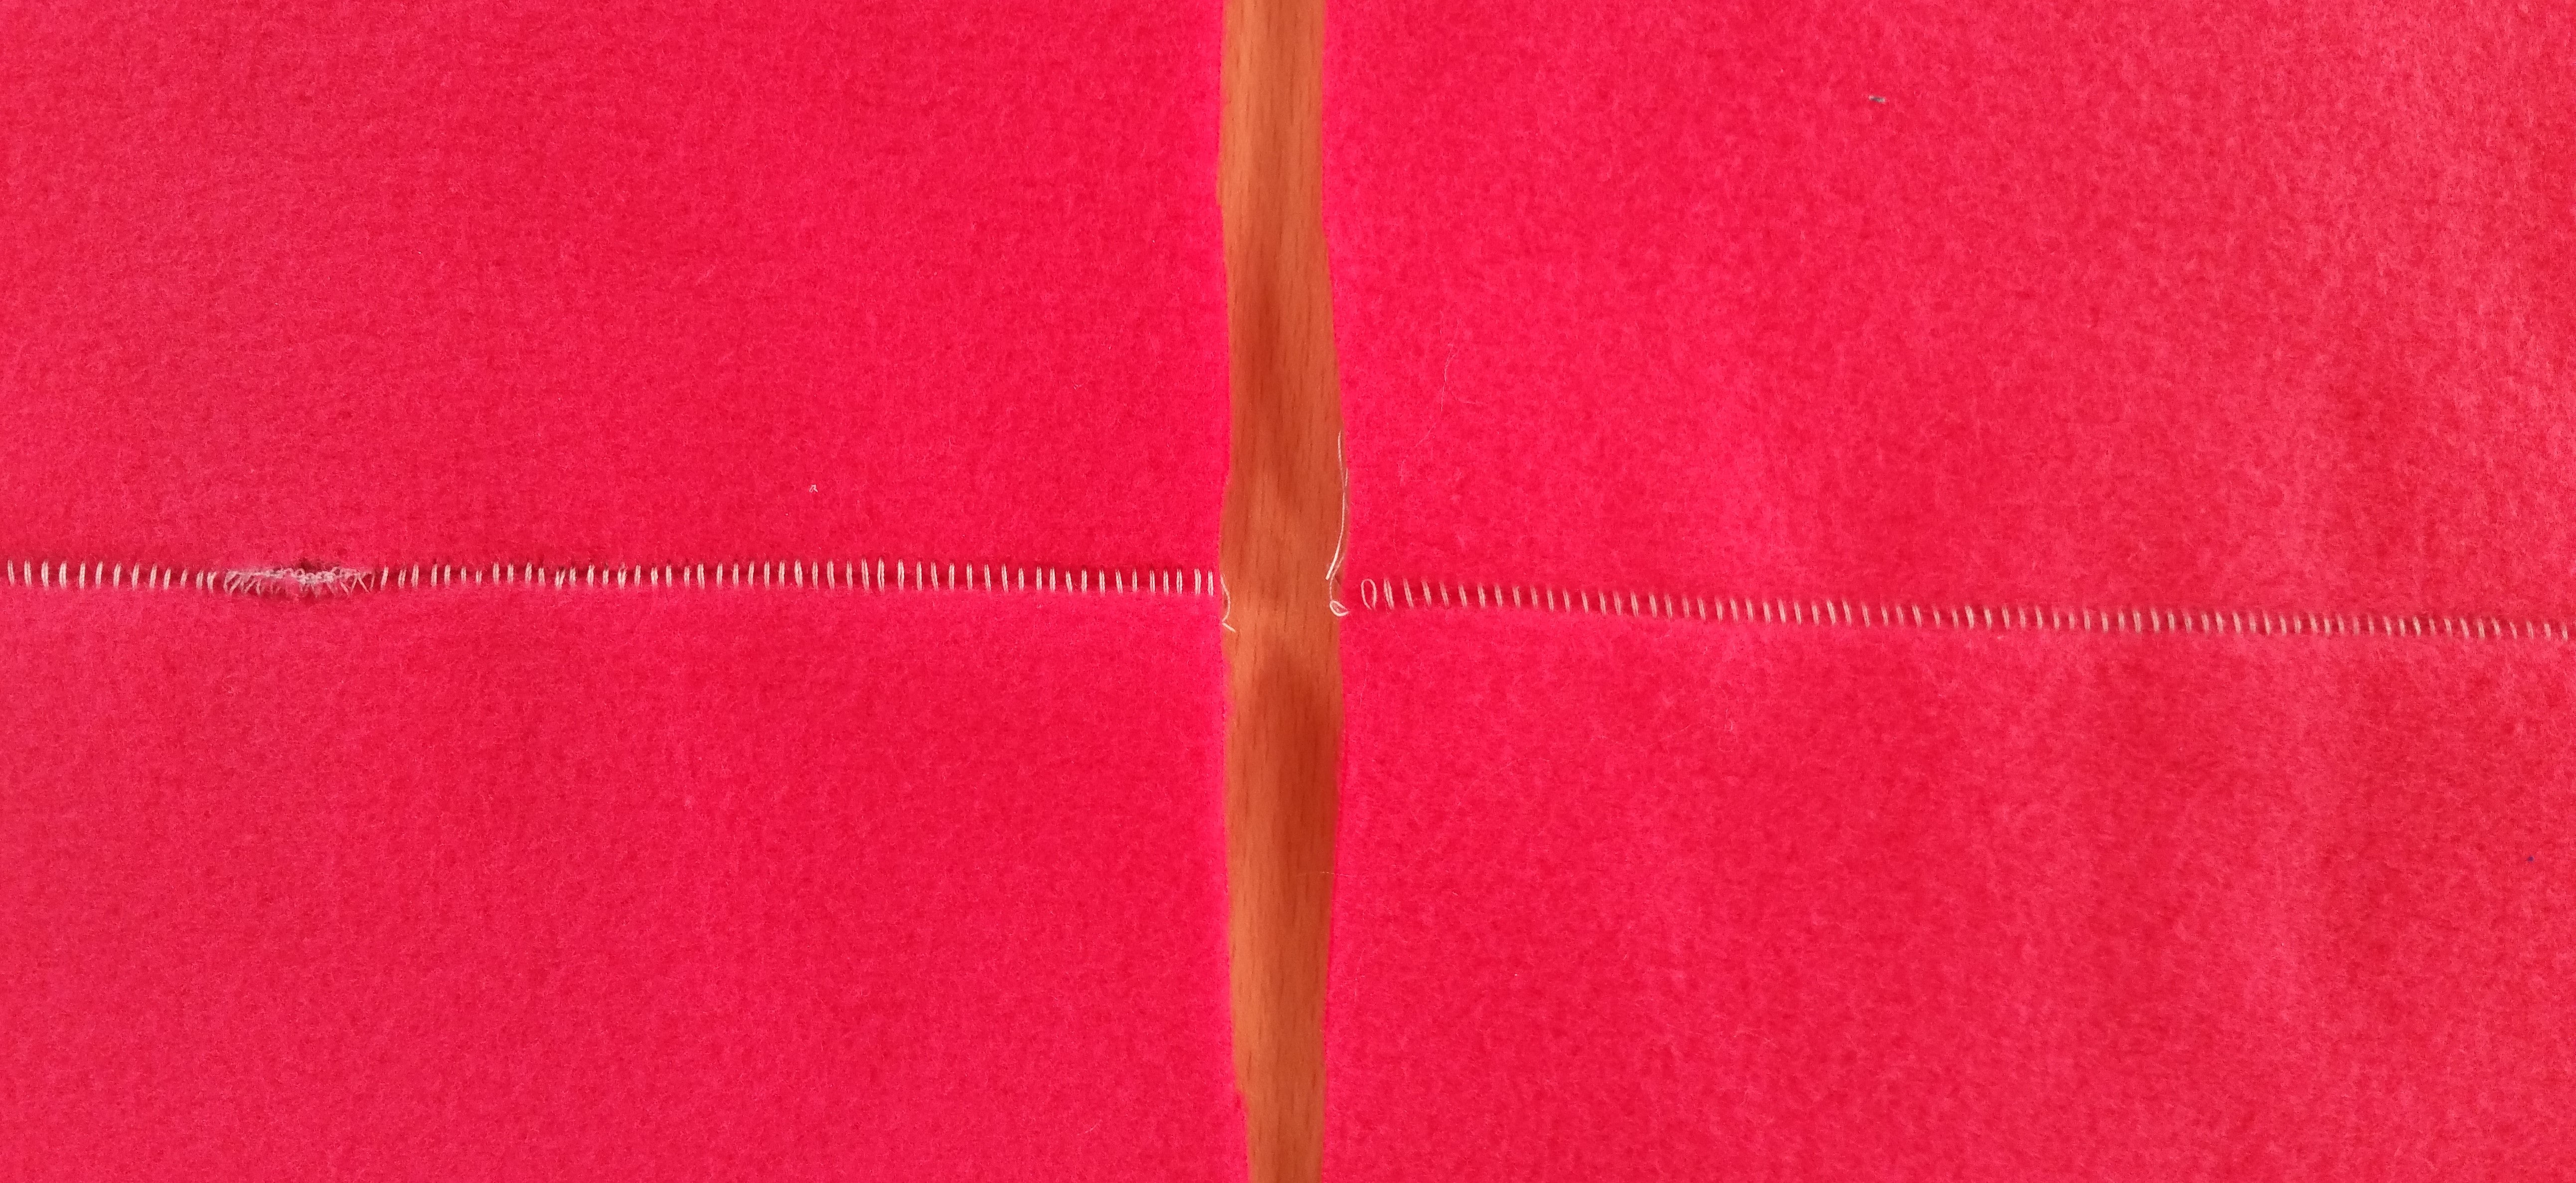
The photo to the left shows where the stitch width was too narrow and slipped off the fabric, thus creating a hole. The photo to the right looks much better.
Let me know when you try this stitch. I would love to see your creativity with this one 🙂
Cheers,
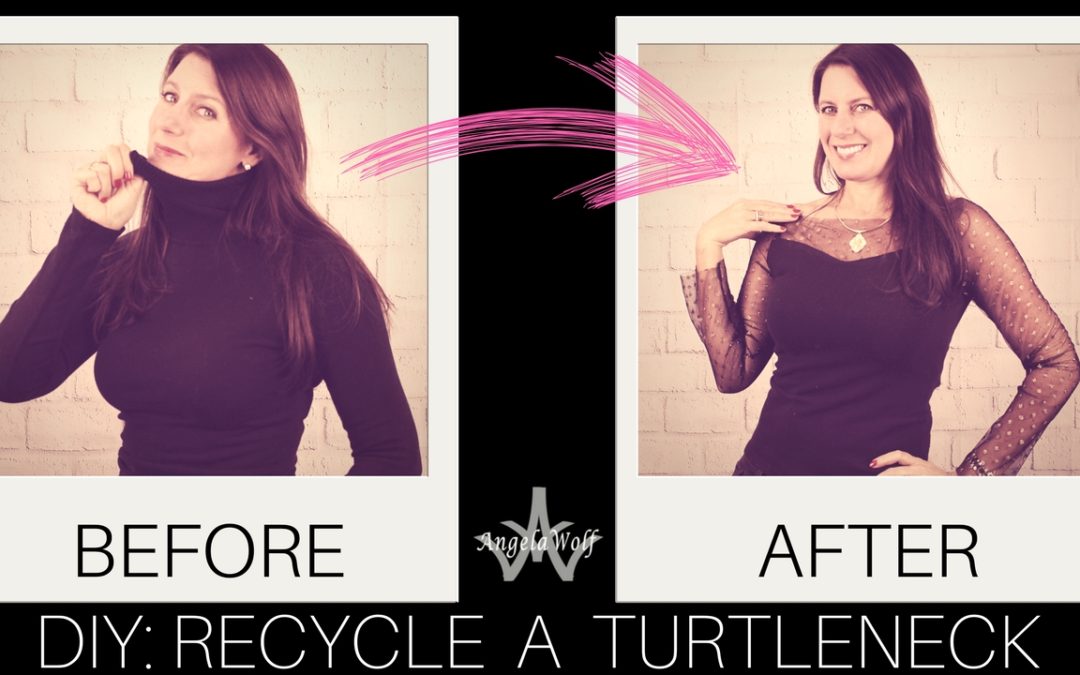

I have a few turtlenecks that are made of beautiful fabrics, but I can’t stand the high, tight neckline. Time for another DIY recycle project to makeover this sweater! The look of see through fabric, embroidered, and embellished tulle are so trendy right now – why not add a touch of glamour 🙂 I have listed all the steps here and included a video below with the full tutorial.
Supplies: Turtleneck, Tulle Fabric, Sewing Supplies including scissors, quilters ruler, tailors chalk, pins, universal or stretch thread (you can find the sewing supplies here on my amazon page)
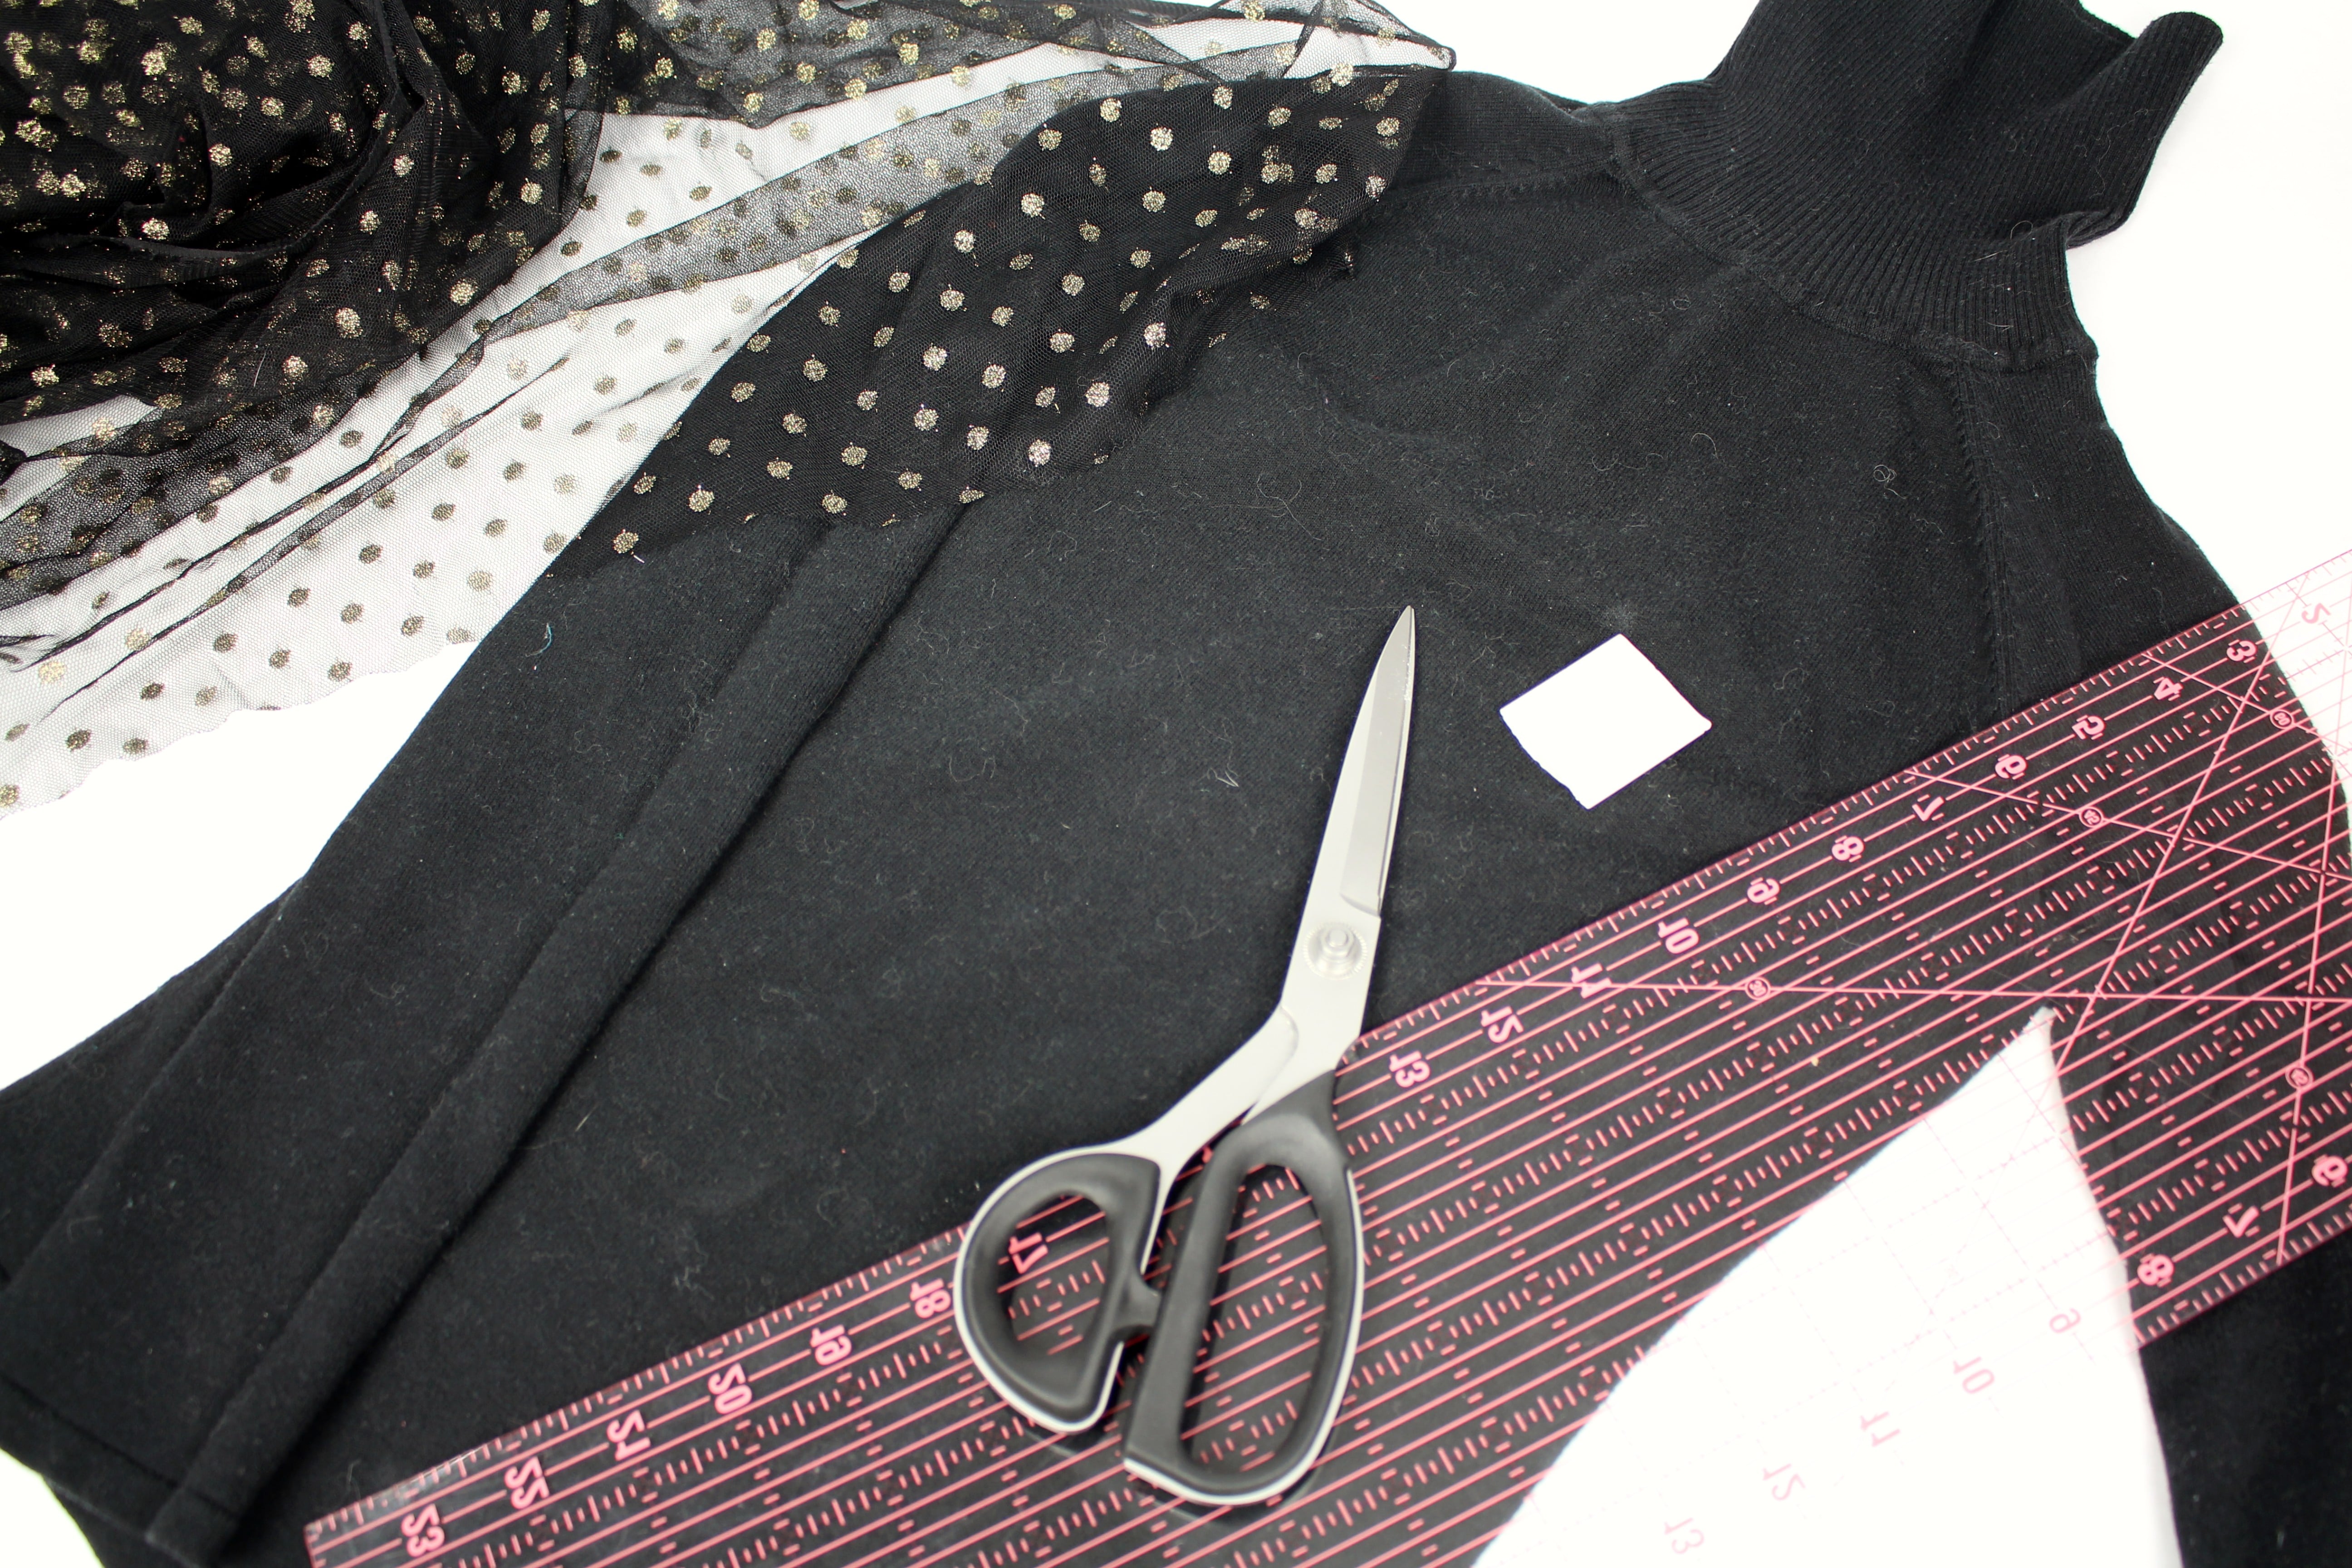
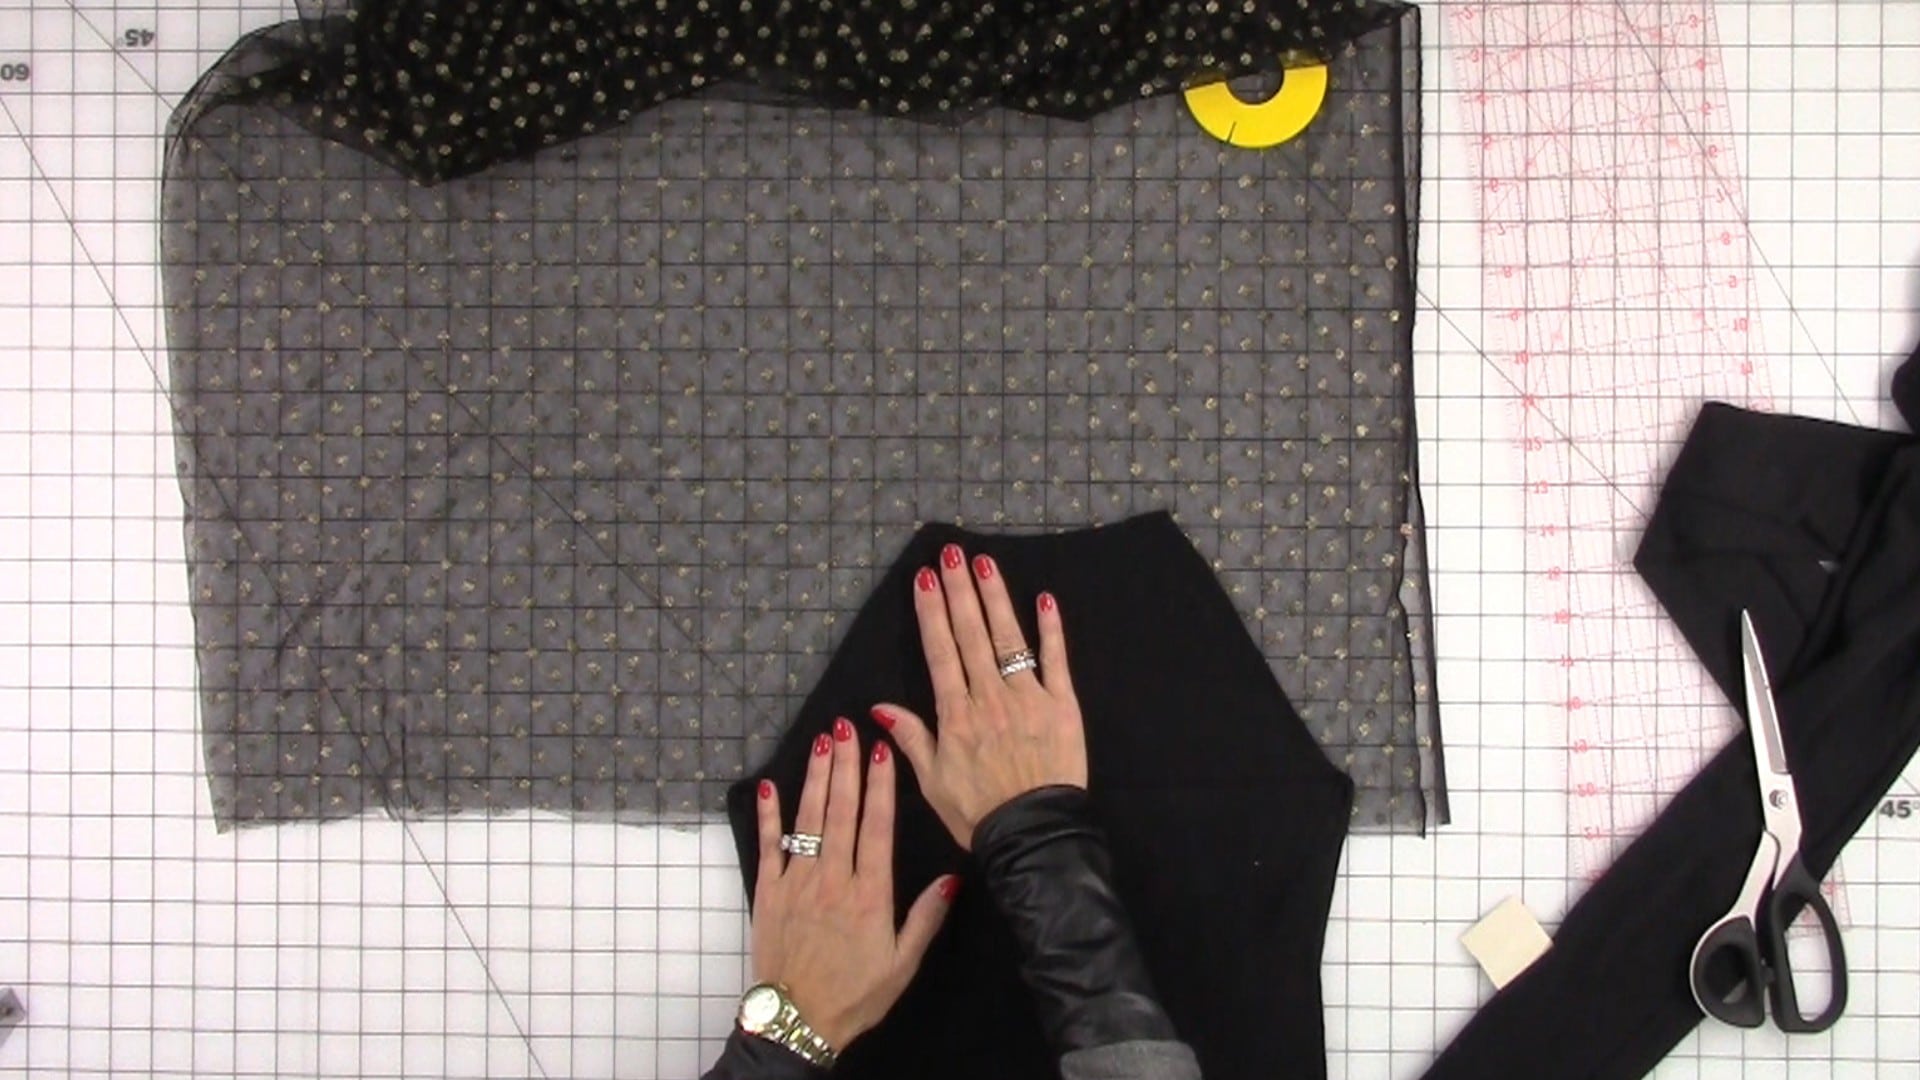
The first thing we are going to do is cut off the sleeves and collar (my turtleneck has a raglan sleeve, but any sleeve style will work). Cut inside of the sleeve seamline and underneath the collar. Save the sleeves to use as a pattern.

Mark the back of the sweater: Trace the back for the sweater outline onto the tulle fabric from the underarm up.
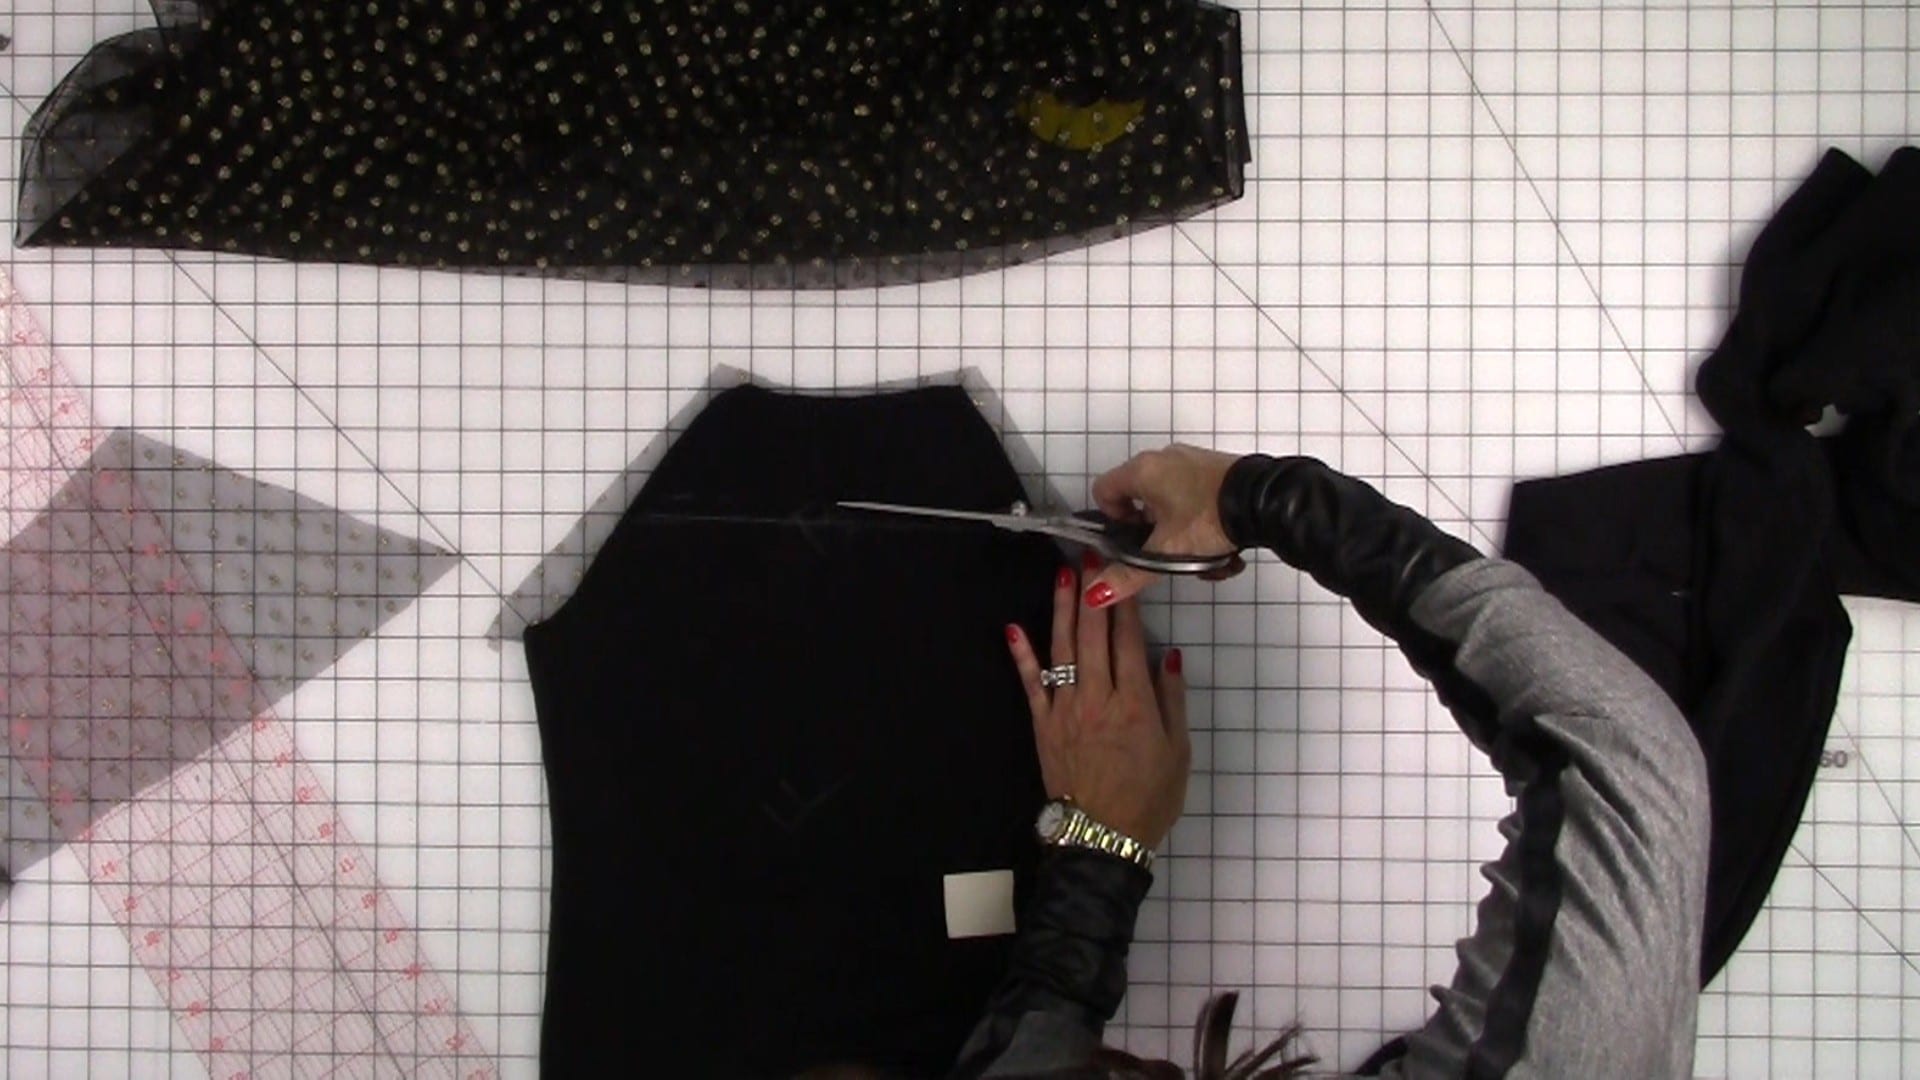
Mark a line across the sweater where you want the sweater fabric to meet the tulle fabric. Add a seam allowance and cut. Align the sweater with the tulle fabric. add a seam allowance onto the tulle fabric and cut. (the video below shows all these steps in detail).
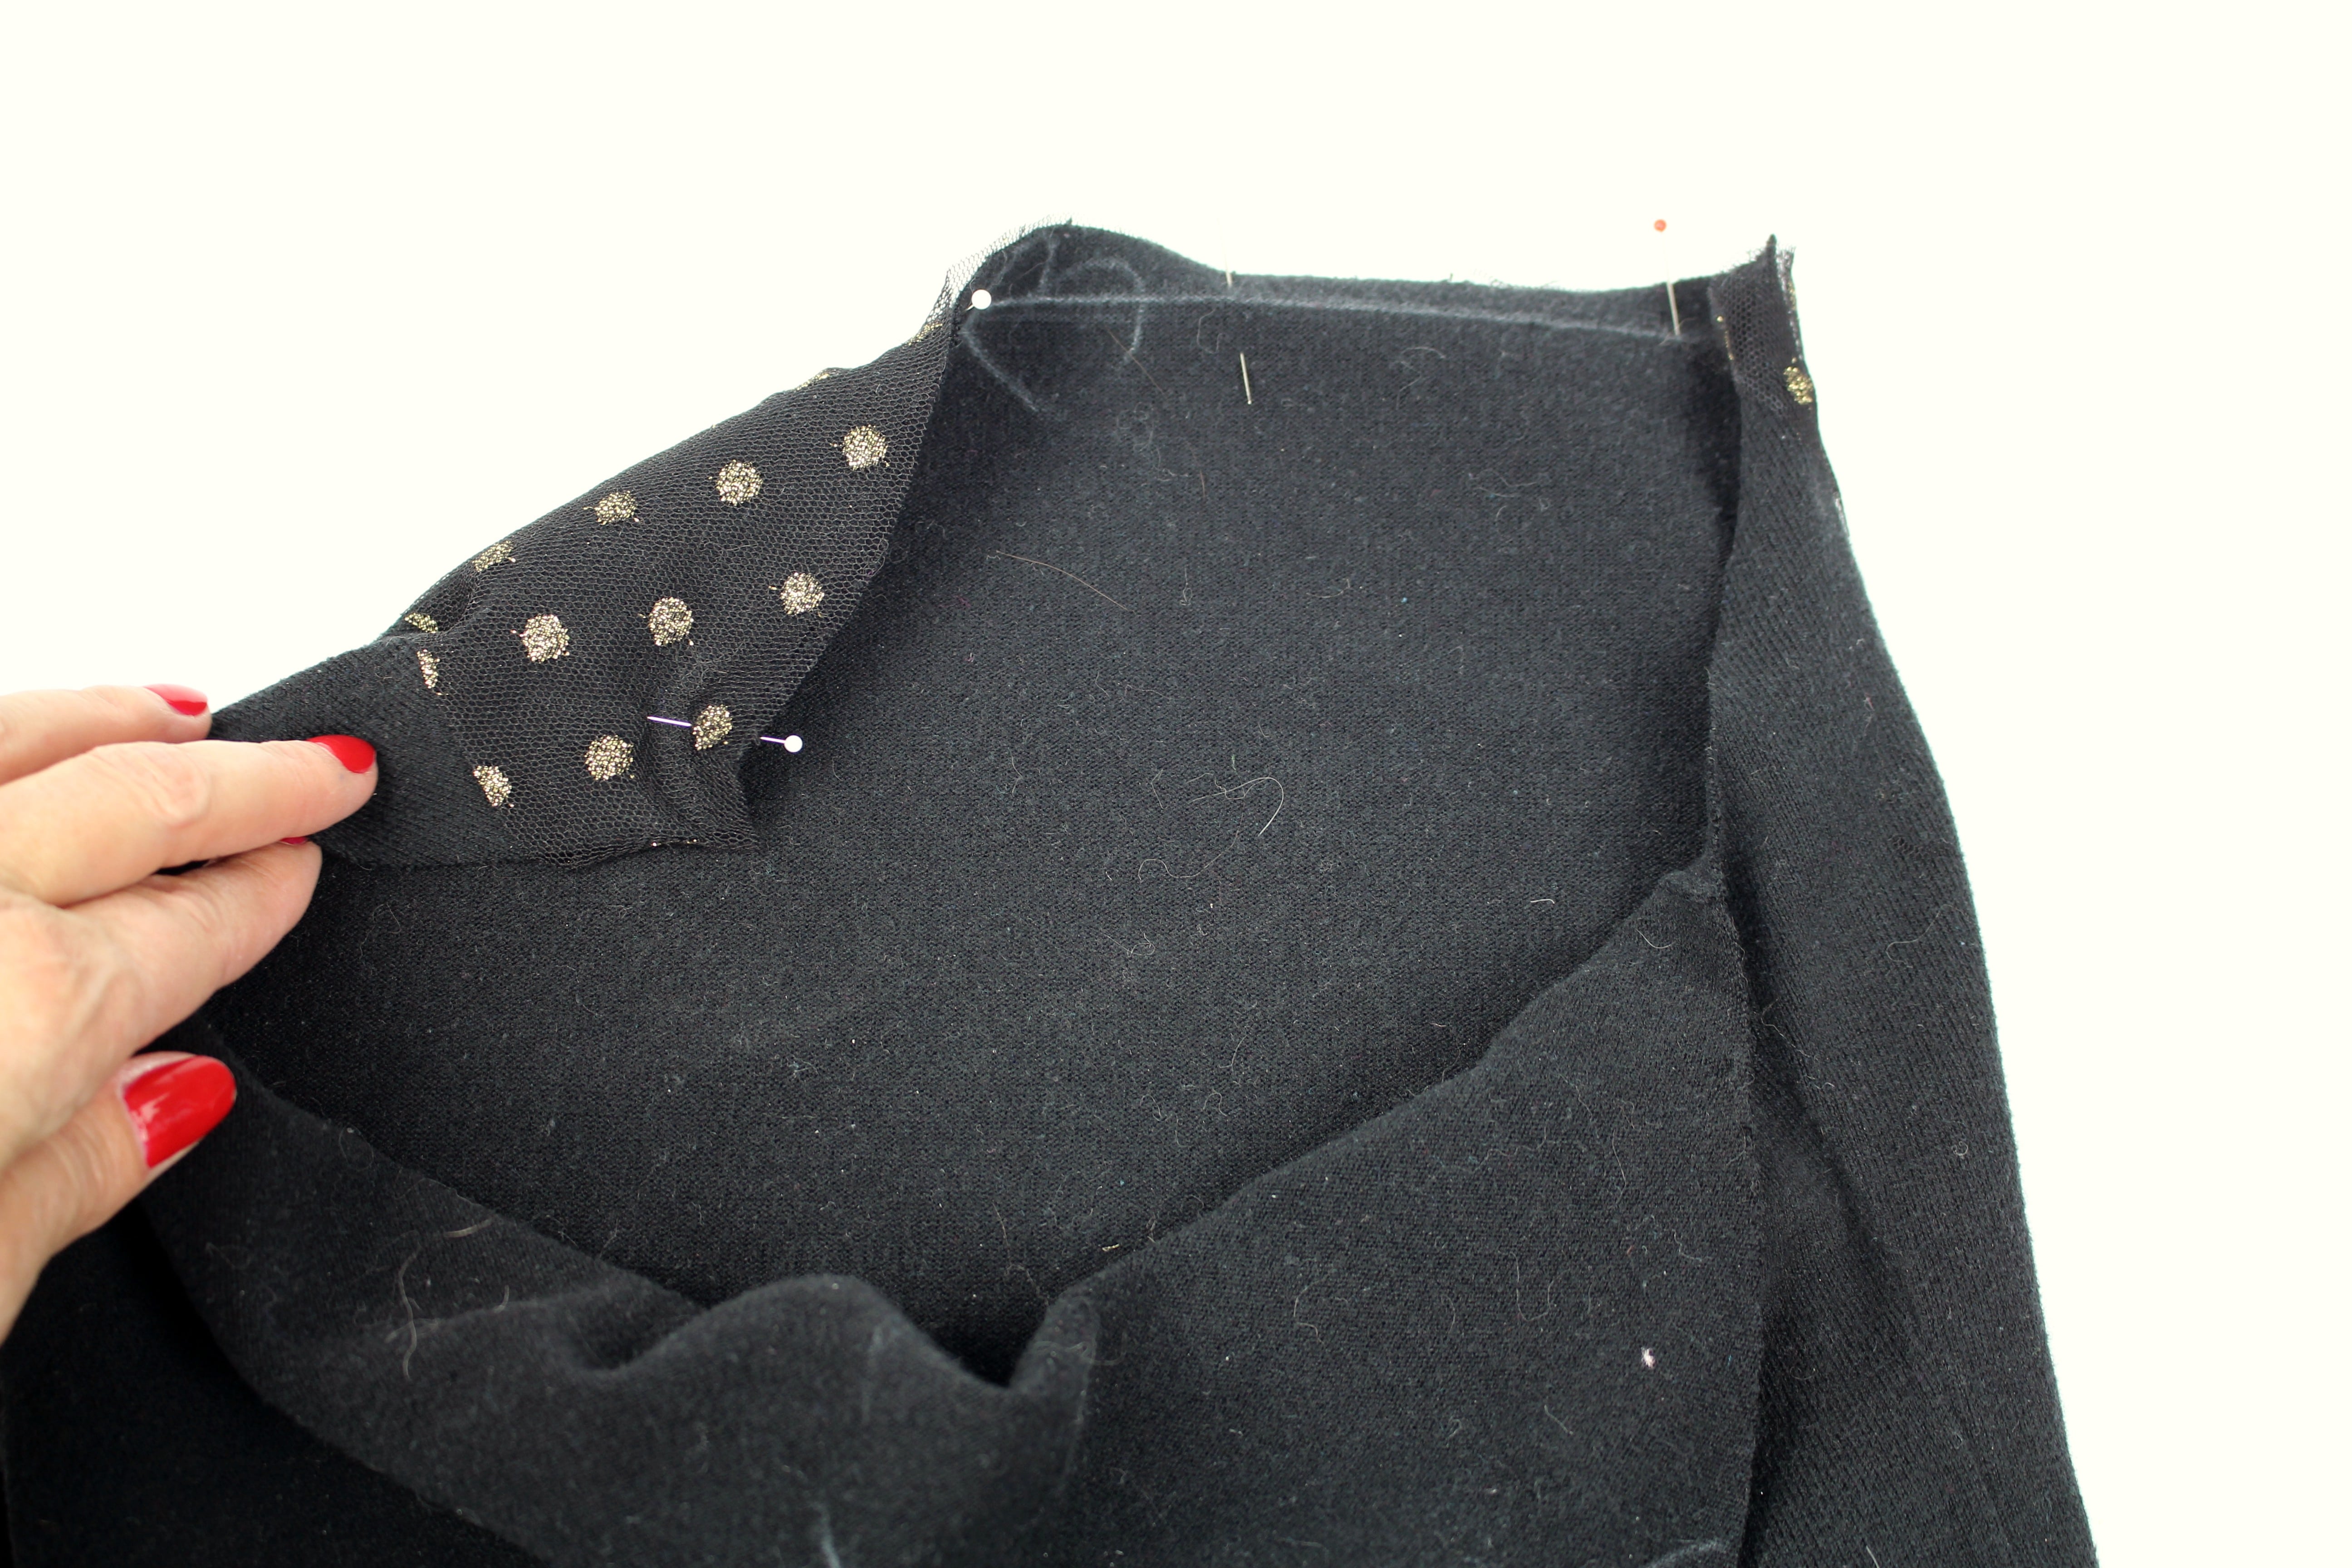
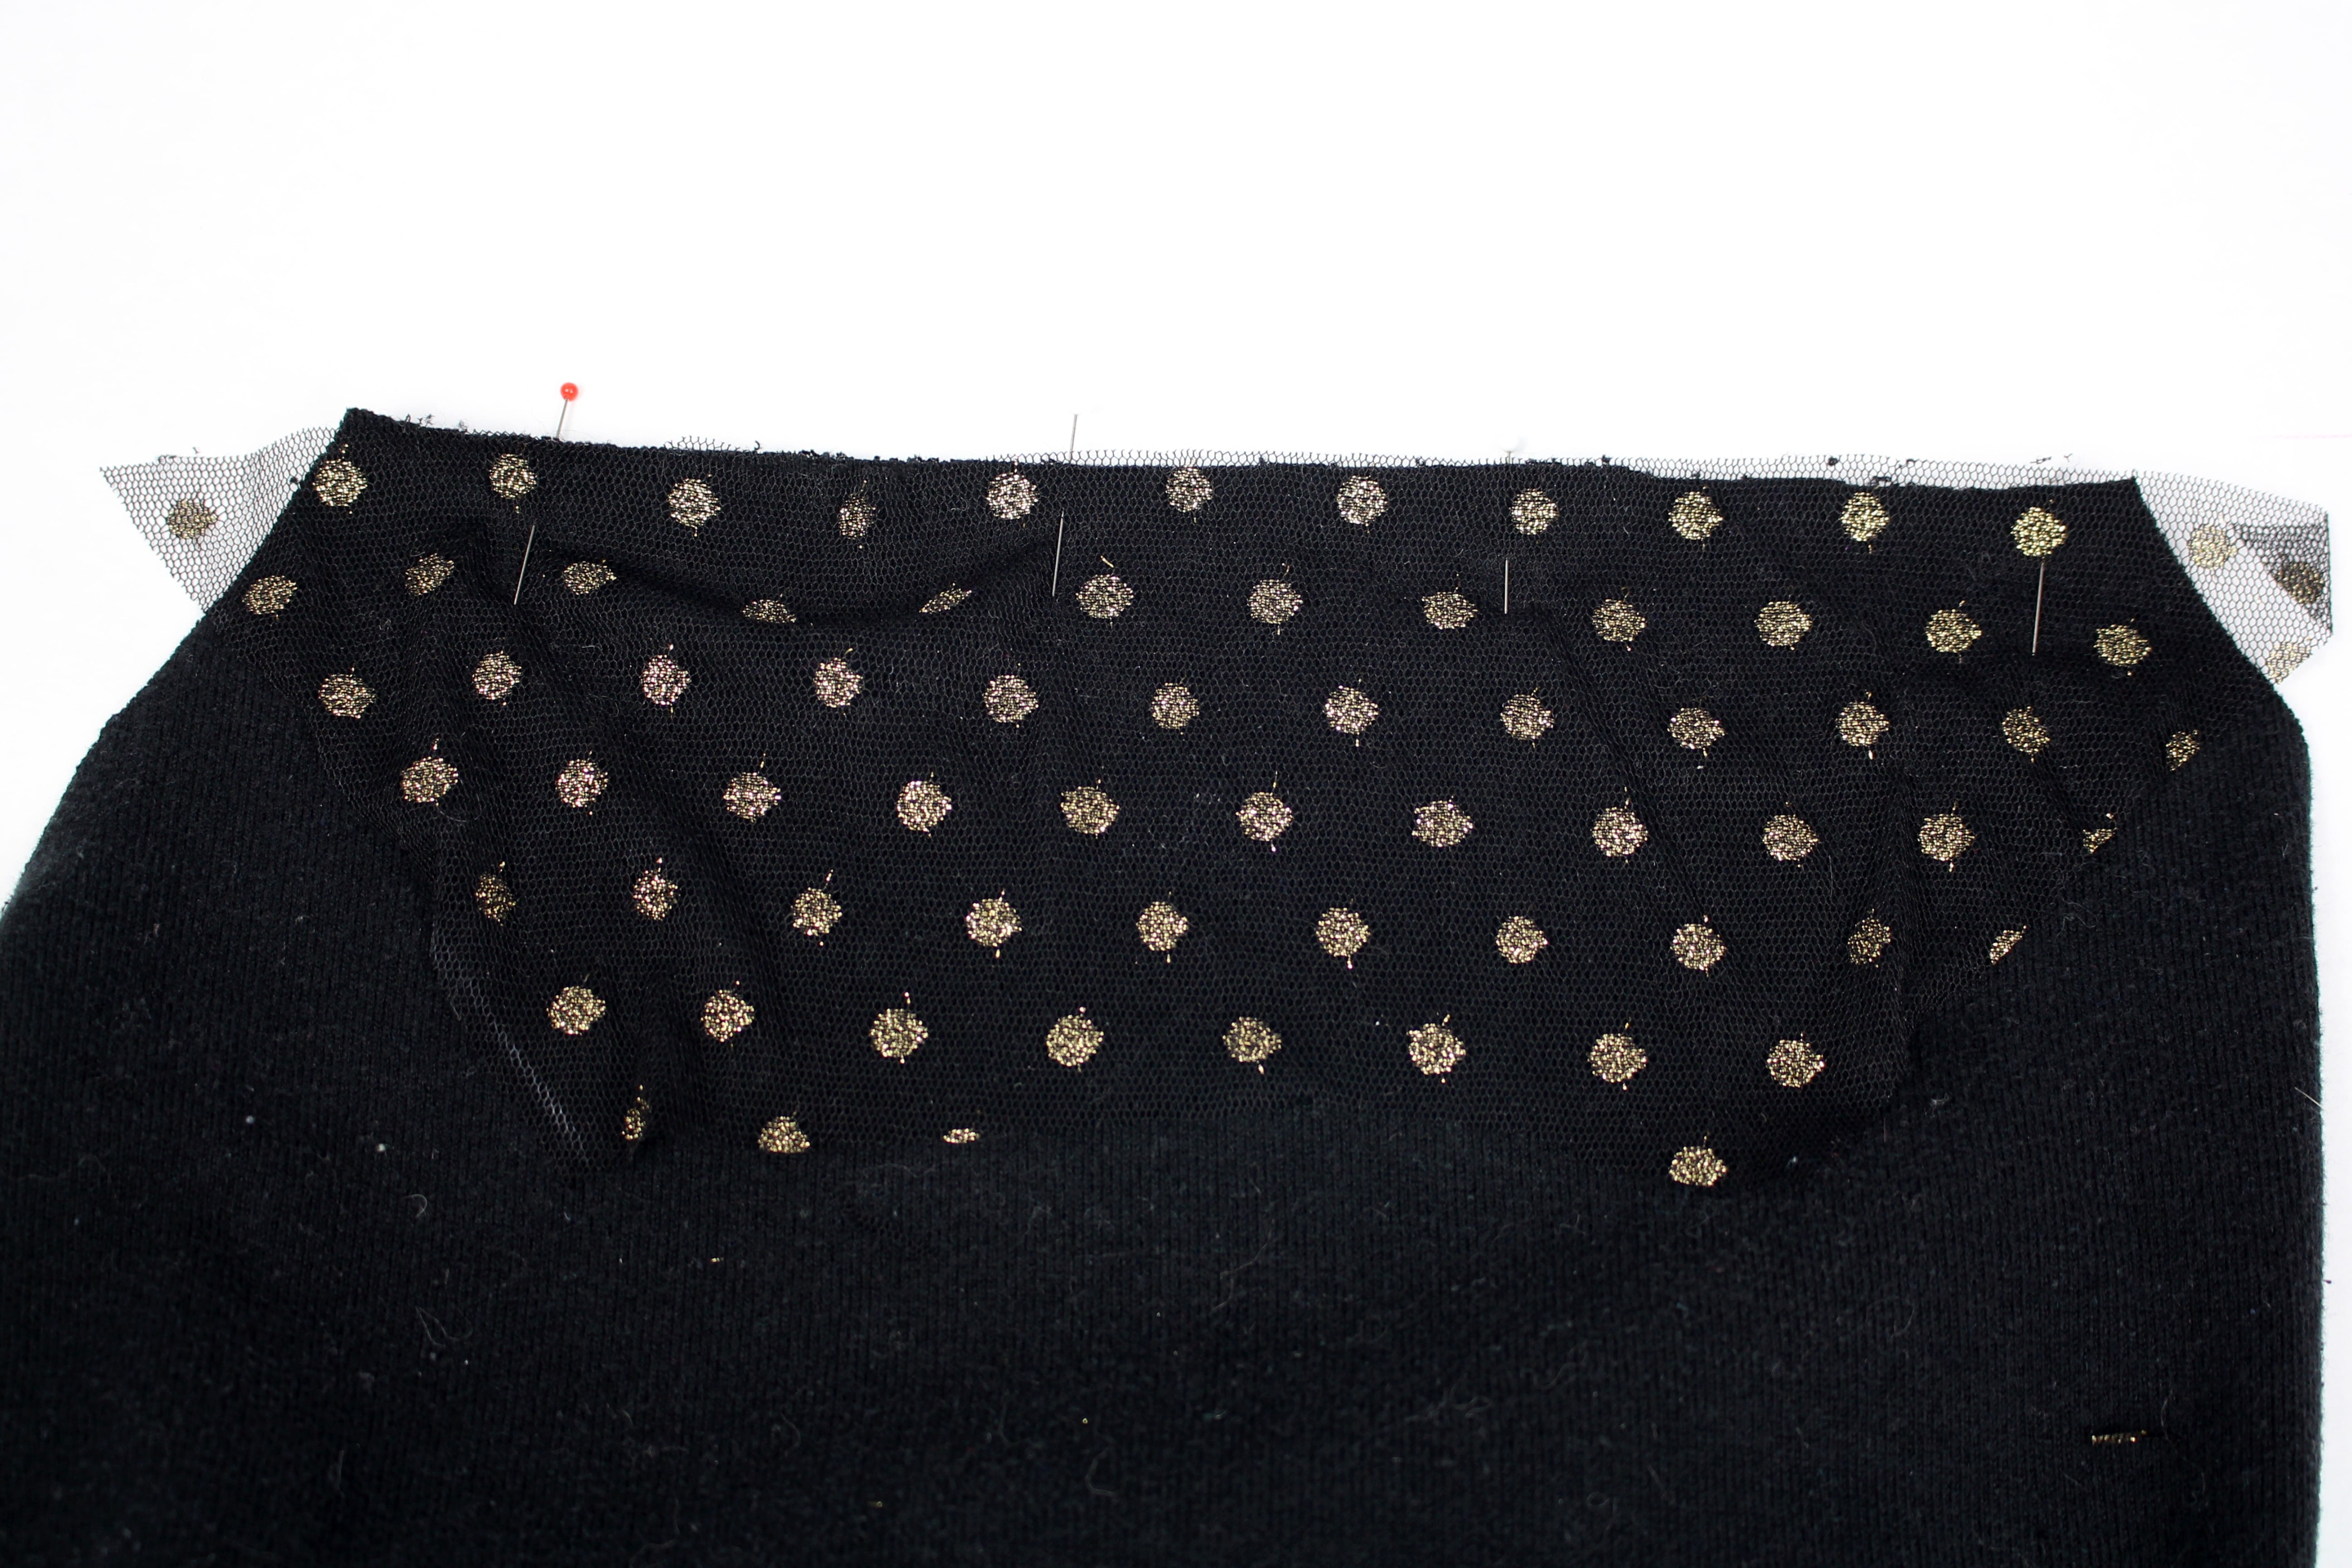
With right sides together, pin the tulle fabric to the sweater fabric.
Click on the video below to watch the full tutorial or head over to my post as a Brother Expert Consultant on the Brother Stitching Sewcial.
Are you going to try this cute restyle? Leave a comment below and tell me what you think 🙂
Cheers,

The page you requested could not be found. Try refining your search, or use the navigation above to locate the post.


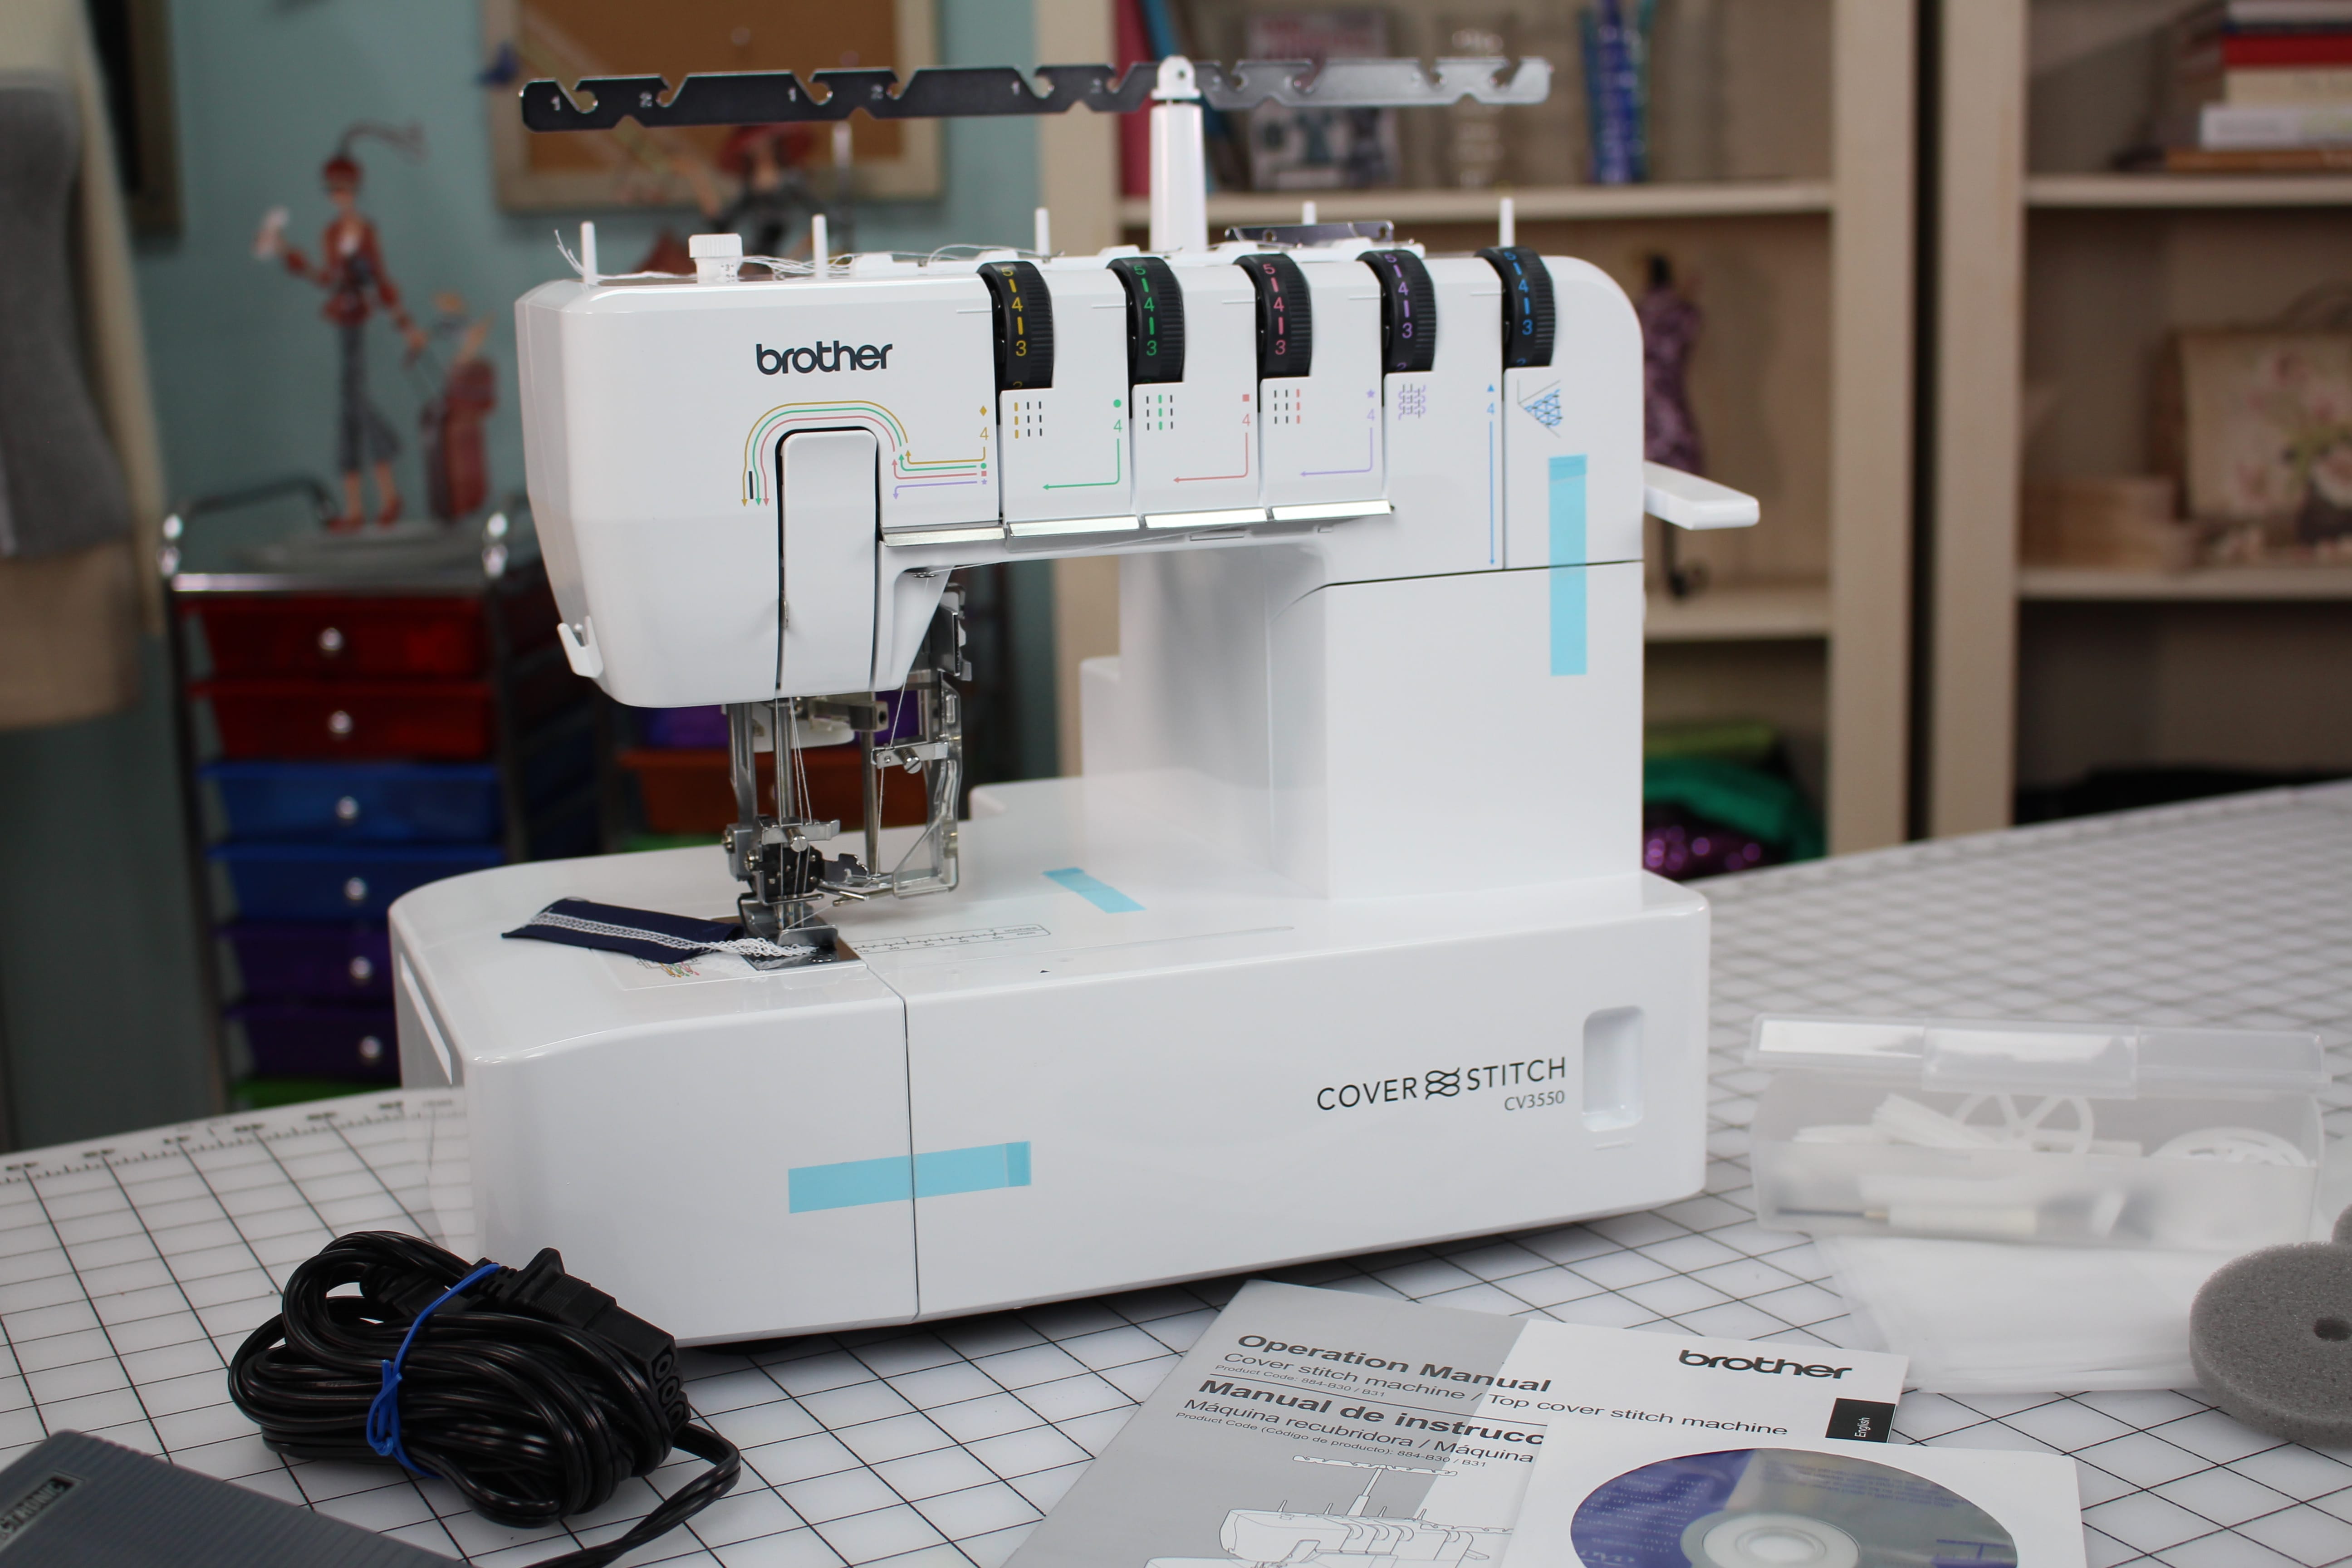
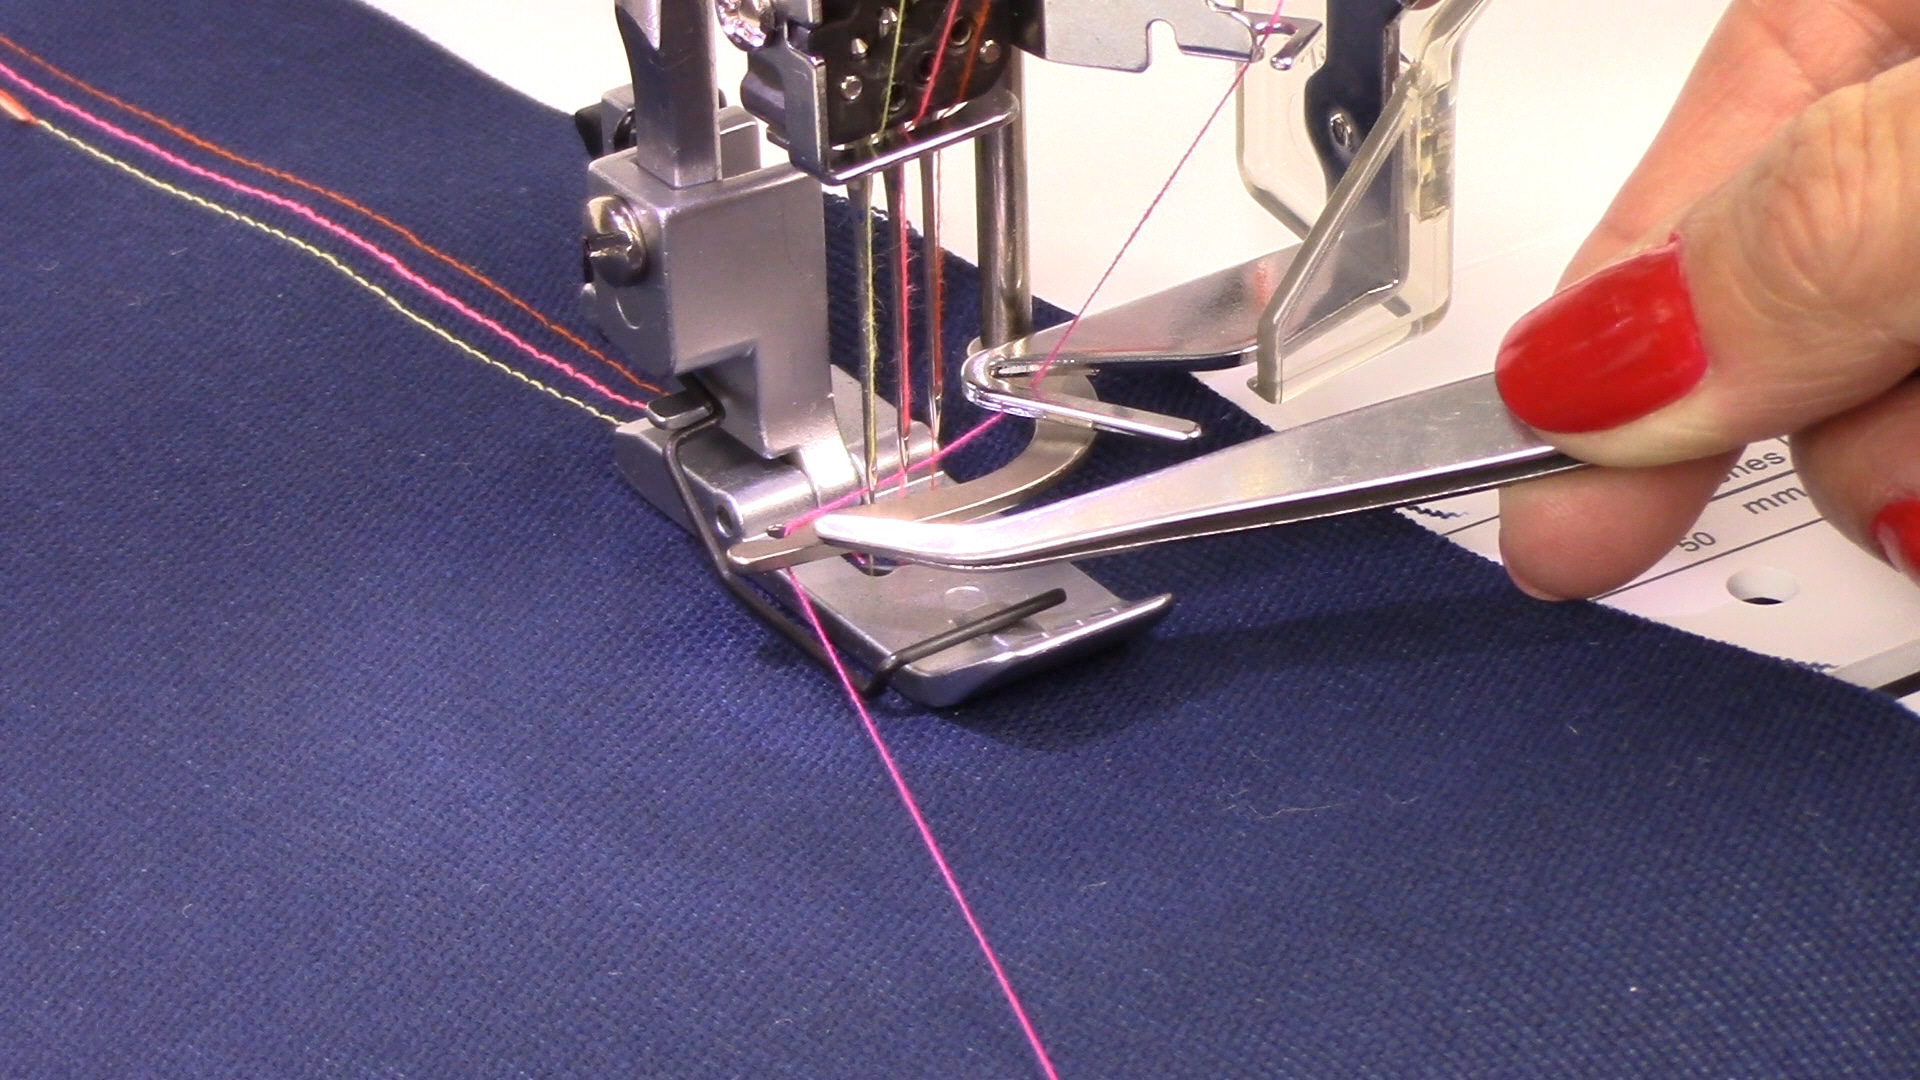
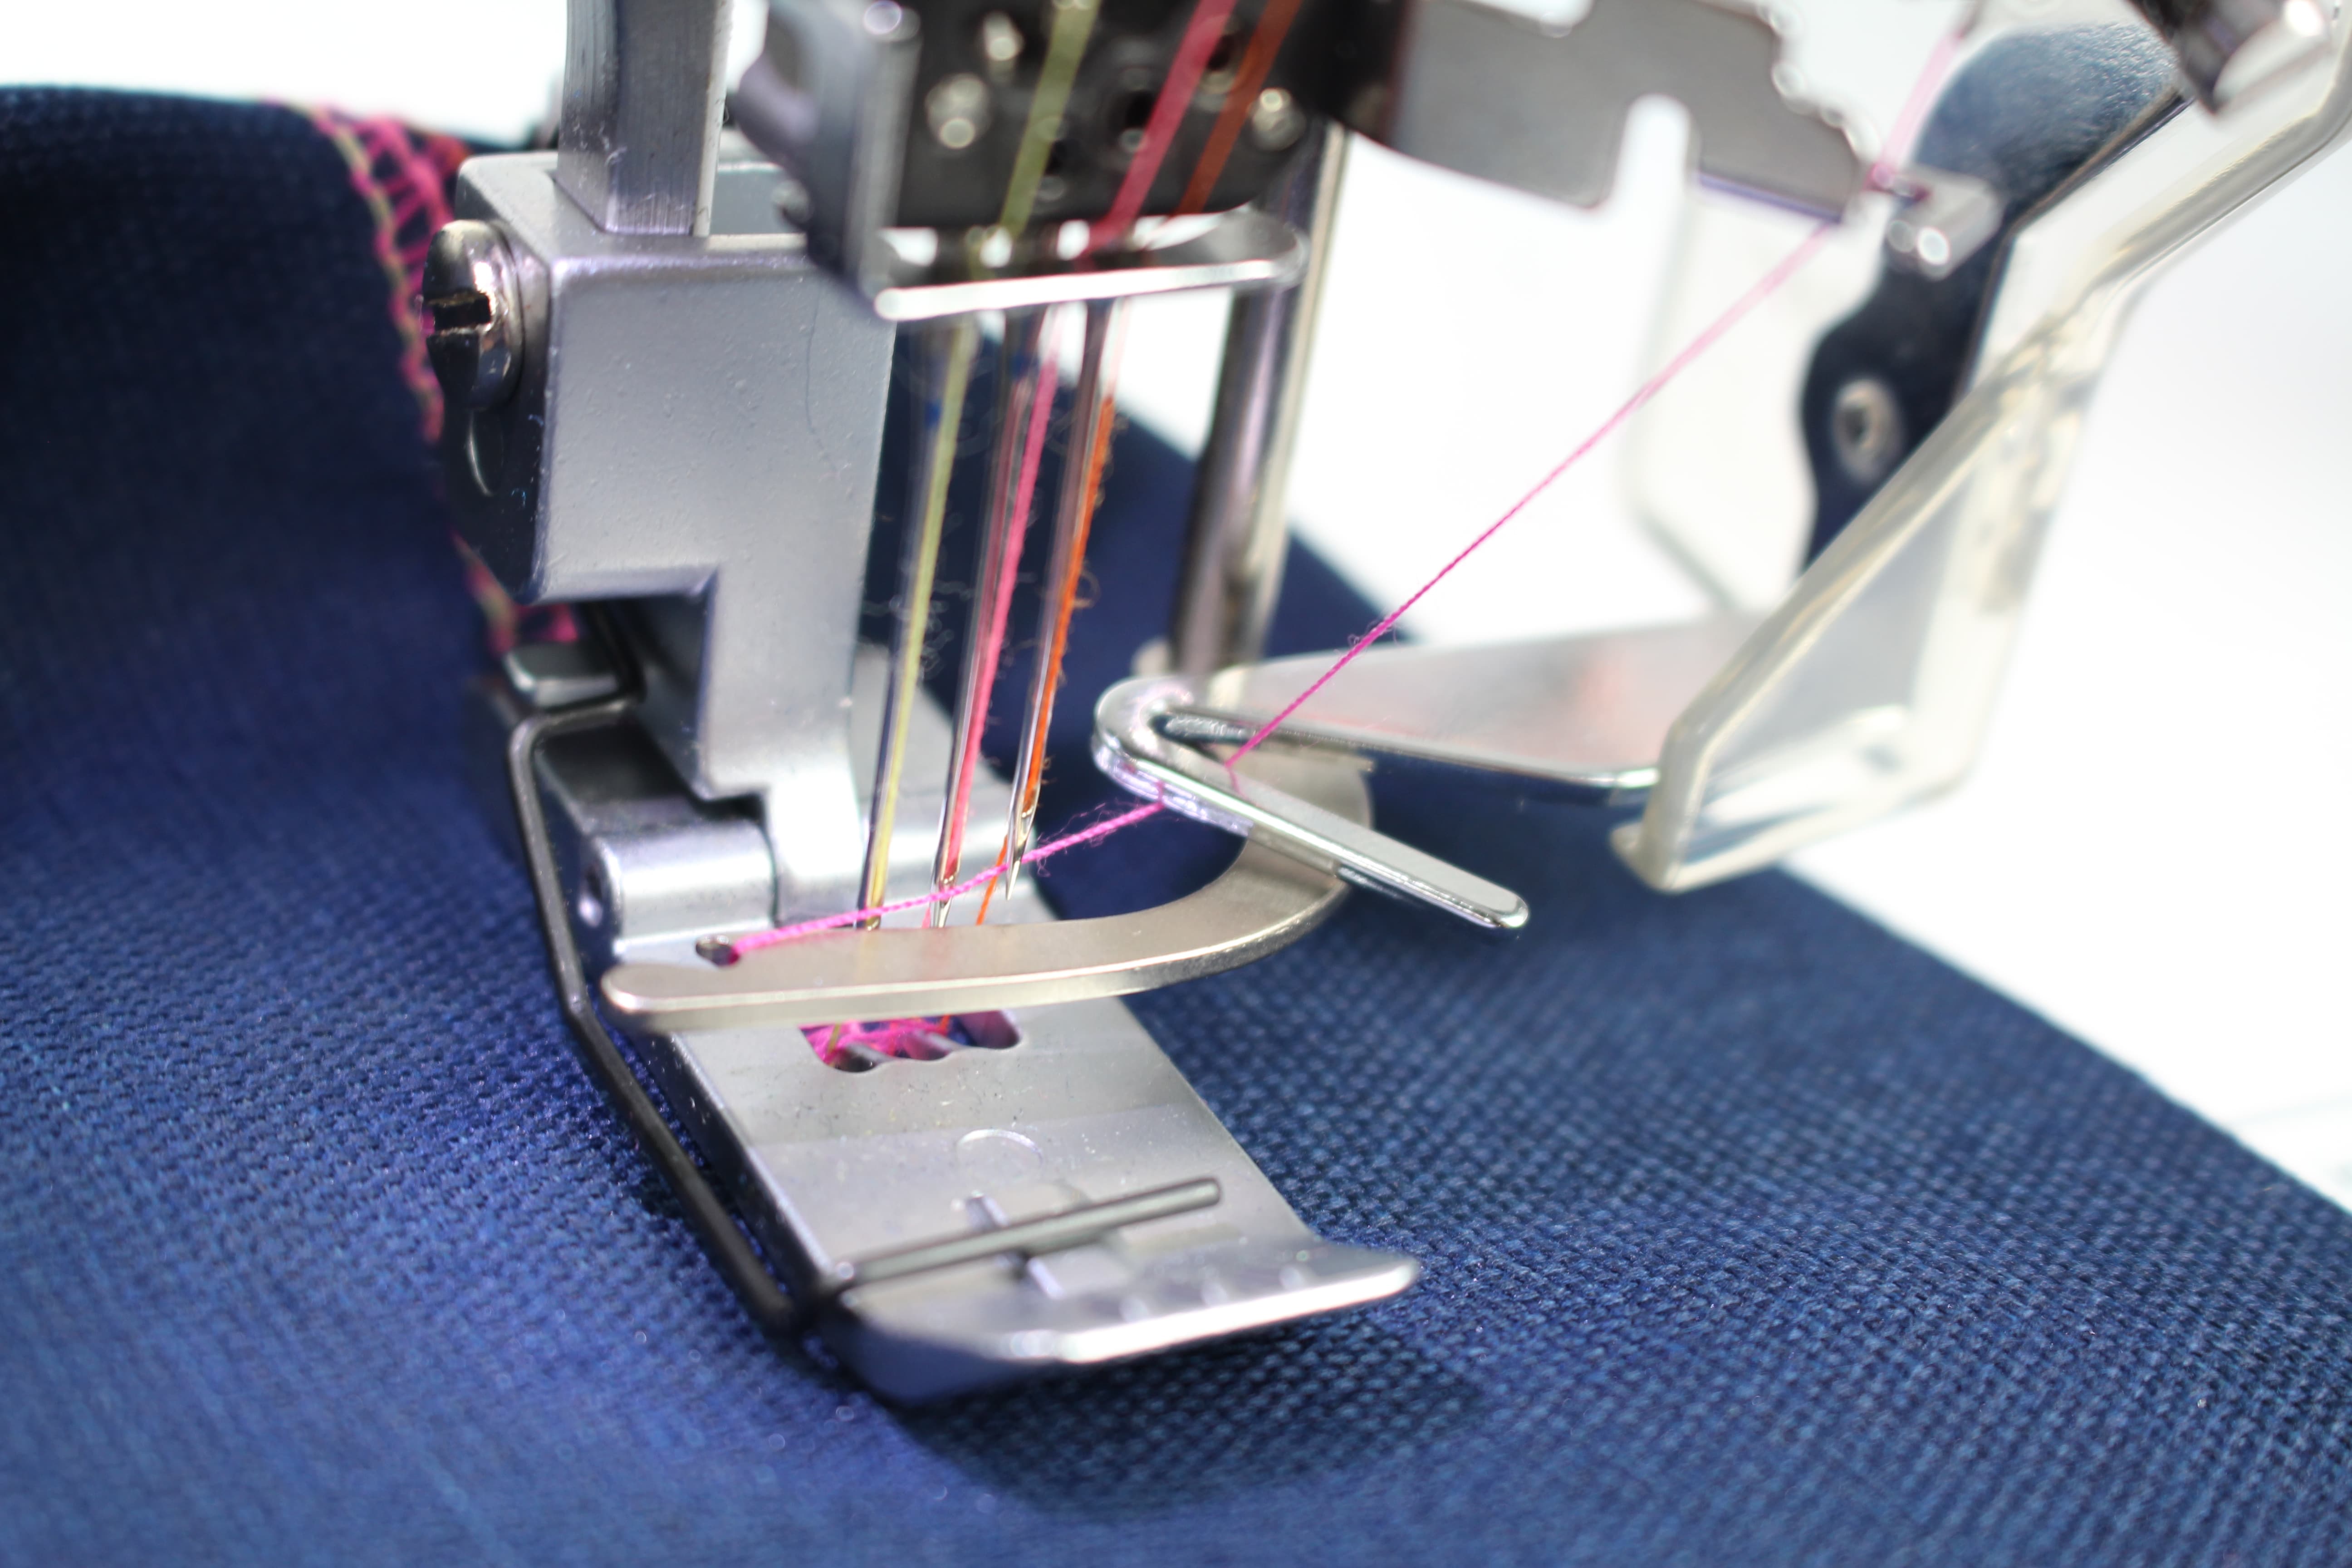
I was so excited to see this new double sided top coverstitch machine by Brother! I can think of so many applications for these decorative stitches including sportswear, decorative stitching, chainstitch, hemming knits, and so much more. I am going to start a set of tutorials with the top cover stitch machine by showing you an in-depth look at threading the machine, including the top cover thread. At first it might look intimidating, but threading is quite simple.
Start by taking you machine out of the box and remove the packaging tape. You will find a dust cover, manual (always keep that handy), a plug with pedal attachment, accessory box, and DVD. If you have more than one machine in your sewing studio here is a tip: place all machine parts in a decorative box and keep each box next to the coordinating machine.
If your machine already has the top coverstitch threaders attached it will look like the photo below. If not, the video will show you how to remove and reattach these parts. You will need 5 spools of serger thread to thread the entire machine (I am going to use different colors so you can see a little better). When threading the coverstitch machine, start with the looper which is the spool on the far right side. You will then move onto threading the needles. For this demonstration I am using all three needles.
To read the full blog about threading the coverstitch machine, head over to my post as a Brother Expert Consultant on the Brother Stitching Sewcial.


Episode 151 Behind the Scenes LIVE Getting ready for the Houston Quilt Festival and wanted to share what's going to be happening in the Allbrands Booth. Barbara Douthat Chatelain and Reen Wilcoxson from Embroidery Garden join me on today's show to talk about tips,...
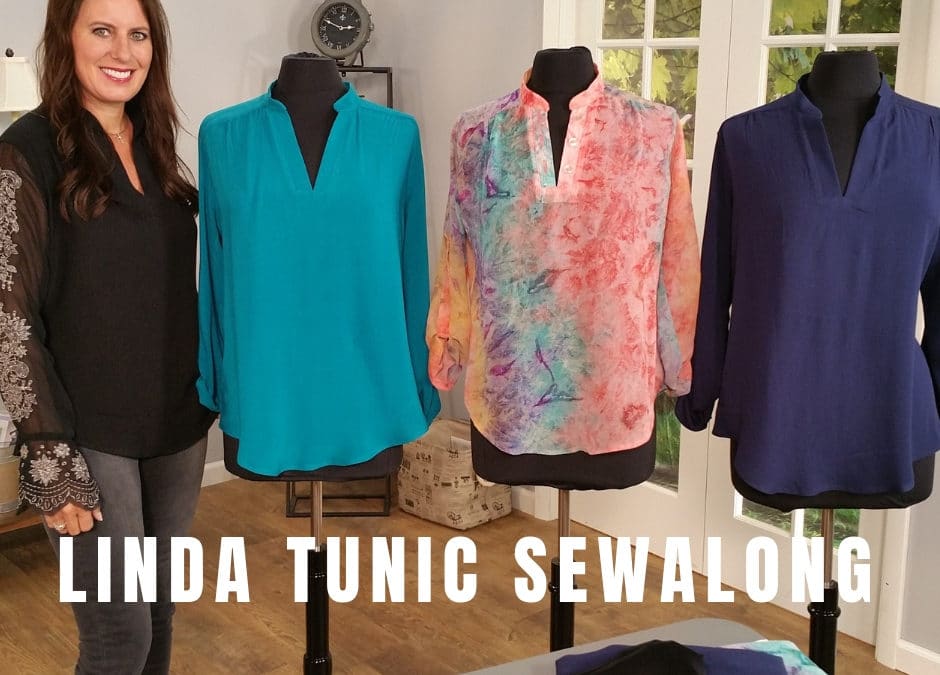
Linda Tunic Sewalong I am so excited to launch my newest pattern THE LINDA TUNIC! I named this pattern for my mom (Linda :)) because she loves this style top and always looks so classy! I used this pattern in taping Season 17 on It's Sew Easy TV, which includes...

This week I hosted the first ever Brother Brand Ambassdor Retreat at my new studio in St. Joseph, Michigan. A good way for me to finish unpacking and get the studio organized after that big move! Did I mention I am never moving again!!! If so, I will invite all of...
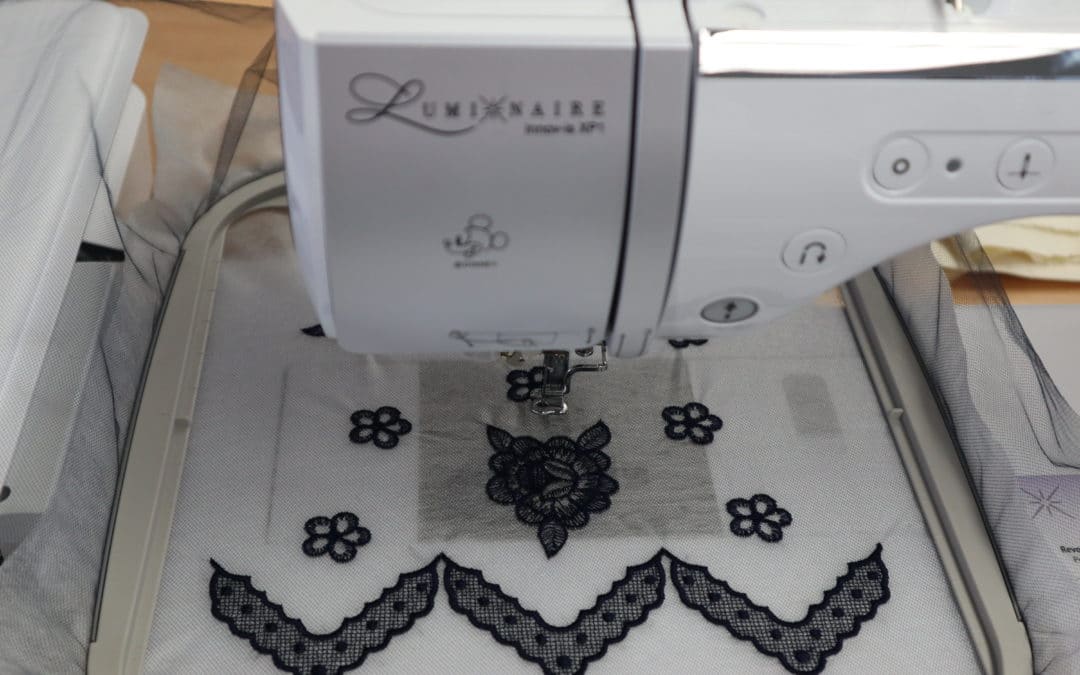
How to Embroider Lace on Tulle With the launch of my new lace embroidery collection A Touch of Lace, I thought this would be a good time to share a few tutorials showing how to embroider lace. I am going to start with my all time favorite, embroidering on tulle...
Behind the Scenes LIVE @sewingexpo Atlanta
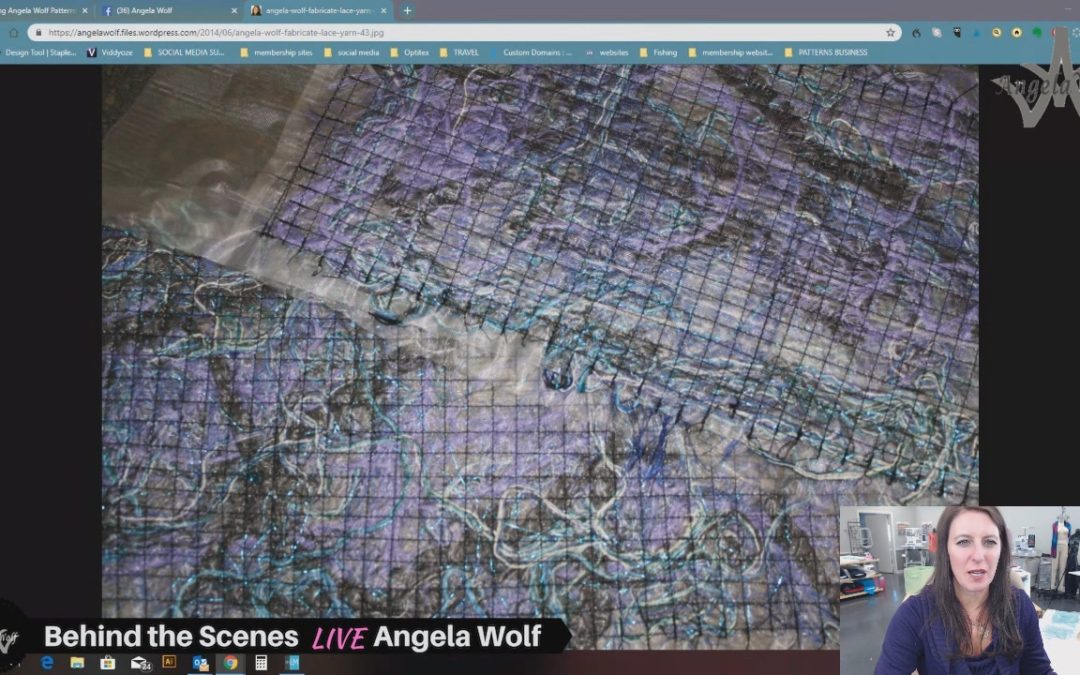
VLOG 124 Friday with Friends Check out my yarn fabric coming together! And let's see what the wolf pack has been sewing
Vlog 122 Fan Friday Drawing Winner's!!!! The Touch of Lace Embroidery collection has a final count and no one chose the correct answer! SO I will draw a random winner Also drawing a new grand prize winner for the Puyallup fashion show! And finally showing off your...
Vlog 121 behind the scenes Angela Wolf at VDTA
Vlog 120 behind the scenes live on its sew easy


