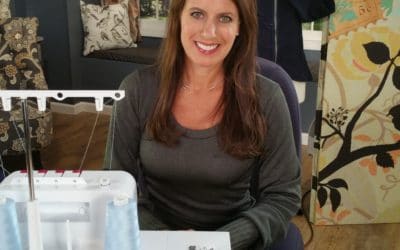
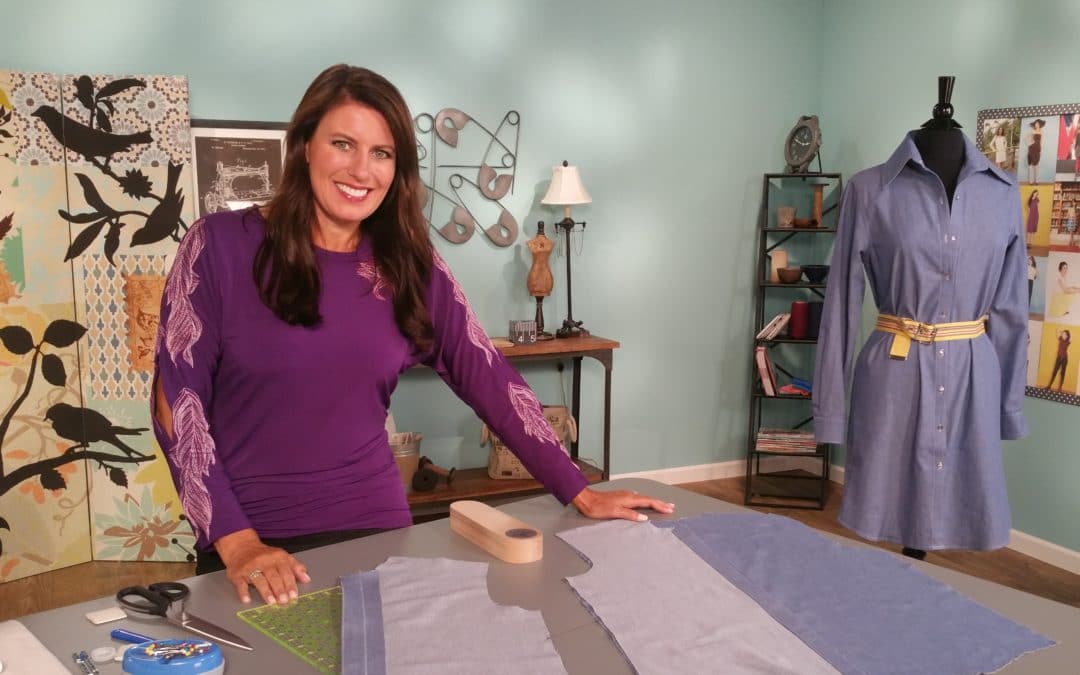
The Lacy Knit Top Sewing Pattern The design for the Lacy Knit Top was a result of our everlasting Covid lockdown! Whether lounging at home, working in the studio, or working out in our home gym ~ this top hit the mark. Semi-fitted in the bust area, looser thru the...
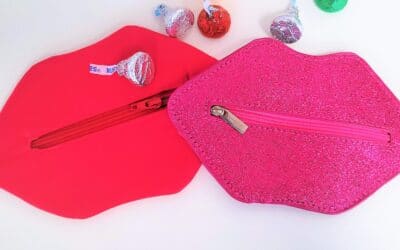
UPCYCLE ? DESIGN A SKIRT WITH EMBROIDERY
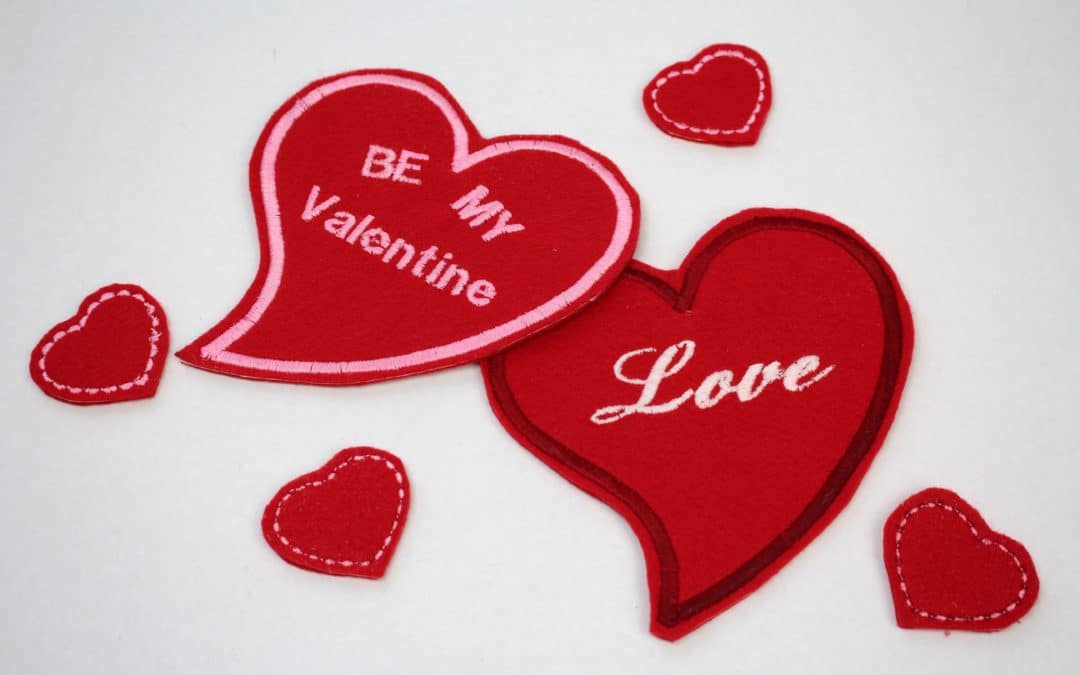
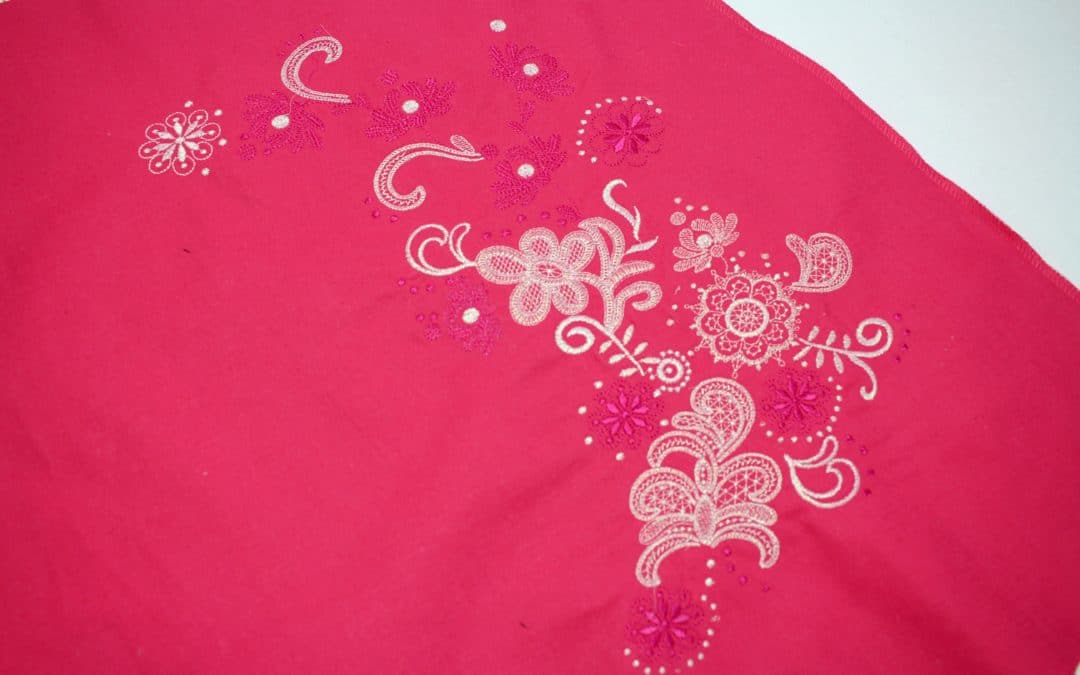
Embroidery is such a hot trend this spring! Whether you are sewing a skirt from scratch or recycling one from the back of your closet, adding a touch of embroidery can create an entirely fresh look. Keep in mind this would look great on a dress too ?
Supplies:
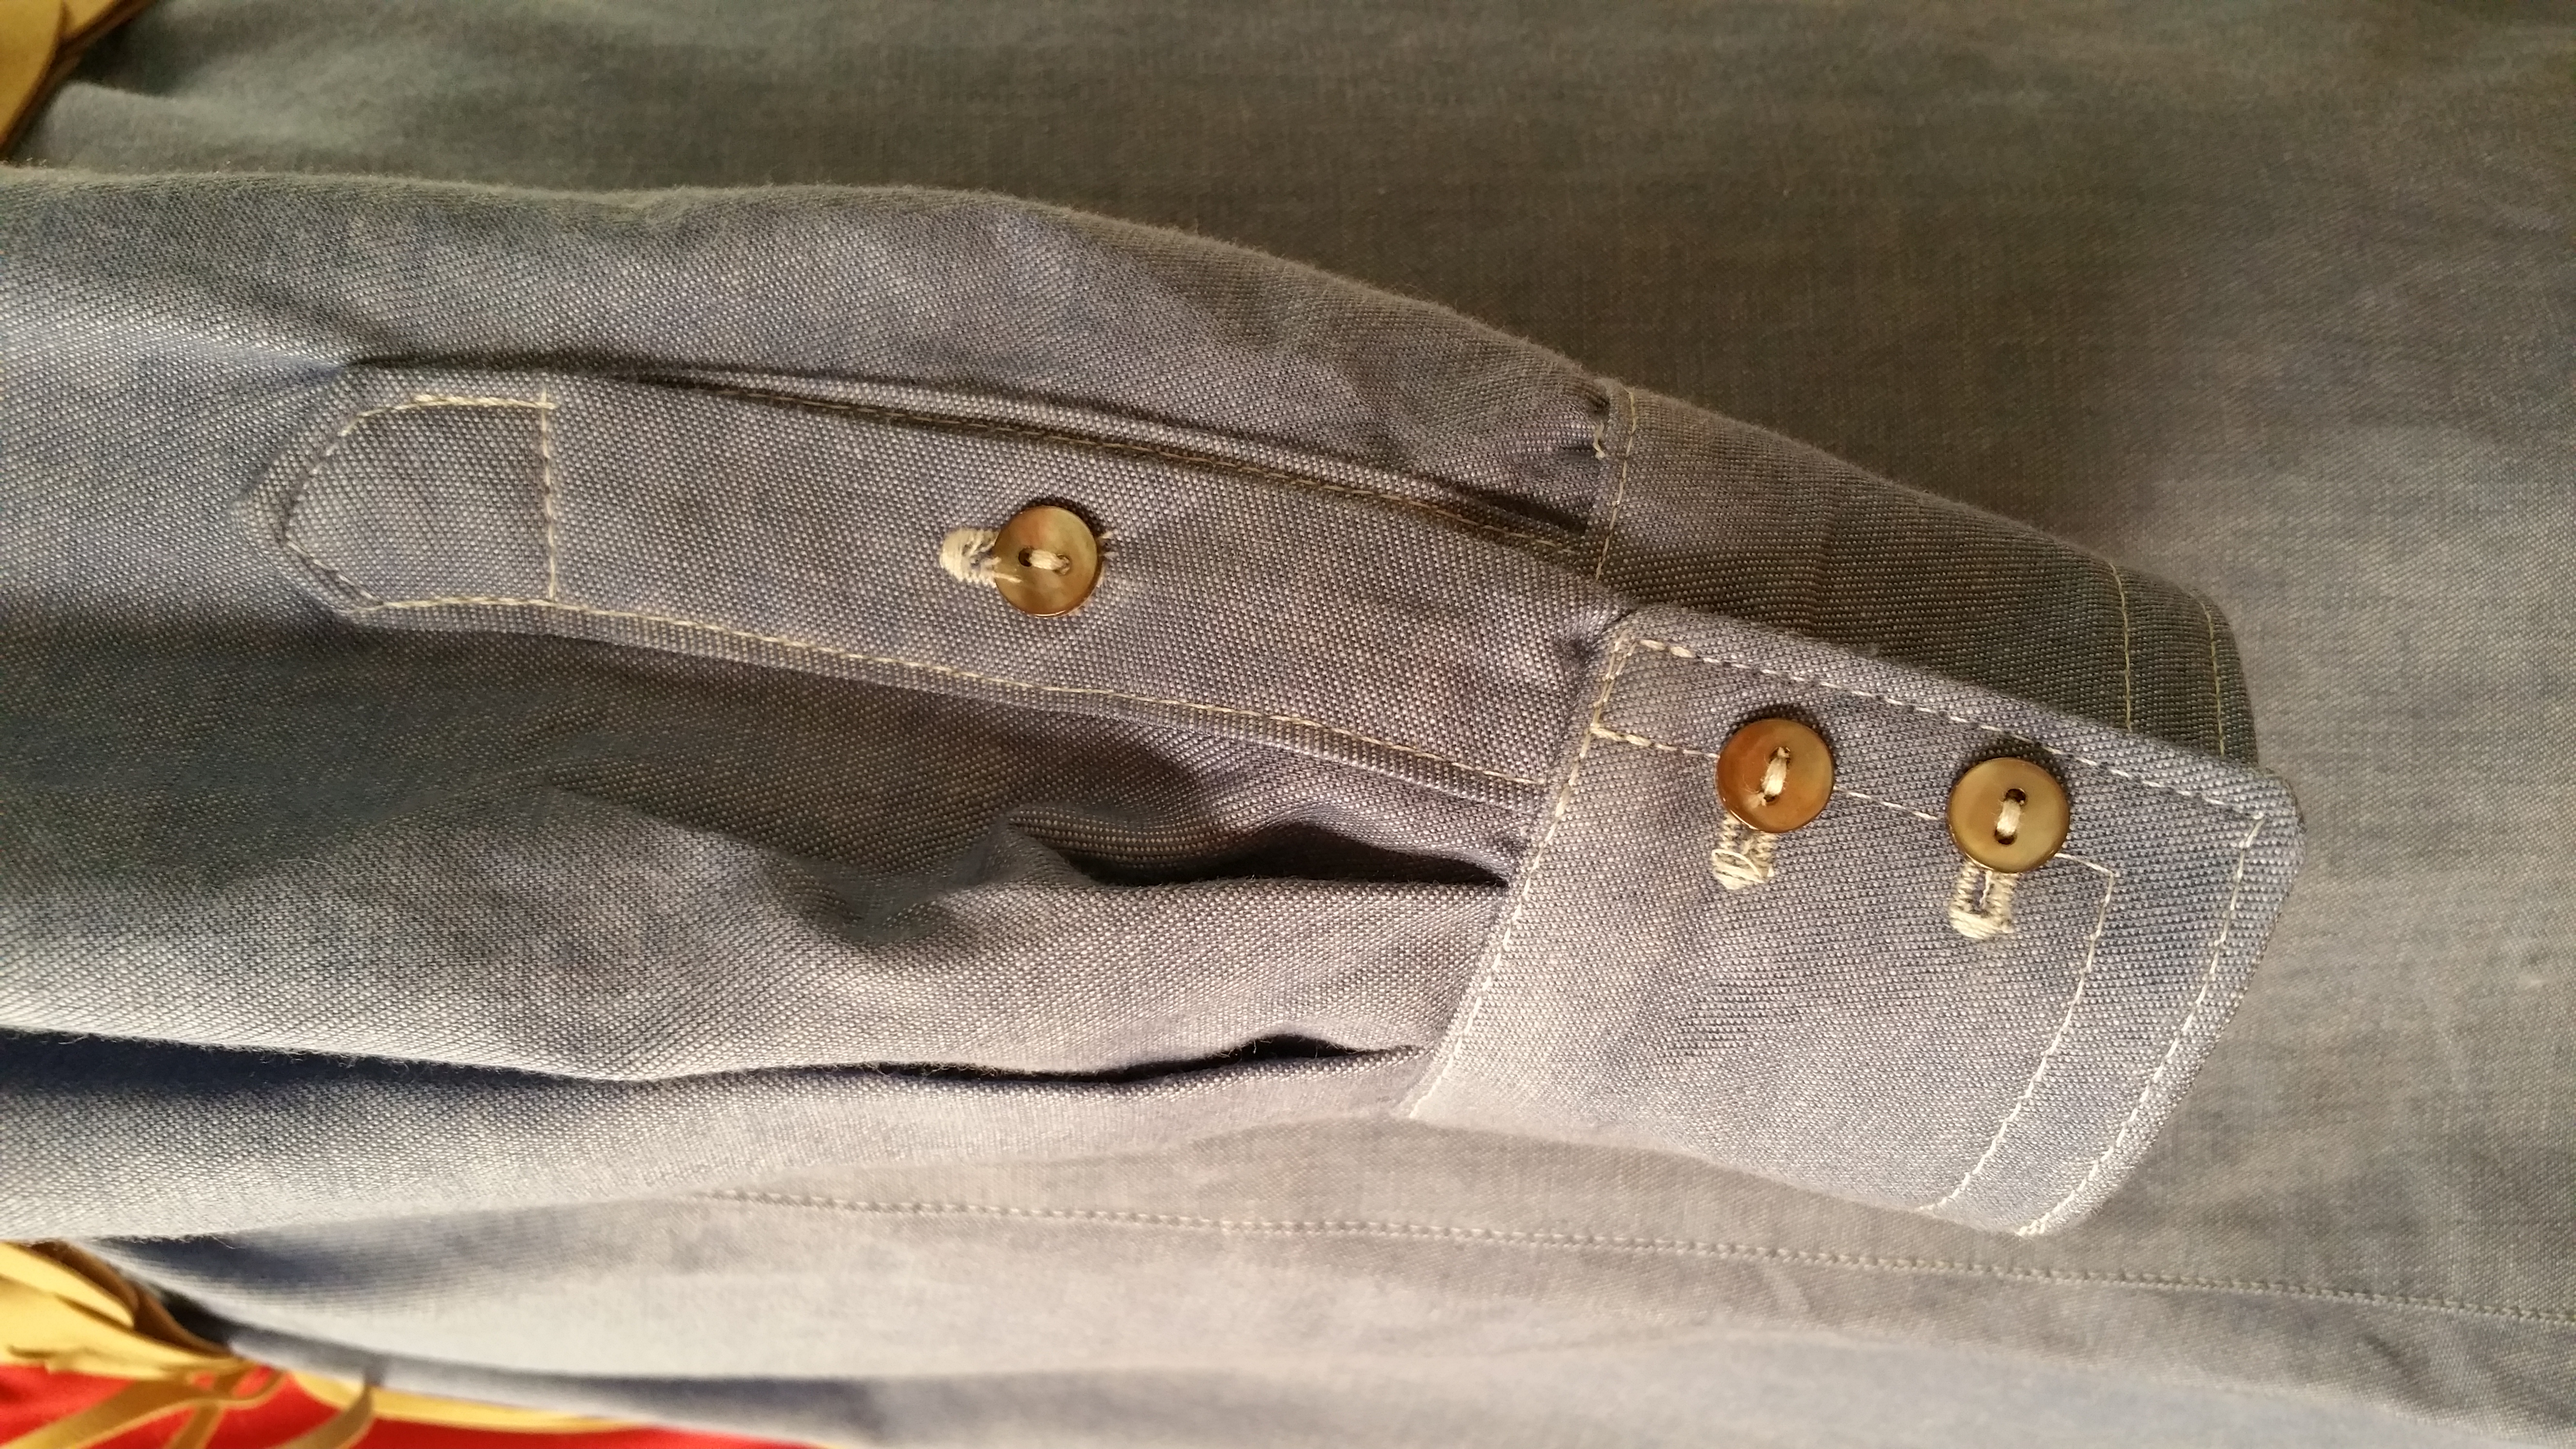
- I am using The Kate Skirt sewing pattern from the Angela Wolf Pattern Collection
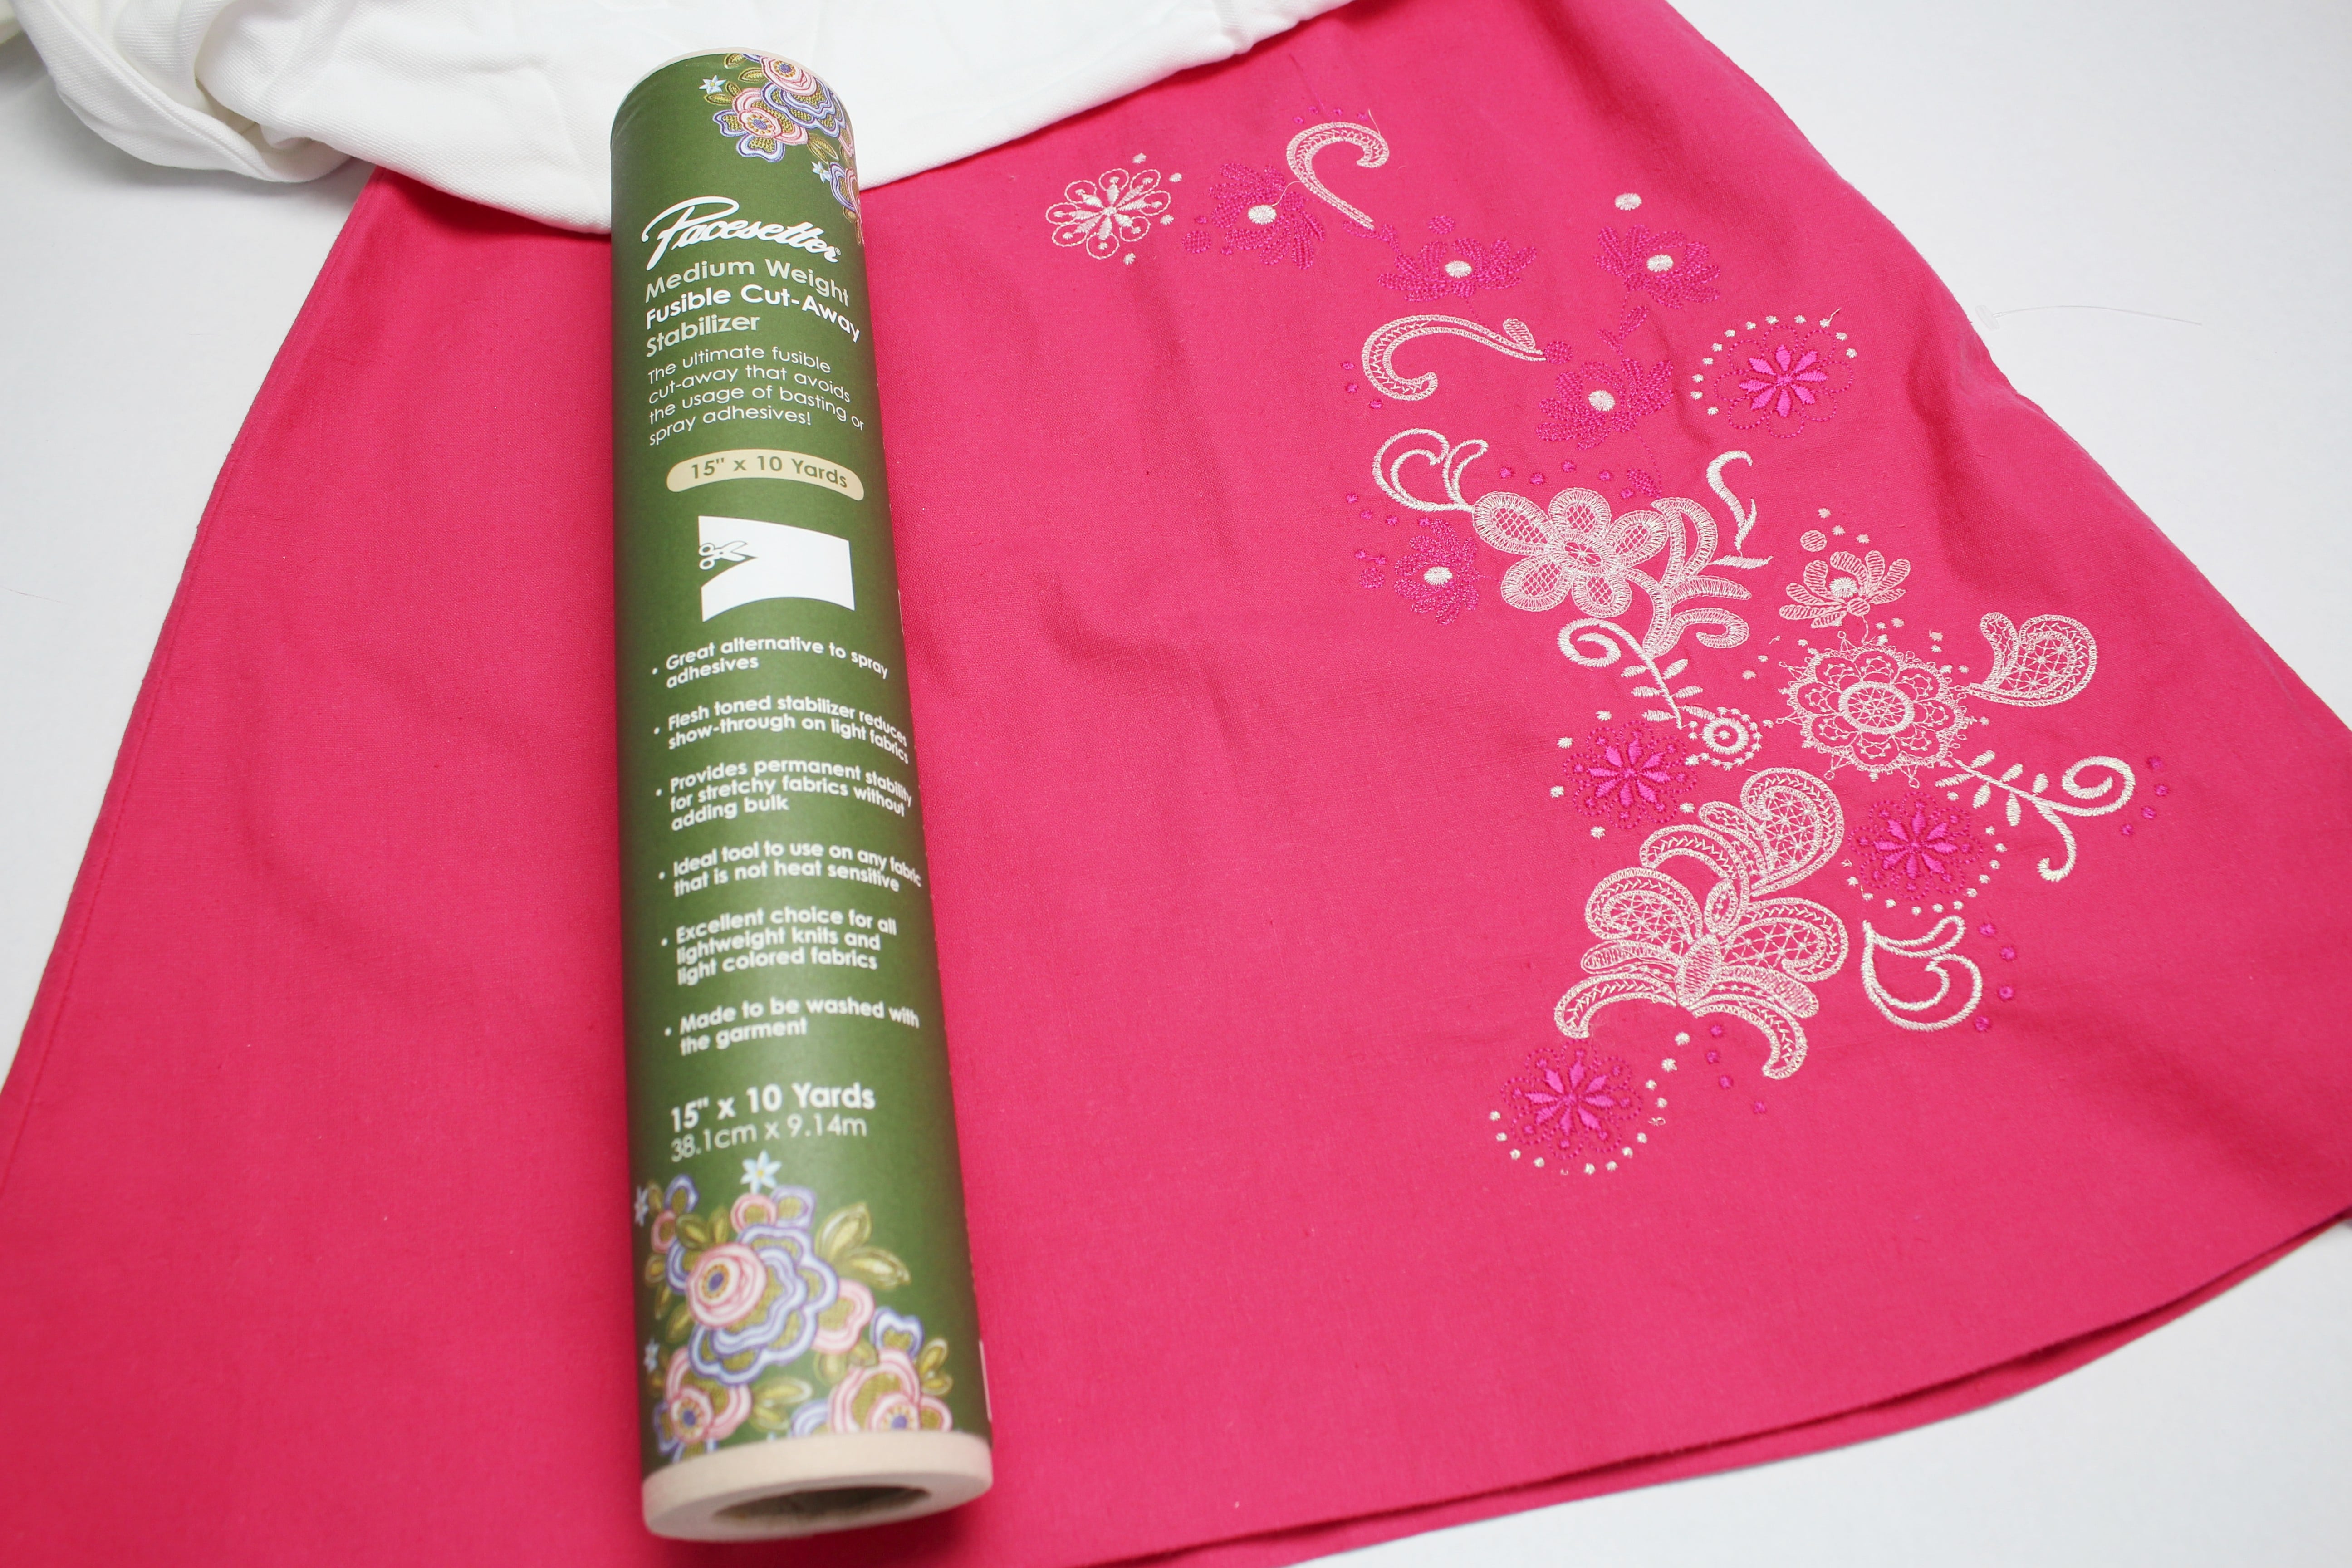
- Pacesetter Medium Weight Fusible Cut-Away Embroidery Stabilizer
- Embroidery Thread
DESIGNER TIP: My skirt fabric is a linen blend, but the stabilizer I am using would work great on rayon, cotton sateen, denim, wool, and cotton blends. JUST be careful with satin, silk blends, and velvet (to name a few). You don’t want to damage the fabric from the iron when pressing on the fusible stabilizer; it’s best to test the stabilizer on a swatch of fabric first.
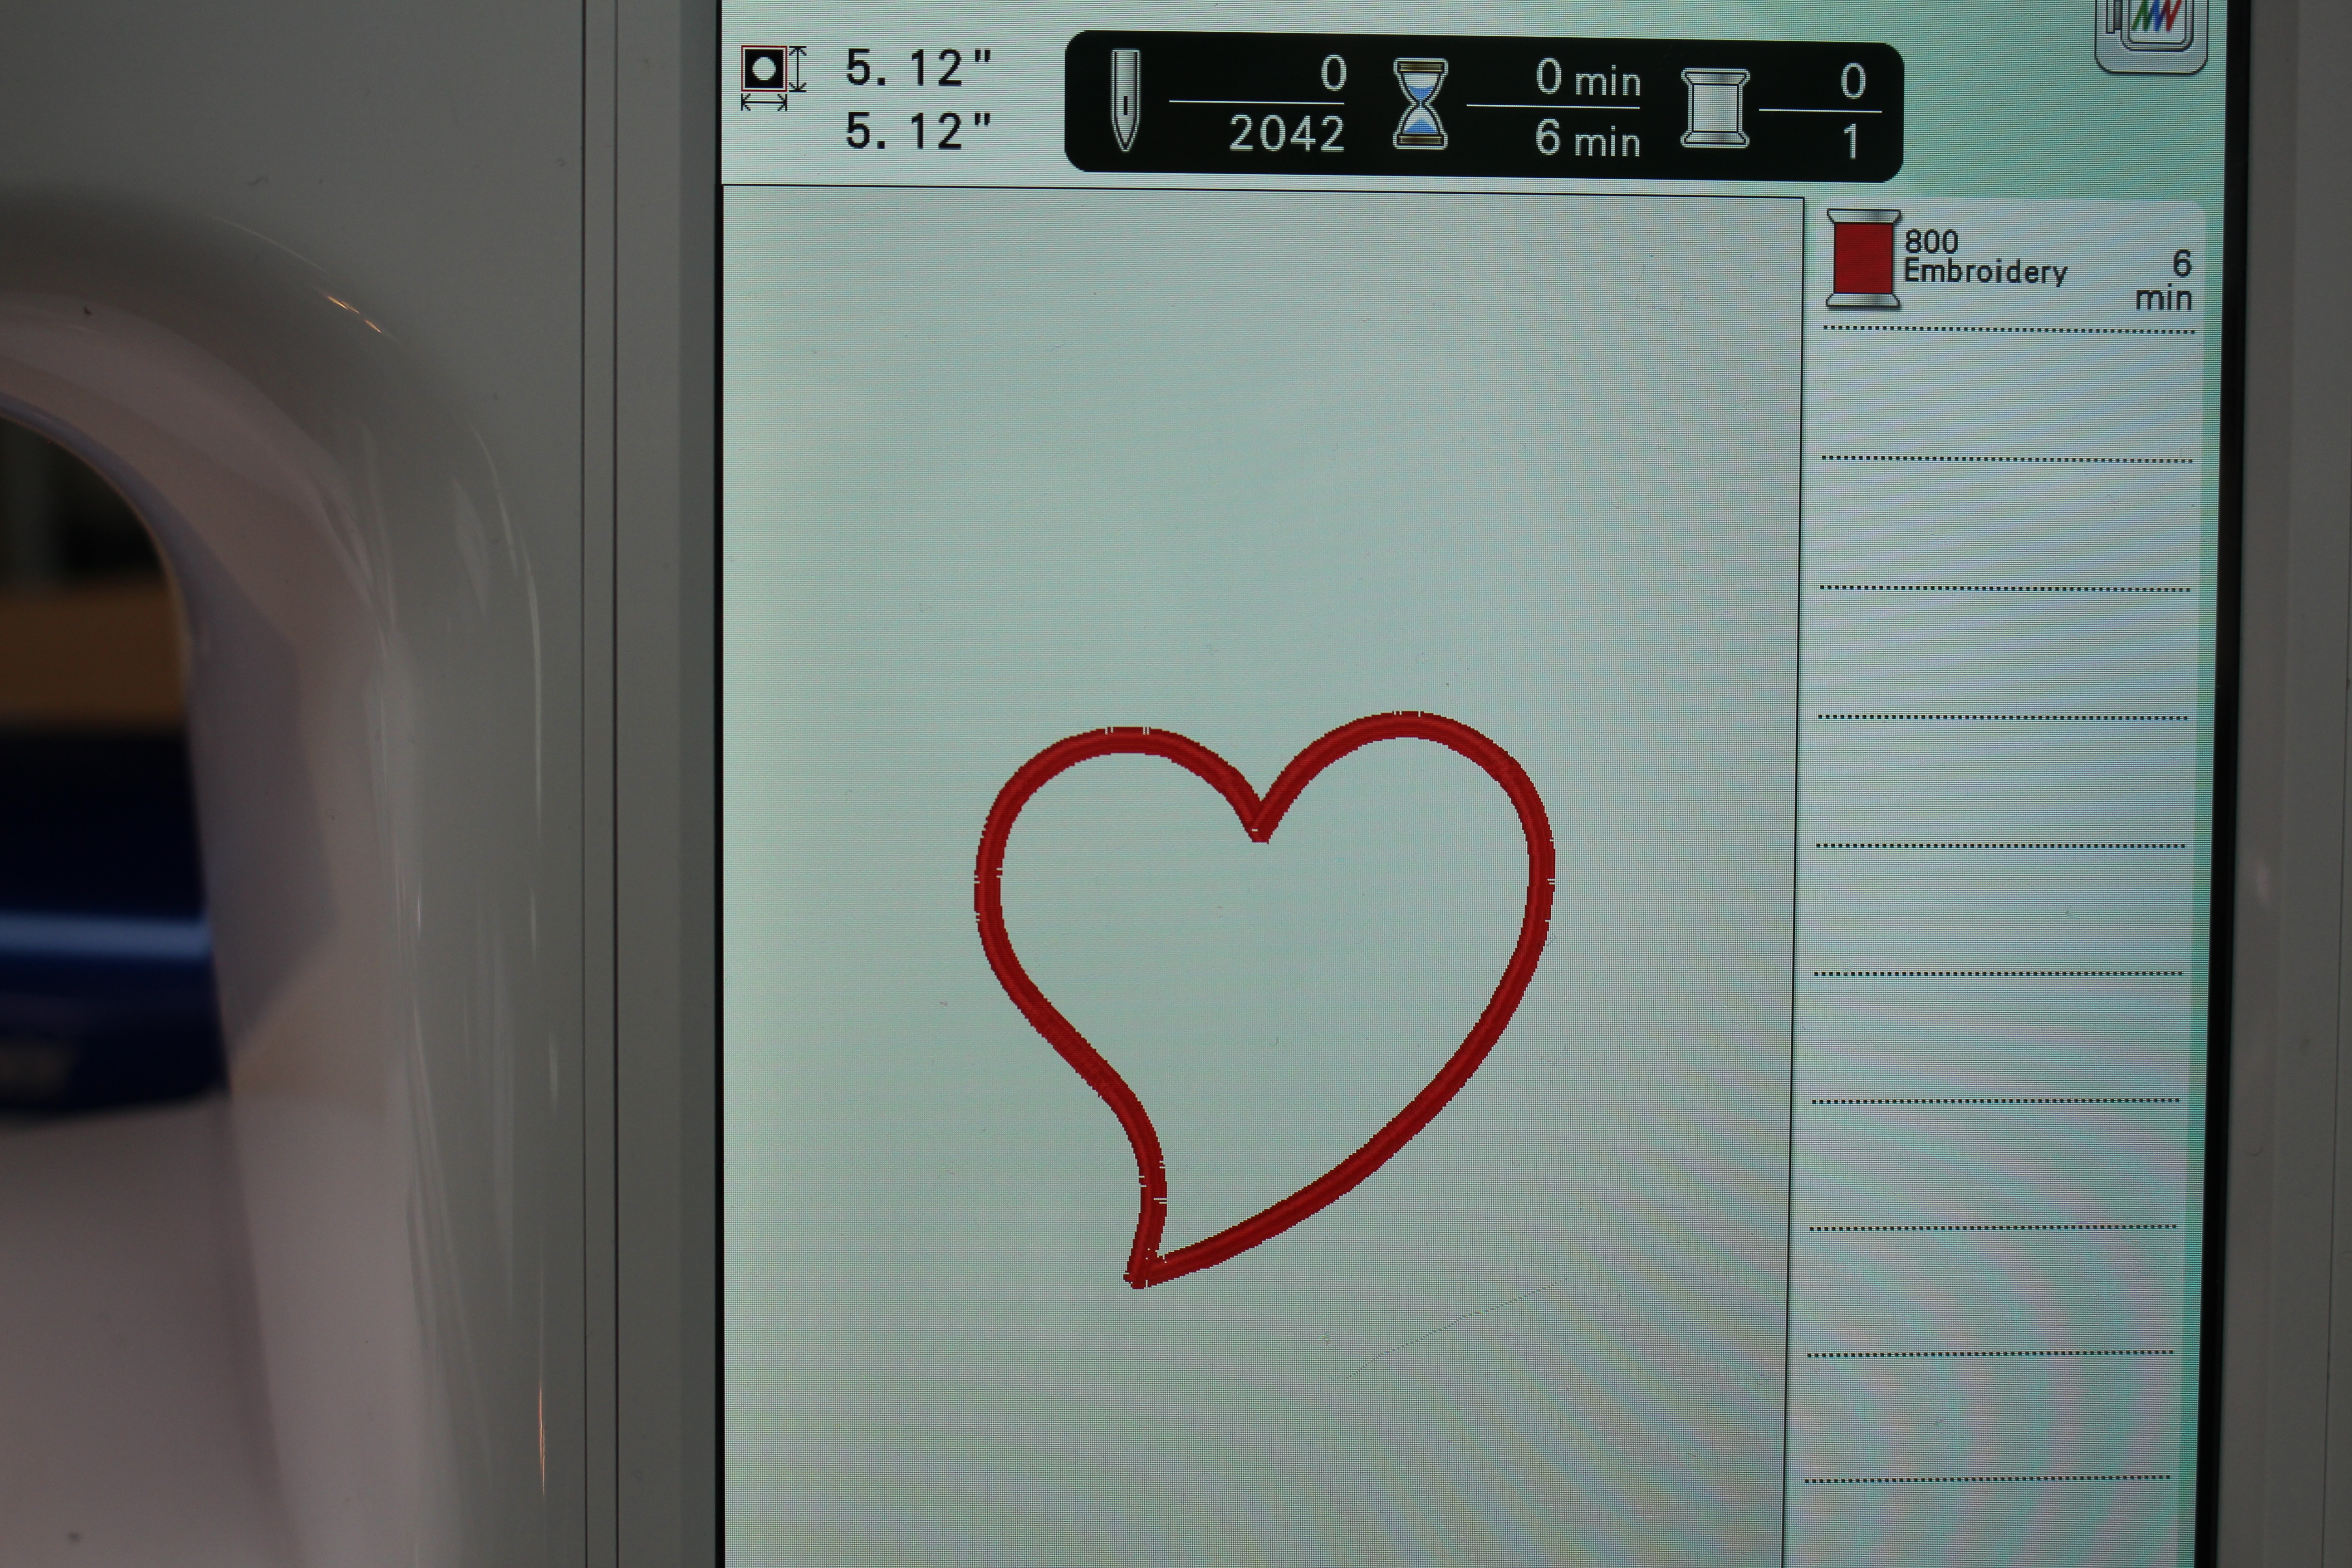
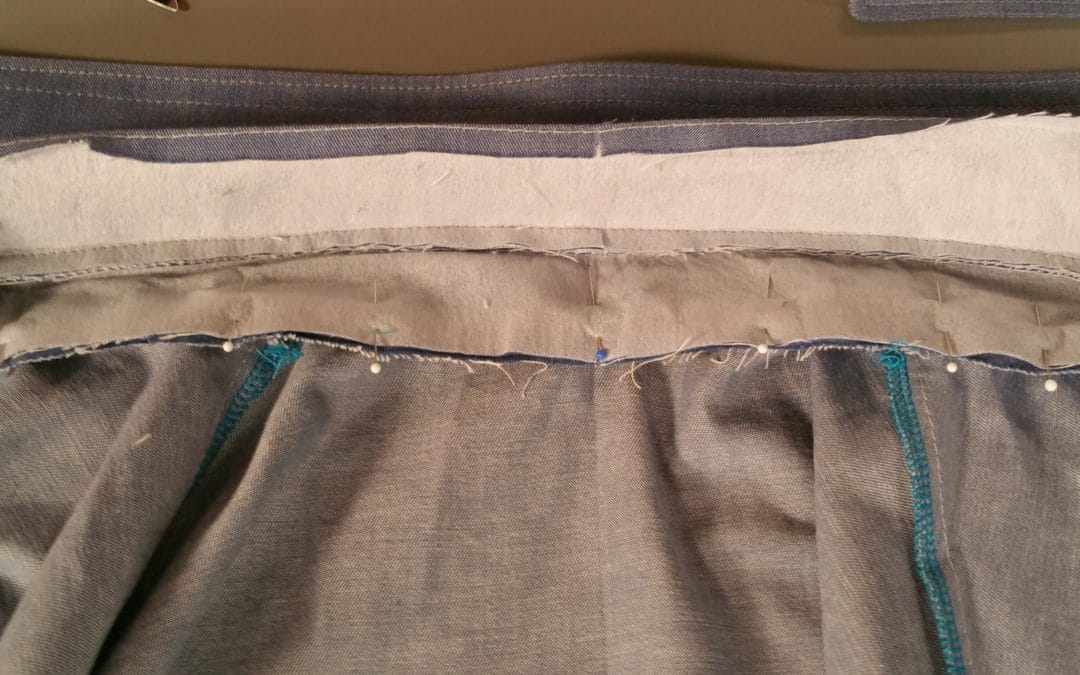
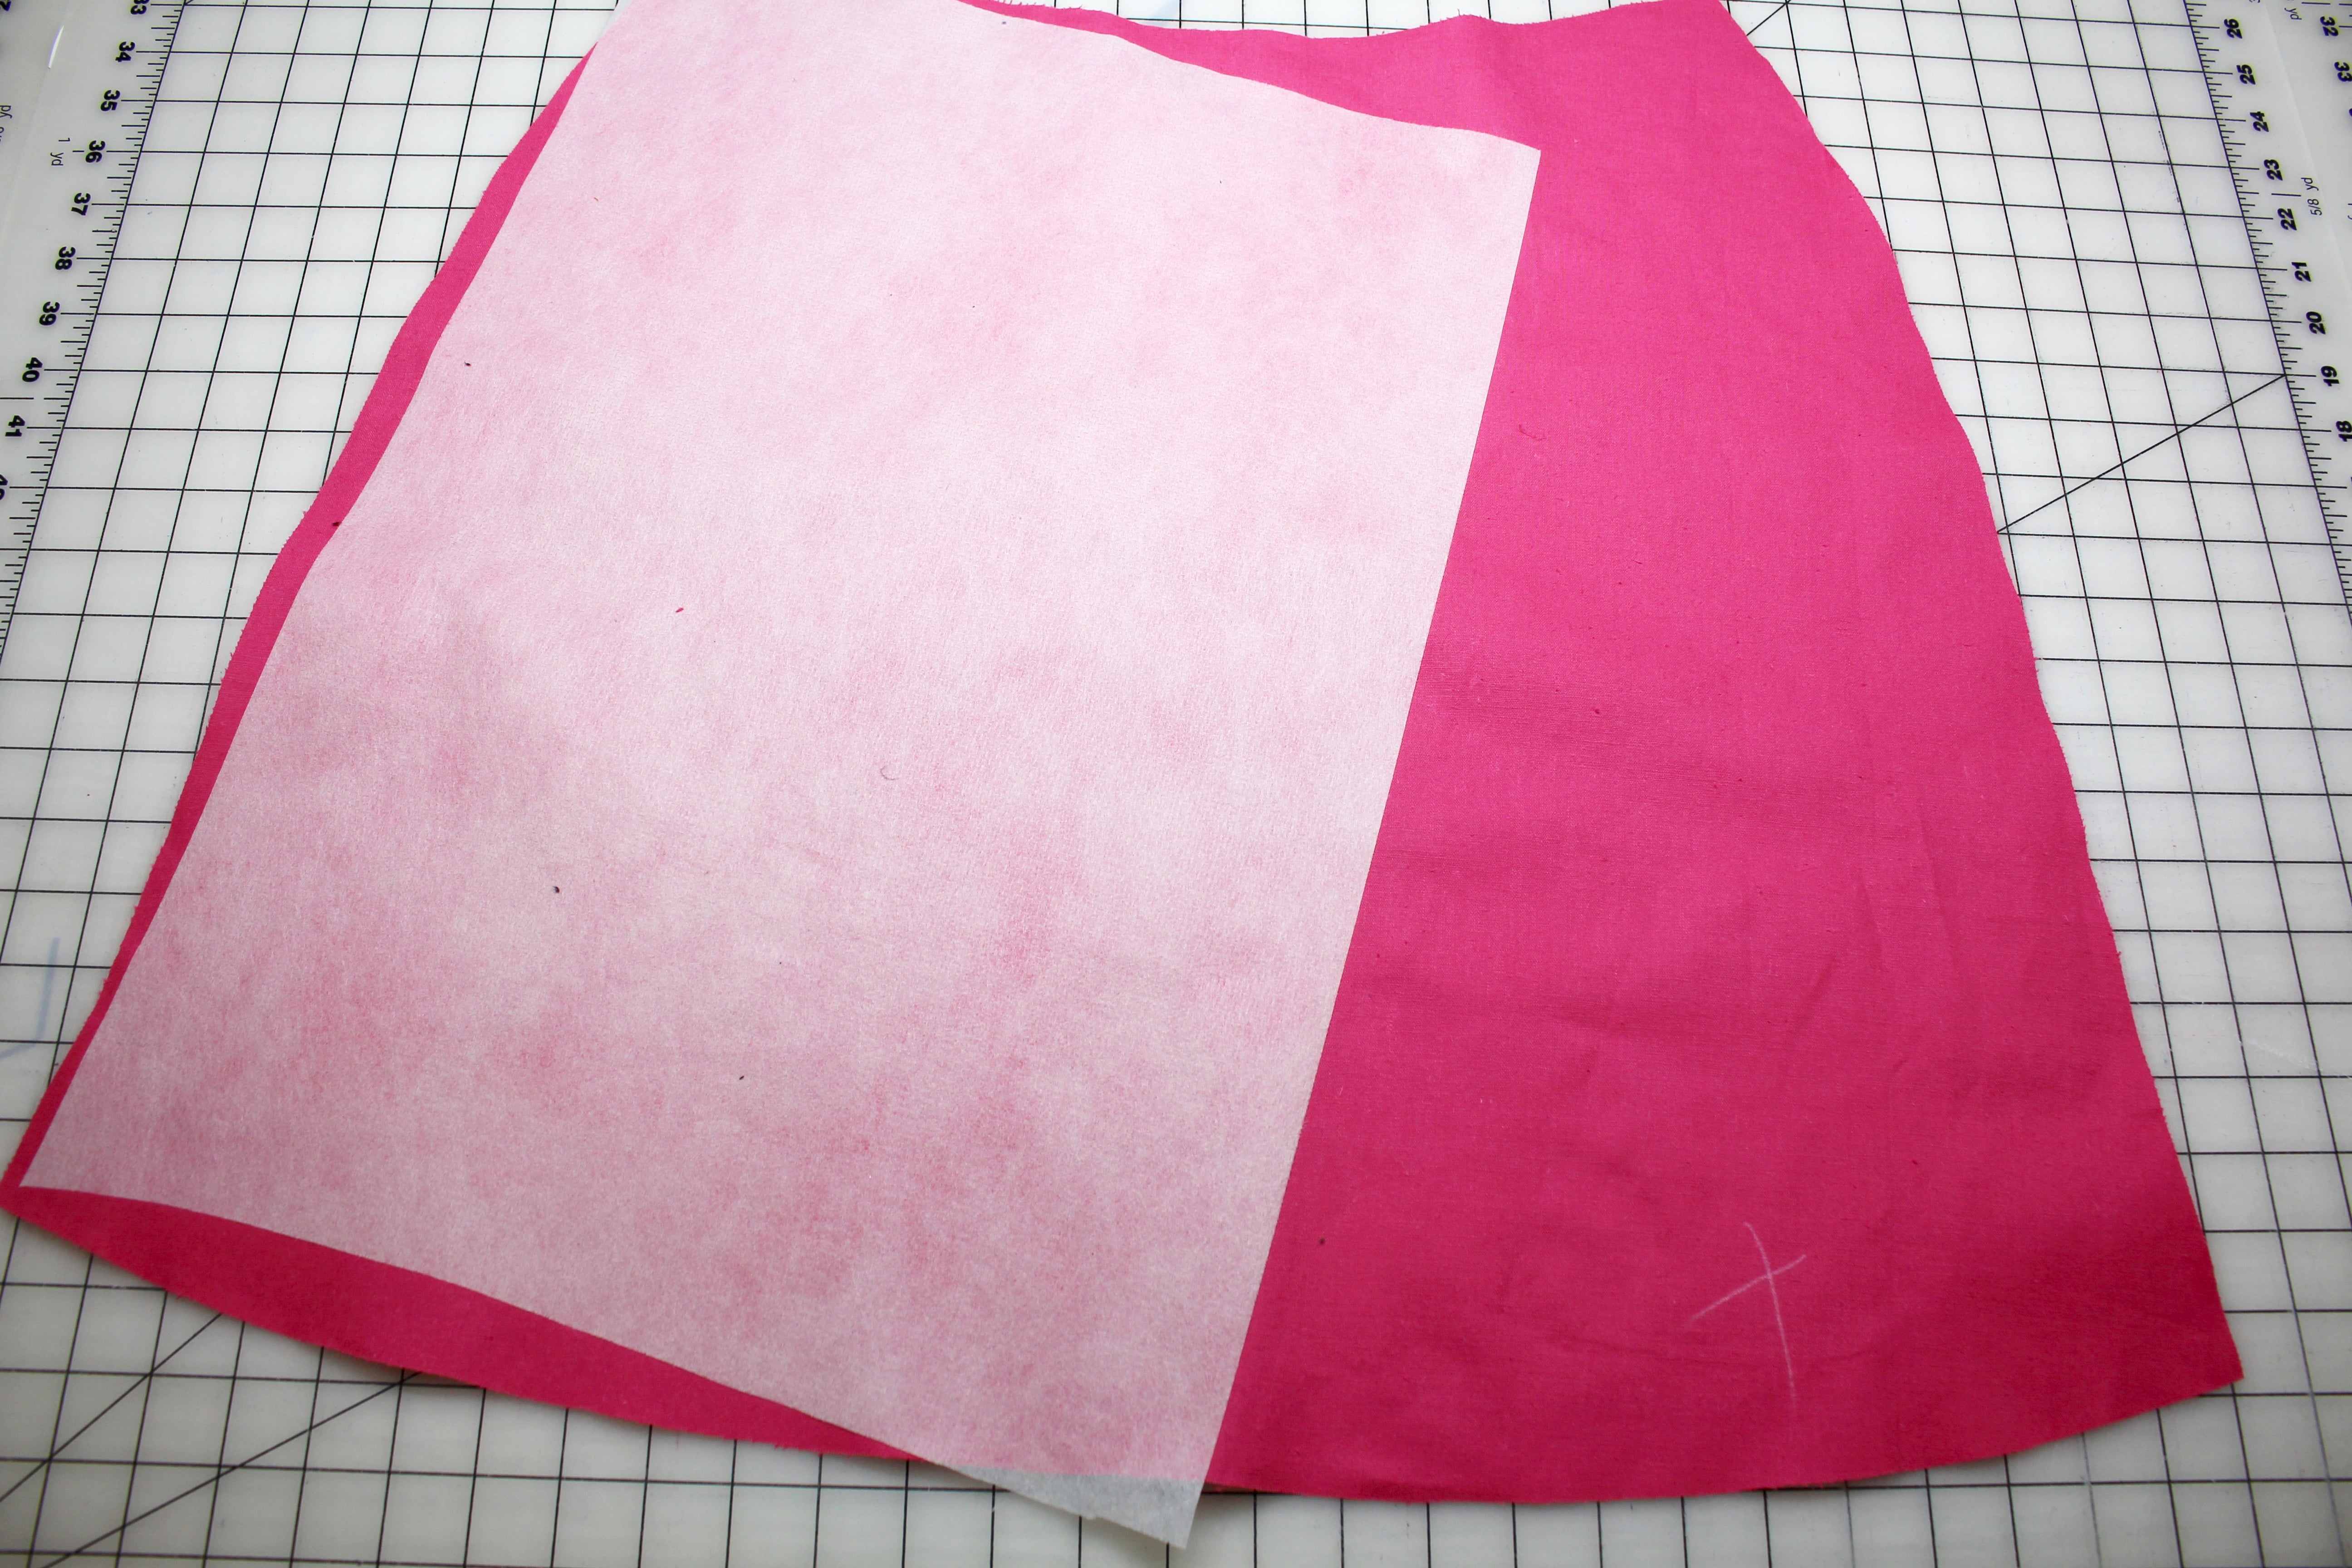
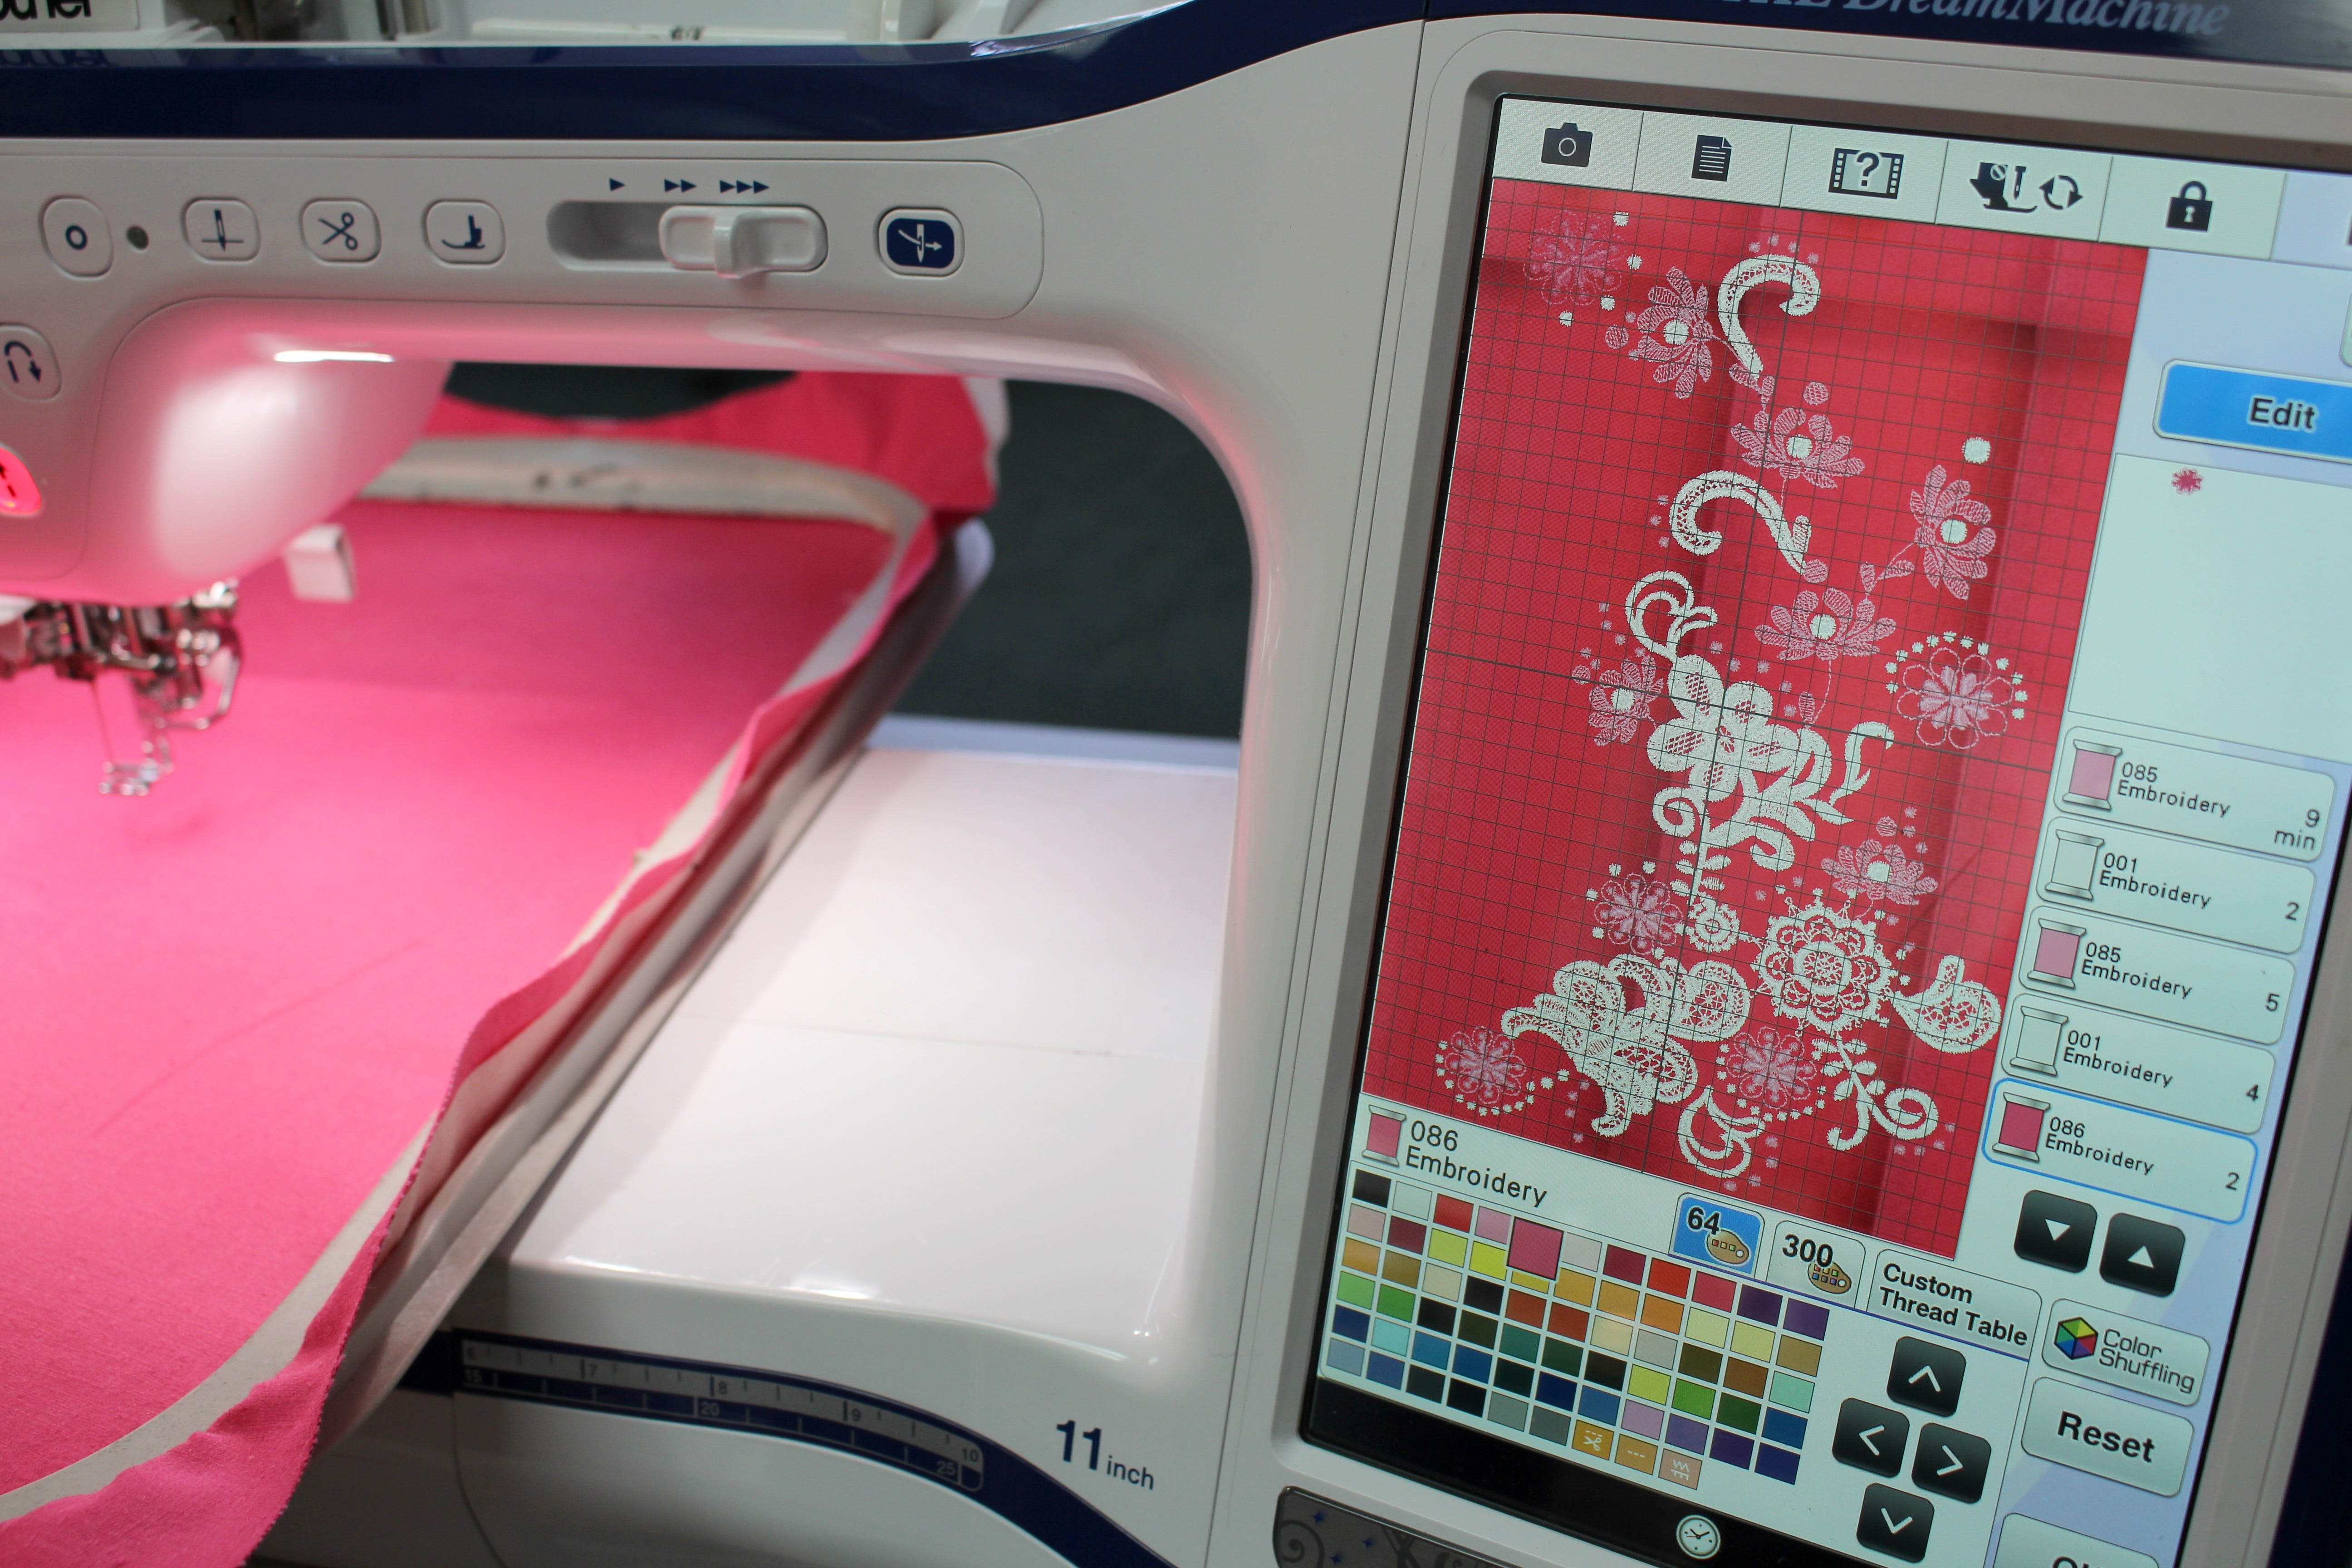
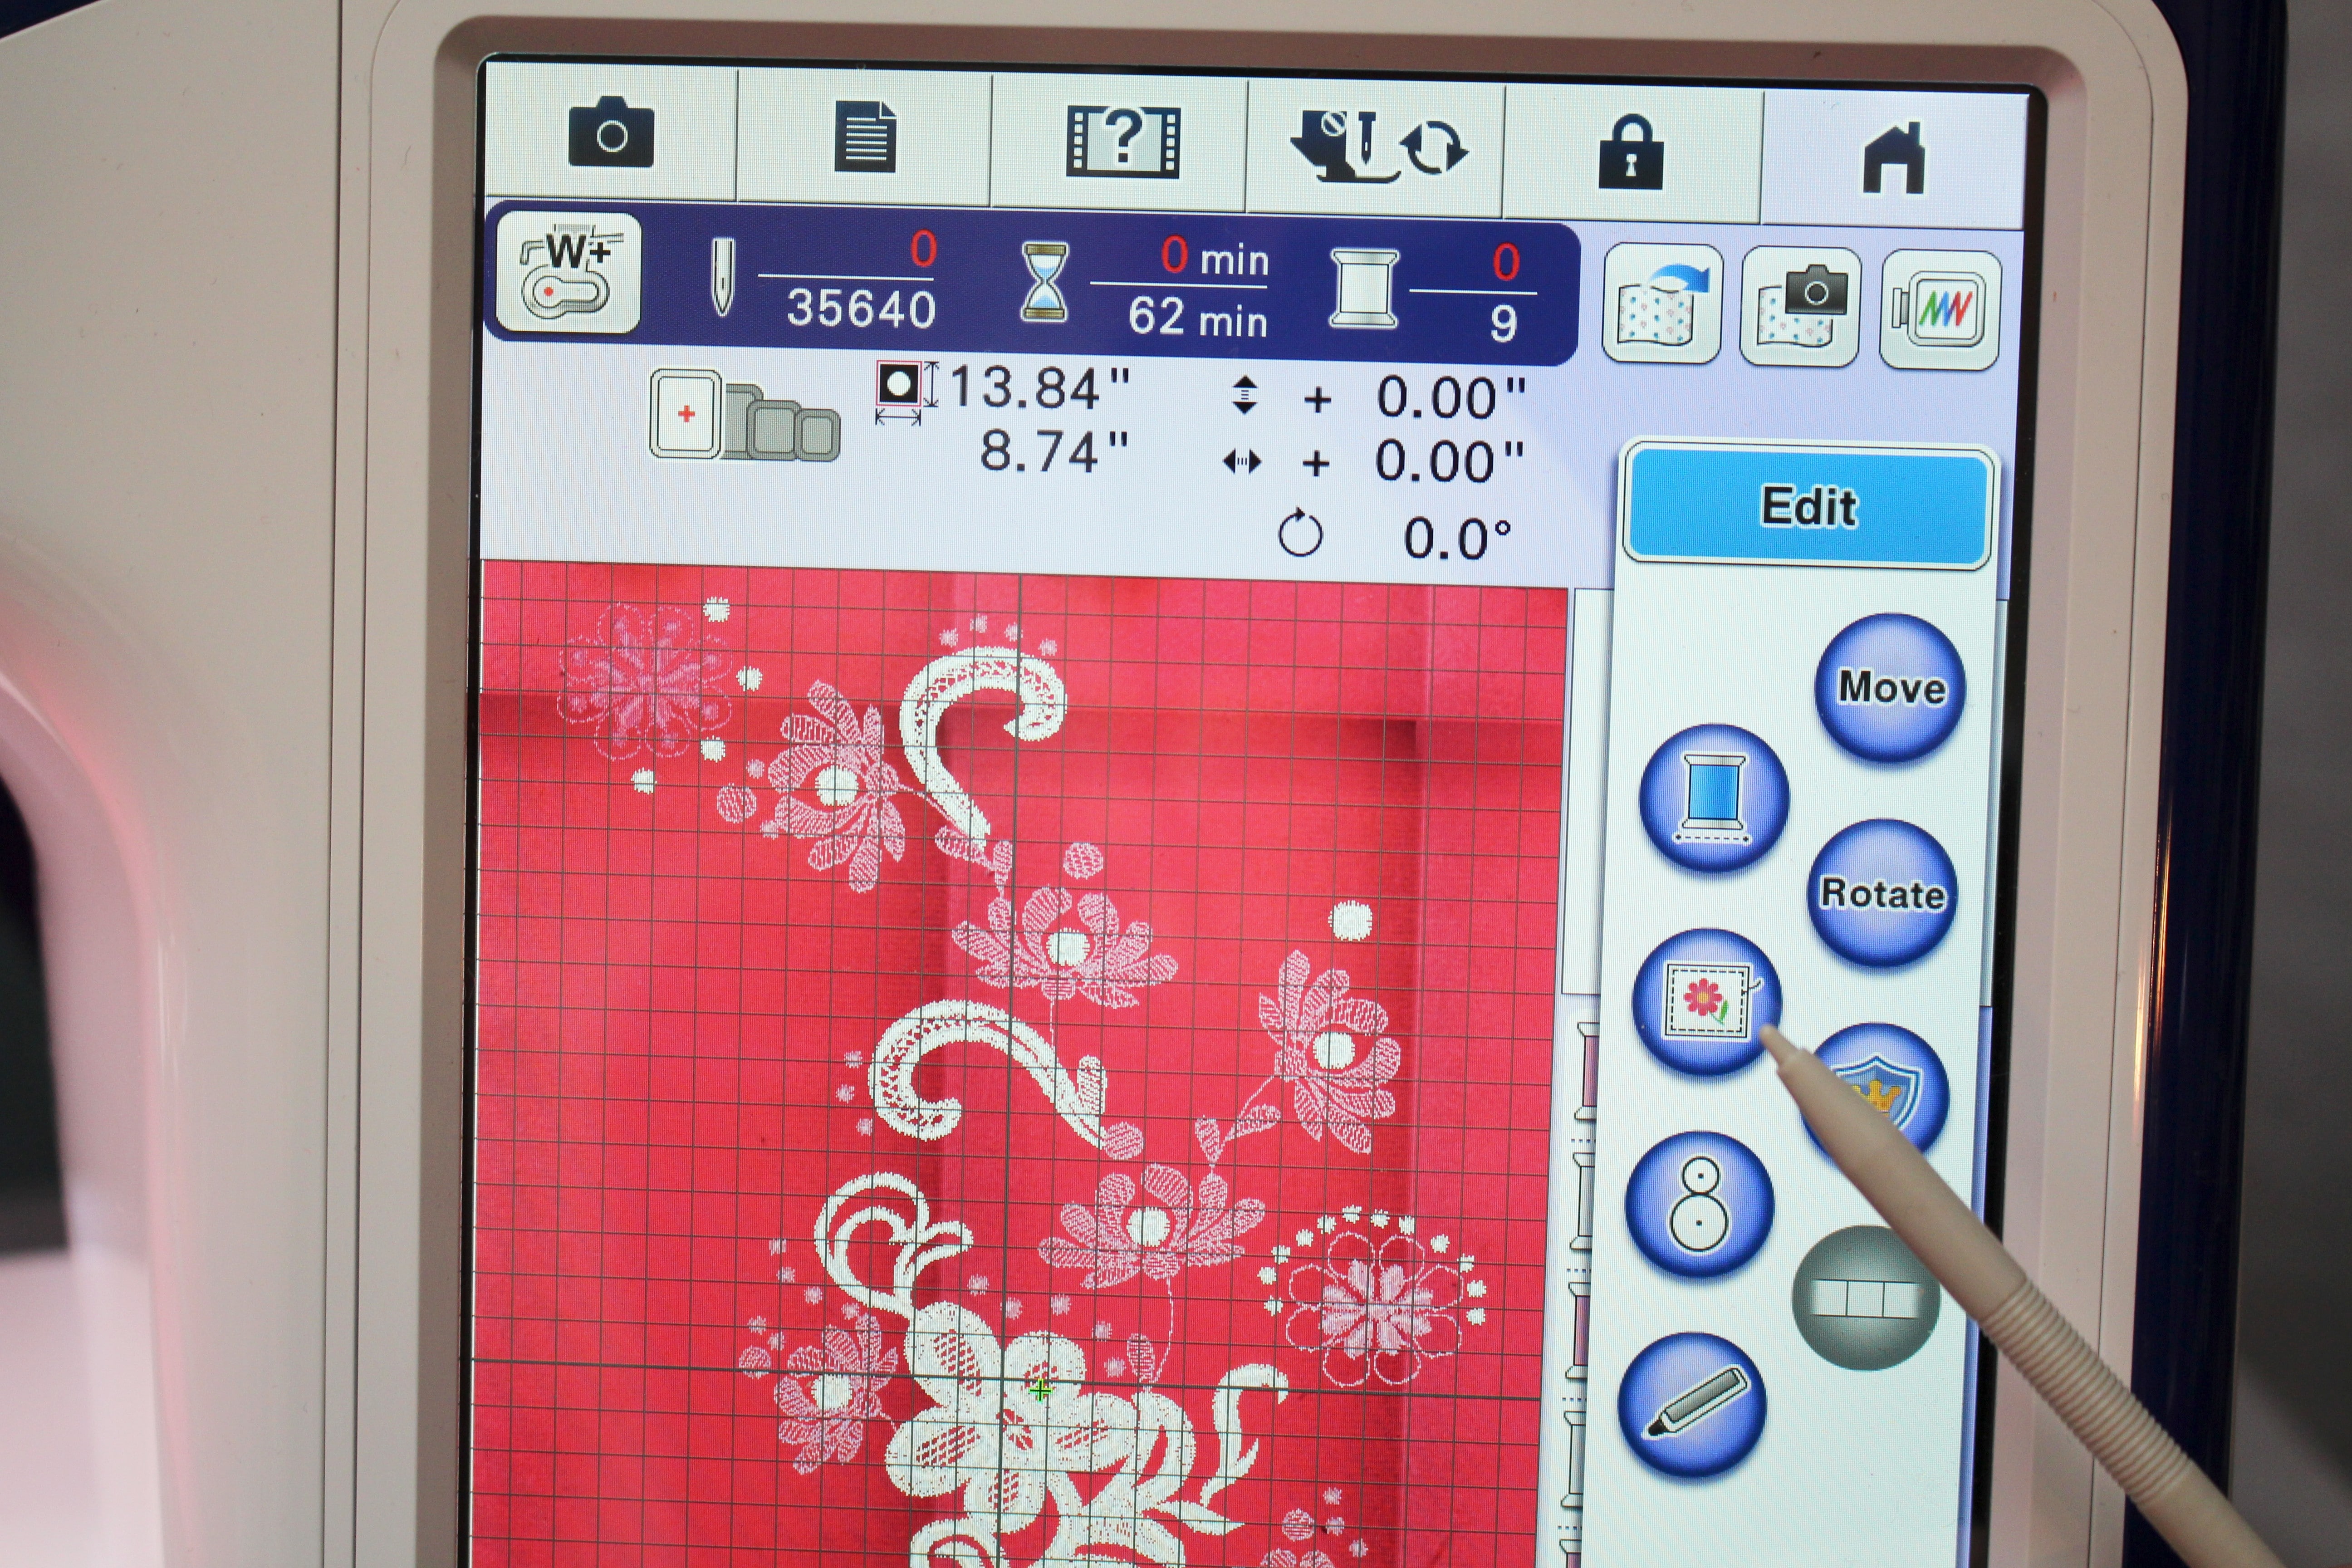
Determine the placement for the embroidery on the skirt. I am going to focus on one side of the front of the skirt; marking that spot with a fabric pen or tailors chalk. Press the embroidery stabilizer on the wrong side of the fabric covering the area to be embroidered.
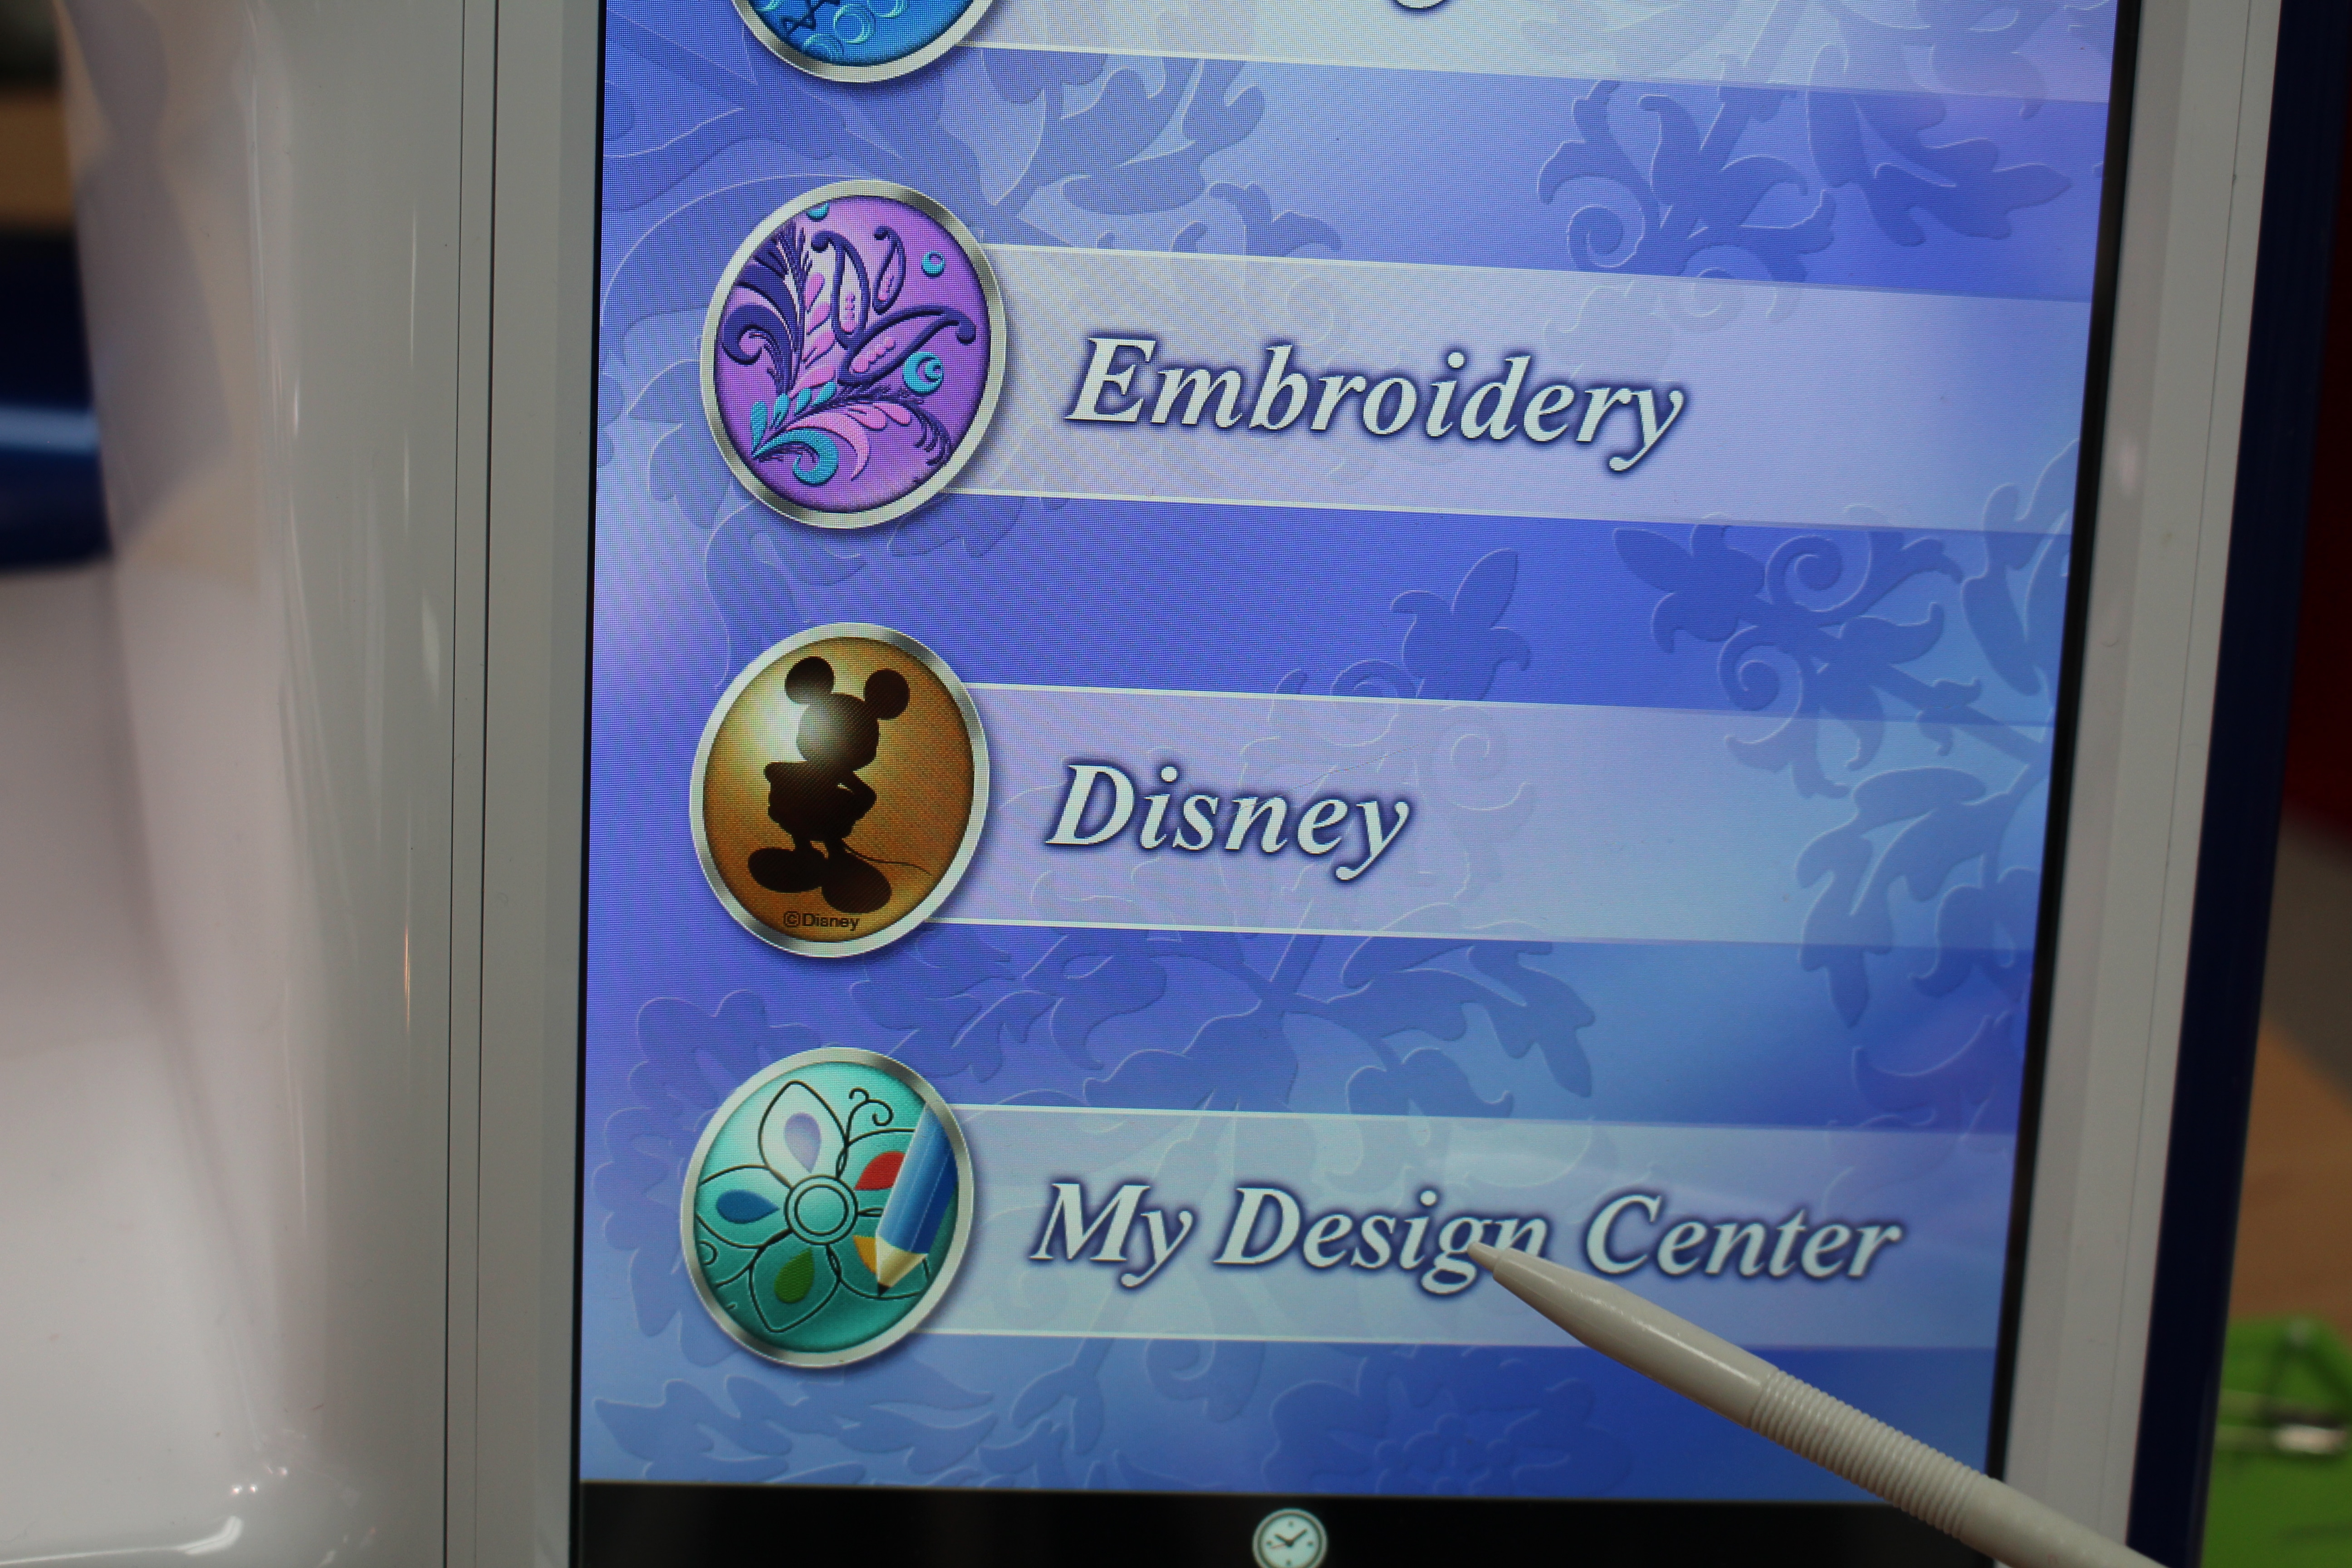
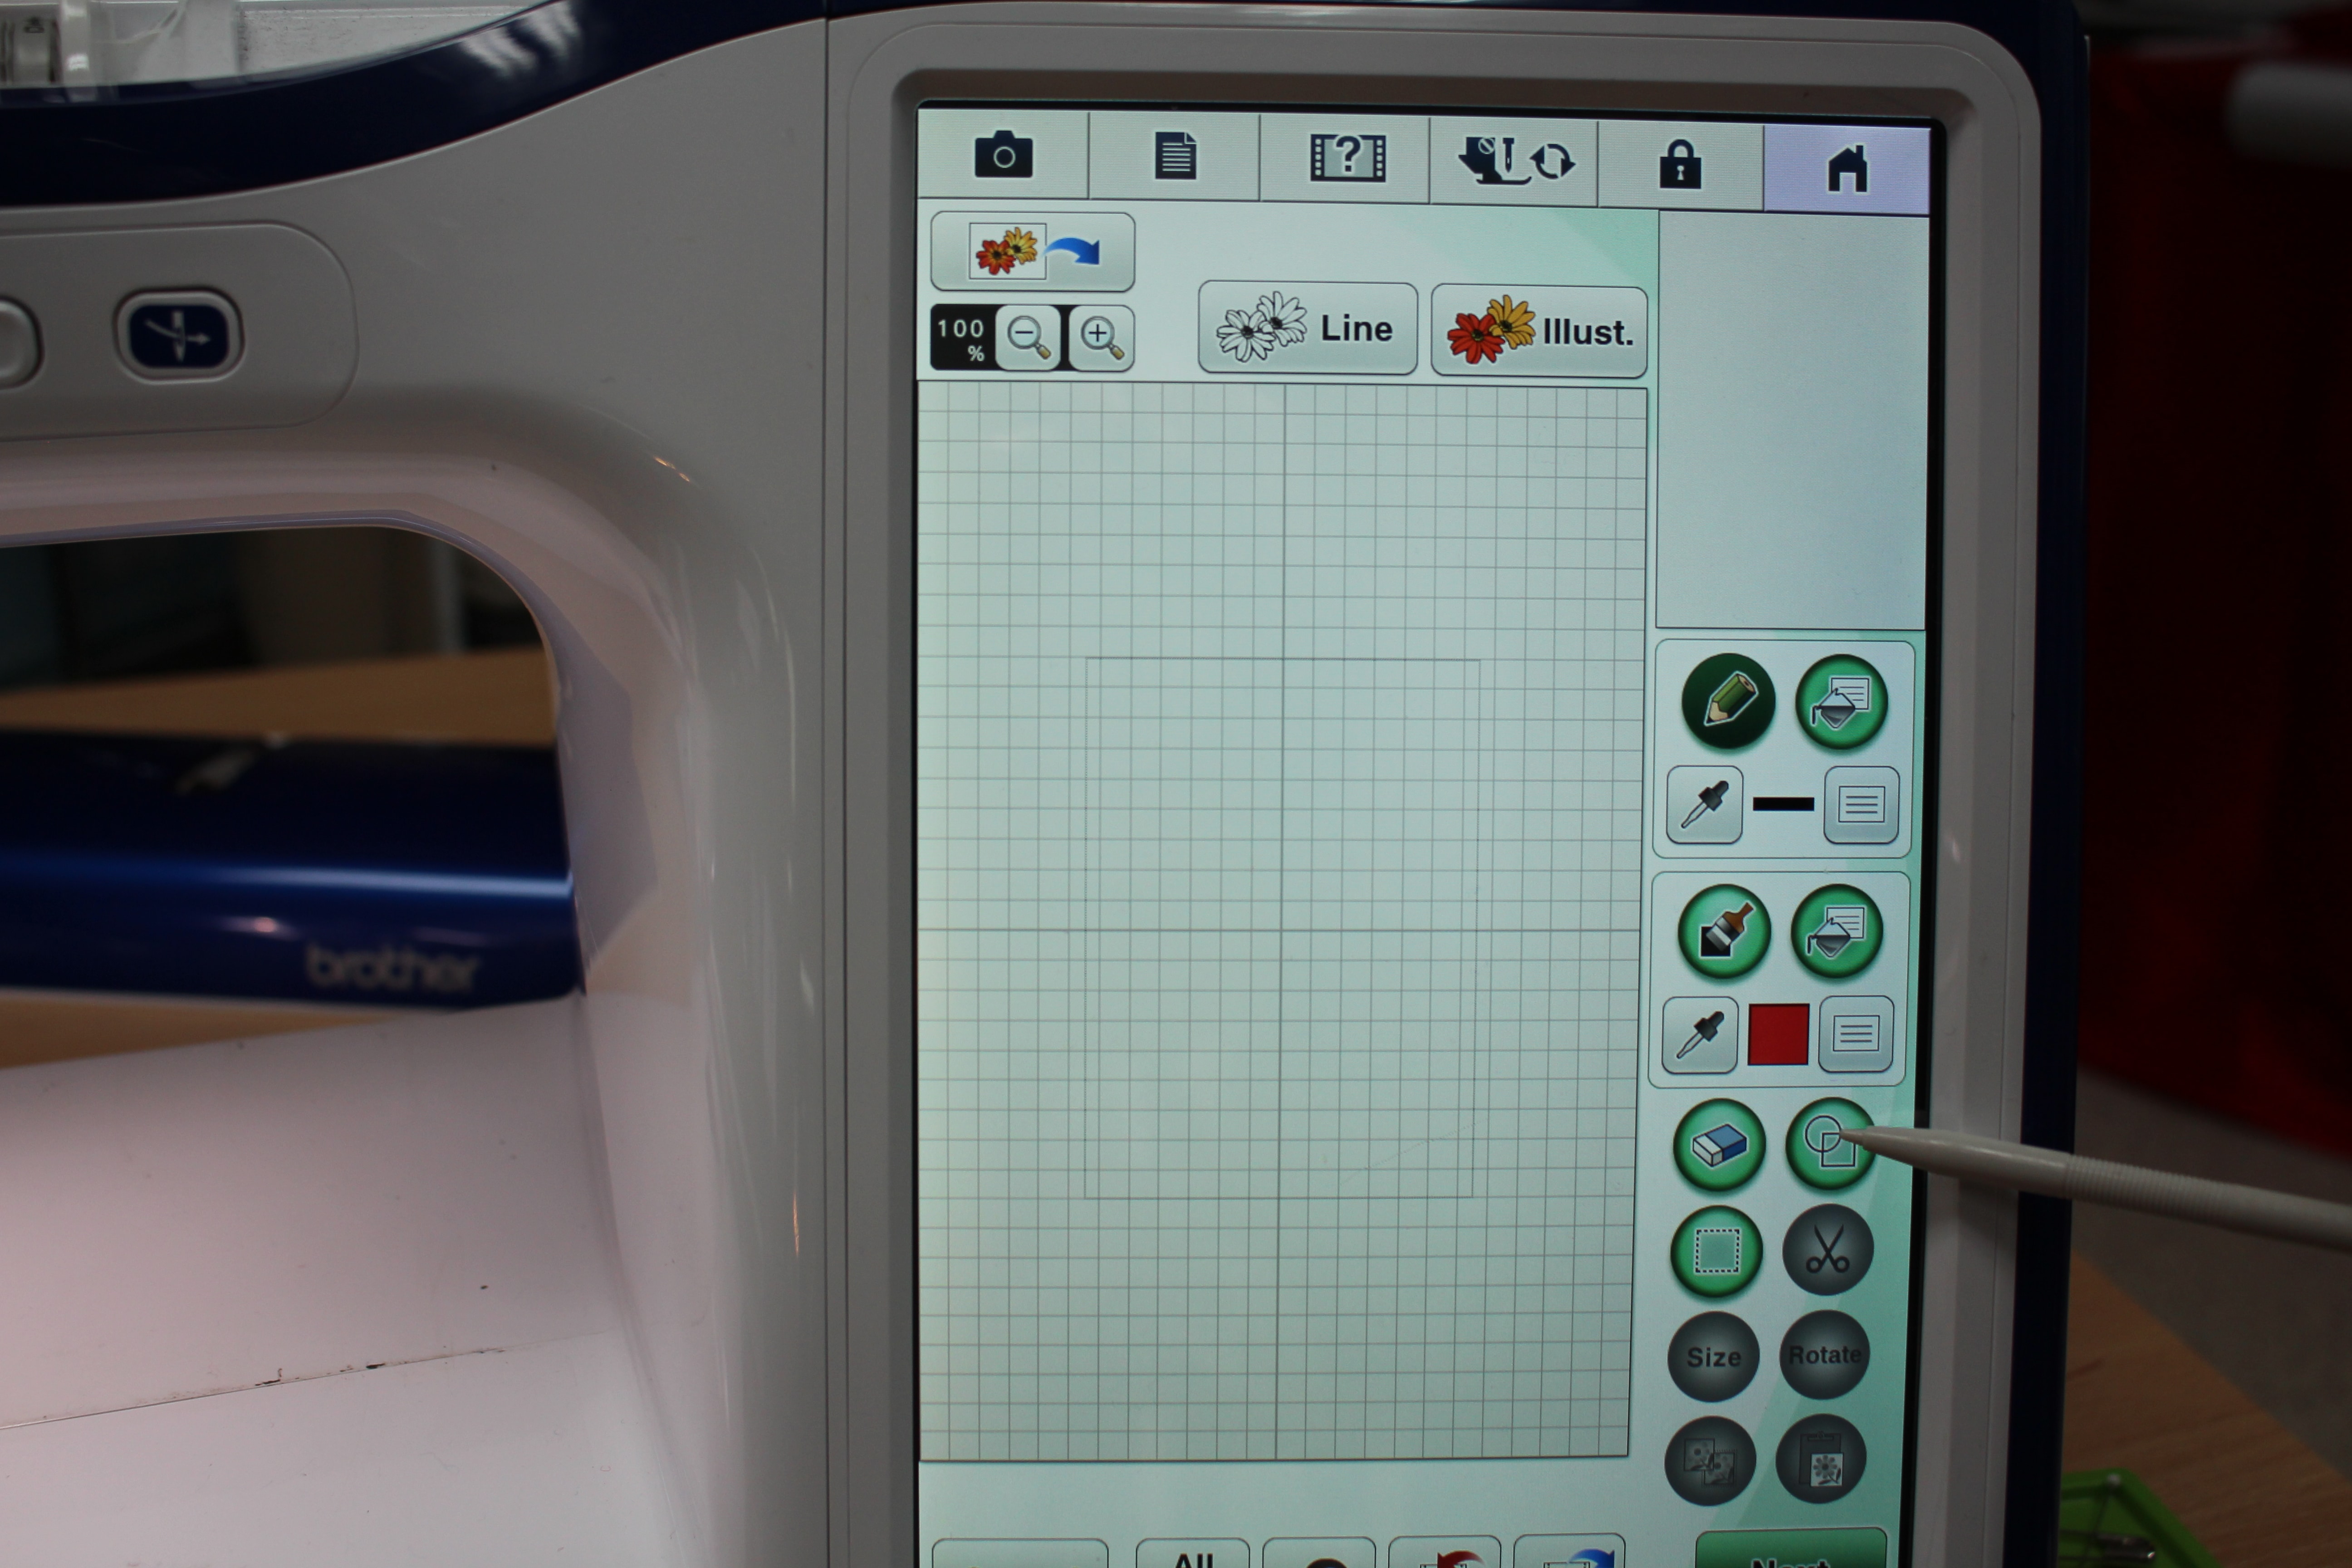
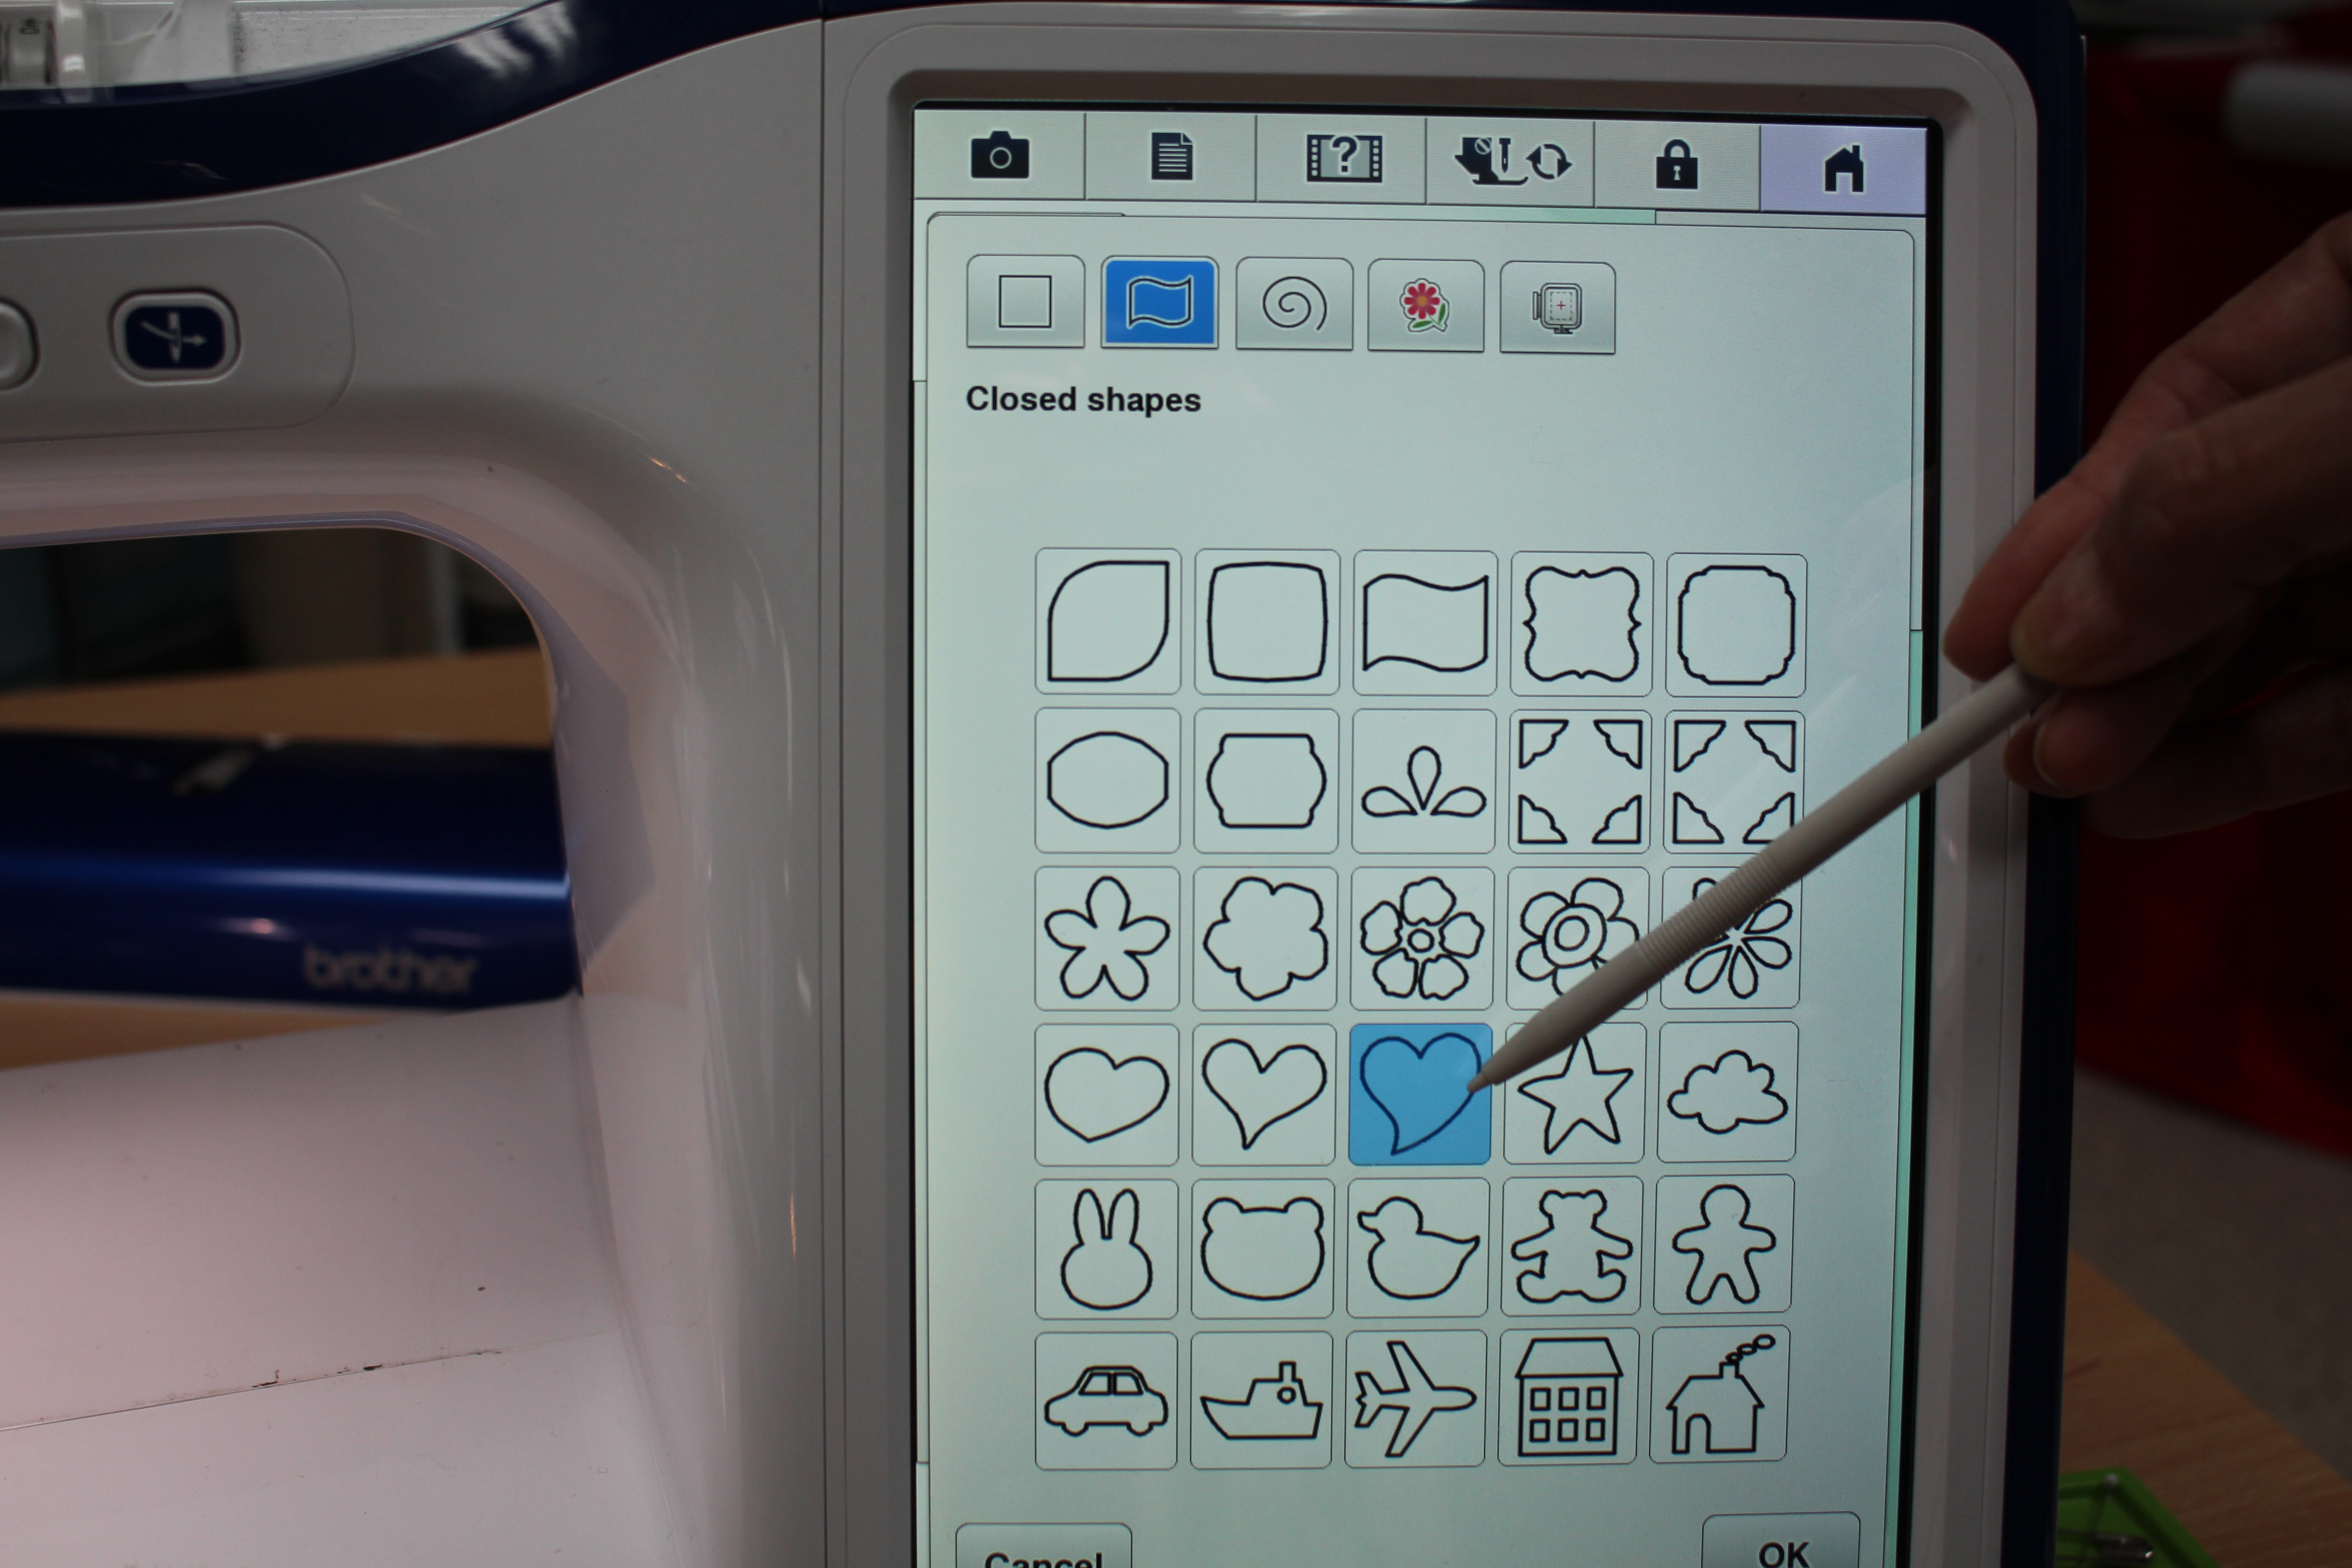
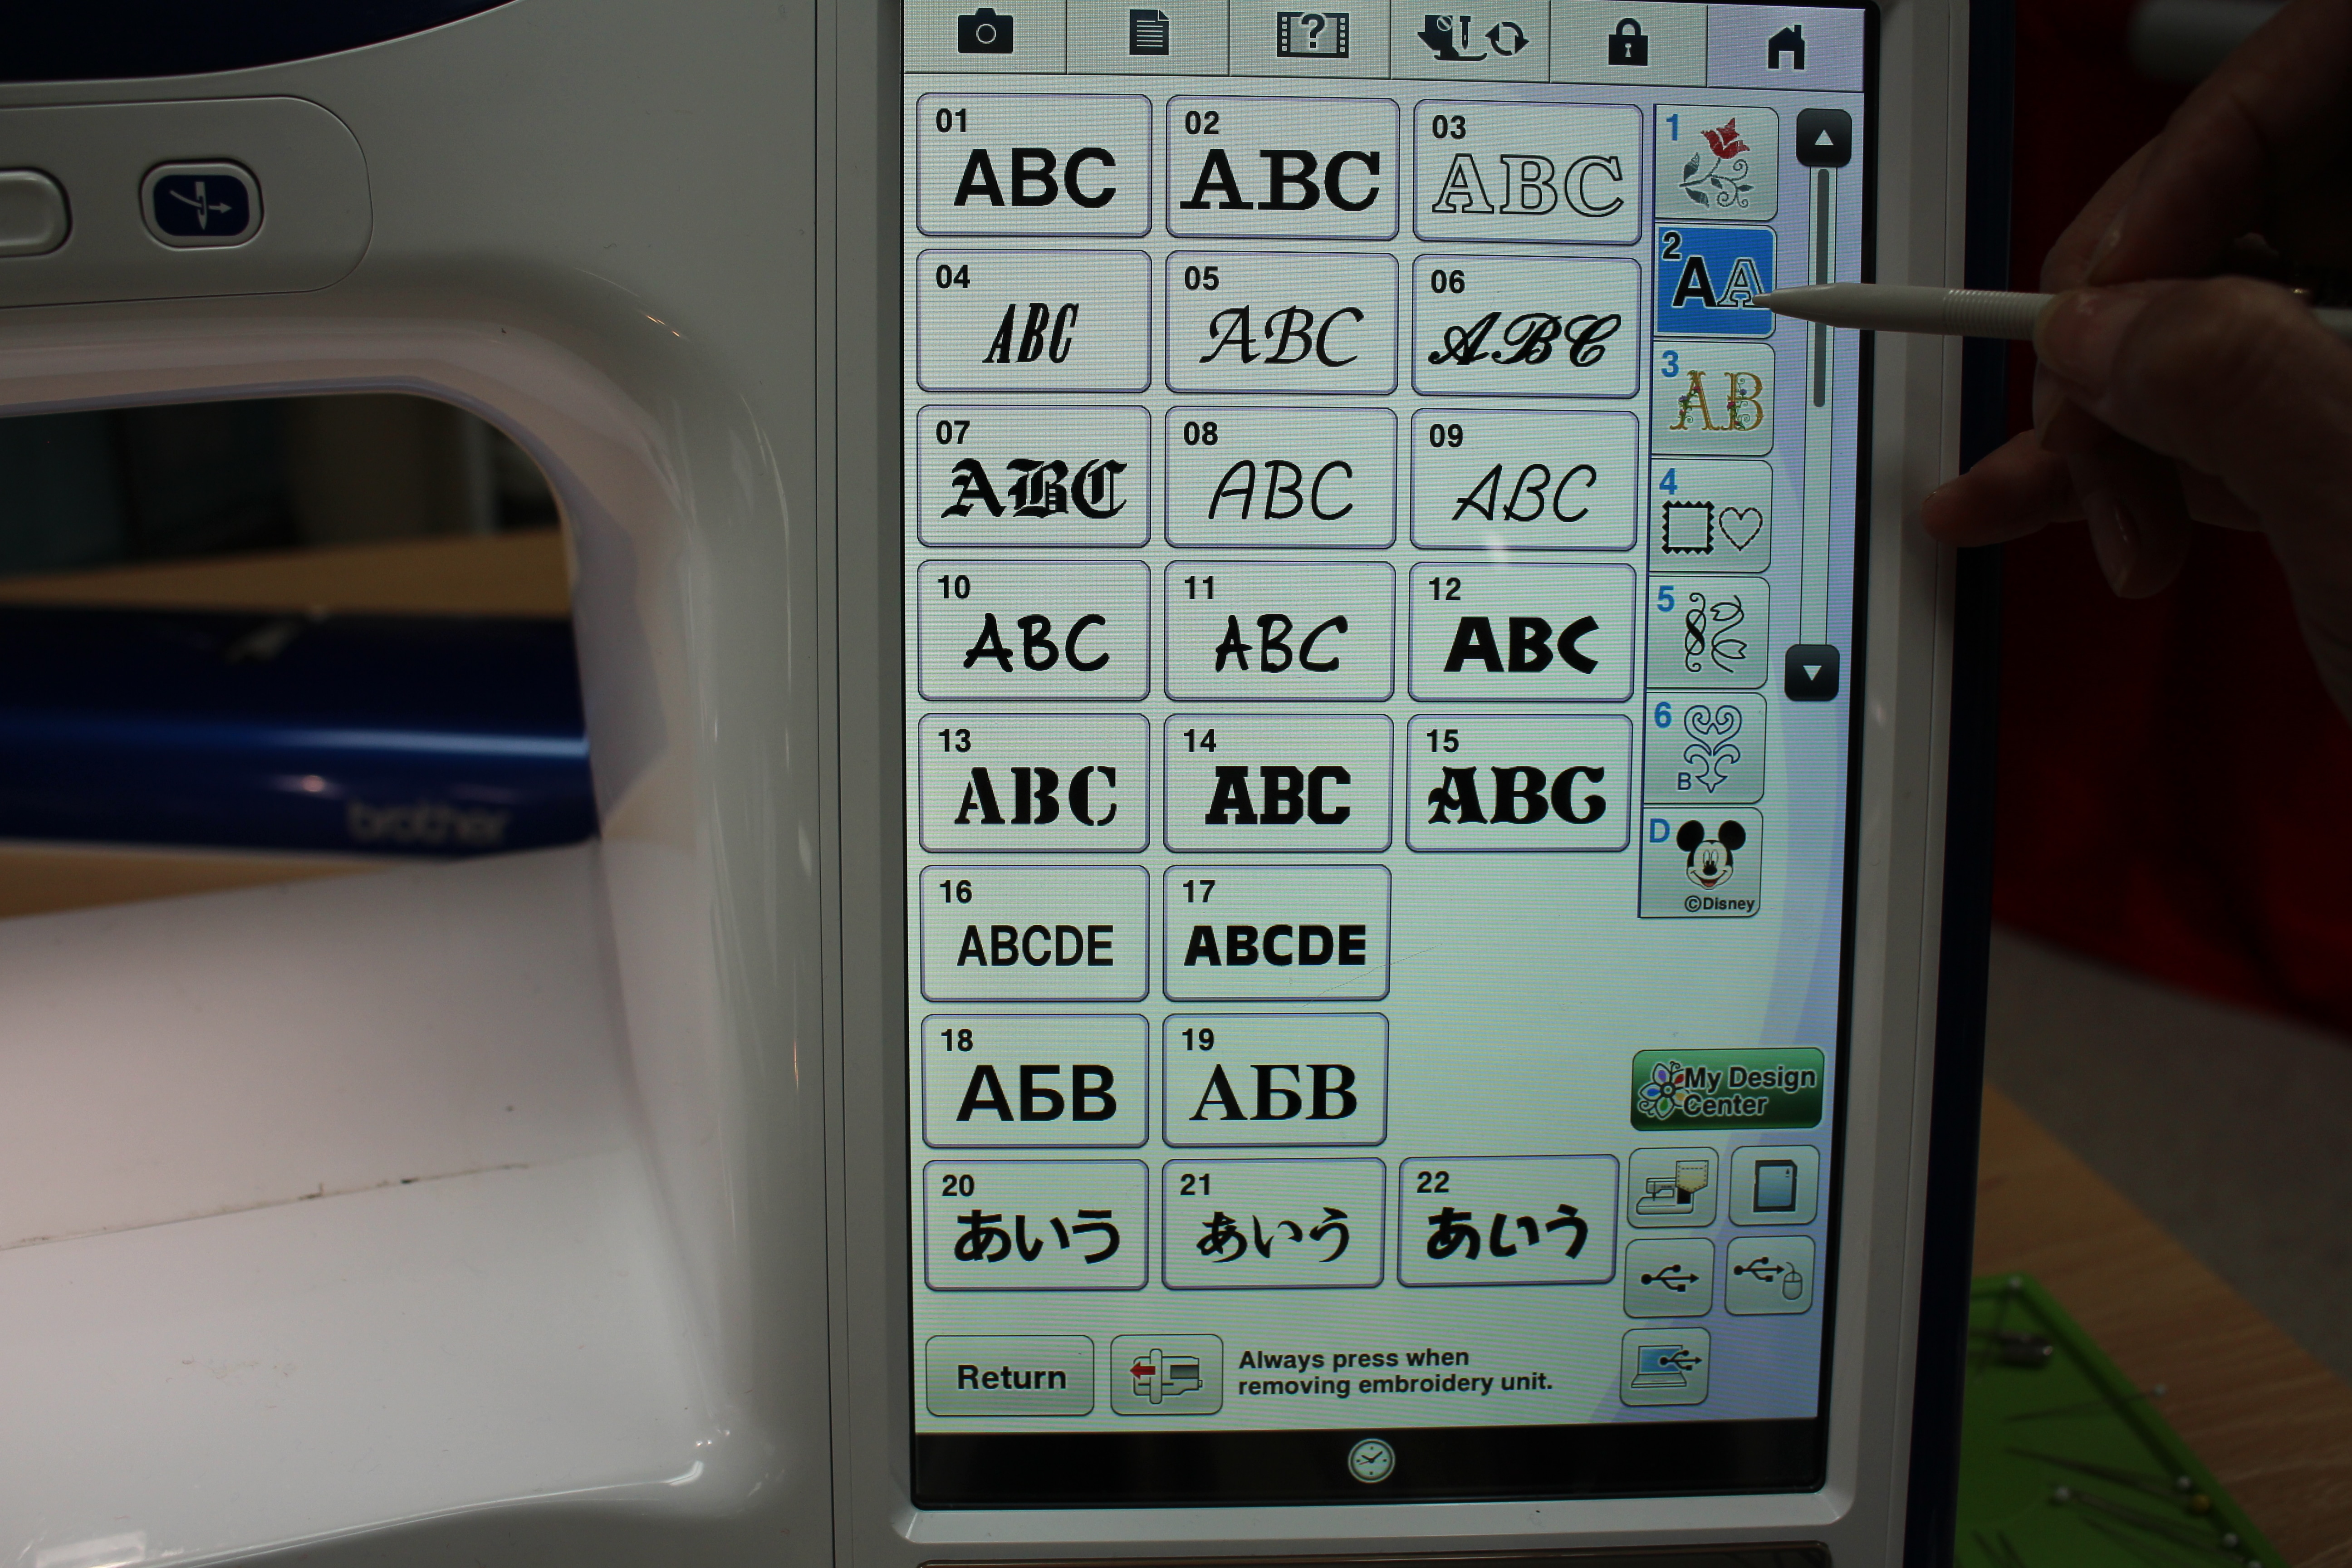
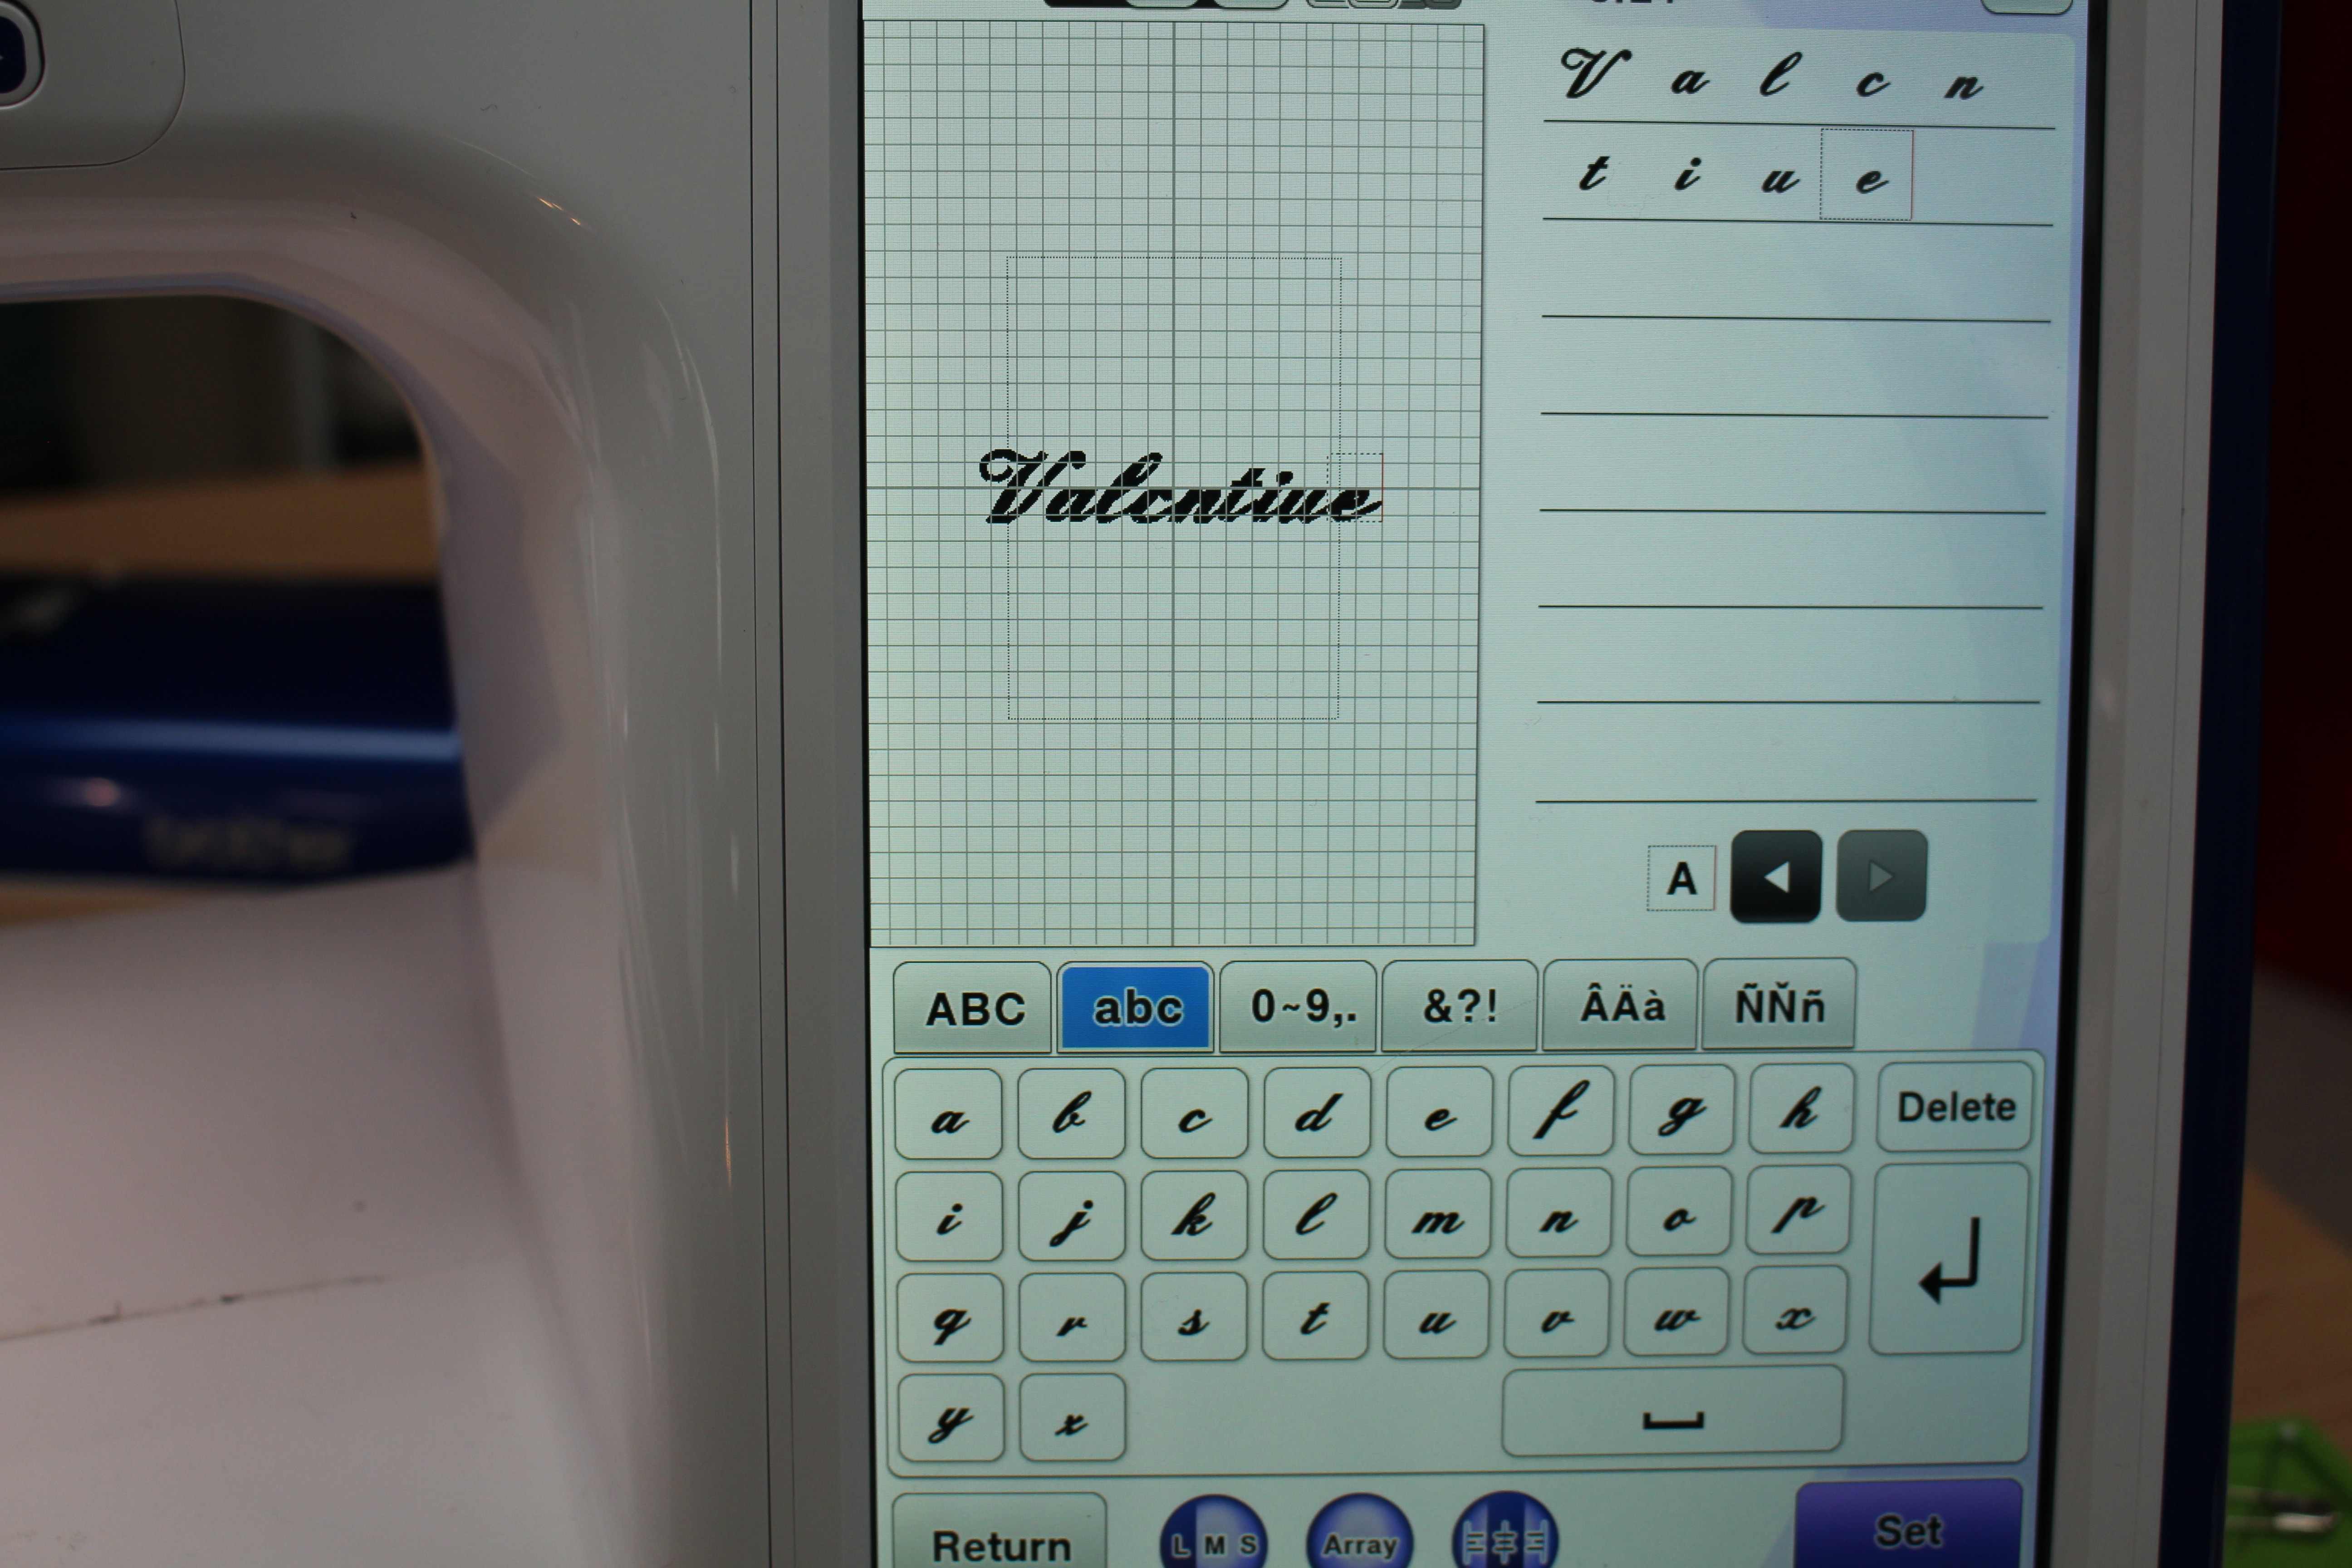
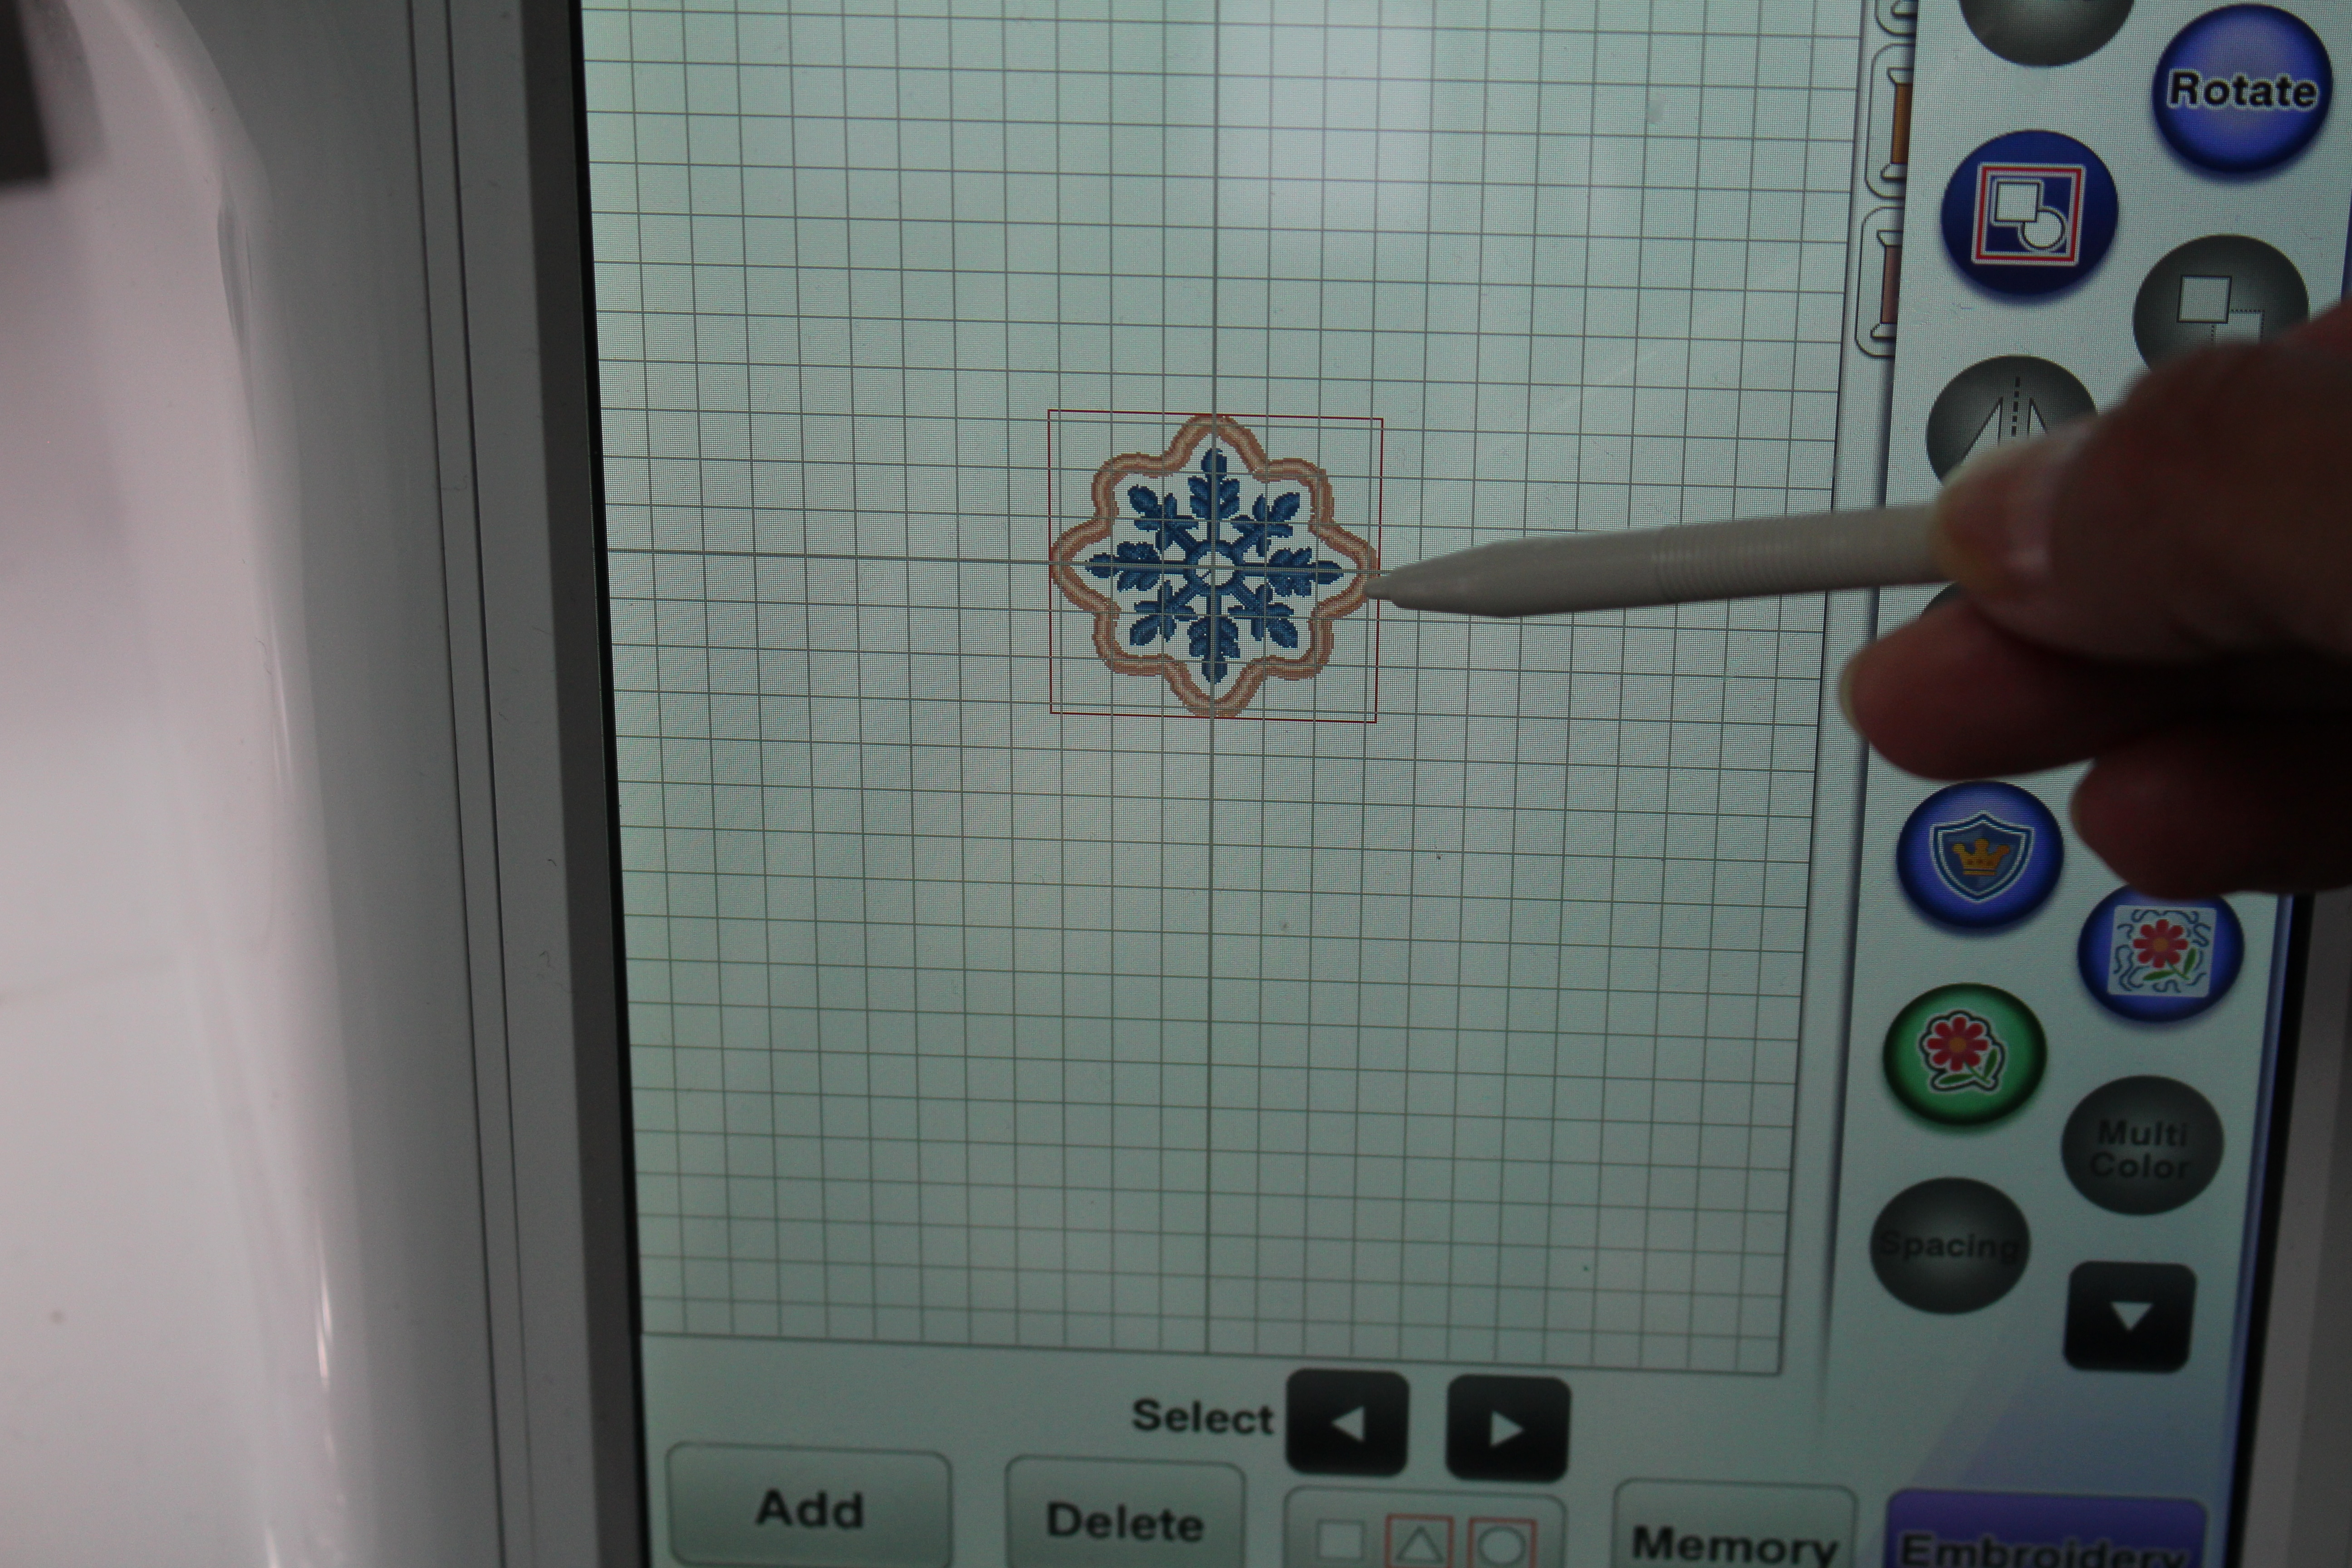
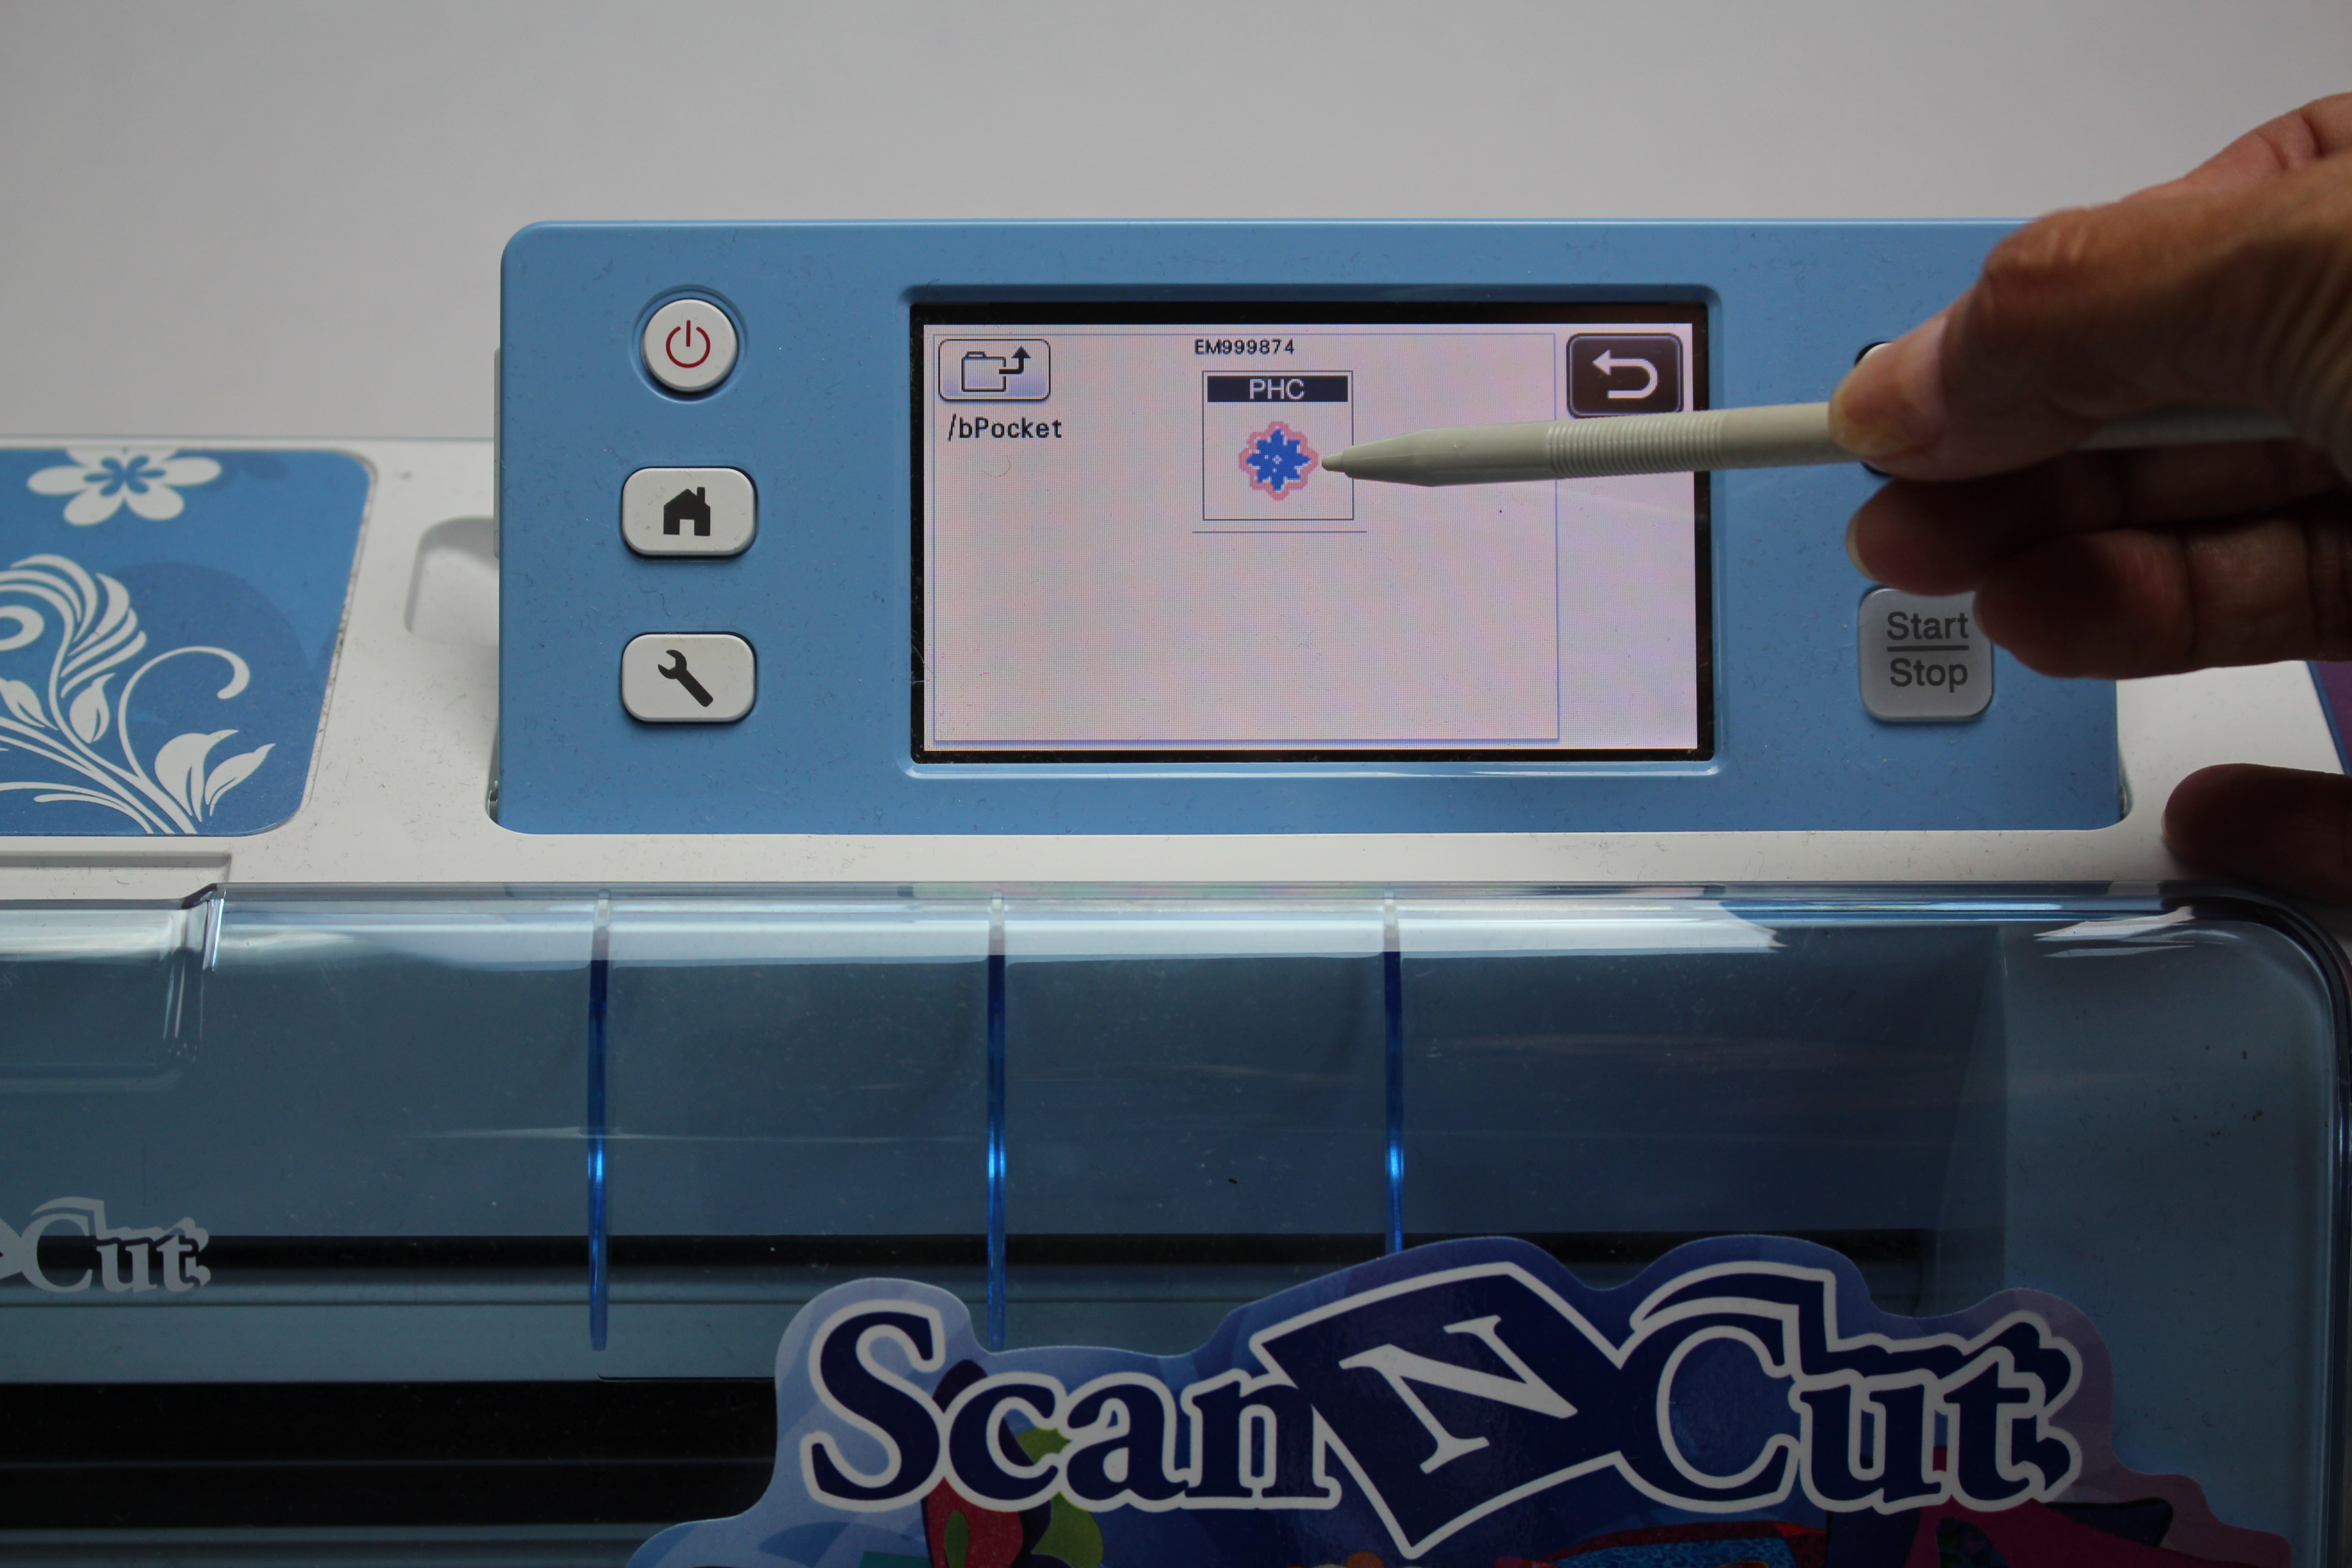
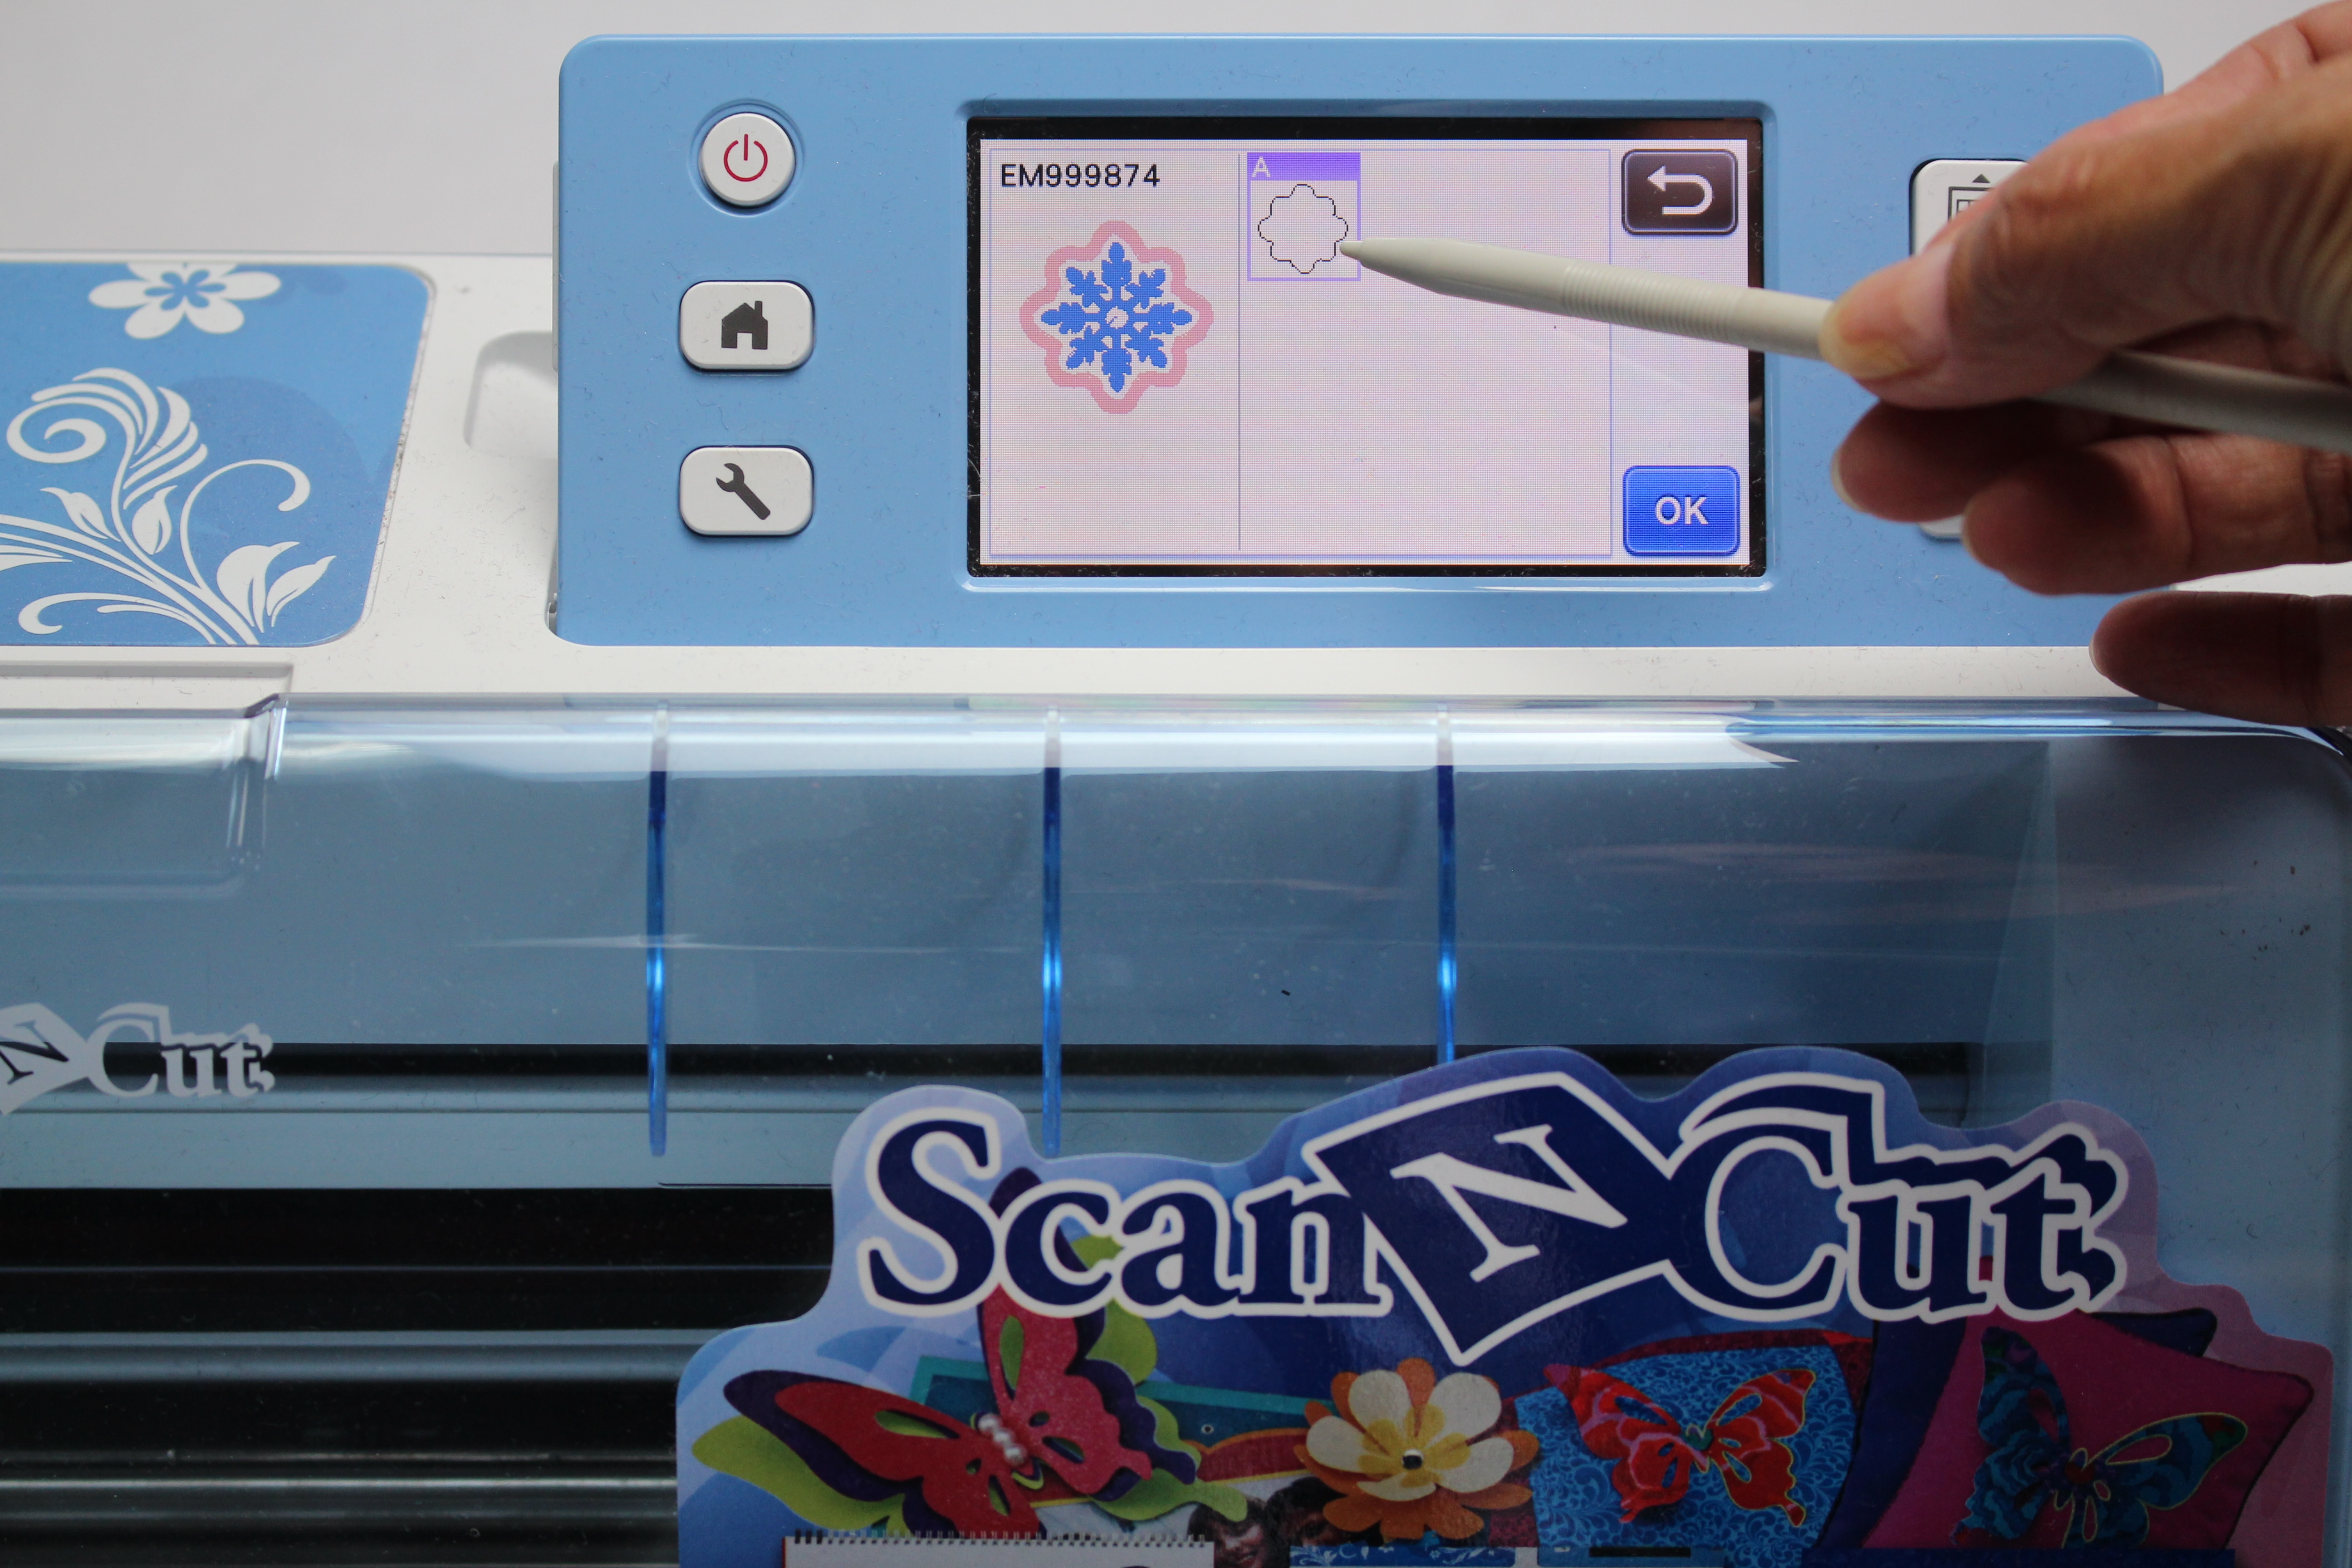
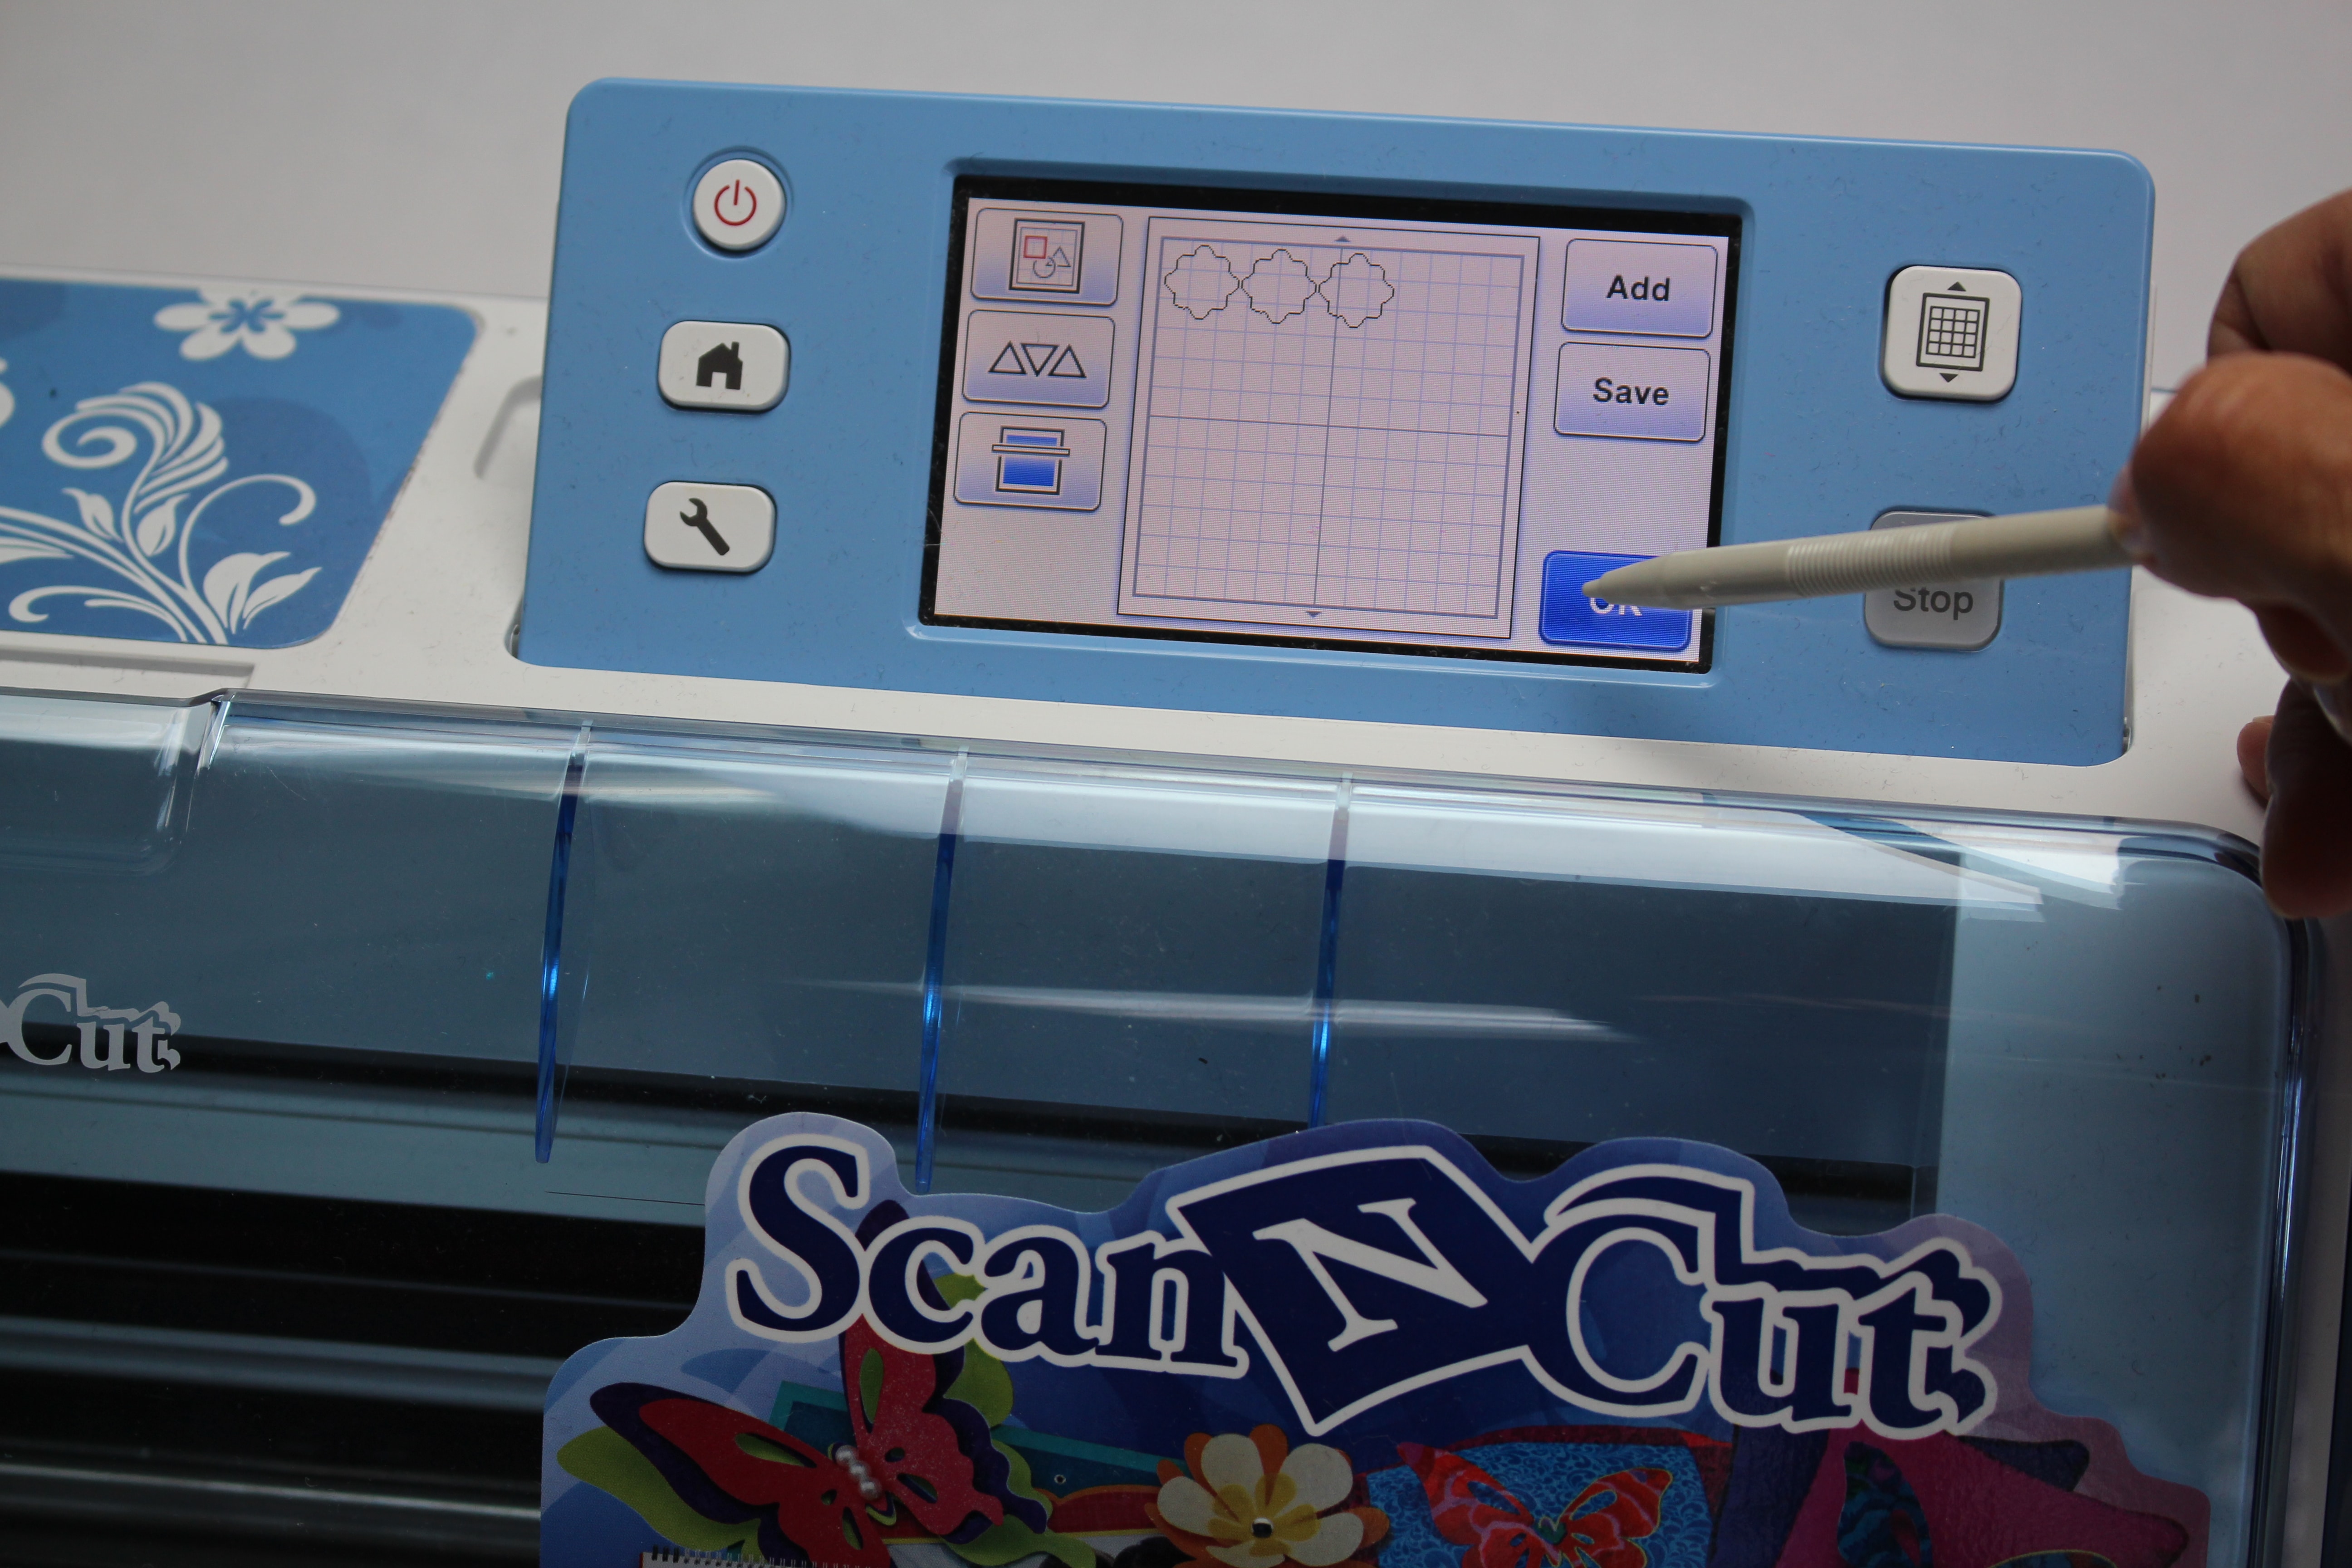
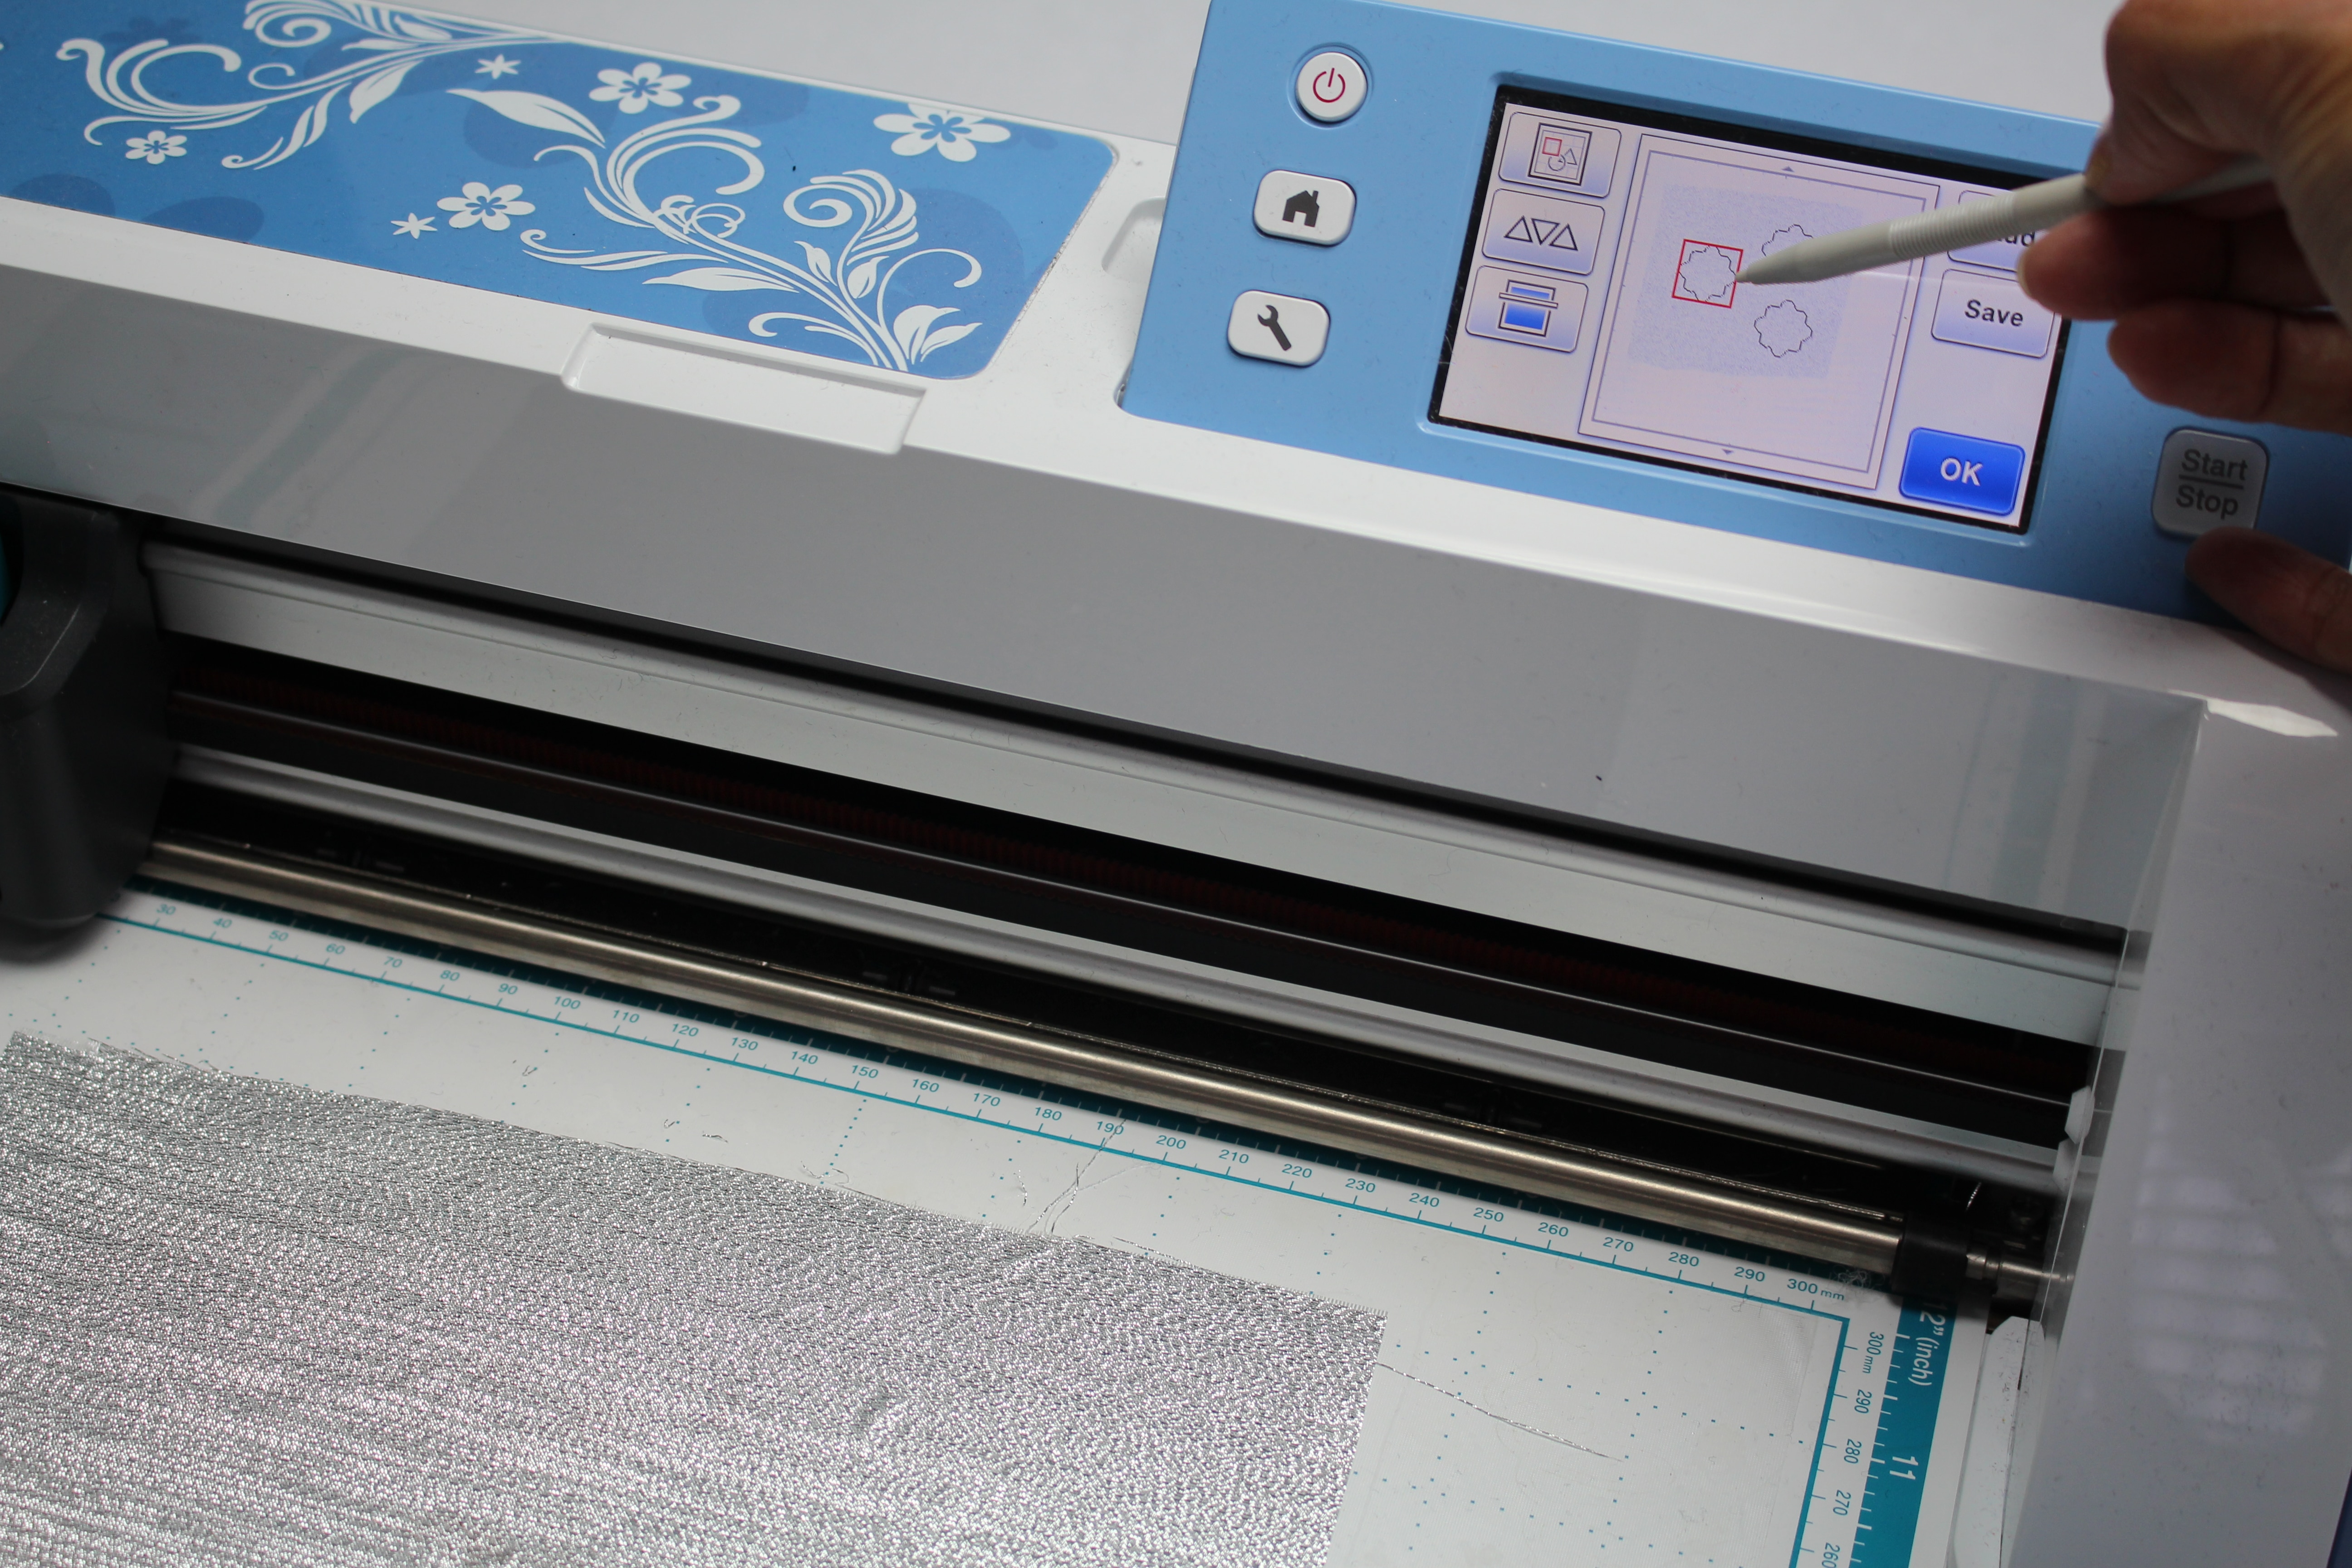
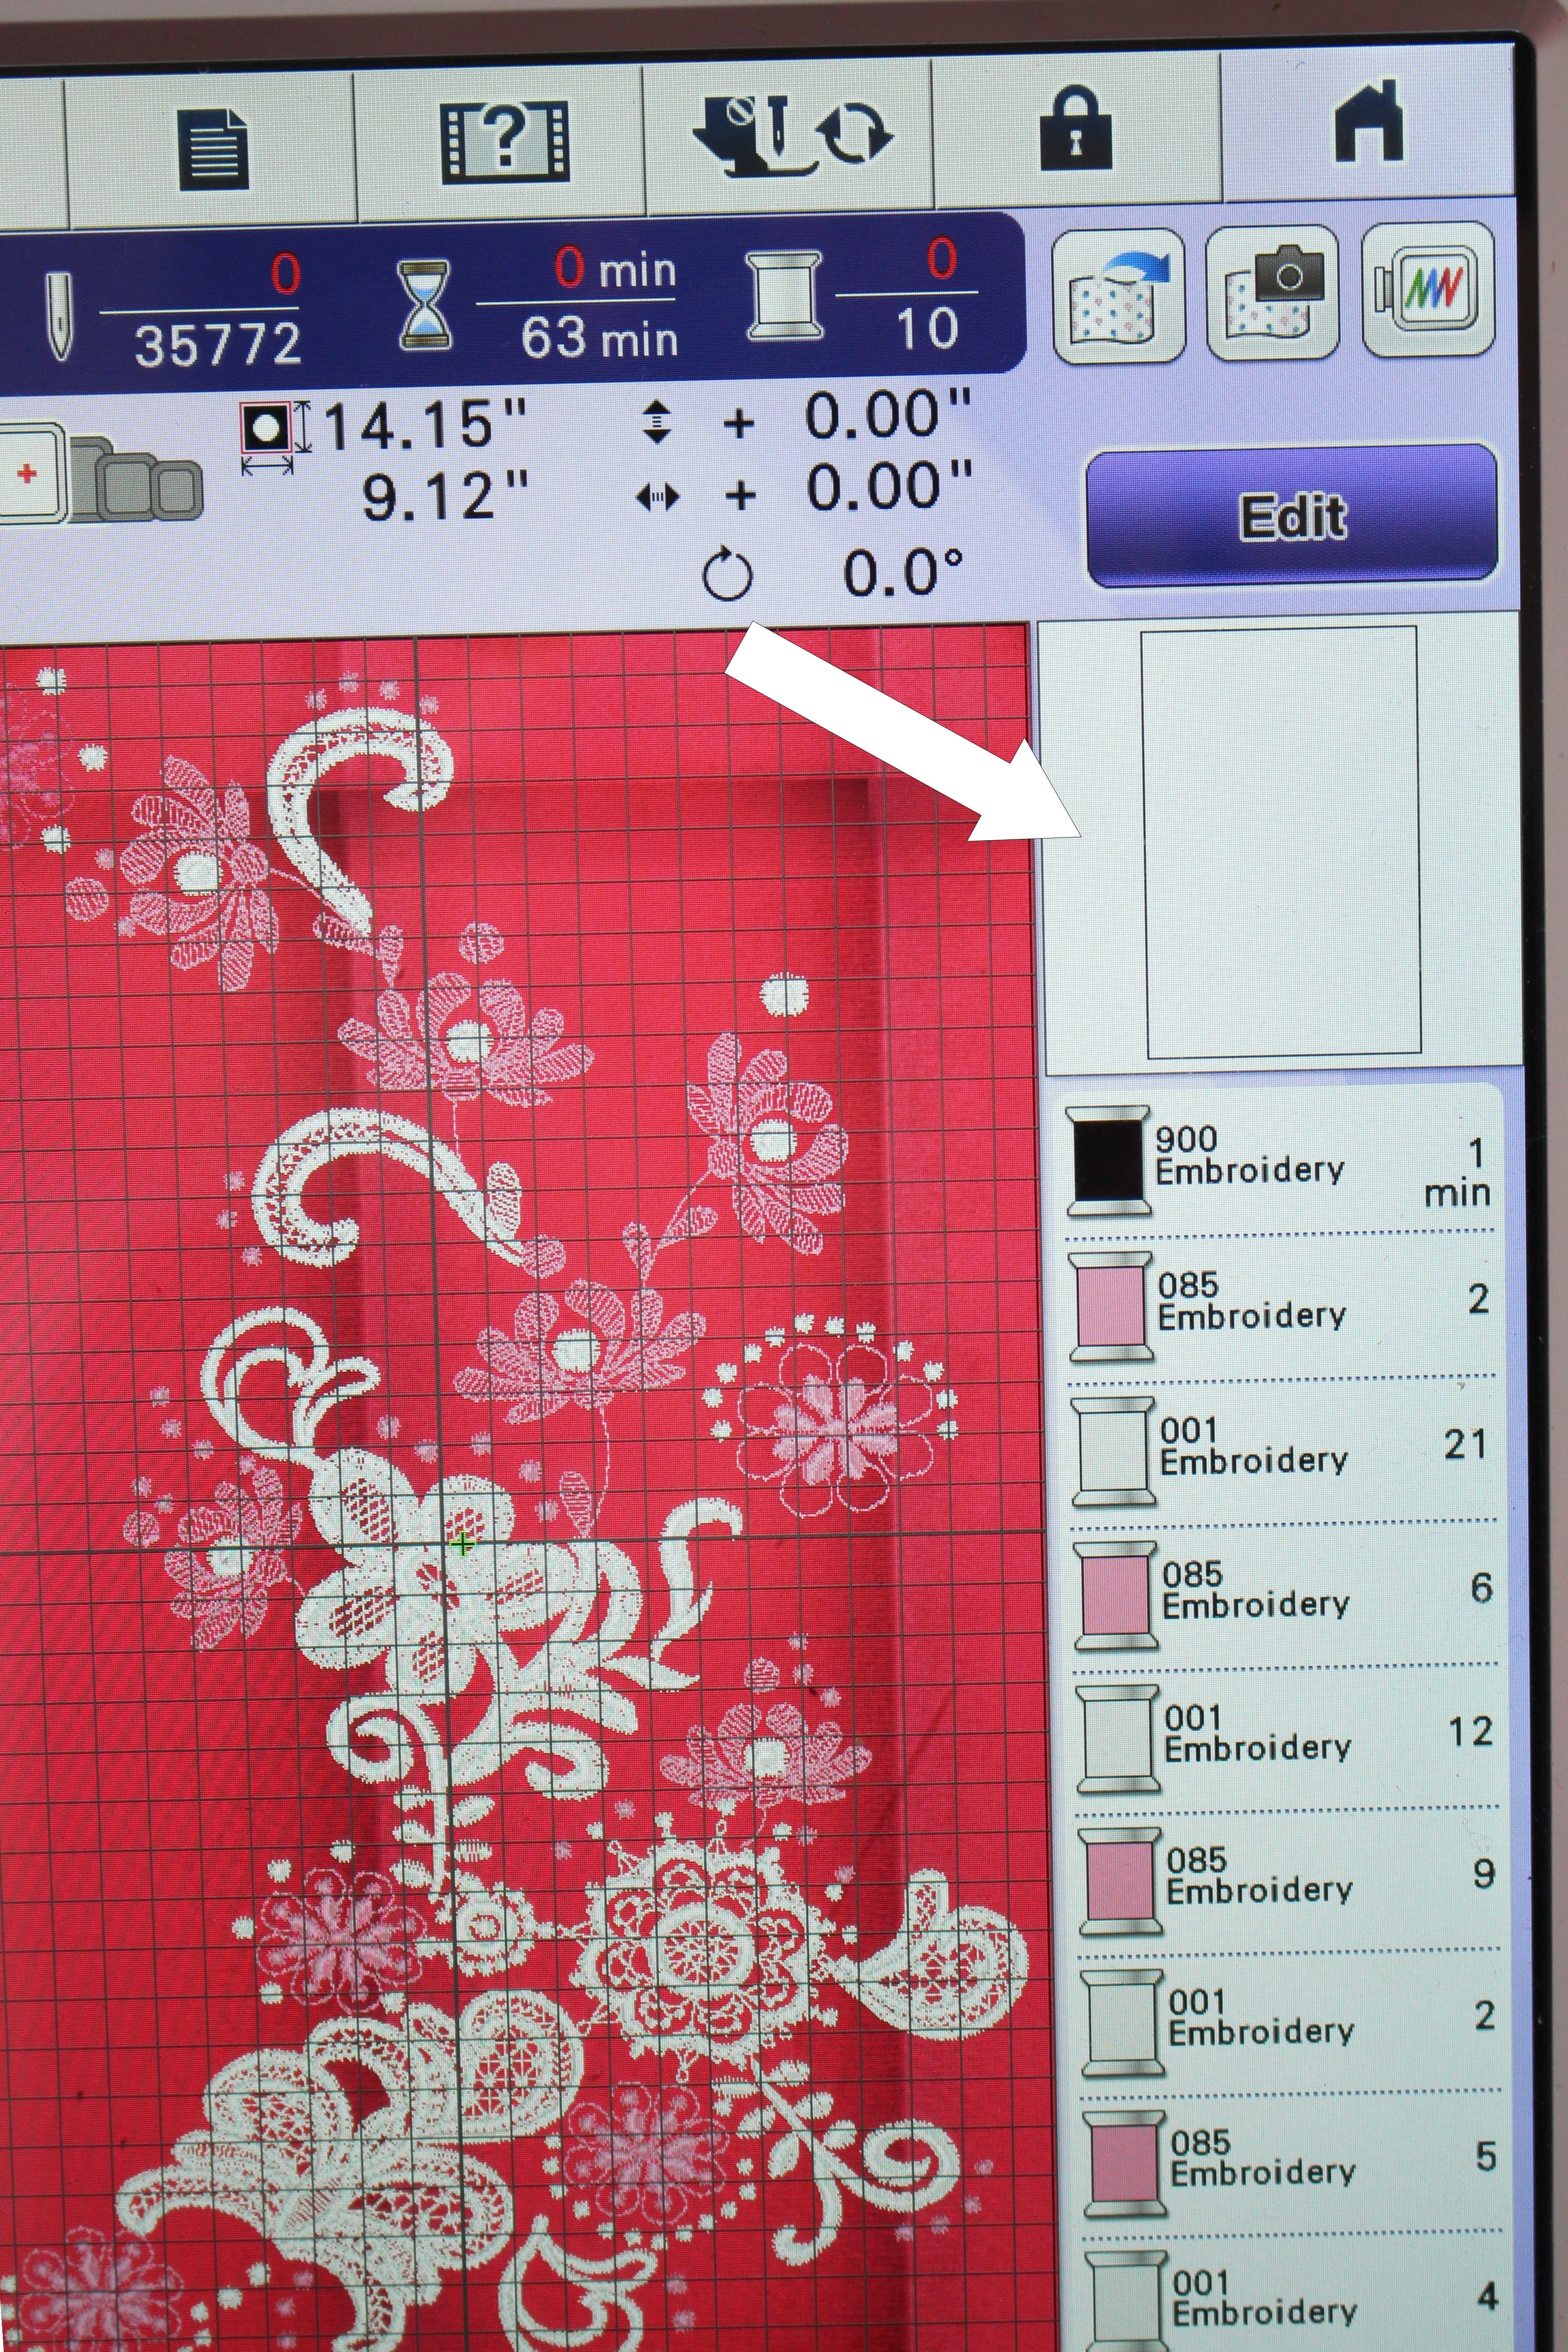
Hoop the fabric and insert the hoop into the machine. Choose an embroidery design or add a couple of designs onto the screen. Scan the fabric in and move the embroidery design as needed. If you don’t have the scanning feature on your sewing machine, use an embroidery placement marker such as the snowman or other tools.

You can read the full blog, head over to my post as a Brother Expert Consultant on the Brother Stitching Sewcial. Be sure to share photos of embellished Kate skirt #angelawolf #brothersews
Cheers,

<a target="_blank" href="http://shareasale.com/r.cfm?b=1130527&u=1586241&m=29190&urllink=&afftrack="><img src="https://static.shareasale.com/image/29190/728x90.gif" border="0" alt="Craftsy Unlimited FREE 7 day trial at Craftsy.com" /></a>
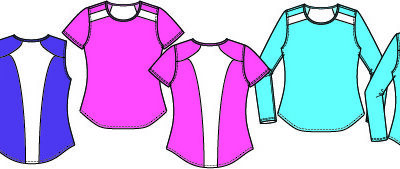
The Lacy Knit Top Sewing Pattern
read more
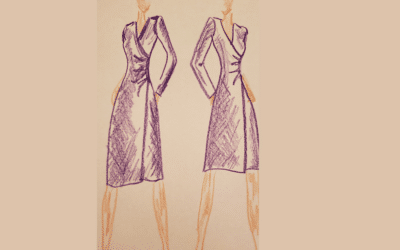
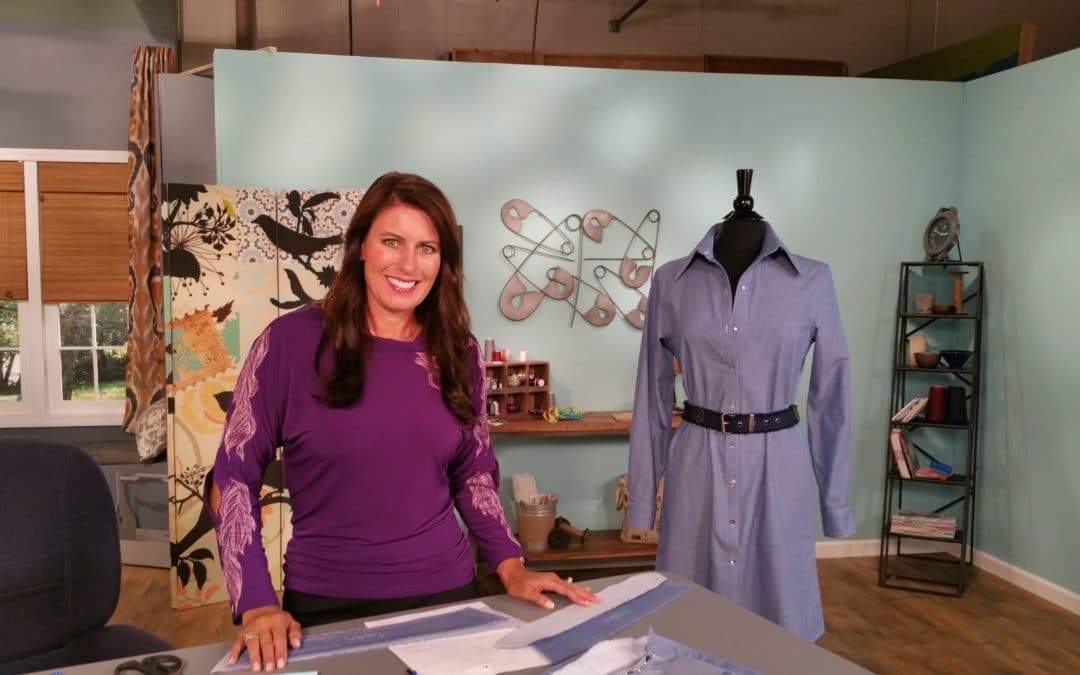
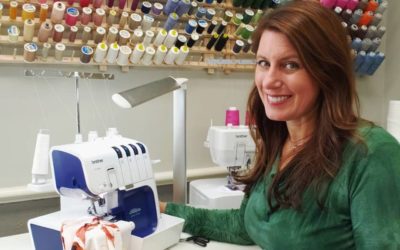
The Shirley Faux Wrap Top & Dress Sewing Pattern
The Shirley Faux Wrap Dress & Top I designed this pattern as one of the wrap style dresses and tops for season 19 of It's Sew Easy tv. The Shirley wrap can be sewn as a top or a dress. Because the style must pullover the head, this top must be sewn with a...

Day 18 #SEWCIALHOP2020 ~ GIVEAWAY DAY!
#SEWCIALHOP2020 CONGRATULATIONS TO ALL THE WINNERS! CATCH THE REPLY AND MEET OUR FABULOUS SPONSORS Day 18 #SEWCIALHOP2020 and a Special THANKYOU to ALL the SPONSORS!!! Stay up to date with new tutorials, giveaways, and more - follow...

Day 17 #SEWCIALHOP2020 ~ ALLBRANDS
Day 17 #SEWCIALHOP2020 Today we feature my good friends at Allbrands!!! Allbrands.com has spent four decades focused on one thing above all others, unparalleled customer service. Our owners, John and Annette Douthat, were very careful when they chose our name,...

Day 16 #SEWCIALHOP2020 ~ THE SEWING SHOP
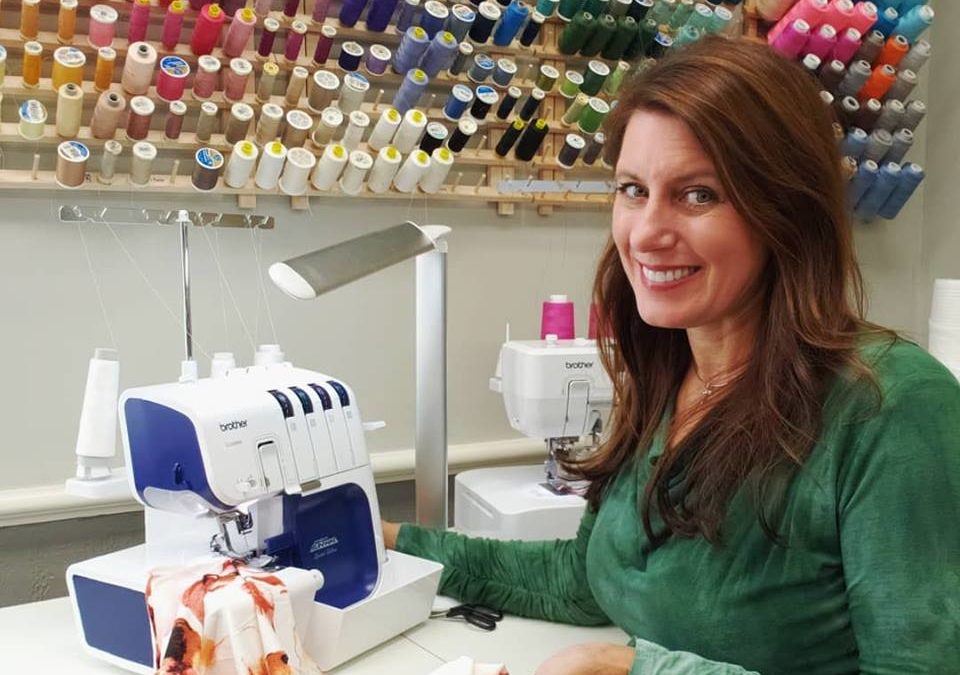
Day 16 #SEWCIALHOP2020 Features the fabulous Holly & Steve Cobb and The Sewing Shop in Shreveport, Louisiana. I featured Steve and Holly in my live show back in May, checking in on their store during the start of the covid-lockdown. They are a Brother dealer and...
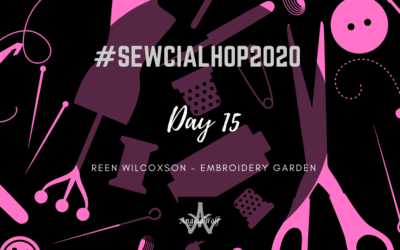
Day 15 #SEWCIALHOP2020 ~ EMBROIDERY GARDEN
Day 15 #SEWCIALHOP2020 Our special guest is my good firend Reen Wilcoxson owner of Embroidery Garden! Embroidery Garden is filled with embroidery designs, applique files, and so many other creative projects! GIVEAWAY Reen knows how much we love embroidery and she is...

Day 14 #SEWCIALHOP2020 ~ LASER BEE
Day 14 #SEWCIALHOP2020 Today we feature my friends Kelly and Sharon at Laser Bee!!! Laser Bee Studio started from a love to create unique, handmade gifts using embroidery, vinyl and engraving. Our owners have been in the embroidery business for 20+ years. Machine...
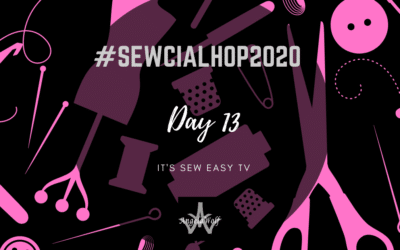
Day 13 #SEWCIALHOP2020 ~ IT’S SEW EASY
Day 13 #SEWCIALHOP2020 We are celebrating 10 years and 20 seasons of It's Sew Easy! Let's go back and start at the beginning of how things started with on It's Sew Easy This is a story of how an opportunity change my life and business forever! In December 1994 I...
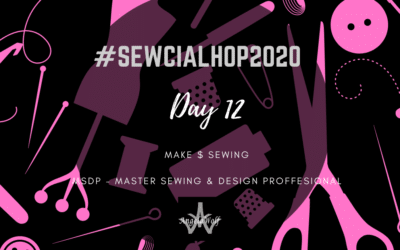
Day 12 #SEWCIALHOP2020 ~ MAKE MONEY SEWING
Day 12 #SEWCIALHOP2020 Today we feature making $ sewing! Have you ever wanted to turn your sewing skills into a business? Having run a custom apparel and alteration business for 20 years, being an alteration specialist is an excellent career that requires talent...