No Results Found
The page you requested could not be found. Try refining your search, or use the navigation above to locate the post.

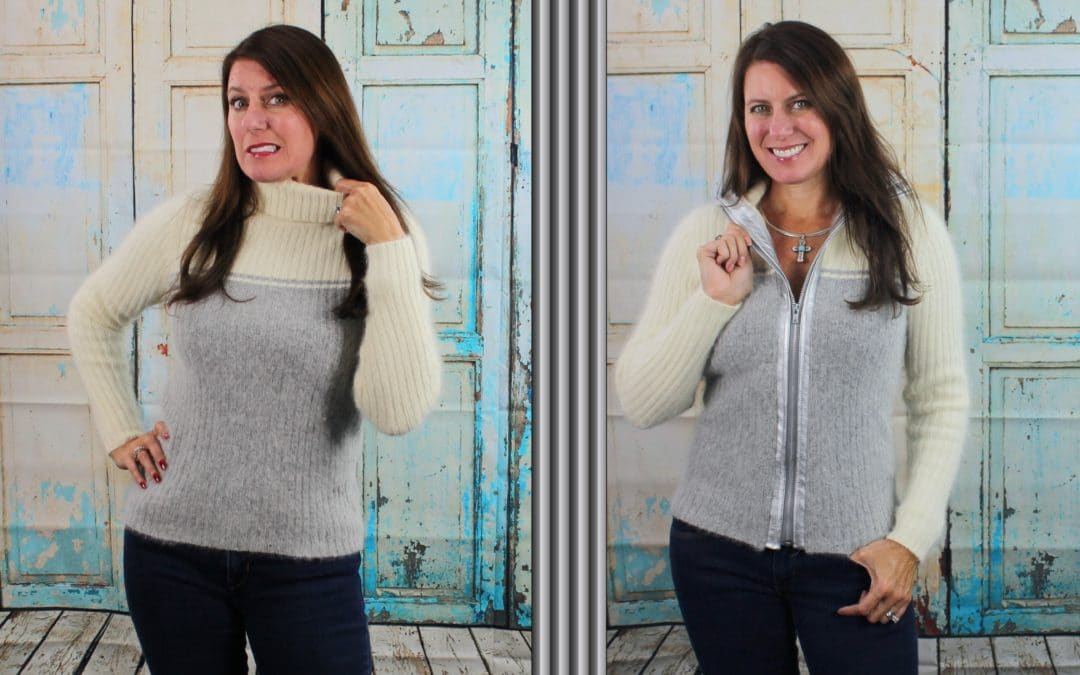
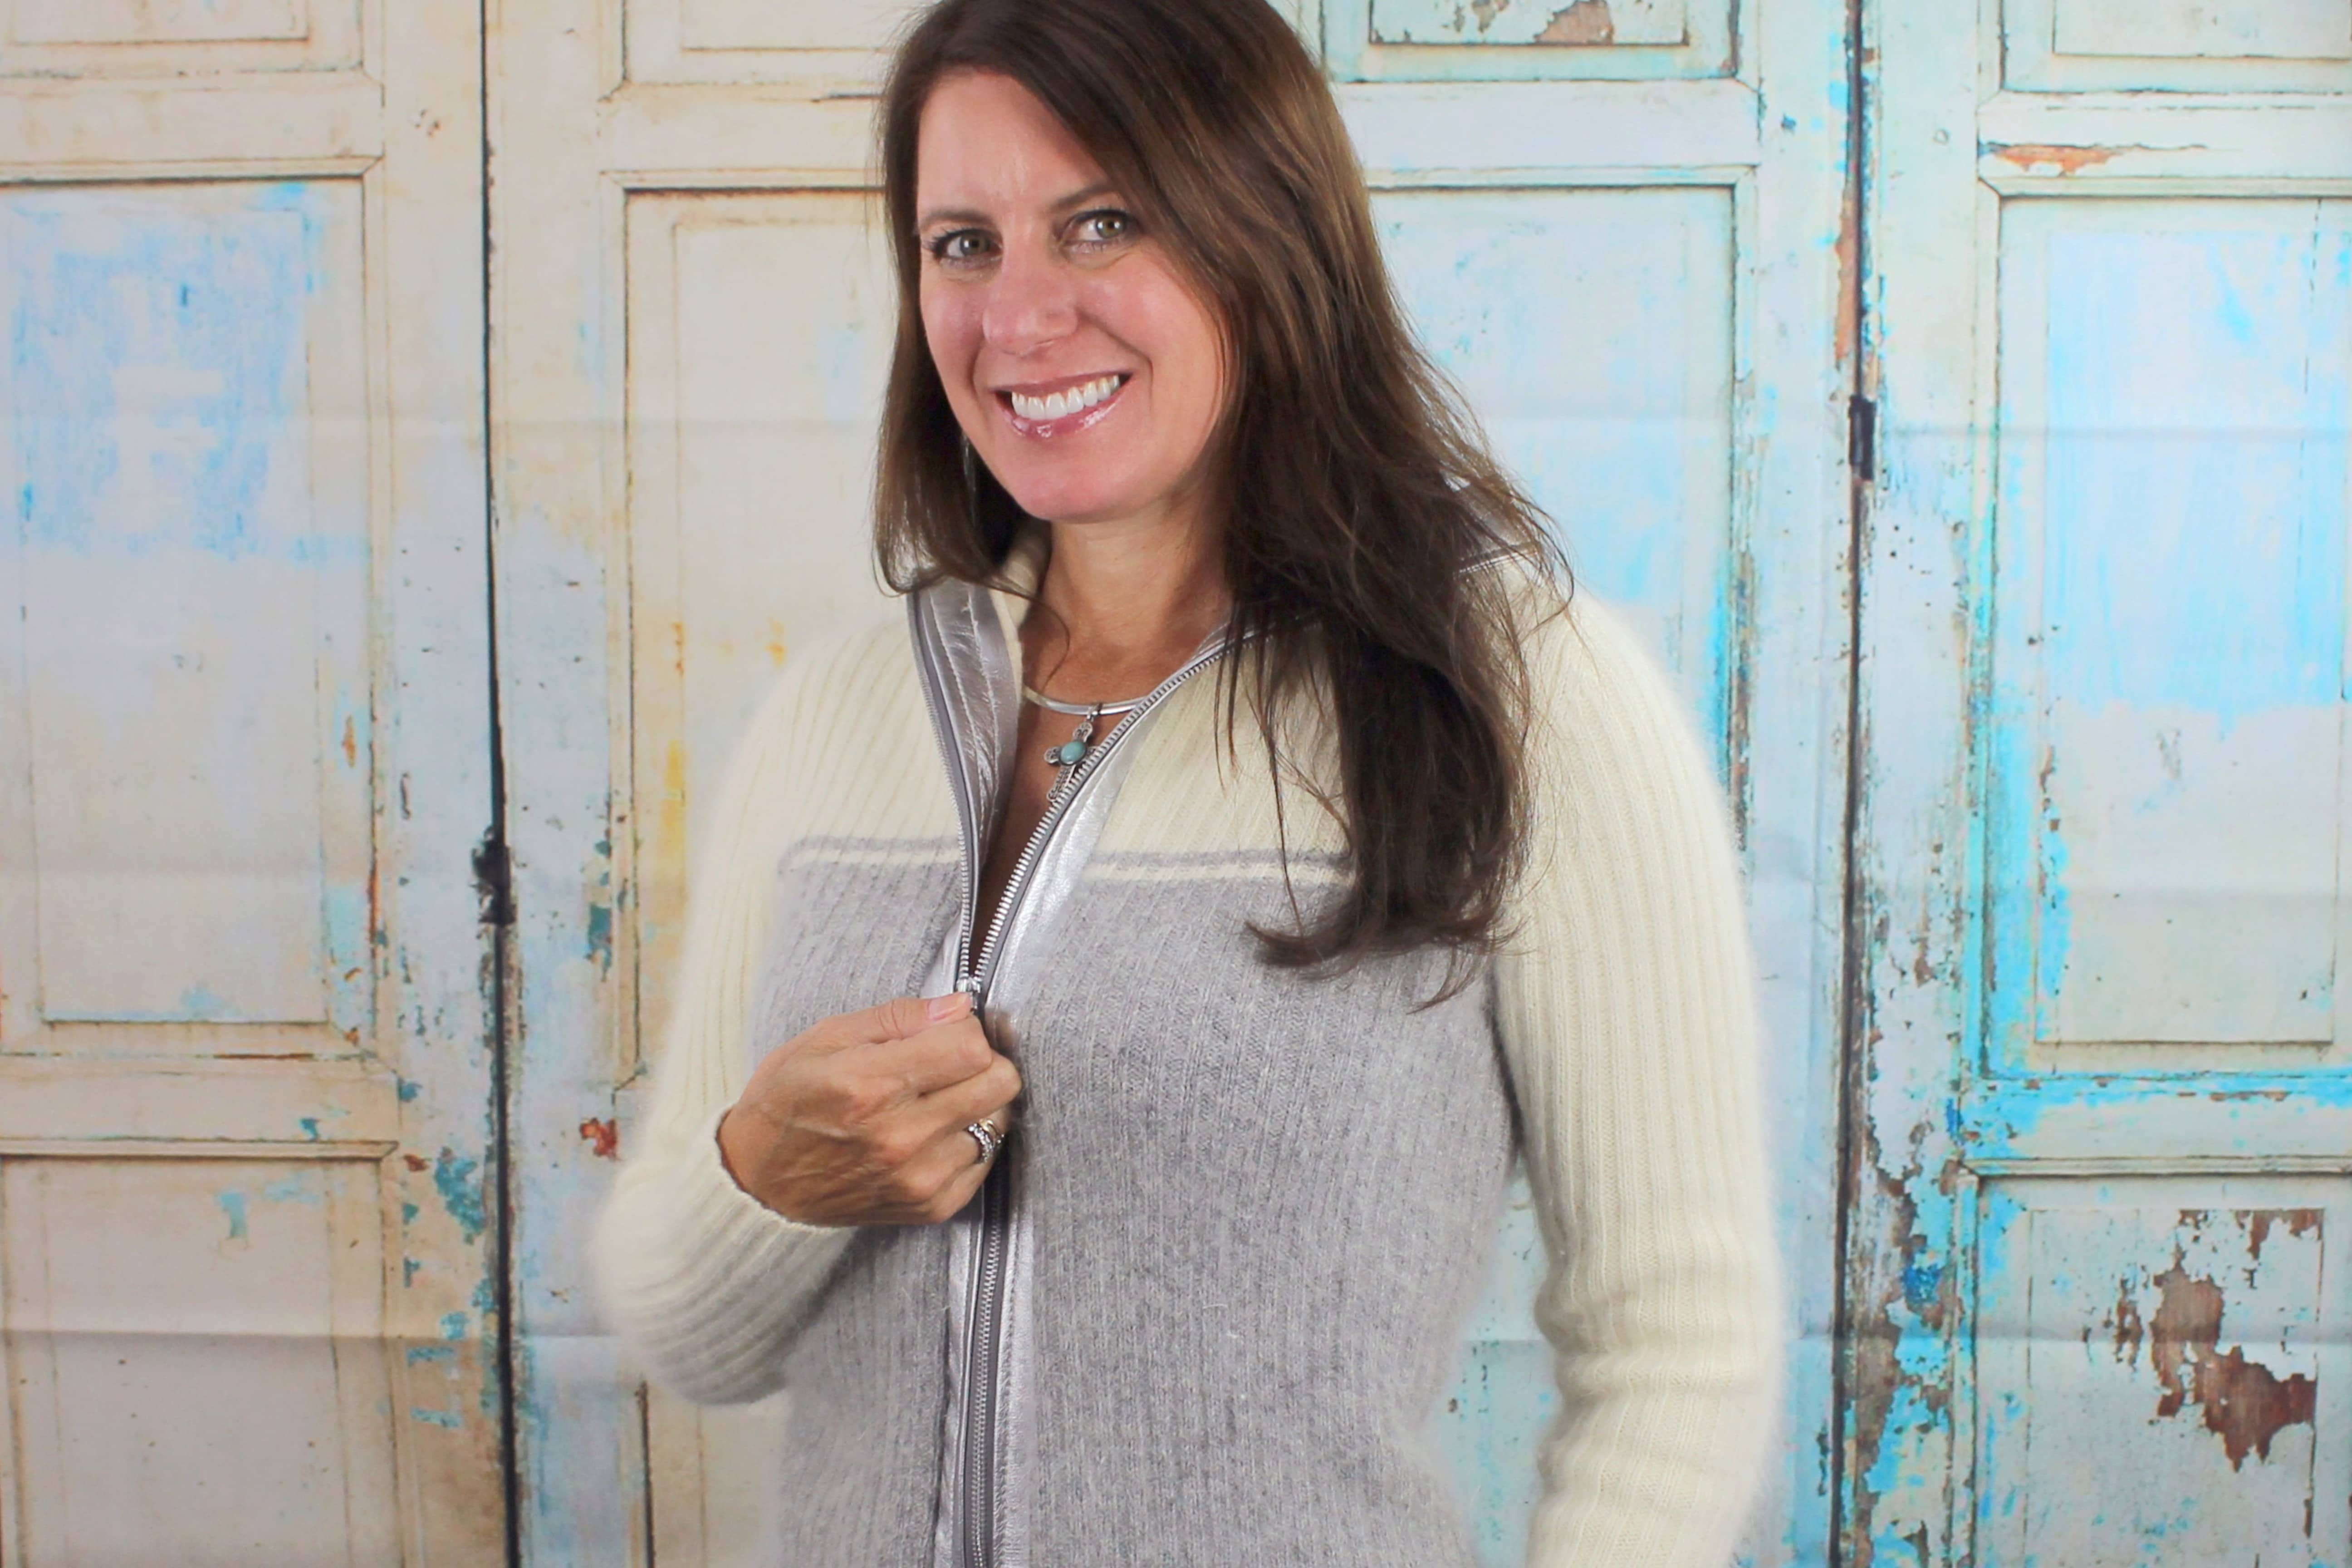
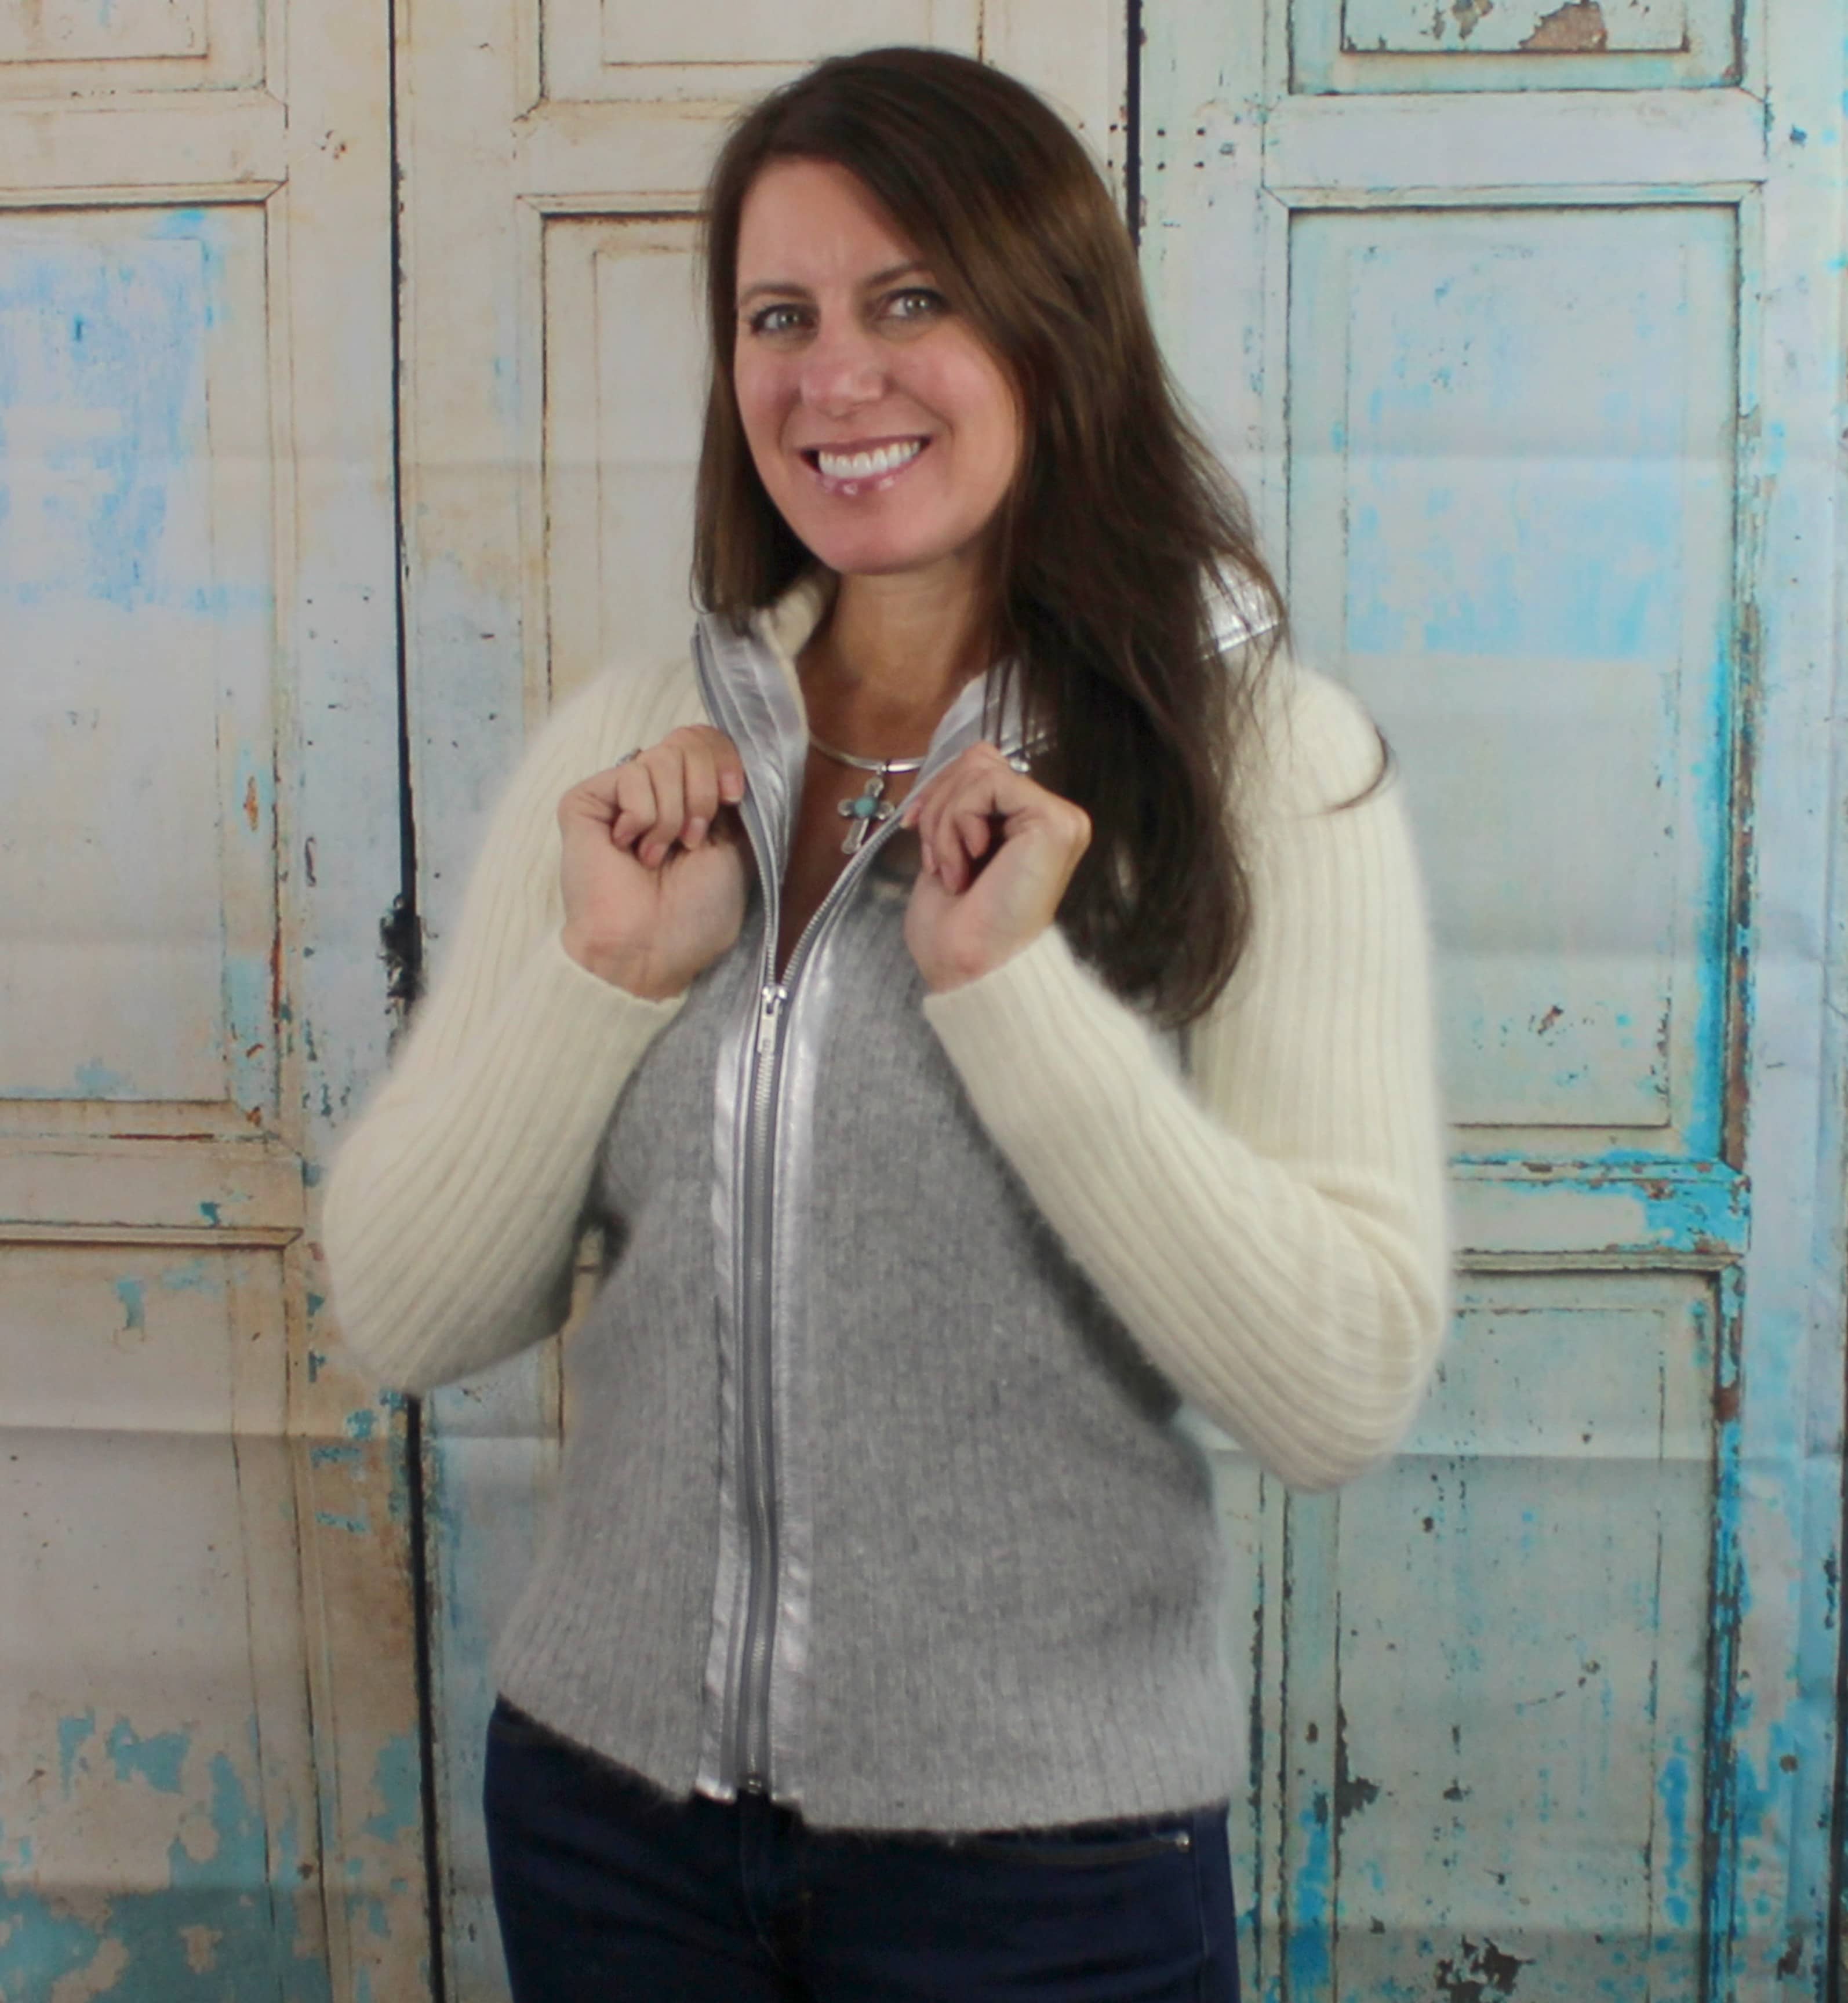
I bought this sweater a few years back because the fabric is soft and fluffy, but I never wear it because the collar is too tight! I leave it in the drawer and pet it every once in a while 🙂 Even when I would attempt wear the sweater on a cold, wintry day; it was off in less than an hour; it’s even too uncomfortable to wear fishing! I would say to myself, “f I could just open that collar up.” Then it occurred to me … add a zipper and refashion the sweater into a jacket.
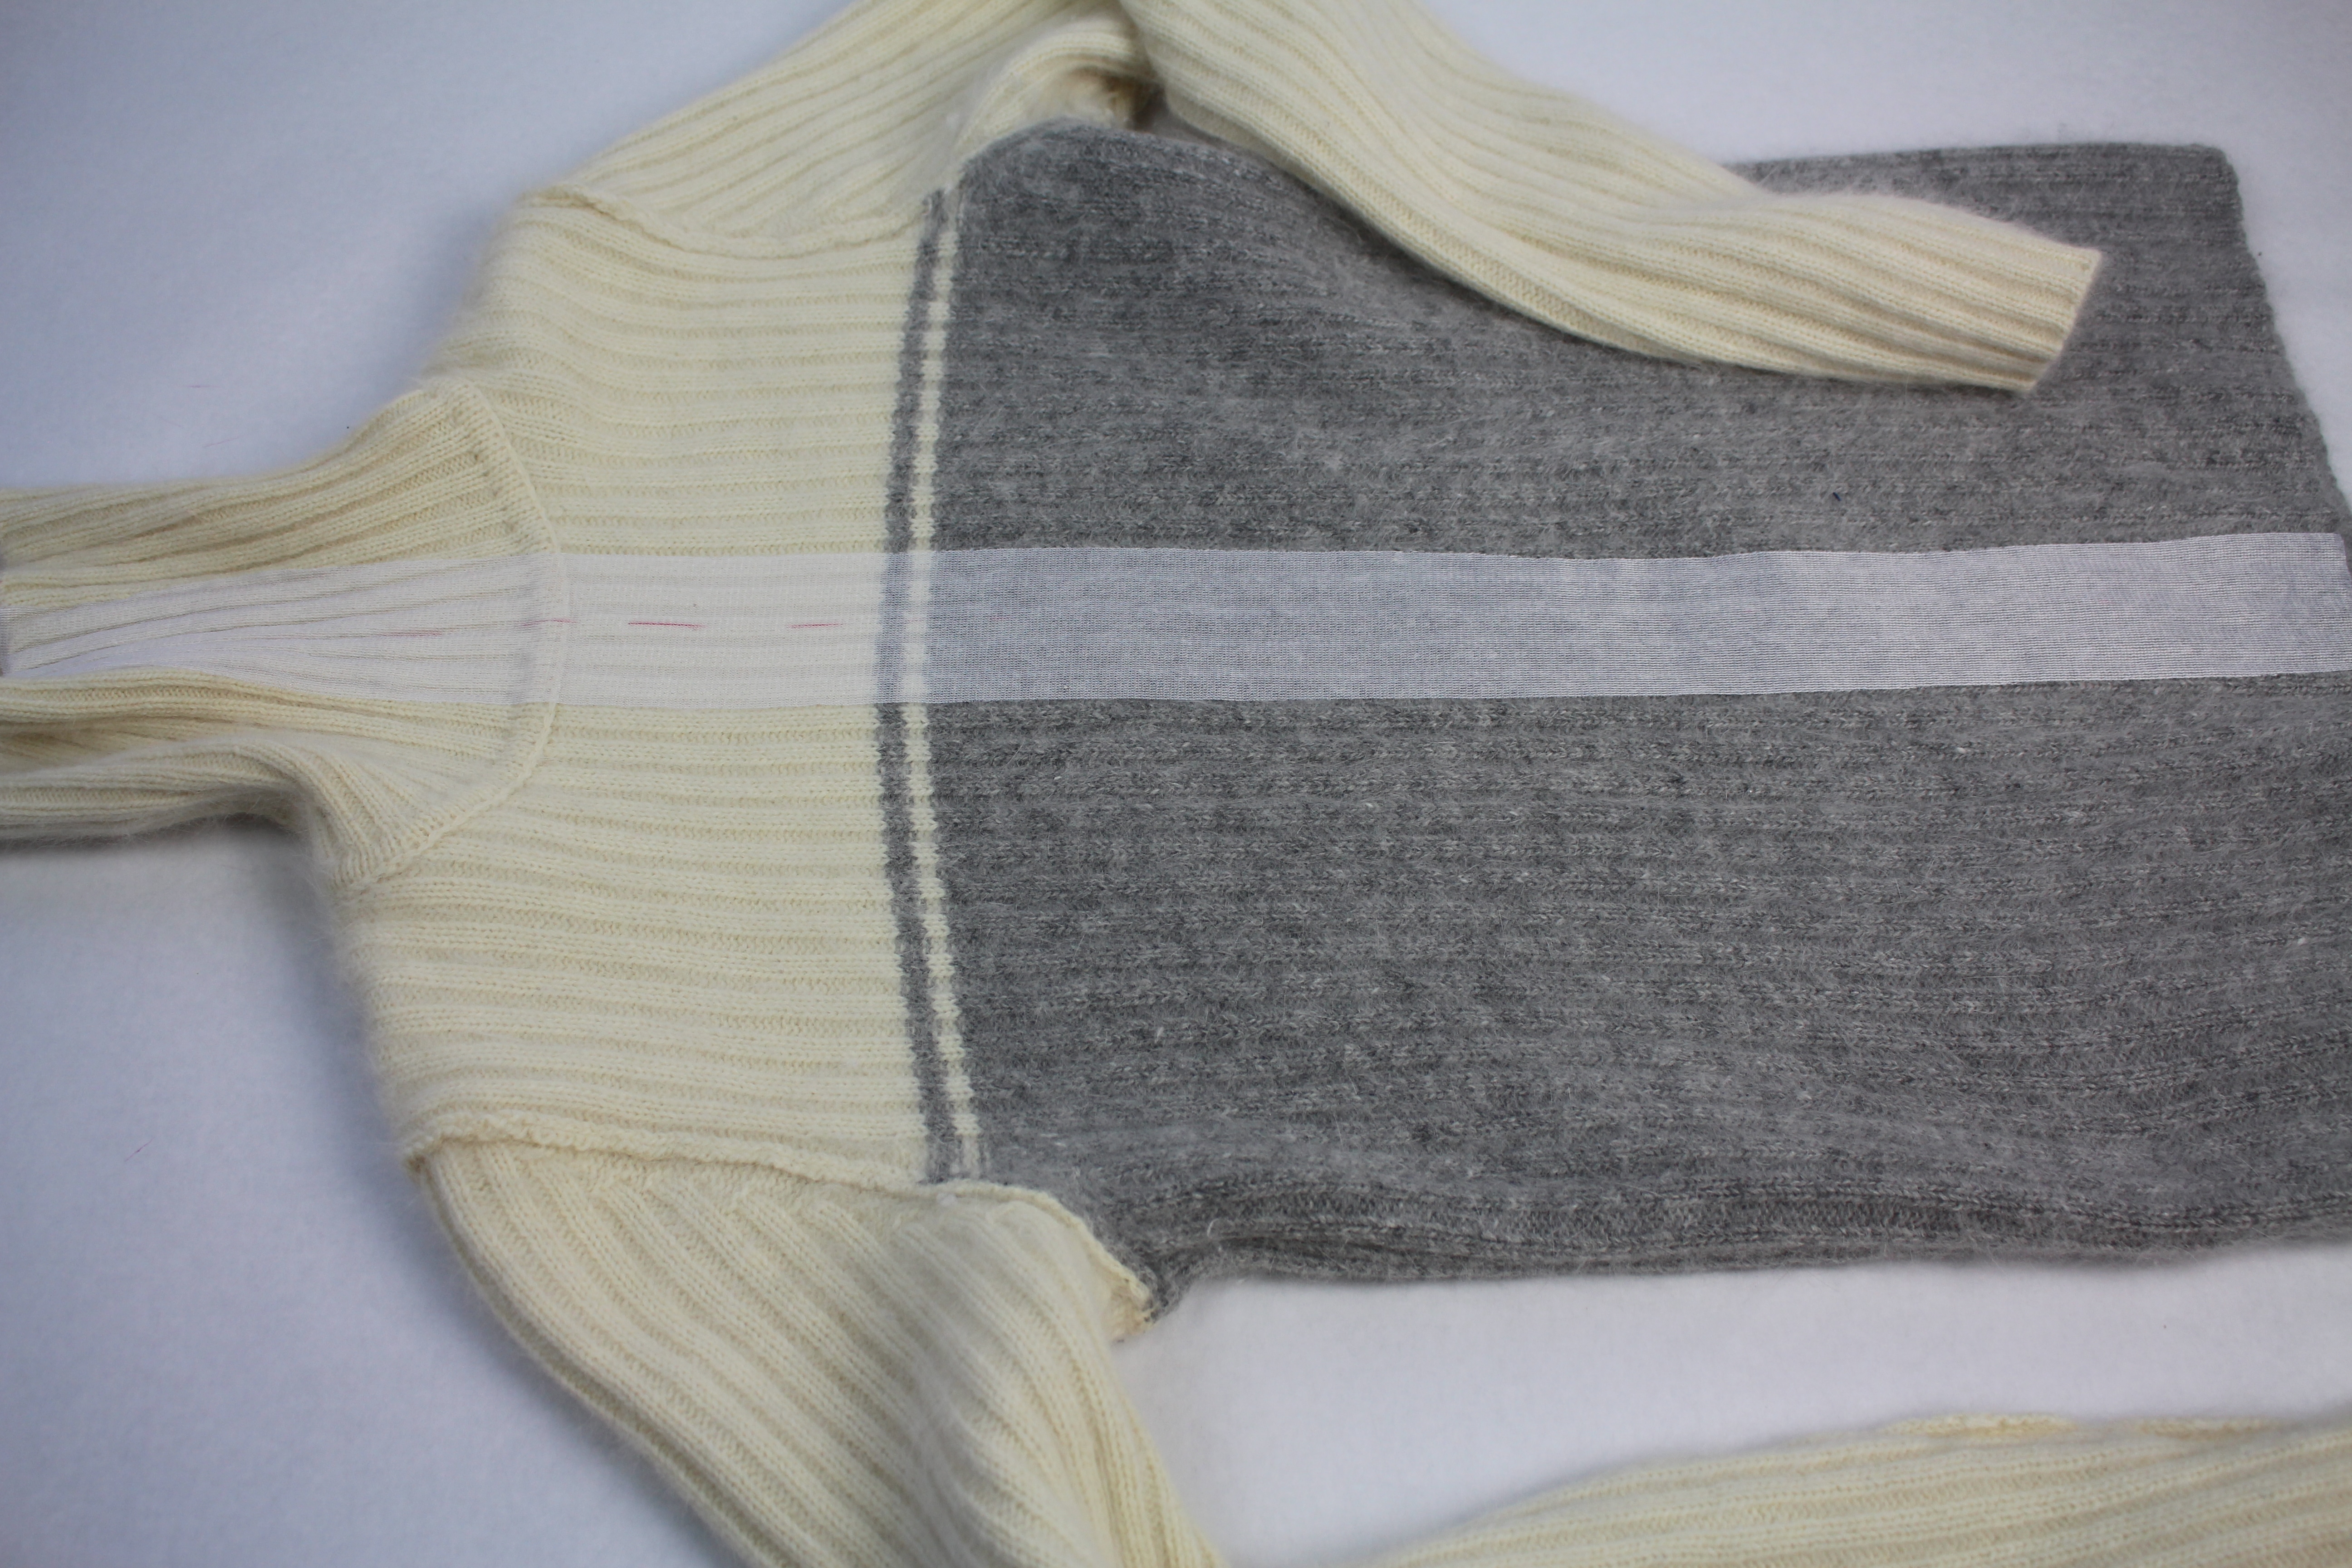
Start by marking the center front of the sweater. I am marking the sweater a contrasting color thread, if the fabric allows you can use a fabric marking pen or tailors chalk.
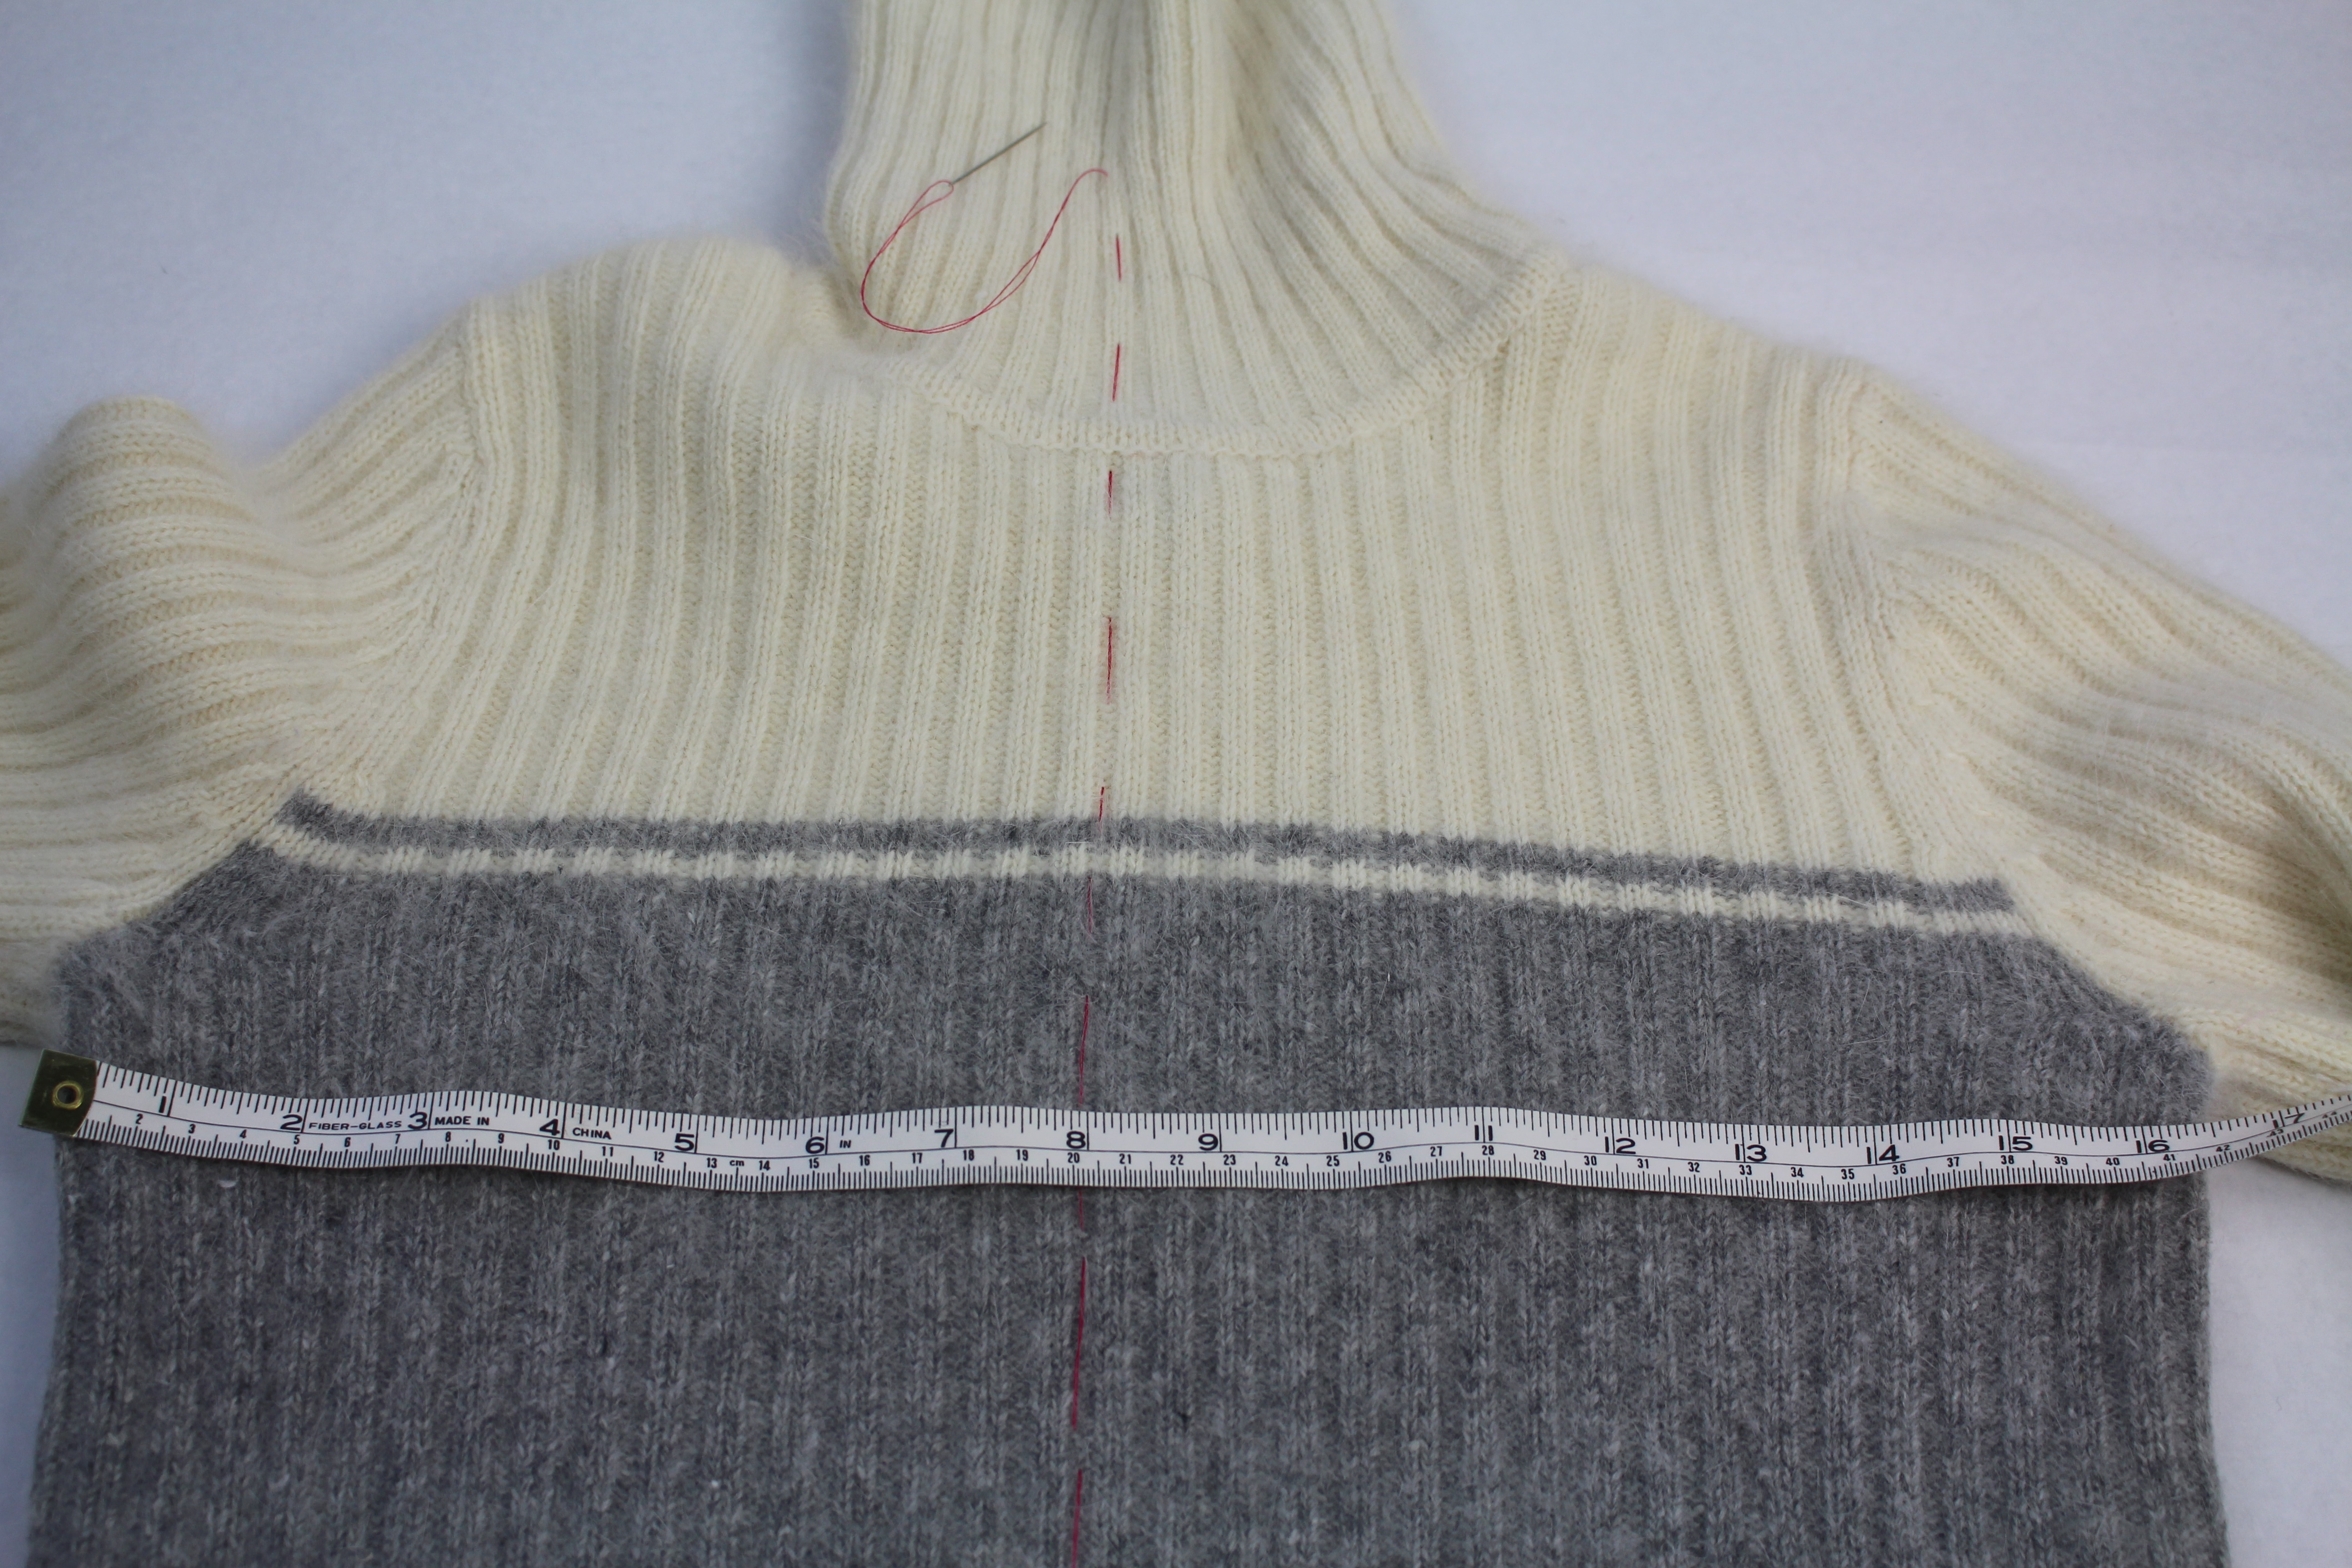

Turn the sweater inside out. Center the fusible interfacing along the center of the sweater and press in place.
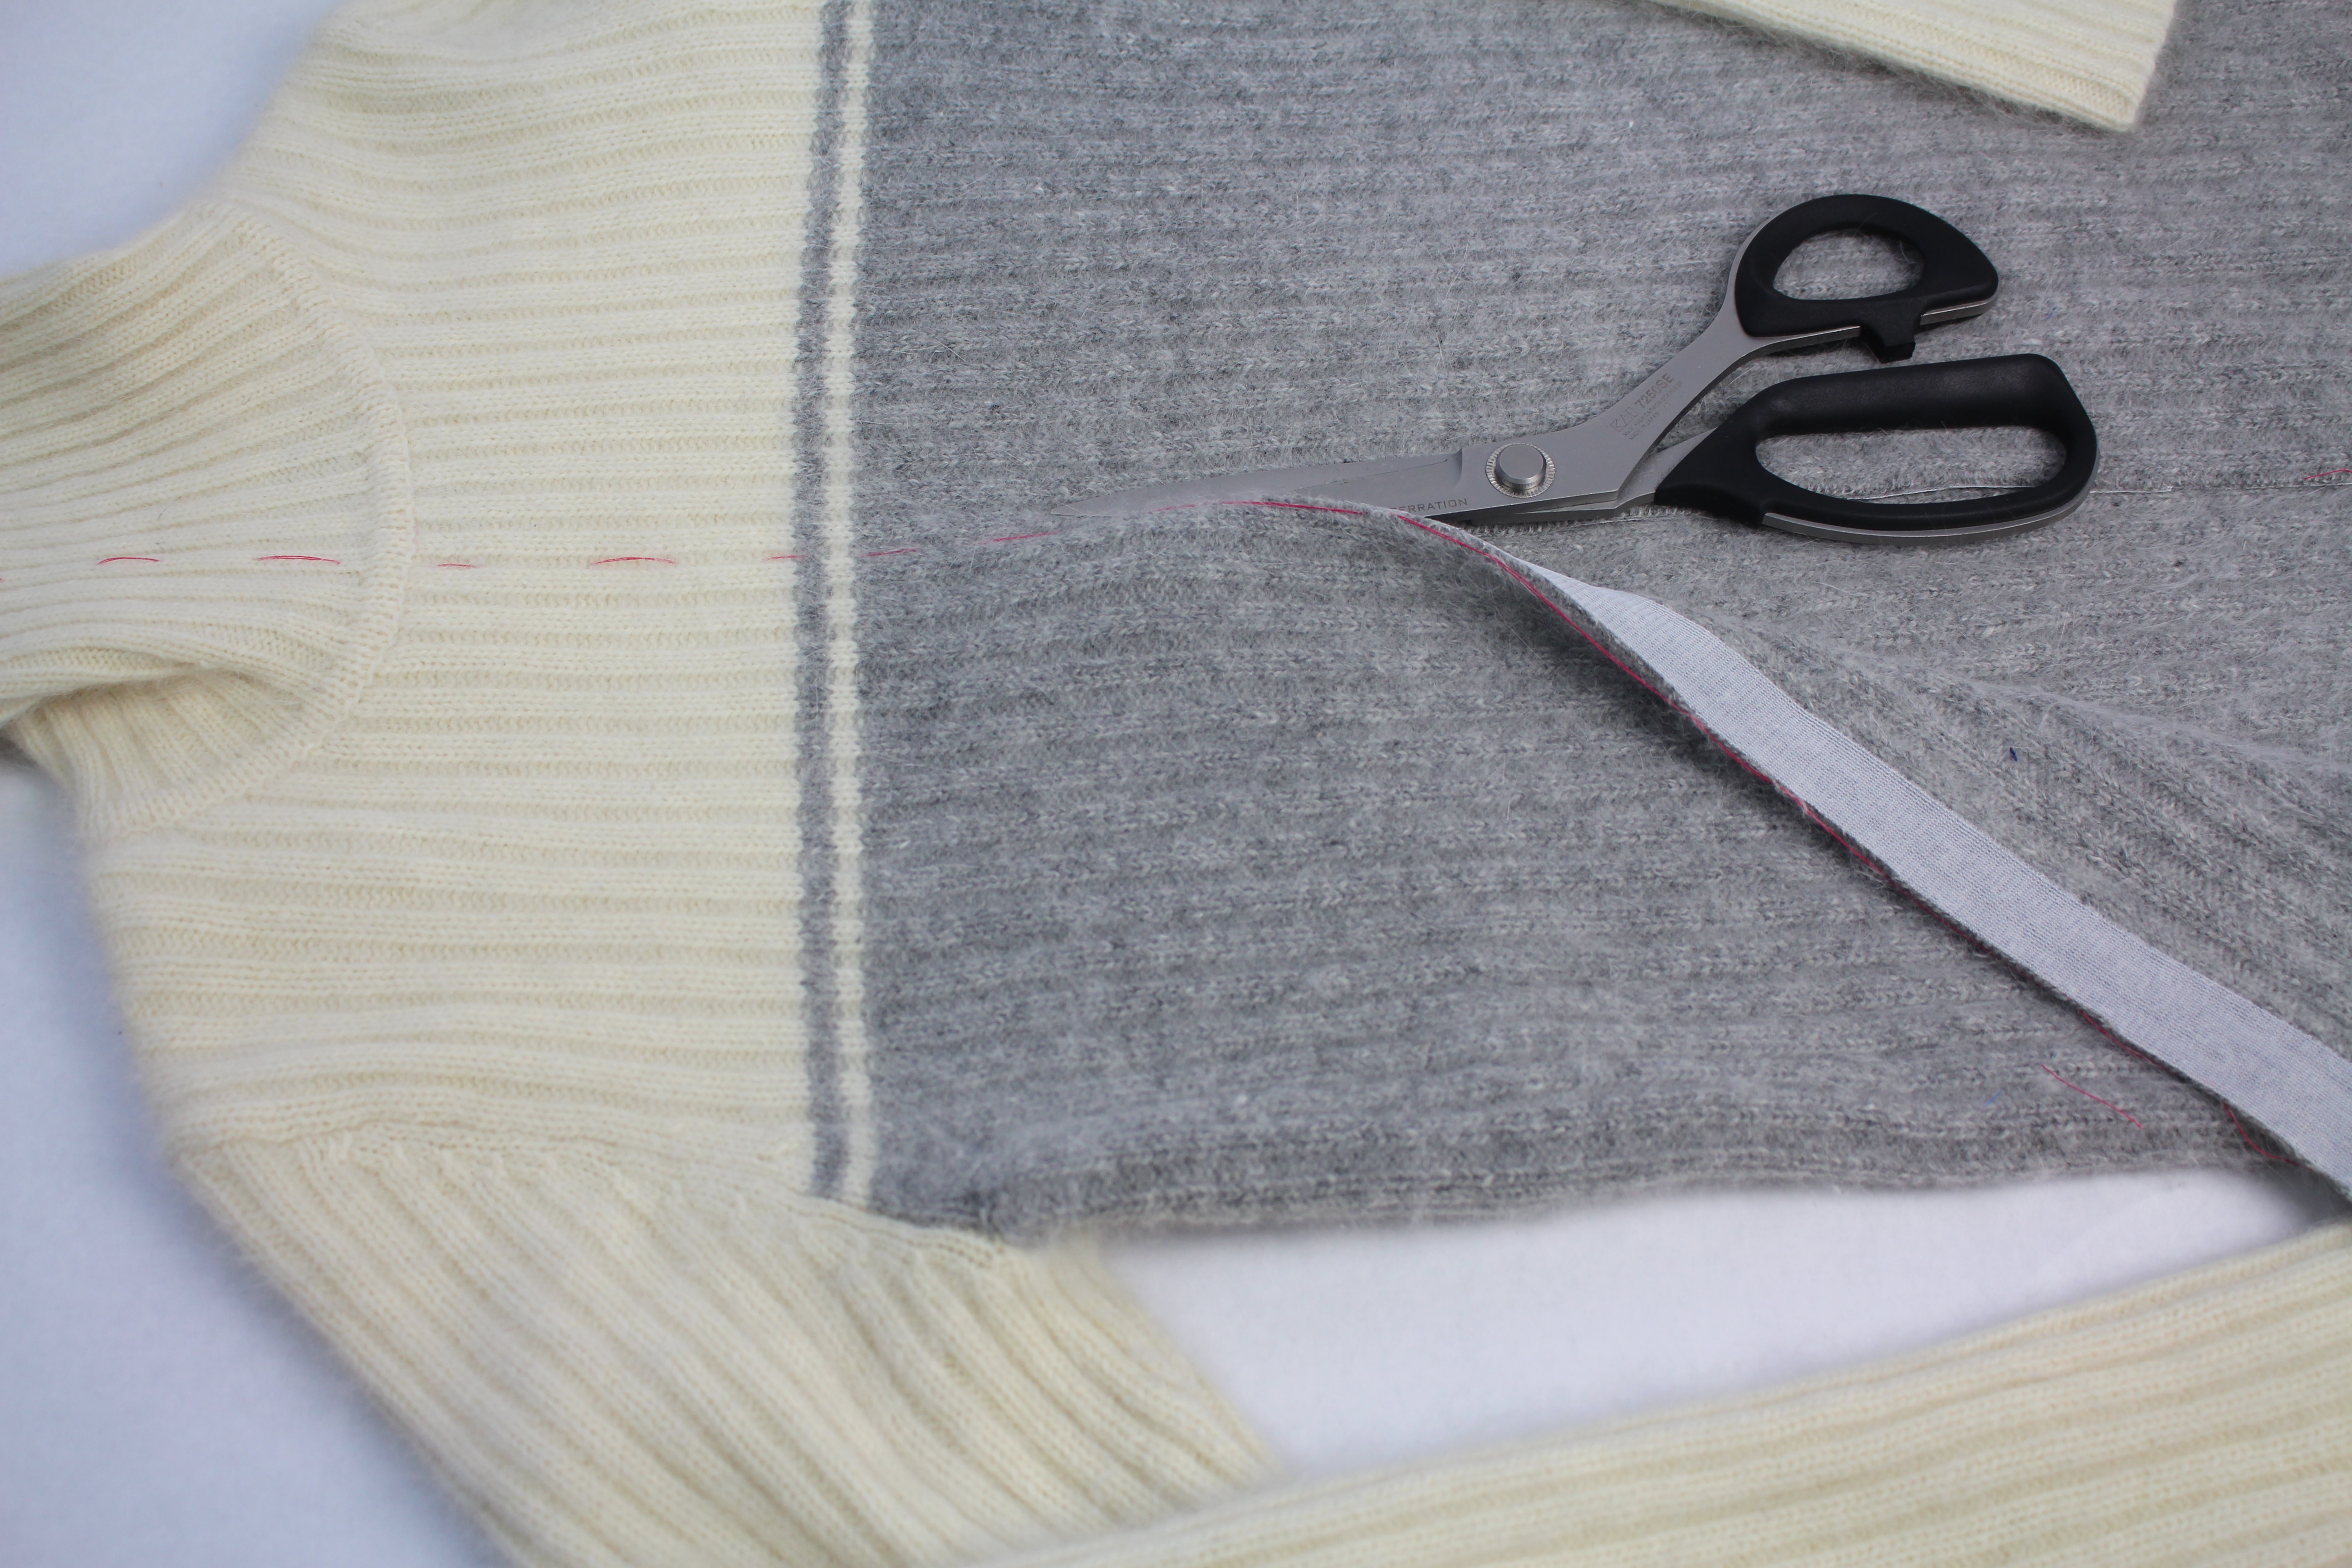
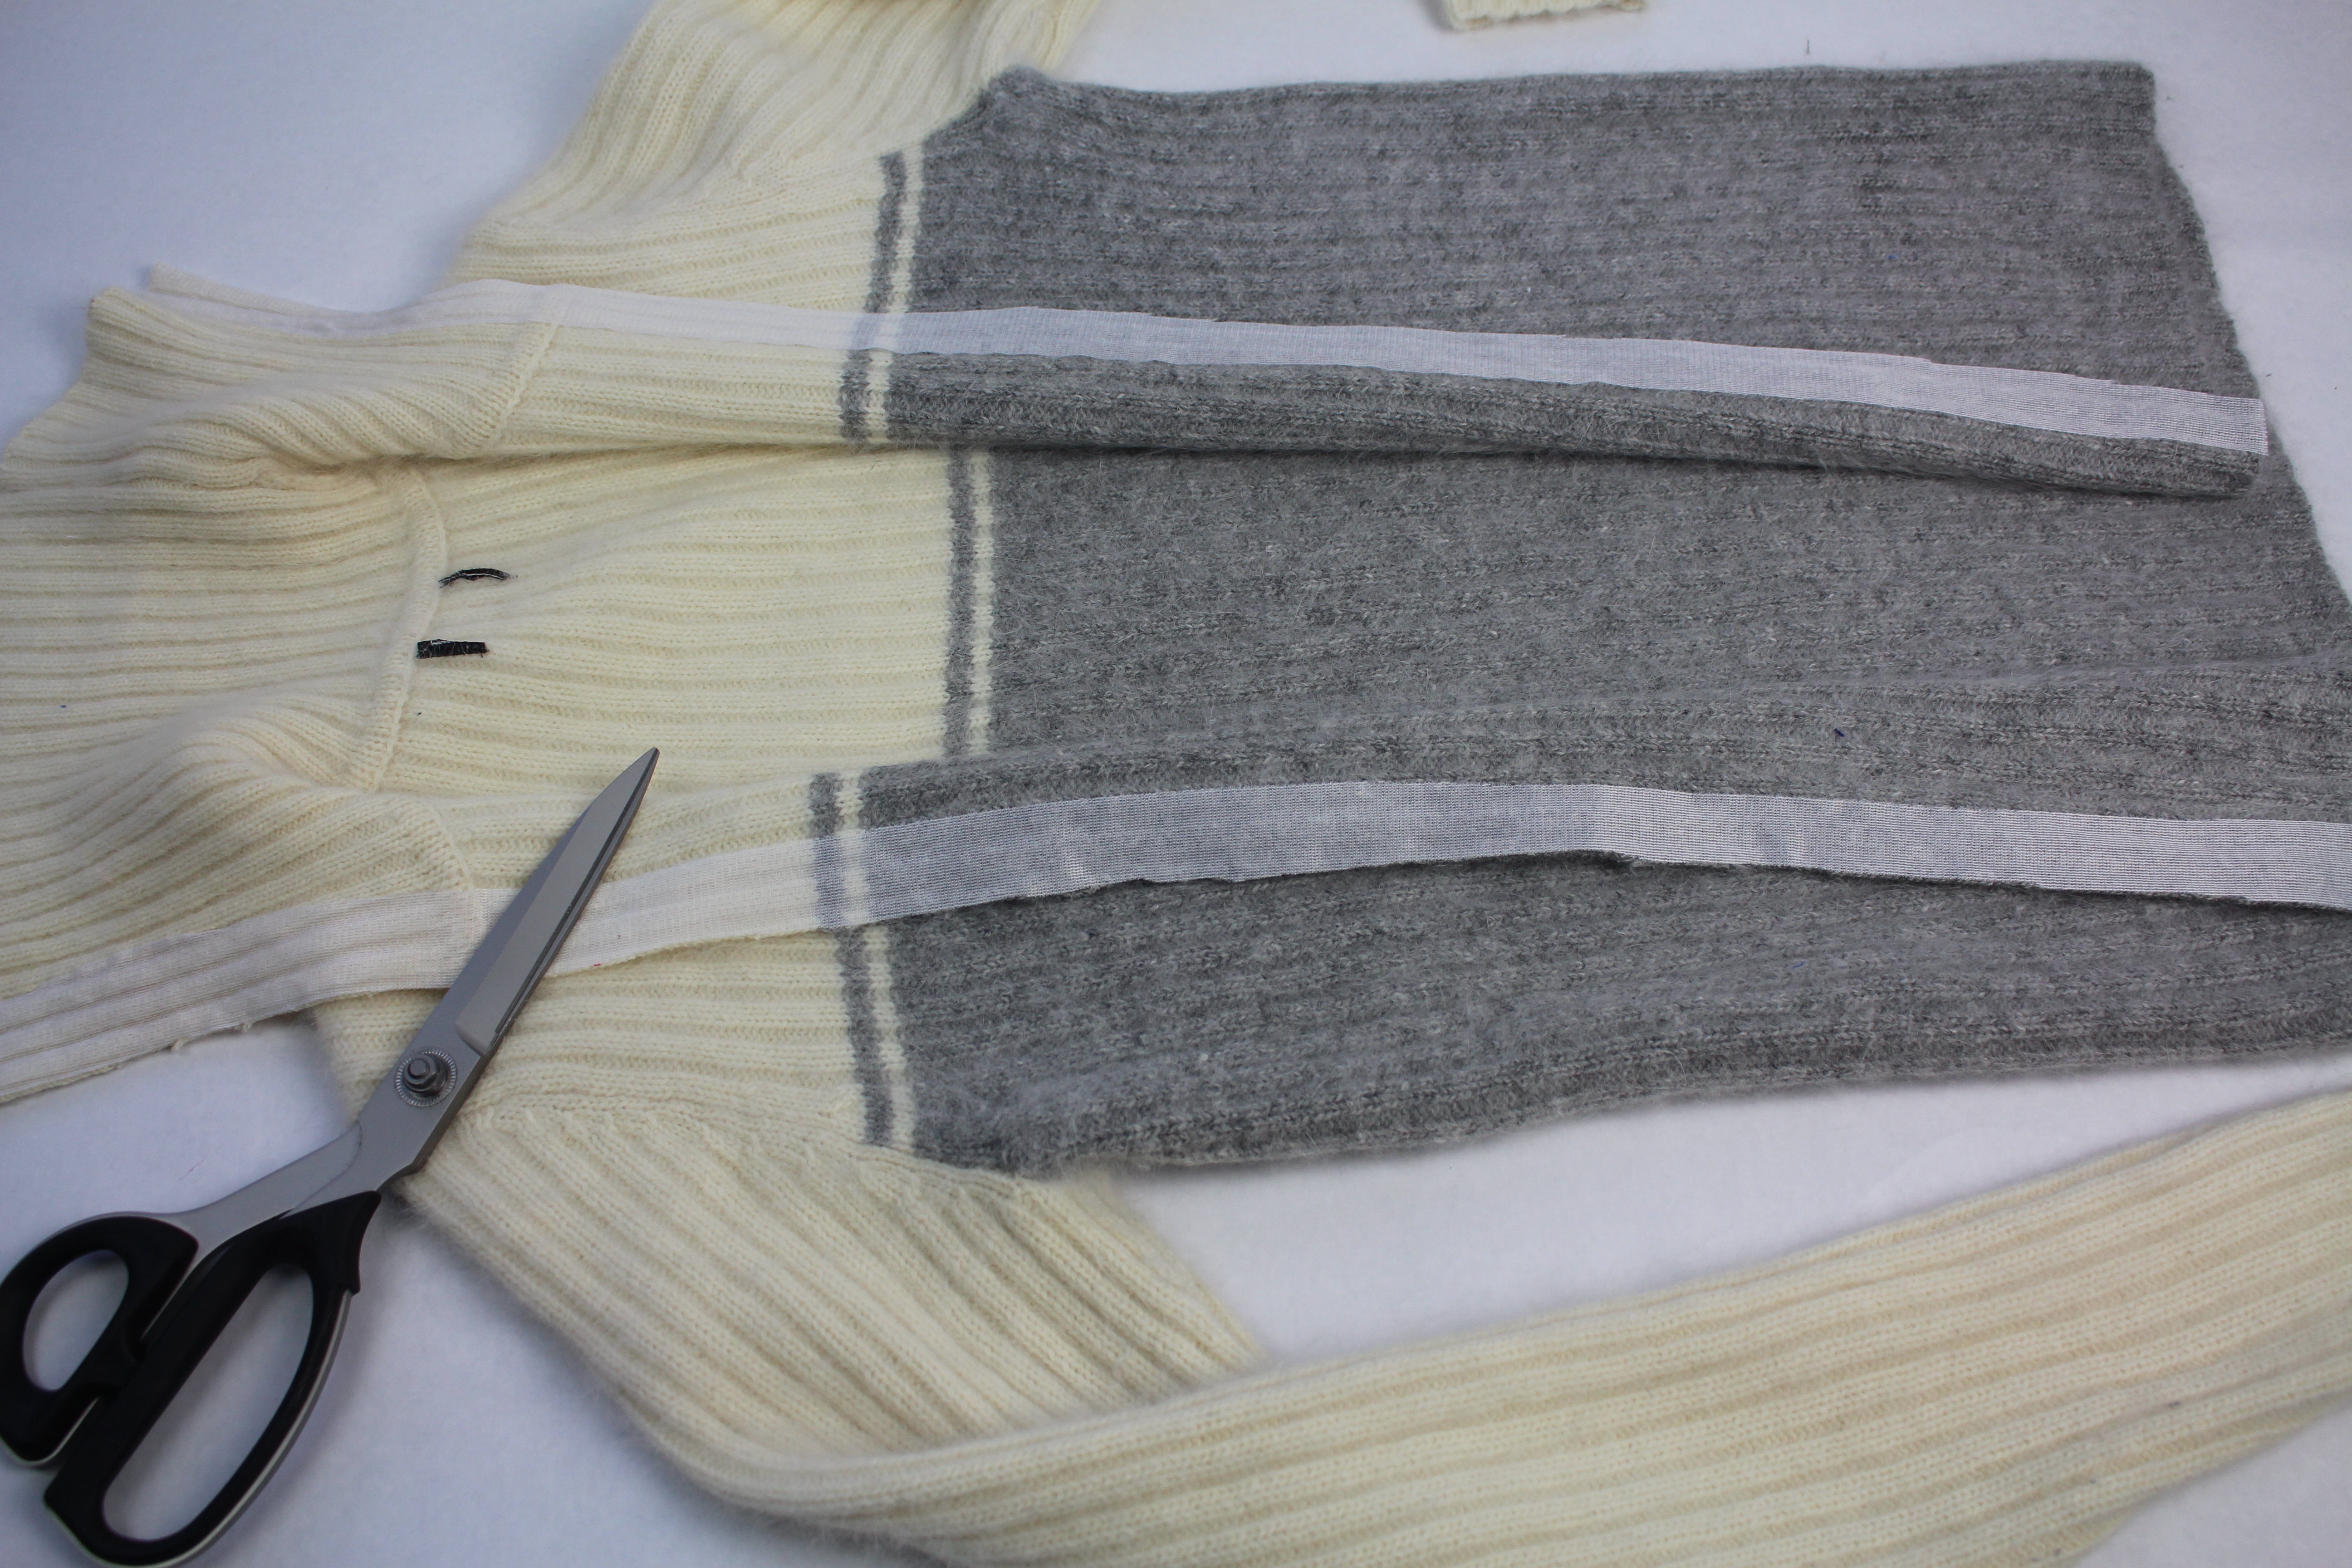
Cut along the center marking, from hem to the top of the collar.
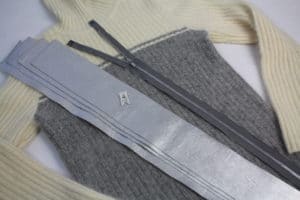
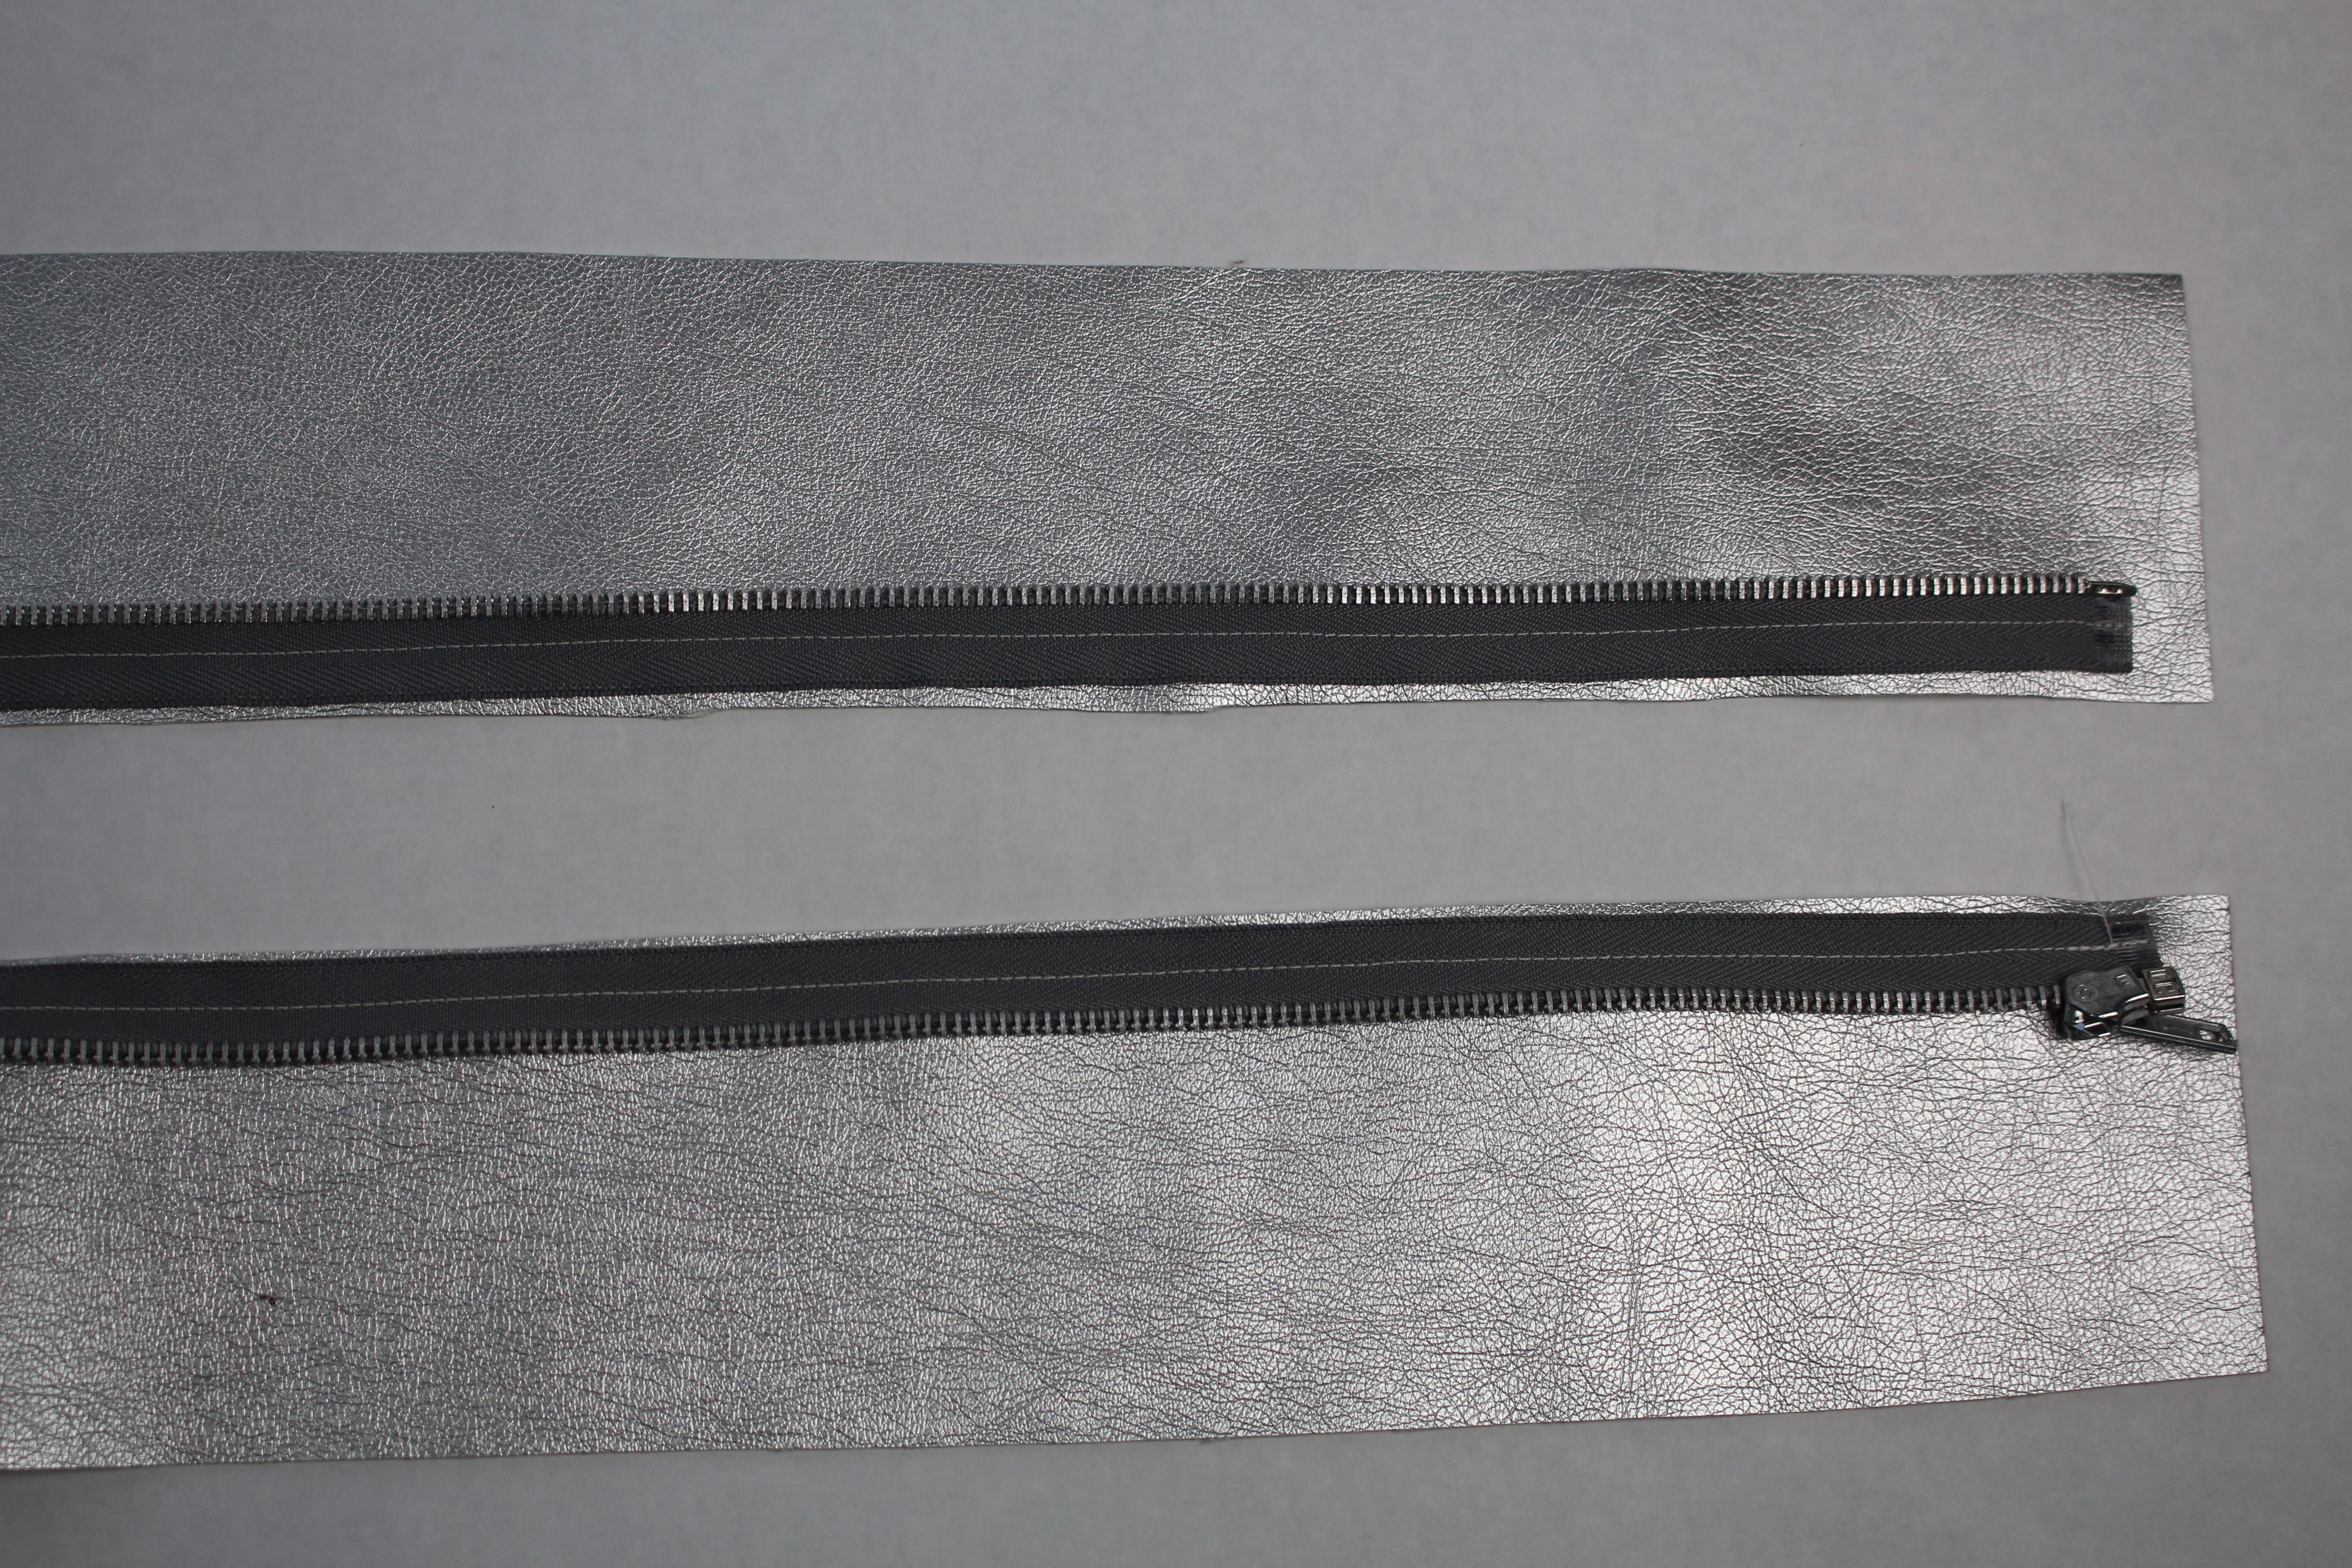
Line up each side of the zipper with the vinyl as shown. Stitch along the edge of the zipper teeth.
To read the full blog and finish up your sweater upcycle, head over to my post as a Brother Expert Consultant on the Brother Stitching Sewcial. This is such a quick way to customize any bowl, I can’t wait to try different fabrics for the holiday season!
Cheers,

Join live every Wednesday at 1:30pm EST on facebook or catch the replay here on the blog.
Great class for beginners or advanced!! I’ve been sewing for a very long time, but have always avoided knits. This class takes the fear out of sewing with knits. Loved all the tips for sewing with knits from cutting them out to sewing it up. Thanks Angela for sharing your time and knowledge with us.
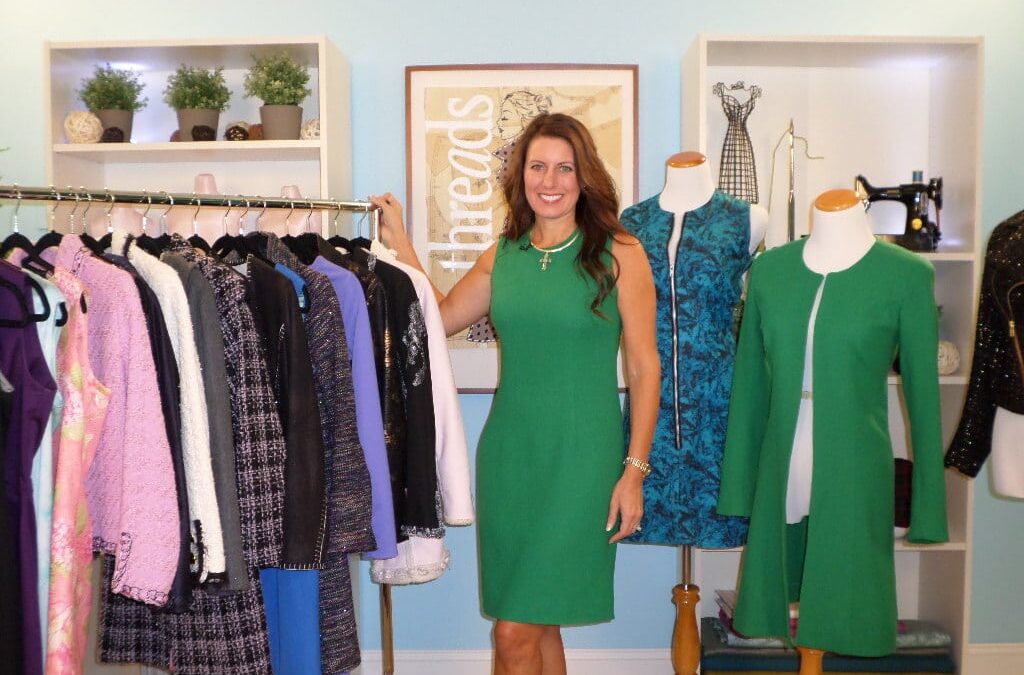
What started as a casual comment on my facebook live show turned into a week long sewathon with fabulous giveaways and lot’s of sewing! I plan to sew Monday thru Friday, trying to add new pieces to my wardrobe for travel and everyday life at the office.
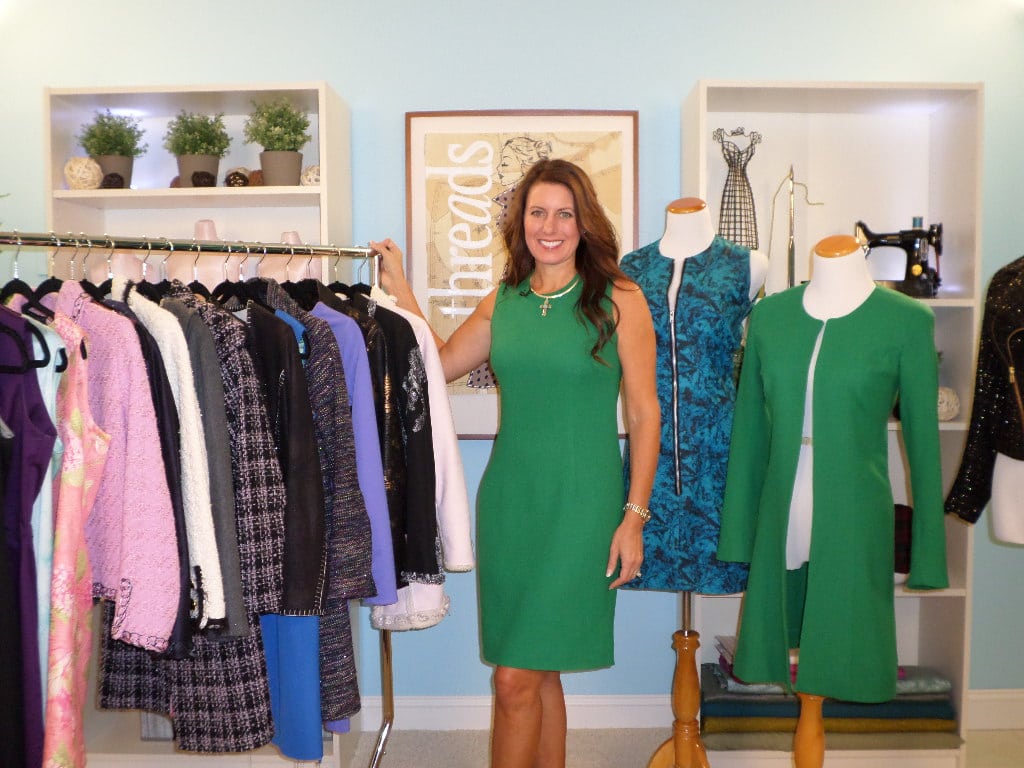
Each morning I will post a photo or brief video in our private facebook group showing what I will be sewing, embellishing, patternhacking, or anything else I plan to work on each day. I will be using my patterns (along with some new pattern launching in December) along with a new fabric to my website each day.
If you want to follow along with any of the pattern or fabrics from my website, be use to use the coupon code BIRTHDAY20 when checking out, for a 20% discount.

Be sure to use #angelawolfsewathon when posting photos
Are you joining me? Leave your comment below as to what you plan to sew ??????
#angelawolfsewathon
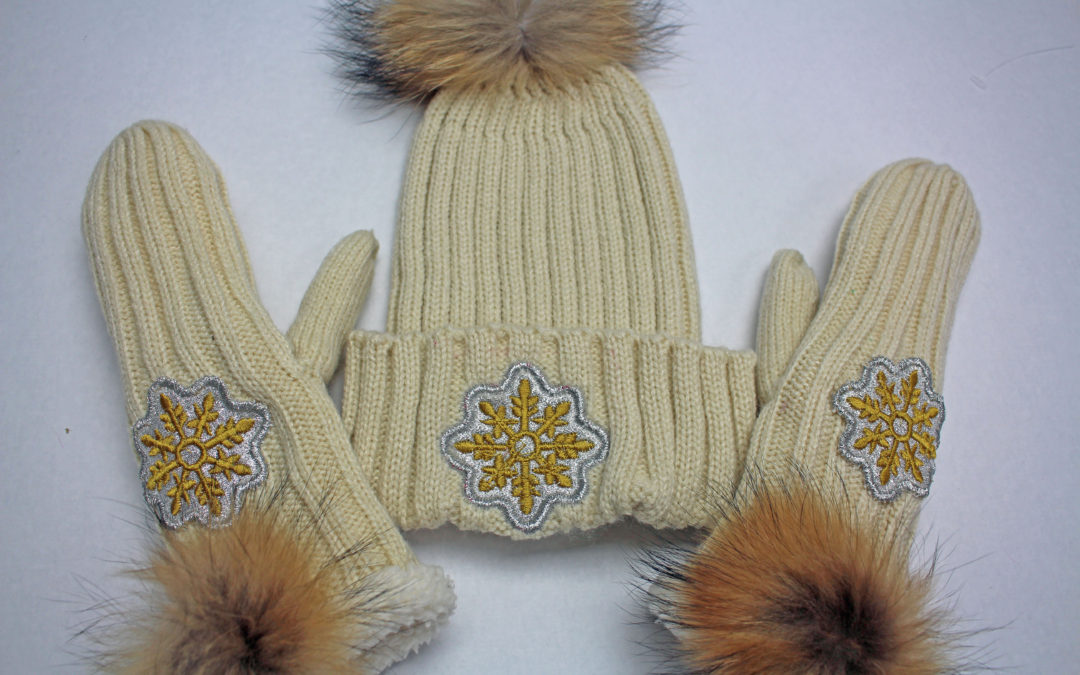
Customizing pieces of your winter wardrobe has never been easier. This project will show you how to use embroidery and appliqué to embellish a knitted hat and mittens. Great gift idea!
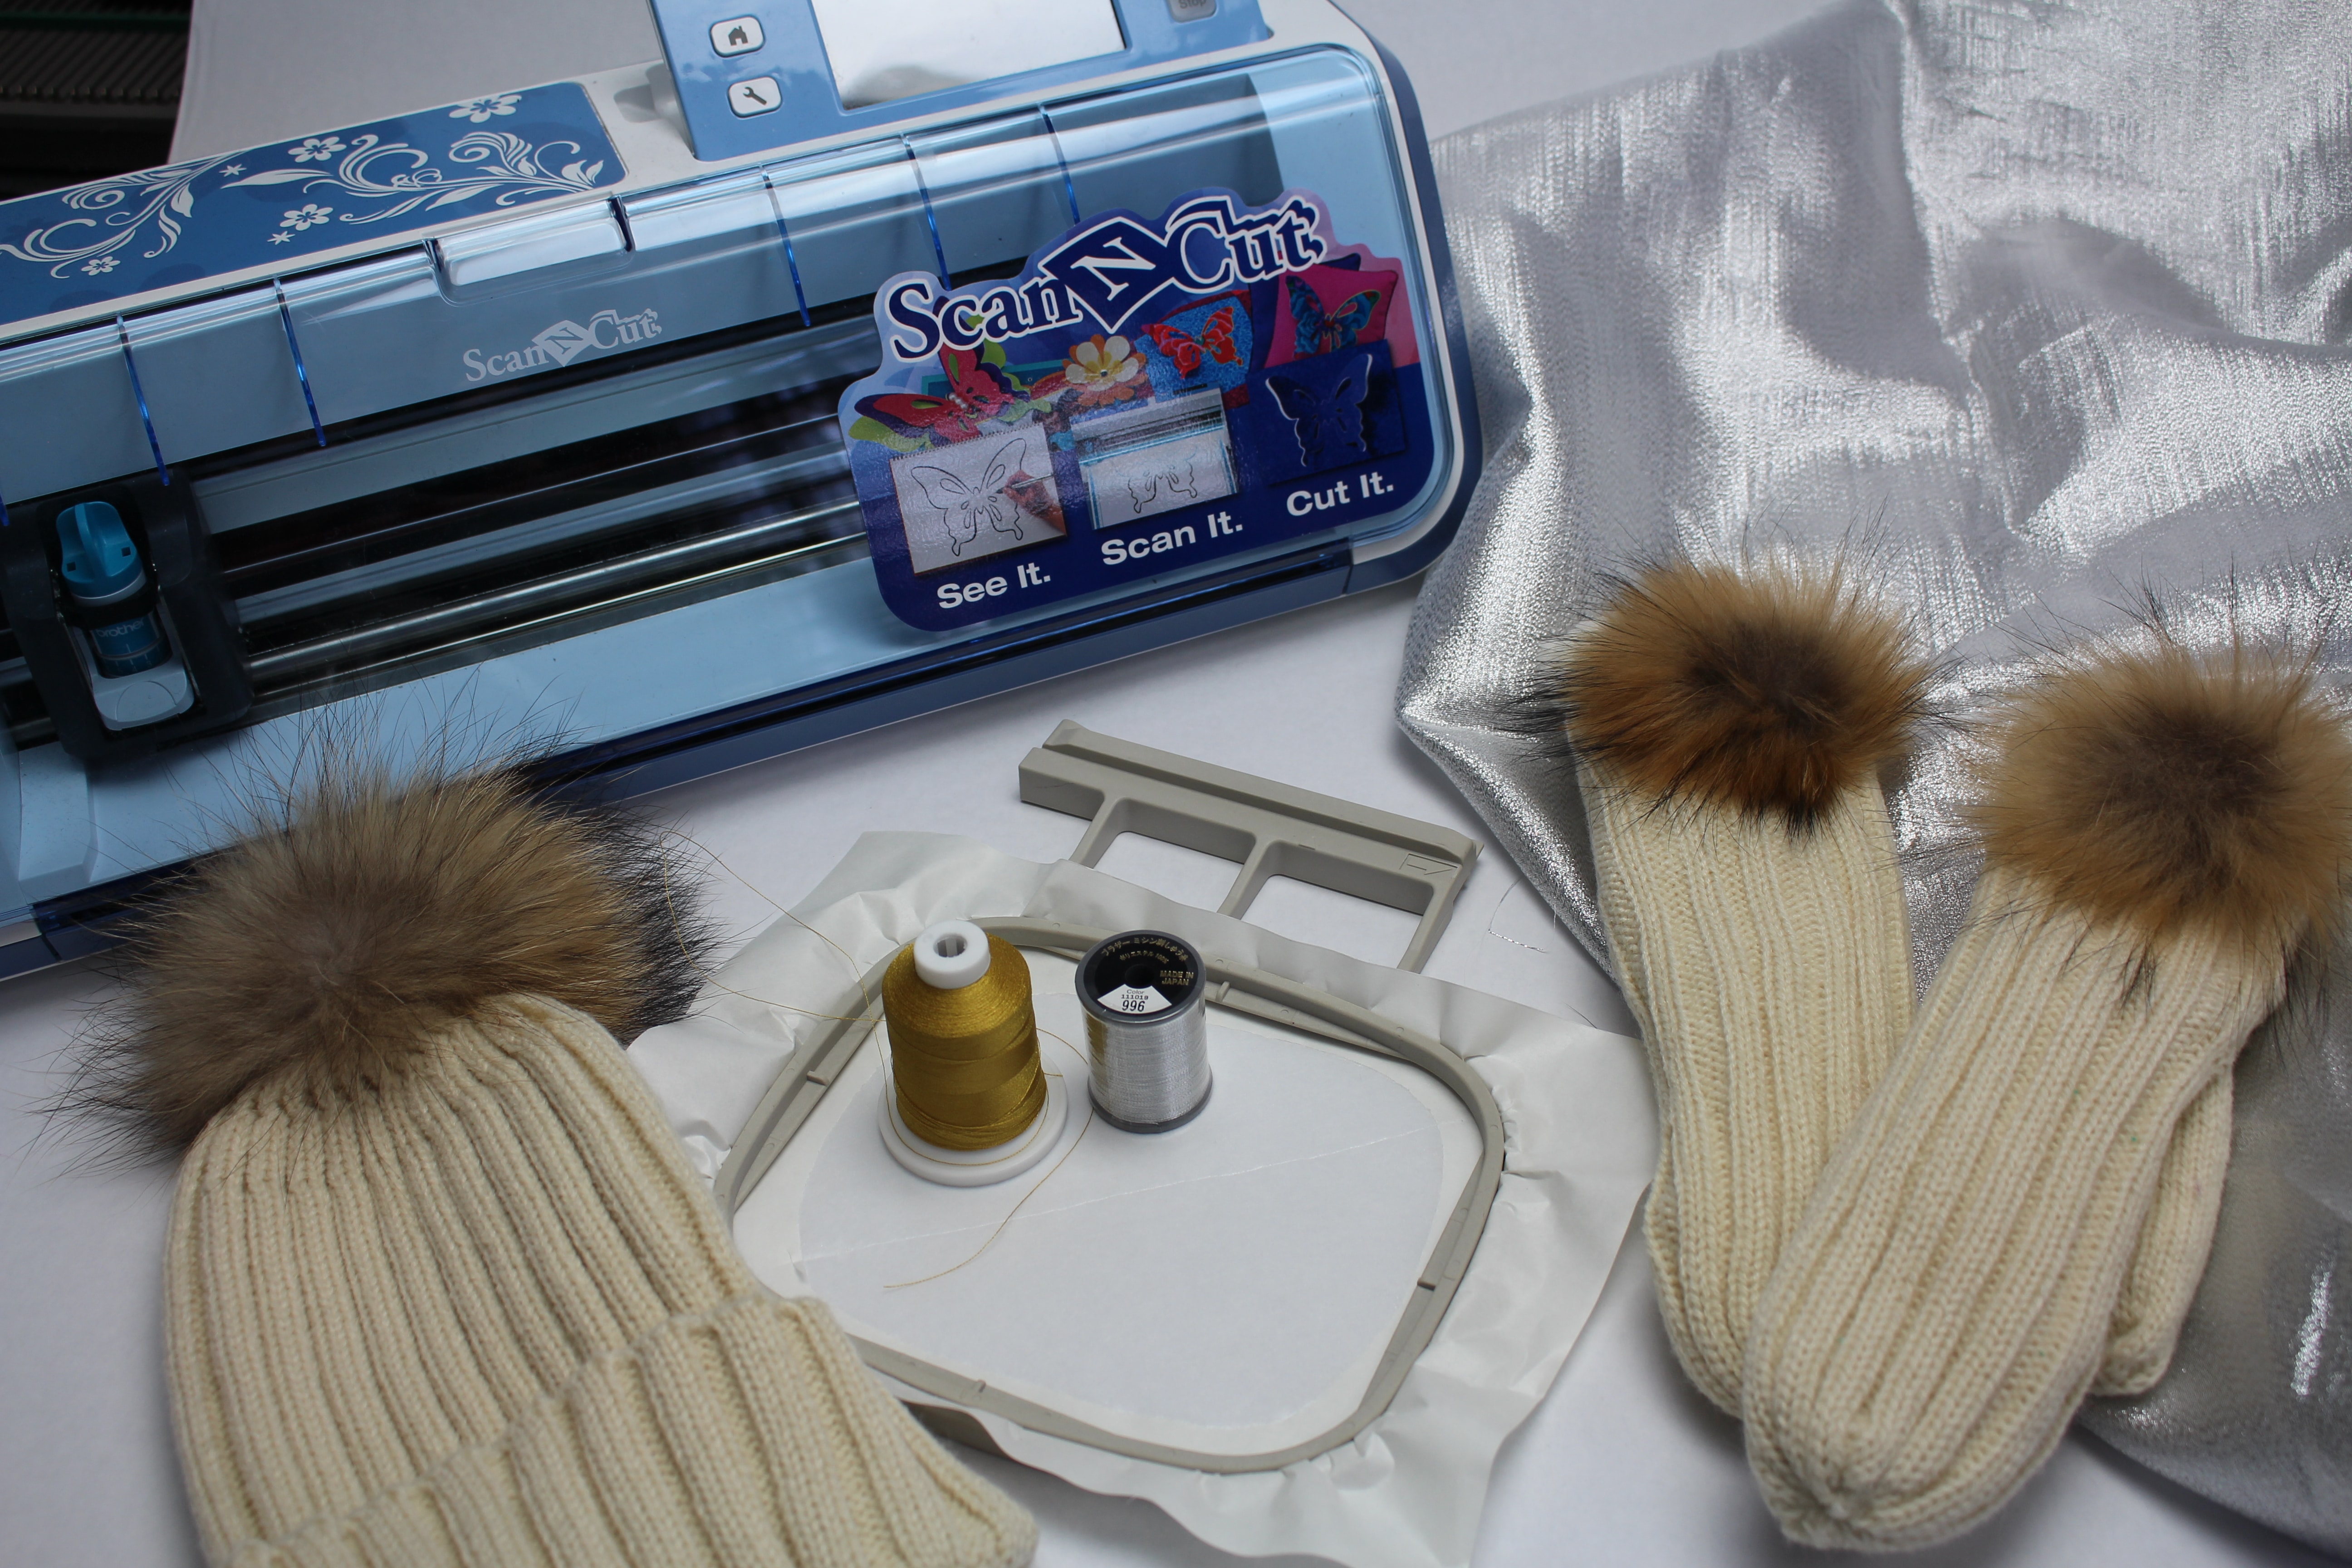
Hat & Mittens , 10” x 4” Gold or Silver Lame Fabric, Brother Embroidery Thread, Brother Metallic Thread, Pacesetter Medium Weight Tear-away Adhesive Stabilizer, ScanNCut —– tack adhesive fabric support sheet, piece of plastic (dry cleaner bags work great!), Brother Embroidery Machine
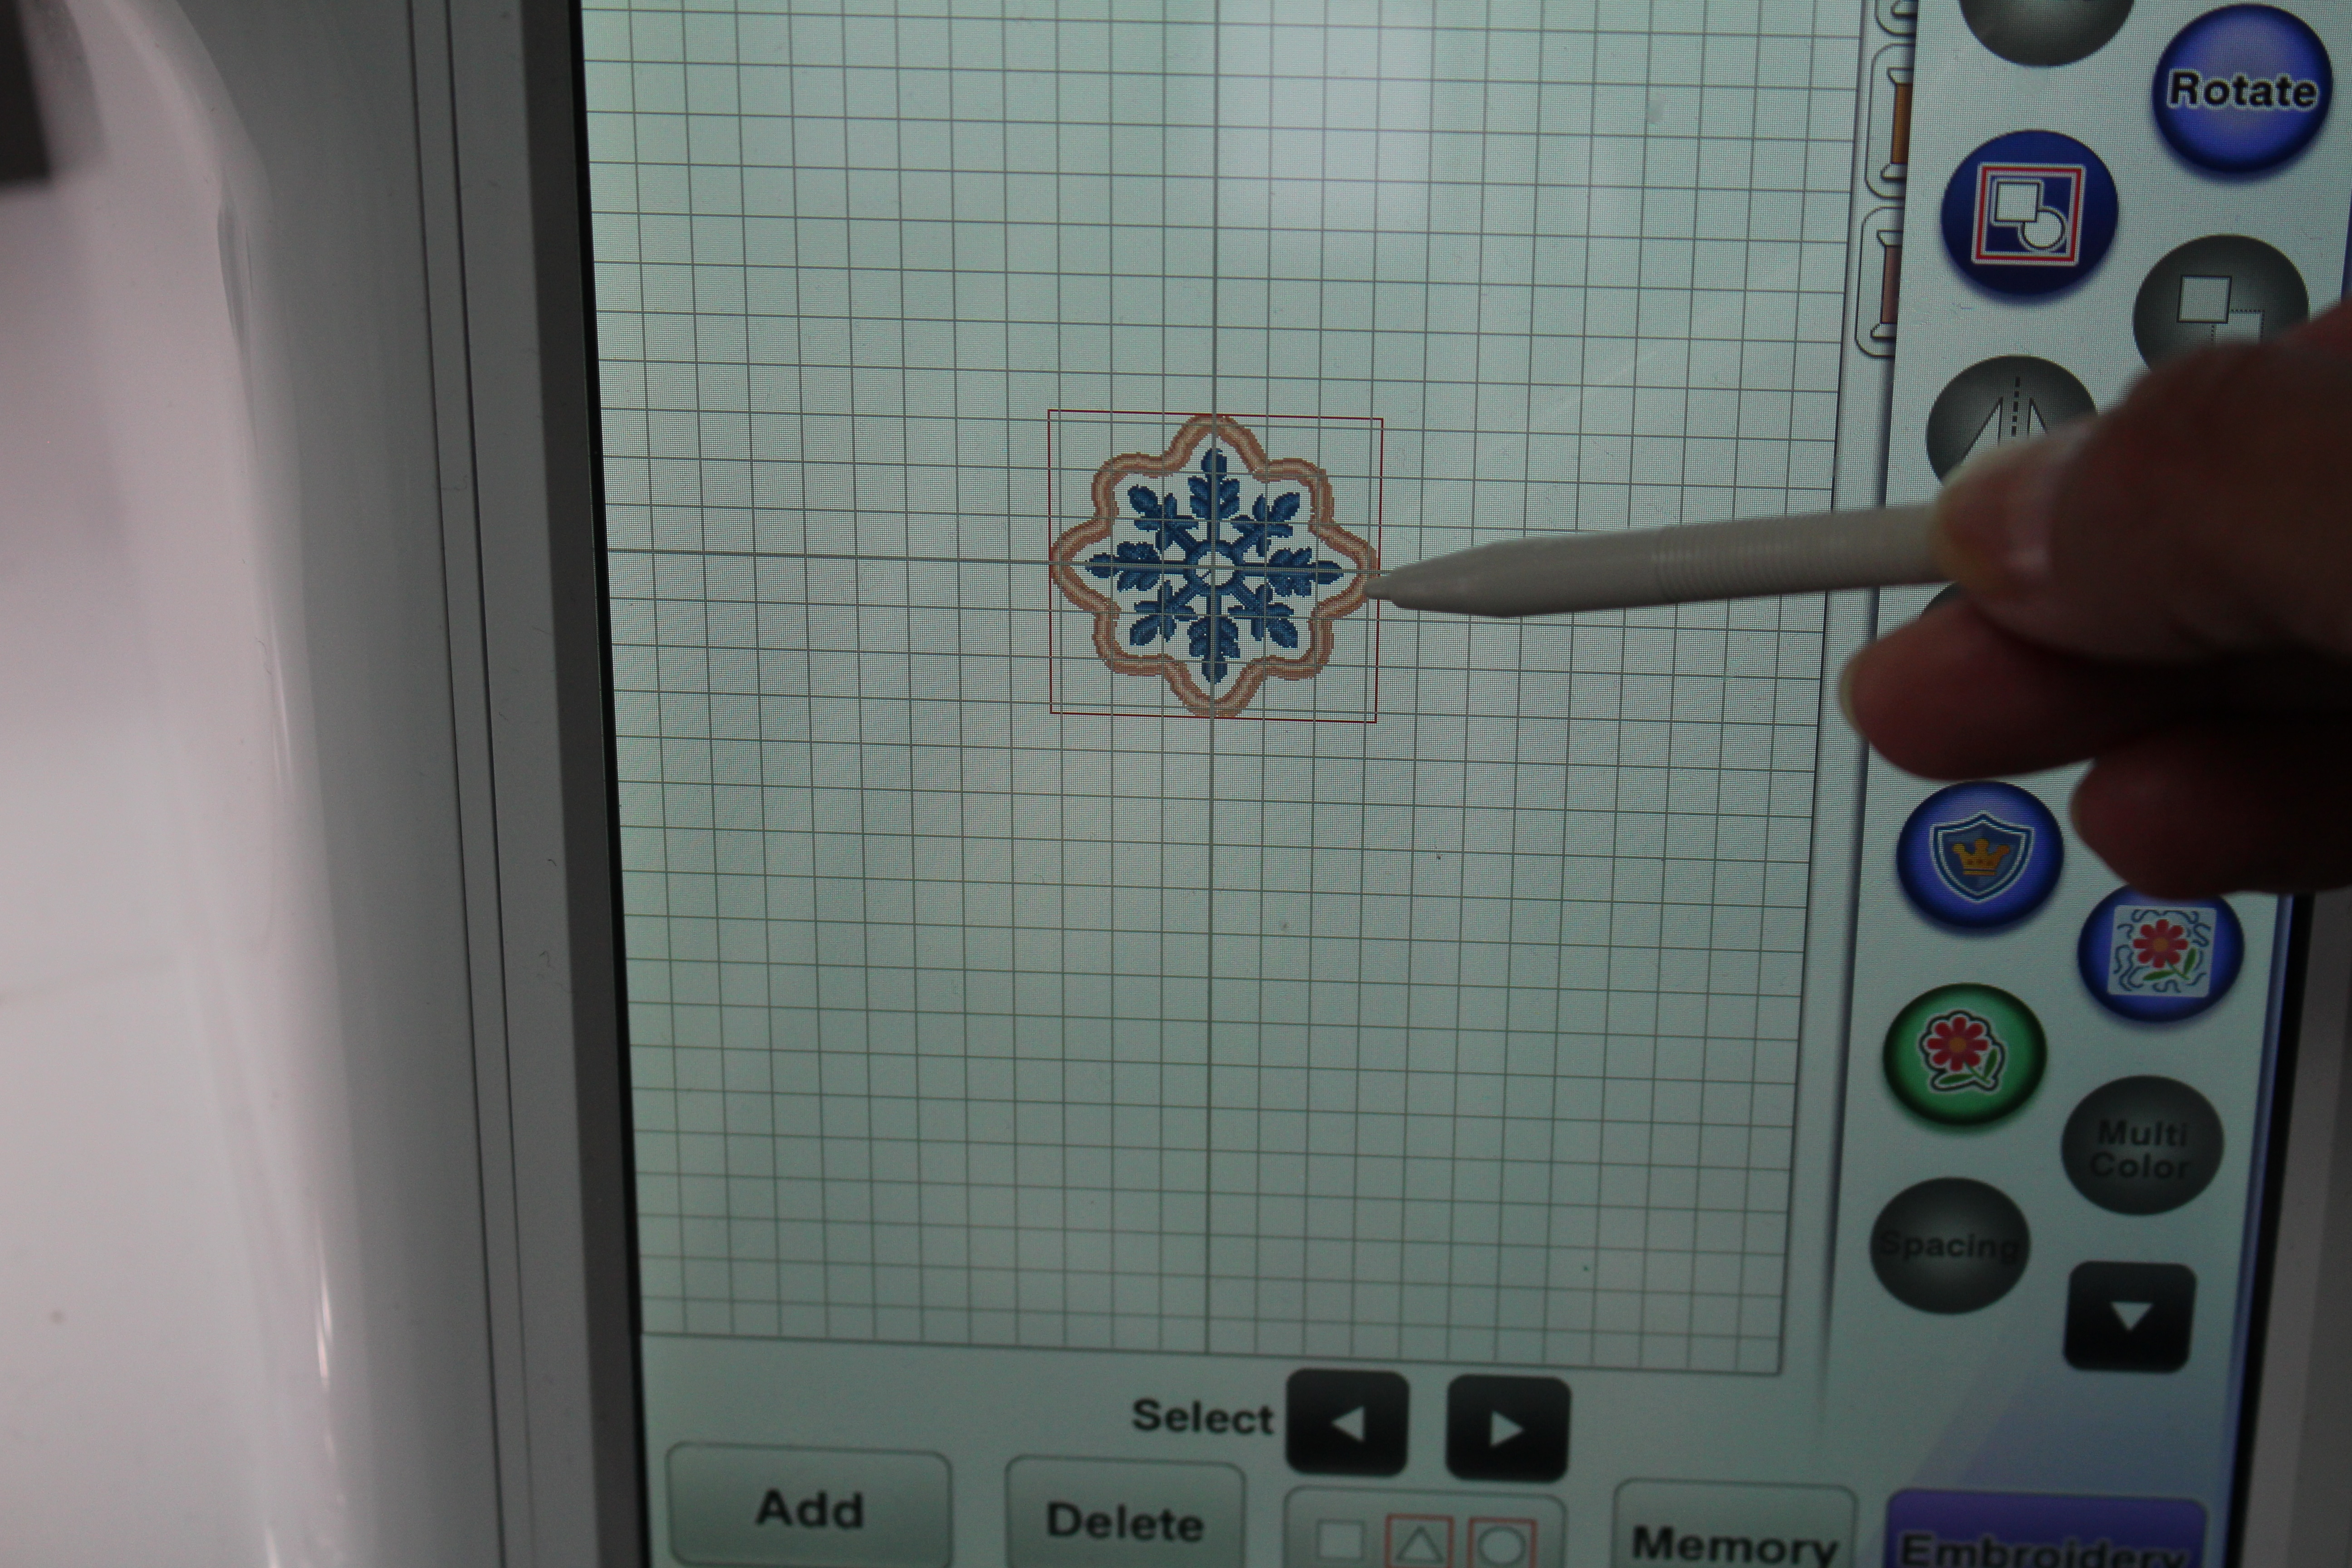
Step 1: Visit www.ibroidery.com and search through the snowflake designs, I choose design #BR-fp116 (link to design http://www.ibroidery.com/sitesearch.aspx?SC=fp116 ) Periwinkle Snowflake. Download the design to a USB stick. Insert the USB stick into the embroidery machine and open the file.

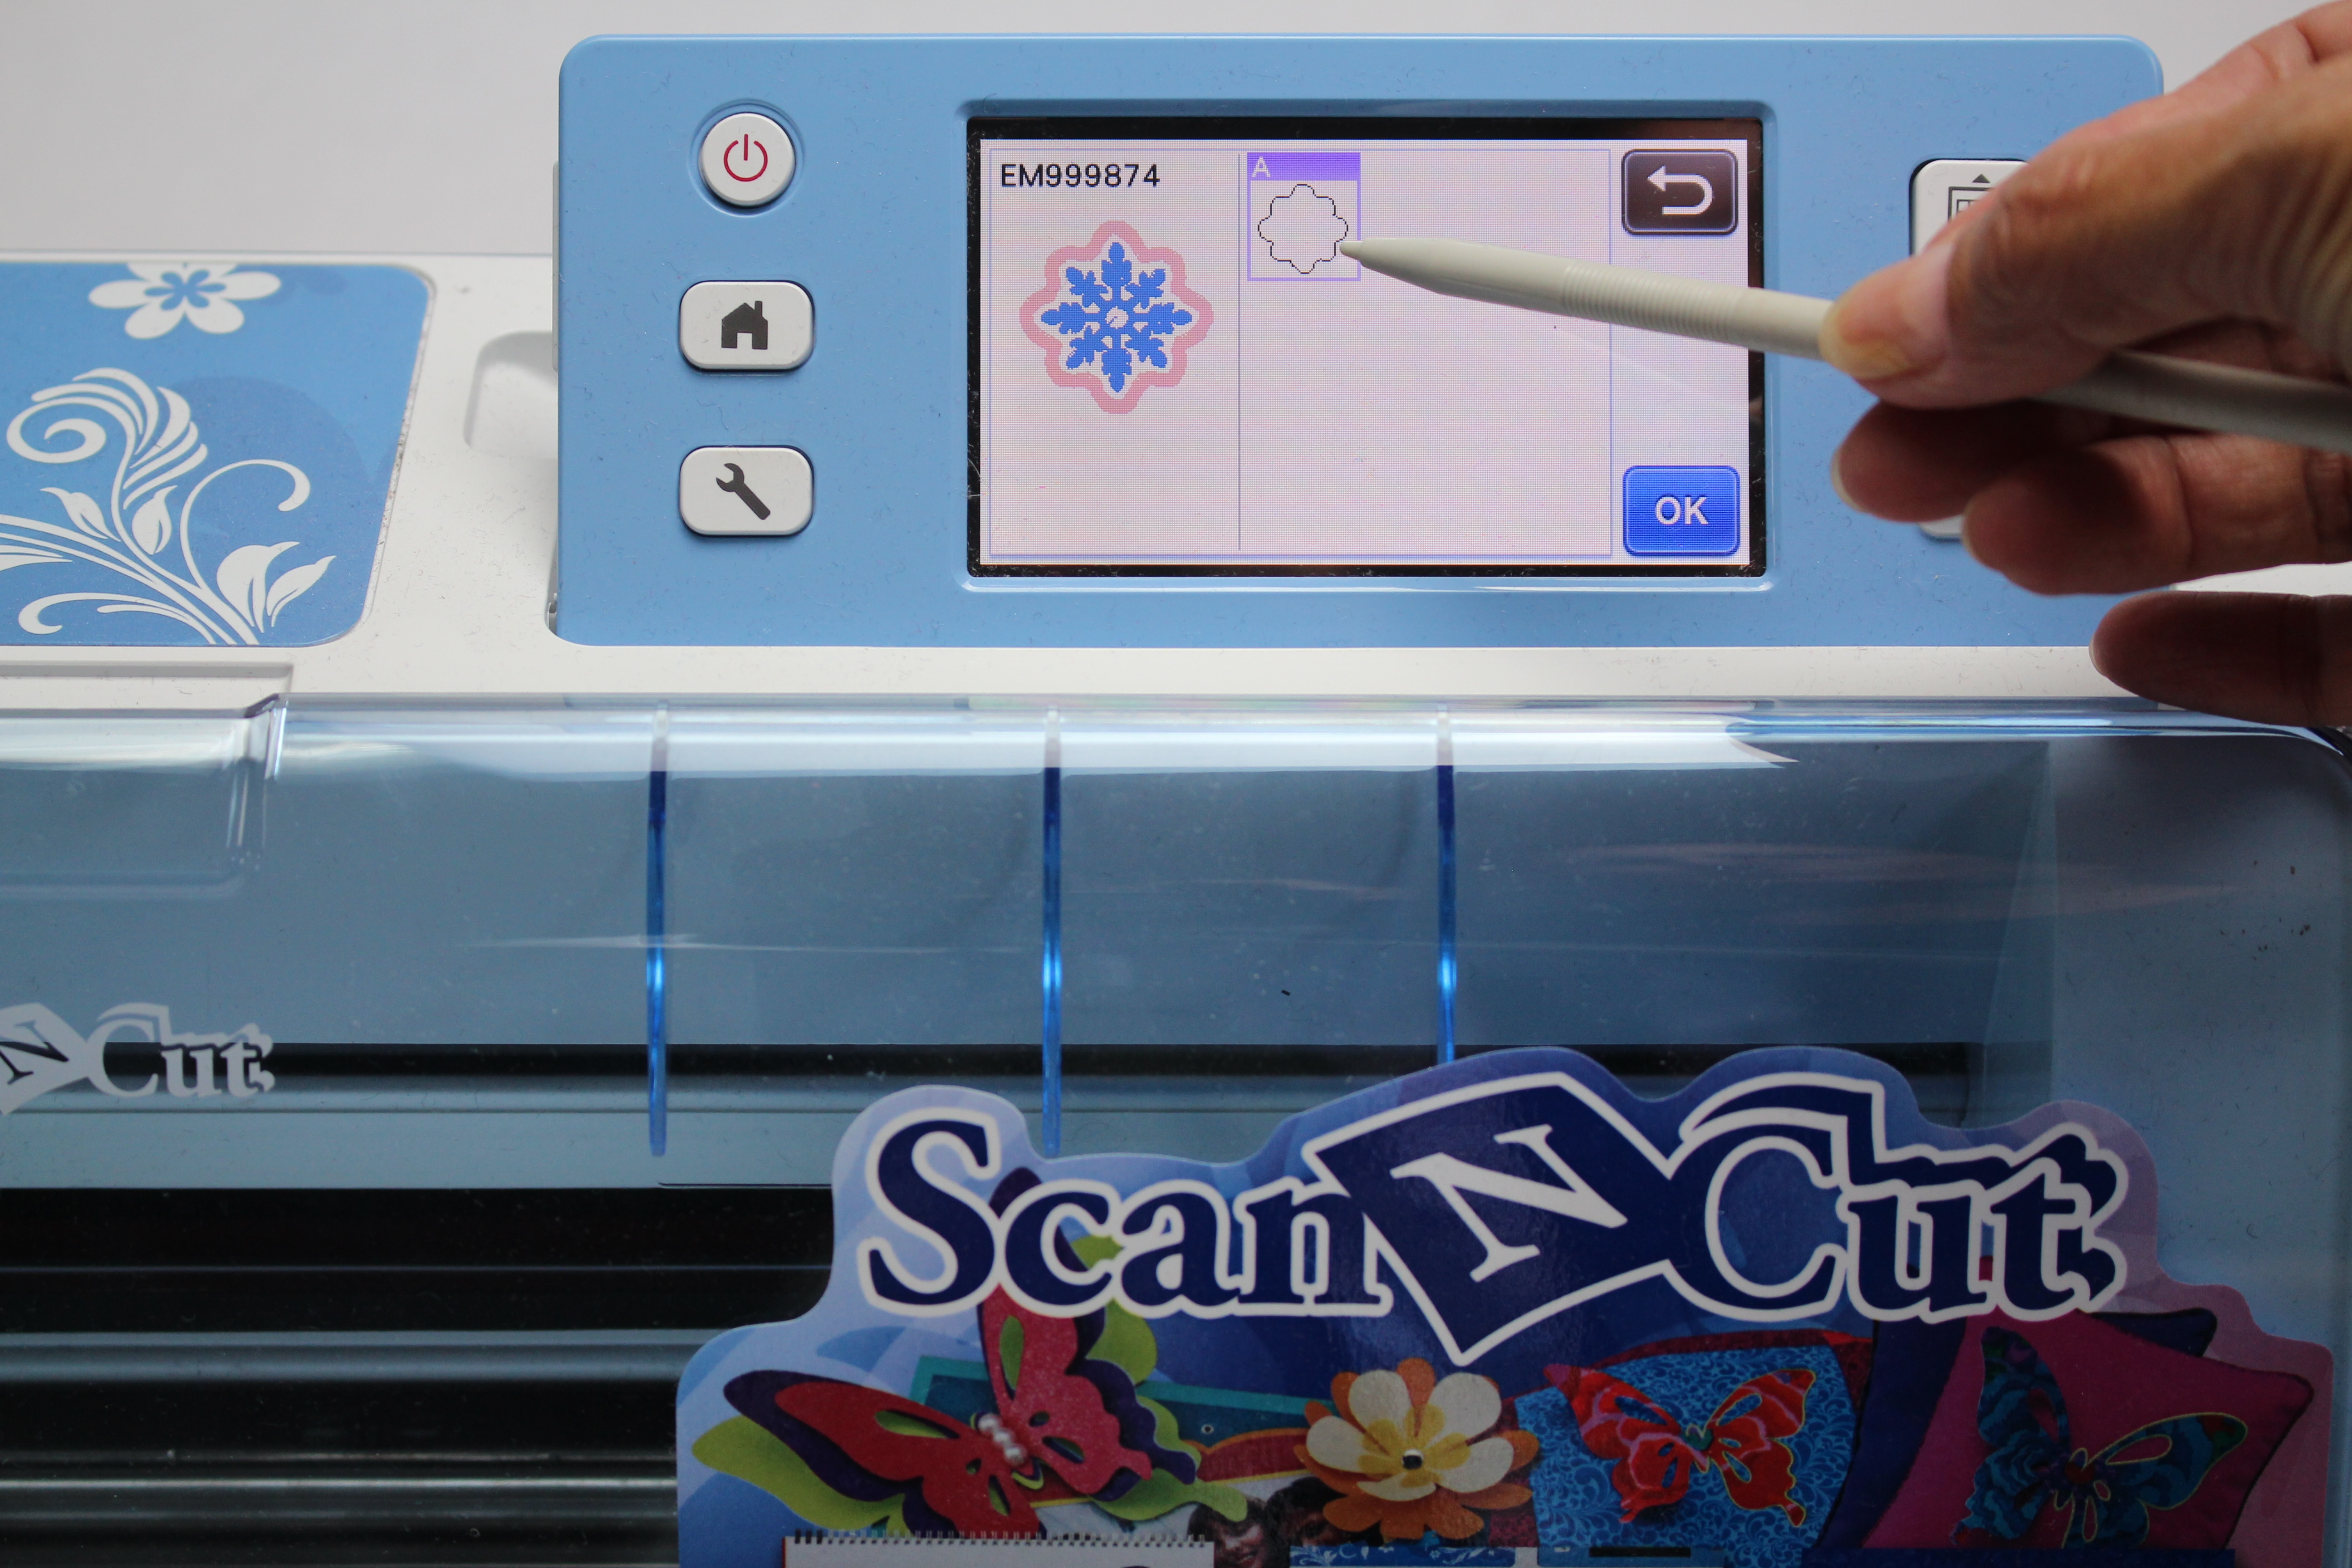
Step 2: Open the snowflake design and click on EDIT. Click on the APPLIQUE ICON. Click on MEMORY and save the design back to the USB stick. We have now turn this design into an applique design that can be transferred to the Brother ScanNcut.
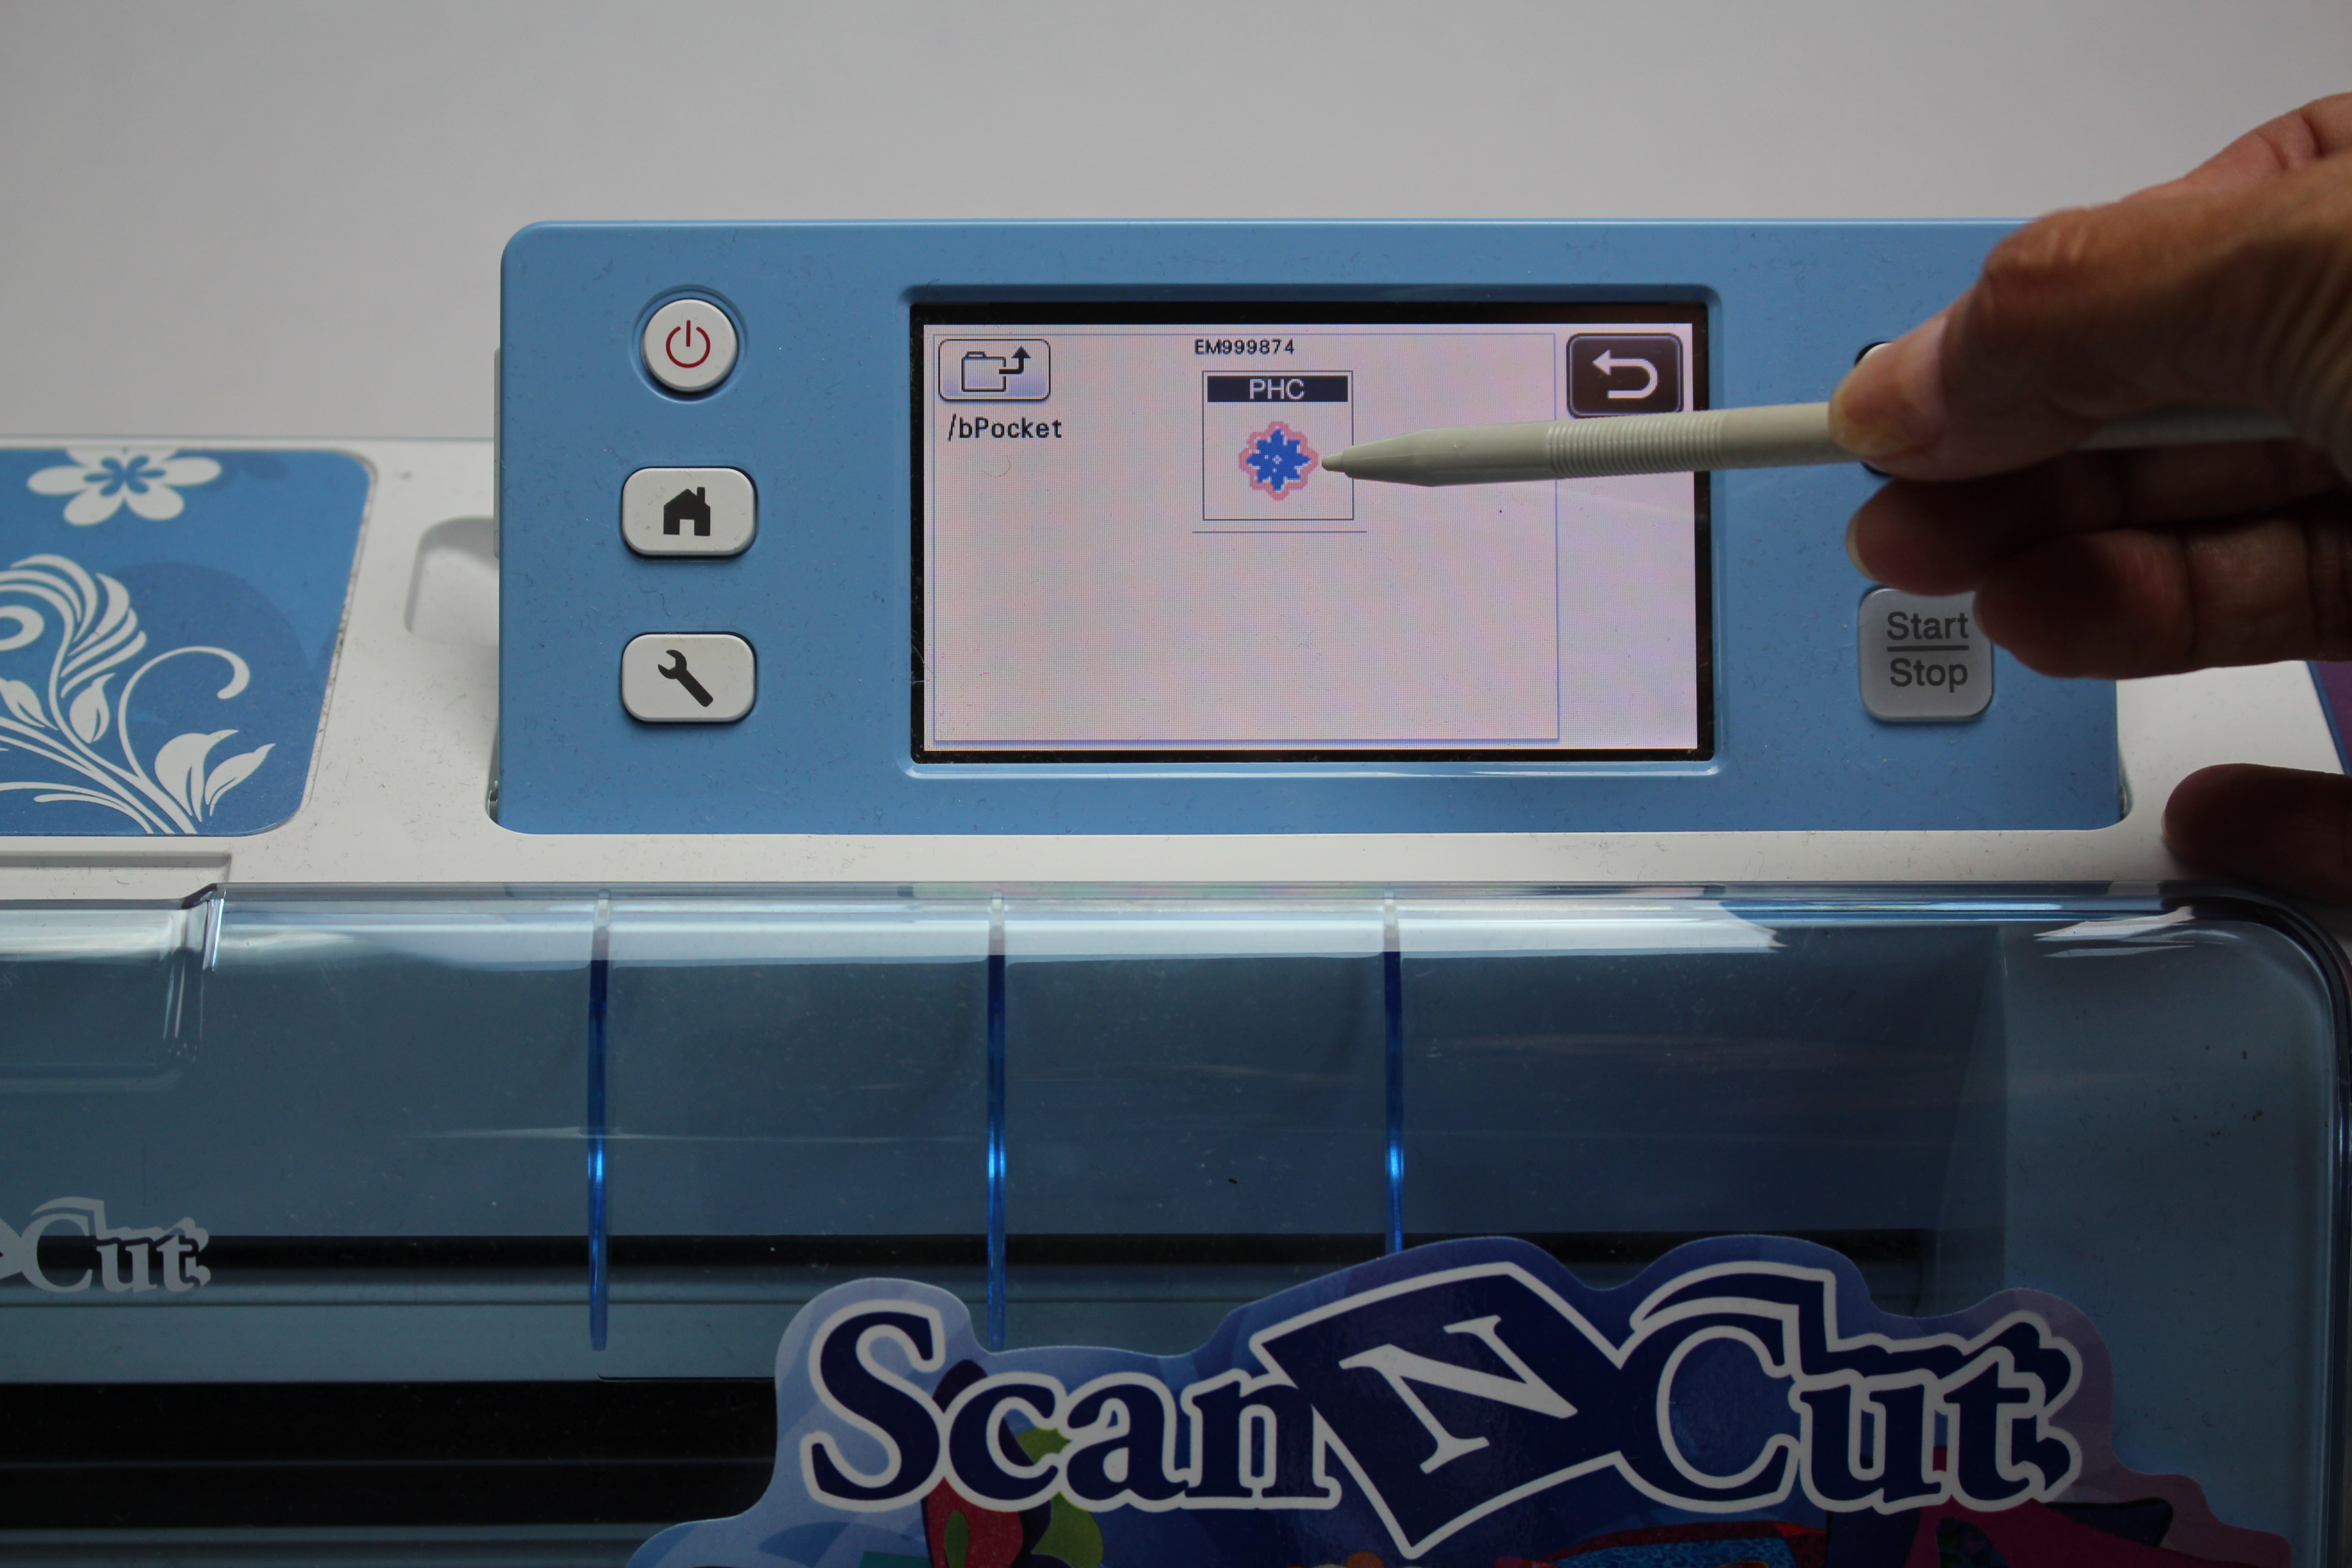
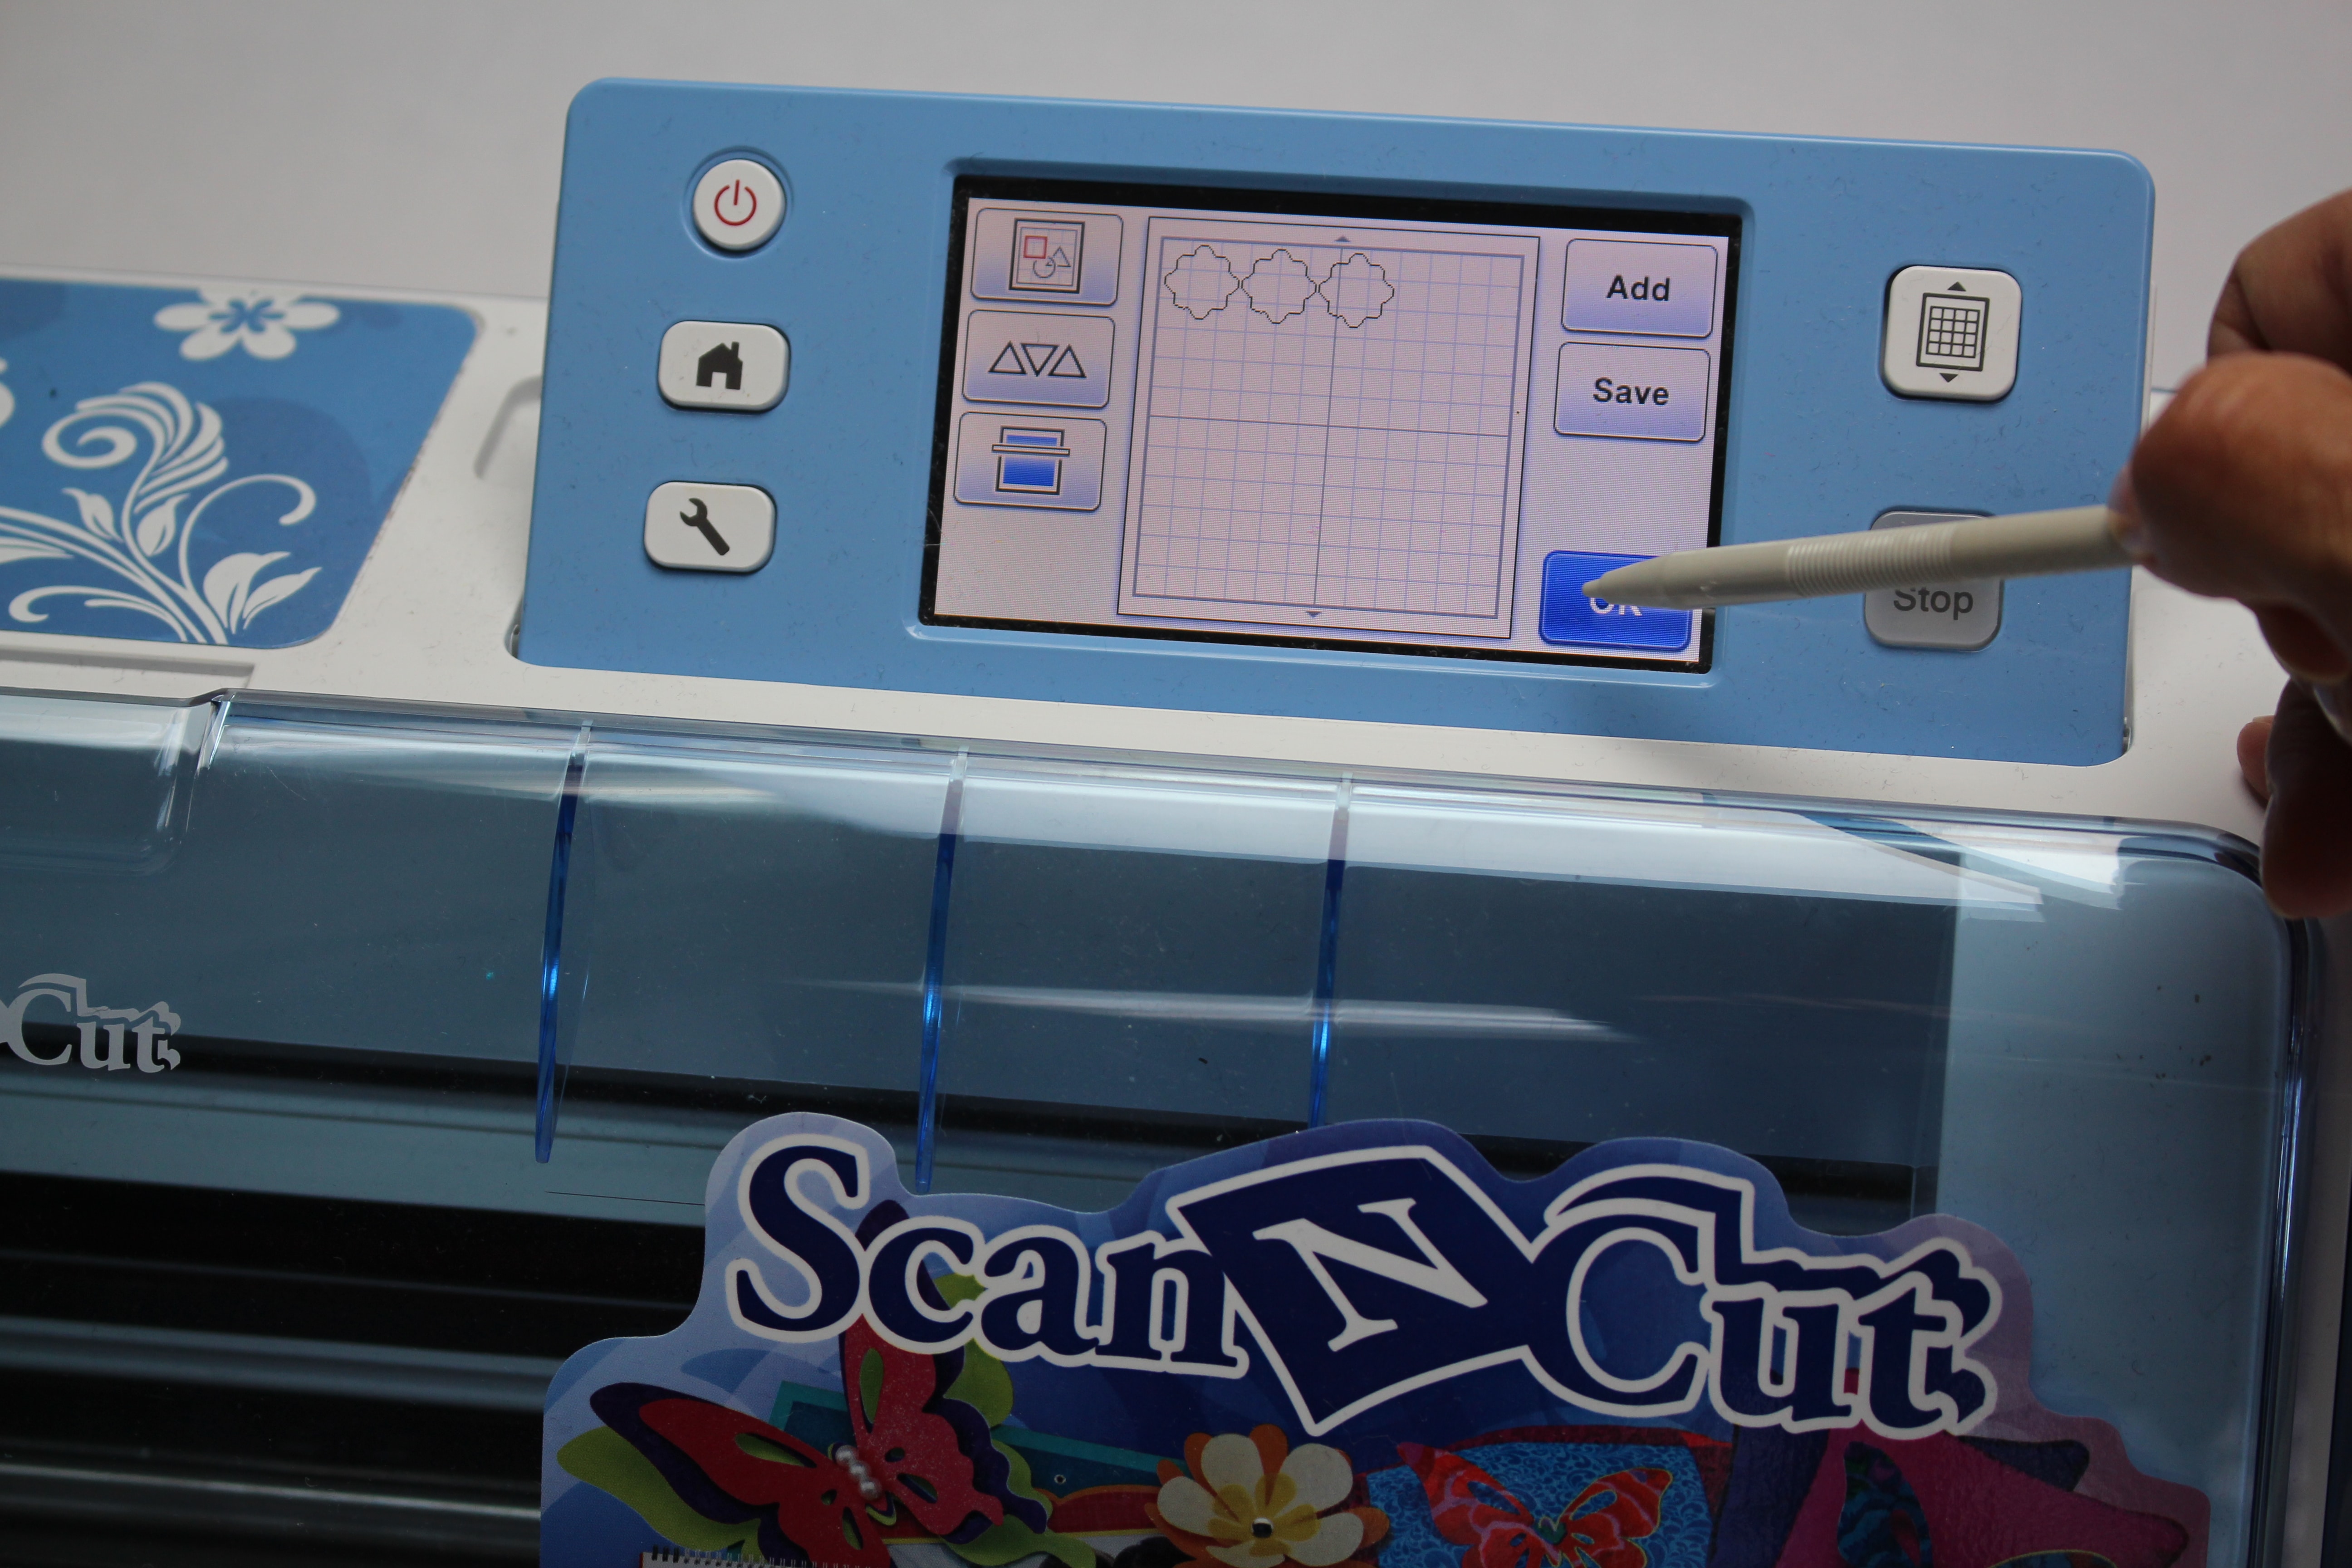
Step 3: Insert the USB stick into the Brothers ScanNCut and retrieve the file. You will then see the appliqué outline. Change the number of designs to cut to 3.
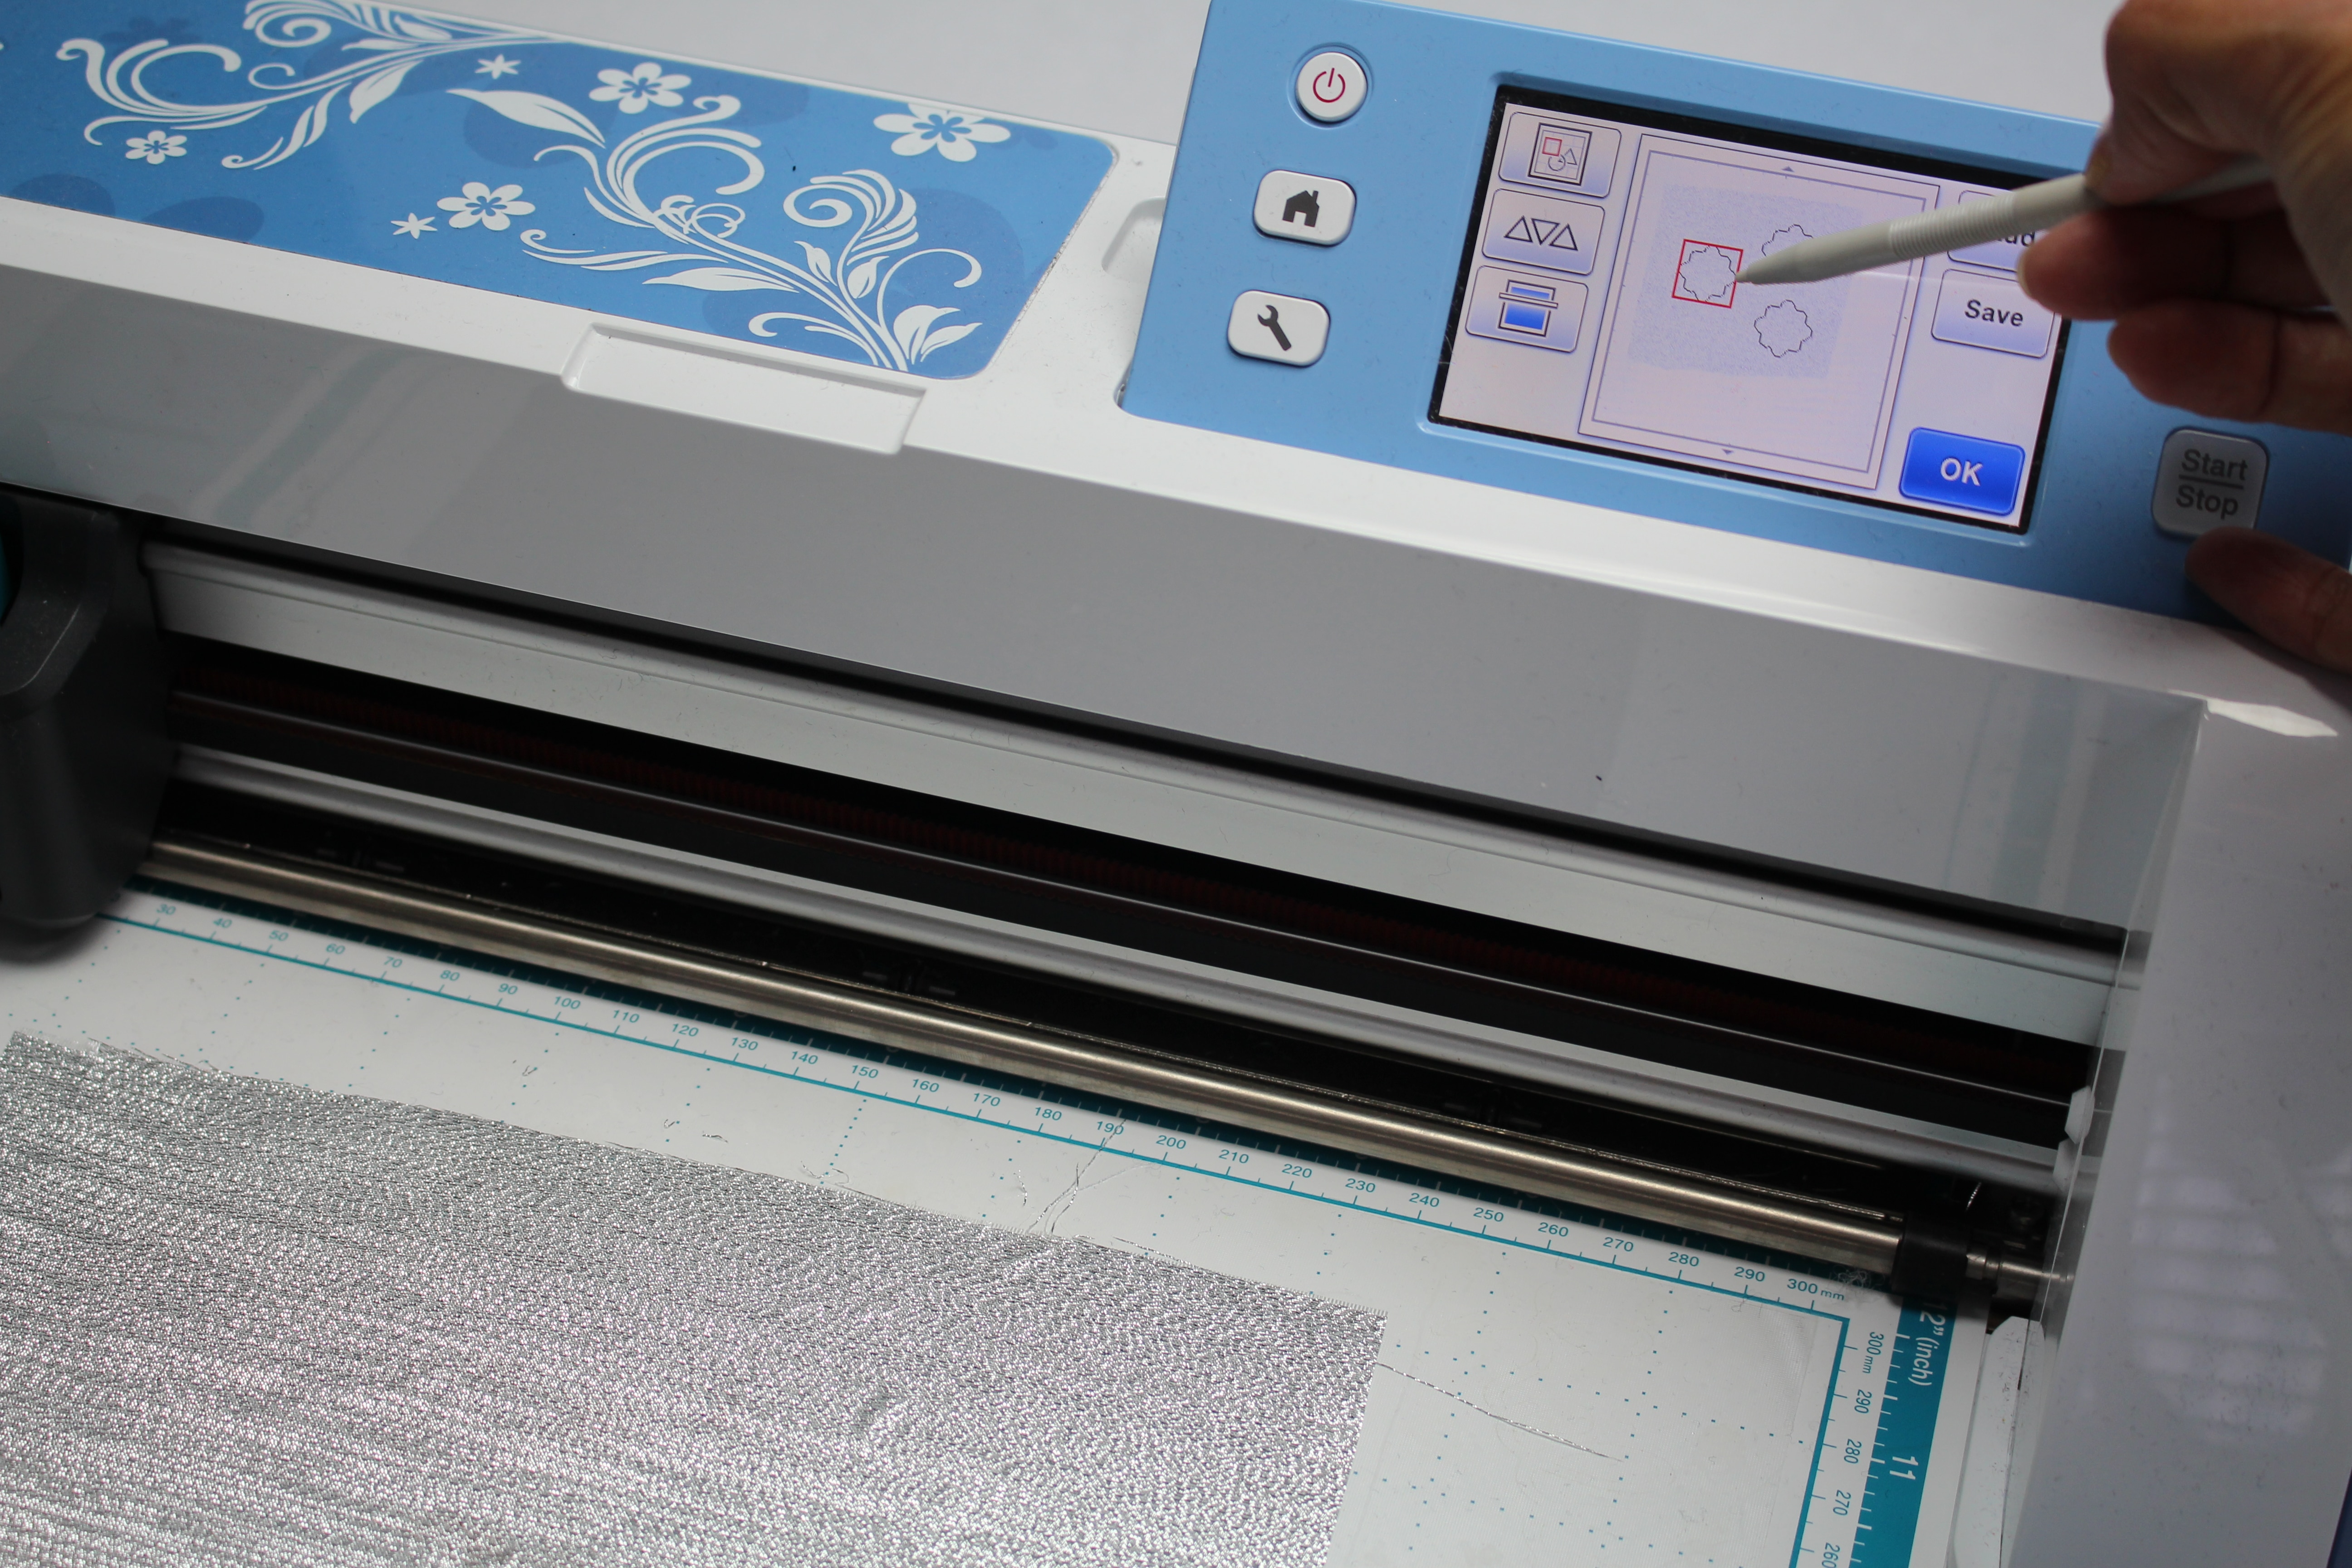
Step 4: Prepare the cutting mat by layering a piece of —— tack adhesive fabric support sheet. Place your fabric onto the mat and smooth out any wrinkles. Scan in the mat so you can see where the fabric is located and move the three designs around so they are all located on the fabric.

To read the full blog and learn how to design your own bowl cover, head over to my post as a Brother Expert Consultant on the Brother Stitching Sewcial. This is such a quick way to customize any bowl, I can’t wait to try different fabrics for the holiday season!
Cheers,

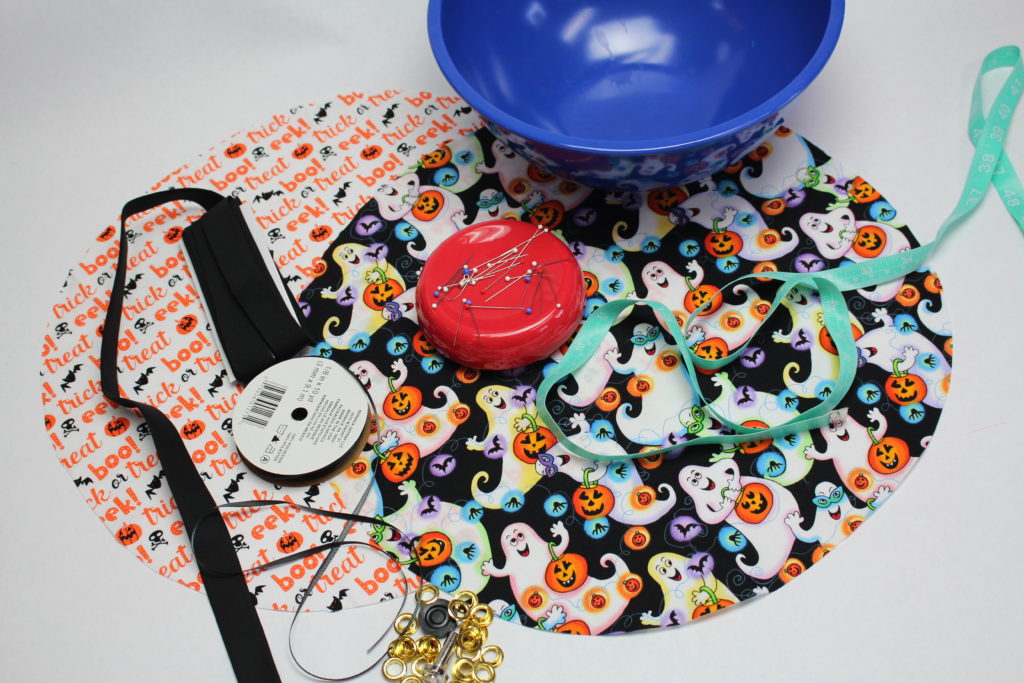
This is such a fun easy DIY project to dress up a bowl, I could definitely see using different fabrics for each season! To get started, choose a bowl that you want to cover. The bowl can be glass, metal, plastic, you name and it can be any size. (Note: I am using a blue bowl so you can see it, try to choose a color that will coordinate with your fabric or theme).
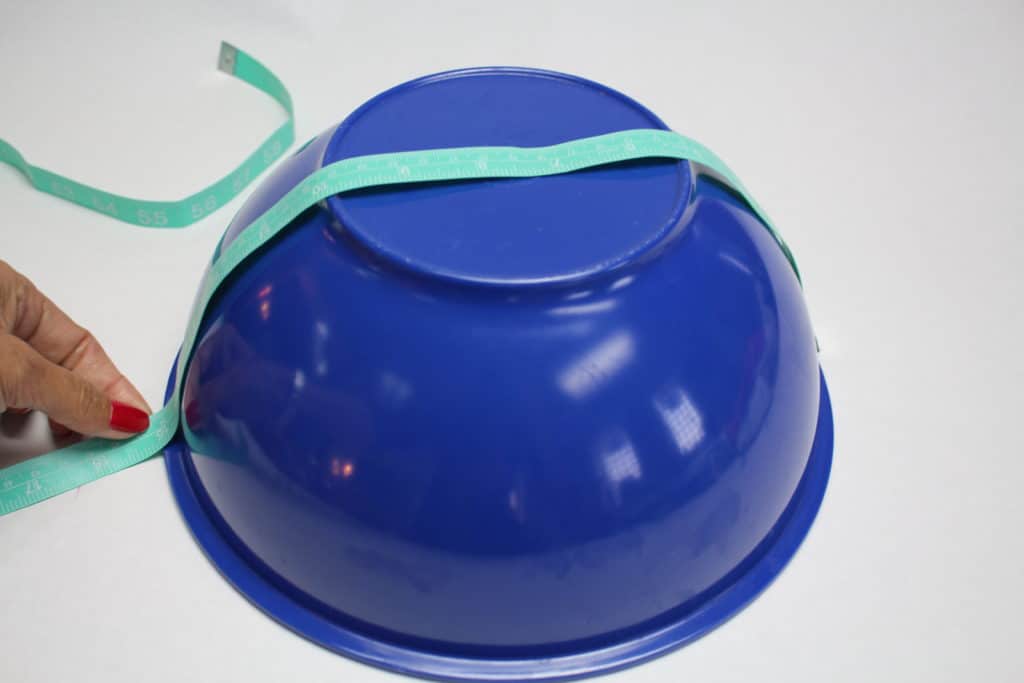
1. Let’s get started by measuring the bowl so we can cut our fabric (remember you can use ANY size bowl :)). Turn the bowl over and measure from one side to the other as shown.
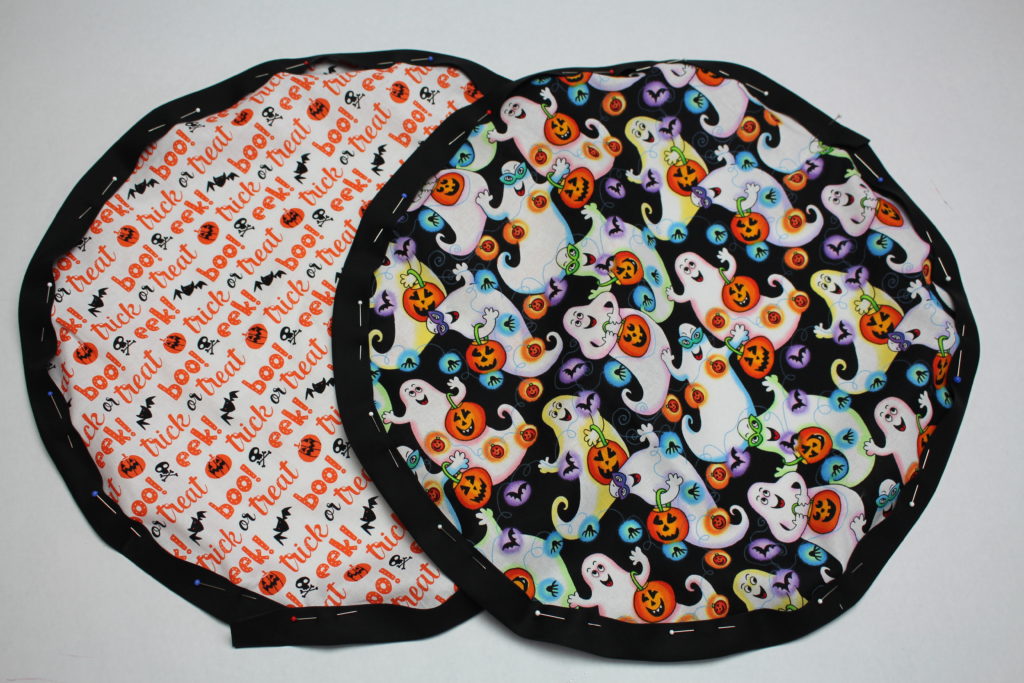
2. Cut a circle out of each fabric the same size as the measurement were recorded on the bowl.

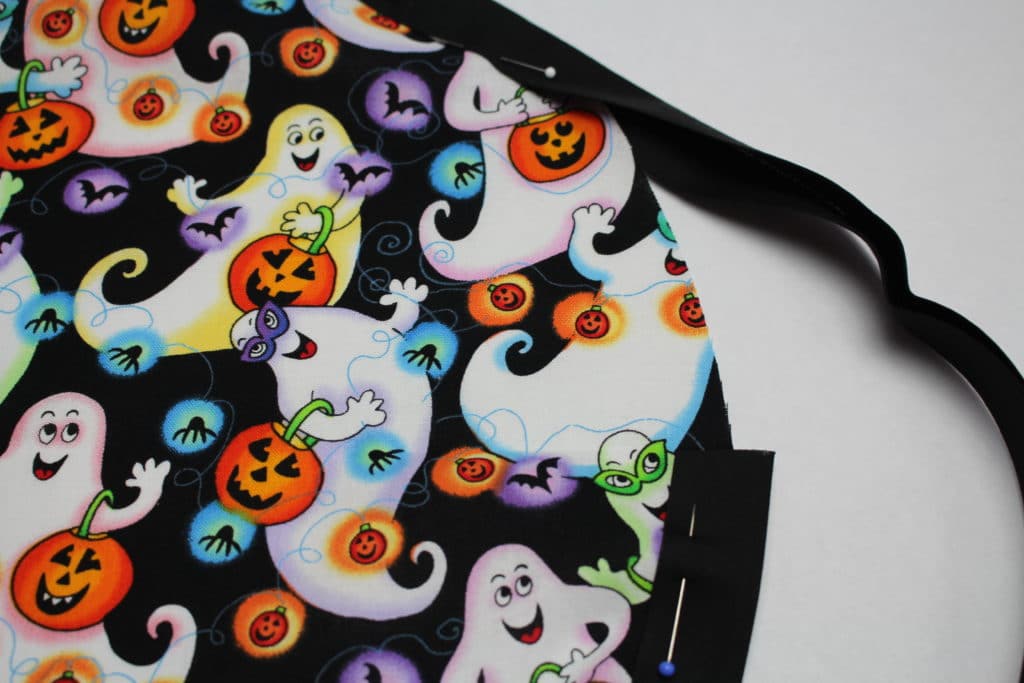
3. Starting with one of the circle pieces of fabric, wrap the bias tape around the edge of the fabric and pin all the way around the circle. Stitch along the edge of the bias tape, securing it to the edge of the fabric.
To read the full blog and learn how to design your own bowl cover, head over to my post as a Brother Expert Consultant on the Brother Stitching Sewcial. This is such a quick way to customize any bowl, I can’t wait to try different fabrics for the holiday season!
Cheers,
The page you requested could not be found. Try refining your search, or use the navigation above to locate the post.

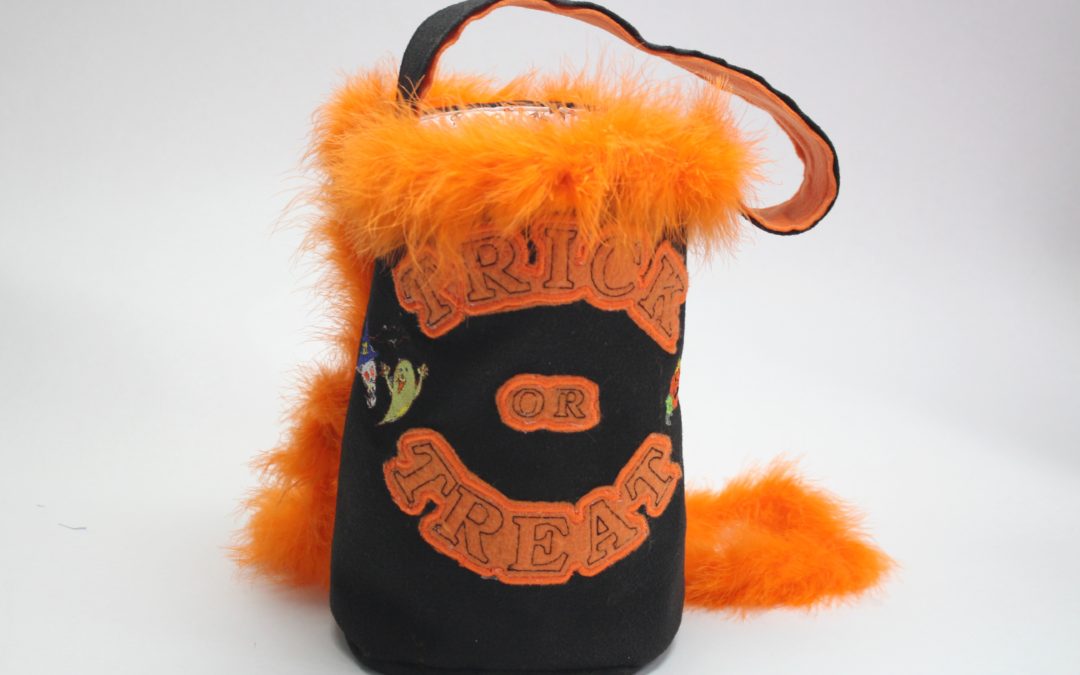
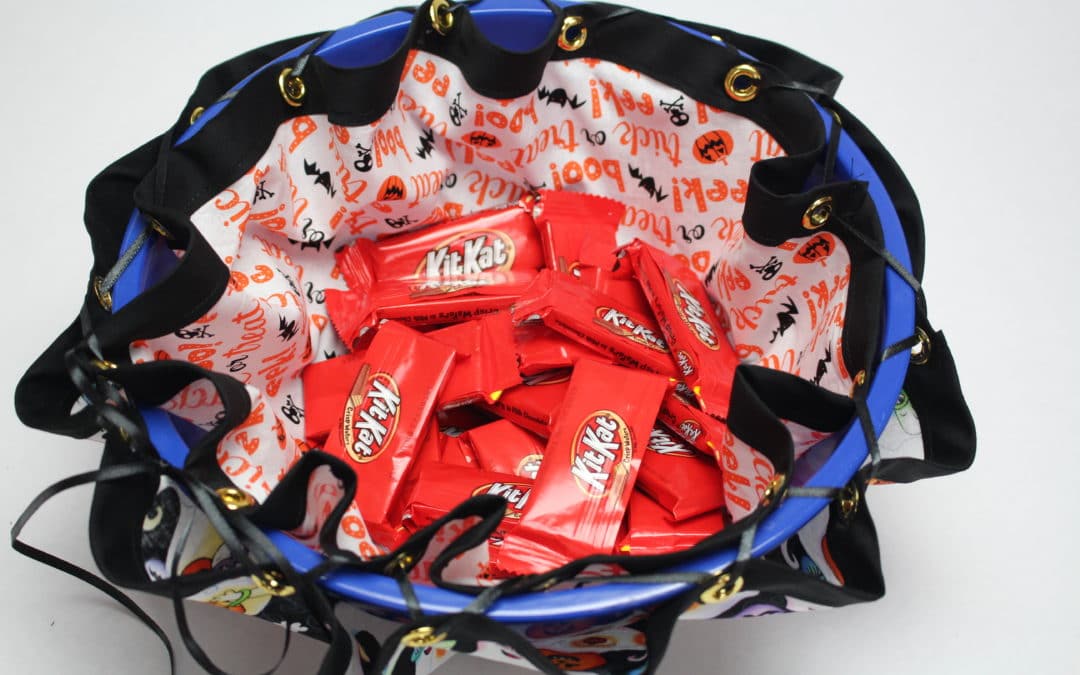
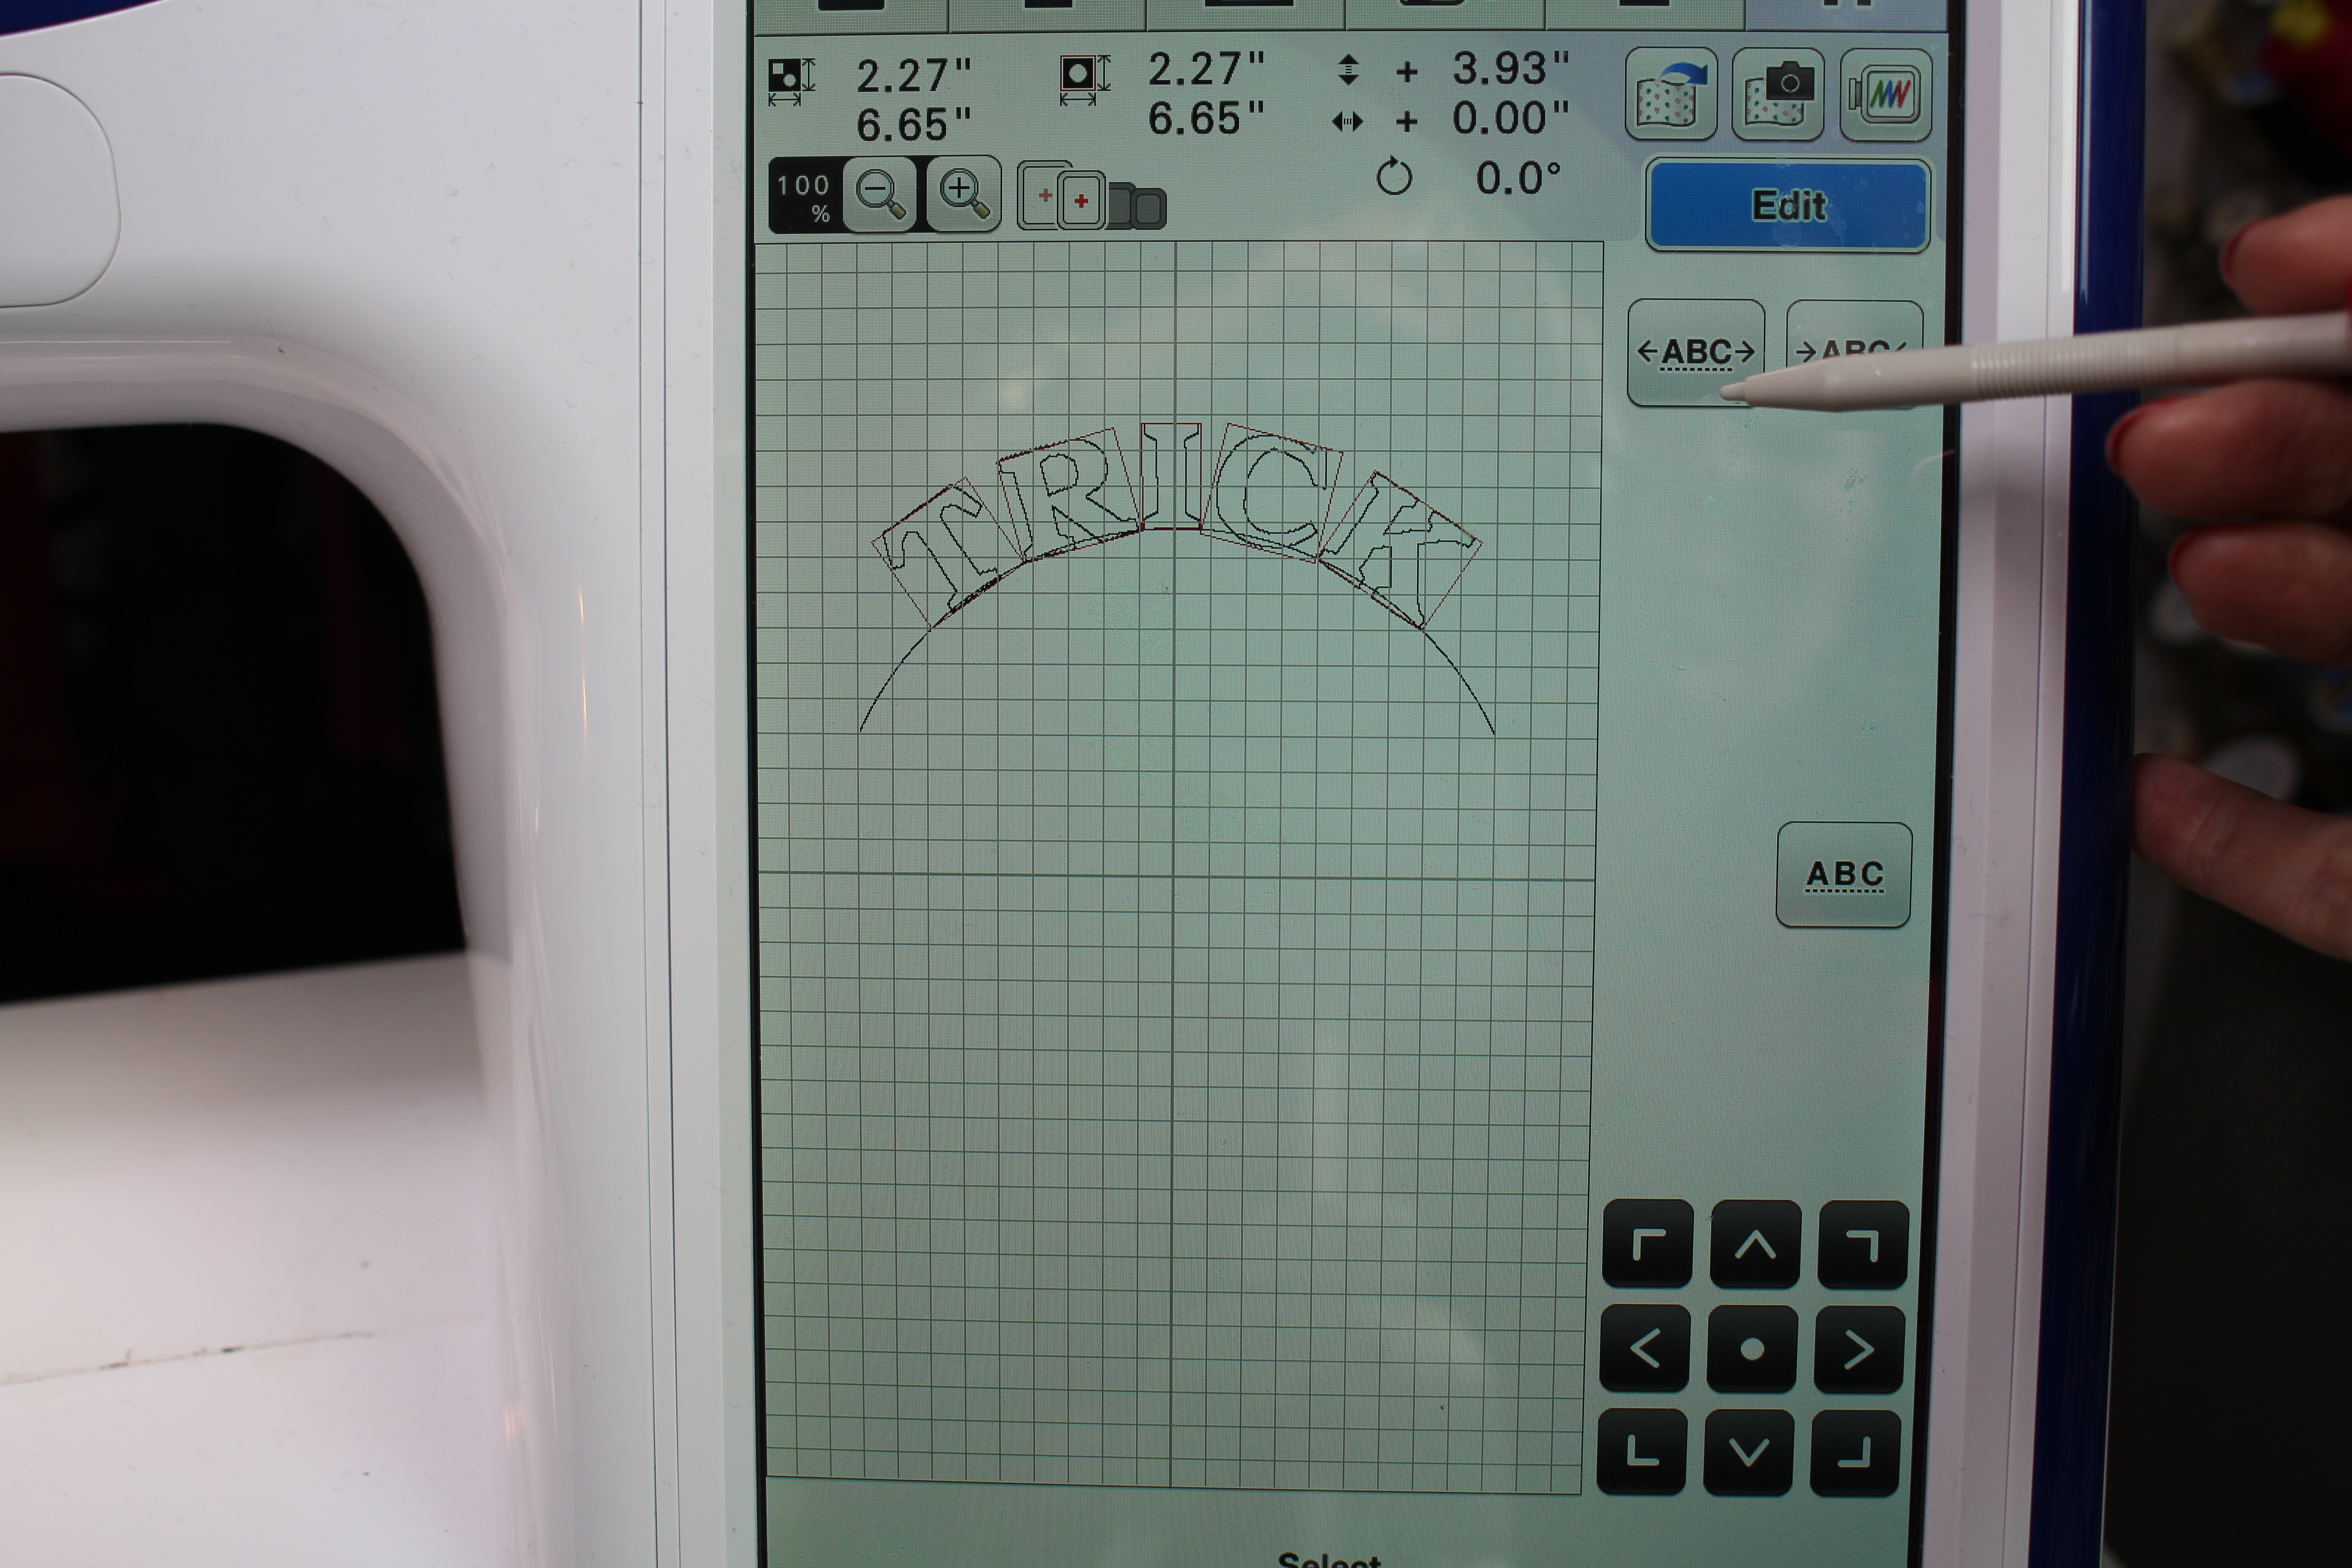
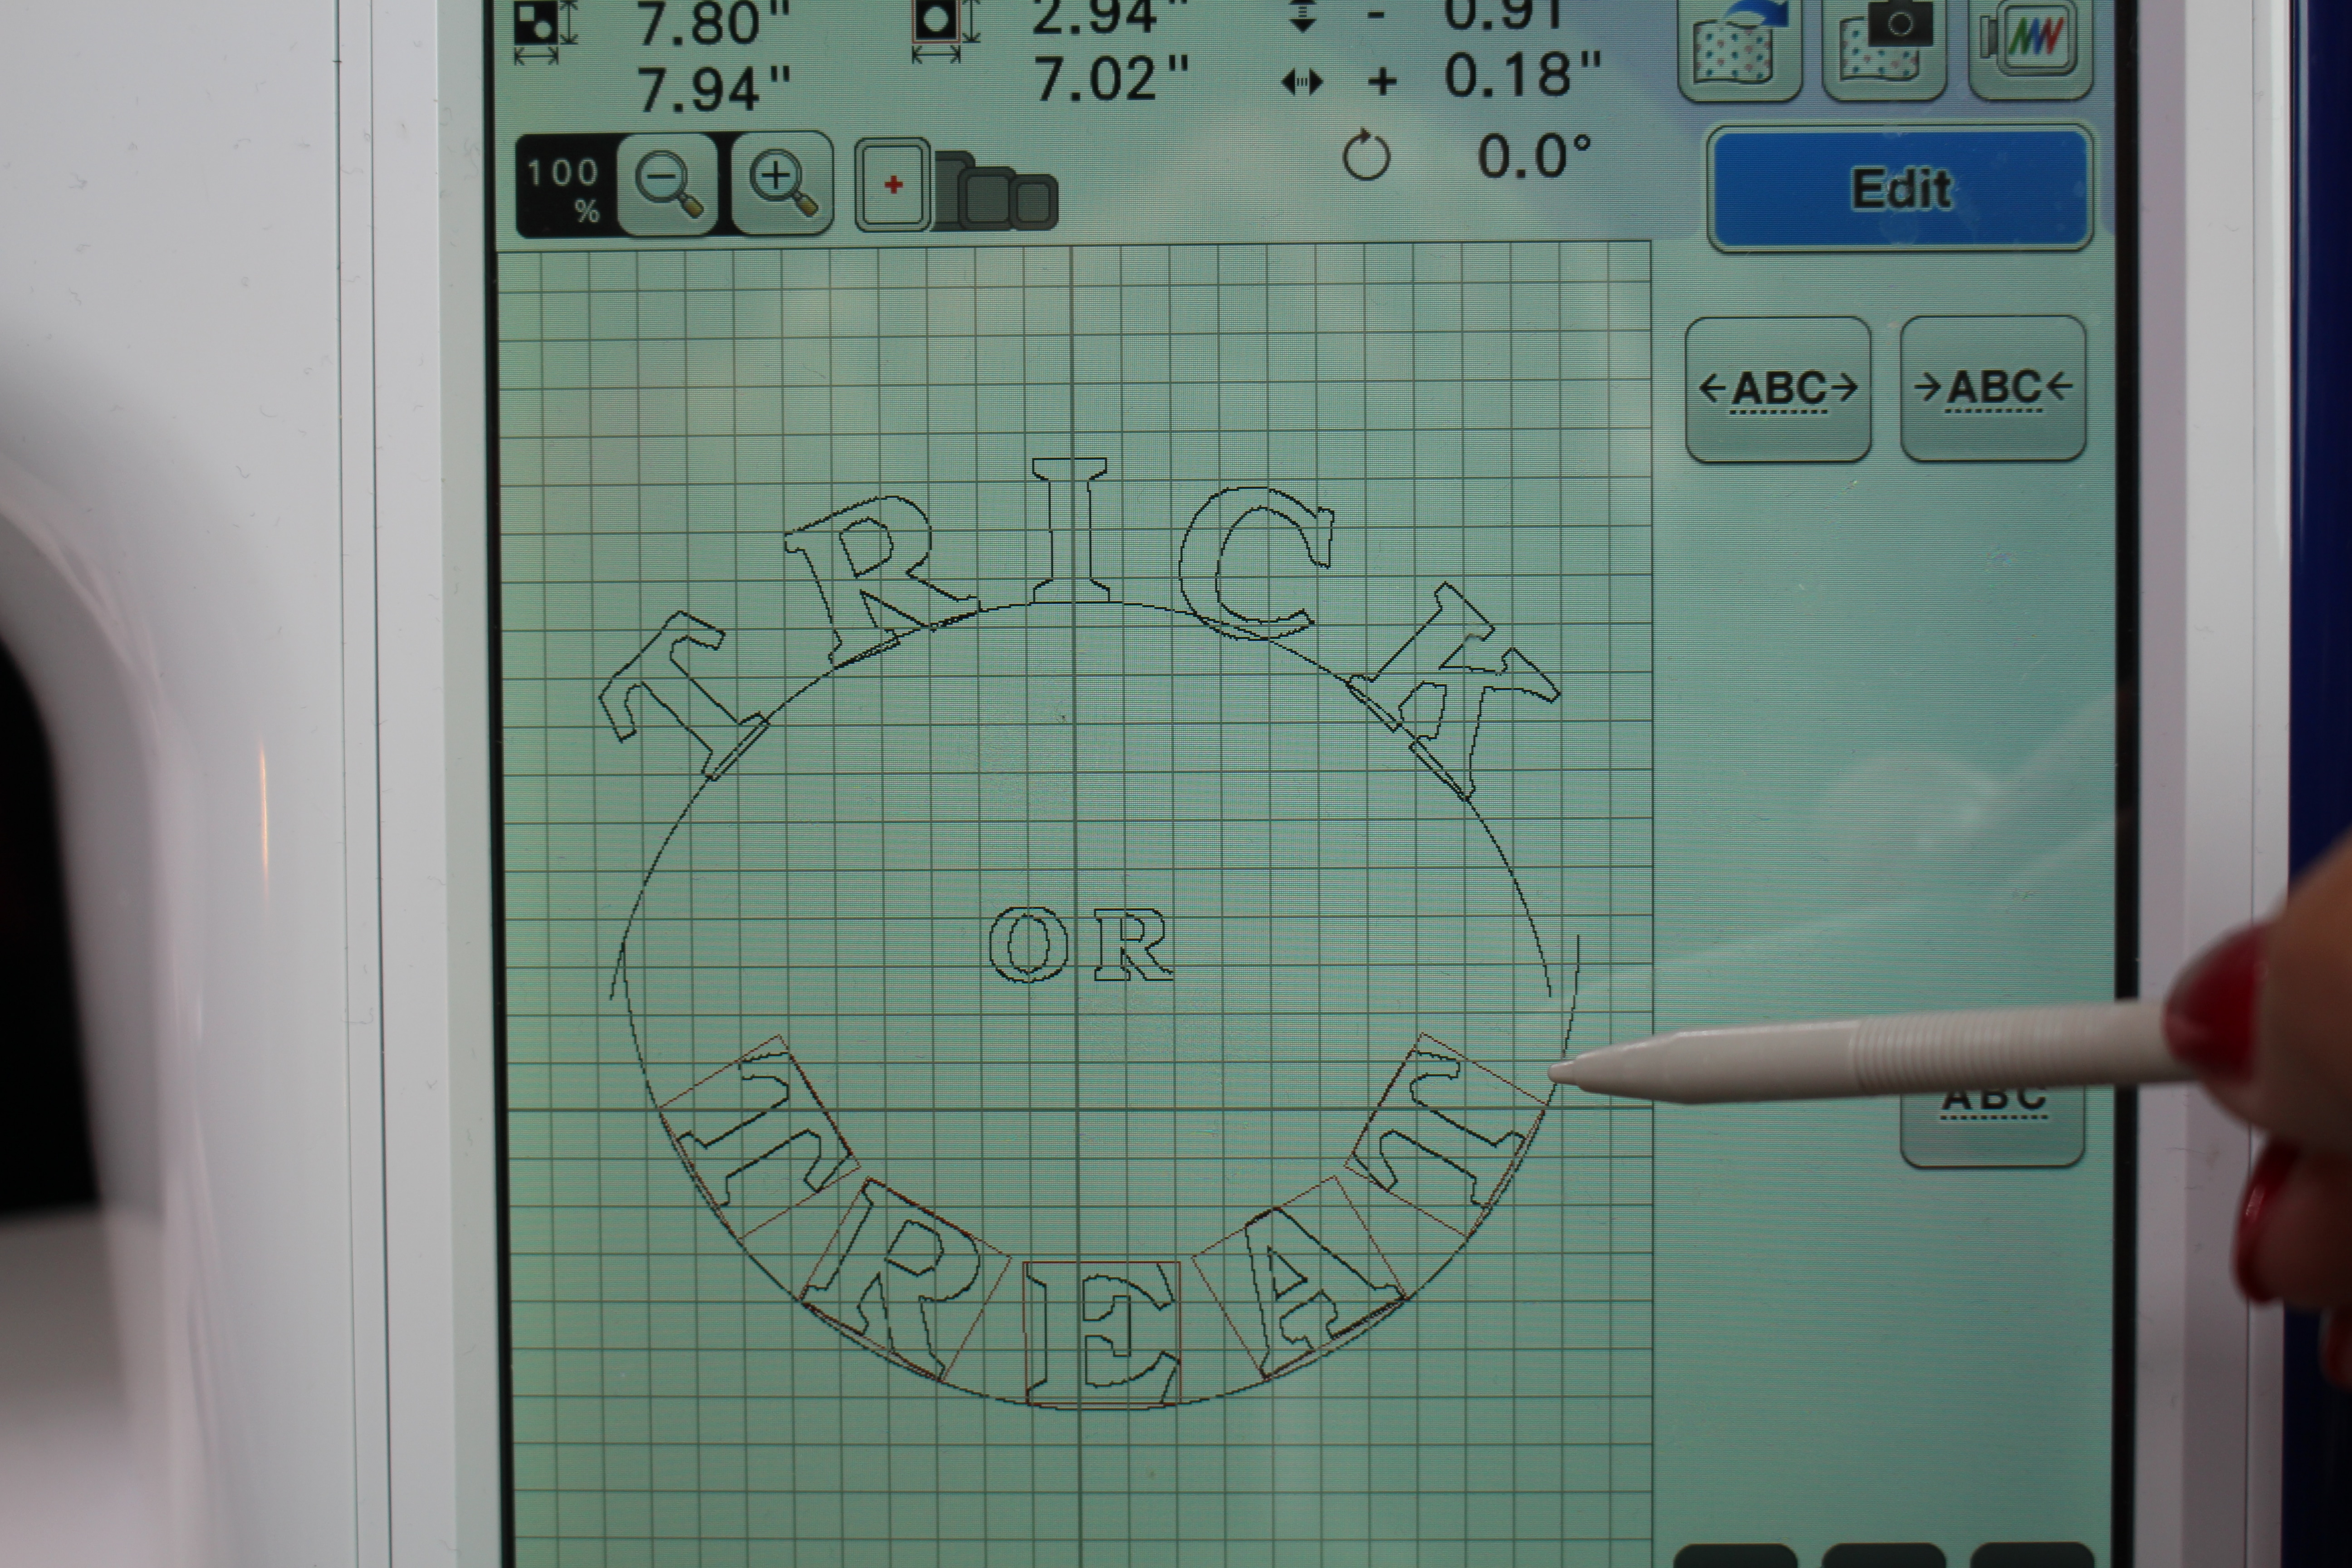
Looking for an easy DIY project for Halloween? Check out this Trick-or-Tread embroidered felt bag. This is a fast and easy project and the kids will love it 🙂
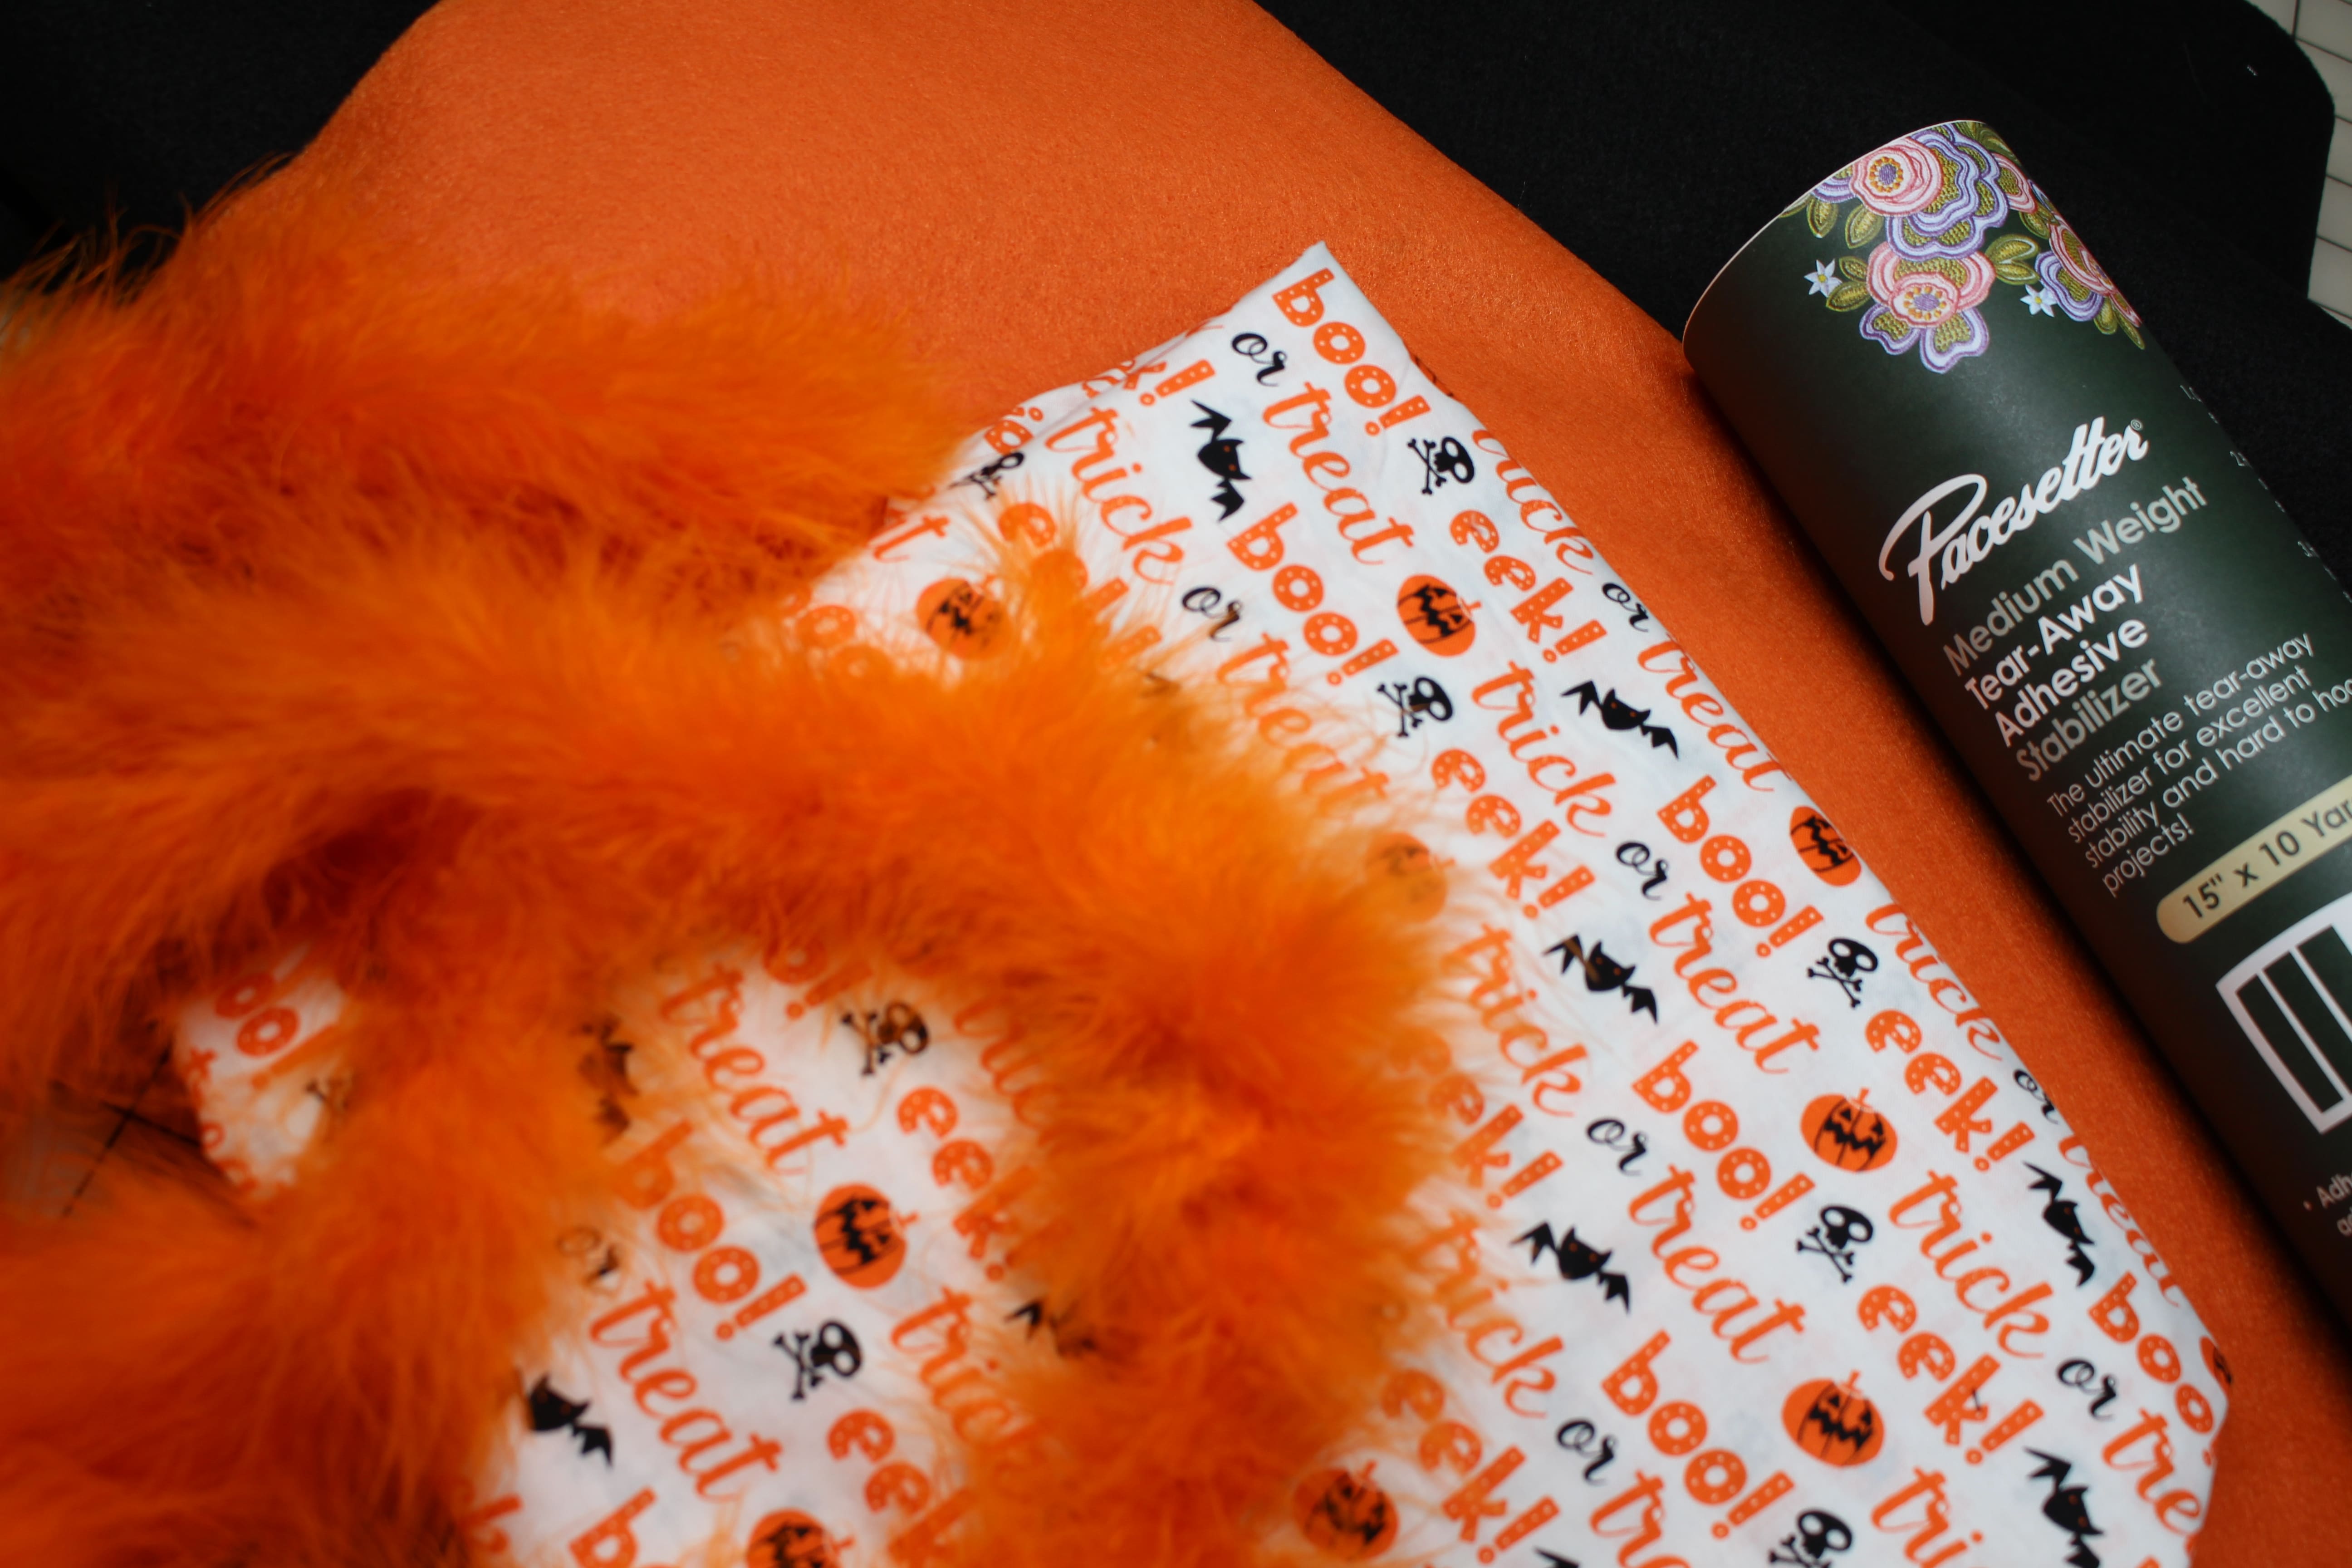

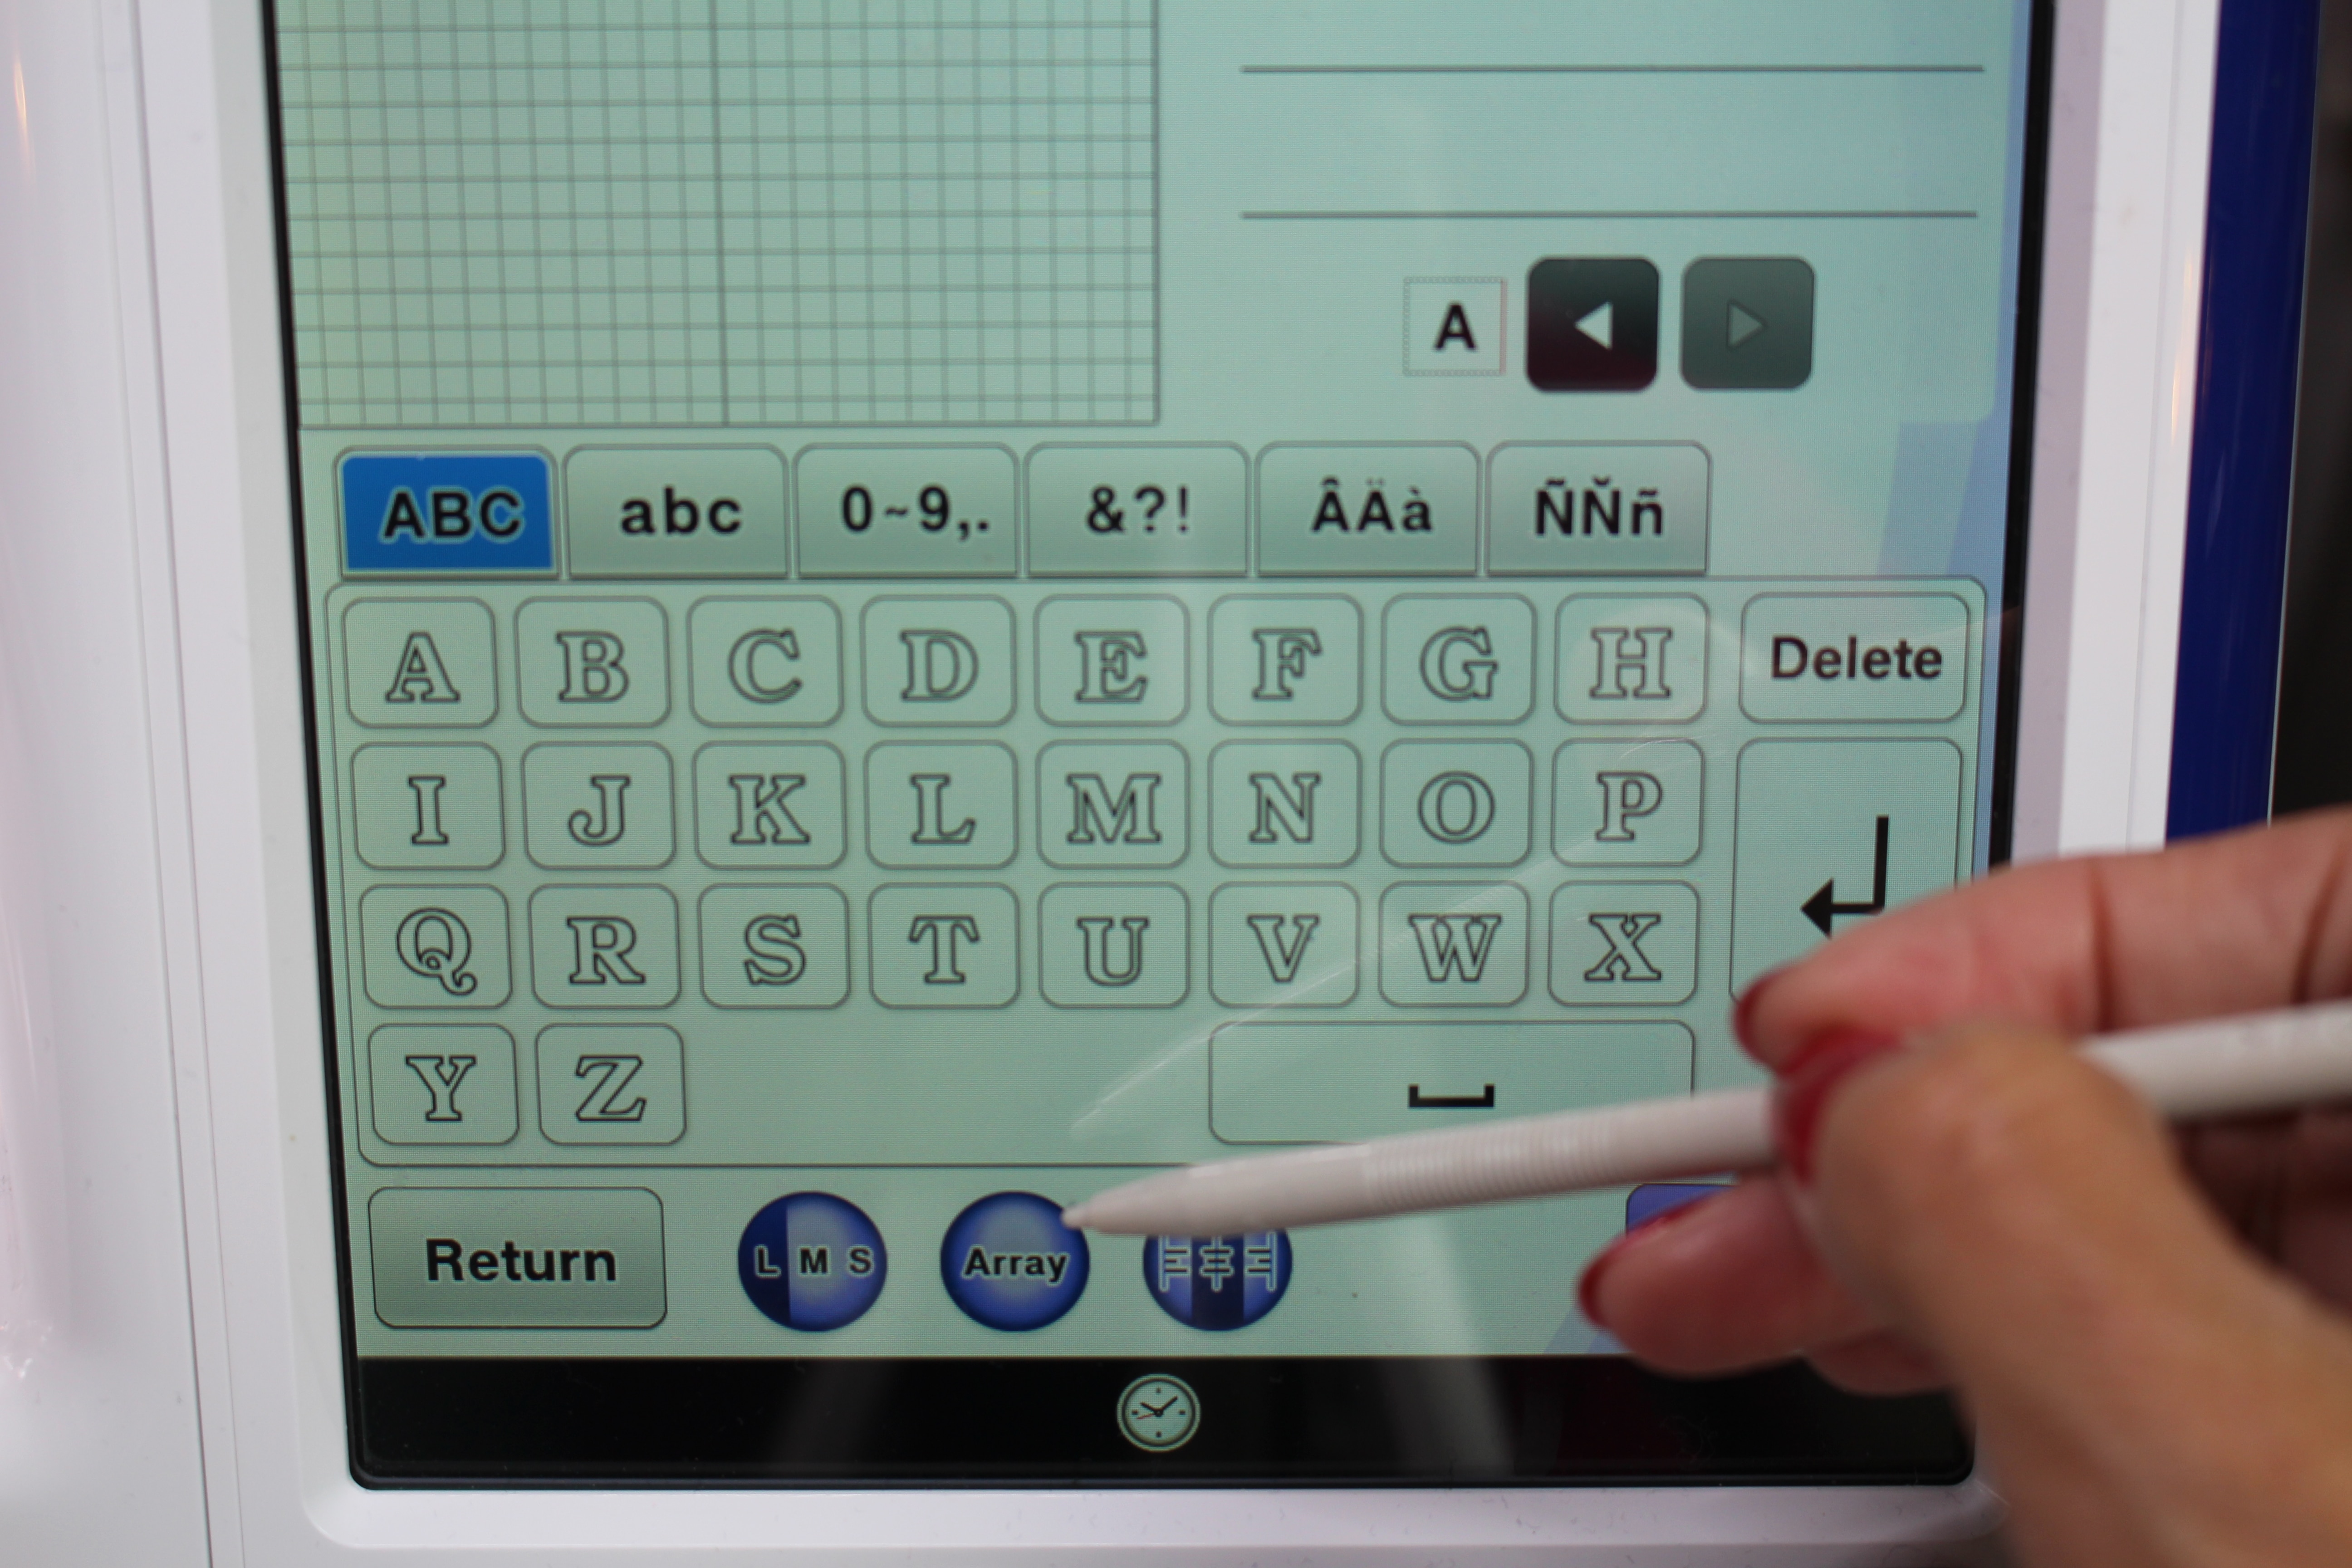
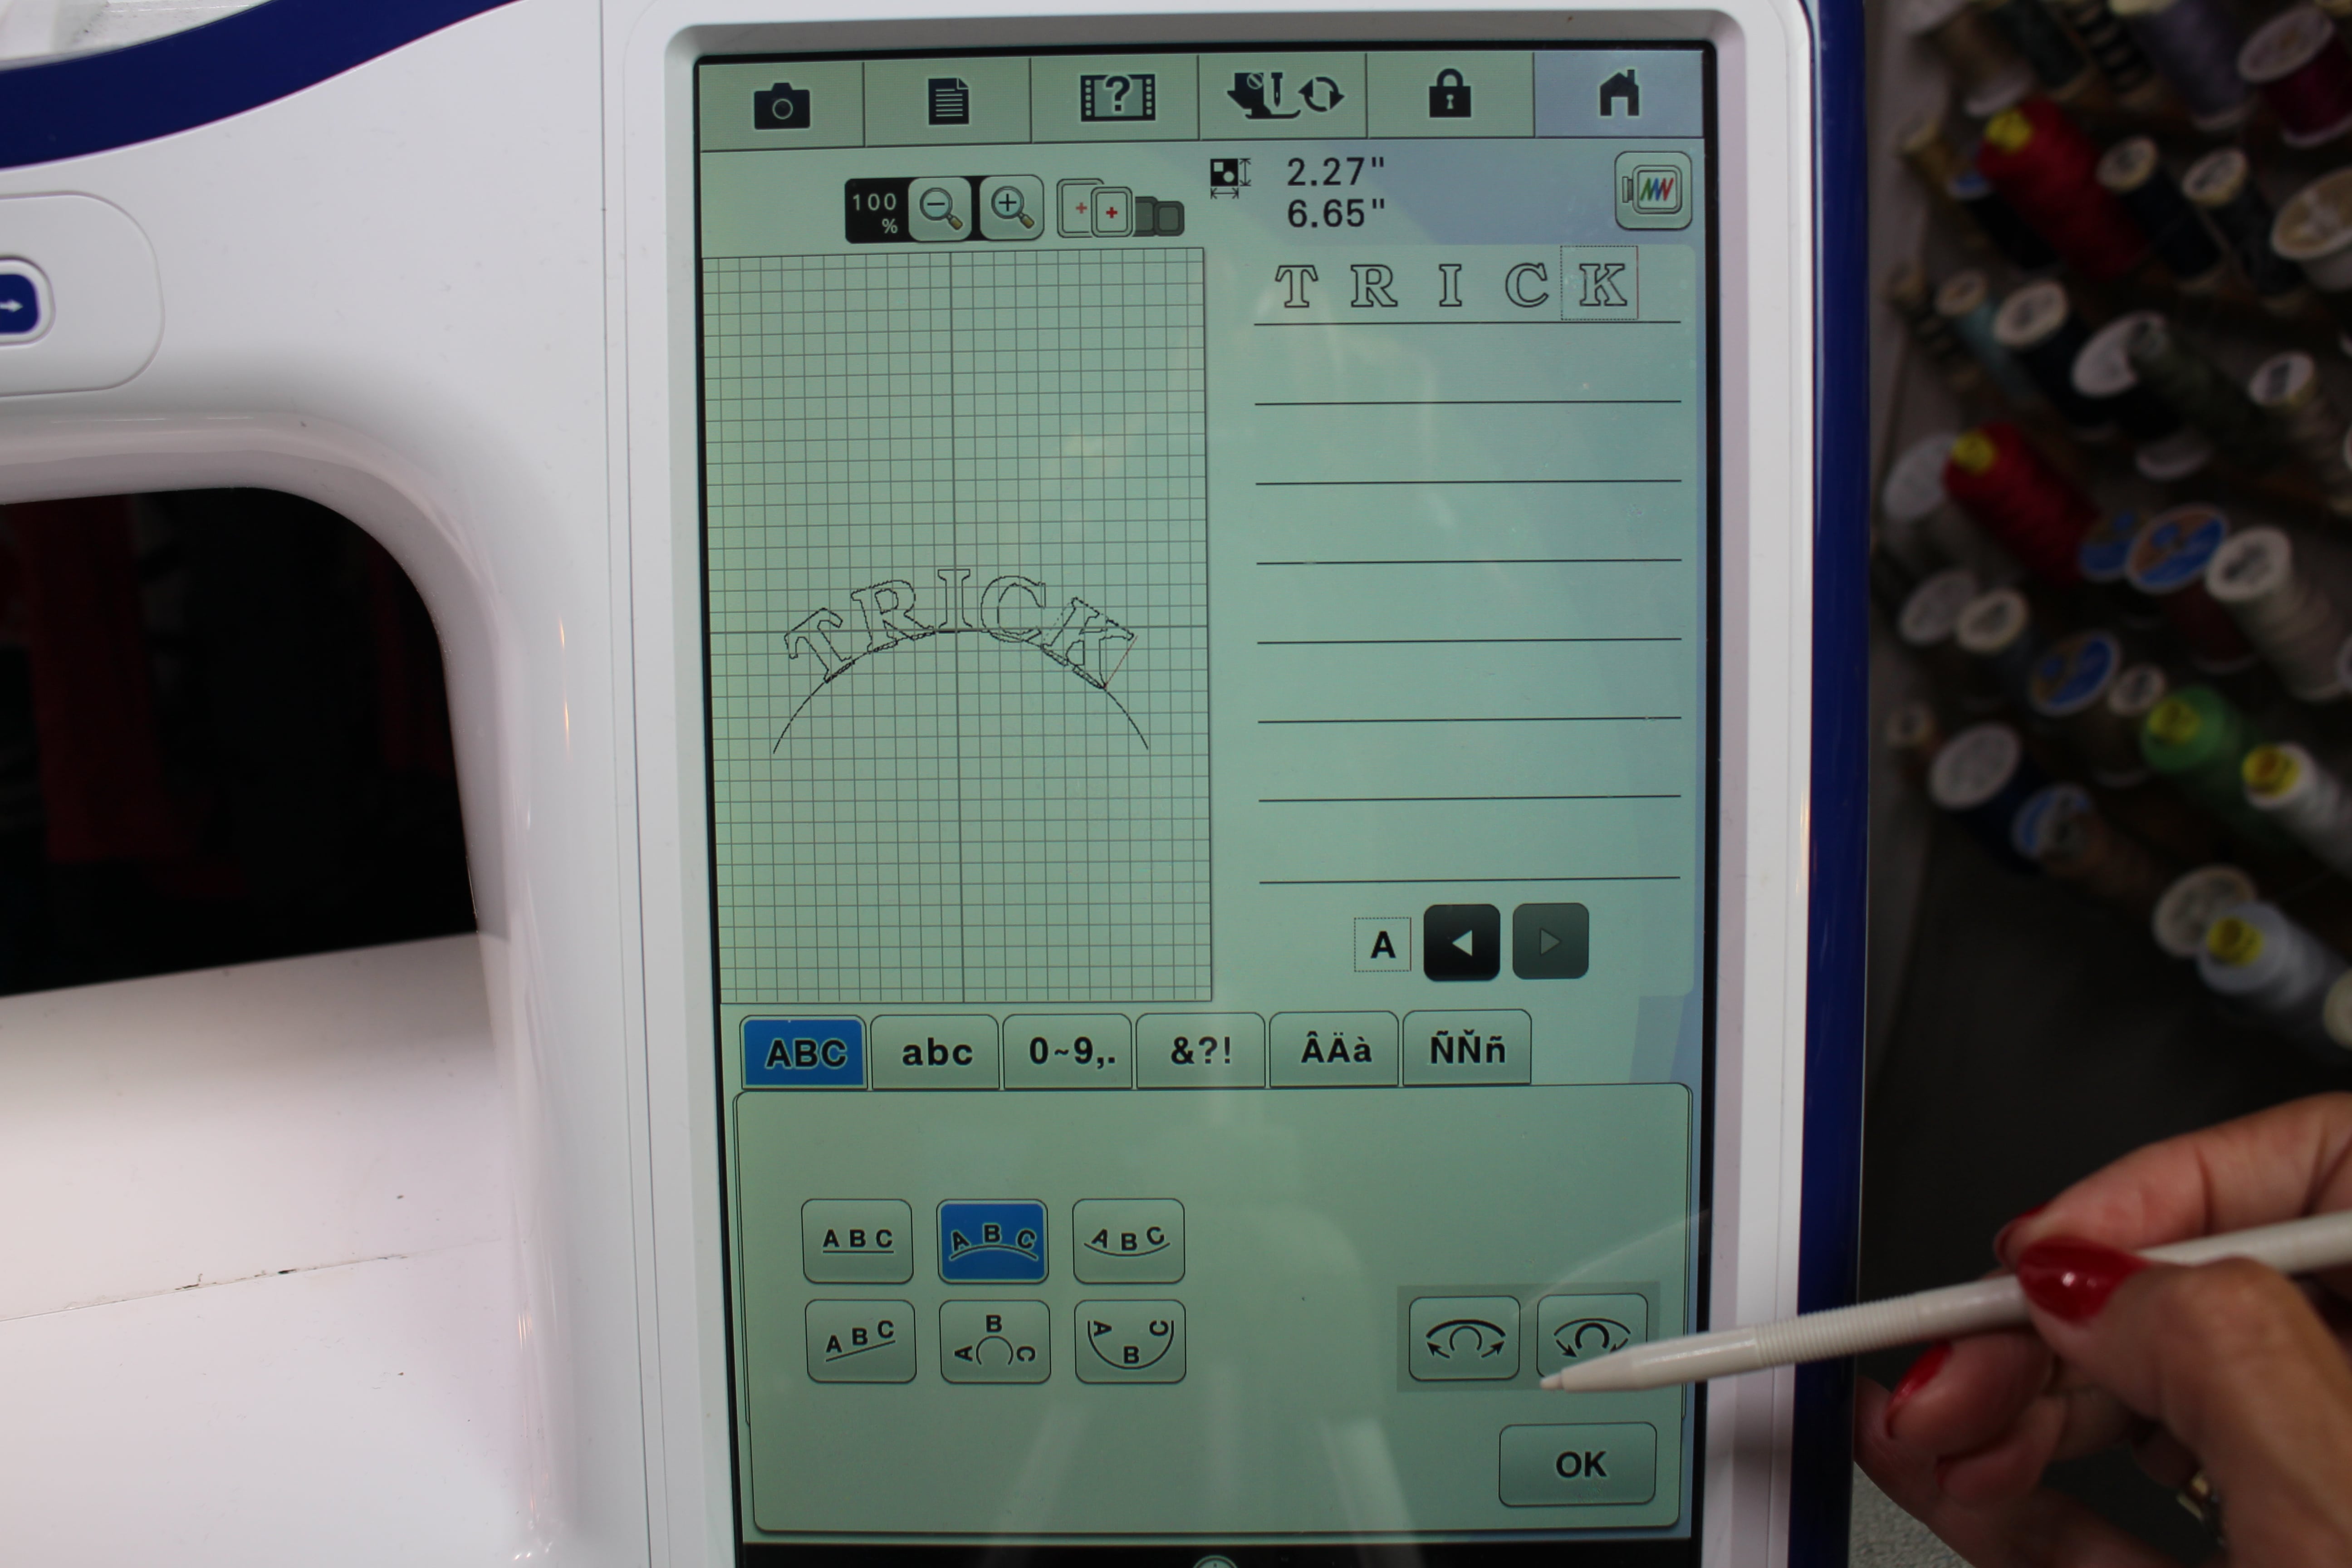
in this step I decided to change the embroidered letters into applique so I could add the contrasting colored felt. You might consider other fabrics such as satin, metallic, or lace for a completely different look. I will show all the steps on my Brother Dream Machine:
To read the full blog, head over to my post as a Brother Expert Consultant on the Brother Stitching Sewcial. Be sure to share photos of your bags #angleawolf #brothersews
Cheers,


