Embroider Lace on Tulle Fabric Tutorial

Embroider Lace on Tulle Fabric Tutorial

How to Embroider Lace on Tulle

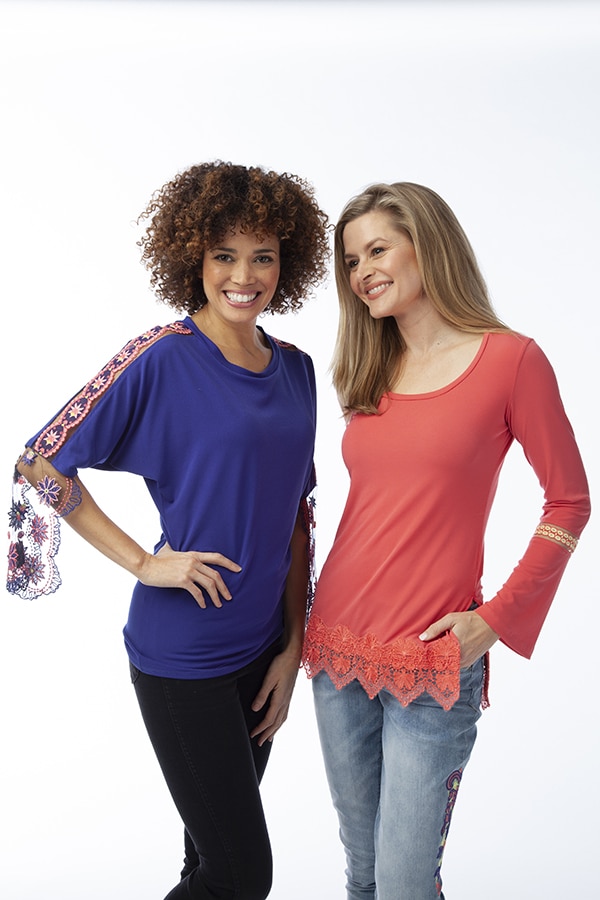
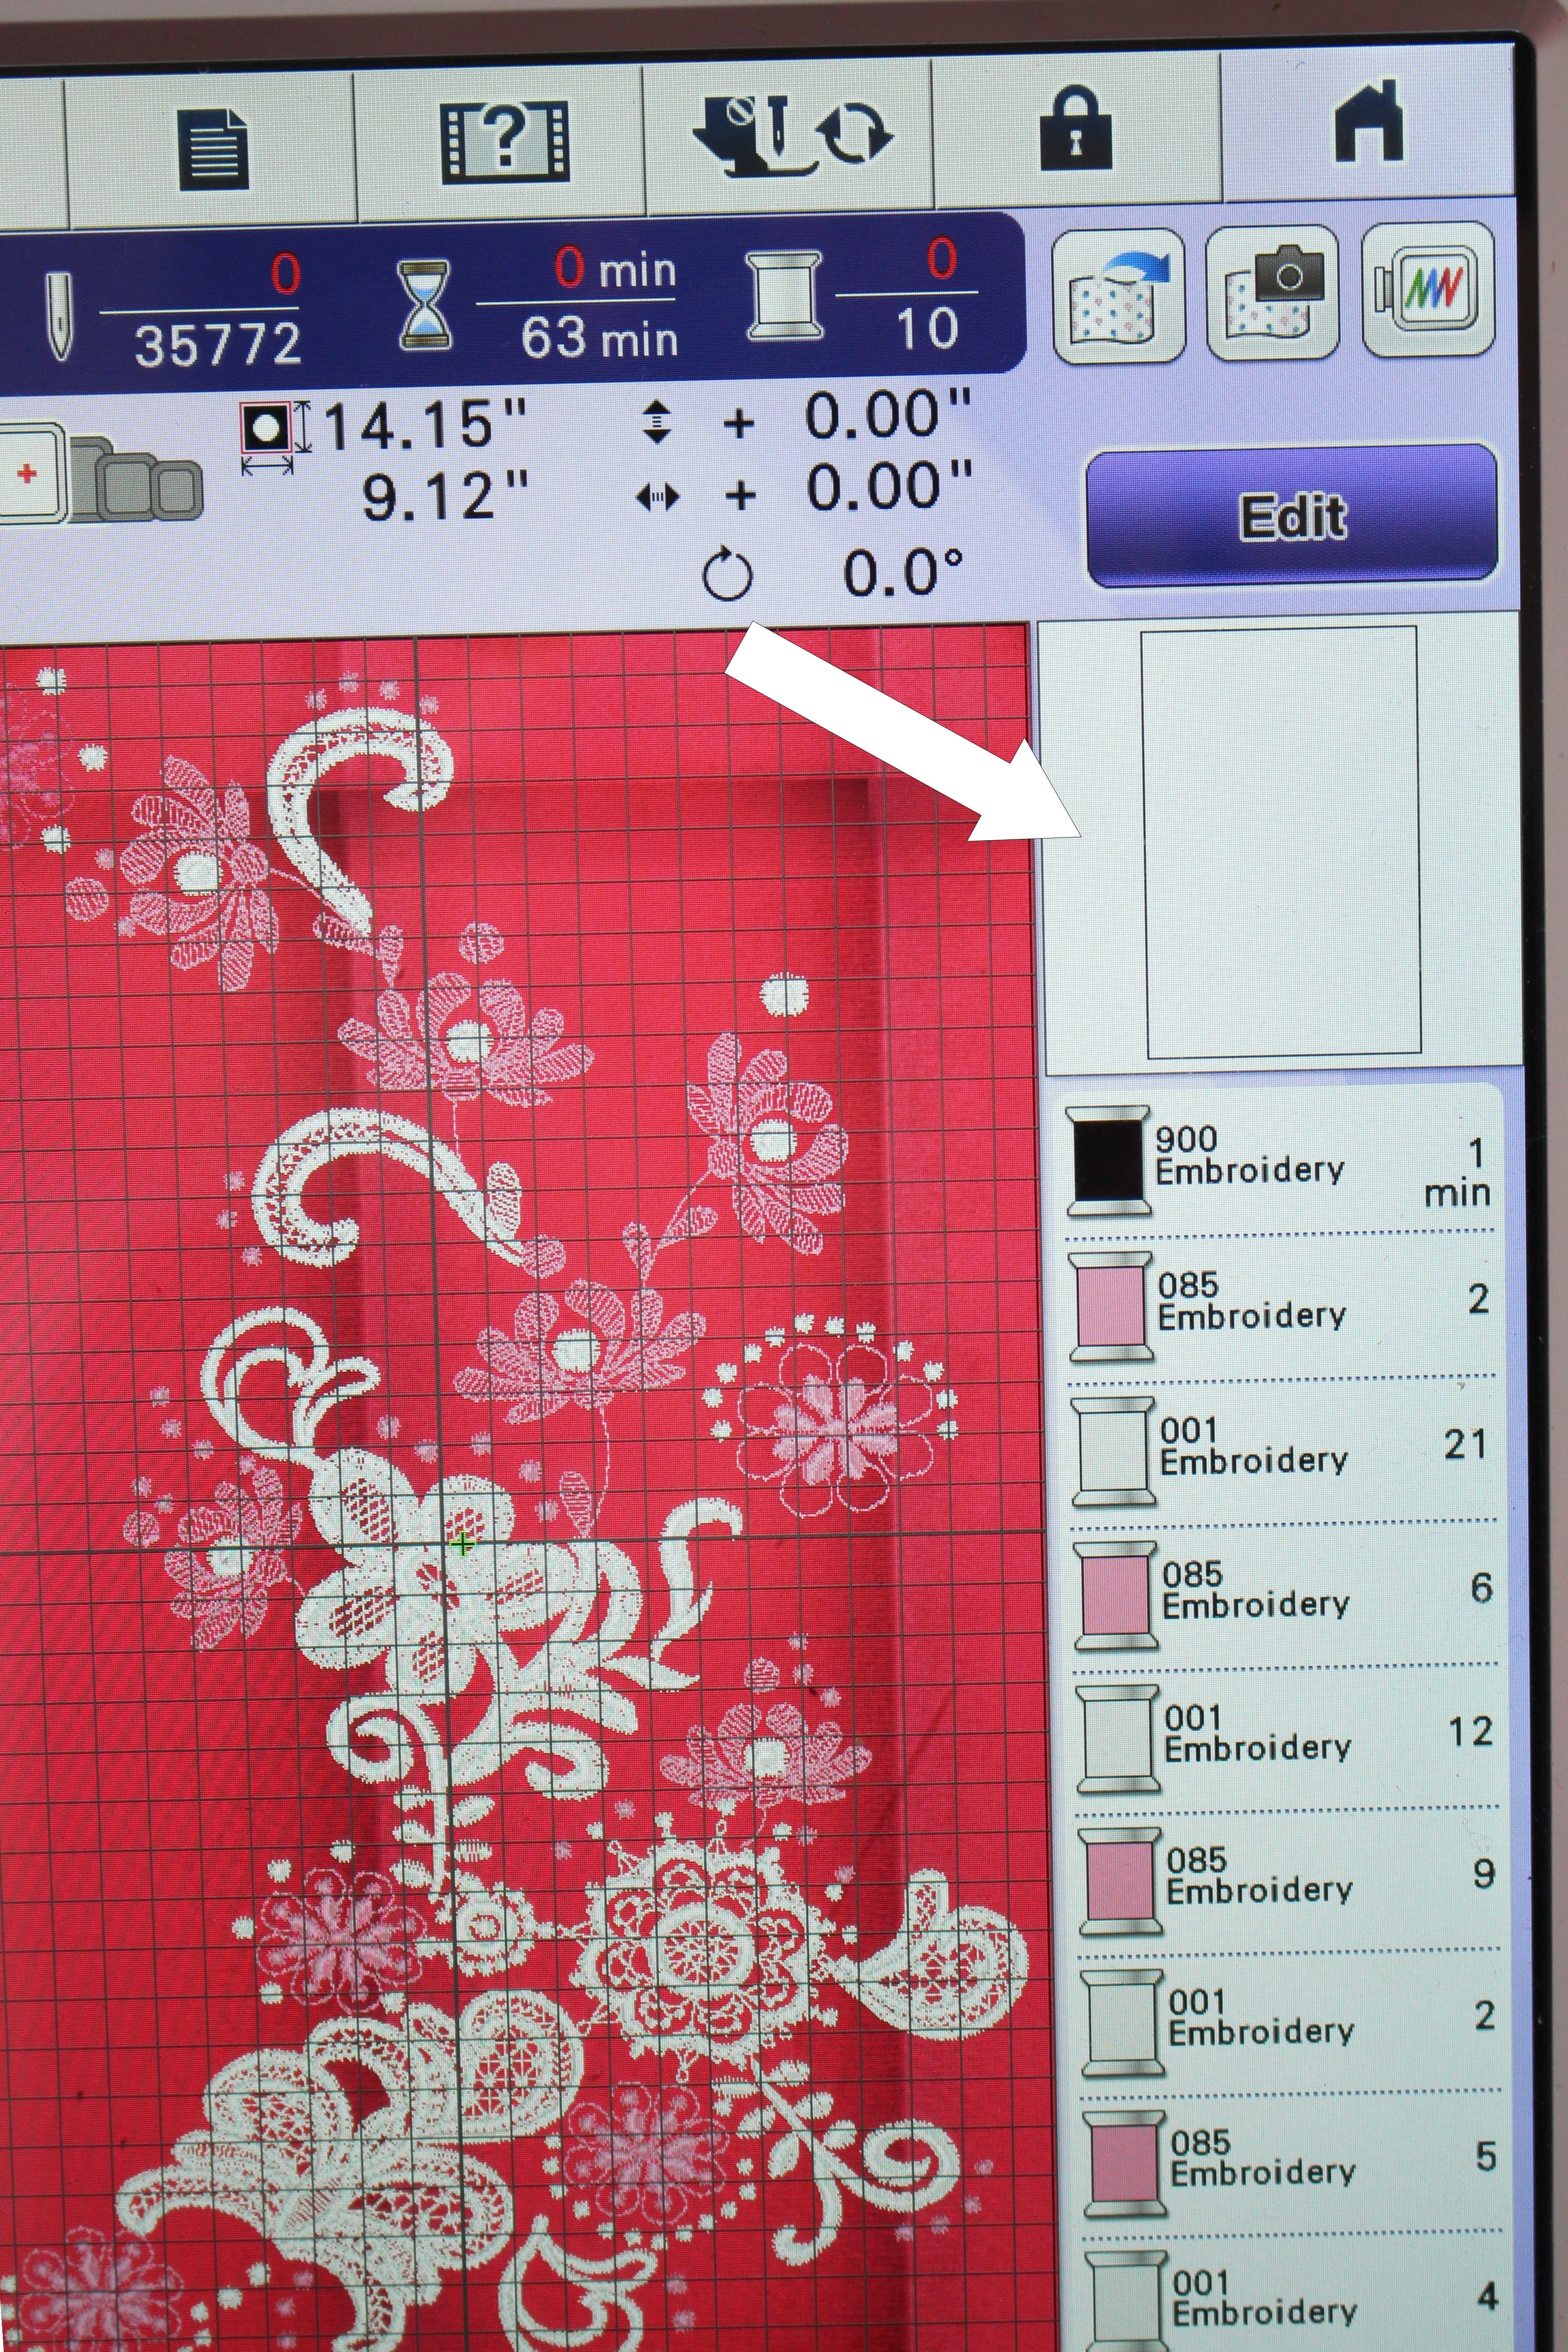
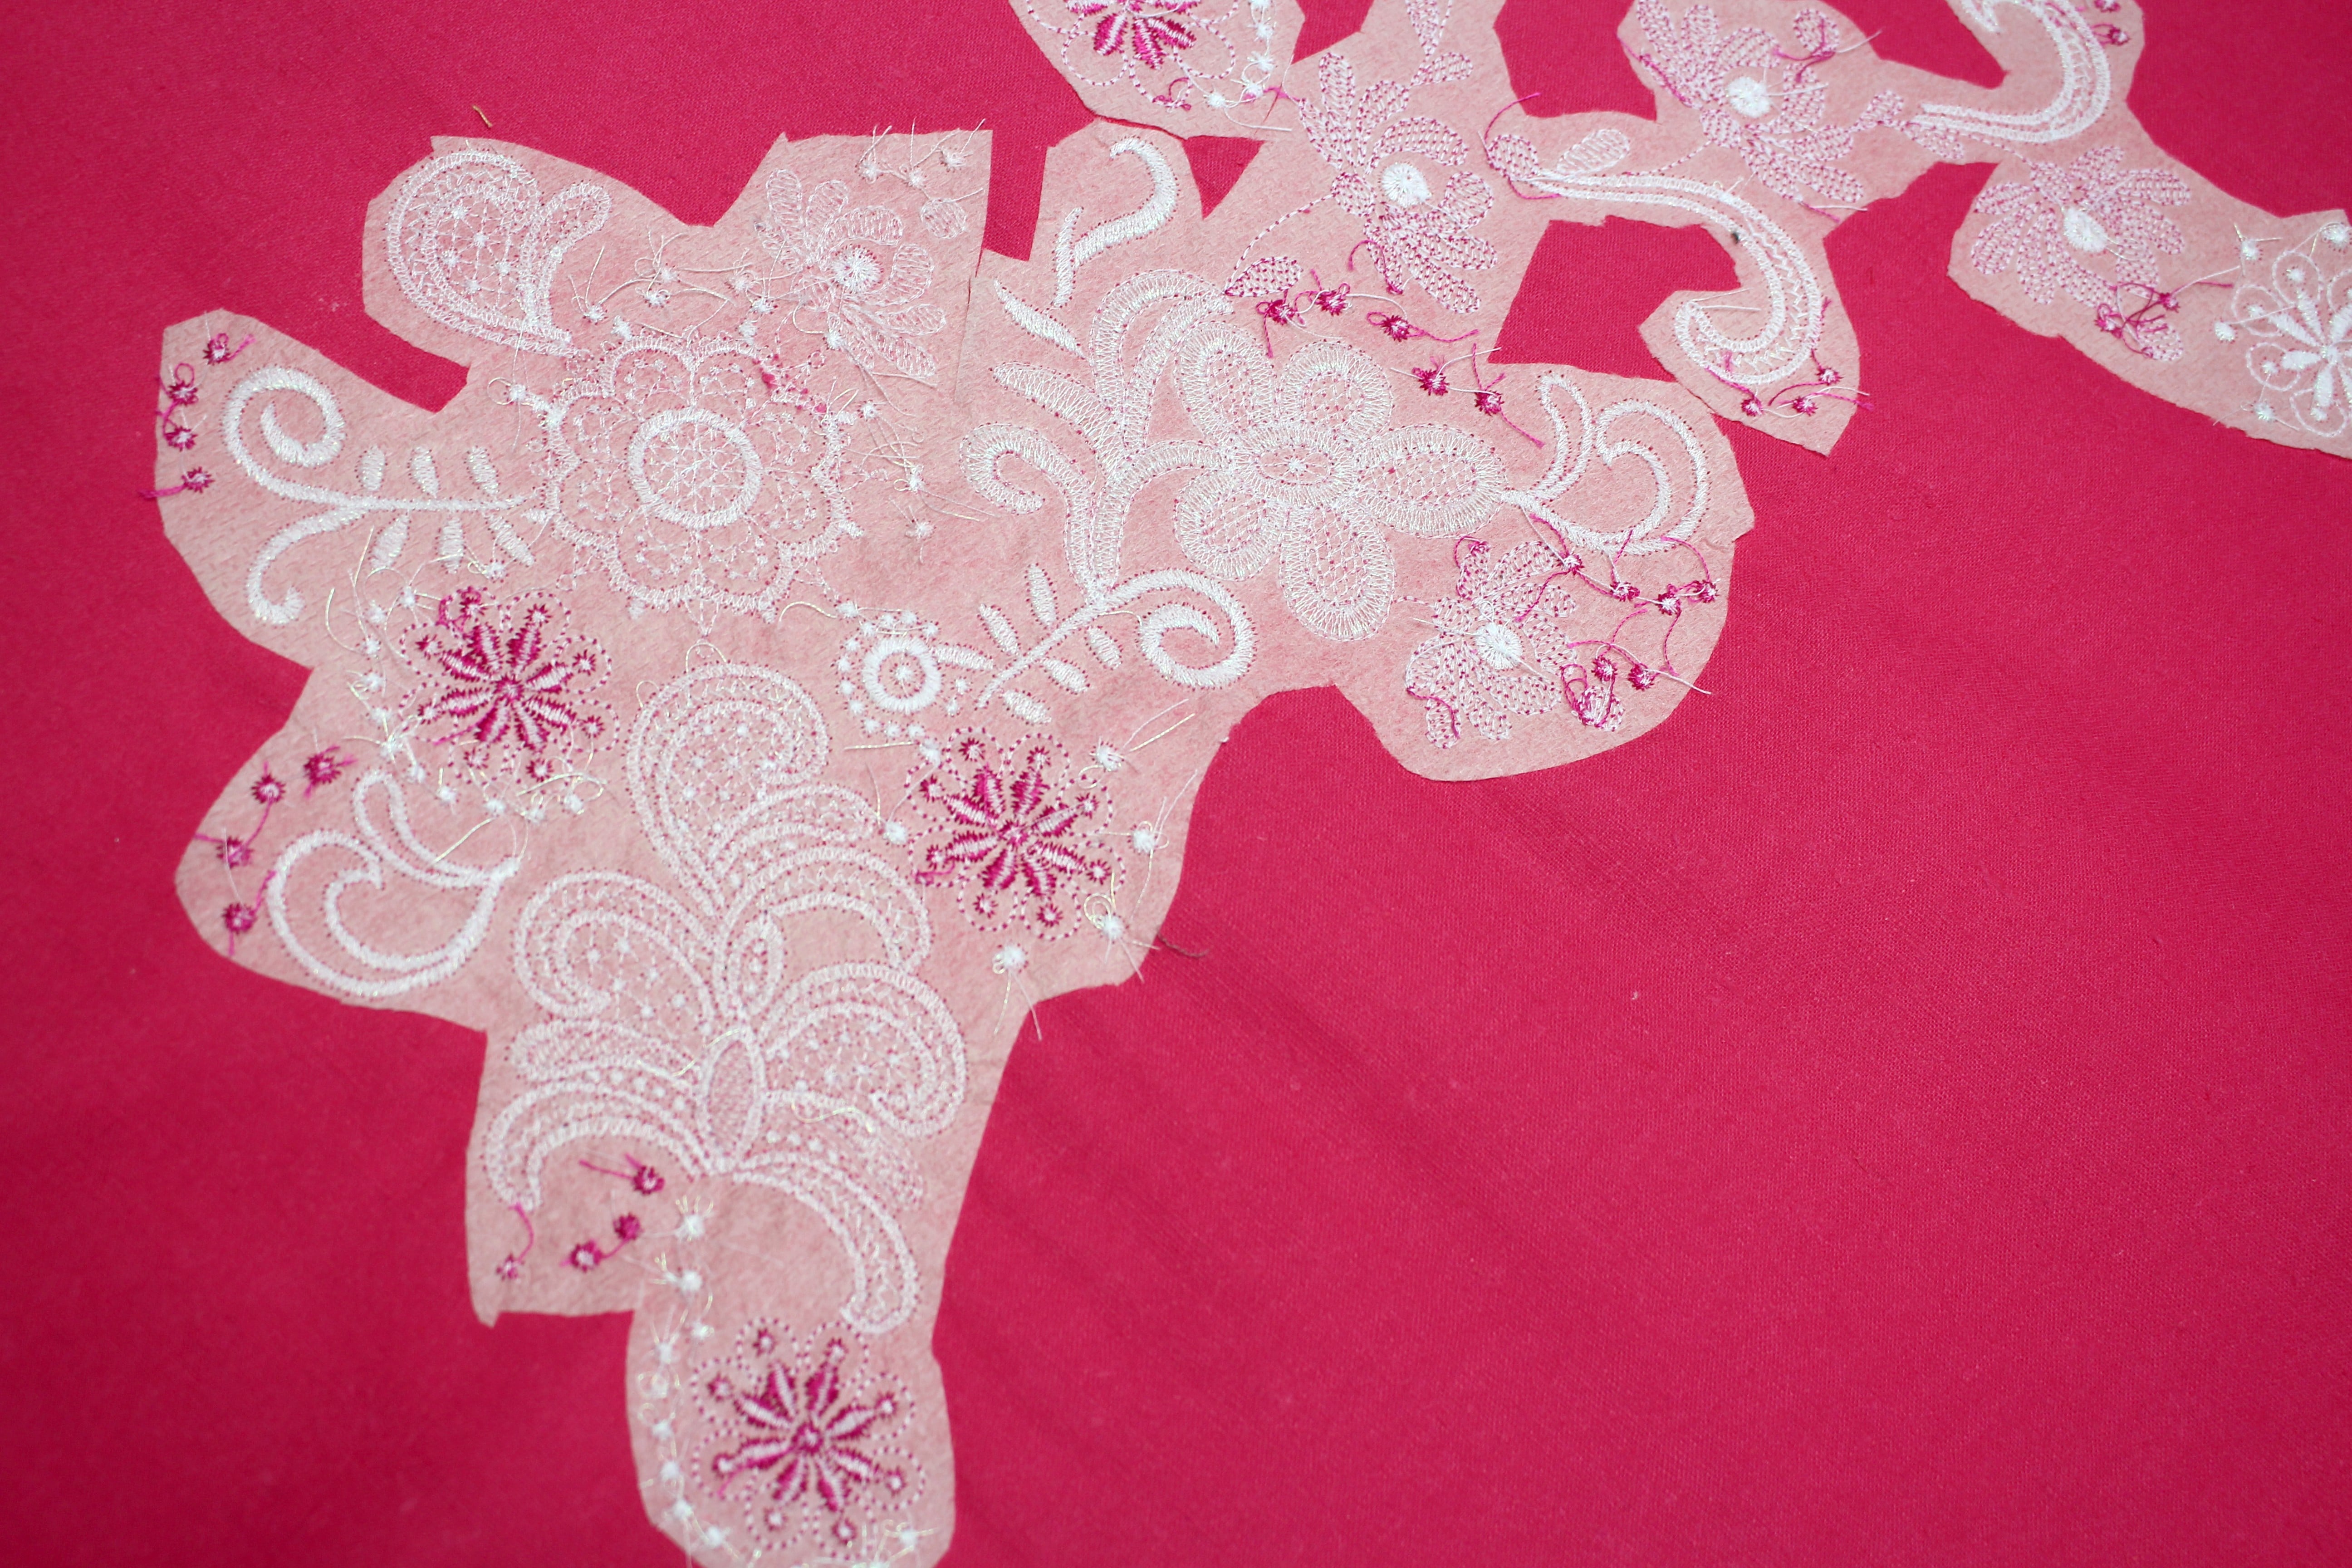
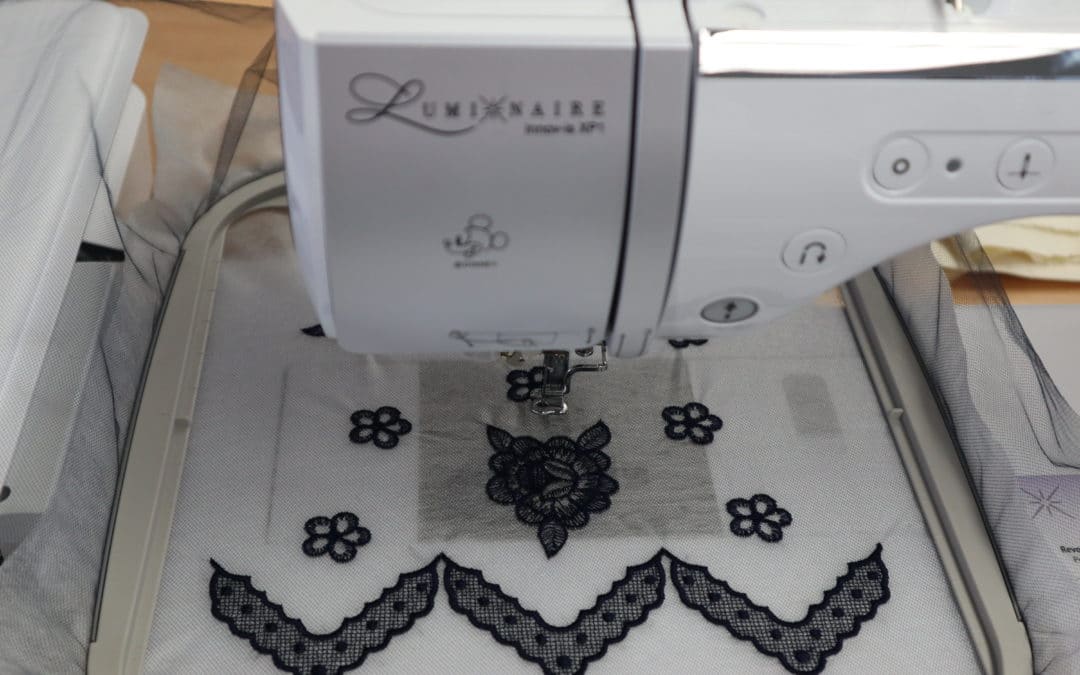
With the launch of my new lace embroidery collection A Touch of Lace, I thought this would be a good time to share a few tutorials showing how to embroider lace.  I am going to start with my all time favorite, embroidering on tulle fabric.  You might have seen my outfits with what I call “removable tattoos”.  These sleeves are designed by embroidering on tulle fabric; then I cut out my sleeves from the embroidered tulle fabric.  Let me show you how easy this is!


Supplies:


Choosing Tulle Fabric

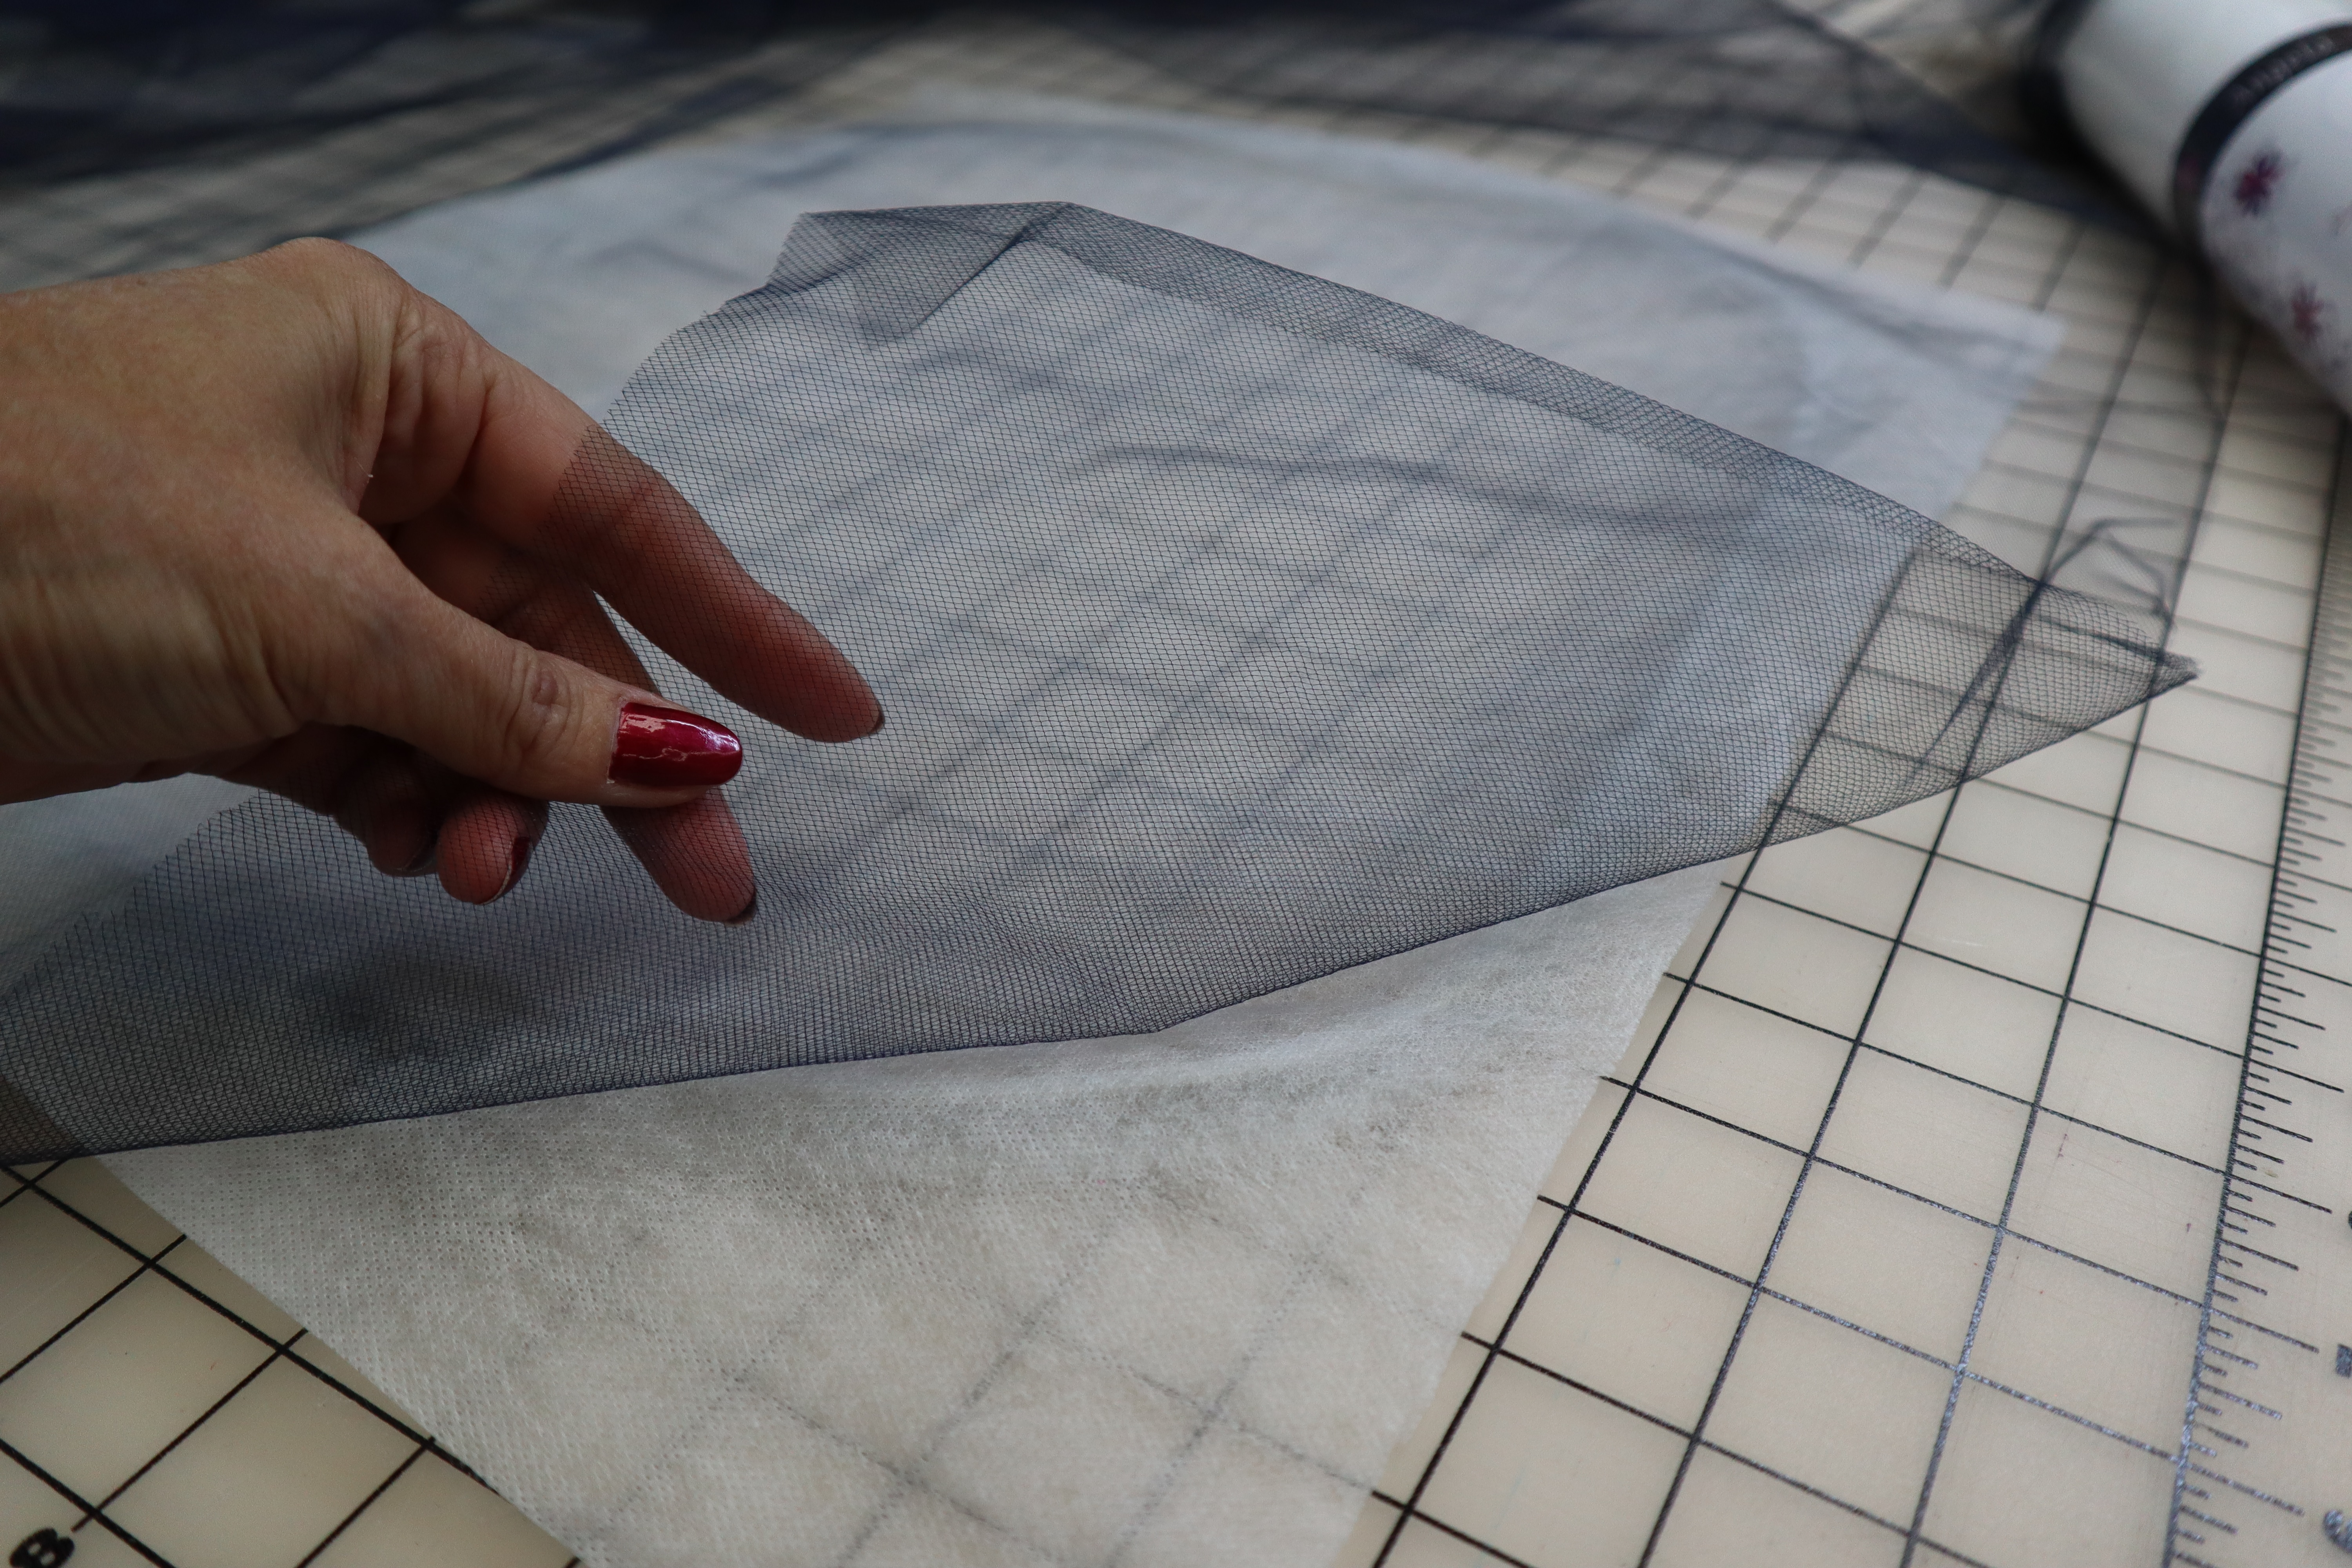
When you start looking for tulle fabric, you might get a little overwhelmed with the options.  The main thing is to check the texture and hand of the fabric.  For example, since I am using the tulle for a garment I want the fabric to be soft to the touch.  I also prefer a drape vs. a stiff fabric.  How can you tell?  If you get a chance to shop for the tulle fabric in person, hold the fabric in your hand.  Does the fabric lay stiff like a sheet of paper, or does the fabric drape softly?  Does the fabric feel soft or scratchy?  If you are shopping online it’s a little harder to tell, but you can always purchase a small swatch.  Although tulle fabric isn’t very expensive, you might as well order whatever you need for your project.  Worse case you can use the tulle in a gift bag!  

Fabric Color

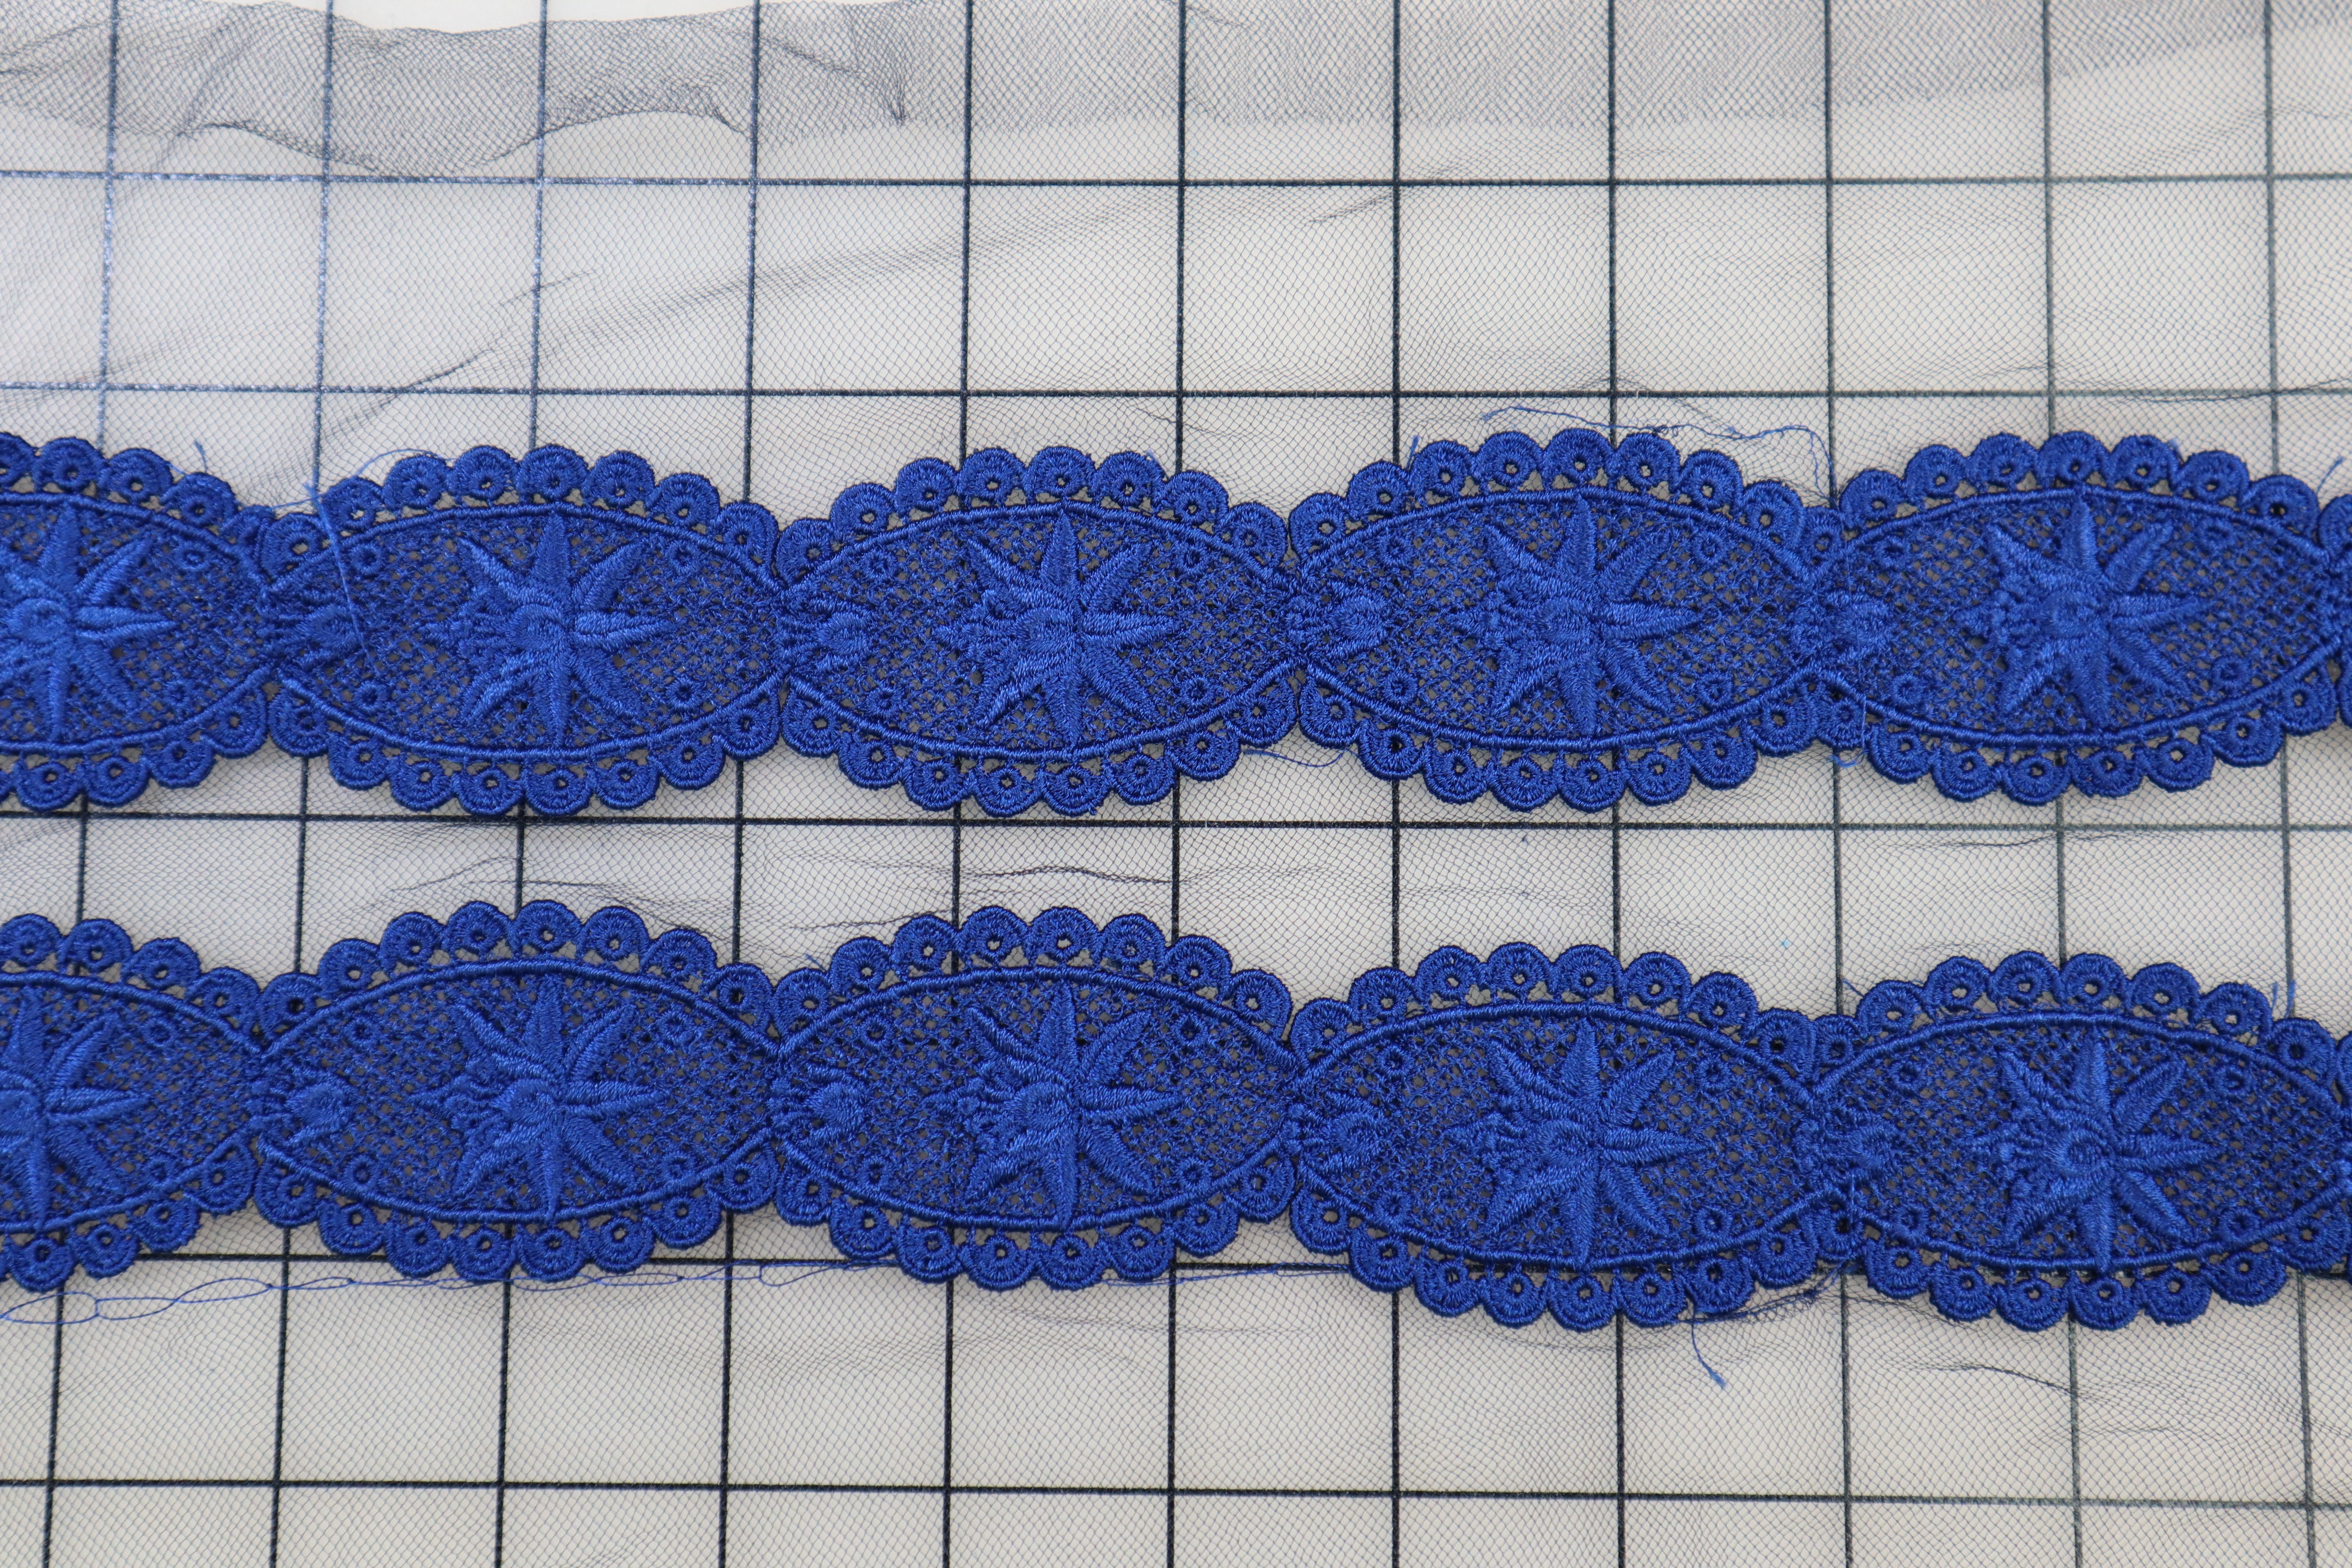
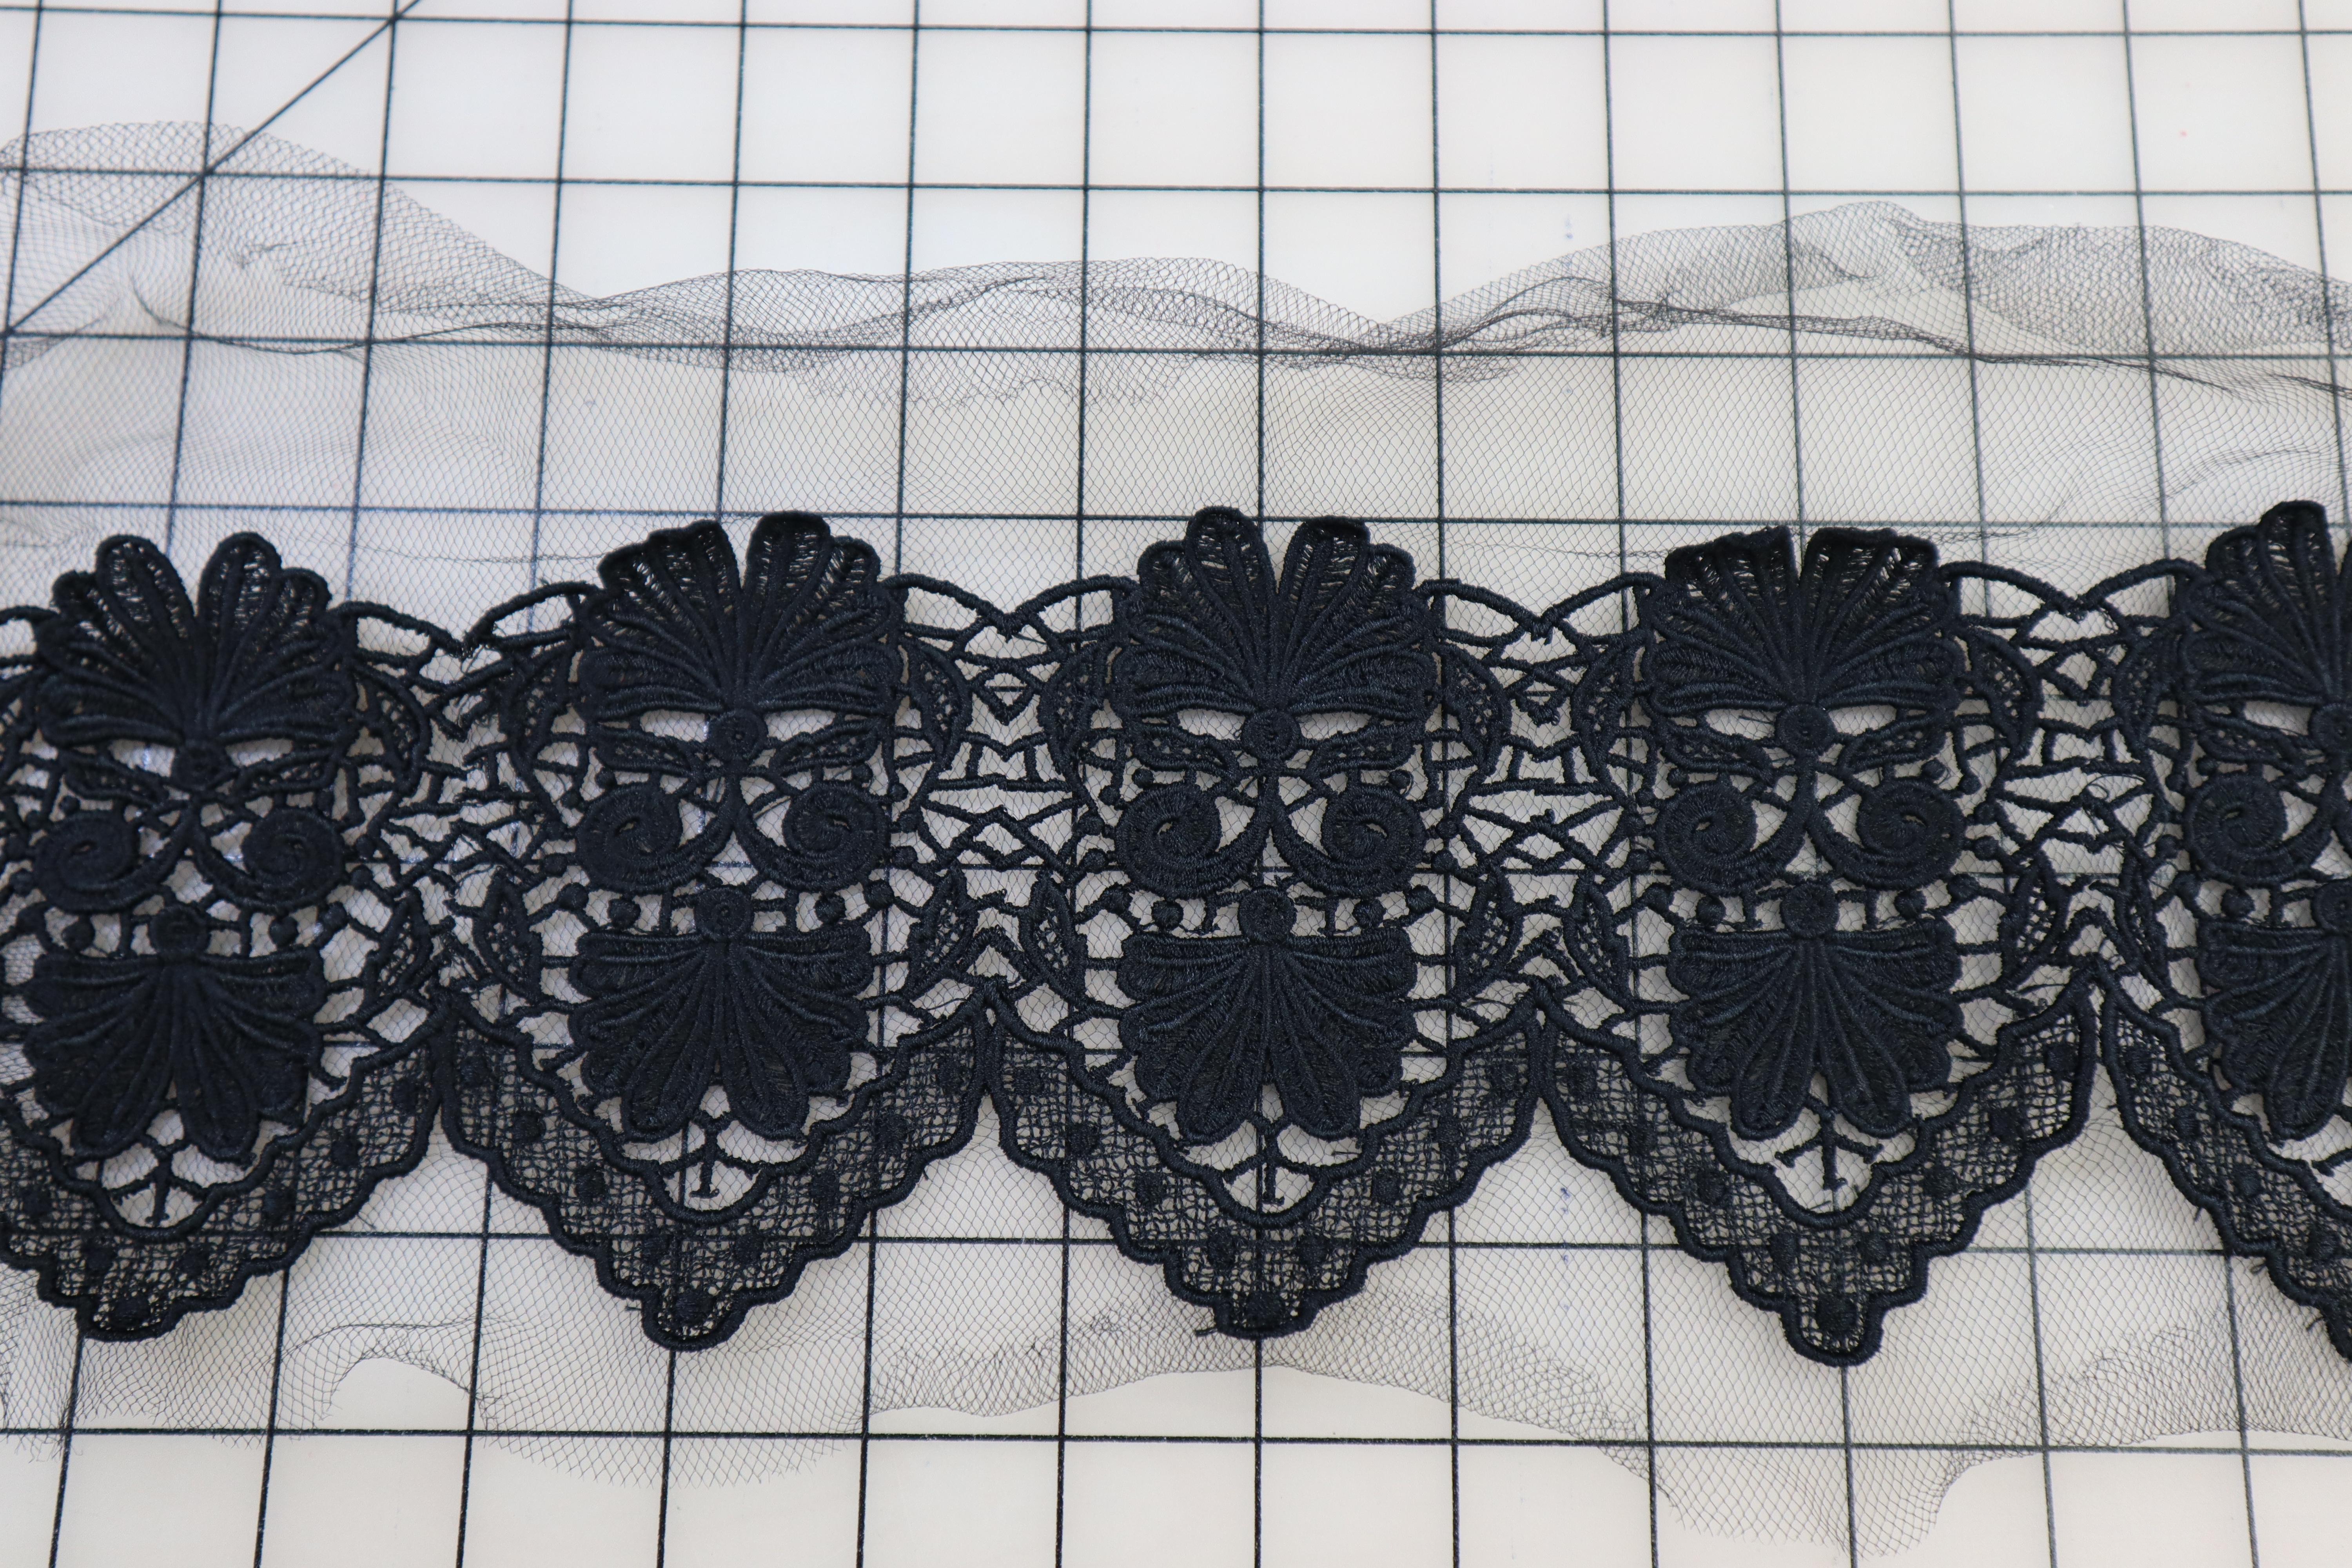
Tulle fabric comes in numerous colors, which makes this fabric fabulous for garment projects.  Black, white, brown, and cream are my go to colors for nude or see through sleeves.  Hold the fabric up to your skin; you might be surprised at how see thru this fabric really is.  Another option is to choose a color to coordinate with a specific project.  Below is a sample using navy tulle with navy thread and black tulle with black thread.   I will talk more about the color of the fabric in the next few tutorials.  

Navy Tulle Sample

Black Tulle Sample

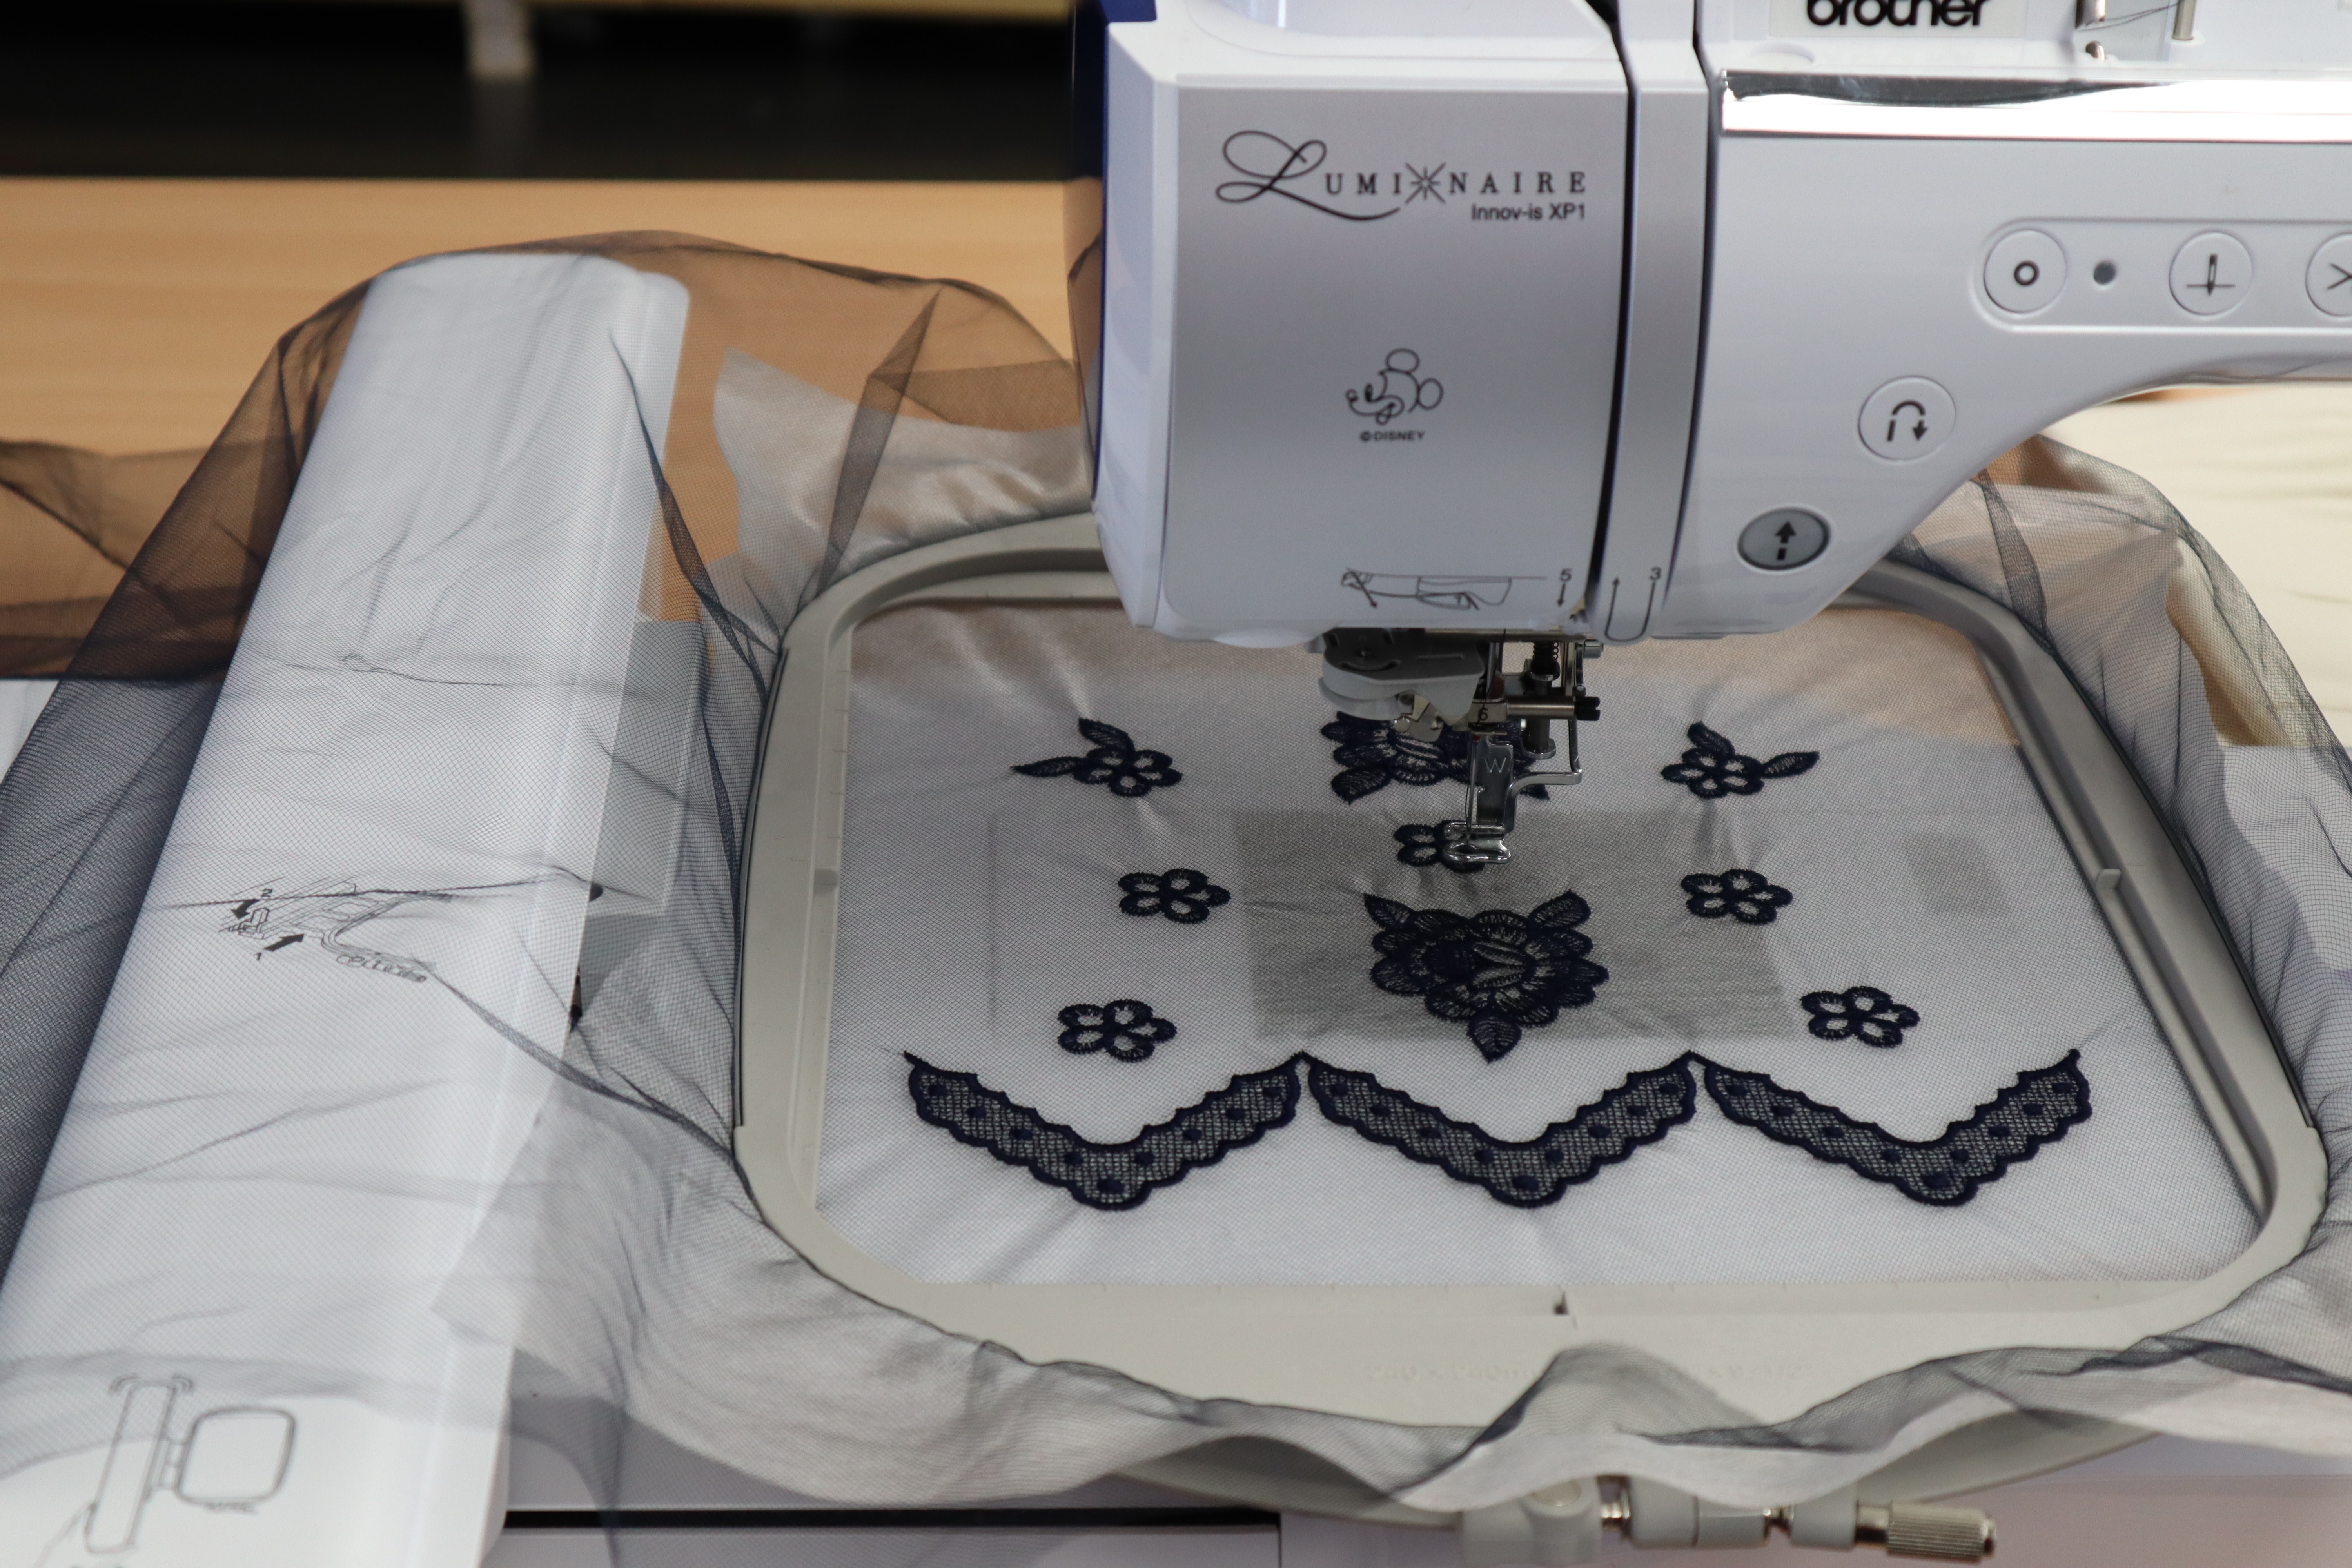
How to Hoop Tulle

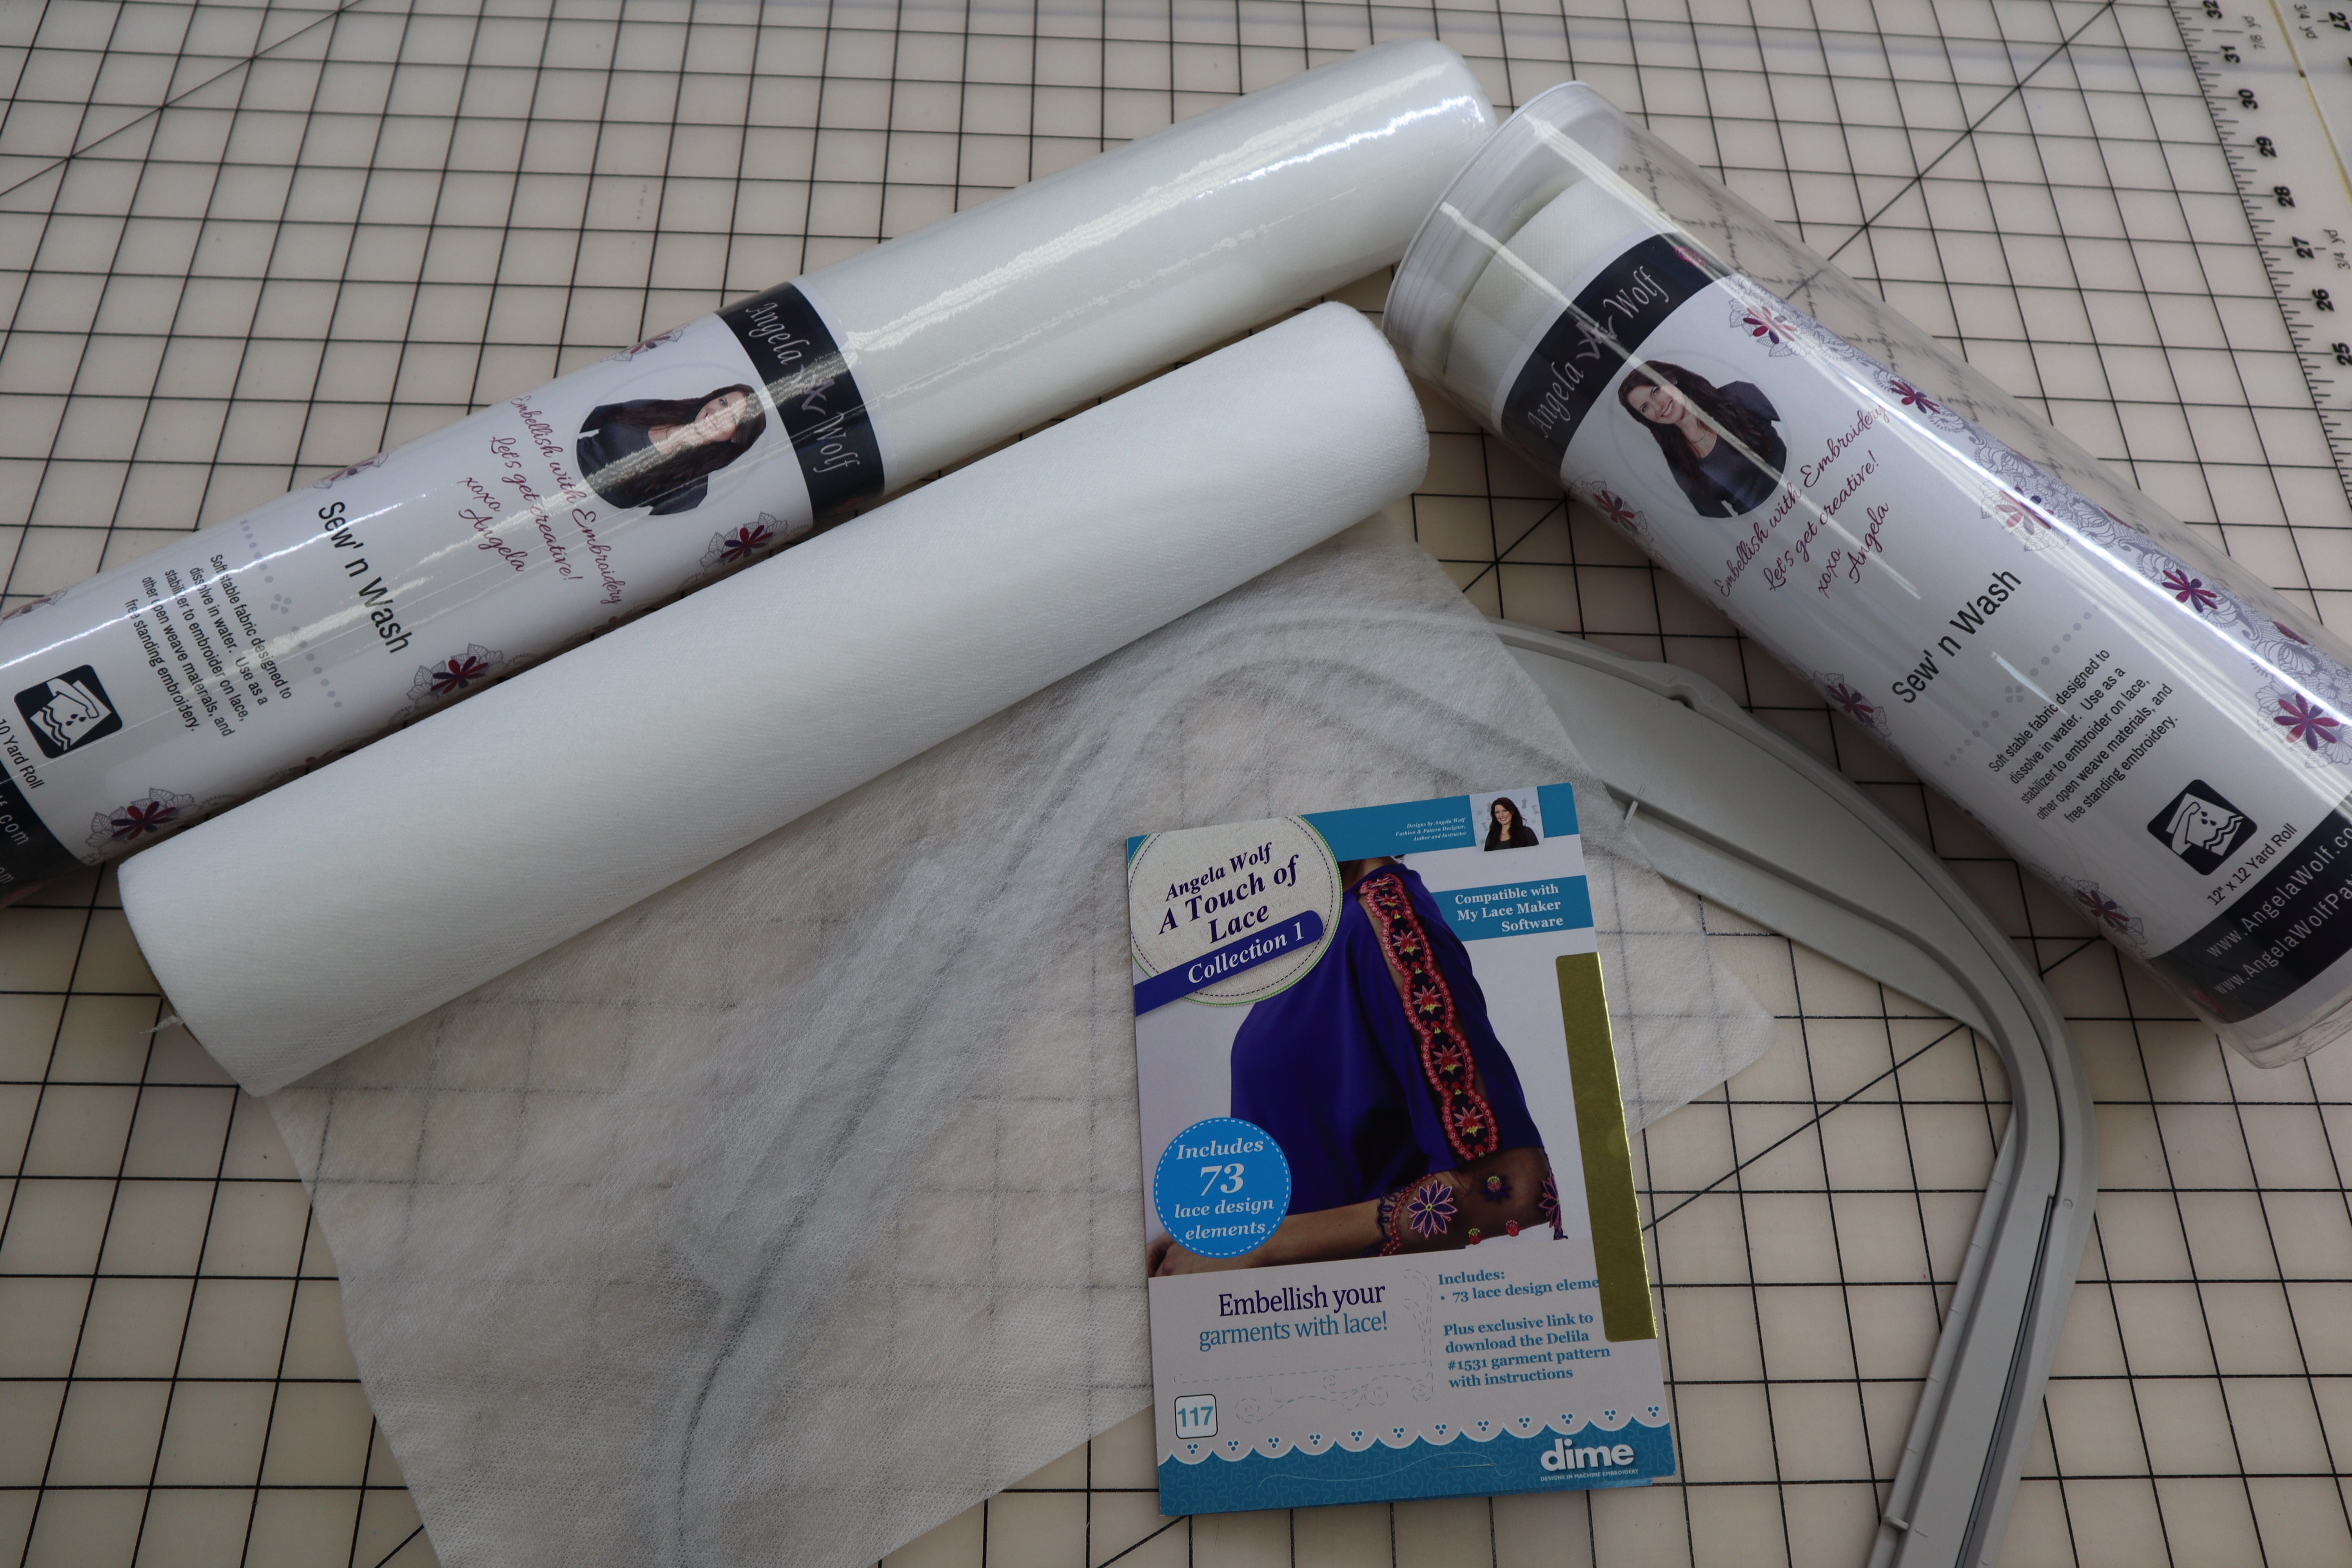
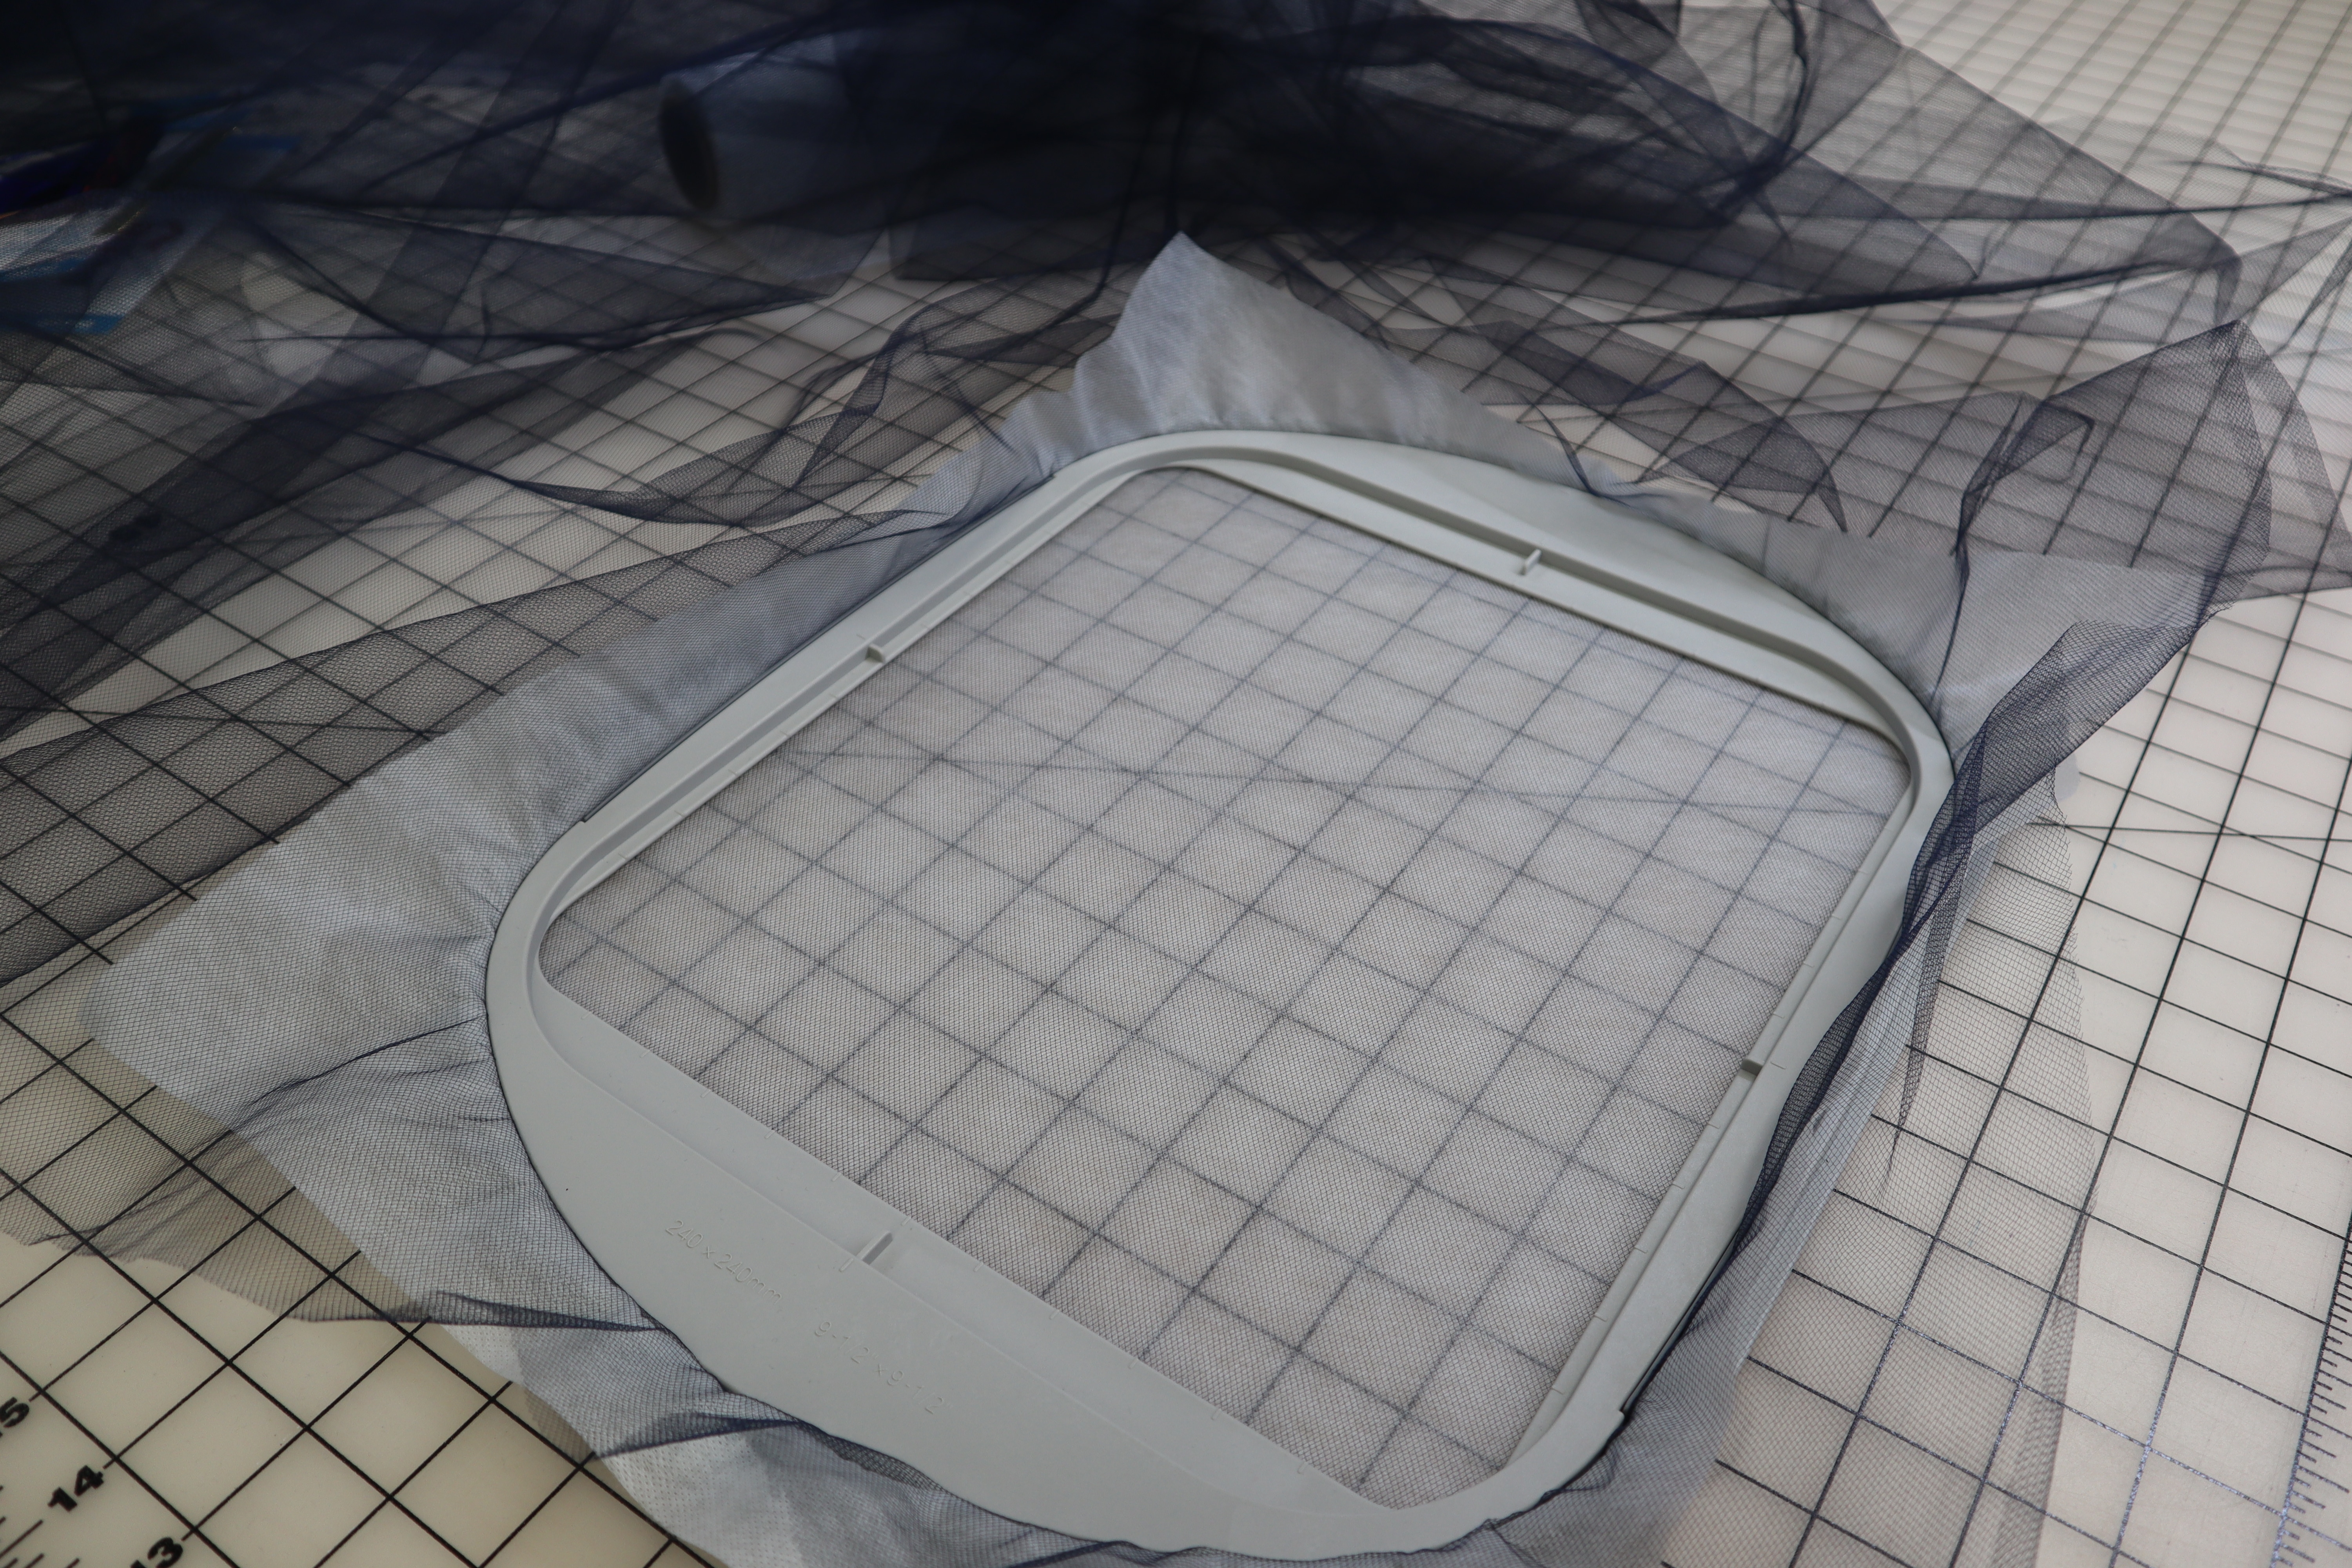
1. Open the embroidery hoop and place the lower section of the hoop on a flat surface.  Center the Sew’N Wash Embroidery Stabilizer  over the hoop, making sure the stabilizer covers the entire hoop.

TIP: Sew’N Wash embroidery stabilizer comes in different widths. I usually keep 12″ and  20″ wide on hand; the 20″ wide is ideal for the larger hoops.

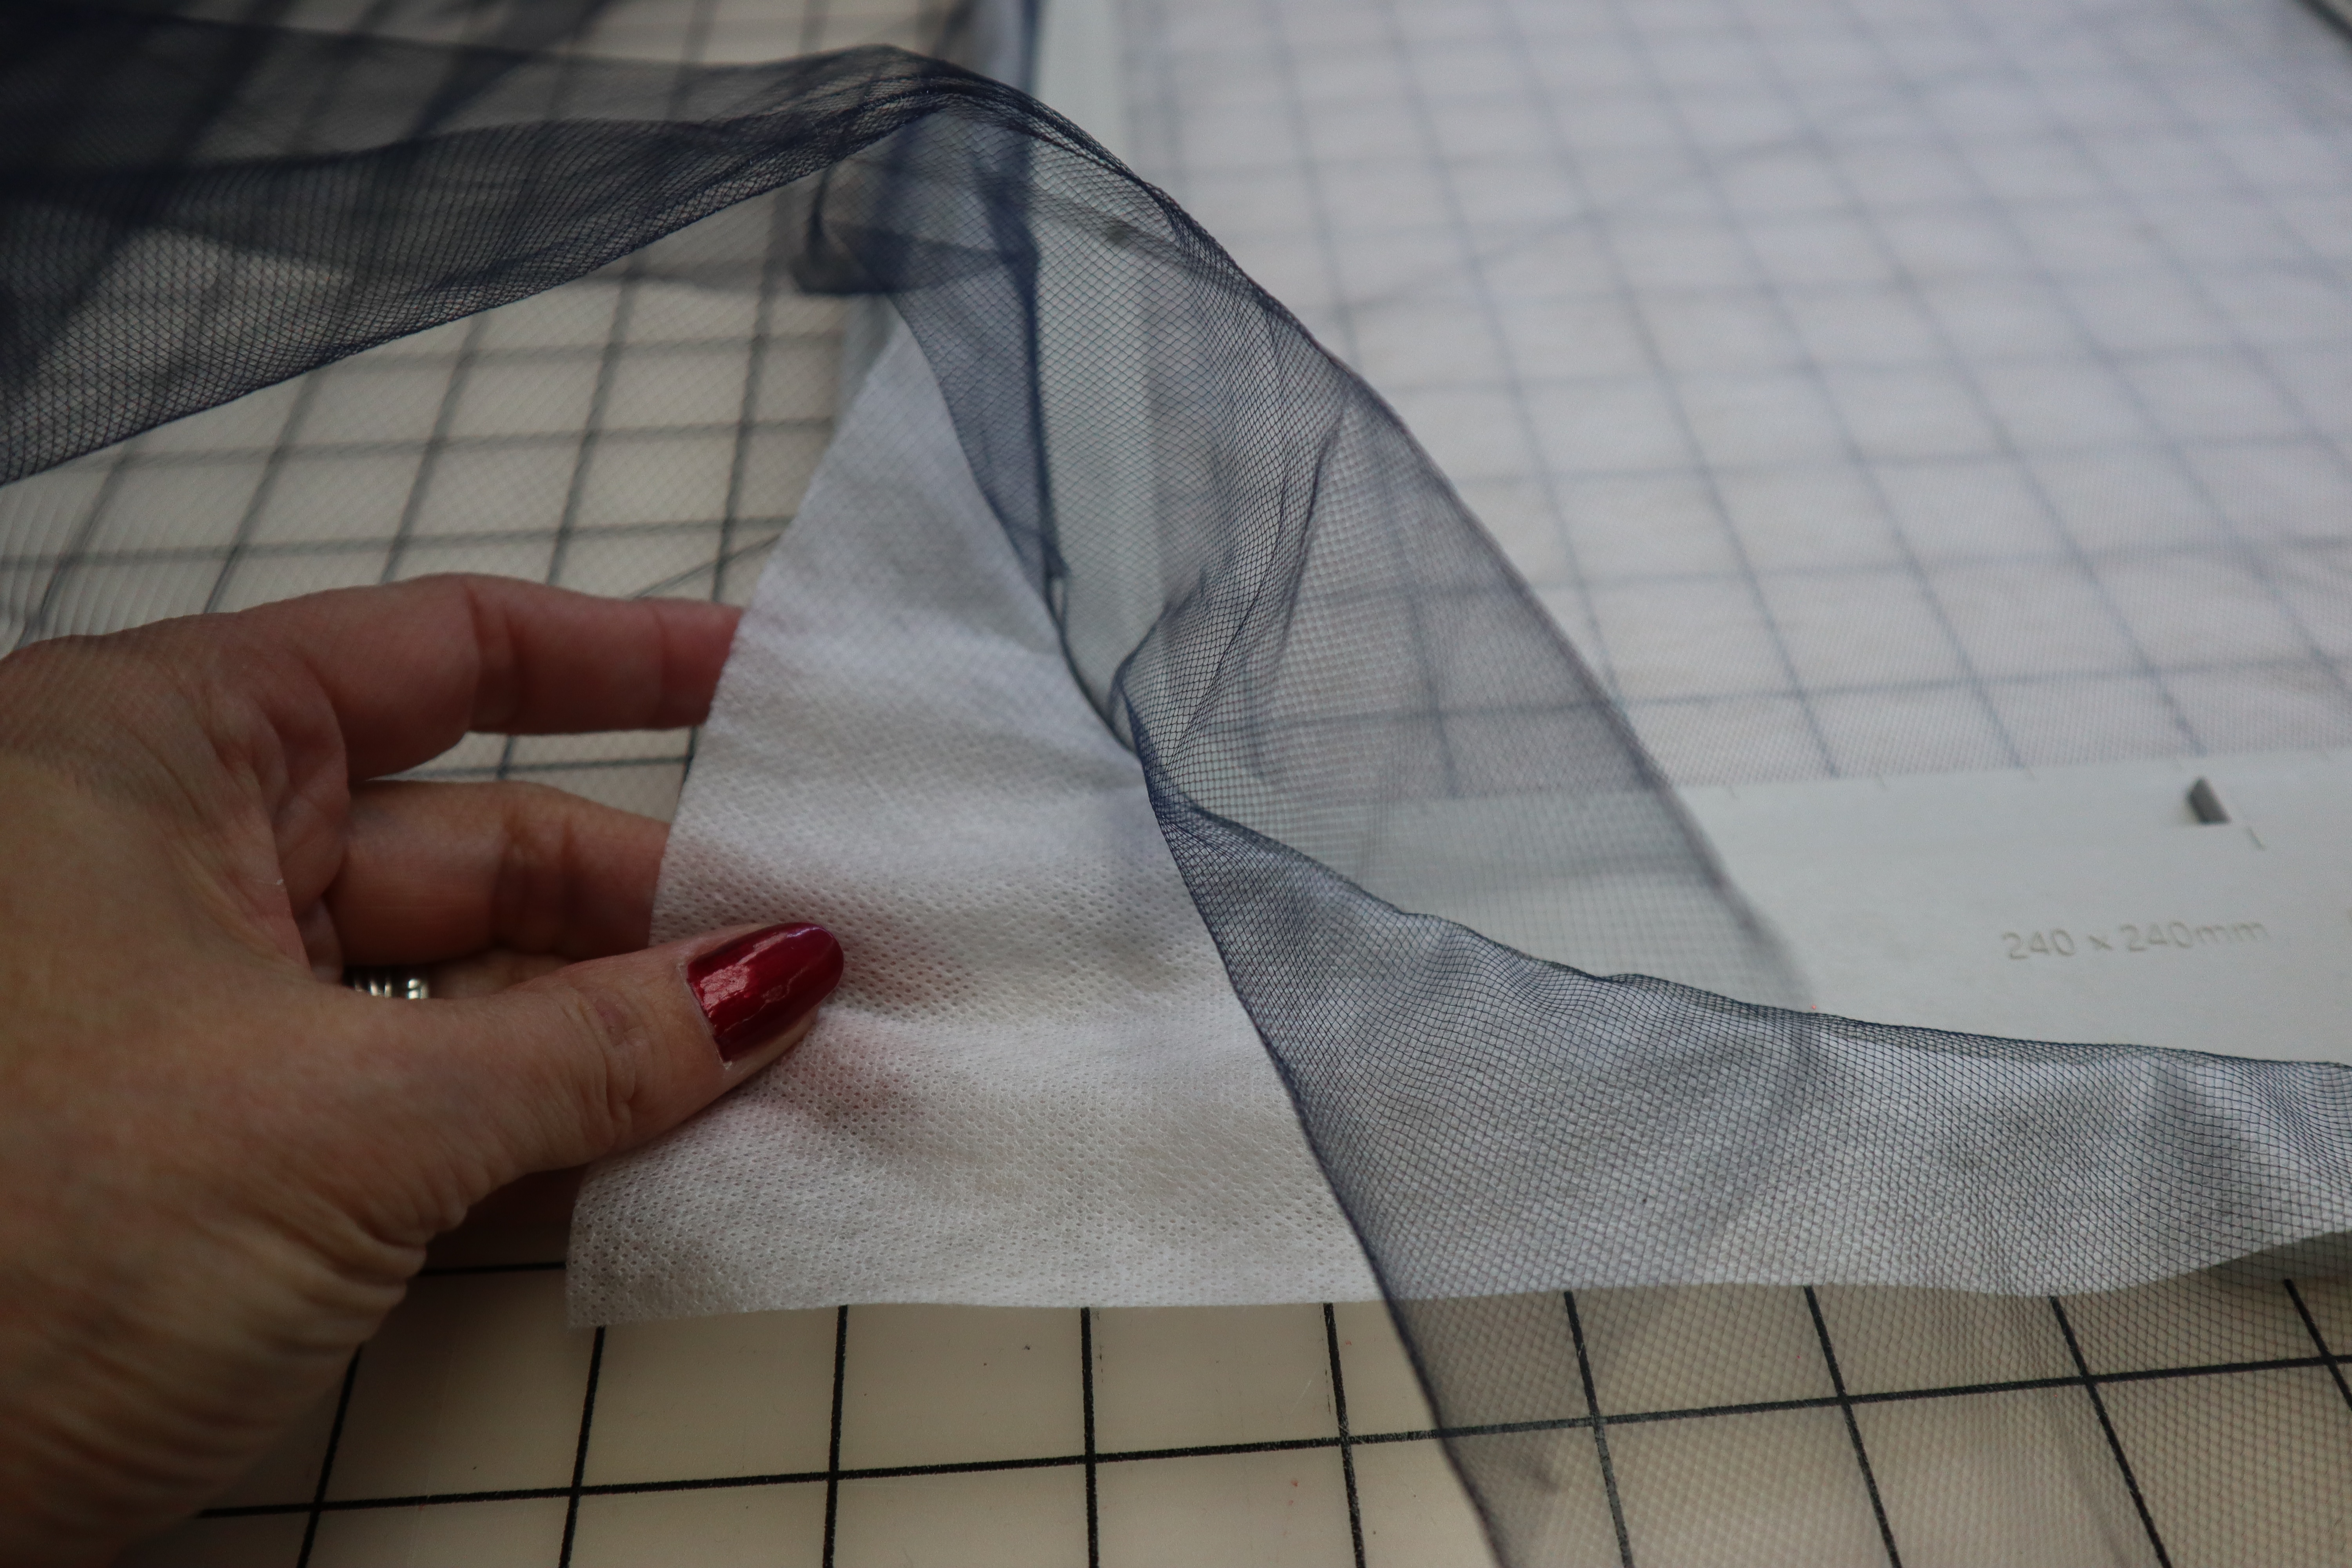
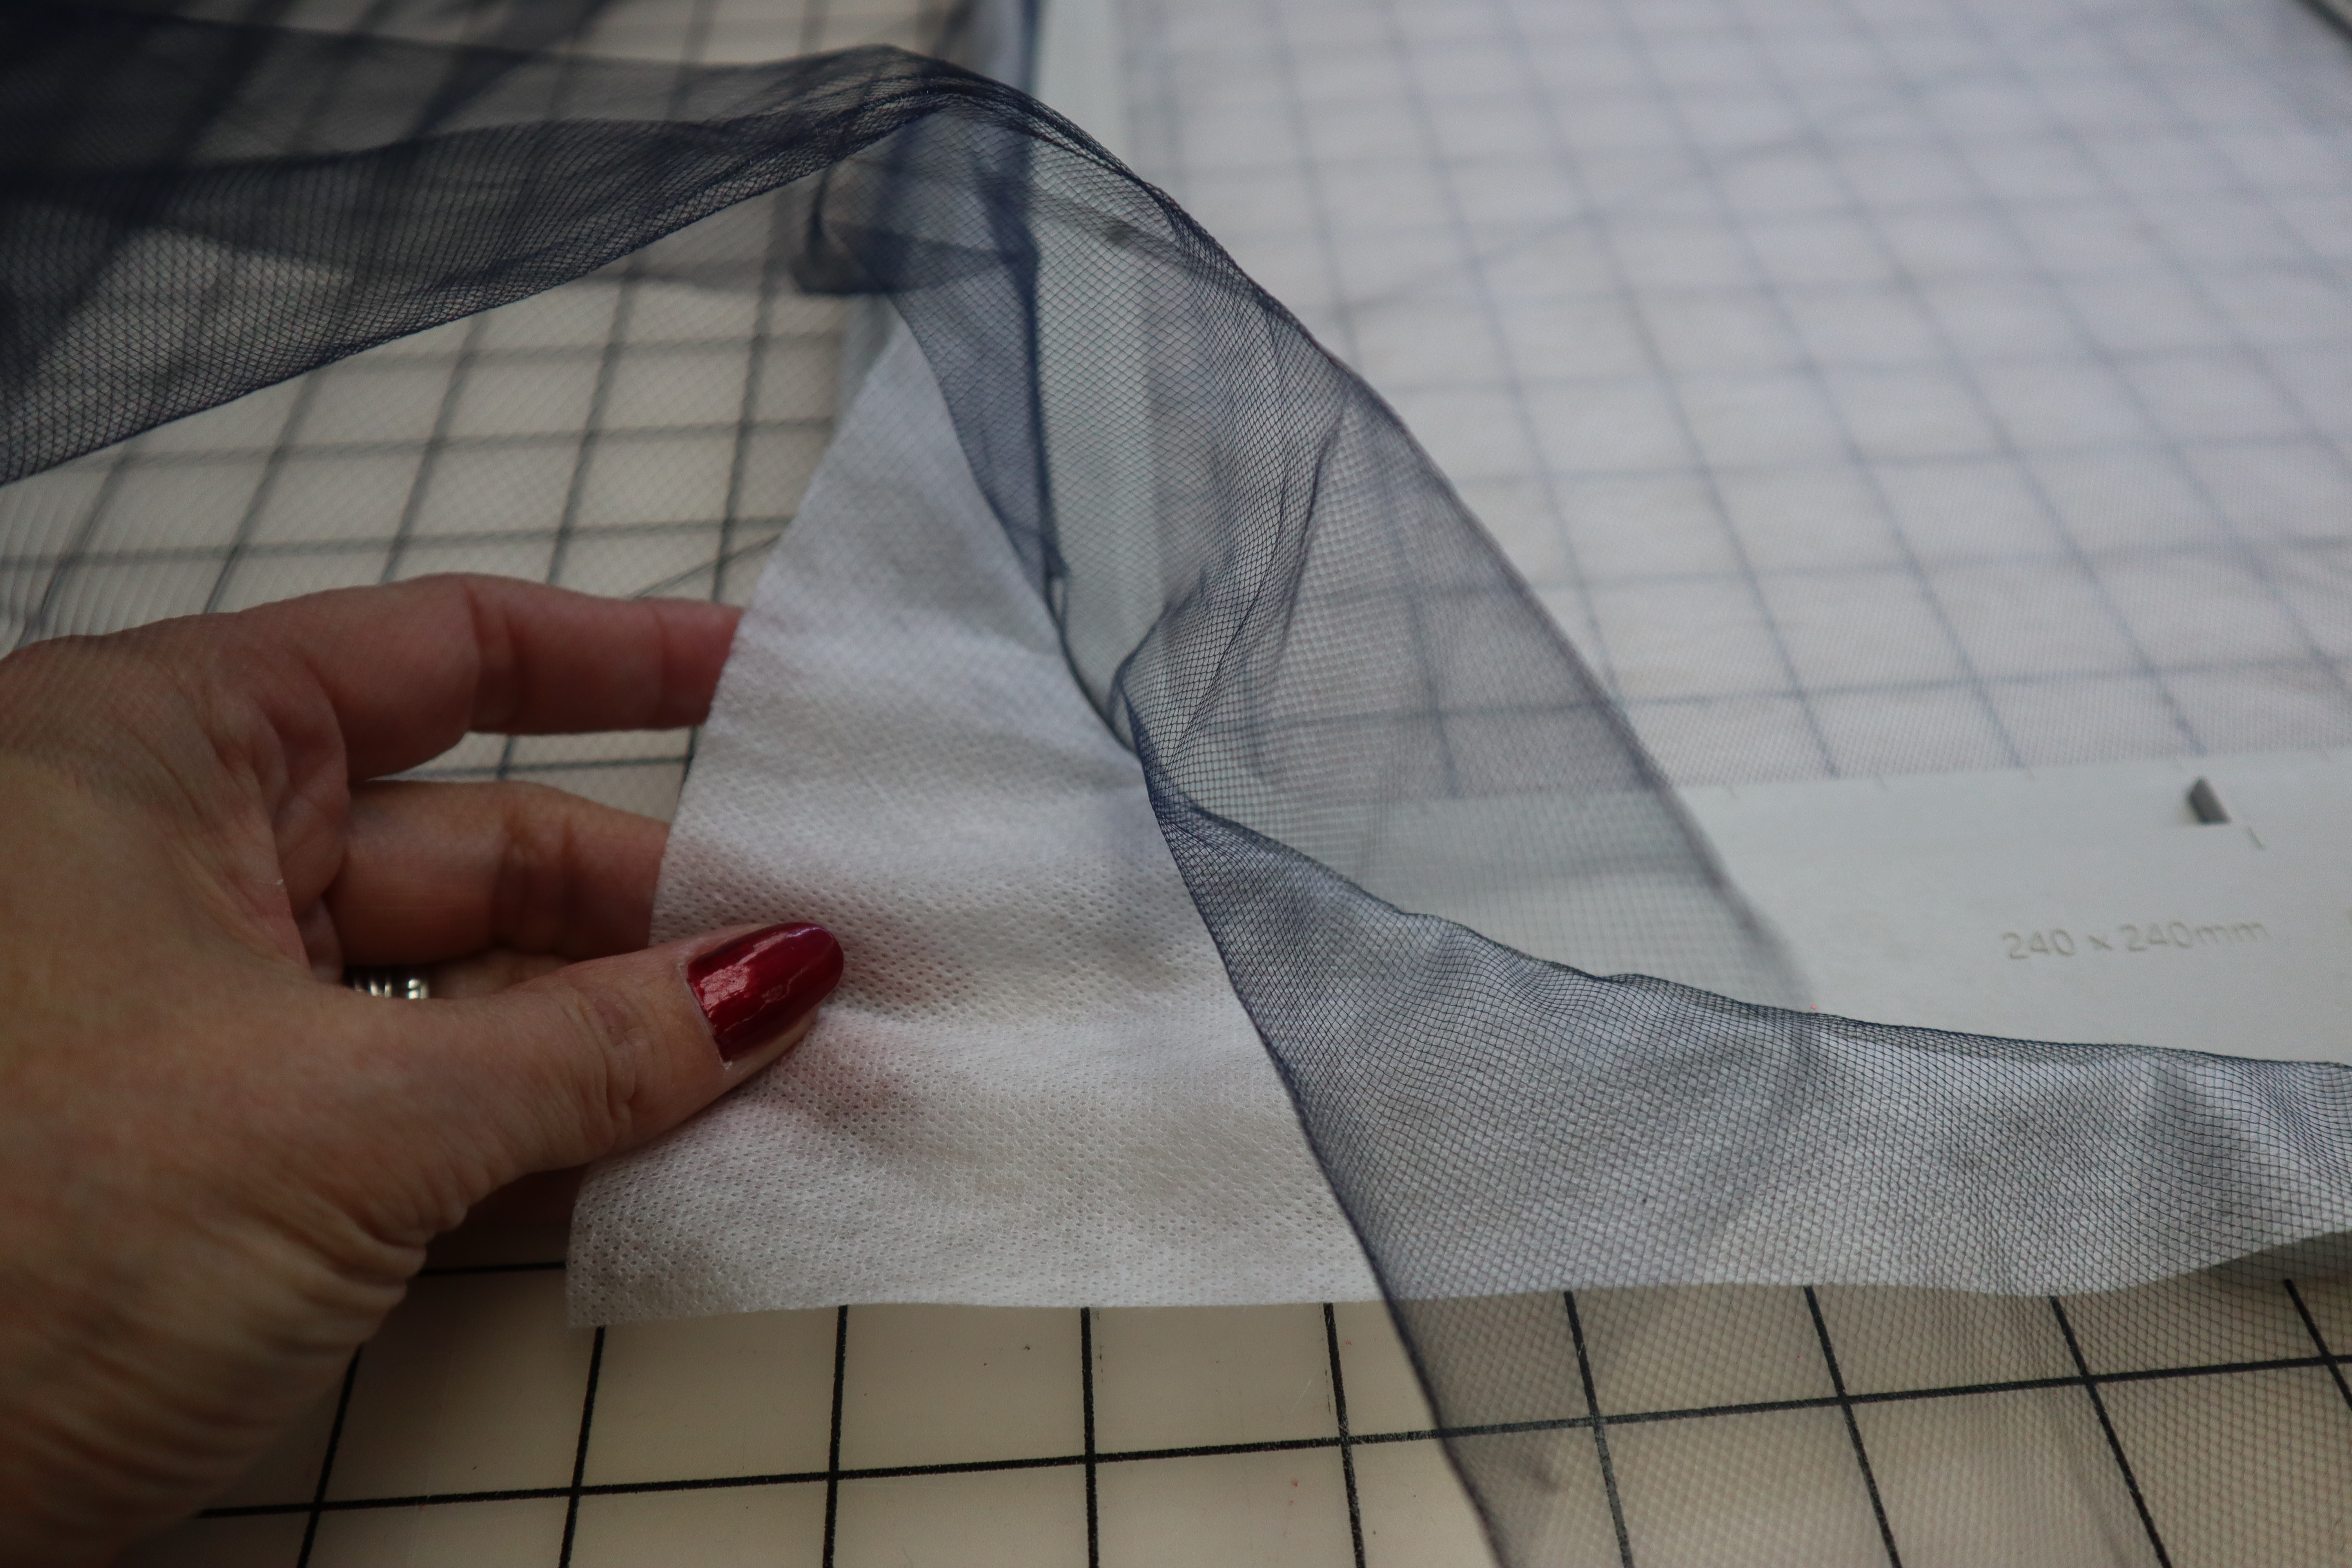
2. Layer the tulle fabric, leaving at least 2″ excess around the hoop.

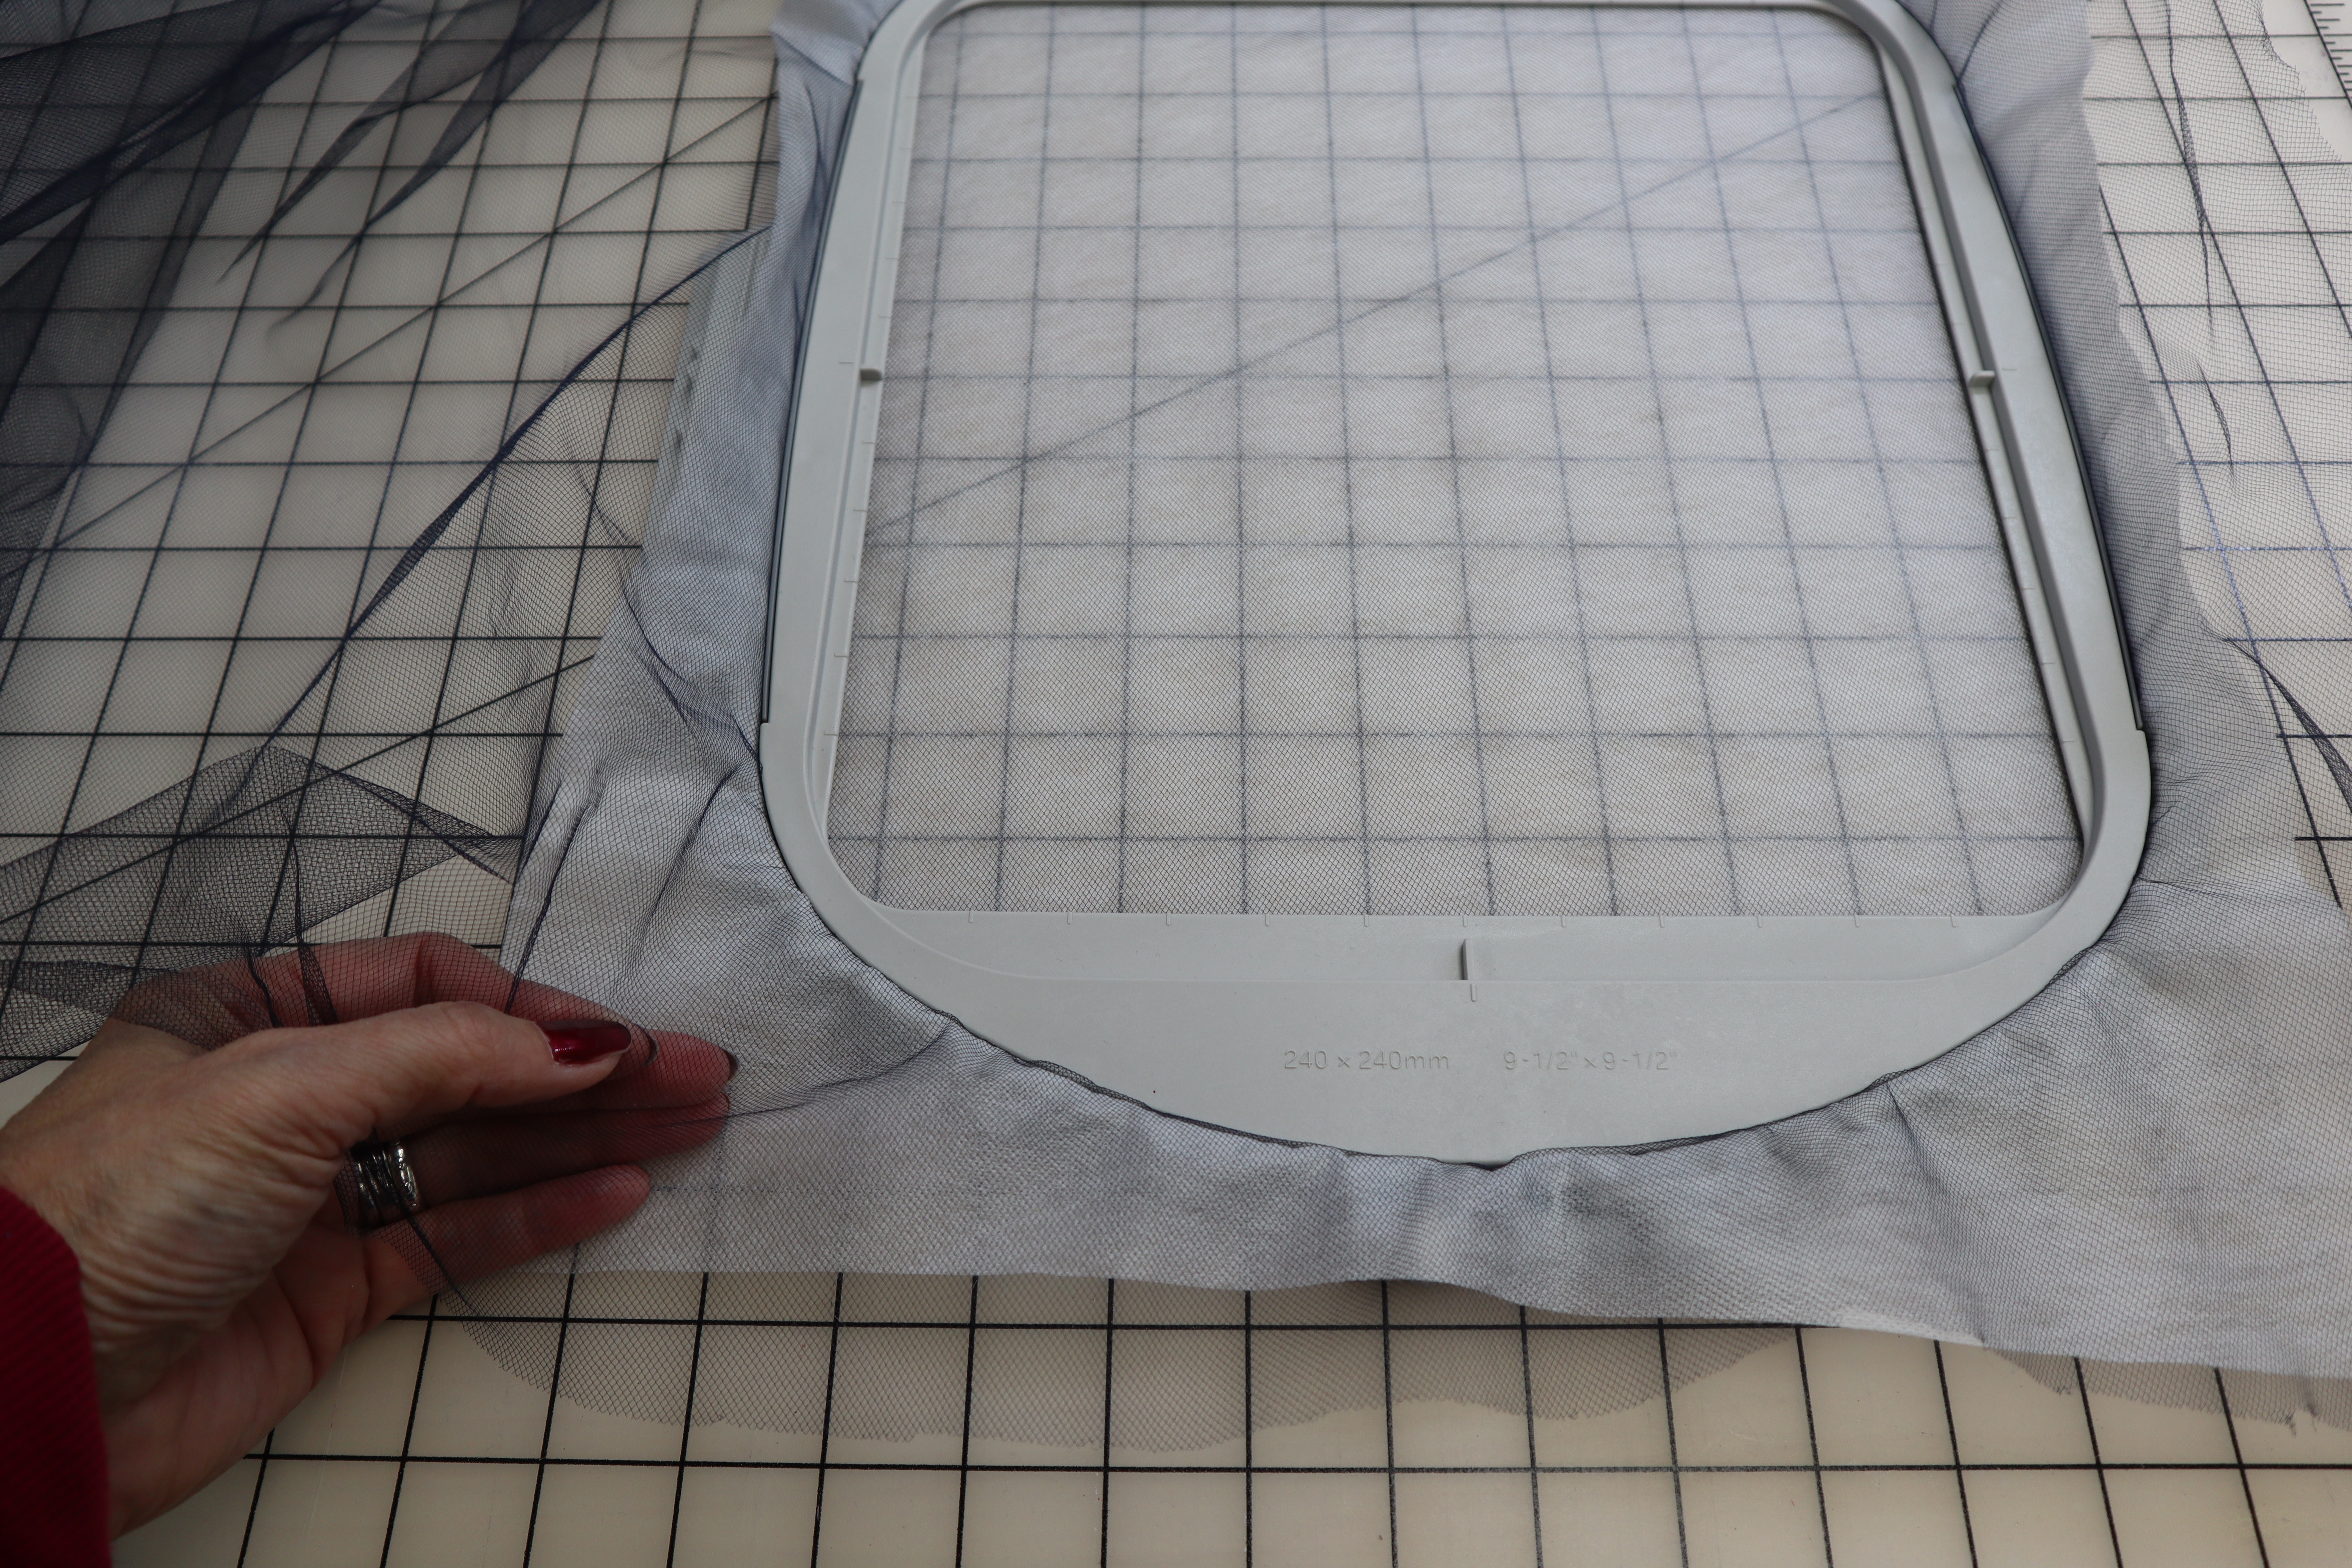
3. Place the top of the embroidery hoop onto the layers.  Gently push the hoop together, leaving the tension loose.

4. Gently pull the Sew’N Wash embroidery stabilizer tight at each corner of the embroidery hoop.  Check to make sure there are no wrinkles in the stabilizer.

5. Do the same for the tulle fabric, but be very gentle when pulling the fabric as the tulle fabric can tear very easily! 

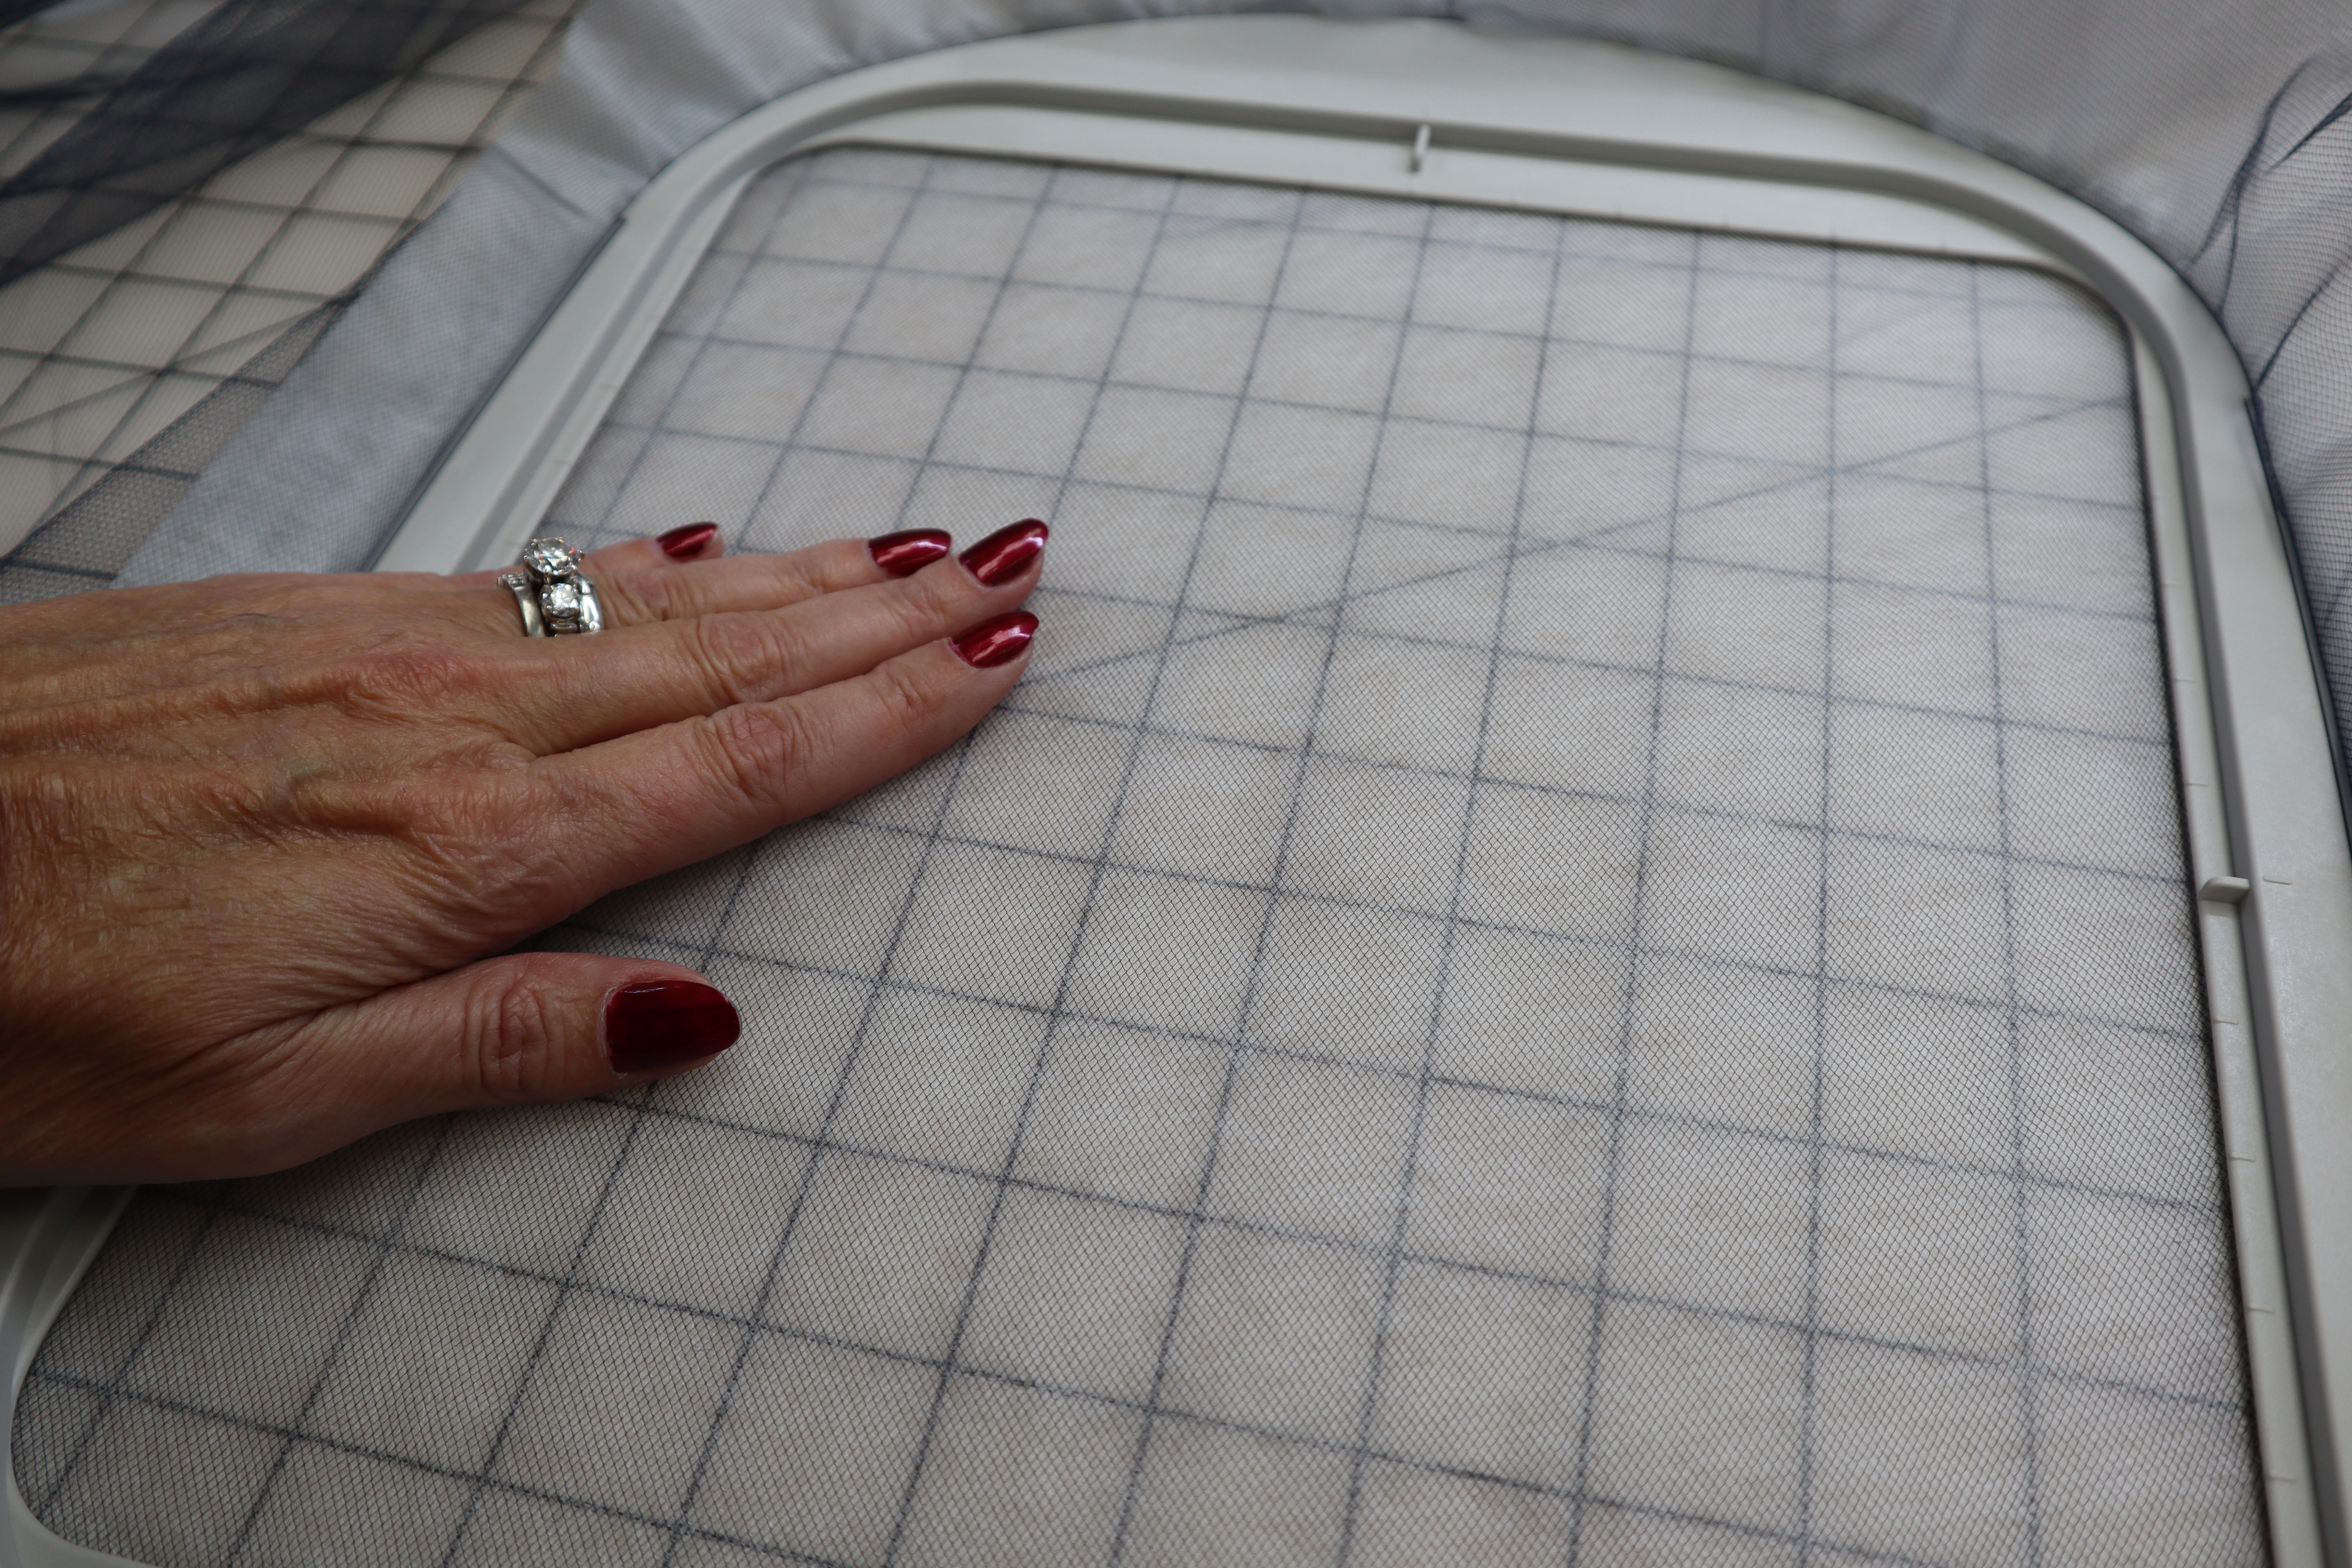
6. Tighten the hoop a little.  Slide your hand across the center of the hoop checking for wrinkles or puckers.

7.  When you are satisified with the hooping, tighten the hoop and you are ready to start embroidering.

Thread & Bobbin

I use different embroidery threads including rayon and polyester, each offers a different look to your project.  I would suggest experimenting with a few different weights and textures to determine your favorite.  Keep the samples in a notebook so you can refer back.   I typically use the same color thread in the bobbin as I use for the top embroidery.  This takes more time when embroiderying a design with multiple colors, but if you are going to see the backside of the embroidery it is worth the extra task. 

Choosing an Embroidery Design

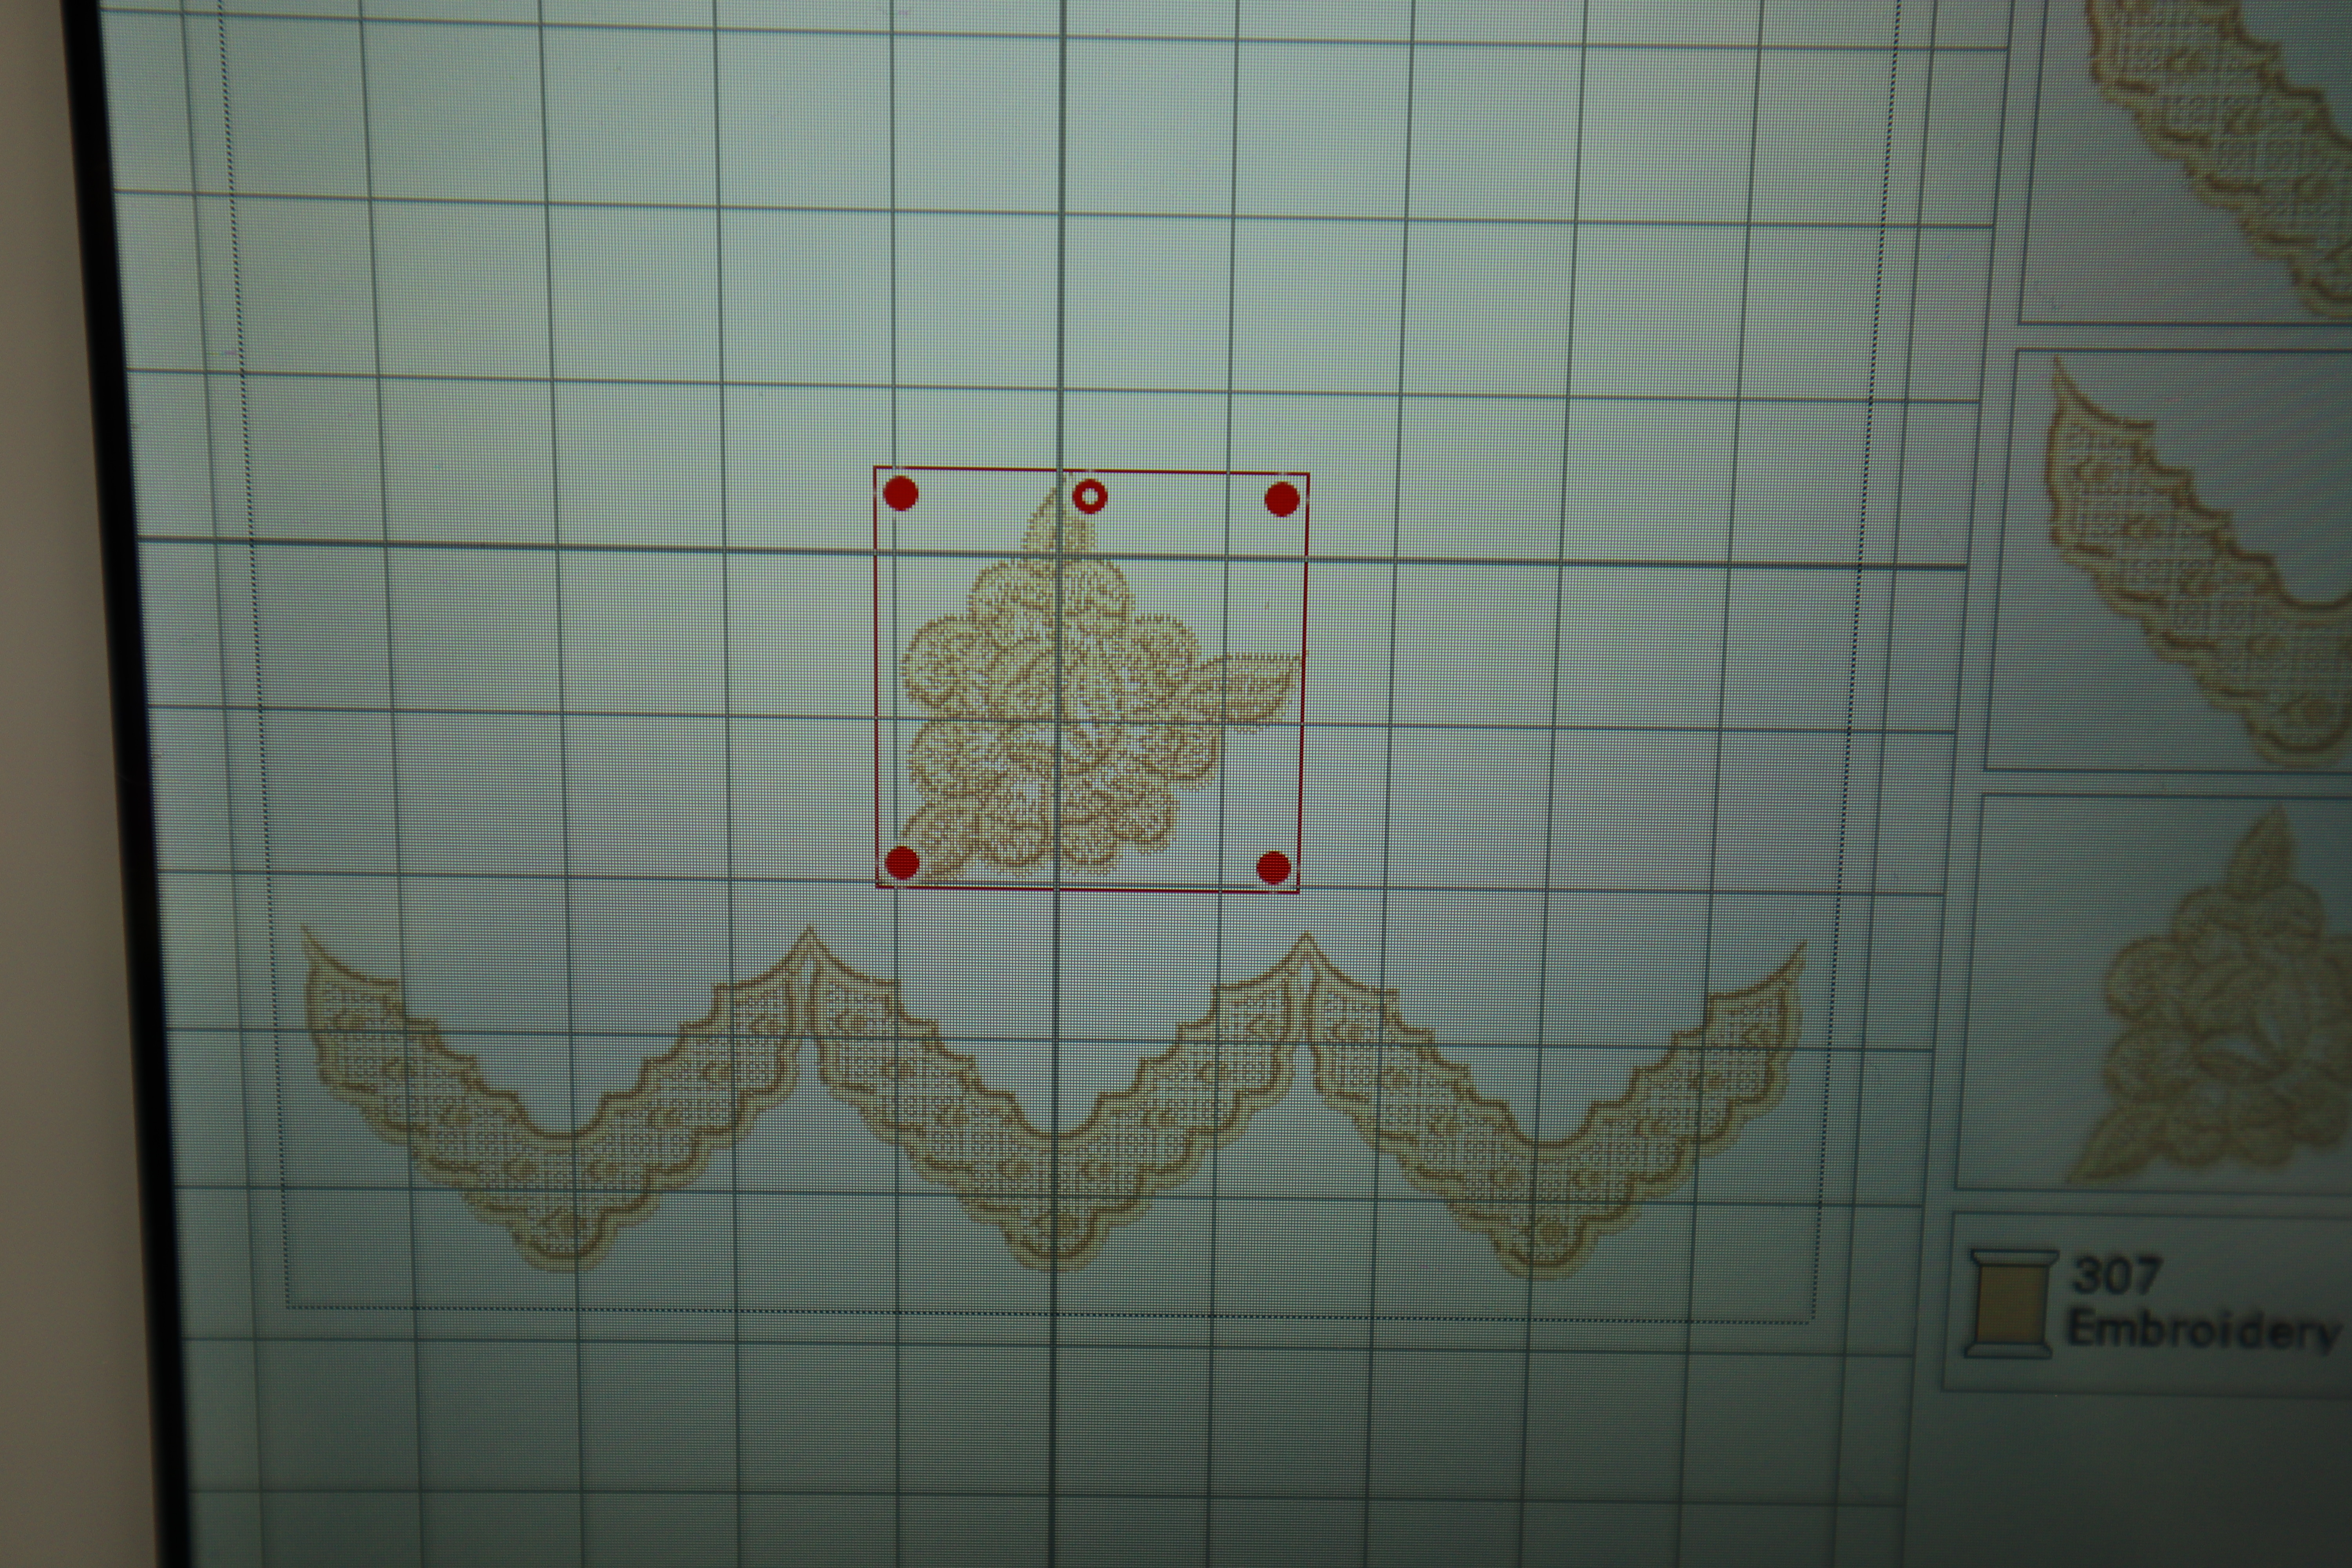
Depending on the area of the garment this embroidered tulle will be used for, choosing a design is very important.  In my embroidery collection A Touch of Lace, I have included low density versions of each design.  A low density designs has less stitches which will offer a softer, less stiff fabric when the embroidery if finished.  If you opt for a dense design, make sure the lace will be used on a fitted area of the garment, for example the bicep area on a fitted sleeve.  The tightness of the sleeve will prevent the thicker embroidery design from curling.  

You are ready to embroider!  Hopefully this tutorial will get you started to embroider on tulle.  The next tutorials will give you some ideas for using the newly embroidered fabric.  Can’t wait to see what you embroider with my new lace collection.  Be sure to share photos of what you are embroidering using hashtag #angelawolf 

Cheers,

Ep. 105 Behind the Scenes LIVE ? Fabric Haul, Sewing, Embroidery

Ep. 105 Behind the Scenes LIVE ? Fabric Haul, Sewing, Embroidery

Episode 105 Behind the Scenes LIVE with Angela Wolf ? A short episode while we are all getting ready for Thanksgiving ? Colin and Cody show how they embroider their hoodies, turkey day tips, a sneak peek at last weeks fabric haul, and schedule for next weeks Birthday Sewing Marathon ?

Start your FREE 7 Day Bluprint Trial! Dive into thousands of hours of expert taught videos.
Ep. 302 Delila Knit Top Sewalong Part 2

Ep. 302 Delila Knit Top Sewalong Part 2

Episode 302 🧵 Behind the Scenes with Angela Wolf We are onto part 2 in the Delila sew along!  We have cut our fabric and ready to sew.  Did you have any questions about fitting?  If so, be sure to take your photos with questions to the Angela Wolf Patterns Facebook...
read more
Ep. 301 Delila Knit Top Sewalong Part 1

Ep. 301 Delila Knit Top Sewalong Part 1

Episode 301 🧵 Behind the Scenes with Angela Wolf Getting into summer and looking for stylish tops to wear with jeans, shorts, or skirts and one of my fist patterns always shows up ... The DelilaDelila Pattern has 9 Options  I designed this pattern to be able to sew...

read more
Ep. 260 Sewing the Shirley Wrap Top with a Sweater Knit

Ep. 260 Sewing the Shirley Wrap Top with a Sweater Knit

Episode 260 🧵 Behind the Scenes with Angela Wolf ~ Sew the Shirley Wrap with a Sweater Knit The Shirley Wrap pattern is so versatile and this time we will use a thicker, sweater knit fabric.    You can find the Shirley pattern in PDF and paper patterns in size XXS -...

read more
Sewing with CraftOptics is a Great Solution for the Eyes!

Sewing with CraftOptics is a Great Solution for the Eyes!

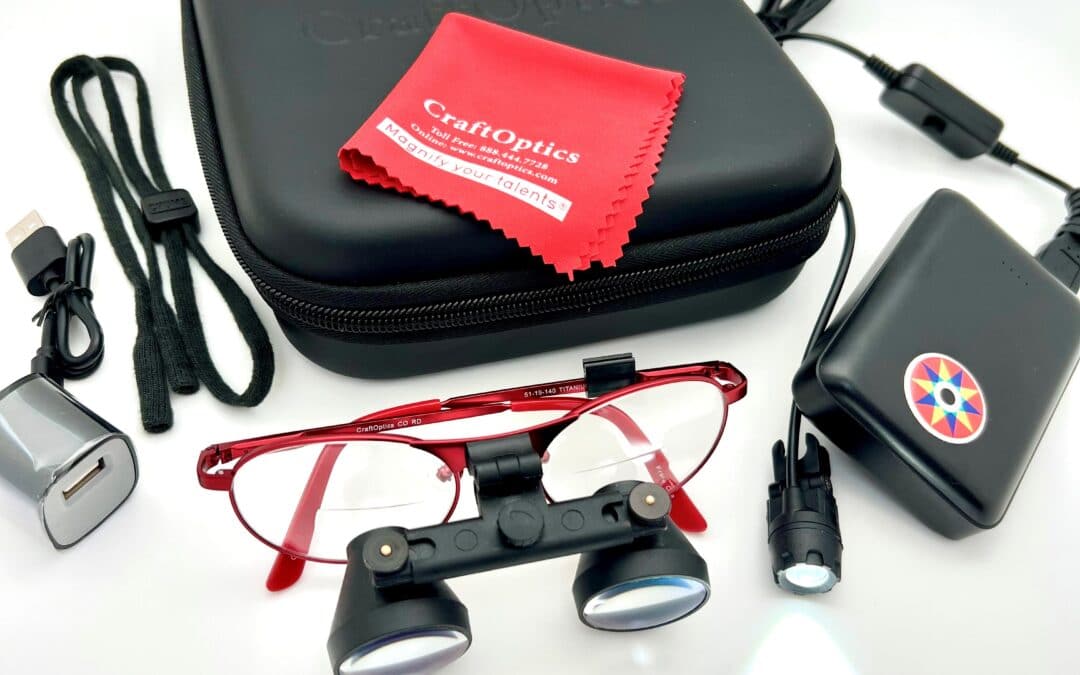
Have you see the WOW package from CraftOptics? I met Jeff Caplan from CraftOptics a few years ago in Puyallup, his booth was around the corner from Kai Scissors.   I was intrigued by the glasses and loved hearing the comments that people would say after trying them...

read more
NEW Skini-Mini Angela Wolf Martelli Ruler Kits

NEW Skini-Mini Angela Wolf Martelli Ruler Kits

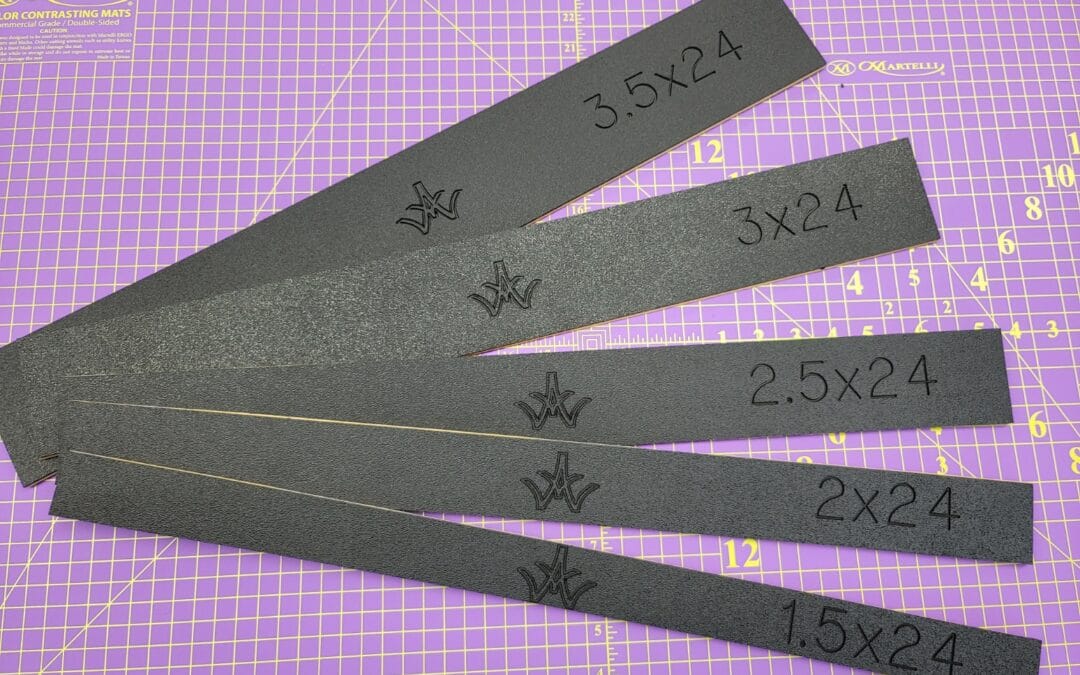
New Angela Wolf & Martelli Ruler Sets I am so excited to announce my new ruler set designed by Martelli.  In case you are new to Martelli, they are a family owned business located in Florida.  I have been testing some of their products the last few months and I am...

read more

EMBELLISHING JEANS WITH FREE MOTION EMBROIDERY

EMBELLISHING JEANS WITH FREE MOTION EMBROIDERY

Embellishing Jeans with Free Motion Embroidery

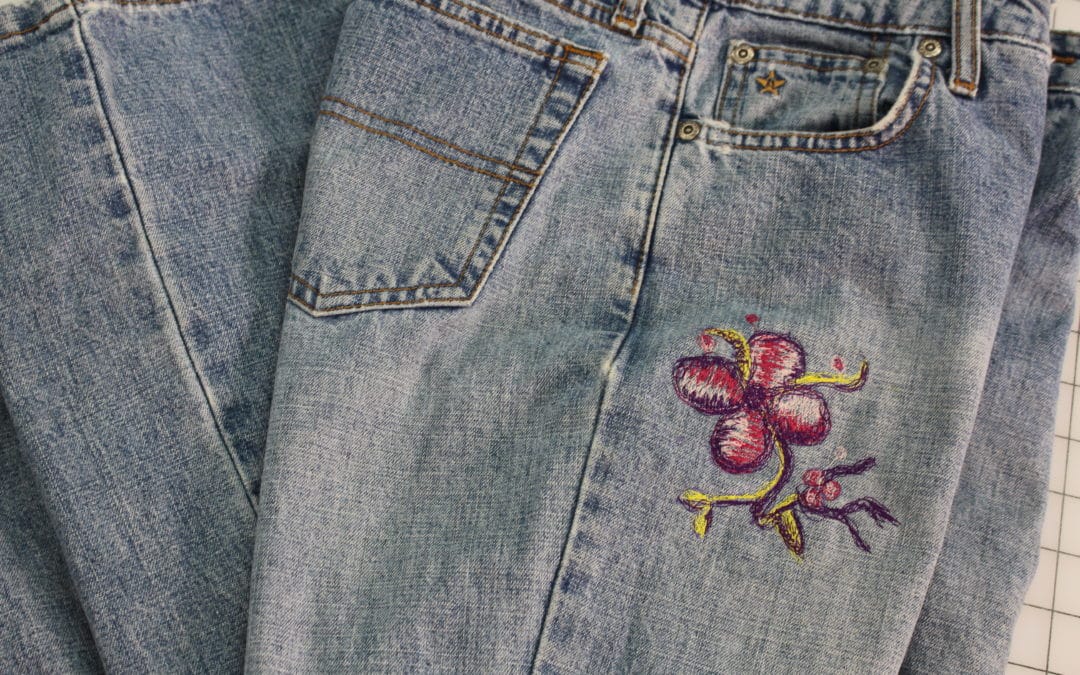
An easy way to restyle or upcycle jeans is to add a touch of embroidery.  Free motion embroidery, also referred to as thread painting, is so easy and you don’t even need an embroidery machine for this technique.  Instead we are going to use free motion quilting / embroidery techniques.

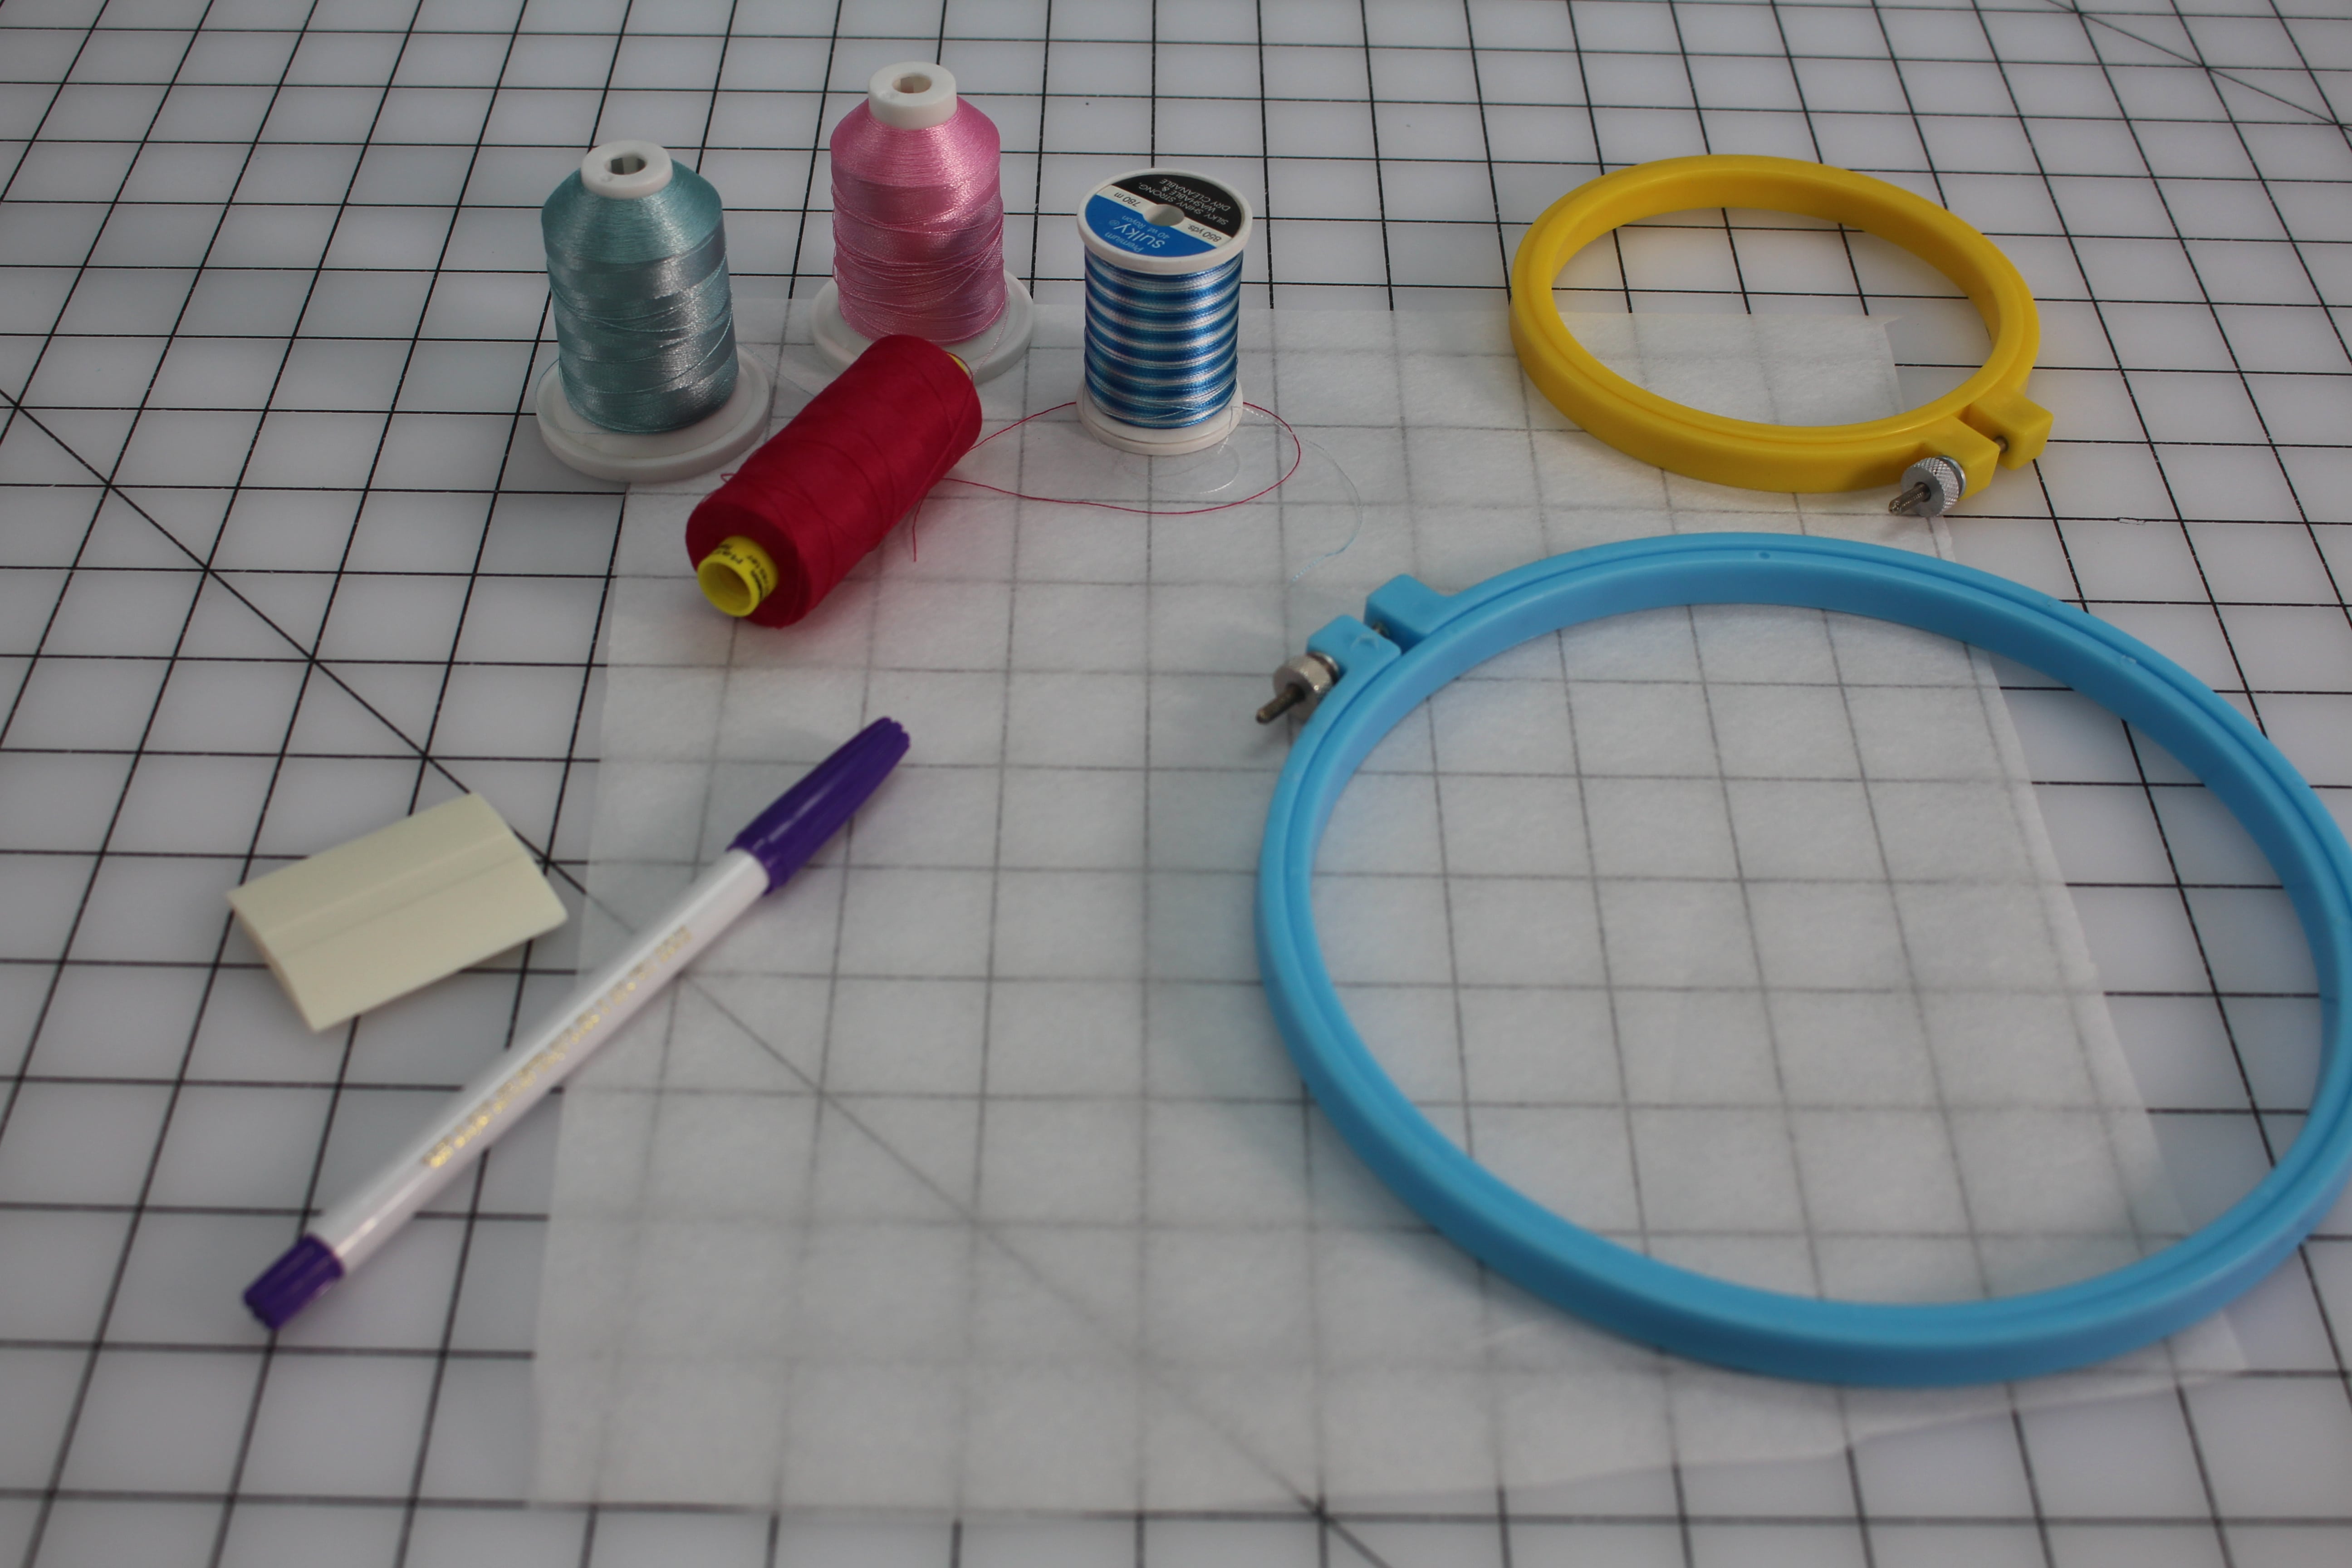
Supplies Needed:

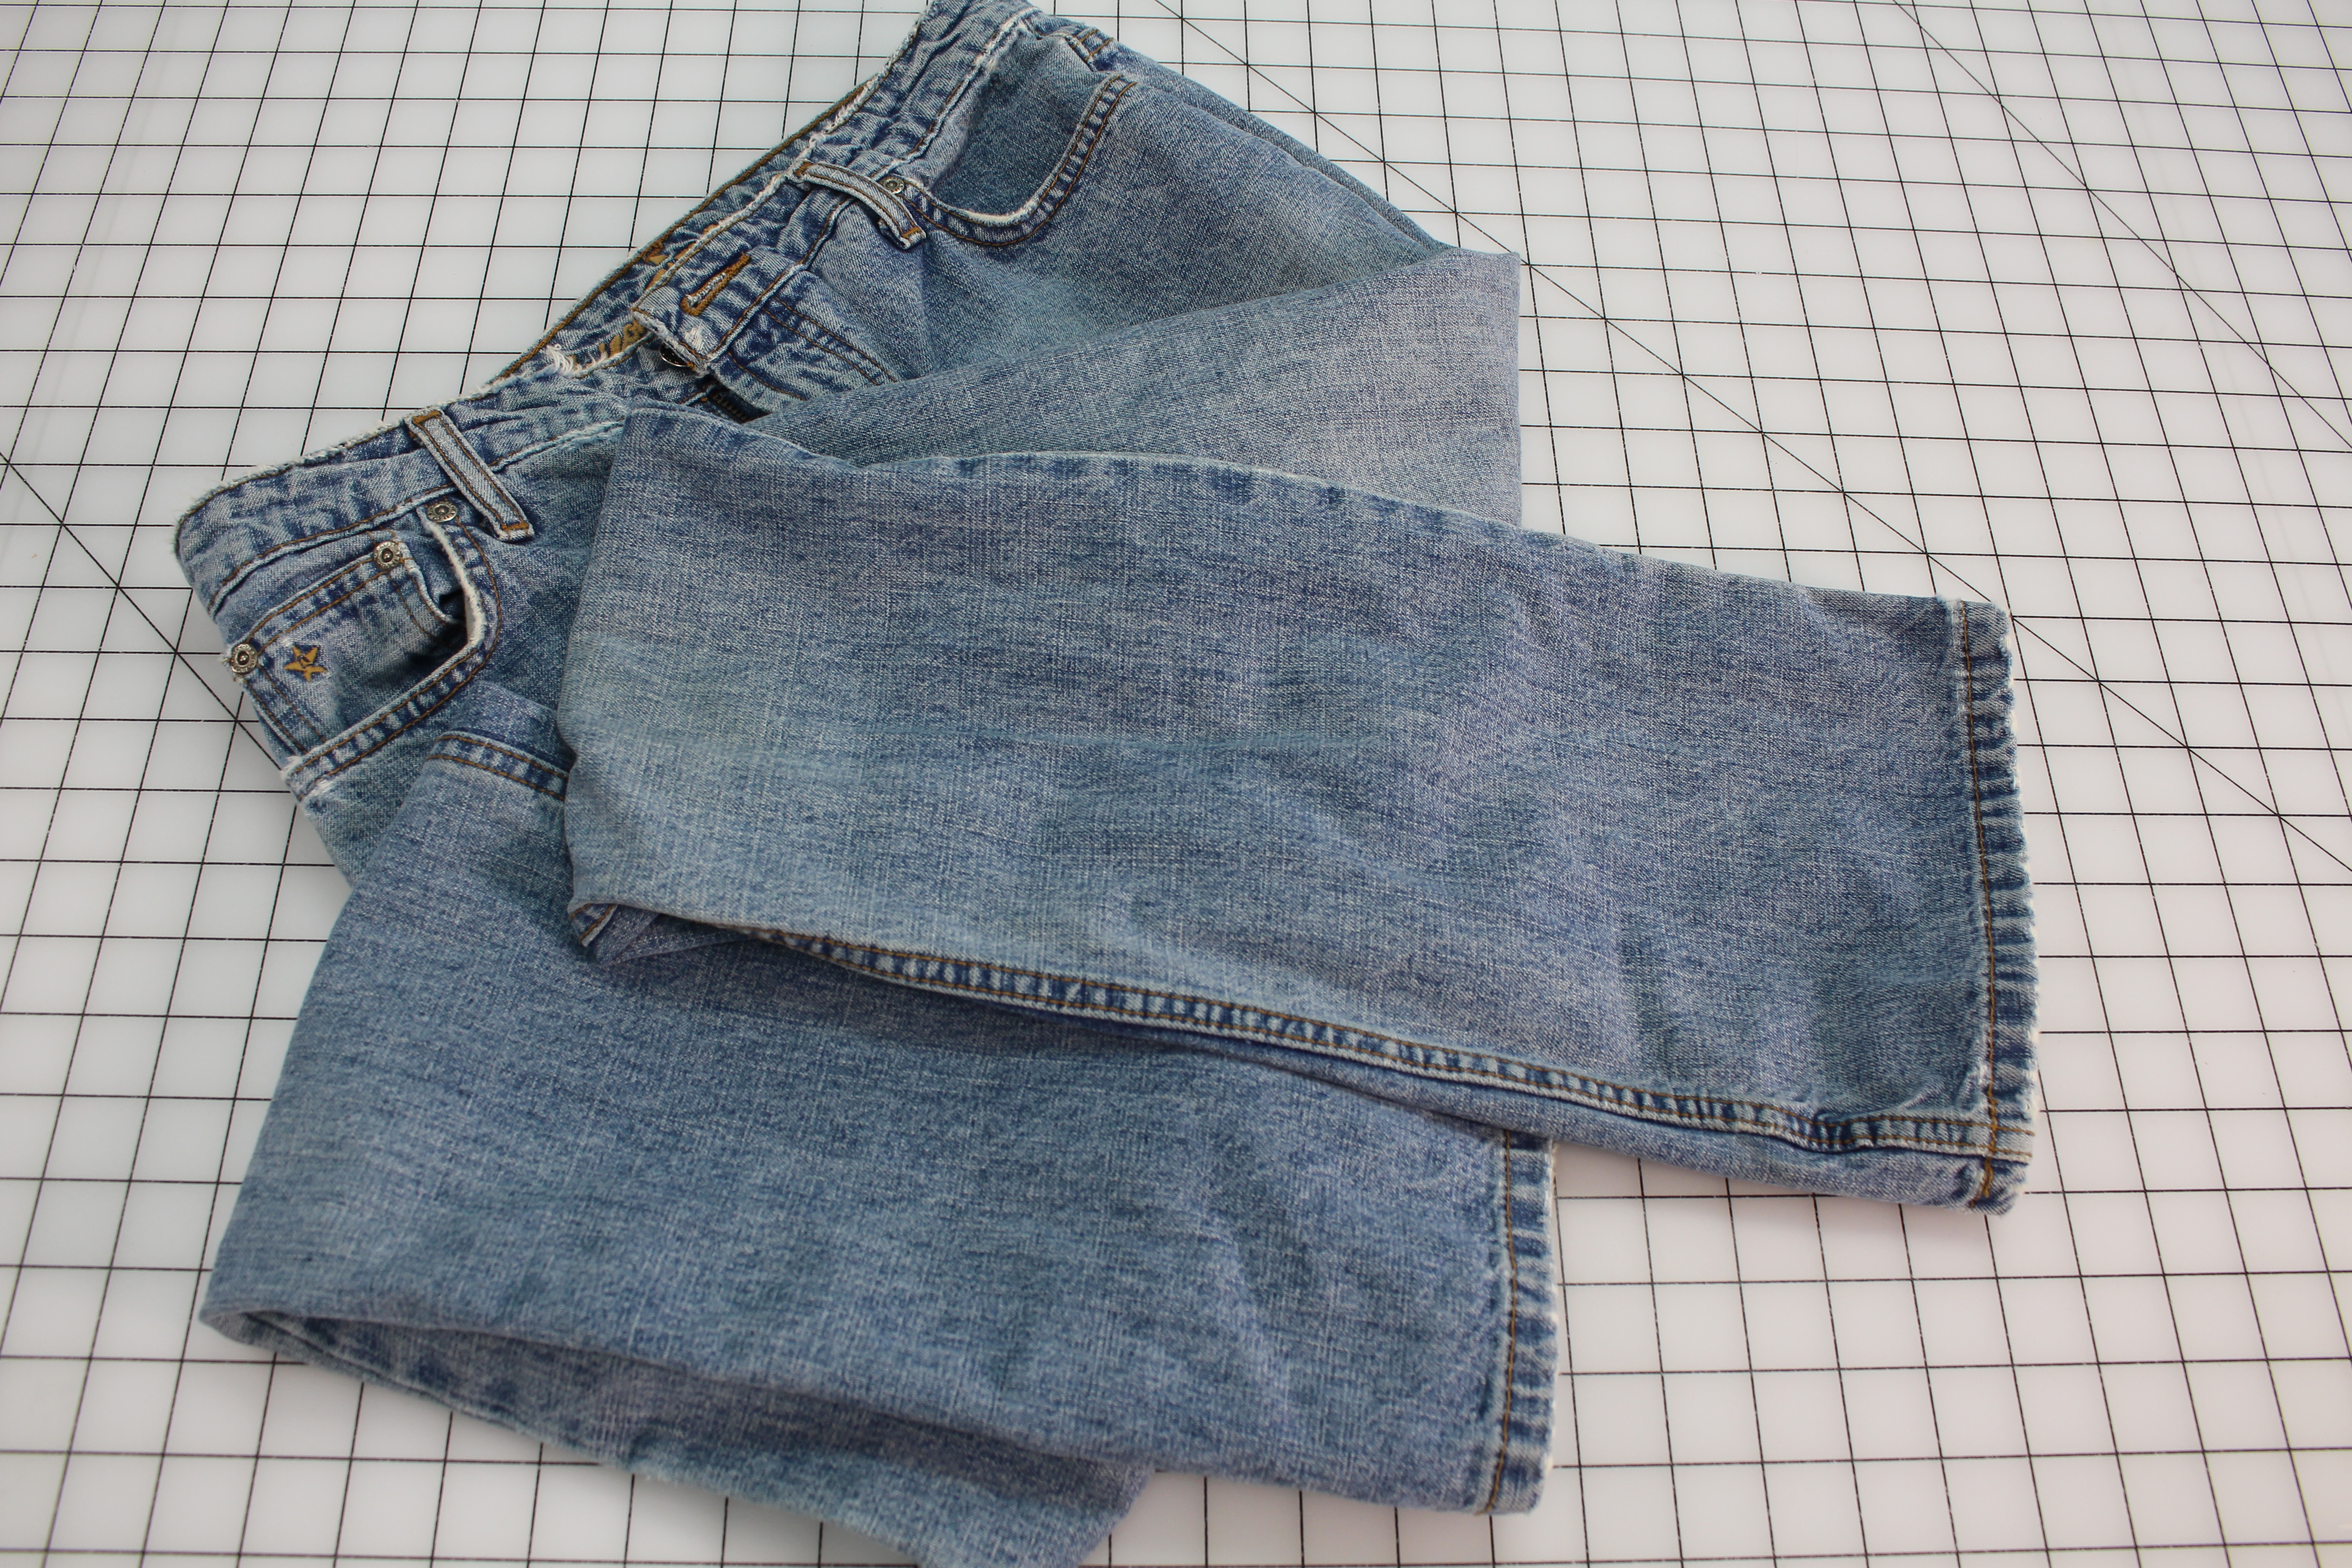
  • Jeans
  • Medium Weight Tear-away Stabilizer
  • Any type of thread (all-purpose, rayon, embroidery, silk, cotton)
  • Embroidery Hoop
  • Fabric marking pen or chalk
  • Open toe quilting foot

Layout the Design

Try on the jeans and determine where you want the embellishment to go.  A few things to keep in mind:

Don’t place the embroidery:

    • too close to the zipper
    • on top of thick seams
    • over thick pockets
    • on top of metal rivets
    • Too far down the leg (remember you need to get to the area to stitch J)

Good places for the embroidery:

  • Above the hemline
  • Along the back yoke (avoiding the center back seam)
  • Front hip
  • Waistband

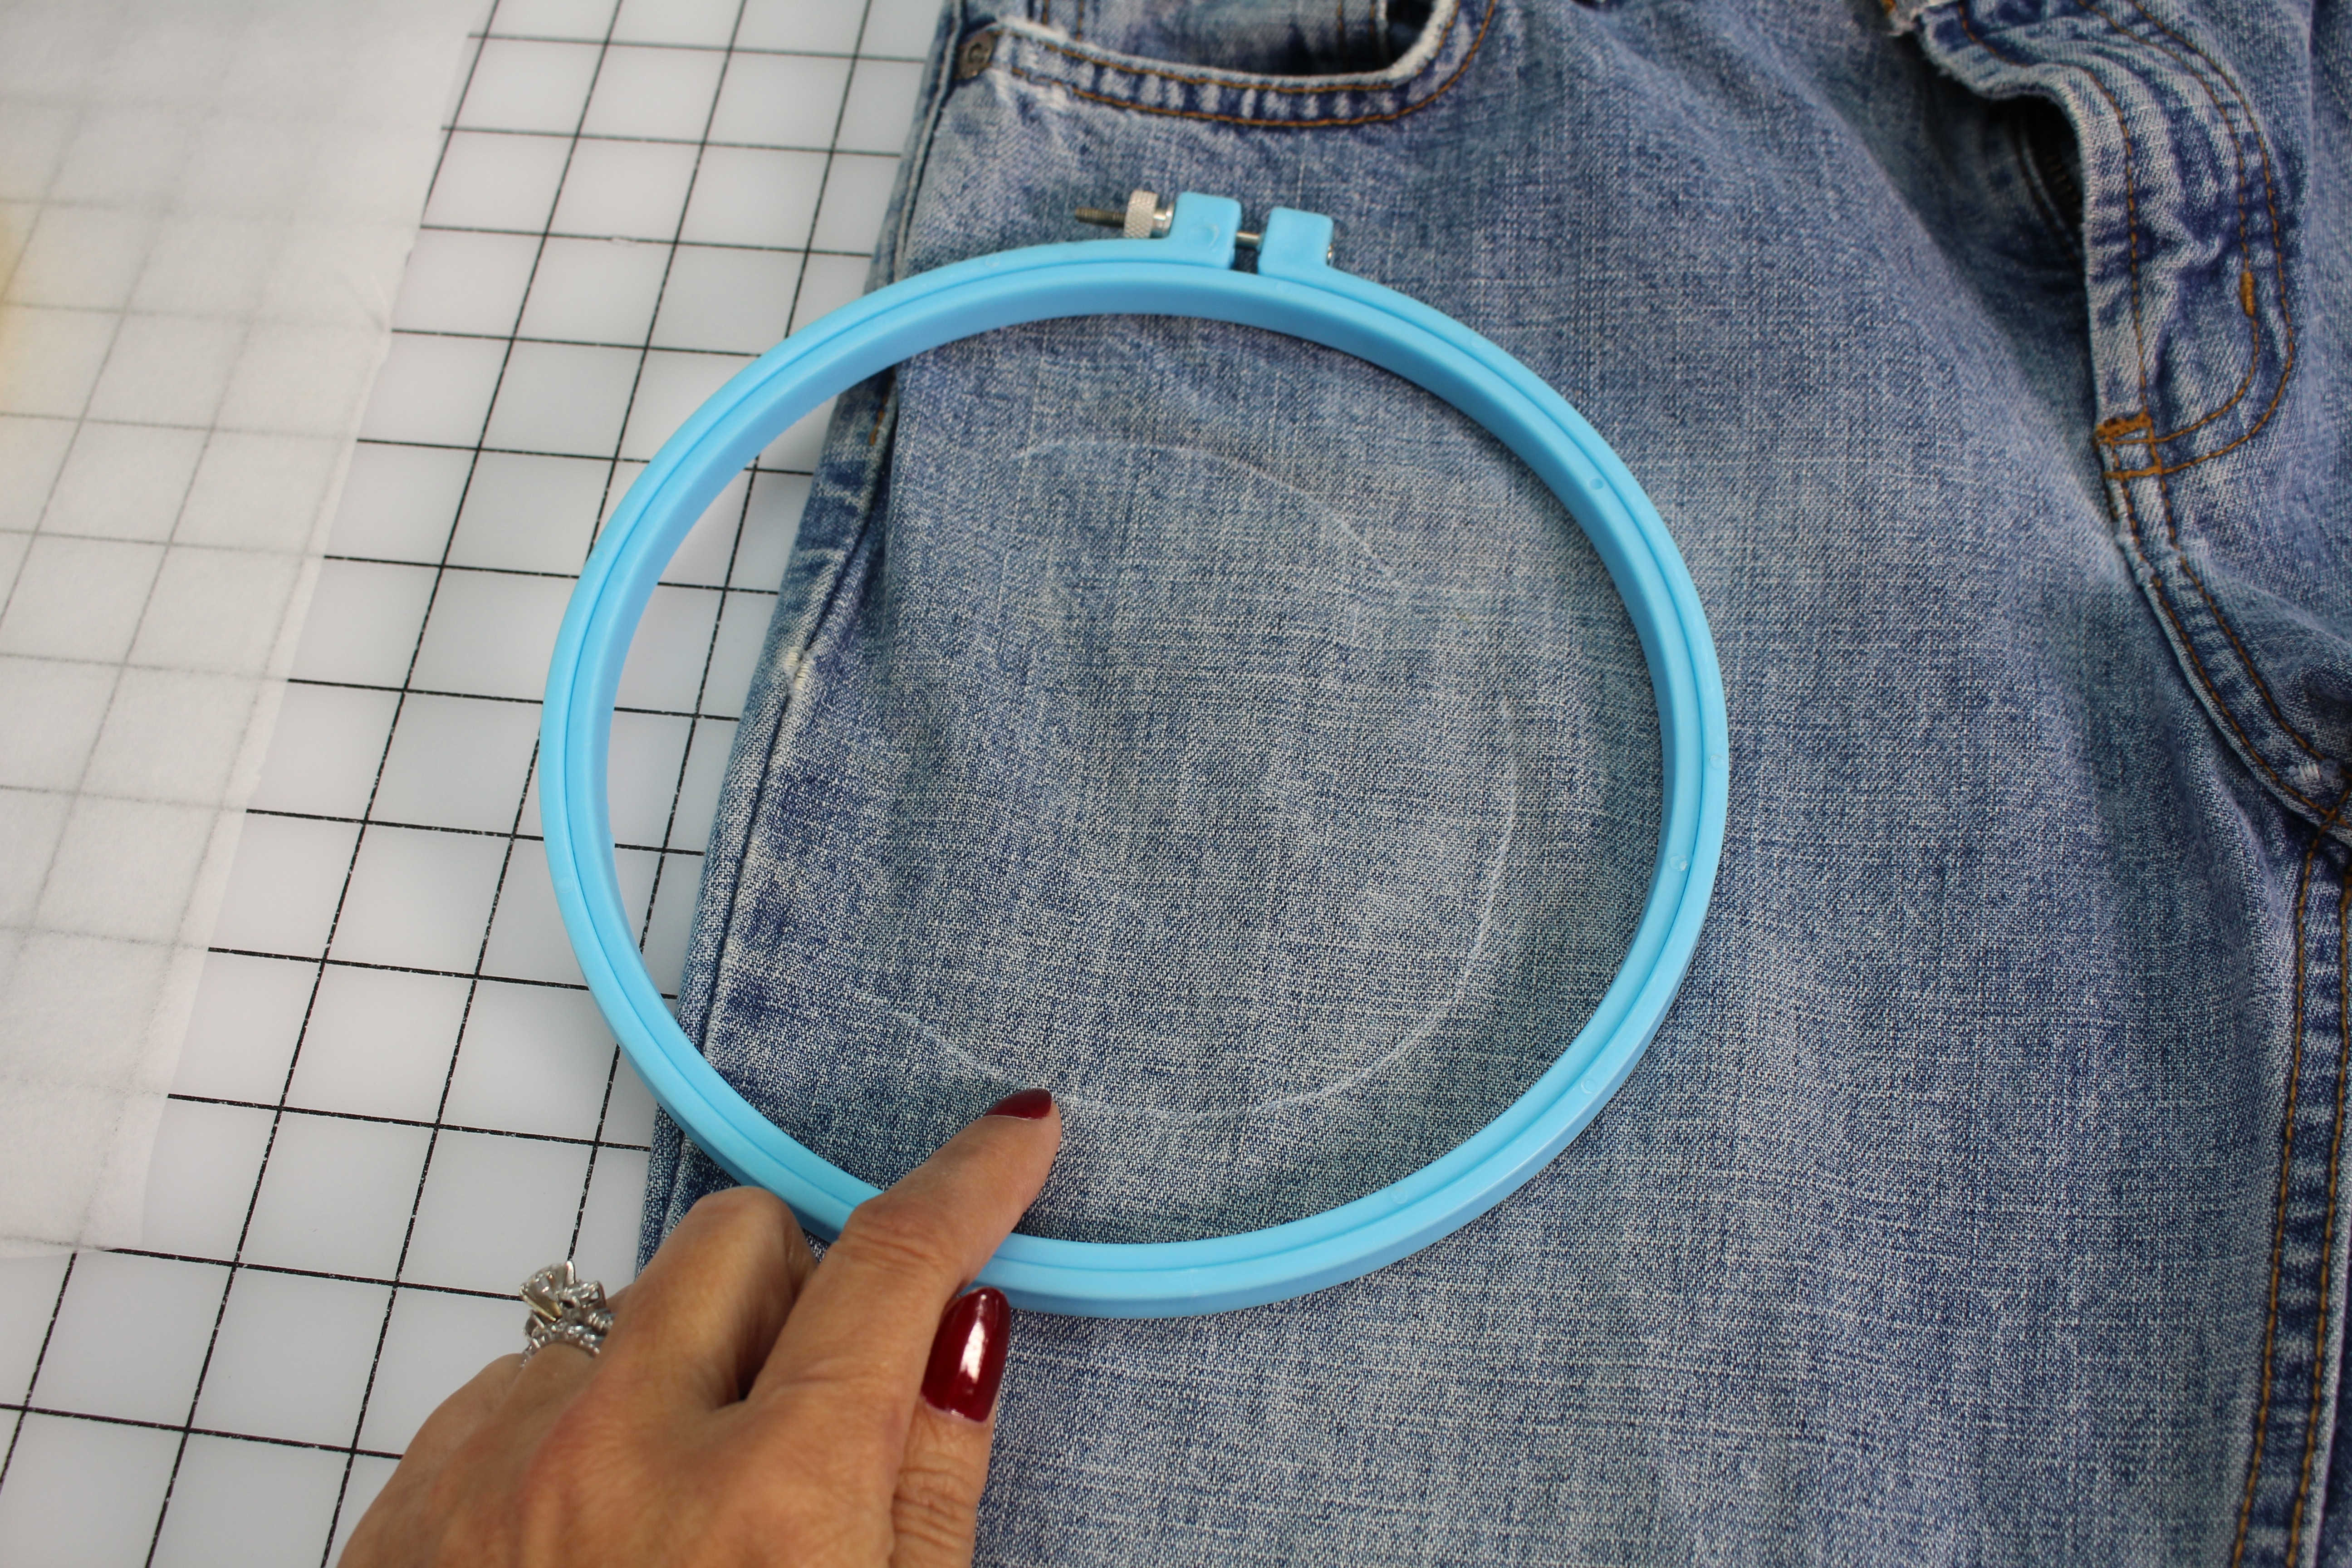
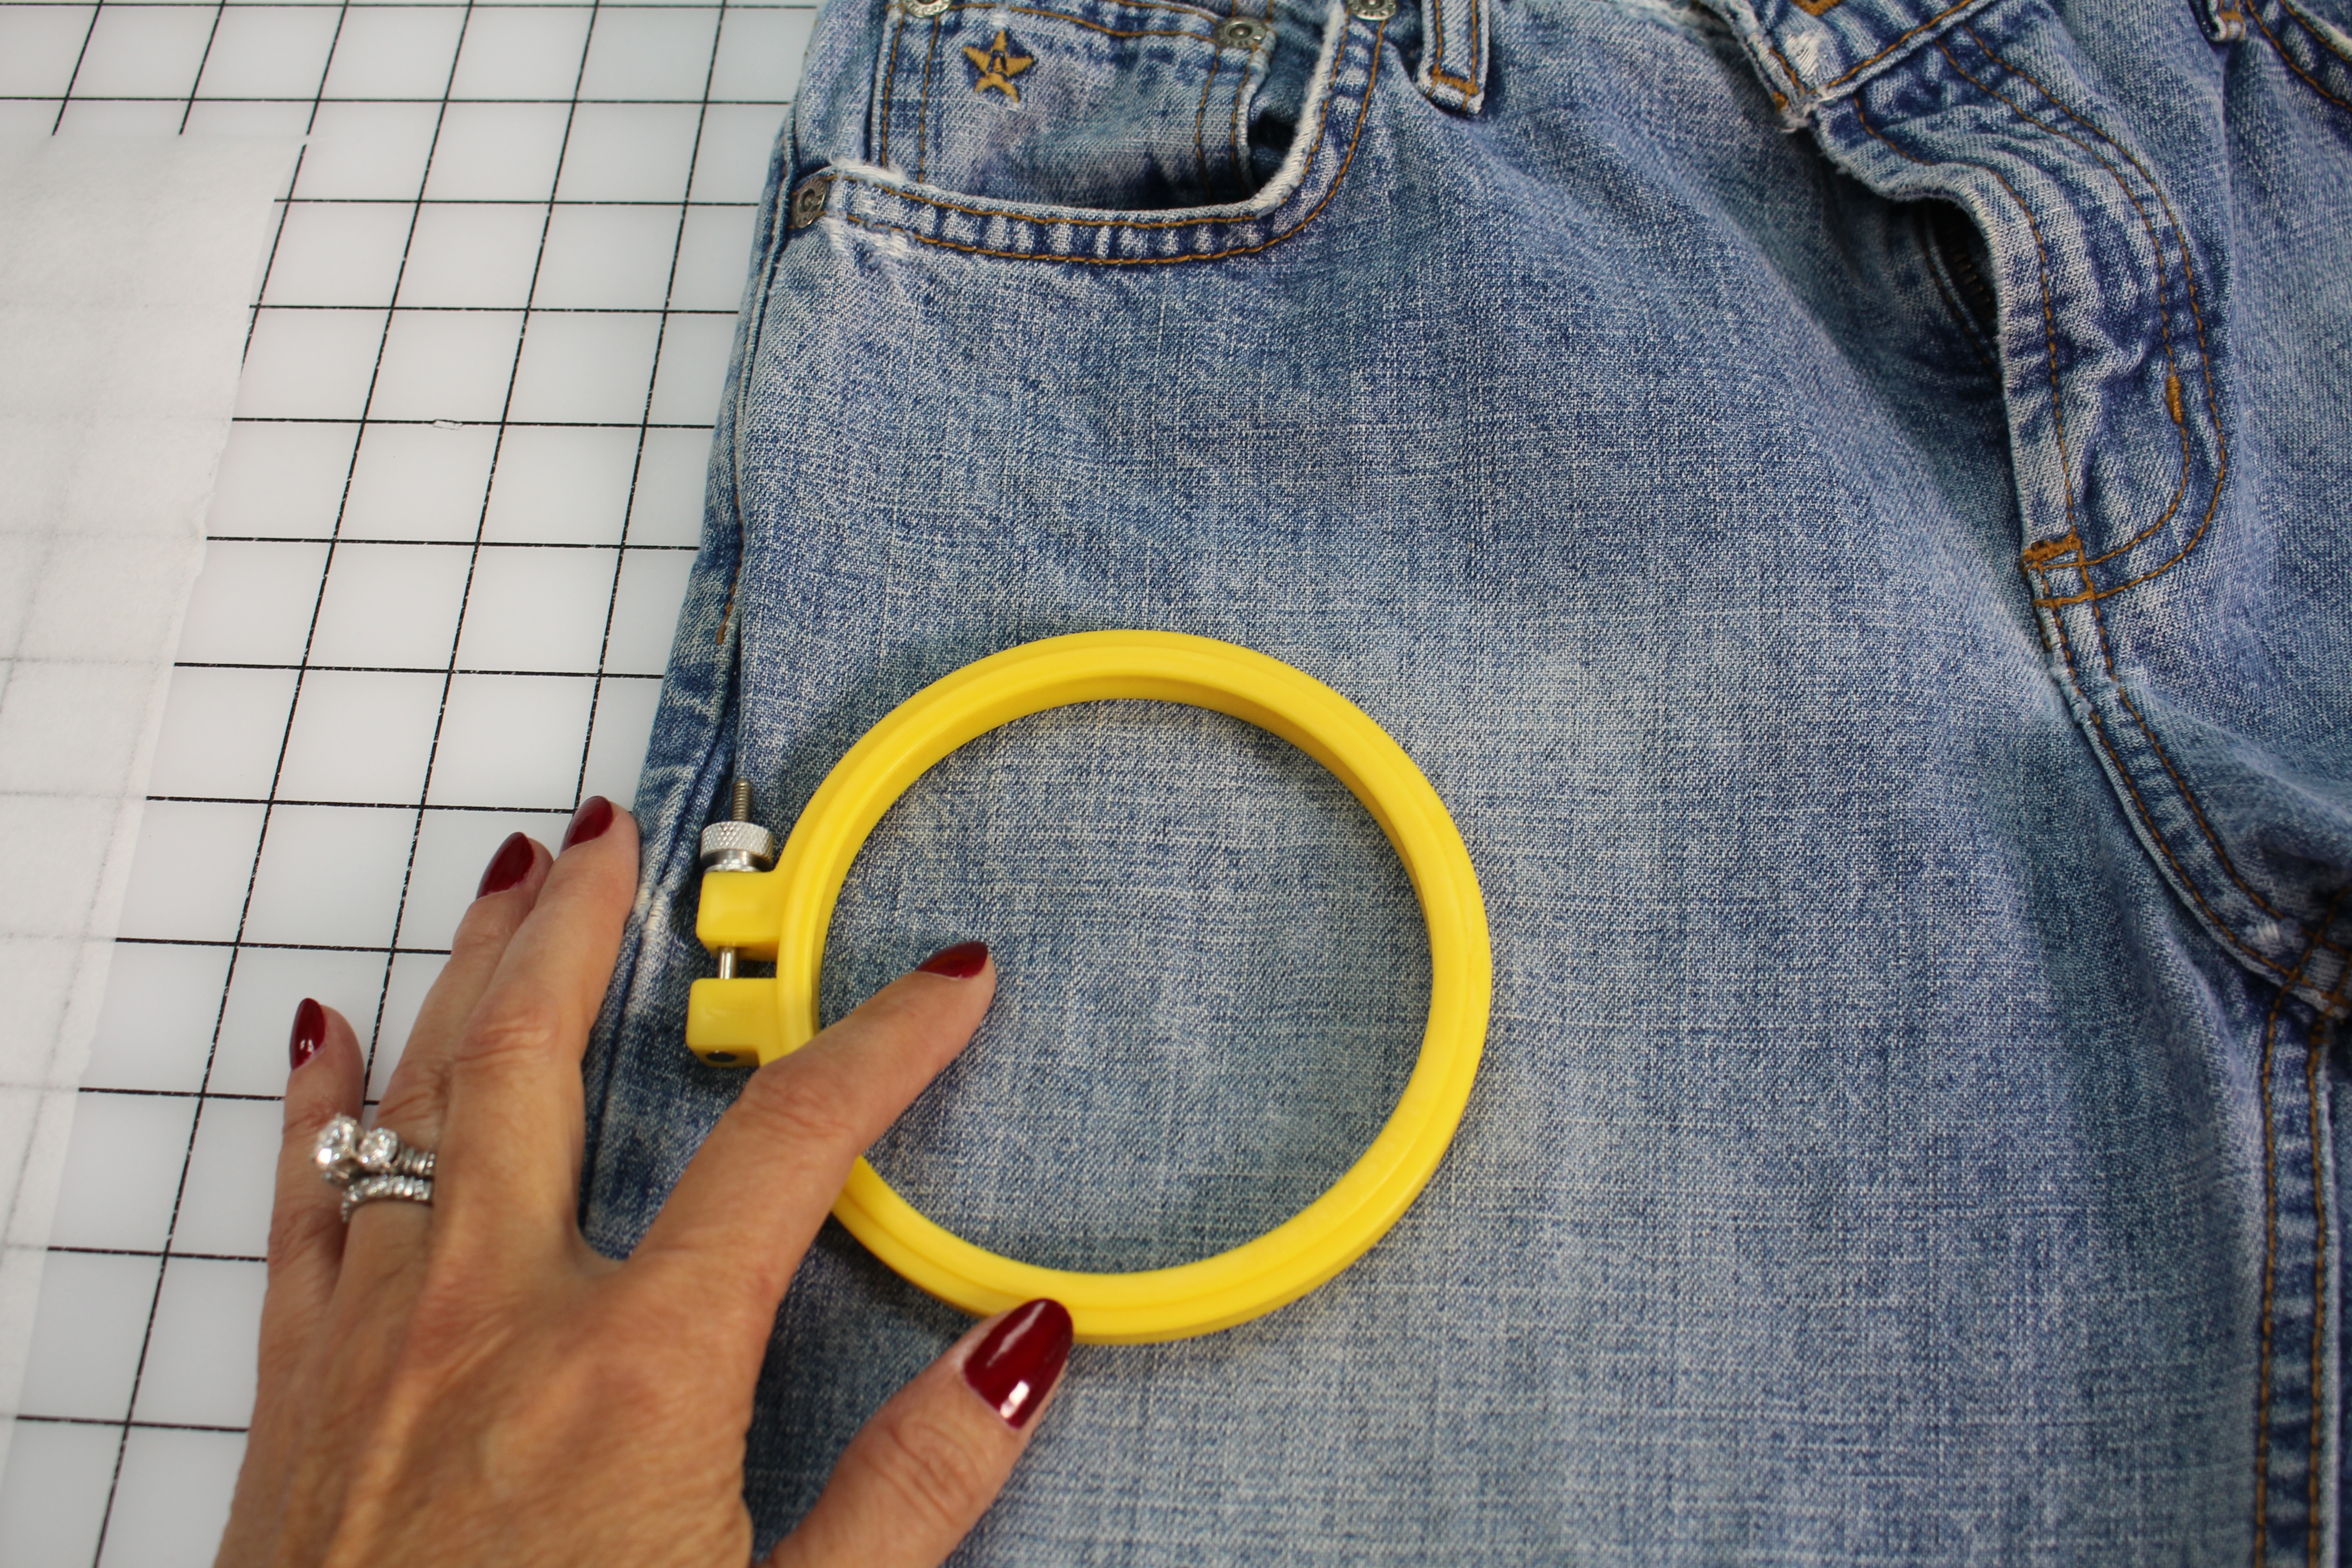
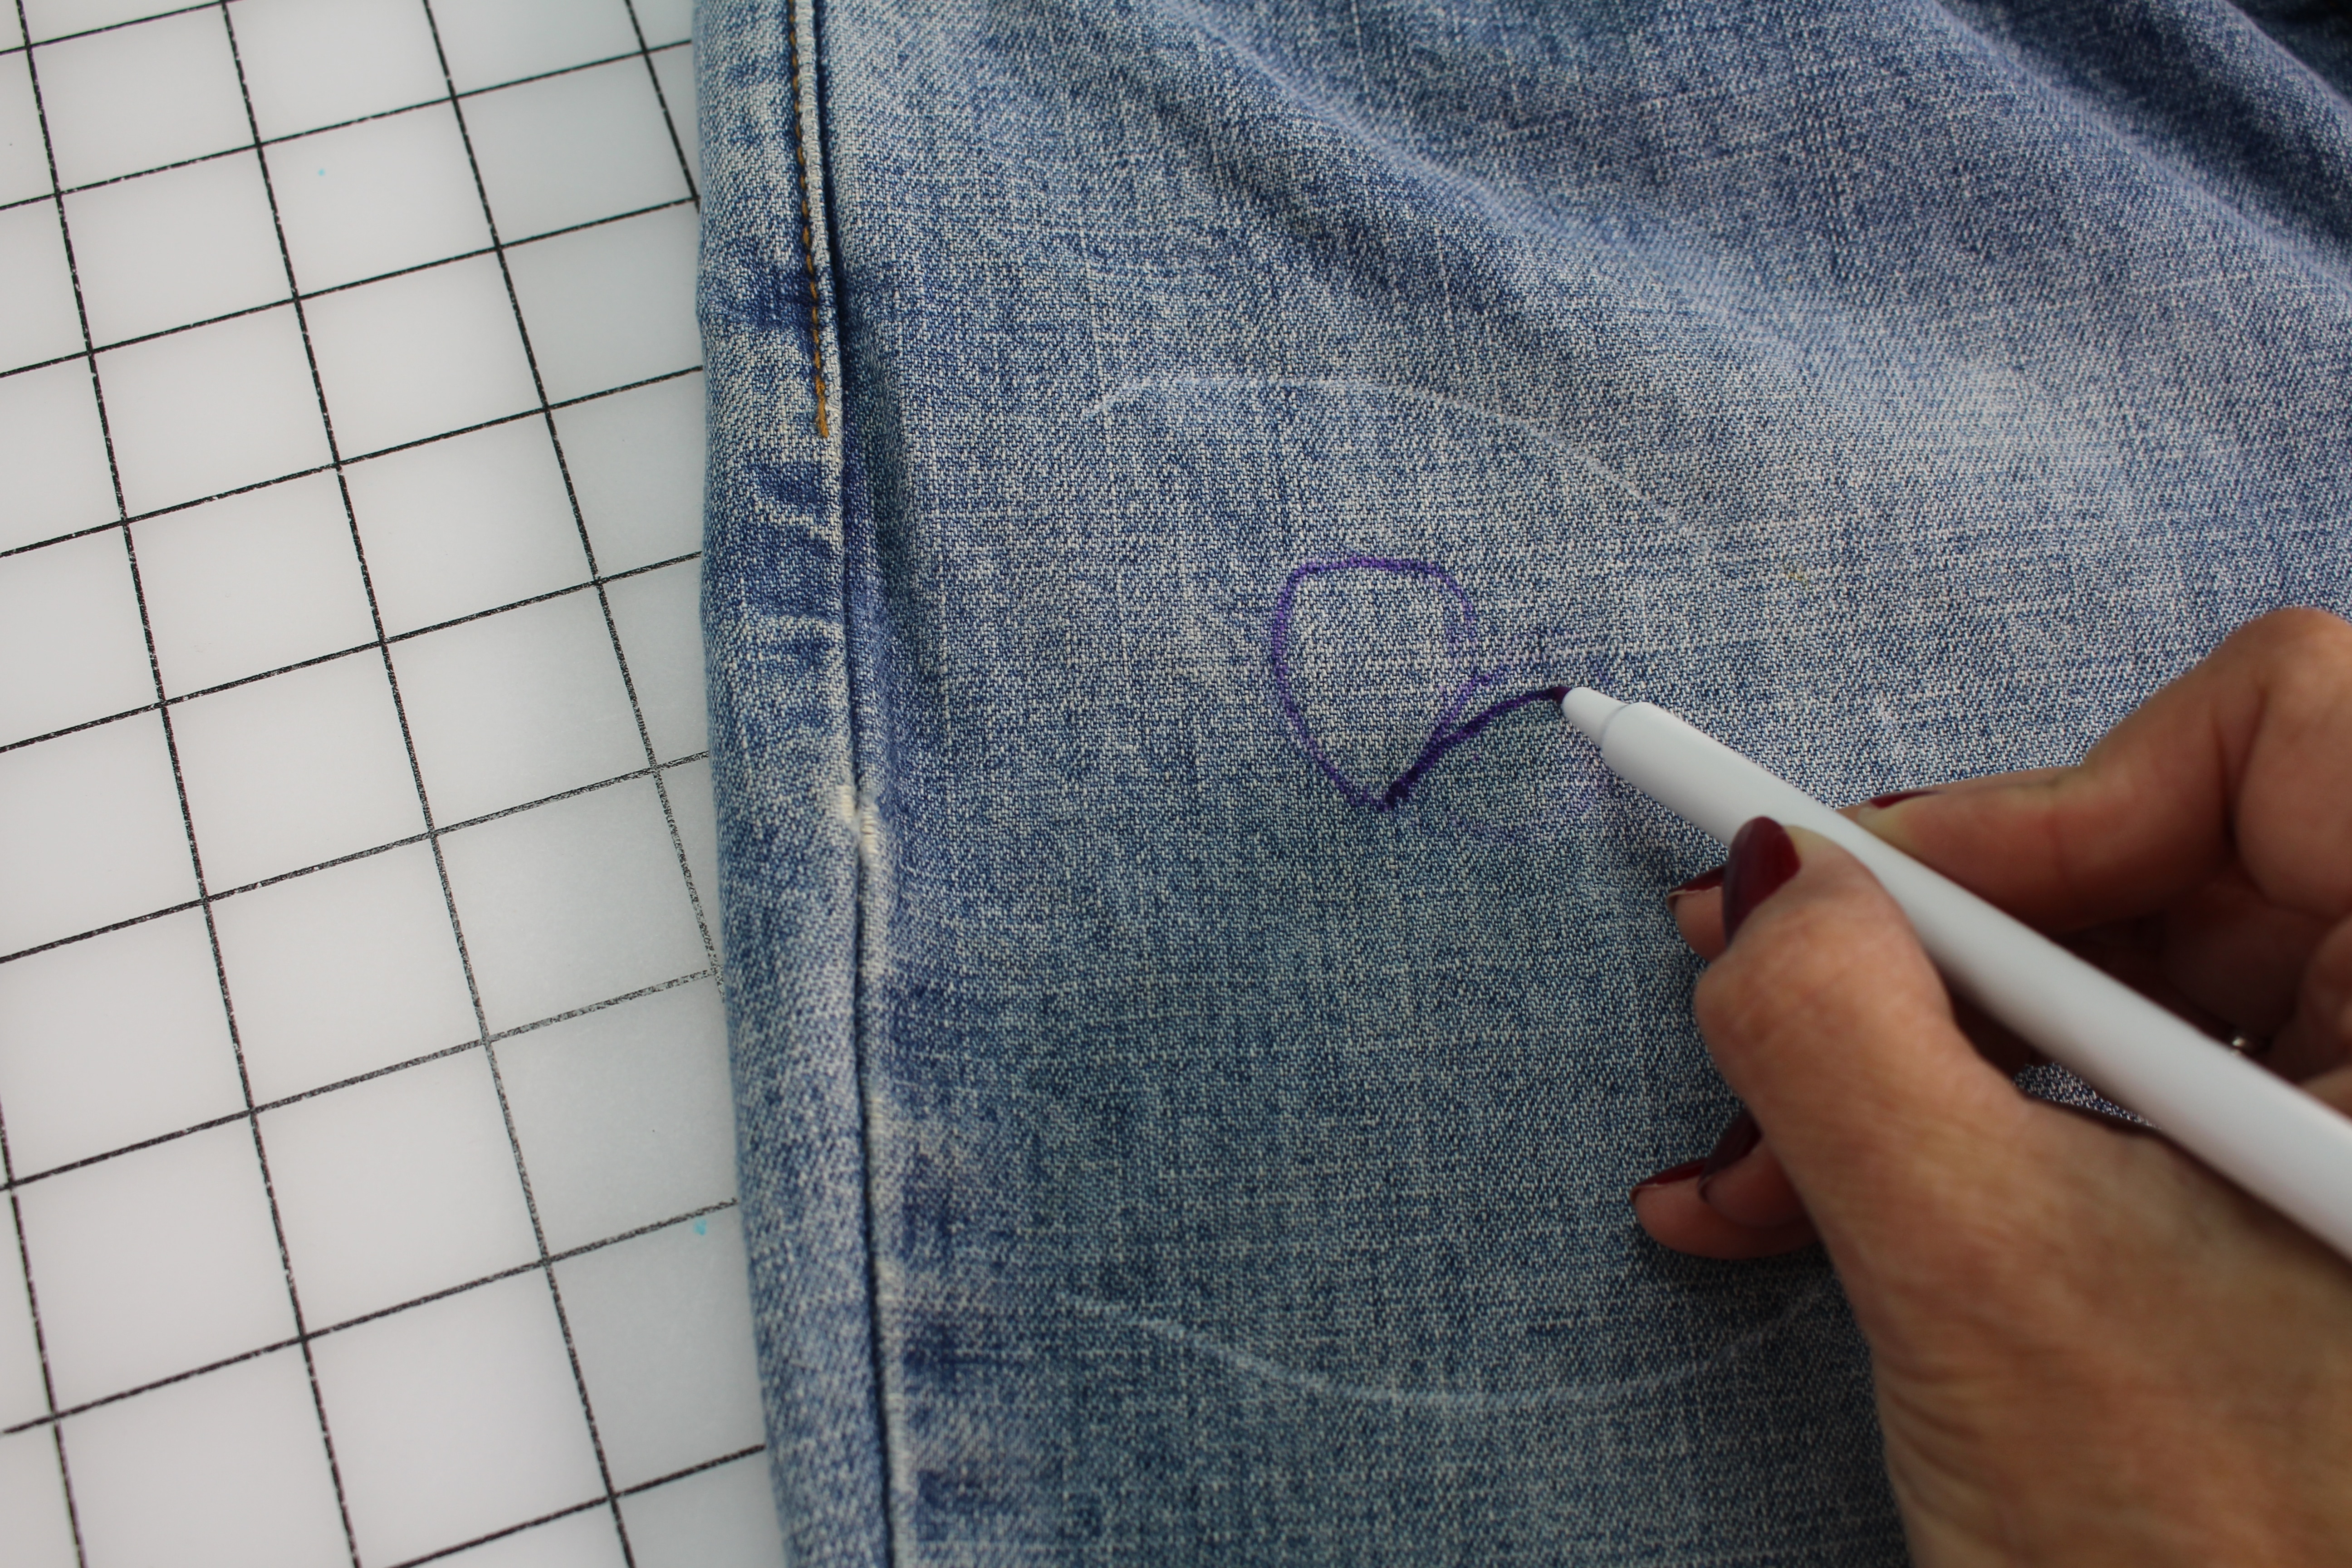
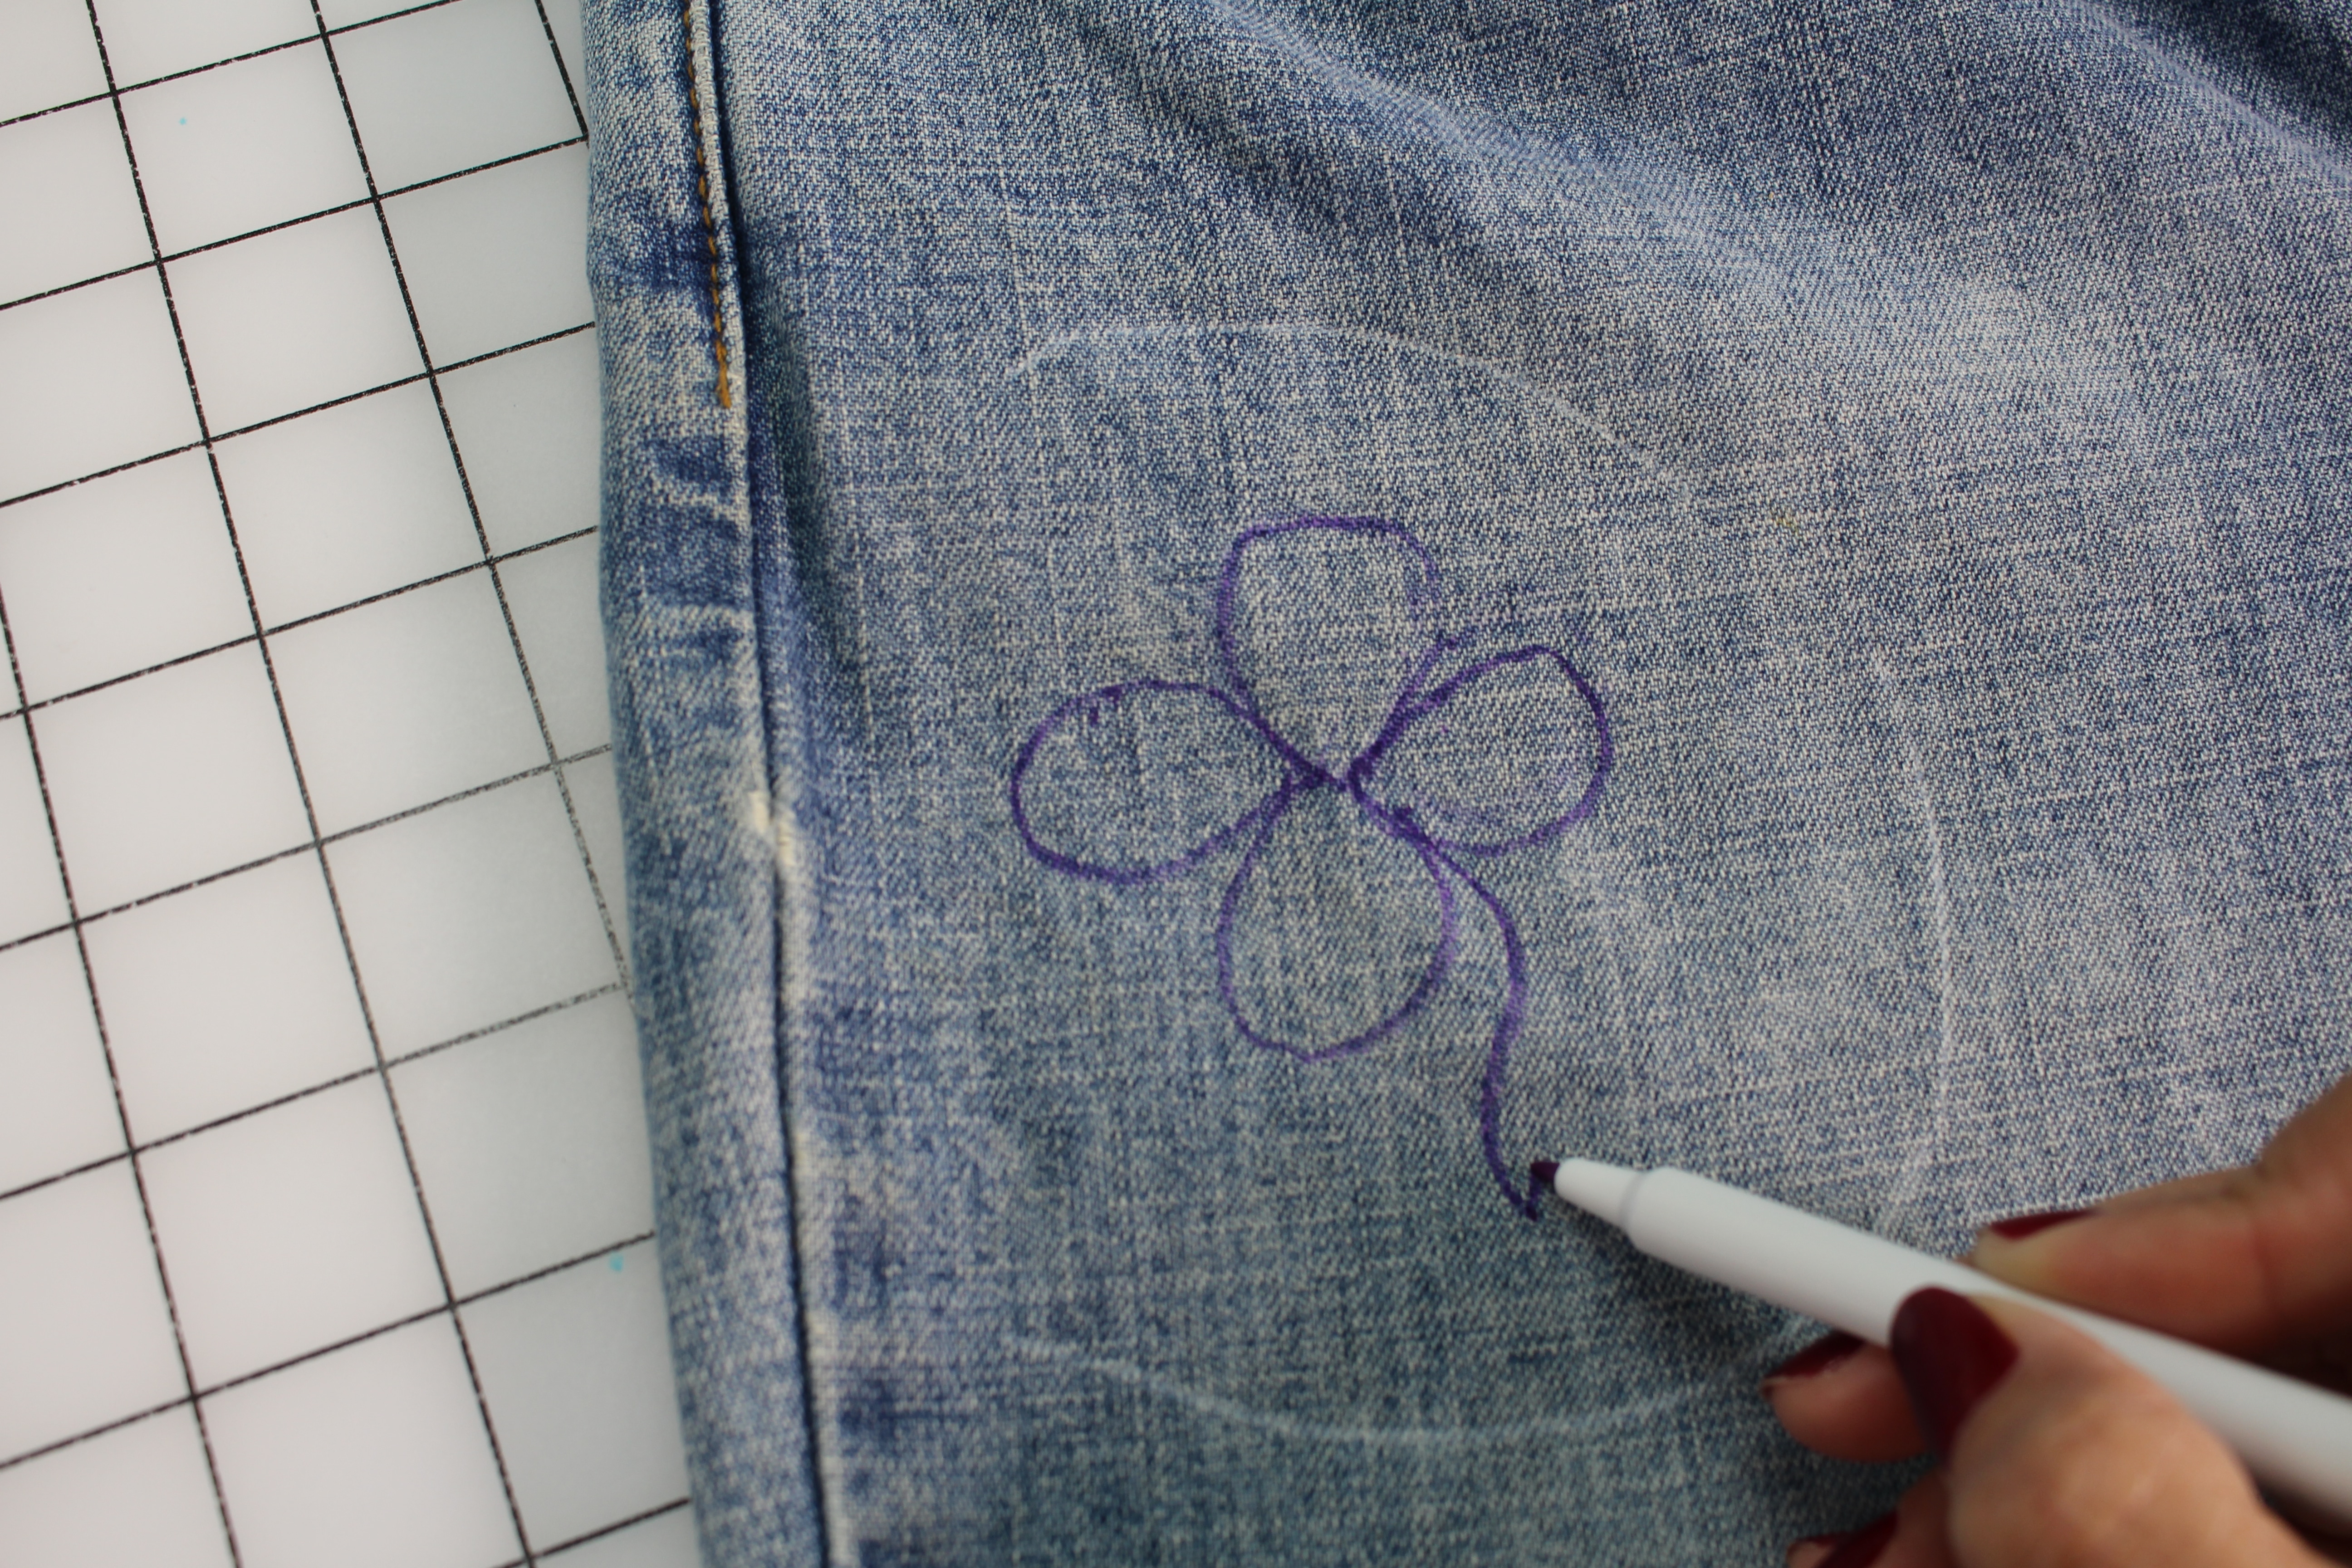
Choose a hoop size that can easily fit into the jean pant leg and large enough for the design you have in mind.  Using tailors chalk, mark the placement for the design.

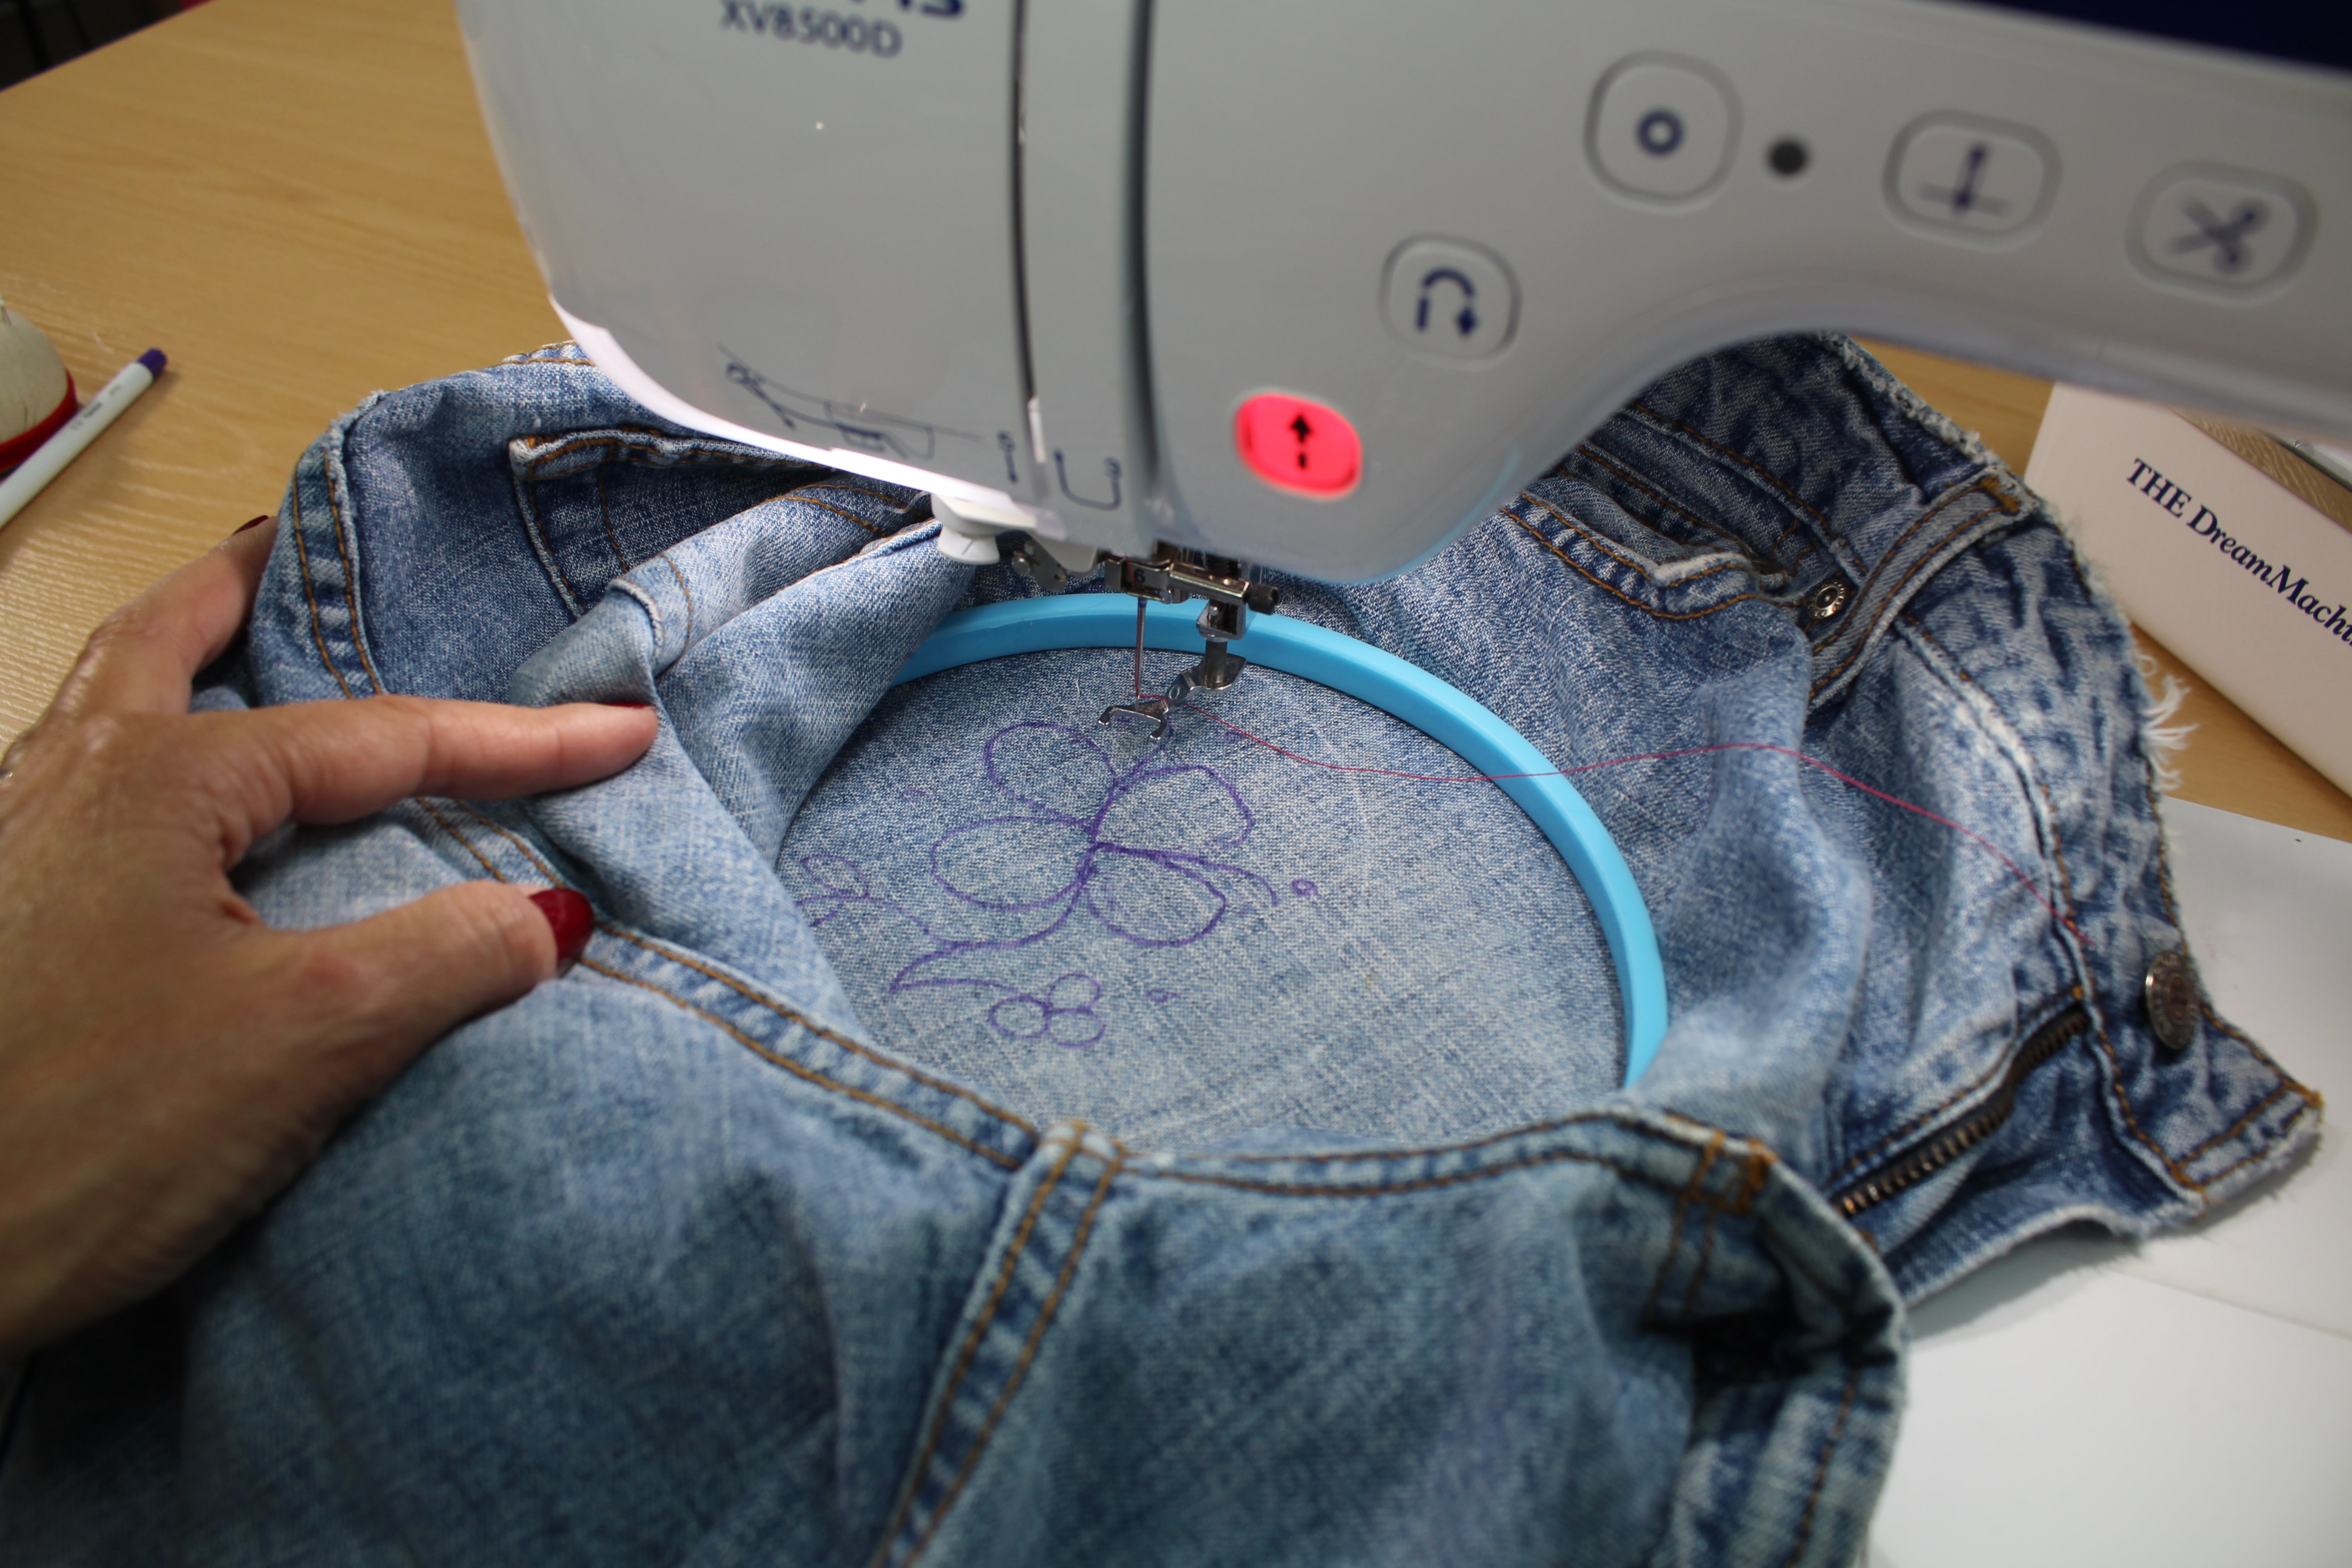
Draw a design with a fabric pen.

Hooping the Jeans

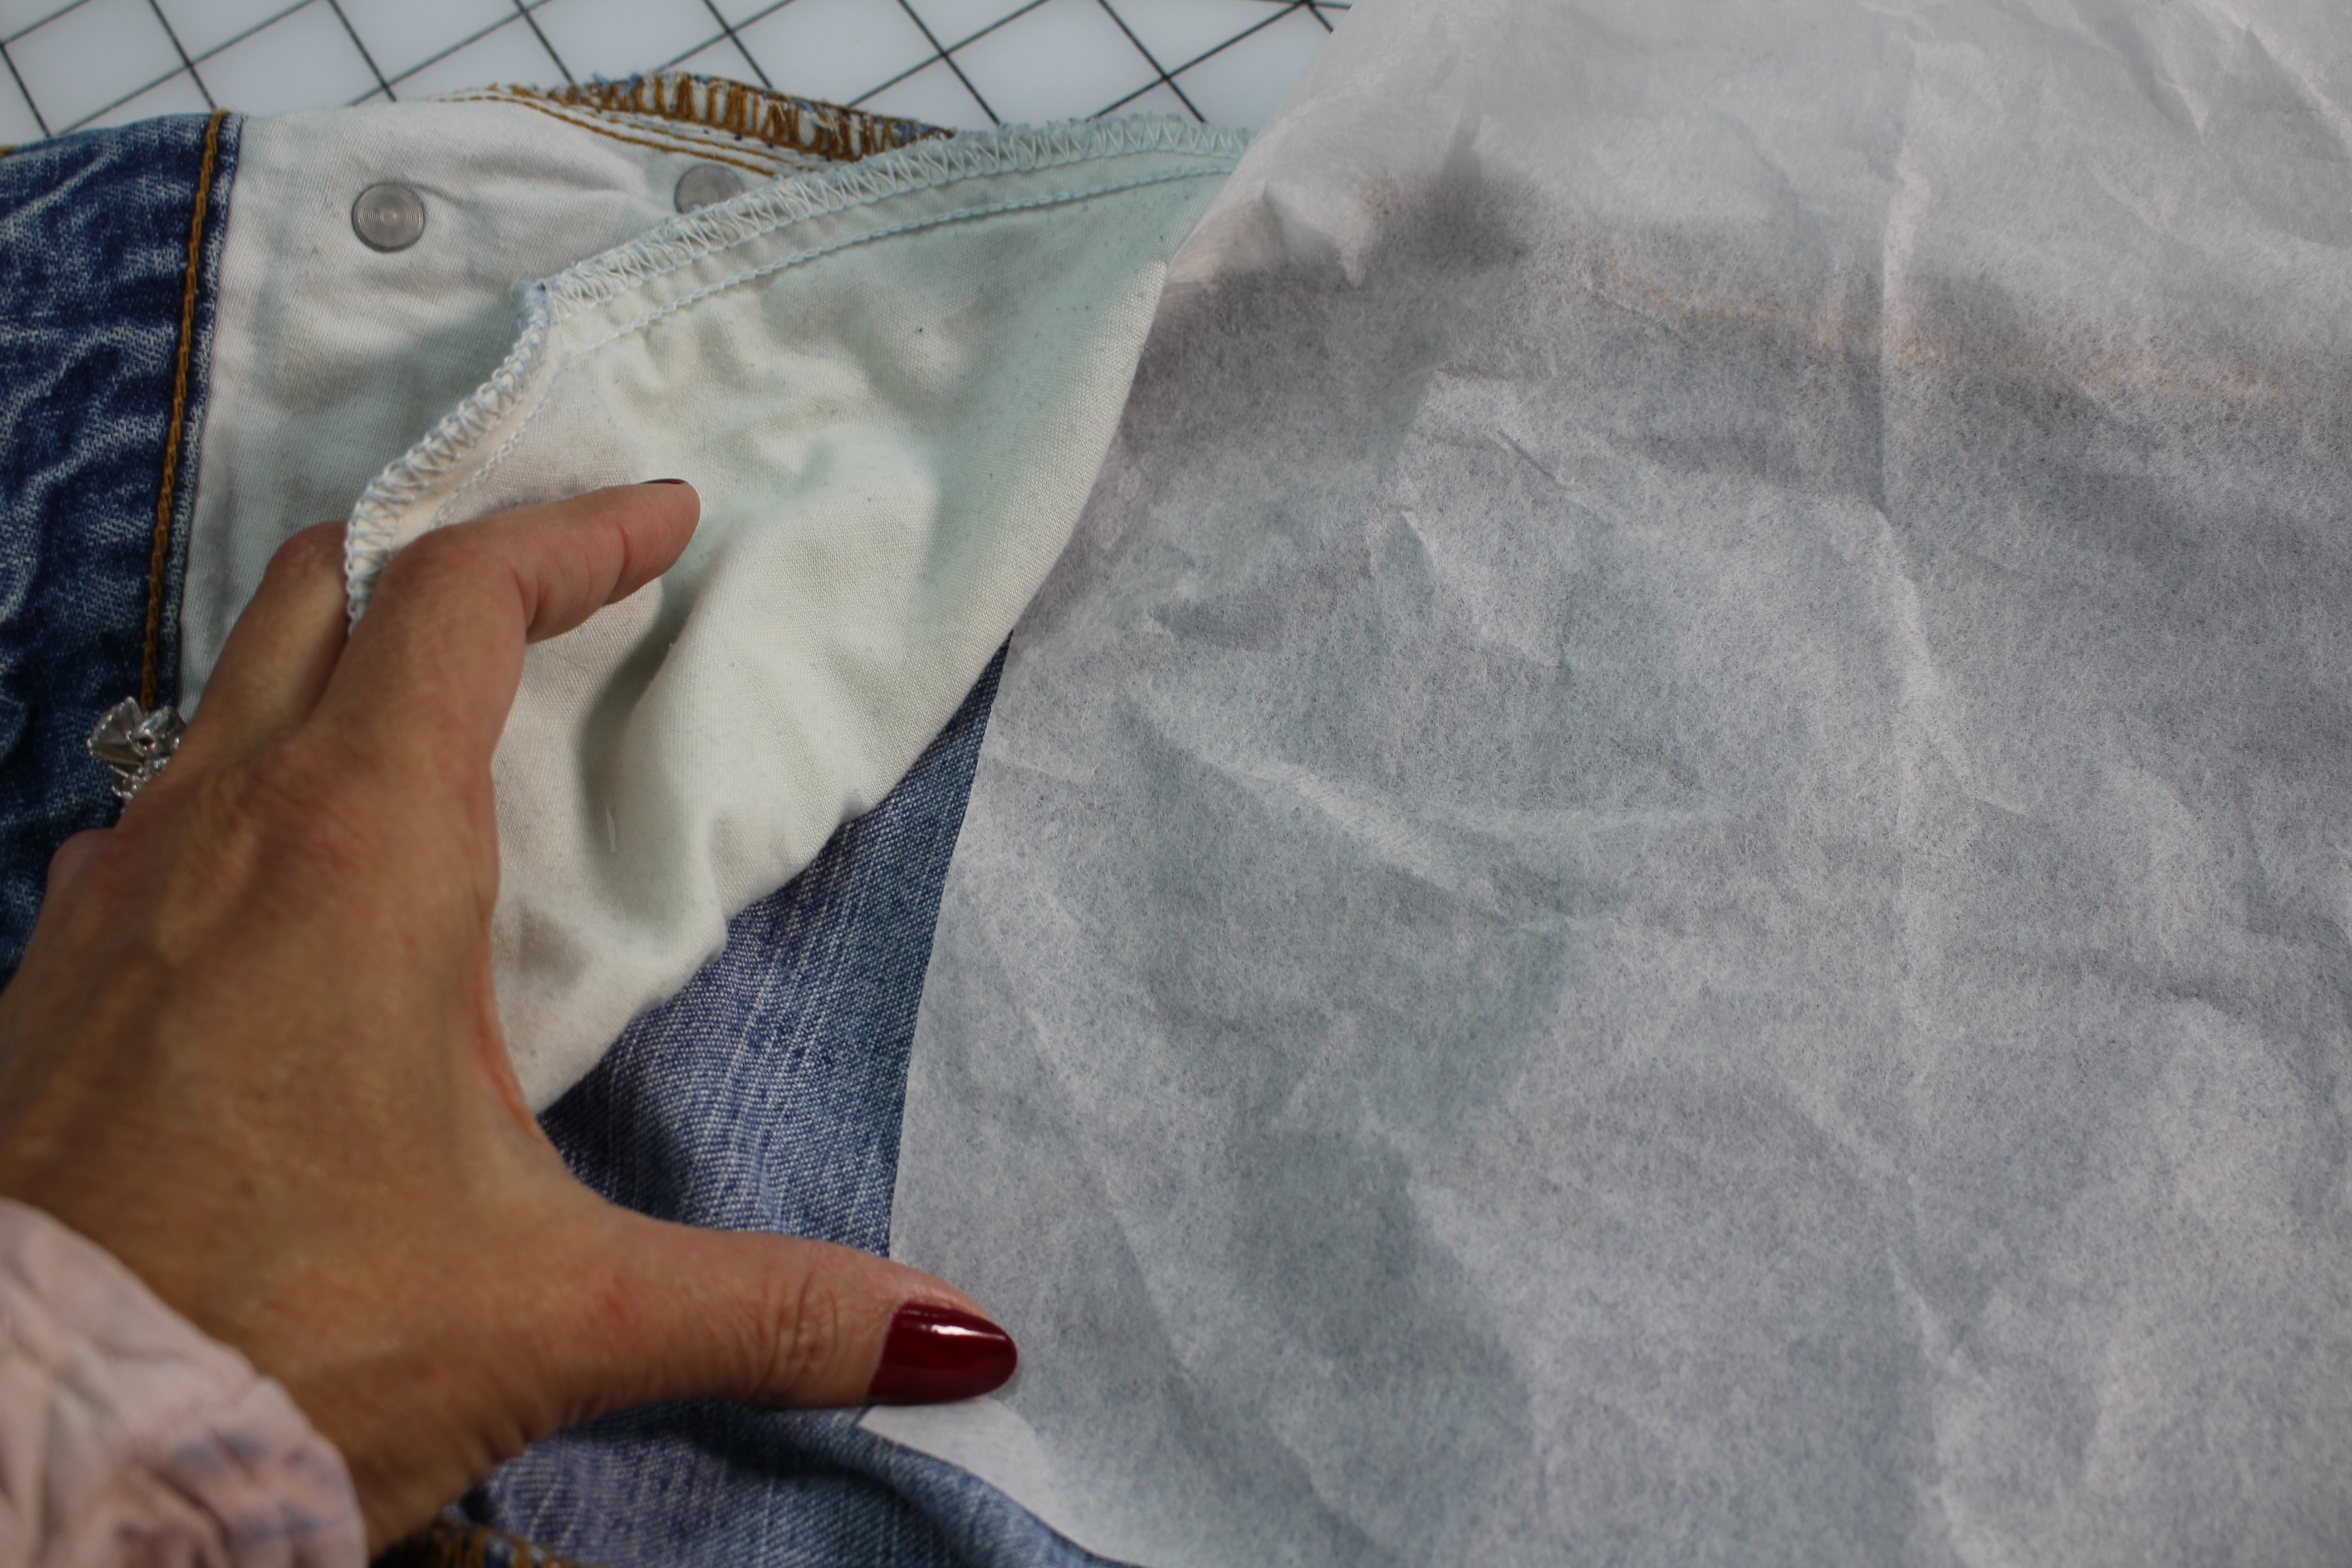
Slide the stabilizer into the jeans leg behind the design area.  My design is close to the front pocket, so I will pull the pocket lining out of the hooping area.

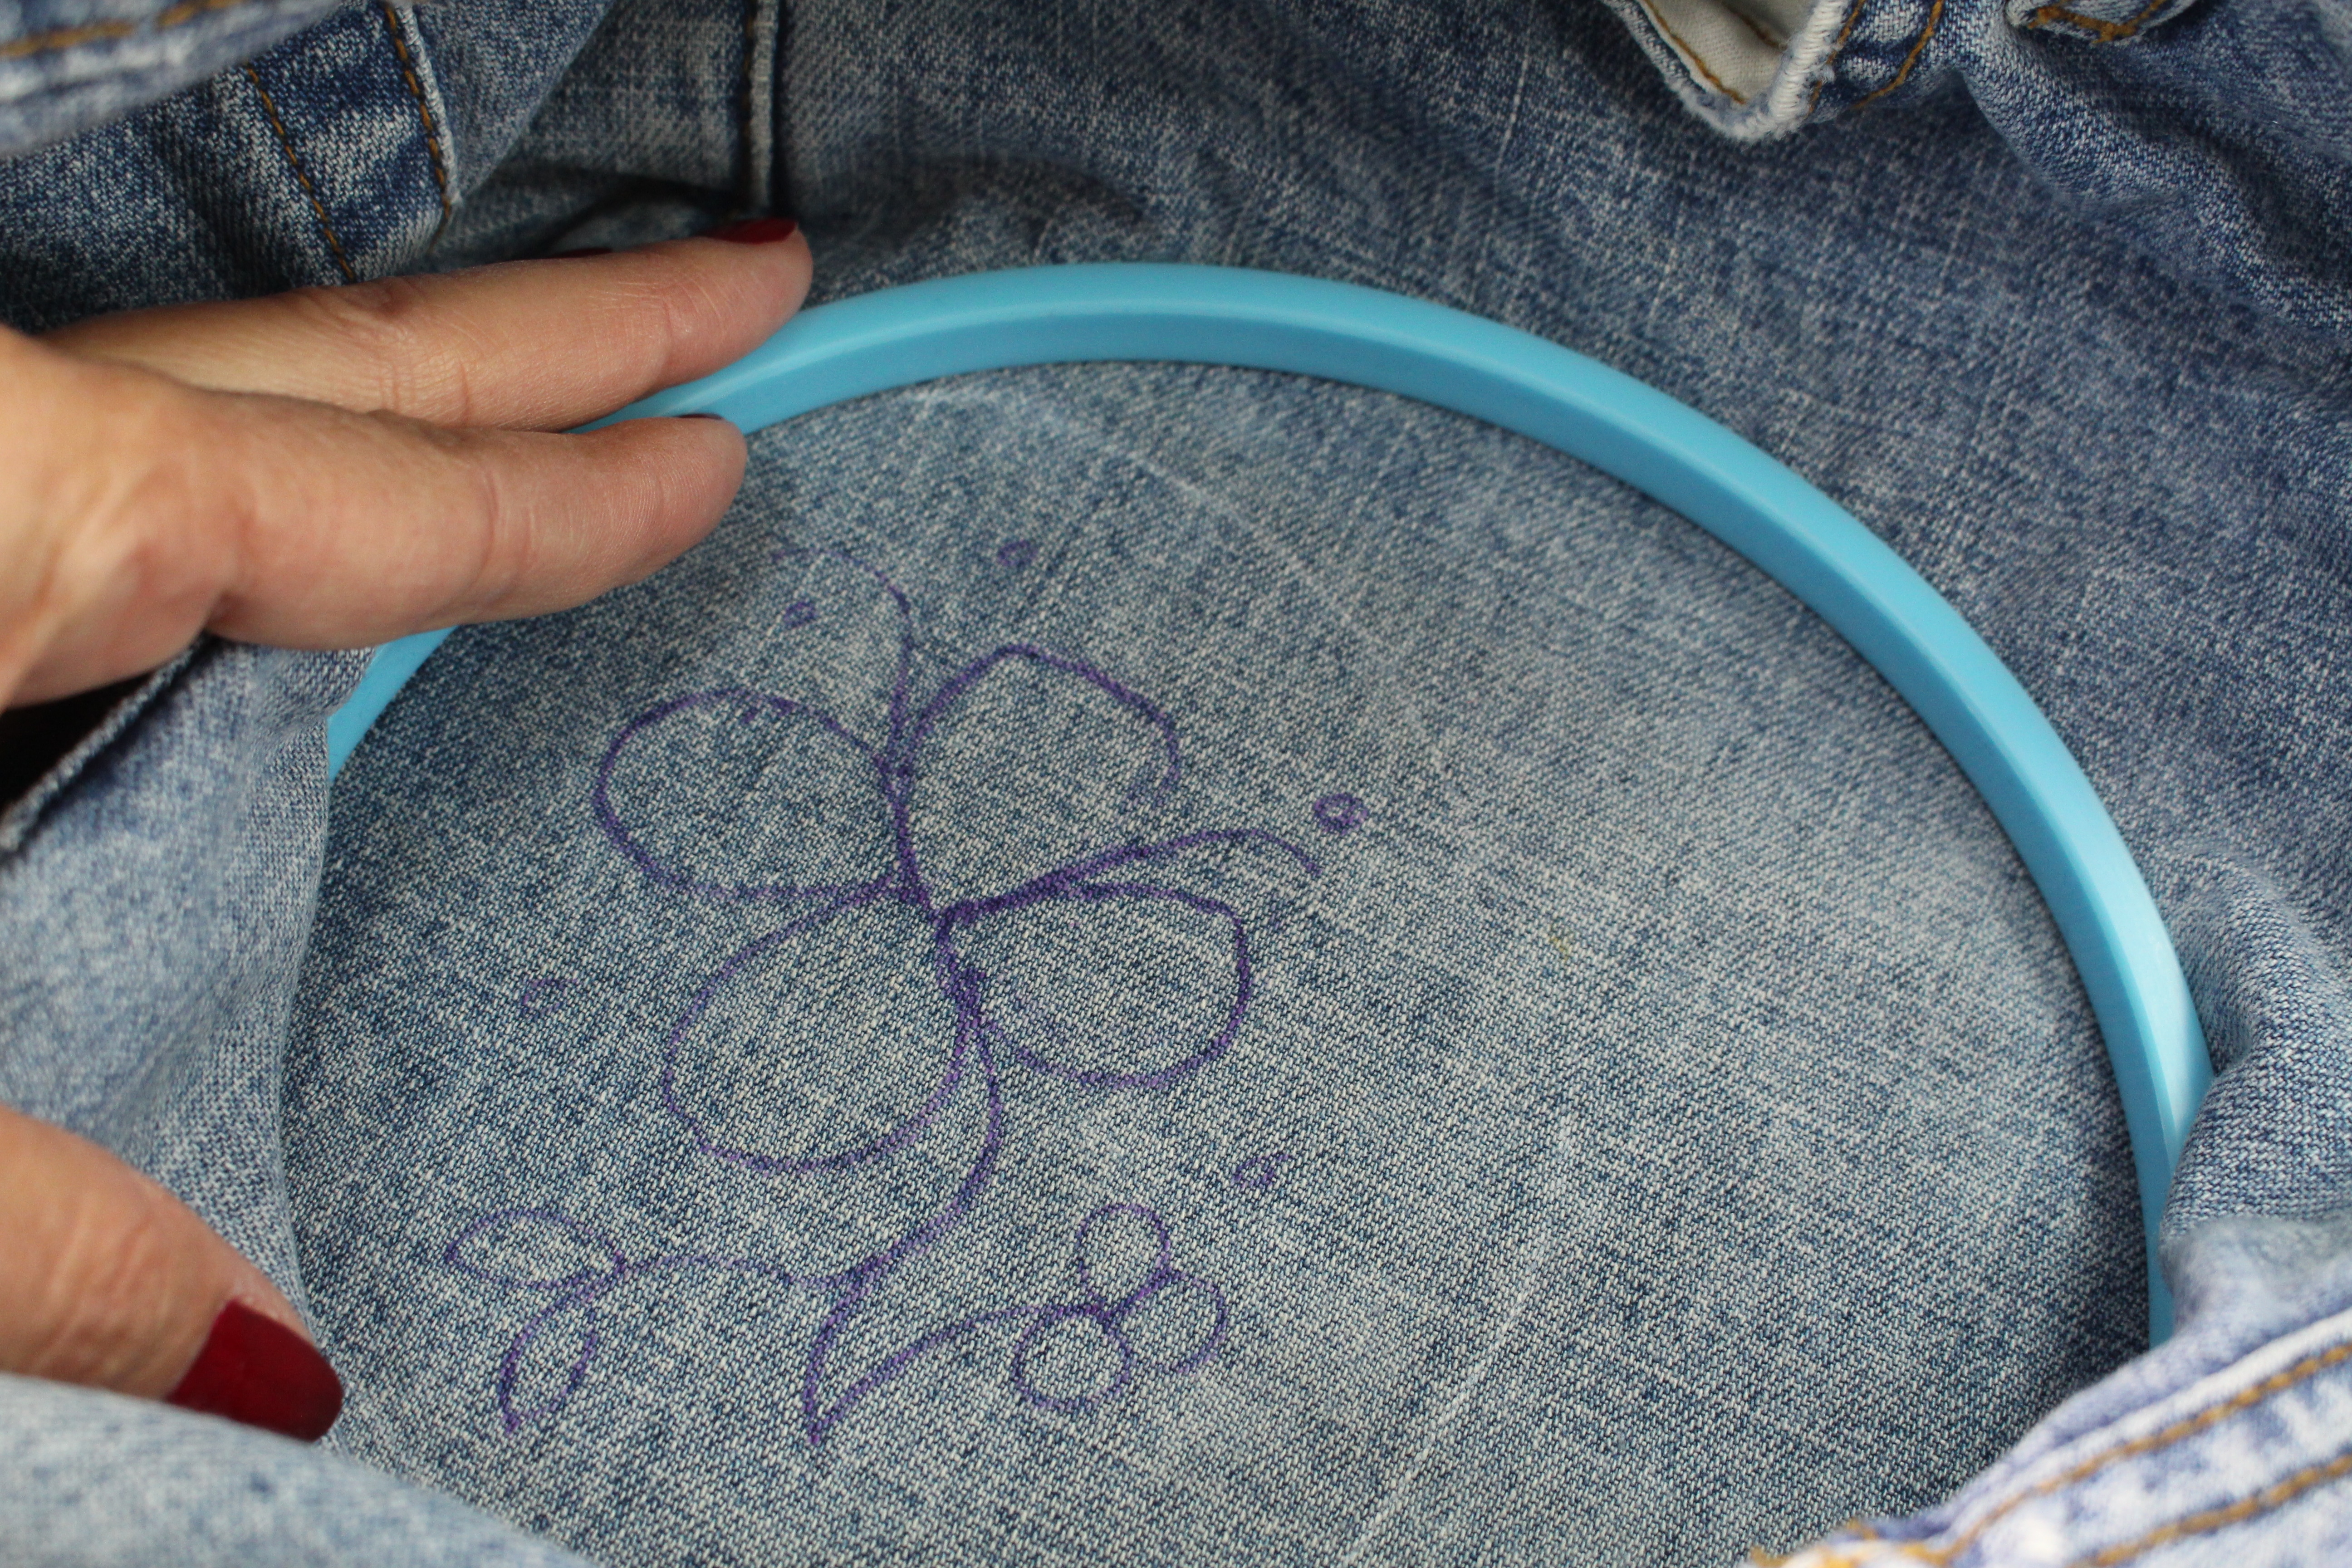
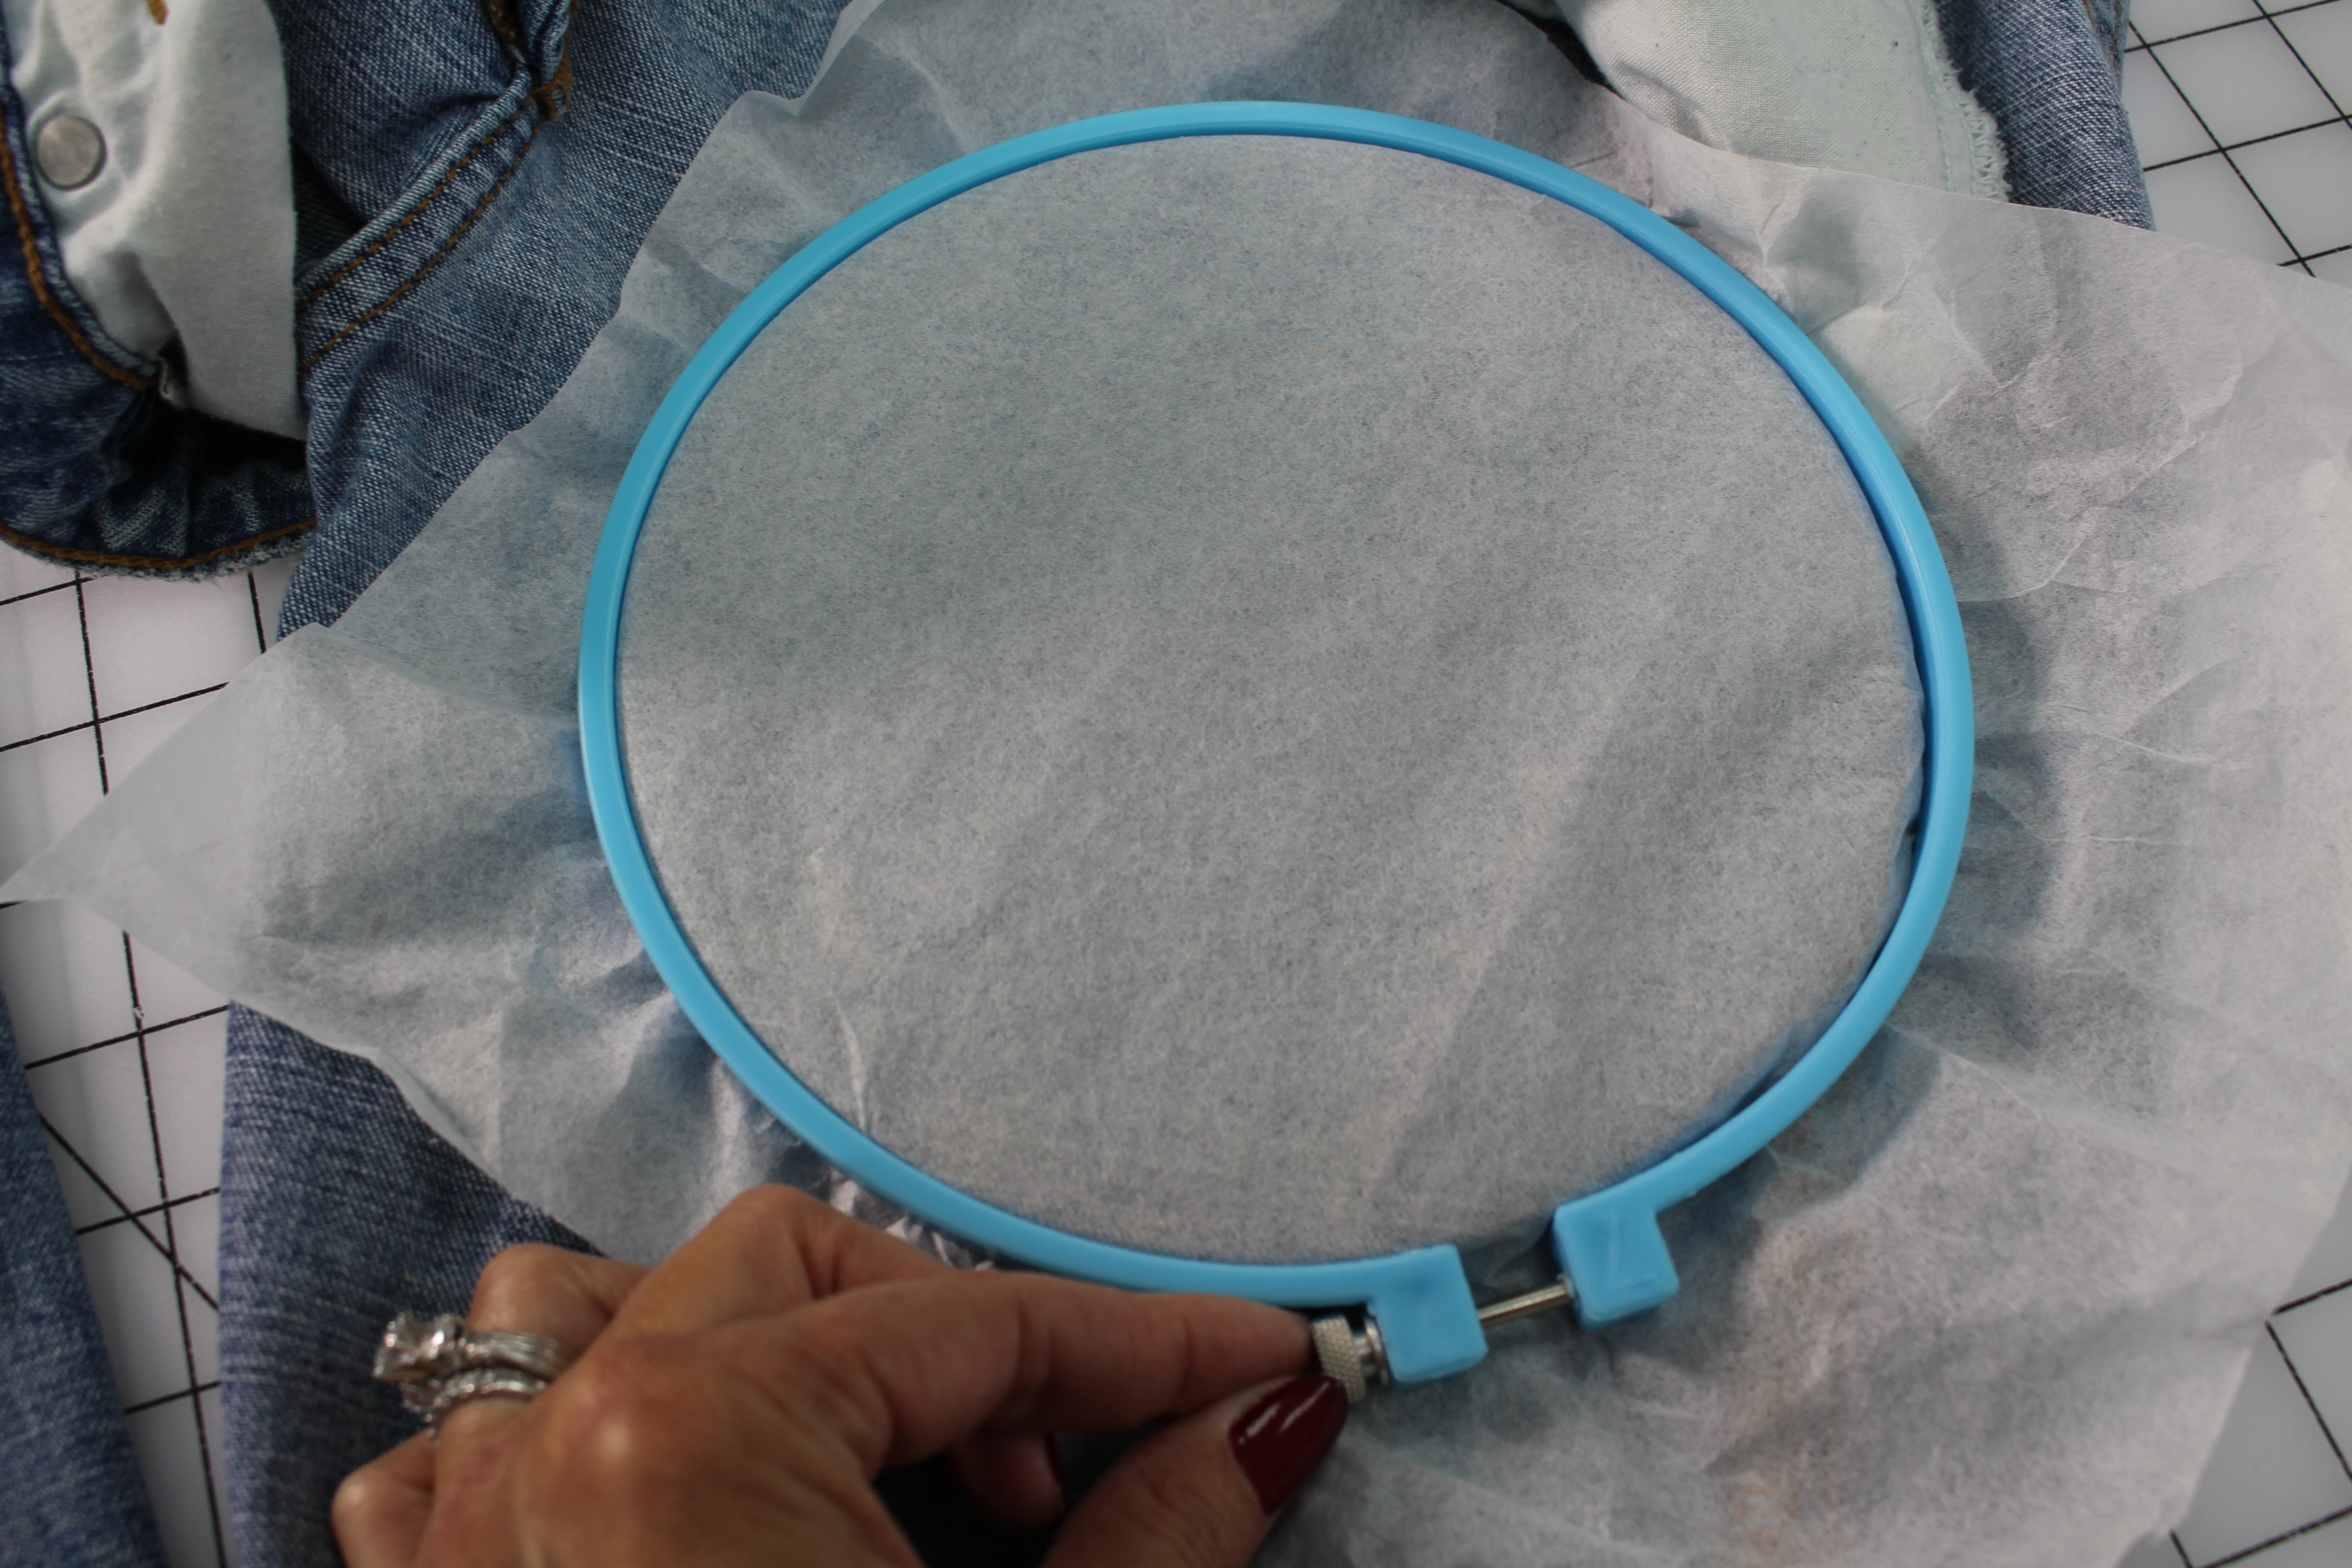
Align the smaller inside hoop on the outside of the jean leg with the larger hoop and stabilizer inside the jeans leg.

Push the hoop closed, encasing the jean fabric and stabilizer, and tighten the screw on the hoop.

Free Motion Embroidery

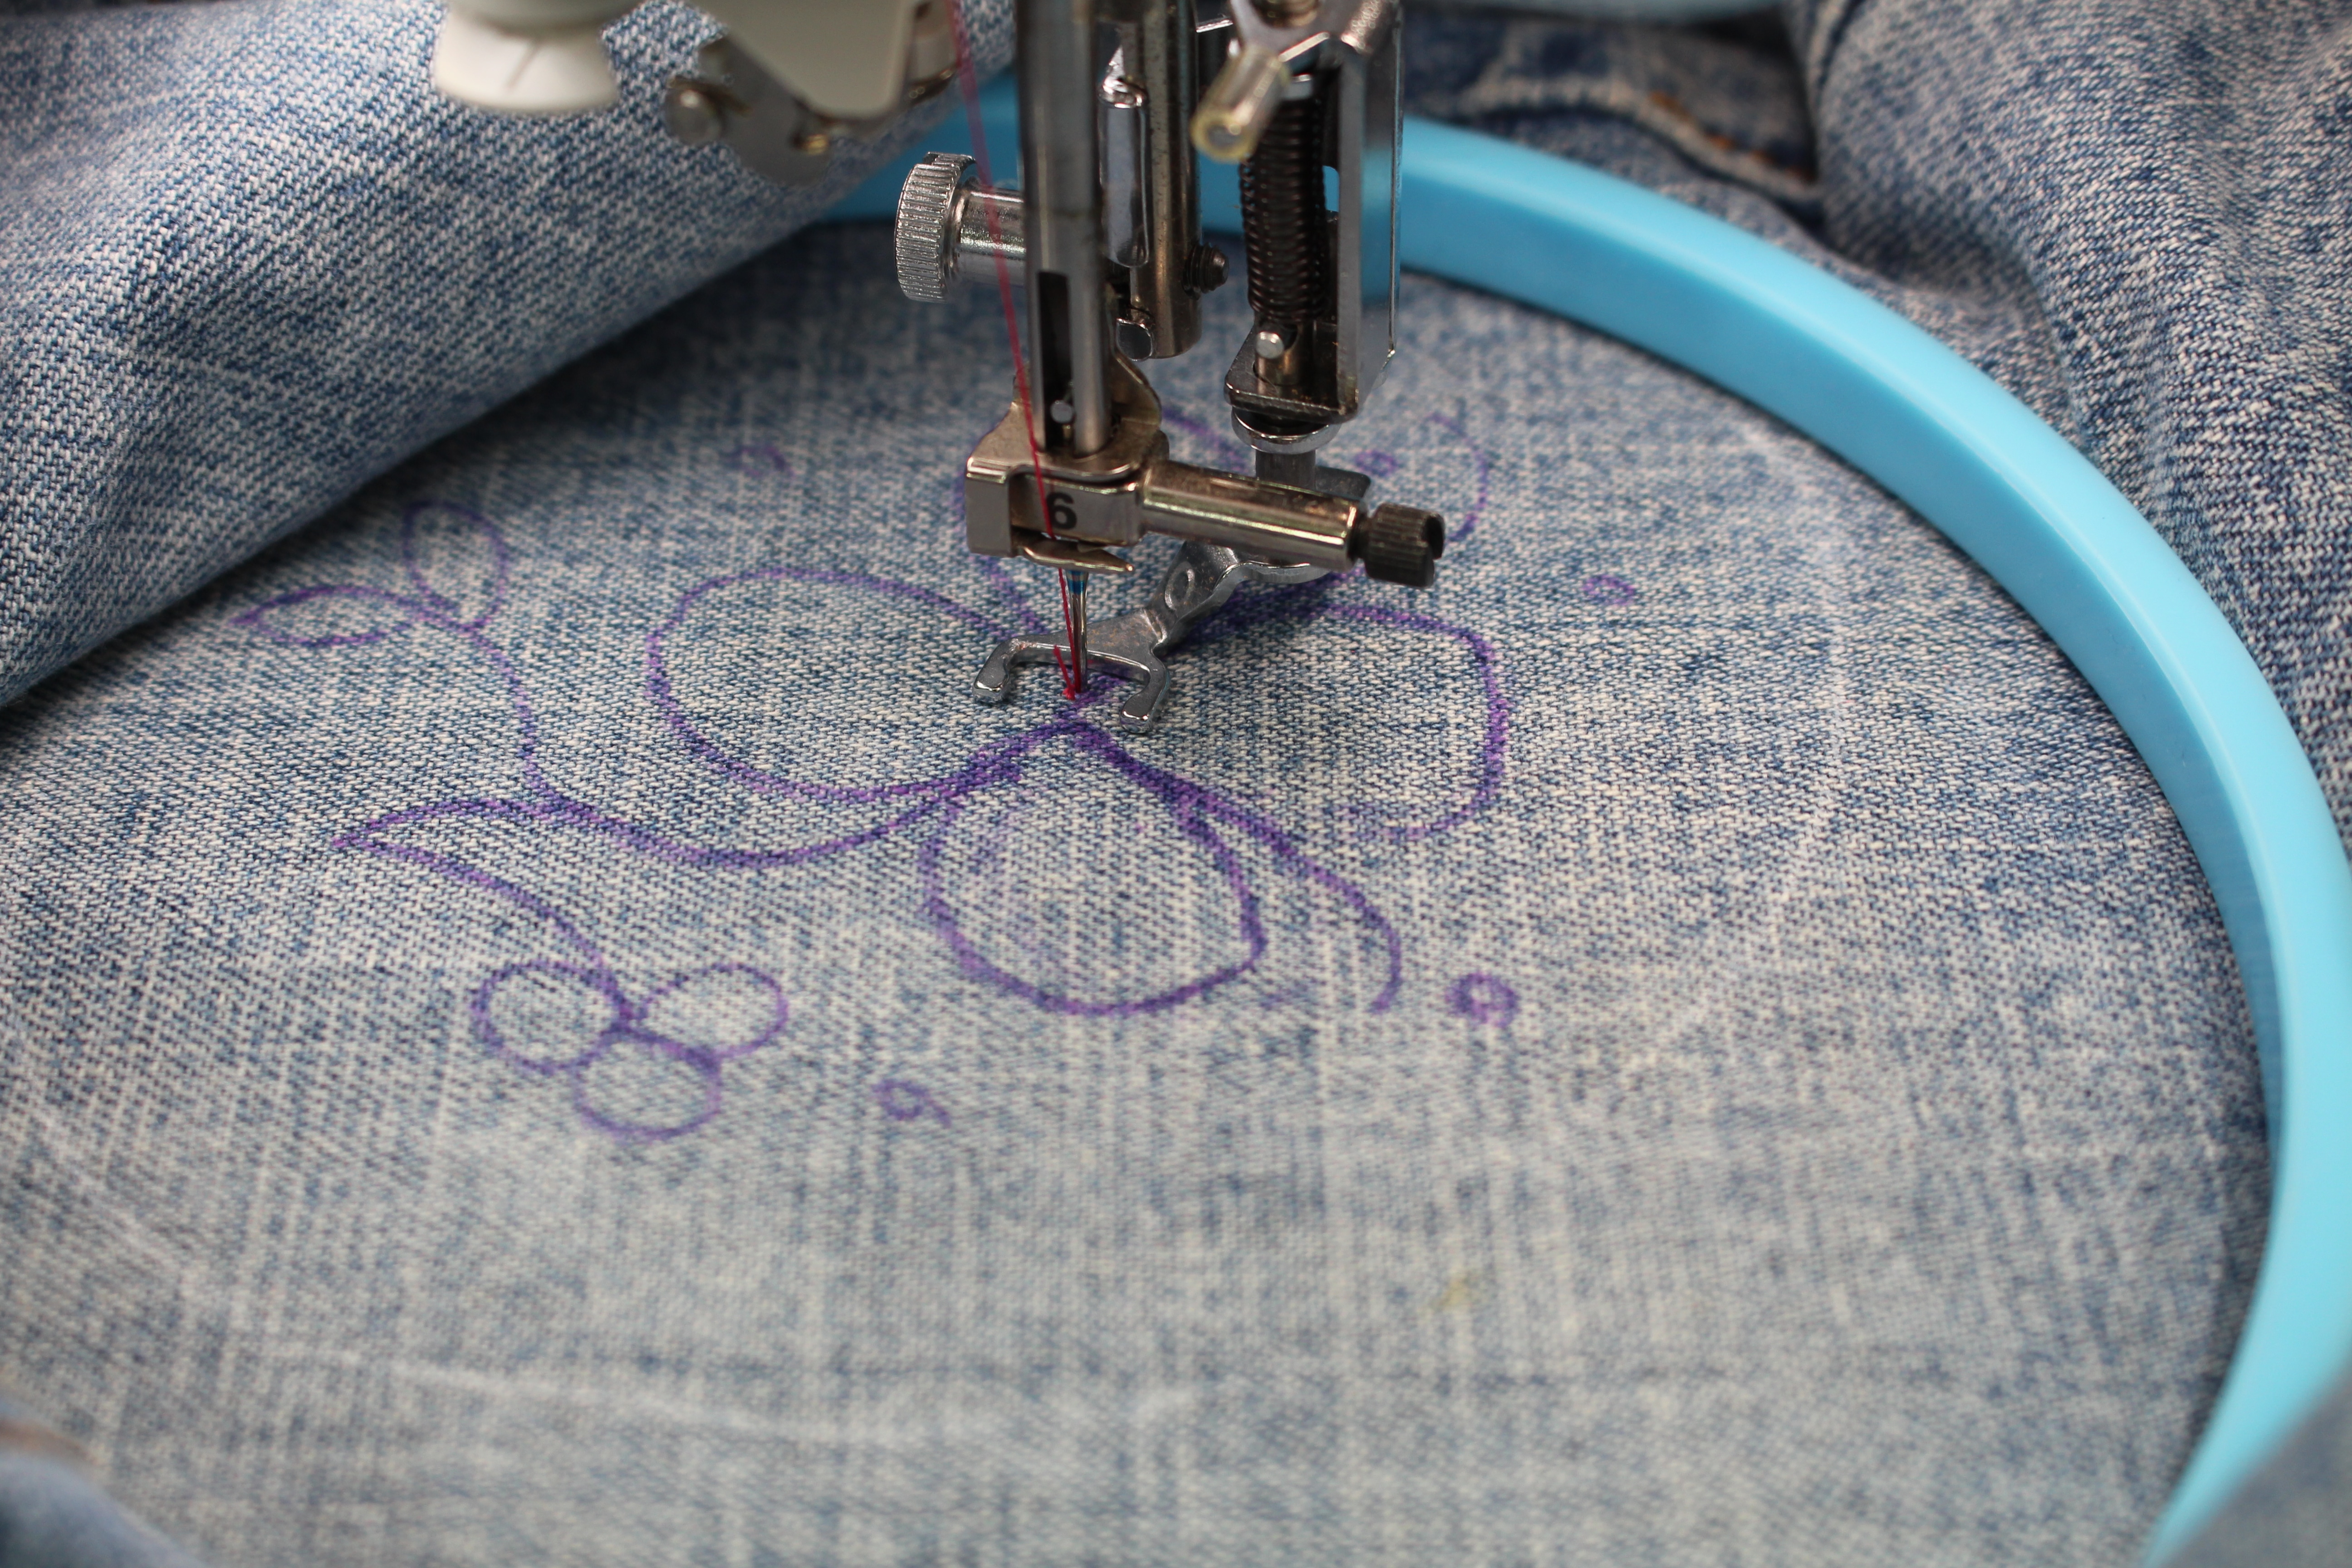
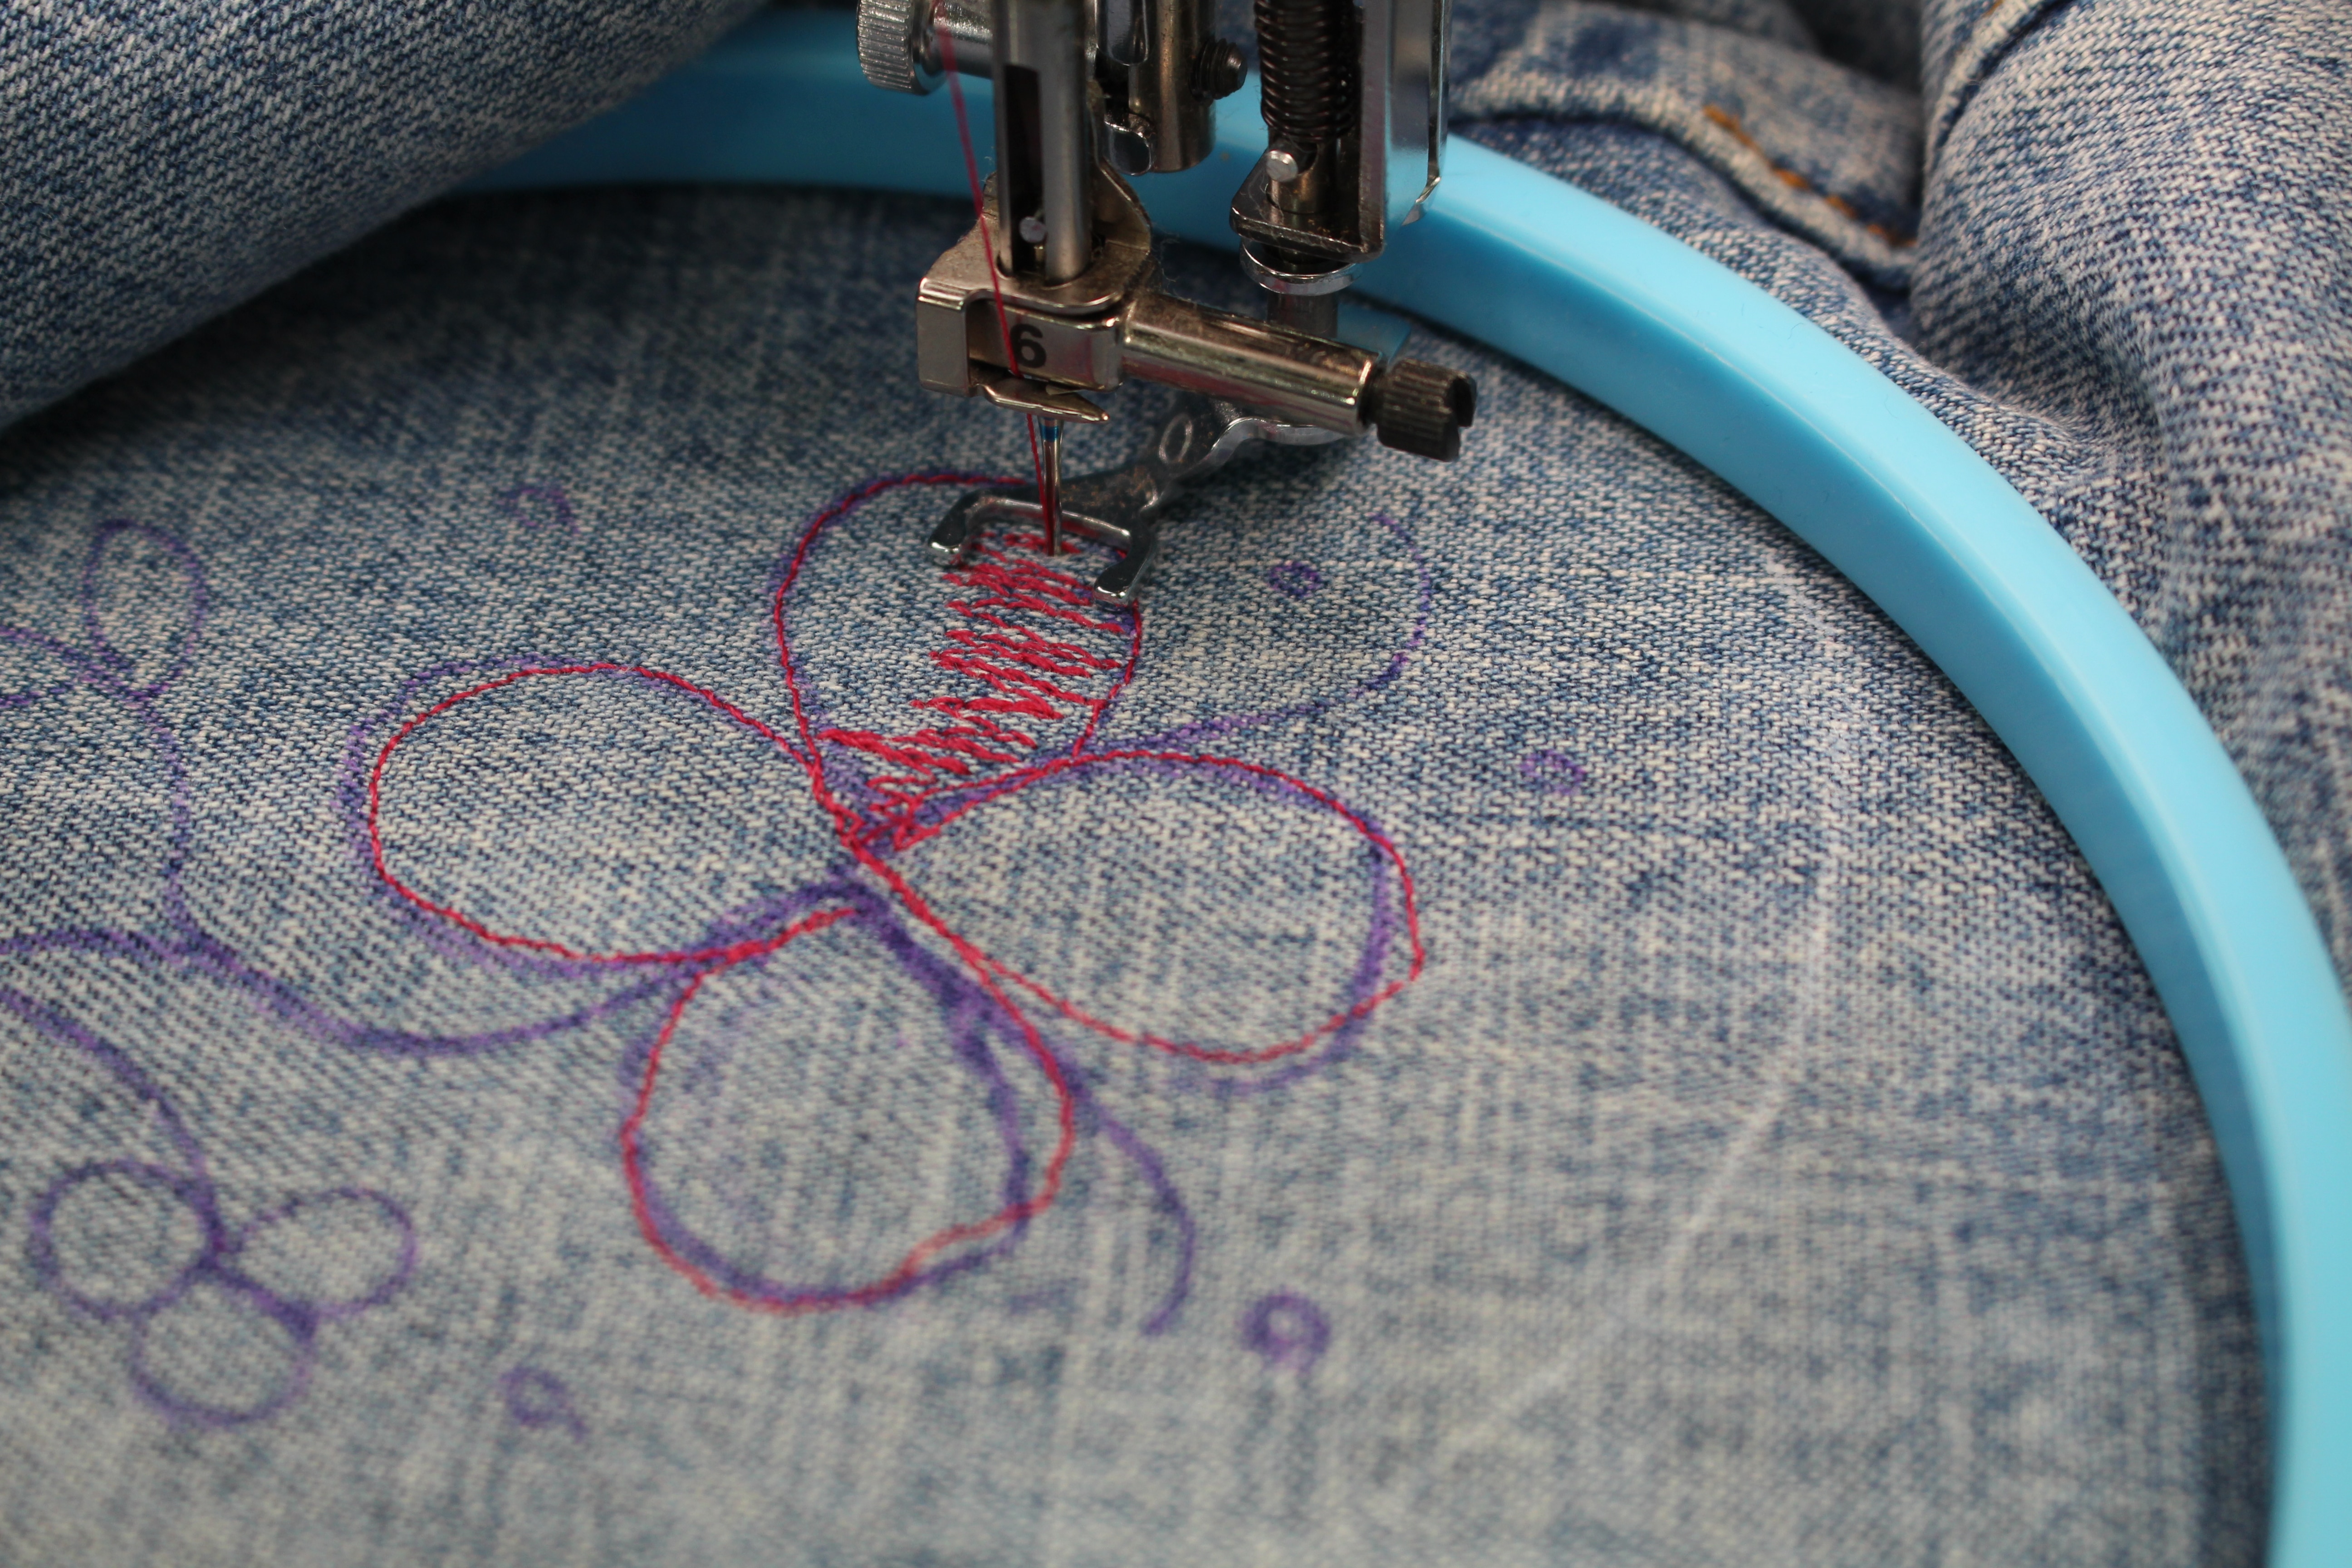
Set the sewing machine up for free motion quilting and slide the hoop under the presser foot, making sure to keep the back of the jean leg out of the way.  We only want the fabric in the hoop under the needle on the machine.

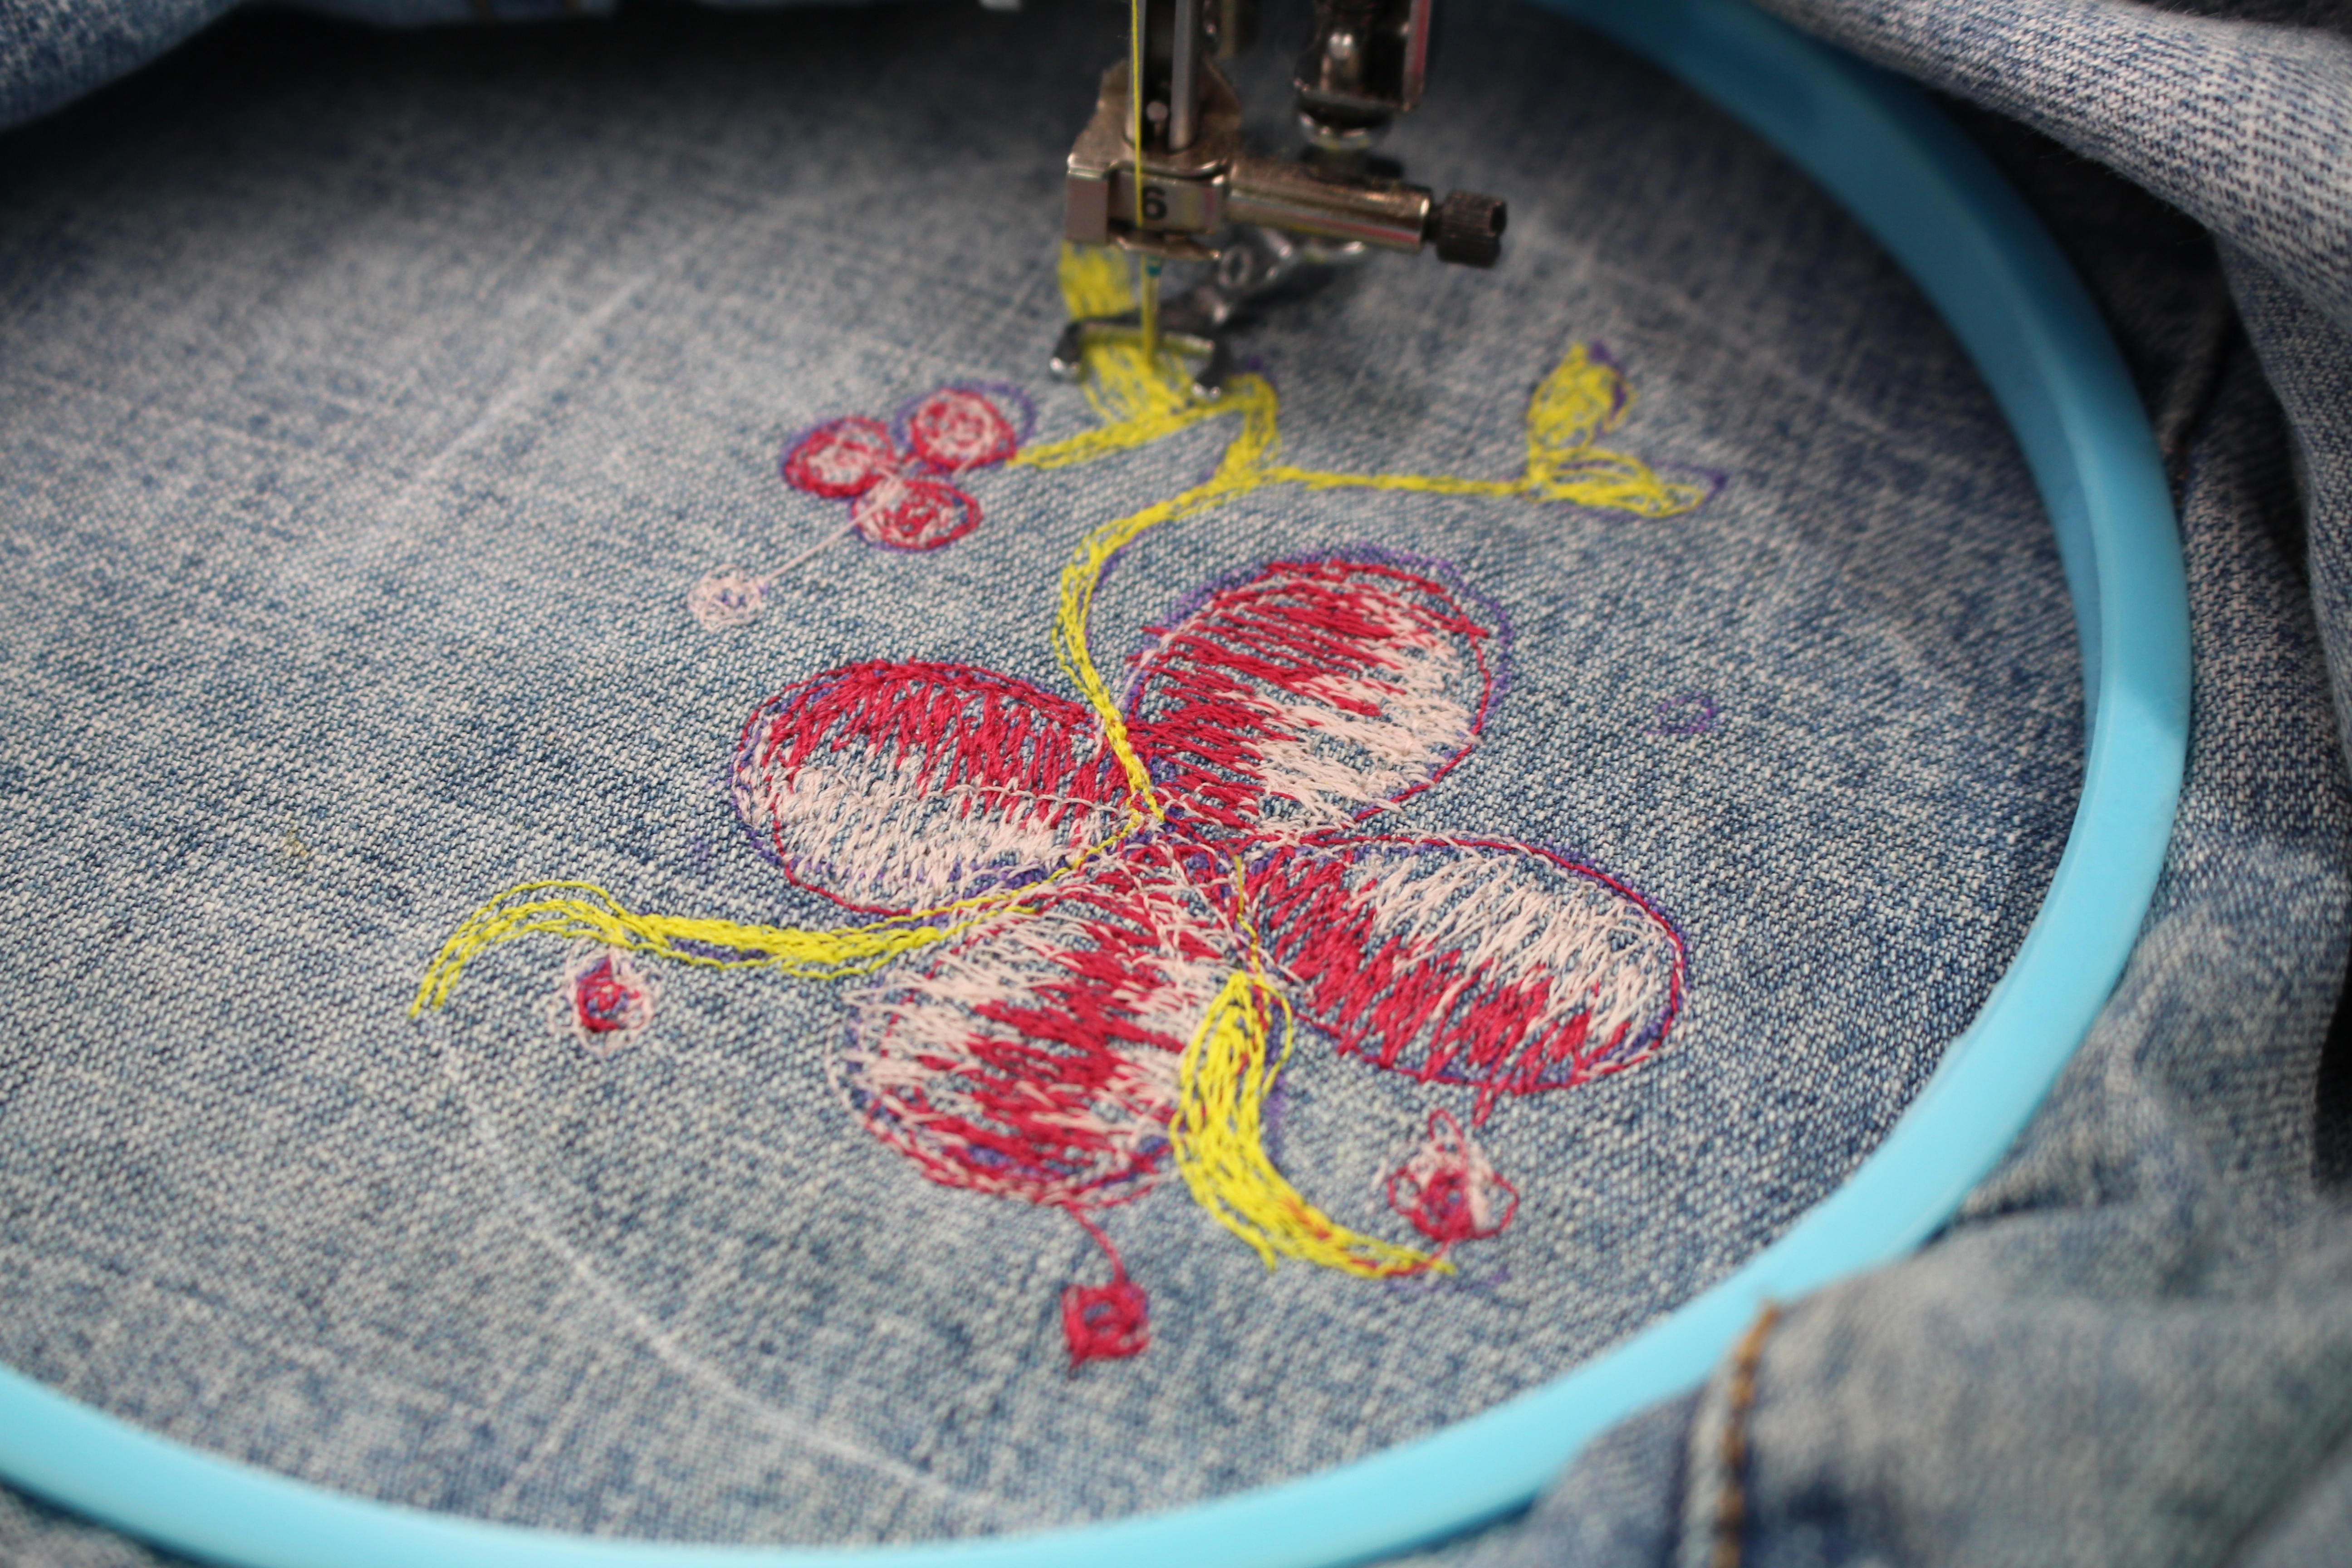
Start in the middle of the design and fill in the design with thread.

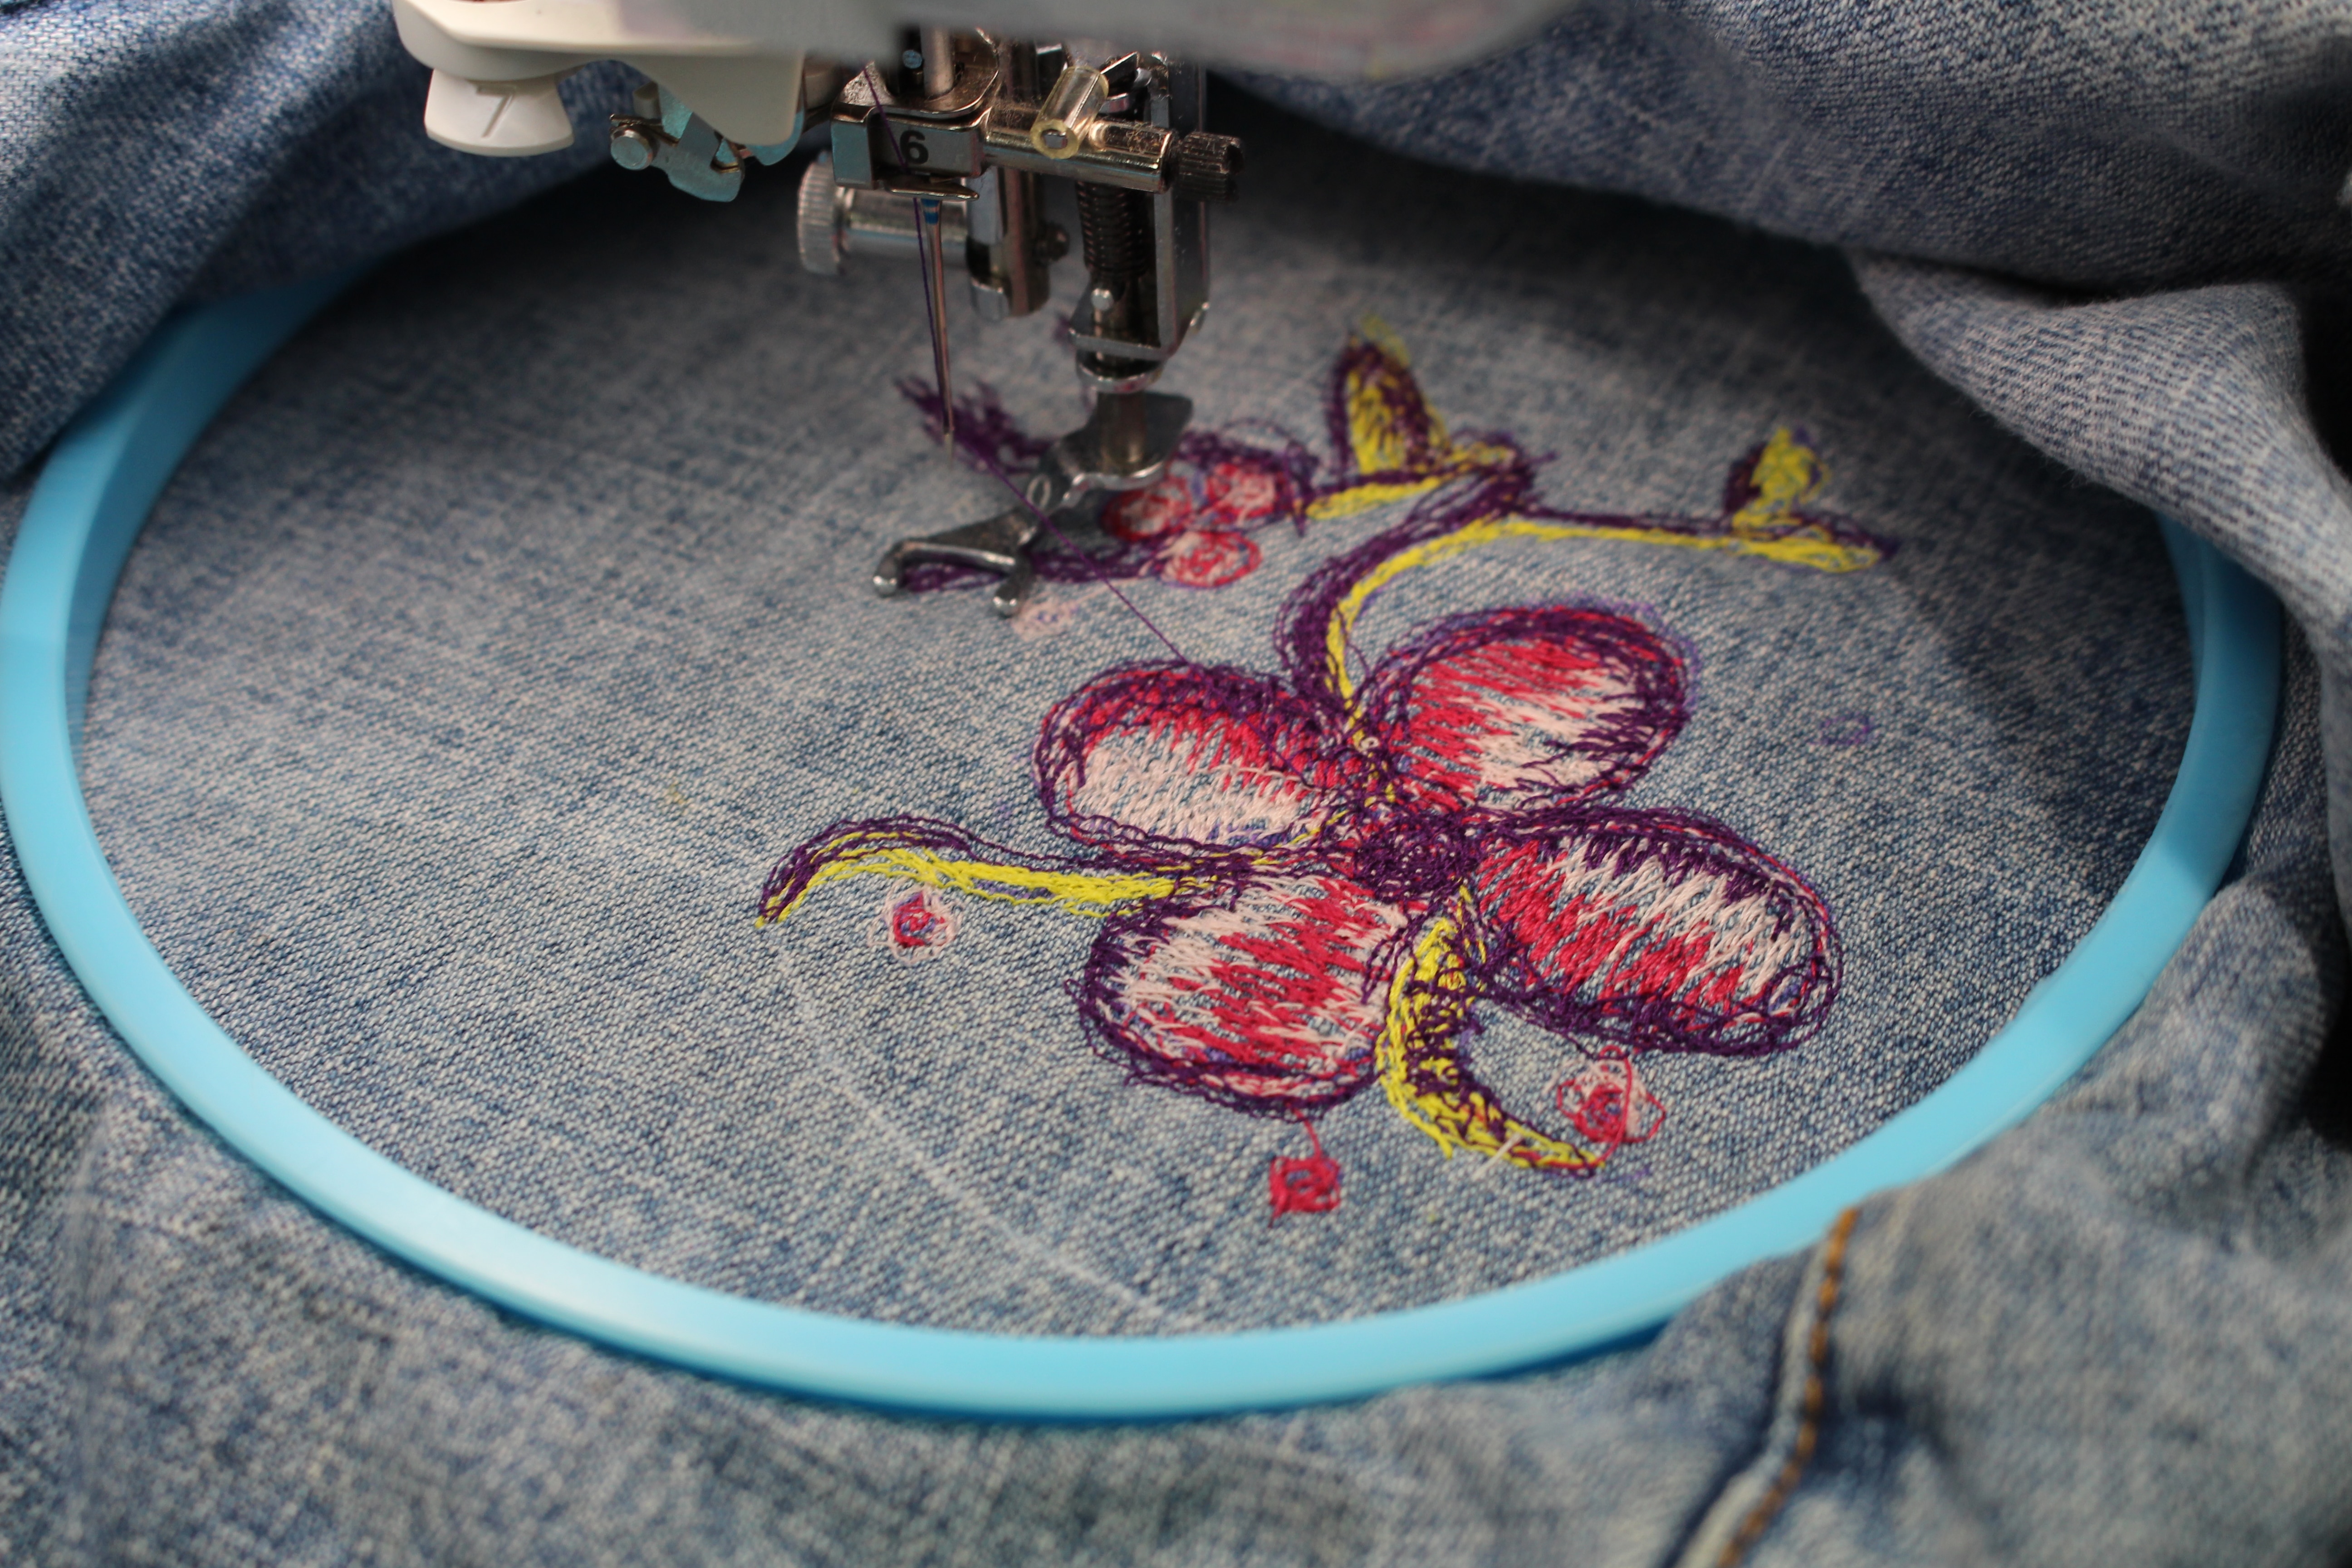
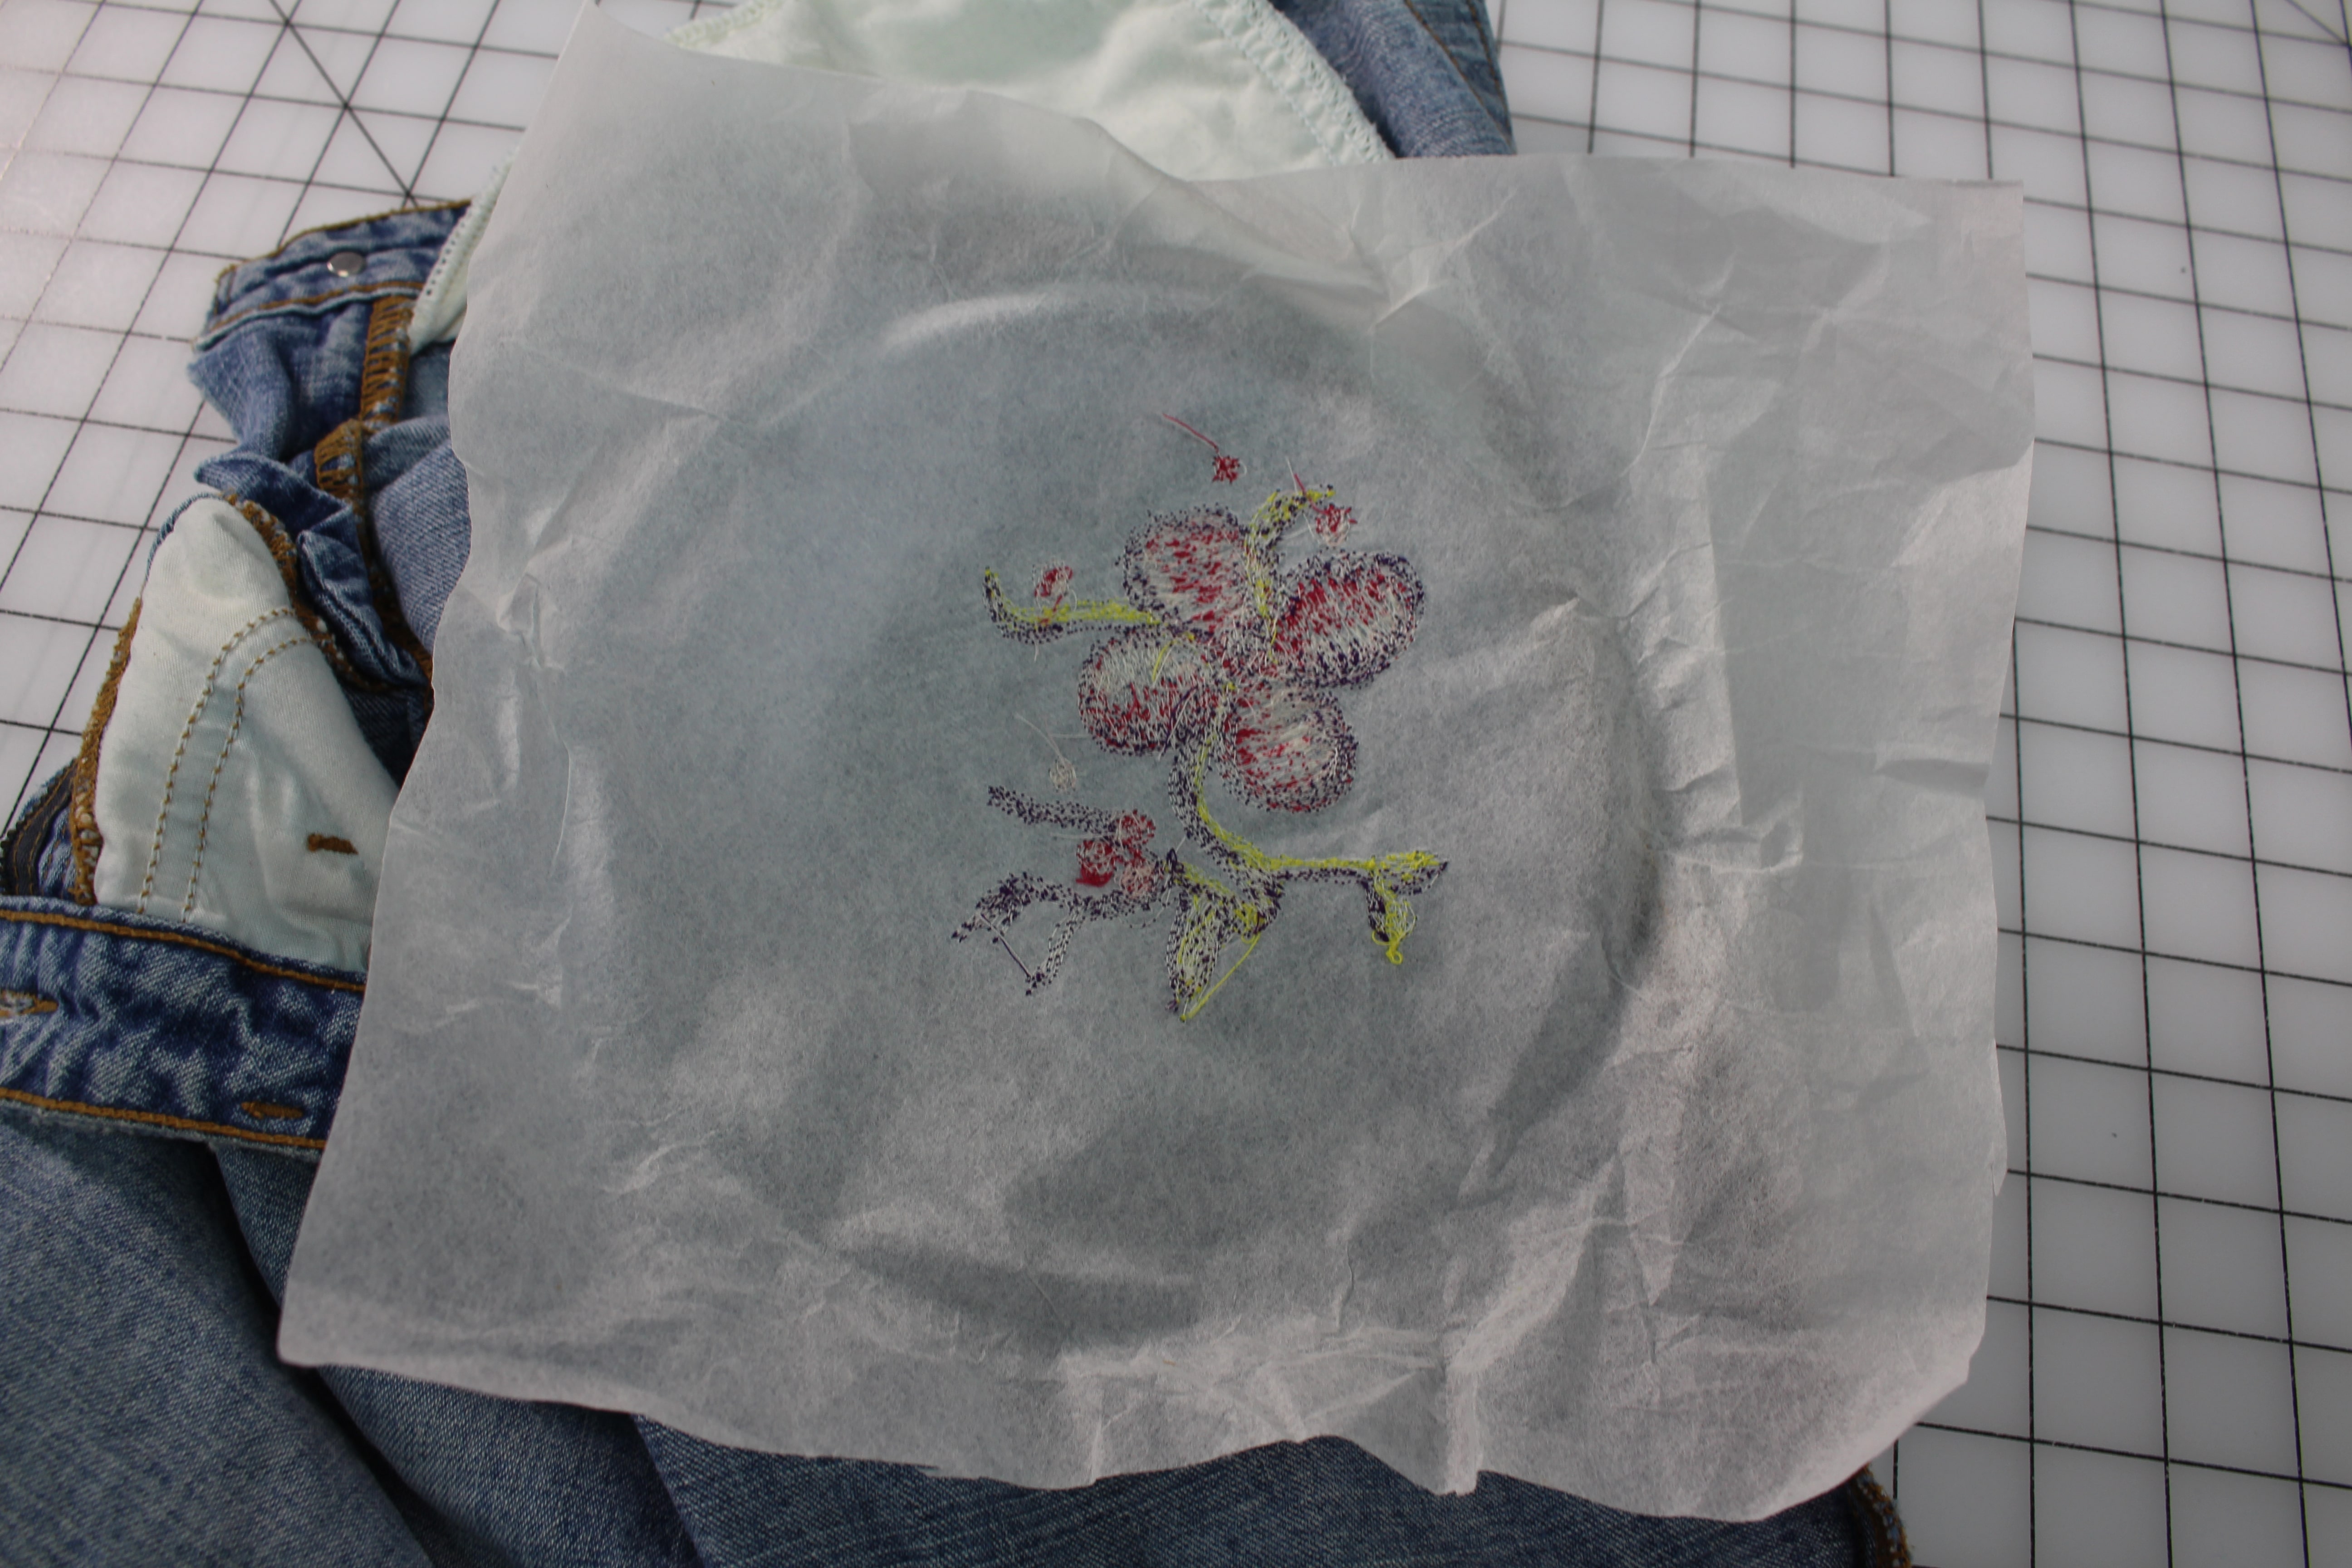
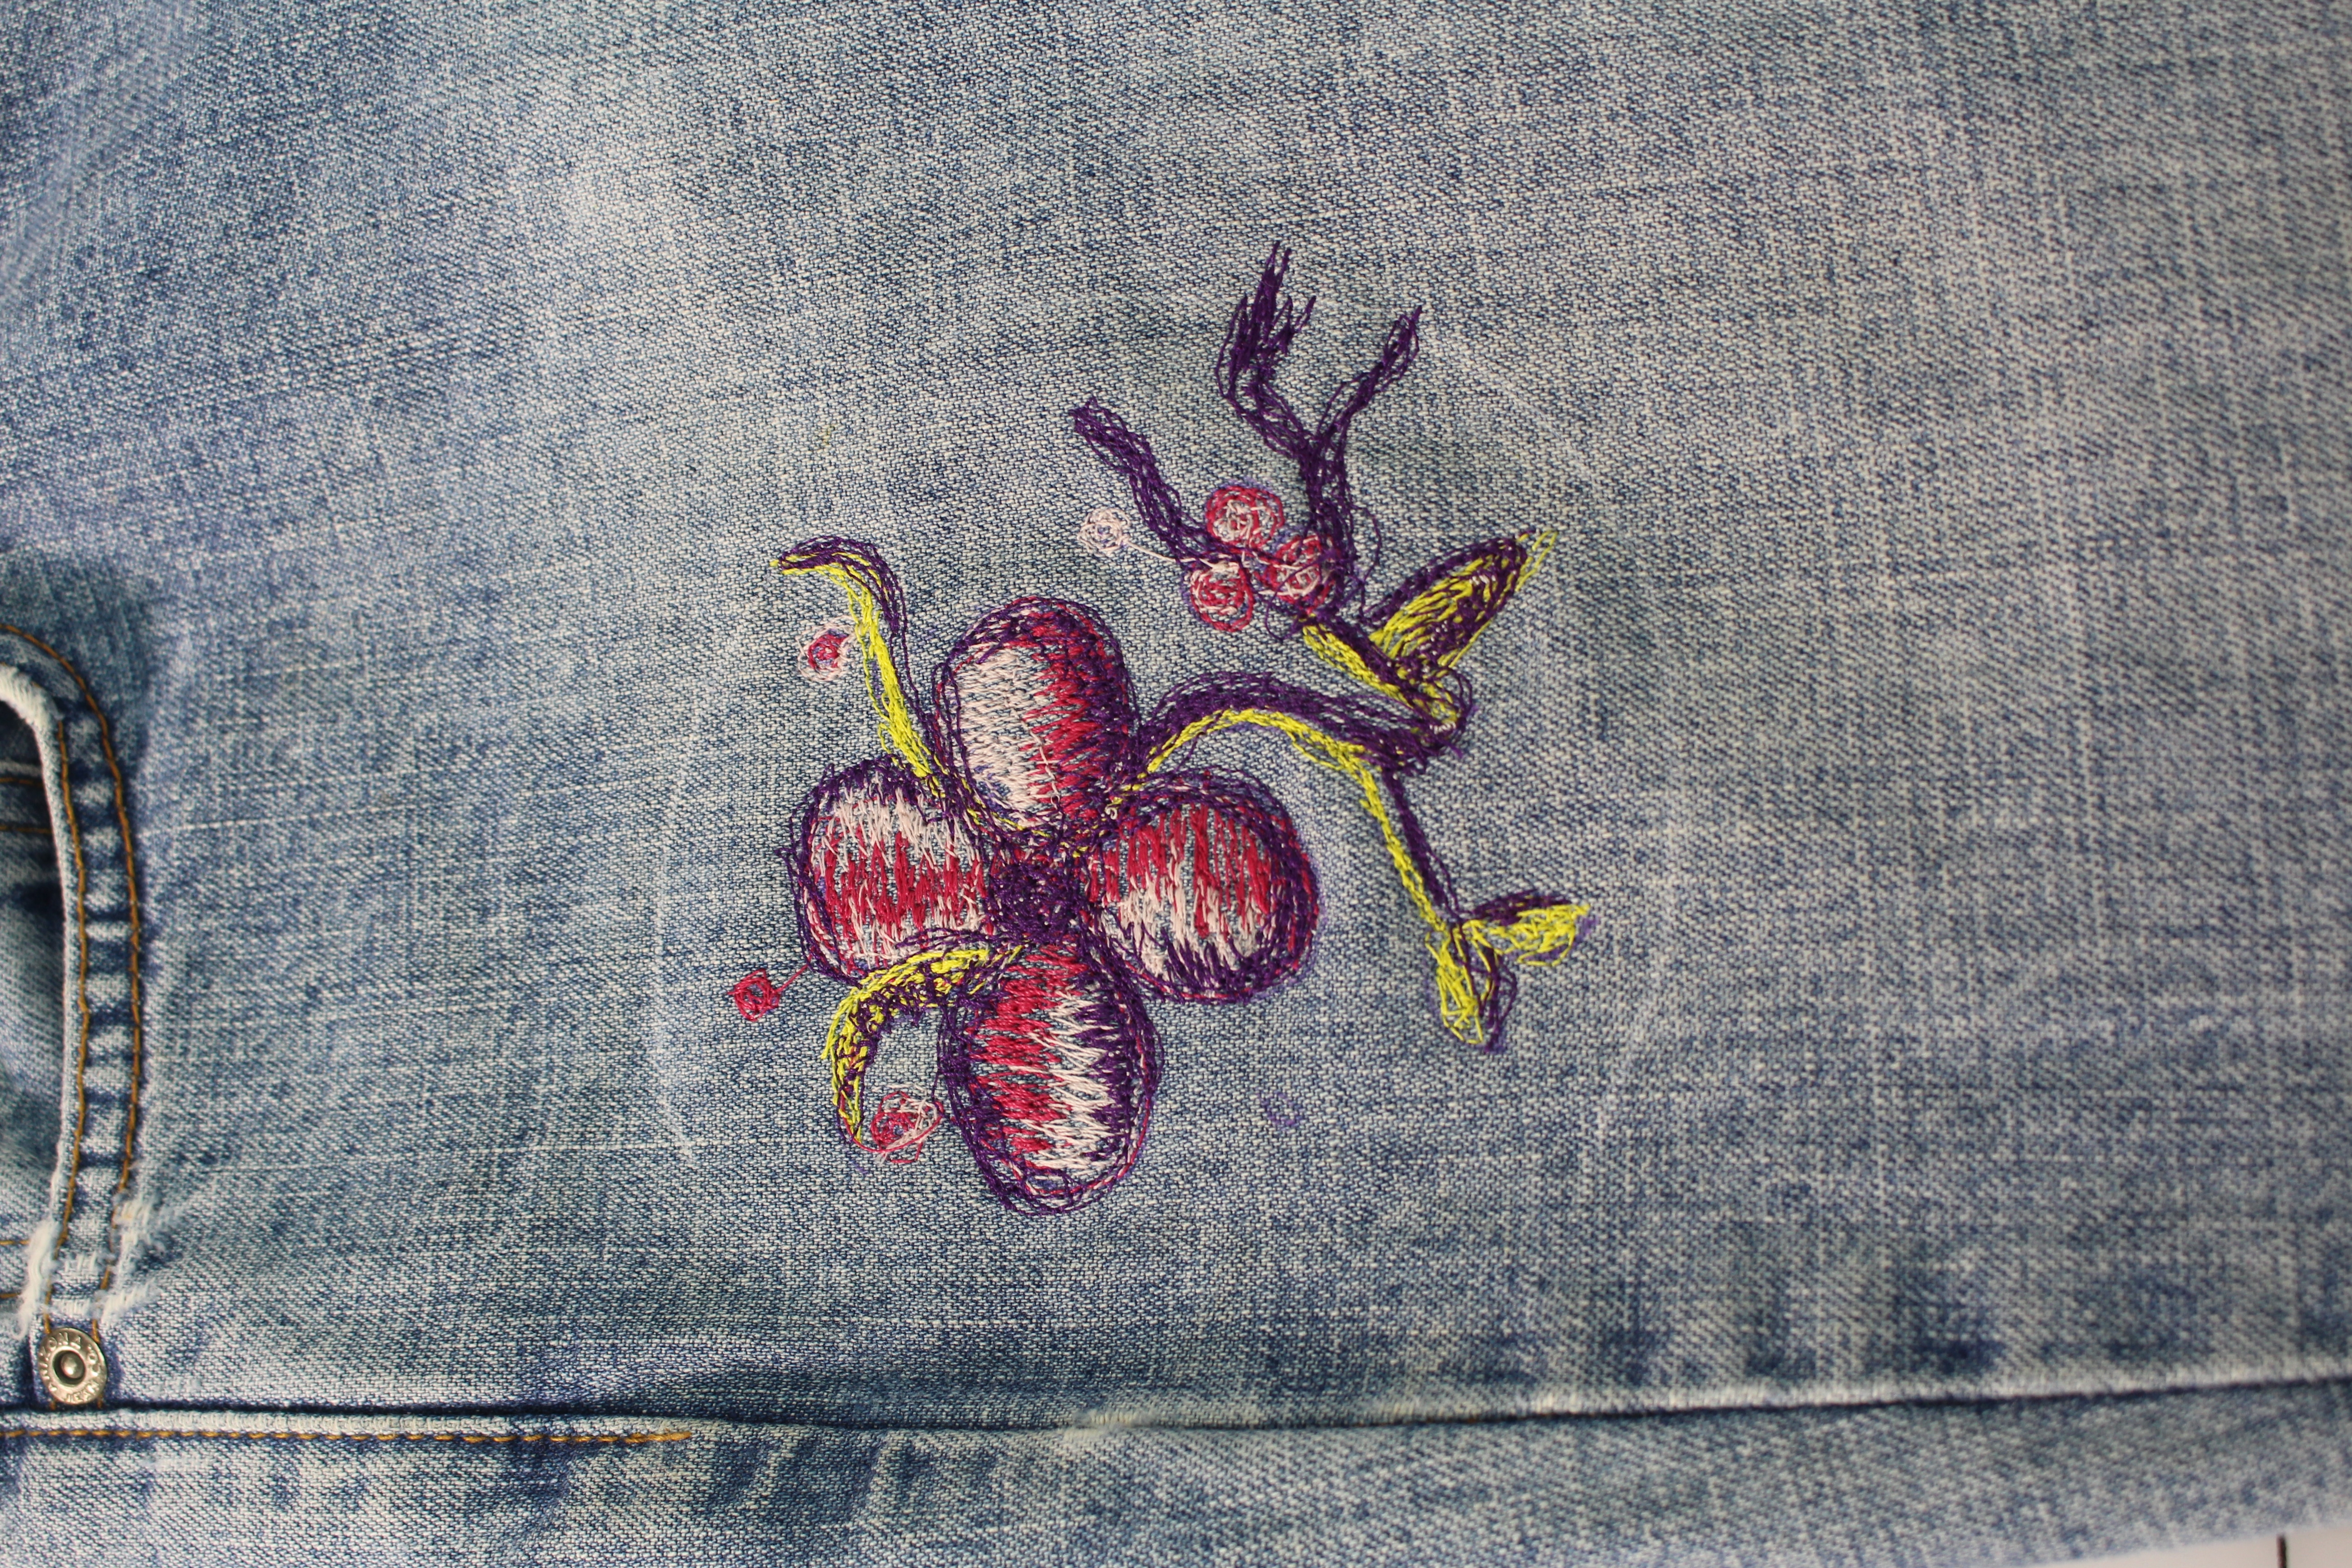
Here I have outlined the design first. Then fill in the petals by moving the machine back and forth with thread.  This is your design, so don’t worry about perfection, just have fun!  Continue to change colors of thread and paint away J

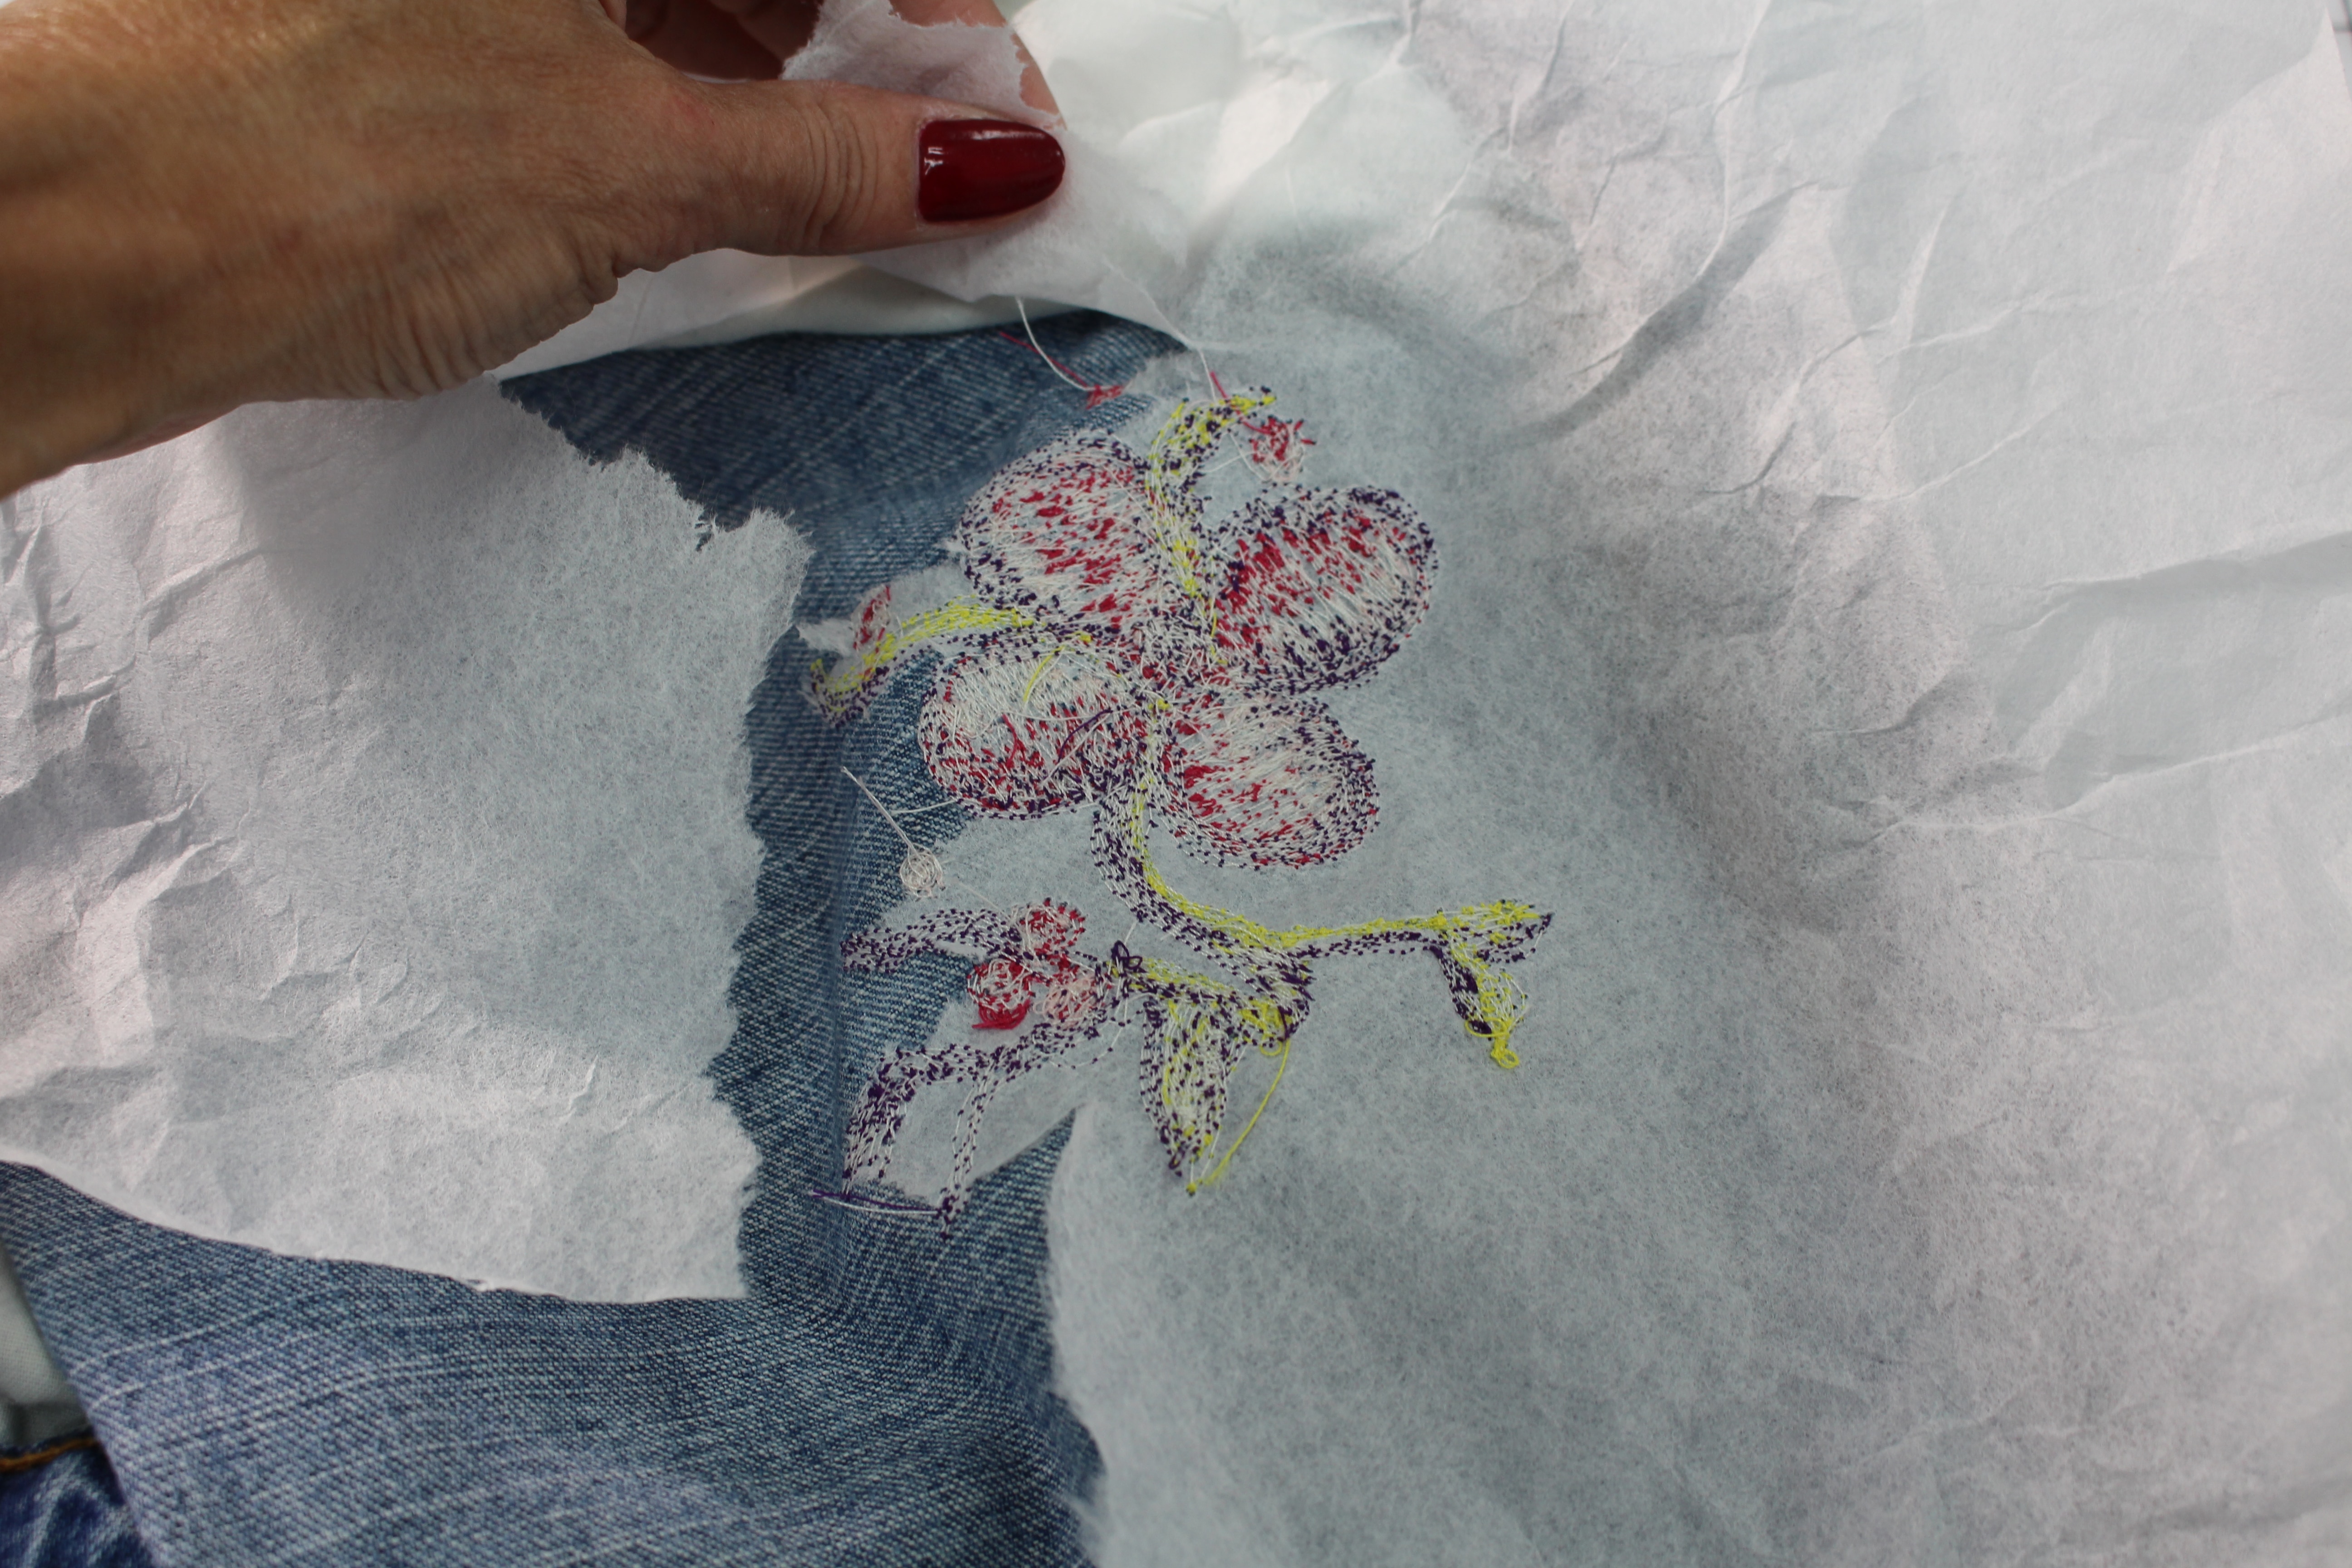
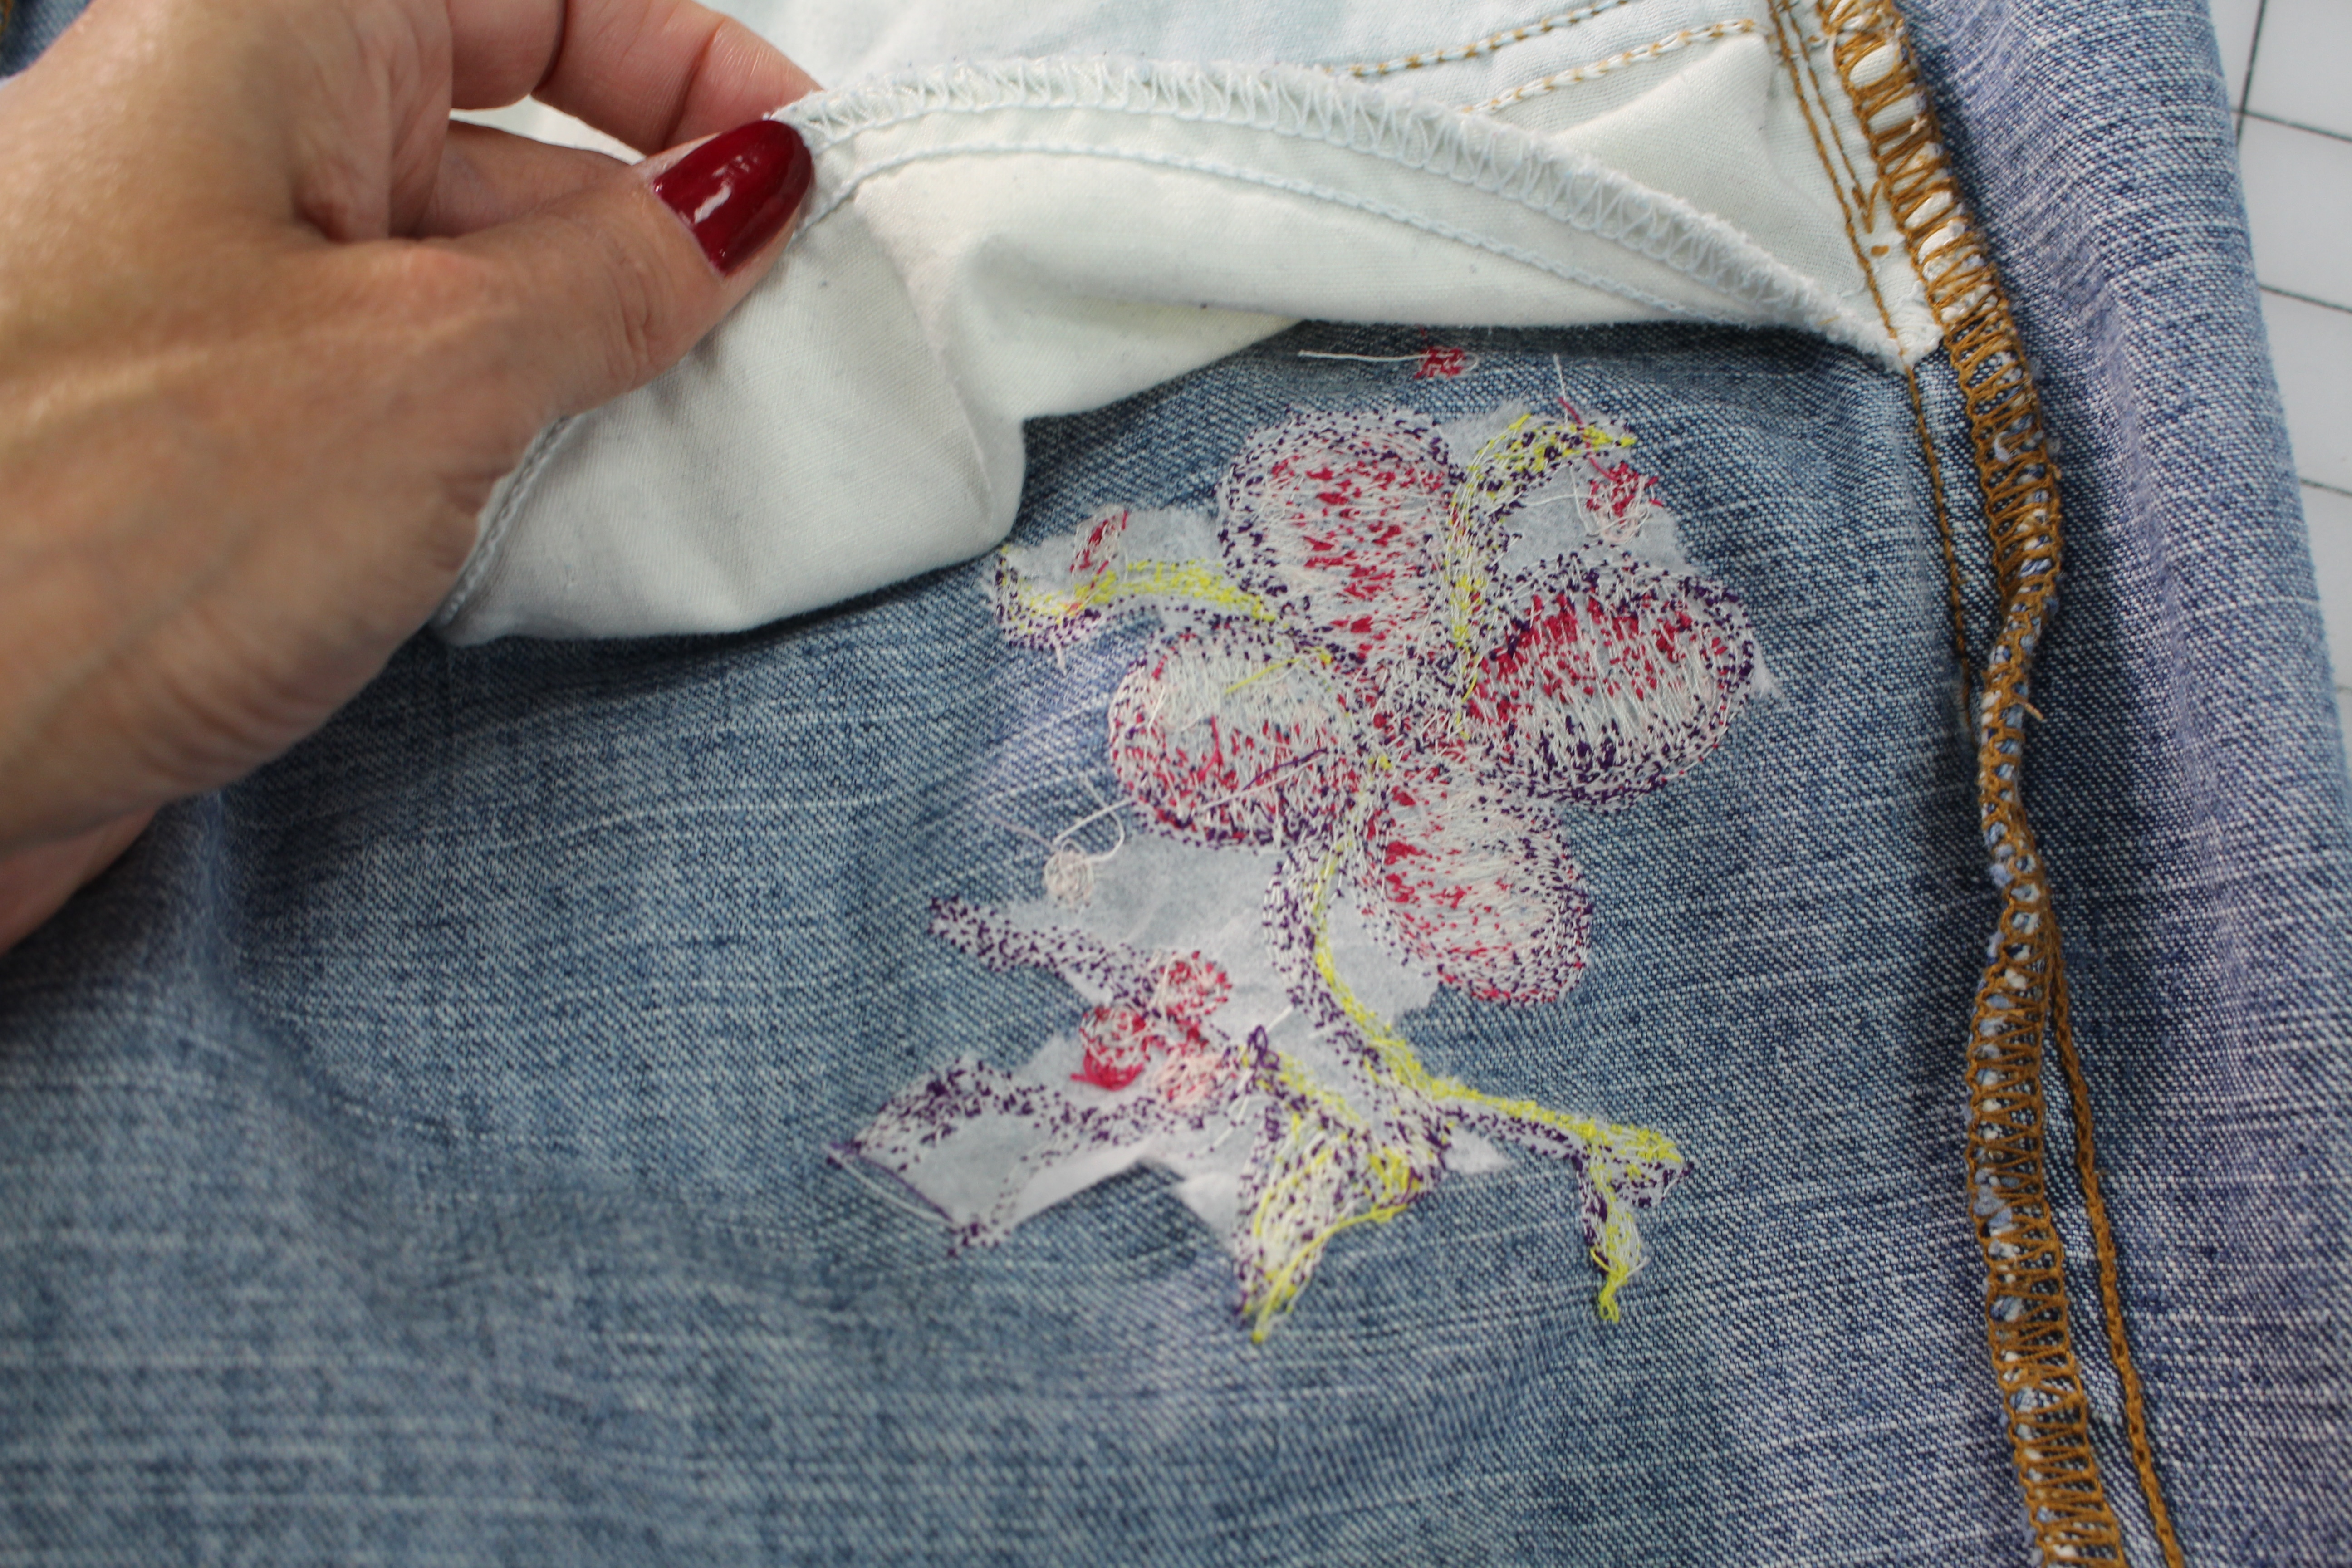
When you are all finished designing, remove the hoop and tear-a-way the stabilizer.

You can see here how my design falls just under the front pocket, perfect! Brush off the chalk marks and your new embellished jeans are ready to go!  Be sure to join me on the social side using #angelawolf ♥ I always love to see what you are working on.

Cheers,
<a target="_blank" href="https://shareasale.com/r.cfm?b=1130527&u=1586241&m=29190&urllink=&afftrack="><img src="https://static.shareasale.com/image/29190/728x90.gif" border="0" alt="Craftsy Unlimited FREE 7 day trial at Craftsy.com" /></a>

325: Learn to Sew an Envelops Purse Clutch with Angel Wolf

Envelope Pattern There are three download versions for the envelope pattern: Full Layout - Use this for projector printing or printing on a plotter.   ENVELOPE PURSE Letter Size Printing - Use this when printing letter size paper (8.5" x 11").  Print pages 1-8, the...

Quilted Grocery Bag Sewalong

Quilted Grocery Bag Sewalong  I am so excited to share this new grocery bag sewalong with you!  This is an easy project with opportunities to make is more advanced with embroidery and embellishing. Sewalong Schedule #372 - 9/7 - Sewalong Part 1 Supplies and Pattern...

309: Boucle Skirt + Quilted Lining = Touch of Couture Part 1

Tweed Skirt Sewalong Part 1 In part 1 of this sewalong I will share options for choosing the best fabrics and pattern.  Join me in choosing the best lining to coordiante with my fabric!Skirt Patterns to choose from: ~ The Kate Skirt ~ The Fringe Skirt Pattern ~...

Ep. 305: Learn What is Planned for the Sew Fun Cruise in February 2024

Episode 305 🧵 Behind the Scenes with Angela Wolf  I know you have heard me say many time ... I am never going on a cruise!  Winn and I are on the water all the time, why would I want to go on a cruise?!?  Kelli Presley and Phyllis Batz will be joining me live to talk...

Ep. 304 Meet Jeff – Founder of CraftOptics

Episode 305 🧵 Behind the Scenes with Angela Wolf Featuring CraftOptics I am not sure about your, but if I am working in a low lit area or sewing beads onto a garment, I tend to lean forward and squint, this ending up with a terrible back ache!  CraftOptics has changed...

TUTORIAL: DIY CUSTOM MONOGRAM EMBROIDERED FABRIC ENVELOPE

TUTORIAL: DIY CUSTOM MONOGRAM EMBROIDERED FABRIC ENVELOPE

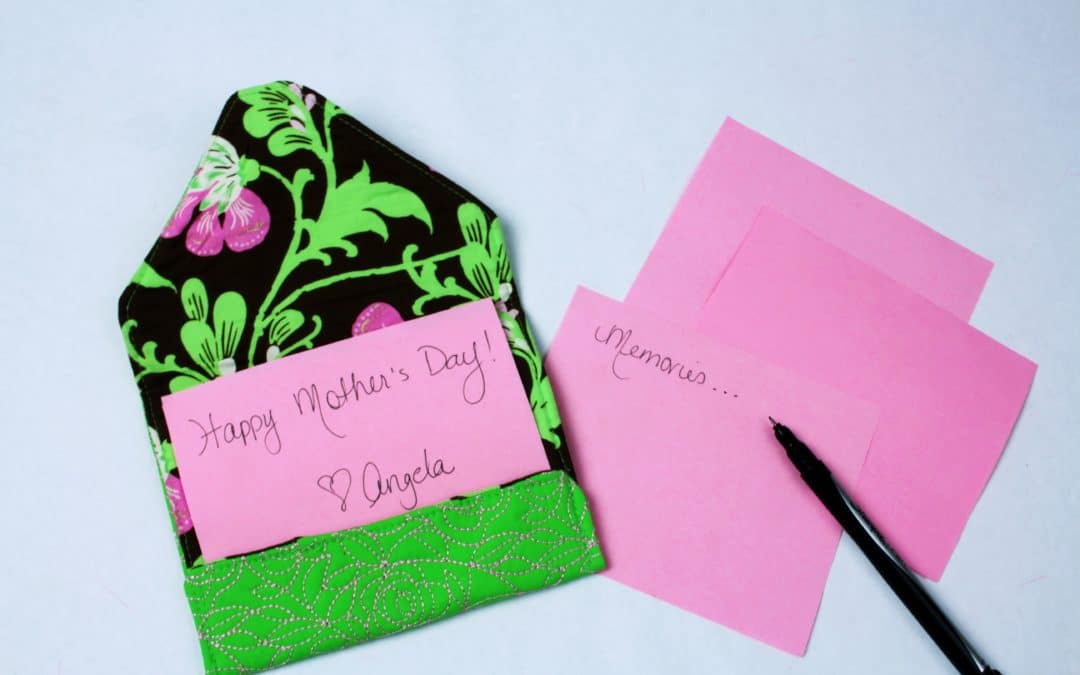
Easy Sewing Project for Mother’s Day or Any Special Day ♥

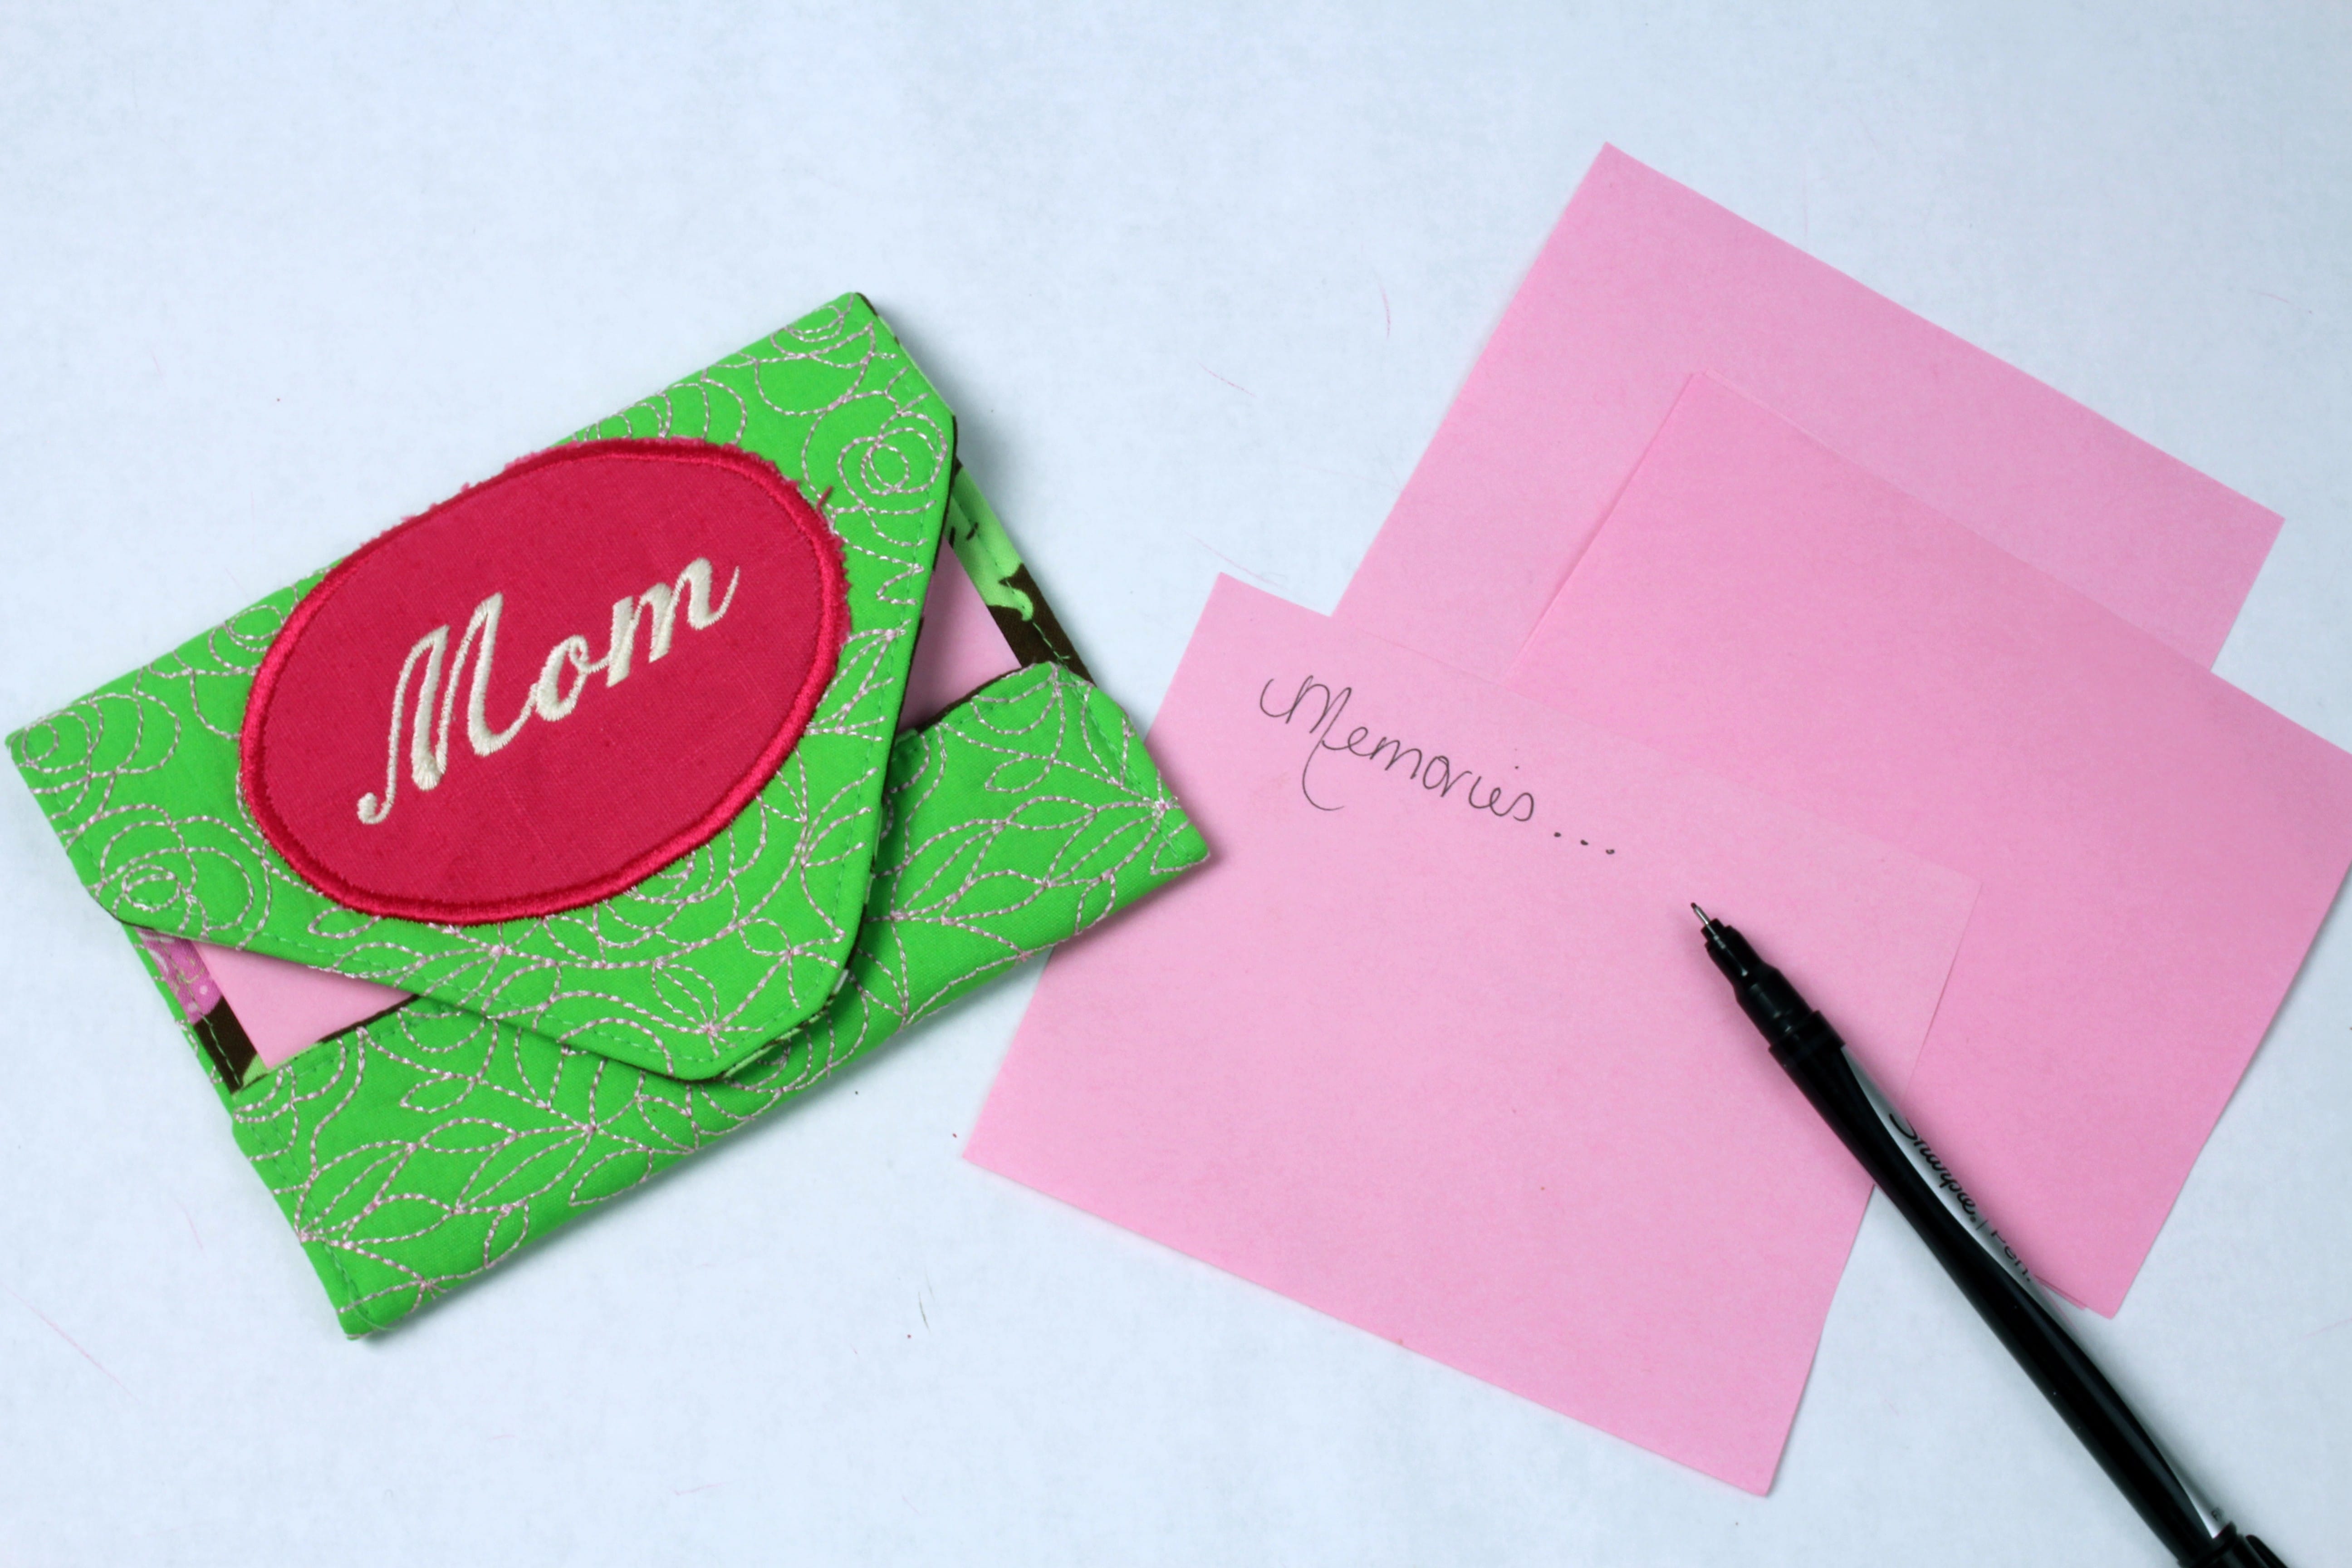
I was recently going through memory boxes and came across letters from a few people so dear to my heart that have since passed away.  This made me think, I hardly write letters anymore!  An email, text, and the occasional phone call – that’s the trend these days.  With Mother’s Day coming up I thought this would be a perfect time to get the pen out.  Even better, embroider a custom envelope Mom can keep the letters in ?

Each year I try to come up with something unique and personal to send my Mom on Mother’s Day.  She love’s handwritten letters, so why not add a custom monogrammed envelope that she can keep the letters or use for something else – maybe to hold makeup or coupons.  Something small she can carry that will remind her how special she is to all of us kids ♥

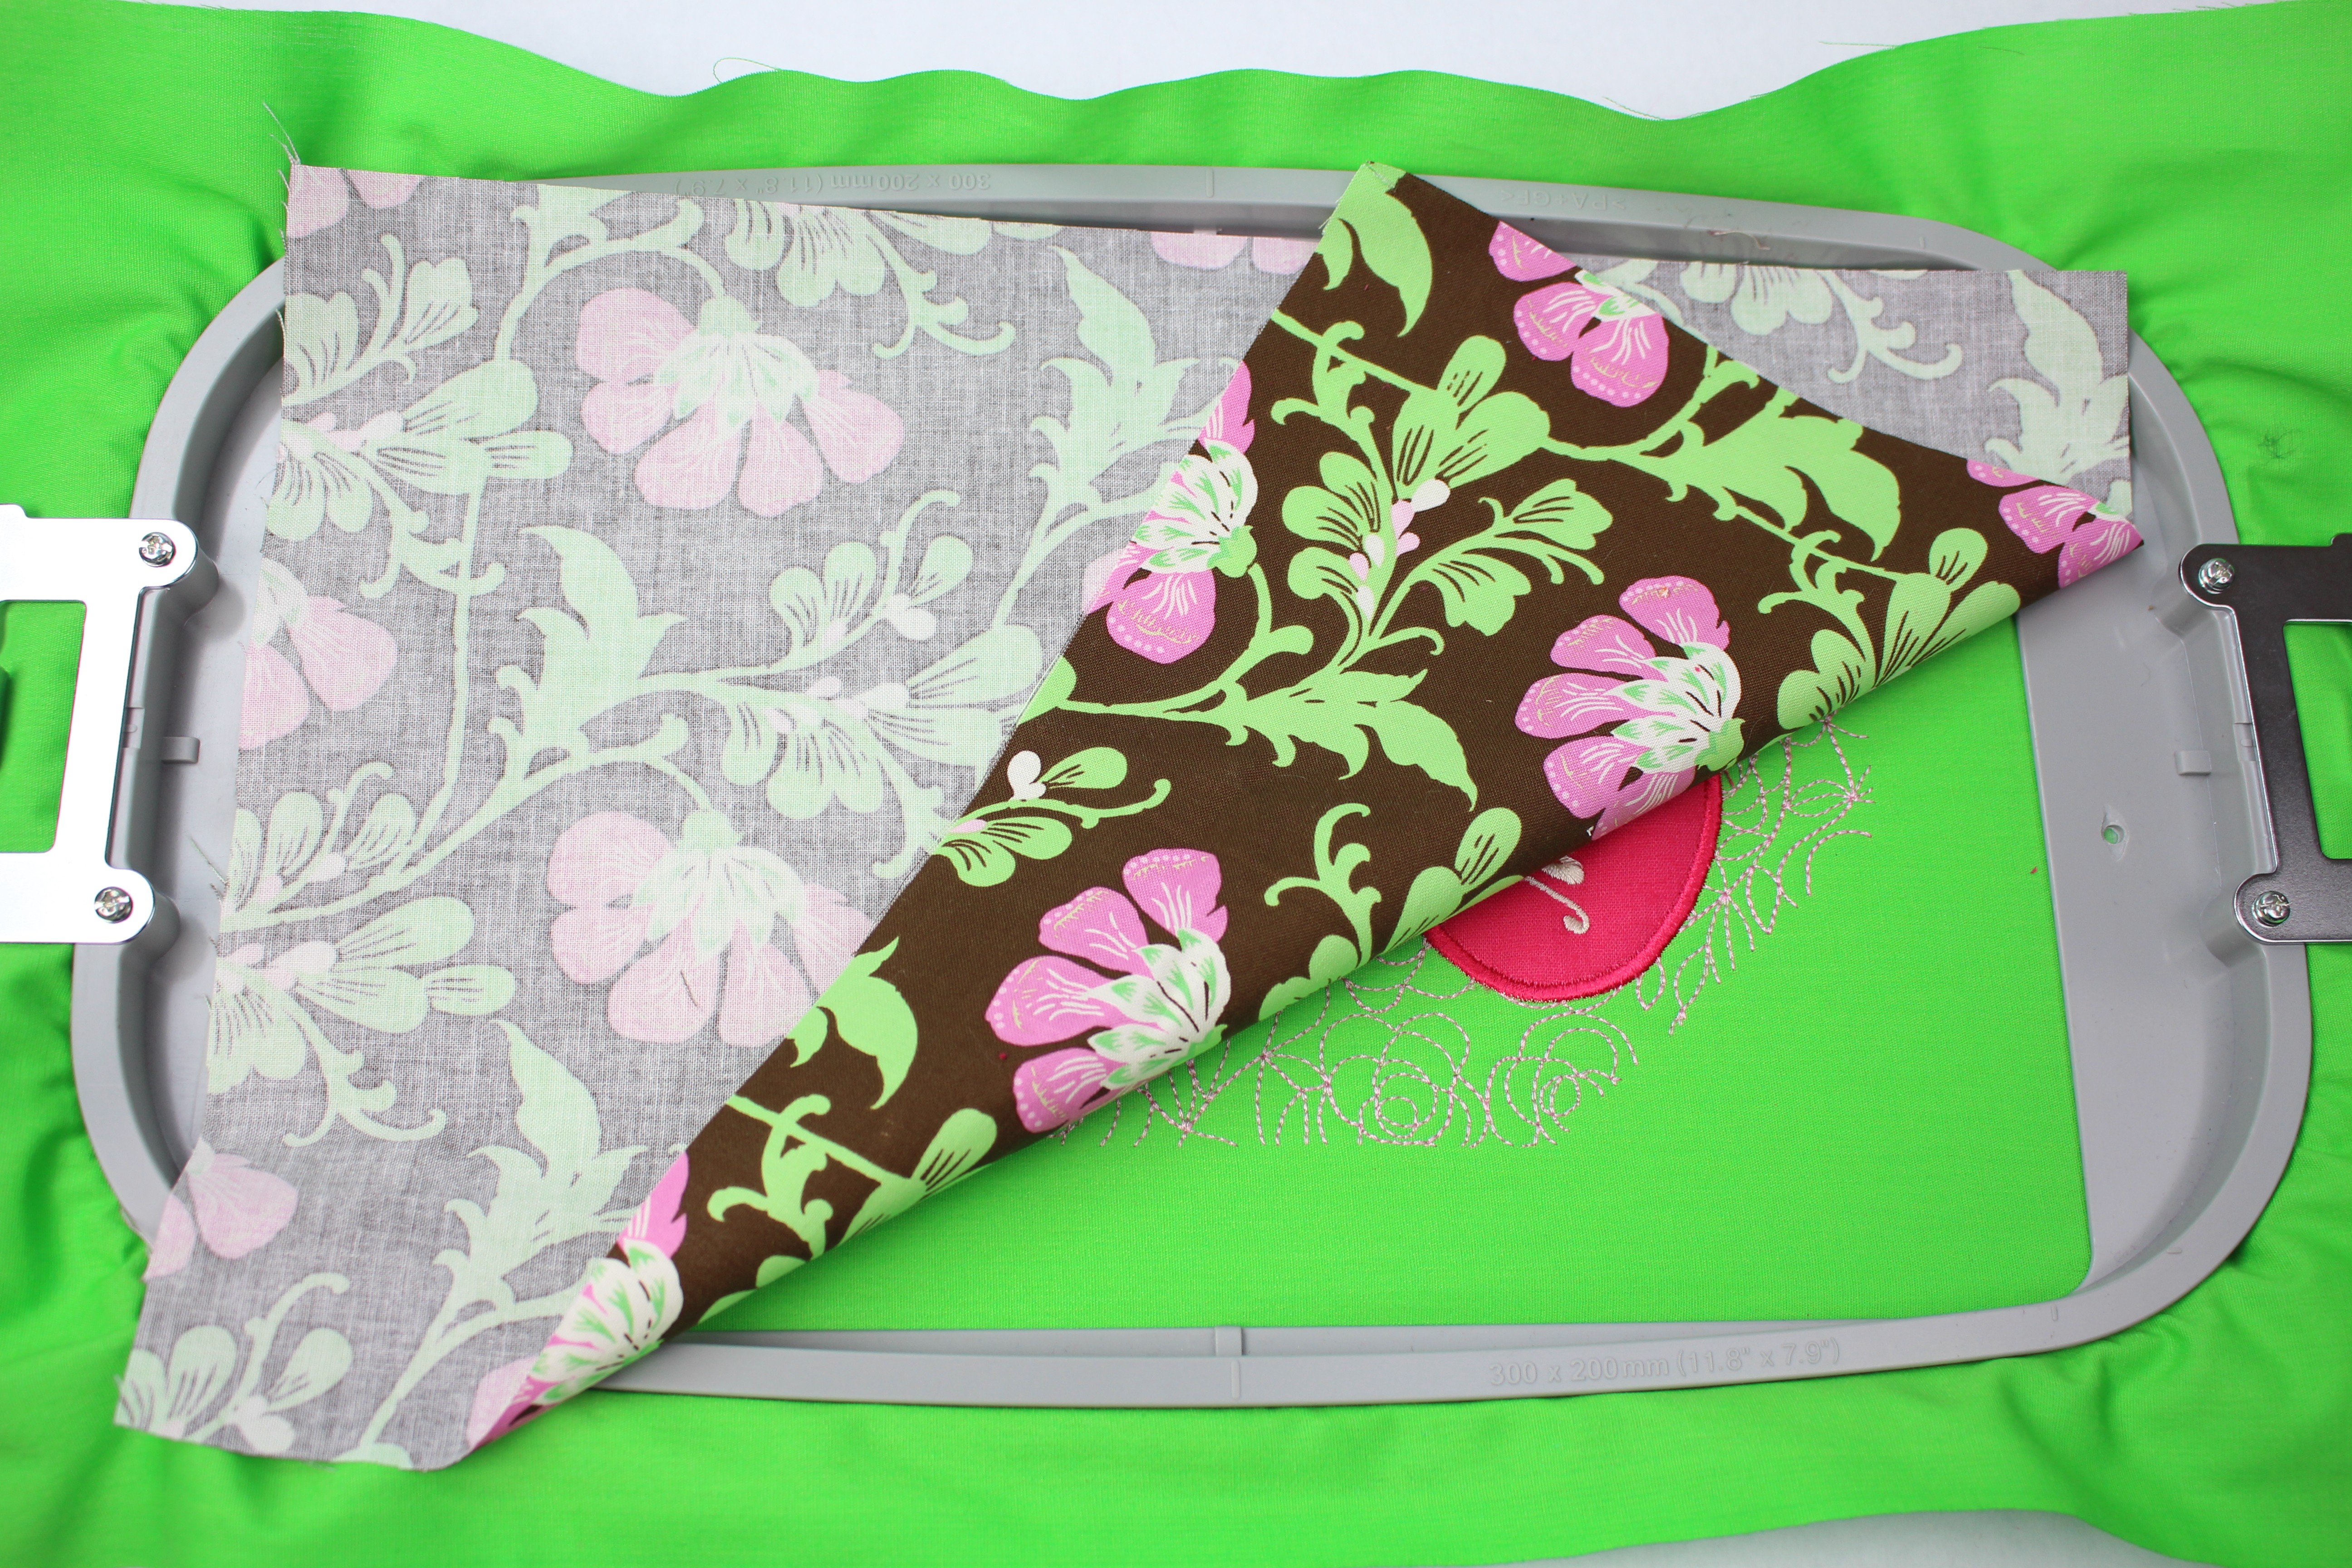
This project is very easy and only takes about 30 minutes (even faster if you are on the Brother 10-needle)

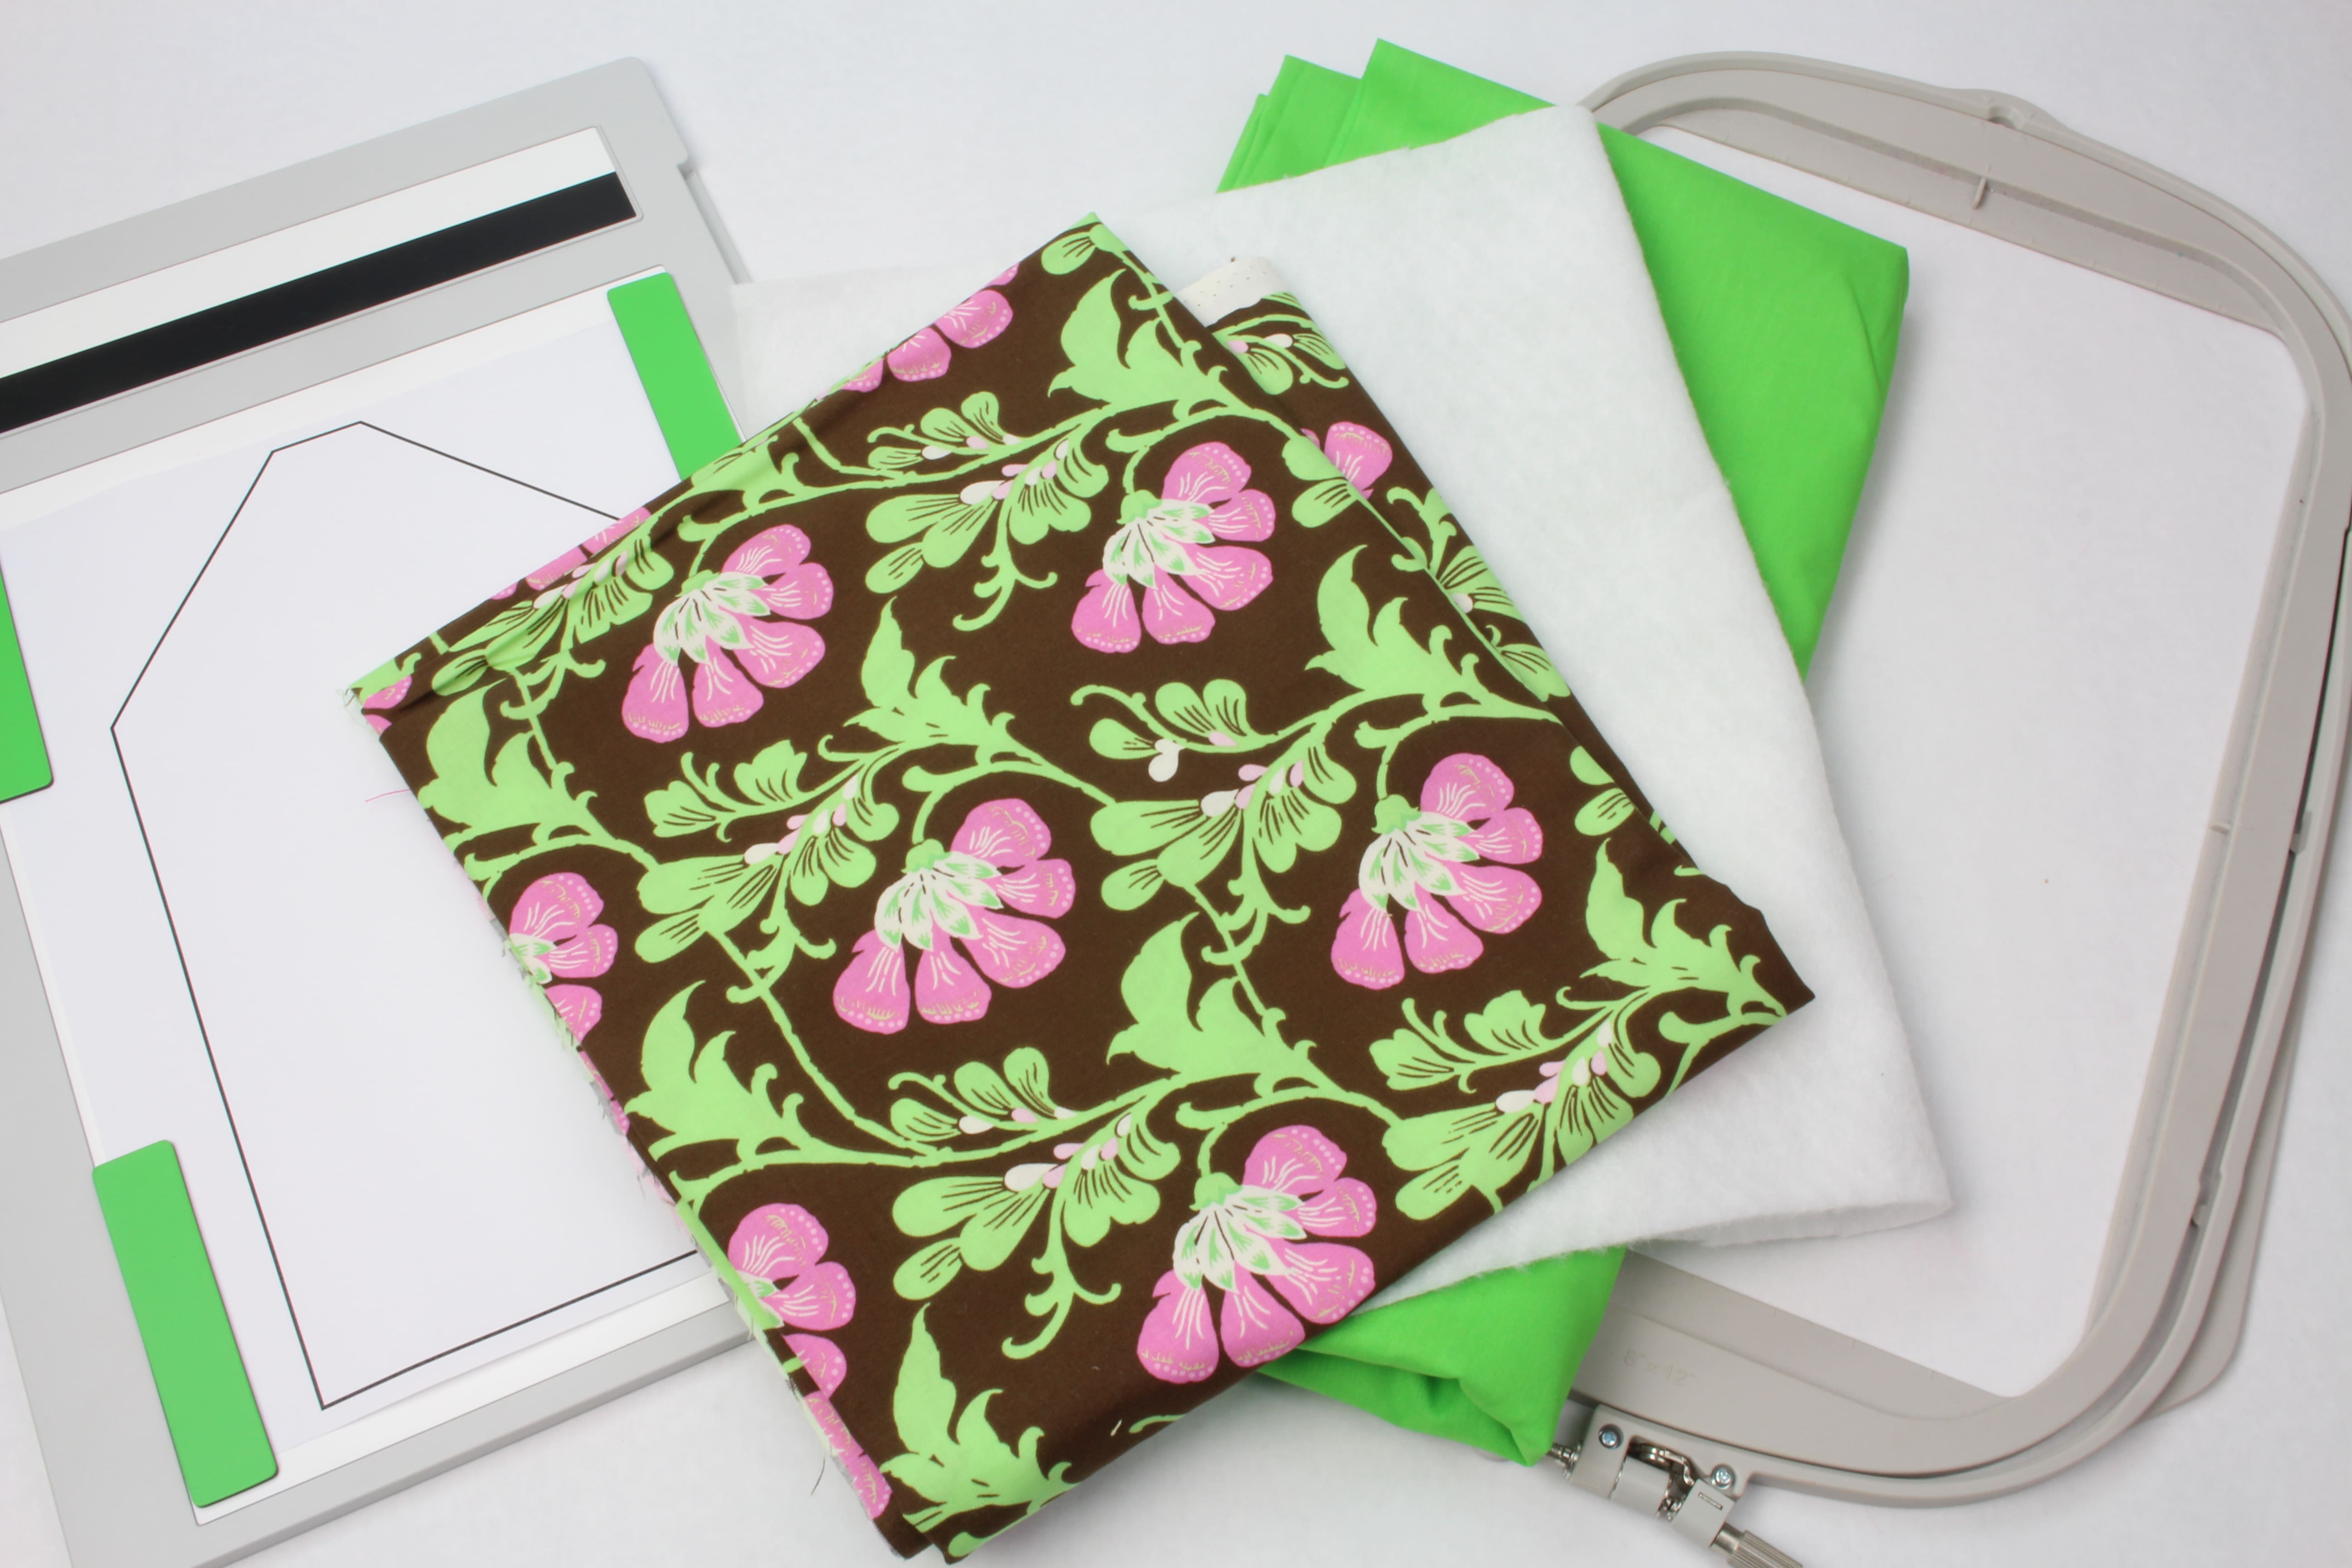
Supplies:

To read the full blog, head over to my post as a Brother Expert Consultant on the Brother Stitching Sewcial. This envelope is a cute idea for any gift, now I just need to add the personal note ♥Let me know what you think and be sure to share photos of your embroidered envelope.  #brothersews #angelawolf

Happy Mother’s Day ♥


<a target="_blank" href="https://shareasale.com/r.cfm?b=1130525&u=1586241&m=29190&urllink=&afftrack="><img src="https://static.shareasale.com/image/29190/320x1002.jpg" border="0" alt="Craftsy Unlimited FREE 7 day trial at Craftsy.com" /></a>

Episode 102 Behind the Scenes LIVE talking Halloween DIY

Episode 102 Behind the Scenes LIVE talking Halloween DIY costumes and decorations and more Trick or Treat Teresa is joining to share life with 3 under 2 Julie will share a creative pumpkin decoration and more ... Get ready for some laughs! Coupon code for the week:...

Episode 114 Behind the Scenes Vlog with Angela Wolf – quick updates on events and classes, wine bag tutorial, and watch party for youtube!

Episode 114 Behind the Scenes Vlog with Angela Wolf - quick updates on events and classes, wine bag tutorial, and watch party for youtube!

How to Prepare & Sew a Jacket Lapel (another giveaway)

When I asked what part of sewing jackets you find the most intimidating to sew, many of you left a comment about the collar and lapel.  I must have had a premonition, as this week's episode of It's Sew Easy gives you a few tips for success.  You are right, the collar...

Embellishing – Fabricate with Applique!

  Fab-ri-cate (from dictionary.com unabridged – based on the Random House Dictionary) To make by art or skill and labor; construct To make by assembling parts or sections To devise or invent To fake; forge That definition pretty much leaves the door open for...

Coverstitch 103 ~ Learn How to Use Your Coverstitch Machine

Learn How to Use the Coverstitch Machine Do you find yourself sewing a lot of knits?  If so, you will eventually want to add a coverstitch machine to your sewing room.  Hemming knits has never been easier! But the Coverstitch is not just for knits, you can also do a...

UPCYCLE ? DESIGN A SKIRT WITH EMBROIDERY

UPCYCLE ? DESIGN A SKIRT WITH EMBROIDERY

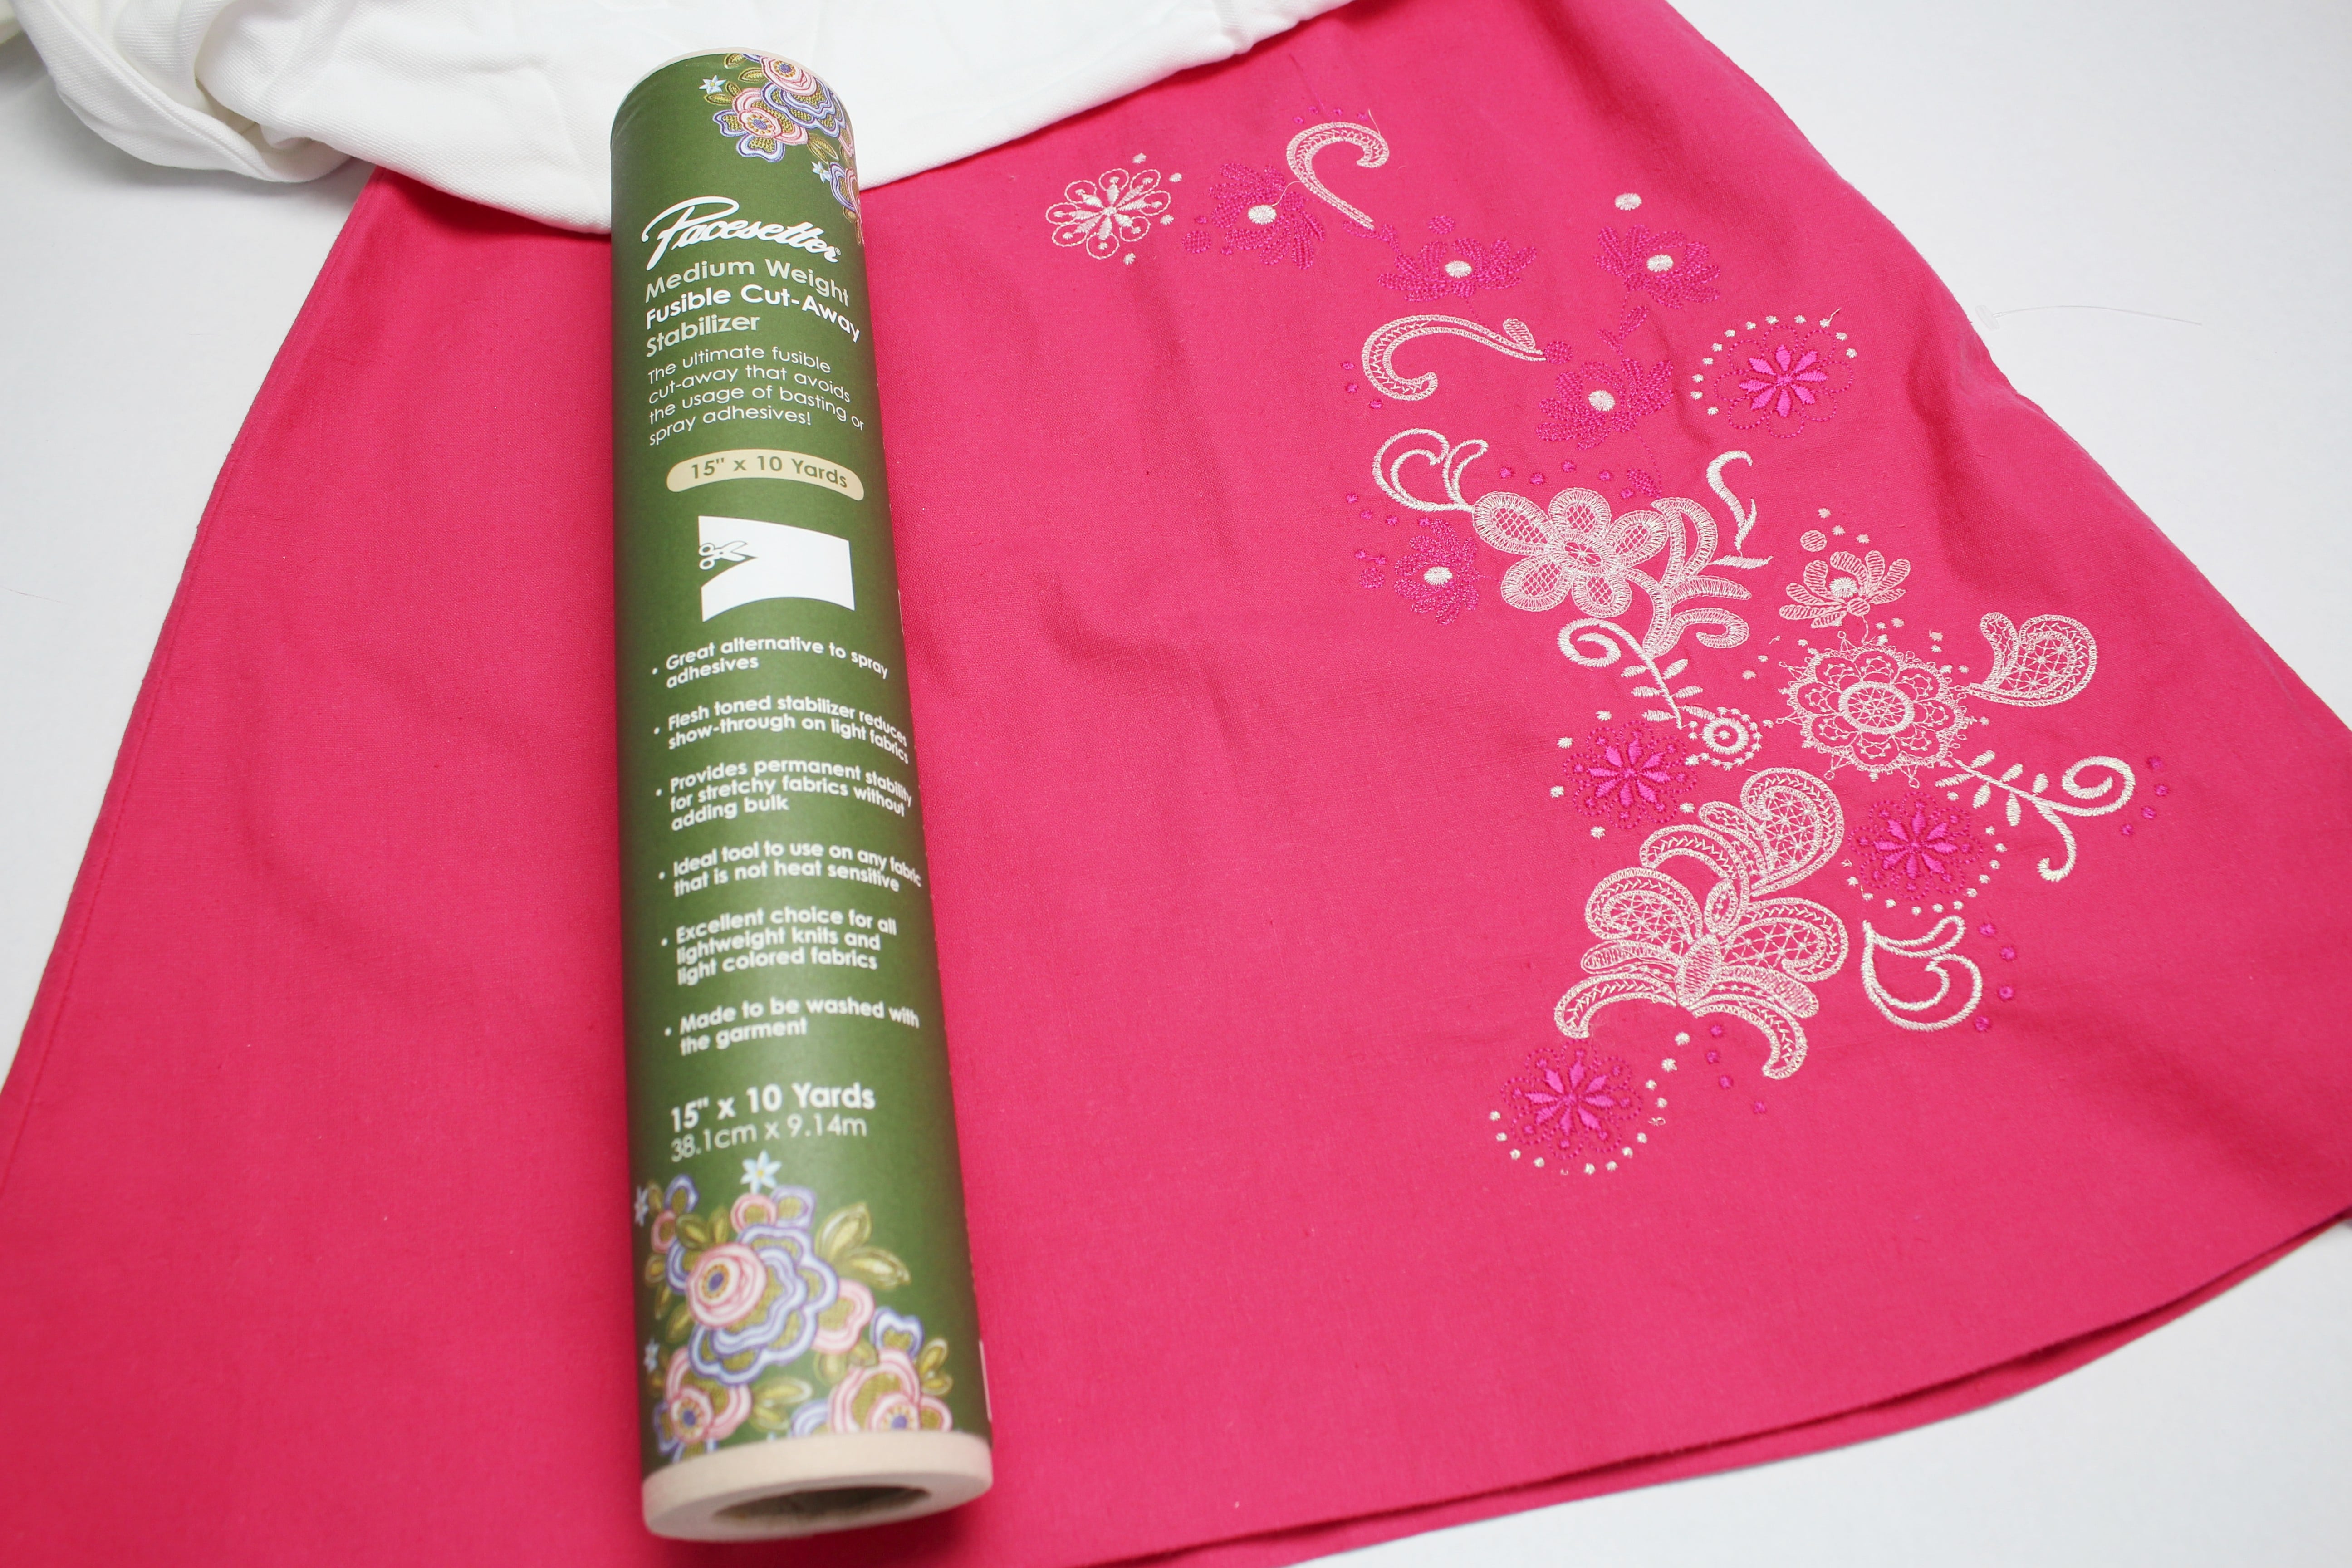
Embroidery is such a hot trend this spring!  Whether you are sewing a skirt from scratch or recycling one from the back of your closet, adding a touch of embroidery can create an entirely fresh look.  Keep in mind this would look great on a dress too ?

Supplies:

DESIGNER TIP: My skirt fabric is a linen blend, but the stabilizer I am using would work great on rayon, cotton sateen, denim, wool, and cotton blends.  JUST be careful with satin, silk blends, and velvet (to name a few).  You don’t want to damage the fabric from the iron when pressing on the fusible stabilizer; it’s best to test the stabilizer on a swatch of fabric first.

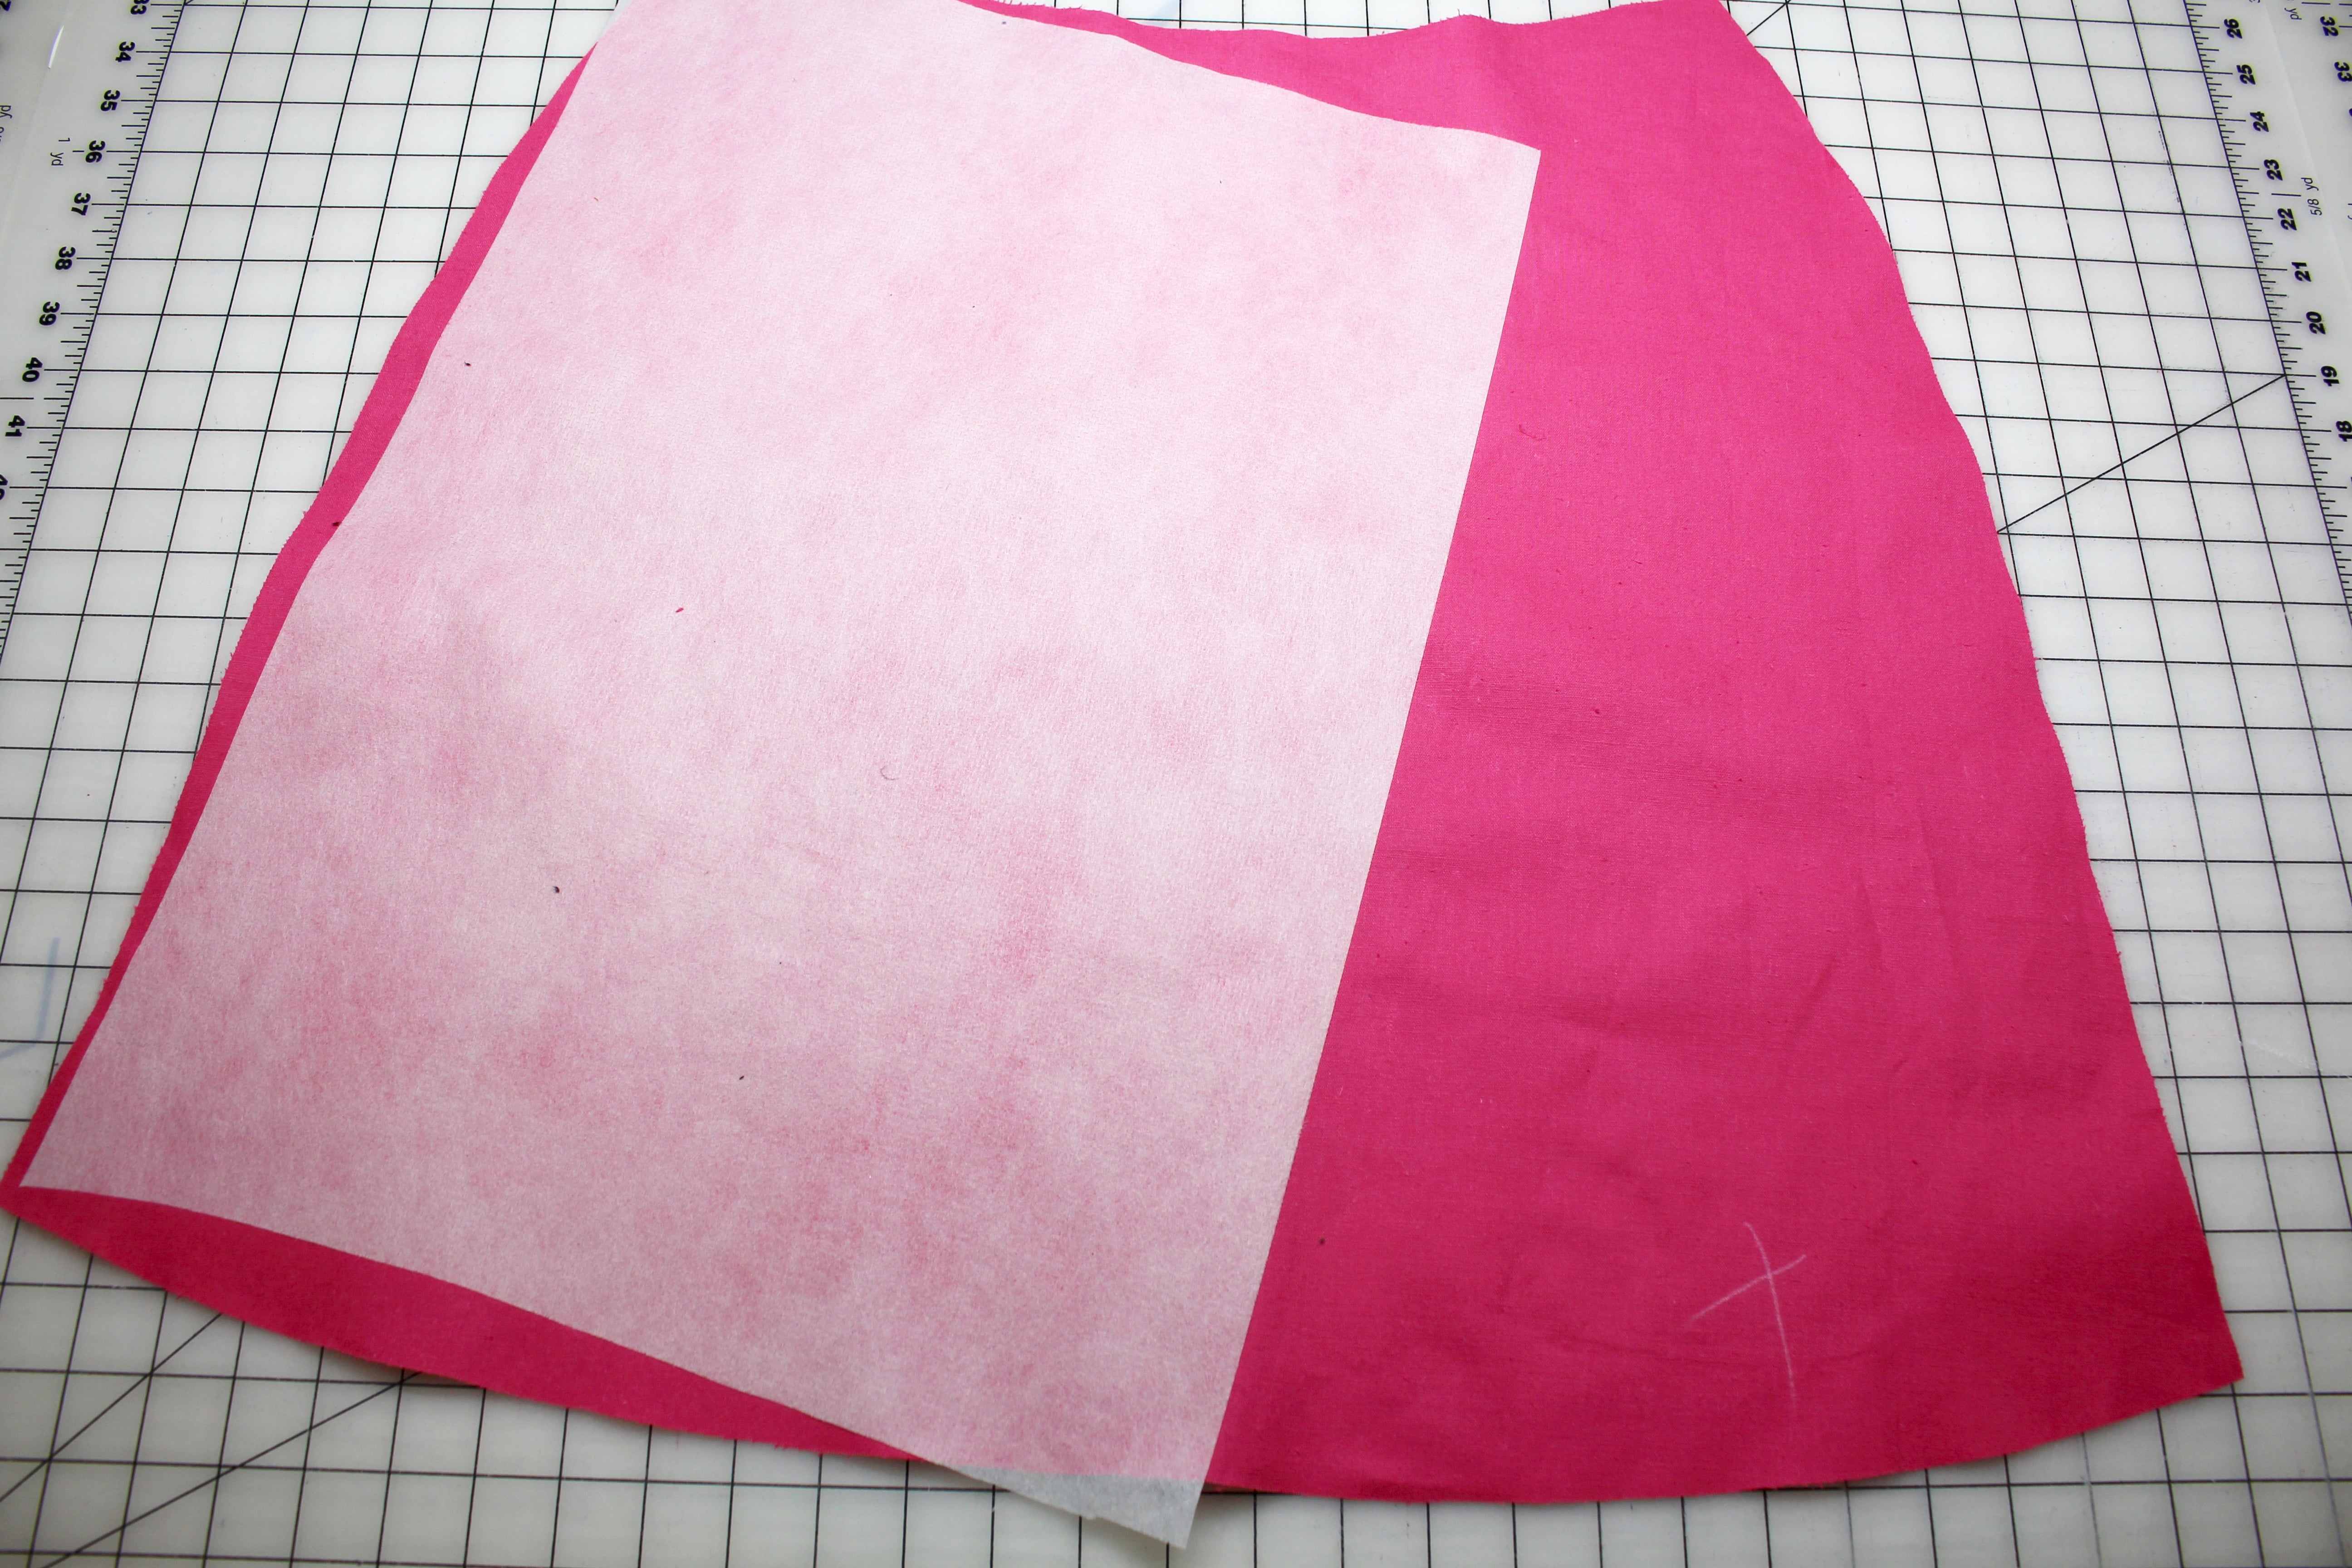
Determine the placement for the embroidery on the skirt.  I am going to focus on one side of the front of the skirt; marking that spot with a fabric pen or tailors chalk.   Press the embroidery stabilizer on the wrong side of the fabric covering the area to be embroidered.

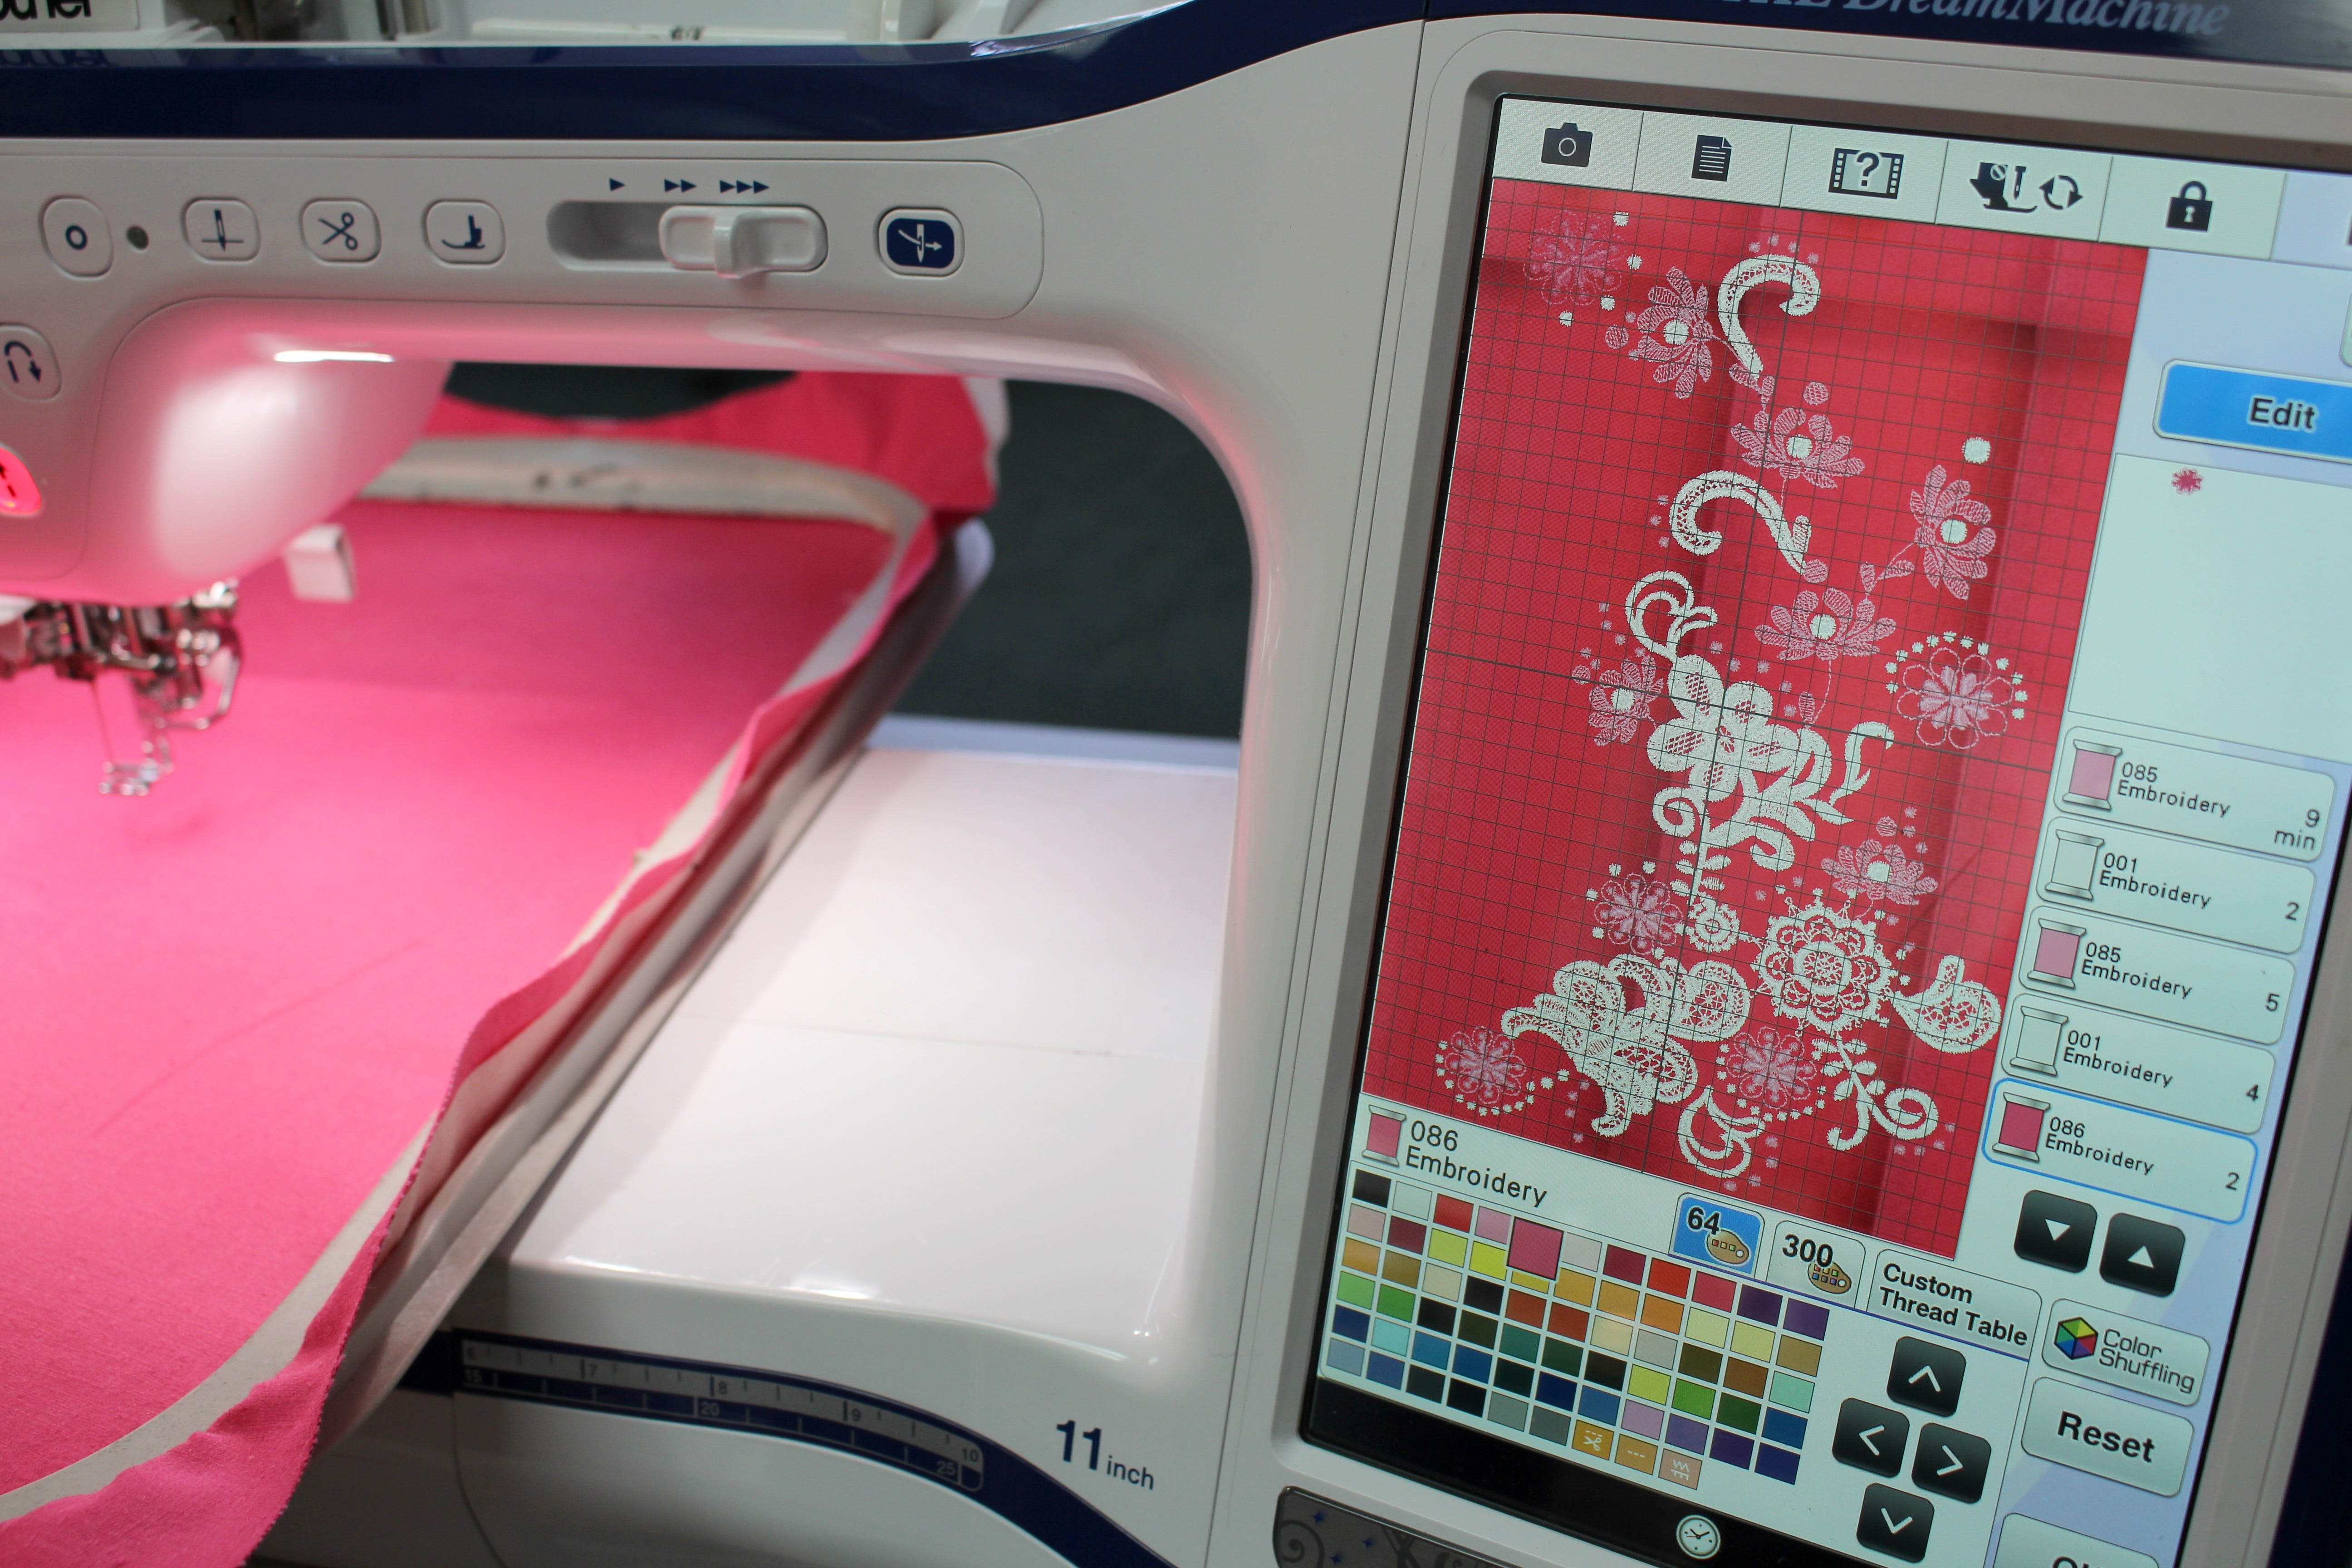
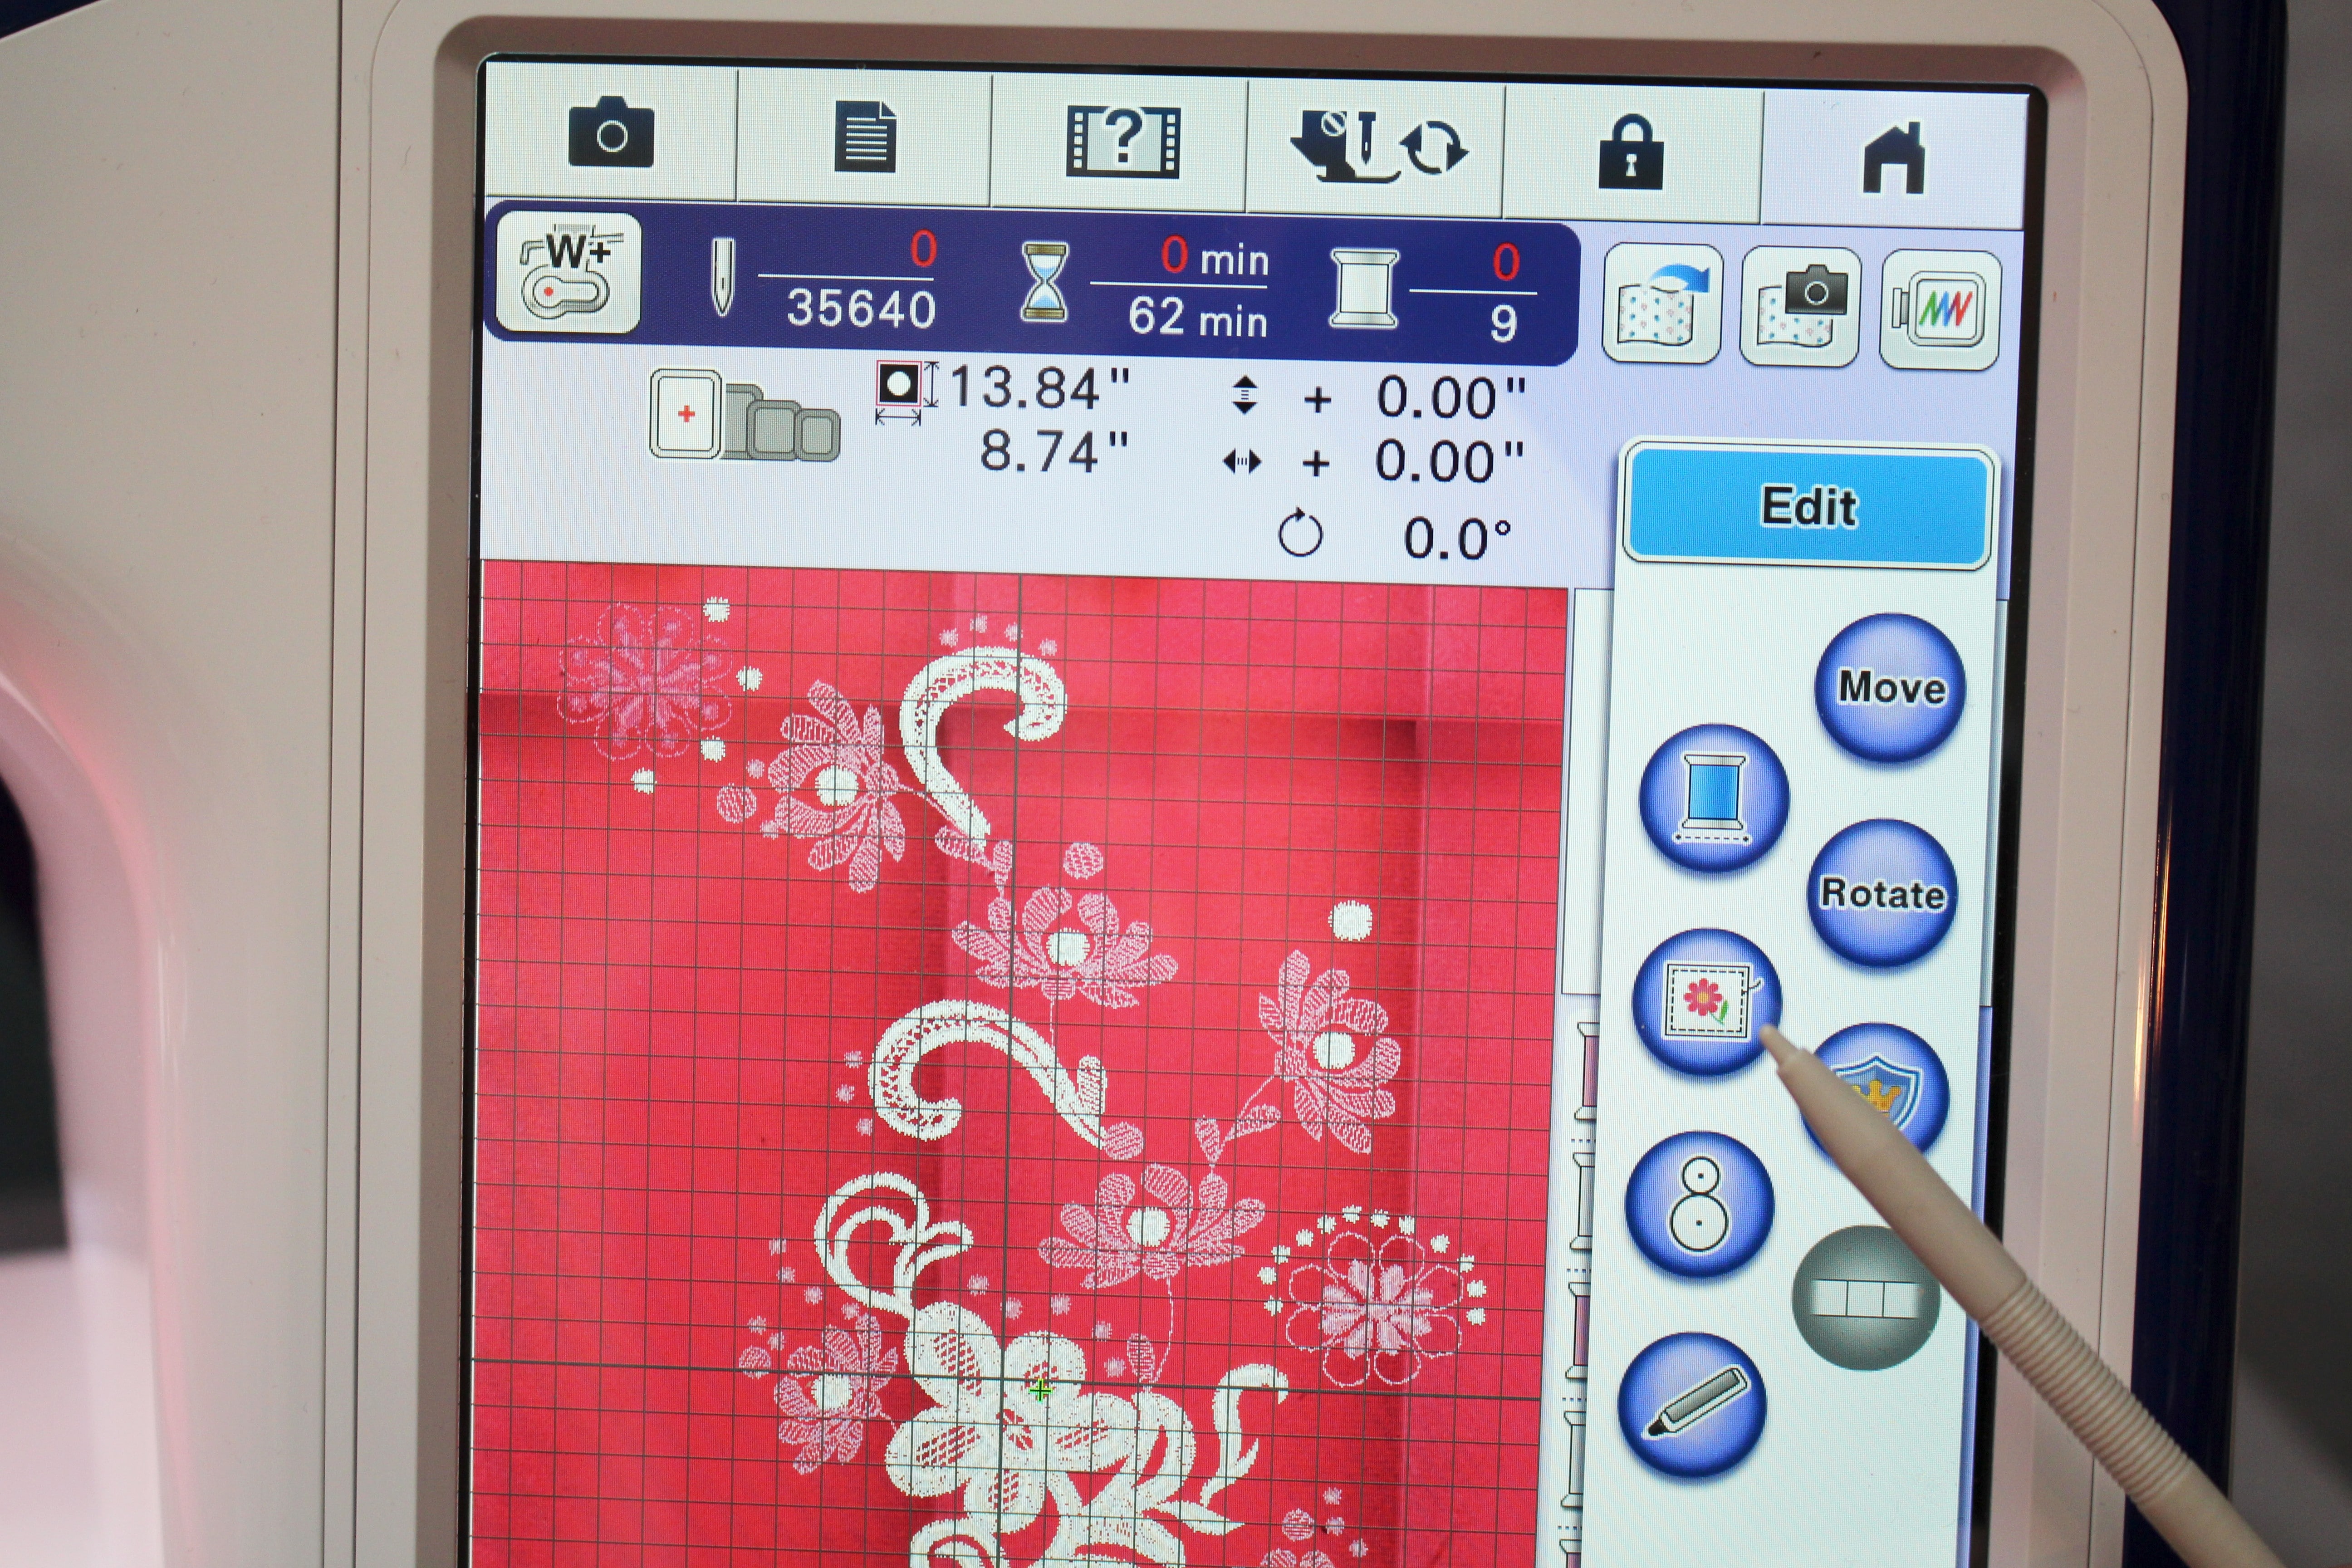
Hoop the fabric and insert the hoop into the machine.  Choose an embroidery design or add a couple of designs onto the screen.  Scan the fabric in and move the embroidery design as needed. If you don’t have the scanning feature on your sewing machine, use an embroidery placement marker such as the snowman or other tools.

You can read the full blog, head over to my post as a Brother Expert Consultant on the Brother Stitching Sewcial. Be sure to share photos of embellished Kate skirt #angelawolf #brothersews

Cheers,
 

<a target="_blank" href="http://shareasale.com/r.cfm?b=1130527&u=1586241&m=29190&urllink=&afftrack="><img src="https://static.shareasale.com/image/29190/728x90.gif" border="0" alt="Craftsy Unlimited FREE 7 day trial at Craftsy.com" /></a>
Sewing with CraftOptics is a Great Solution for the Eyes!

Sewing with CraftOptics is a Great Solution for the Eyes!

Have you see the WOW package from CraftOptics? I met Jeff Caplan from CraftOptics a few years ago in Puyallup, his booth was around the corner from Kai Scissors.   I was intrigued by the glasses and loved hearing the comments that people would say after trying them...
read more
NEW Skini-Mini Angela Wolf Martelli Ruler Kits

NEW Skini-Mini Angela Wolf Martelli Ruler Kits

New Angela Wolf & Martelli Ruler Sets I am so excited to announce my new ruler set designed by Martelli.  In case you are new to Martelli, they are a family owned business located in Florida.  I have been testing some of their products the last few months and I am...

read more
New Dress Form Unboxing & Giveaway with Joe Vecchiarelli

New Dress Form Unboxing & Giveaway with Joe Vecchiarelli

Birthday Week goes into 40 gifts to Christmas! Celebrating Birthday week then moves into Christmas and the Holiday's with Joe Vecchiarelli! Joe from French European Inc. has been so generous to the Wolfpack with awesome discounts and free dress forms and this year is...

read more
Celebrating 50K YouTube Subscribers!

Celebrating 50K YouTube Subscribers!

Let's Celebrate! I can't tell you how excited I was to see 50,000 of you have subscribed to my YouTube channel!  I can still remember putting up my first videos 10 years ago.  I thought a fun way to celebrate is to do a giveaway every week for the next month.  YEAH!...

read more
Pant Sloper Fitting Online Course

Pant Sloper Fitting Online Course

Pant Sloper Fitting Online Course Learn to fit your own pant sloper! Then take that sloper and turn it into a pattern. This class will be taught in a virtual & online setting; offering 5 live lessons with additional videos for specific fitting issues. You will...

read more

Pin It on Pinterest