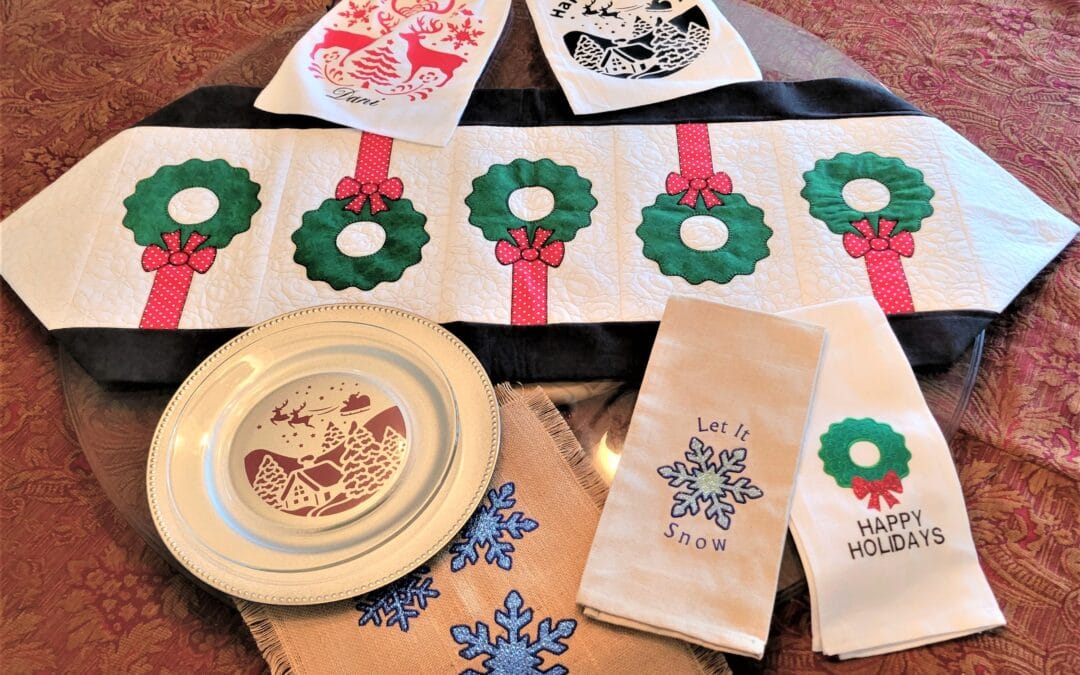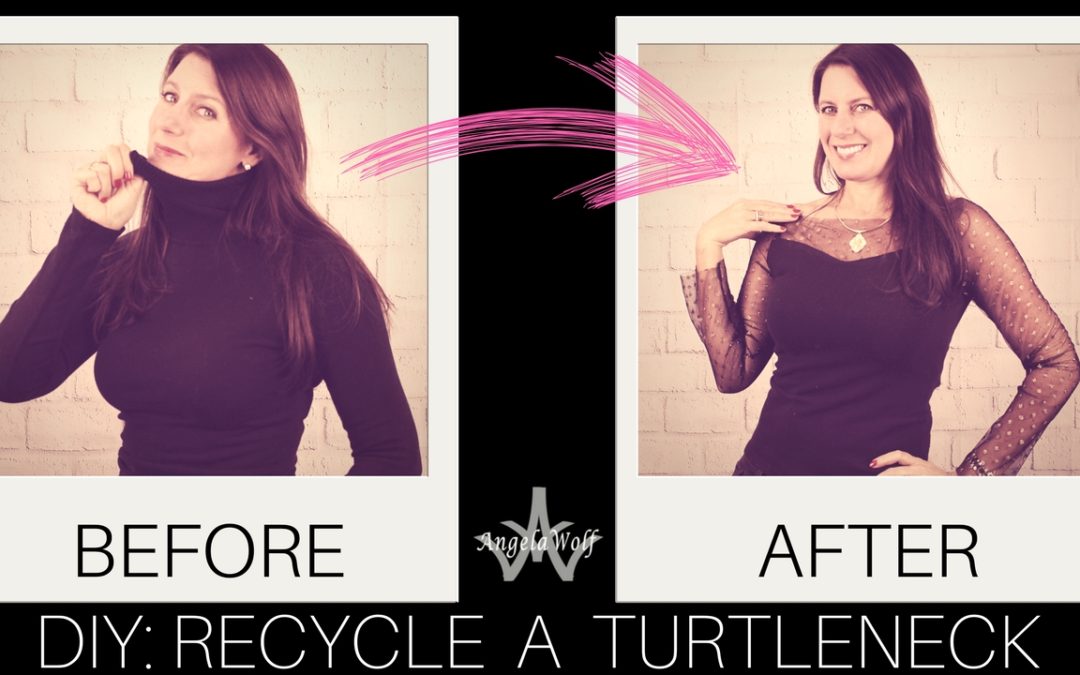

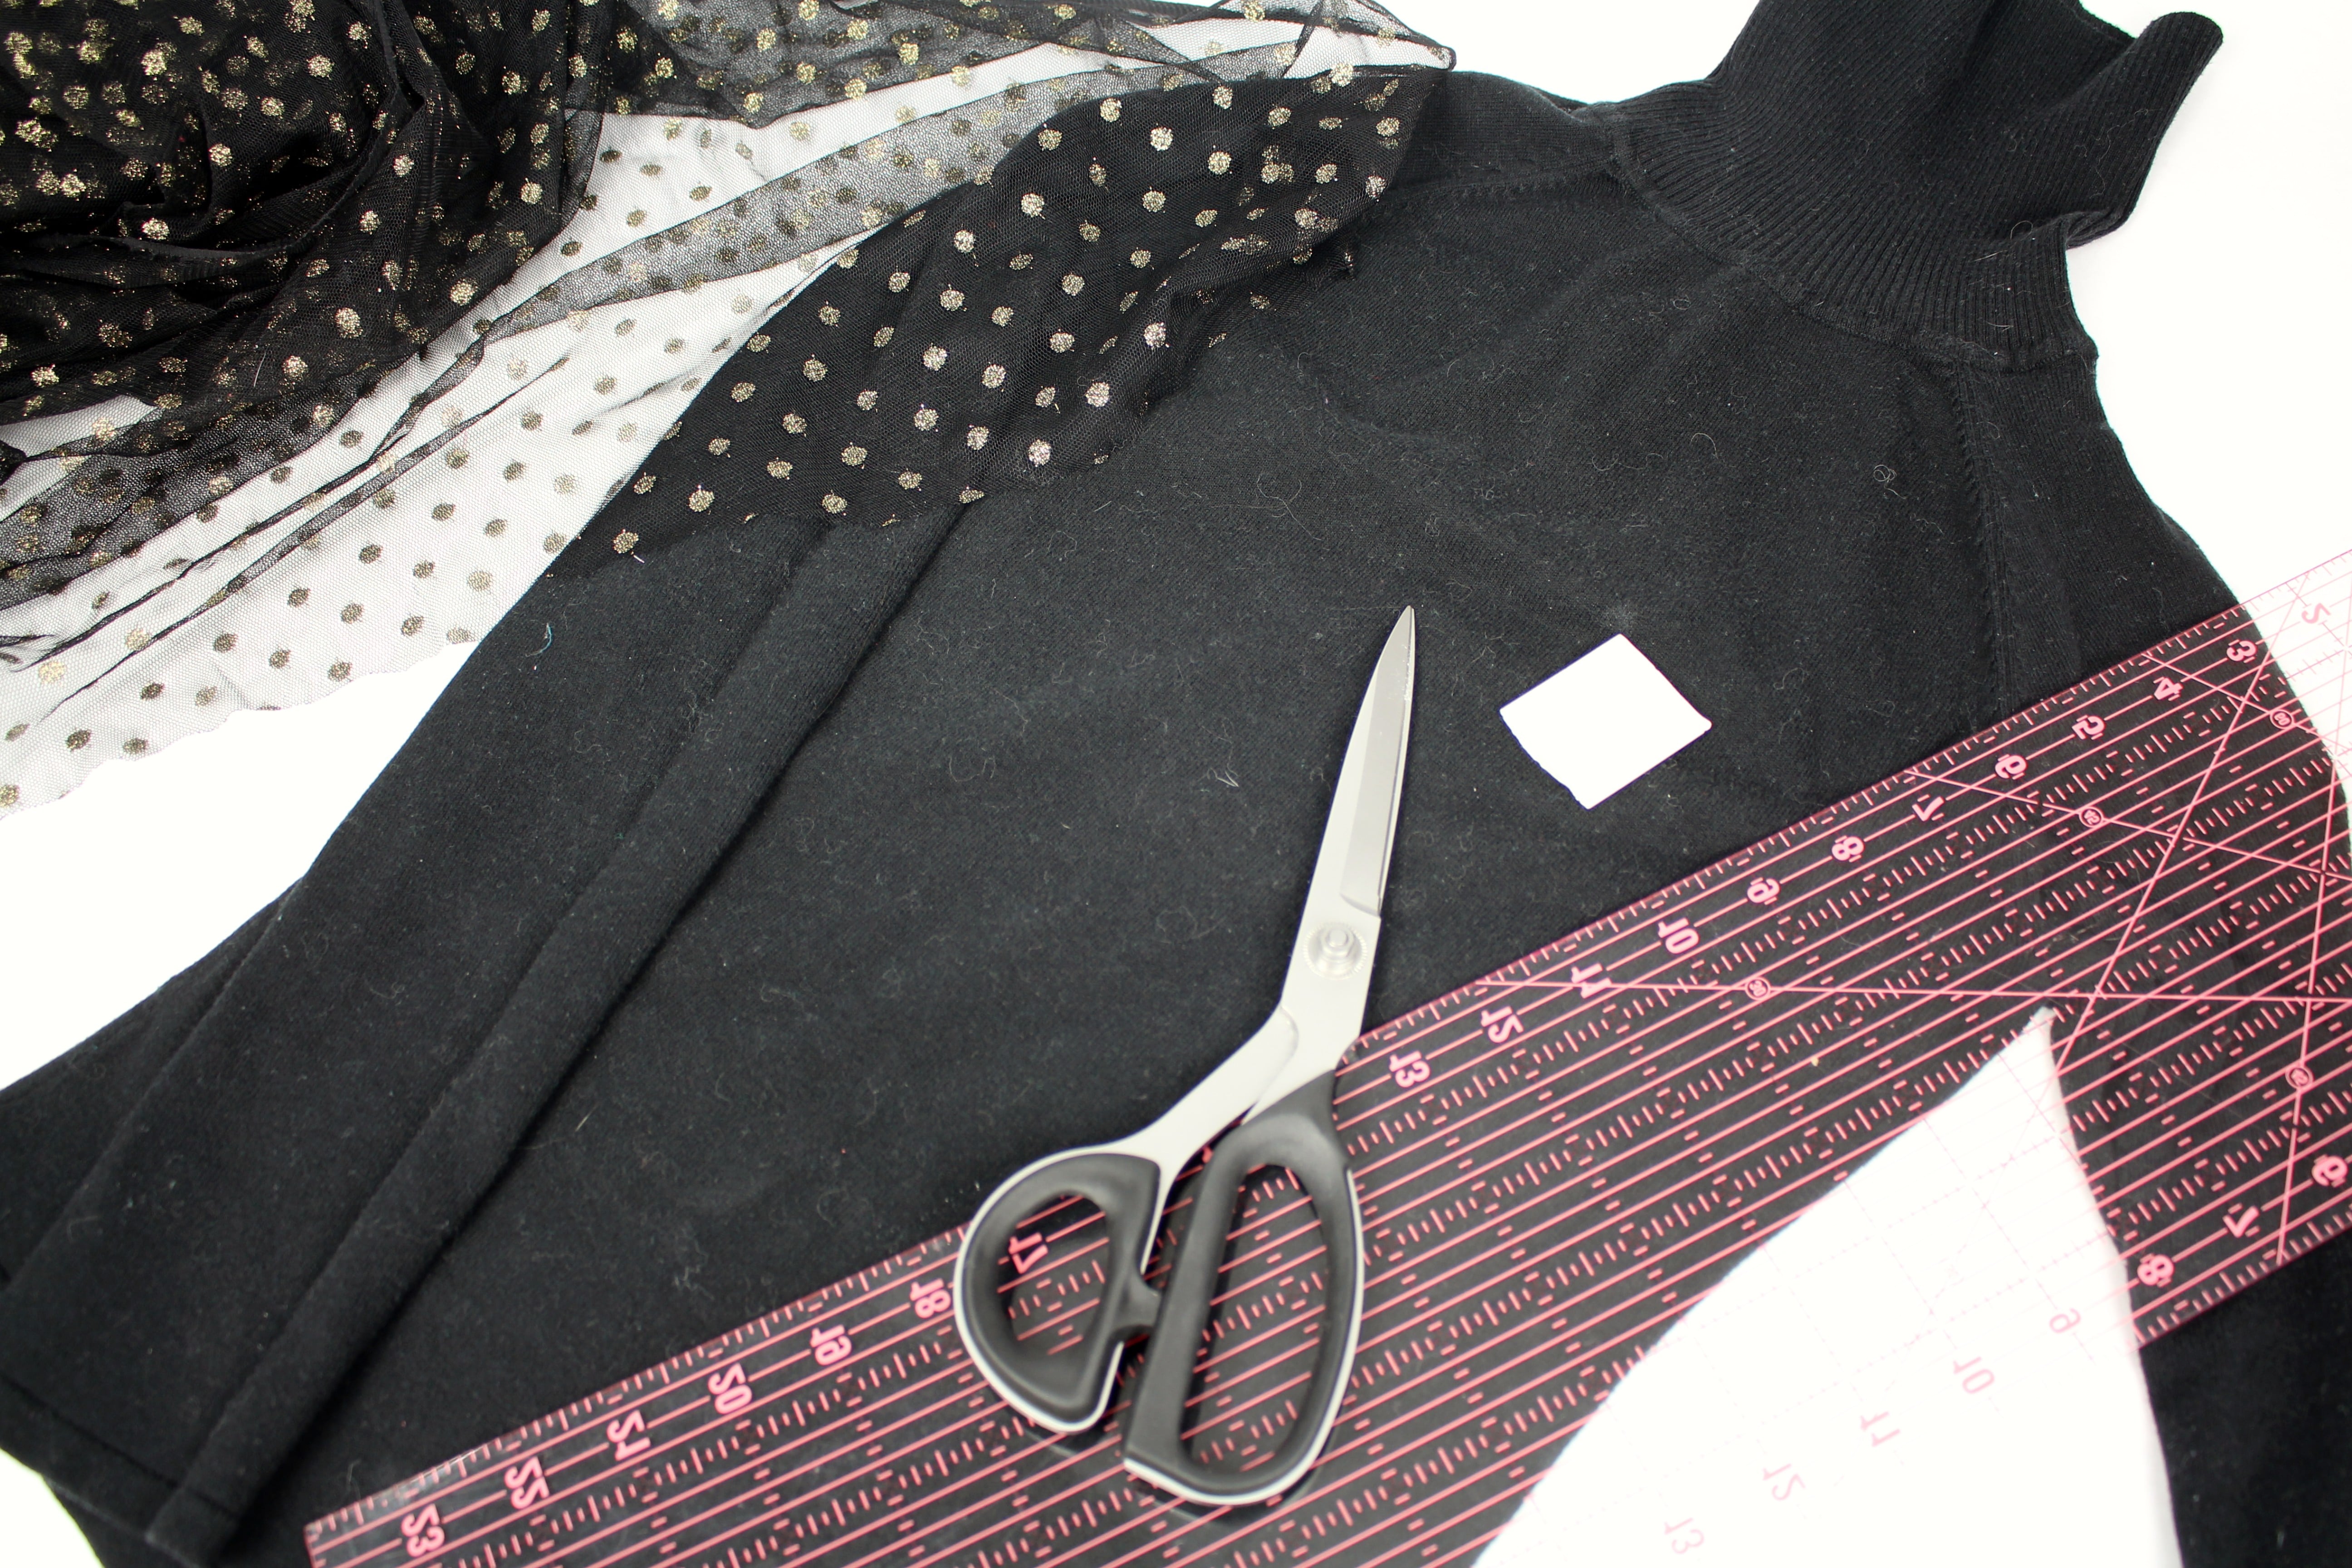

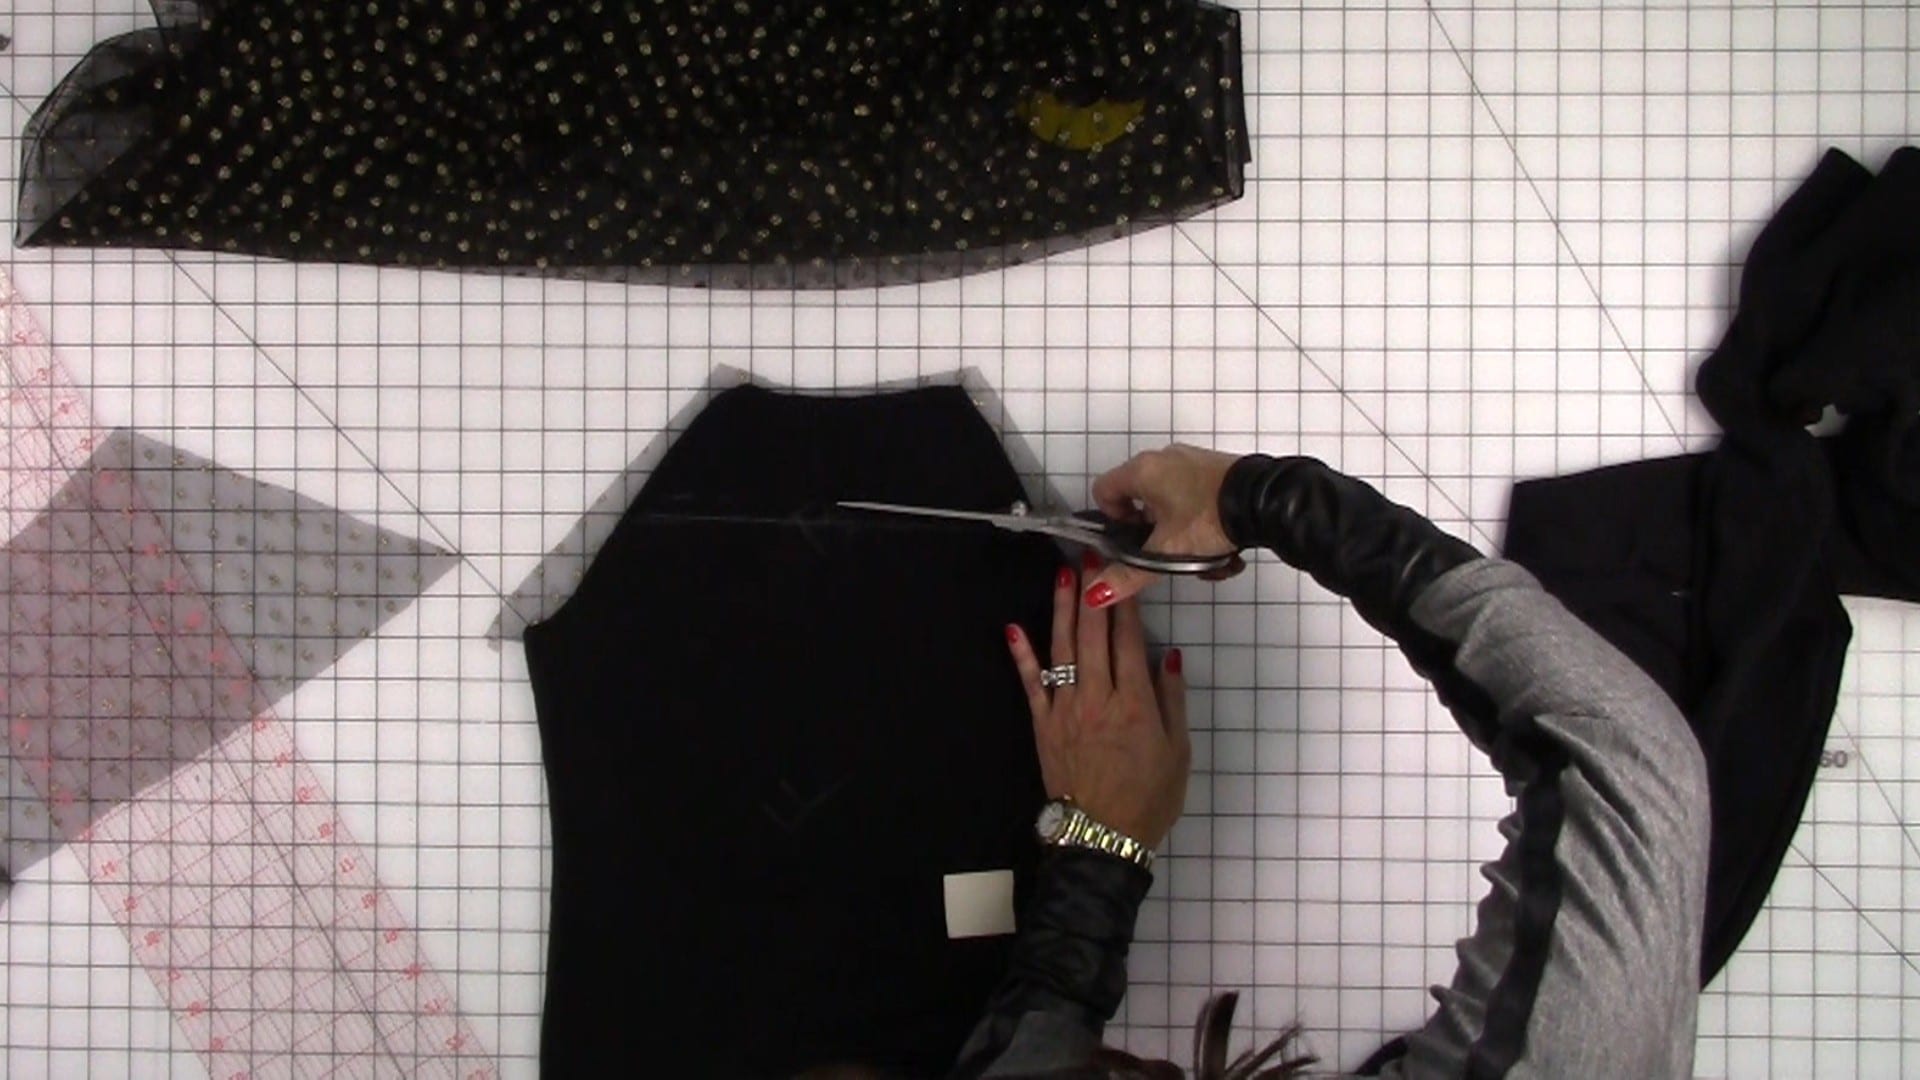
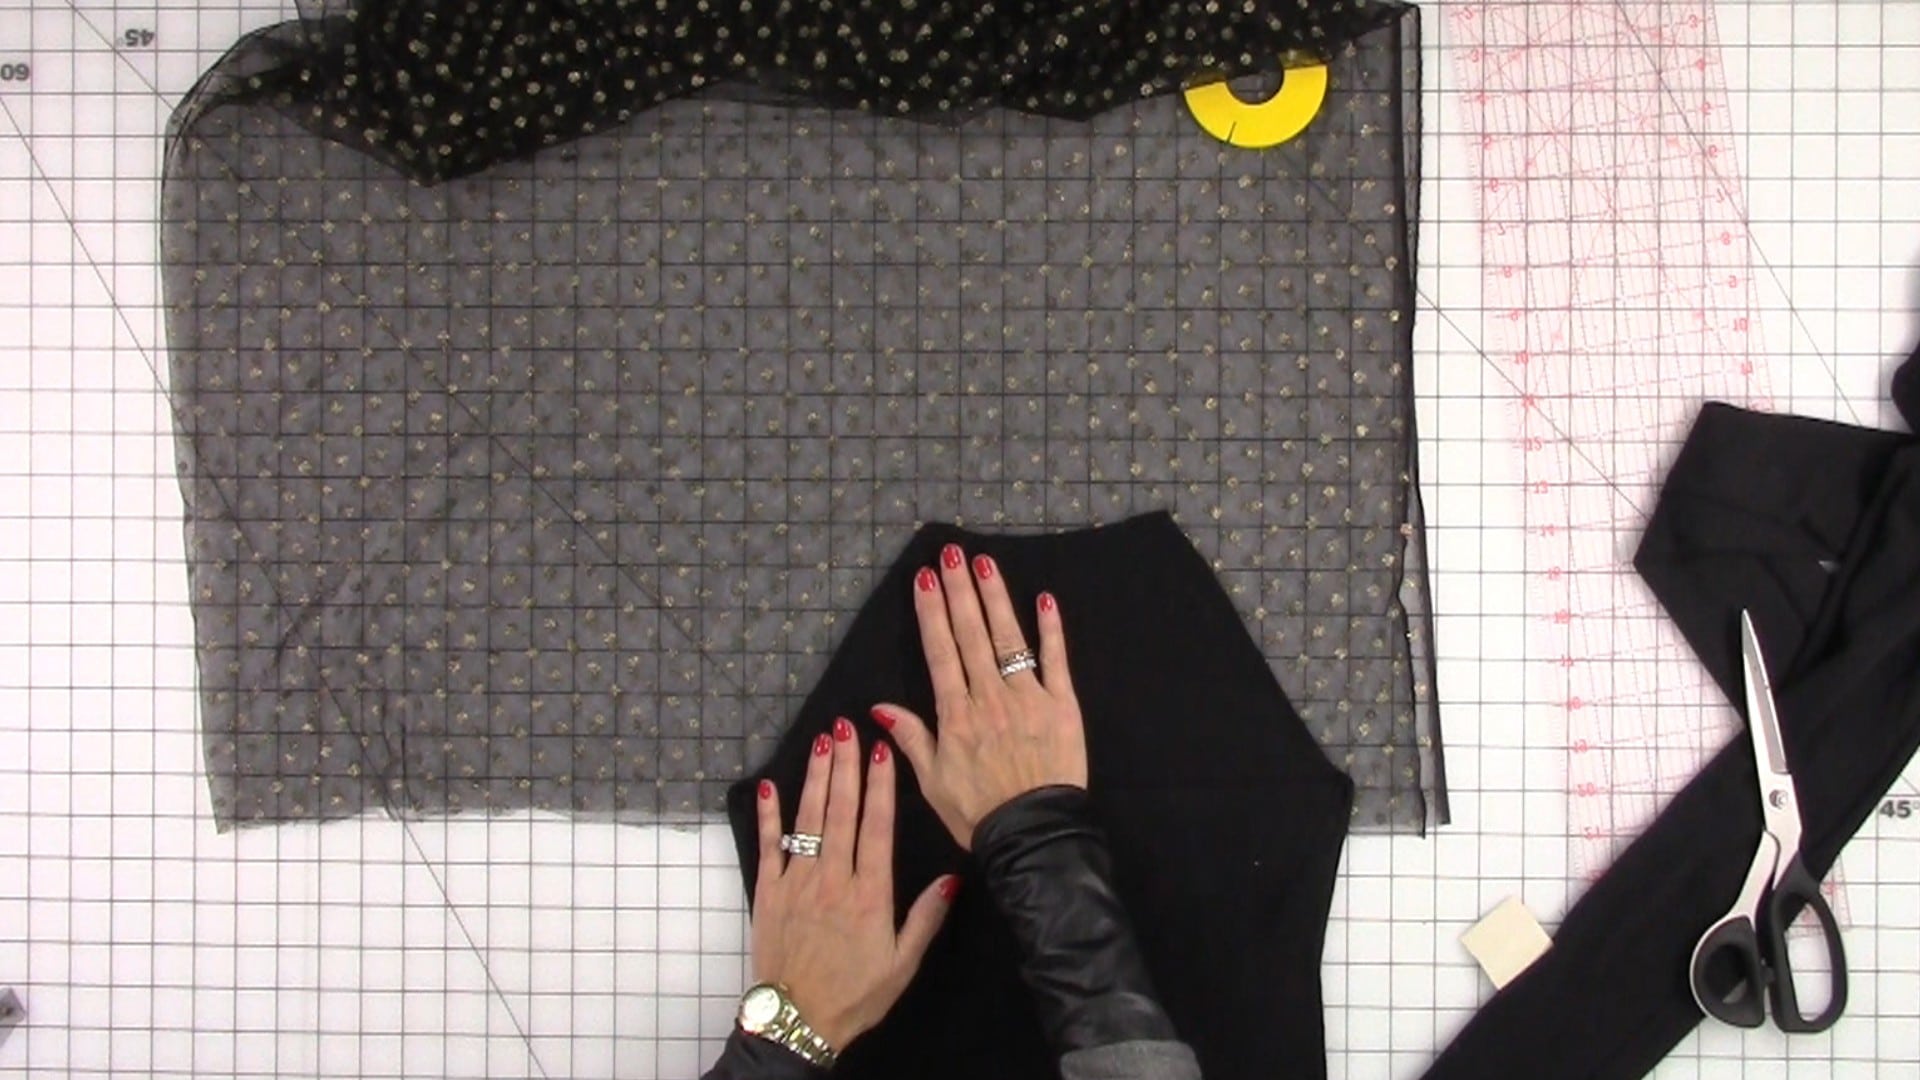


I have a few turtlenecks that are made of beautiful fabrics, but I can’t stand the high, tight neckline. Time for another DIY recycle project to makeover this sweater! The look of see through fabric, embroidered, and embellished tulle are so trendy right now...
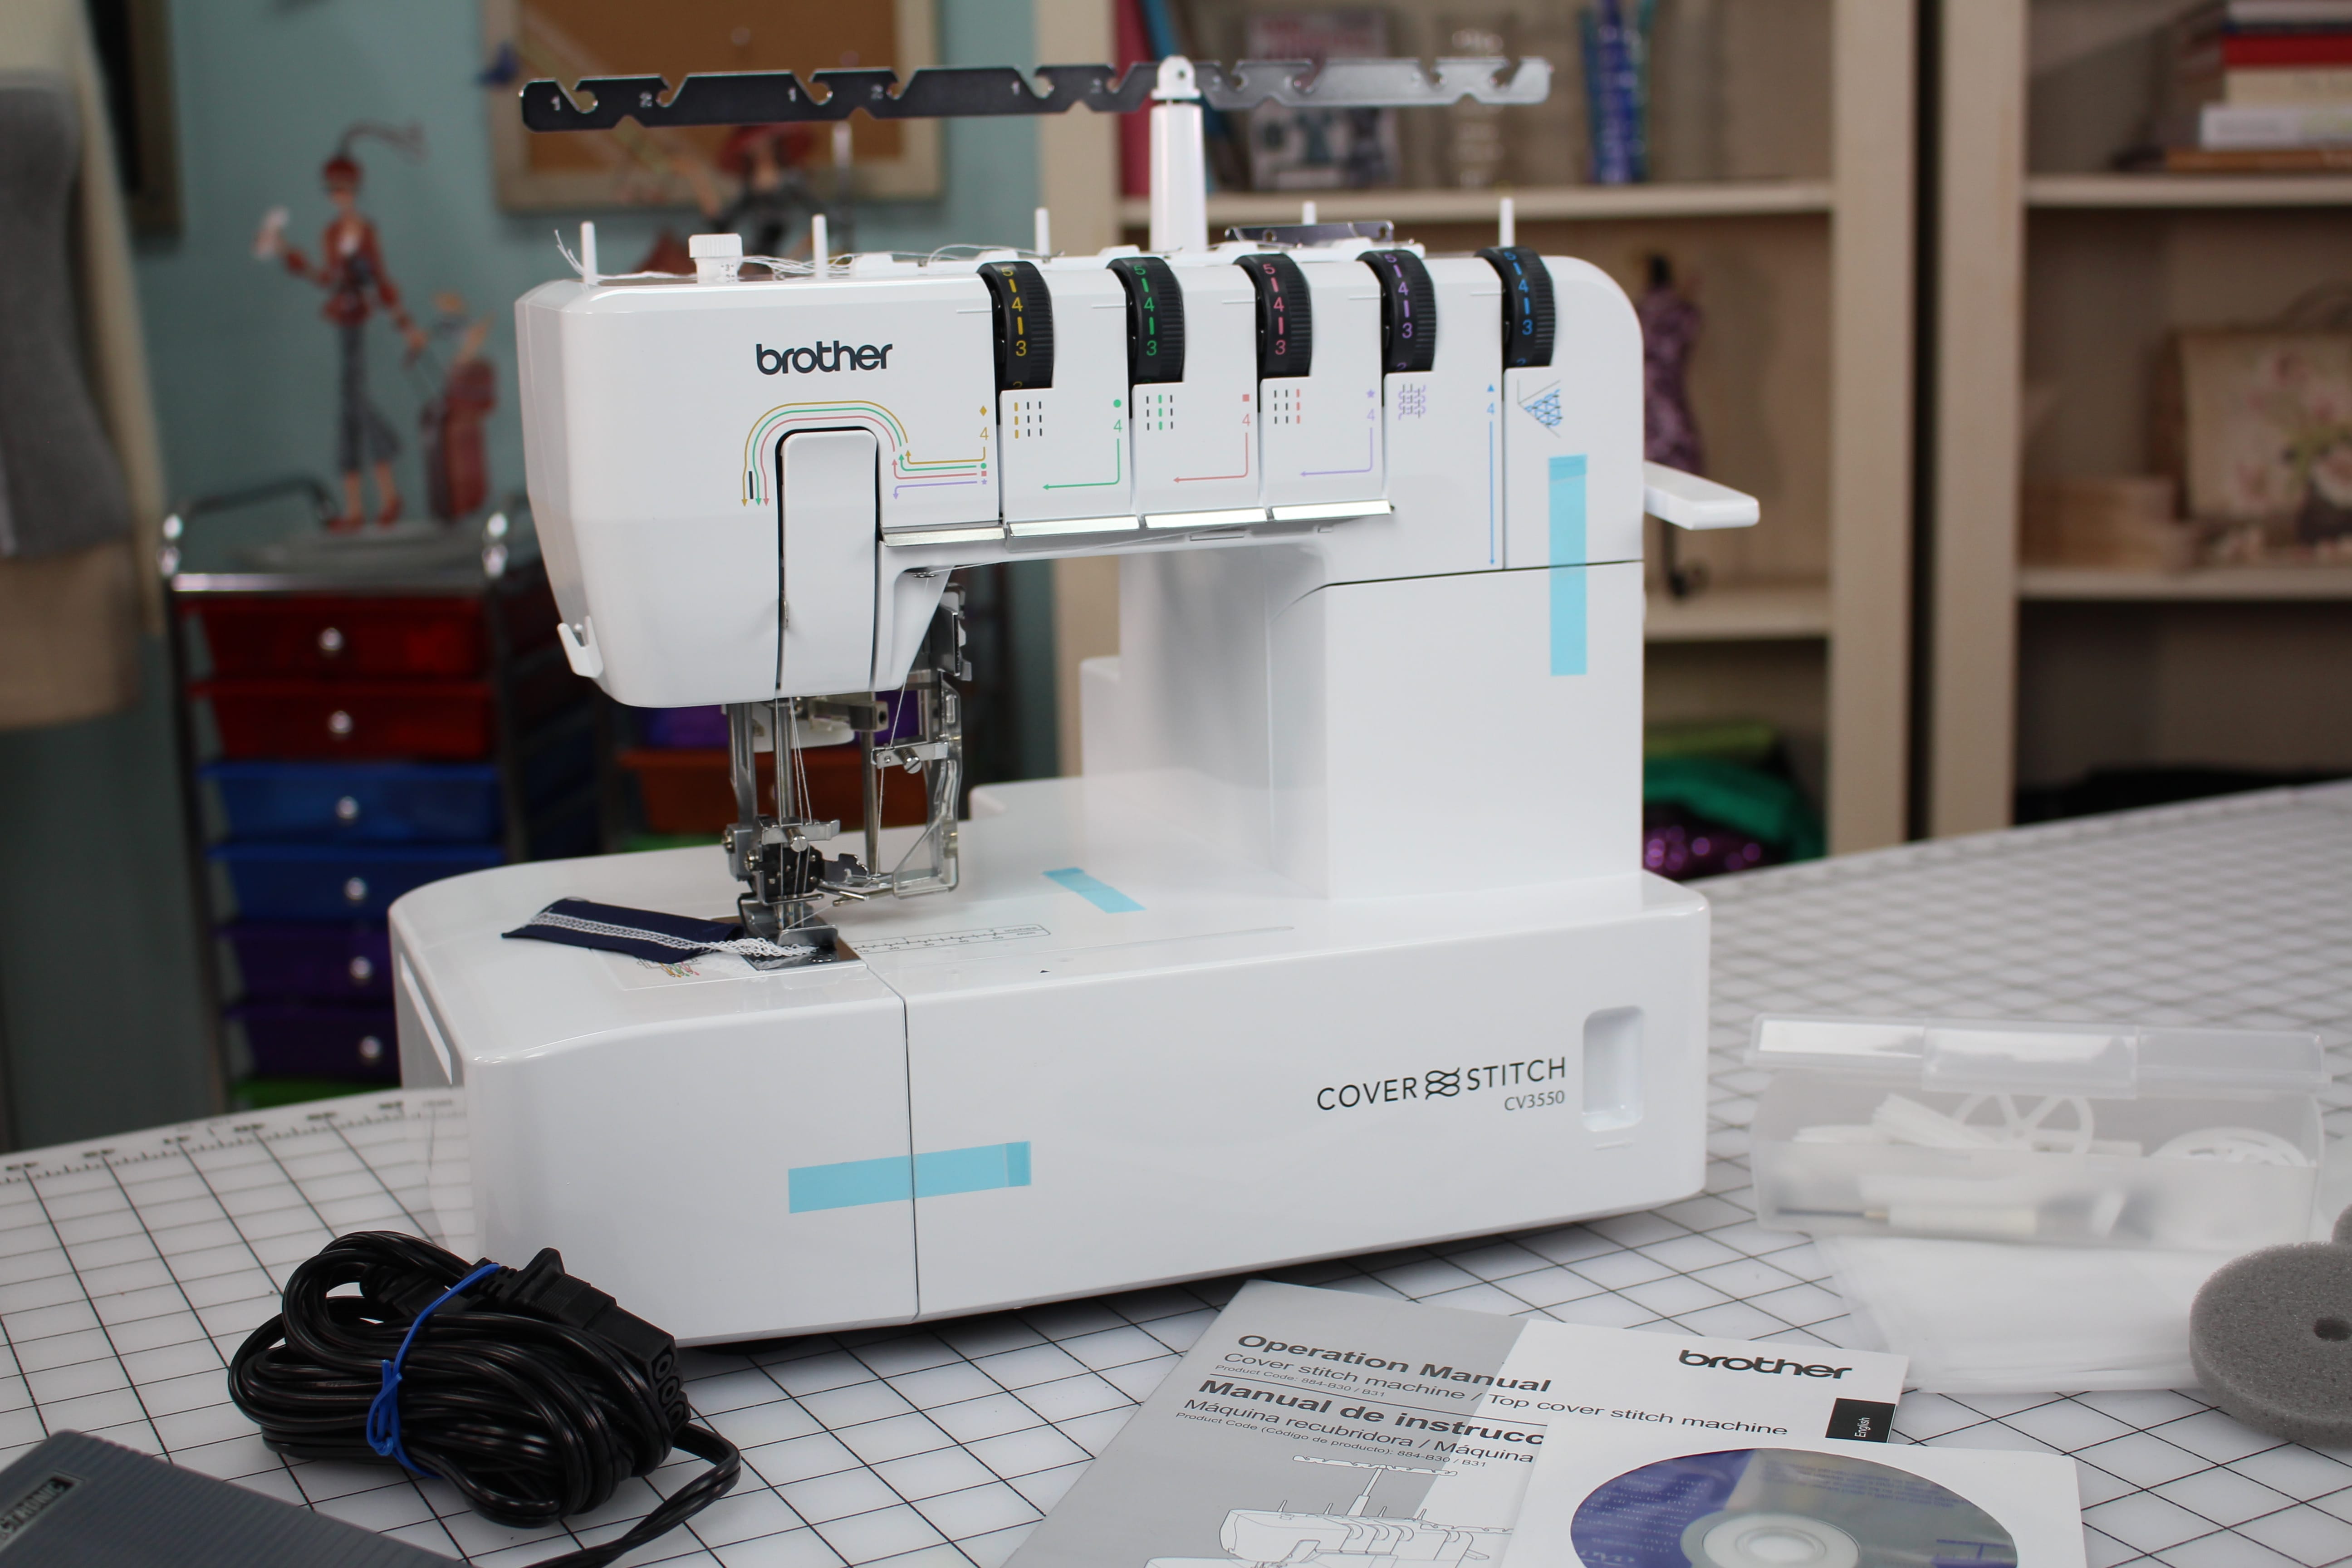
TUTORIAL: HOW TO SEW A FLATLOCK STITCH ON THE SERGER
Flatlock Stitching on a Serger
There are so many stitches we can do with our serger / overlock machines! You might recognize the flatlock stitch as seen on sportswear or a decorative stitch used to connect two pieces of fabric. This stitch is fun and easy to do!
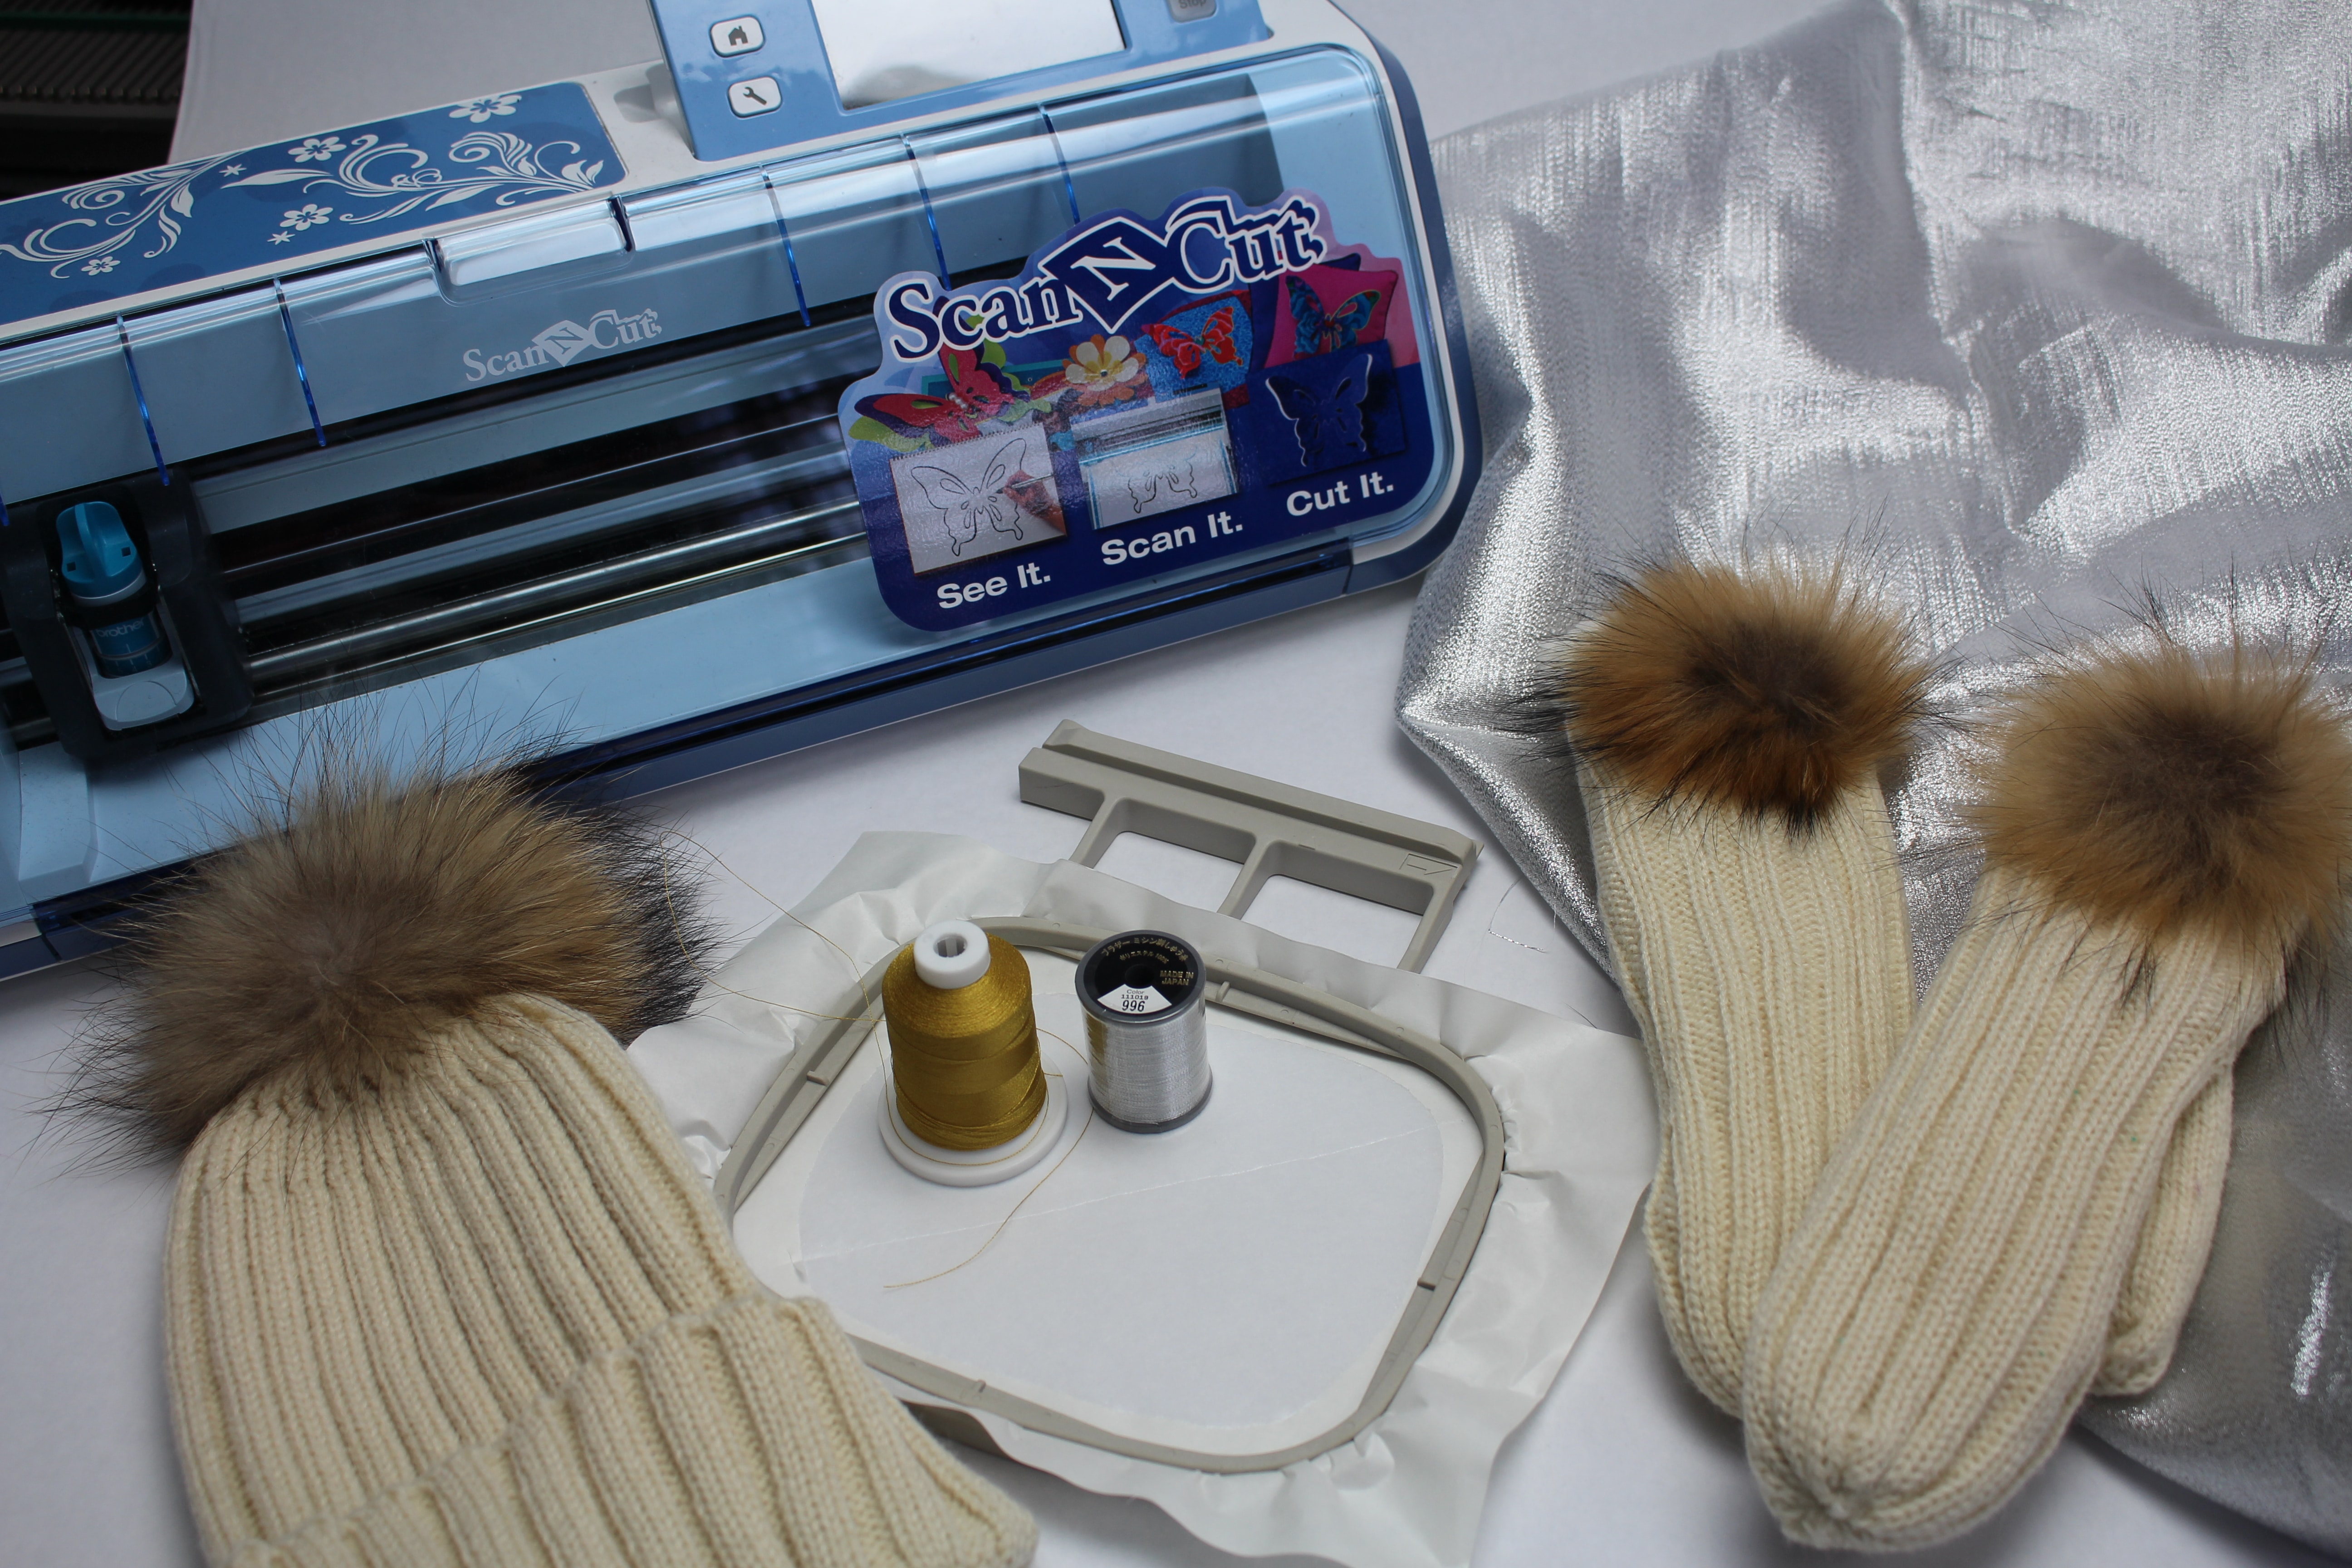
Supplies:
Serger Tension Settings
- Left Needle: decrease (2)
- Upper Looper: decrease (2 – 5)
- Lower Looper increase (6 – 9)
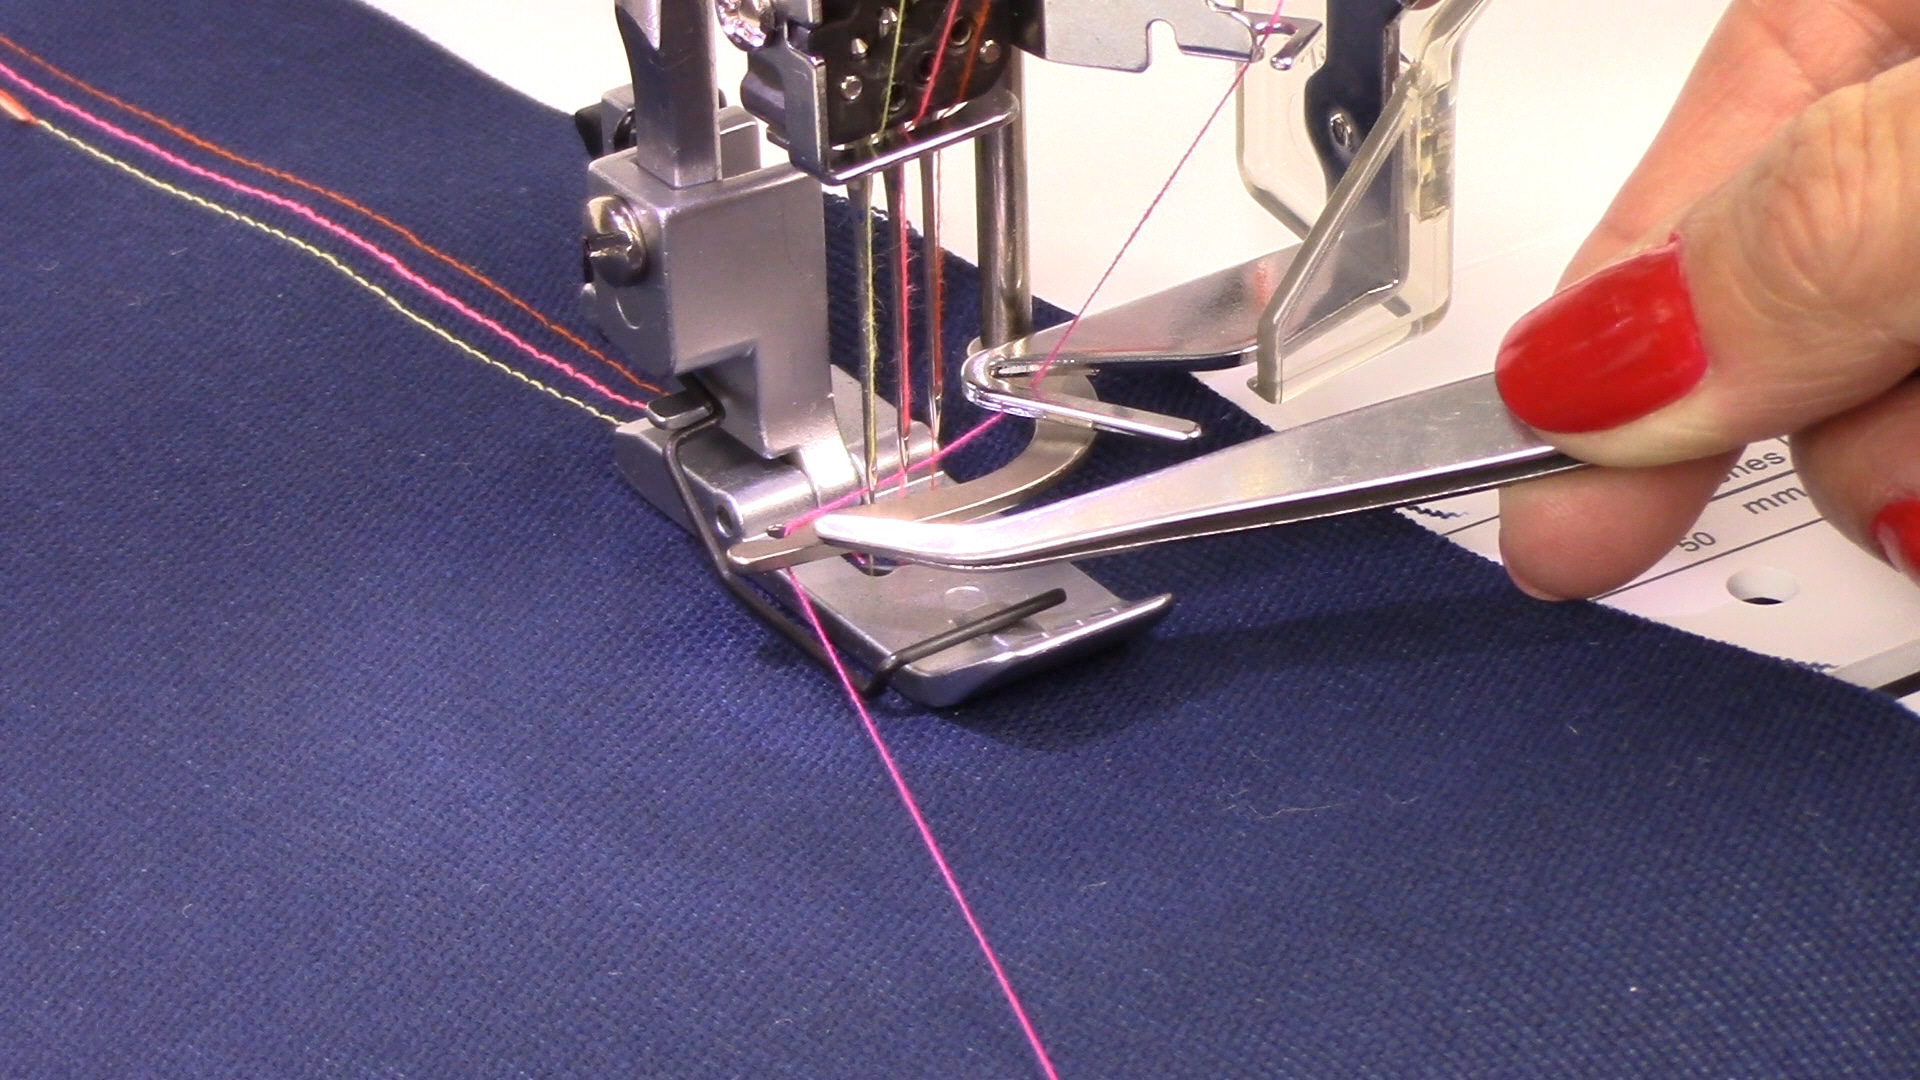
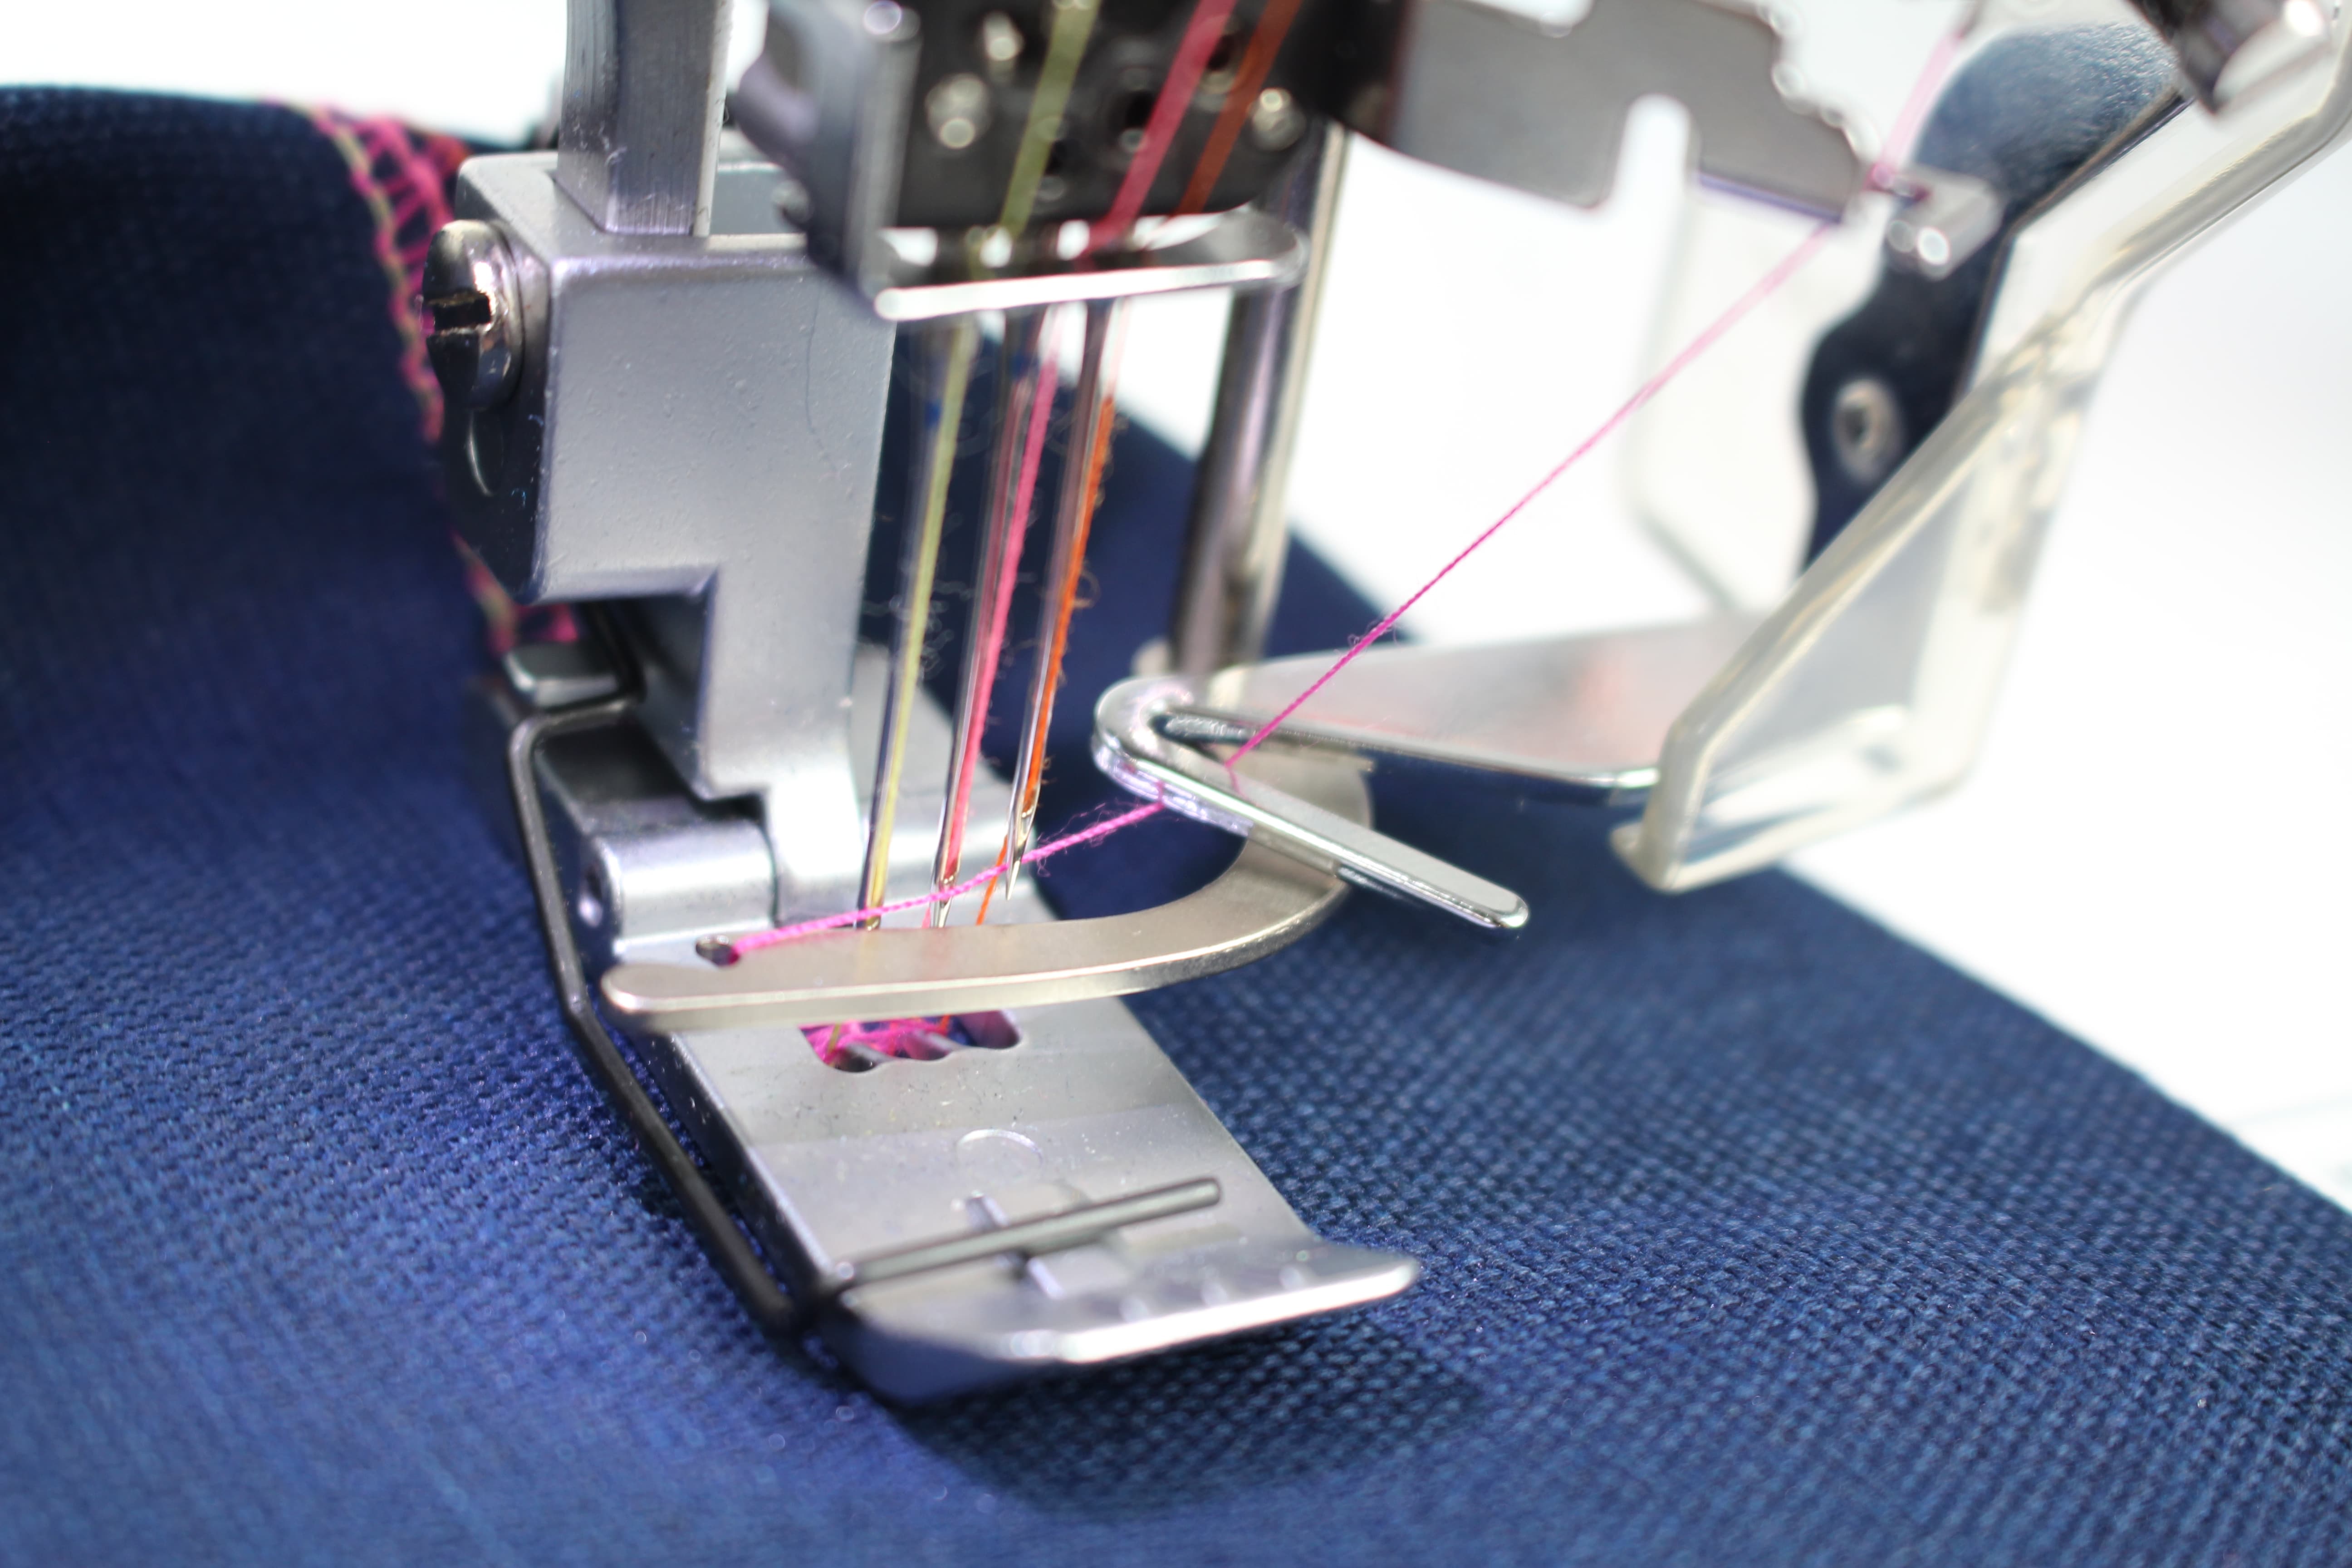
Use the blind hem foot – alter the settings on the foot to stitch across half of the fabric.
Watch the It’s Sew Easy Episode below for details on where to position the fabric to create the flatlock stitch. Be sure to test the fabric and stitch before starting a project. Depending on the thickness of the fabric, the blind hem foot will need to be adjusted to the right or left for a wider or narrower stitch.
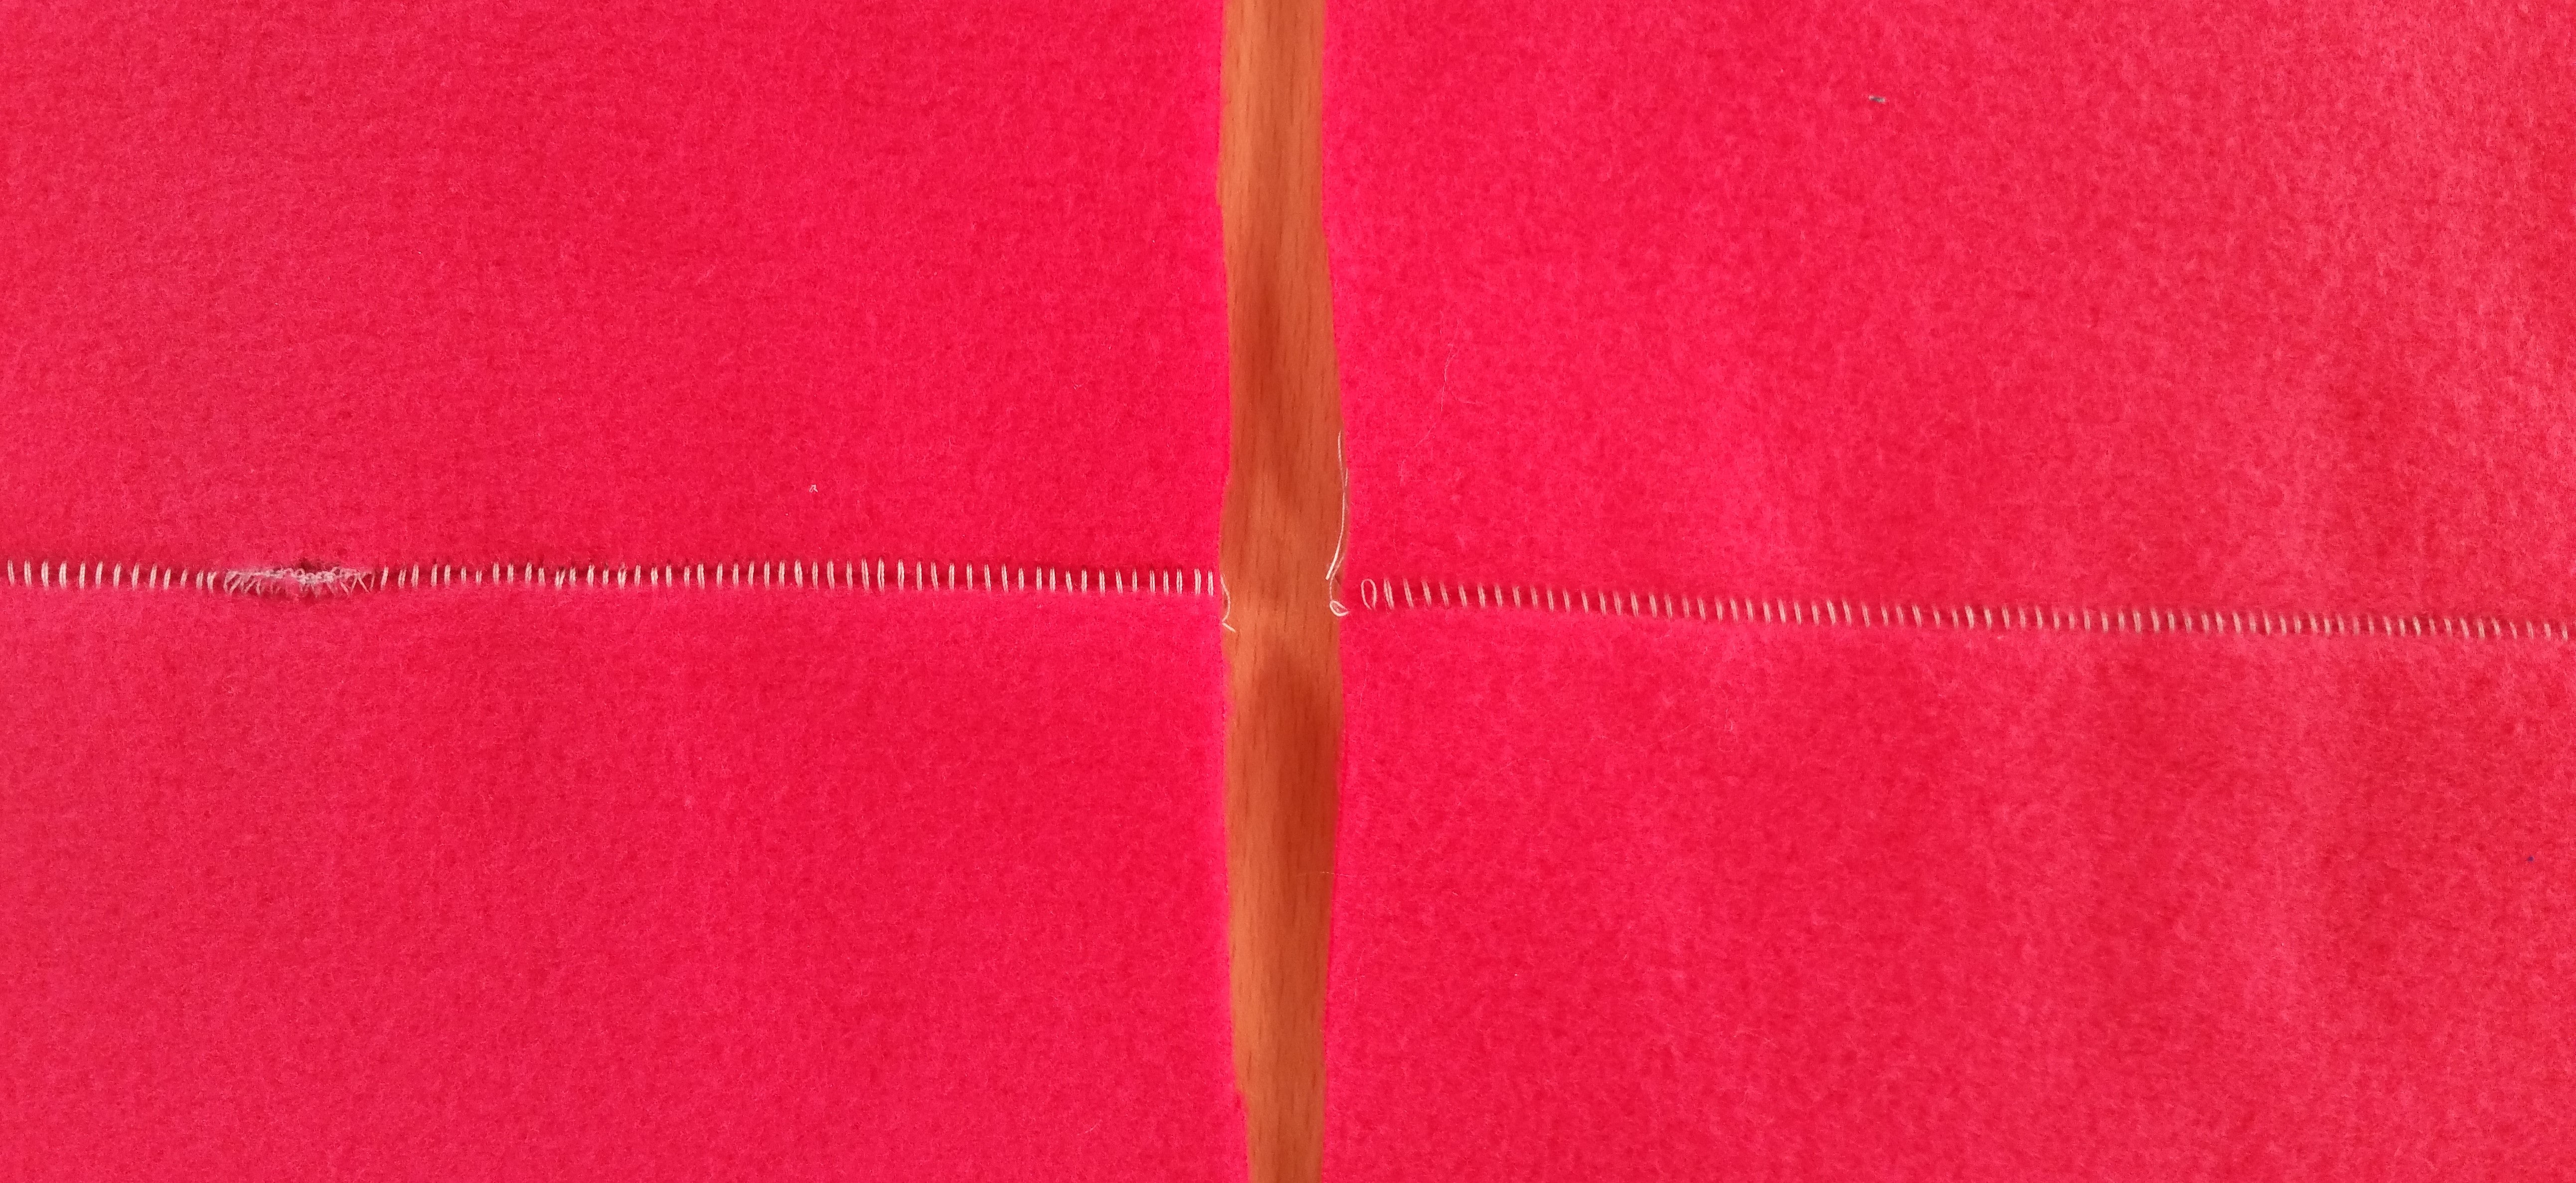
The photo to the left shows where the stitch width was too narrow and slipped off the fabric, thus creating a hole. The photo to the right looks much better.
Let me know when you try this stitch. I would love to see your creativity with this one 🙂
Cheers,

<a target="_blank" href="https://shareasale.com/r.cfm?b=1130527&u=1586241&m=29190&urllink=&afftrack="><img src="https://static.shareasale.com/image/29190/728x90.gif" border="0" alt="Craftsy Unlimited FREE 7 day trial at Craftsy.com" /></a>