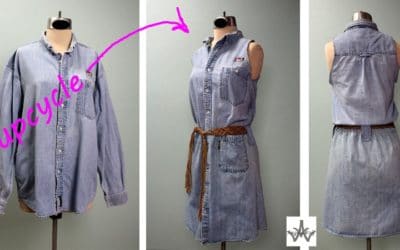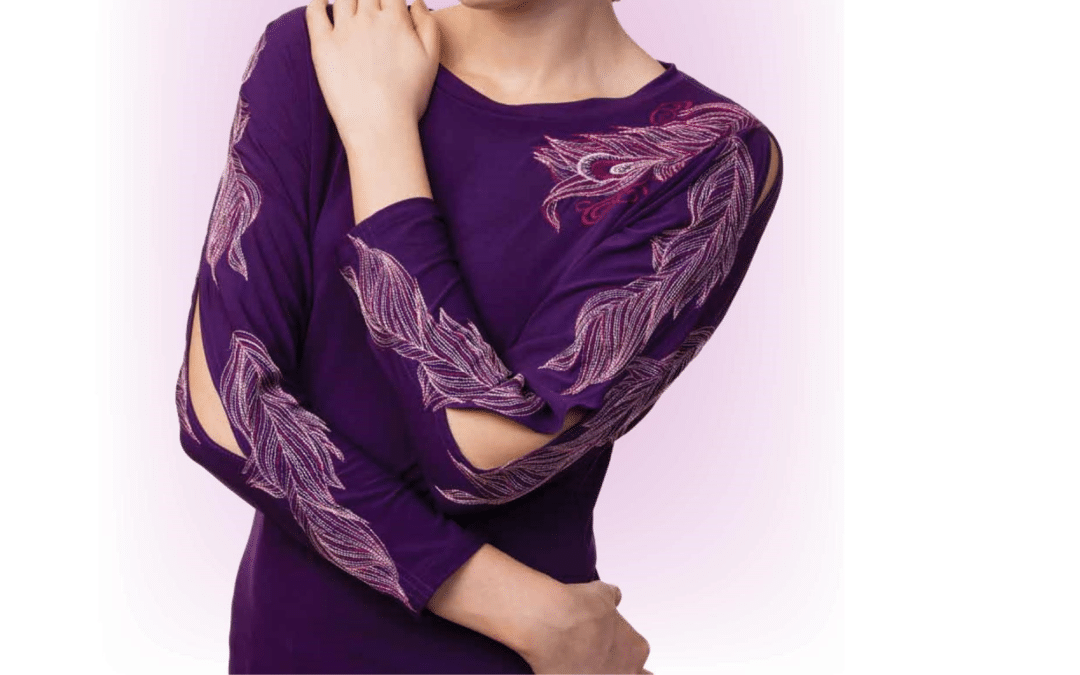


How to Design and Sew Shoulder Cutouts Spring cleaning time again and I have a stack of clothing items that I haven't worn in a LONG time. You know the rule, if you haven't worn the item in 2 years, it has to go! What happens if you love the fabric, the print, or...
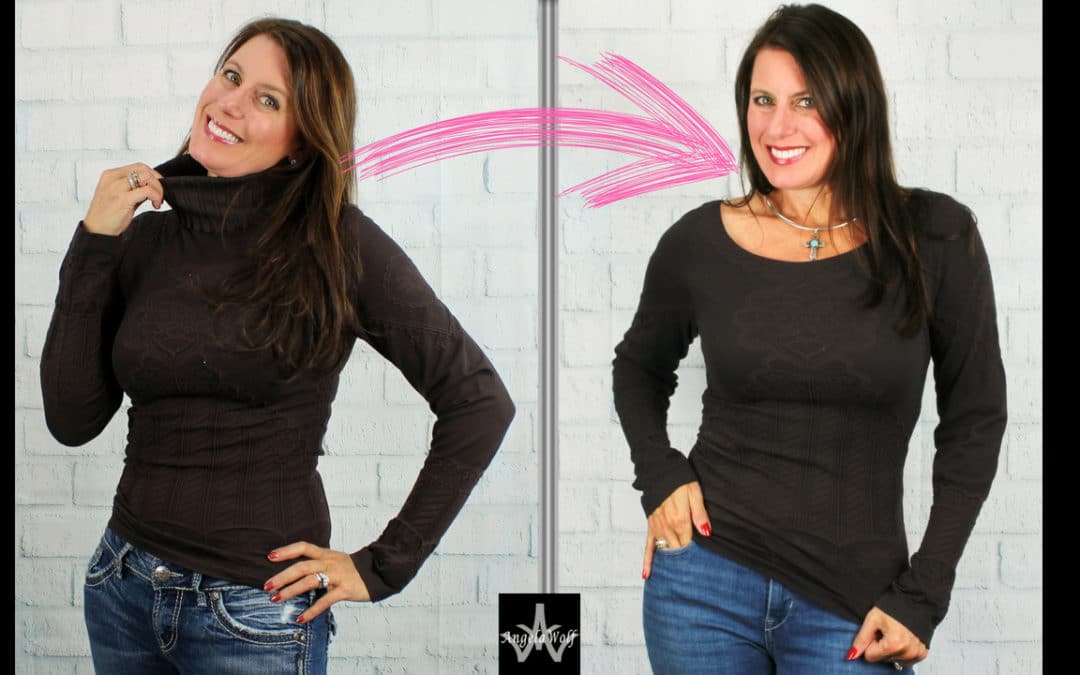
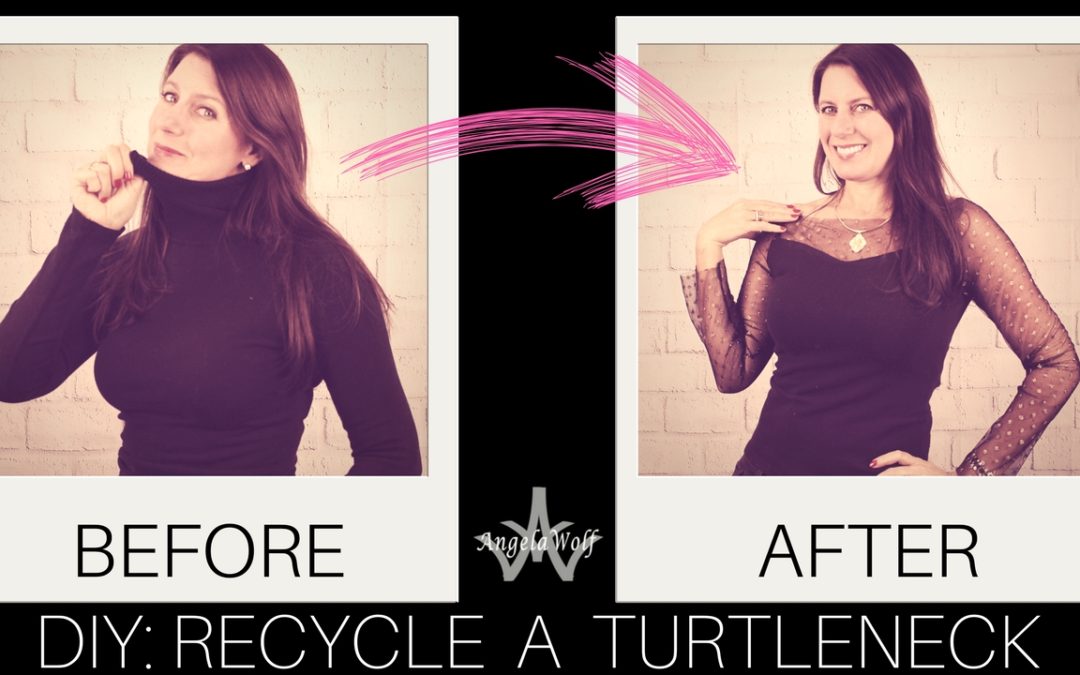
Tutorial: Transform a Turtleneck into a Boatneck

Transform a Turtleneck into a Stylish Boatneck Top
Here is another recycle project for the turtlenecks in our closet and its easy – perfect for beginners! For this sewing tutorial I am using a turtleneck that has a design, but any tank top will work. Click below for the video tutorial and here is a quick recap.
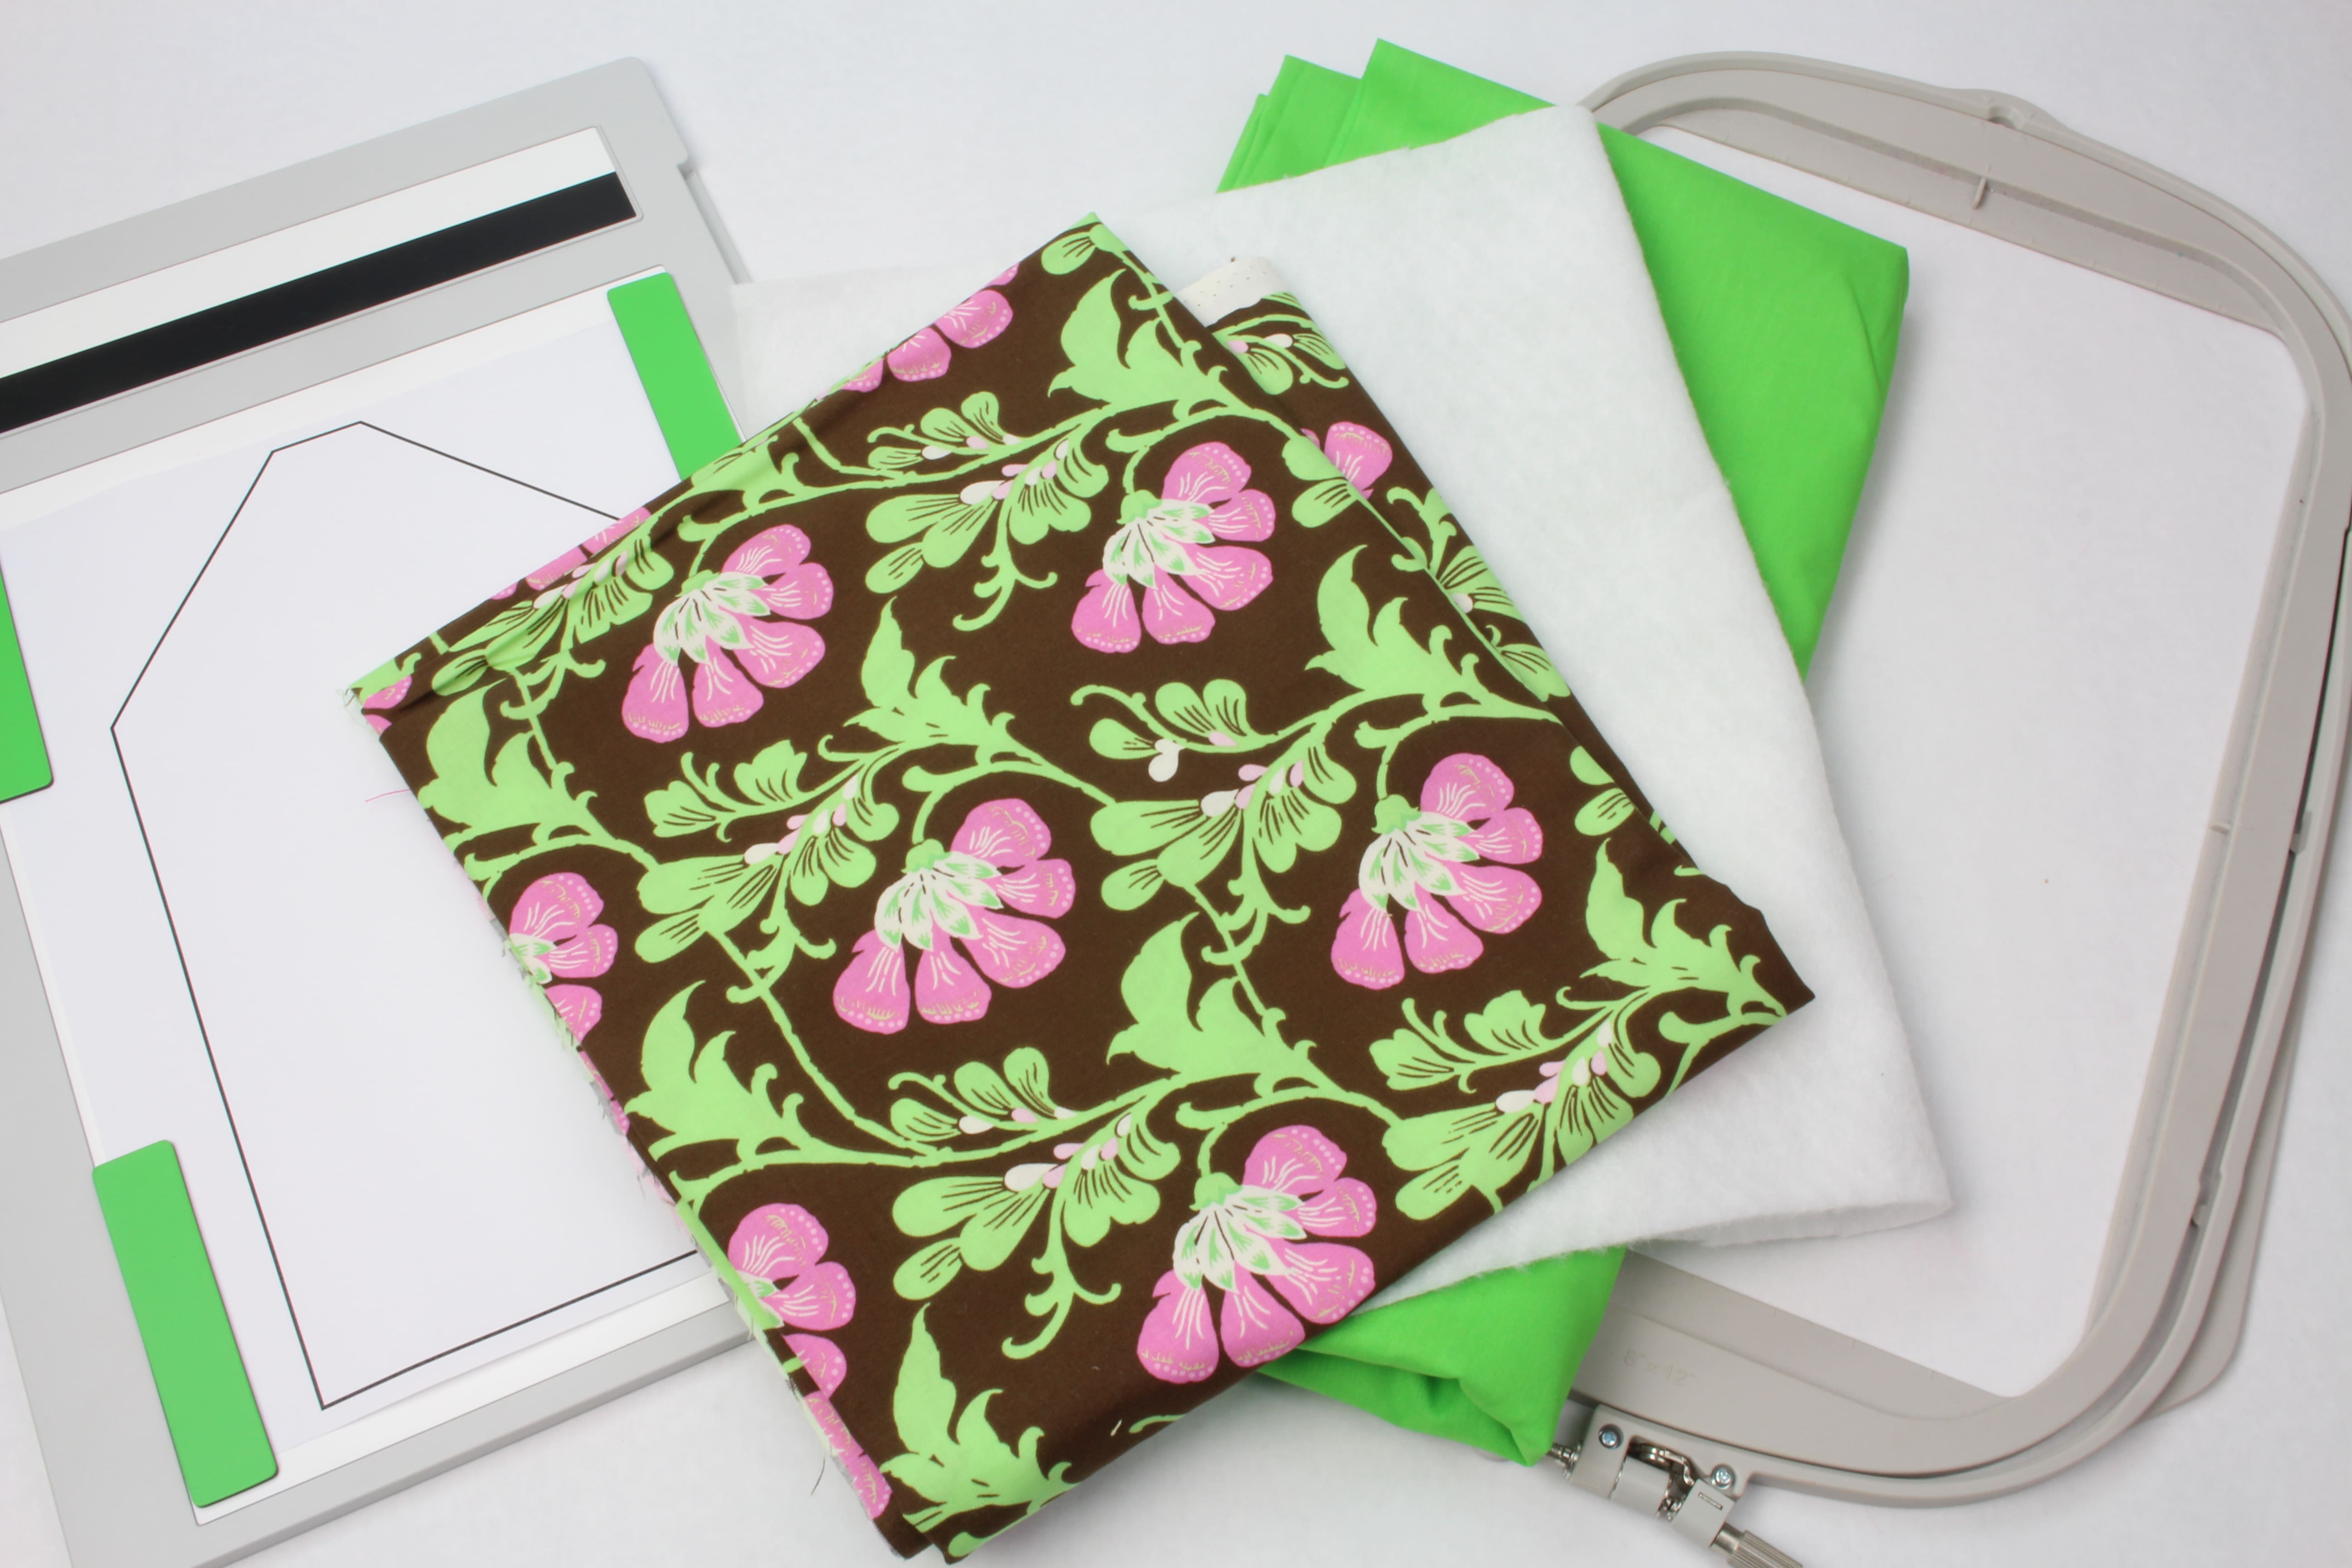
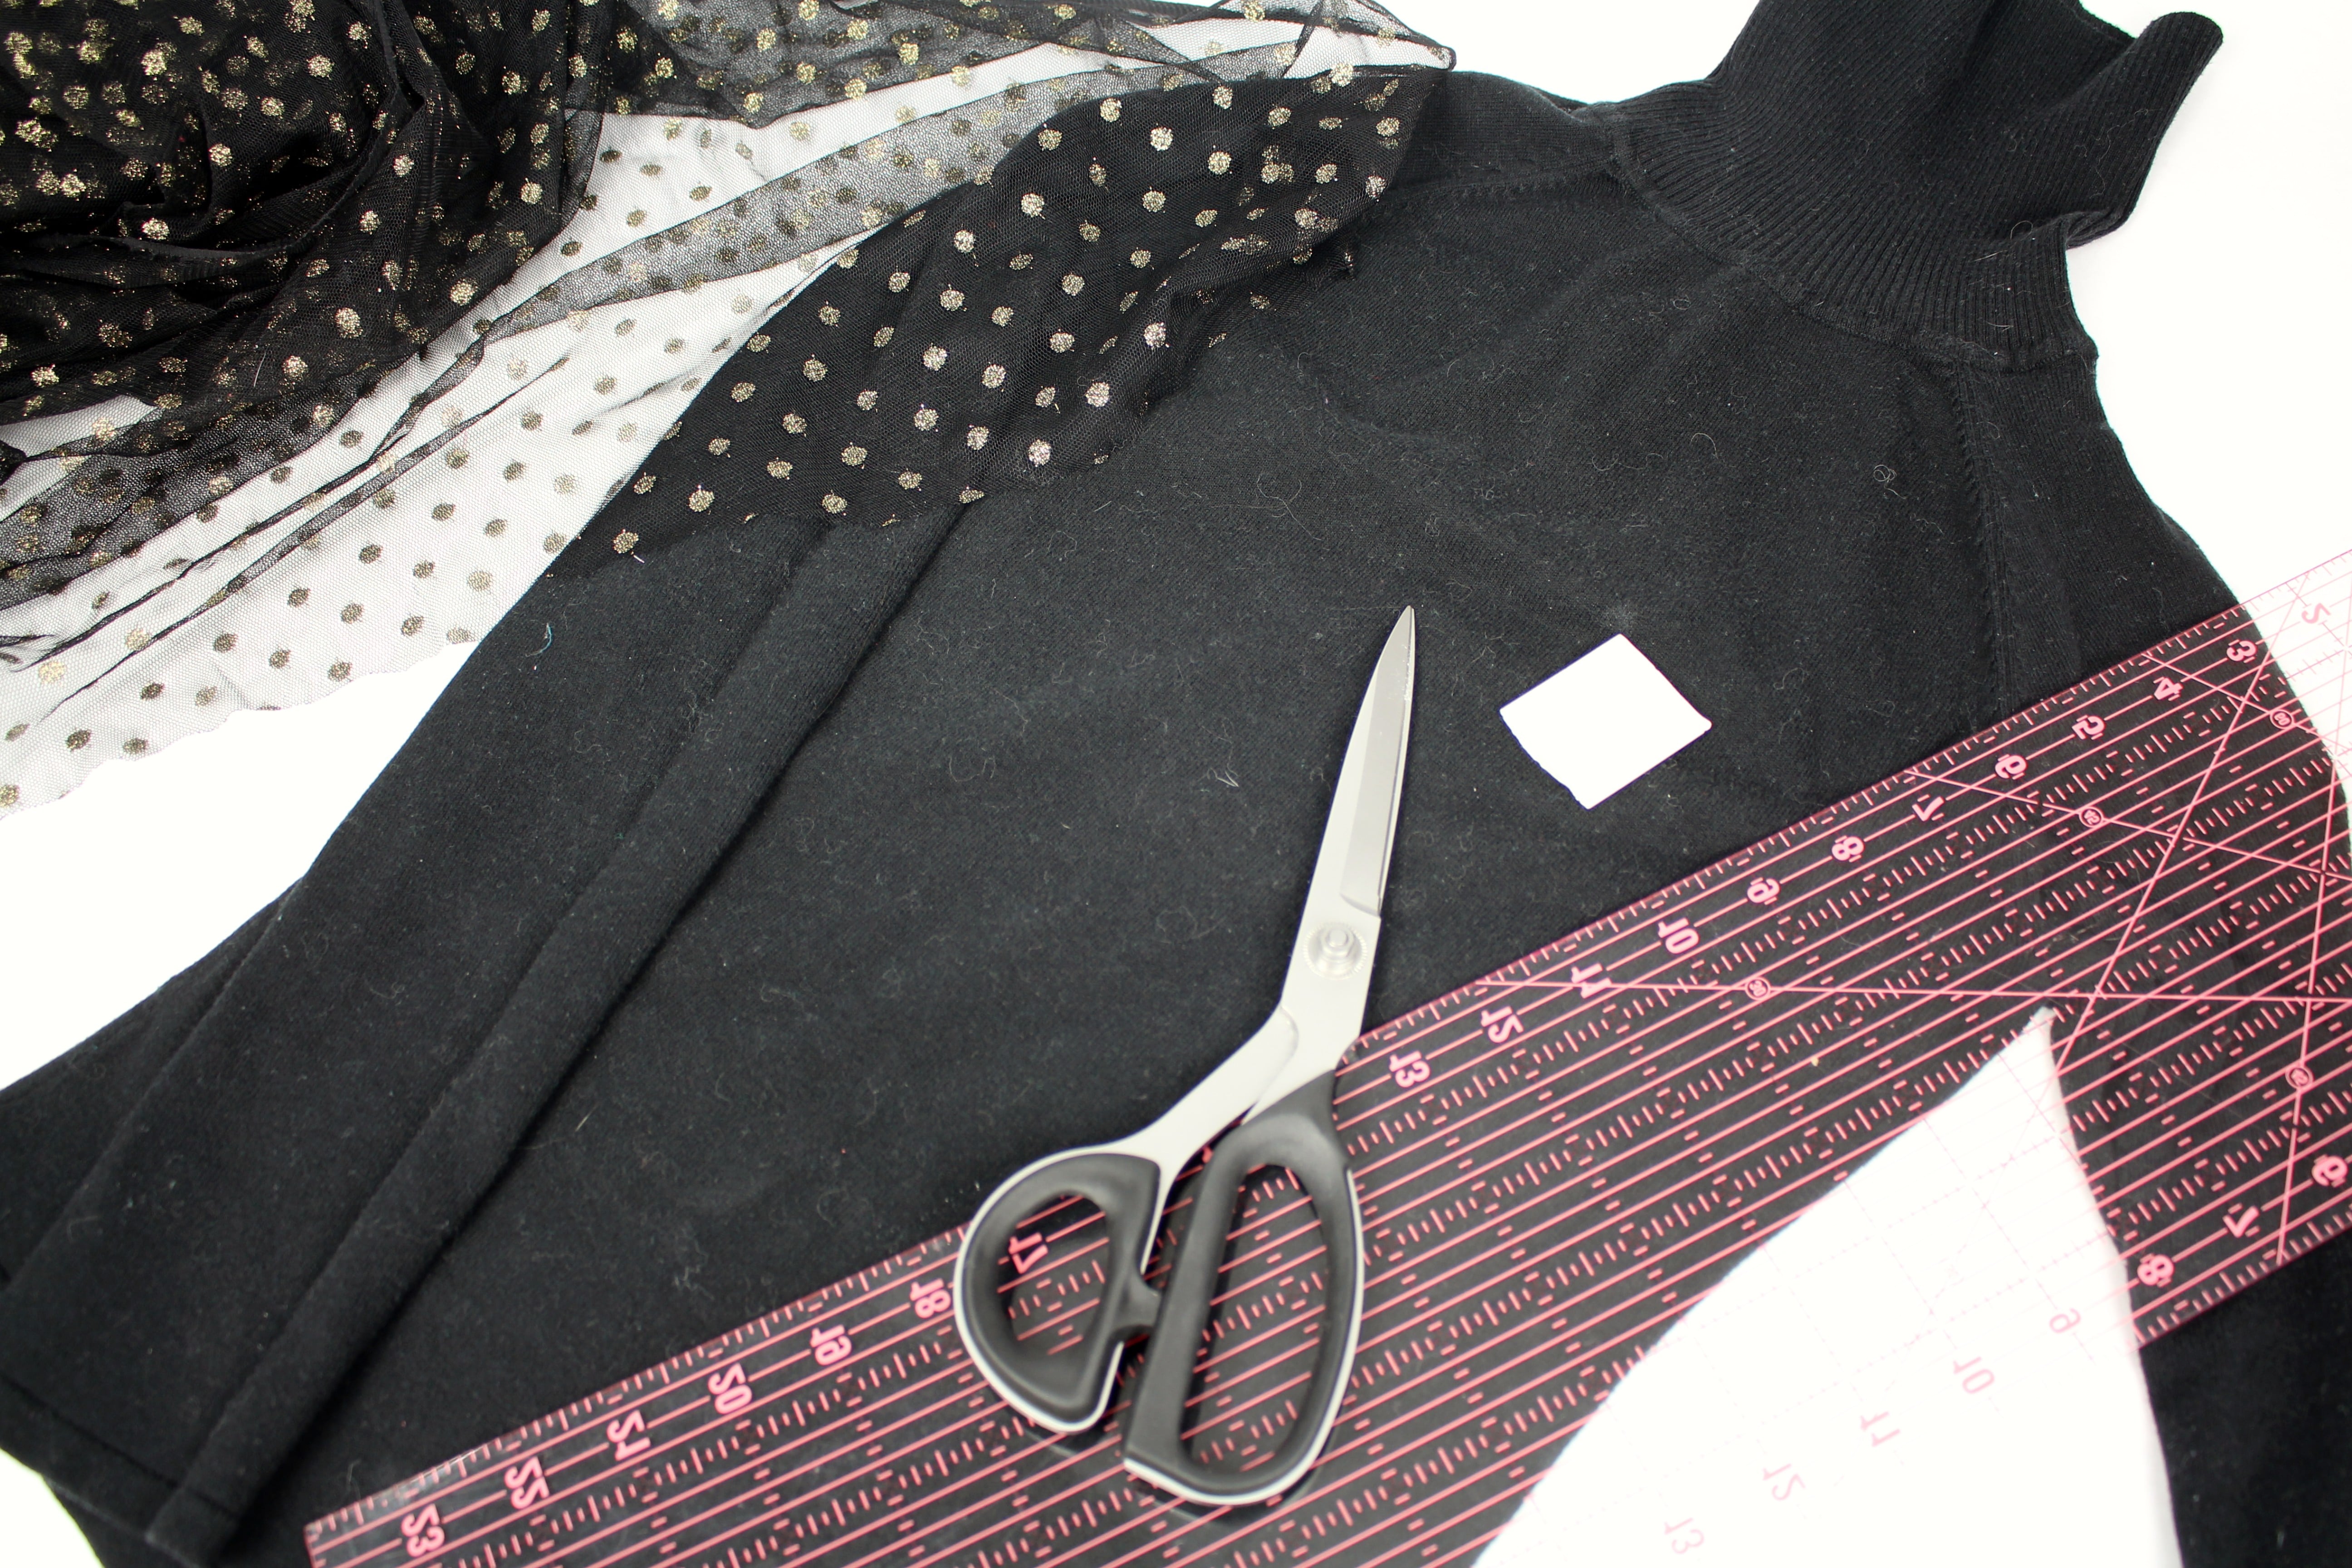
SUPPLIES:
- SCISSORS
- ½” WIDE ELASTIC
- PINS
- TAILORS CHALK OR FABRIC MARKING PEN / PENCIL
- TURTLENECK
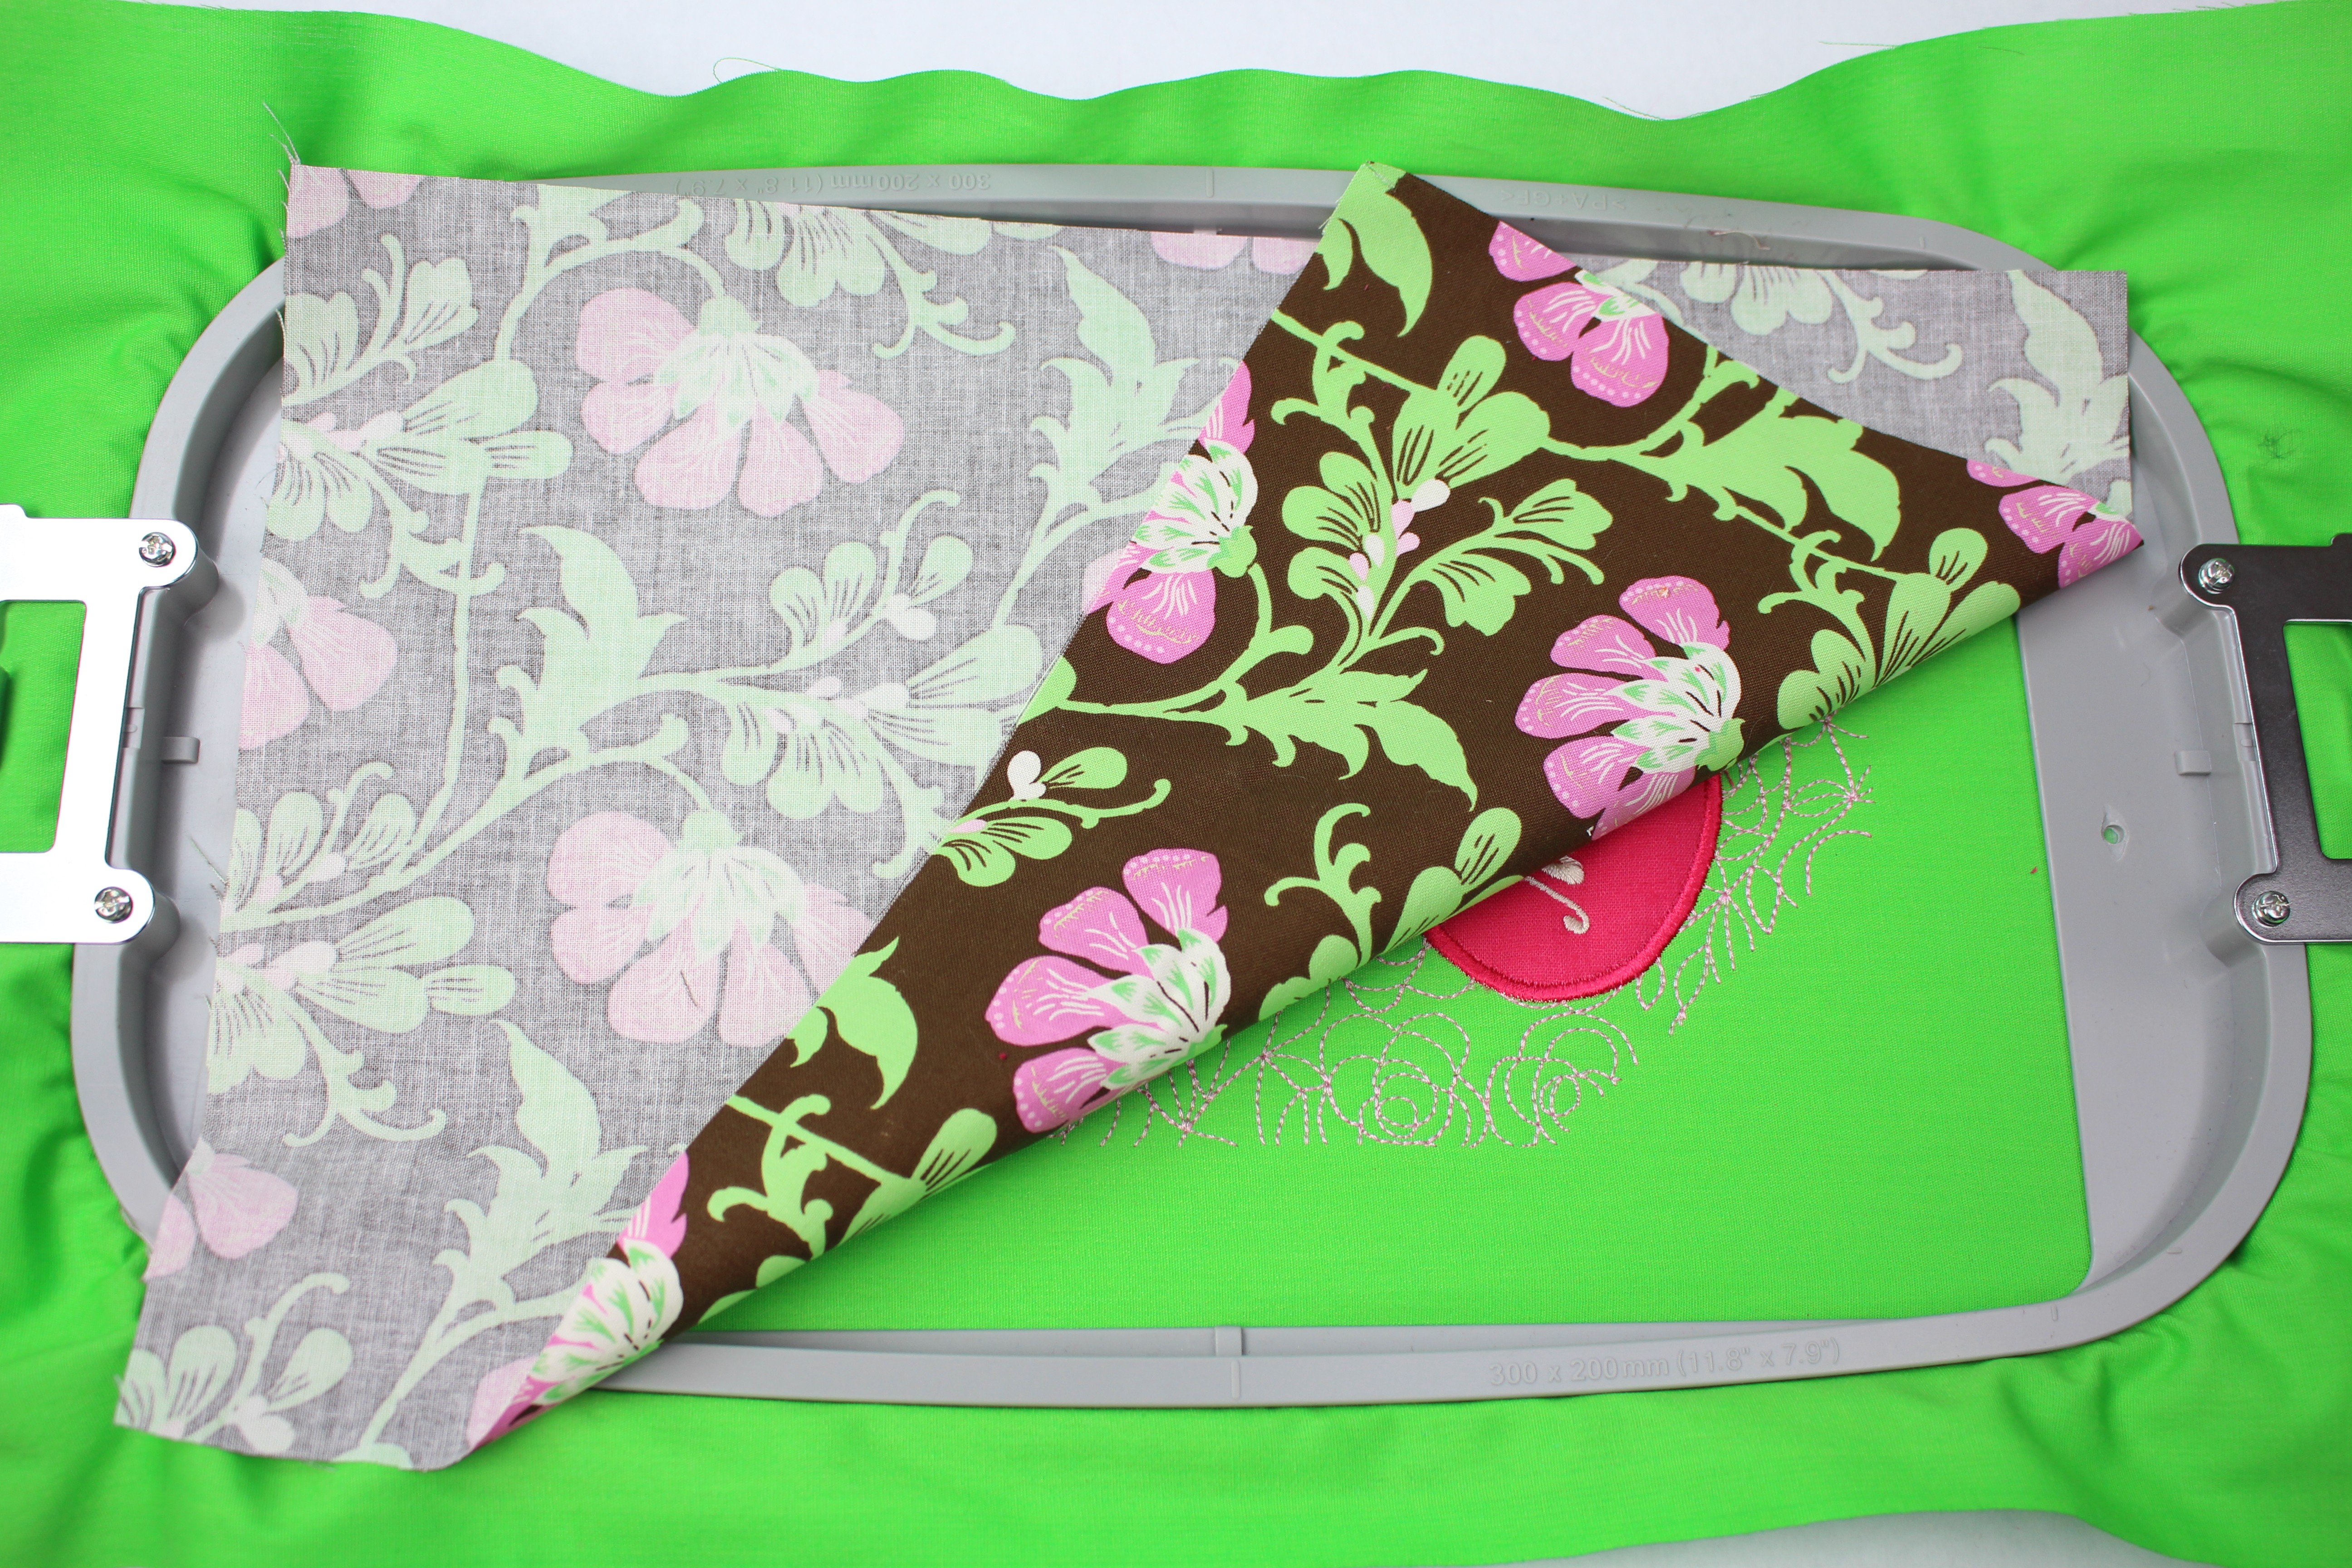
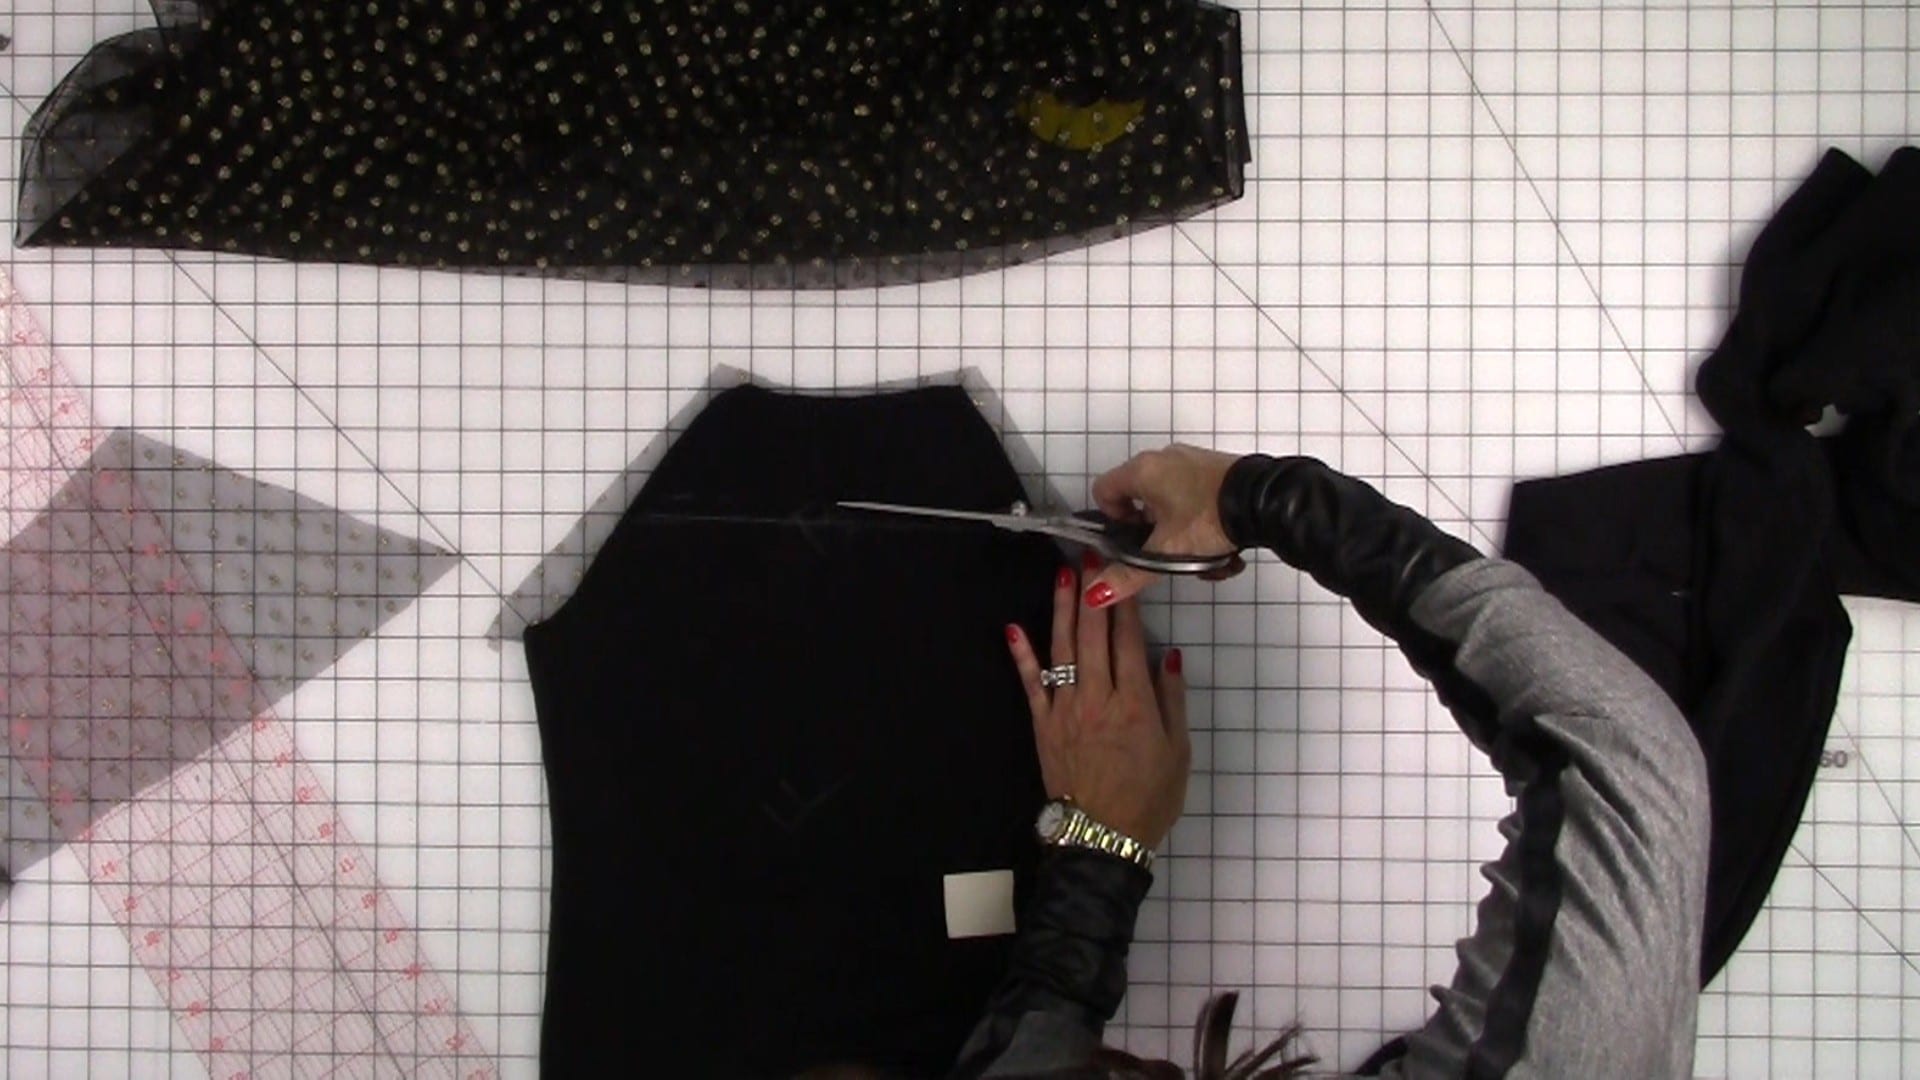
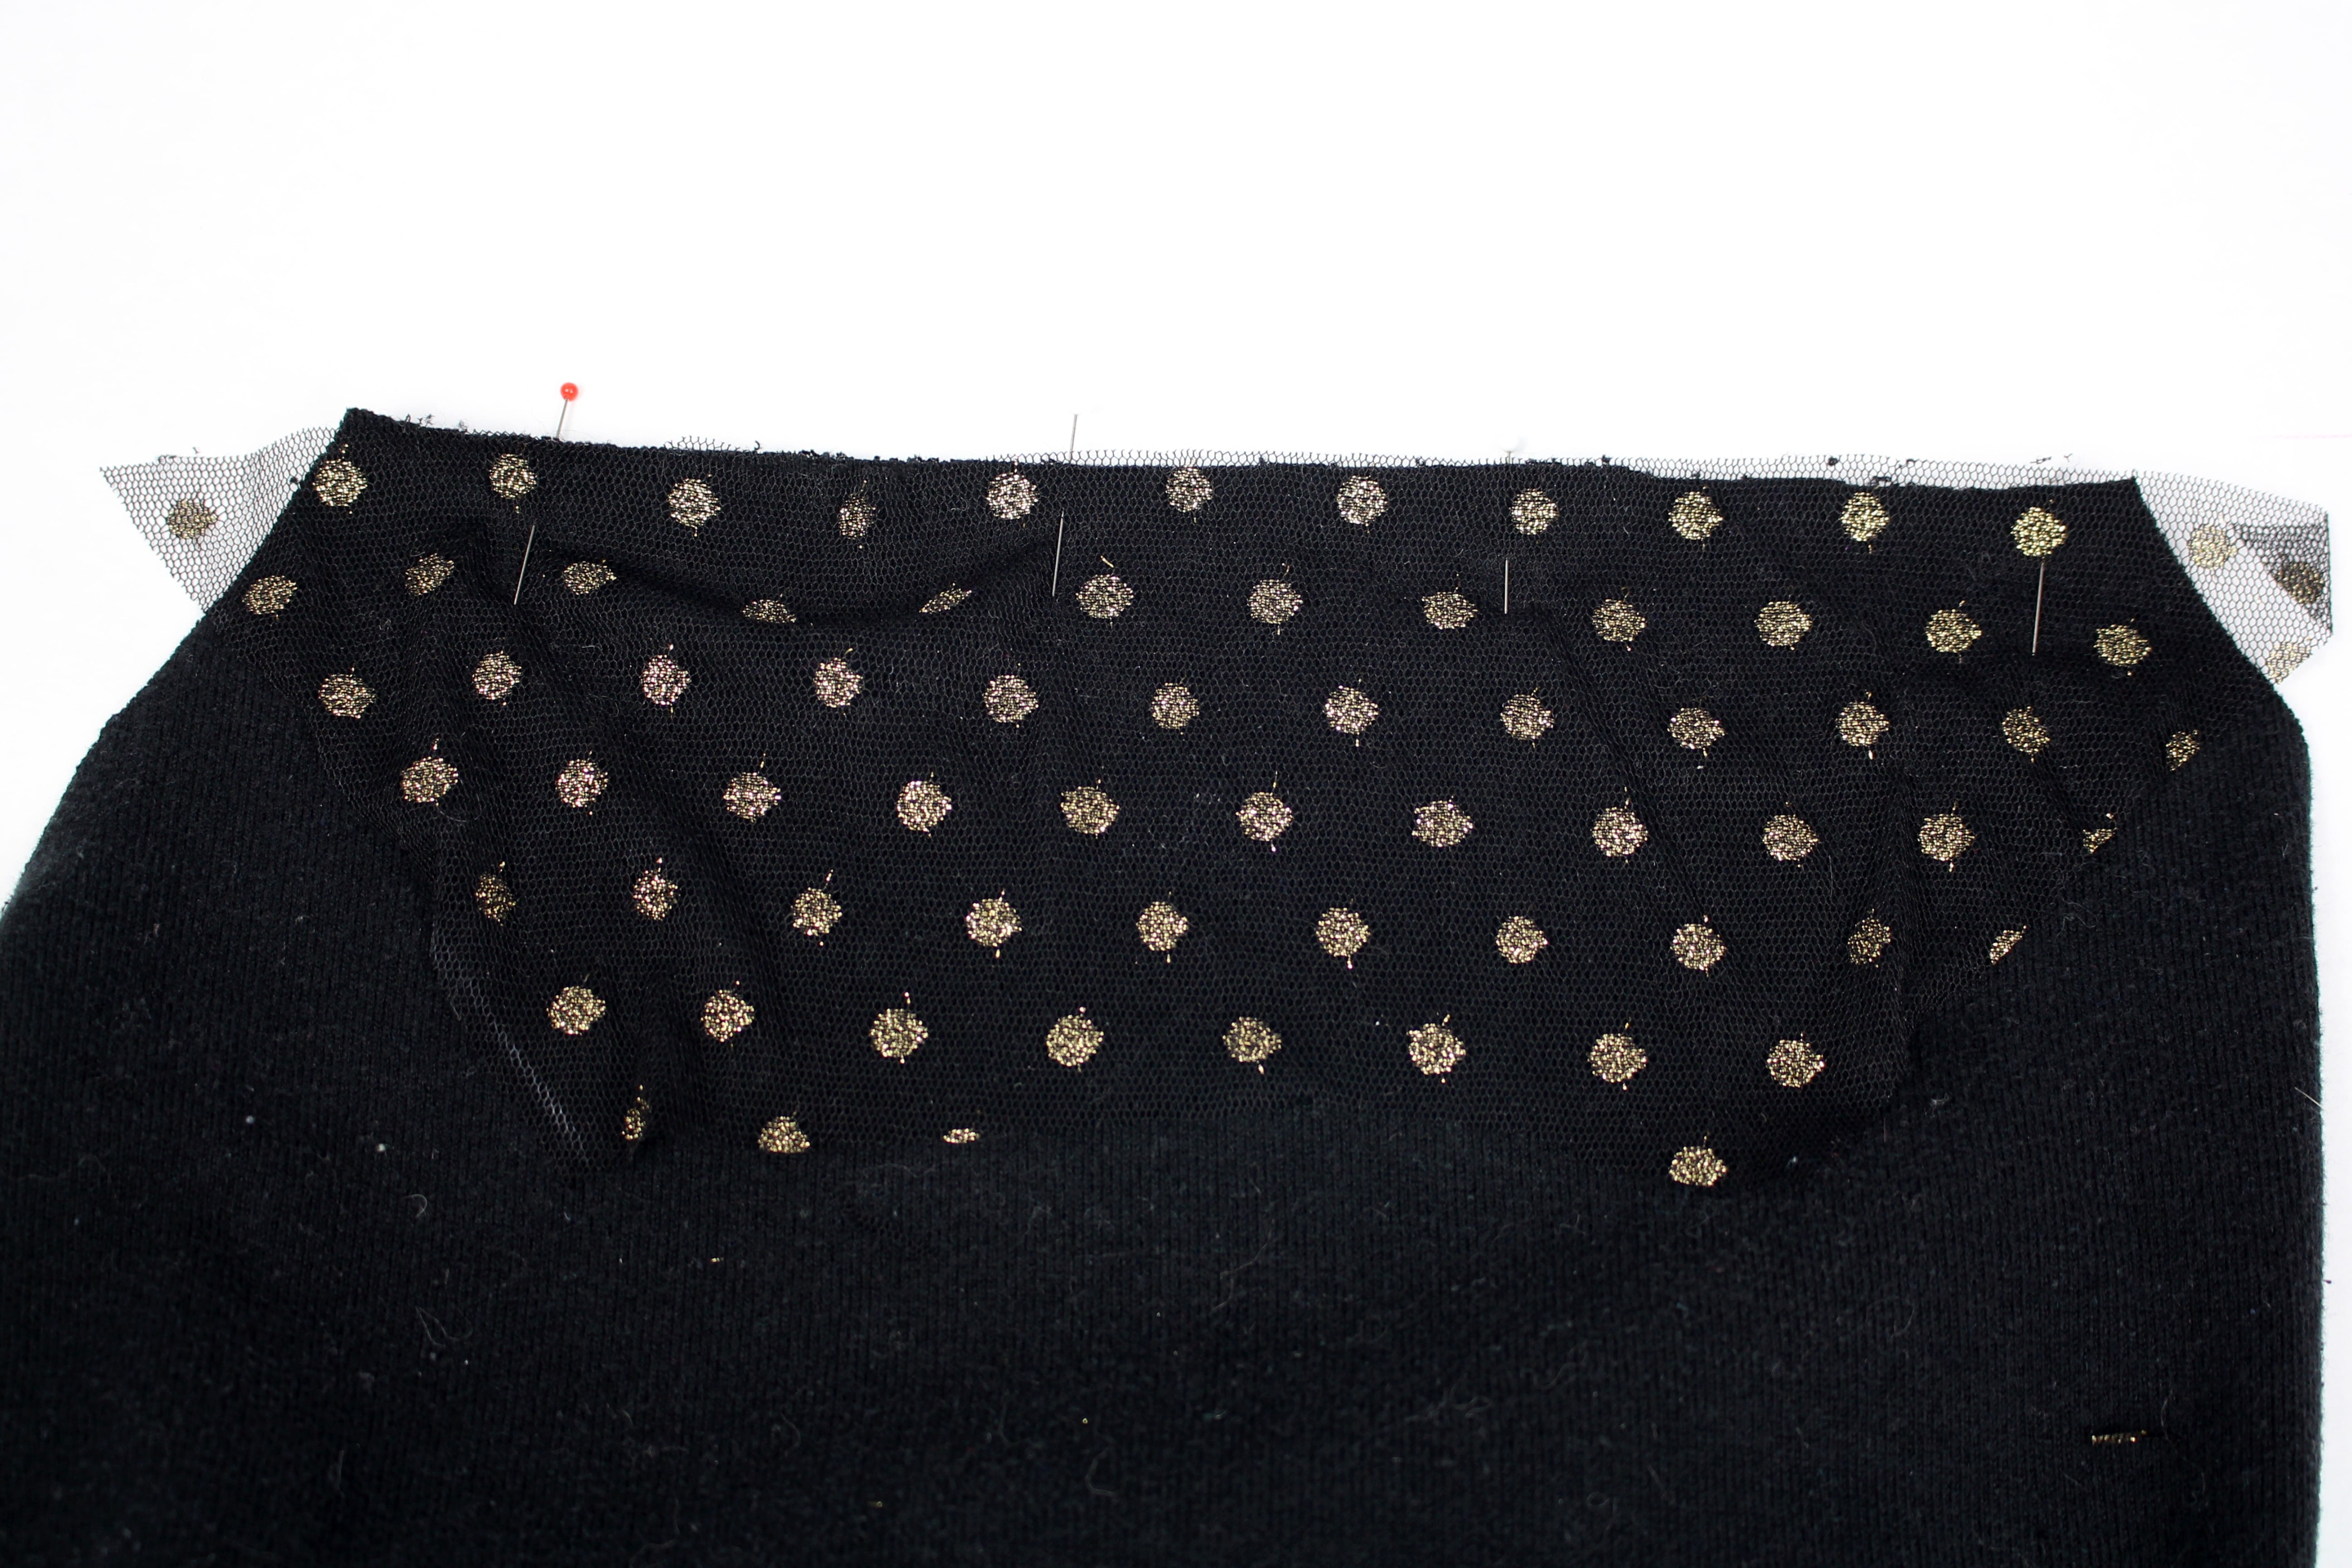
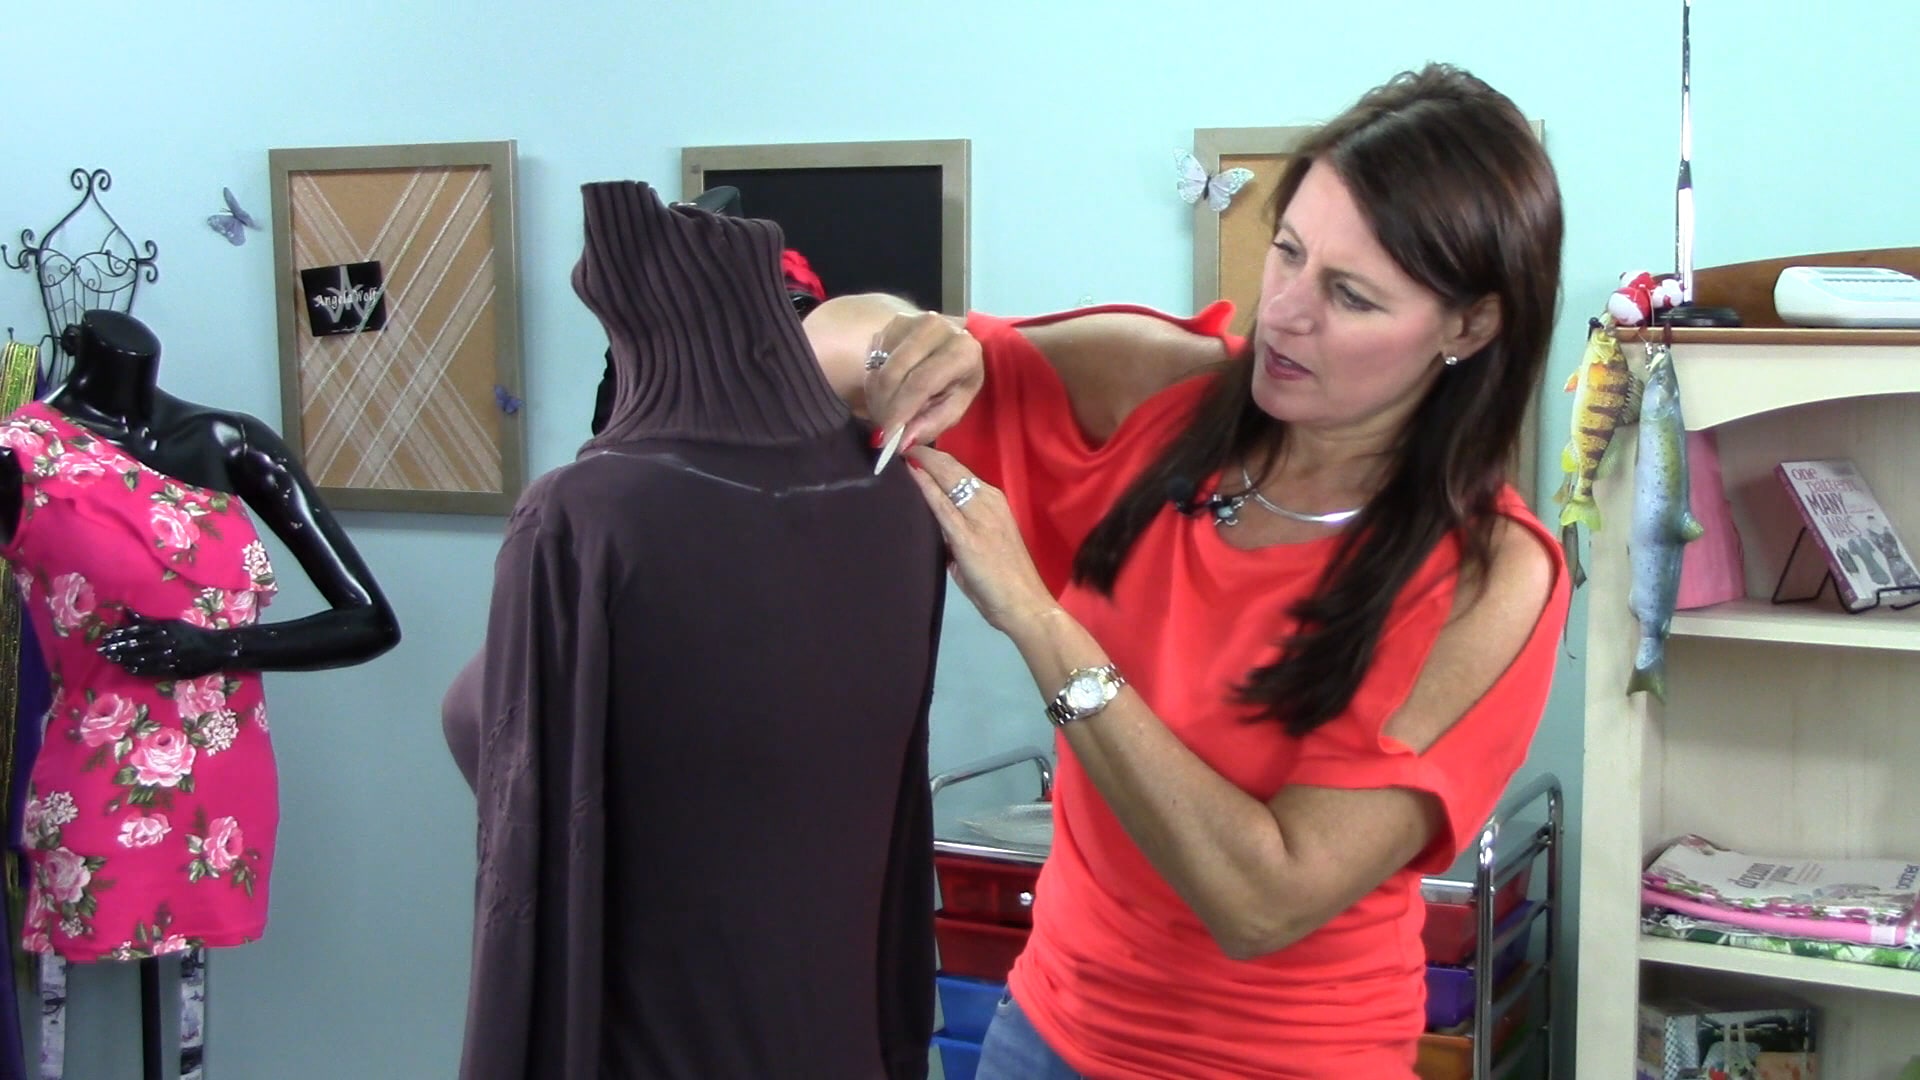
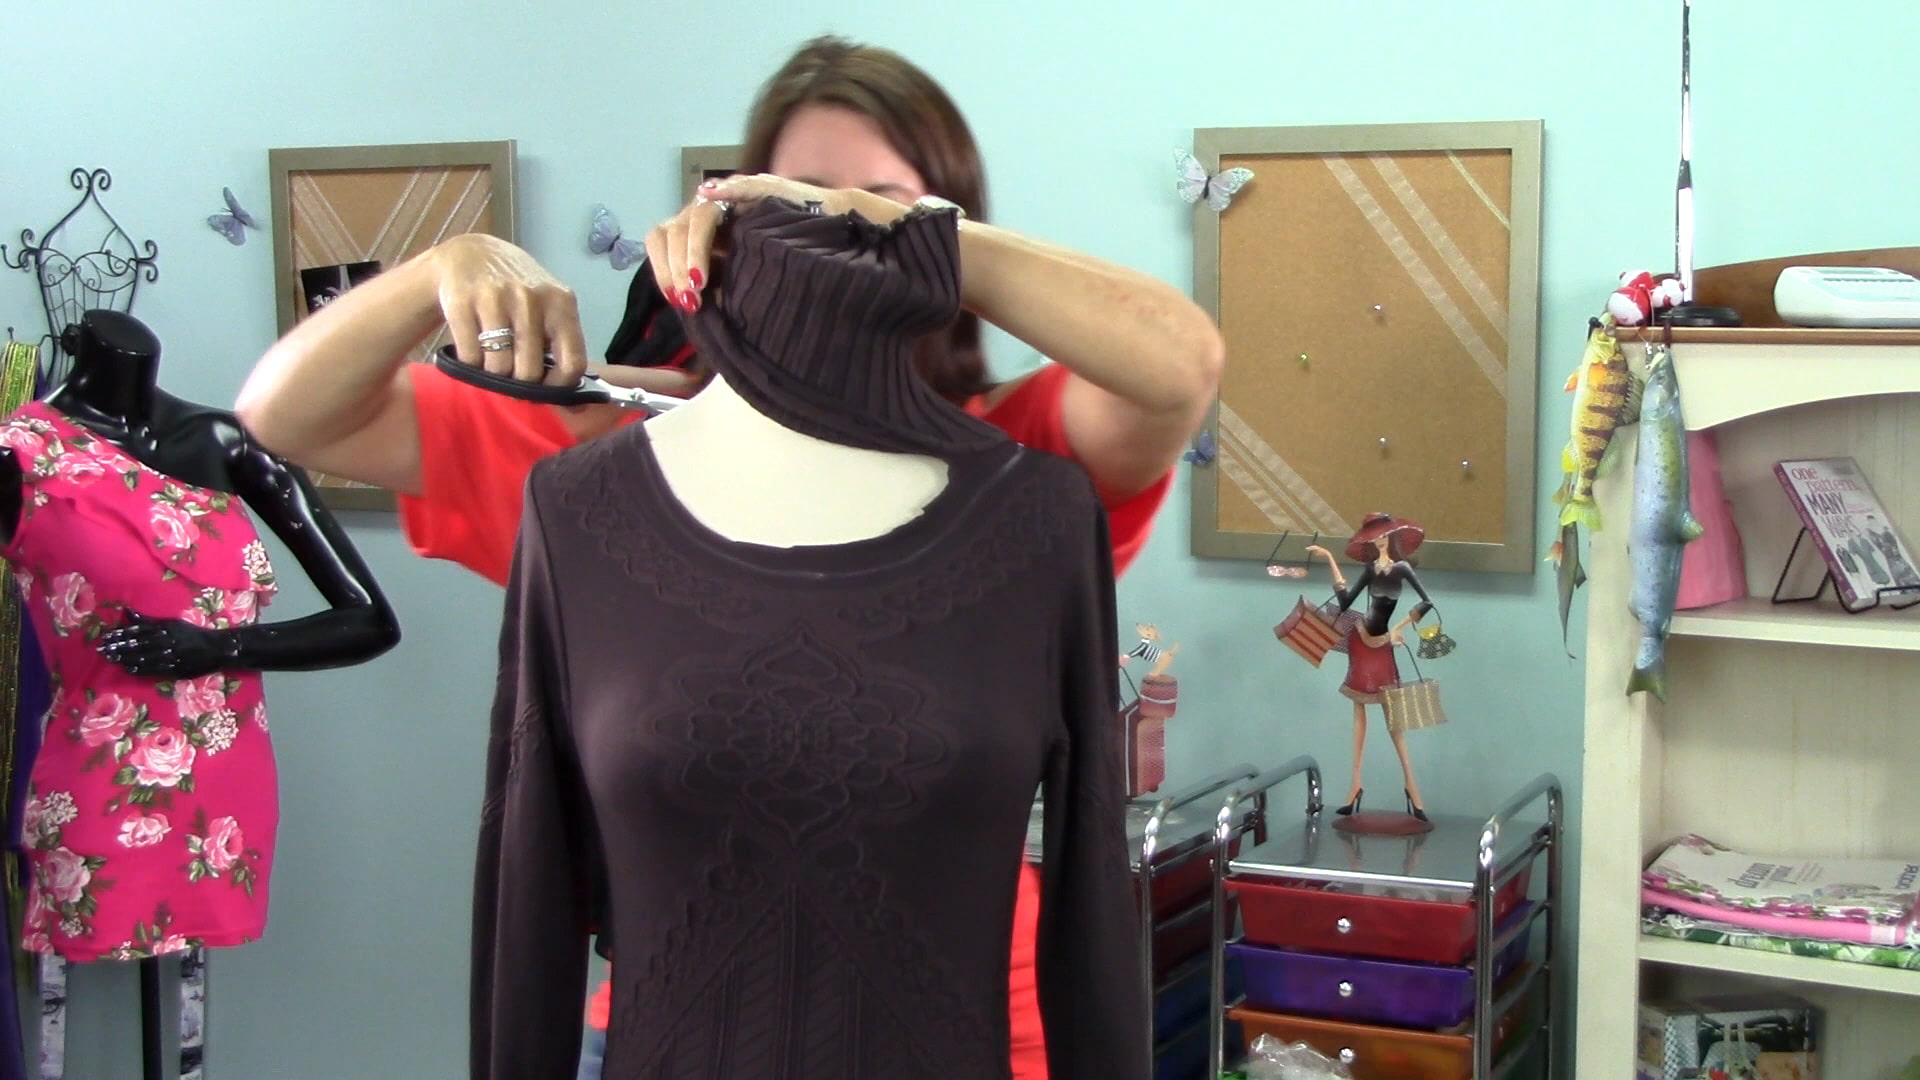
Start by marking the new boat neckline on the turtleneck. I am using a dress form and following the design on the turtleneck. Another option is to measure from the center front and back neck down to the top of the newly desired neckline.
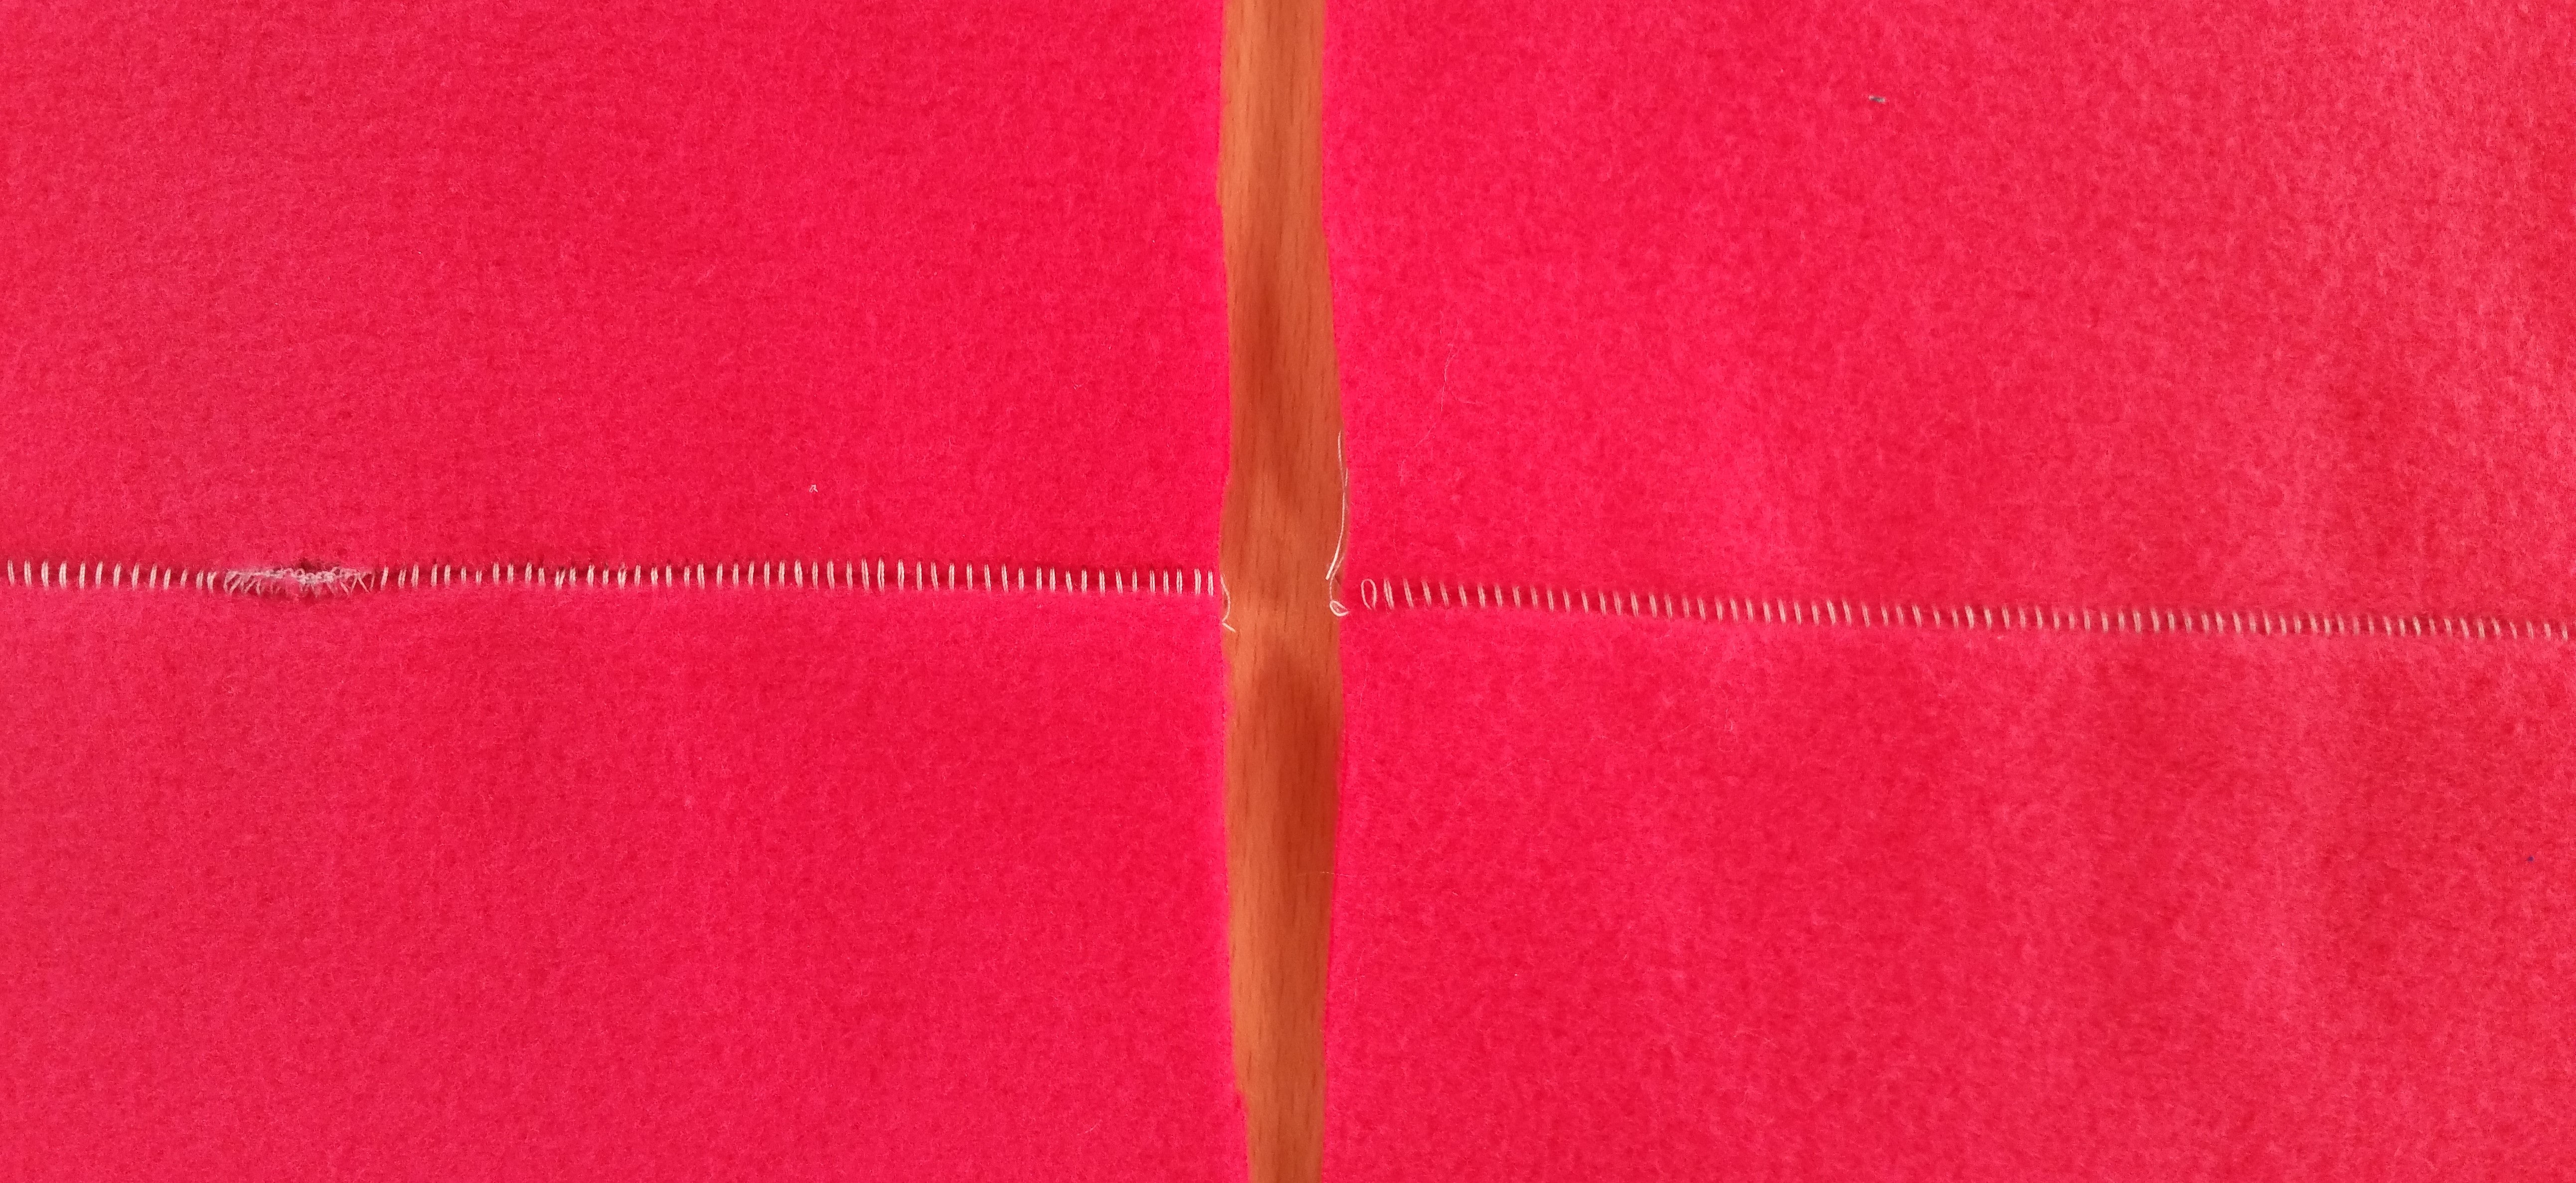
Add a ½” seam allowance and mark the new cutting line. Start cutting higher than the new marking to test the fabric for fraying.
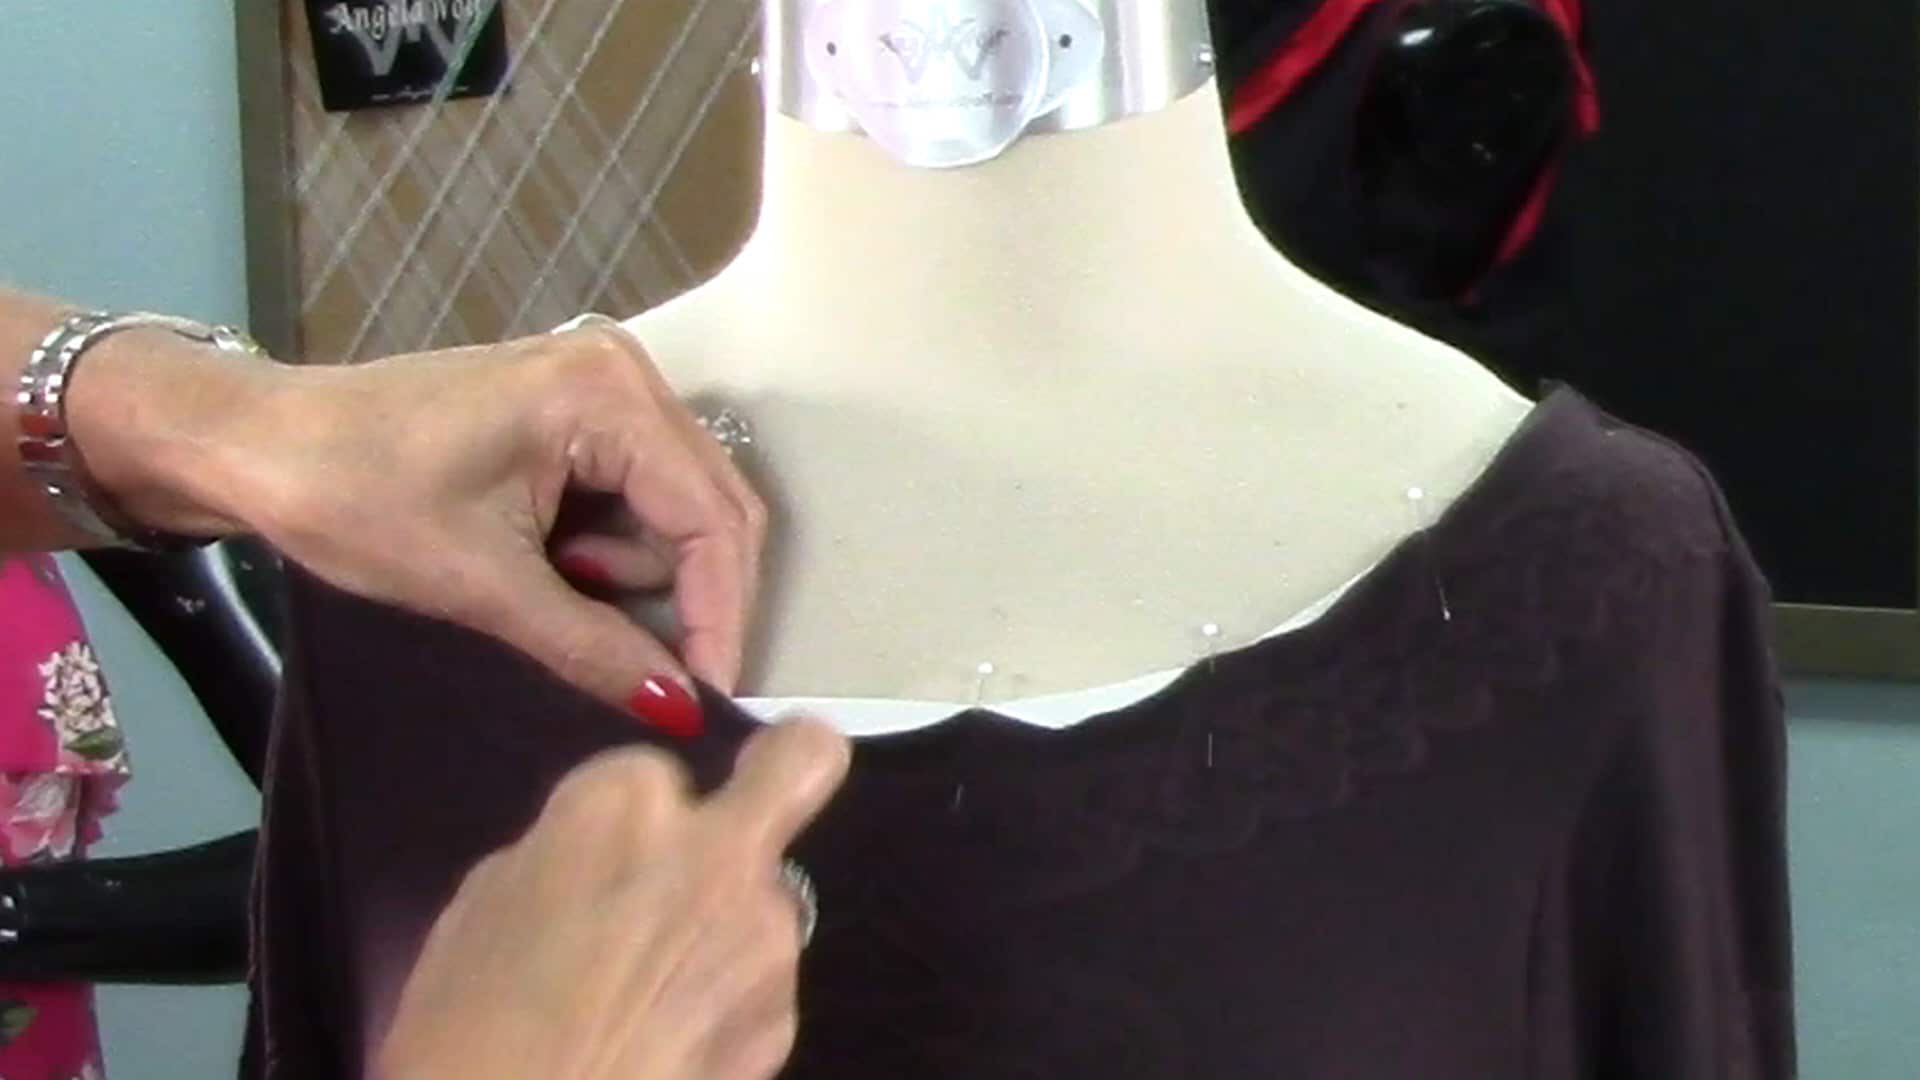
If it is determined the fabric does not fray, then go ahead and cut along the last chalk marked line. If the fabric does fray, leave an extra 1” of fabric from the chalk marked line until after you attach the elastic.
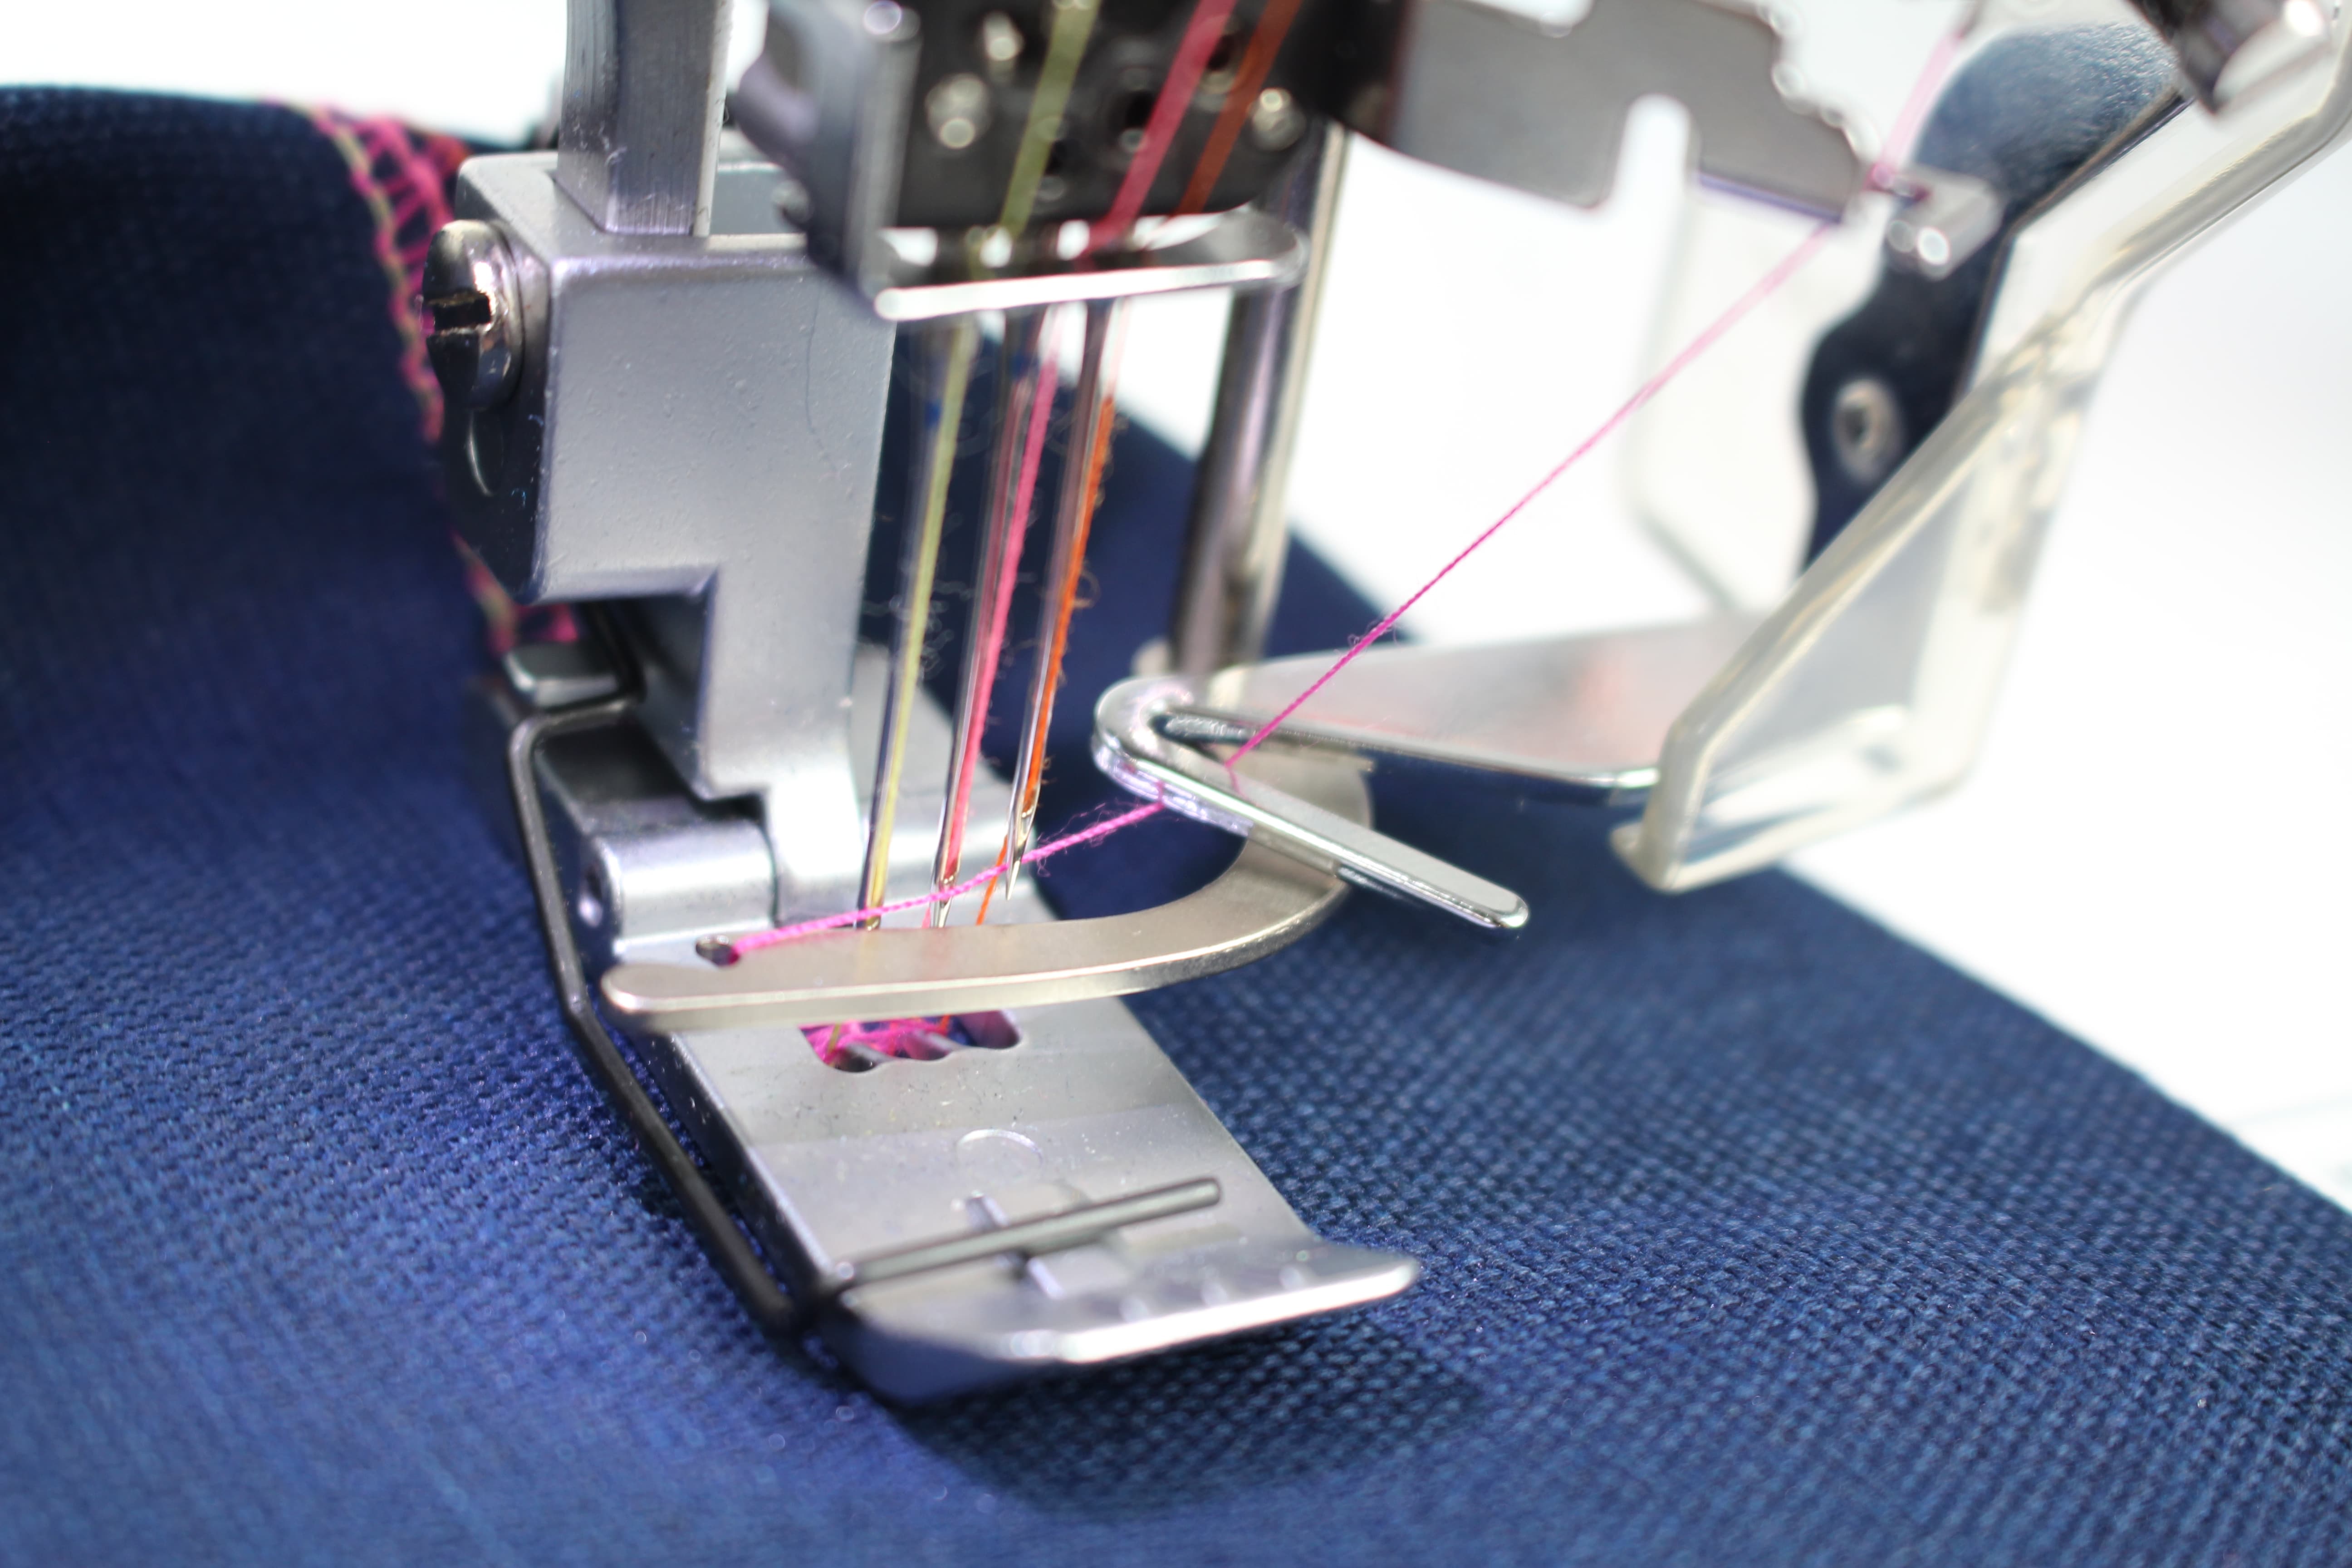
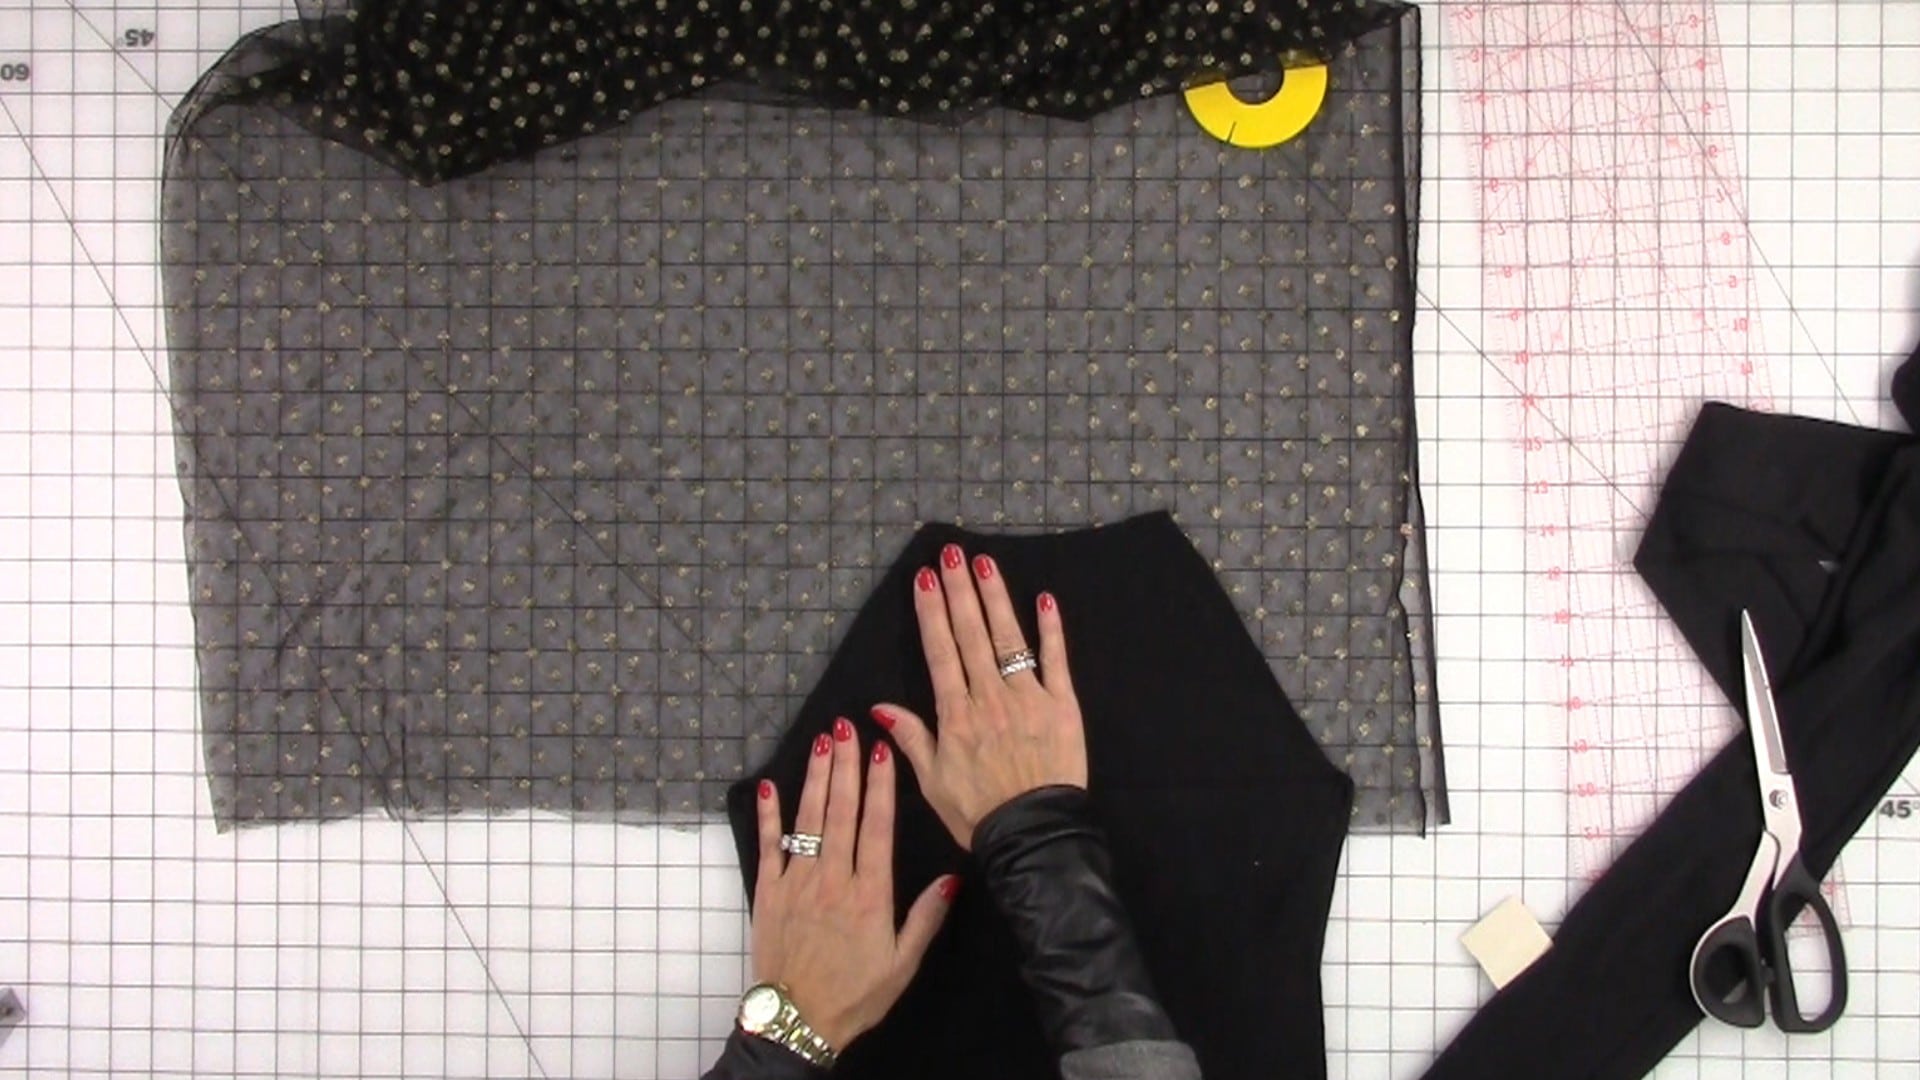
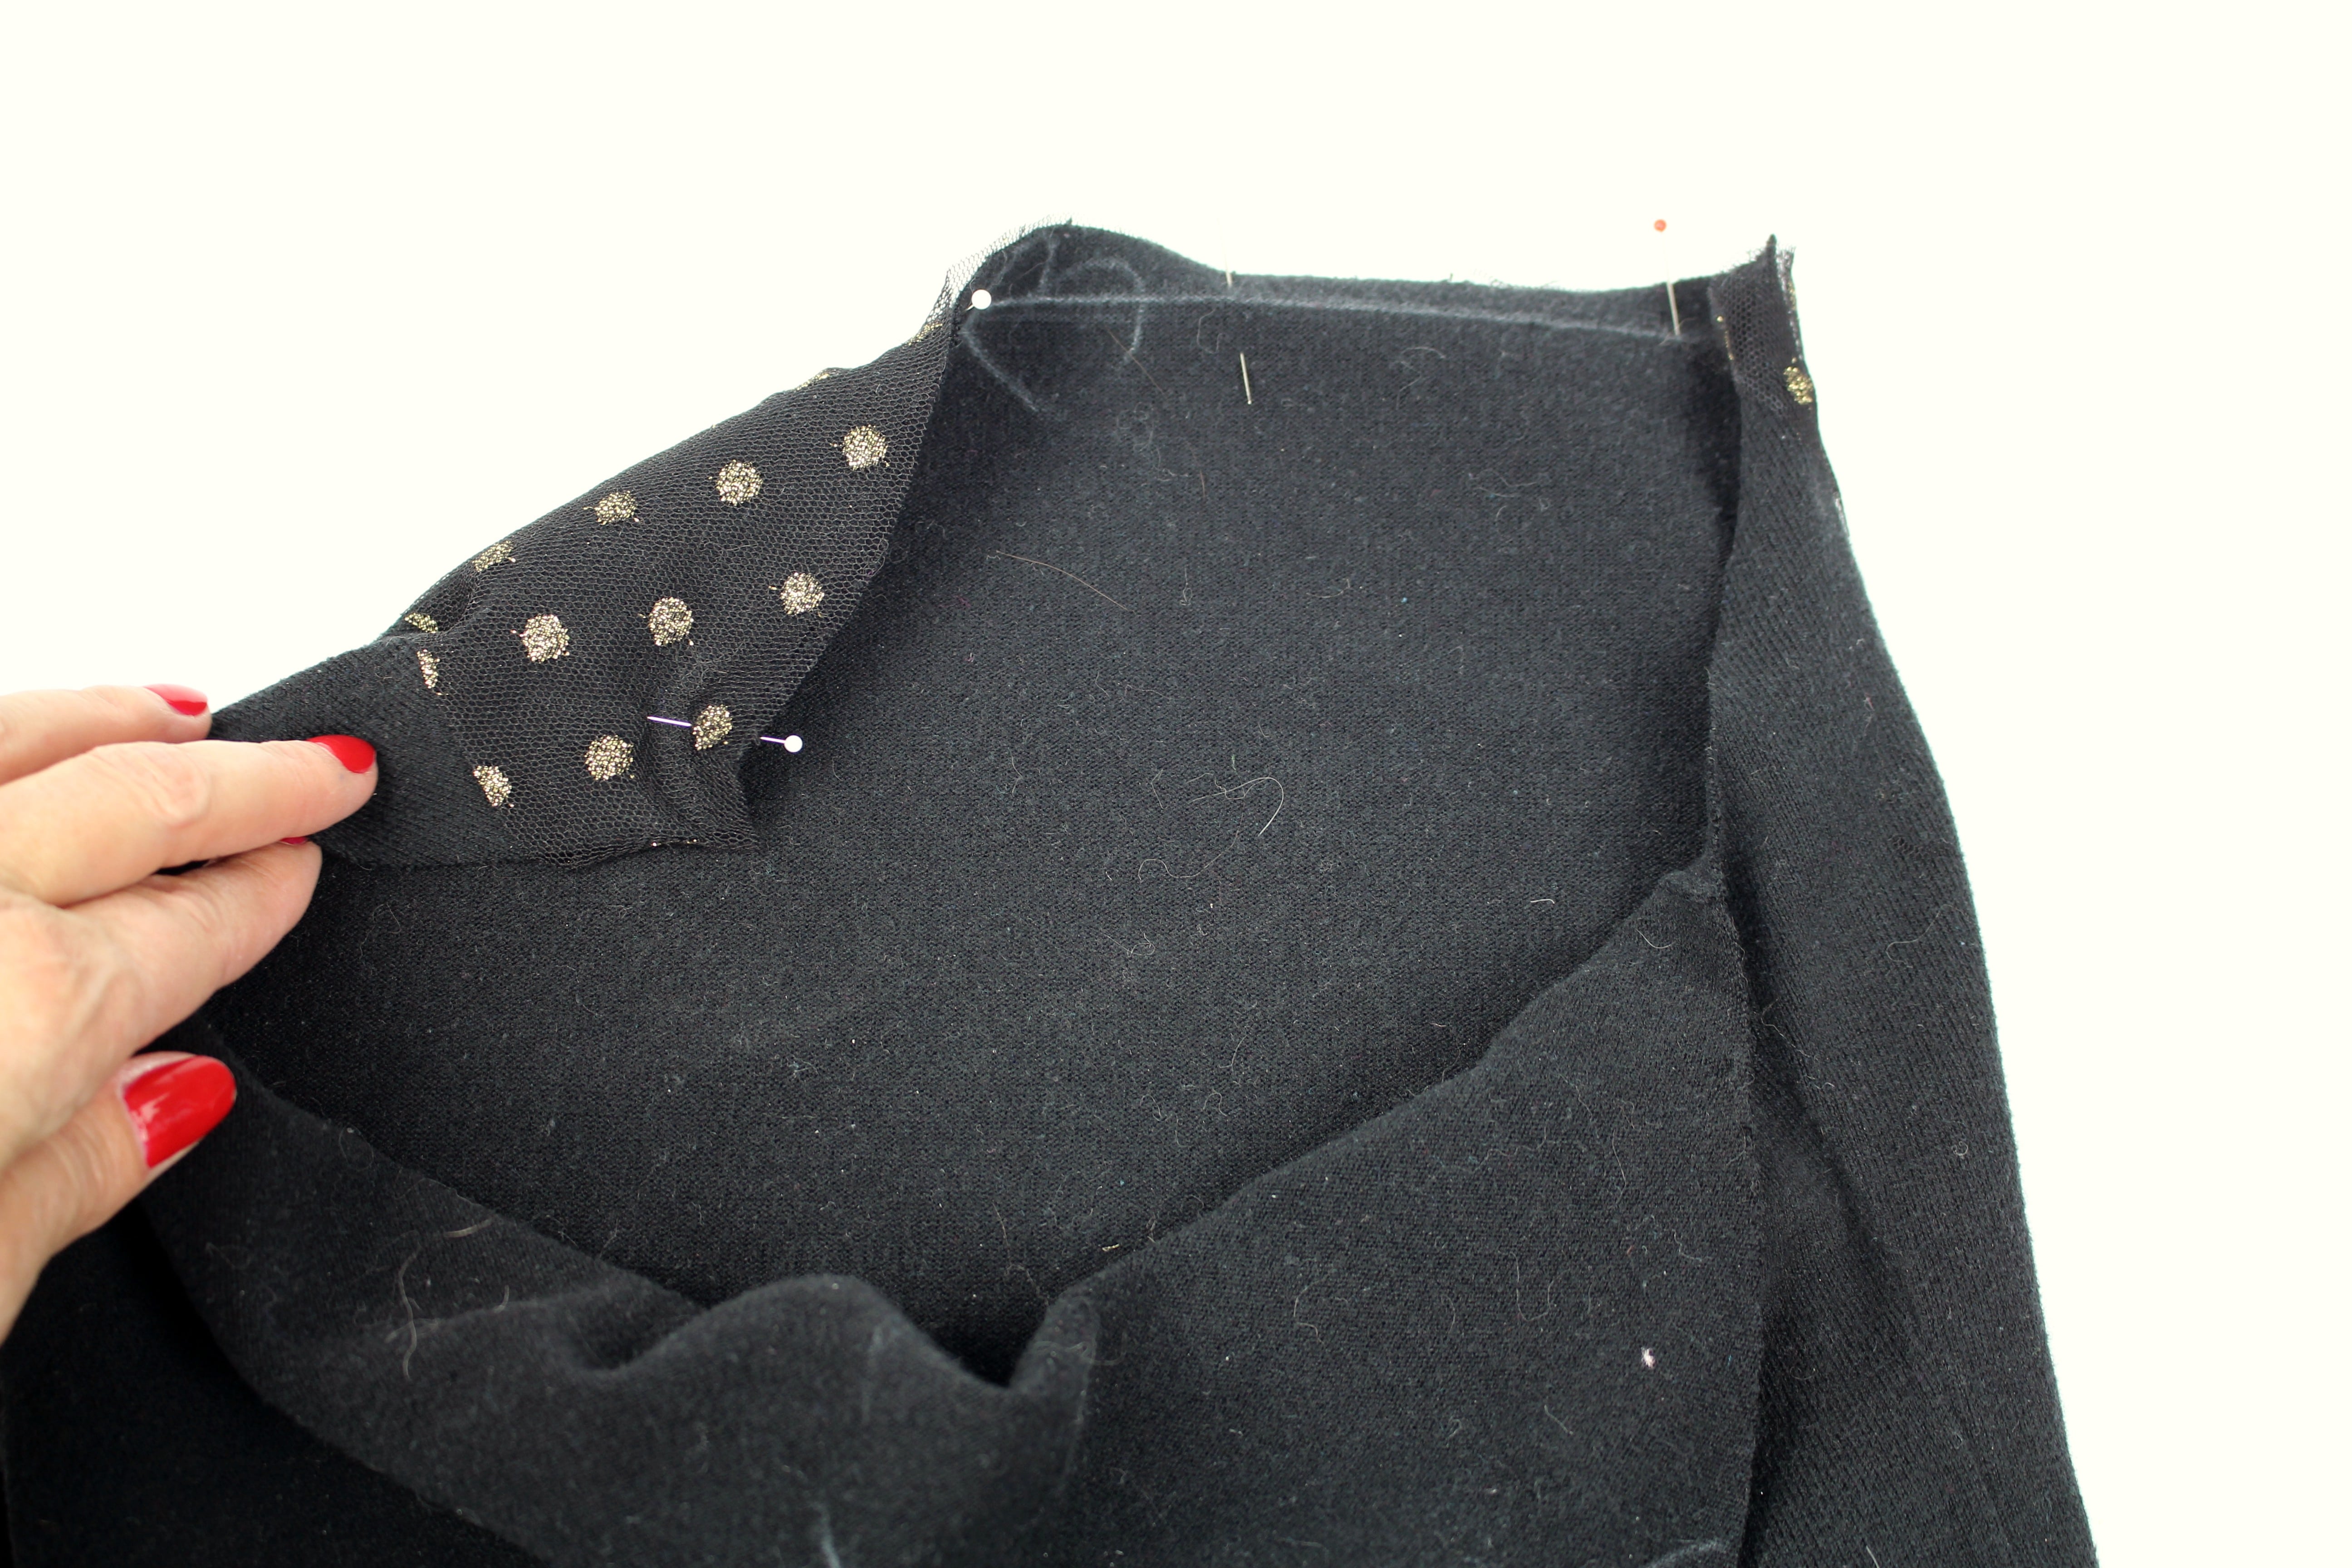
Measure around the circumference around the new neckline. Subtract 1” from that measurement and cut the elastic the same length. Start from the center front and pin the elastic to the wrong side of the fabric. Stretch the elastic as you pin so the elastic is a little shorter in length than the fabric. Continue to pin all the way around the top. When you get to the center back, cross the elastic ends and pin to secure. To read the full blog, head over to my post as a Brother Expert Consultant on the Brother Stitching Sewcial or watch the video below.
I would love to see your creative designs, be sure to tag me if you post a photo #angelawolf #brothersews
Cheers,
I would love to see your creative designs, be sure to tag me if you post a photo #angelawolf #brothersews
Cheers,

<a target="_blank" href="https://shareasale.com/r.cfm?b=1130527&u=1586241&m=29190&urllink=&afftrack="><img src="https://static.shareasale.com/image/29190/728x90.gif" border="0" alt="Craftsy Unlimited FREE 7 day trial at Craftsy.com" /></a>