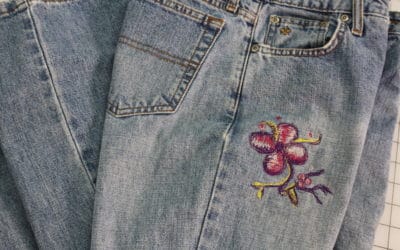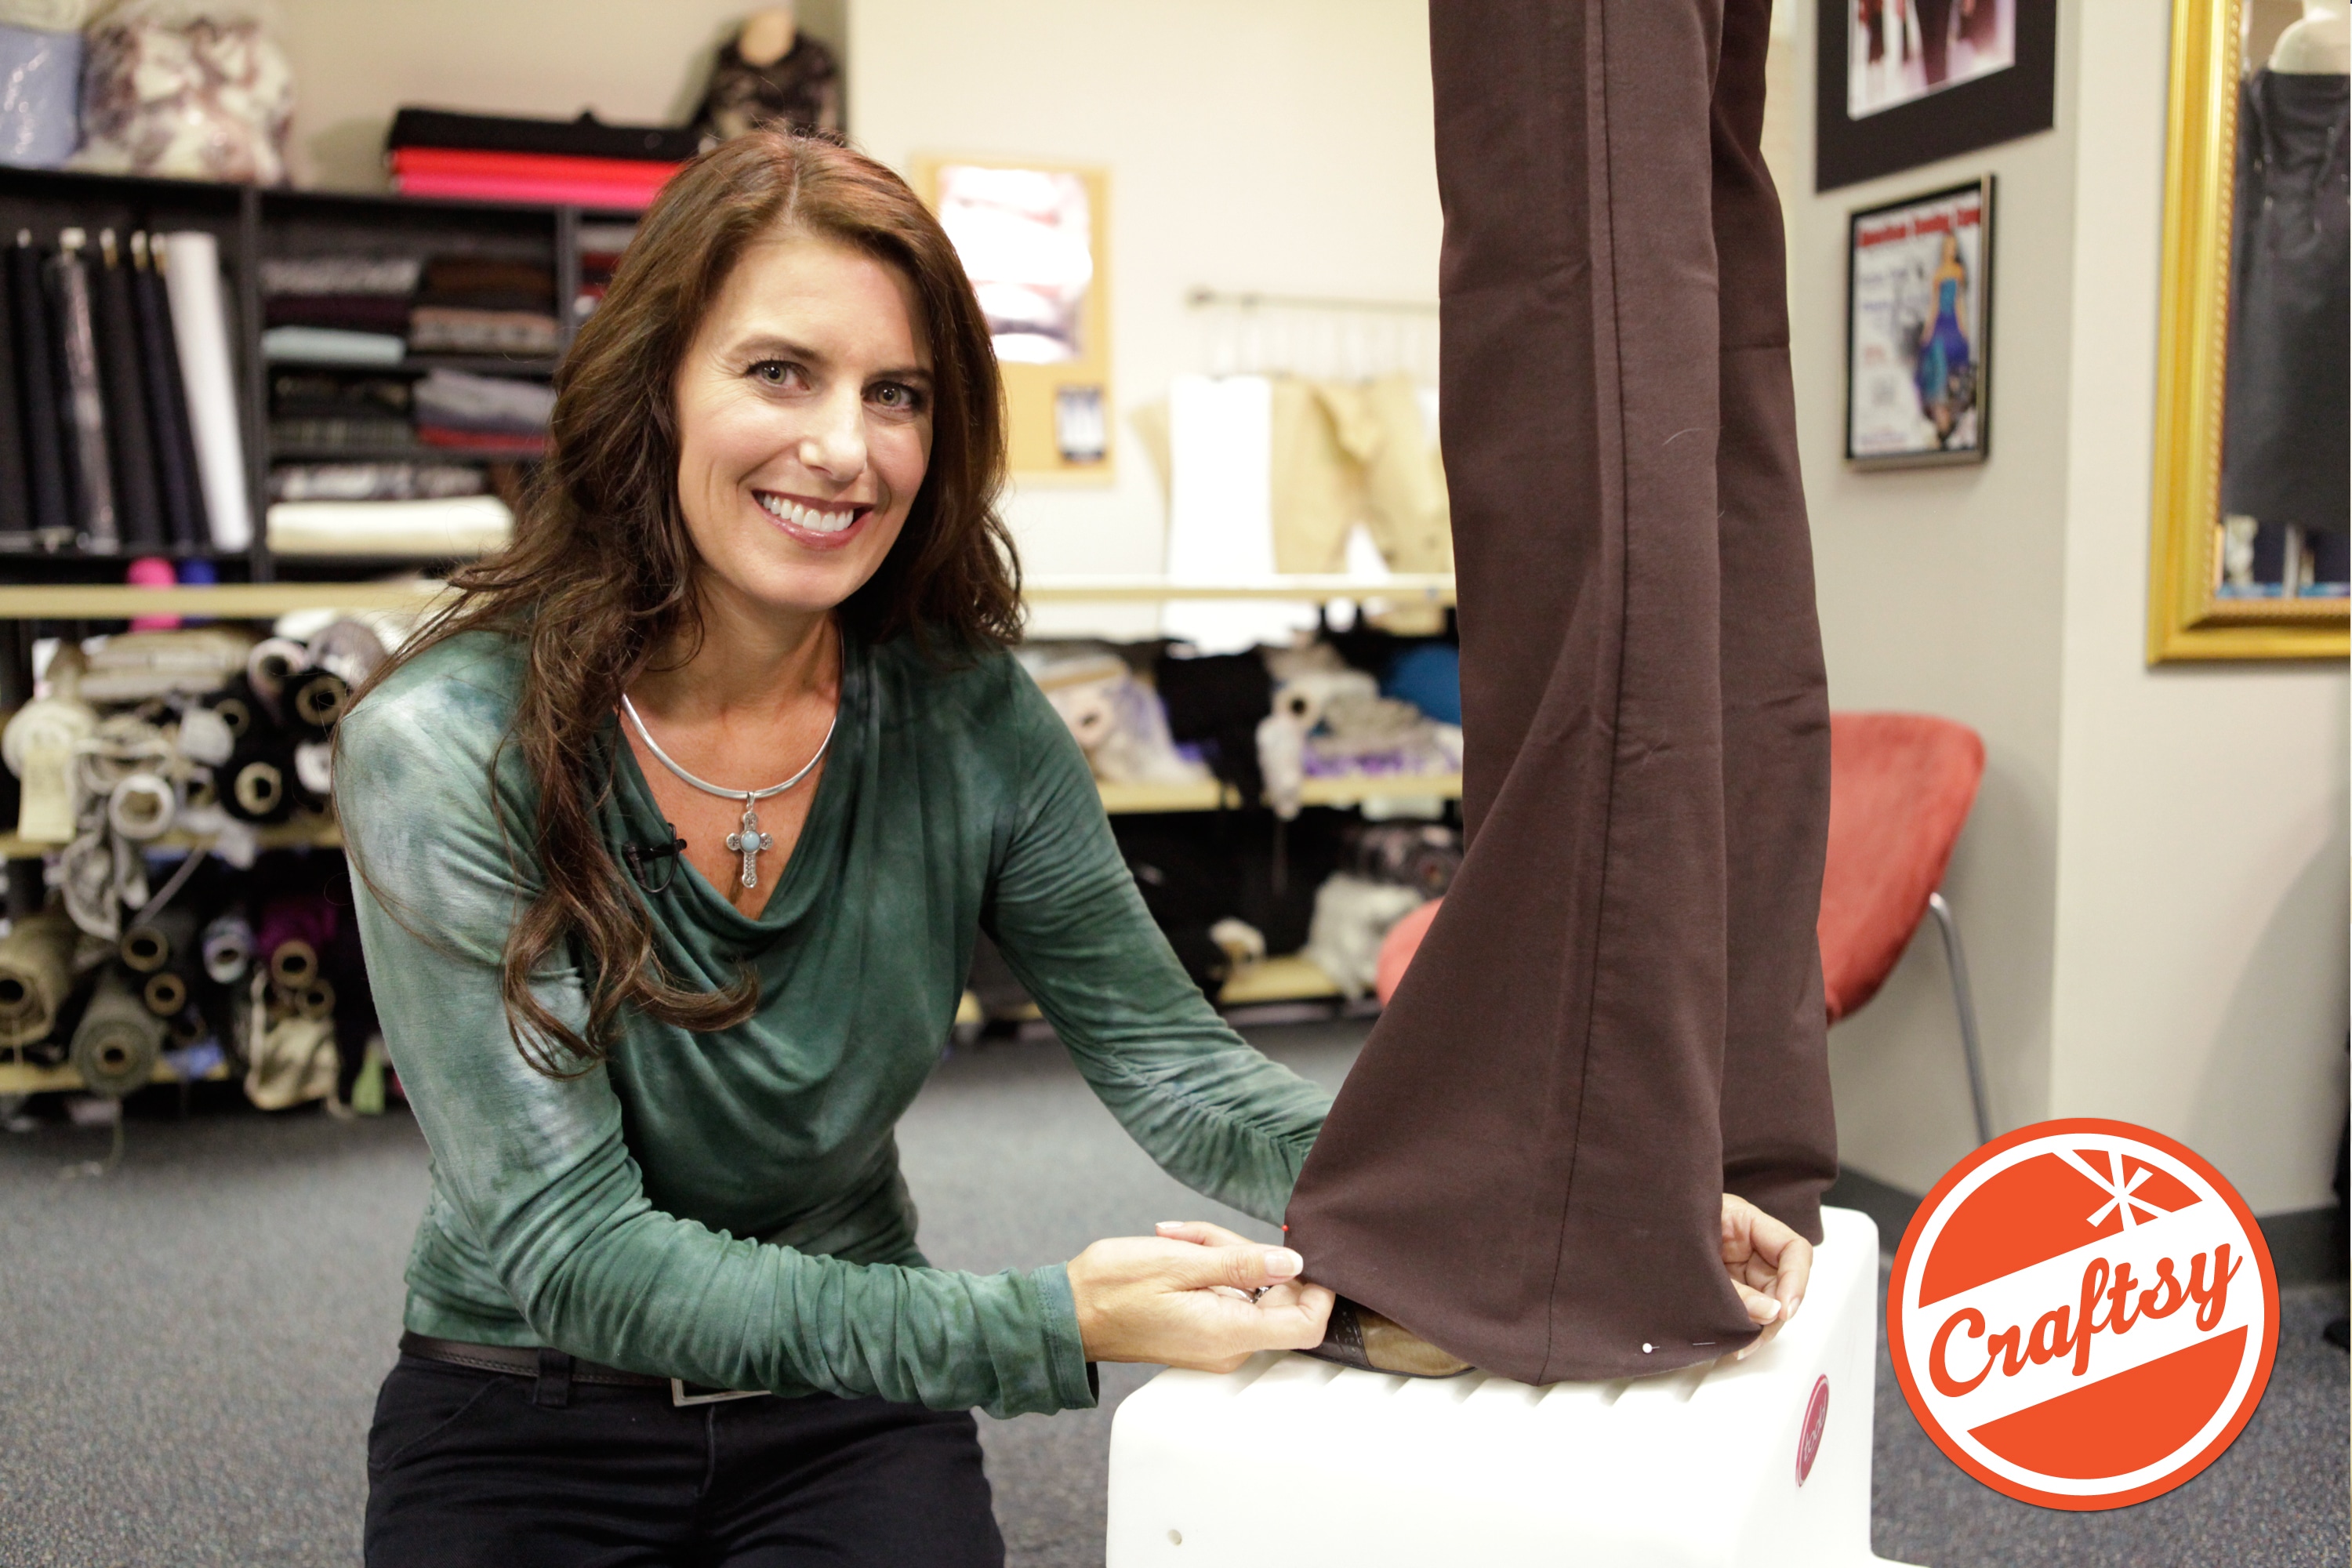

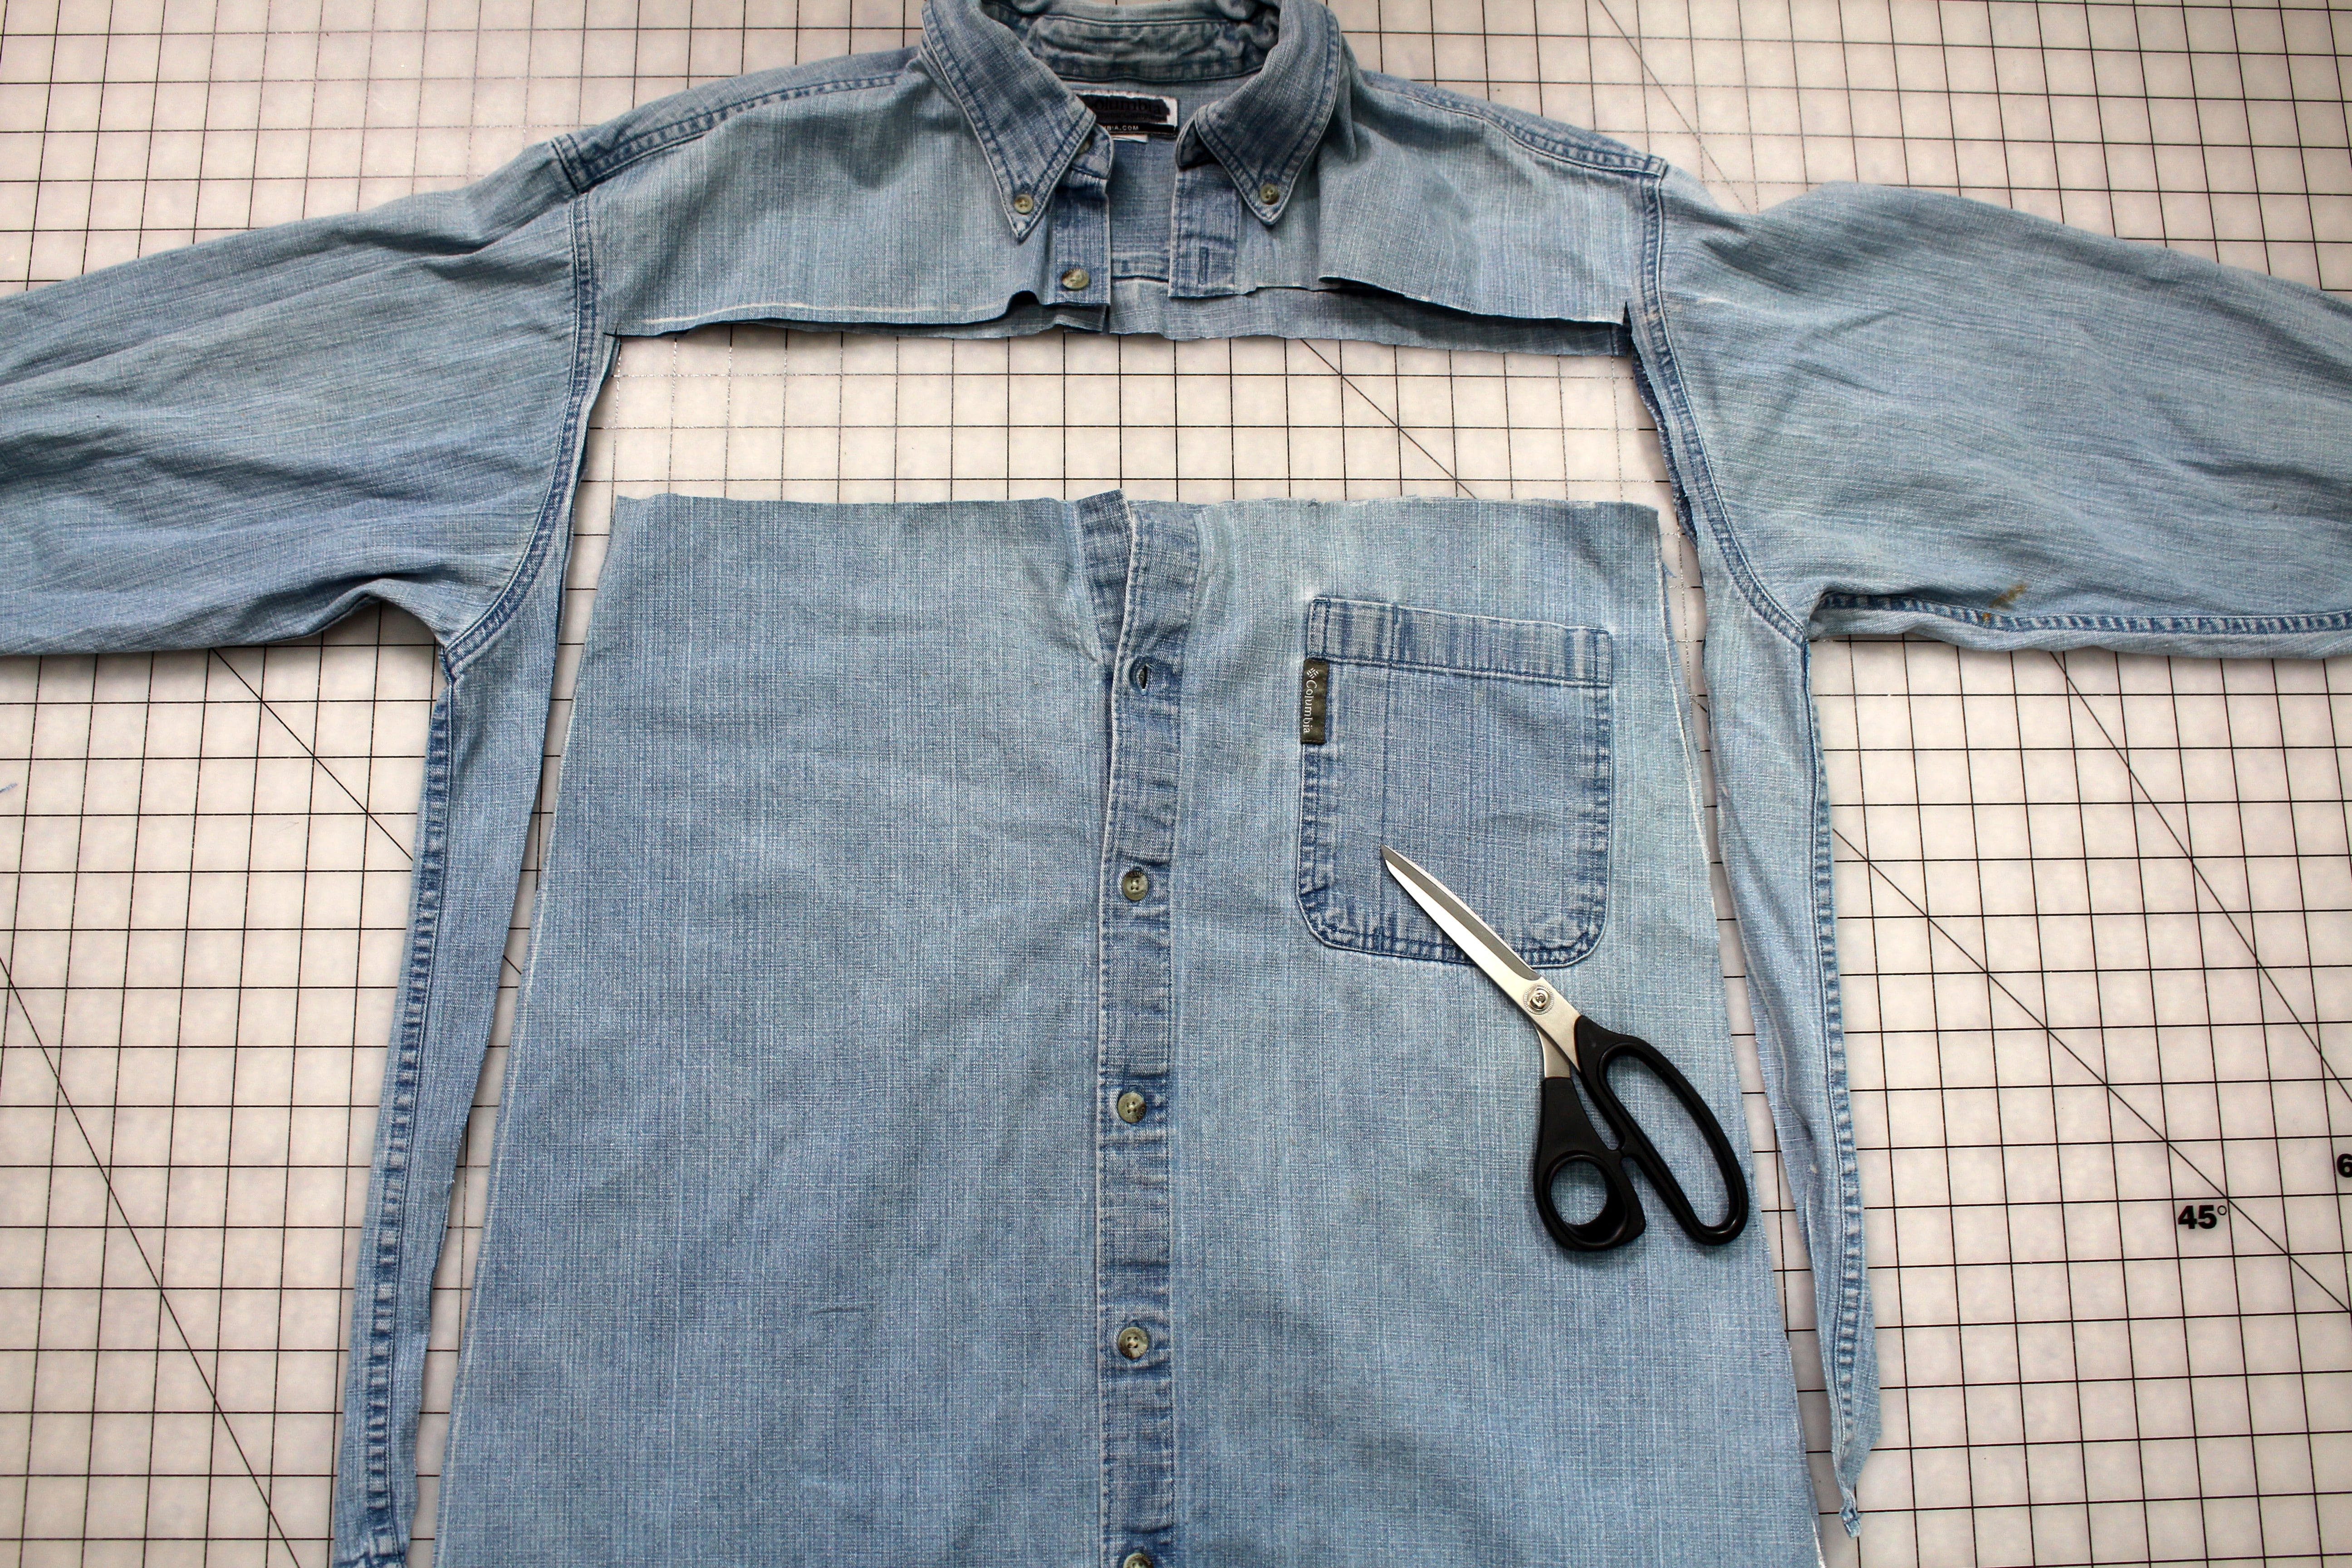
Refashion Jeans with Trim You might have noticed some of the fashions of the late 60’s and 70’s making a comeback on the store shelves, from floral fabrics to embellished jeans. How about adding crocheted ribbon trim along the outside leg! This is so...
DIY: REFASHION A SWEATER INTO A SWEATER JACKET
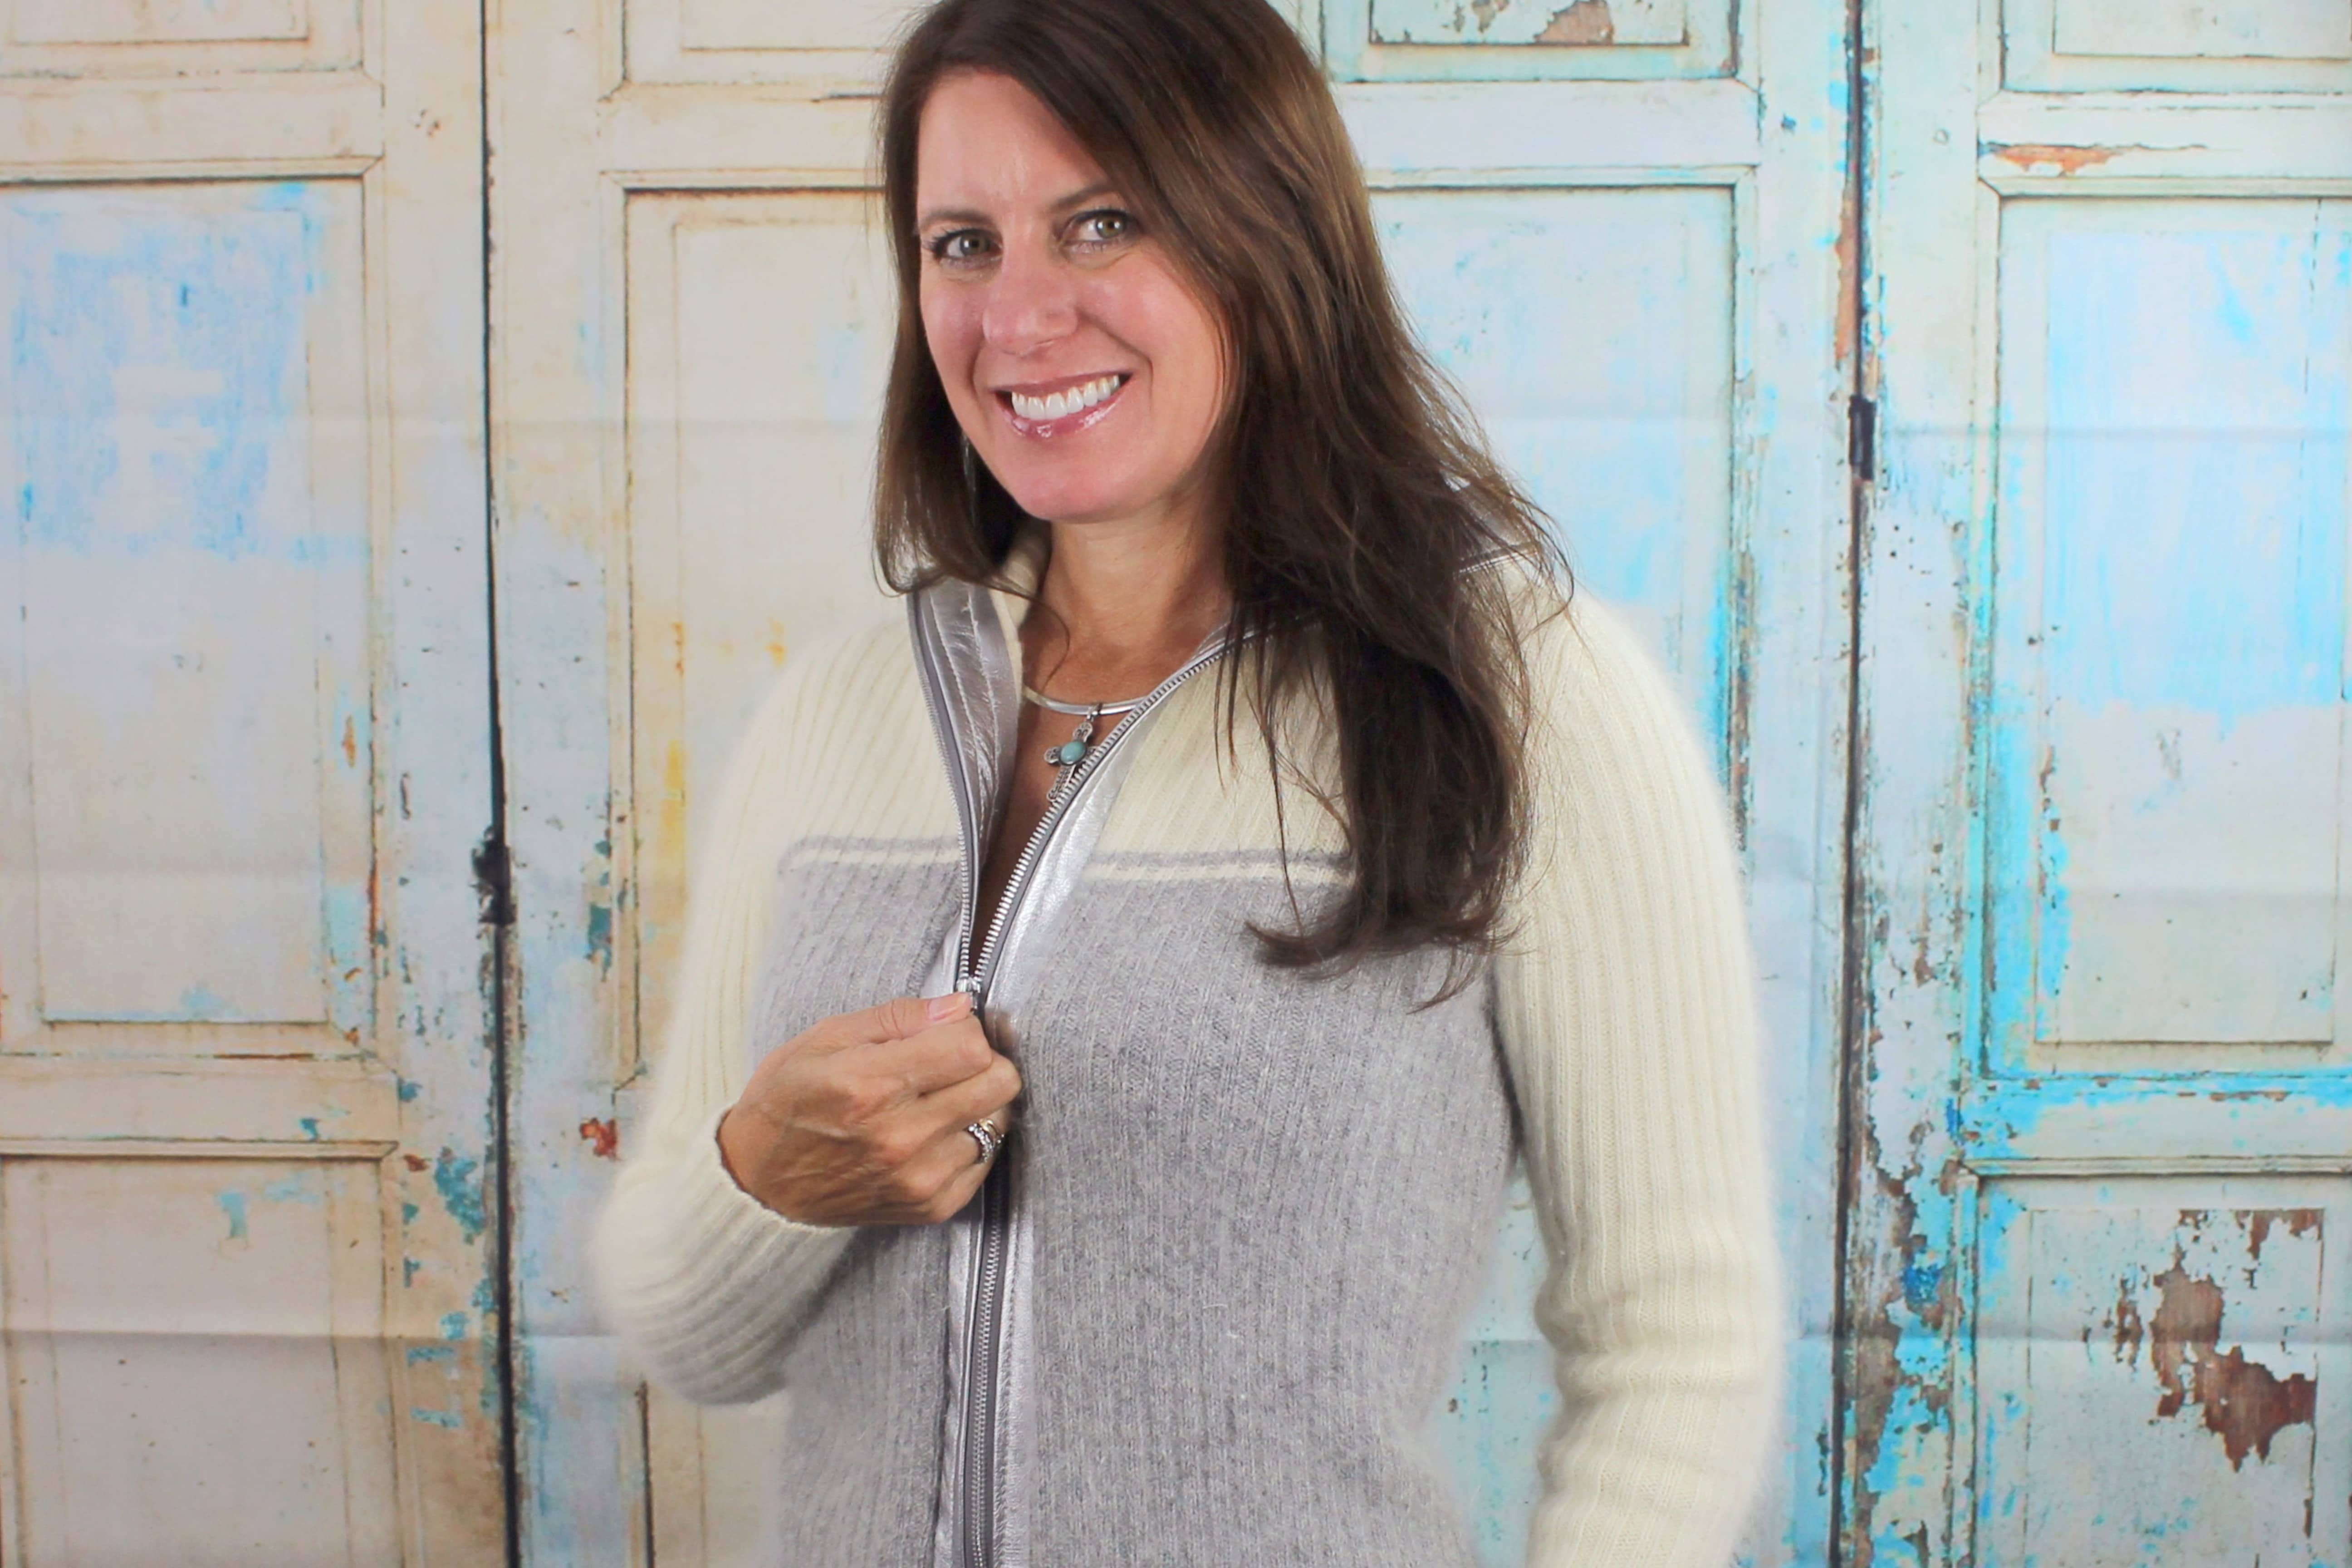
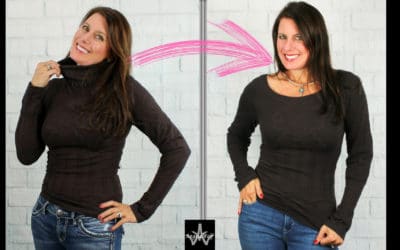
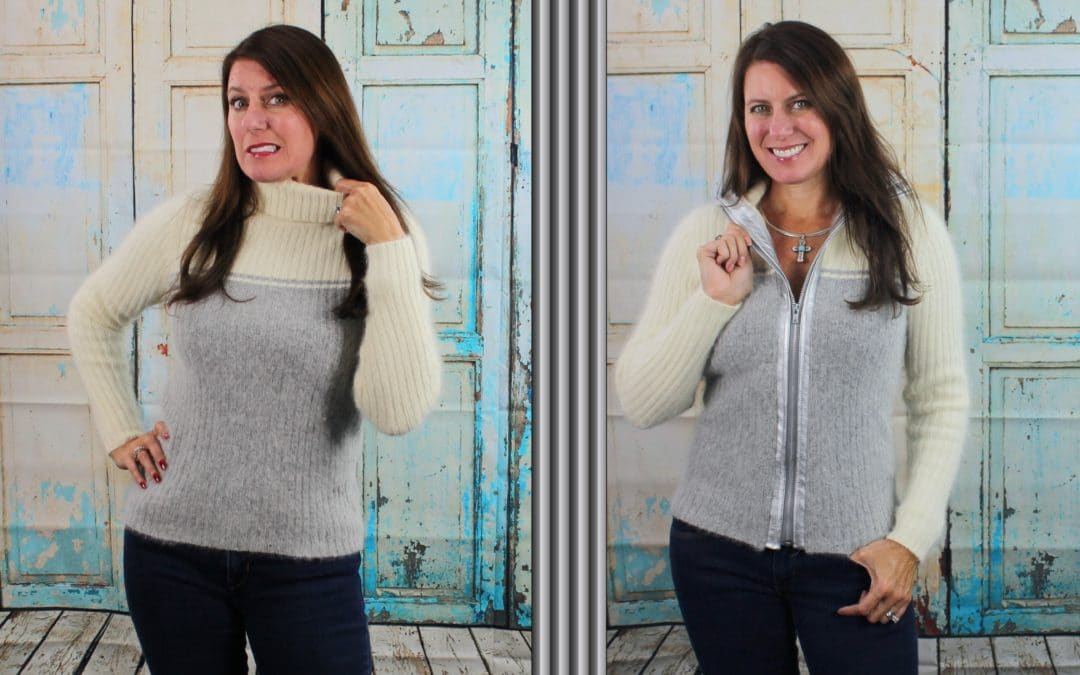
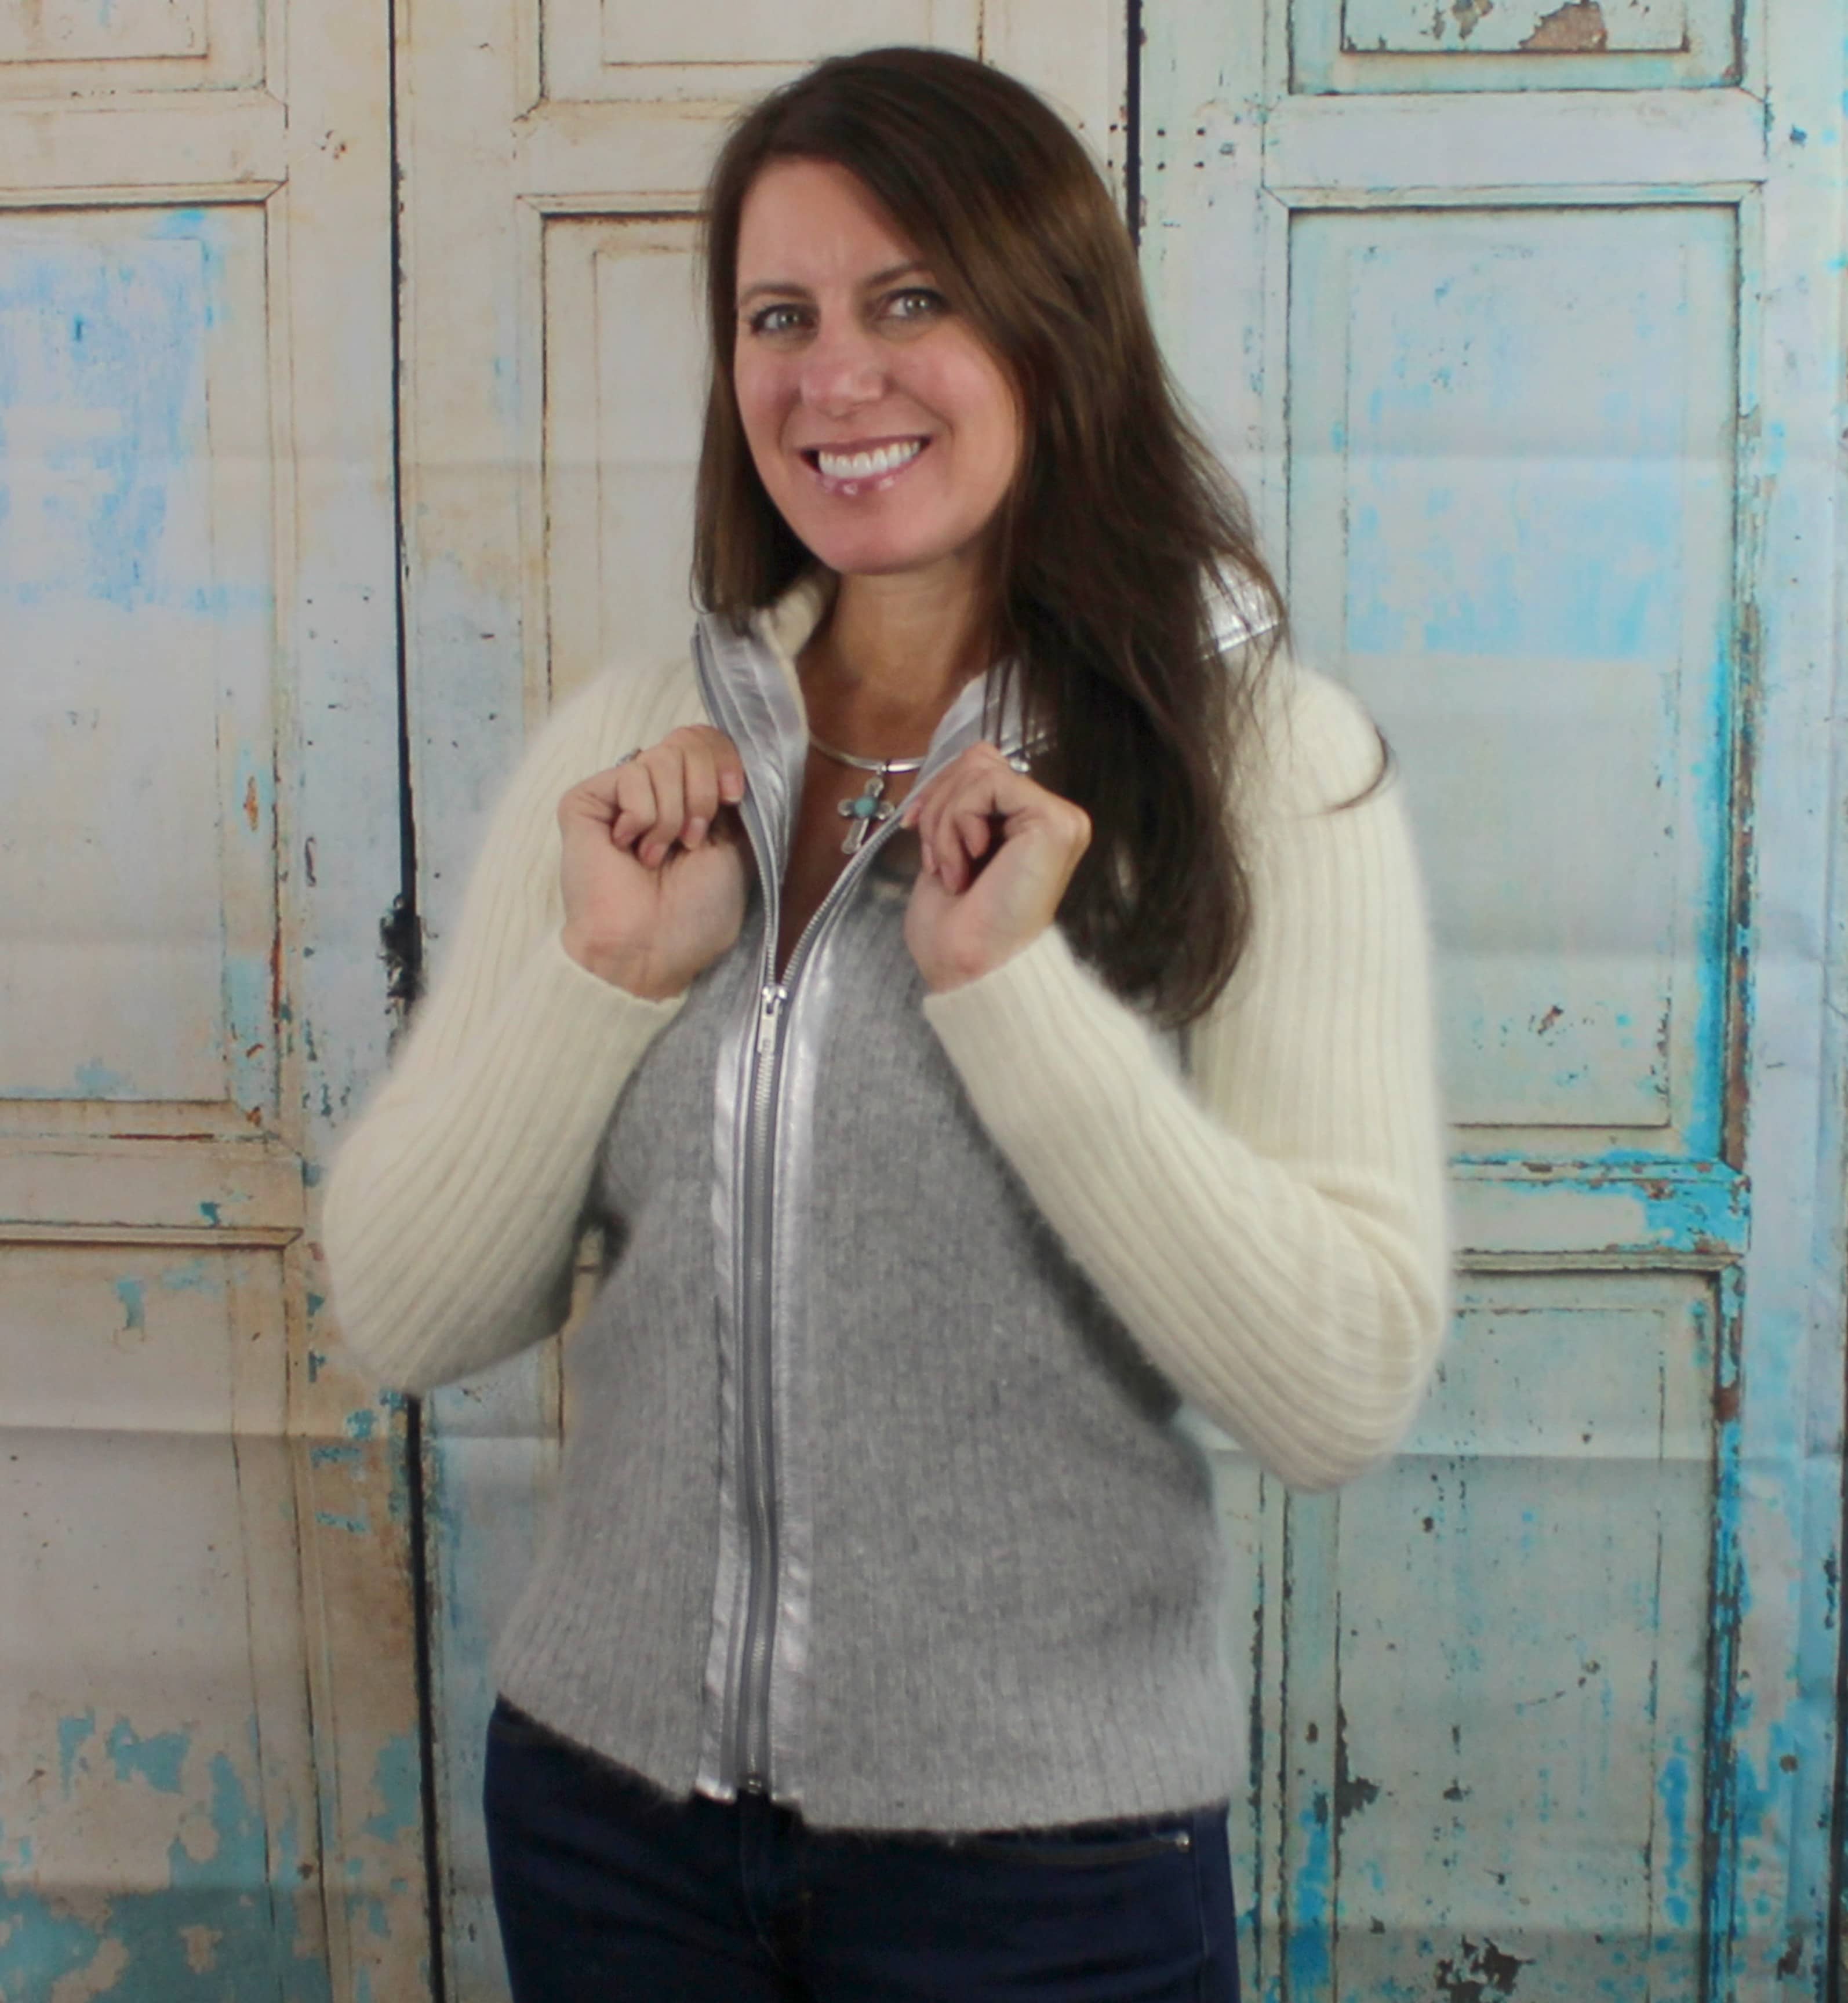
I bought this sweater a few years back because the fabric is soft and fluffy, but I never wear it because the collar is too tight! I leave it in the drawer and pet it every once in a while 🙂 Even when I would attempt wear the sweater on a cold, wintry day; it was off in less than an hour; it’s even too uncomfortable to wear fishing! I would say to myself, “f I could just open that collar up.” Then it occurred to me … add a zipper and refashion the sweater into a jacket.
Supplies: 
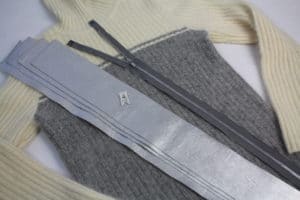
- 22” separating zipper (measure in the center of the sweater from the top of the collar to the hemline to determine the length of the zipper)
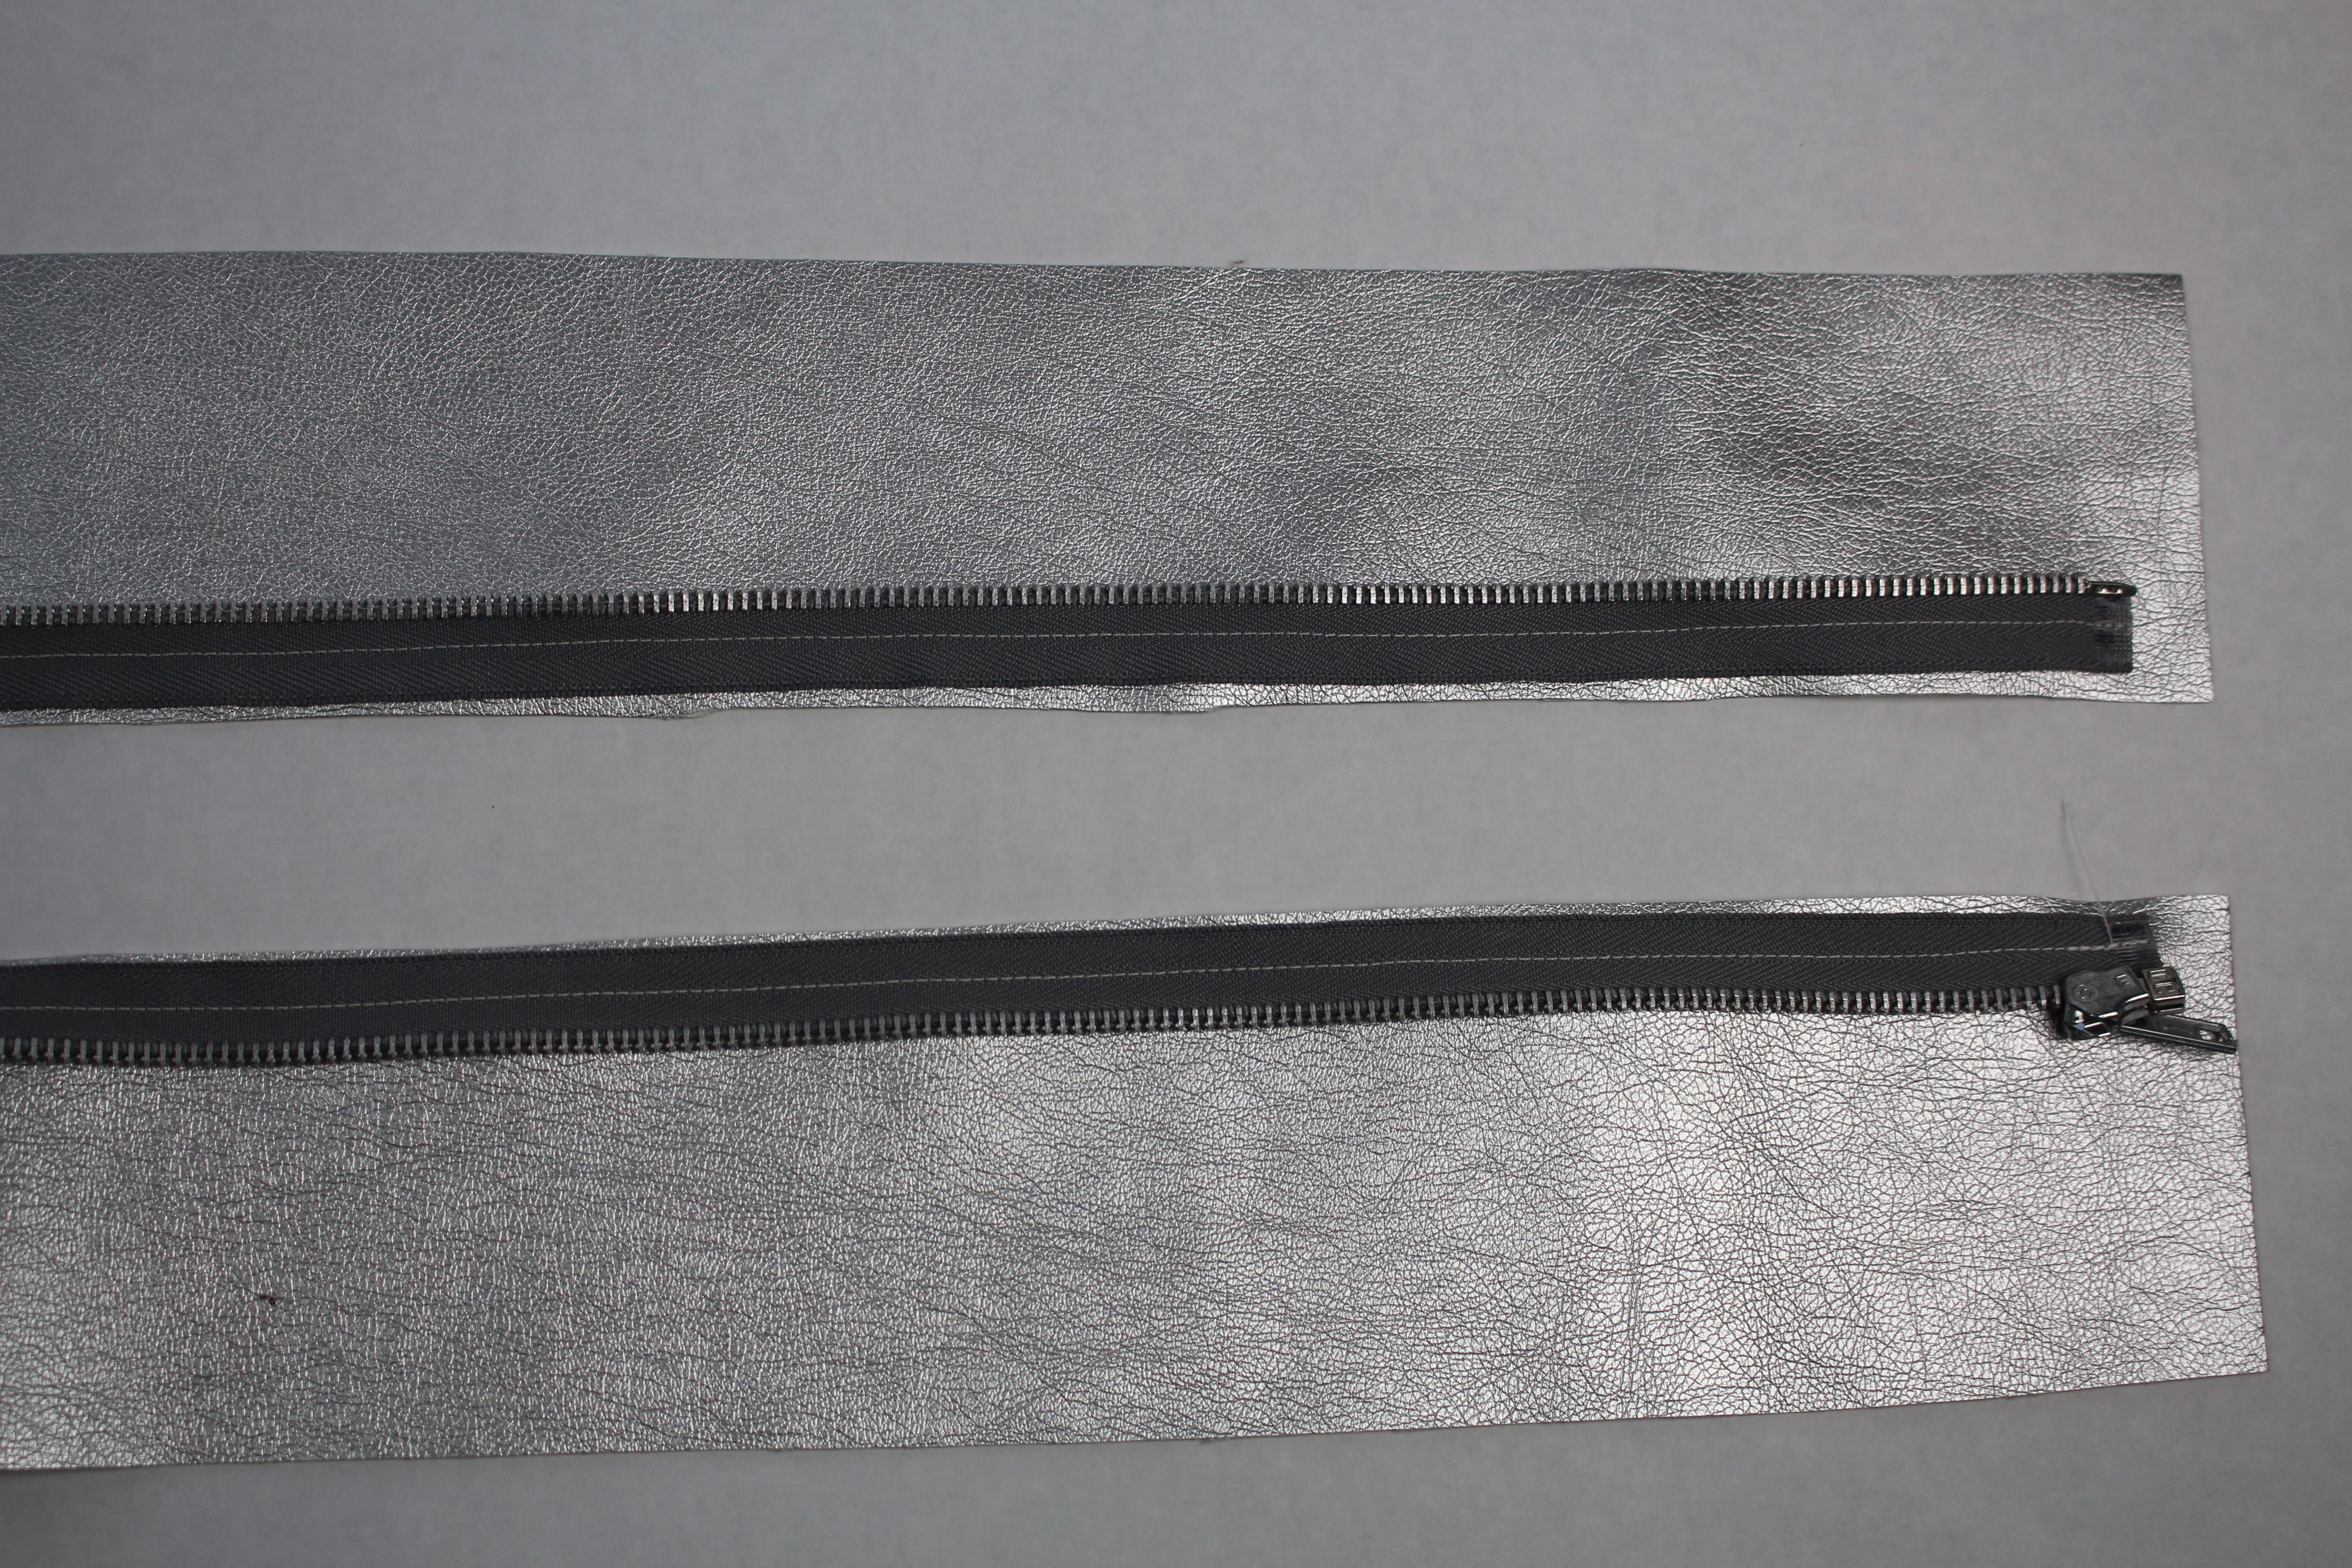
- 4 pieces of vinyl cut the length of the center front by 3” wide
- Fusible interfacing 2” wide by the length of the center front of the sweater, including the collar
- Non-stick foot
- Zipper foot
- Universal thread in coordinating color
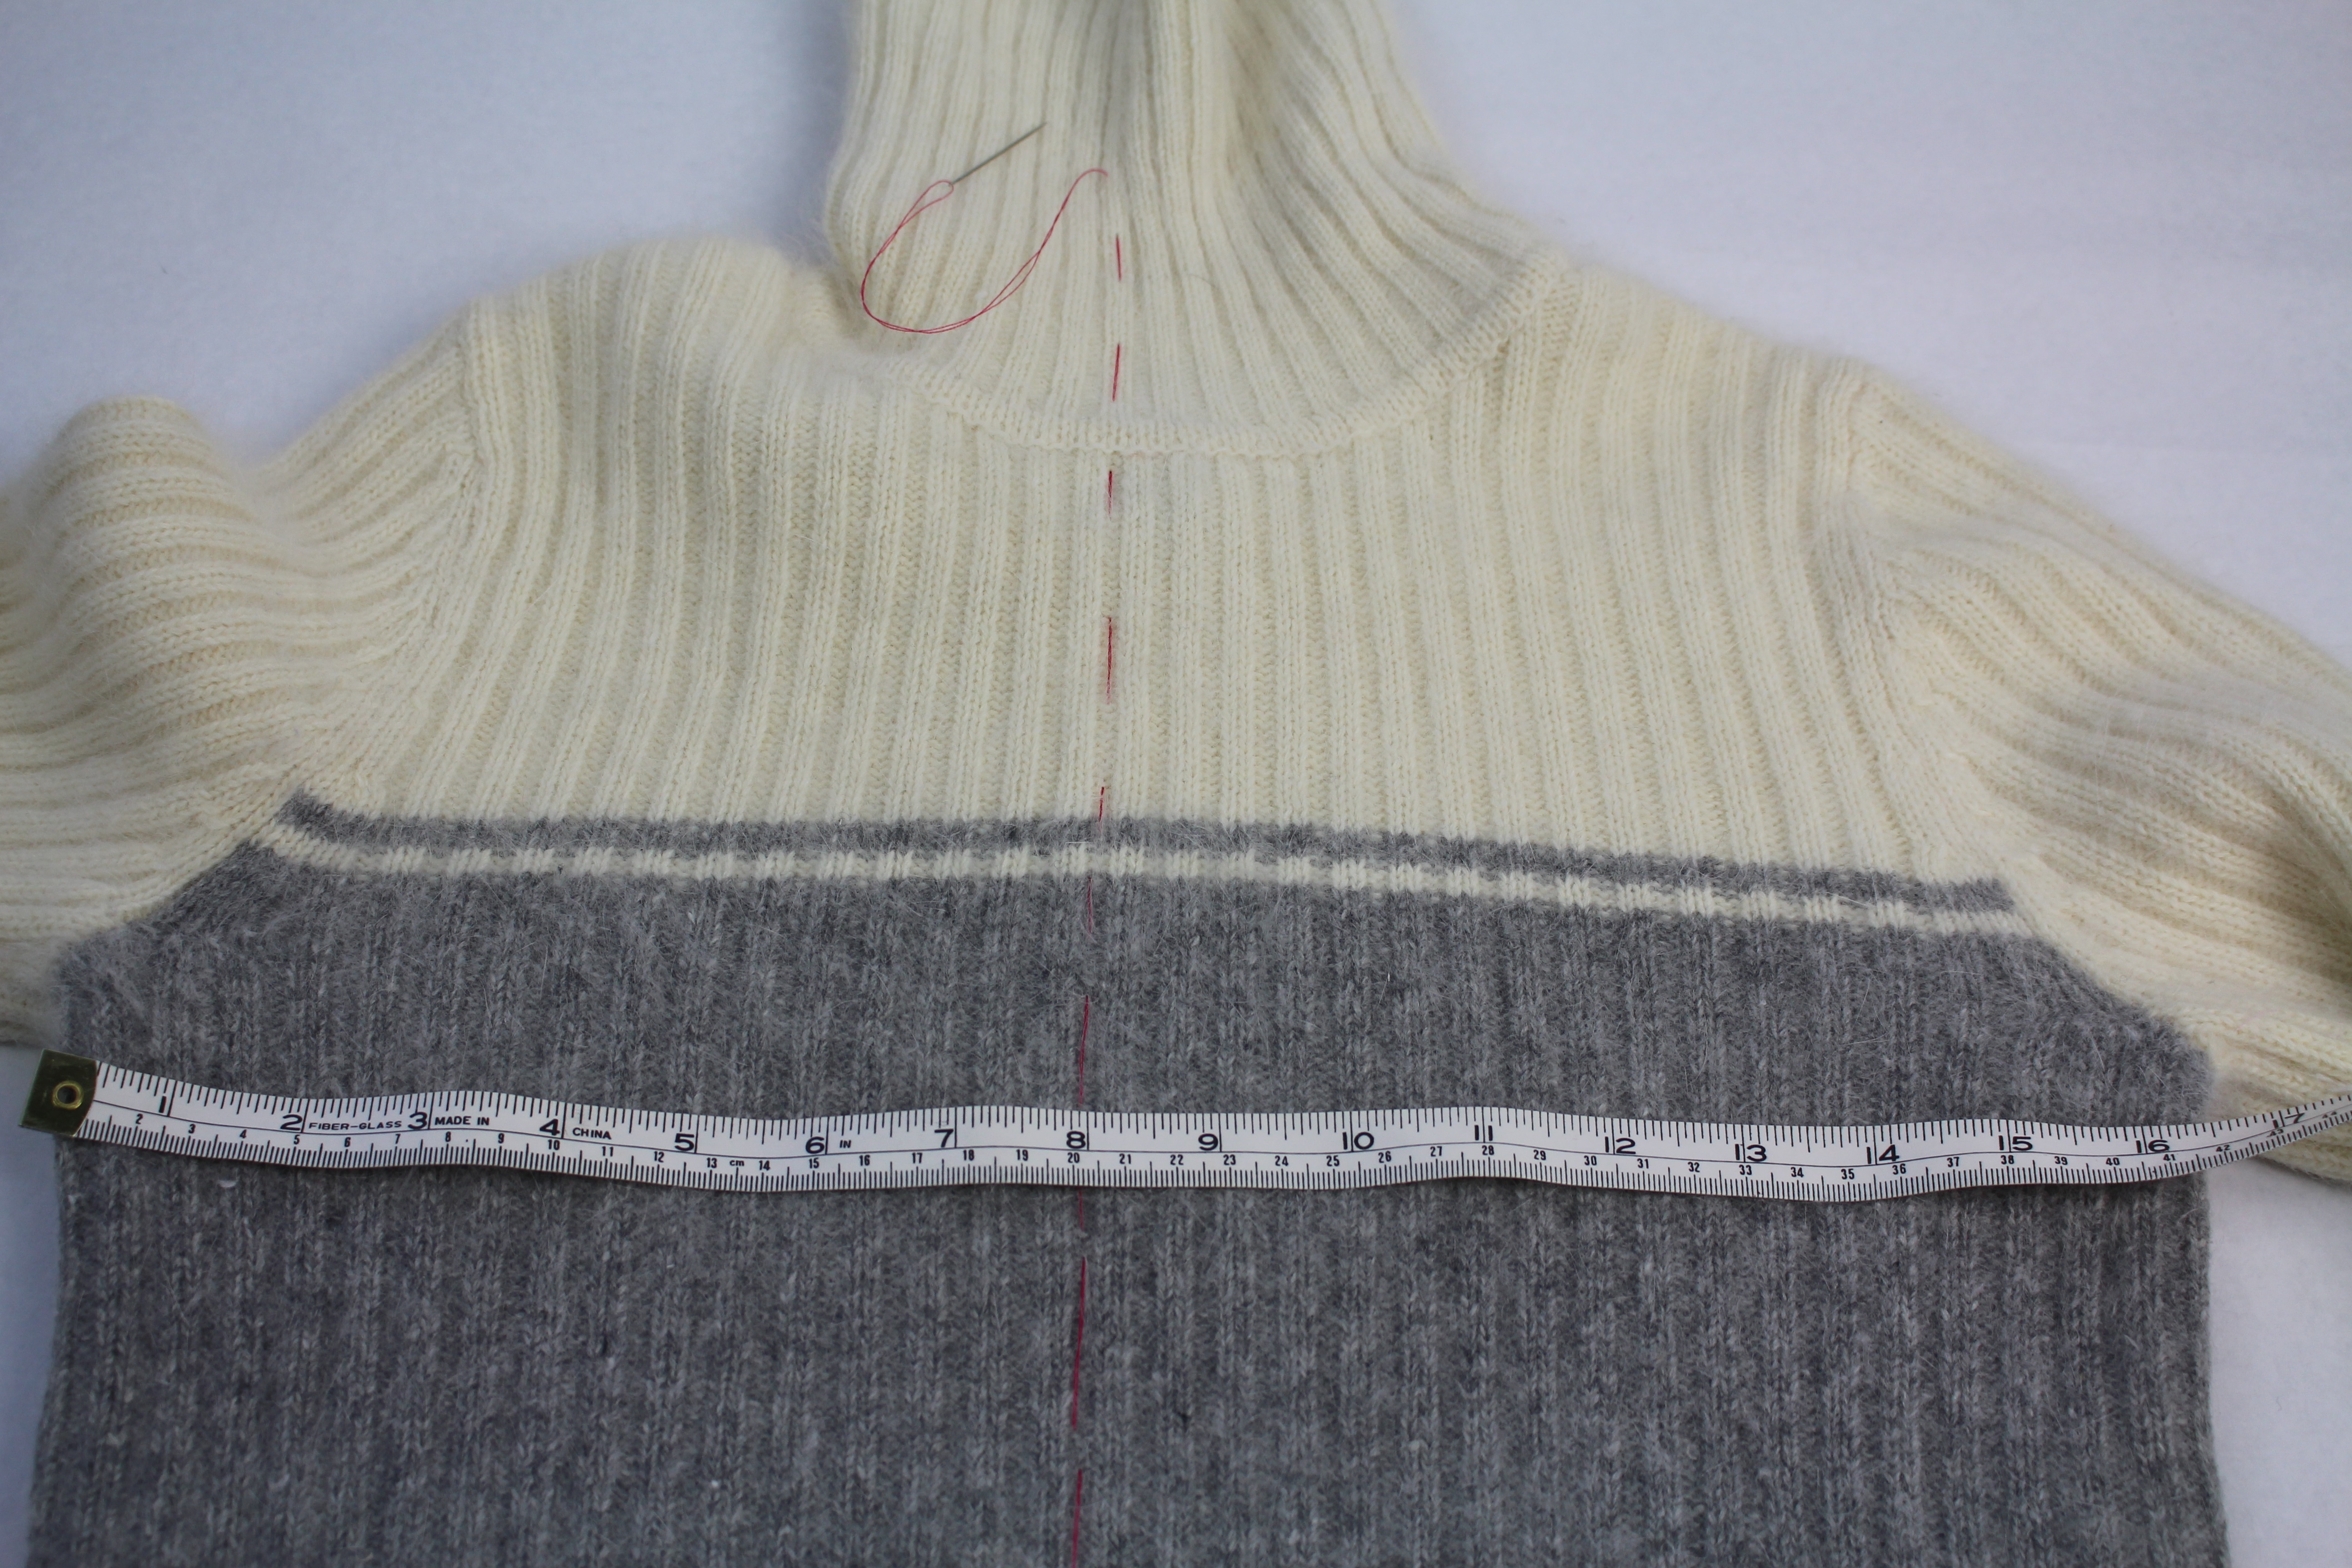
Prep & Mark the Sweater
Start by marking the center front of the sweater. I am marking the sweater a contrasting color thread, if the fabric allows you can use a fabric marking pen or tailors chalk.

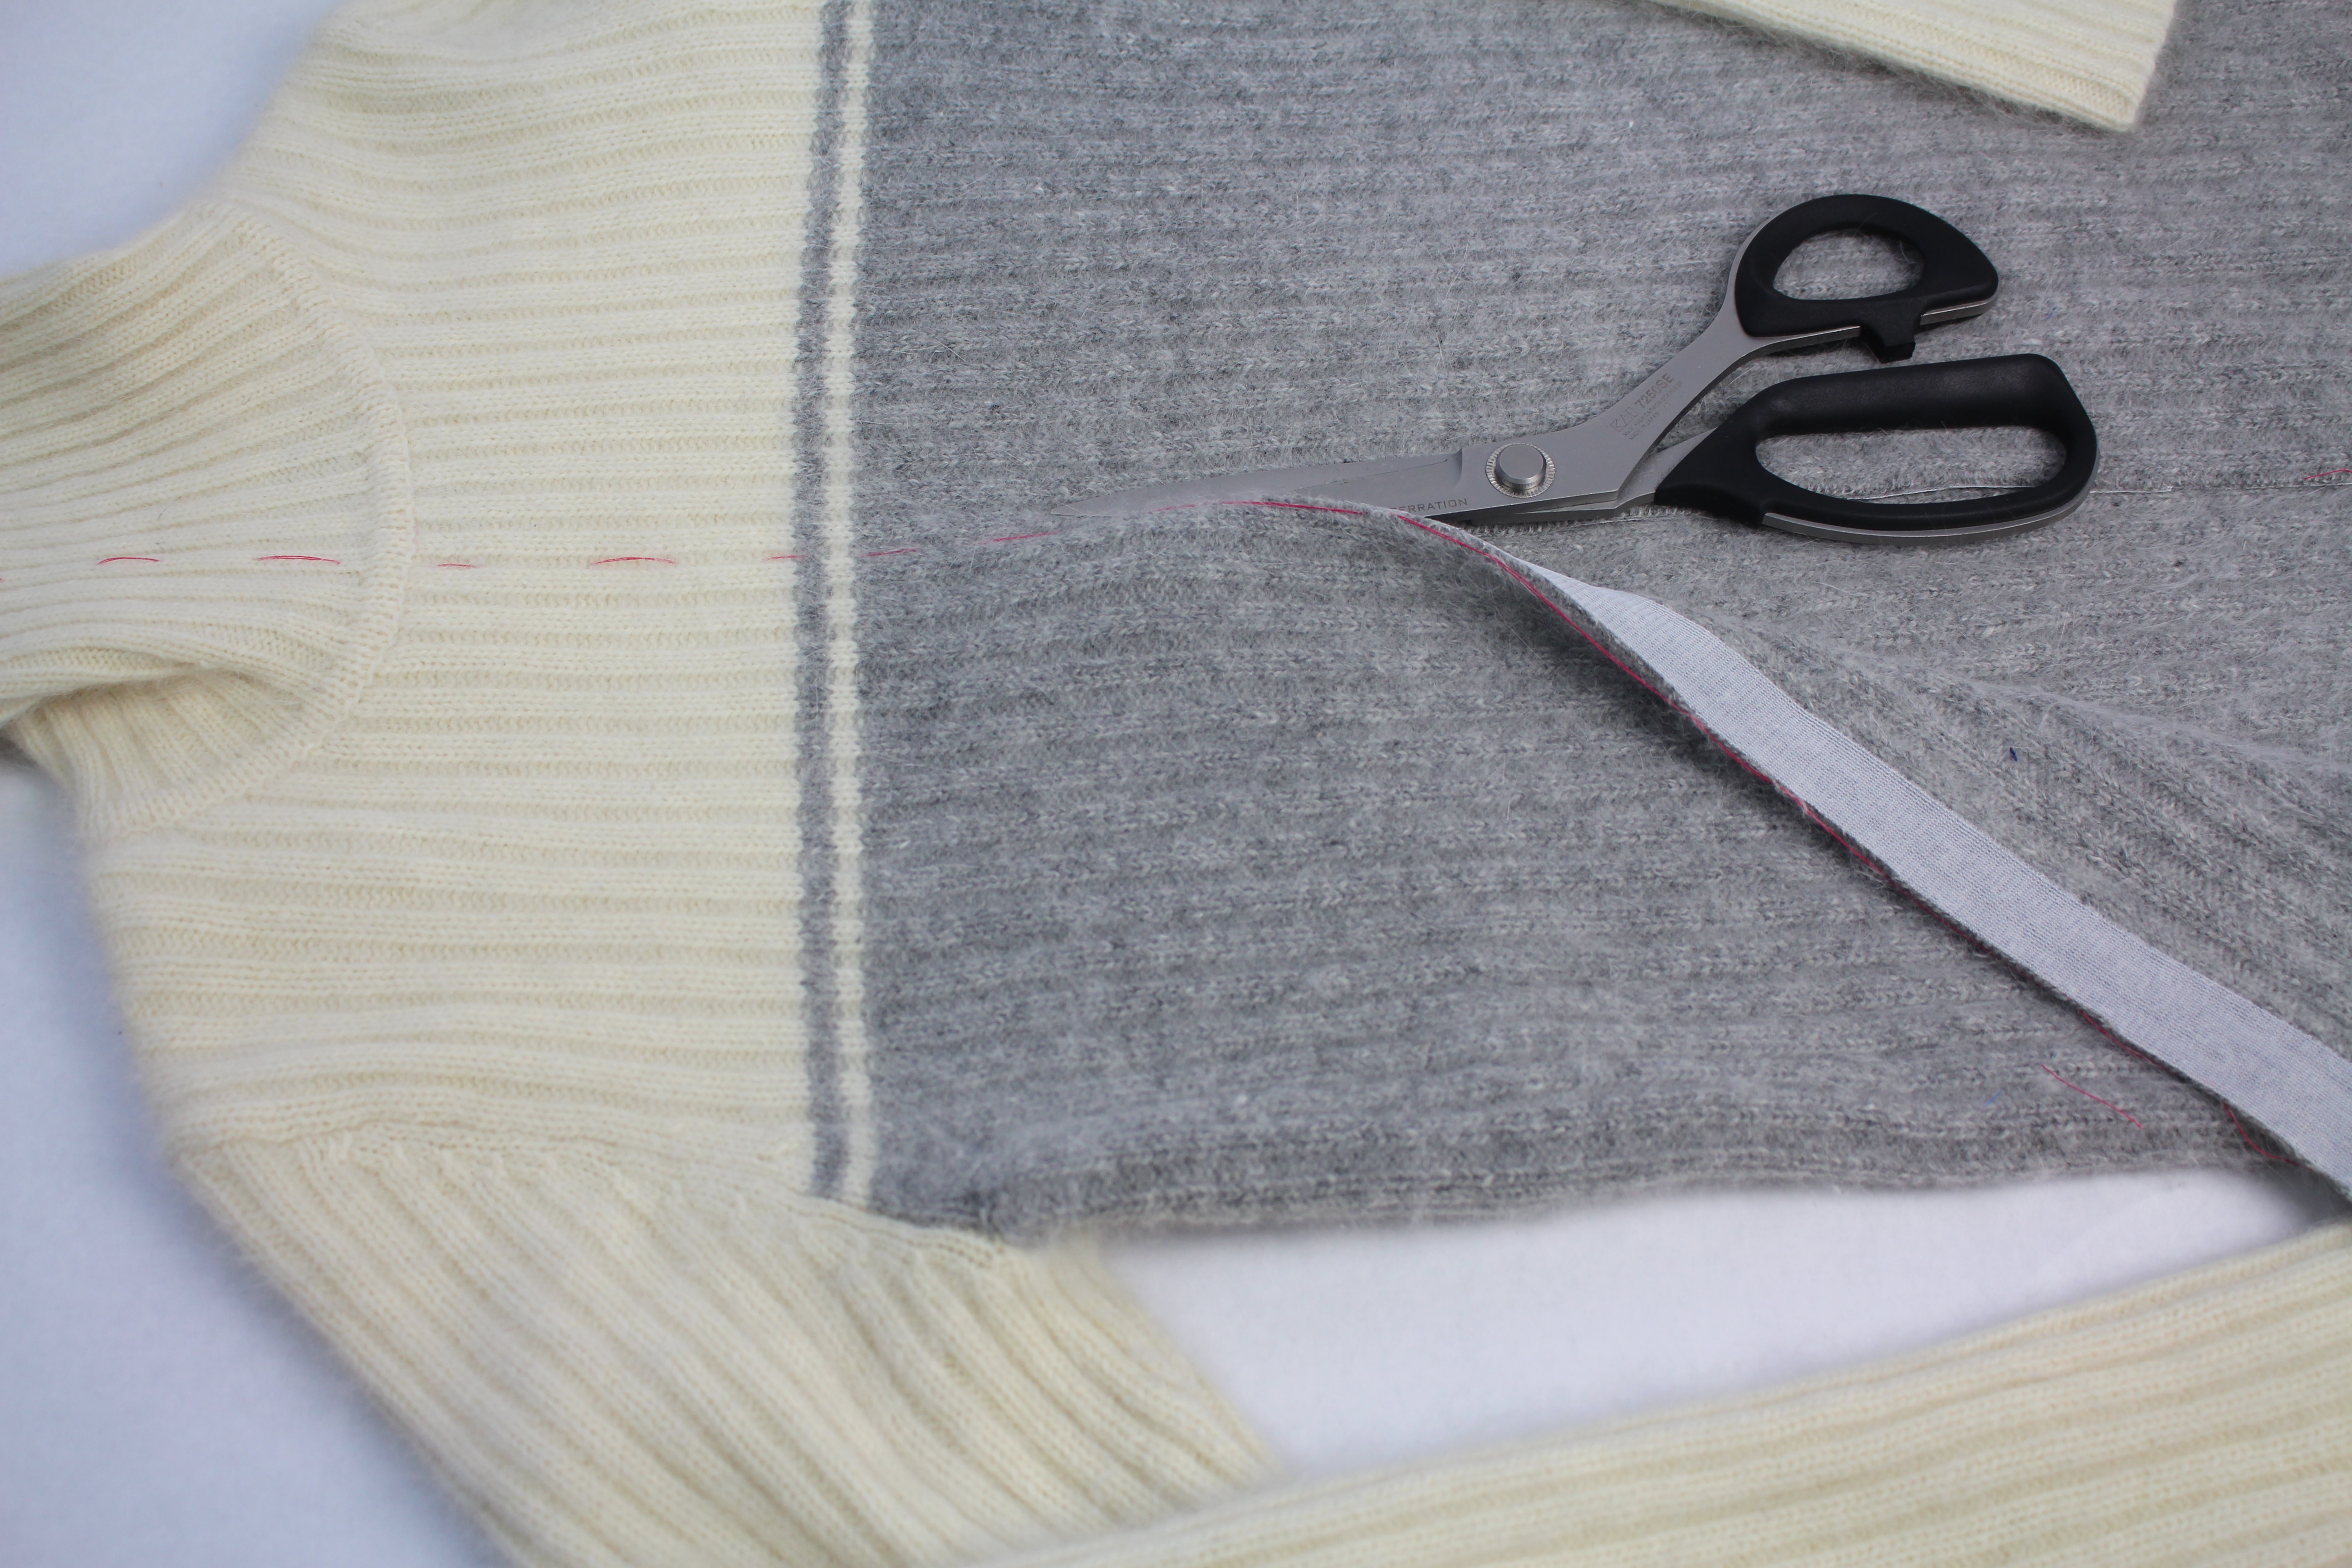
Turn the sweater inside out. Center the fusible interfacing along the center of the sweater and press in place.
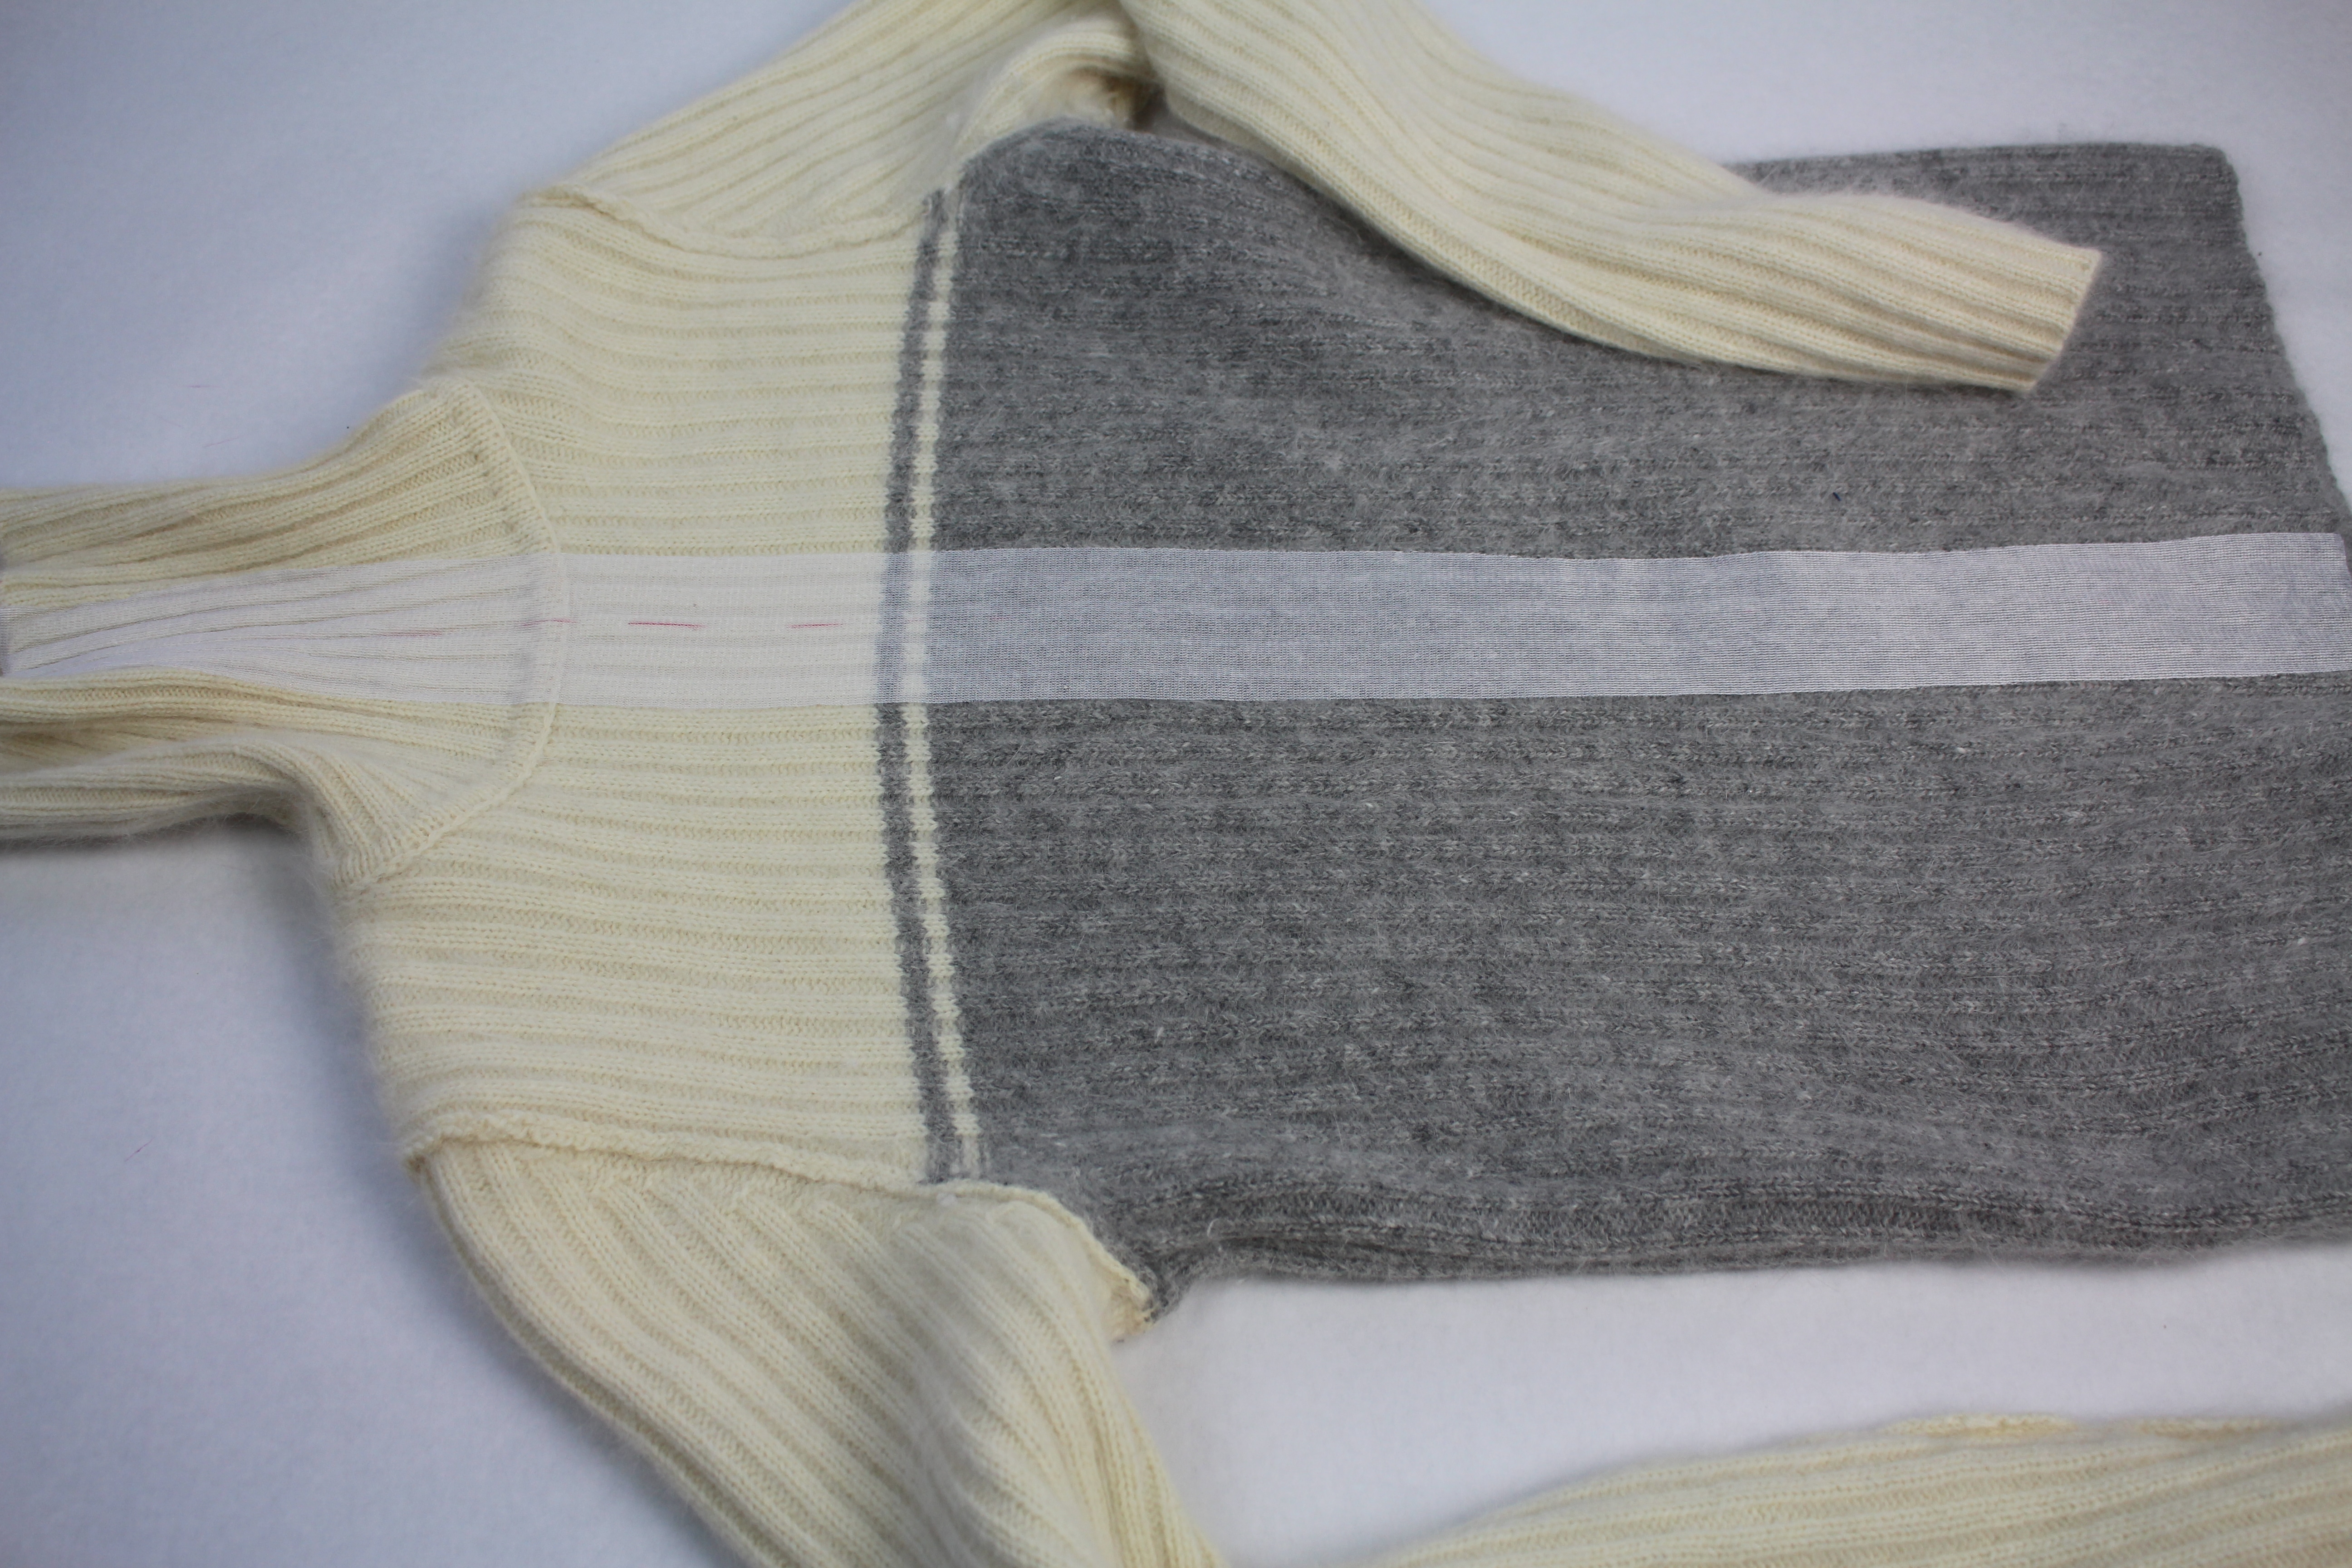
Cut along the center marking, from hem to the top of the collar.
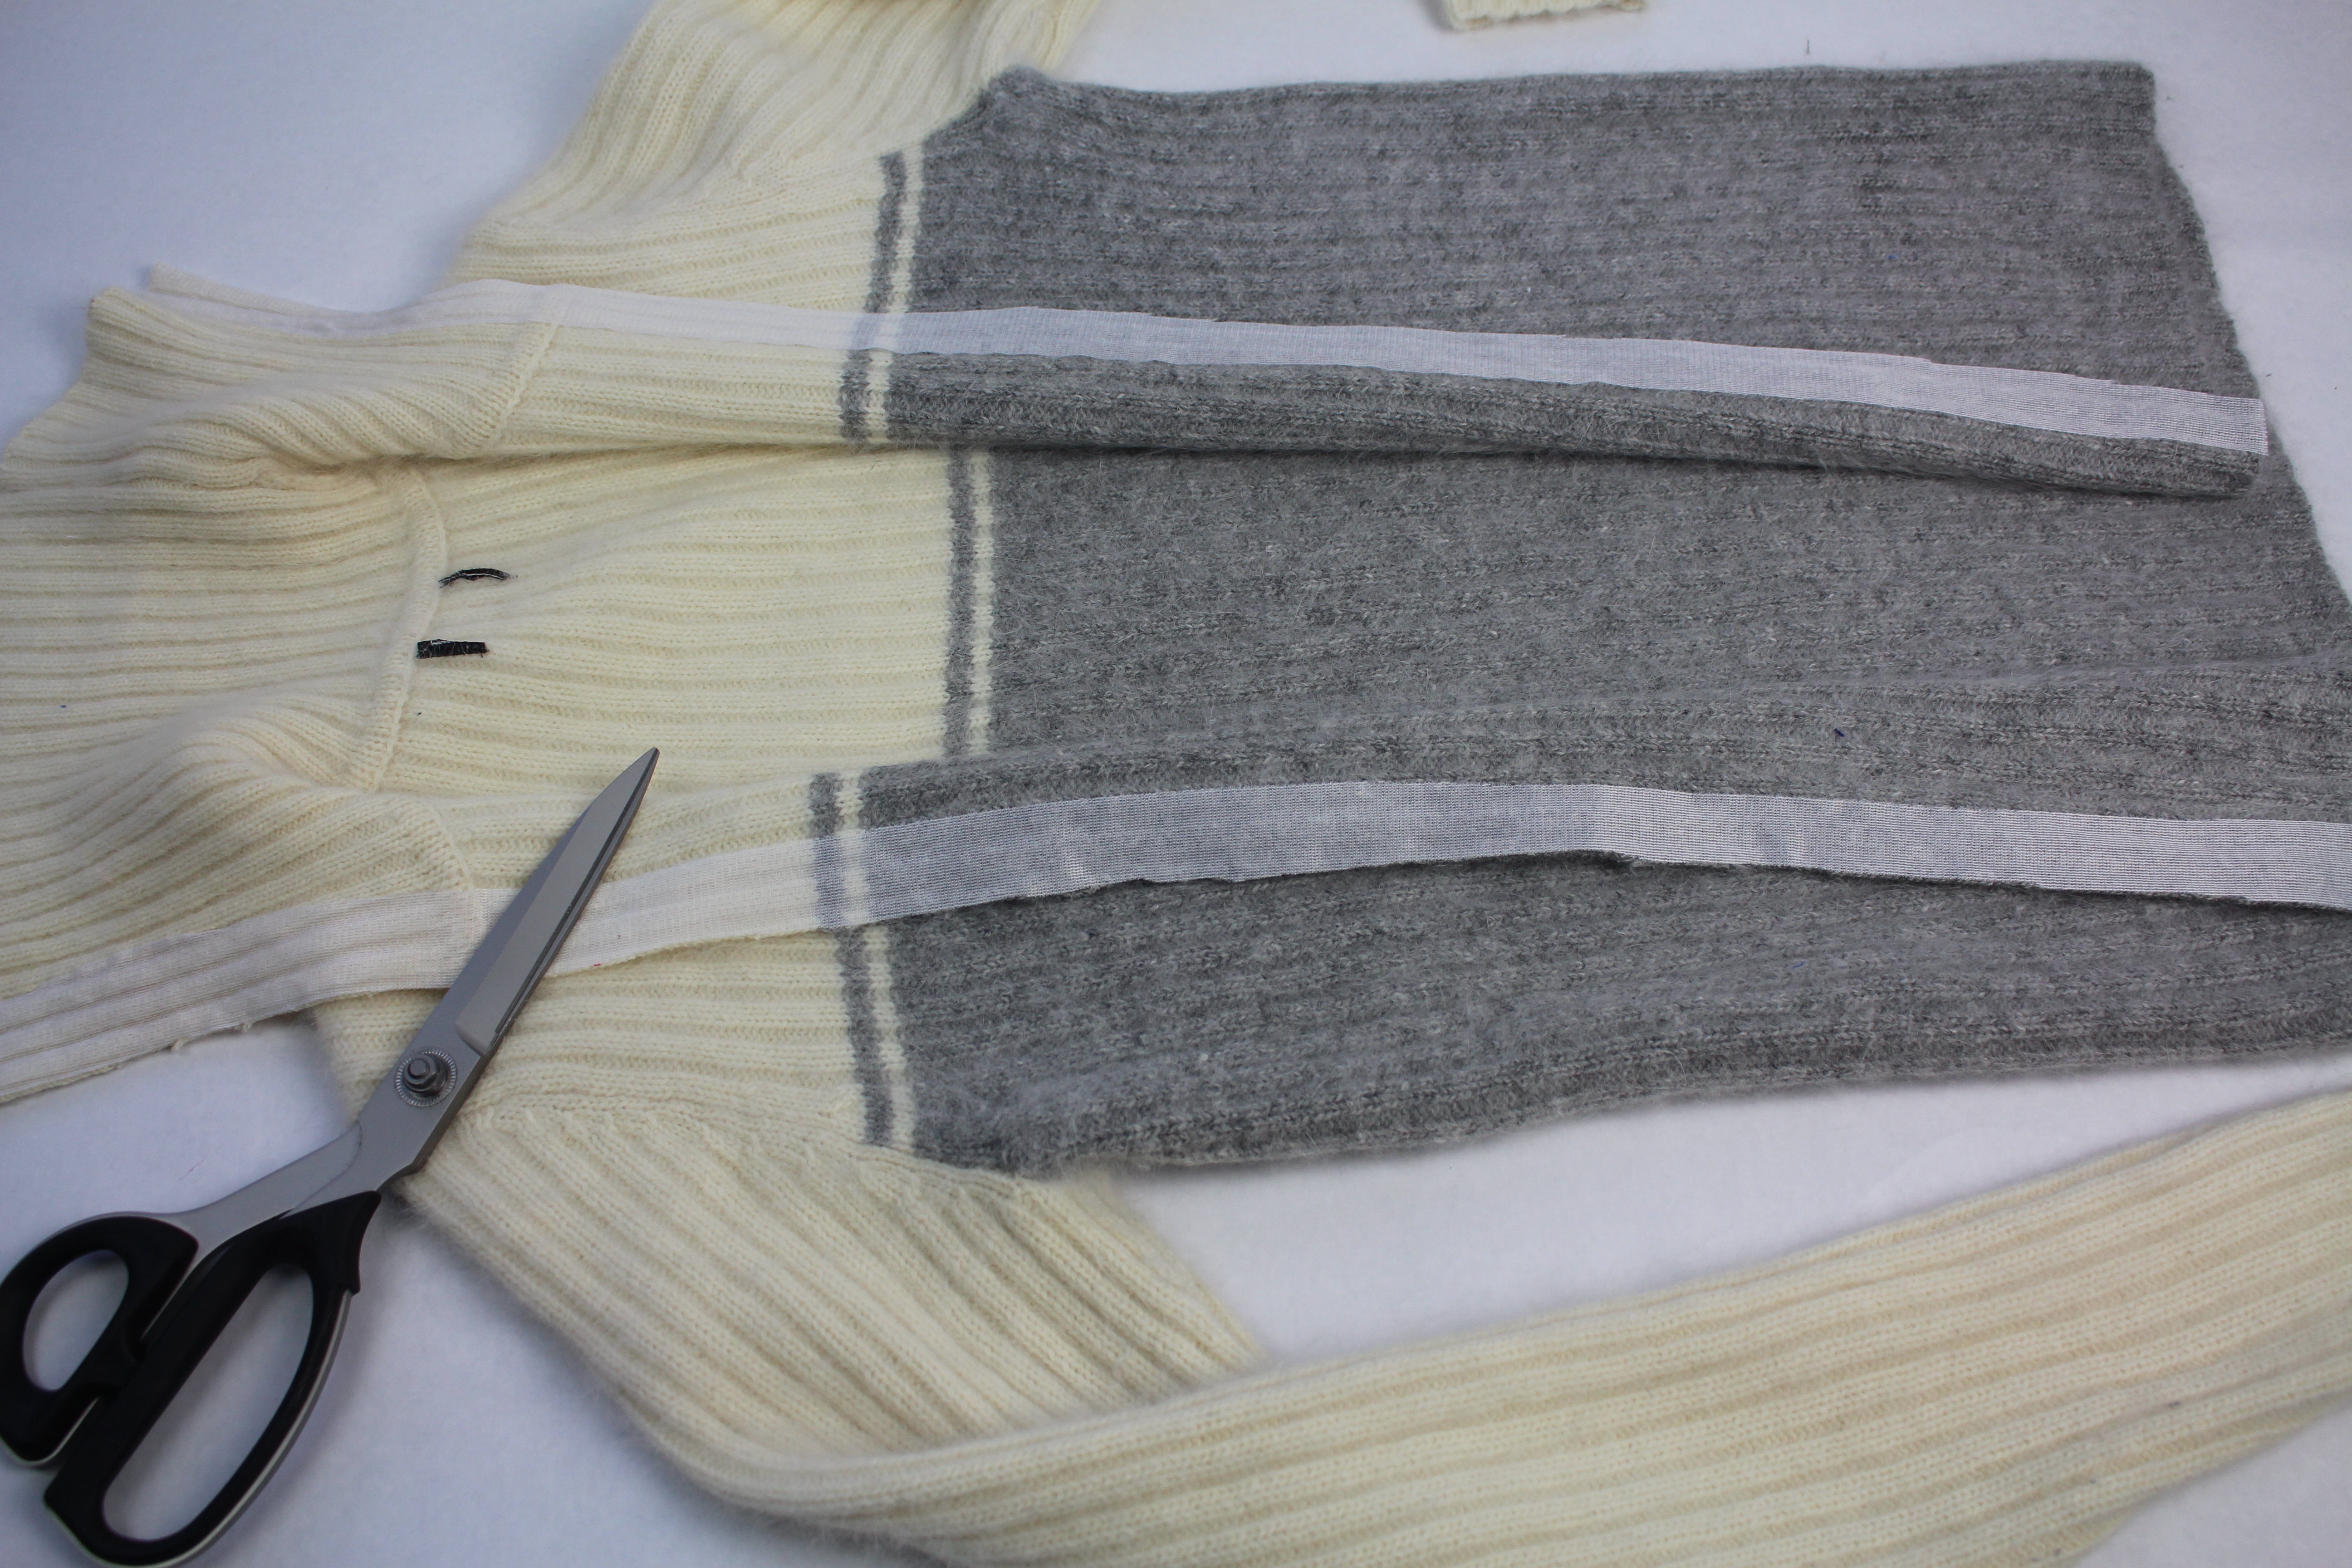
Sew the Zipper
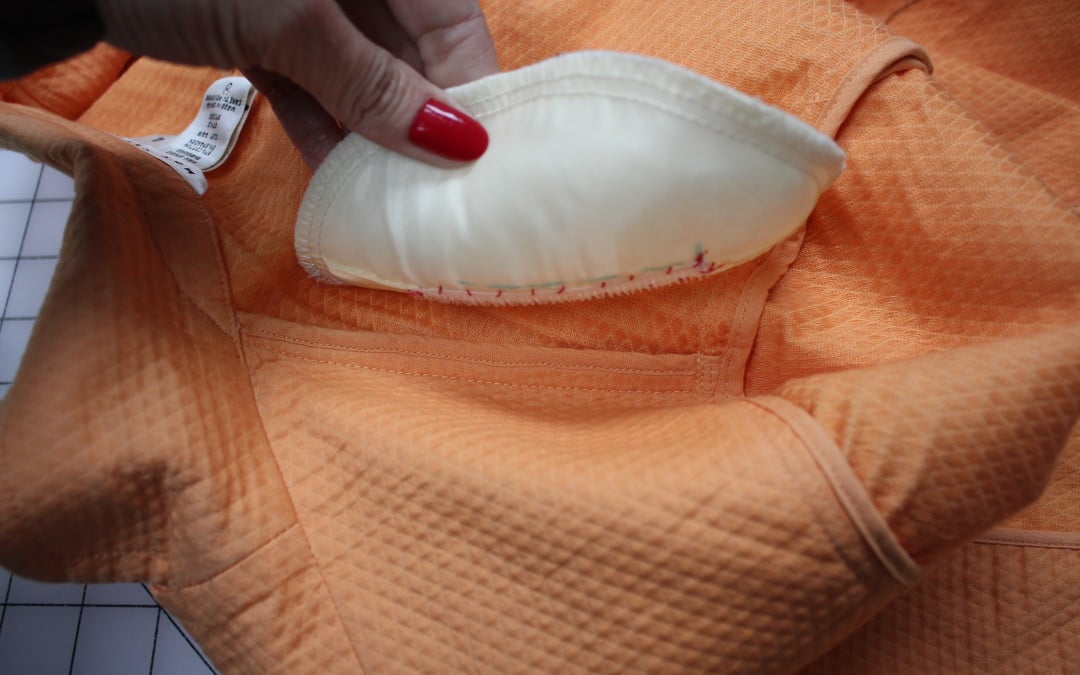
Line up each side of the zipper with the vinyl as shown. Stitch along the edge of the zipper teeth.
To read the full blog and finish up your sweater upcycle, head over to my post as a Brother Expert Consultant on the Brother Stitching Sewcial. This is such a quick way to customize any bowl, I can’t wait to try different fabrics for the holiday season!
Cheers,

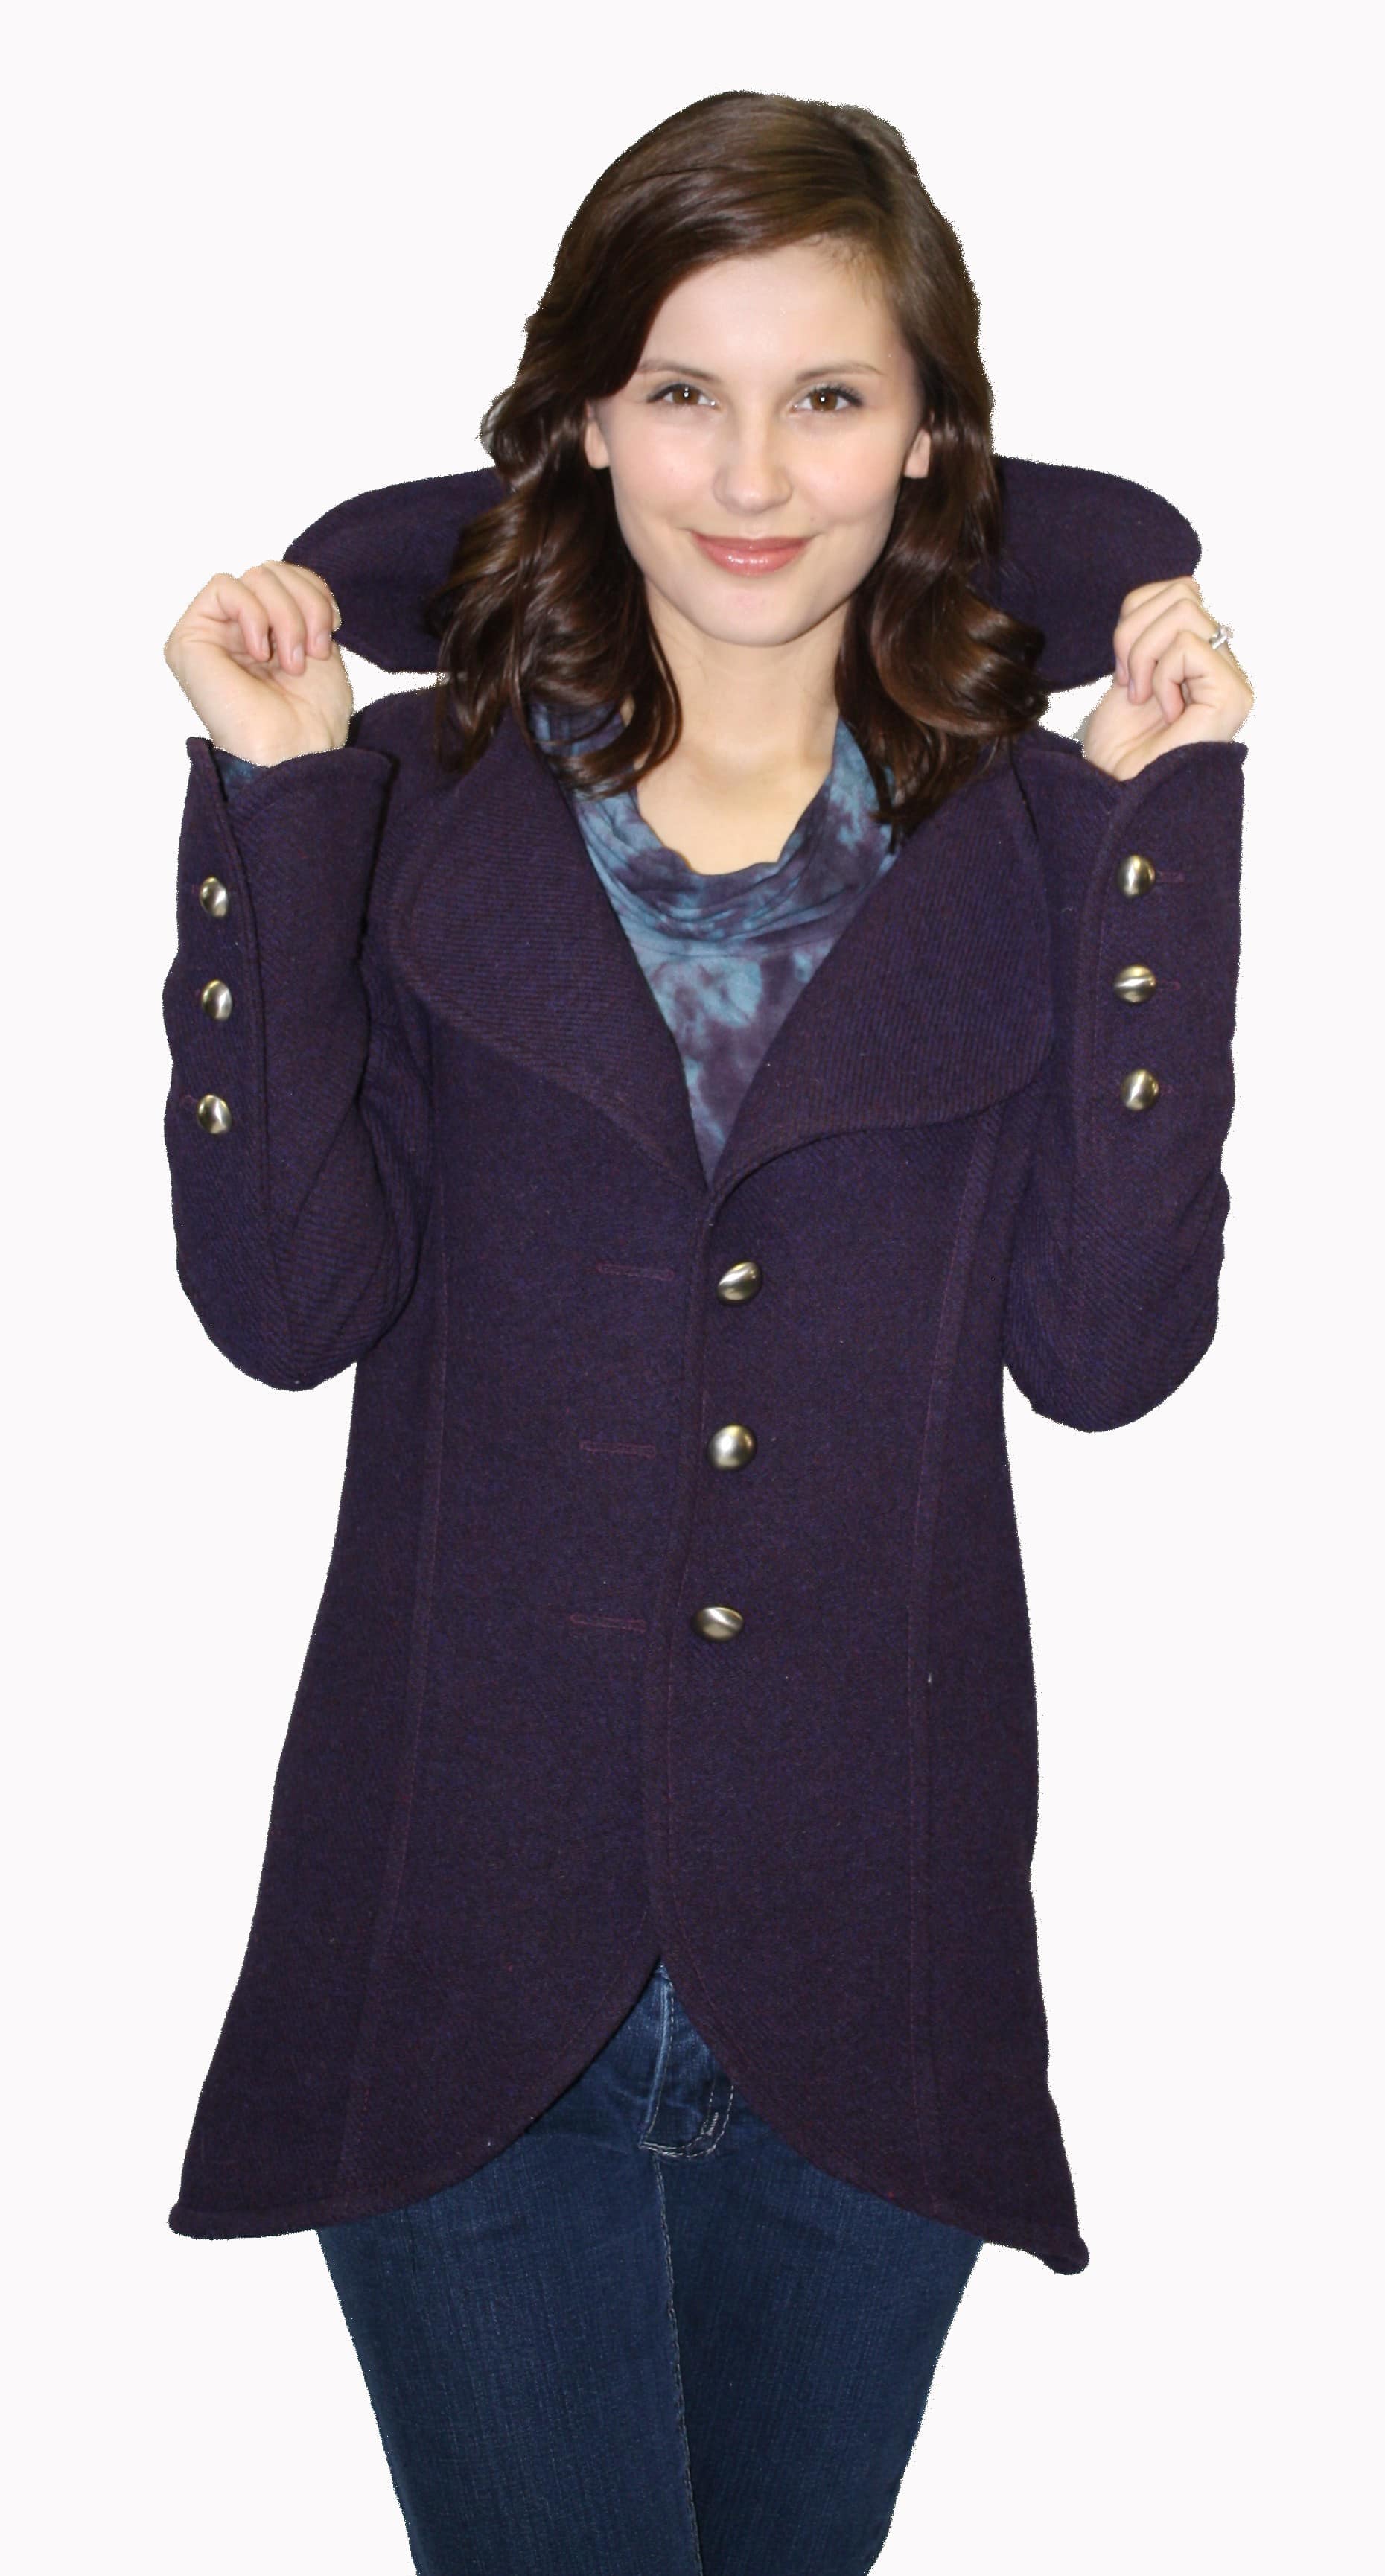
Behind the Scenes Live with Angela Wolf
Join live every Wednesday at 1:30pm EST on facebook or catch the replay here on the blog.
<iframe src="https://www.facebook.com/plugins/video.php?href=https%3A%2F%2Fwww.facebook.com%2FAngelaWolfCouture%2Fvideos%2F1729139353783172%2F&show_text=1&width=560" width="560" height="537" style="border:none;overflow:hidden" scrolling="no" frameborder="0" allowTransparency="true" allowFullScreen="true"></iframe>
<iframe src="https://www.facebook.com/plugins/video.php?href=https%3A%2F%2Fwww.facebook.com%2FAngelaWolfCouture%2Fvideos%2F1727971820566592%2F&show_text=1&width=560" width="560" height="537" style="border:none;overflow:hidden" scrolling="no" frameborder="0" allowTransparency="true" allowFullScreen="true"></iframe>
<iframe src="https://www.facebook.com/plugins/video.php?href=https%3A%2F%2Fwww.facebook.com%2FAngelaWolfCouture%2Fvideos%2F1726881217342319%2F&show_text=1&width=560" width="560" height="537" style="border:none;overflow:hidden" scrolling="no" frameborder="0" allowTransparency="true" allowFullScreen="true"></iframe>
Great class for beginners or advanced!! I’ve been sewing for a very long time, but have always avoided knits. This class takes the fear out of sewing with knits. Loved all the tips for sewing with knits from cutting them out to sewing it up. Thanks Angela for sharing your time and knowledge with us.