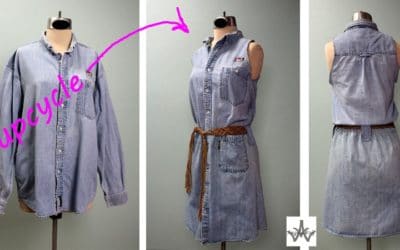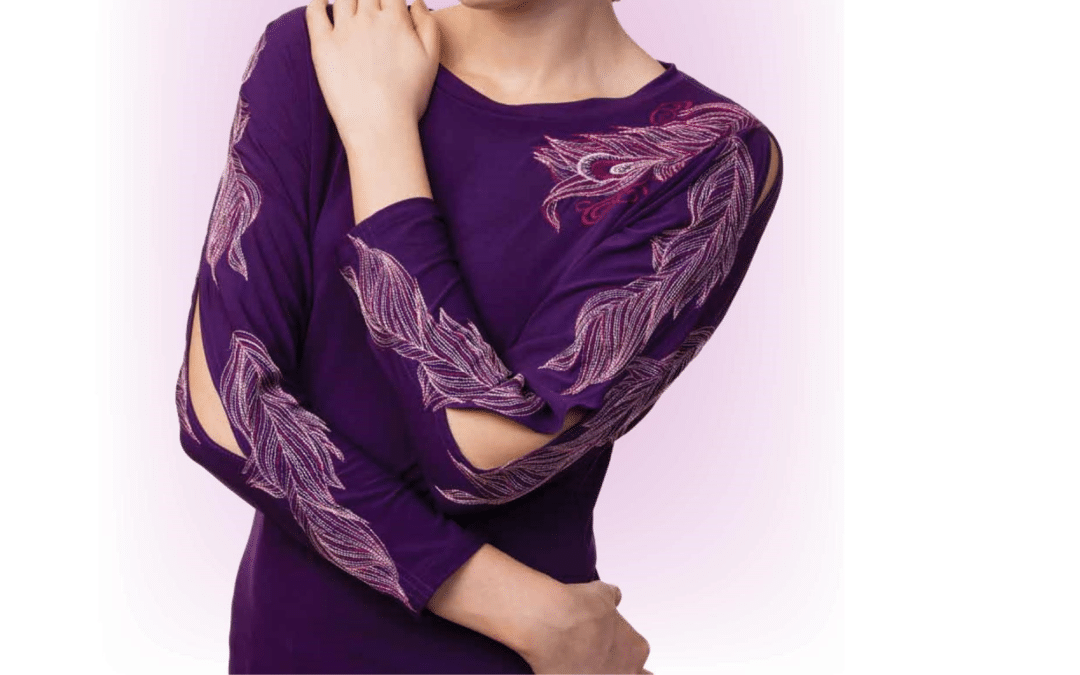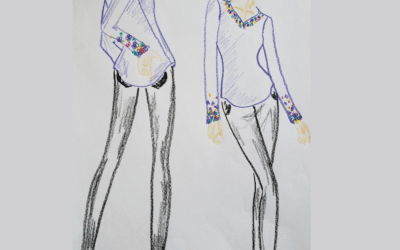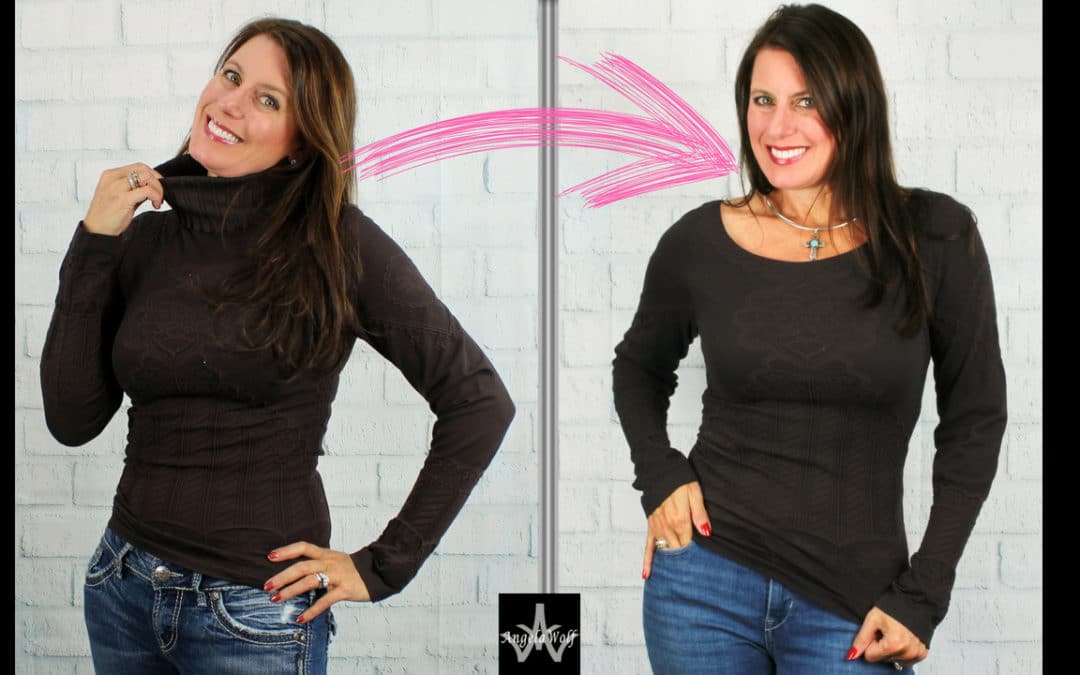


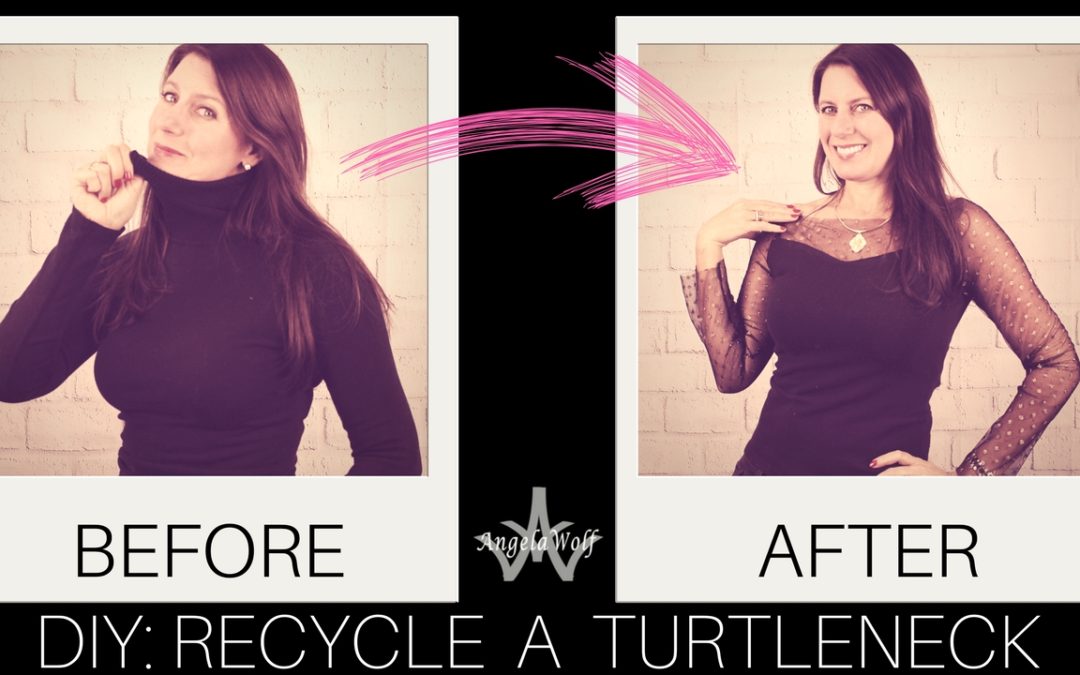

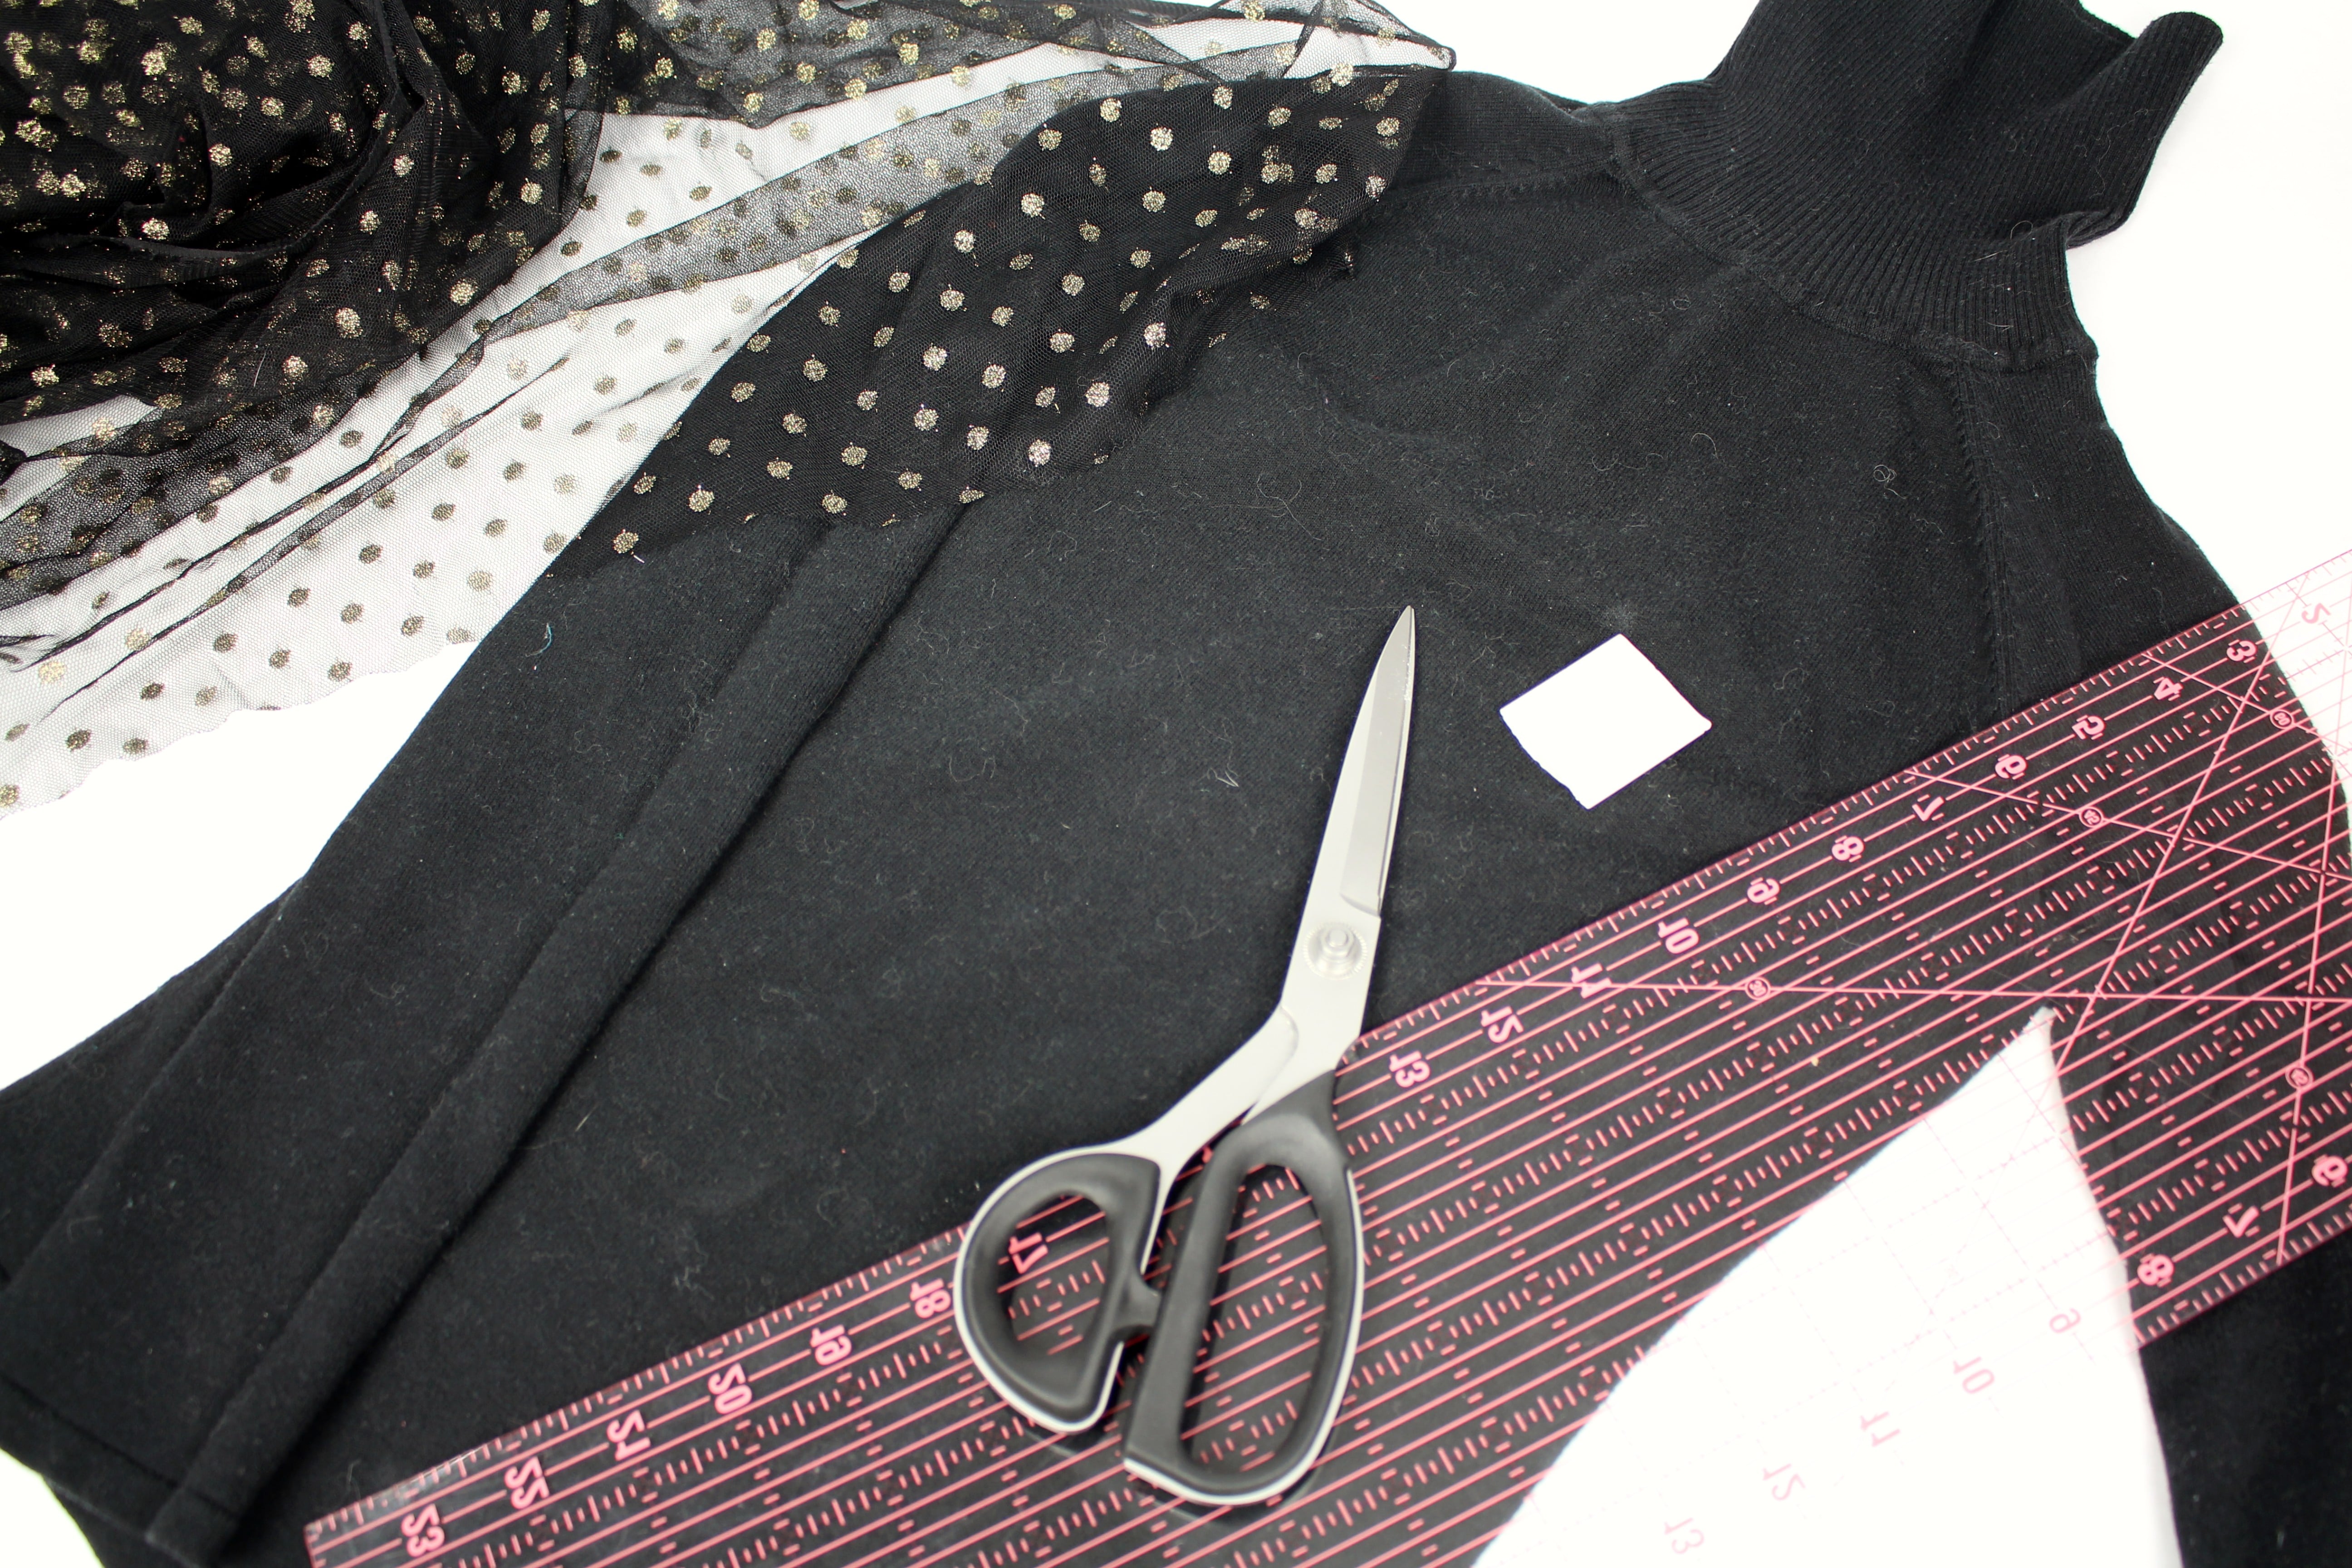

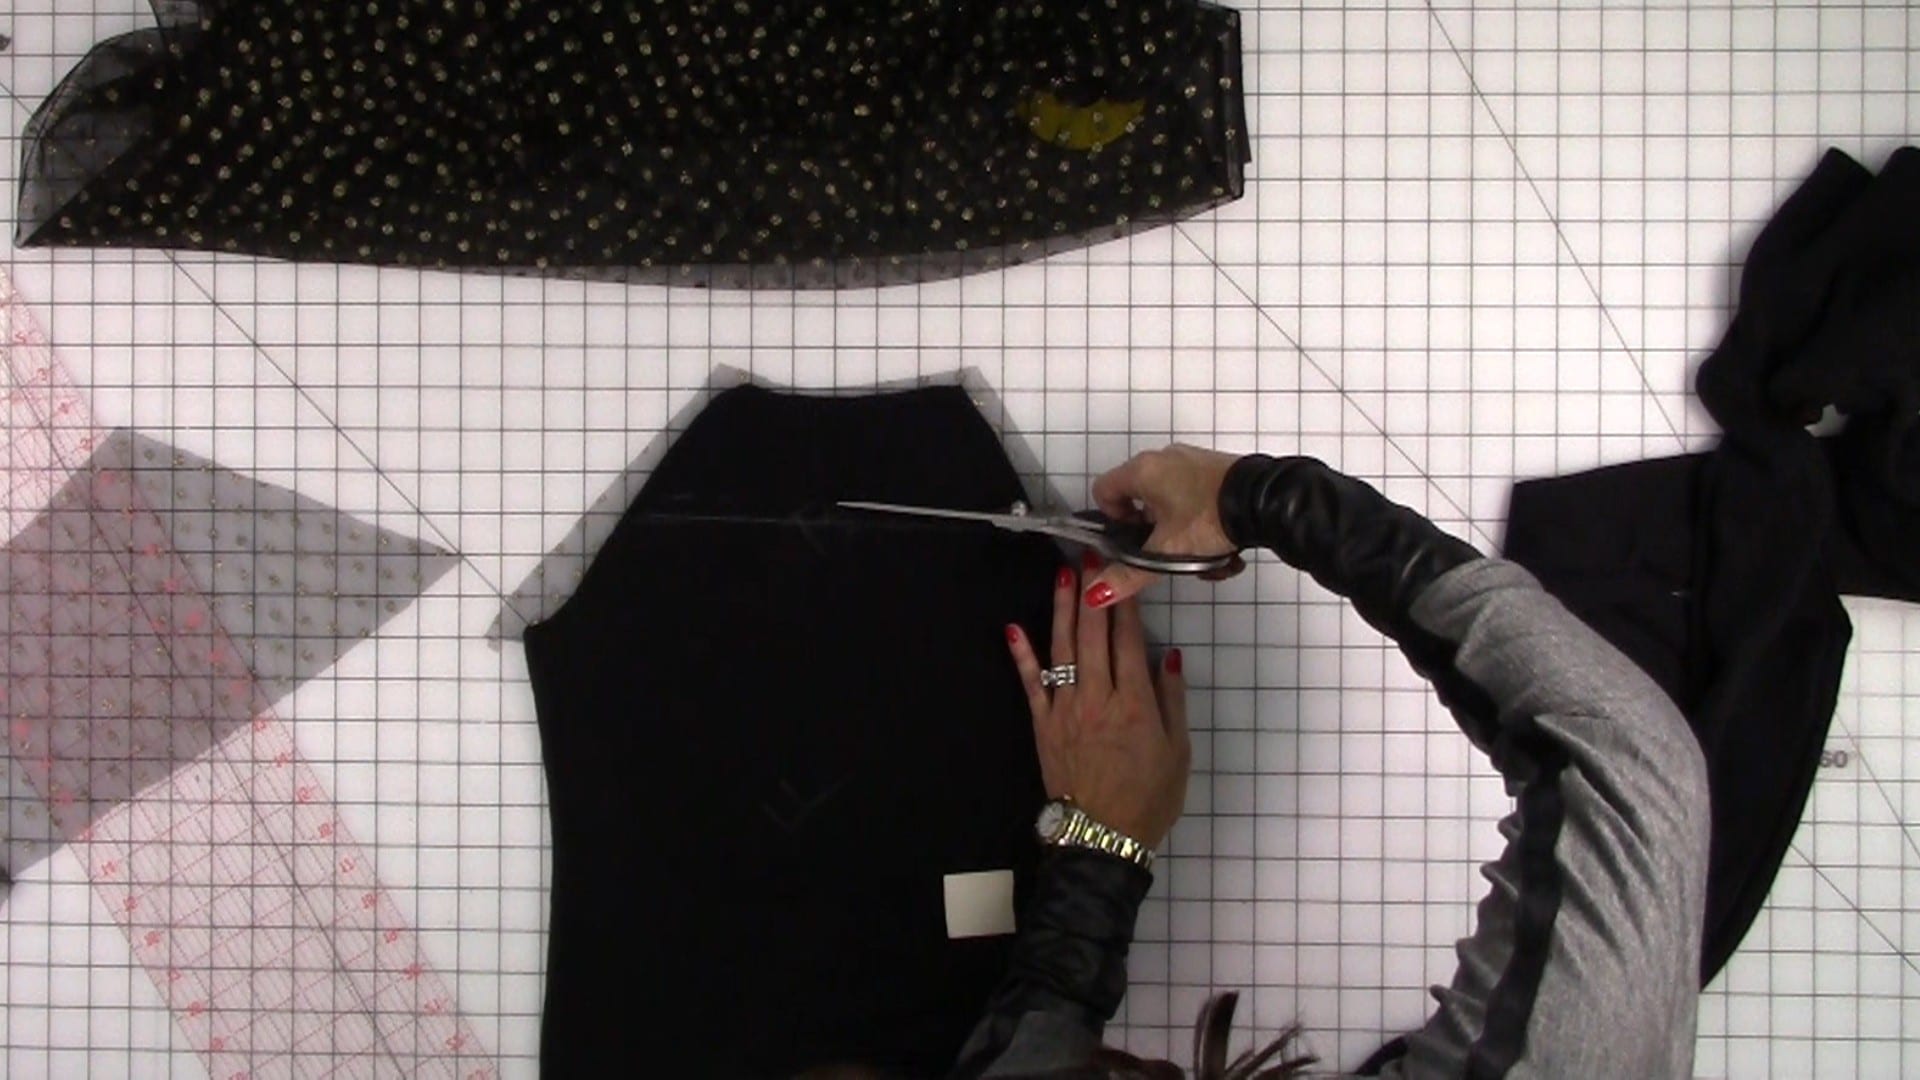

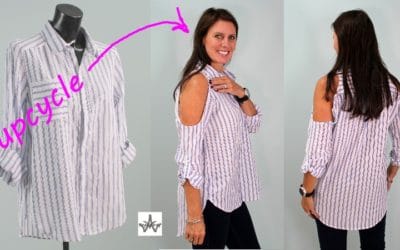
How to Design and Sew Shoulder Cutouts Spring cleaning time again and I have a stack of clothing items that I haven't worn in a LONG time. You know the rule, if you haven't worn the item in 2 years, it has to go! What happens if you love the fabric, the print, or...
EMBELLISHING JEANS WITH FREE MOTION EMBROIDERY
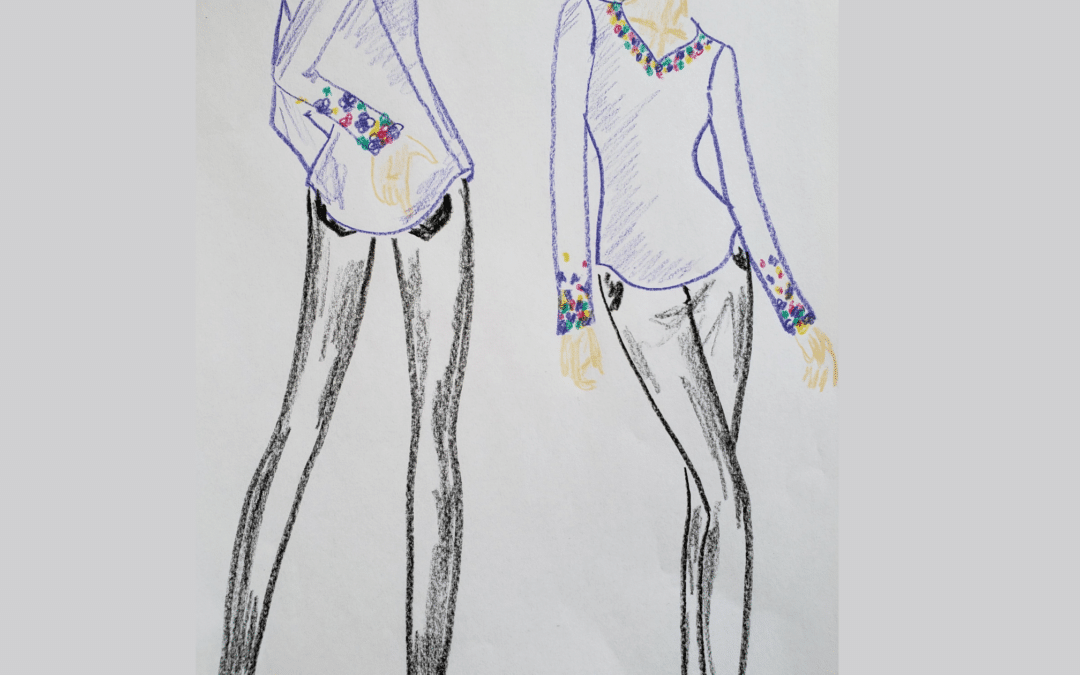
Embellishing Jeans with Free Motion Embroidery
An easy way to restyle or upcycle jeans is to add a touch of embroidery. Free motion embroidery, also referred to as thread painting, is so easy and you don’t even need an embroidery machine for this technique. Instead we are going to use free motion quilting / embroidery techniques.
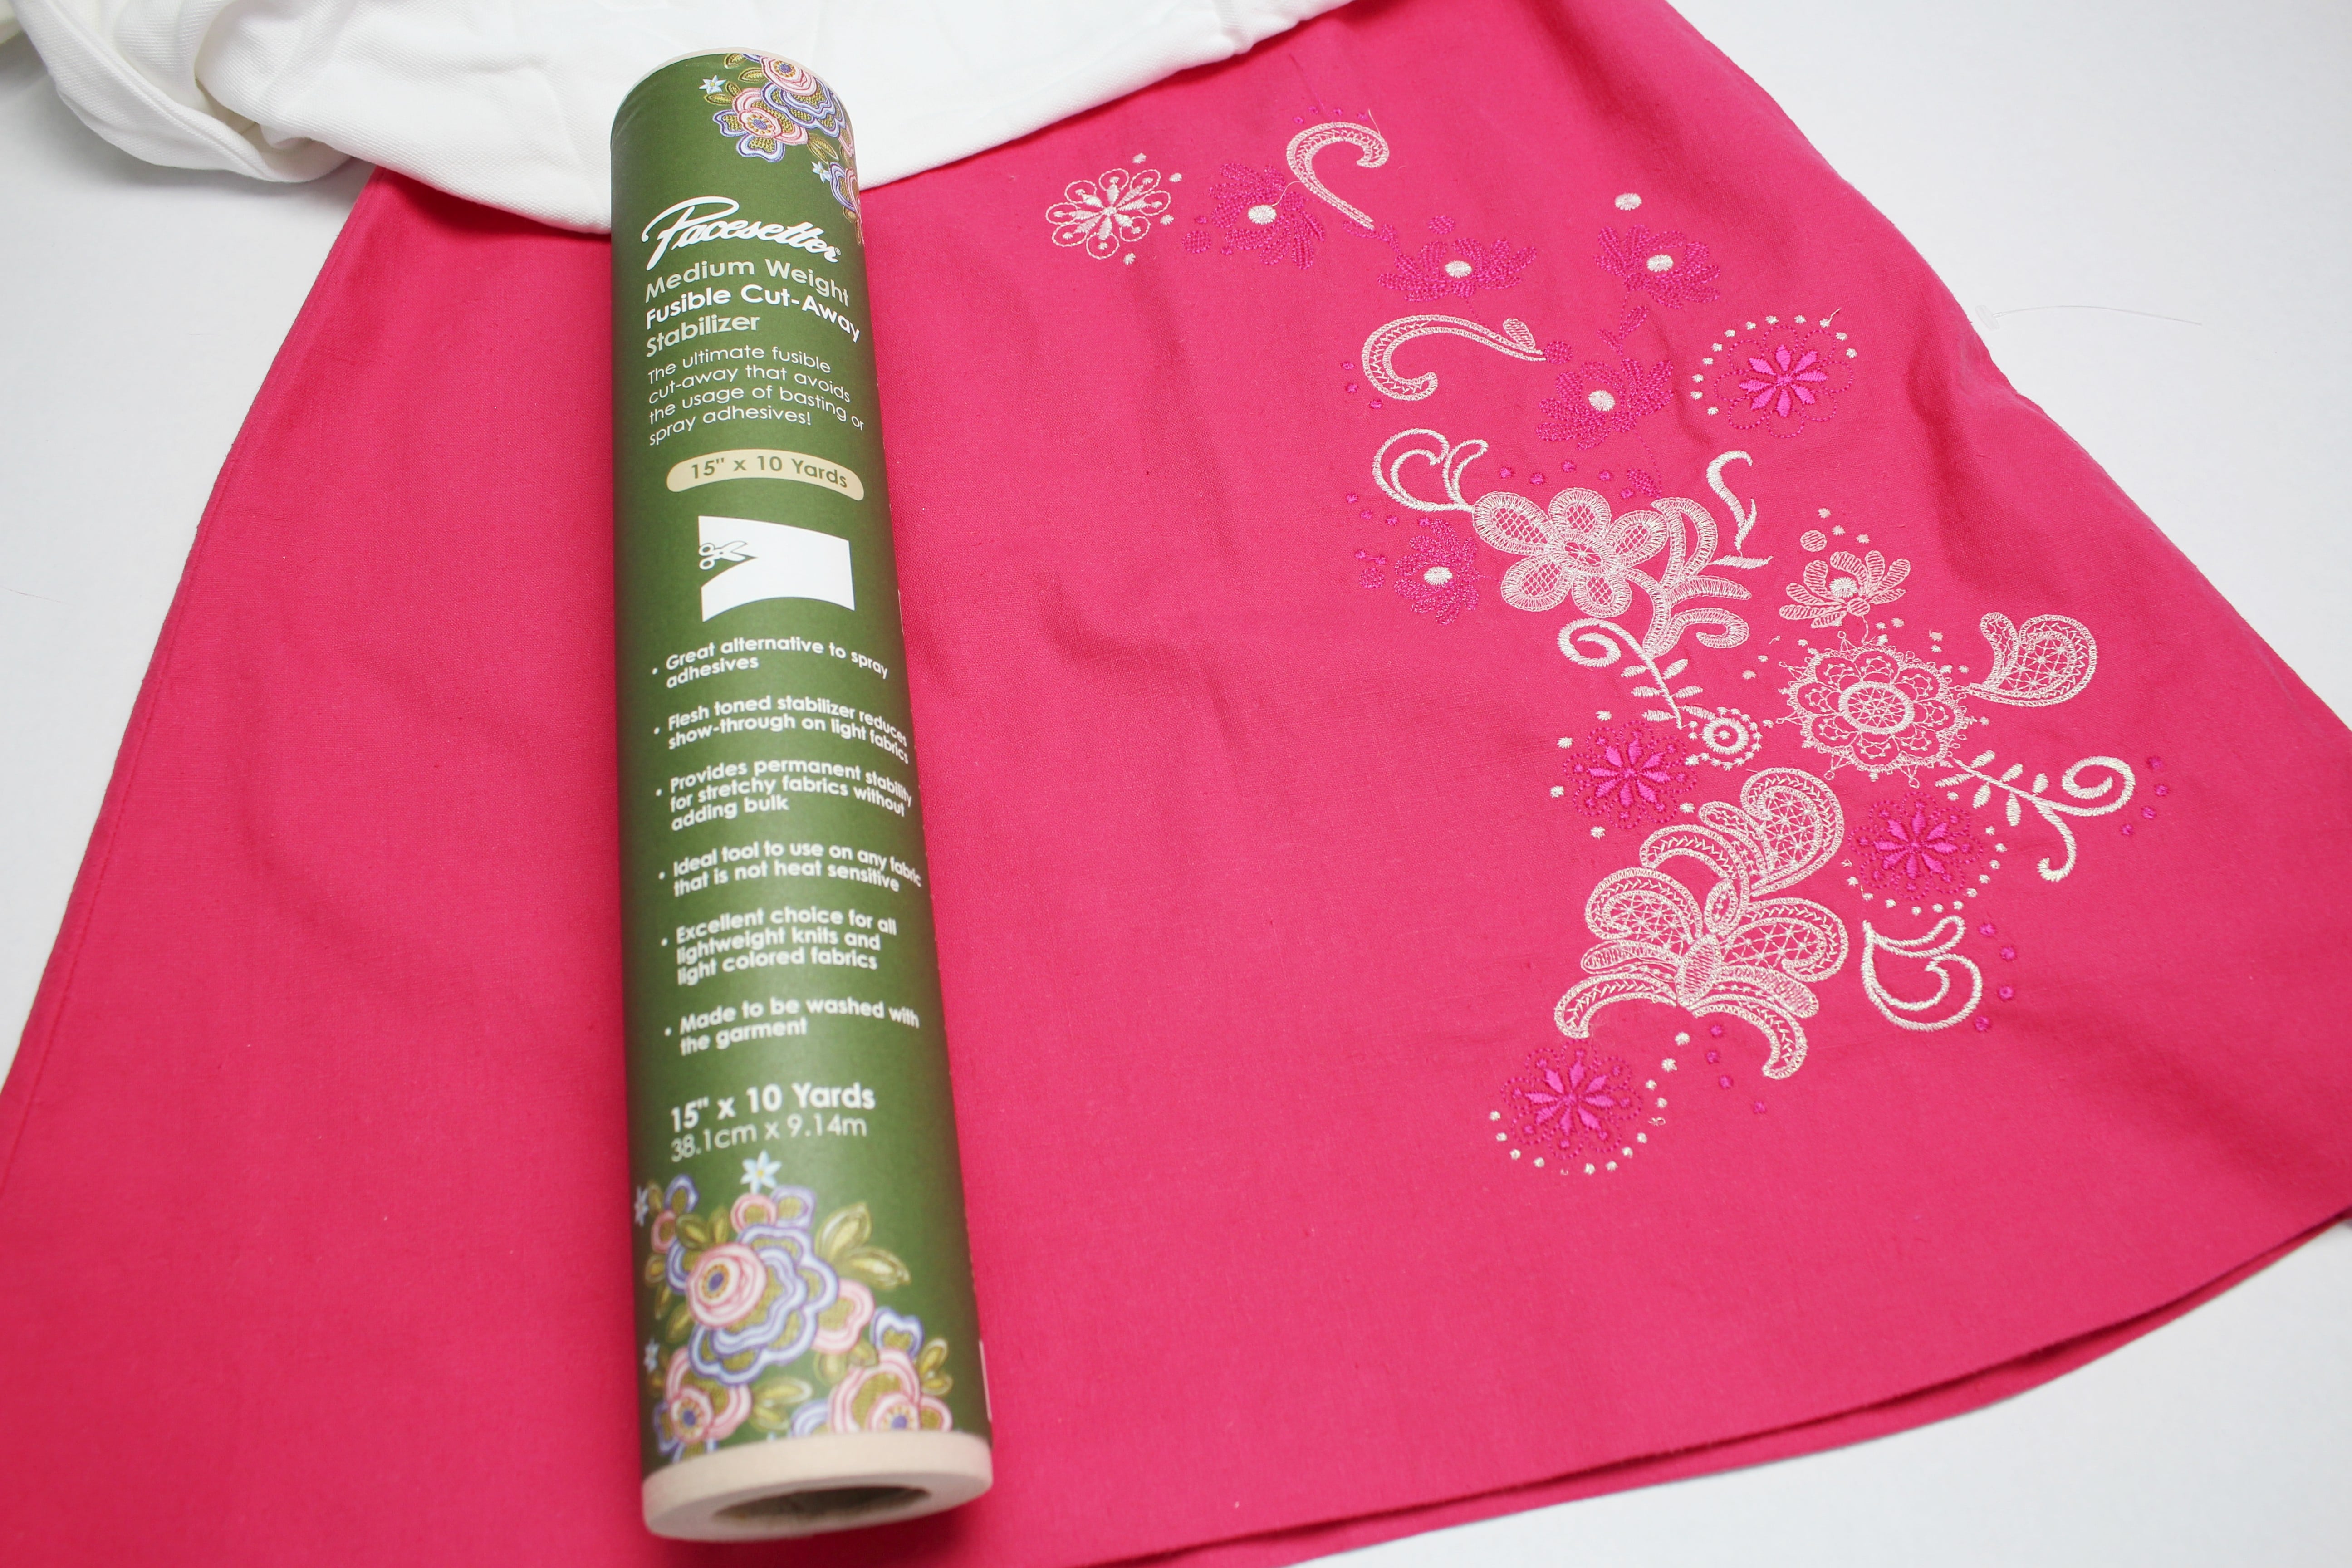
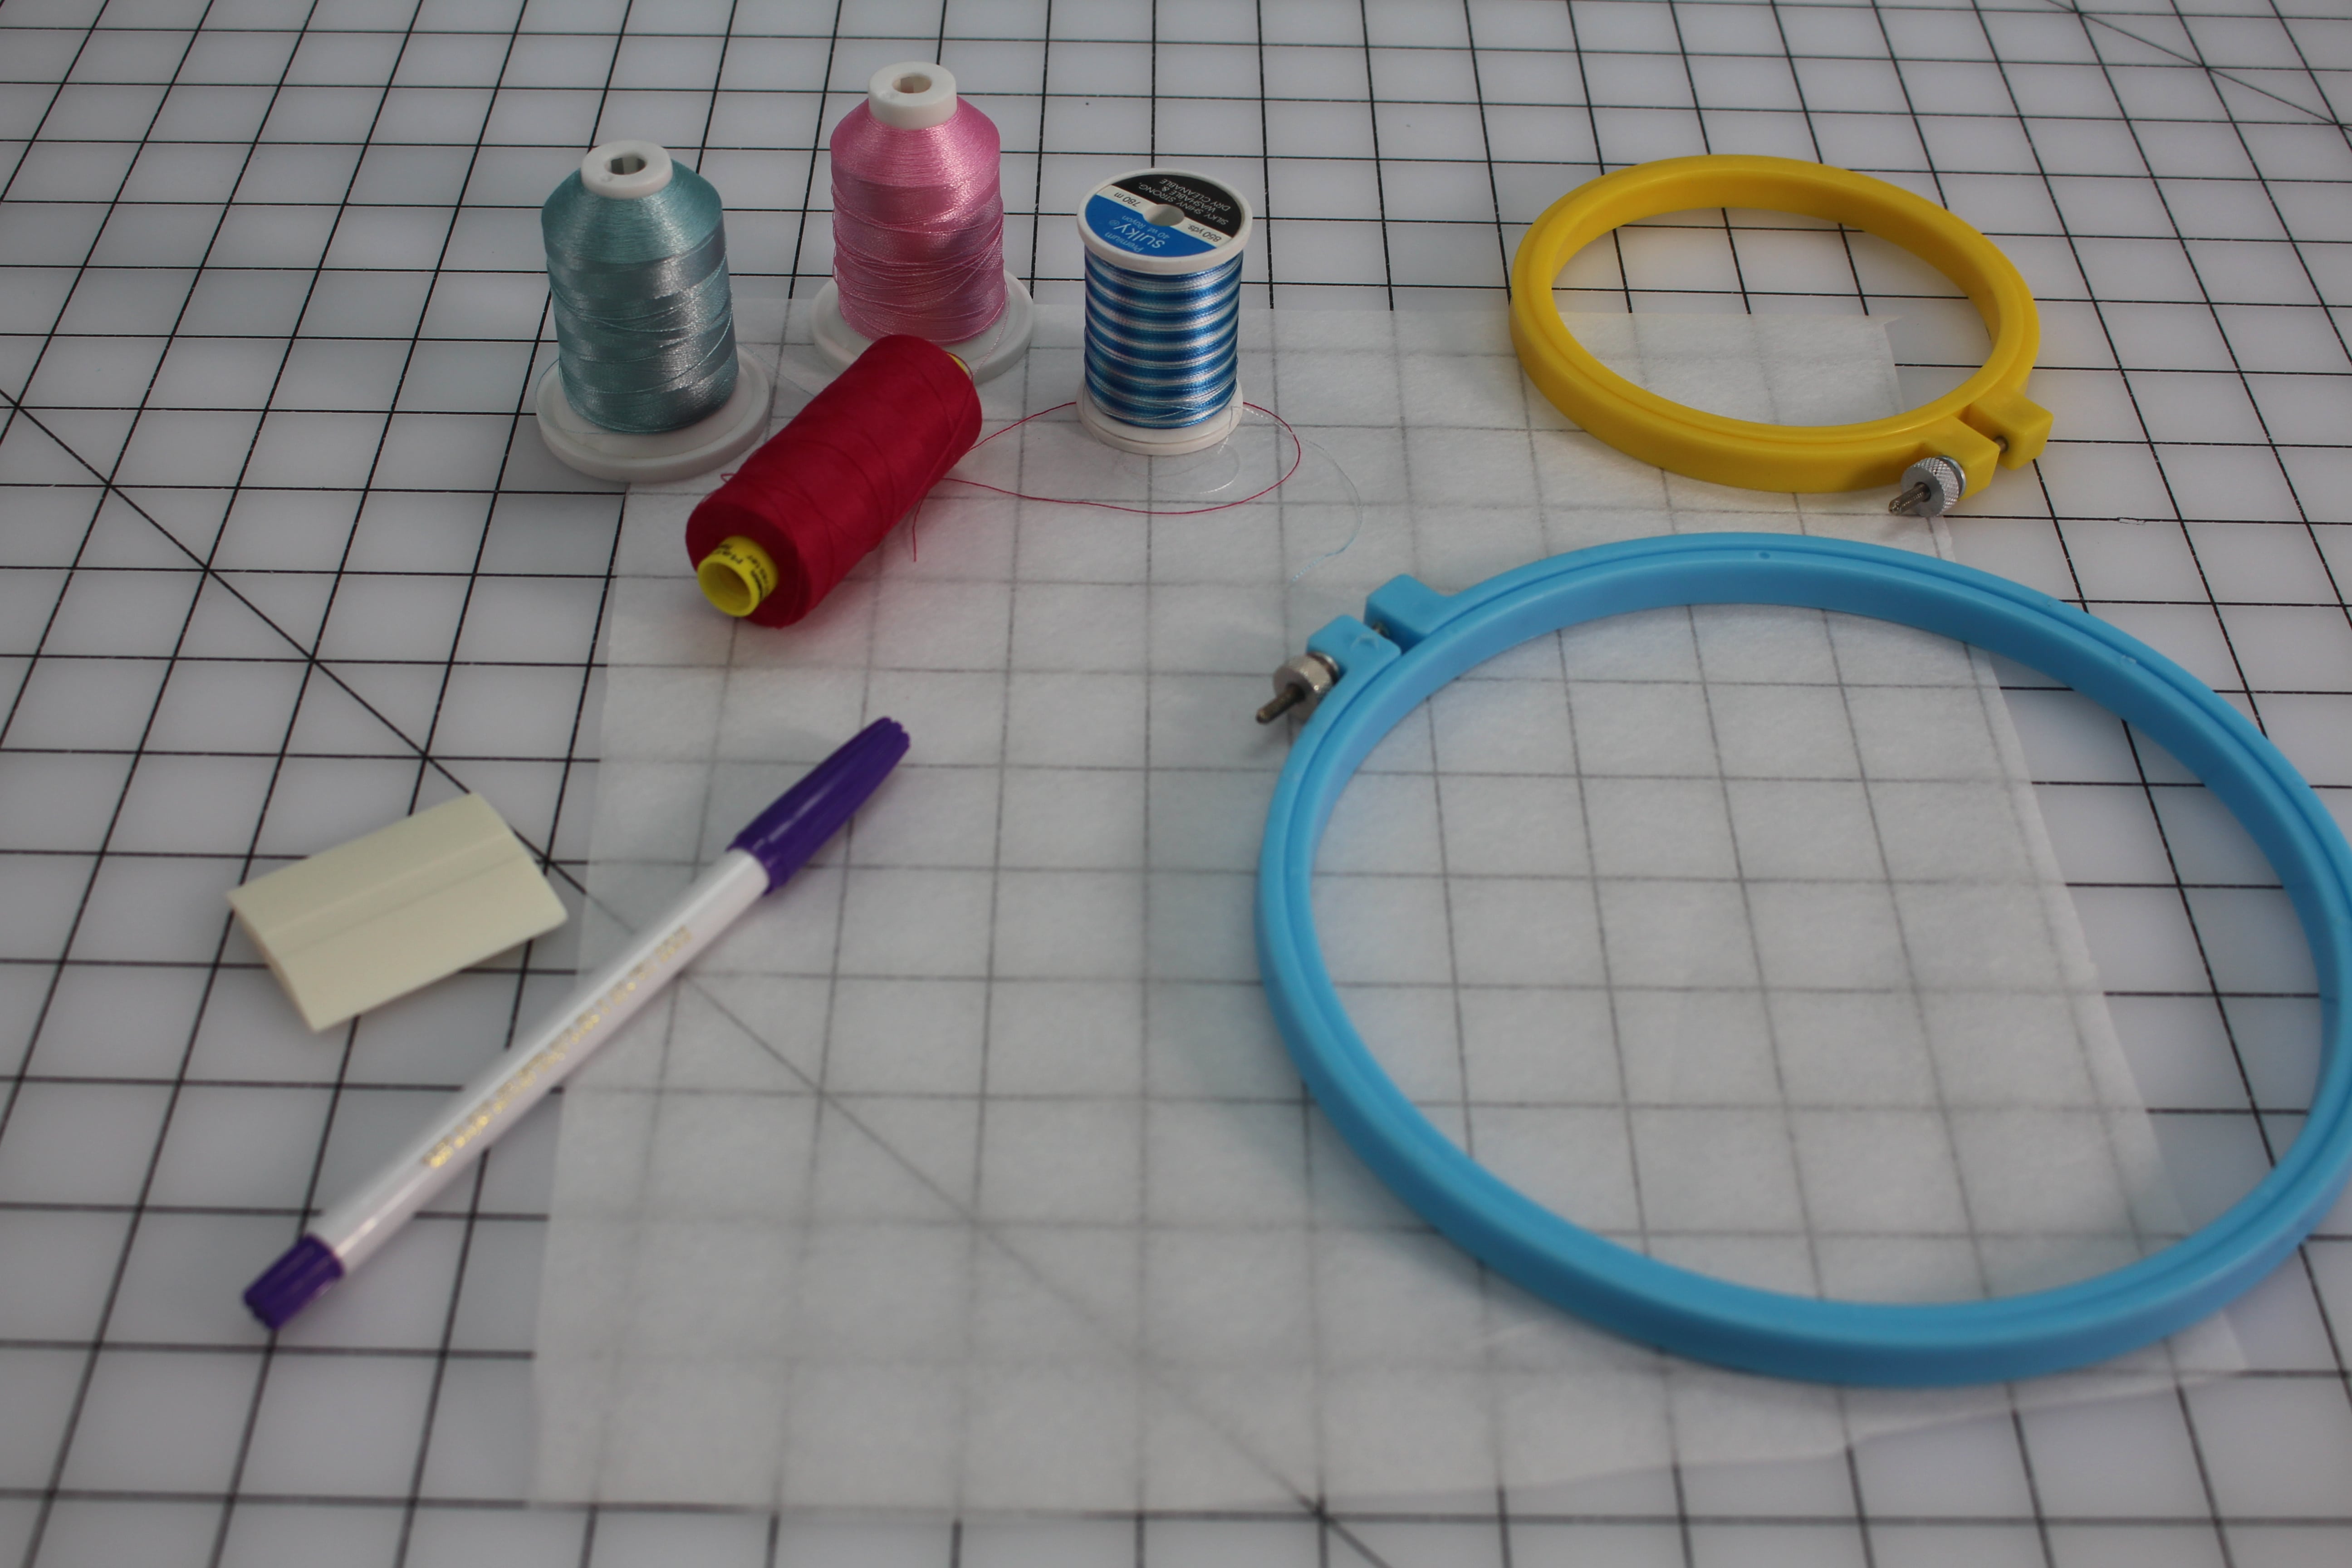
Supplies Needed:
- Jeans
- Medium Weight Tear-away Stabilizer
- Any type of thread (all-purpose, rayon, embroidery, silk, cotton)
- Embroidery Hoop
- Fabric marking pen or chalk
- Open toe quilting foot
Layout the Design
Try on the jeans and determine where you want the embellishment to go. A few things to keep in mind:
Don’t place the embroidery:
-
- too close to the zipper
- on top of thick seams
- over thick pockets
- on top of metal rivets
- Too far down the leg (remember you need to get to the area to stitch J)
Good places for the embroidery:
- Above the hemline
- Along the back yoke (avoiding the center back seam)
- Front hip
- Waistband
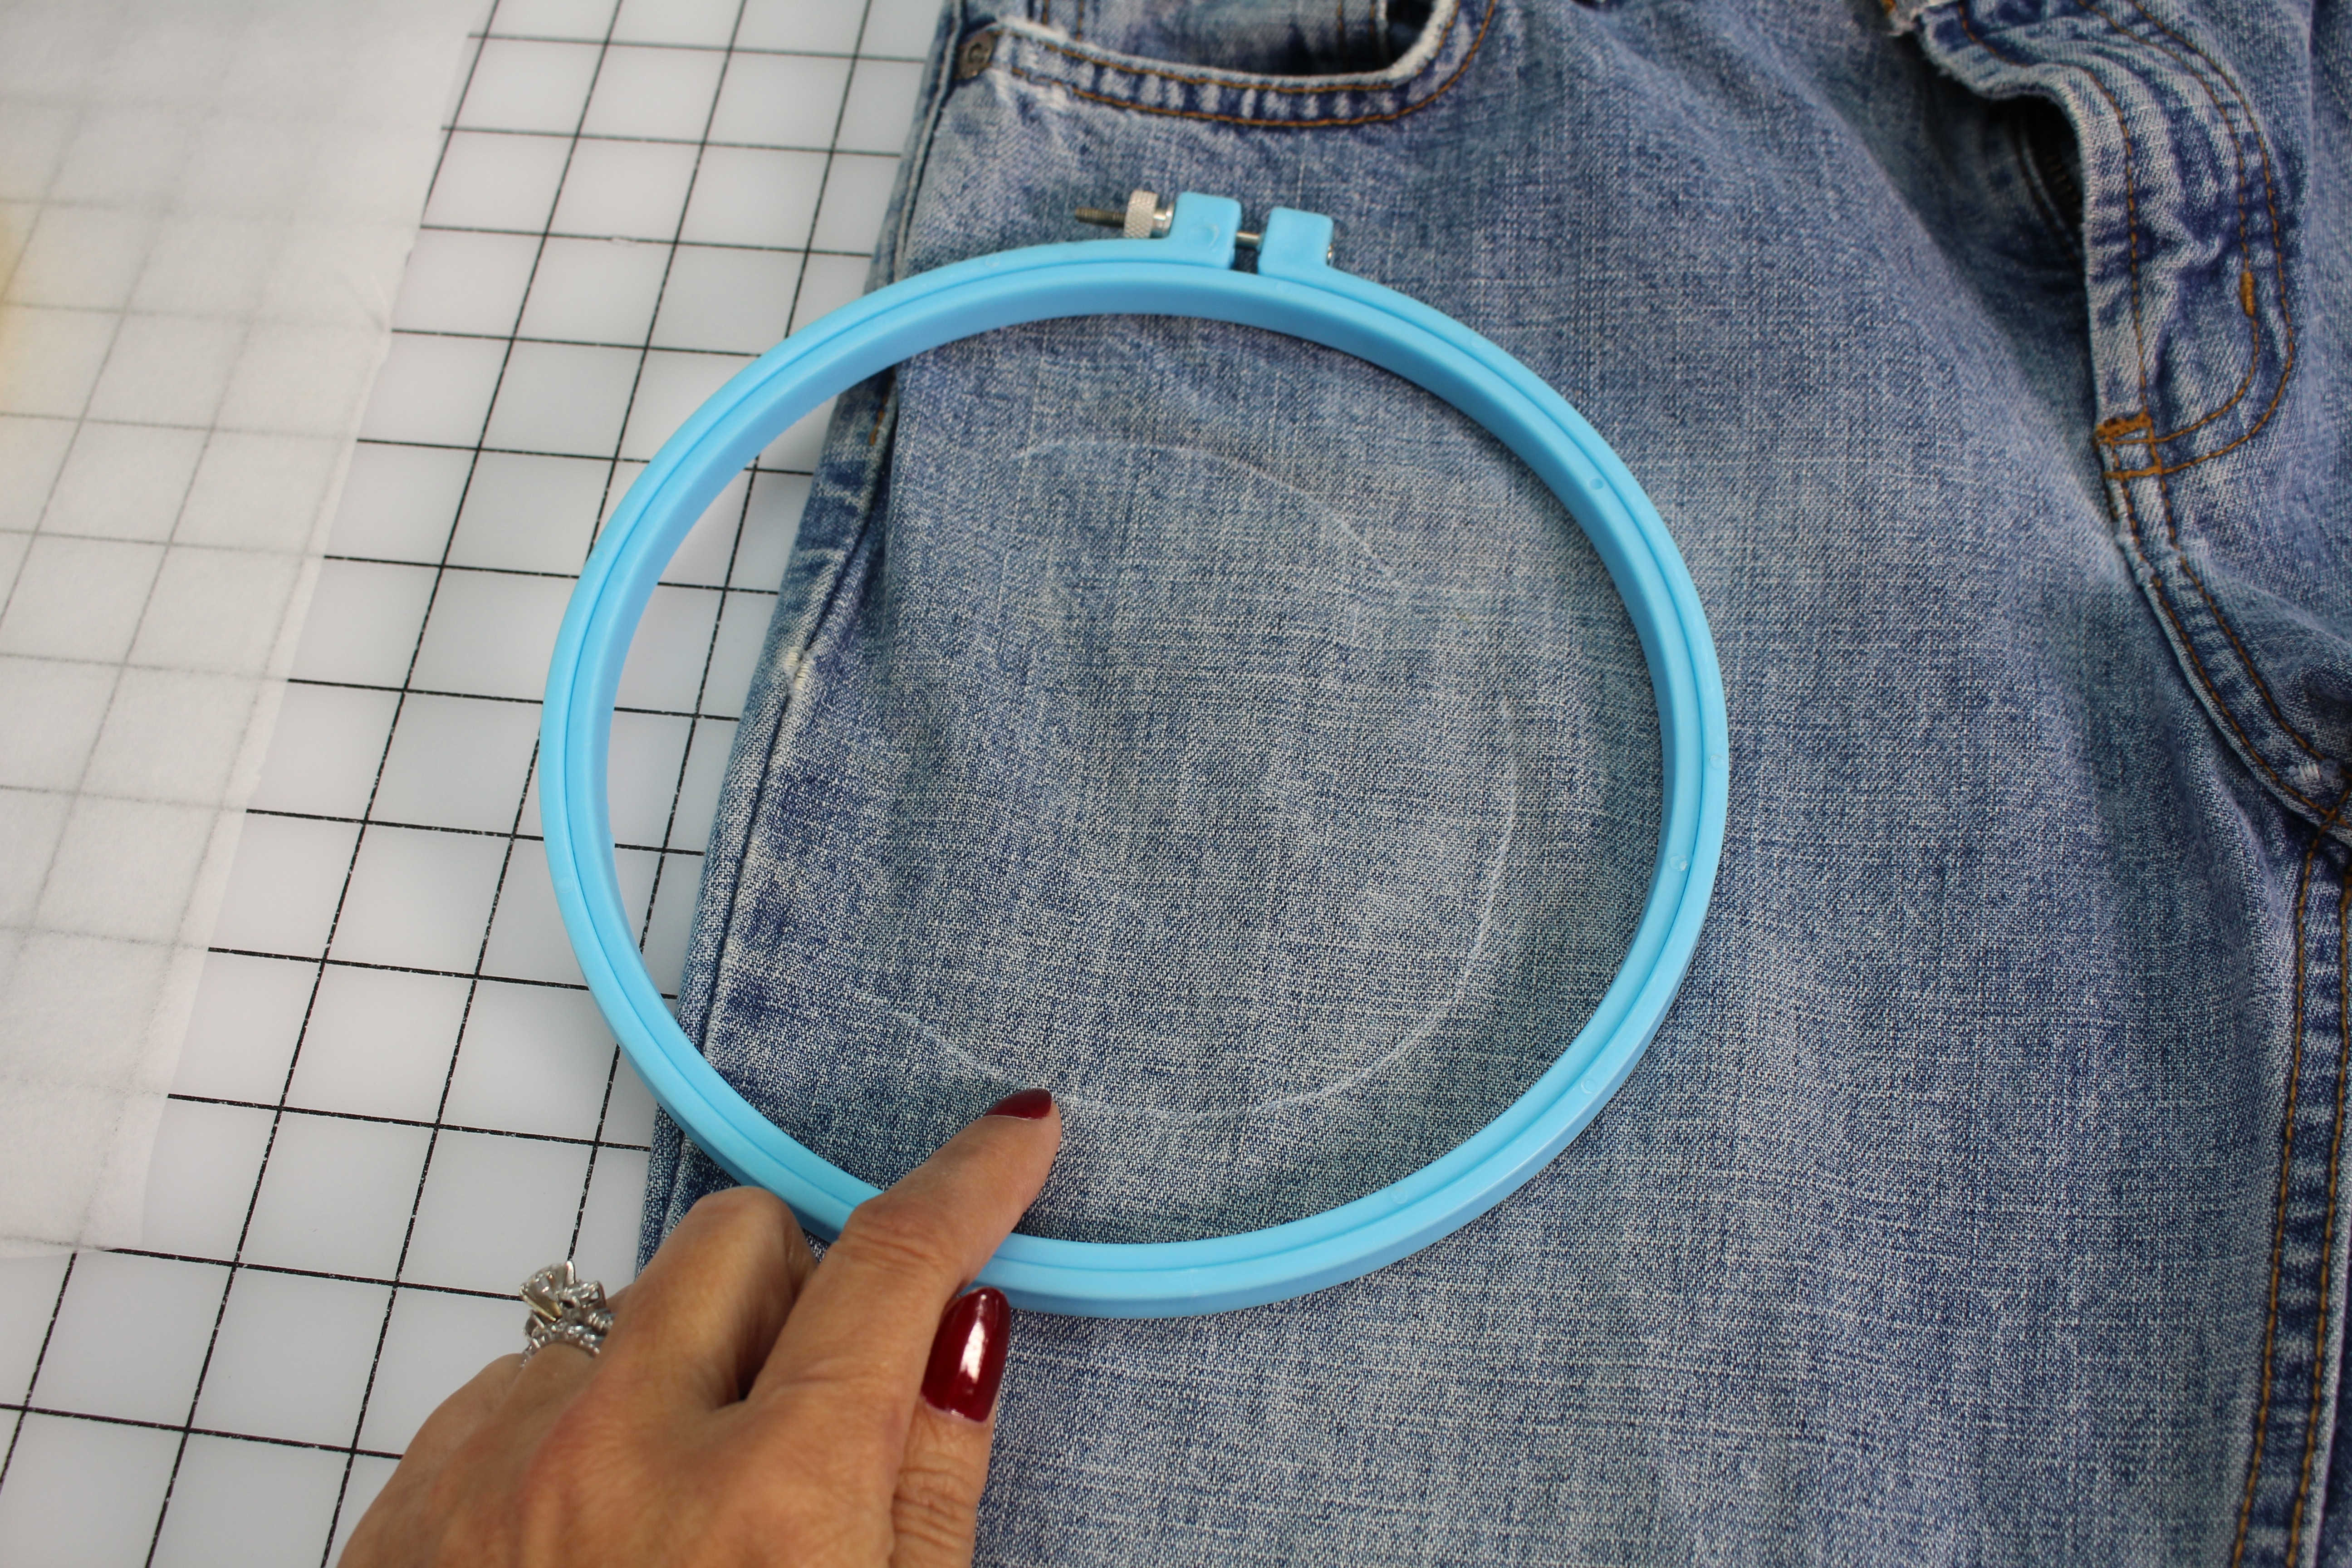
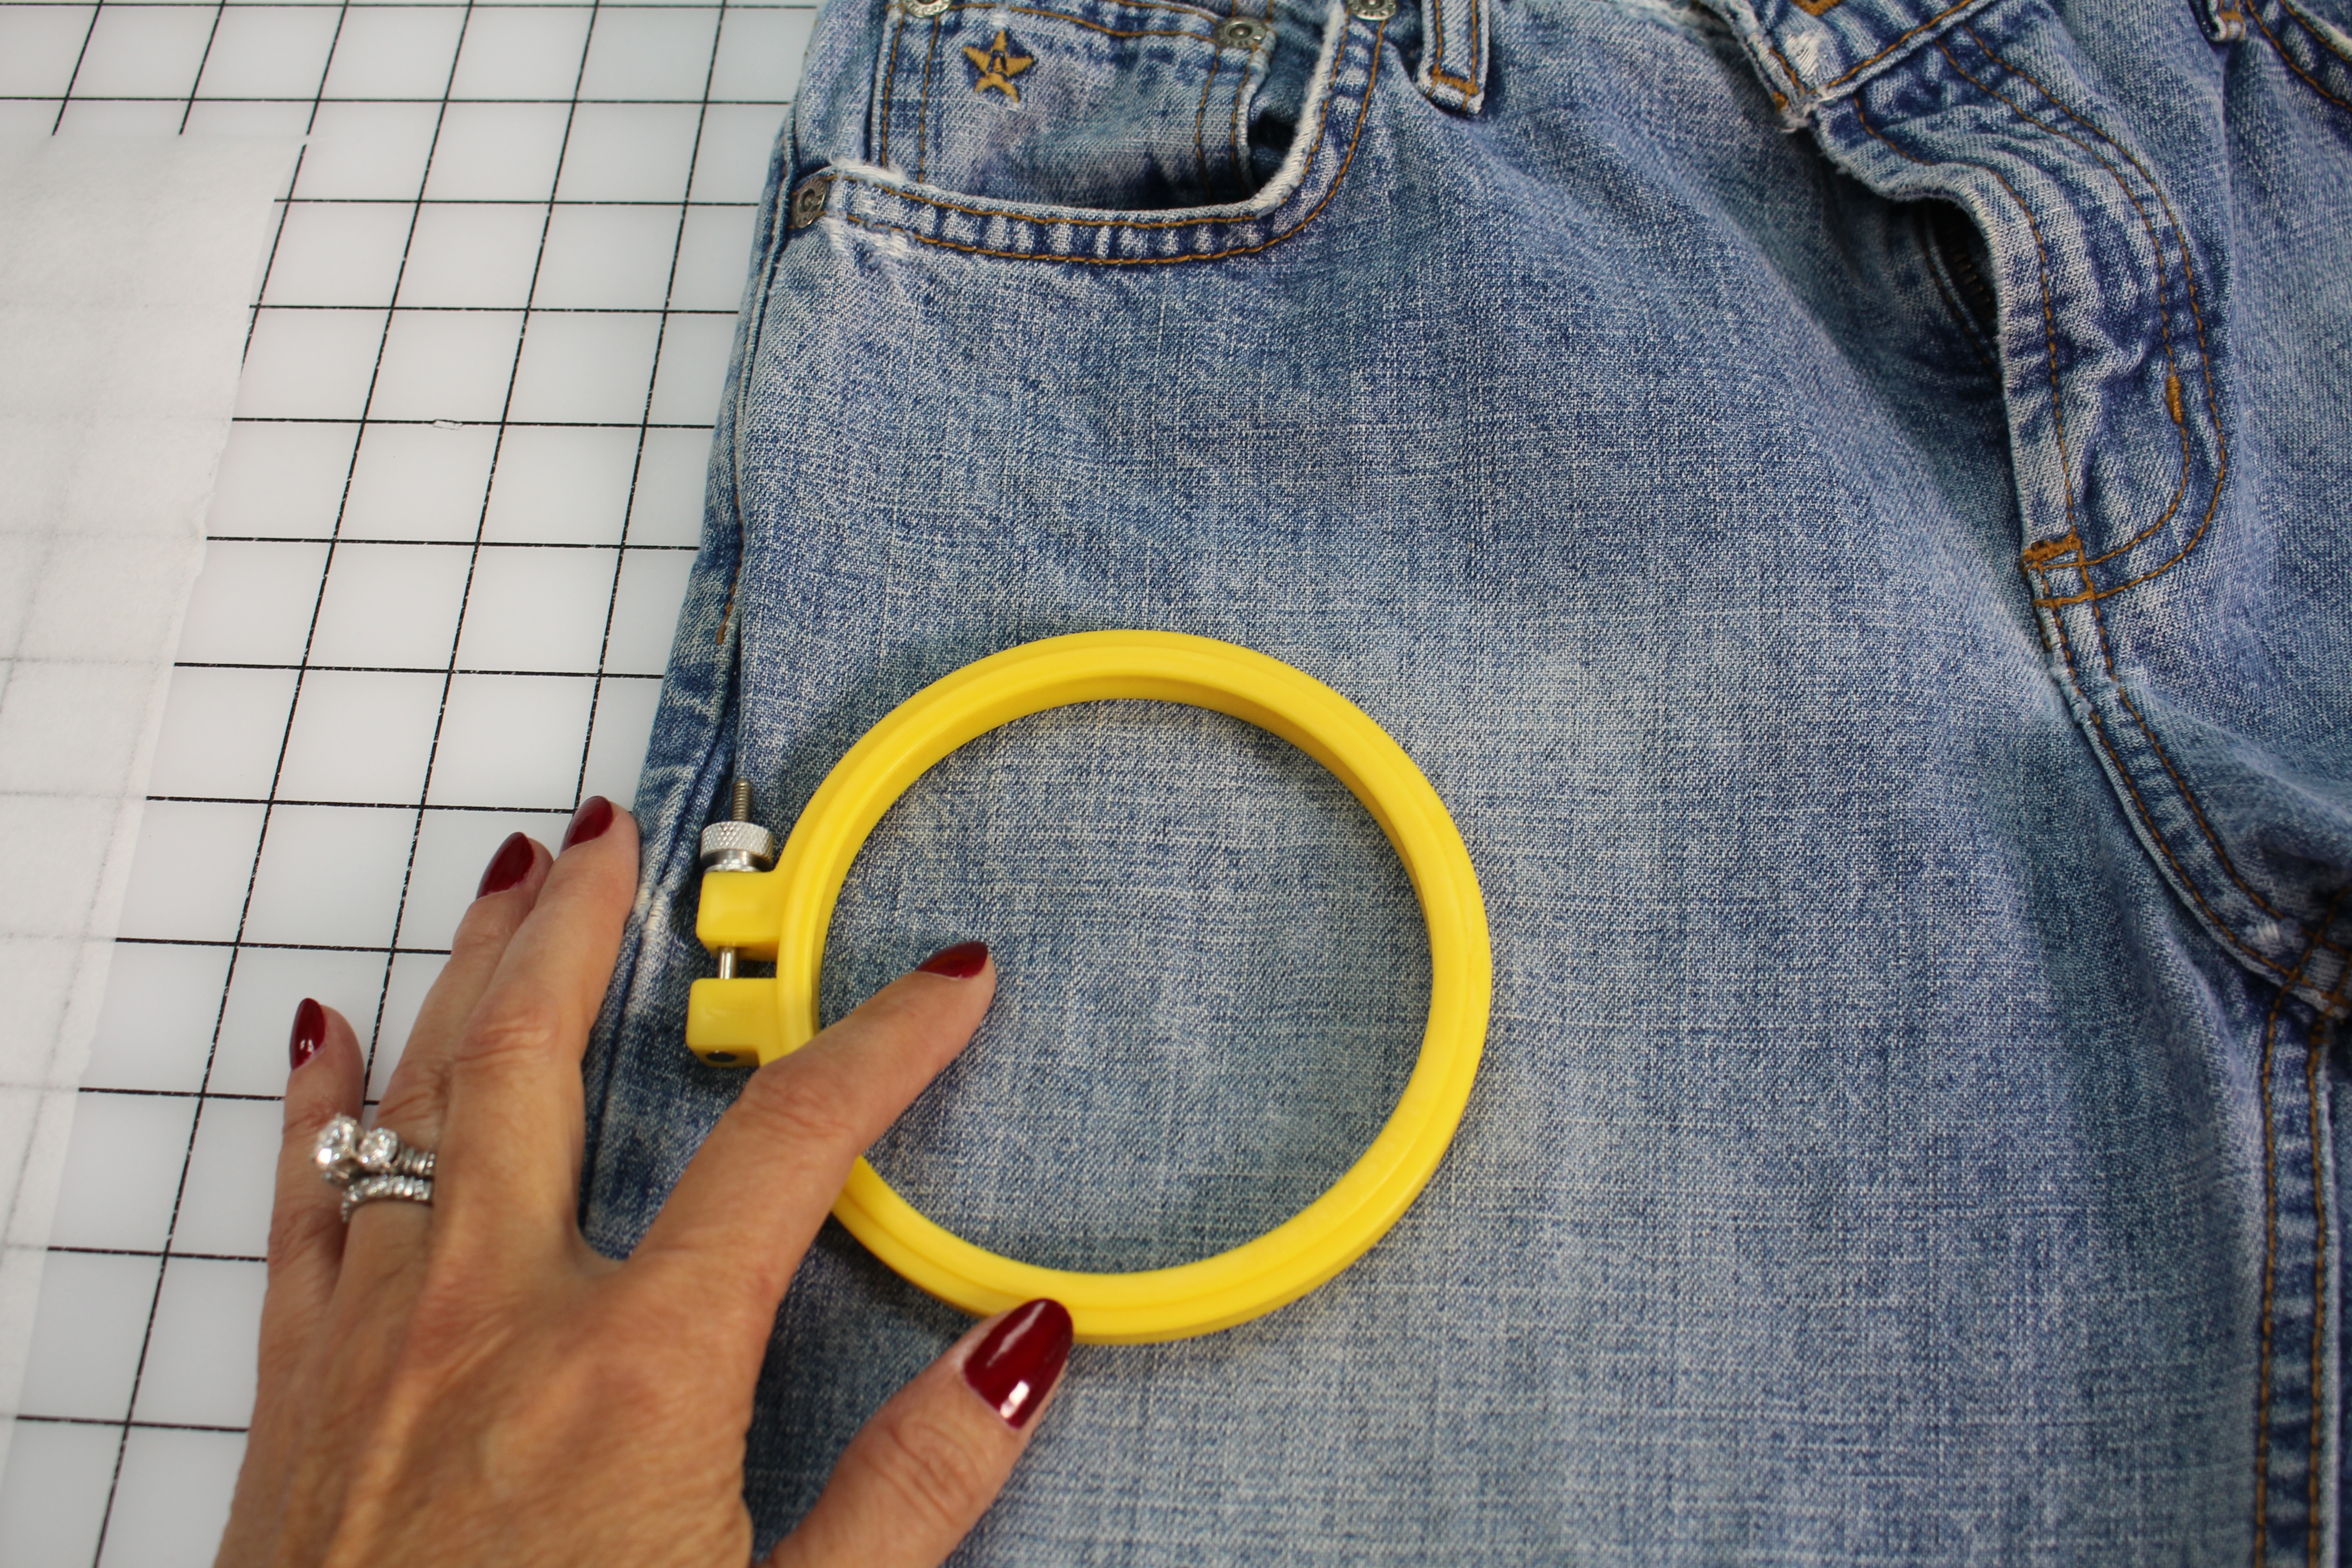
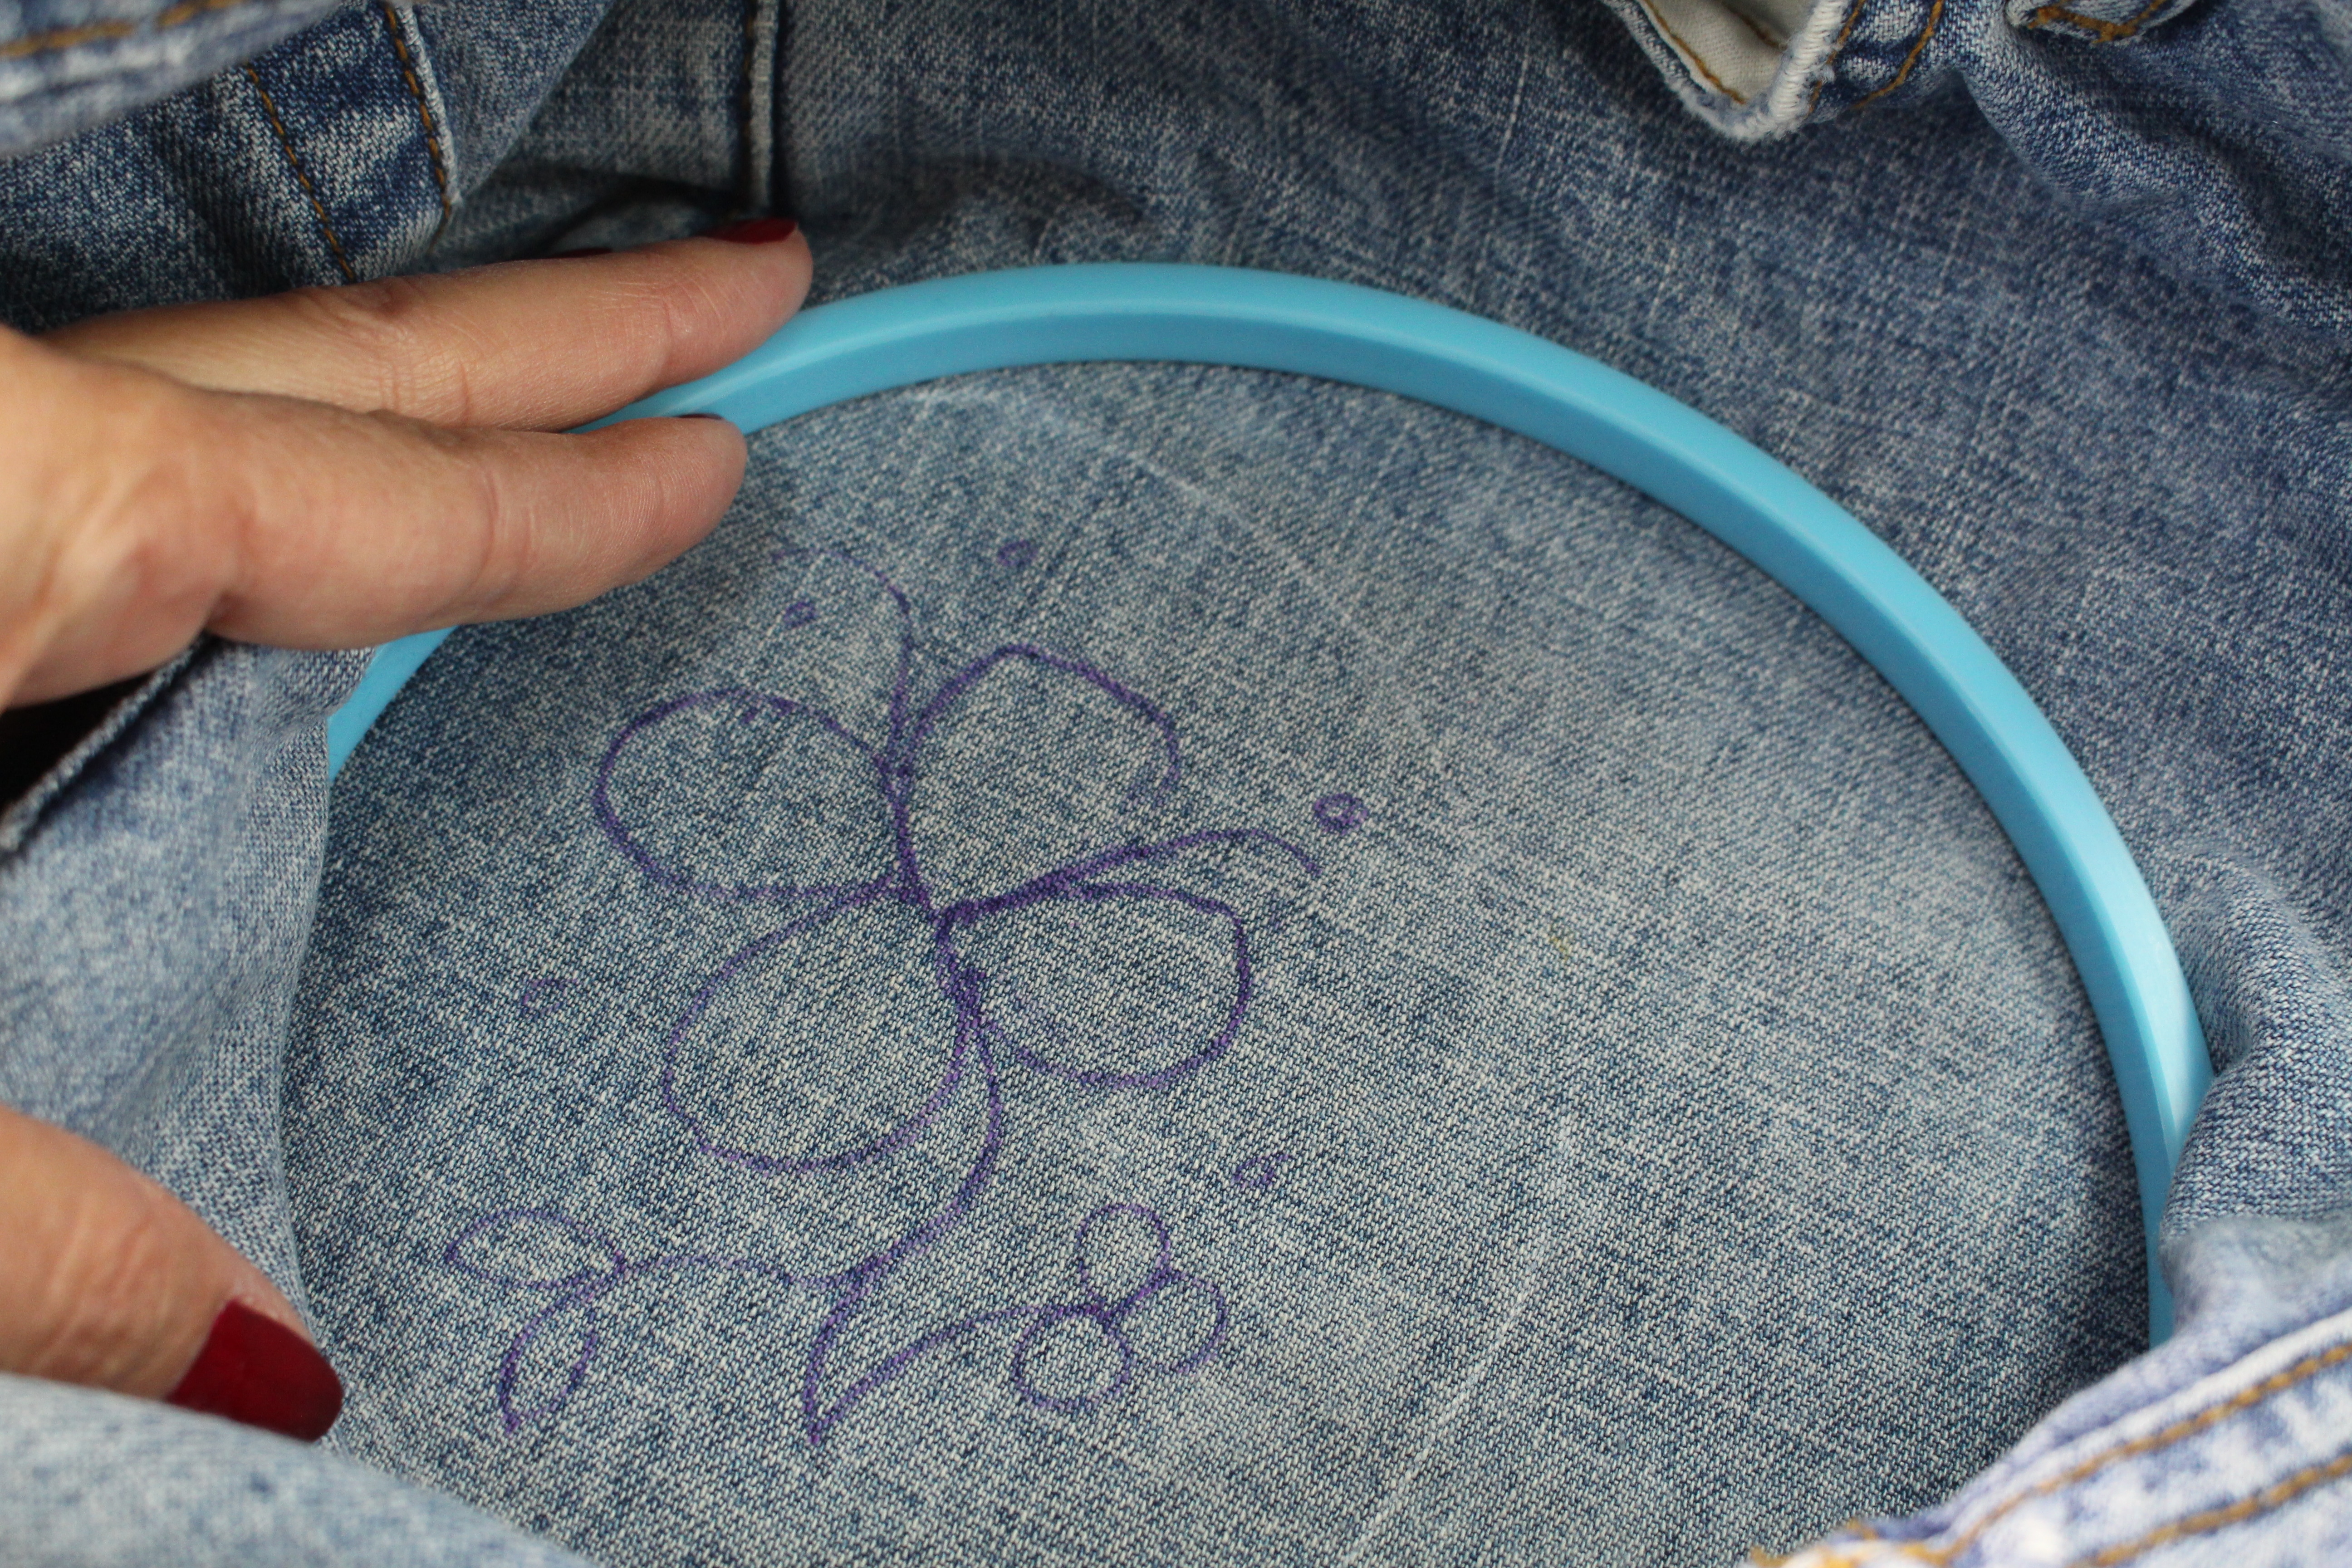
Choose a hoop size that can easily fit into the jean pant leg and large enough for the design you have in mind. Using tailors chalk, mark the placement for the design.
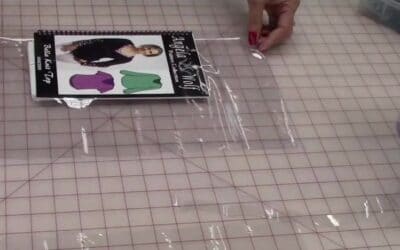
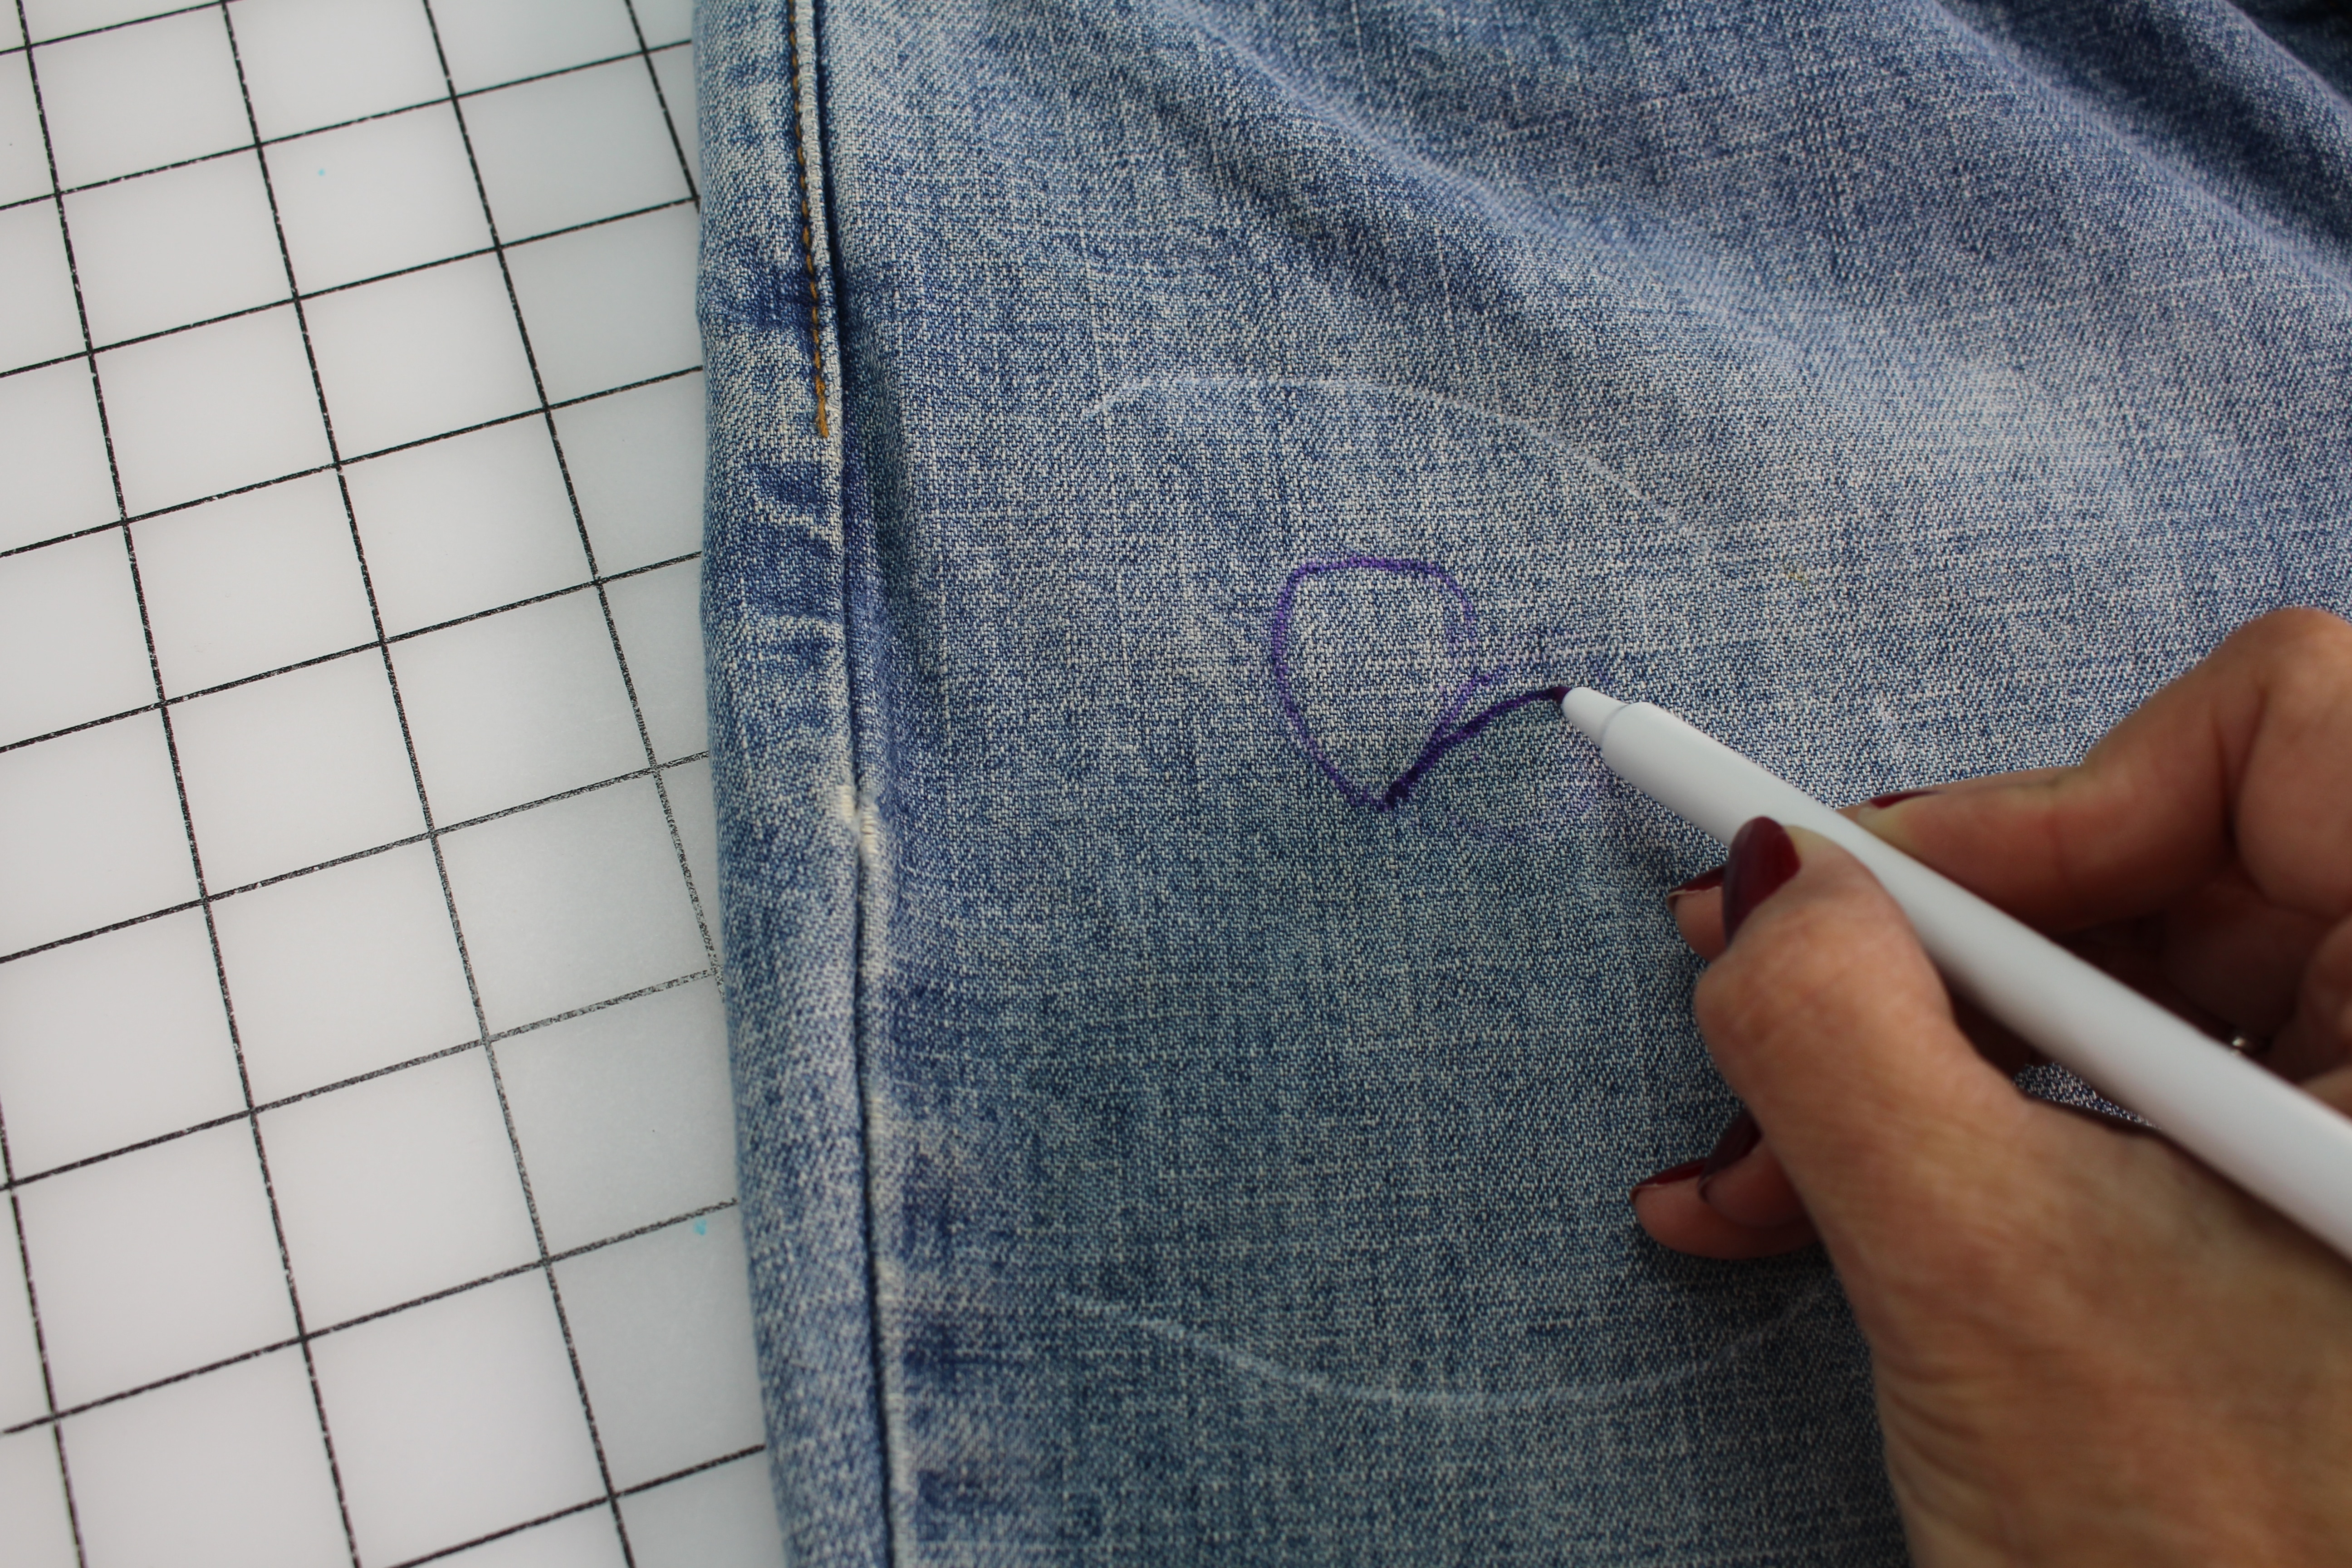
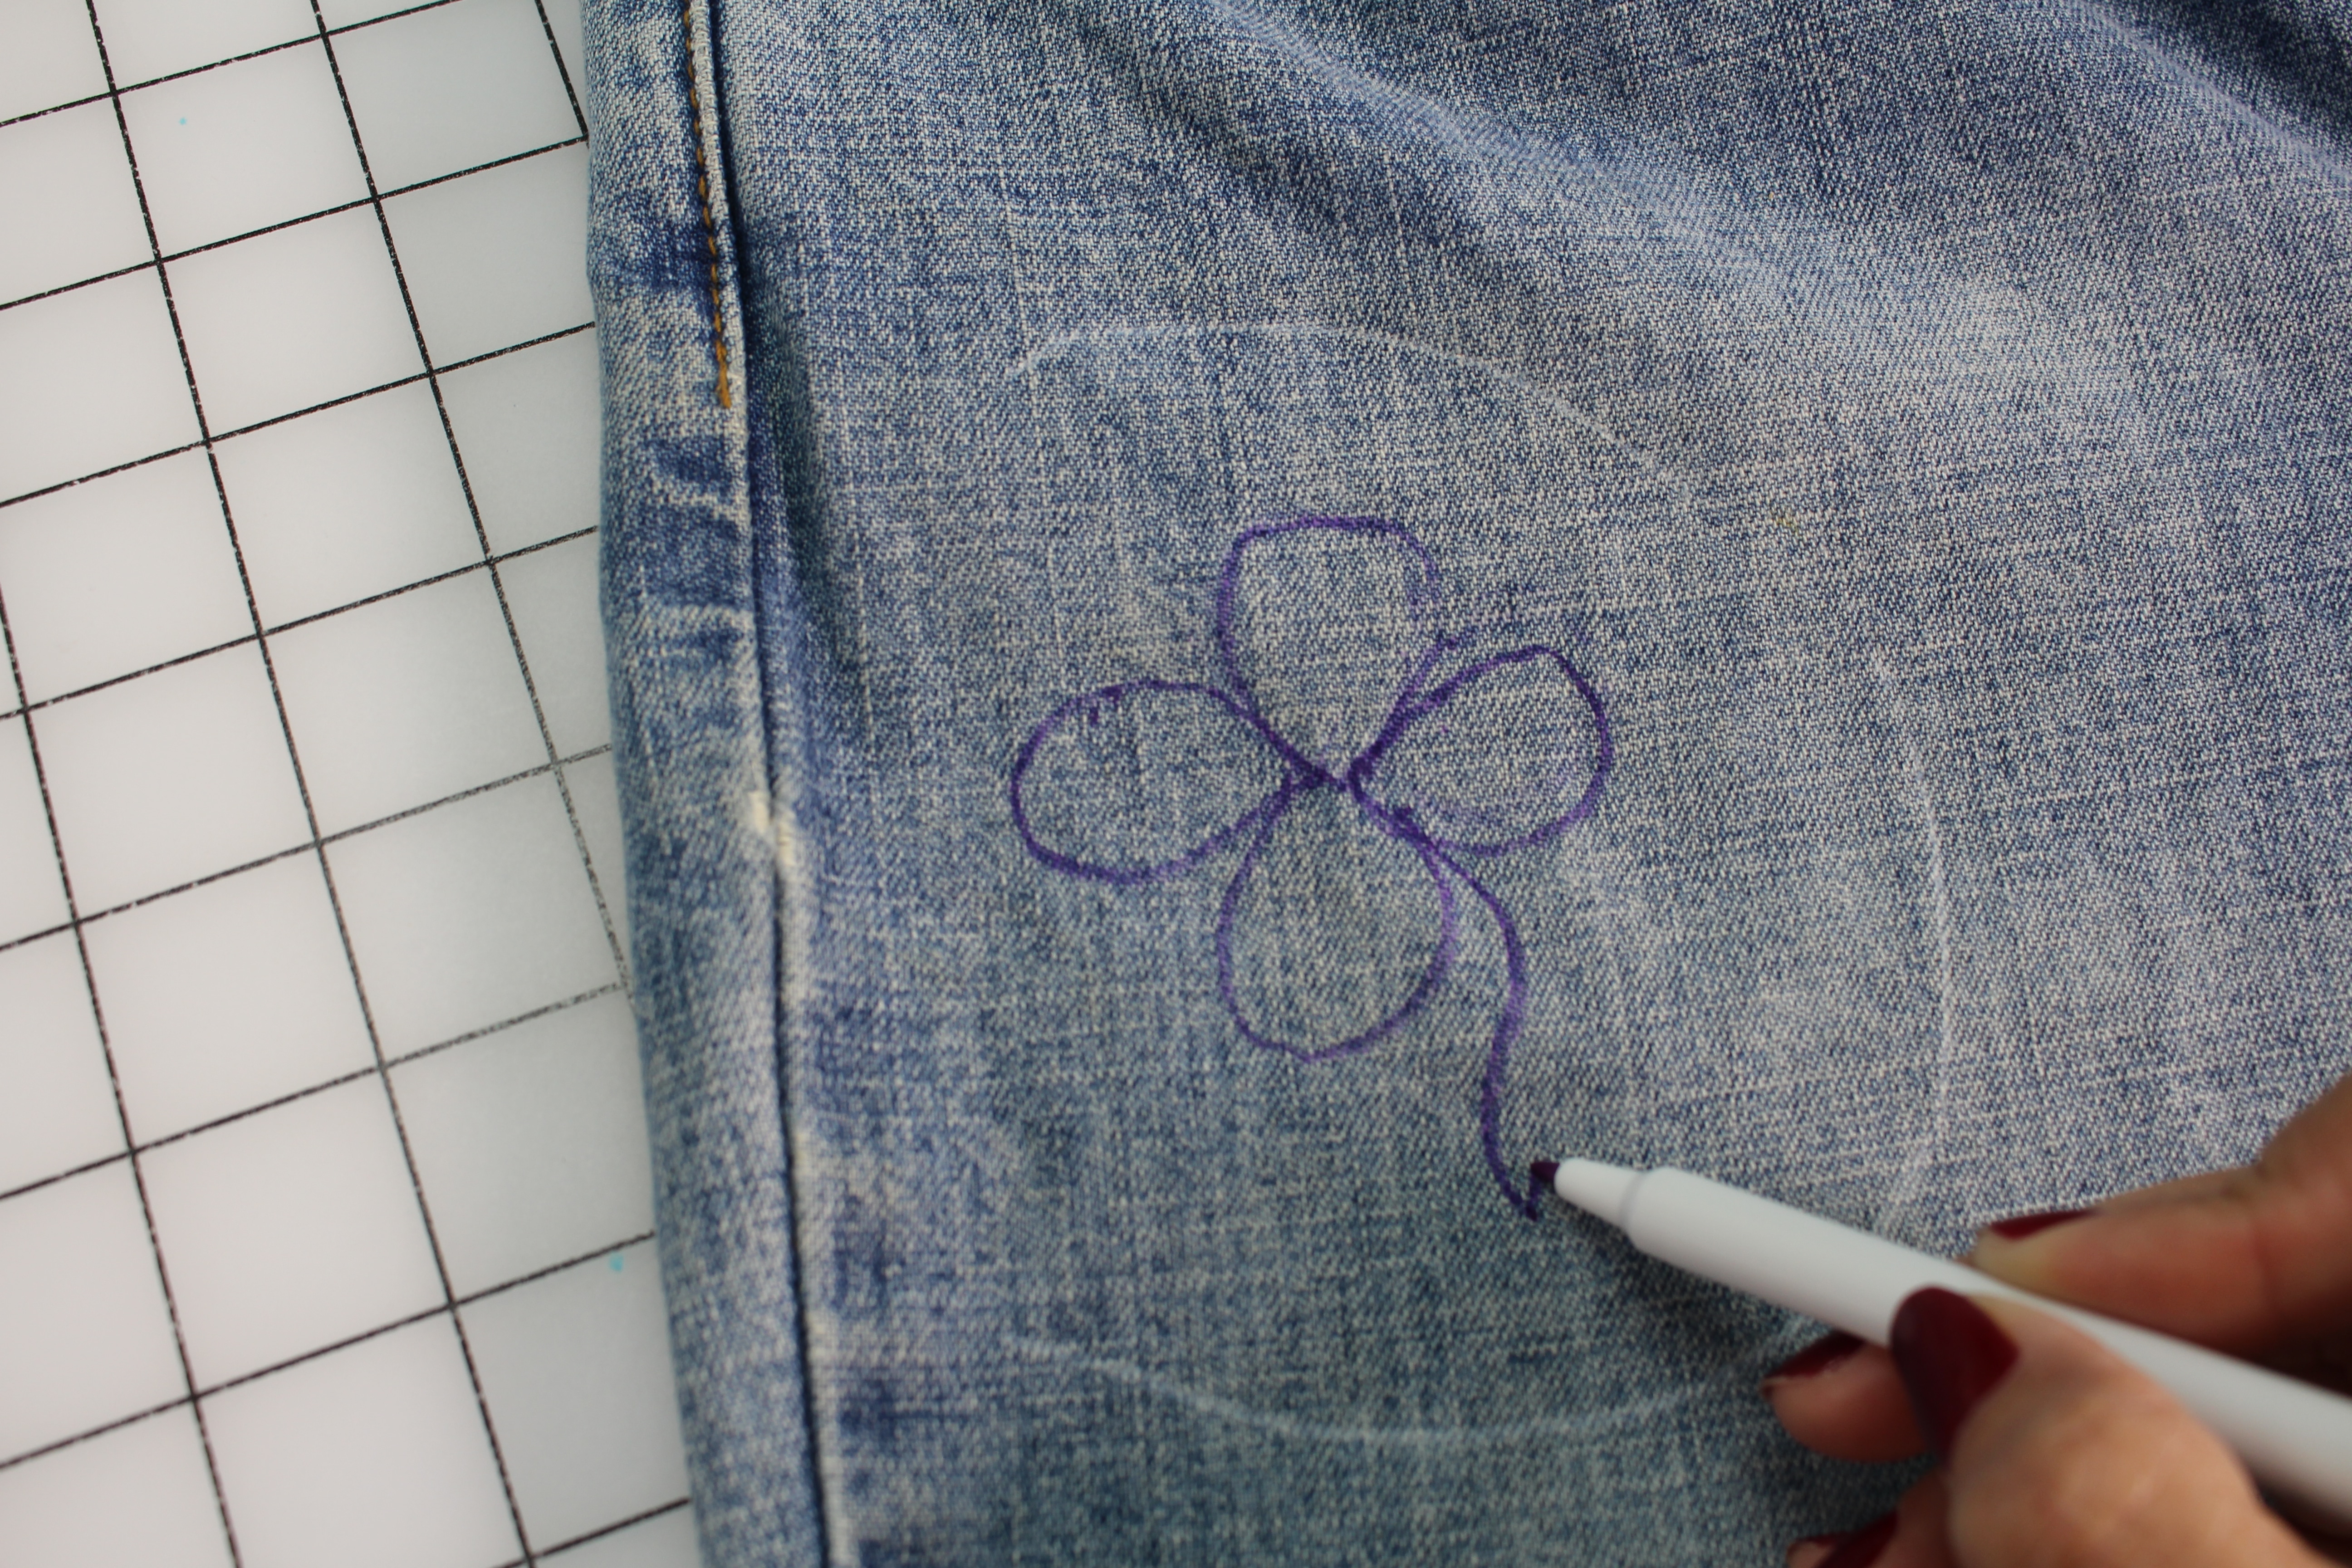
Draw a design with a fabric pen.

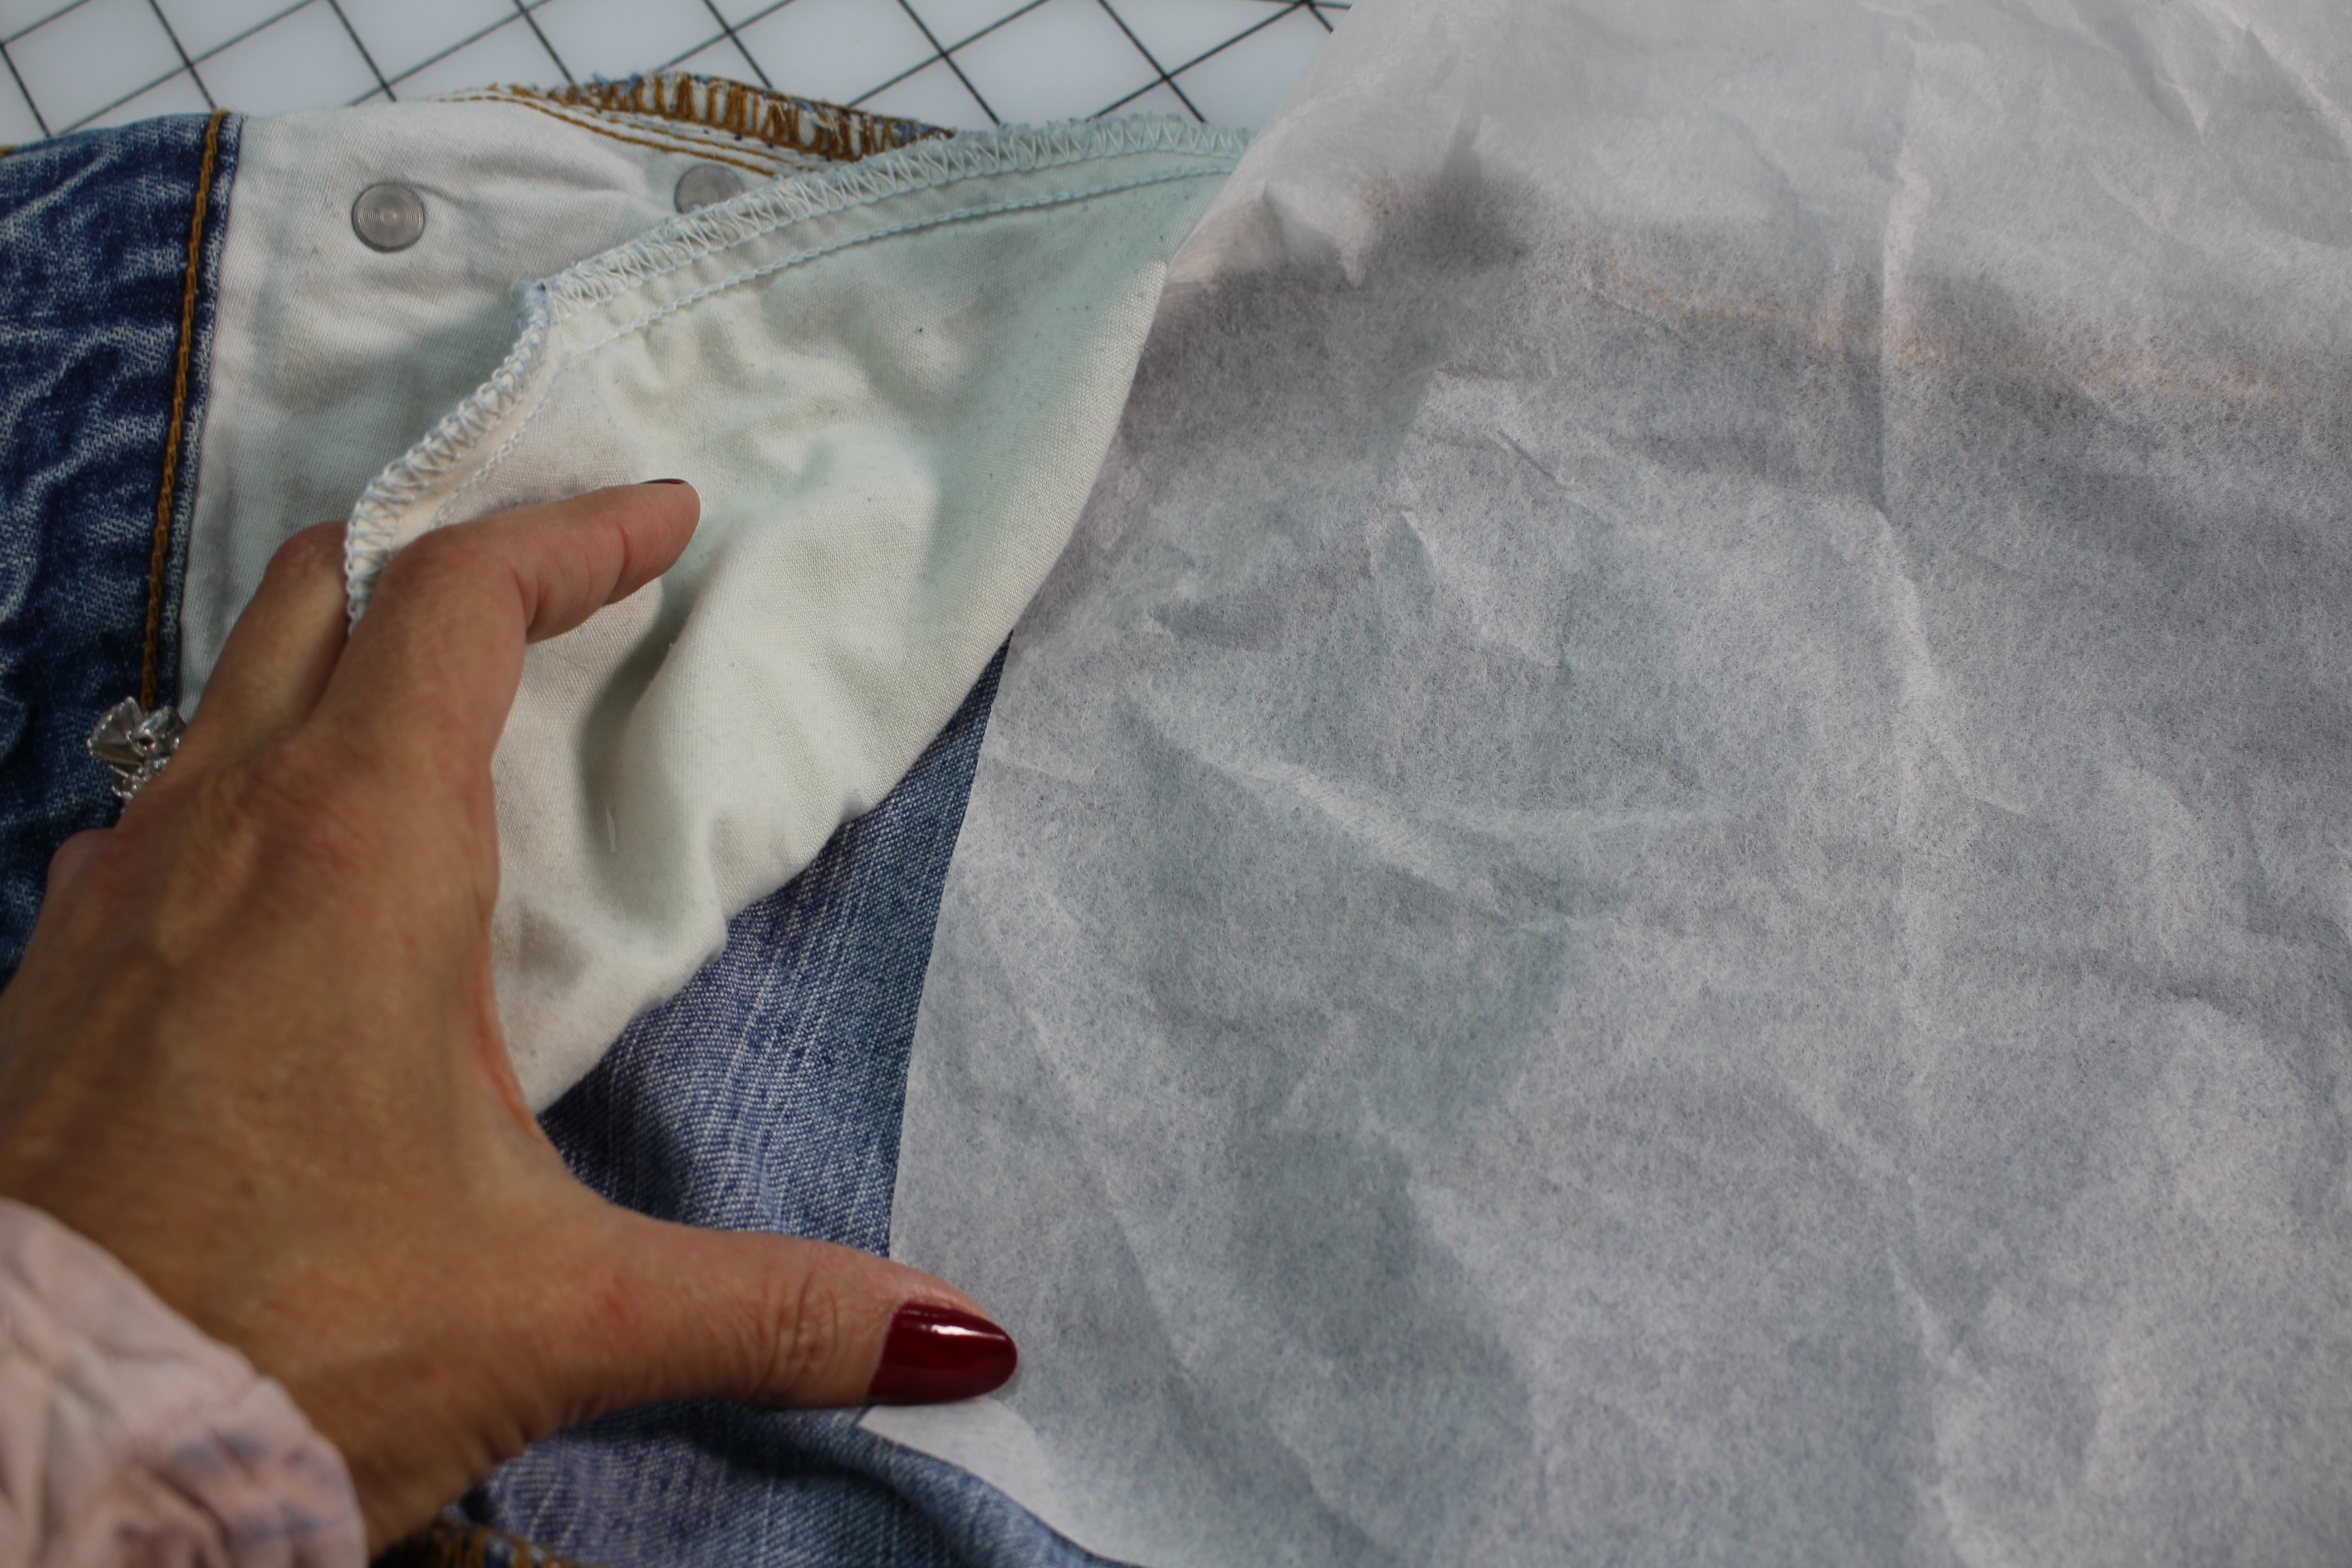
Hooping the Jeans
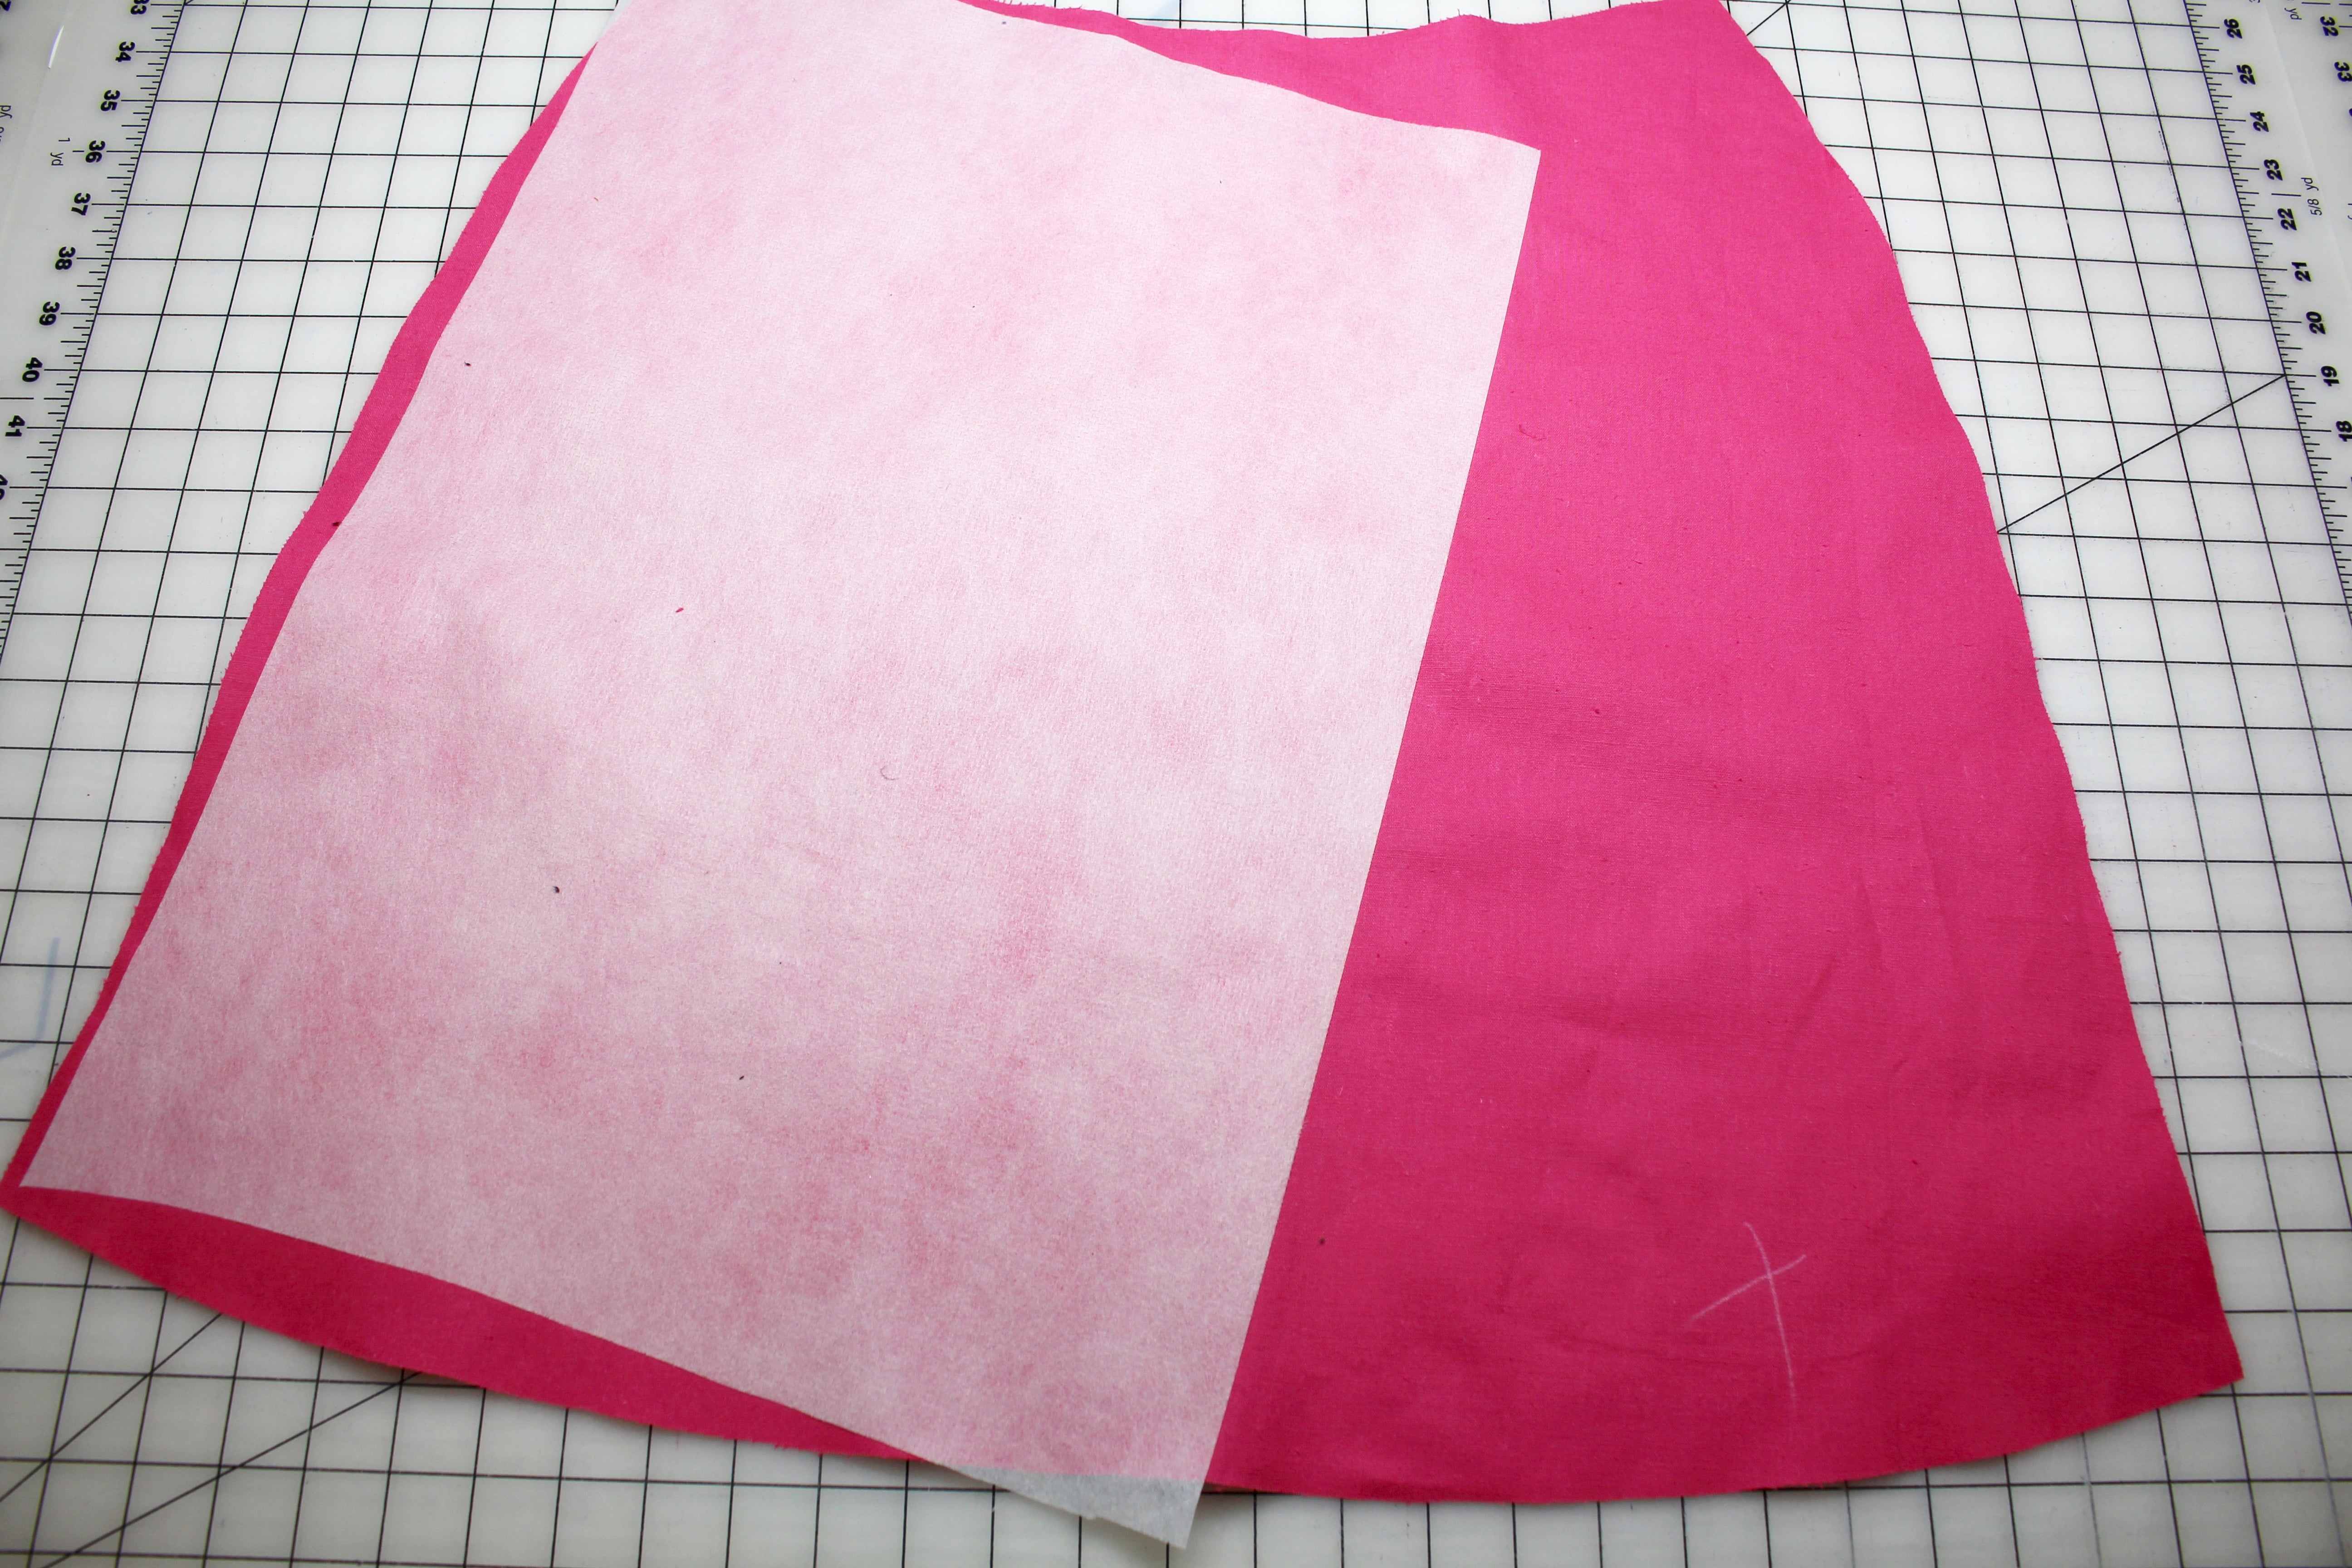
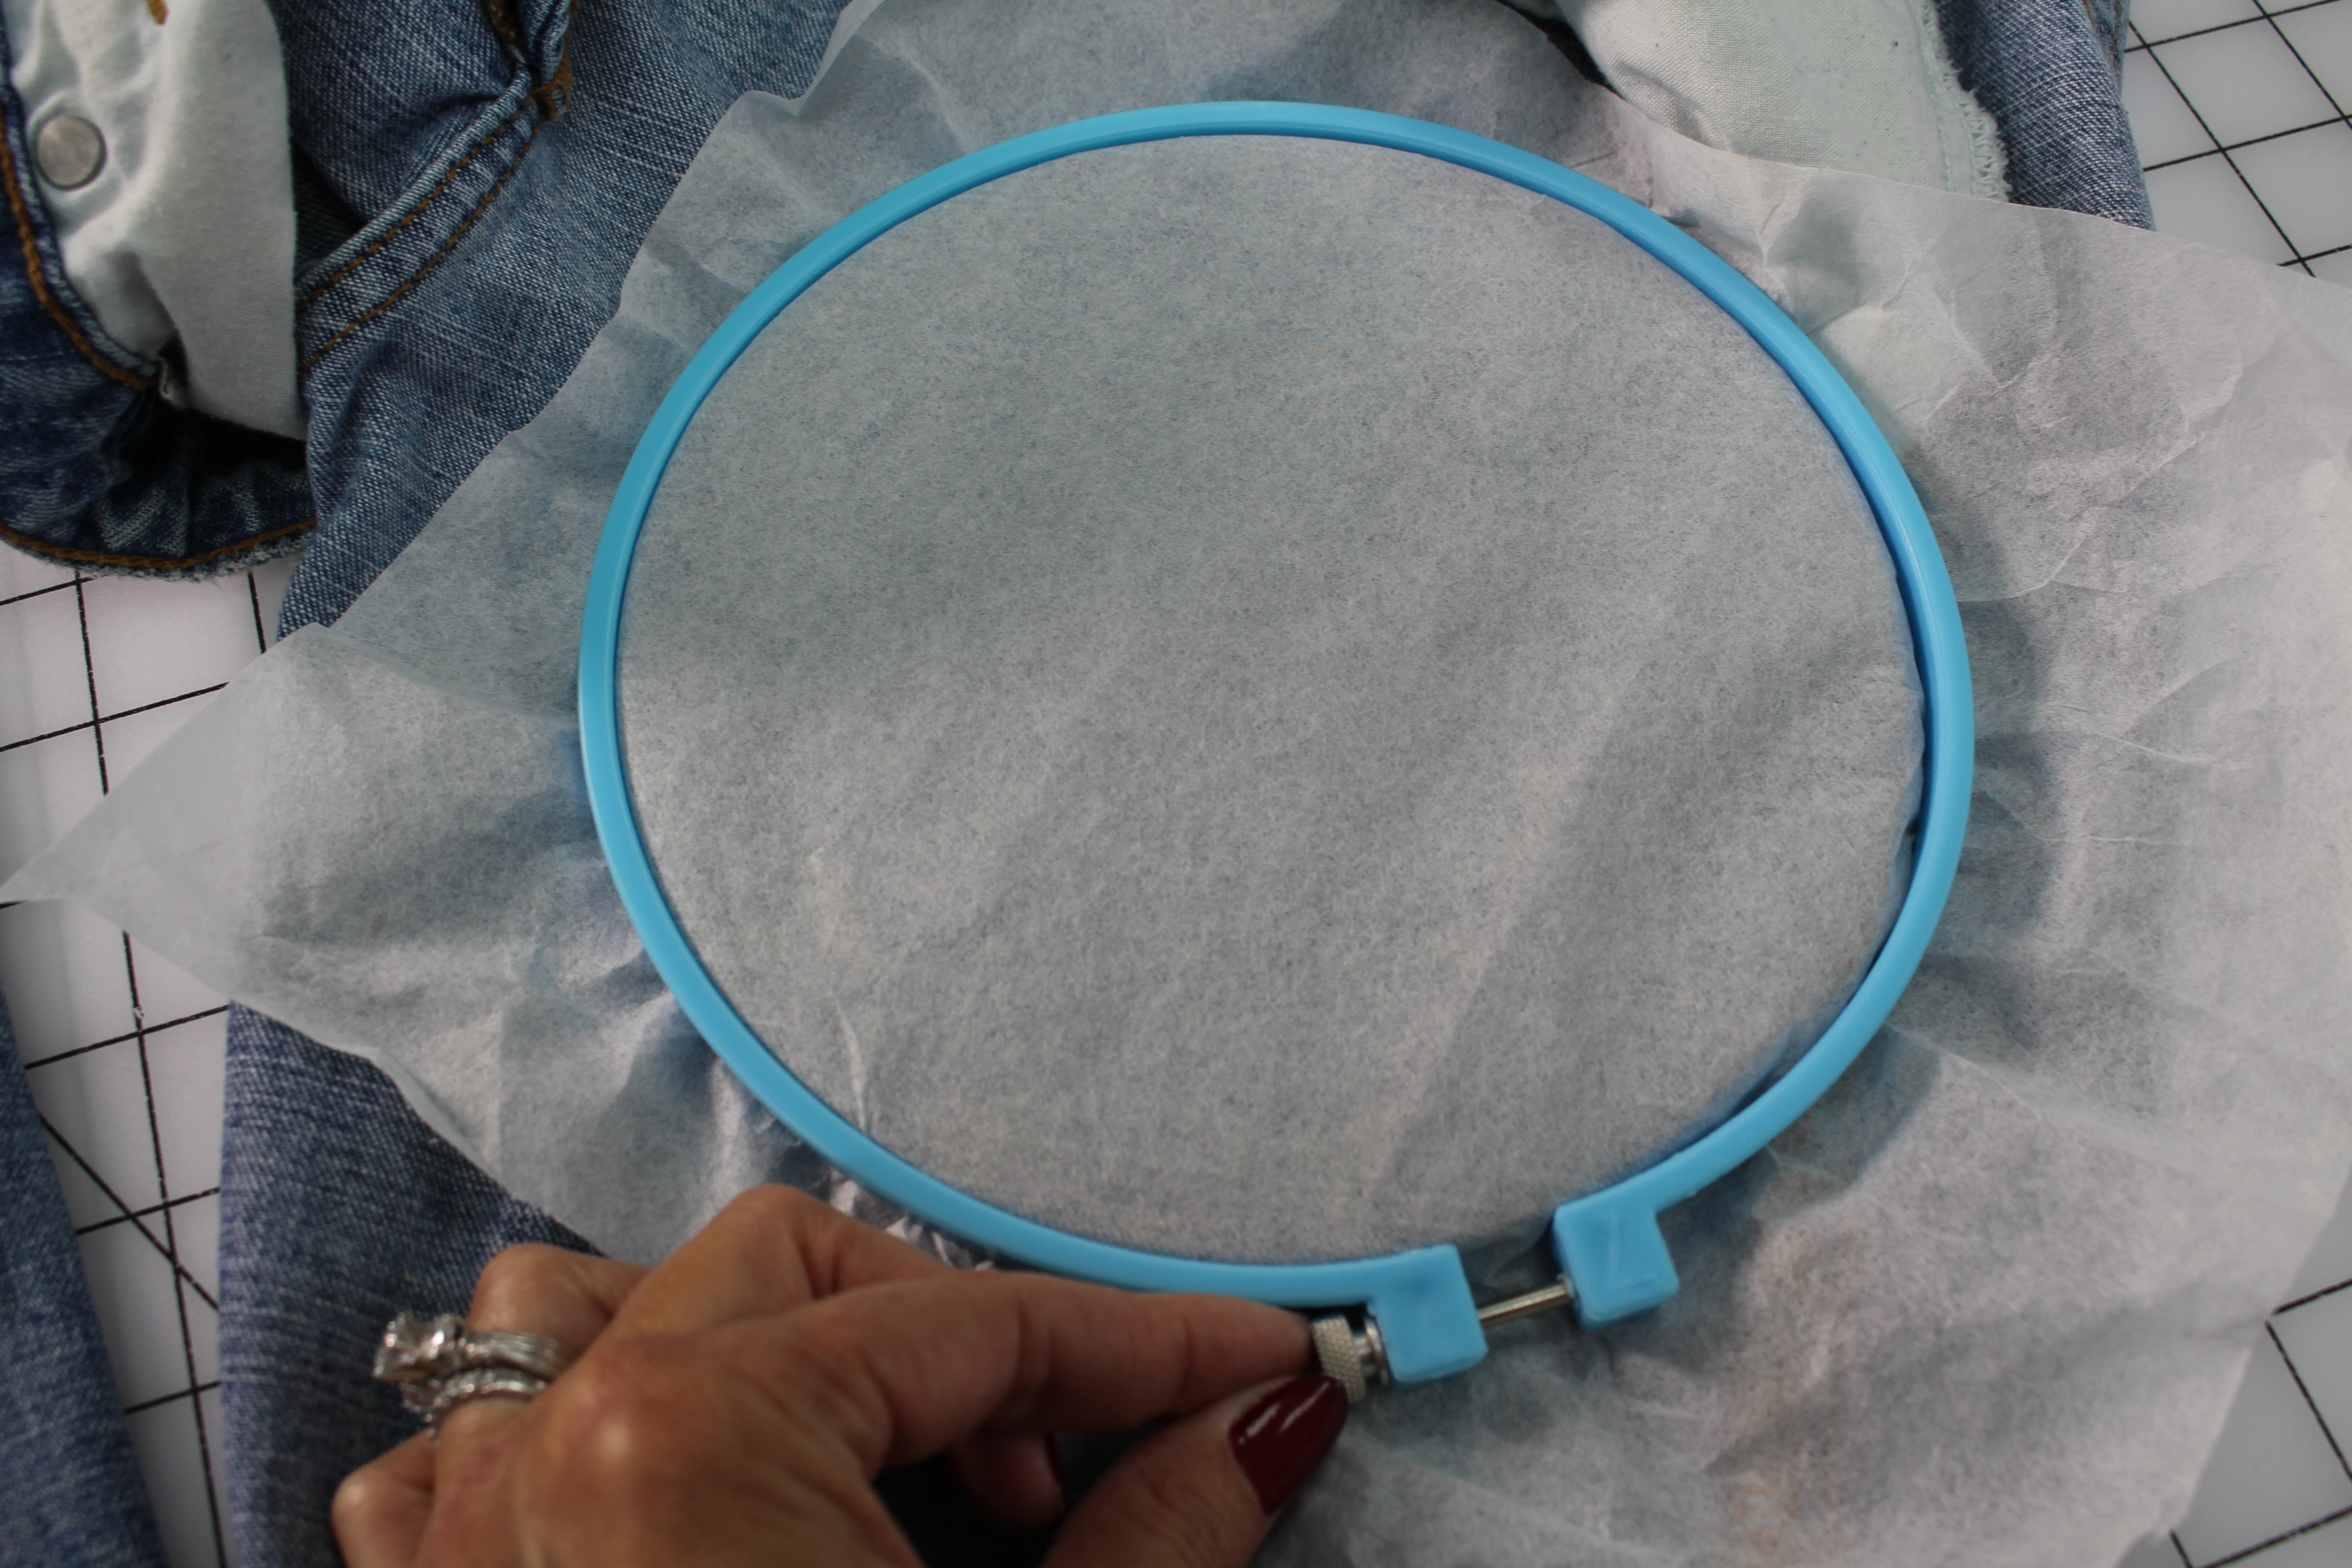
Slide the stabilizer into the jeans leg behind the design area. My design is close to the front pocket, so I will pull the pocket lining out of the hooping area.
Align the smaller inside hoop on the outside of the jean leg with the larger hoop and stabilizer inside the jeans leg.
Push the hoop closed, encasing the jean fabric and stabilizer, and tighten the screw on the hoop.
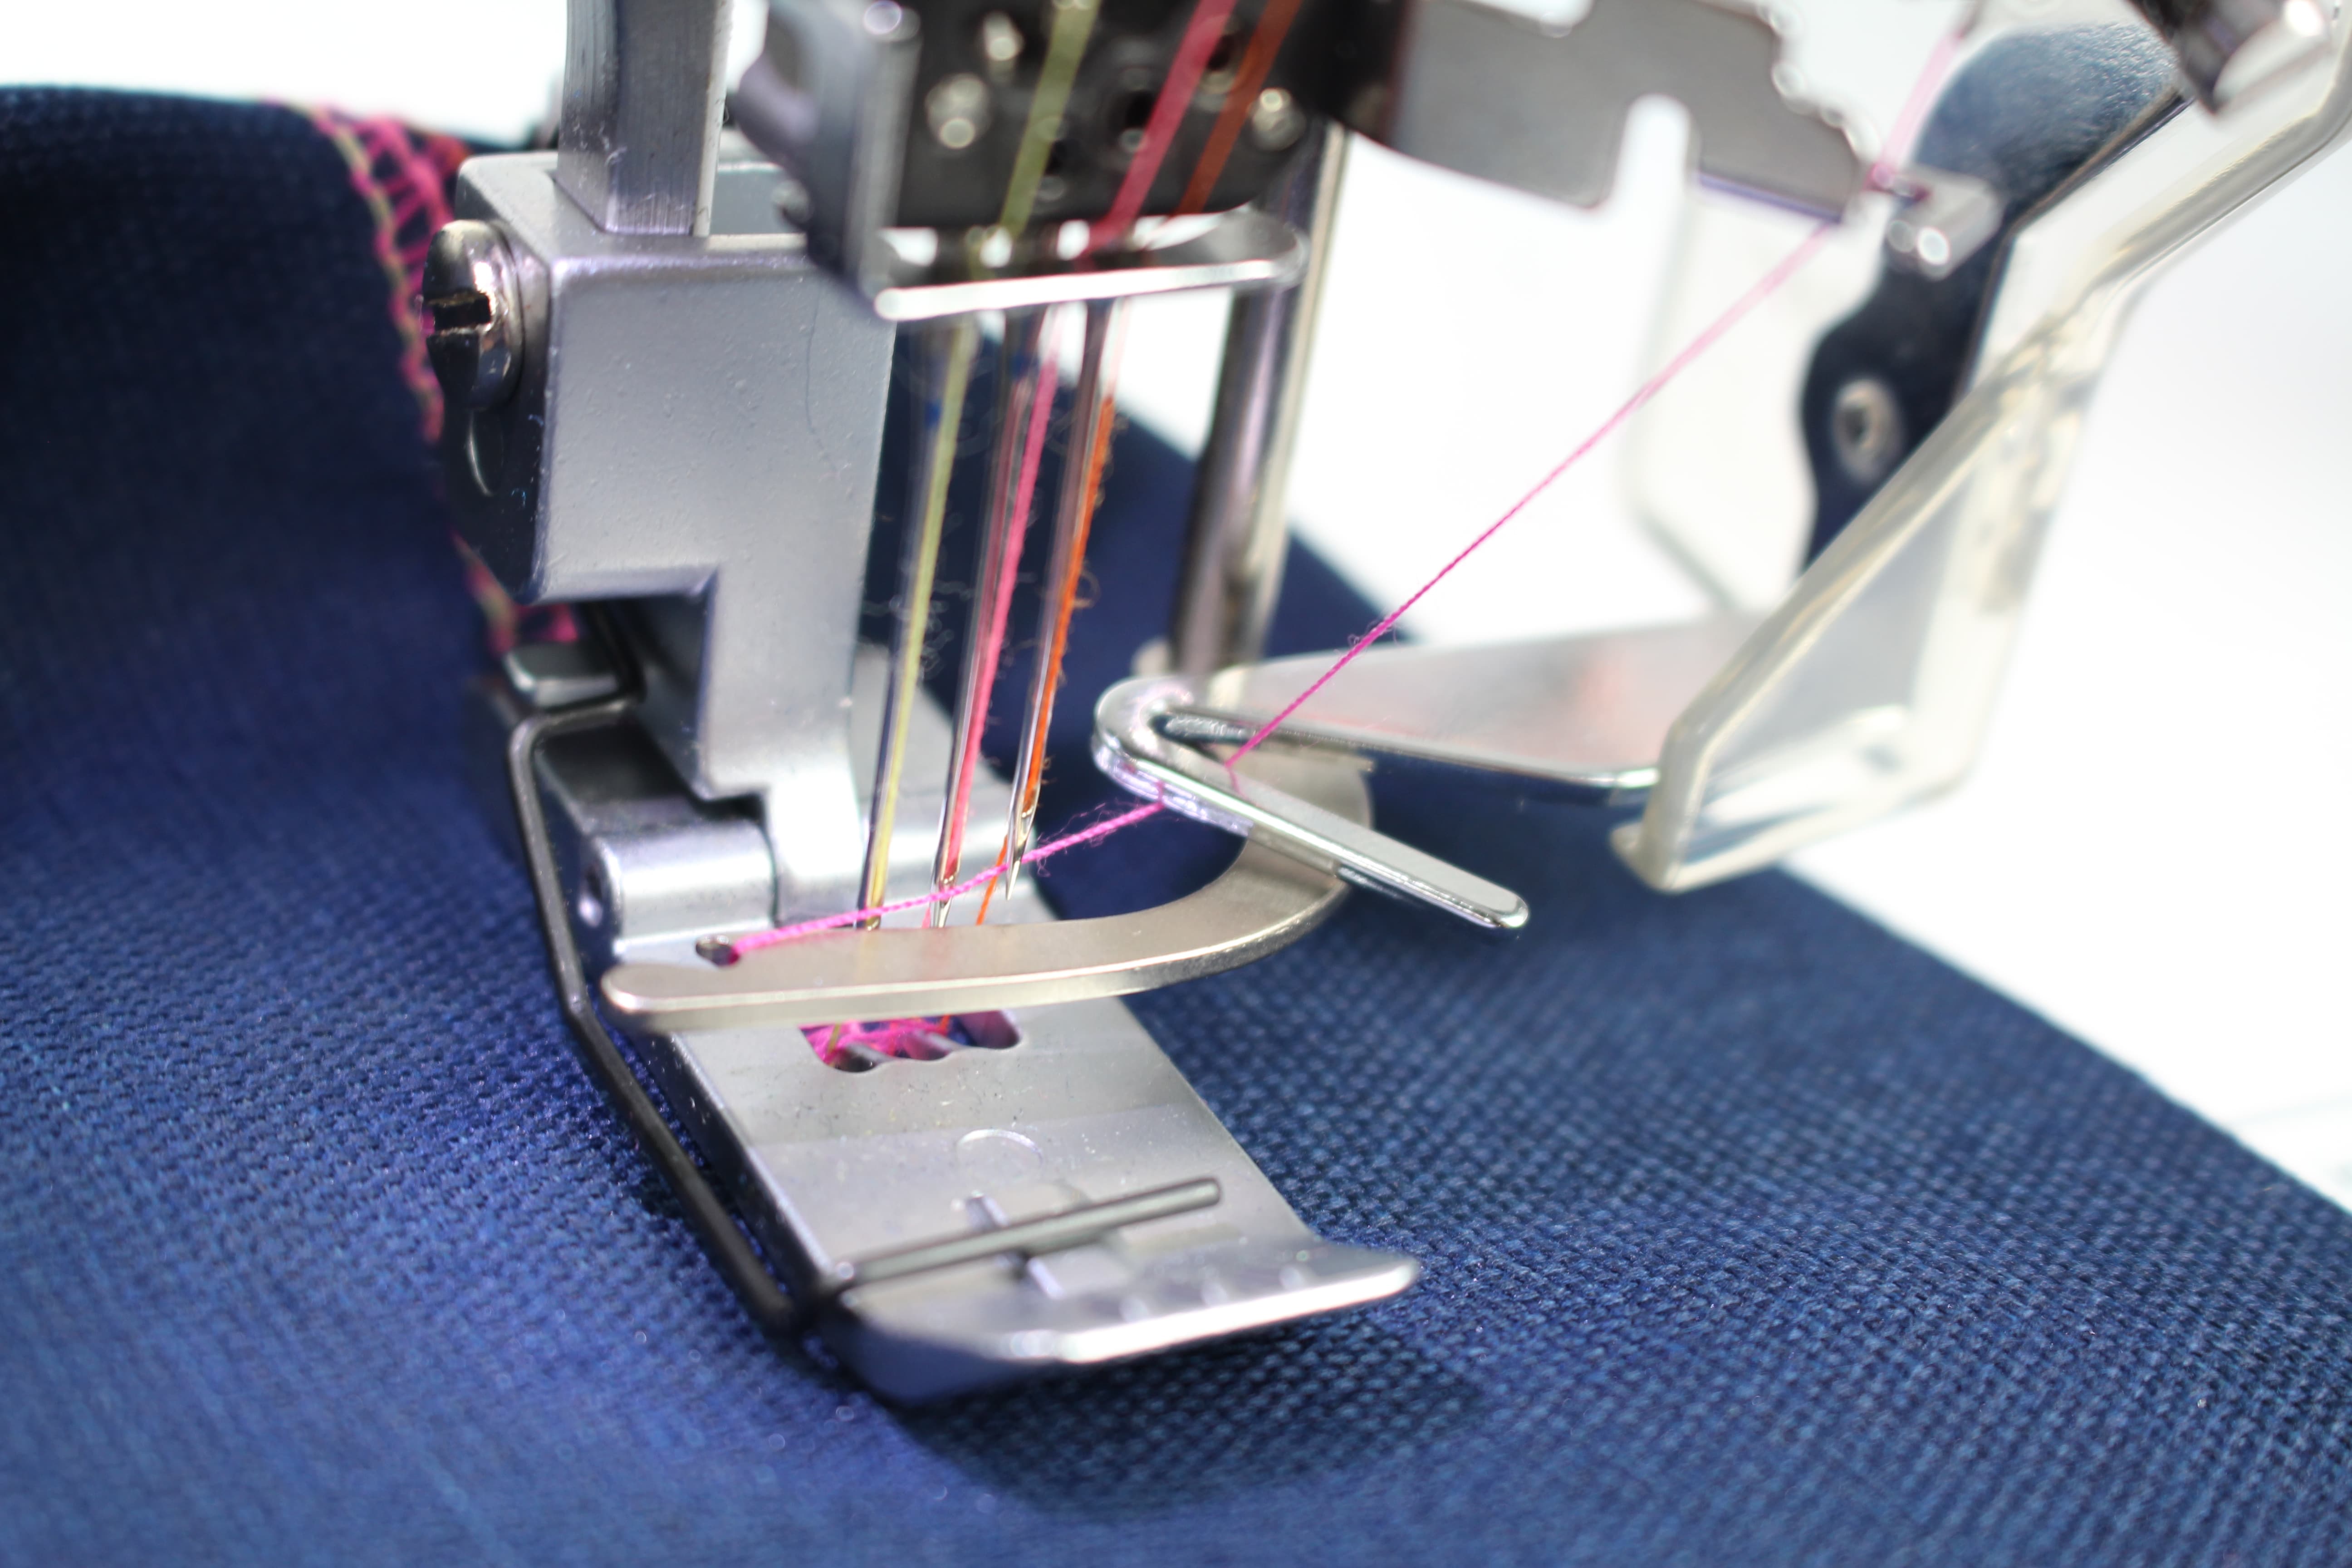
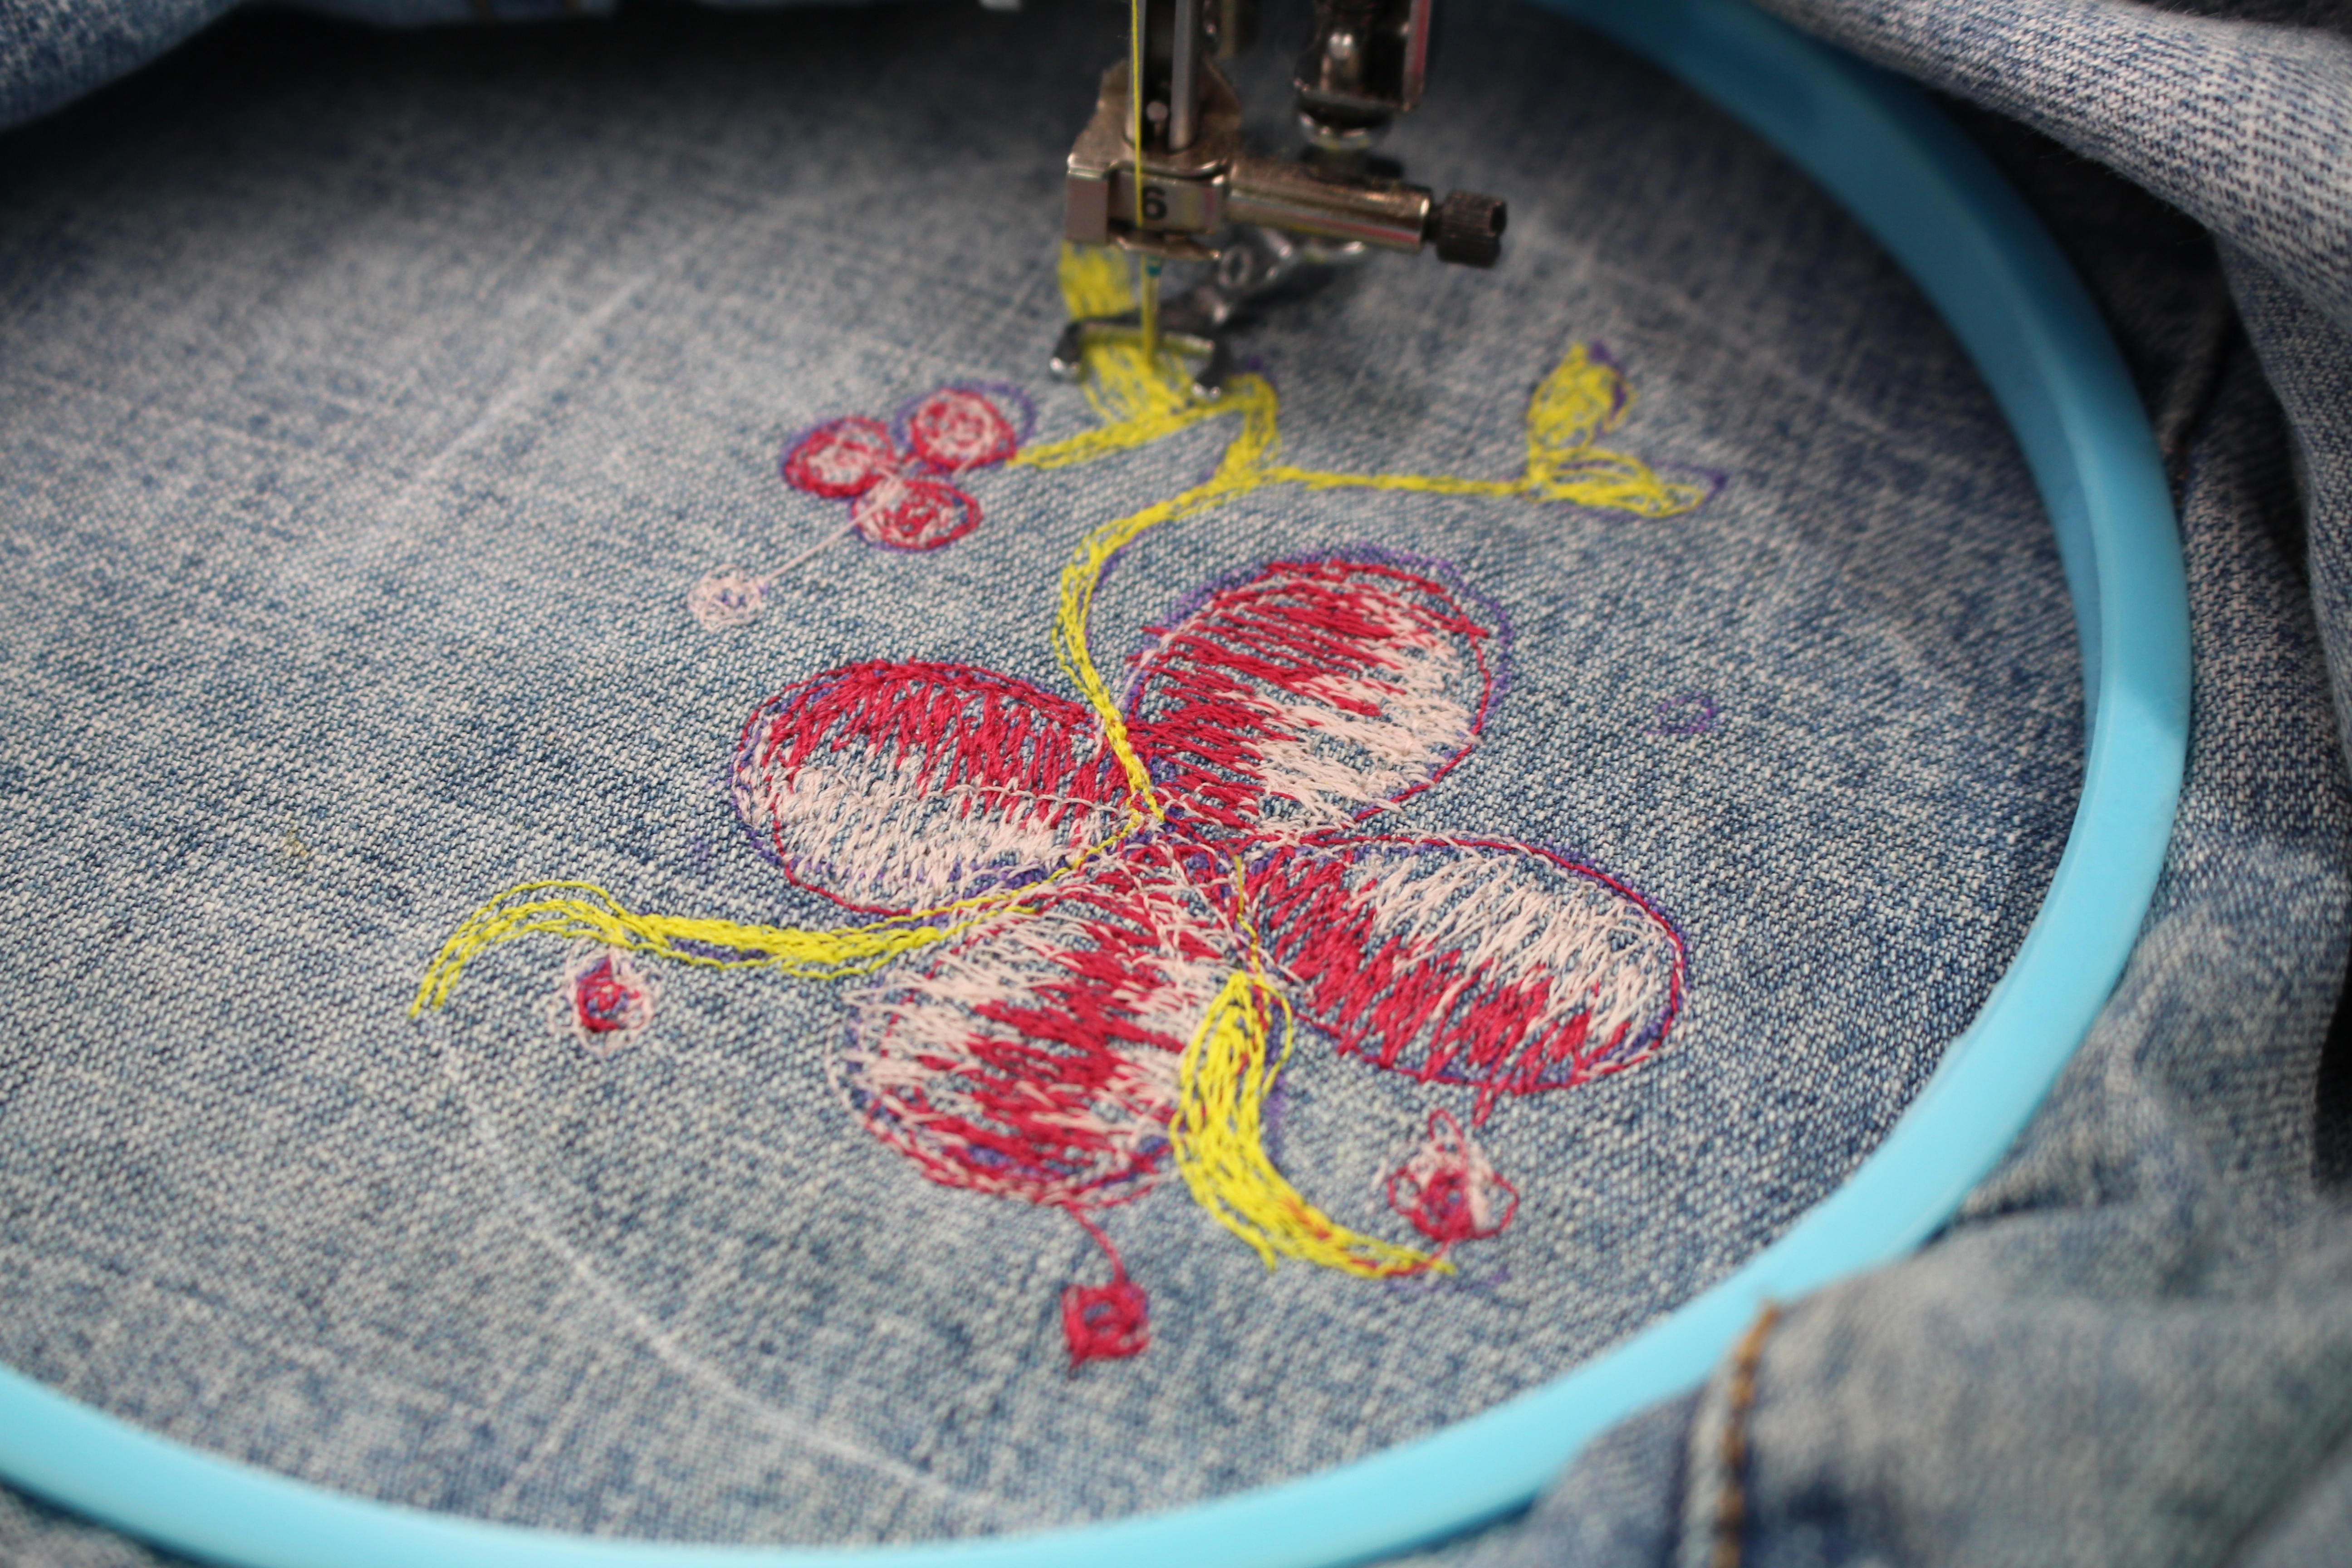
Free Motion Embroidery
Set the sewing machine up for free motion quilting and slide the hoop under the presser foot, making sure to keep the back of the jean leg out of the way. We only want the fabric in the hoop under the needle on the machine.

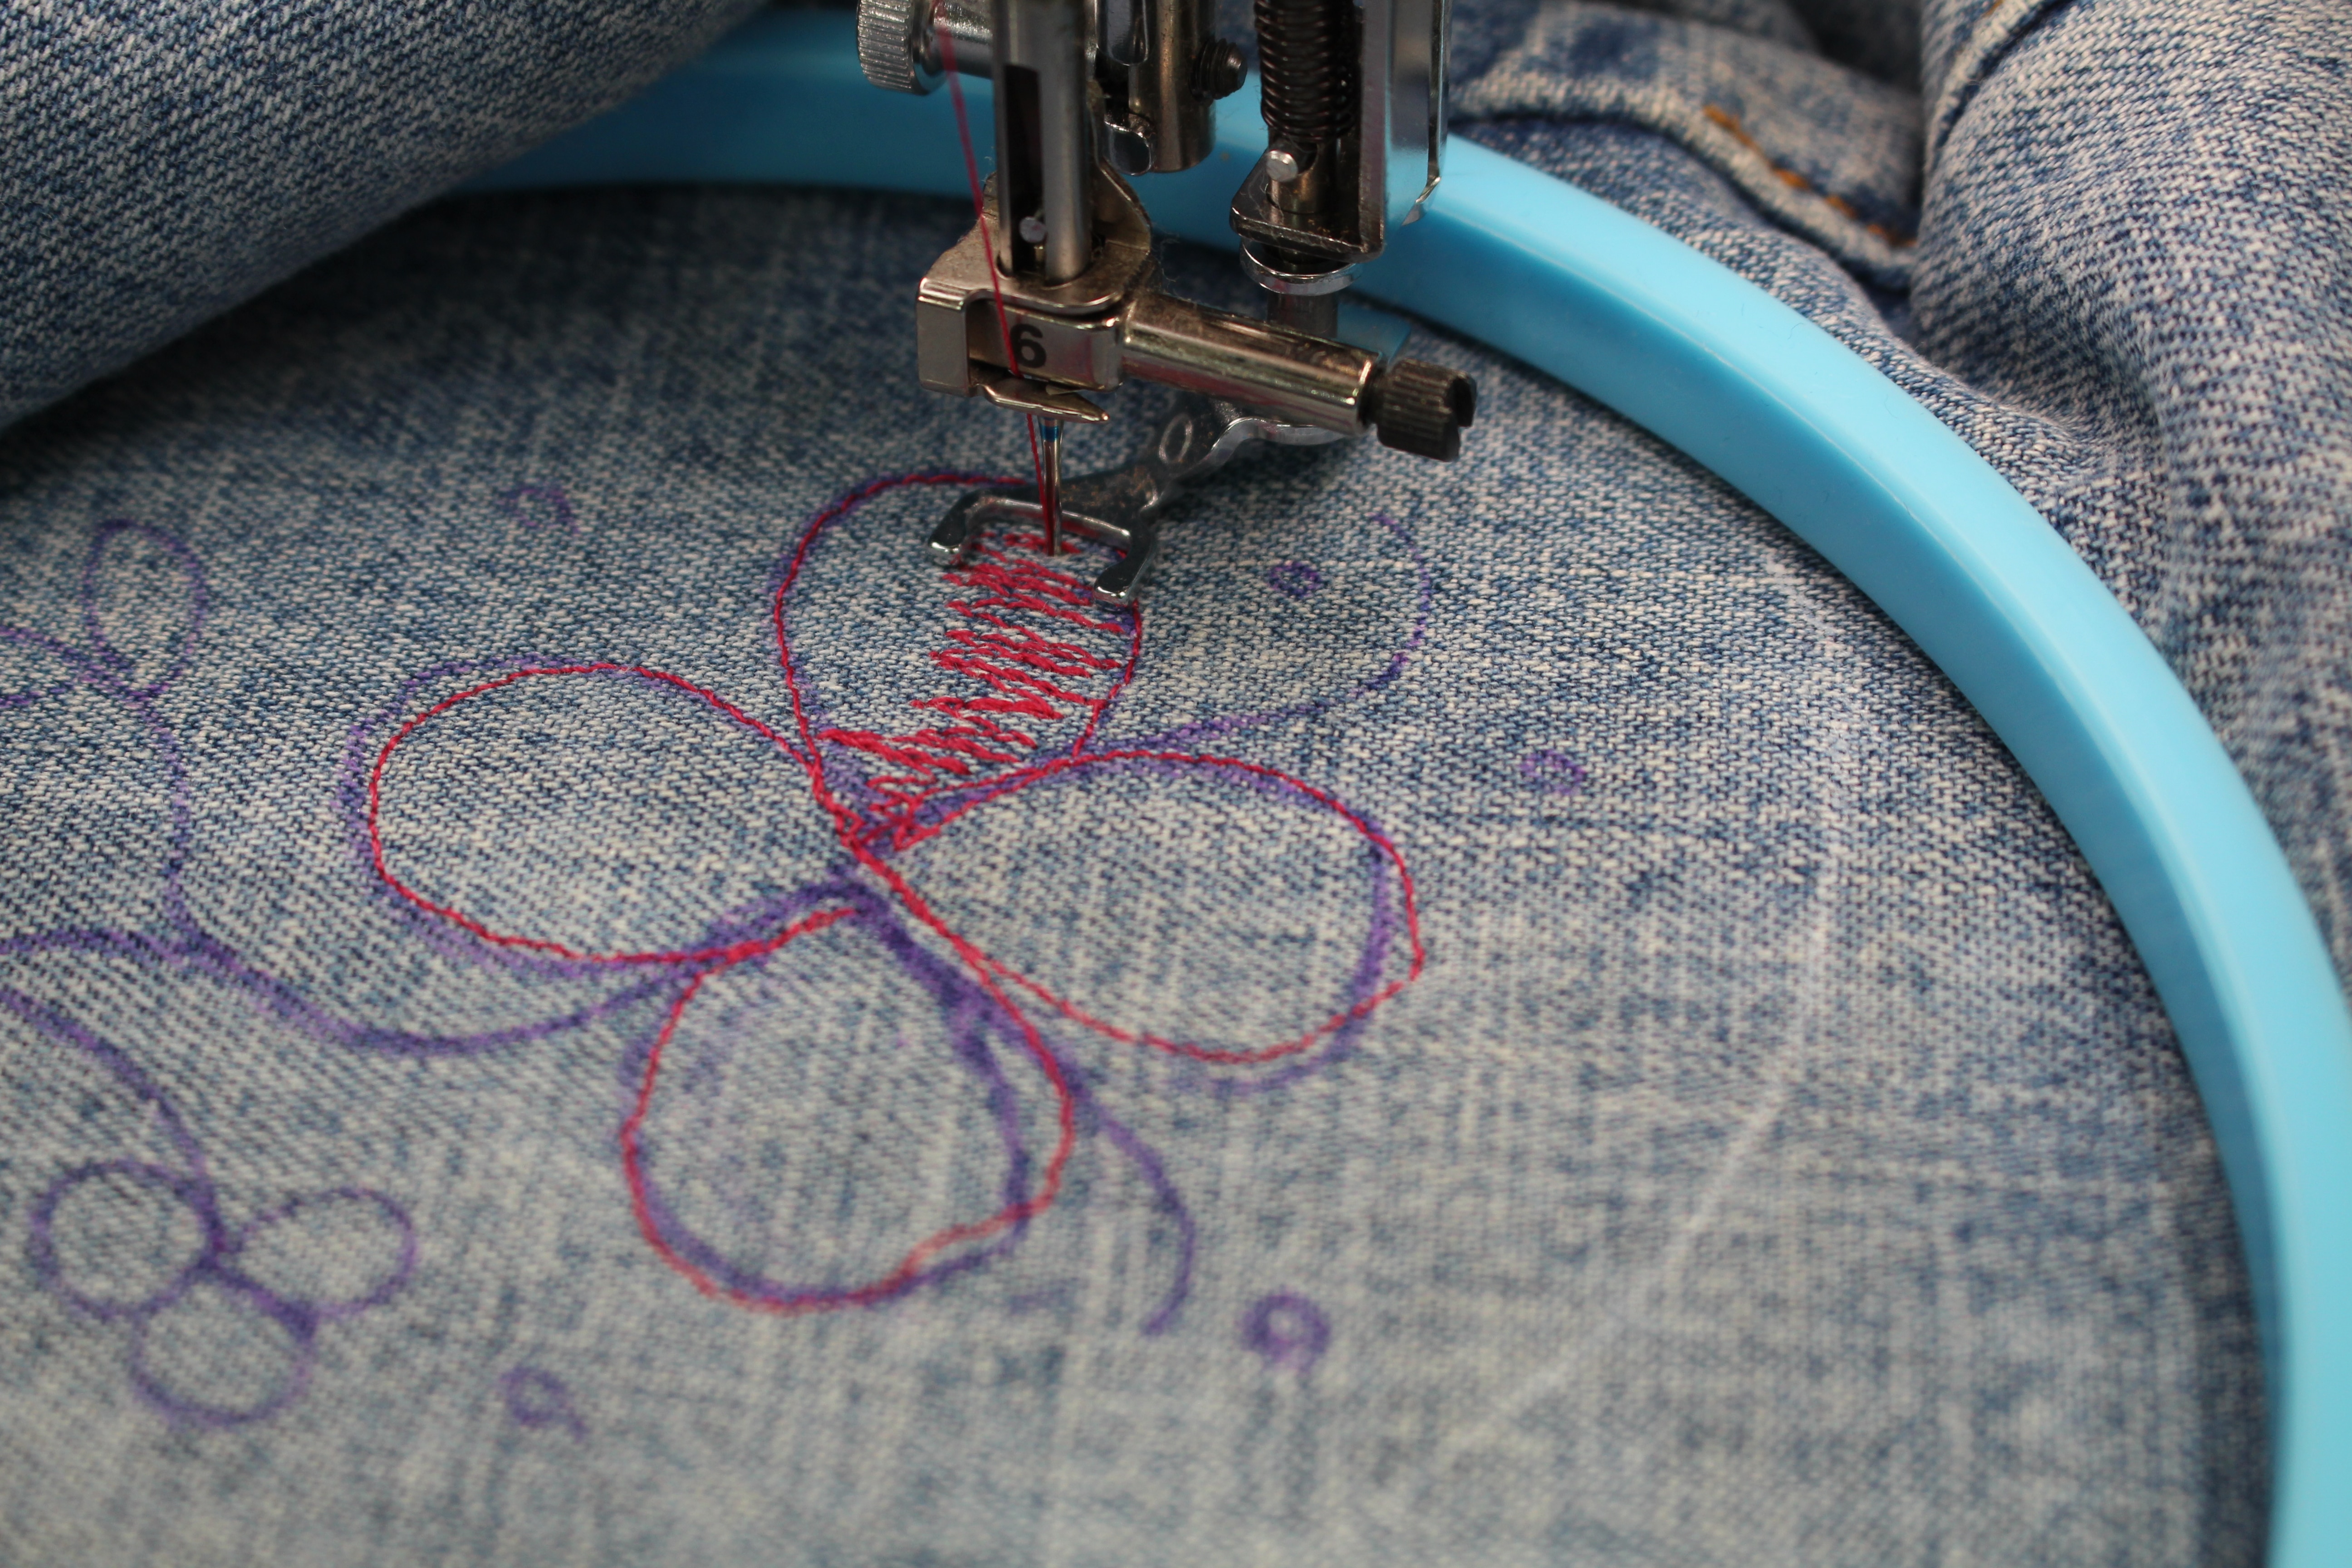
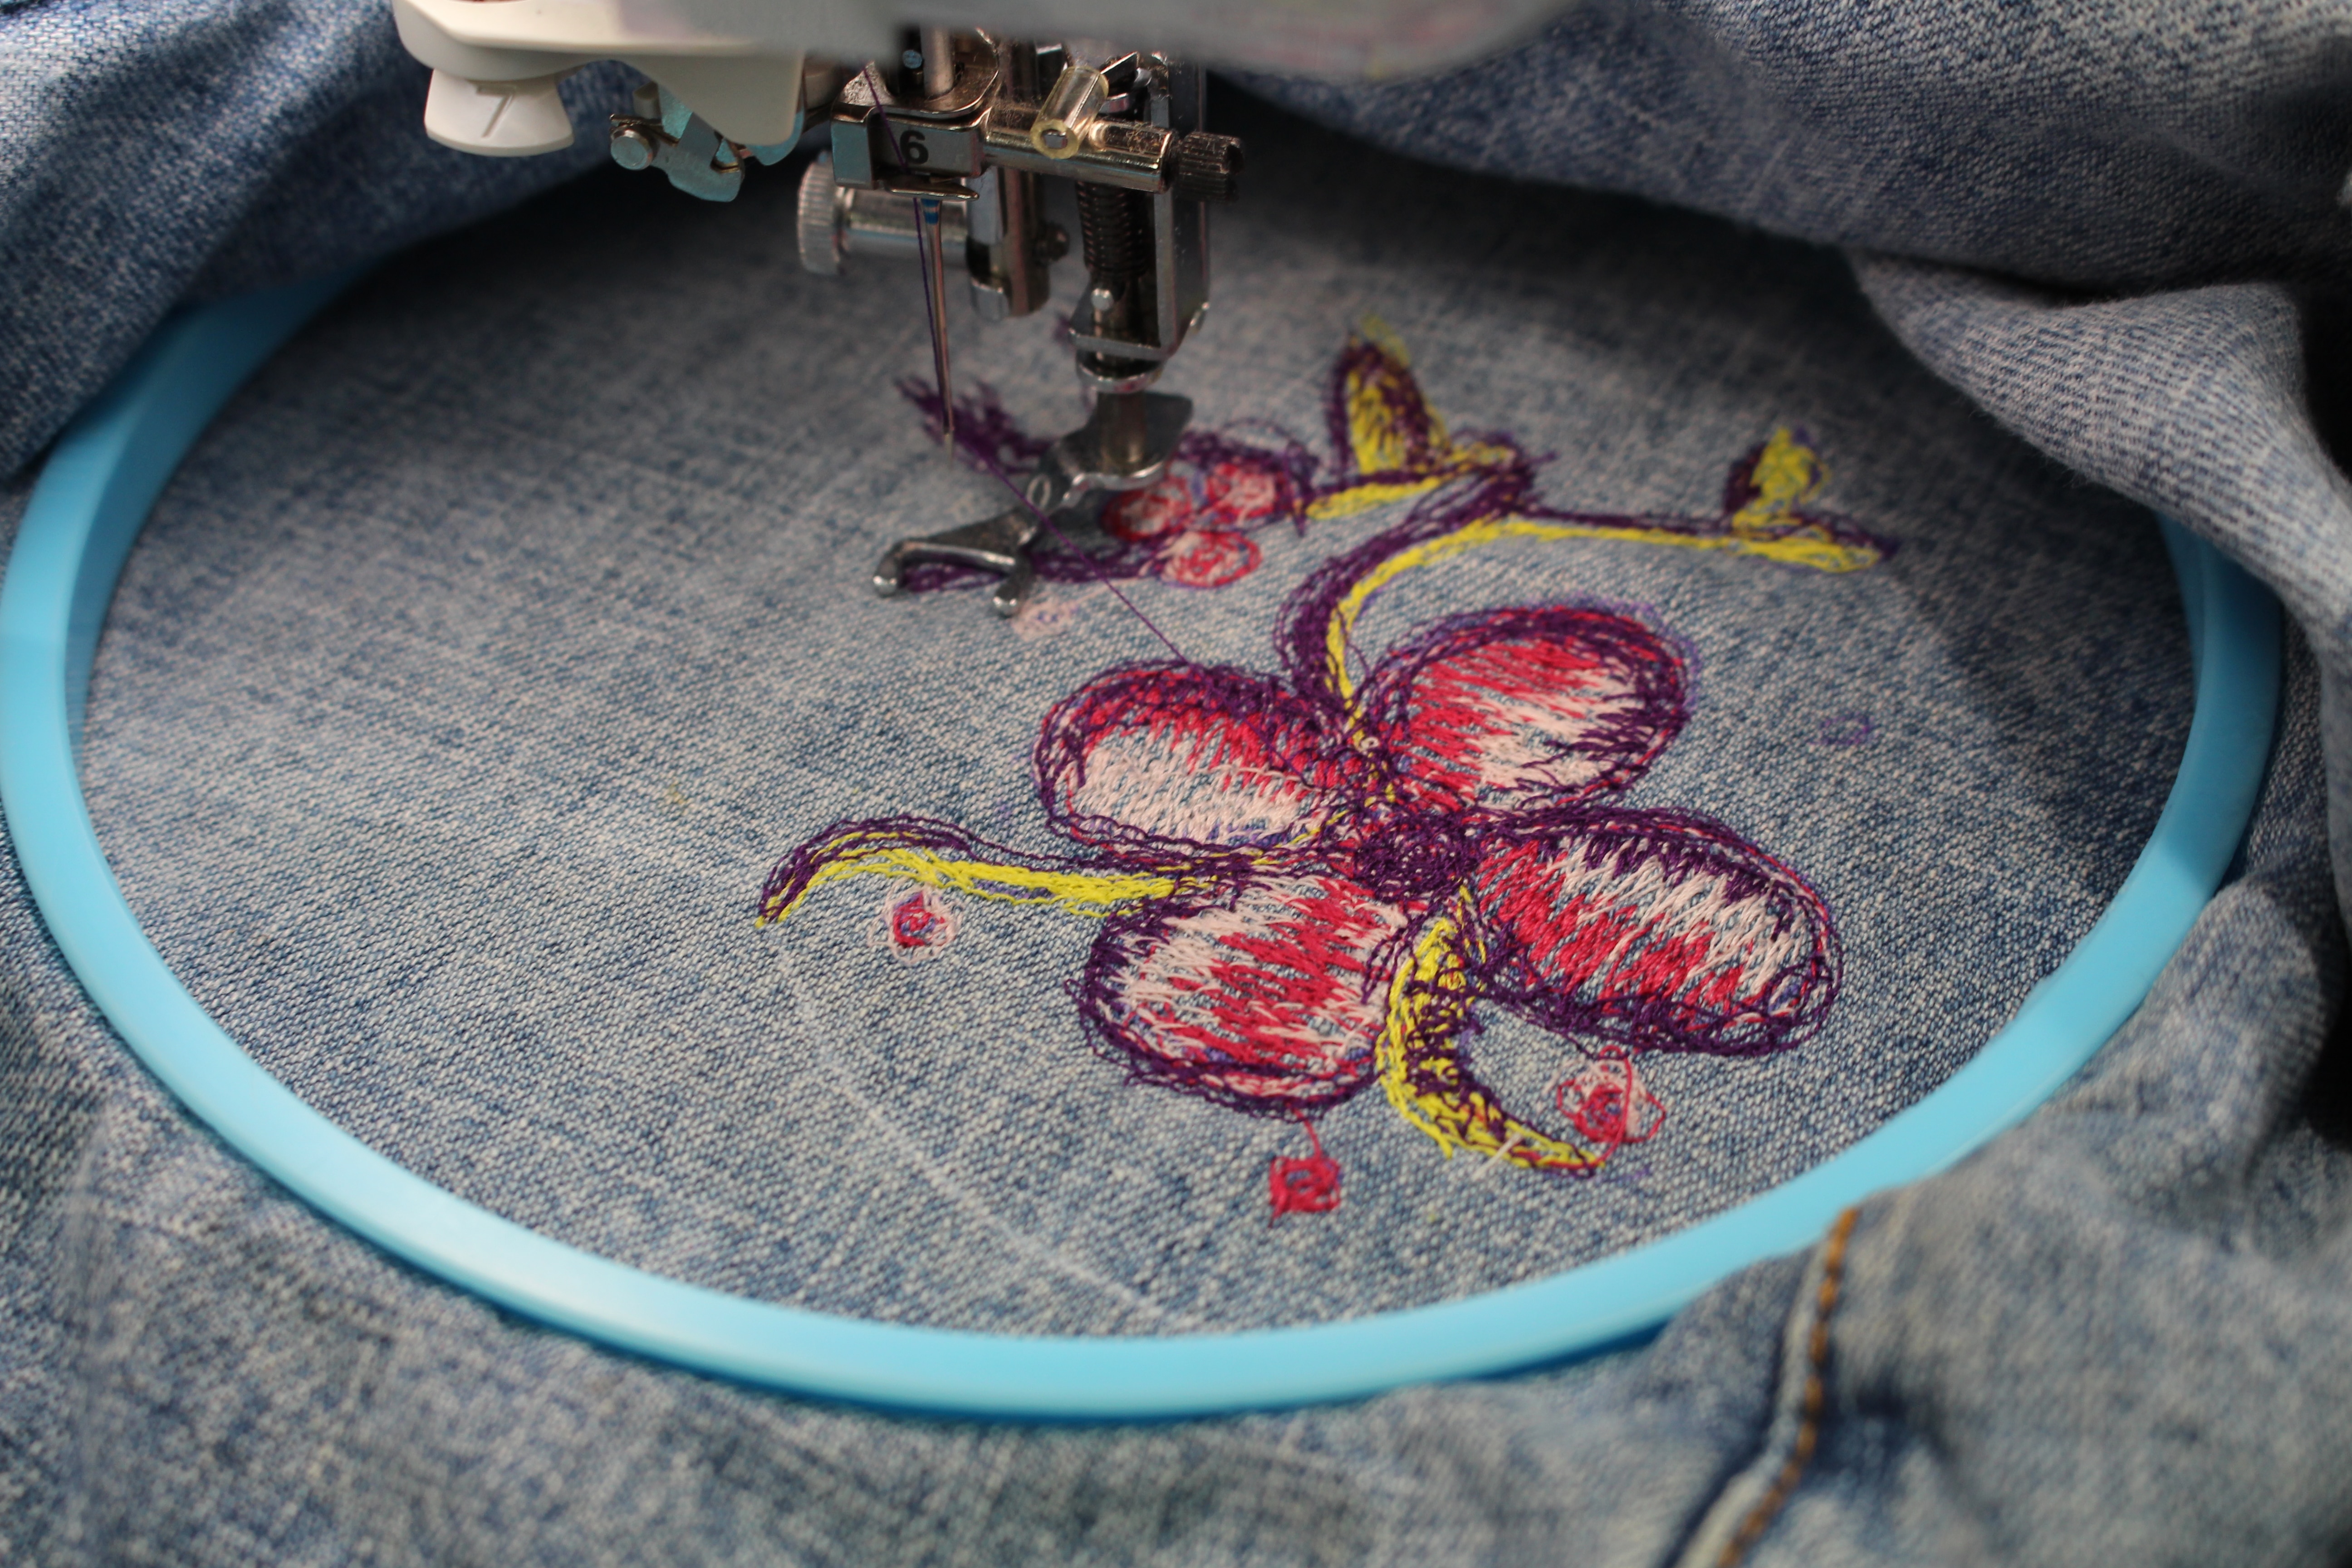
Start in the middle of the design and fill in the design with thread.
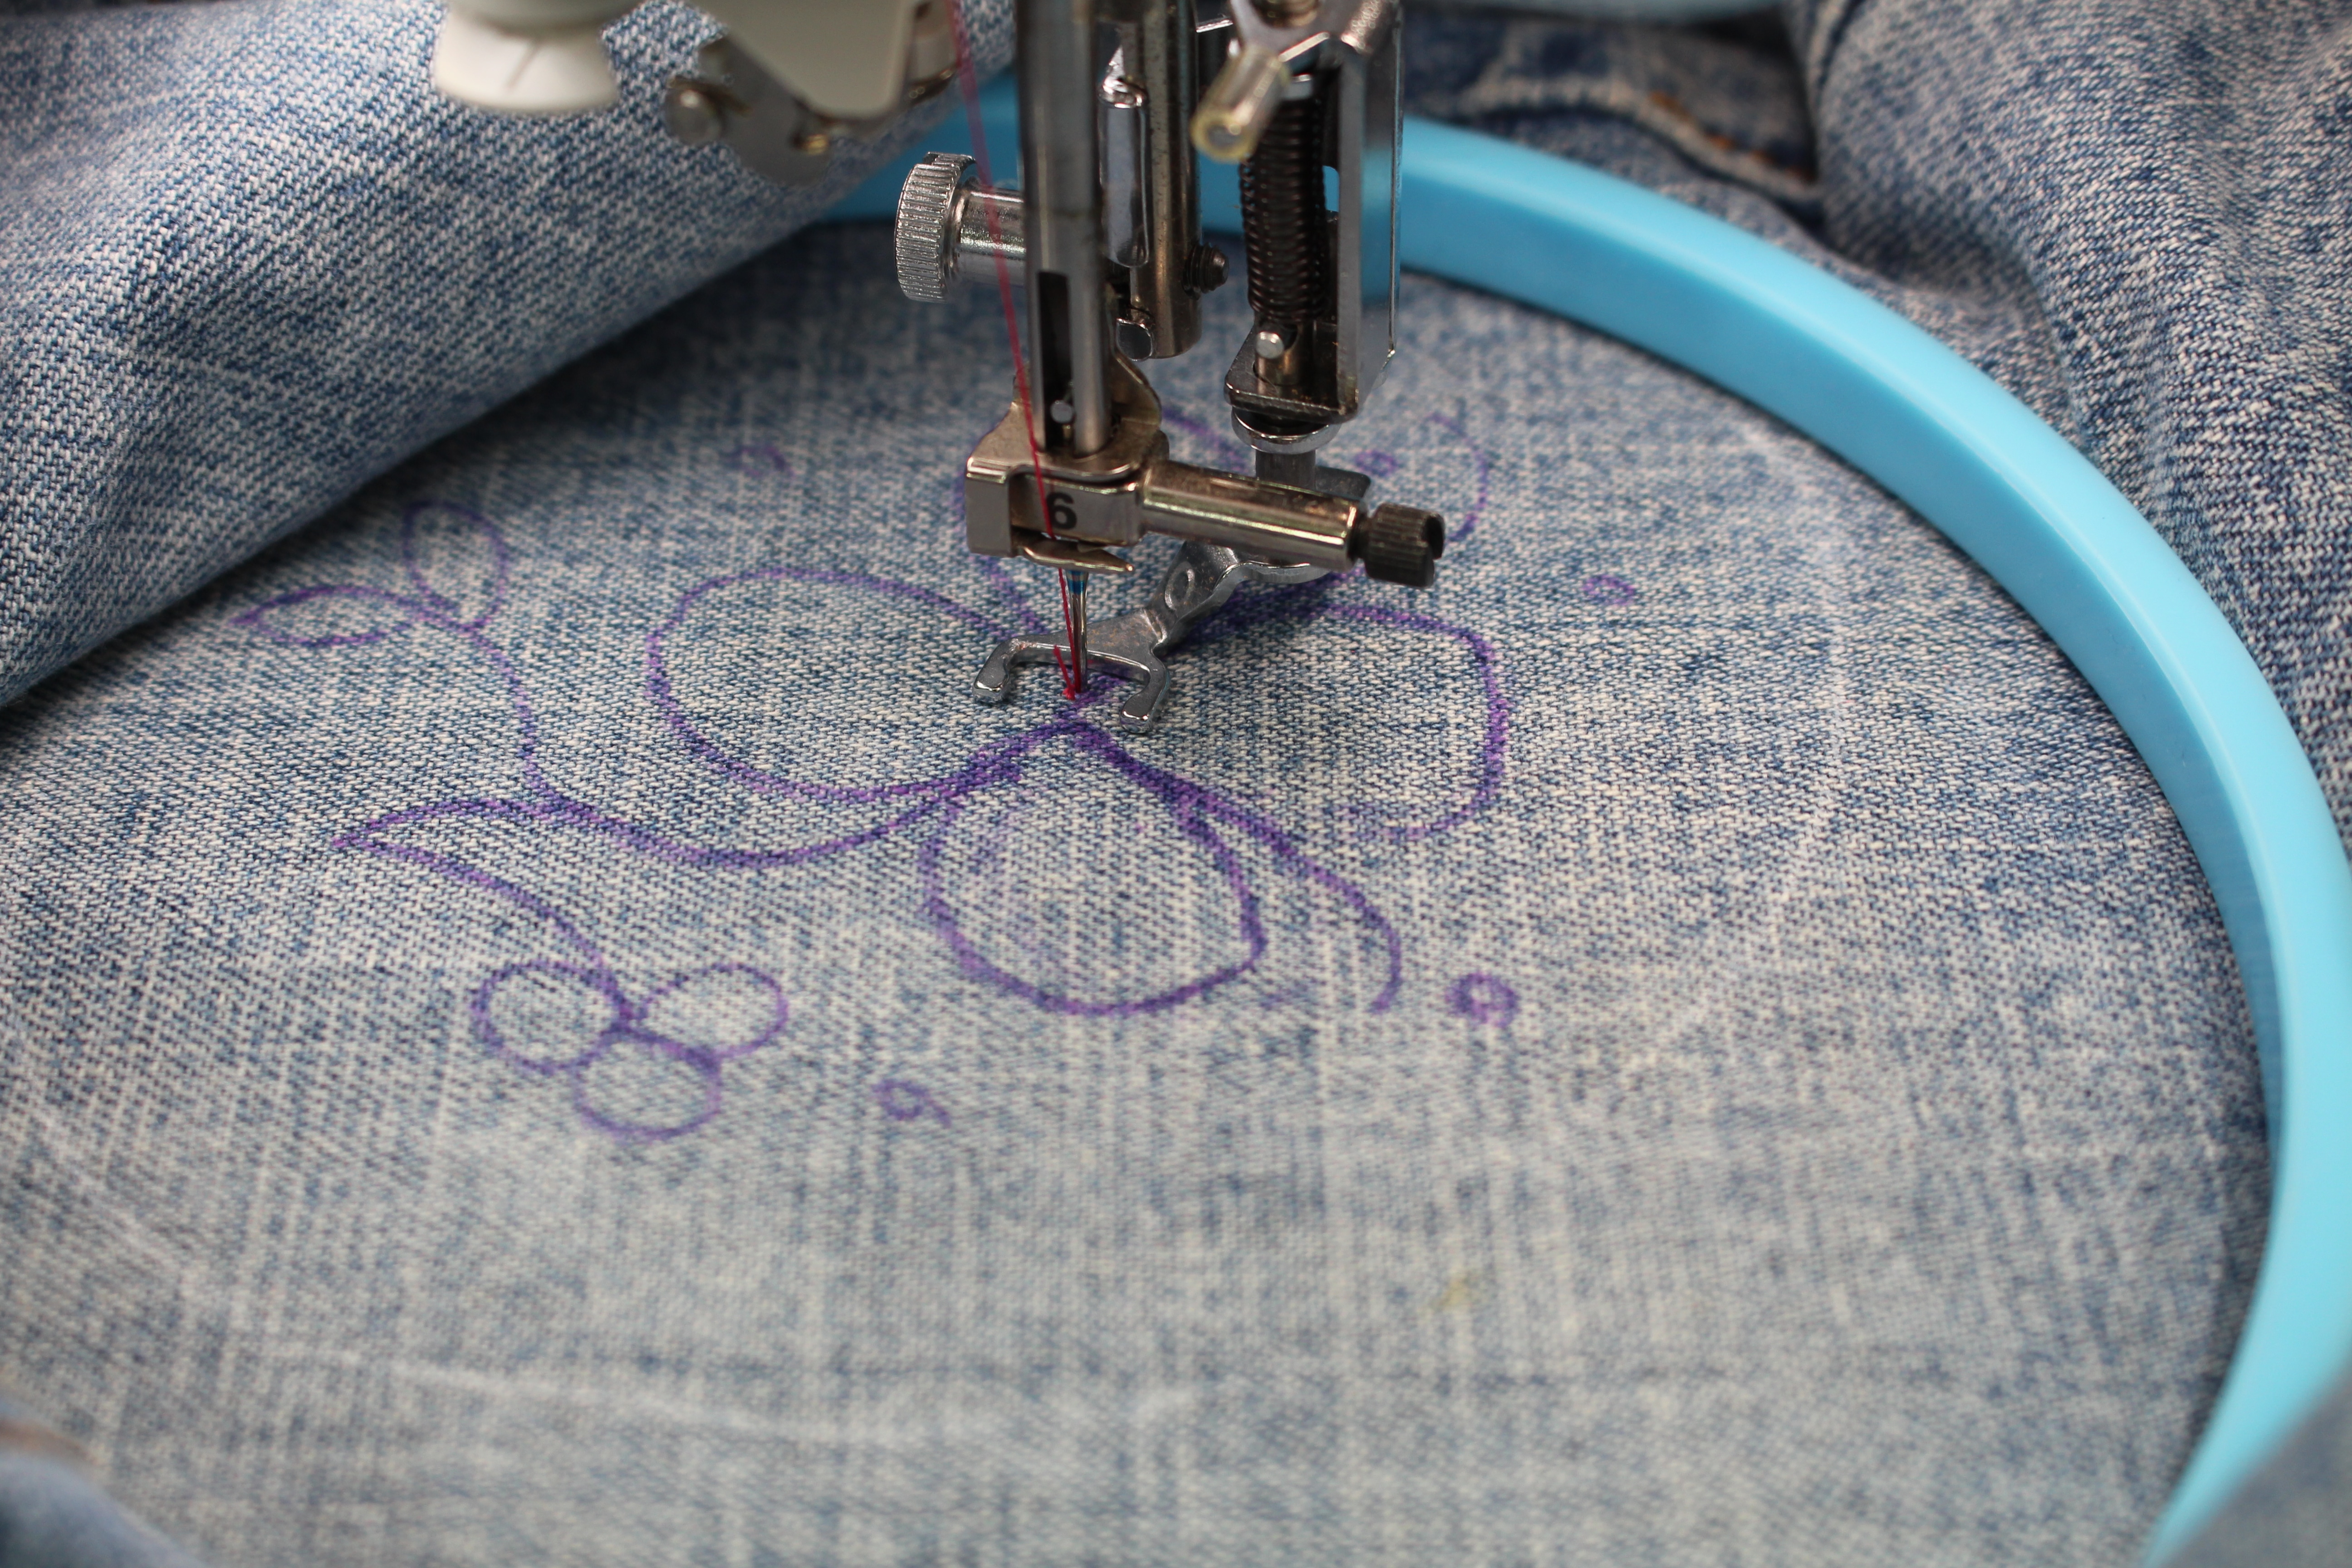
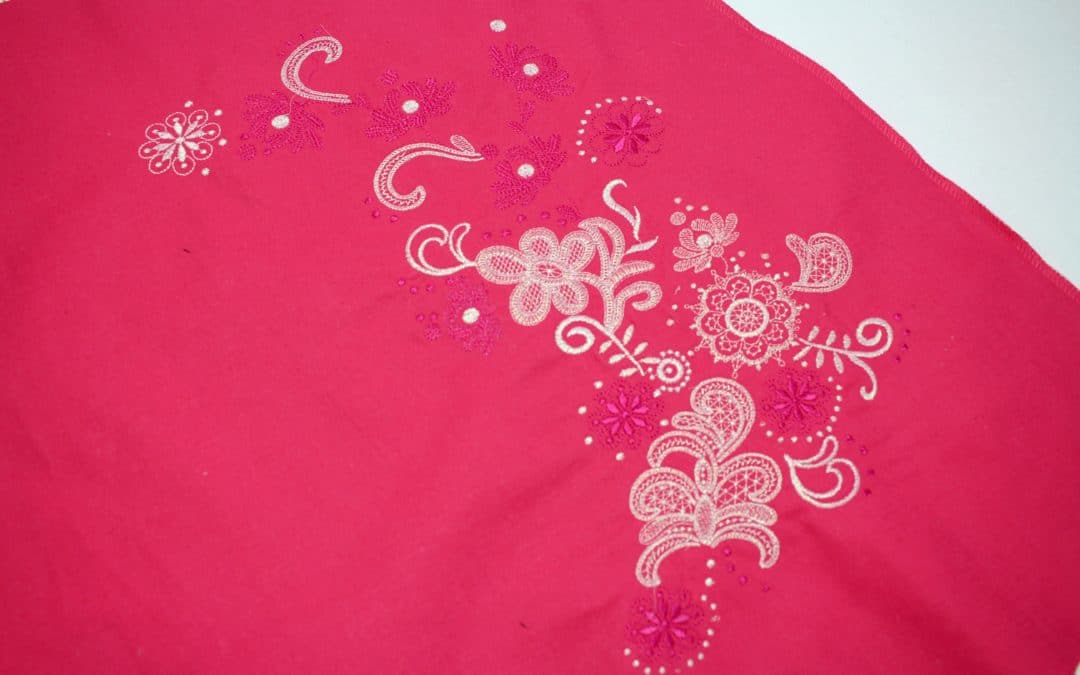
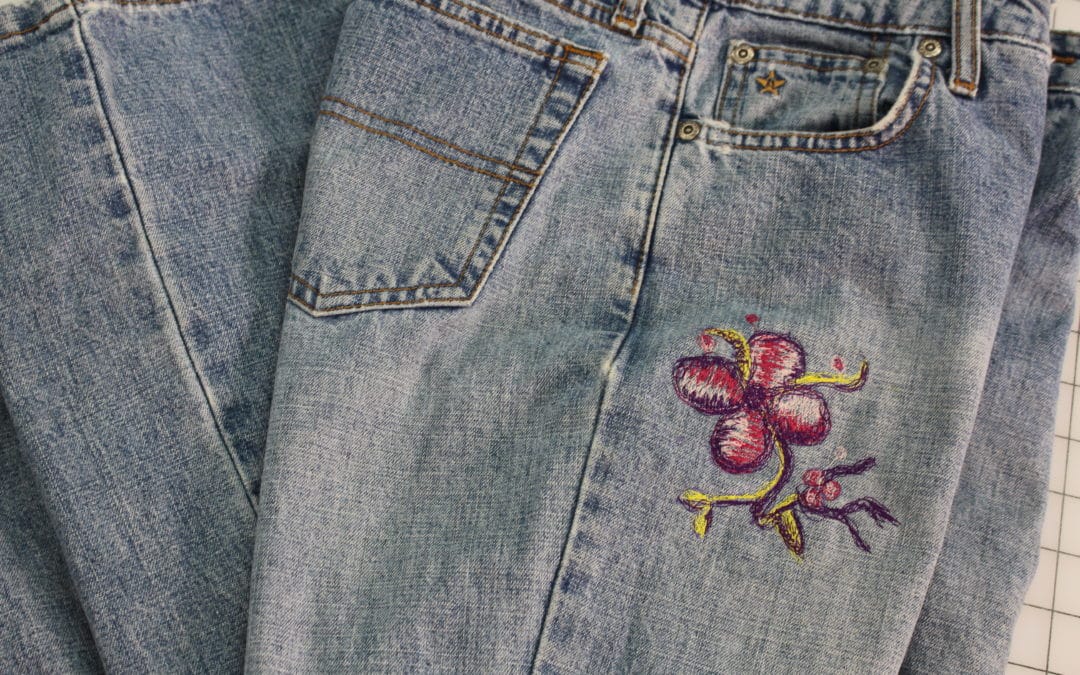
Here I have outlined the design first. Then fill in the petals by moving the machine back and forth with thread. This is your design, so don’t worry about perfection, just have fun! Continue to change colors of thread and paint away J
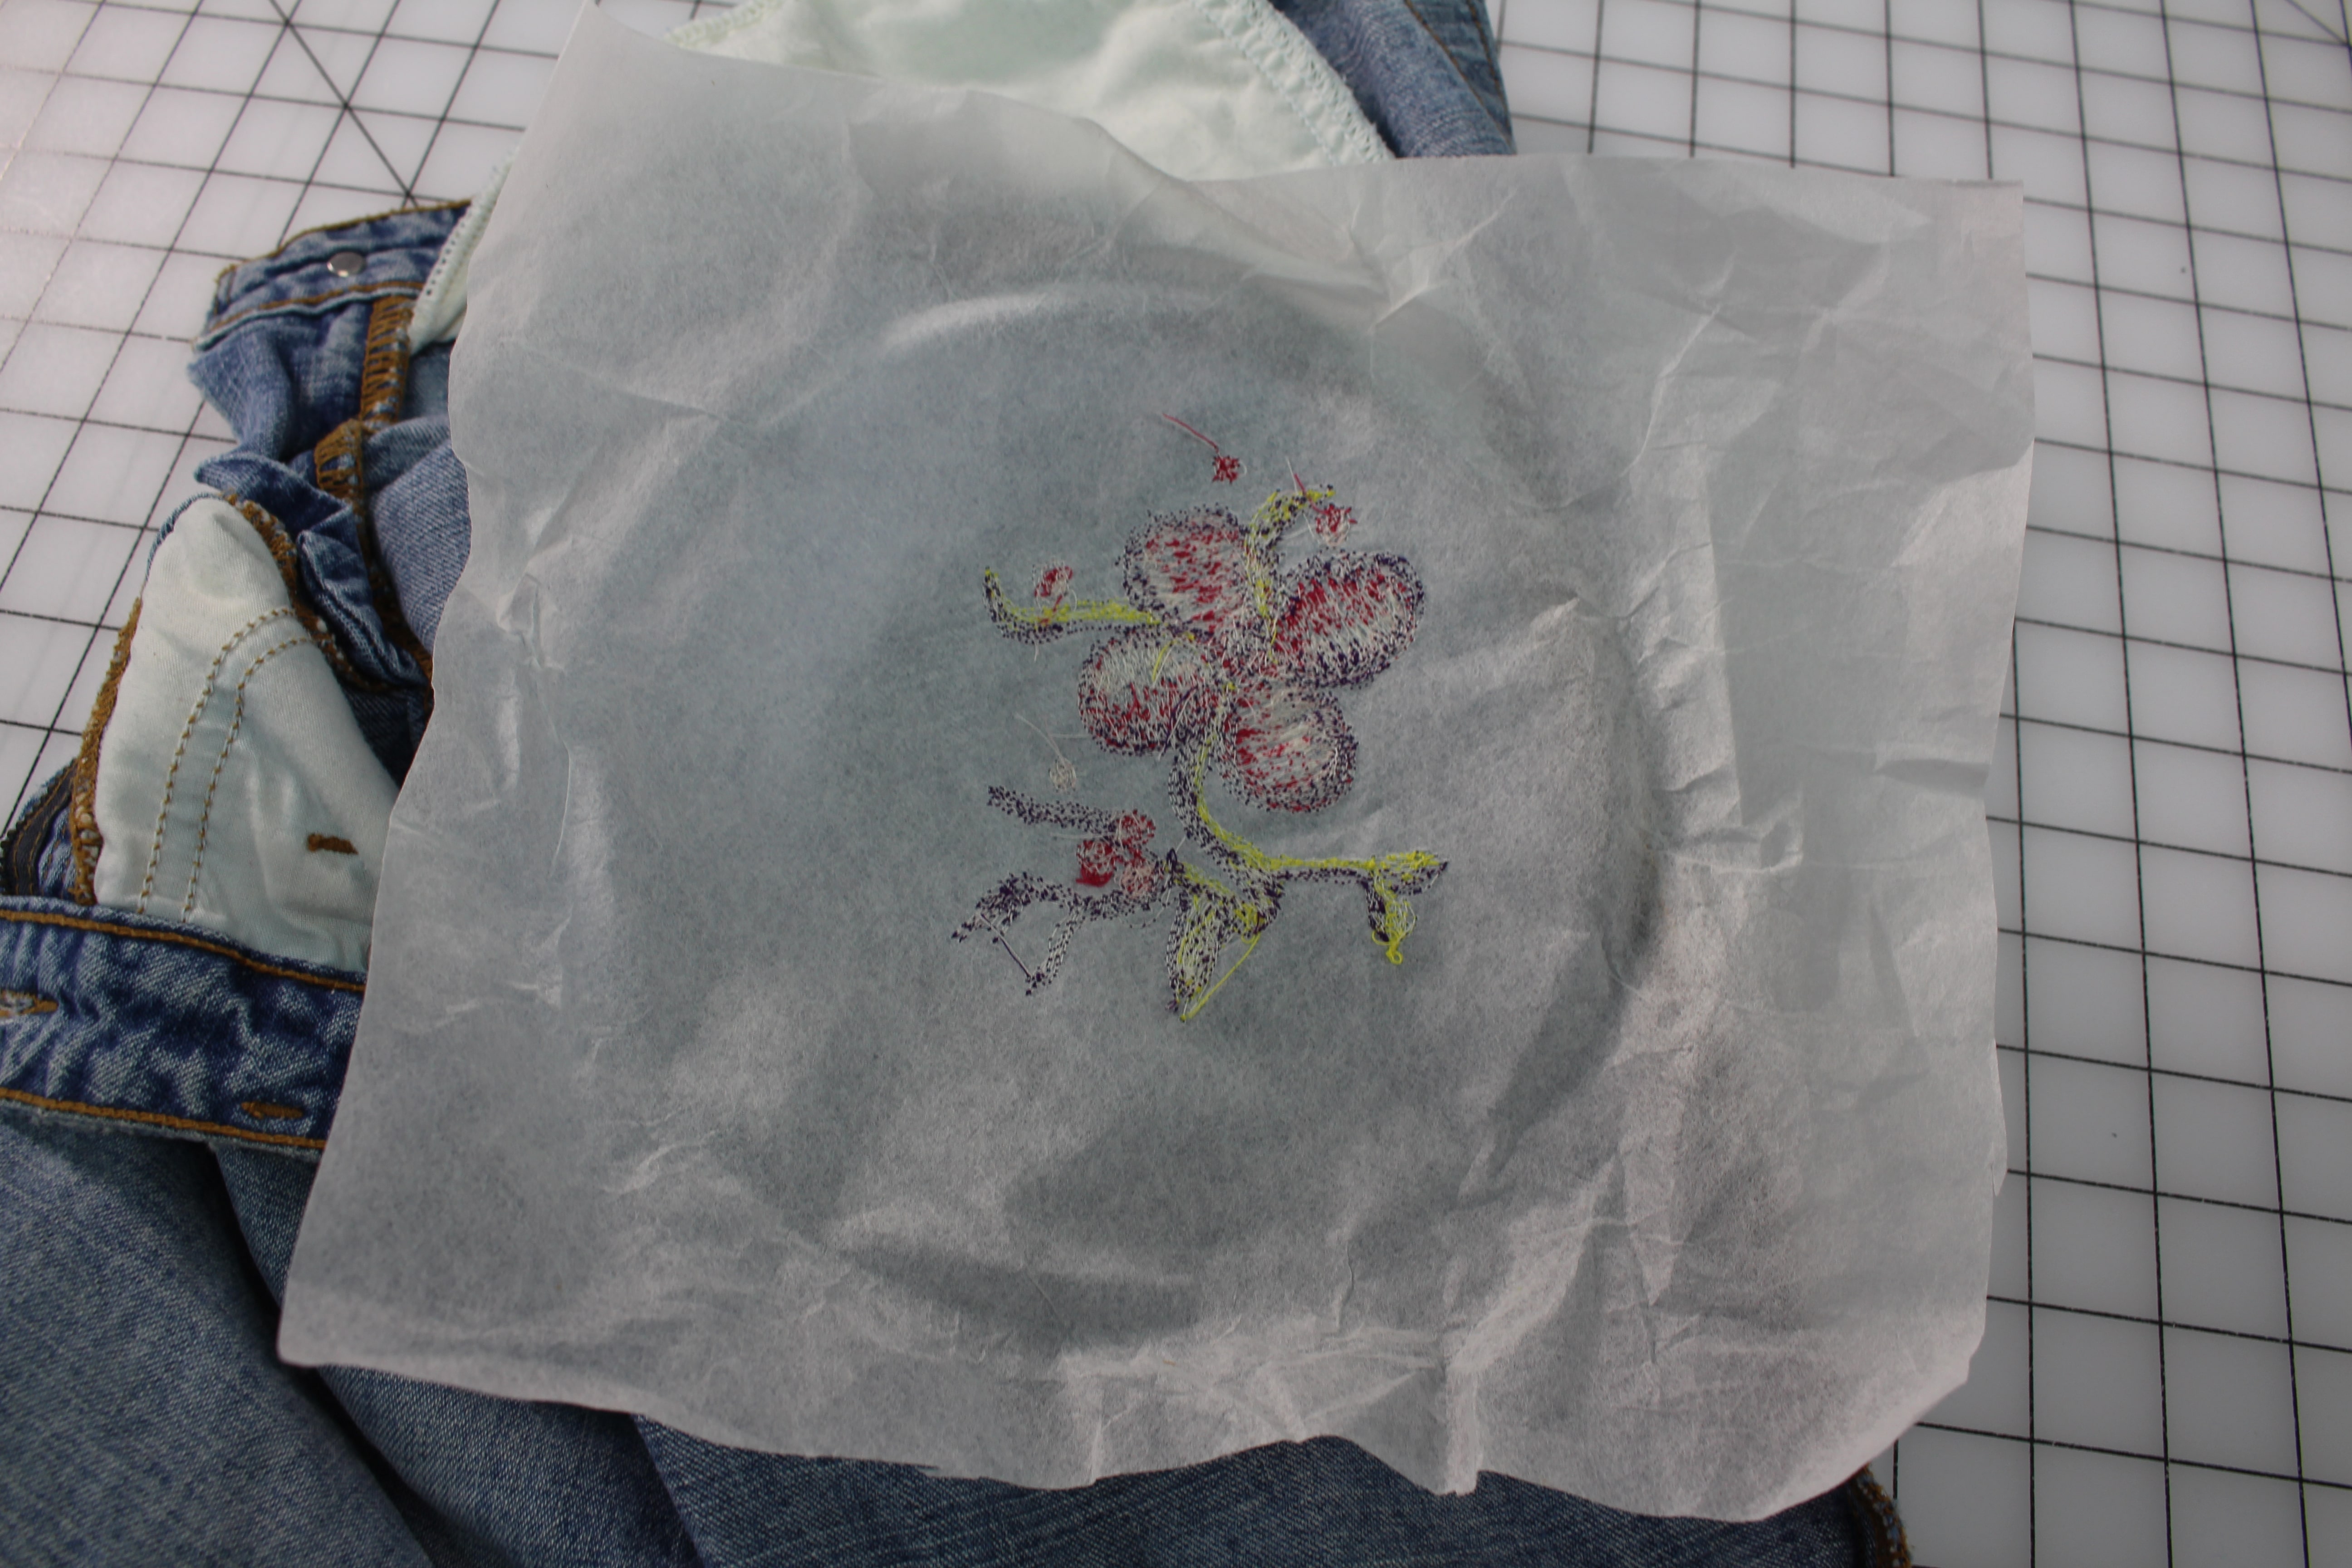
When you are all finished designing, remove the hoop and tear-a-way the stabilizer.
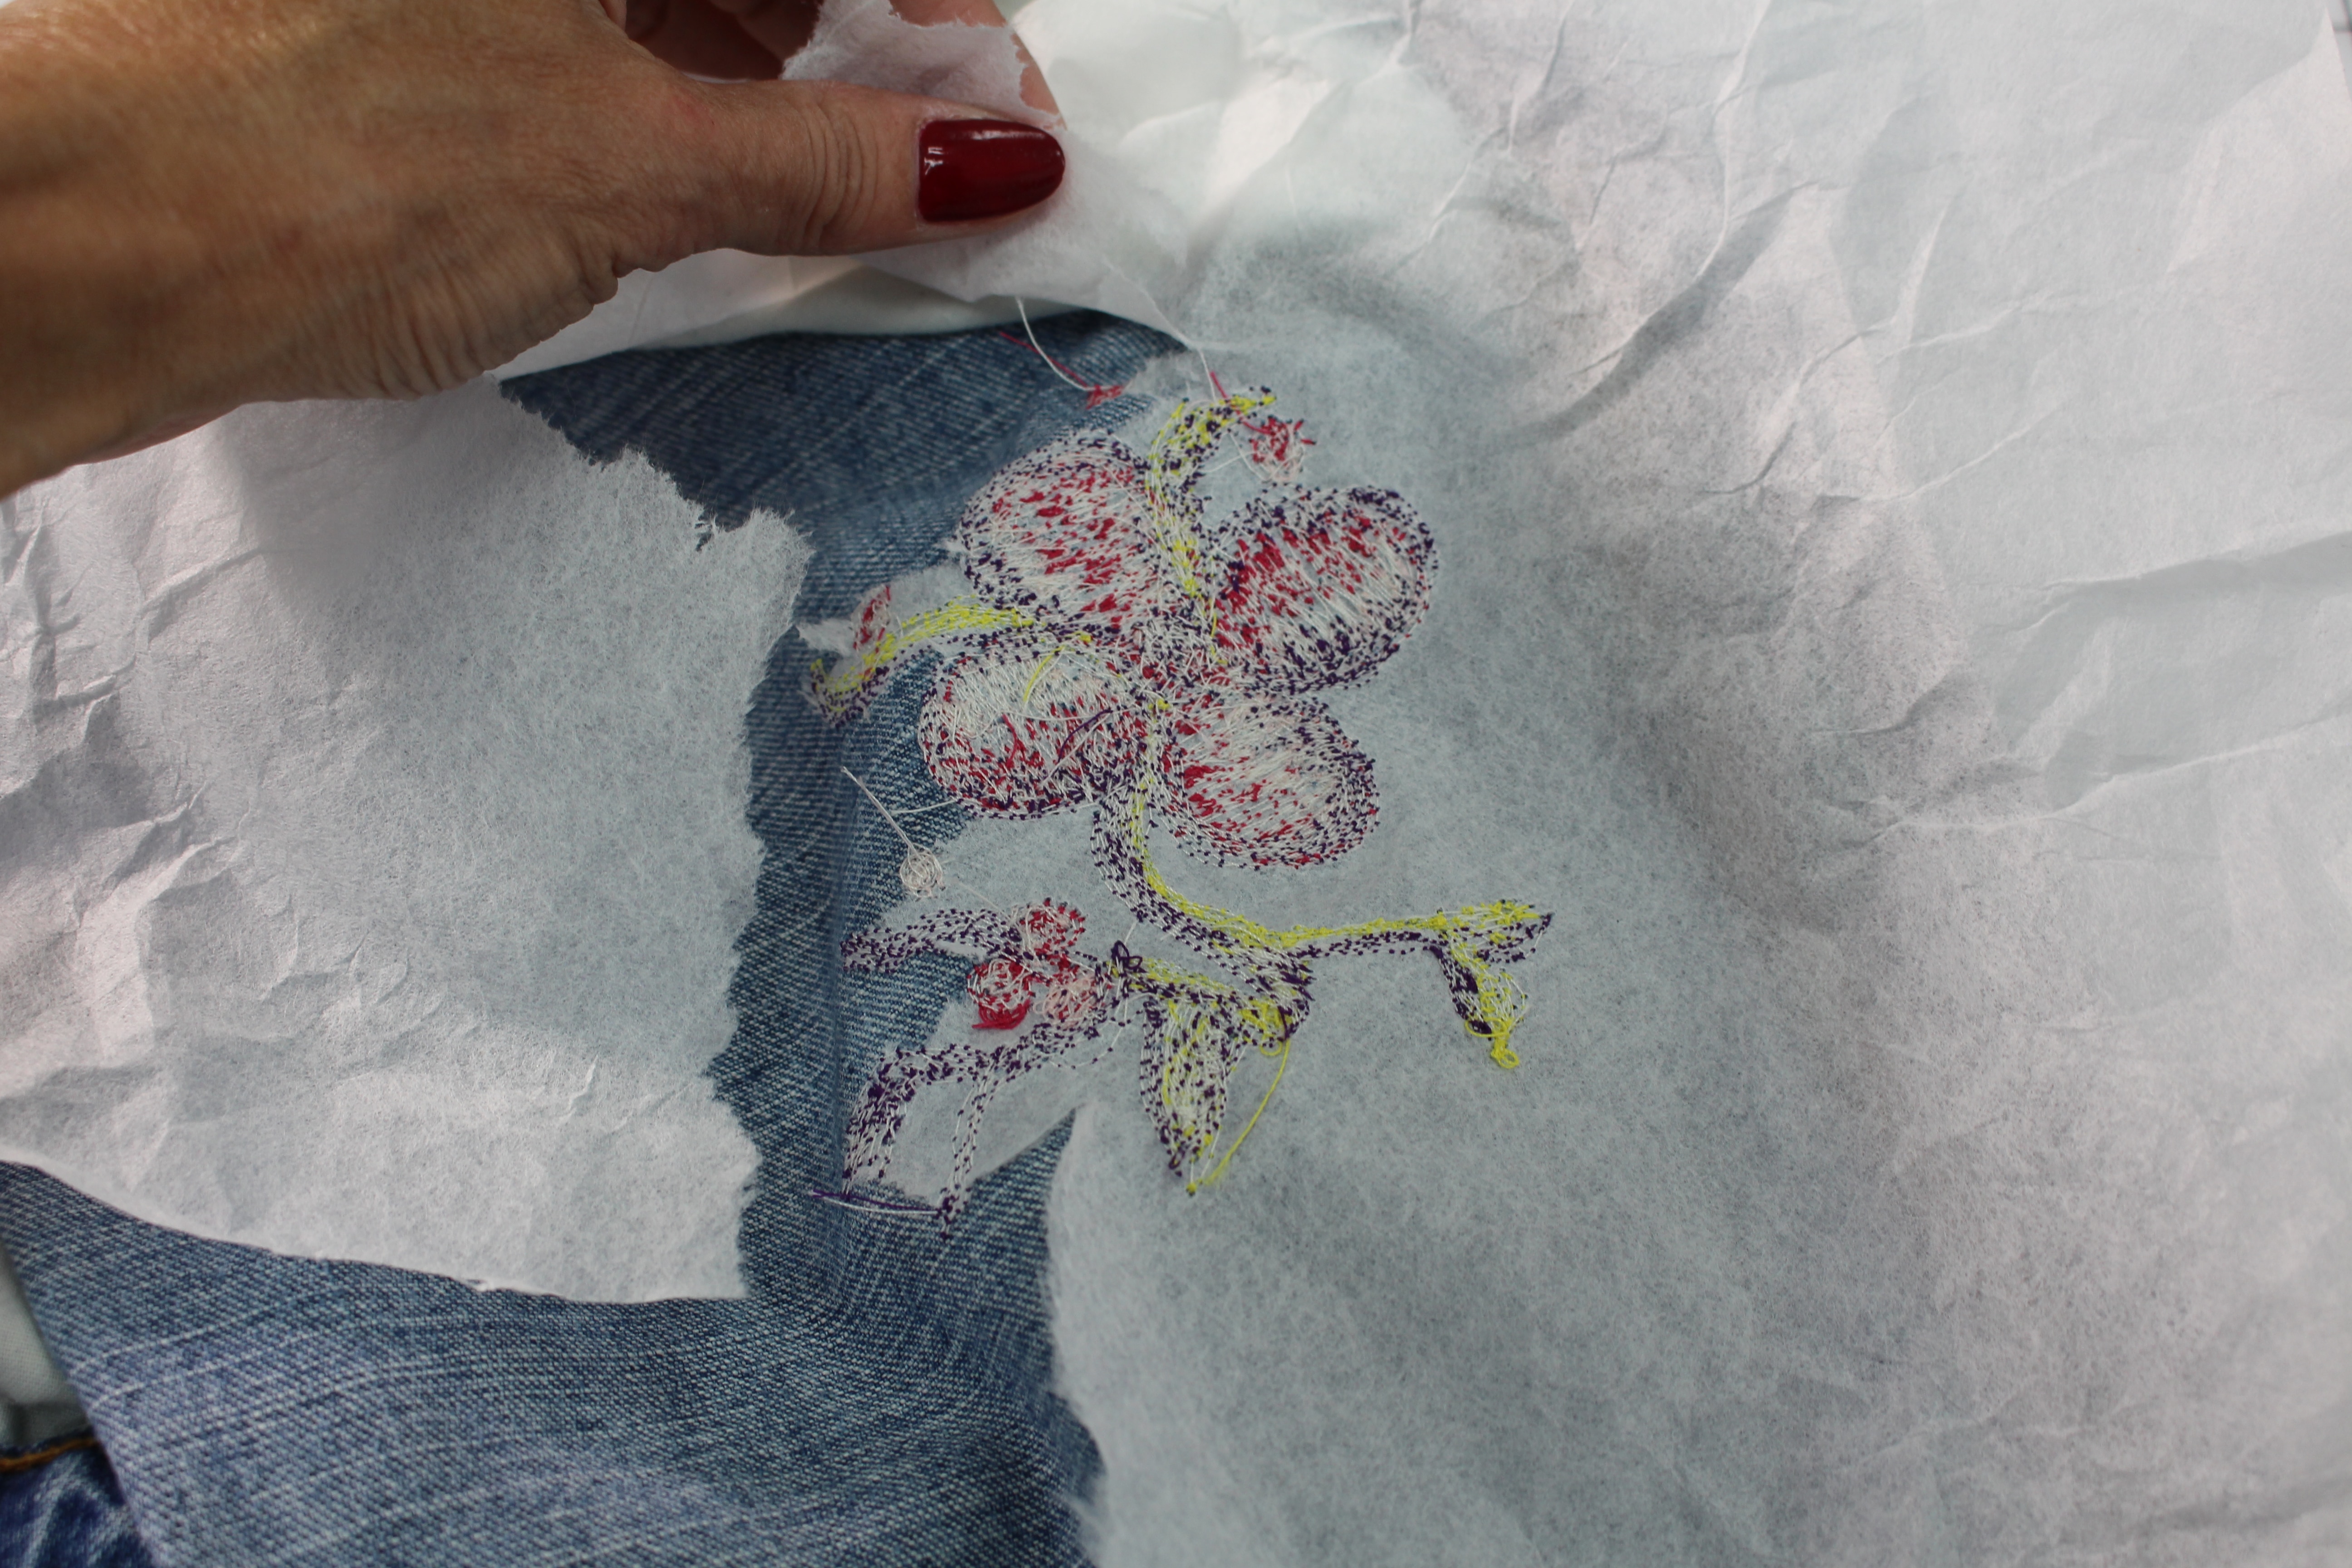
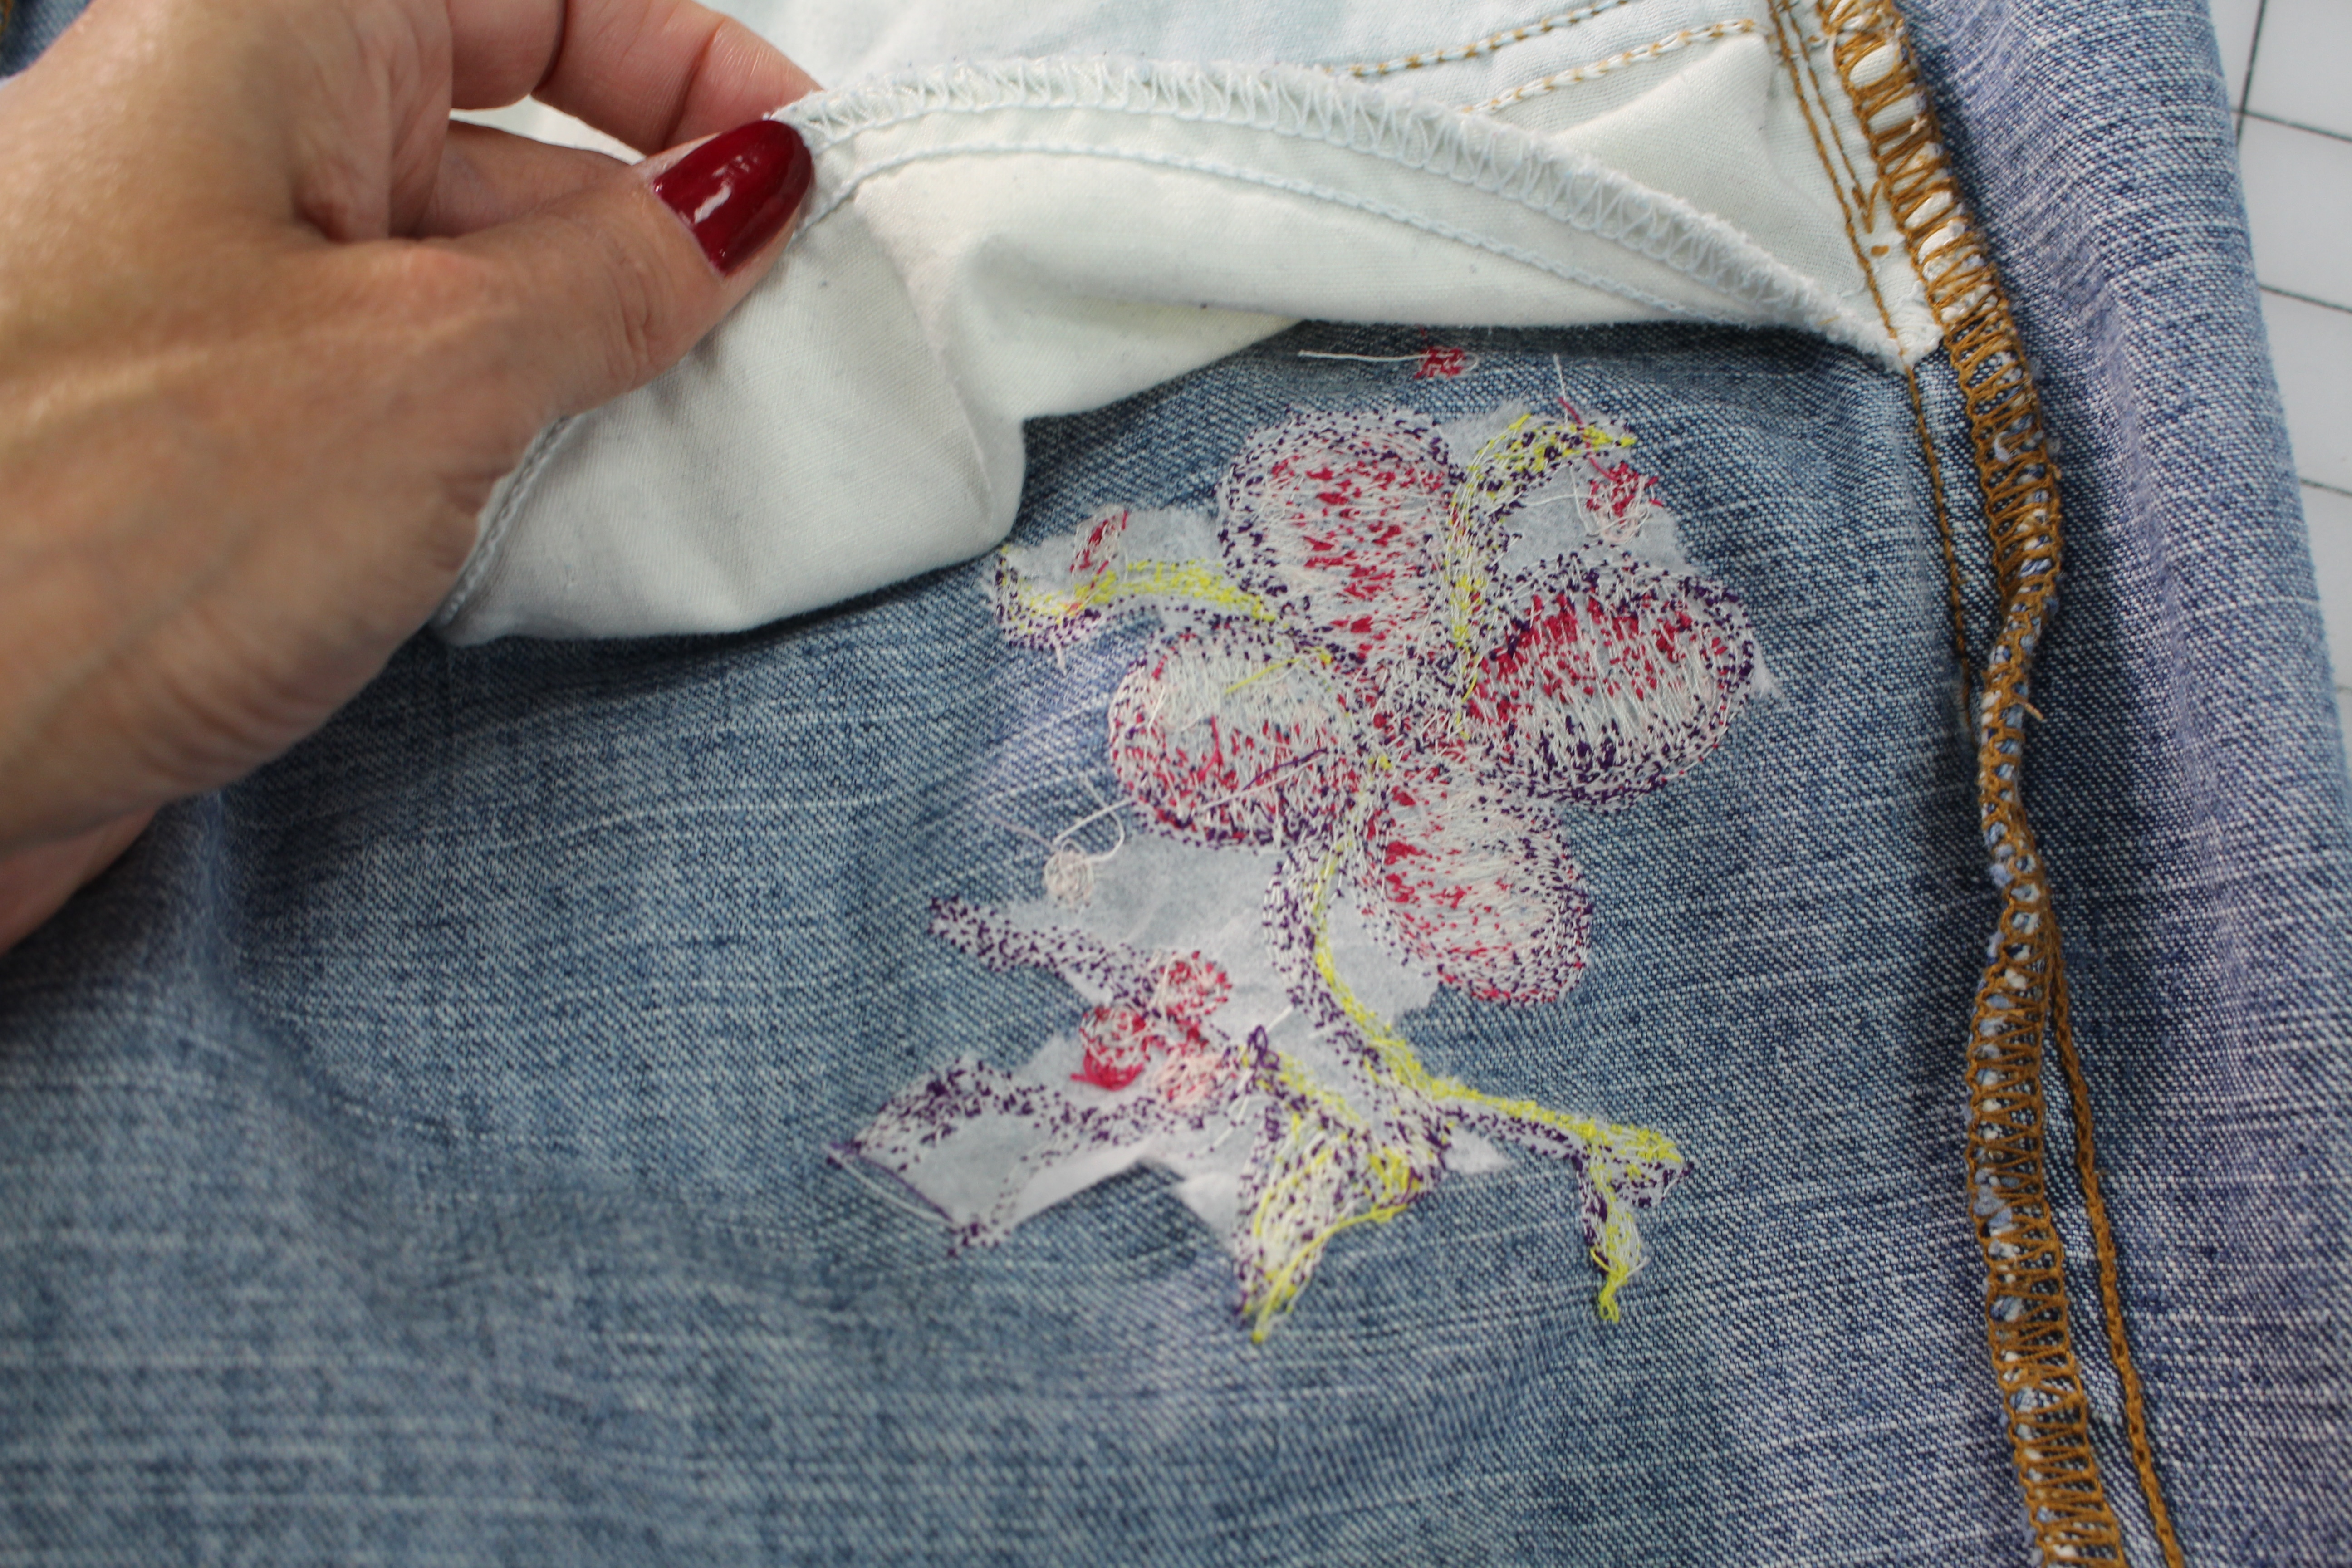
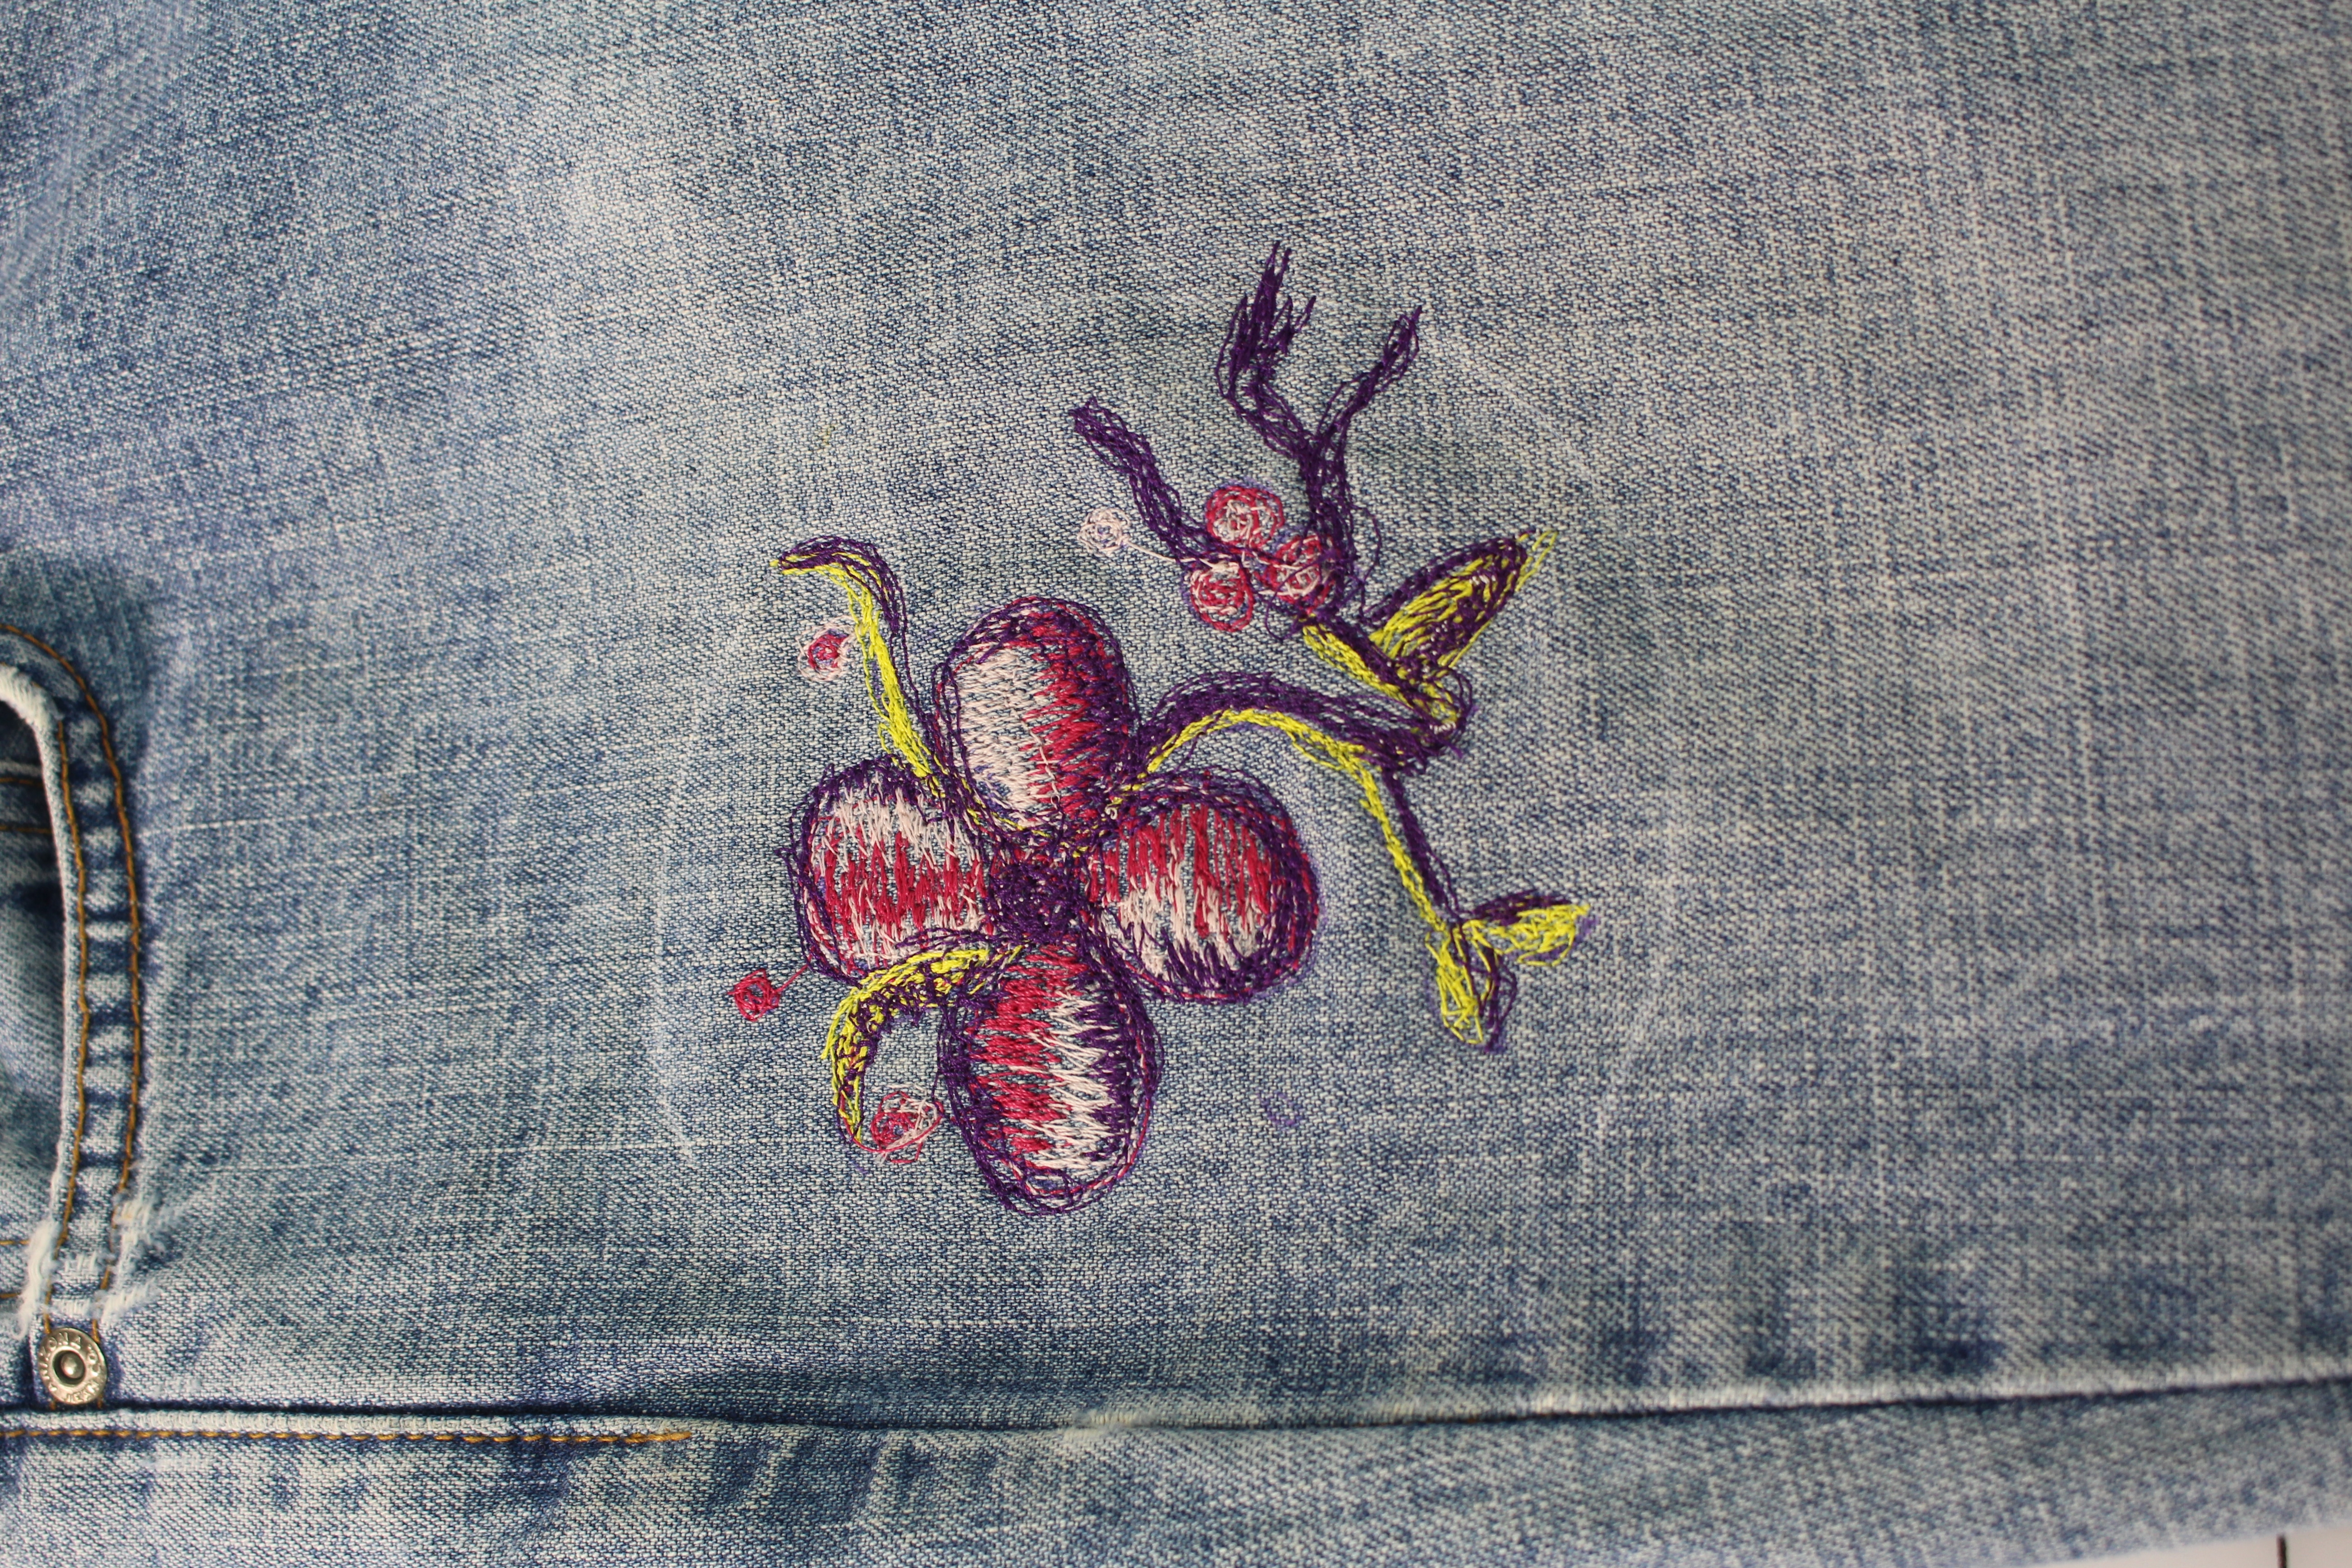
You can see here how my design falls just under the front pocket, perfect! Brush off the chalk marks and your new embellished jeans are ready to go! Be sure to join me on the social side using #angelawolf ♥ I always love to see what you are working on.
Cheers,

<a target="_blank" href="https://shareasale.com/r.cfm?b=1130527&u=1586241&m=29190&urllink=&afftrack="><img src="https://static.shareasale.com/image/29190/728x90.gif" border="0" alt="Craftsy Unlimited FREE 7 day trial at Craftsy.com" /></a>