No Results Found
The page you requested could not be found. Try refining your search, or use the navigation above to locate the post.

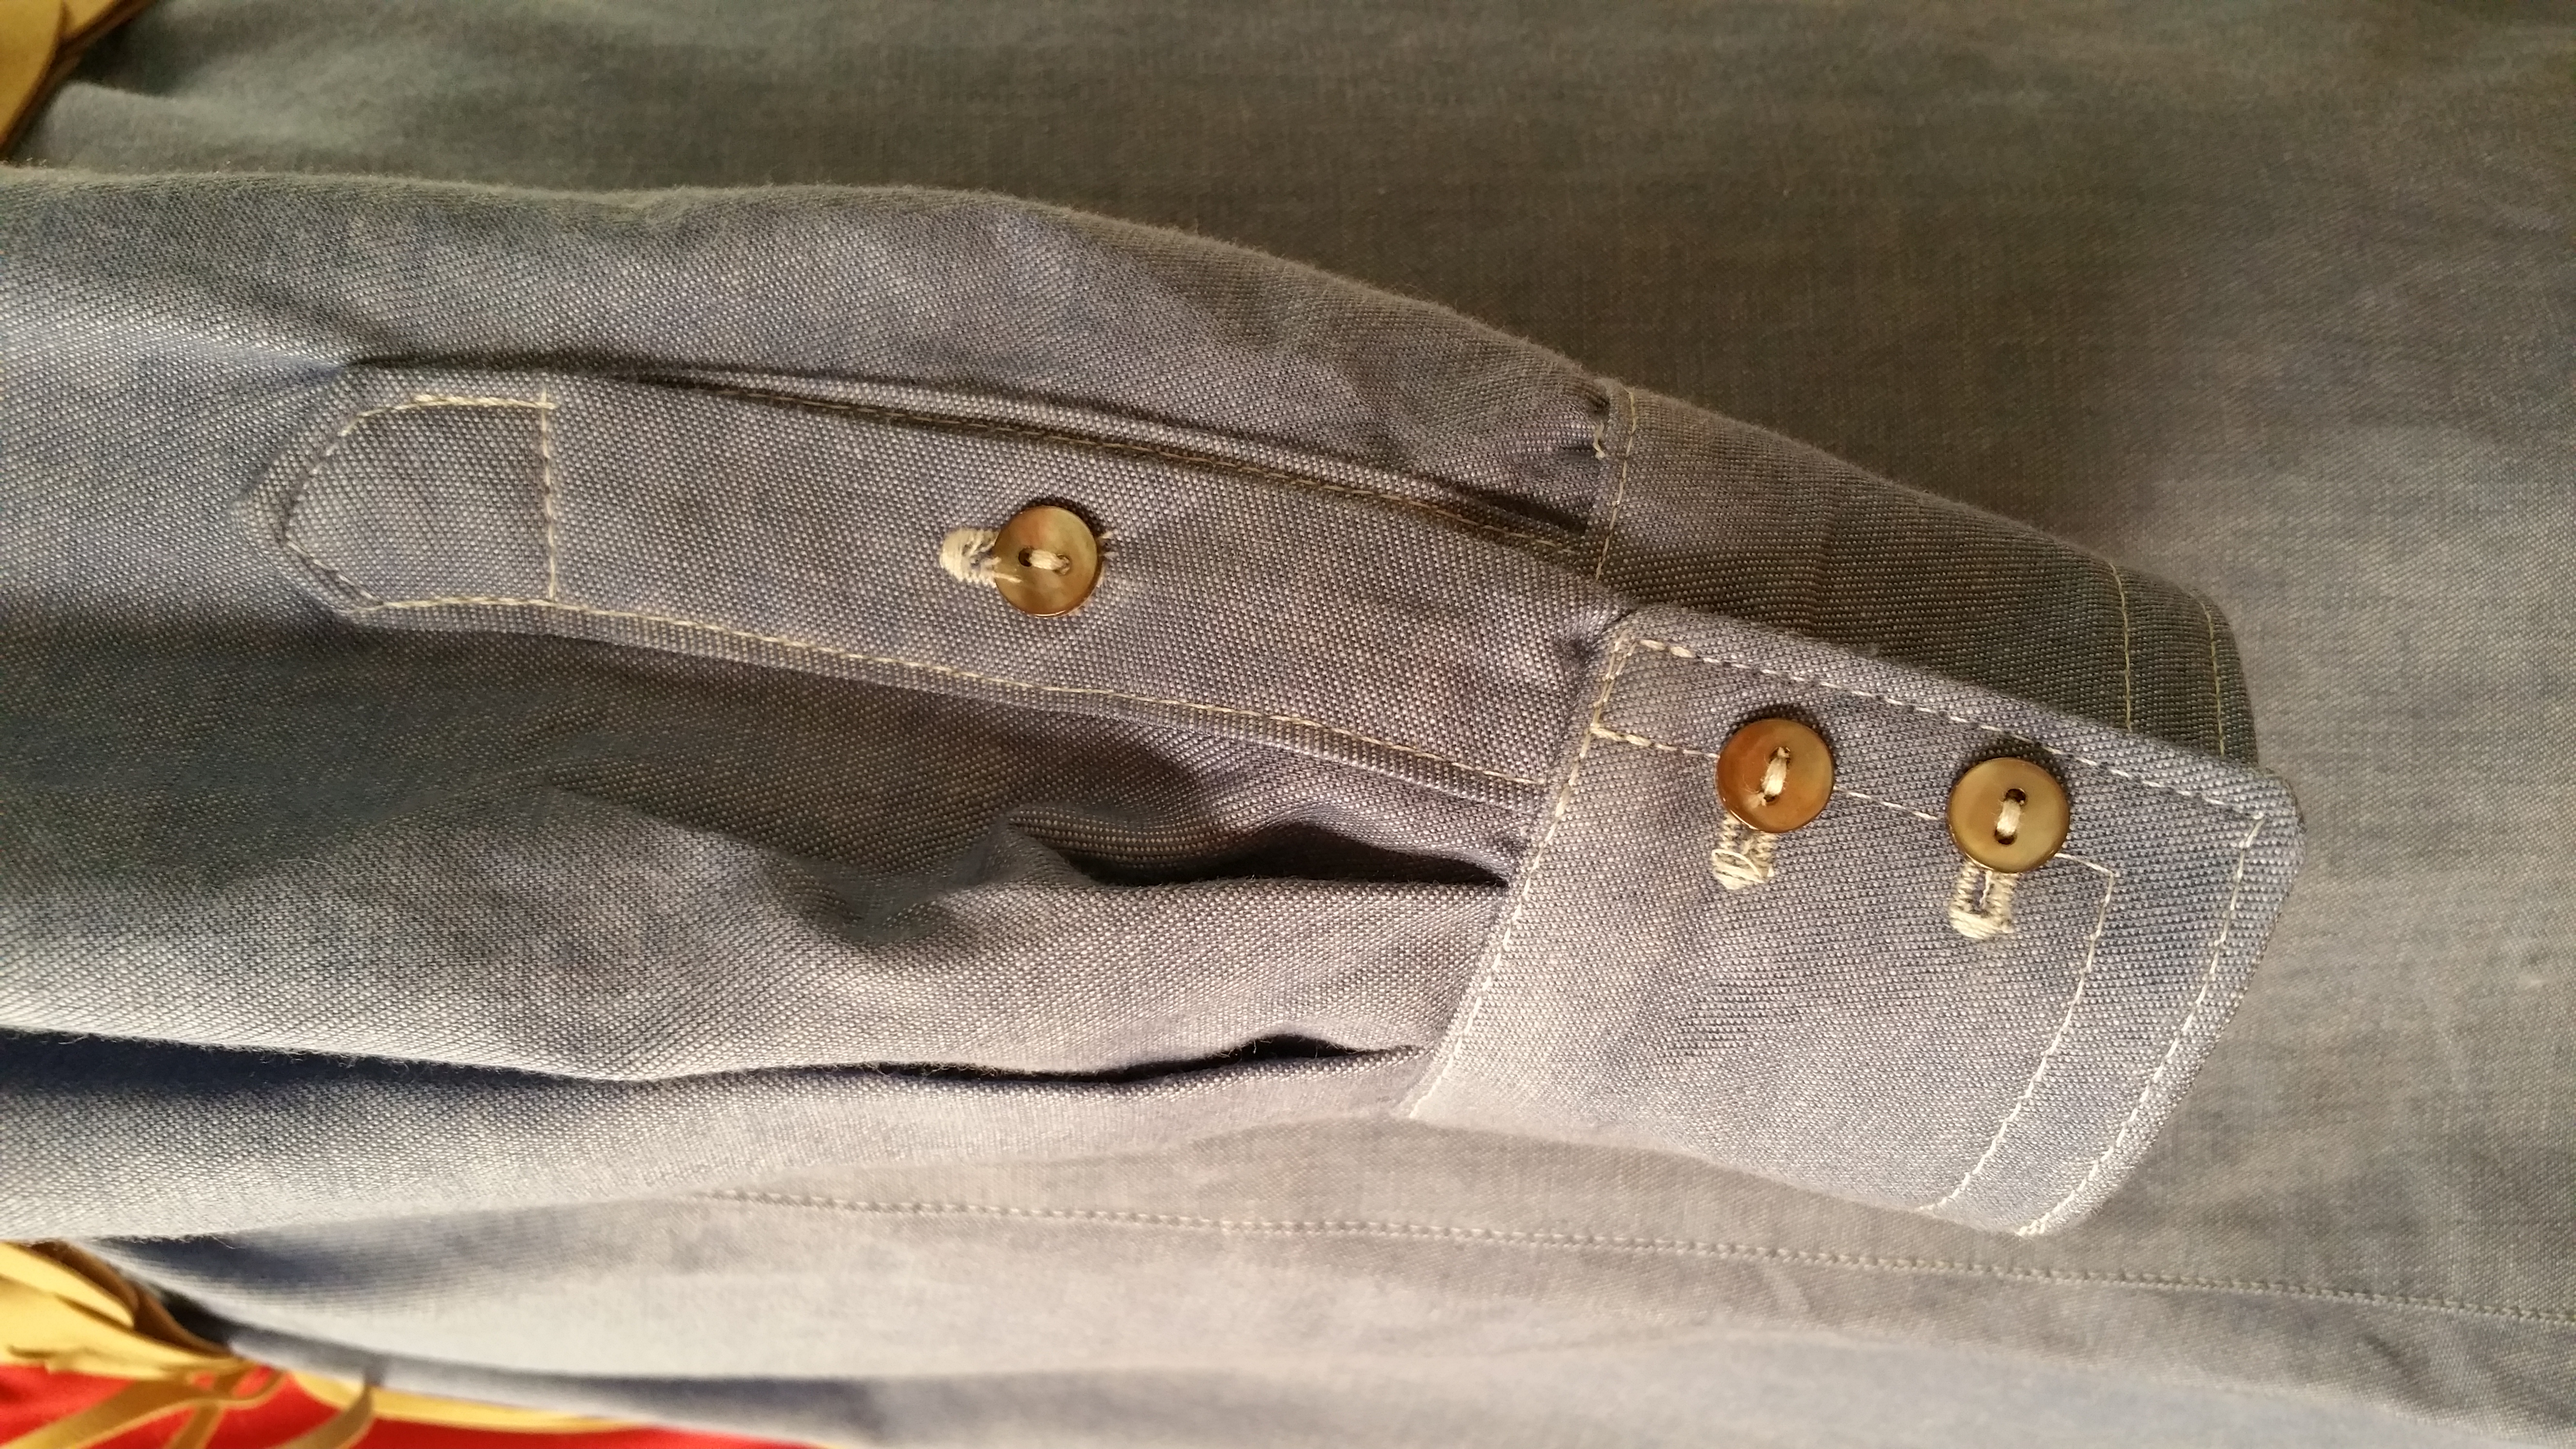
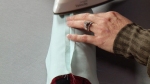
There are many ways to sew the sleeve placket and depending on your pattern you might have a one piece or two piece placket. If you have a two piece placket, you can change it to one piece and follow the steps I have shown in the tutorial. I learned this technique from altering men’s ready-to-wear and thought THIS WAS SO EASY (It’s Sew Easy LOL!)
The video from It’s Sew Easy tv is a brief tutorial on sewing the placket including pressing and topstitching. As far as interfacing, keep the interfacing out of the seam allowances or the placket will be too stiff.
I am going to work on another shirt dress out of chiffon and definitely going to add embroidery. Now is the time to embroider the sleeve, before we sew the side seams. Just an idea 🙂

Here is the blog schedule for the season long sew-along with links to the tutorials and live Q&A on my blog (each link will open on the date listed). Season 14 of It’s Sew Easy had begun airing on PBS and Create TV; you will be able to watch each episode there first (depending on when your specific station begins airing the show).
Part 1: Announcing the Shirt Dress Sewalong with Angela Wolf on It’s Sew Easy
Episode 1401: Choosing and prepping fabrics, patterns, and sizing
Part 2: Sewing the Front Placket Episode 1402: Sewing the front placket
Part 3: Attaching the Collar Episode 1404: Attaching the collar
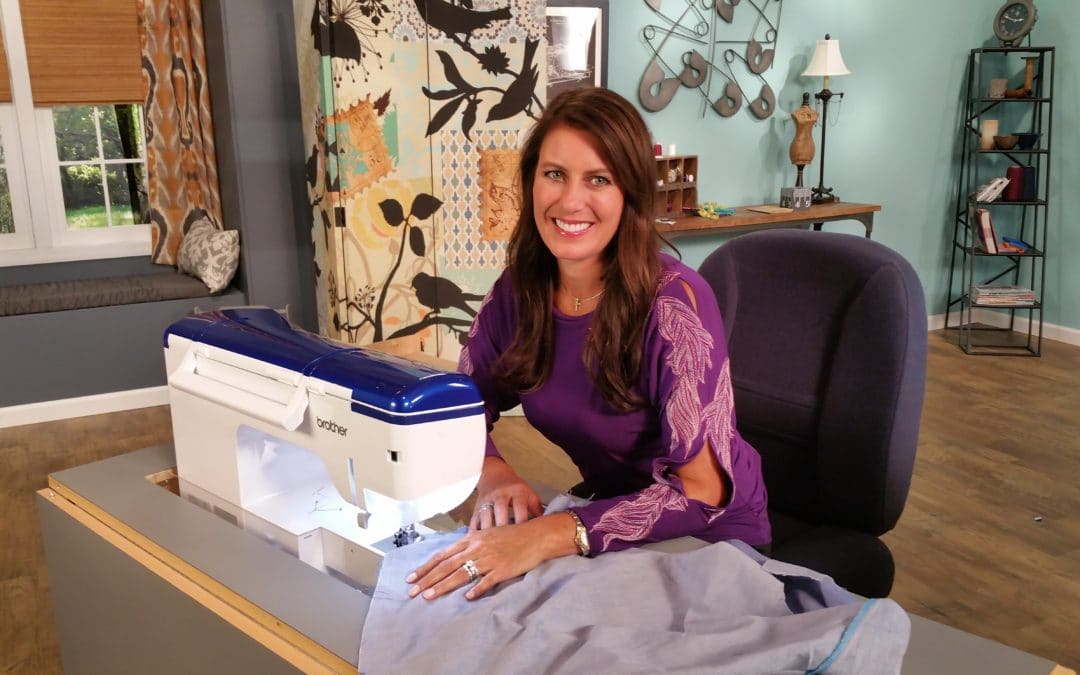
Part 4: Sewing the Placket on the Sleeve Episode 1405: Sewing the placket on the sleeve
Part 5: Sewing the Sleeves and Side Seam Episode 1406: Sewing the sleeves and side seams (1/27/2018)
Part 6: Sewing the Cuffs Episode 1408: Sewing the cuffs (2/3/2018)
Part 7: Sewing the Buttons and Buttonholes Episode 1409: Buttons and buttonholes (2/10/2018)
Part 8: Finishing the Hem Episode 1413: Finishing the hem with a rolled hem (2/17/2018)
Join us! A new video will arrive on YouTube every Saturday. Sign up here and never miss a blog post and join the fun on facebook, instagram, twitter, and pinterest . We will share photos on the social side using hashtags #angleawolf #itseweasy
Can’t wait to see what you sew up! Leave your comments & questions below …
Cheers,

The page you requested could not be found. Try refining your search, or use the navigation above to locate the post.

Watch each episode live on facebook or catch the replay here!
Sewing the collar and collar band can be intimidating, but it’s easier than you might thing. The most important is the topstitching, this is what makes your shirt or shirtdress look expensive. Watch the video below for a quick preview of sewing the collar.

Here is the blog schedule for the season long sew-along with links to the tutorials and live Q&A on my blog (each link will open on the date listed). Season 14 of It’s Sew Easy had begun airing on PBS and Create TV; you will be able to watch each episode there first (depending on when your specific station begins airing the show).
Part 1: Announcing the Shirt Dress Sewalong with Angela Wolf on It’s Sew Easy
Episode 1401: Choosing and prepping fabrics, patterns, and sizing
Part 2: Sewing the Front Placket Episode 1402: Sewing the front placket
Part 3: Attaching the Collar Episode 1404: Attaching the collar
Part 4: Sewing the Placket on the Sleeve Episode 1405: Sewing the placket on the sleeve (1/20/2018)
Part 5: Sewing the Sleeves and Side Seam Episode 1406: Sewing the sleeves and side seams (1/27/2018)
Part 6: Sewing the Cuffs Episode 1408: Sewing the cuffs (2/3/2018)
Part 7: Sewing the Buttons and Buttonholes Episode 1409: Buttons and buttonholes (2/10/2018)
Part 8: Finishing the Hem Episode 1413: Finishing the hem with a rolled hem (2/17/2018)
Join us! A new video will arrive on YouTube every Saturday. Sign up here and never miss a blog post and join the fun on facebook, instagram, twitter, and pinterest . We will share photos on the social side using hashtags #angleawolf #itseweasy #shirtdresssewalong
Can’t wait to see what you sew up! Leave your comments & questions below …
Cheers,
Watch each episode live on facebook or catch the replay here!
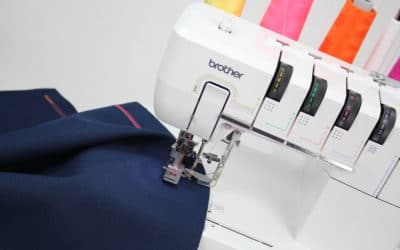
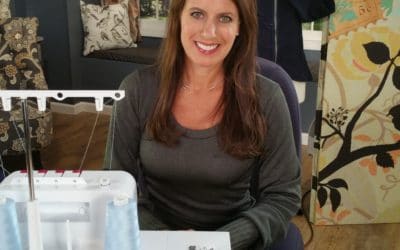
Learn How to Use the Coverstitch Machine Do you find yourself sewing a lot of knits? If so, you will eventually want to add a coverstitch machine to your sewing room. Hemming knits has never been easier! But the Coverstitch is not just for knits, you can also do a...
Kick off of the Rachel Twin Set Sew-A-Long with Angeal Wolf. Lean about the Rachel Twin Set pattern, your measurements for this pattern, and fabrics.
SERGER 102: Creative Serging! Now that you know the basics of using your serger, let's check out some of the decorative stitches. Join Angela Wolf for a 90 minute virtual class and learn how to use your serger for a few creative stitches and serger a...
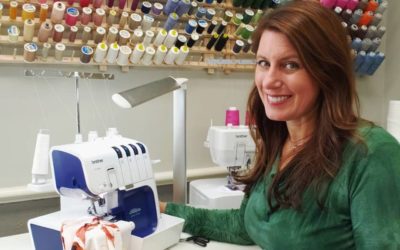
SERGER 101: Learn the Basics! Beginners guide to using your serger! Join Angela Wolf for a 90 minute virtual class and learn how to set up and use your serger. Learn the parts on the serger, tips for rethreading, differential feed, reasons to adjust the stitch...
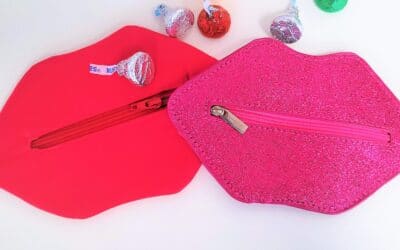
Sew the Zippered Lip Bag This is such a cute bag to sew and embroider for Valentine's Day. You can draw these lips or download my pattern ANGELA WOLF ZIPPER LIP BAG Supplies: 2 - Fabric 9" X 9" 2 - Fusible Fleece Batting cut 9"X 9" 10" (or longer) Zipper Universal...
Episode 137: At Your Side Virtually! Embroidery Stabilizer Wraps In this live Facebook and YouTube episode, join Angela Wolf and Cindy Hogan with a tutorial using My Design Center creating embroidery stabilizer wraps. Download Cindy's wrap design here. I just...
Pressing fusible interfacing to the fabric is easy if you follow these tips:
You can use various fabrics for a press cloth. I tend to use a lightweight cotton or muslin fabric because that is what I typically have on hand. Cheese cloth is another option and Silk organza is another favorite.
Here are some of the supplies I used in this episode:
You will find links to many of these items on my Amazon shopping list.
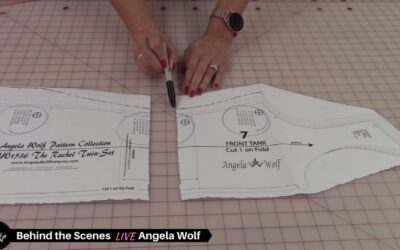
Have you thought of sewing this shirtdress with a different fabric than the traditional cotton? This week’s episode of Behind the Scenes showed some fabric ideas for the sewalong including silk, velvet burnout, and more!
Here is the blog schedule for the season long sew-along with links to the tutorials and live Q&A on my blog (each link will open on the date listed). Season 14 of It’s Sew Easy had begun airing on PBS and Create TV; you will be able to watch each episode there first (depending on when your specific station begins airing the show).
Join us! A new video will upload on YouTube every Saturday. Sign up here and never miss a blog post and join the fun on facebook, instagram, twitter, and pinterest . We will share photos on the social side using hashtags #angleawolf #itseweasy #shirtdresssewalong
Can’t wait to see what you sew up! Leave your comments & questions below …
Cheers,
Watch each episode live on facebook or catch the replay here!
Learn How to Use the Coverstitch Machine Do you find yourself sewing a lot of knits? If so, you will eventually want to add a coverstitch machine to your sewing room. Hemming knits has never been easier! But the Coverstitch is not just for knits, you can also do a...
Kick off of the Rachel Twin Set Sew-A-Long with Angeal Wolf. Lean about the Rachel Twin Set pattern, your measurements for this pattern, and fabrics.
SERGER 102: Creative Serging! Now that you know the basics of using your serger, let's check out some of the decorative stitches. Join Angela Wolf for a 90 minute virtual class and learn how to use your serger for a few creative stitches and serger a...
SERGER 101: Learn the Basics! Beginners guide to using your serger! Join Angela Wolf for a 90 minute virtual class and learn how to set up and use your serger. Learn the parts on the serger, tips for rethreading, differential feed, reasons to adjust the stitch...
Sew the Zippered Lip Bag This is such a cute bag to sew and embroider for Valentine's Day. You can draw these lips or download my pattern ANGELA WOLF ZIPPER LIP BAG Supplies: 2 - Fabric 9" X 9" 2 - Fusible Fleece Batting cut 9"X 9" 10" (or longer) Zipper Universal...
Episode 137: At Your Side Virtually! Embroidery Stabilizer Wraps In this live Facebook and YouTube episode, join Angela Wolf and Cindy Hogan with a tutorial using My Design Center creating embroidery stabilizer wraps. Download Cindy's wrap design here. I just...
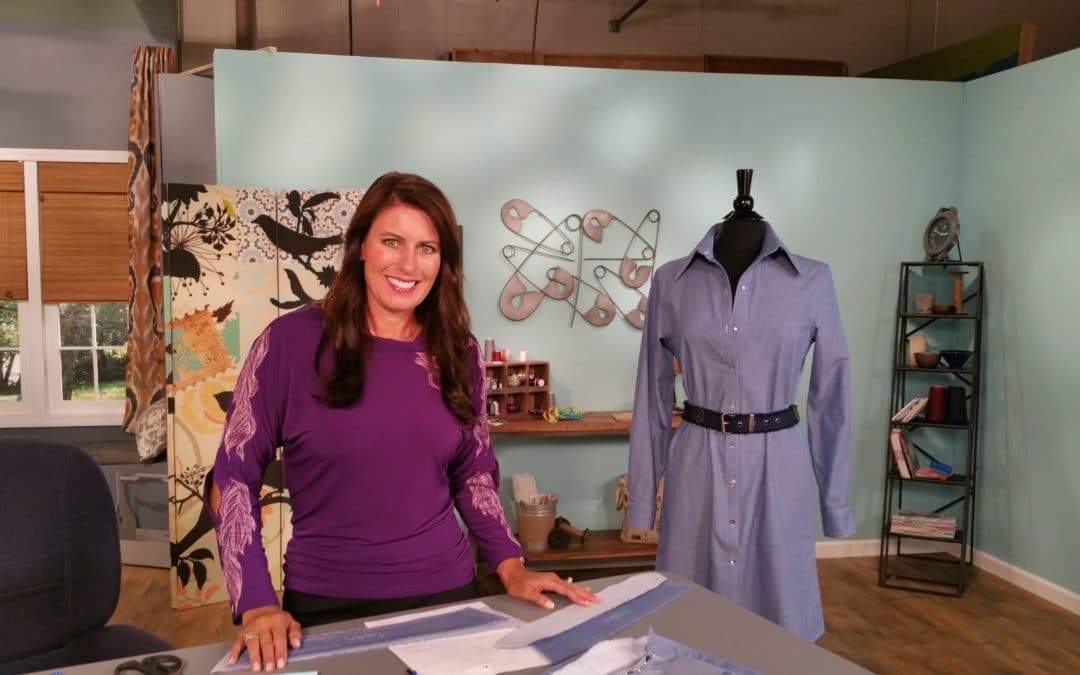
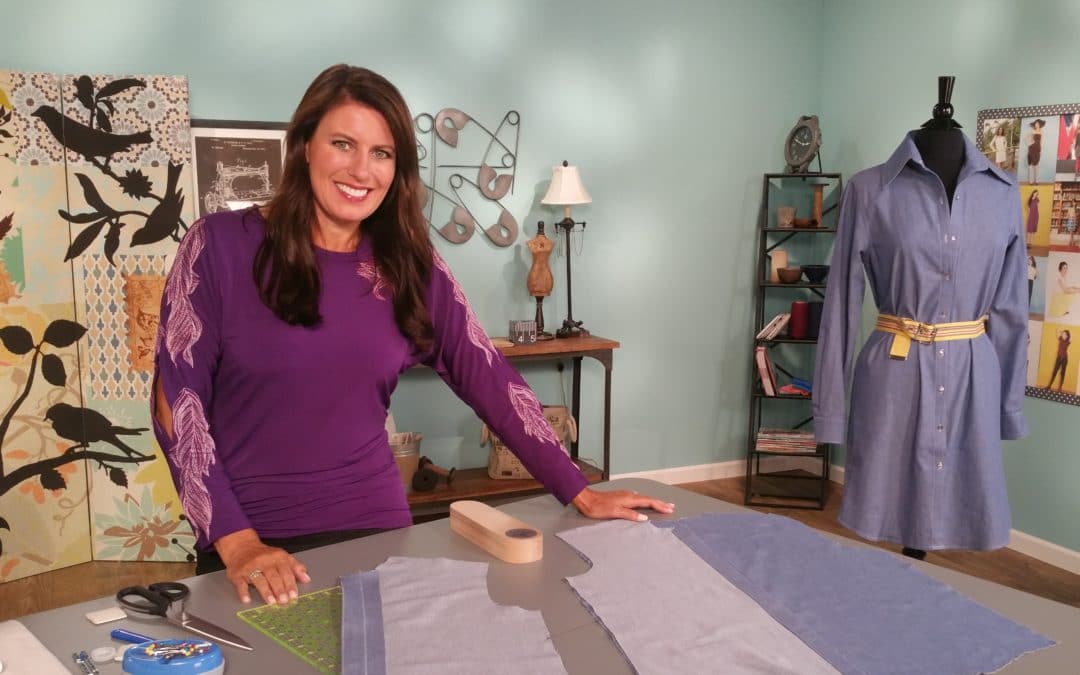
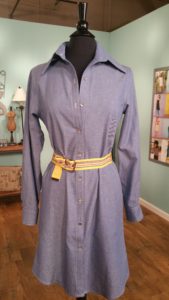
Announcing the shirt dress sewalong! This season of It’s Sew Easy I will be sewing a shirt dress from beginning to end and you can follow along each week watching each episode of It’s Sew Easy!
To get started you will need to gather the supplies. You will find quick links to many of these items on my Amazon shopping list.
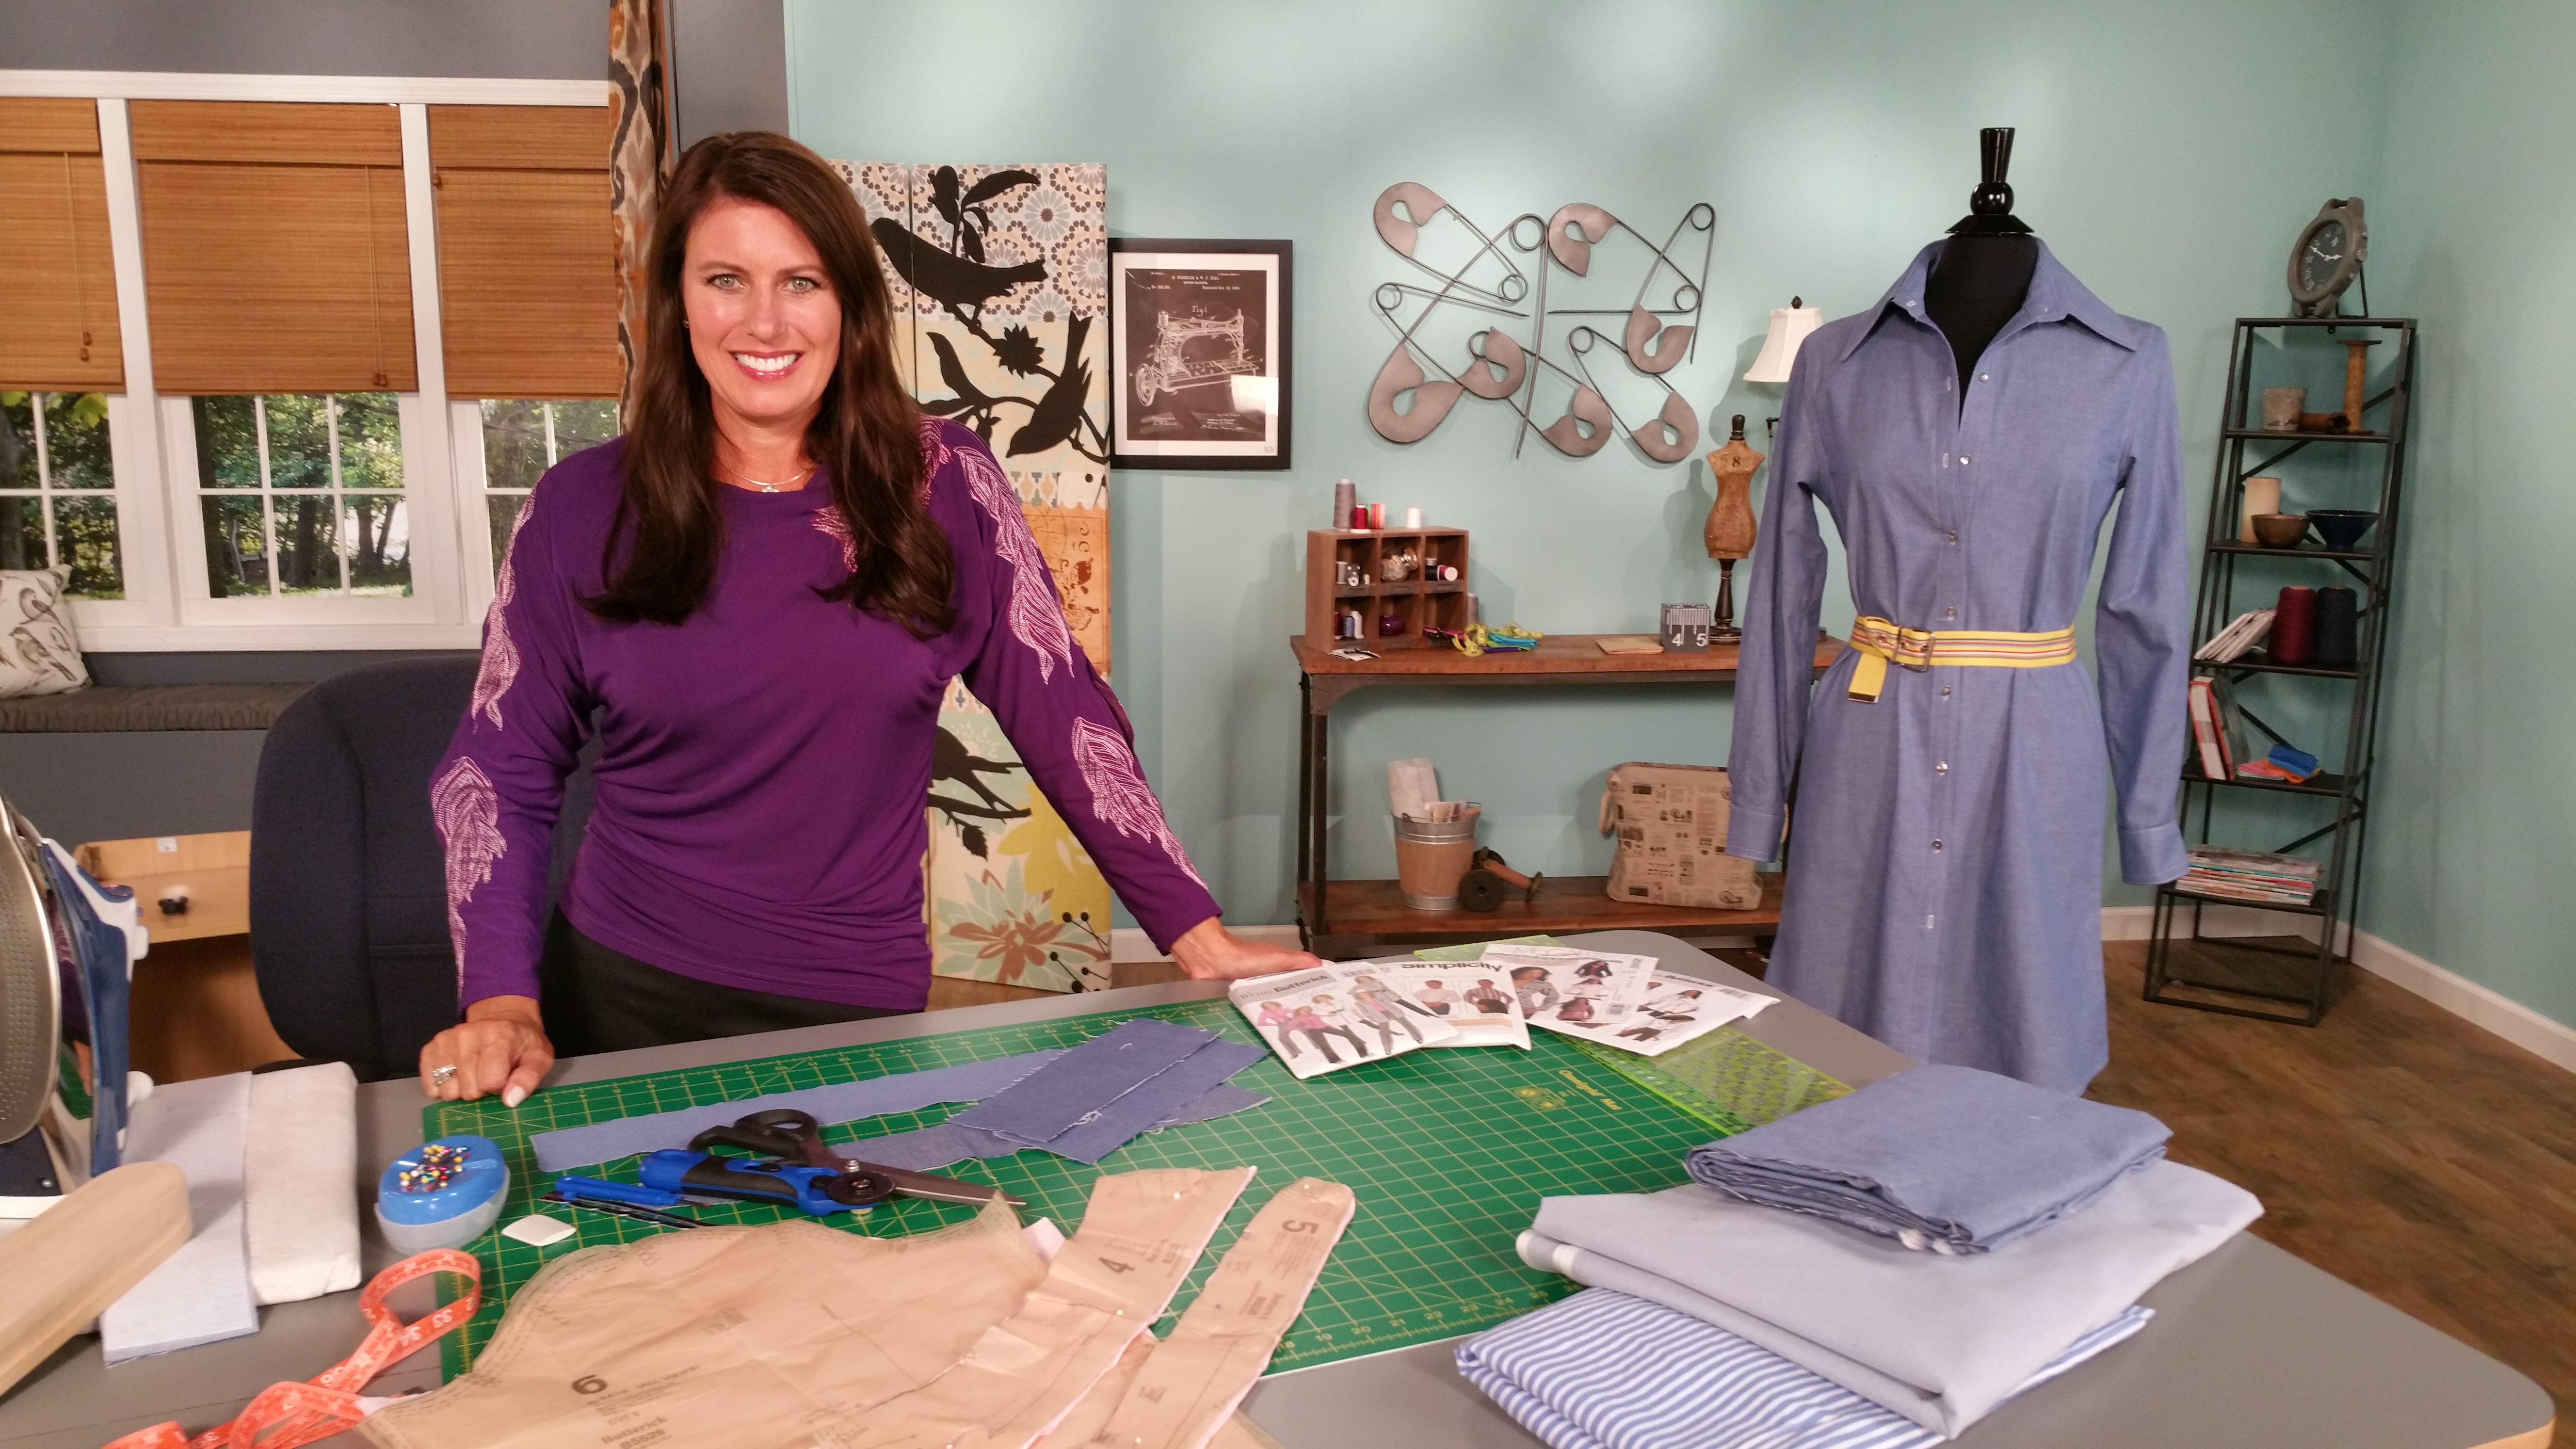
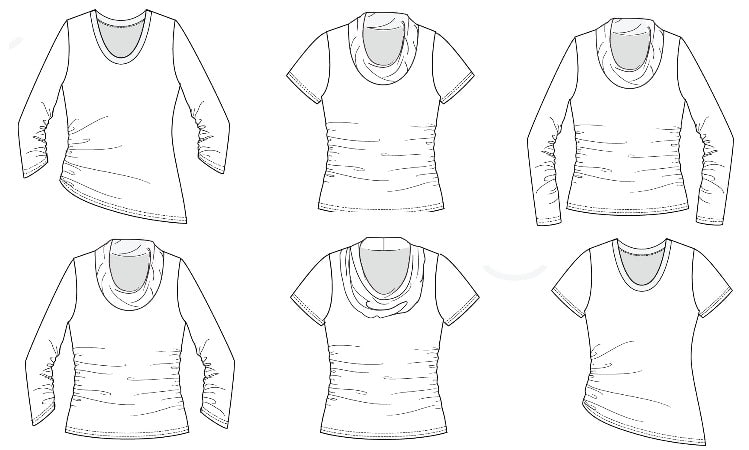
Check your pattern stash 🙂 Any button down shirt or shirtdress will work 🙂 Here are a few ideas:
A cotton or cotton blend is the most common fabric used for a shirt dress, but the dress can take on a completely different look with different weight fabrics. Consider a rayon, linen, silk charmeuse, silk chiffon, or crepe.
TIPS:
Here is the blog schedule for the season long sew-along with links to the tutorials and live Q&A on my blog (each link will open on the date listed). Season 14 of It’s Sew Easy had begun airing on PBS and Create TV; you will be able to watch each episode there first (depending on when your specific station begins airing the show).
Part 1: Announcing the Shirt Dress Sewalong with Angela Wolf on It’s Sew Easy
Episode 1401: Choosing and prepping fabrics, patterns, and sizing
Part 2: Sewing the Front Placket
Episode 1402: Sewing the front placket
Part 3: Attaching the Collar
Episode 1404: Attaching the collar
Part 4: Sewing the Placket on the Sleeve
Part 5: Sewing the Sleeves and Side Seam
Part 6: Sewing the Cuffs
Part 7: Sewing the Buttons and Buttonholes
Part 8: Finishing the Hem
Join us! A new video will launch every Saturday on YouTube. Sign up here and never miss a blog post and join the fun on facebook, instagram, twitter, and pinterest . We will share photos on the social side using hashtags #angleawolf #itsseweasy
Can’t wait to see what you sew up! Leave your comments & questions below …
Cheers,
Watch each episode live on facebook or catch the replay here!
Learn How to Use the Coverstitch Machine Do you find yourself sewing a lot of knits? If so, you will eventually want to add a coverstitch machine to your sewing room. Hemming knits has never been easier! But the Coverstitch is not just for knits, you can also do a...
Kick off of the Rachel Twin Set Sew-A-Long with Angeal Wolf. Lean about the Rachel Twin Set pattern, your measurements for this pattern, and fabrics.
SERGER 102: Creative Serging! Now that you know the basics of using your serger, let's check out some of the decorative stitches. Join Angela Wolf for a 90 minute virtual class and learn how to use your serger for a few creative stitches and serger a...
SERGER 101: Learn the Basics! Beginners guide to using your serger! Join Angela Wolf for a 90 minute virtual class and learn how to set up and use your serger. Learn the parts on the serger, tips for rethreading, differential feed, reasons to adjust the stitch...
Sew the Zippered Lip Bag This is such a cute bag to sew and embroider for Valentine's Day. You can draw these lips or download my pattern ANGELA WOLF ZIPPER LIP BAG Supplies: 2 - Fabric 9" X 9" 2 - Fusible Fleece Batting cut 9"X 9" 10" (or longer) Zipper Universal...
Episode 137: At Your Side Virtually! Embroidery Stabilizer Wraps In this live Facebook and YouTube episode, join Angela Wolf and Cindy Hogan with a tutorial using My Design Center creating embroidery stabilizer wraps. Download Cindy's wrap design here. I just...
 Hopefully you had time over the weekend to spiff up your sewing room. My Craftsy class “Sew Confident: Essential Techniques for Beginners” has officially launched and we are already just shy of 500 students. Very Exciting!
First things first, congratulations to Tracey McKoy from Baltimore, Maryland. Tracey was last weeks lucky winner and has already joined us in the Craftsy classroom. Guess what else I found out? She enjoys fishing! Good thing Craftsy drew her name or you might think I was swayed 🙂

There was such a HUGE response to the class giveaway, I am going to giveaway another Sew Confident Craftsy class! To enter this time, simply leave a comment below telling me why you would love to win this class, joining students from all over the world – 1 random winner will be drawn Friday at midnight, EST … Good Luck! 🙂
Wondering what’s covered in the class? Here is a link to the trailer video and as promised a SPECIAL 50% DISCOUNT if you would like to join us today.
Let’s get started! In case you missed last week’s message, the series for beginner sewing starts now.
Part 1. Choosing a Pattern
What’s the big deal about finding a pattern anyway? Scan the pattern books, find a cute cover photos, and you are ready for sewing success, right?

If only we can all be so fortunate, but in most cases the scenario pans out a little differently. I recall sewing my first pair of pants. The pattern cover showed a tall, elegant model (more…)
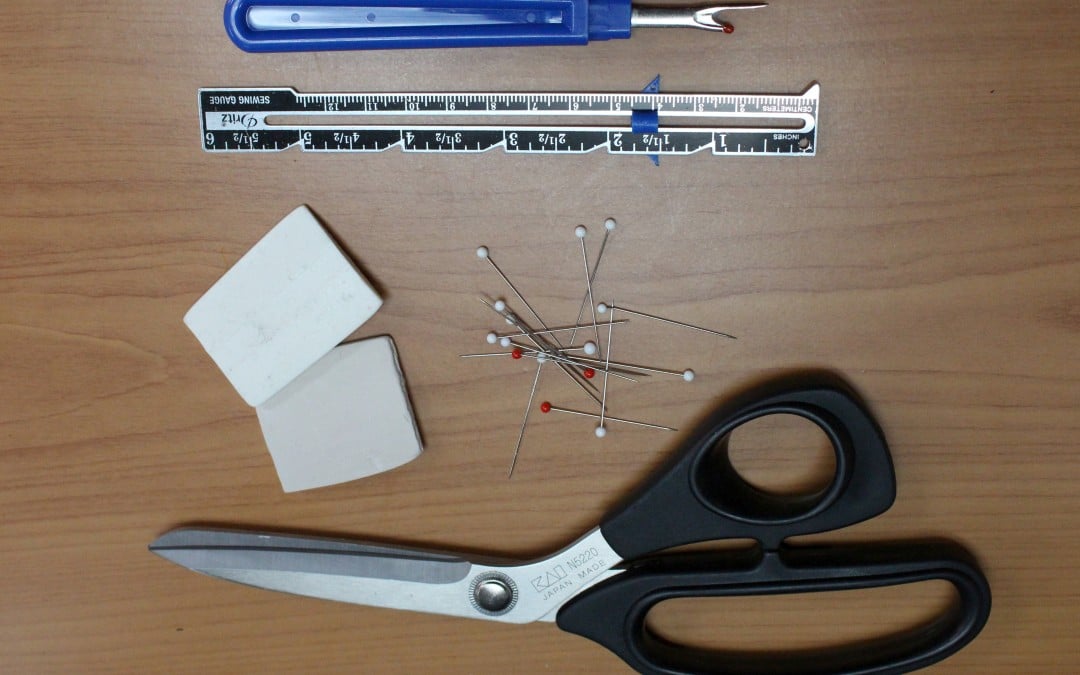
NEVER use a dull seam ripper!!!!! I buy my seam rippers in bulk from WAWAK Sewing and you should too 🙂 Then you can throw them away at the first sign of dullness and grab a new one.


