
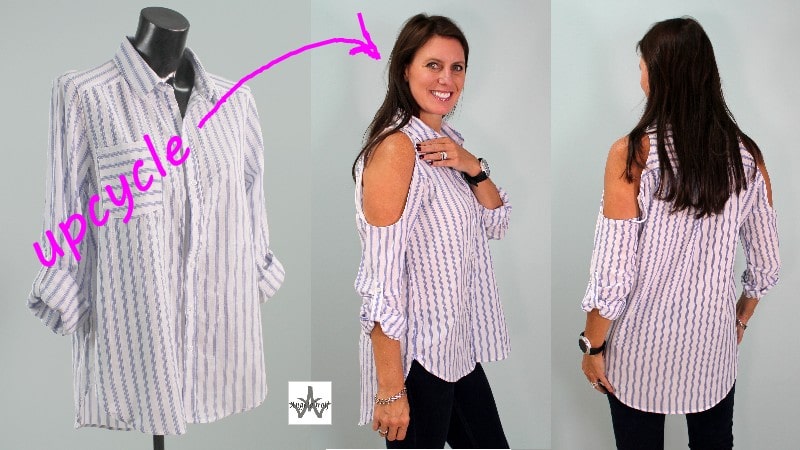

How to Design and Sew Shoulder Cutouts
Spring cleaning time again and I have a stack of clothing items that I haven’t worn in a LONG time. You know the rule, if you haven’t worn the item in 2 years, it has to go! What happens if you love the fabric, the print, or even just the buttons? Why not recycle or upcycle the items into something I might actually wear! Here is an upcycle project for spring and summer and it’s right on trend … adding shoulder cutouts to a button down shirt.

Let’s Get Started!
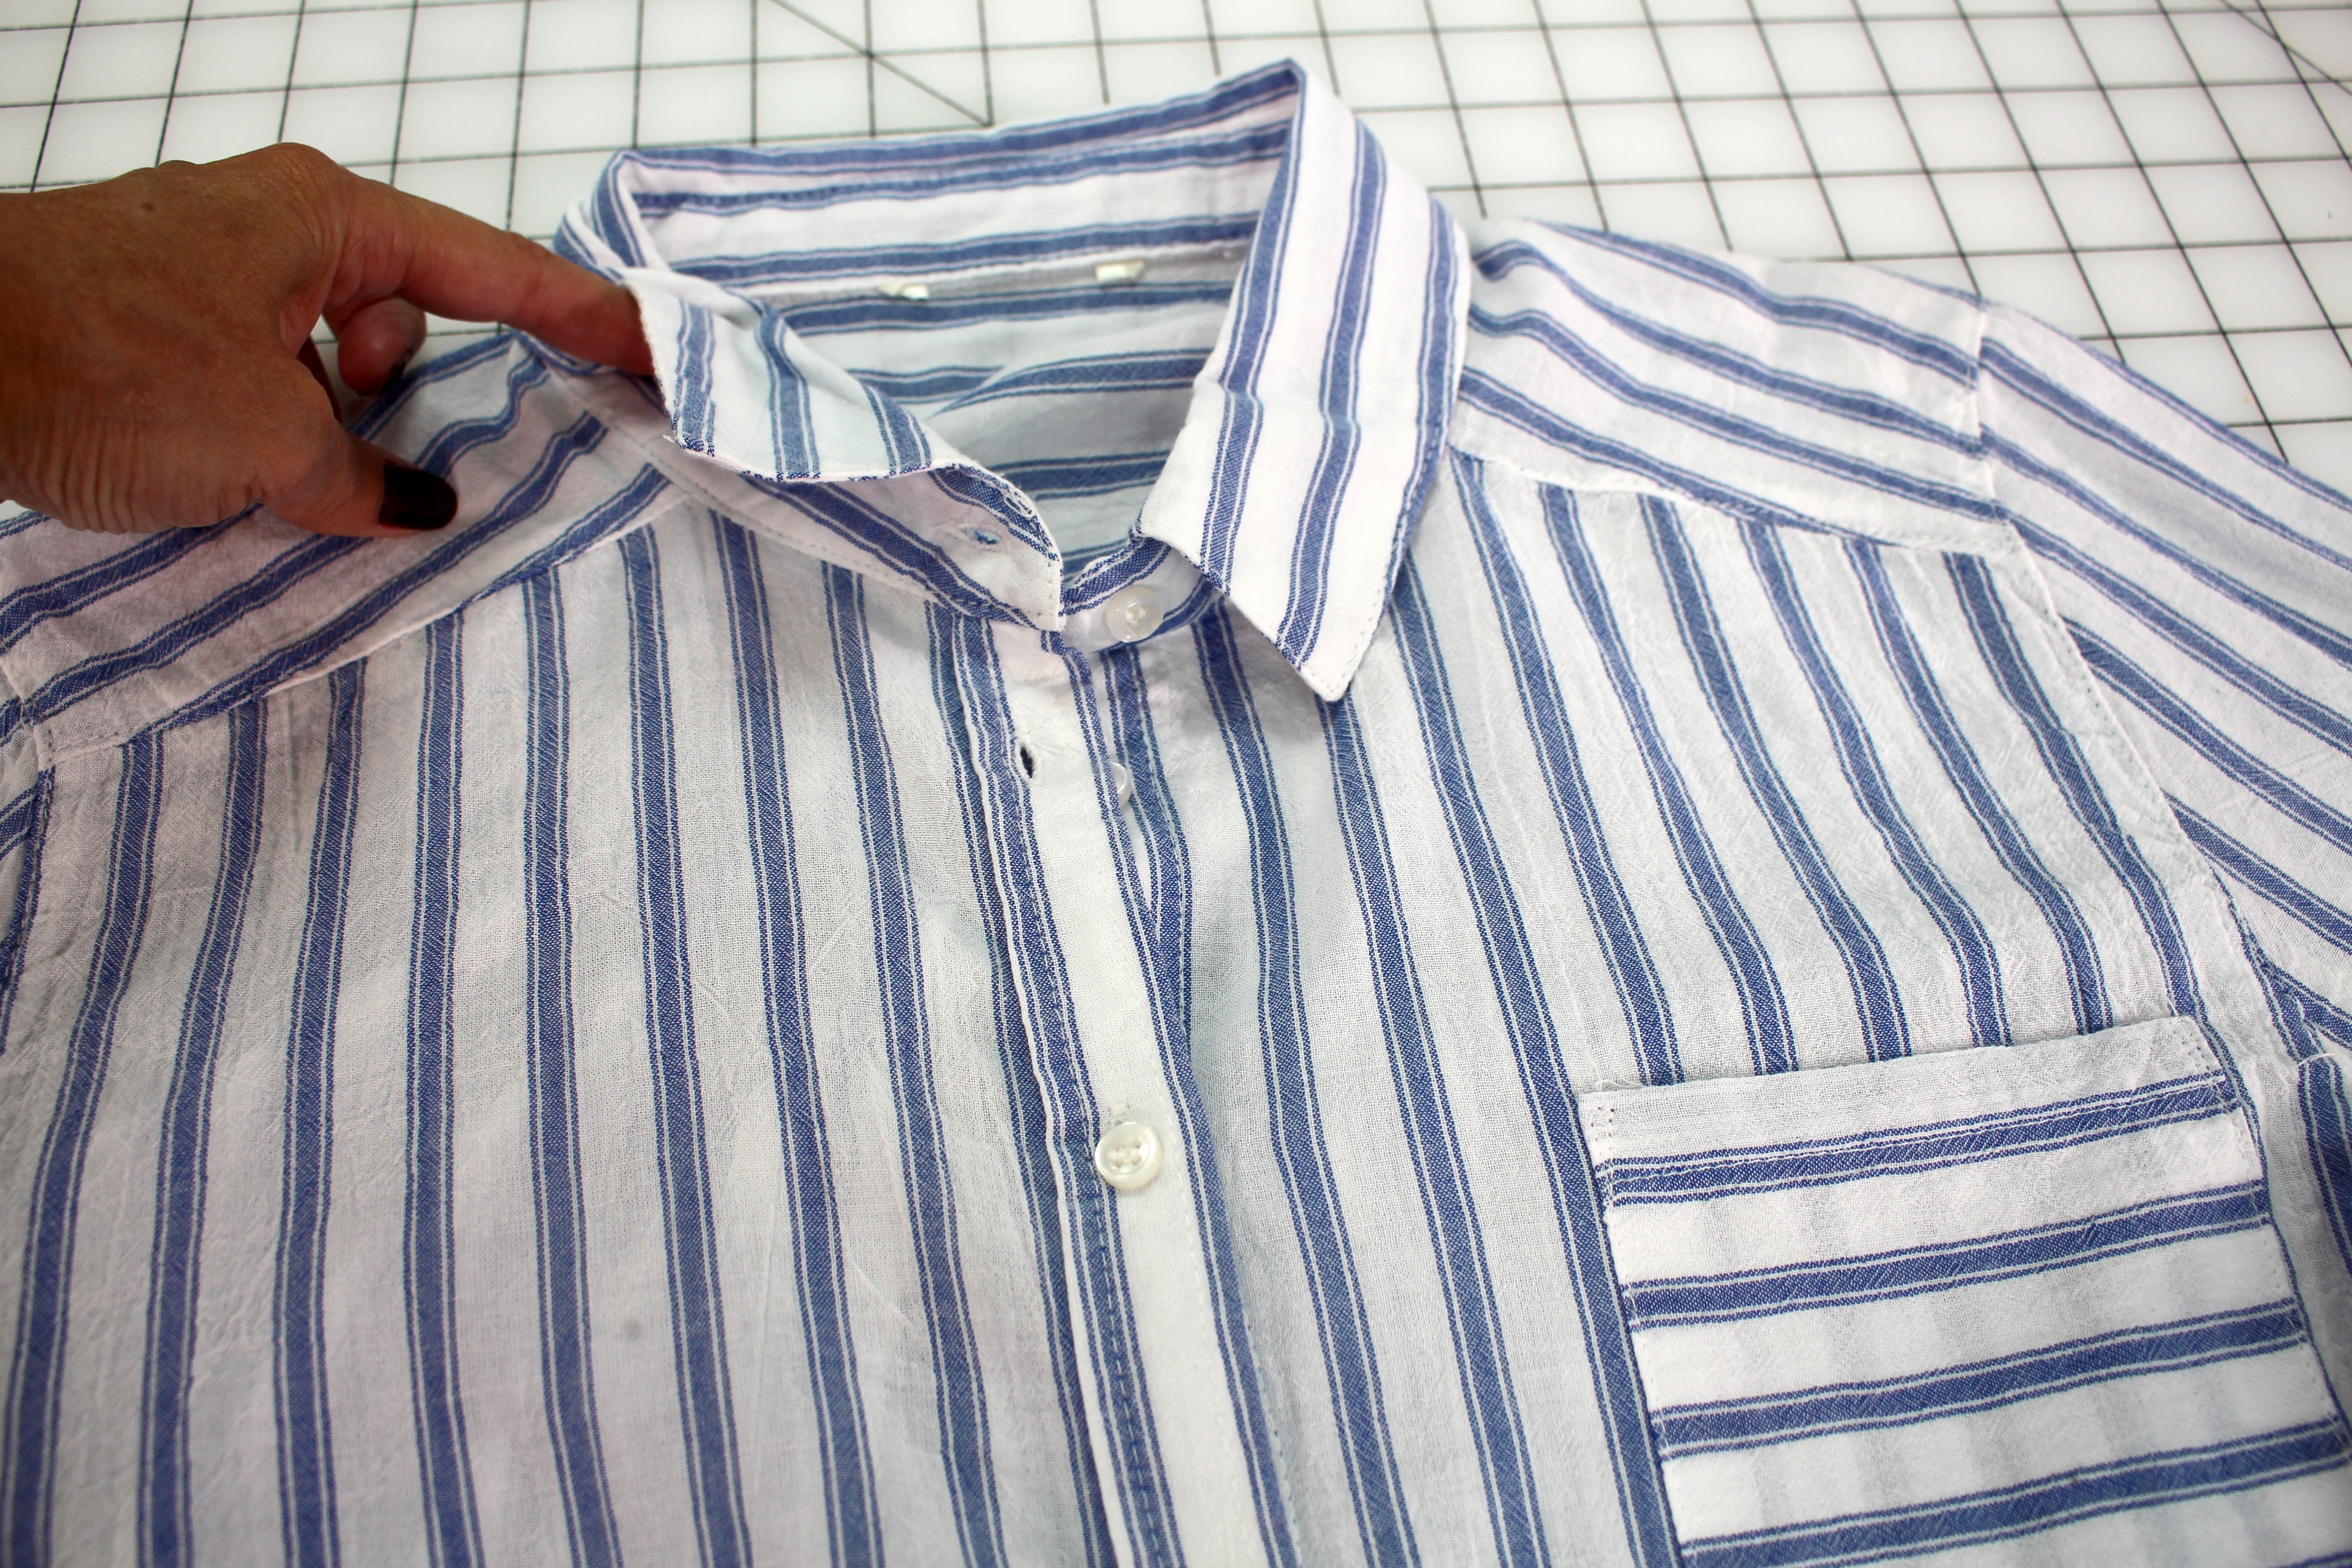
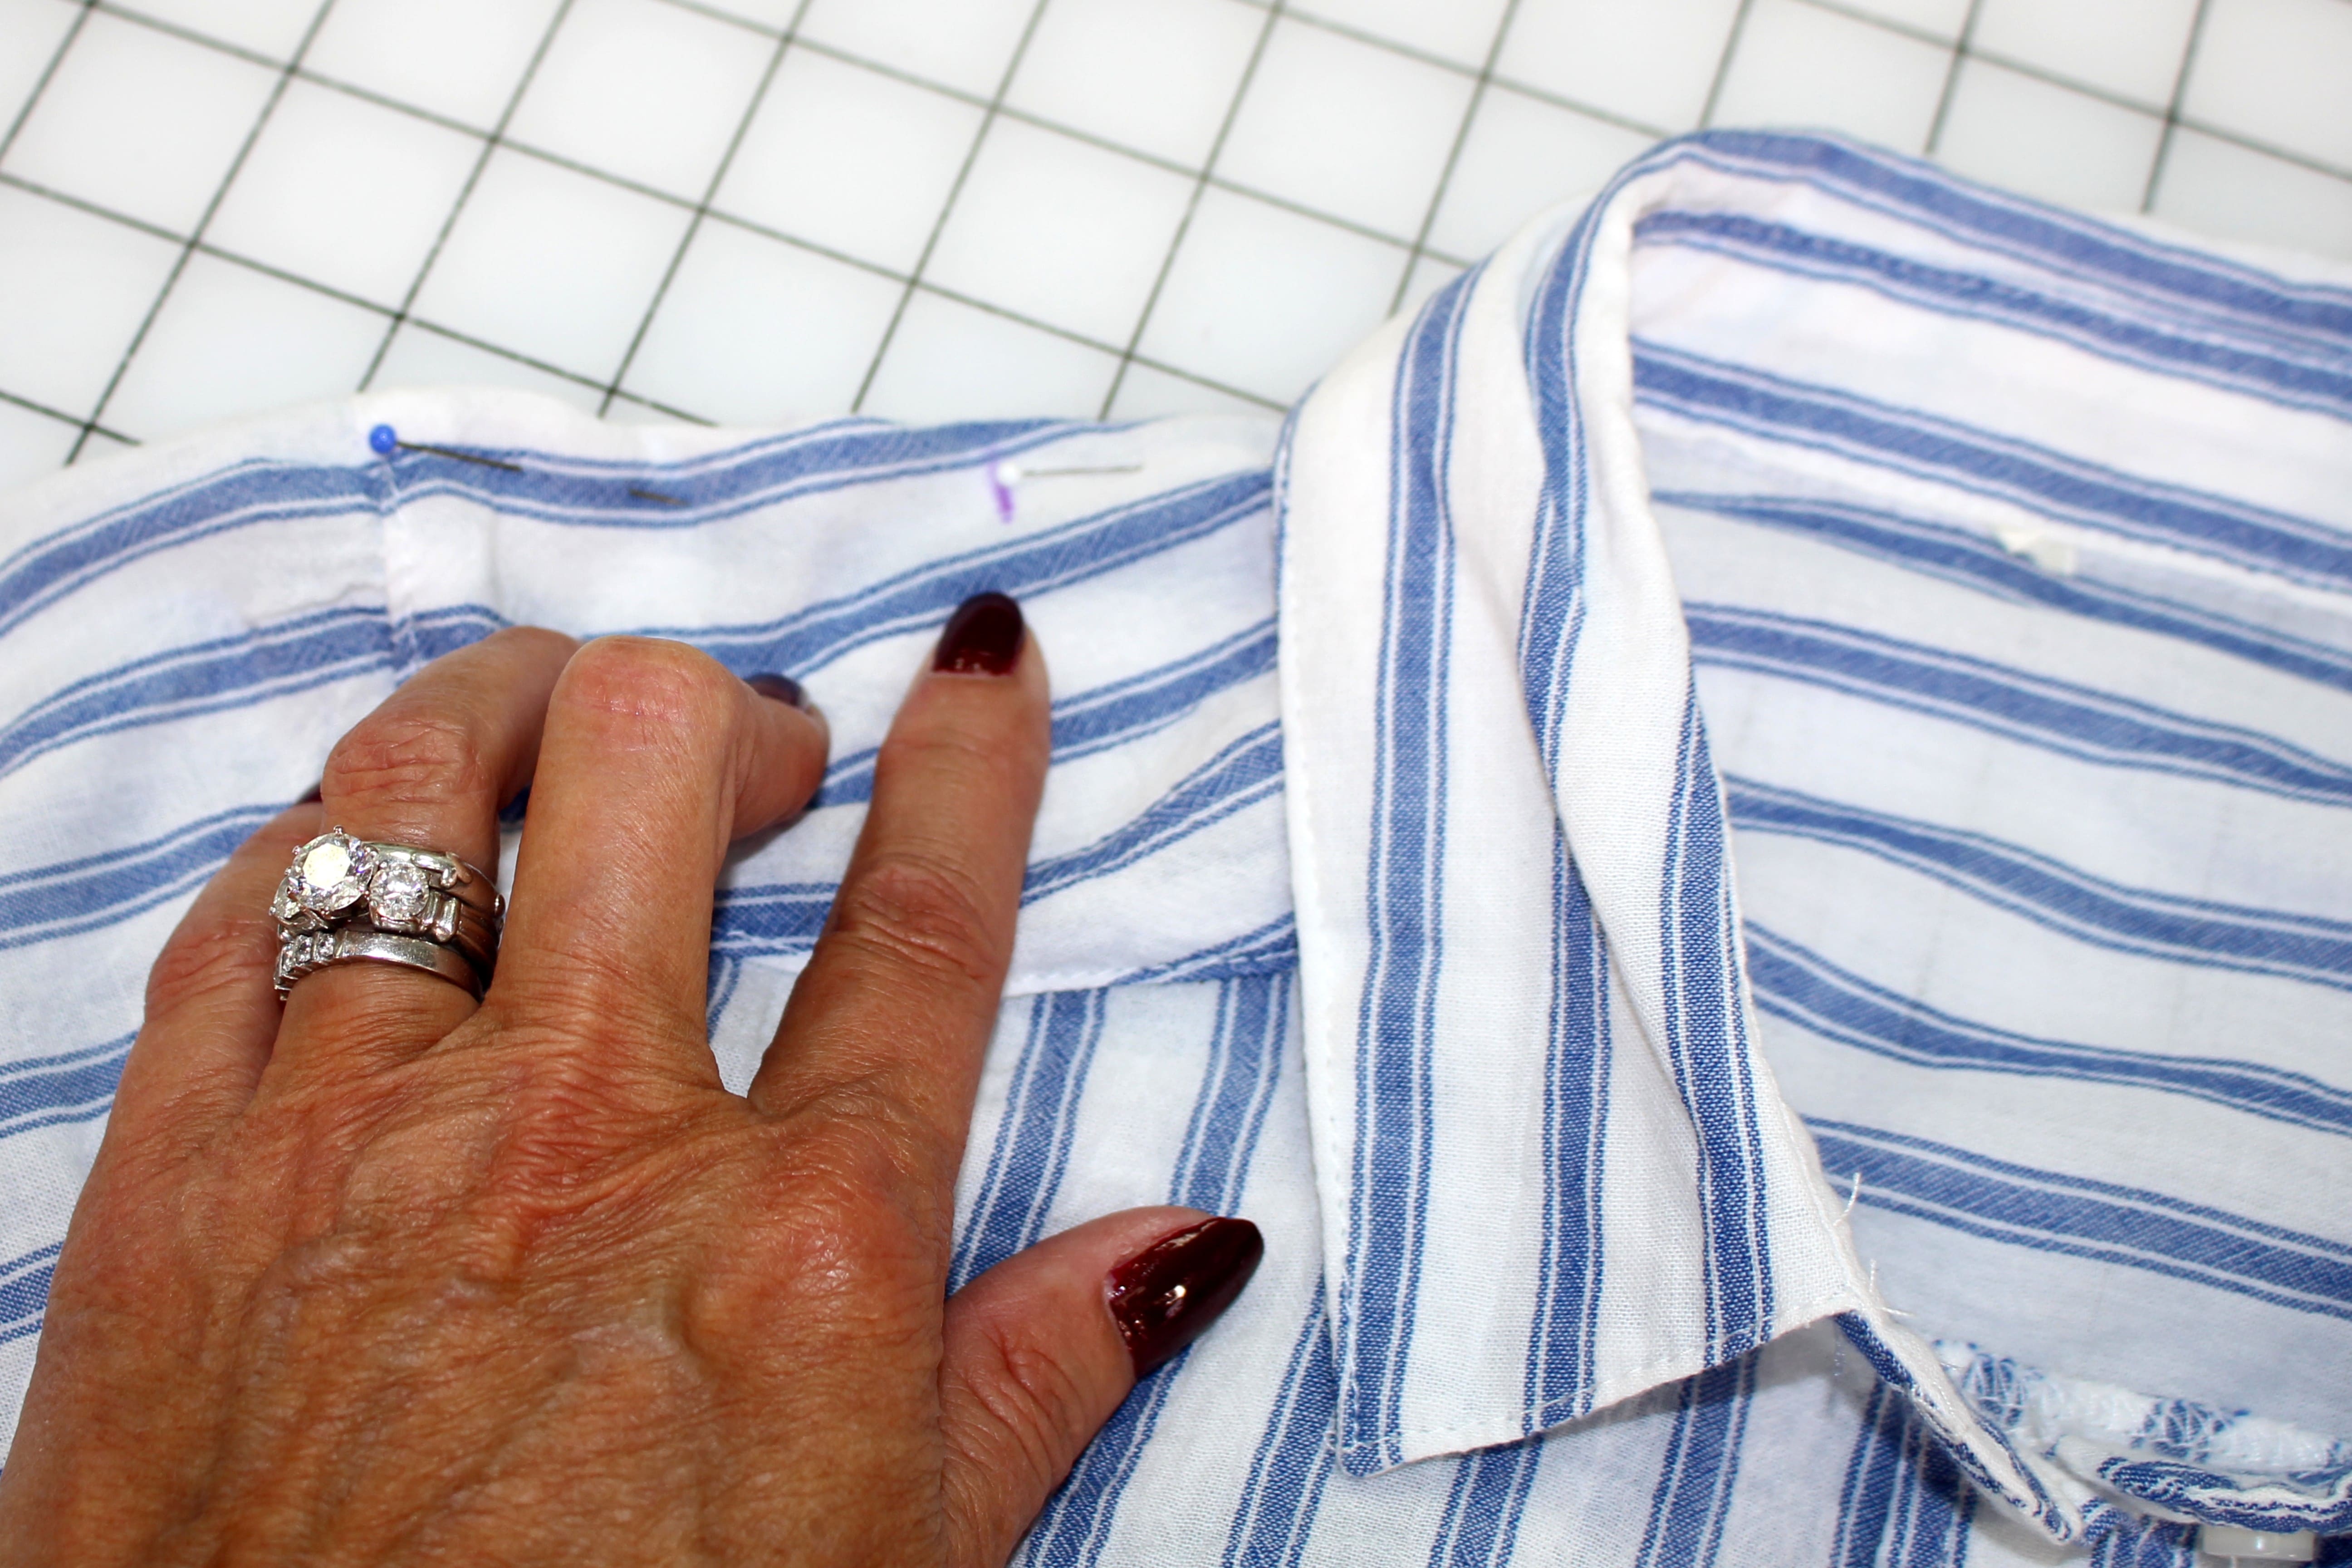
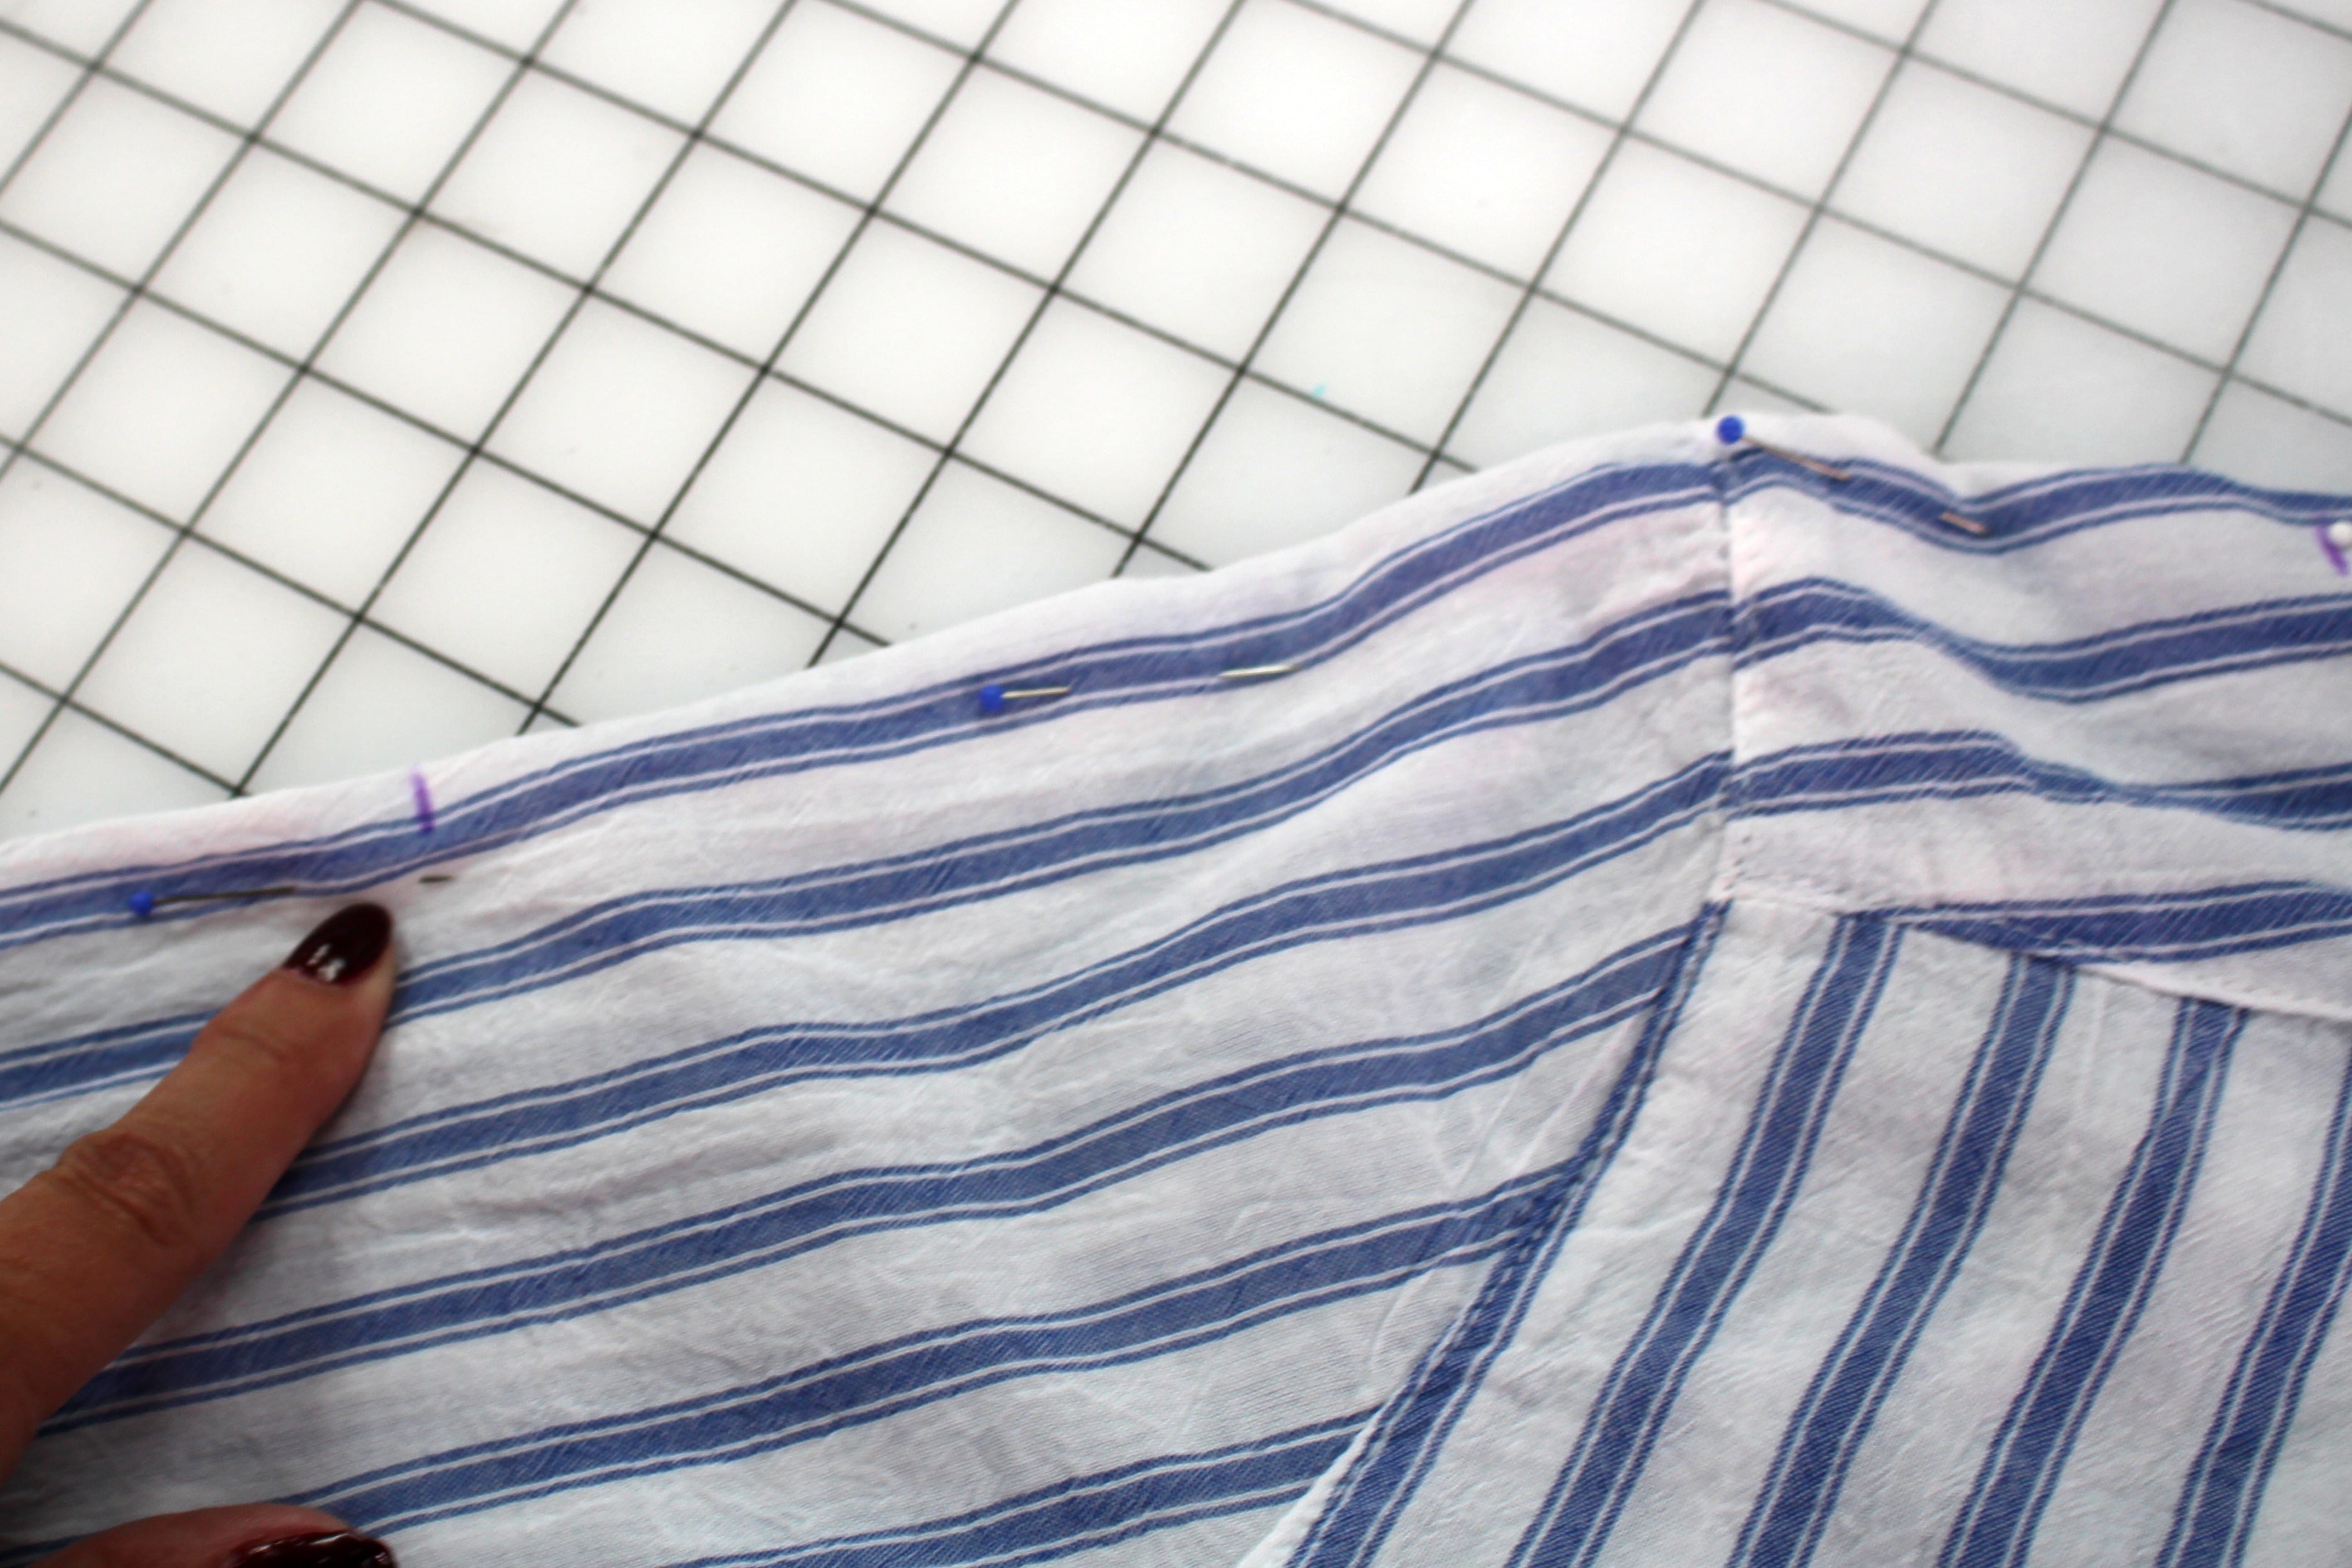
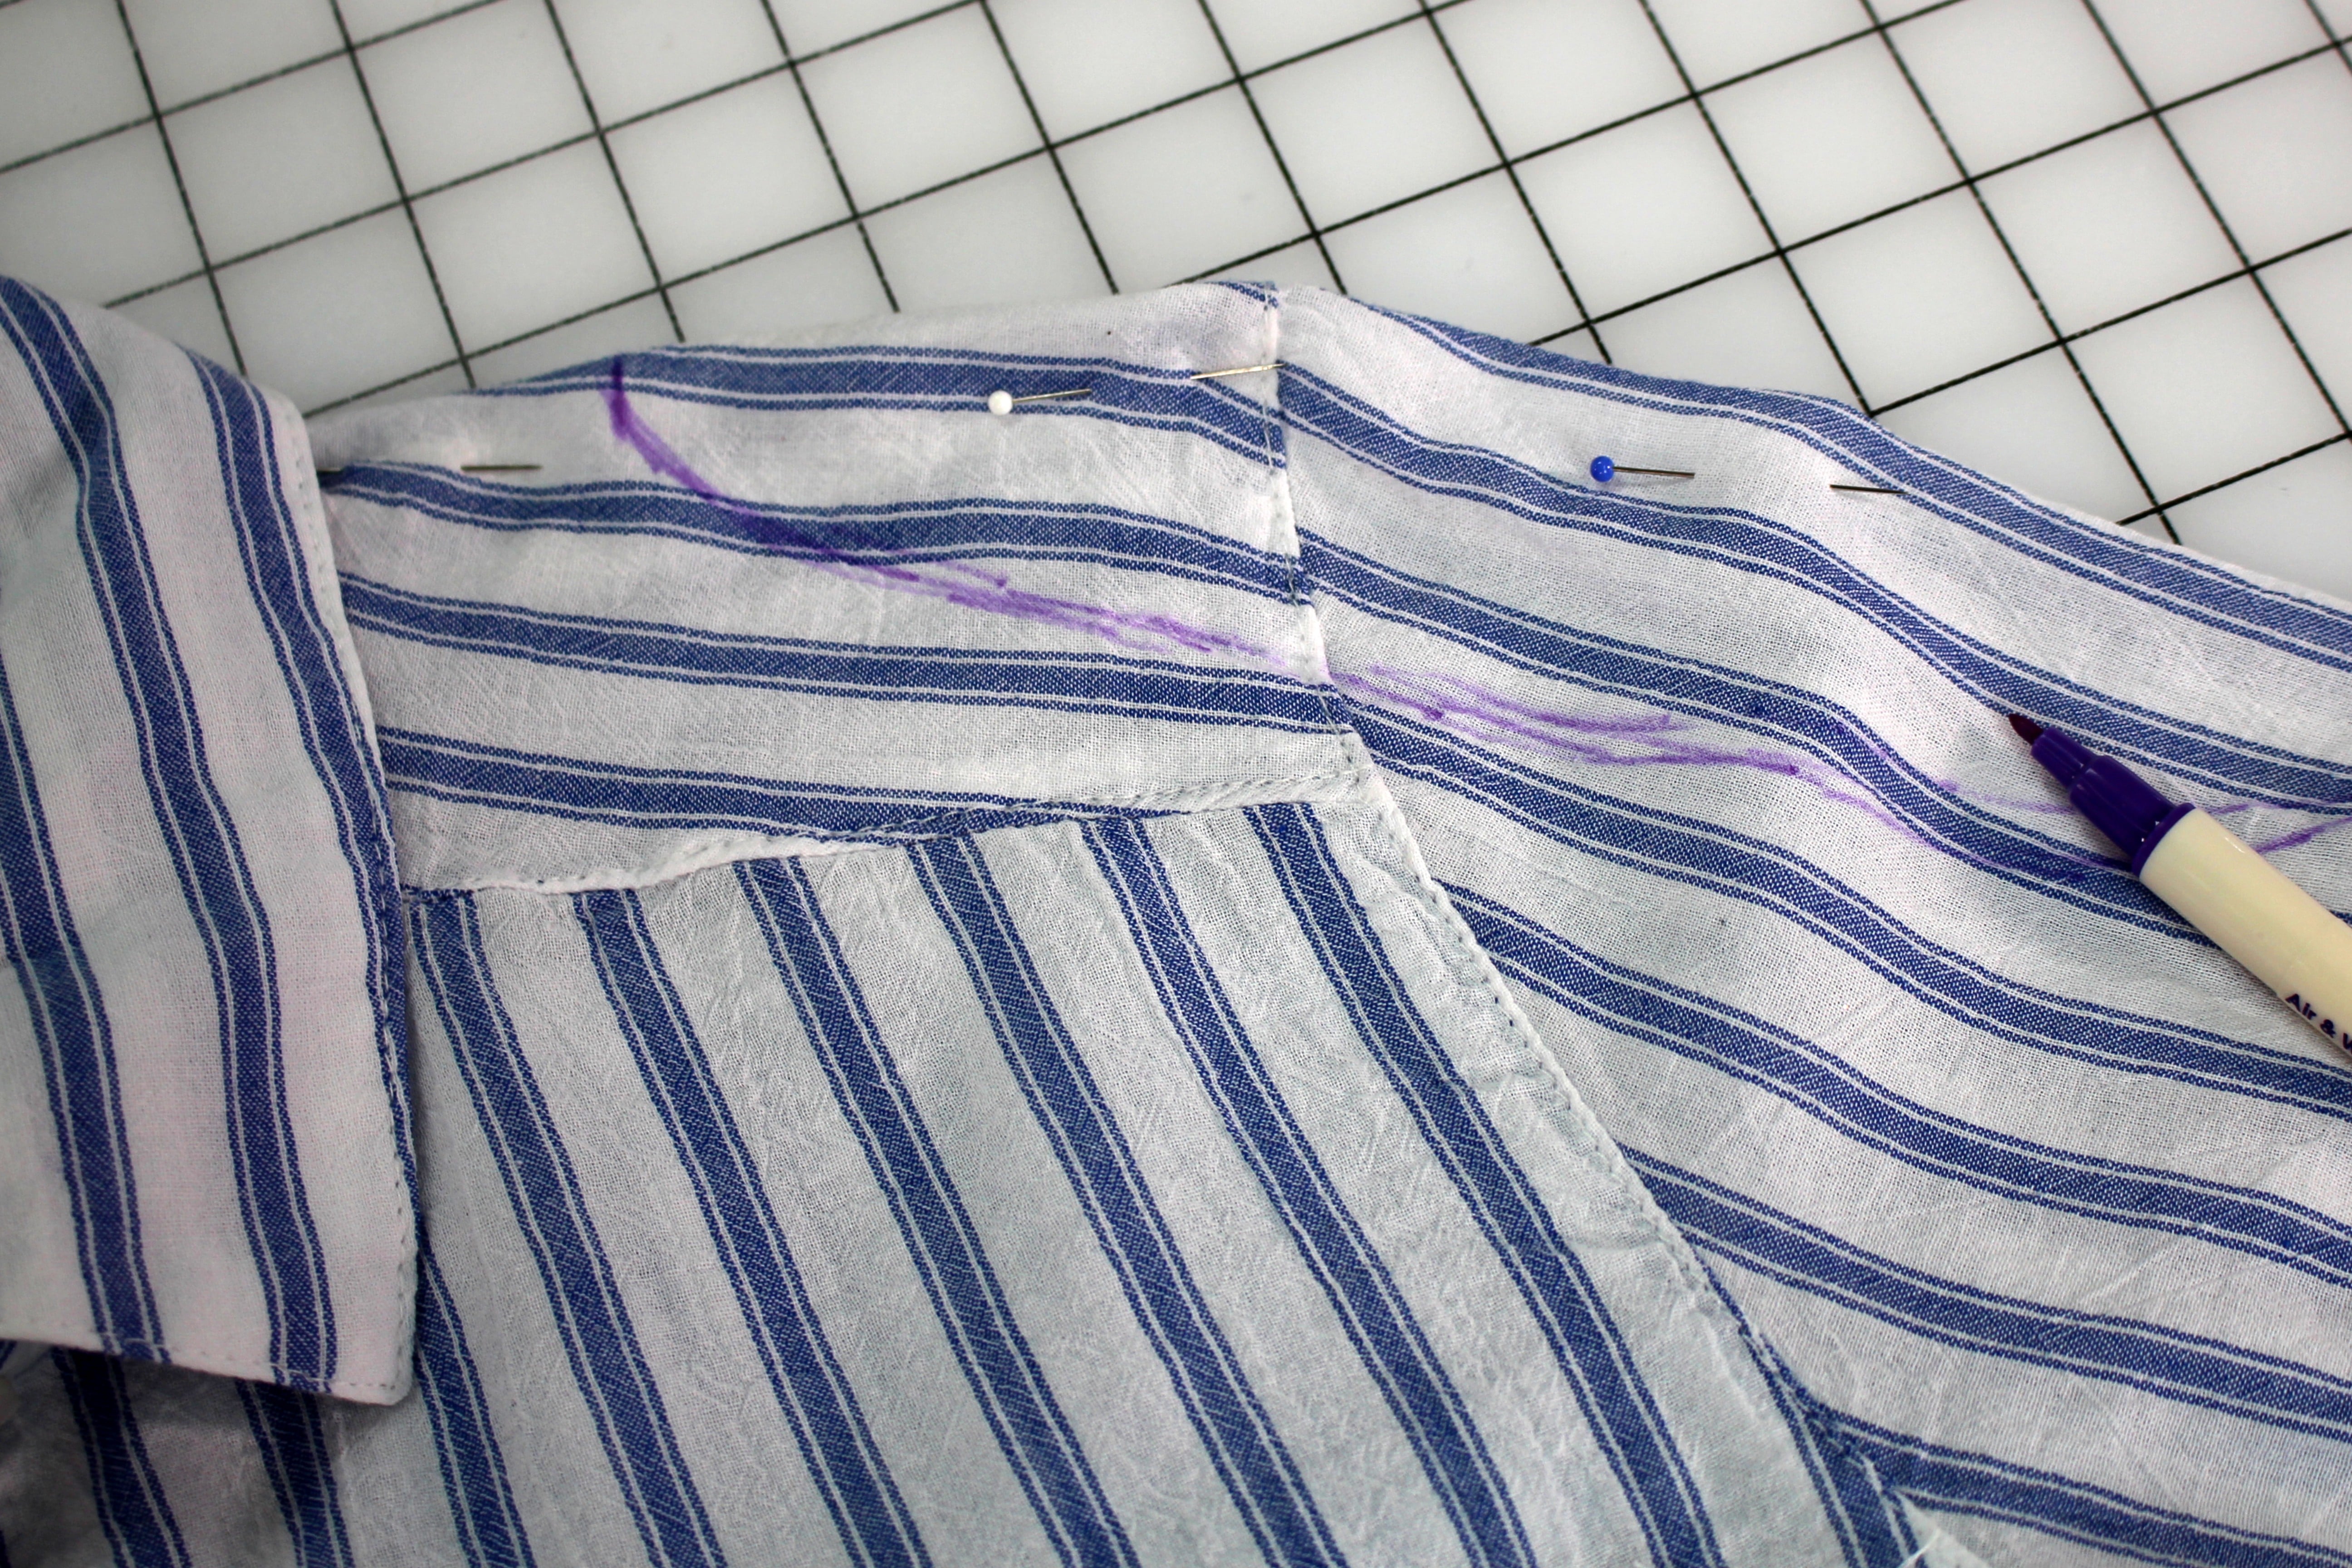
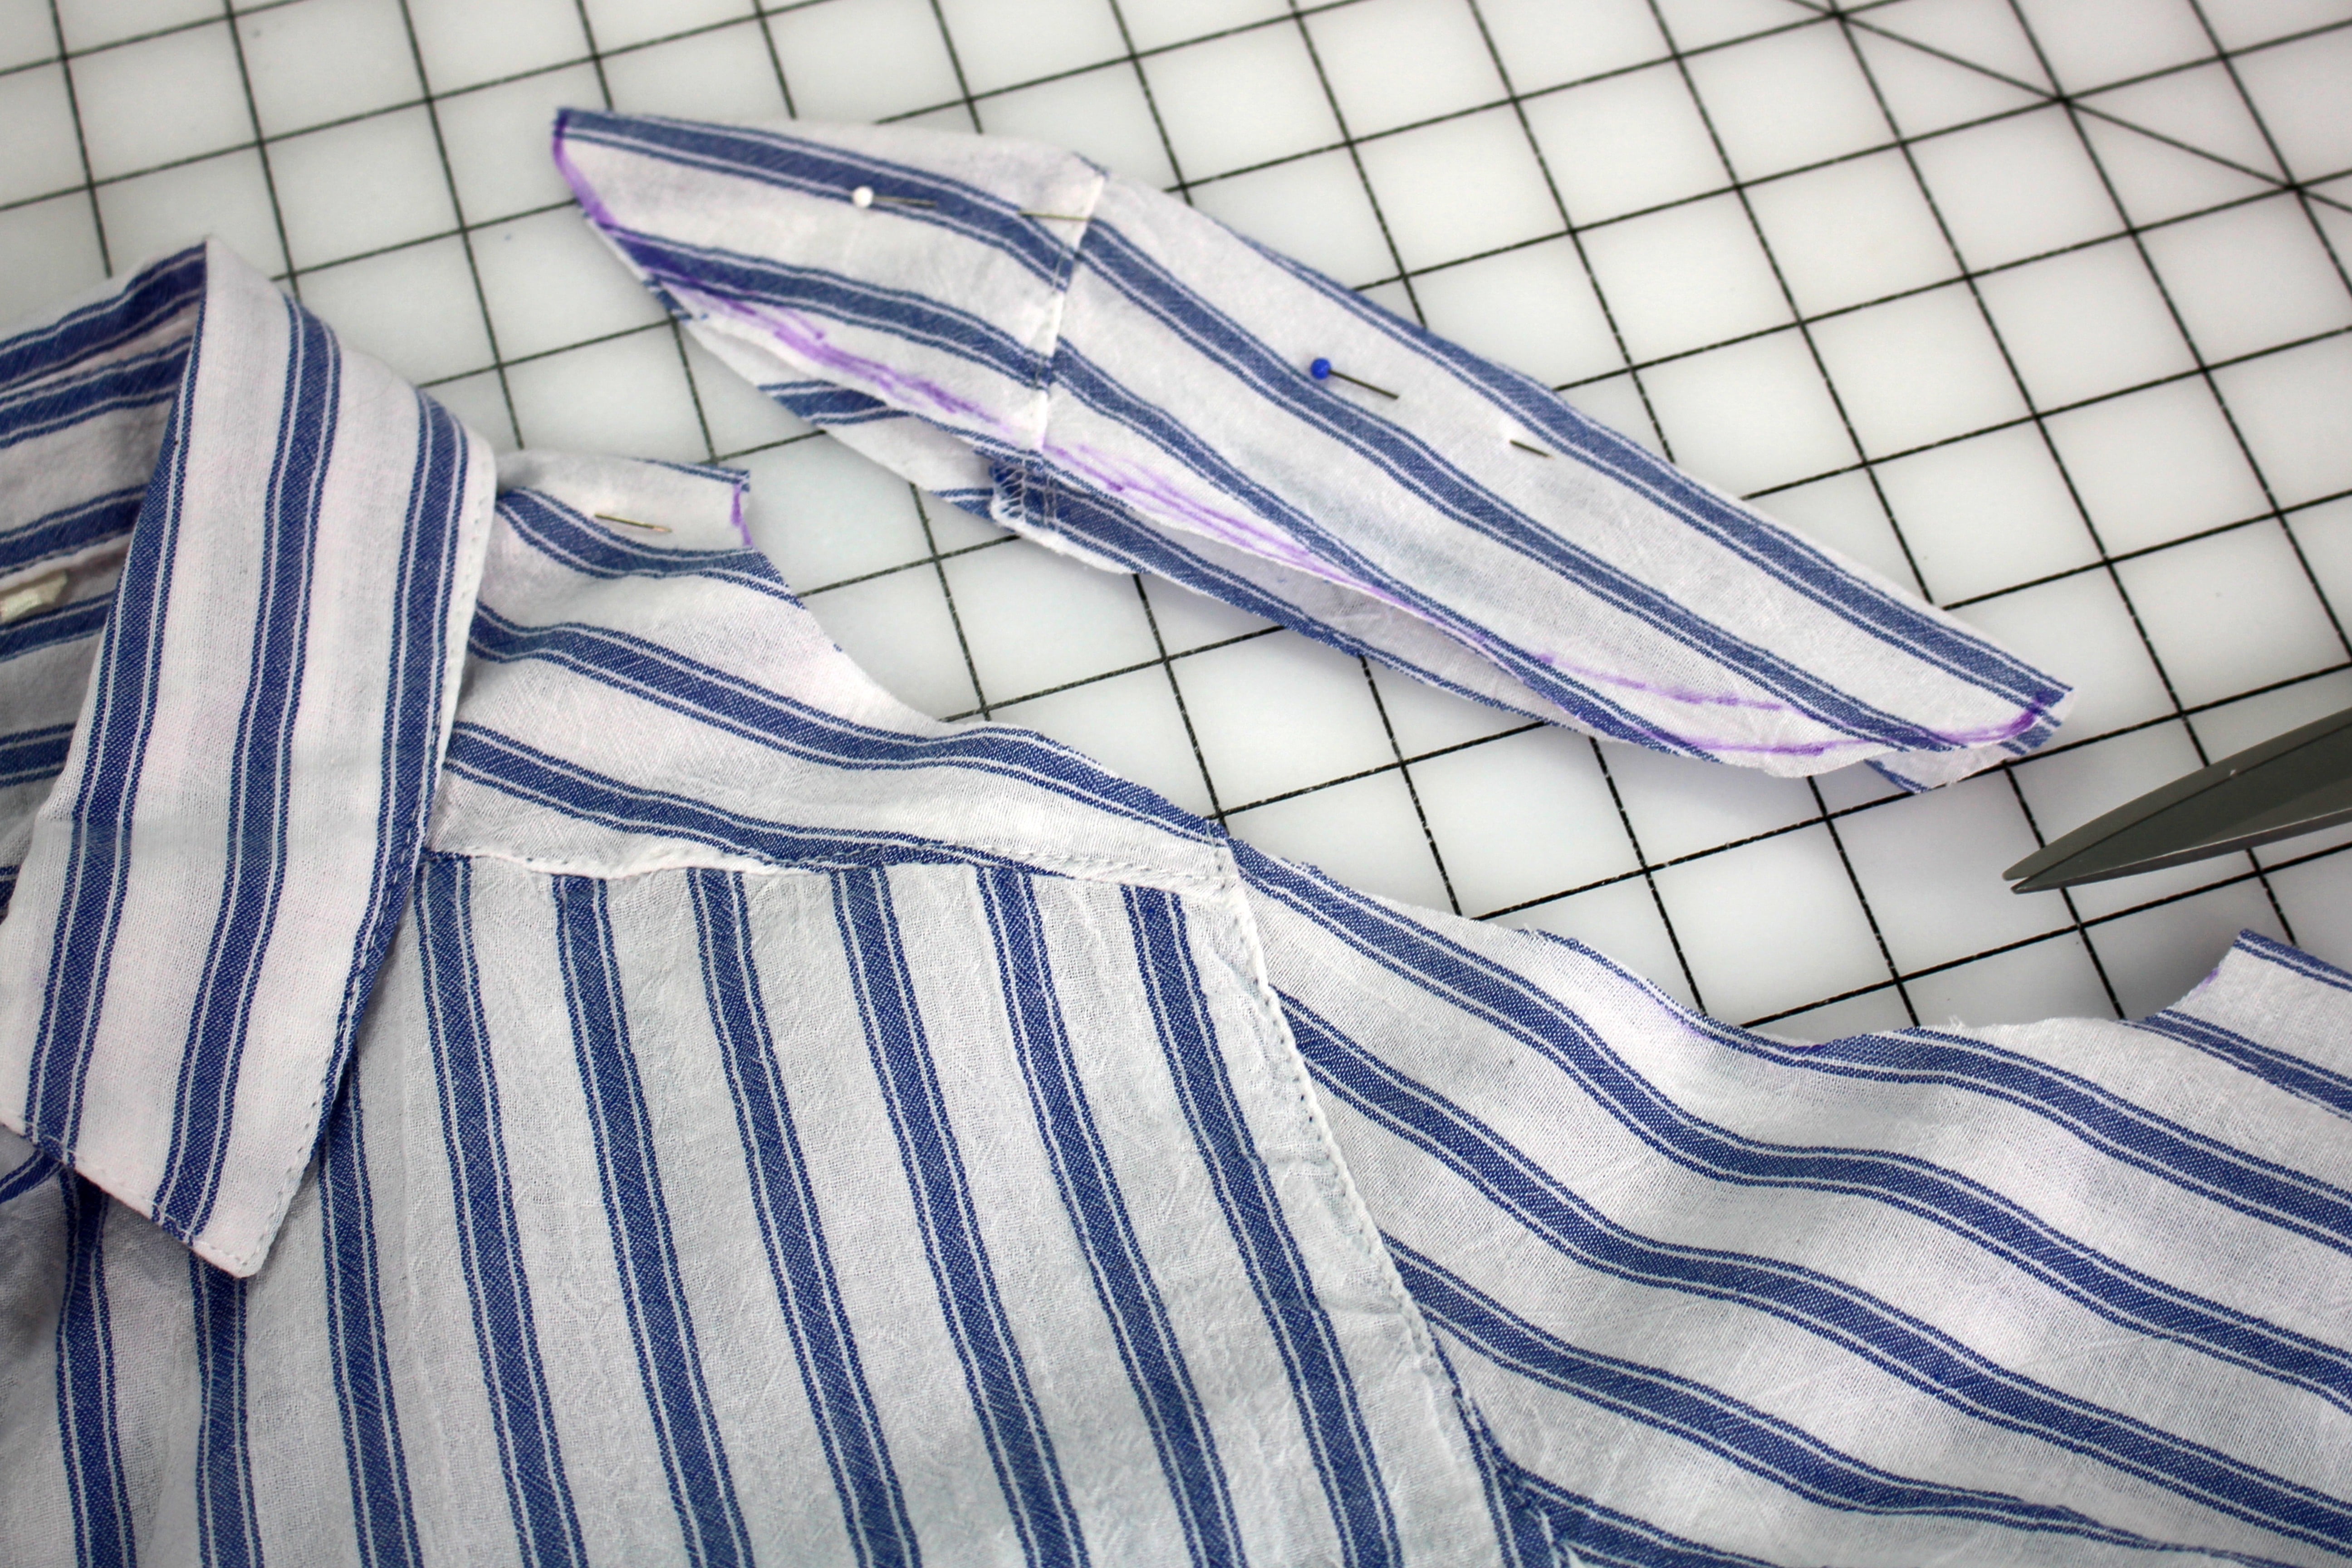
Lay the shirt flat. Locate the top of the shoulder and outside arm. Measure along the shoulder seam from the neck edge to where you want the edge of the hole to start. In my case I am going to start 2” to 3” from the neckline.
For the full tutorial, check out my post on the Brother Stitching Sewcial blog. I always love to see what your are working on, be sure to share photos of your upcycles shirt using #angelawolf #brothersews
Cheers,

Brother Expert Sewing Consultant. This blog post may contain affiliate links.

Episode 91 Behind the Scenes
Episode 91 Behind the Scenes LIVE with Angela Wolf - talking a recap of the Brother B2B convention, a look at the fabrics for It's Sew Easy projects, and new building update!

Episode 90 Behind the Scenes at B2B
Episode 90 behind the scenes Live in Orlando, Florida at the Brother Sews B2B convention showing off my gowns and embroidered dresses, the new Luminaire Innovis-XP1 and the travel sewing machine NS80PRW. And say hi to Joanne Banko and Cindy Hogan Cynthia's Embroidery...
Live with Sandy in Orlando at Brother B2B
Live with Sandy in Orlando at Brother B2B


Share This
Share this post with your friends!