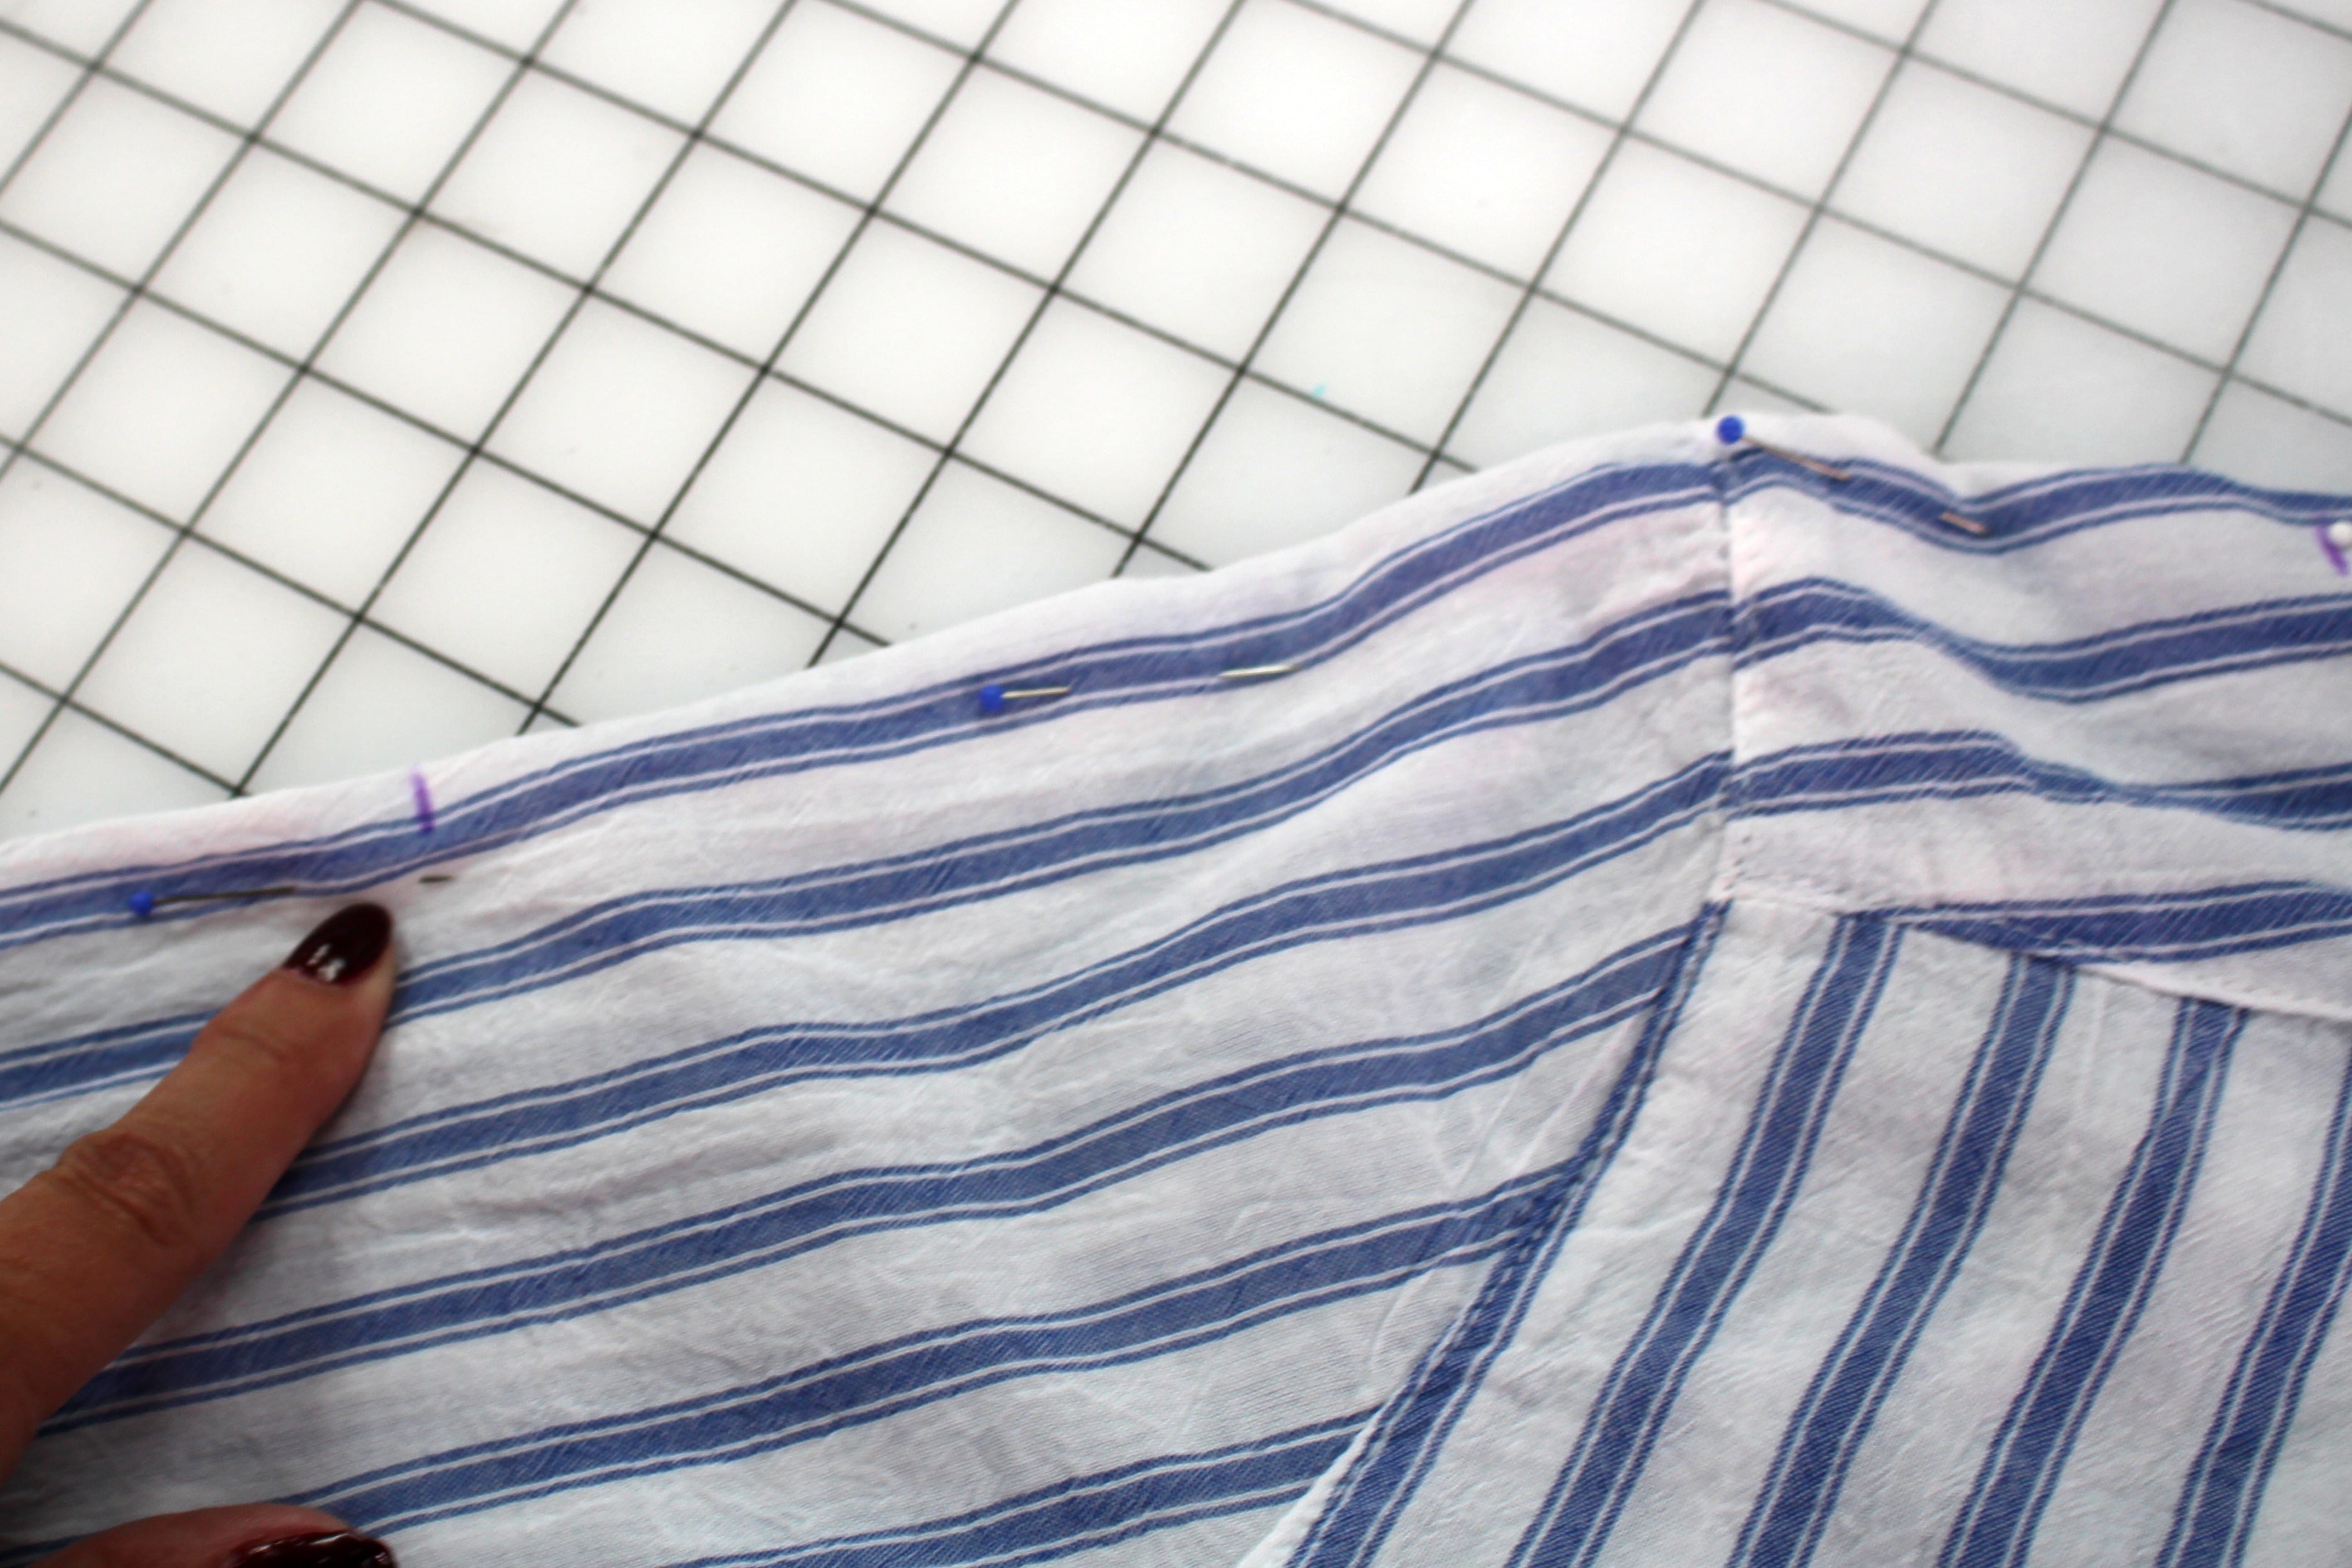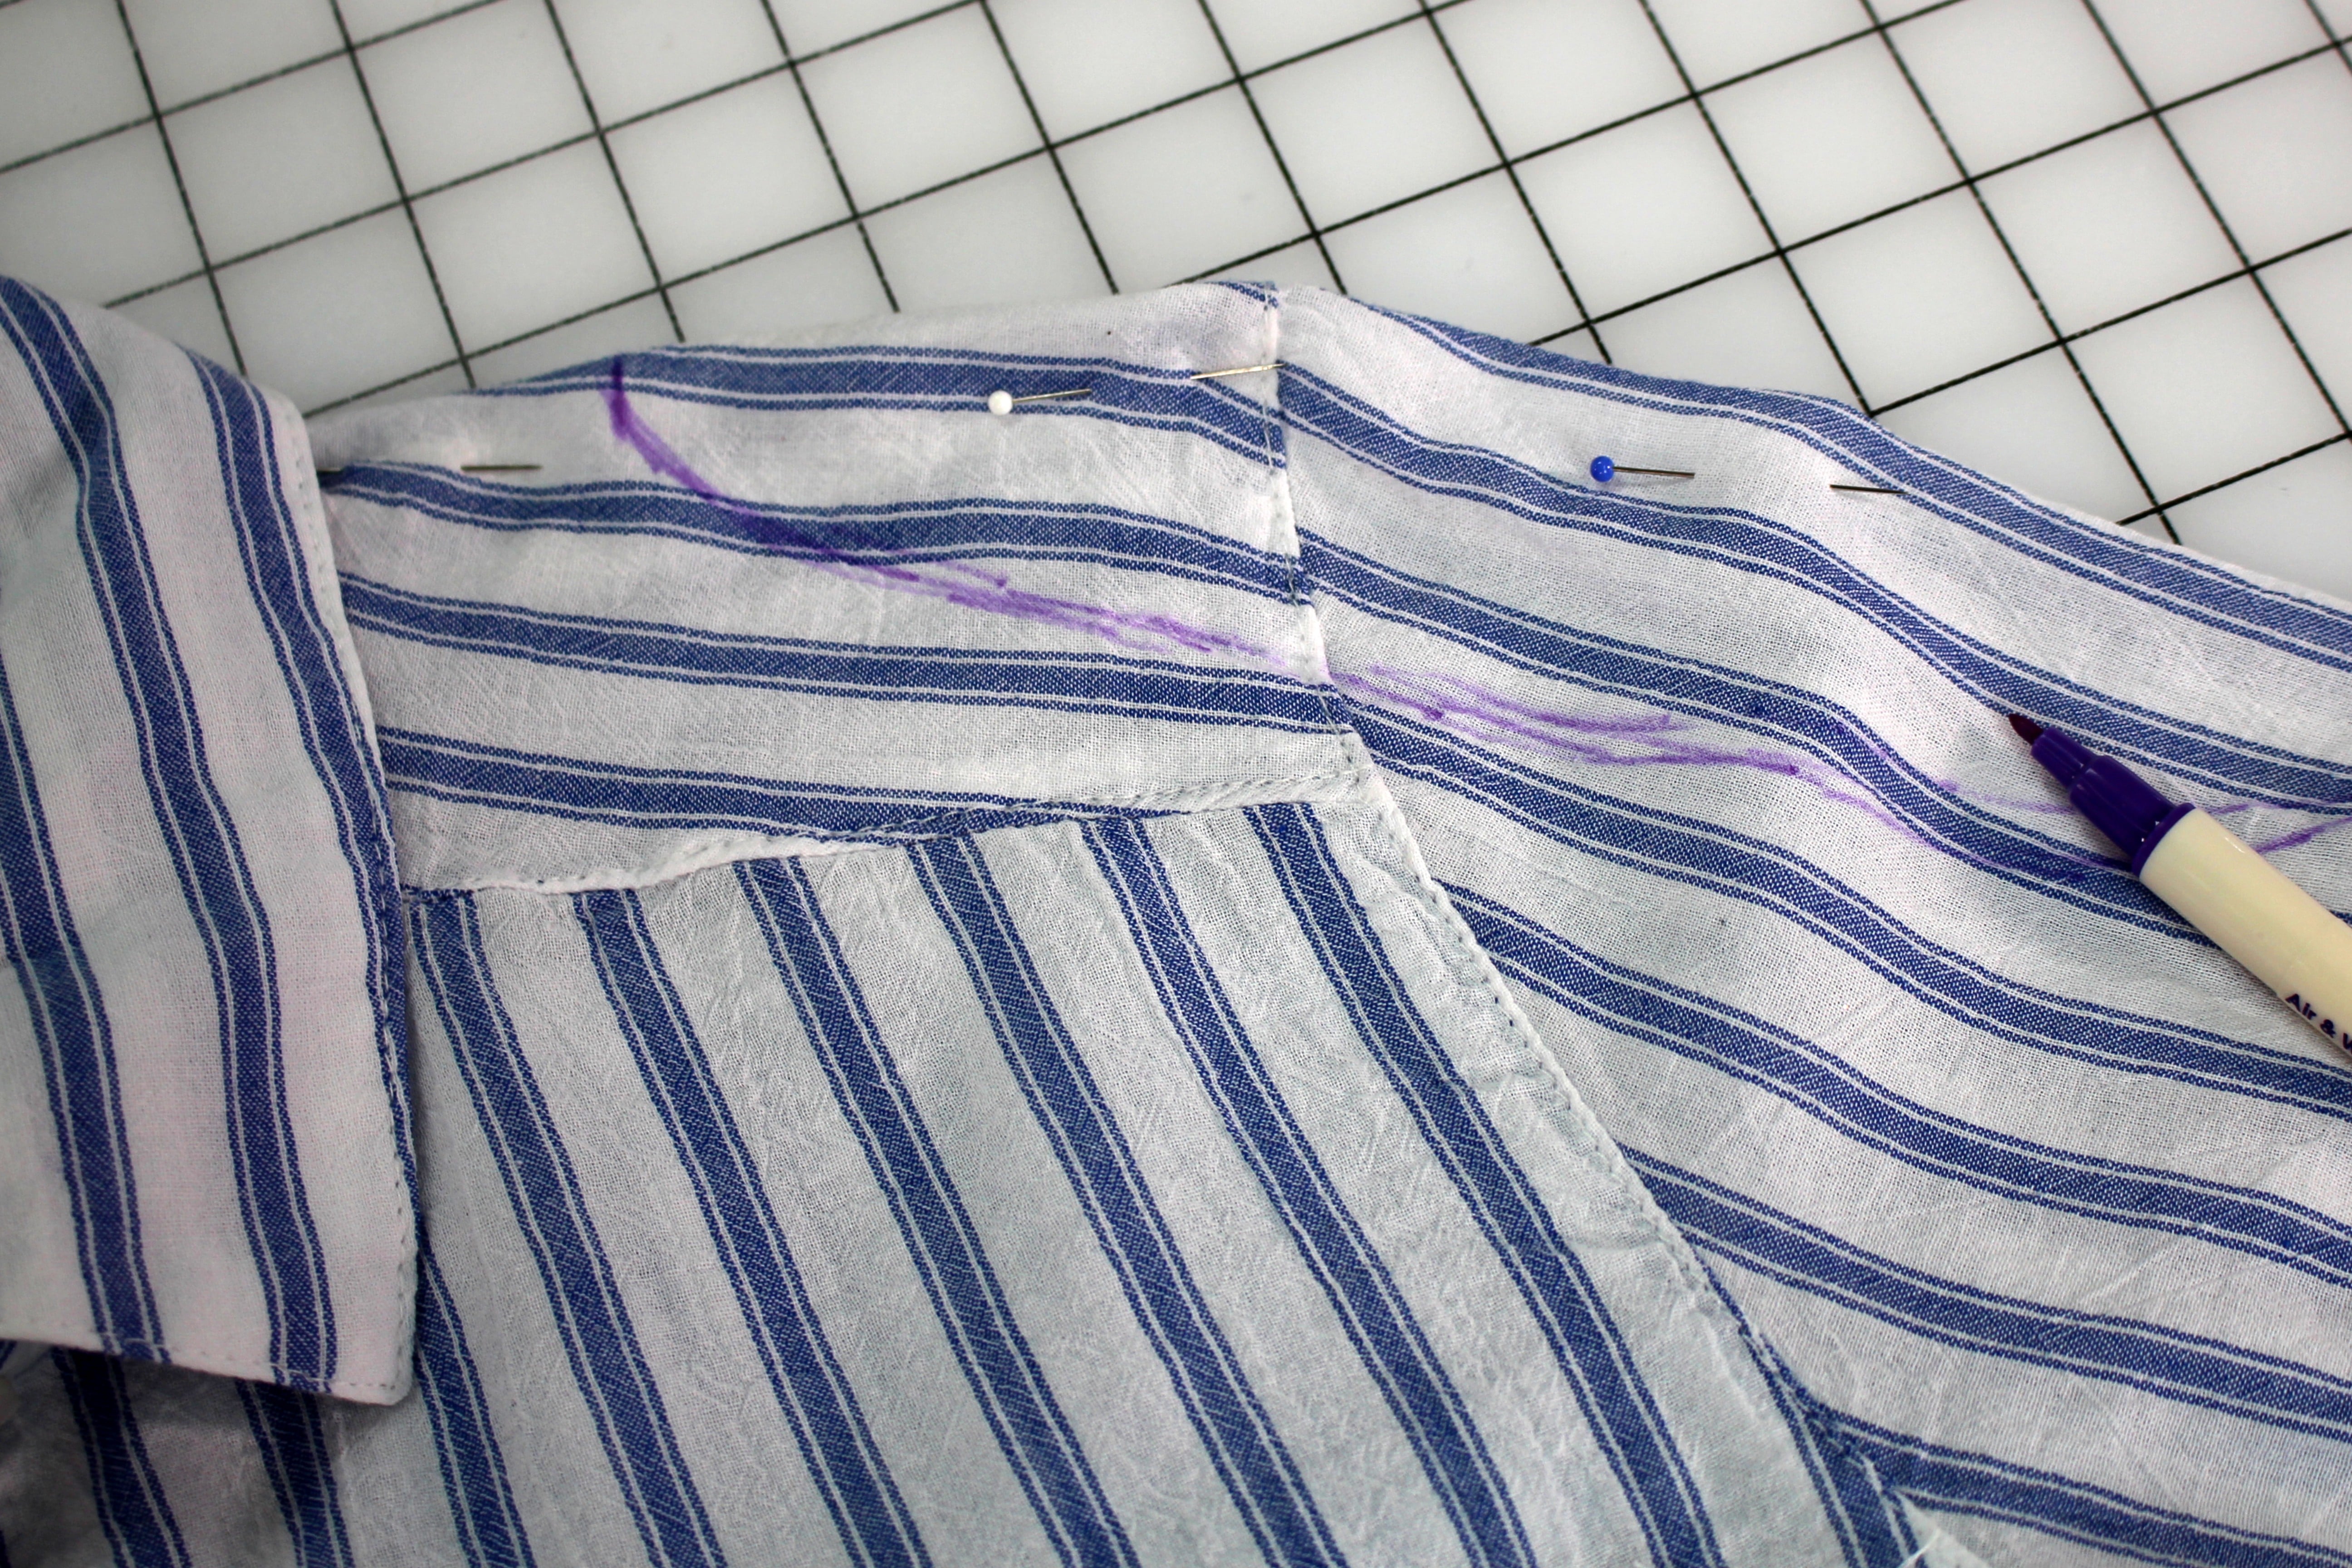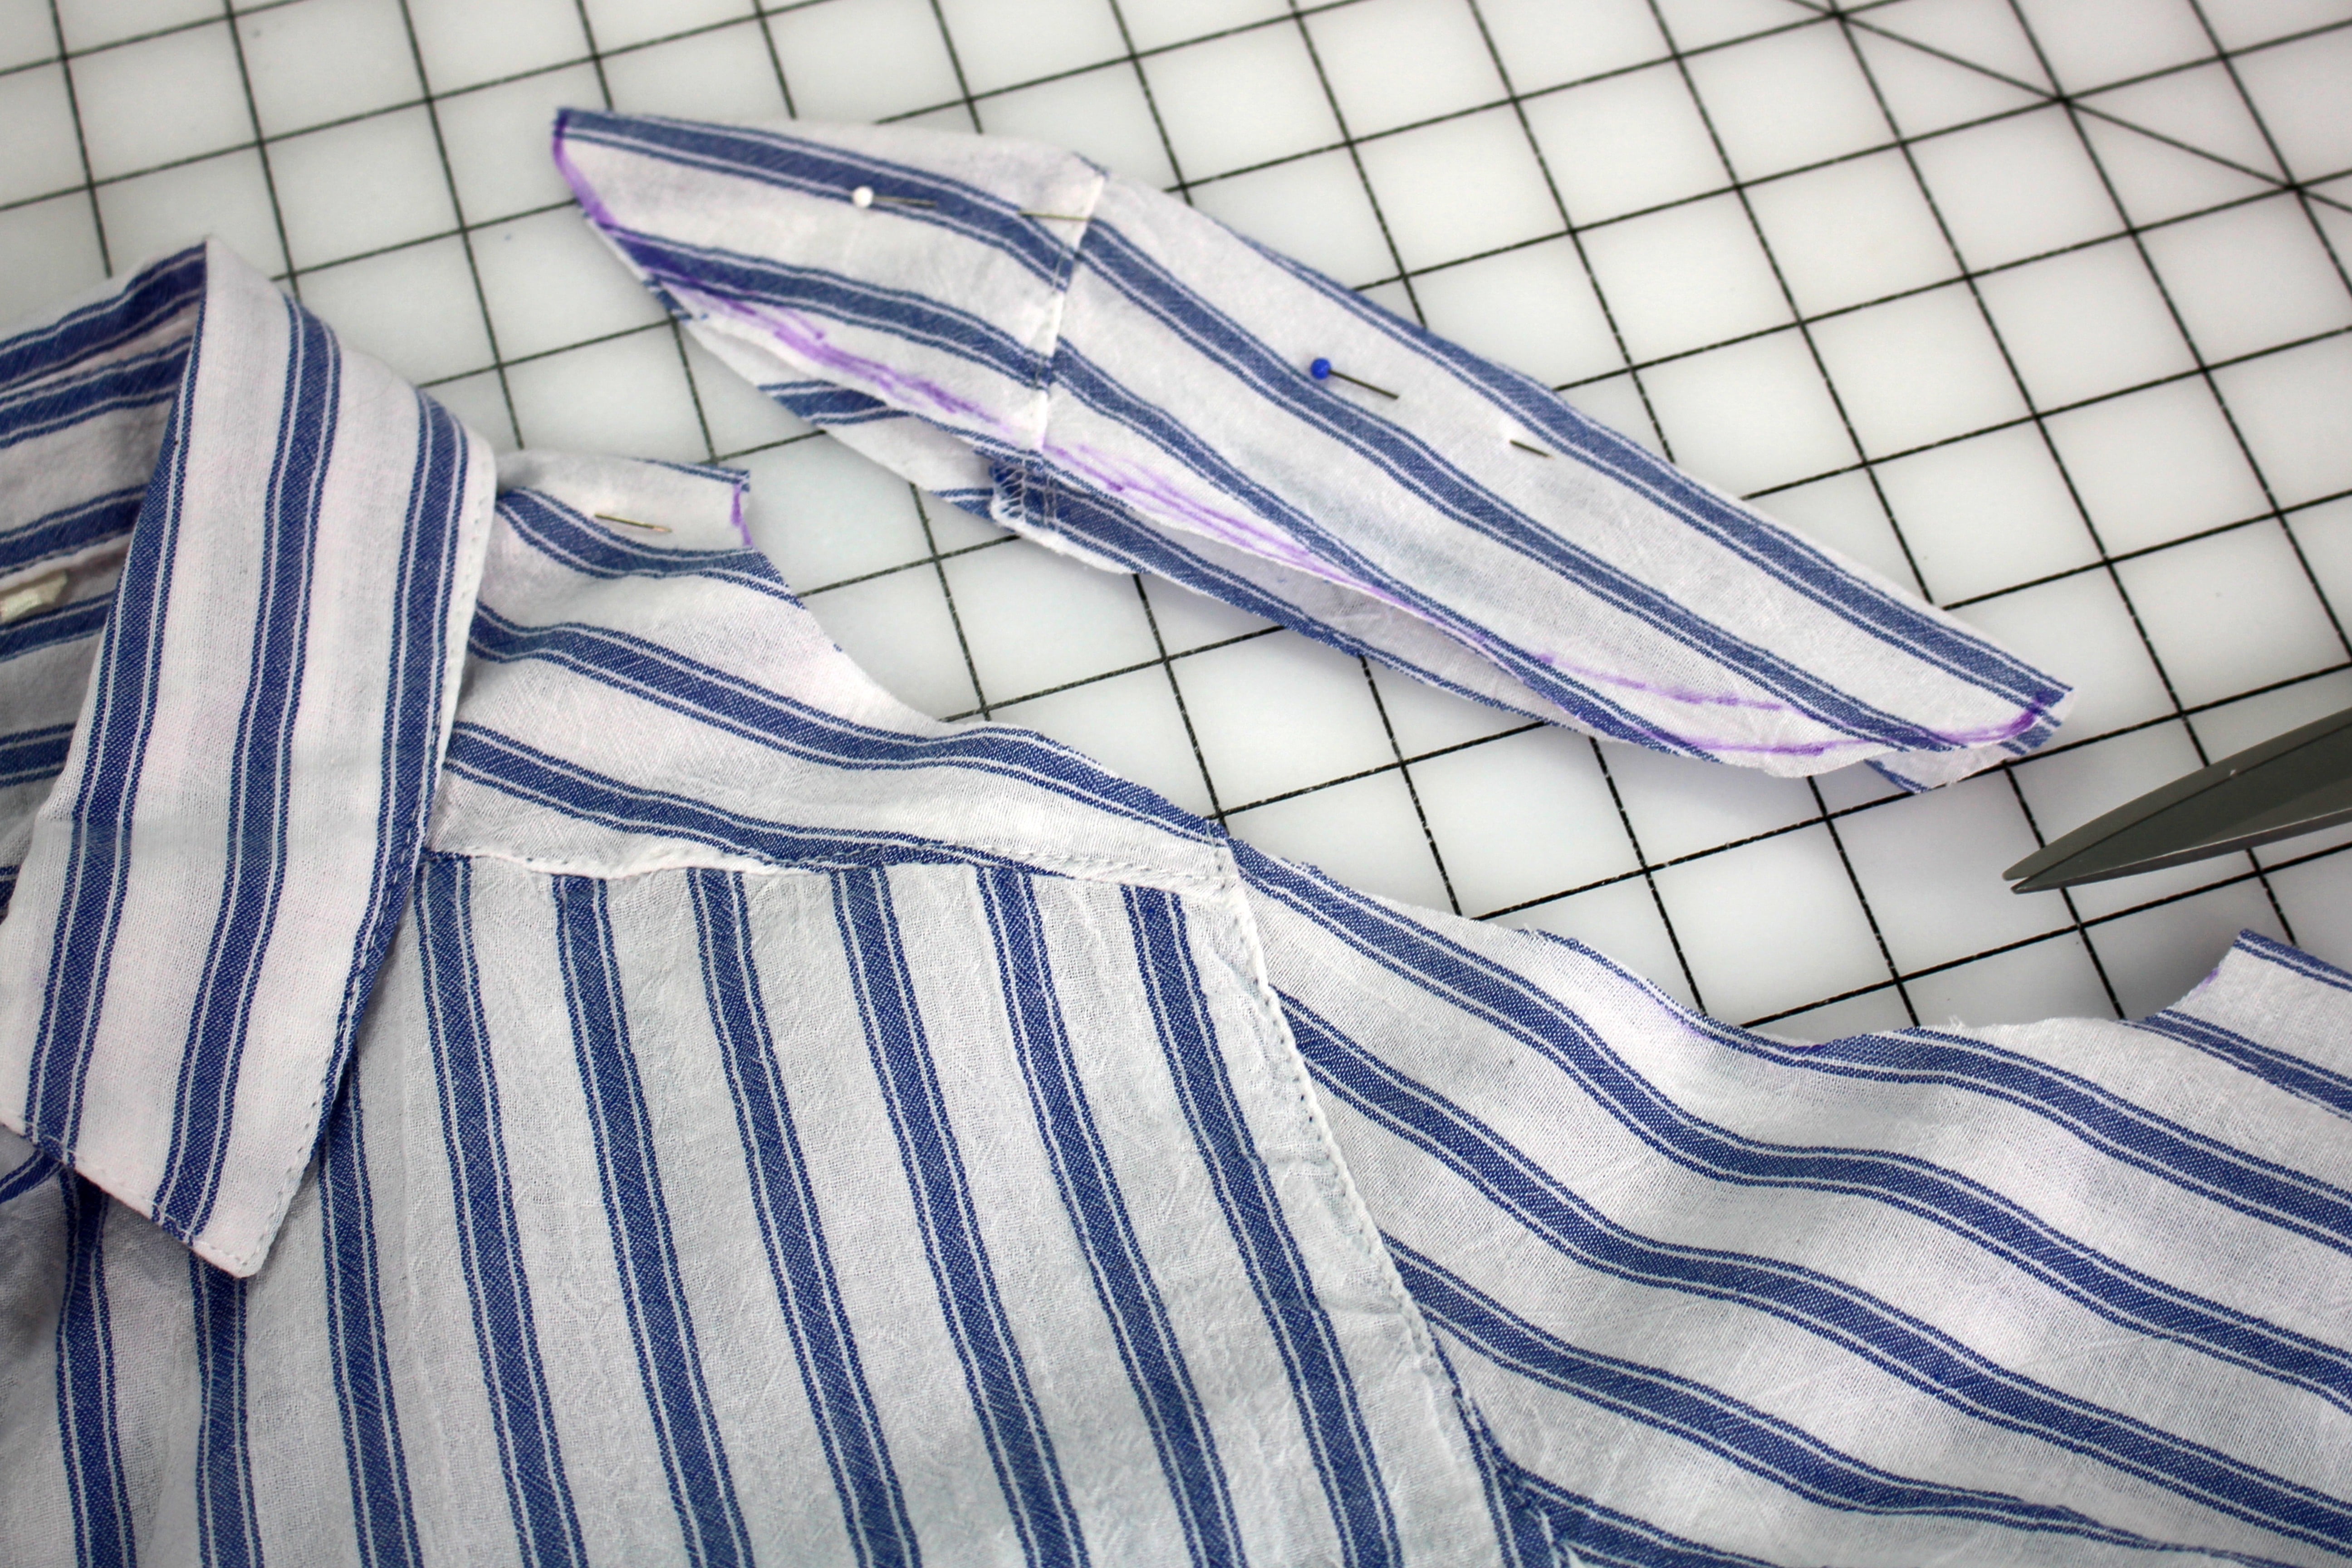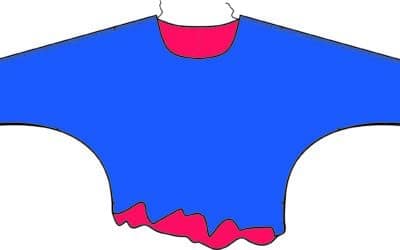


I have a few turtlenecks that are made of beautiful fabrics, but I can’t stand the high, tight neckline. Time for another DIY recycle project to makeover this sweater! The look of see through fabric, embroidered, and embellished tulle are so trendy right now...
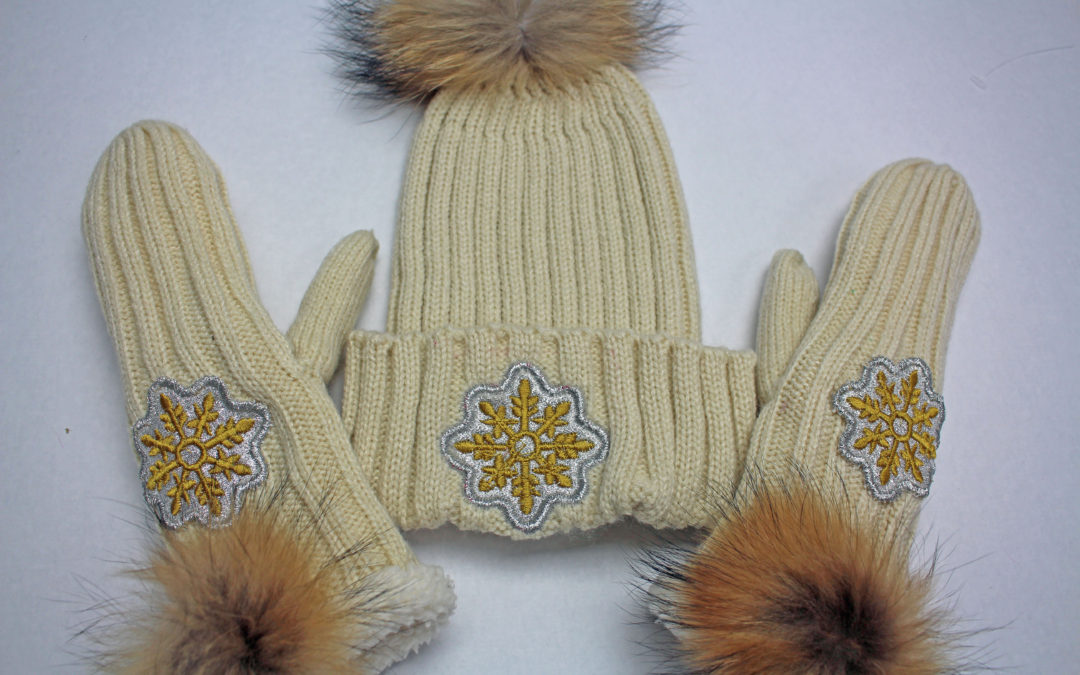
DIY PROJECT: EMBROIDERY & APPLIQUE HAT & MITTENS
Customizing pieces of your winter wardrobe has never been easier. This project will show you how to use embroidery and appliqué to embellish a knitted hat and mittens. Great gift idea!
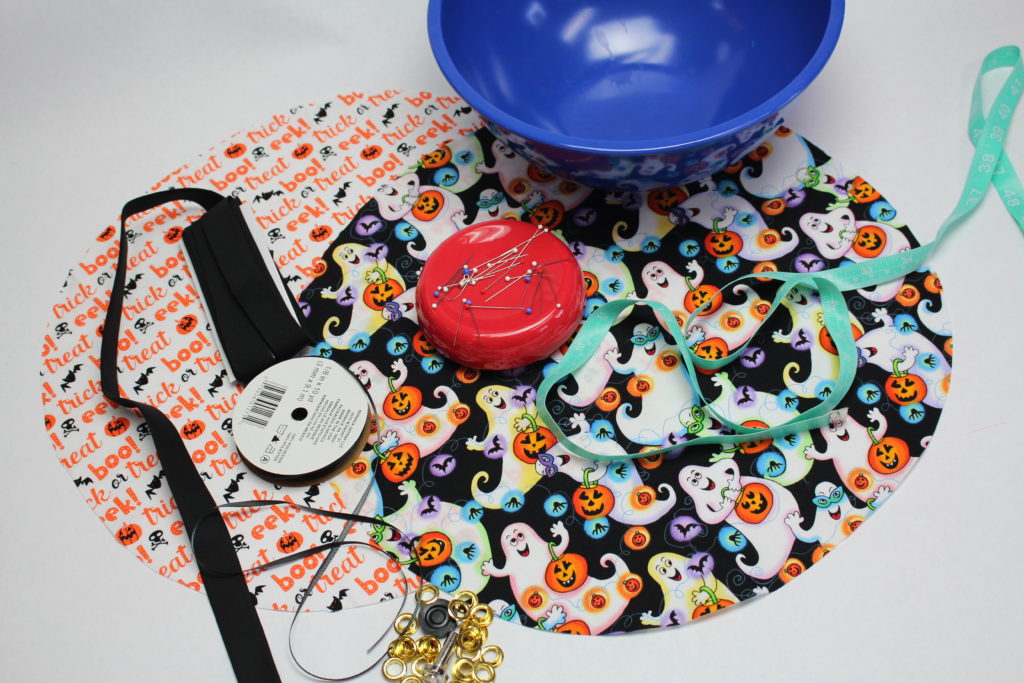
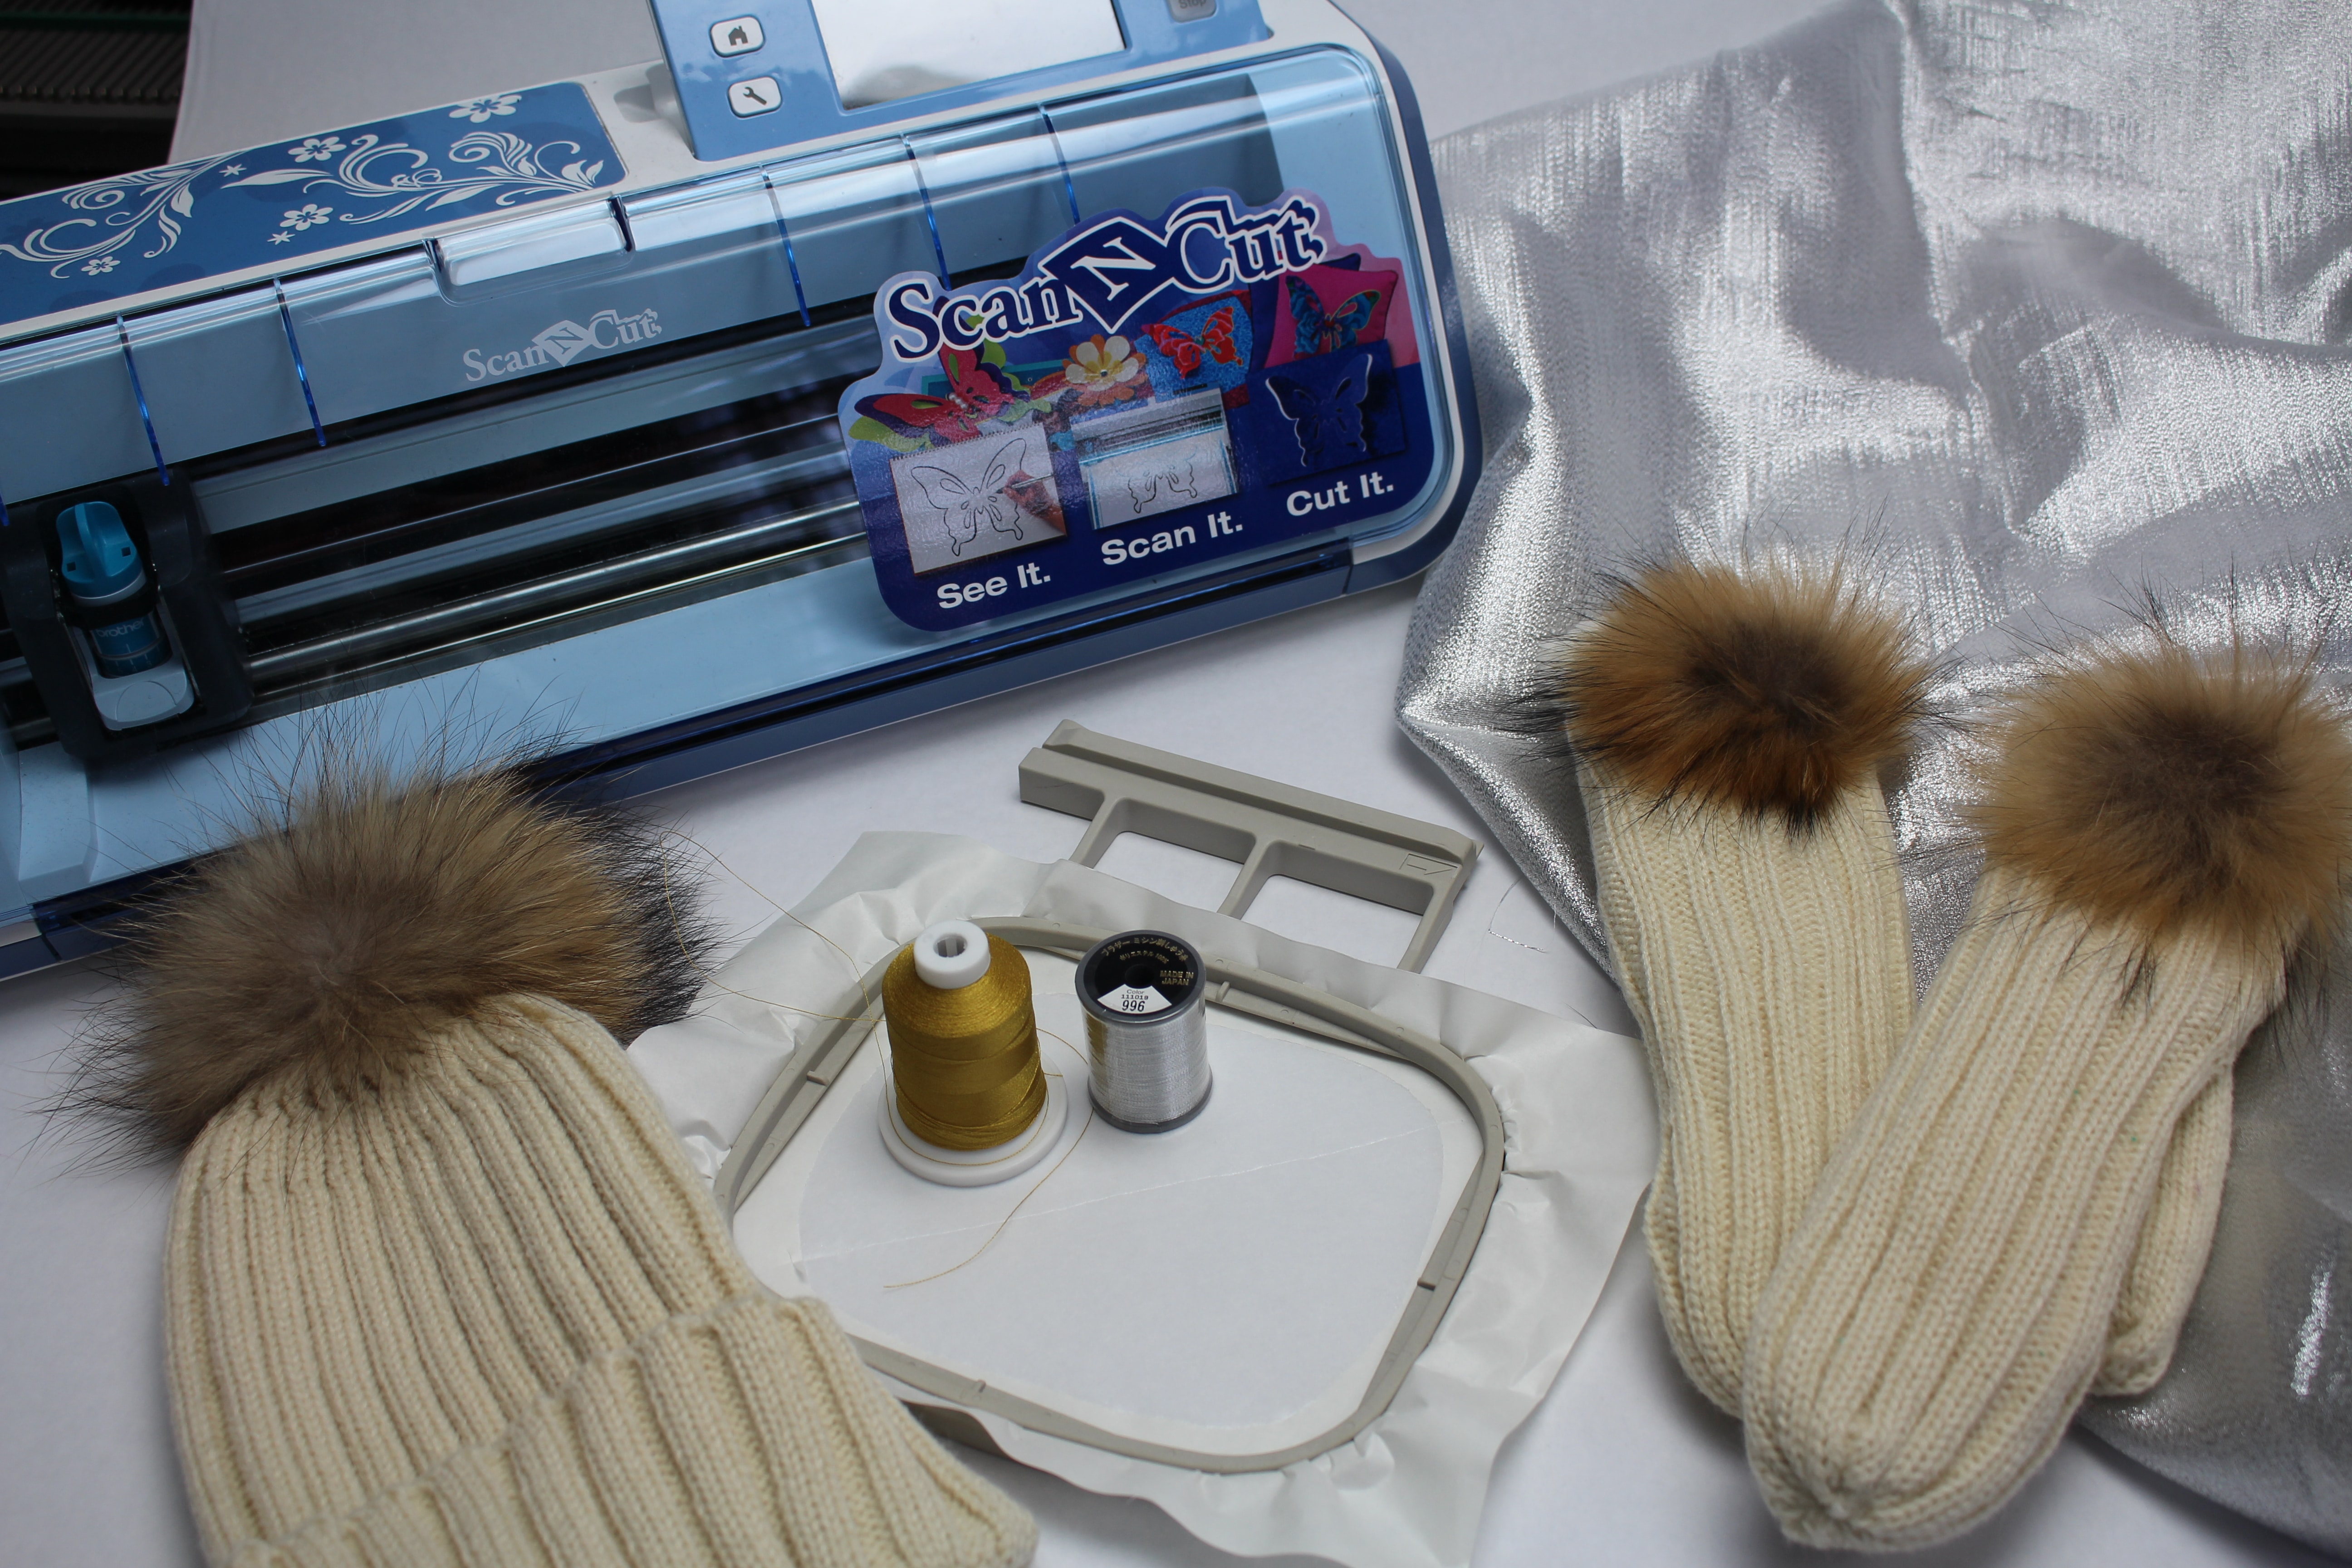
Supplies
Hat & Mittens , 10” x 4” Gold or Silver Lame Fabric, Brother Embroidery Thread, Brother Metallic Thread, Pacesetter Medium Weight Tear-away Adhesive Stabilizer, ScanNCut —– tack adhesive fabric support sheet, piece of plastic (dry cleaner bags work great!), Brother Embroidery Machine
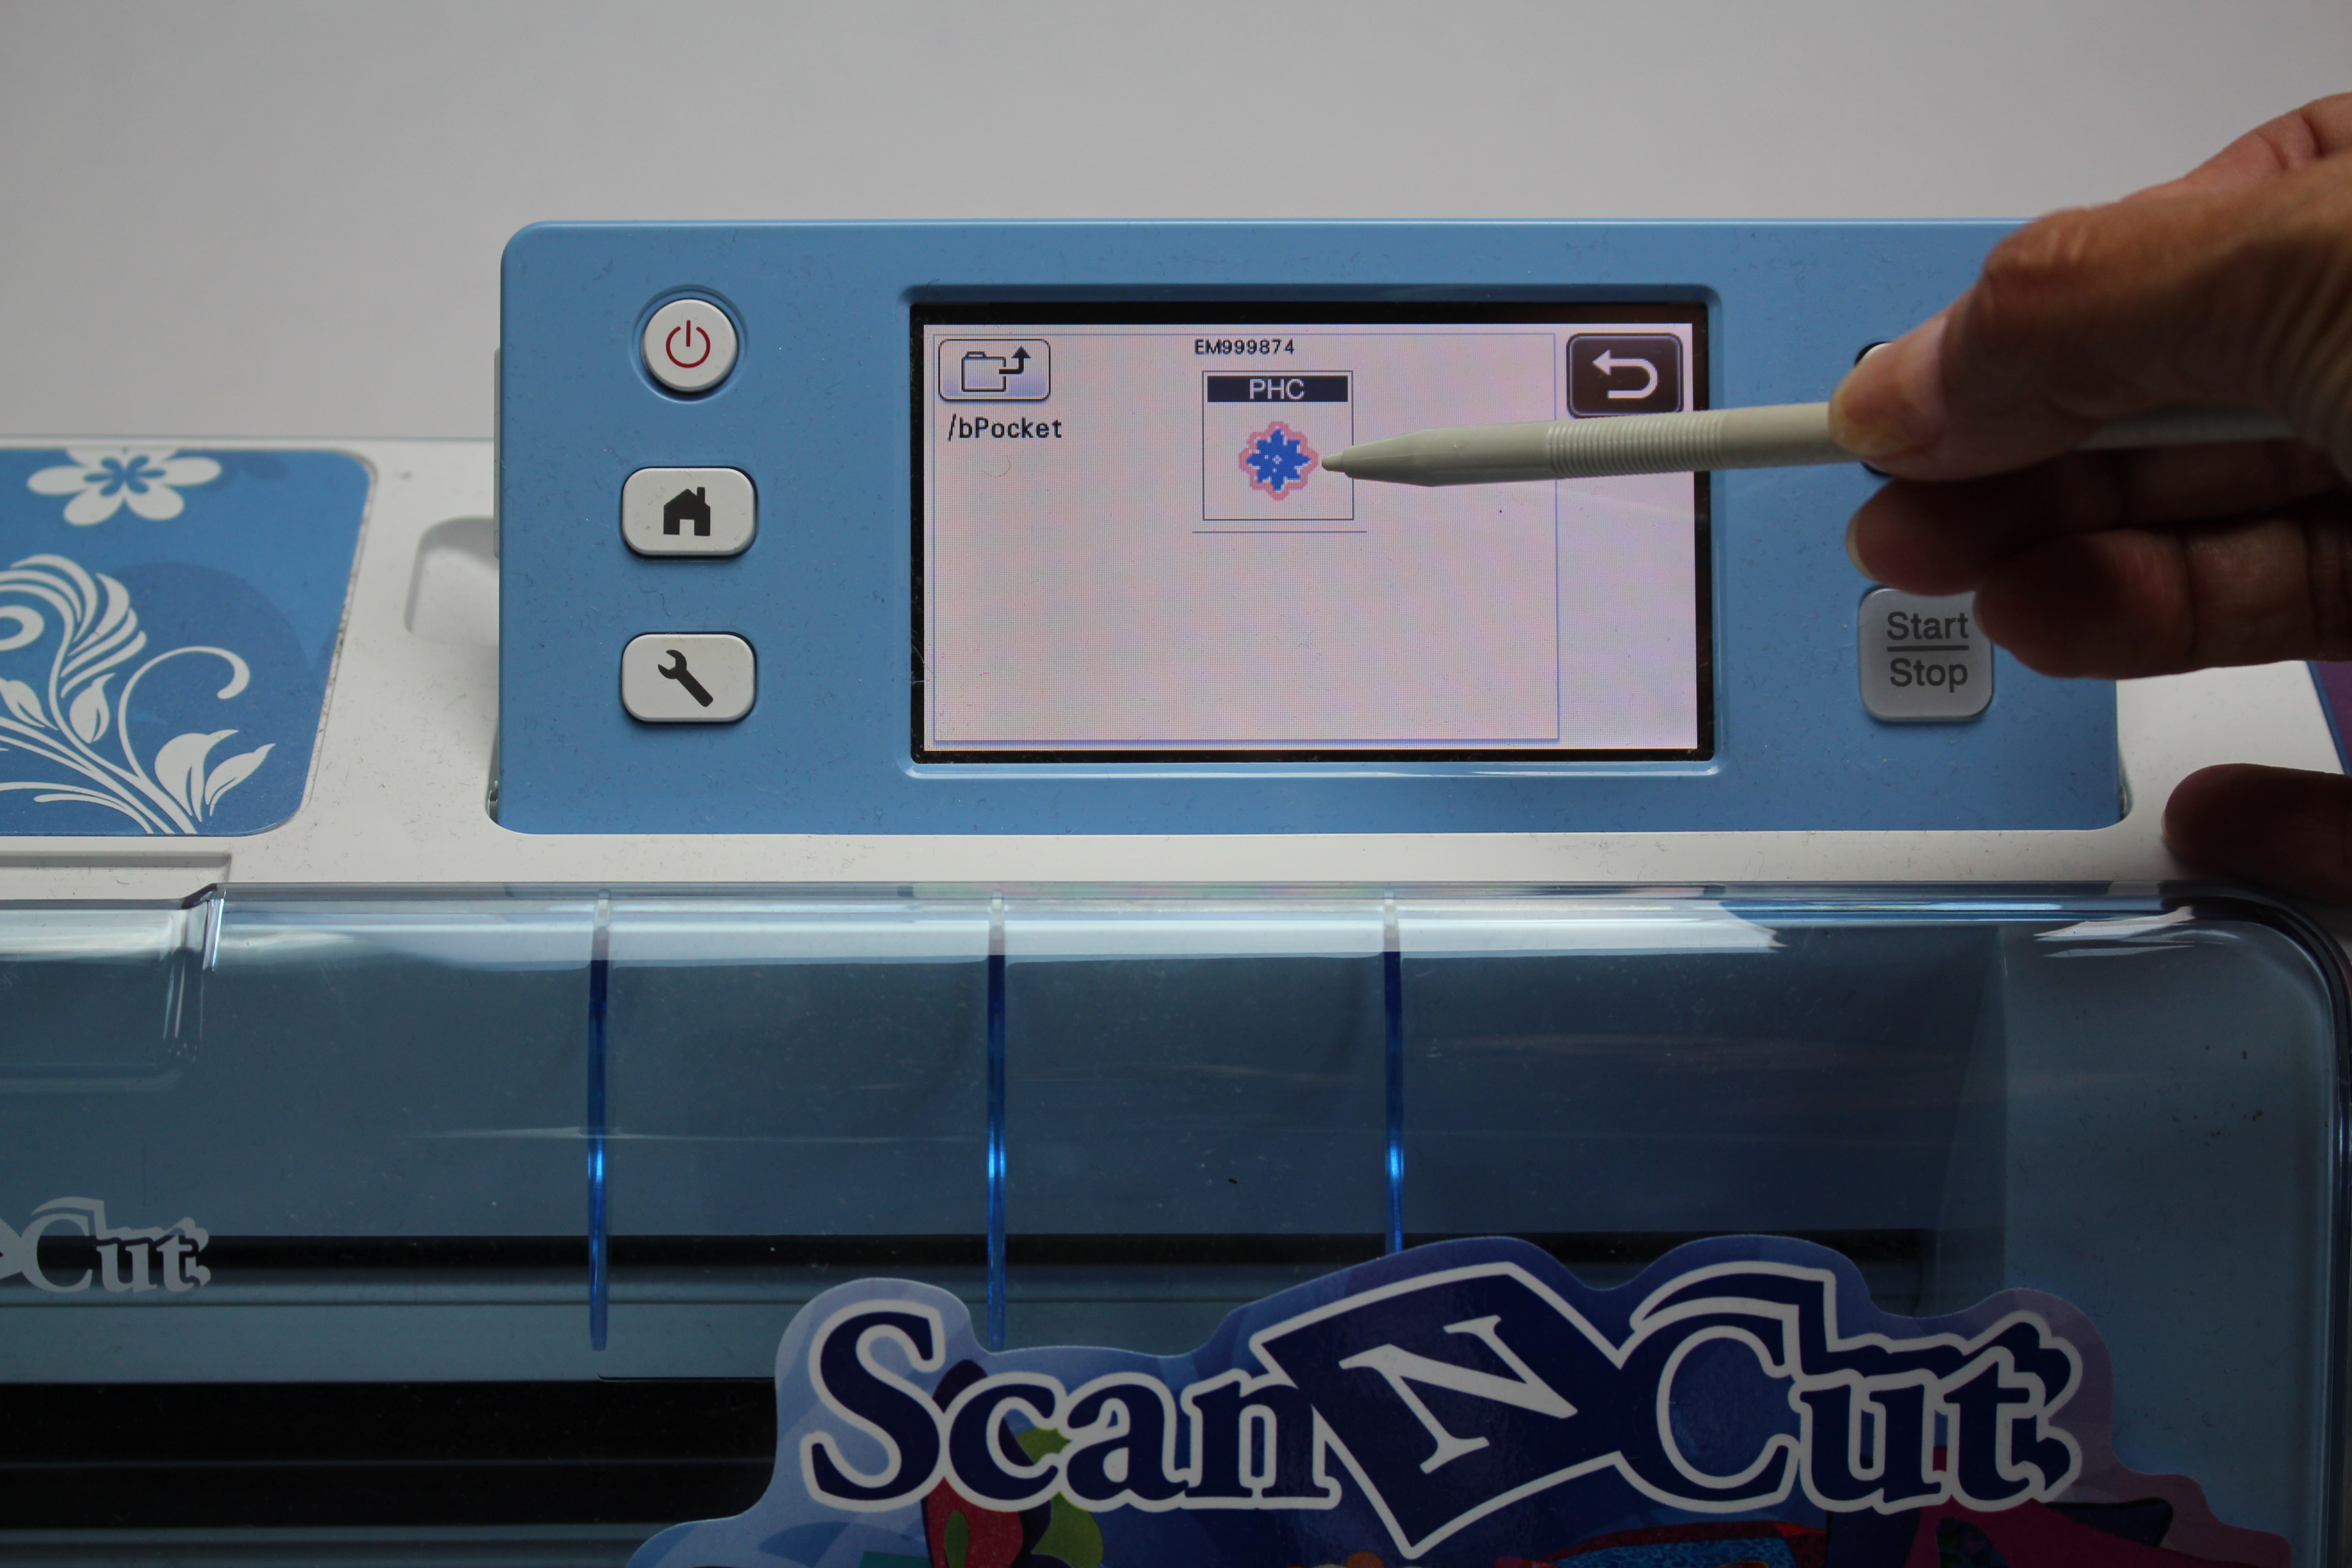
Step 1: Visit www.ibroidery.com and search through the snowflake designs, I choose design #BR-fp116 (link to design http://www.ibroidery.com/sitesearch.aspx?SC=fp116 ) Periwinkle Snowflake. Download the design to a USB stick. Insert the USB stick into the embroidery machine and open the file.

Step 2: Open the snowflake design and click on EDIT. Click on the APPLIQUE ICON. Click on MEMORY and save the design back to the USB stick. We have now turn this design into an applique design that can be transferred to the Brother ScanNcut.
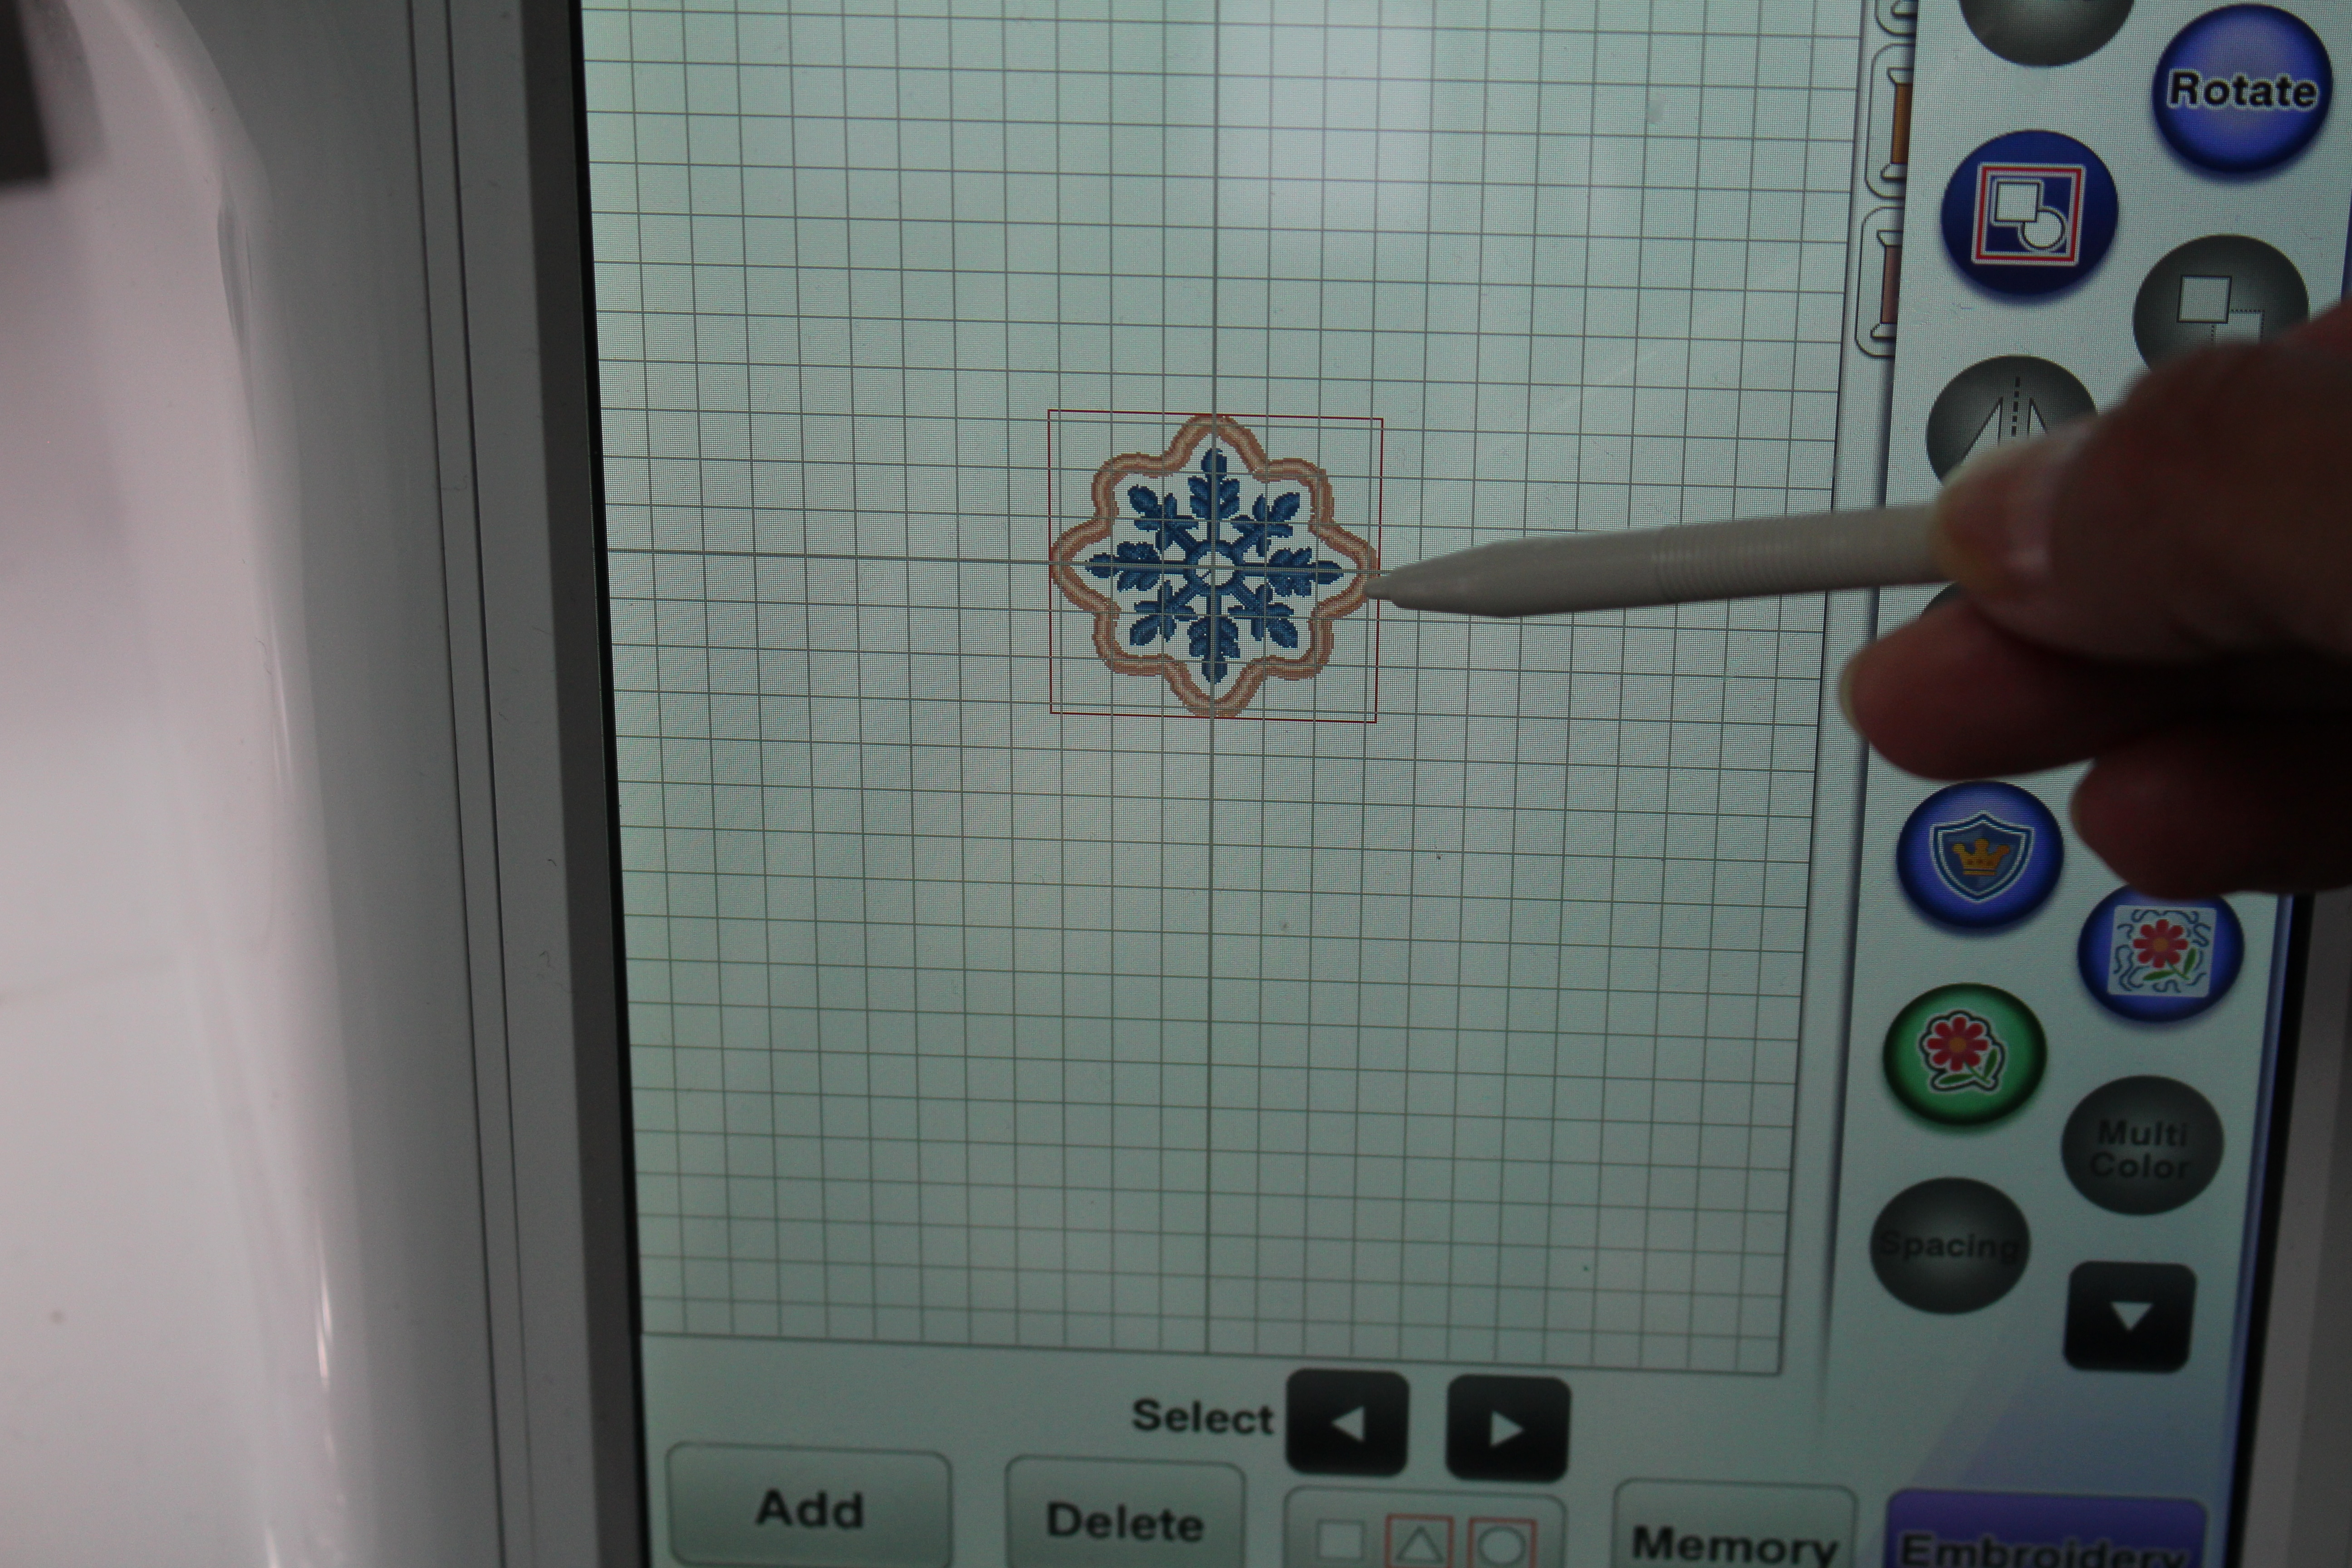
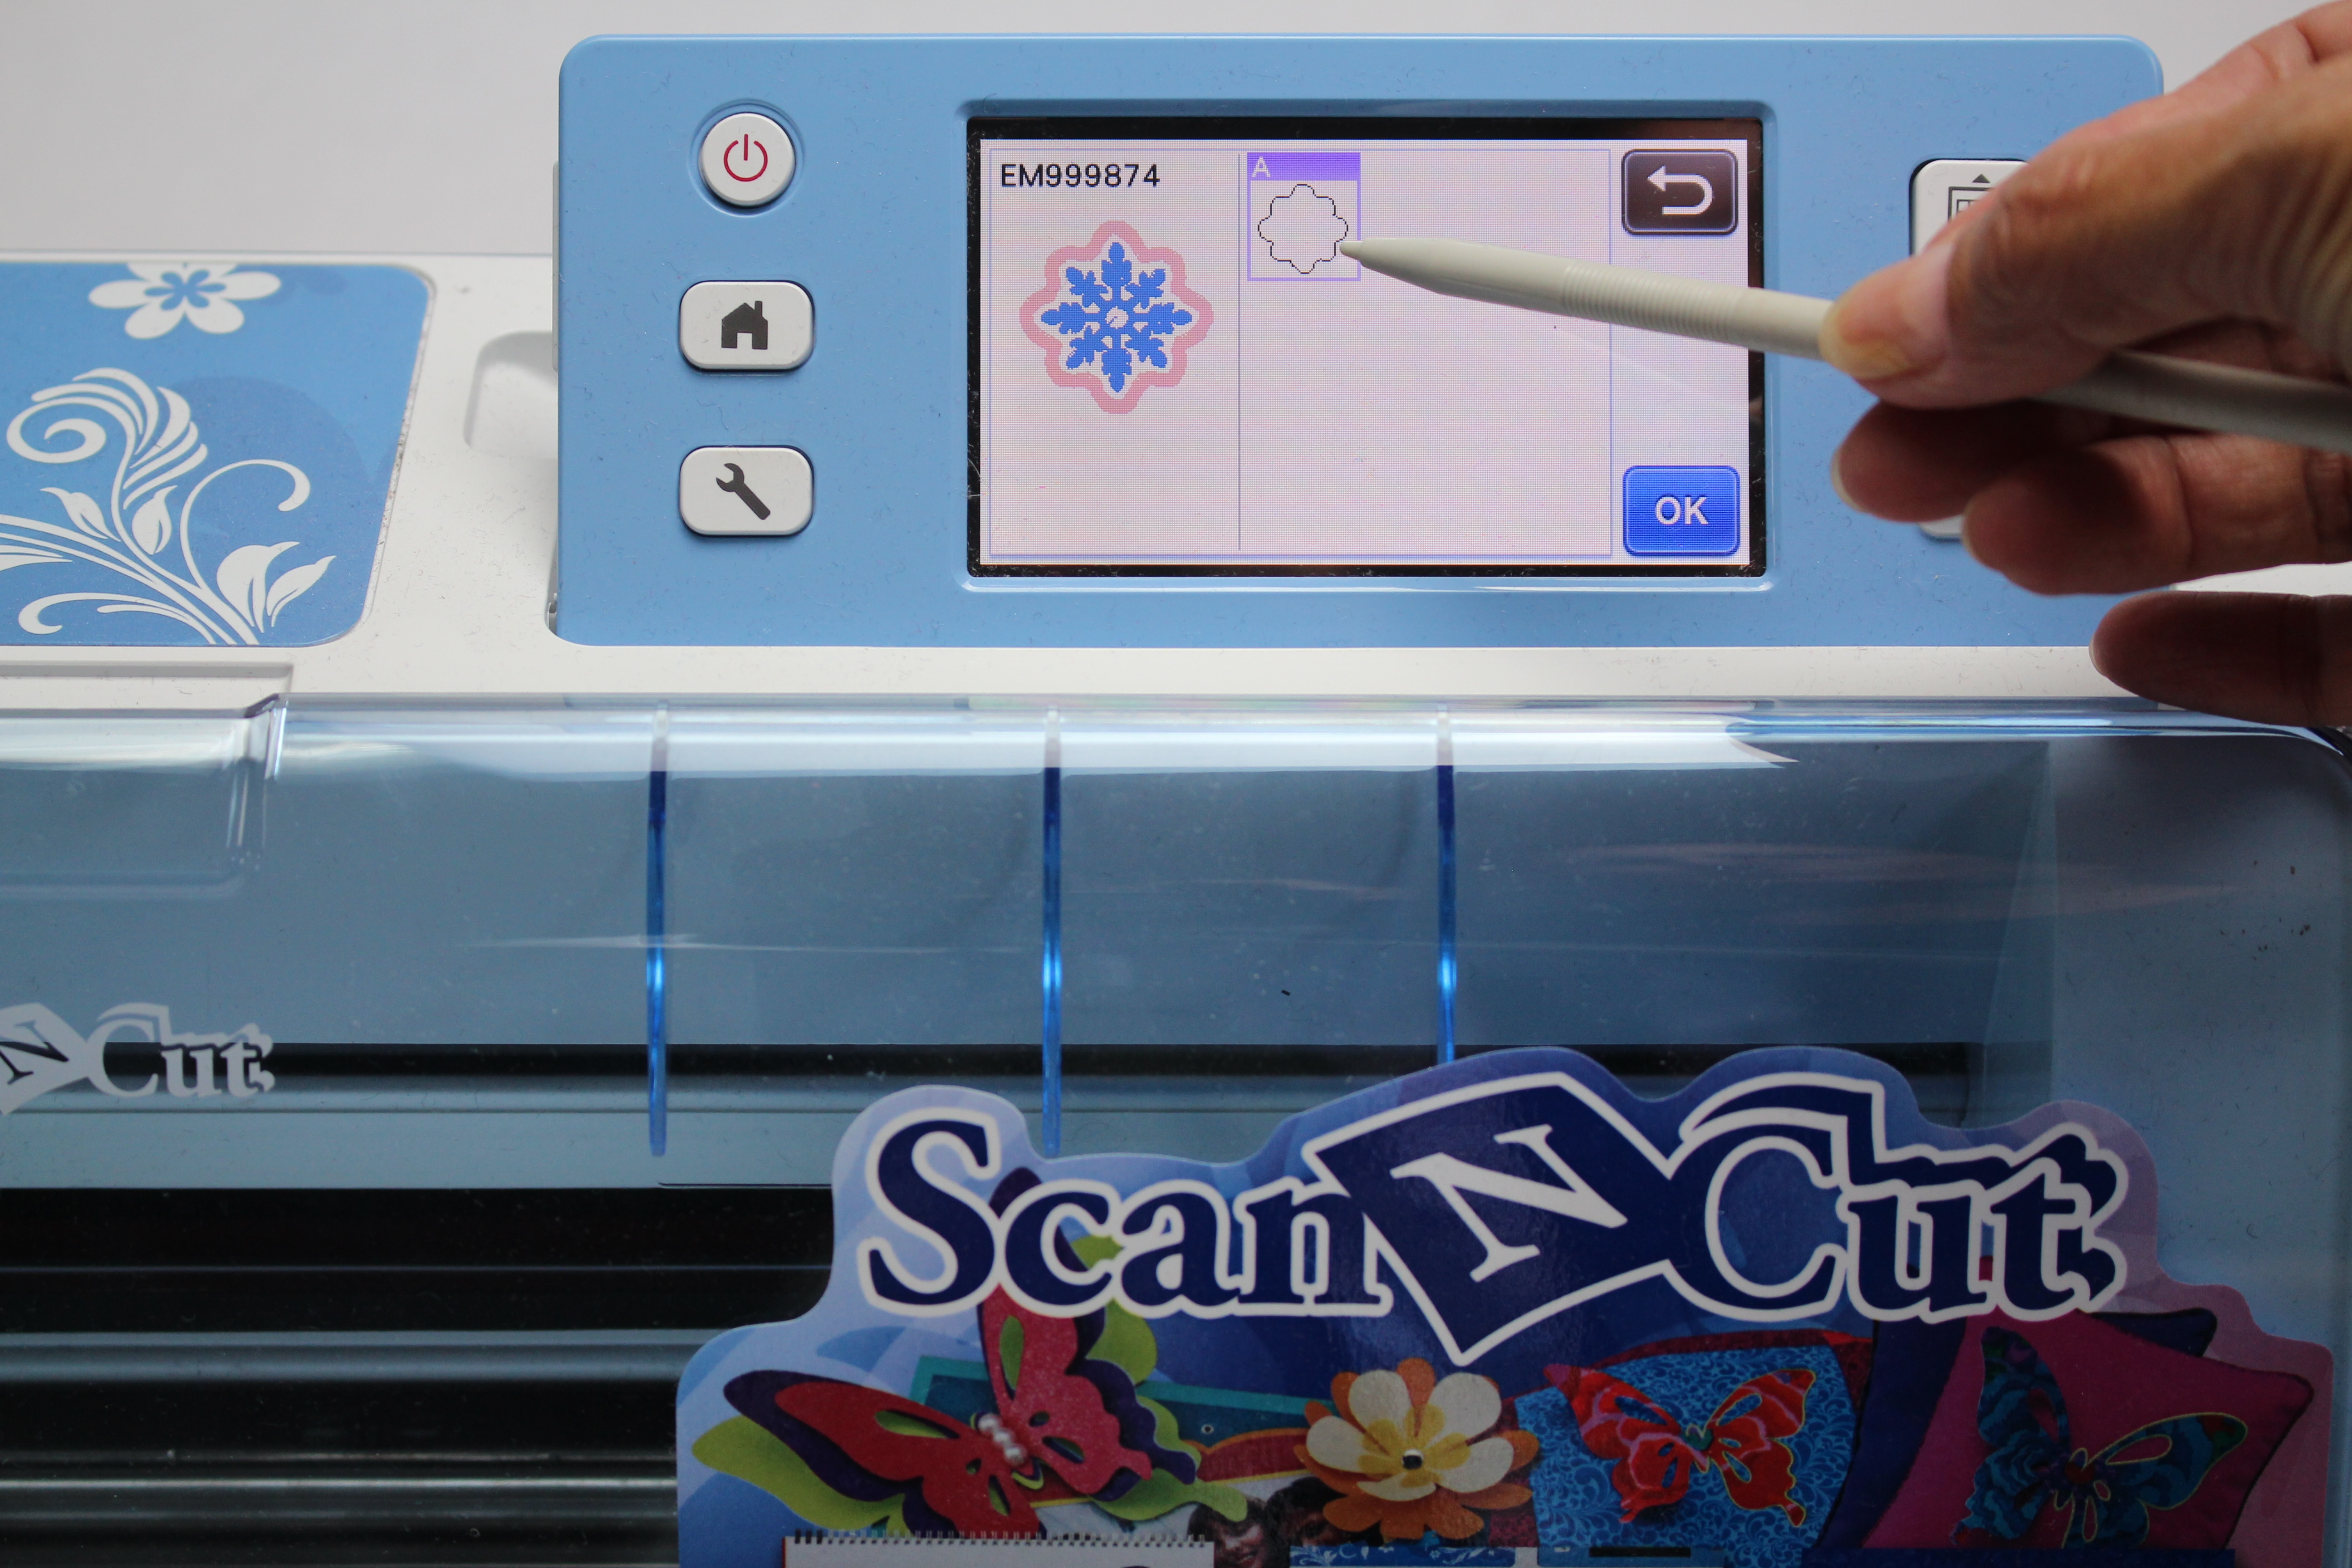
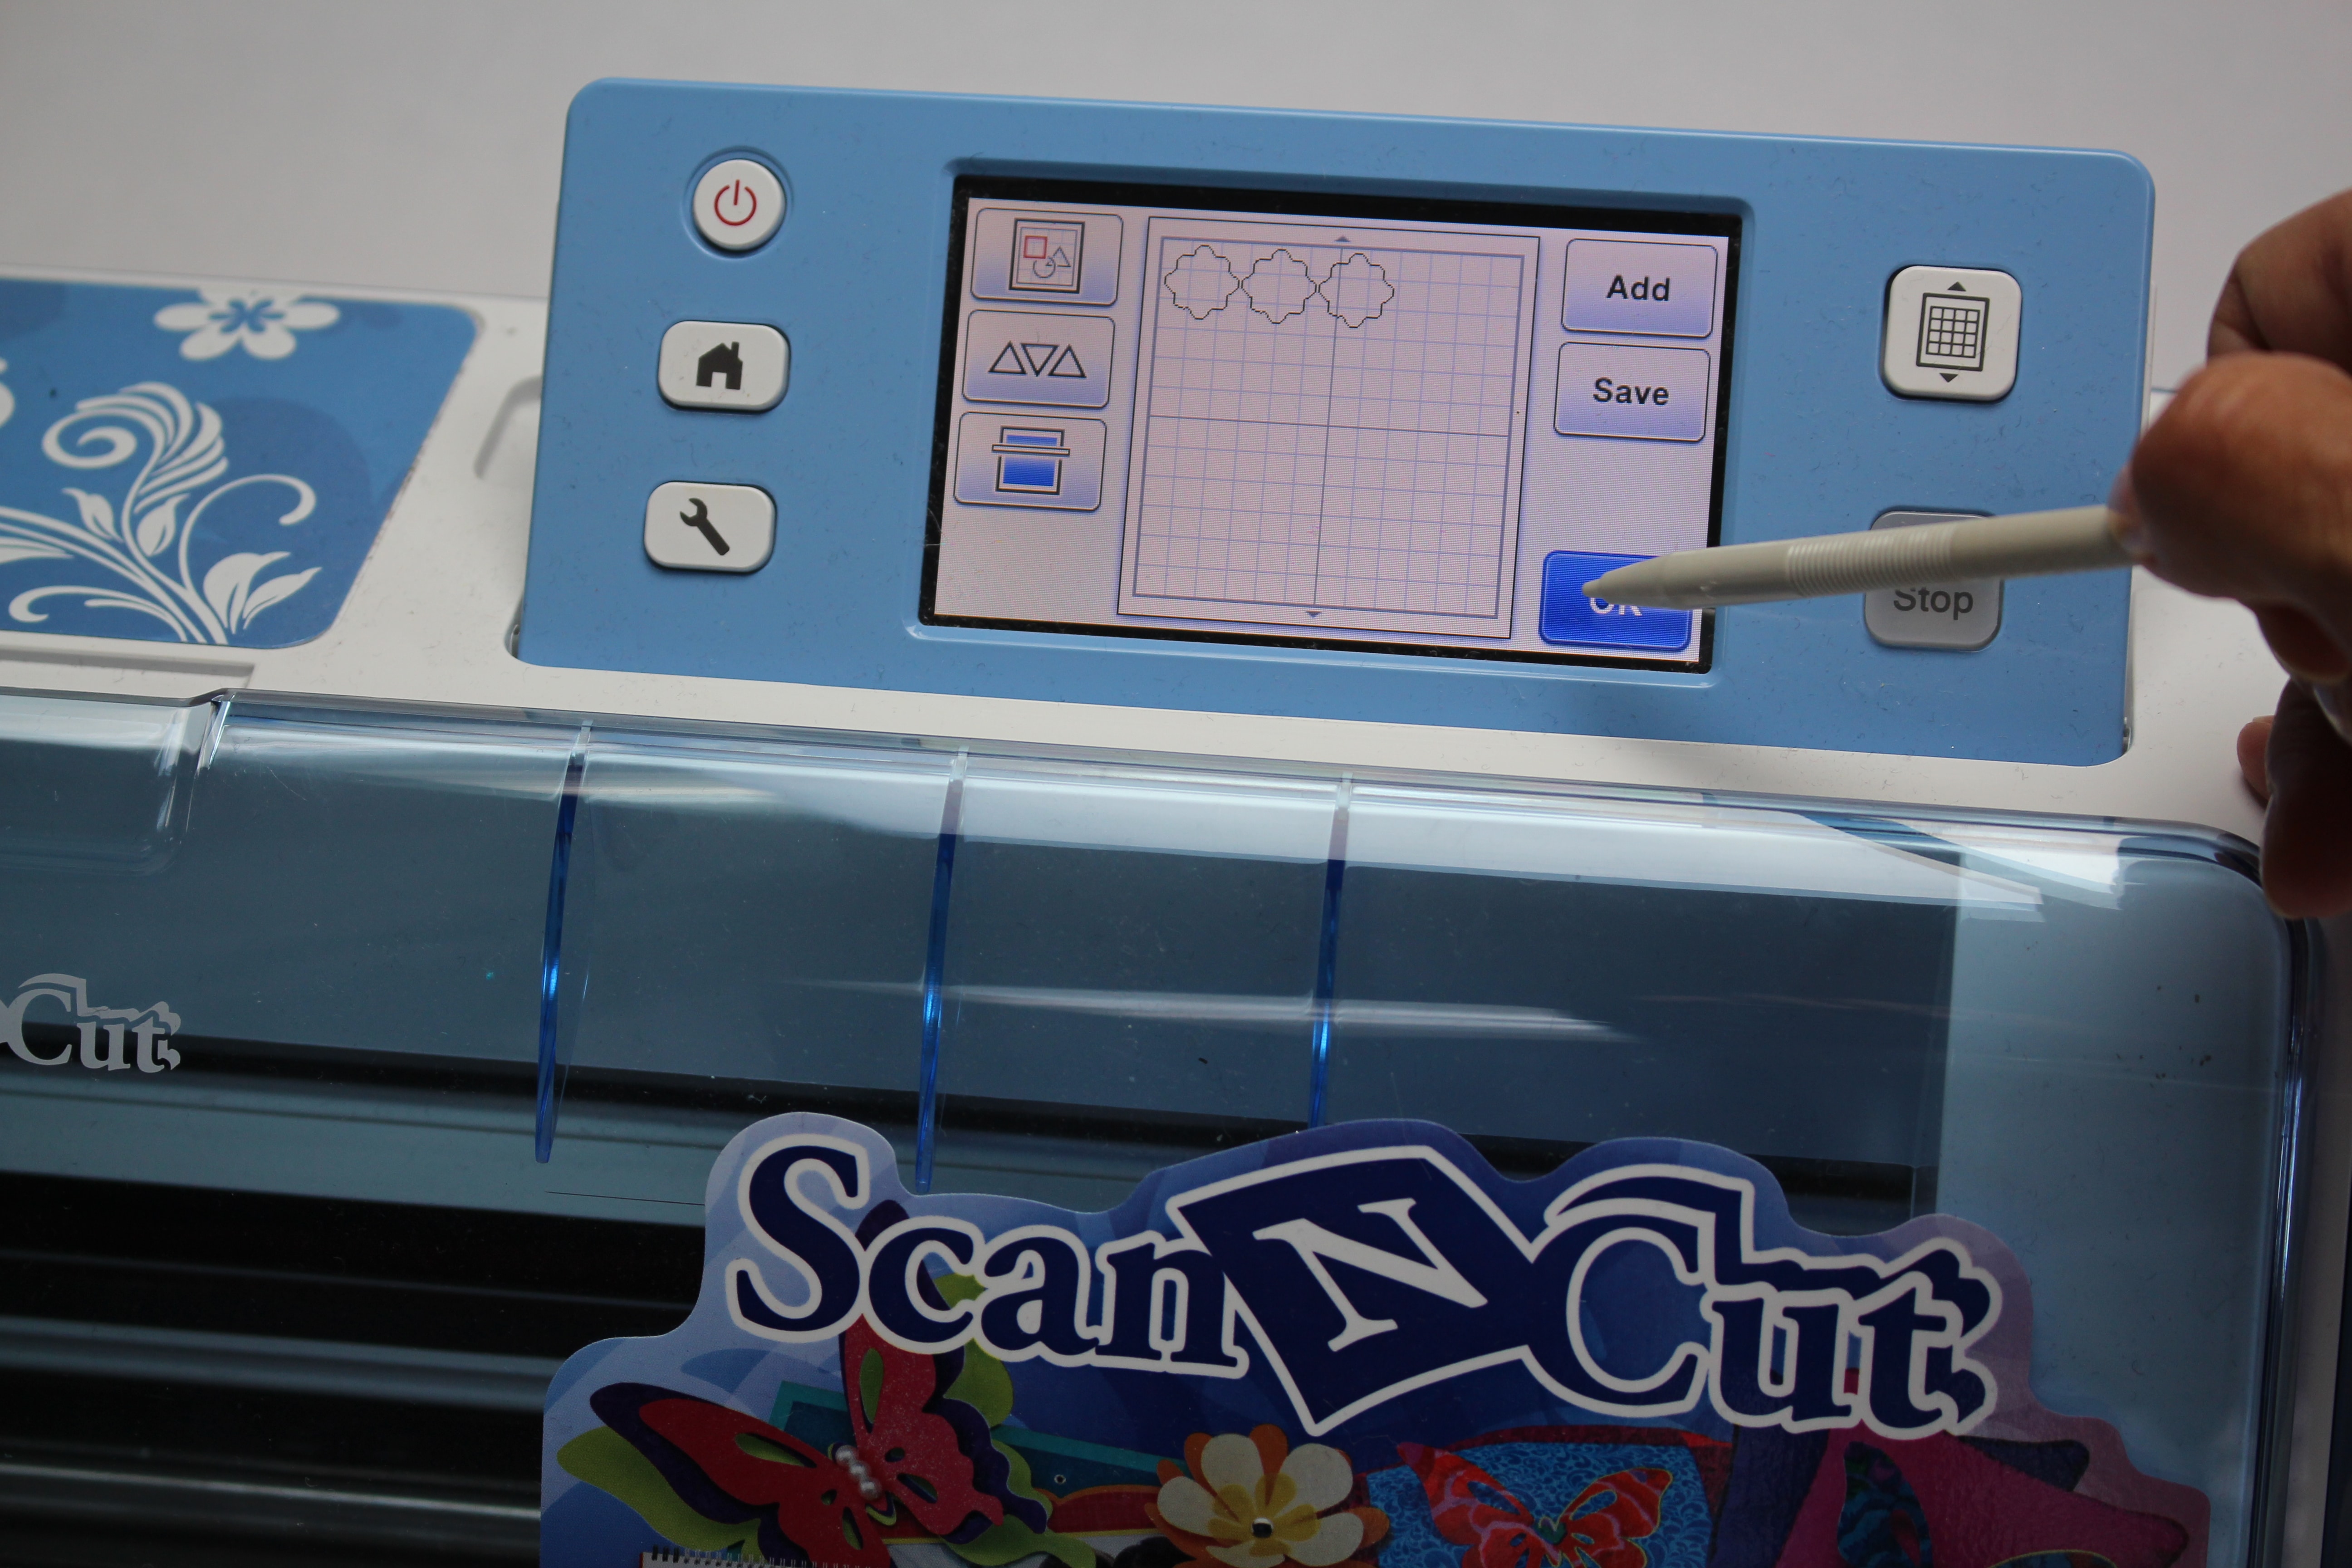
Step 3: Insert the USB stick into the Brothers ScanNCut and retrieve the file. You will then see the appliqué outline. Change the number of designs to cut to 3.
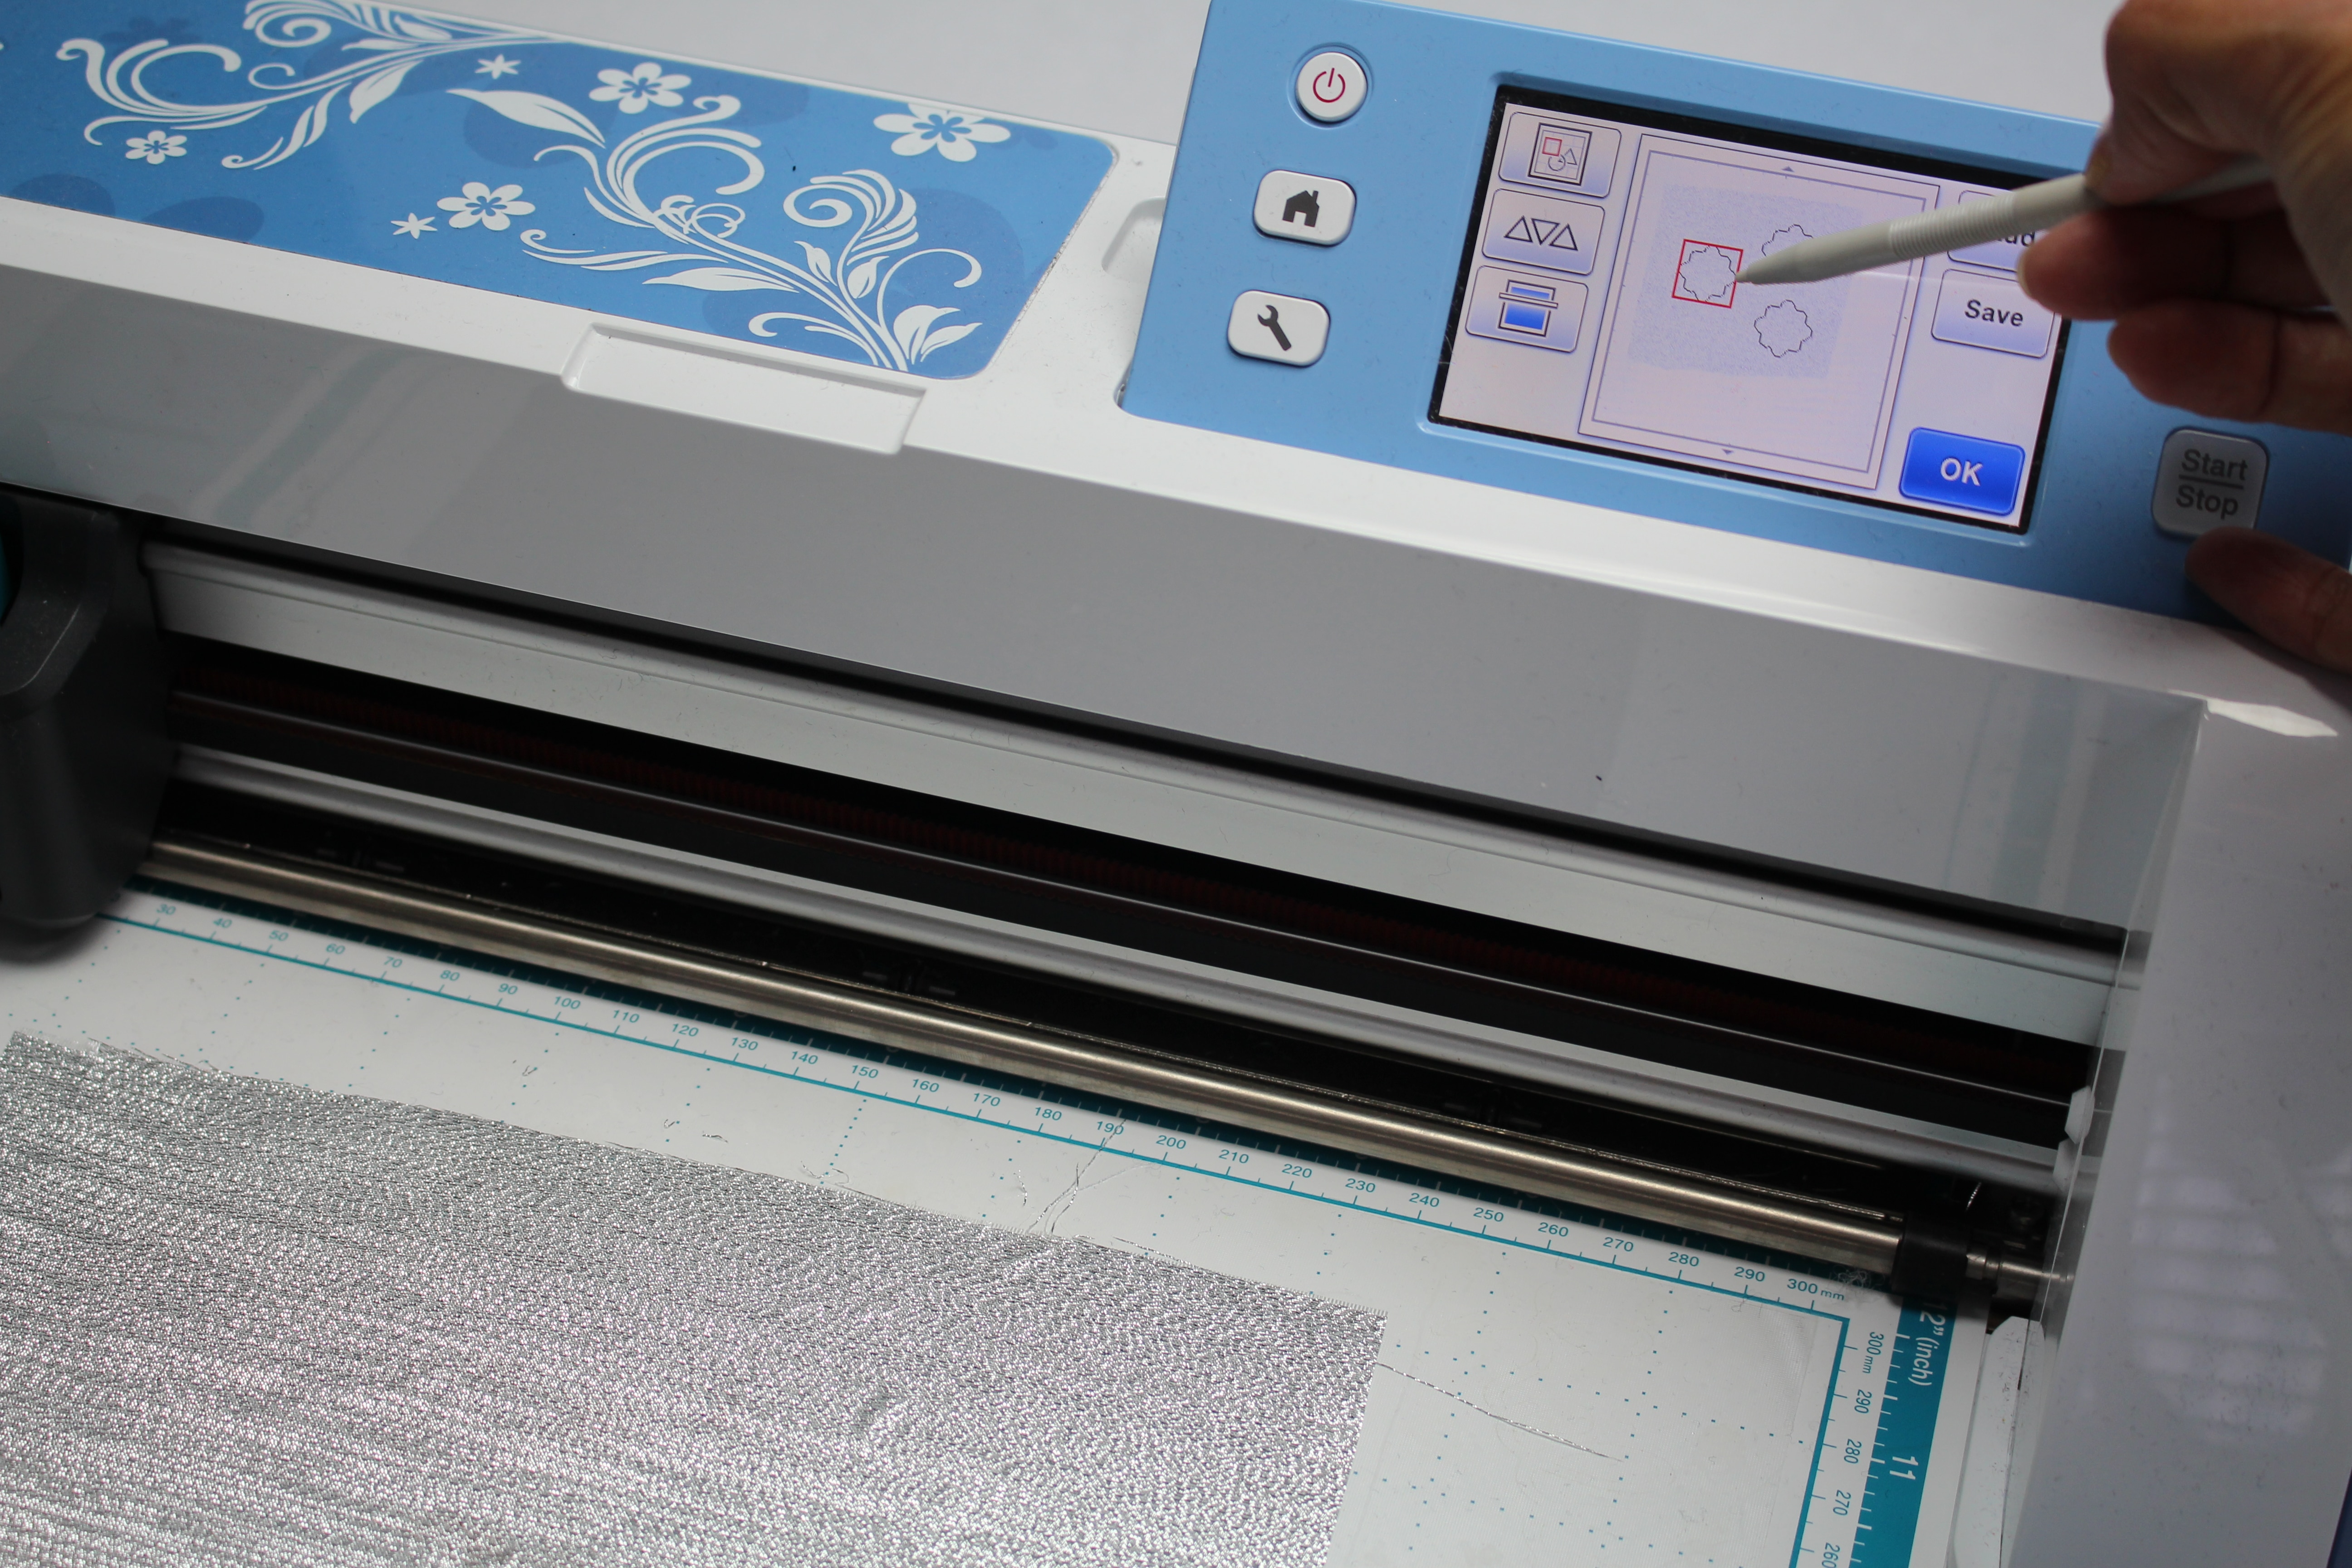
Step 4: Prepare the cutting mat by layering a piece of —— tack adhesive fabric support sheet. Place your fabric onto the mat and smooth out any wrinkles. Scan in the mat so you can see where the fabric is located and move the three designs around so they are all located on the fabric.

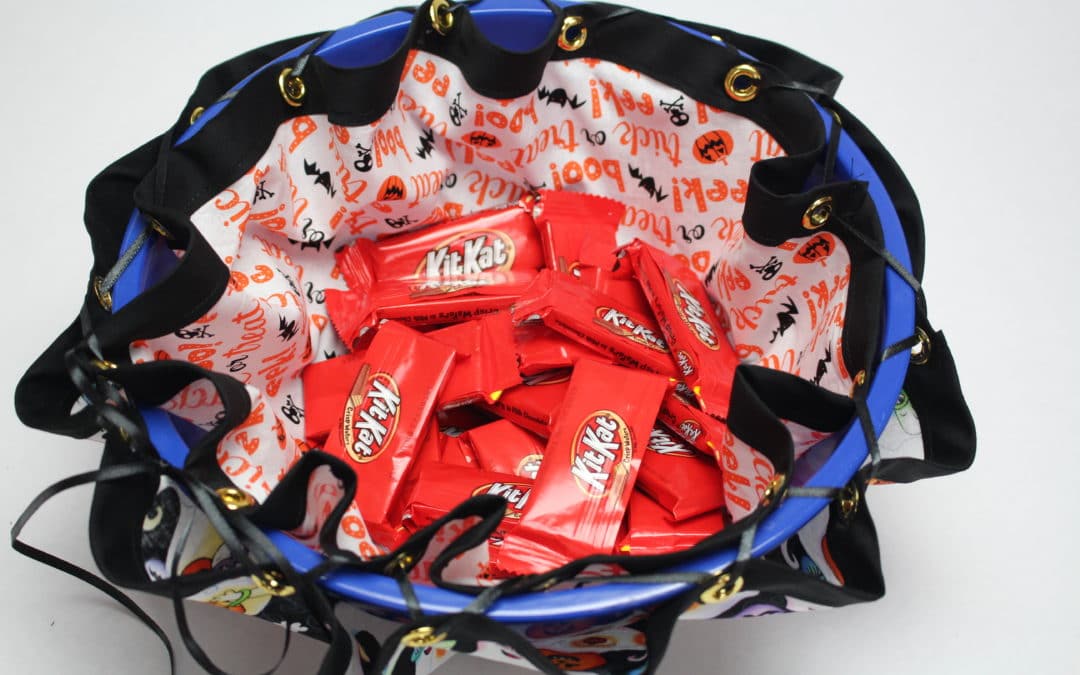
To read the full blog and learn how to design your own bowl cover, head over to my post as a Brother Expert Consultant on the Brother Stitching Sewcial. This is such a quick way to customize any bowl, I can’t wait to try different fabrics for the holiday season!
Cheers,