


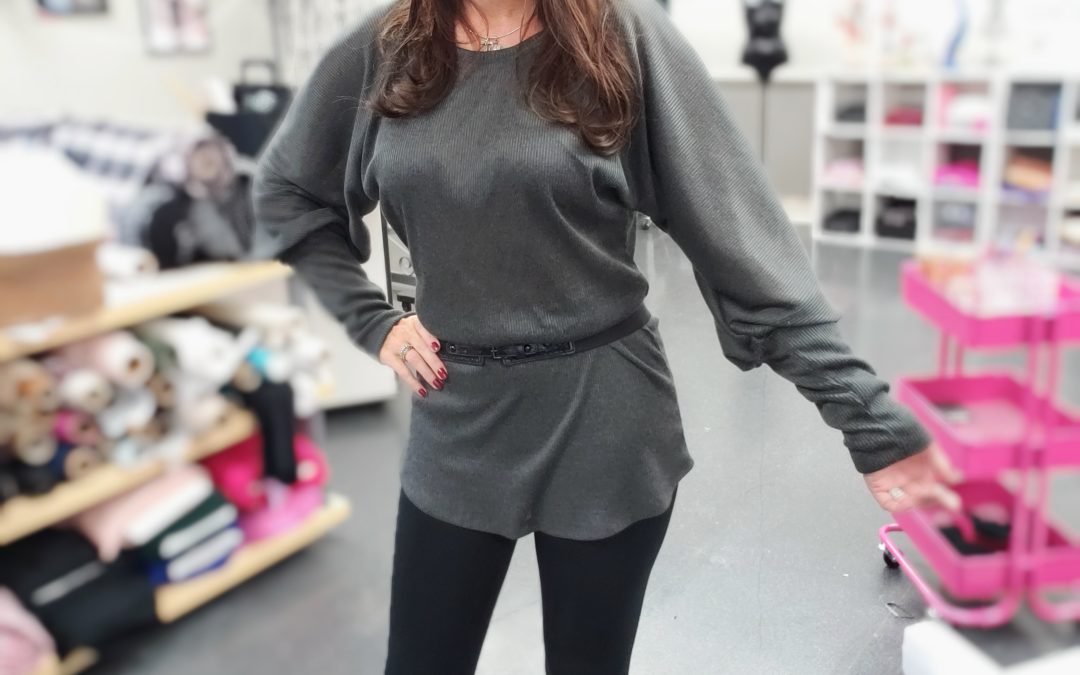
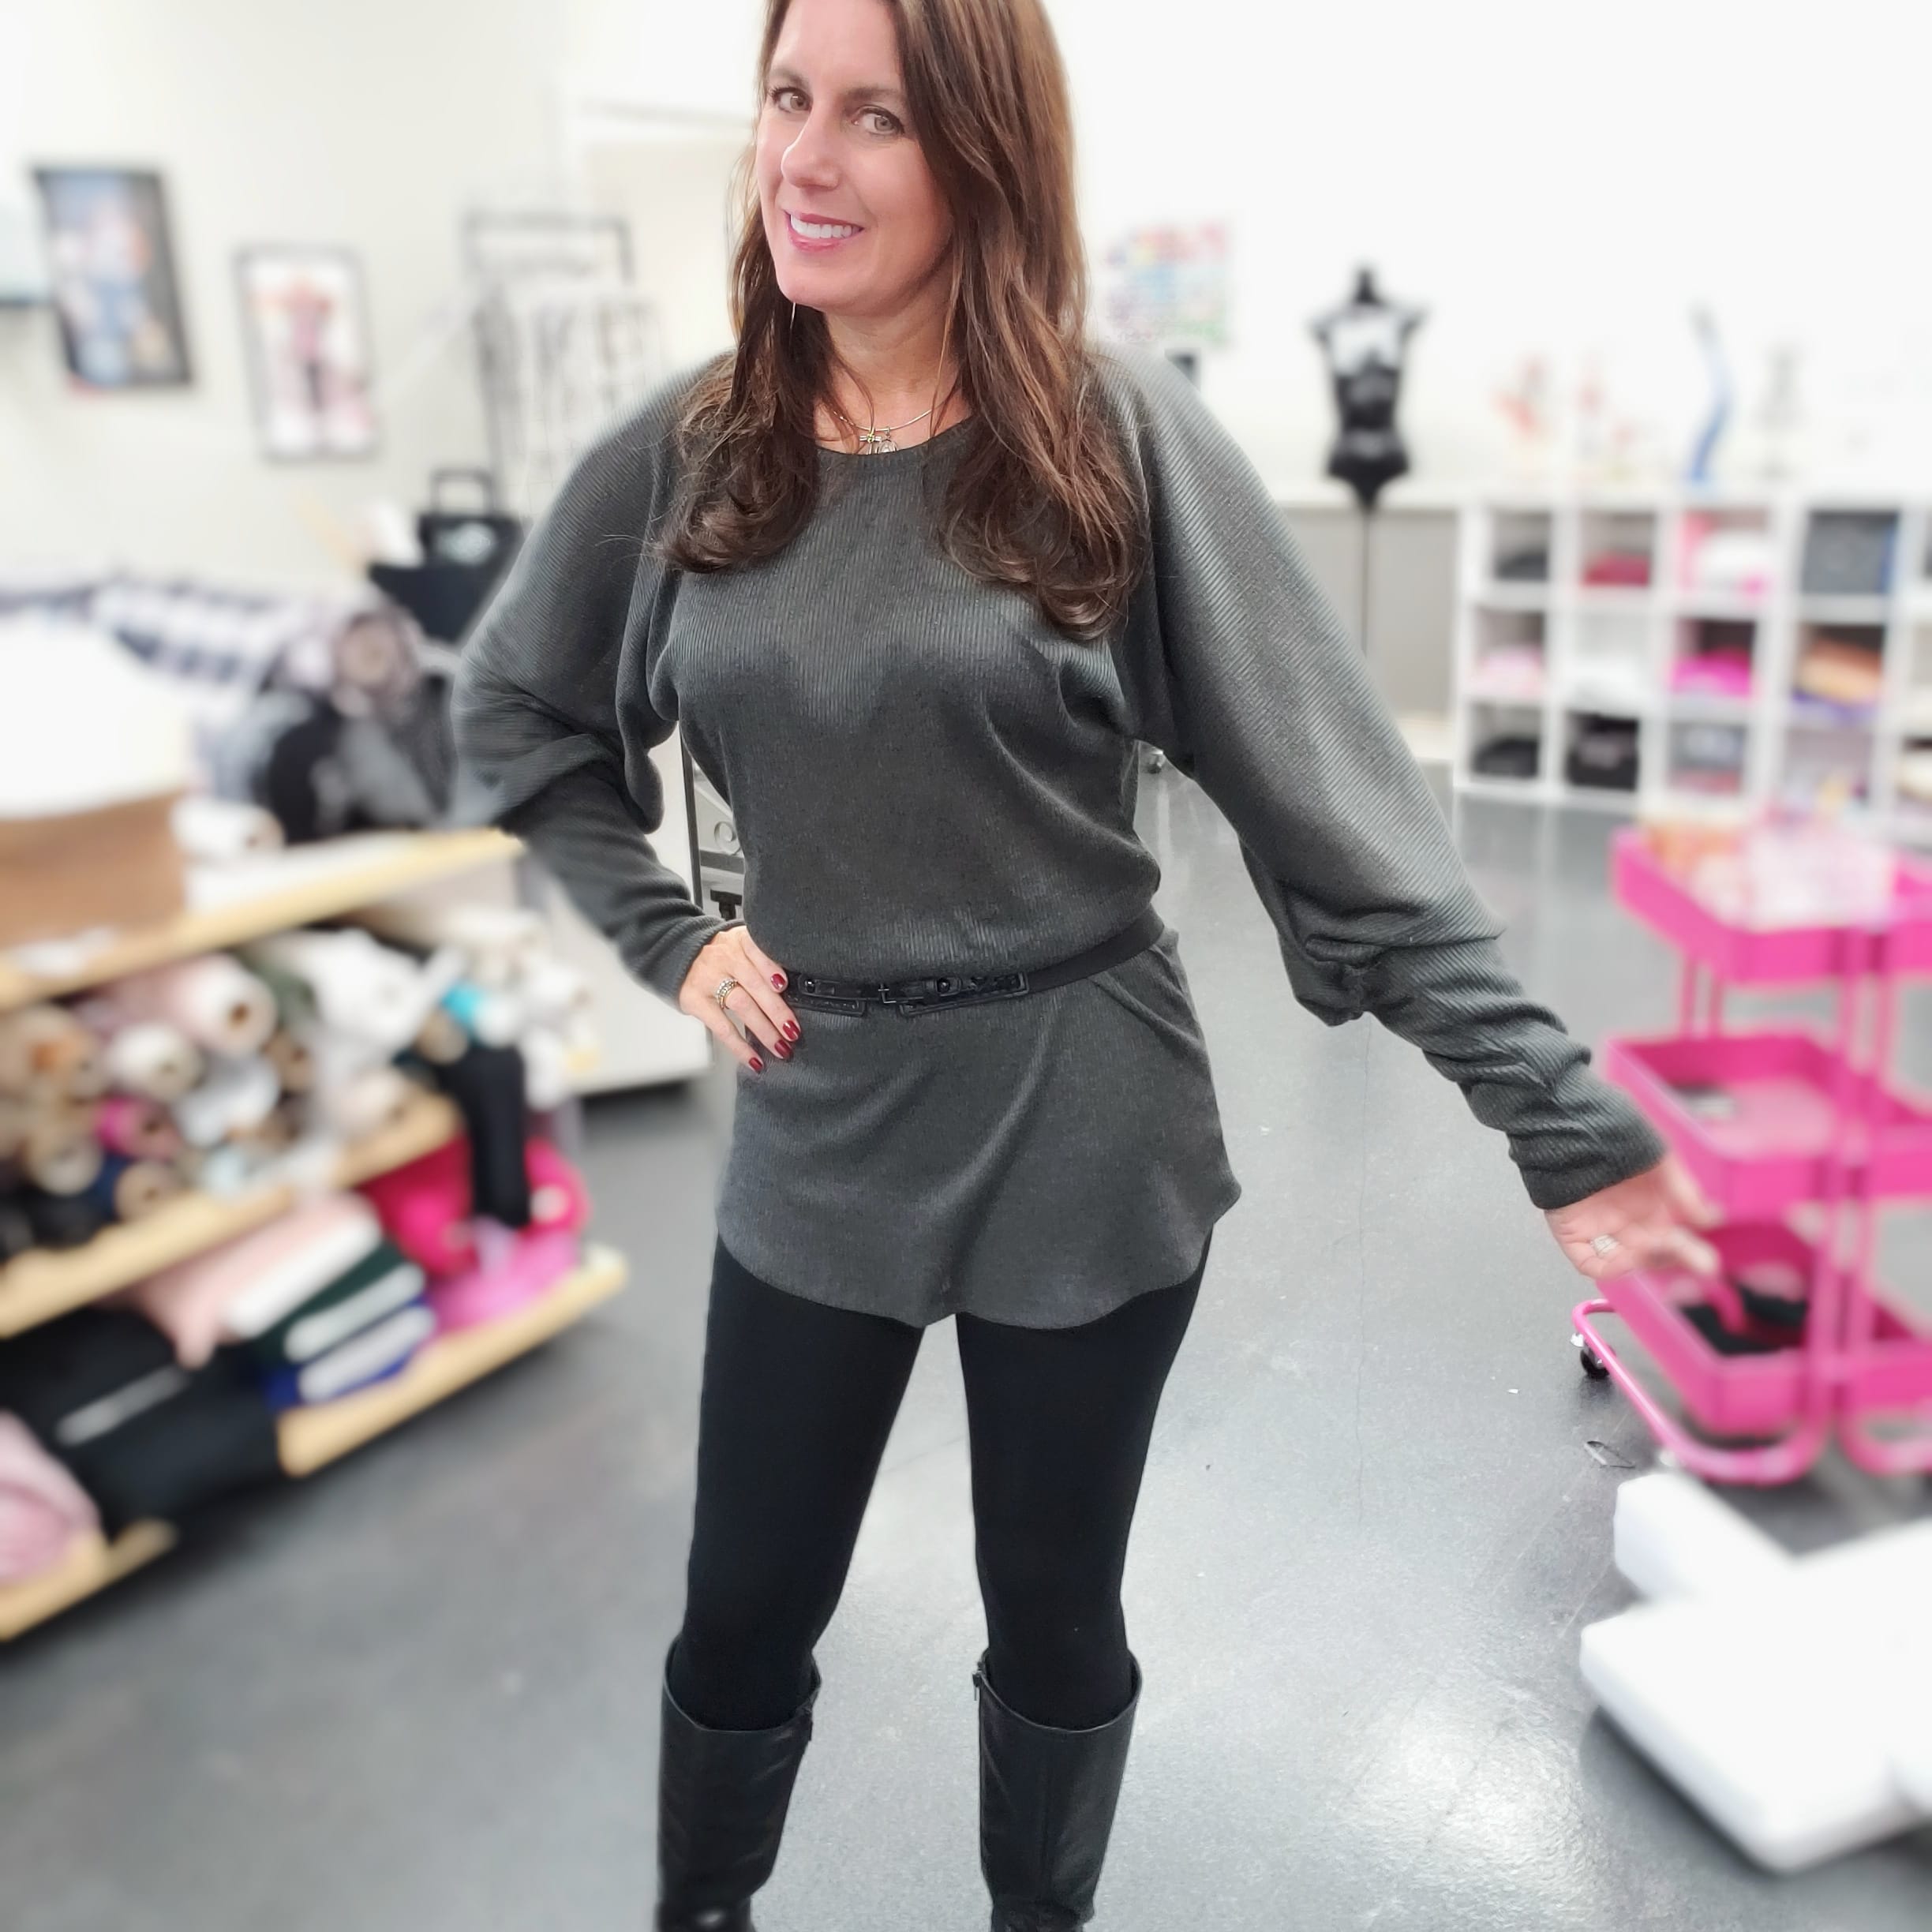


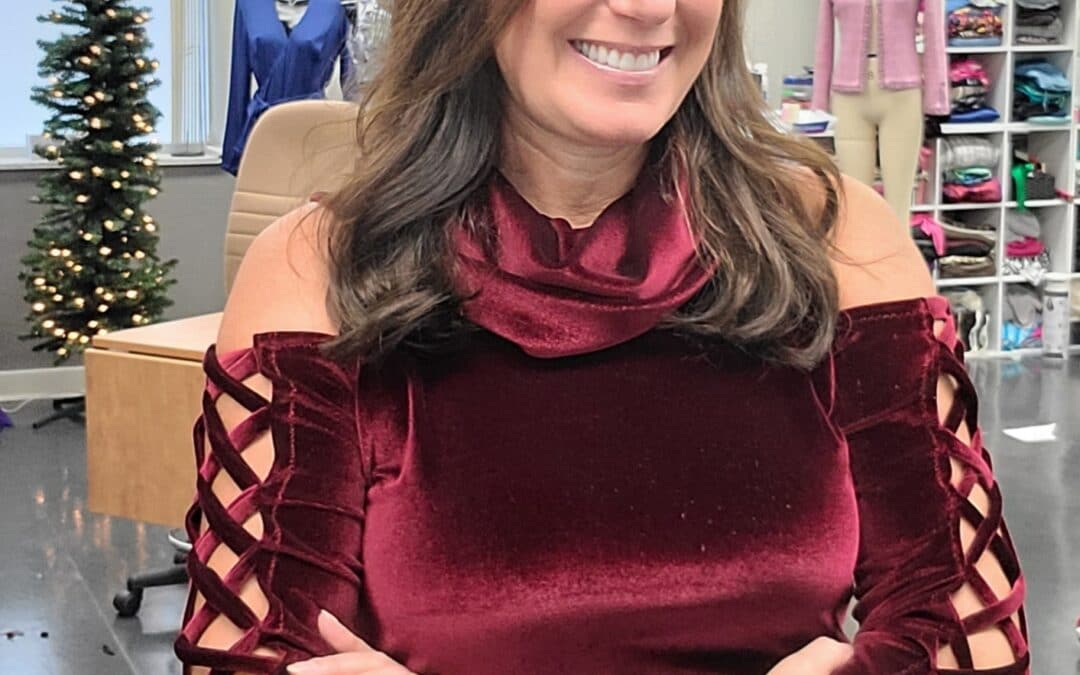
Episode 250 ~ At your side 🧵 Virtually! Unboxing Craft Optics & Sleeve Hack Behind the Scenes Episode 250 Included an interview with Jeff from CraftOptics and an unboxing of my new WOW glasses. Then I kick off Birthday sewing month with a sleeve hack for another...
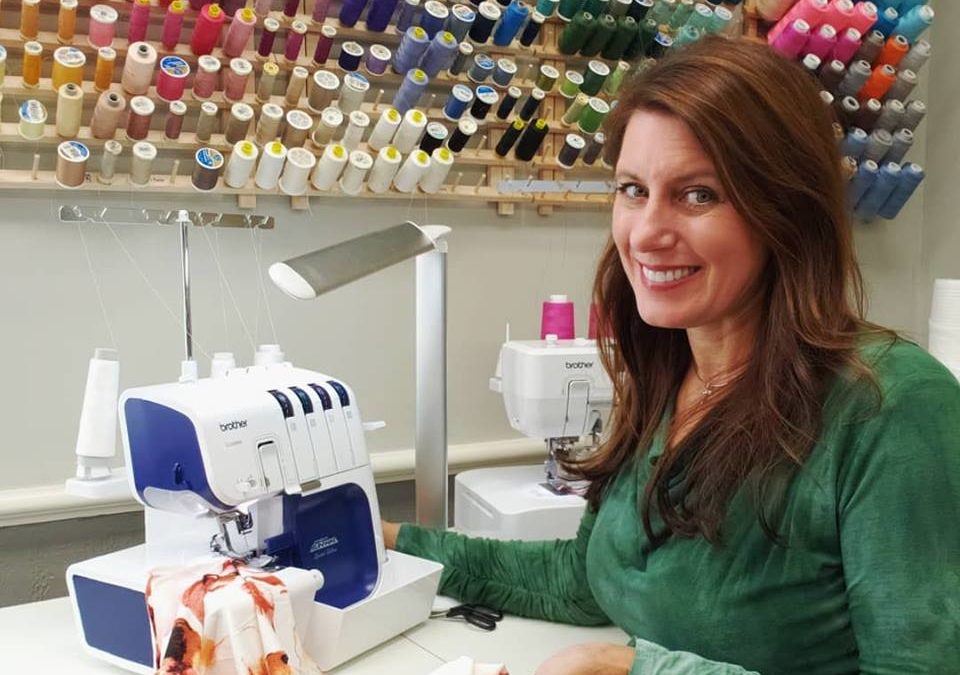
Learn How to Thread Your Serger!
How to Set Up and Thread a Serger
Some of the most common questions I get revolve around the serger. A serger, also called an overlock machine, is typically used to trim and finish the raw edges on fabric, yet the serger can do SO much more! While the Brother Brand Ambassadors are taking over the Brother Facebook and YouTube channels I am going to add a series of tutorials on the serger and coverstitch machine. To get started, I will explain the dials, tension settiings, and show how to thread the serger.
I hope this live video helped you get the serger dusted off! I have additional serging videos on my YouTube channel.
Until next time, Happy Sewing!