
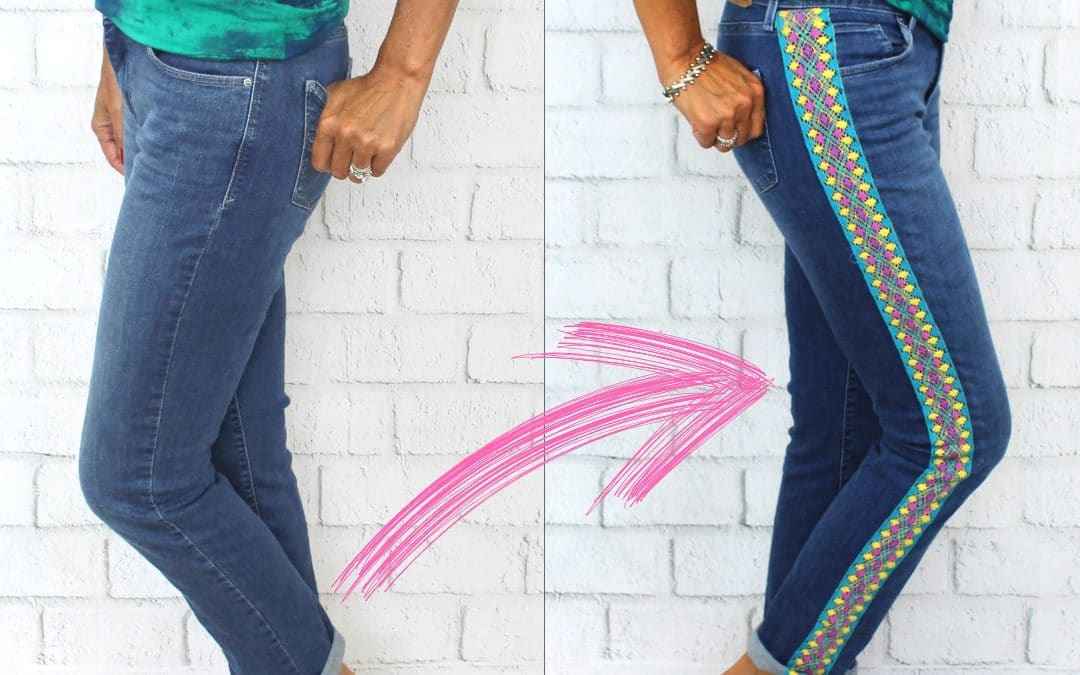
Refashion Jeans with Trim
You might have noticed some of the fashions of the late 60’s and 70’s making a comeback on the store shelves, from floral fabrics to embellished jeans. How about adding crocheted ribbon trim along the outside leg! This is so easy!!!
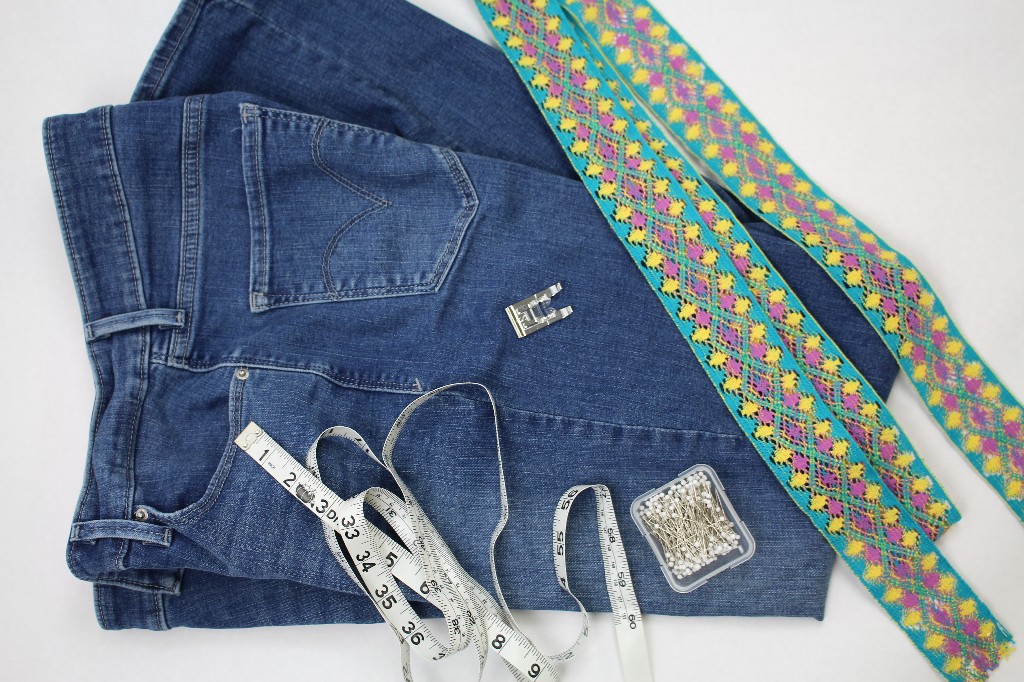
Supplies:
- Jeans
- Measuring tape
- Pins
- Ribbon or trim (check that the trim is washable)
PREPPING
- Measure the outside of the jean leg from the bottom edge of the waistband to the hem.
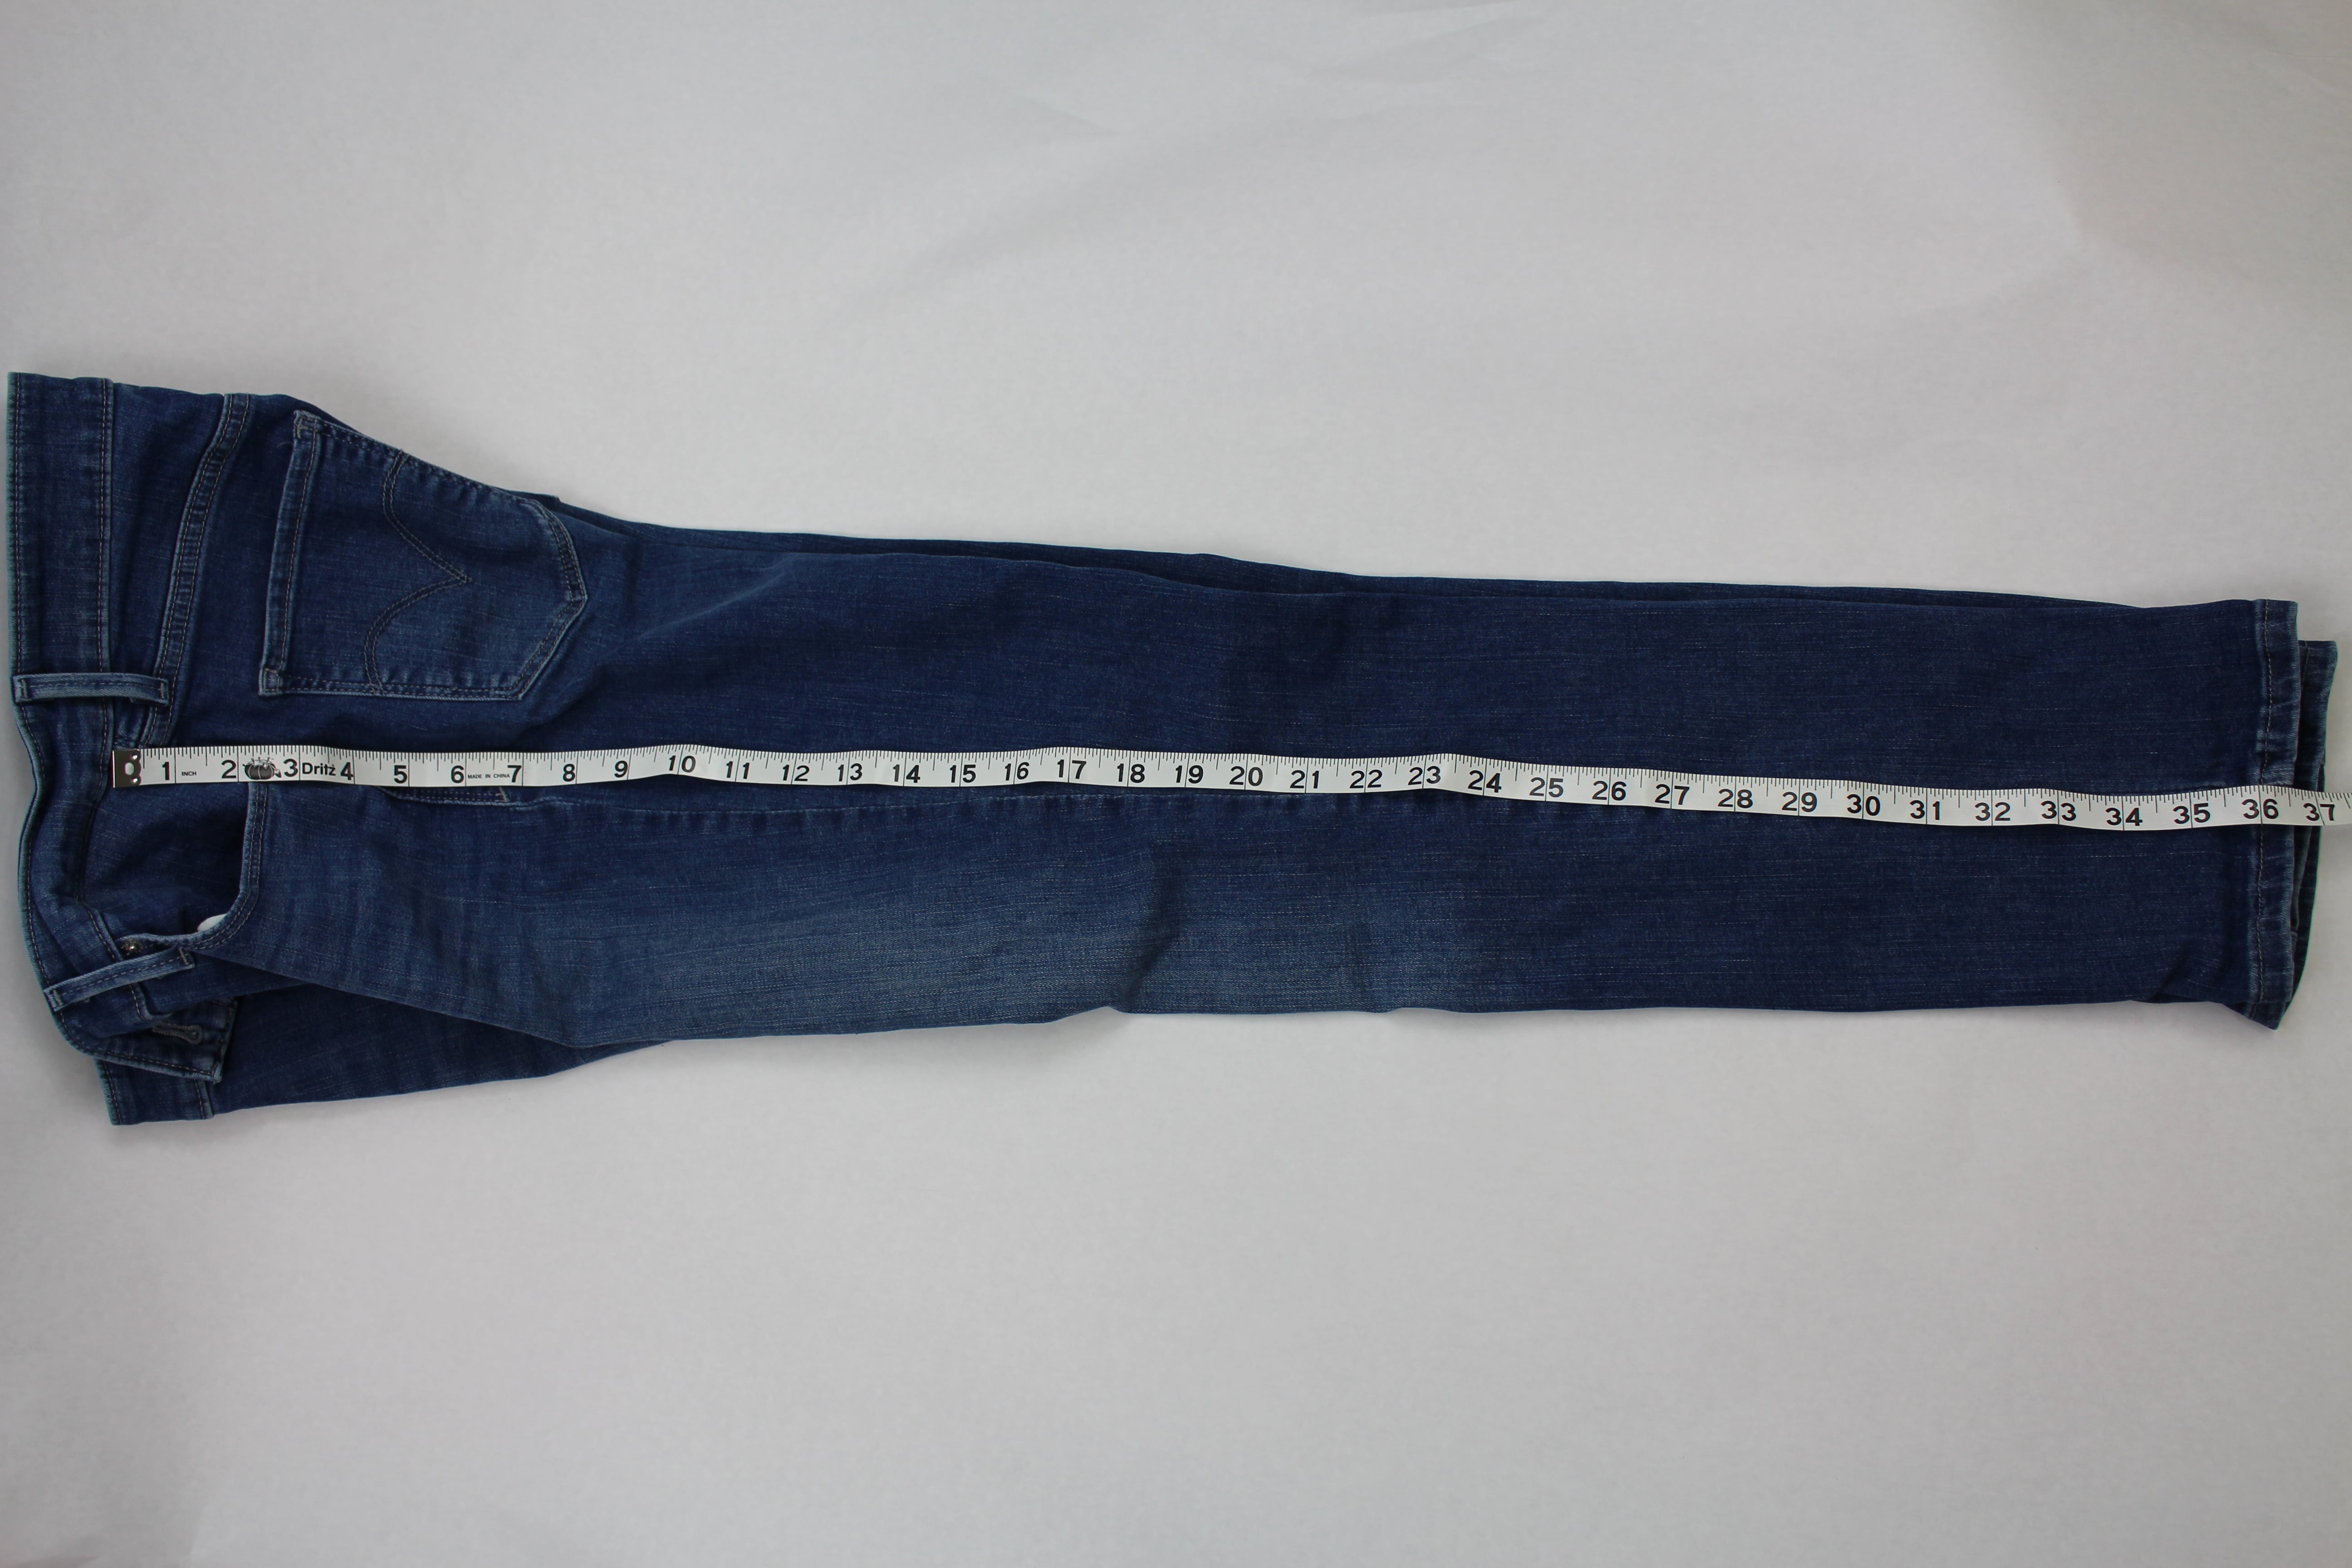
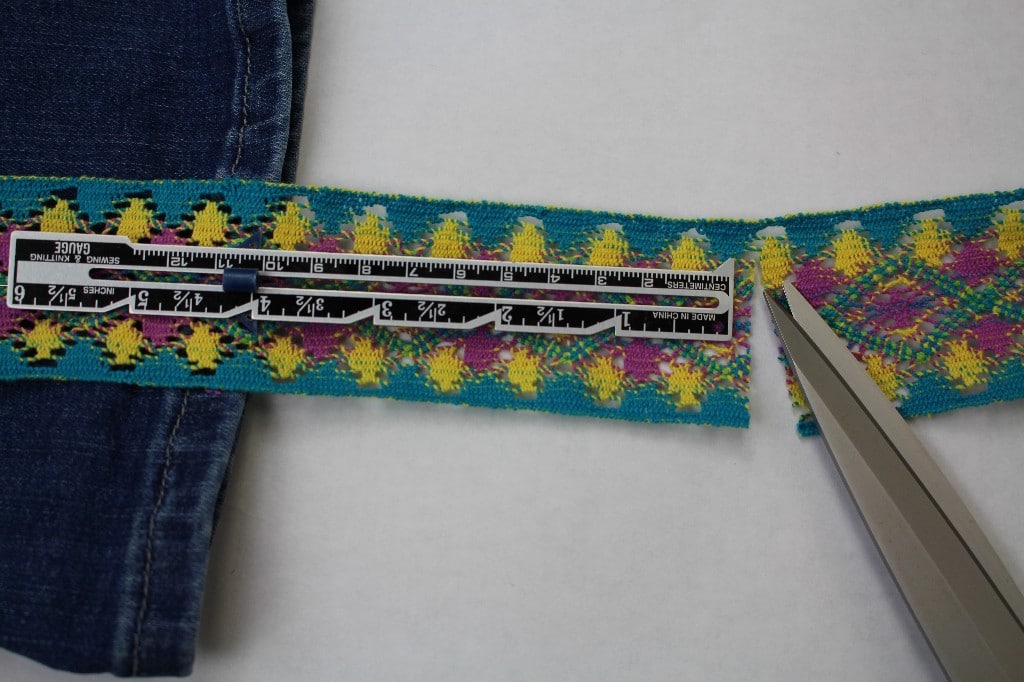
2. Add 6 inches to the outside leg measurement and cut 2 pieces of trim that exact length.
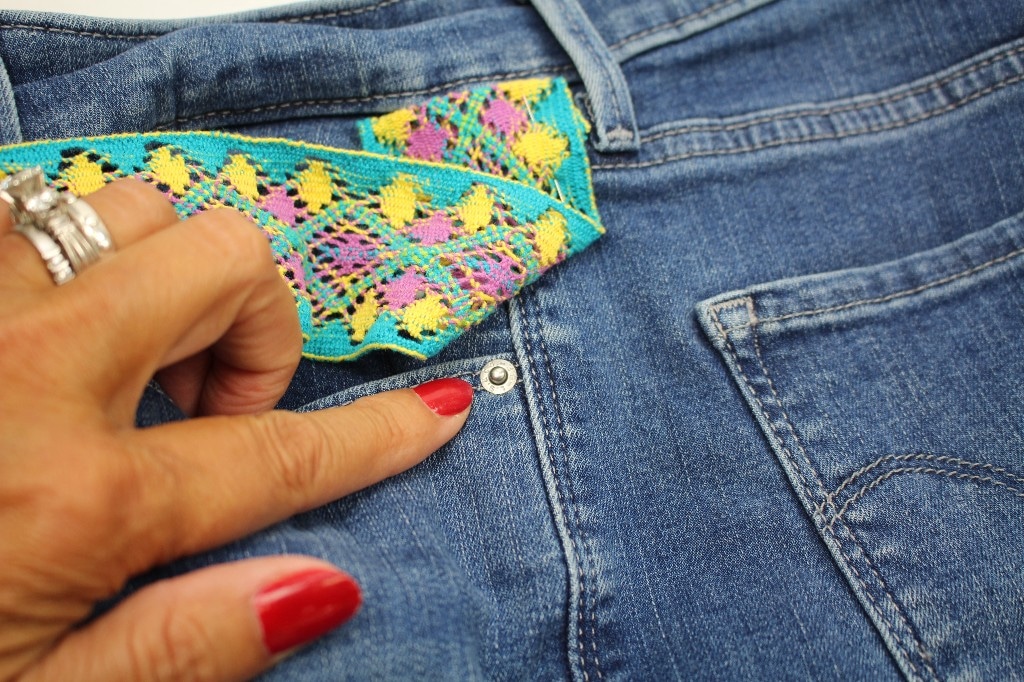
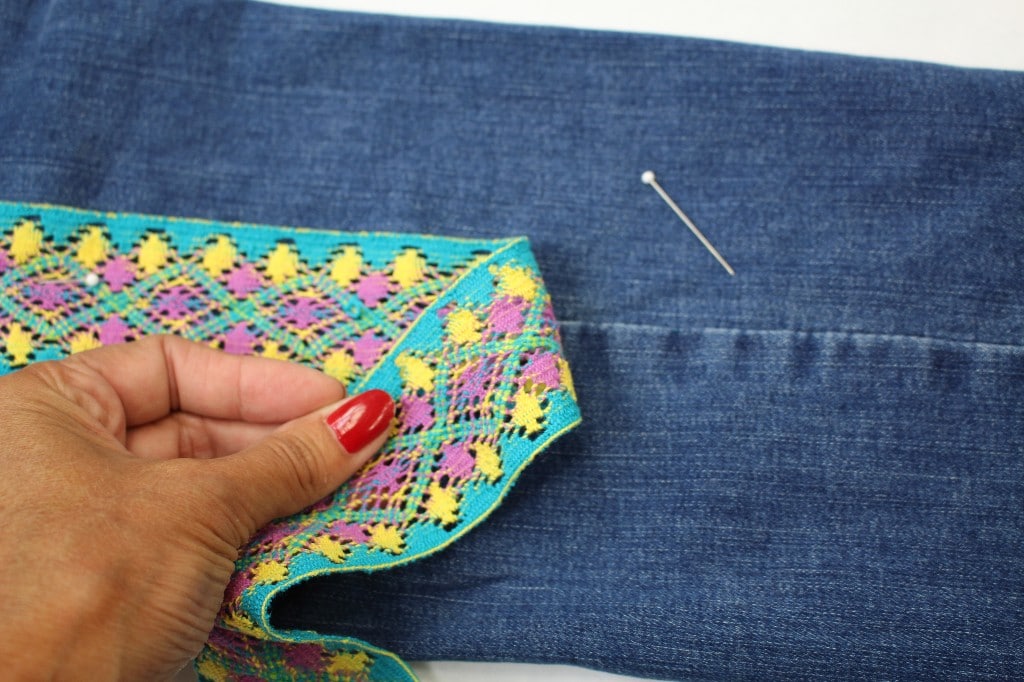
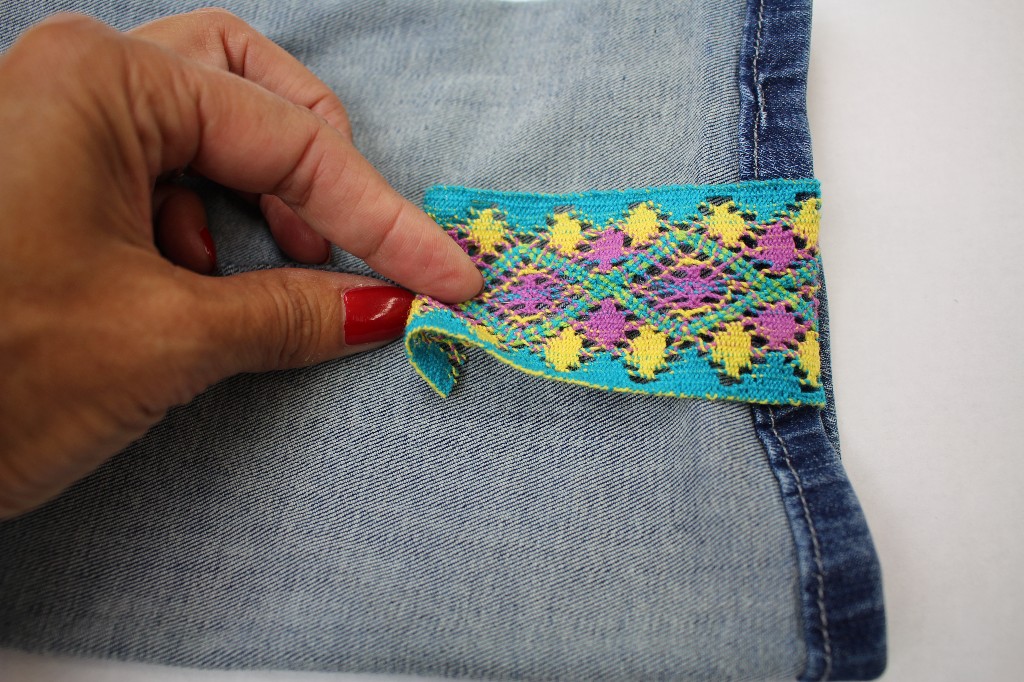
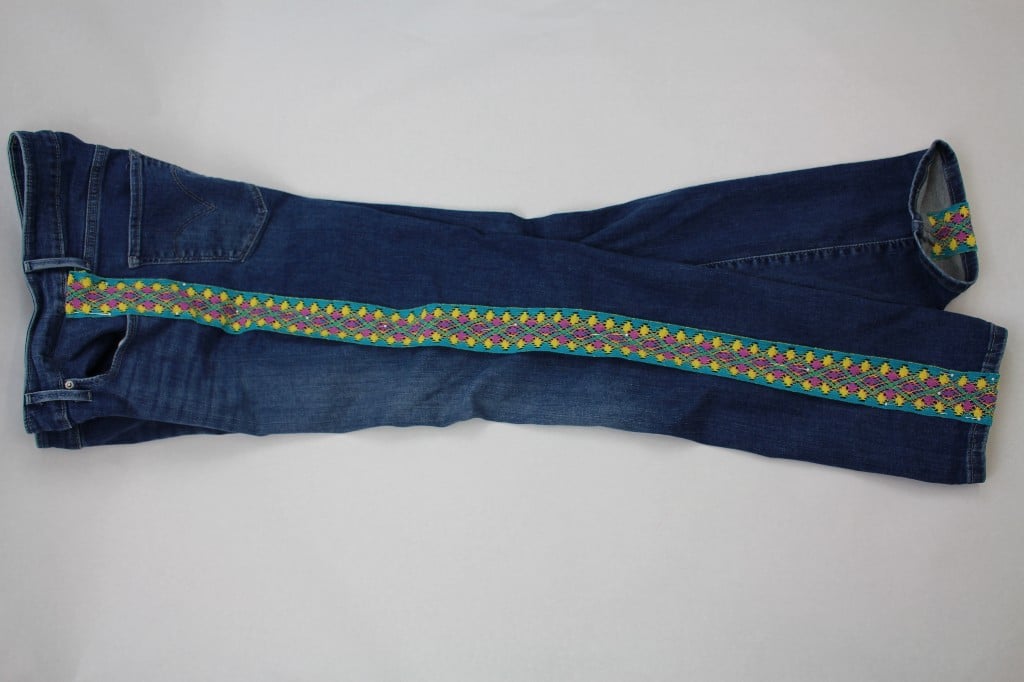
3. Starting at the edge of the waistband, center the trim with the outside leg seam. Fold under the raw edge of the trim about ½” and pin.

4. Continue to pin the trim along the outside leg seam. Be sure to look for metal rivets or other hardware! Here I have a rive and I will make sure to mark this spot as to not break the sewing machine needle.
5. Pin the ribbon/ trim all the way to the hemline. If you plan on folding up the jeans, measure 4 inches below the hemline and cut the trim. If you are not going to fold up the jean hem, measure 2 inches and cut off any excess ribbon.
6. Turn the jeans inside out. Center the ribbon on the seam allowance, fold under the raw edge ½” and pin in place.
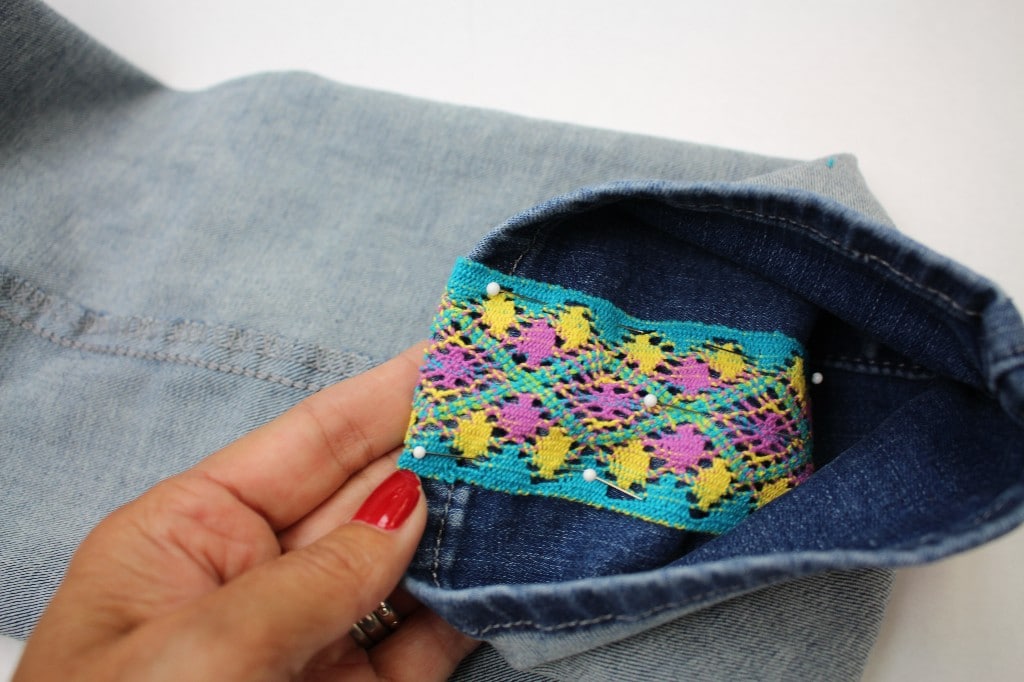
7. Follow these steps on both outside leg seams.
SEWING
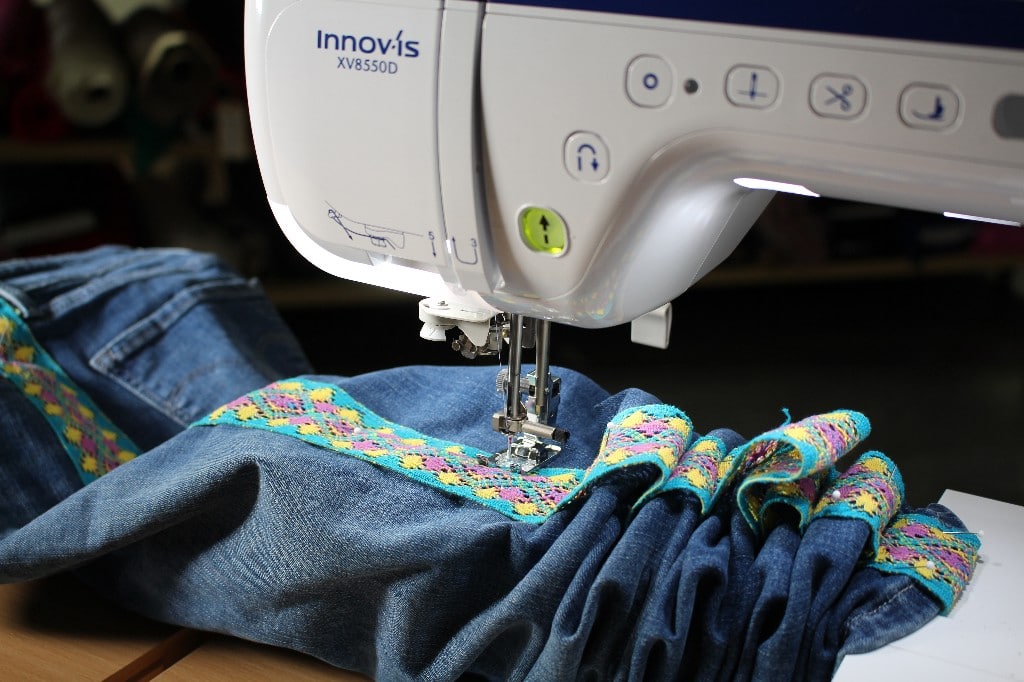
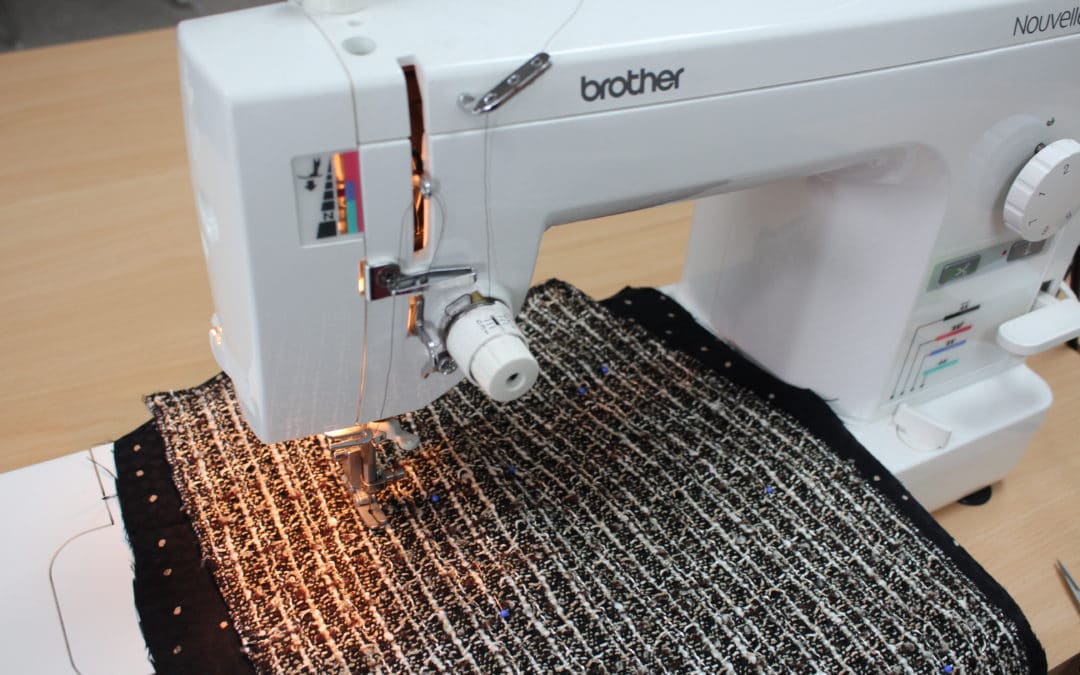
Depending on the style and size of the jeans, it can be challenging sewing all the way down to the narrow hemline. To make is easier we are going to utilize the sewing sideways feature!
8. Set up the machine for sewing a straight stitch and move the needle all the way to the far-right position. Slide the jeans under the foot starting at the waistline. To read the full blog post, head over to my post as a Brother Expert Consultant on the Brother Stitching Social.
Looking for more ideas on refashioning jeans, check out my blog post on embellishing jeans with embroidery.Be sure to share photos on the social side #angelawolf – I always love to see what you are working on!
Cheers,


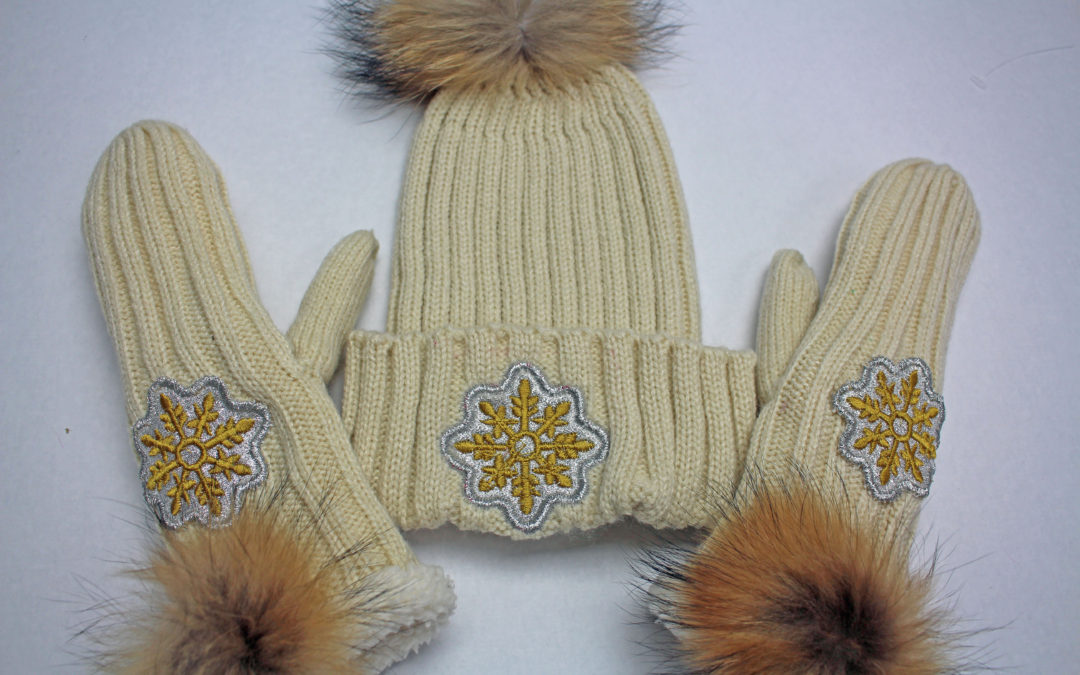
DIY PROJECT: EMBROIDERY & APPLIQUE HAT & MITTENS
Customizing pieces of your winter wardrobe has never been easier. This project will show you how to use embroidery and appliqué to embellish a knitted hat and mittens. Great gift idea! Supplies Hat & Mittens , 10” x 4” Gold or Silver Lame Fabric,...
DIY Design & Sew a Custom Bowl Cover
Do-it-Yourself Custom Bowl Cover This is such a fun easy DIY project to dress up a bowl, I could definitely see using different fabrics for each season! To get started, choose a bowl that you want to cover. The bowl can be glass, metal, plastic, you...
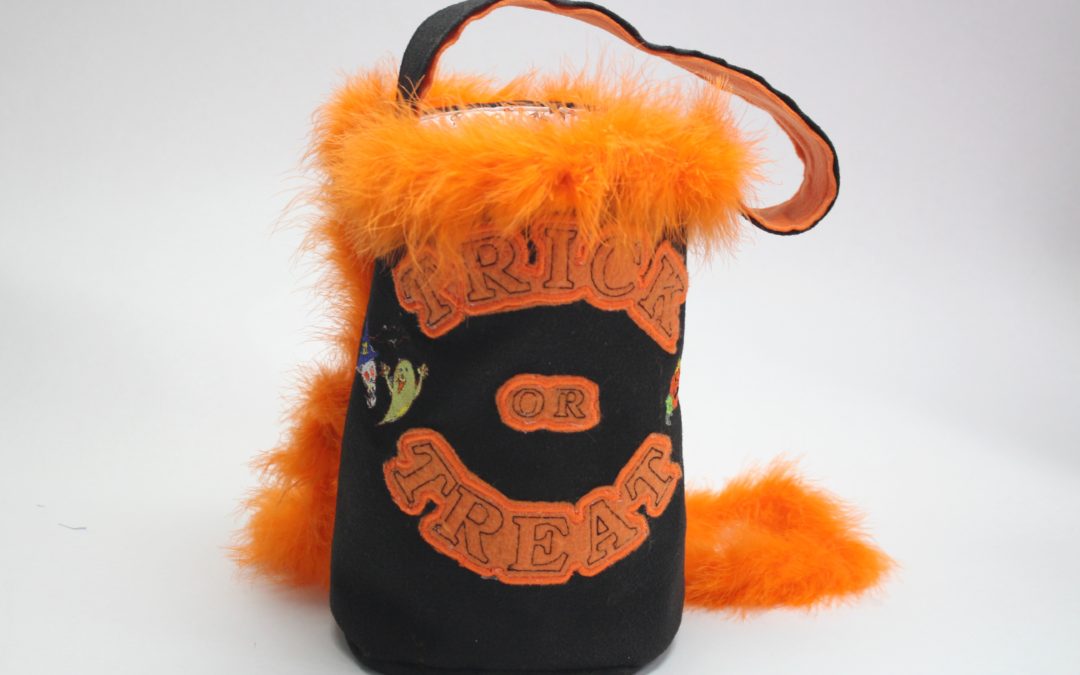
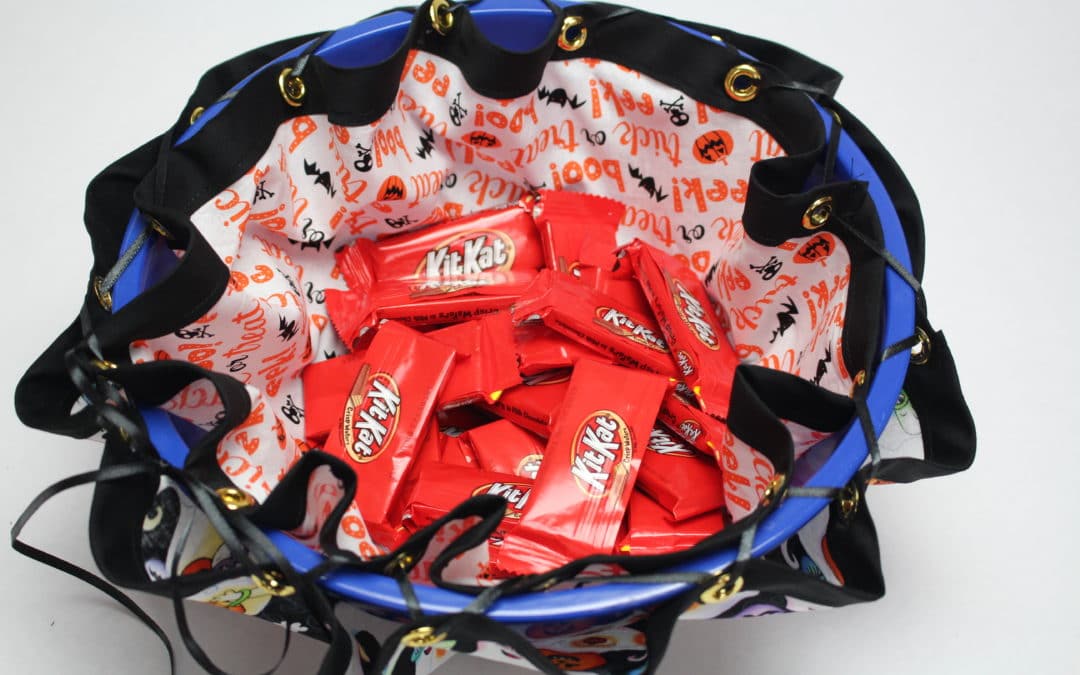
DIY Halloween Embroidered Trick or Treat Bag
Looking for an easy DIY project for Halloween? Check out this Trick-or-Tread embroidered felt bag. This is a fast and easy project and the kids will love it 🙂 Supplies Inside of bag: cut 1 cotton fabric 27” by 14” and cut a 9” circle Outside...

Episode 36 Behind the Scenes LIVE
Episode 36: Behind the Scenes LIVE This week's Behind the Scenes LIVE show includes: Hand dyeing antique crocheted lace NEW Eloflex stretchable thread by Coats Towel hoodie pattern measurements Draping Lace on a dressform Canvas tote bag sewalong part 1 - 4 Upcycle a...
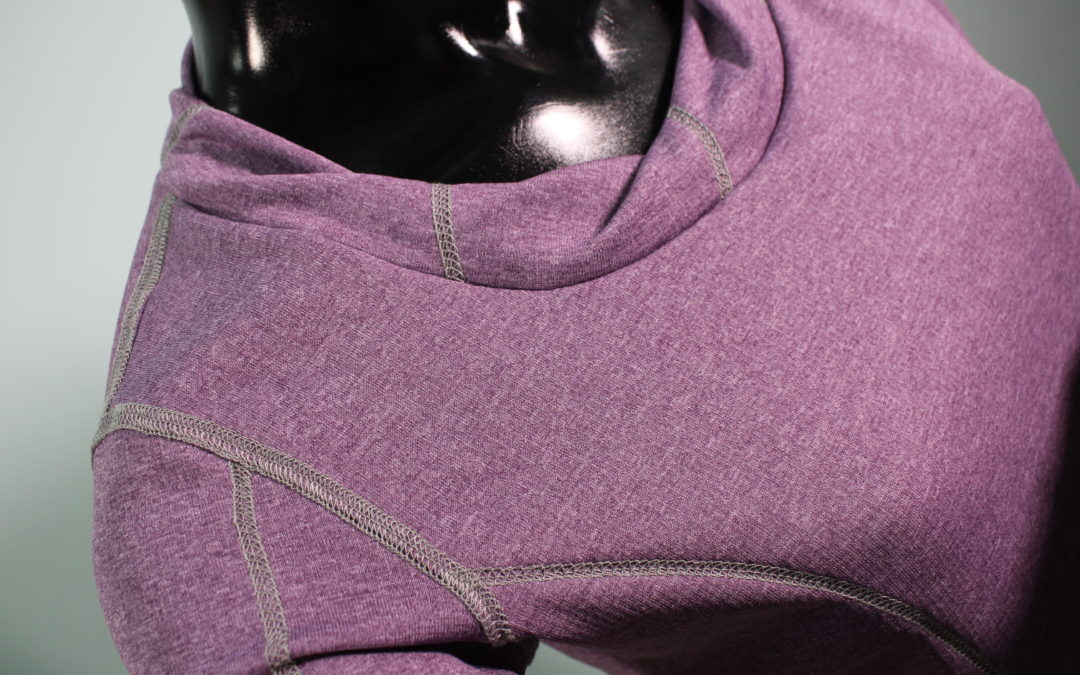
Sportswear: Embellishing a T-Shirt with Coverstitch
One of my favorite items to make is a simple t-shirt. It’s fast and easy when sewn with a serger. Then I use the Brother Coverstitch machine for hemming. But what about embellishing the tee with coverstitching! If you have used the Coverstitch before you will...
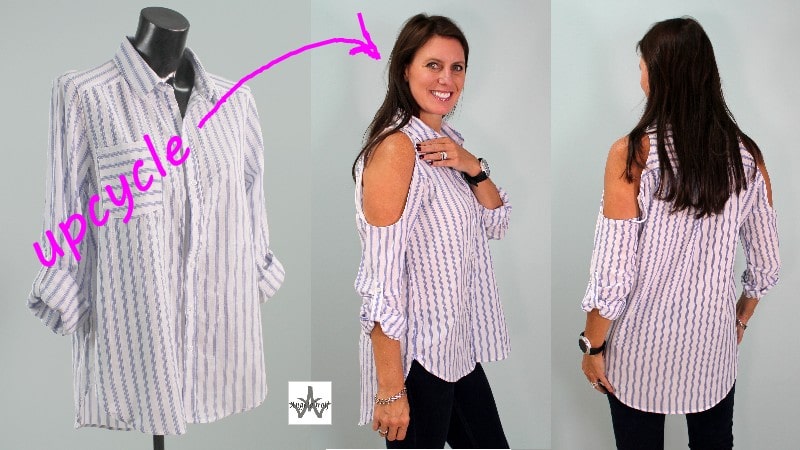
DIY Upcycle & Recycle: Designing Shoulder Cutouts
How to Design and Sew Shoulder Cutouts Spring cleaning time again and I have a stack of clothing items that I haven't worn in a LONG time. You know the rule, if you haven't worn the item in 2 years, it has to go! What happens if you love the fabric, the print, or...
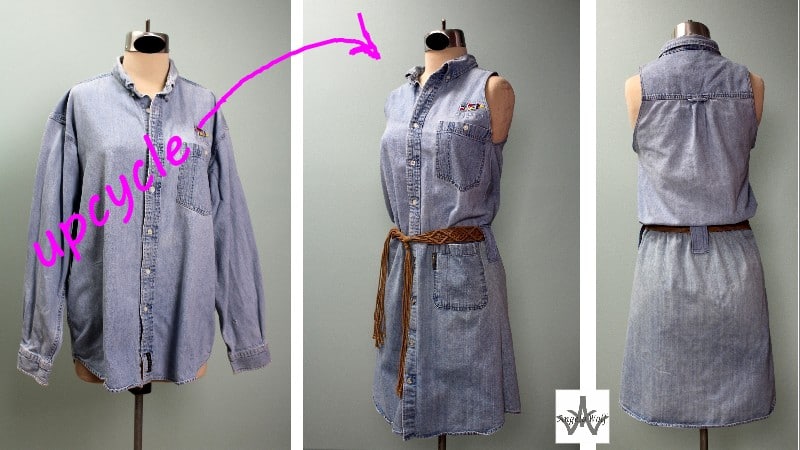
DIY Upcycle & Recycle 2 Denim Shirts into 1 Dress
Upcycle Denim Shirts My husband was cleaning out his closet and handed me a couple of denim shirts to donate. I couldn’t help but notice the logo on one of the shirts from a marina we frequent on our summer boating trips – I couldn’t bear to allow that...
Fringe Skirt Sewalong Part 5: Quilting the Lining
Quilting the Lining Why not add a touch of couture to your tweed fringed skirt and quilt the lining. Similar to a Chanel style jacket, the quilted lining is stylish and luxurious. There is a lot of hand-sewing involved in this process, but it's worth every stitch ? As...


Share This
Share this post with your friends!