Have you see the WOW package from CraftOptics? I met Jeff Caplan from CraftOptics a few years ago in Puyallup, his booth was around the corner from Kai Scissors. I was intrigued by the glasses and loved hearing the comments that people would say after trying them...
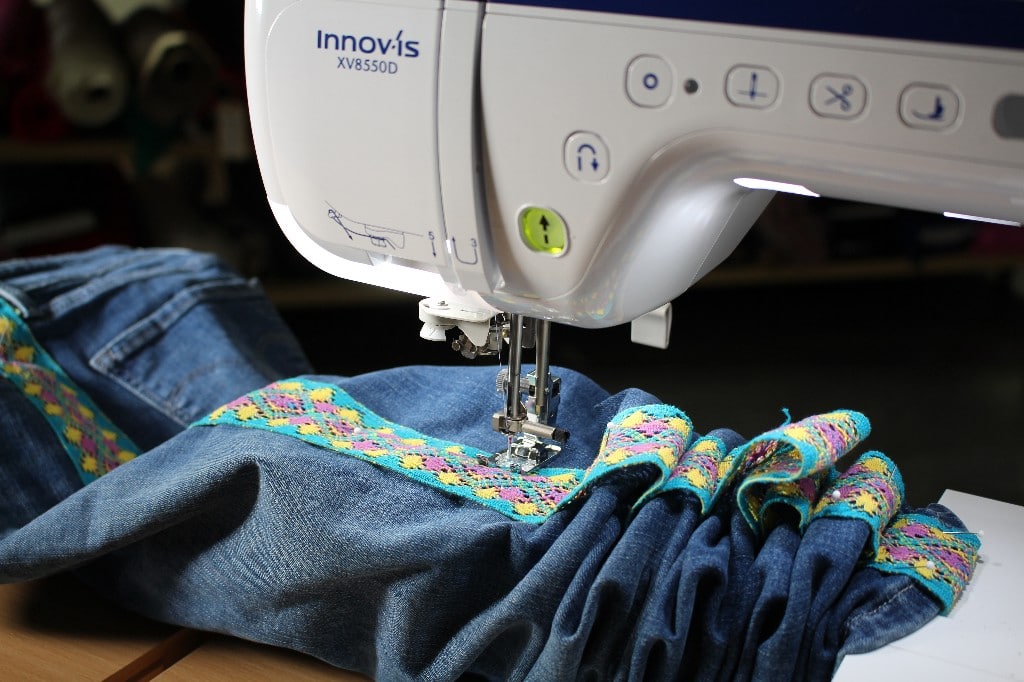
DIY: Refashion Jeans with Trim
Refashion Jeans with Trim
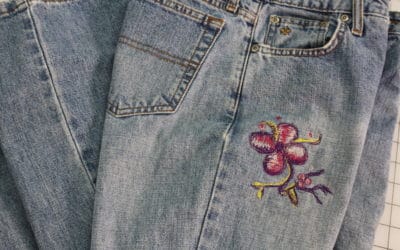
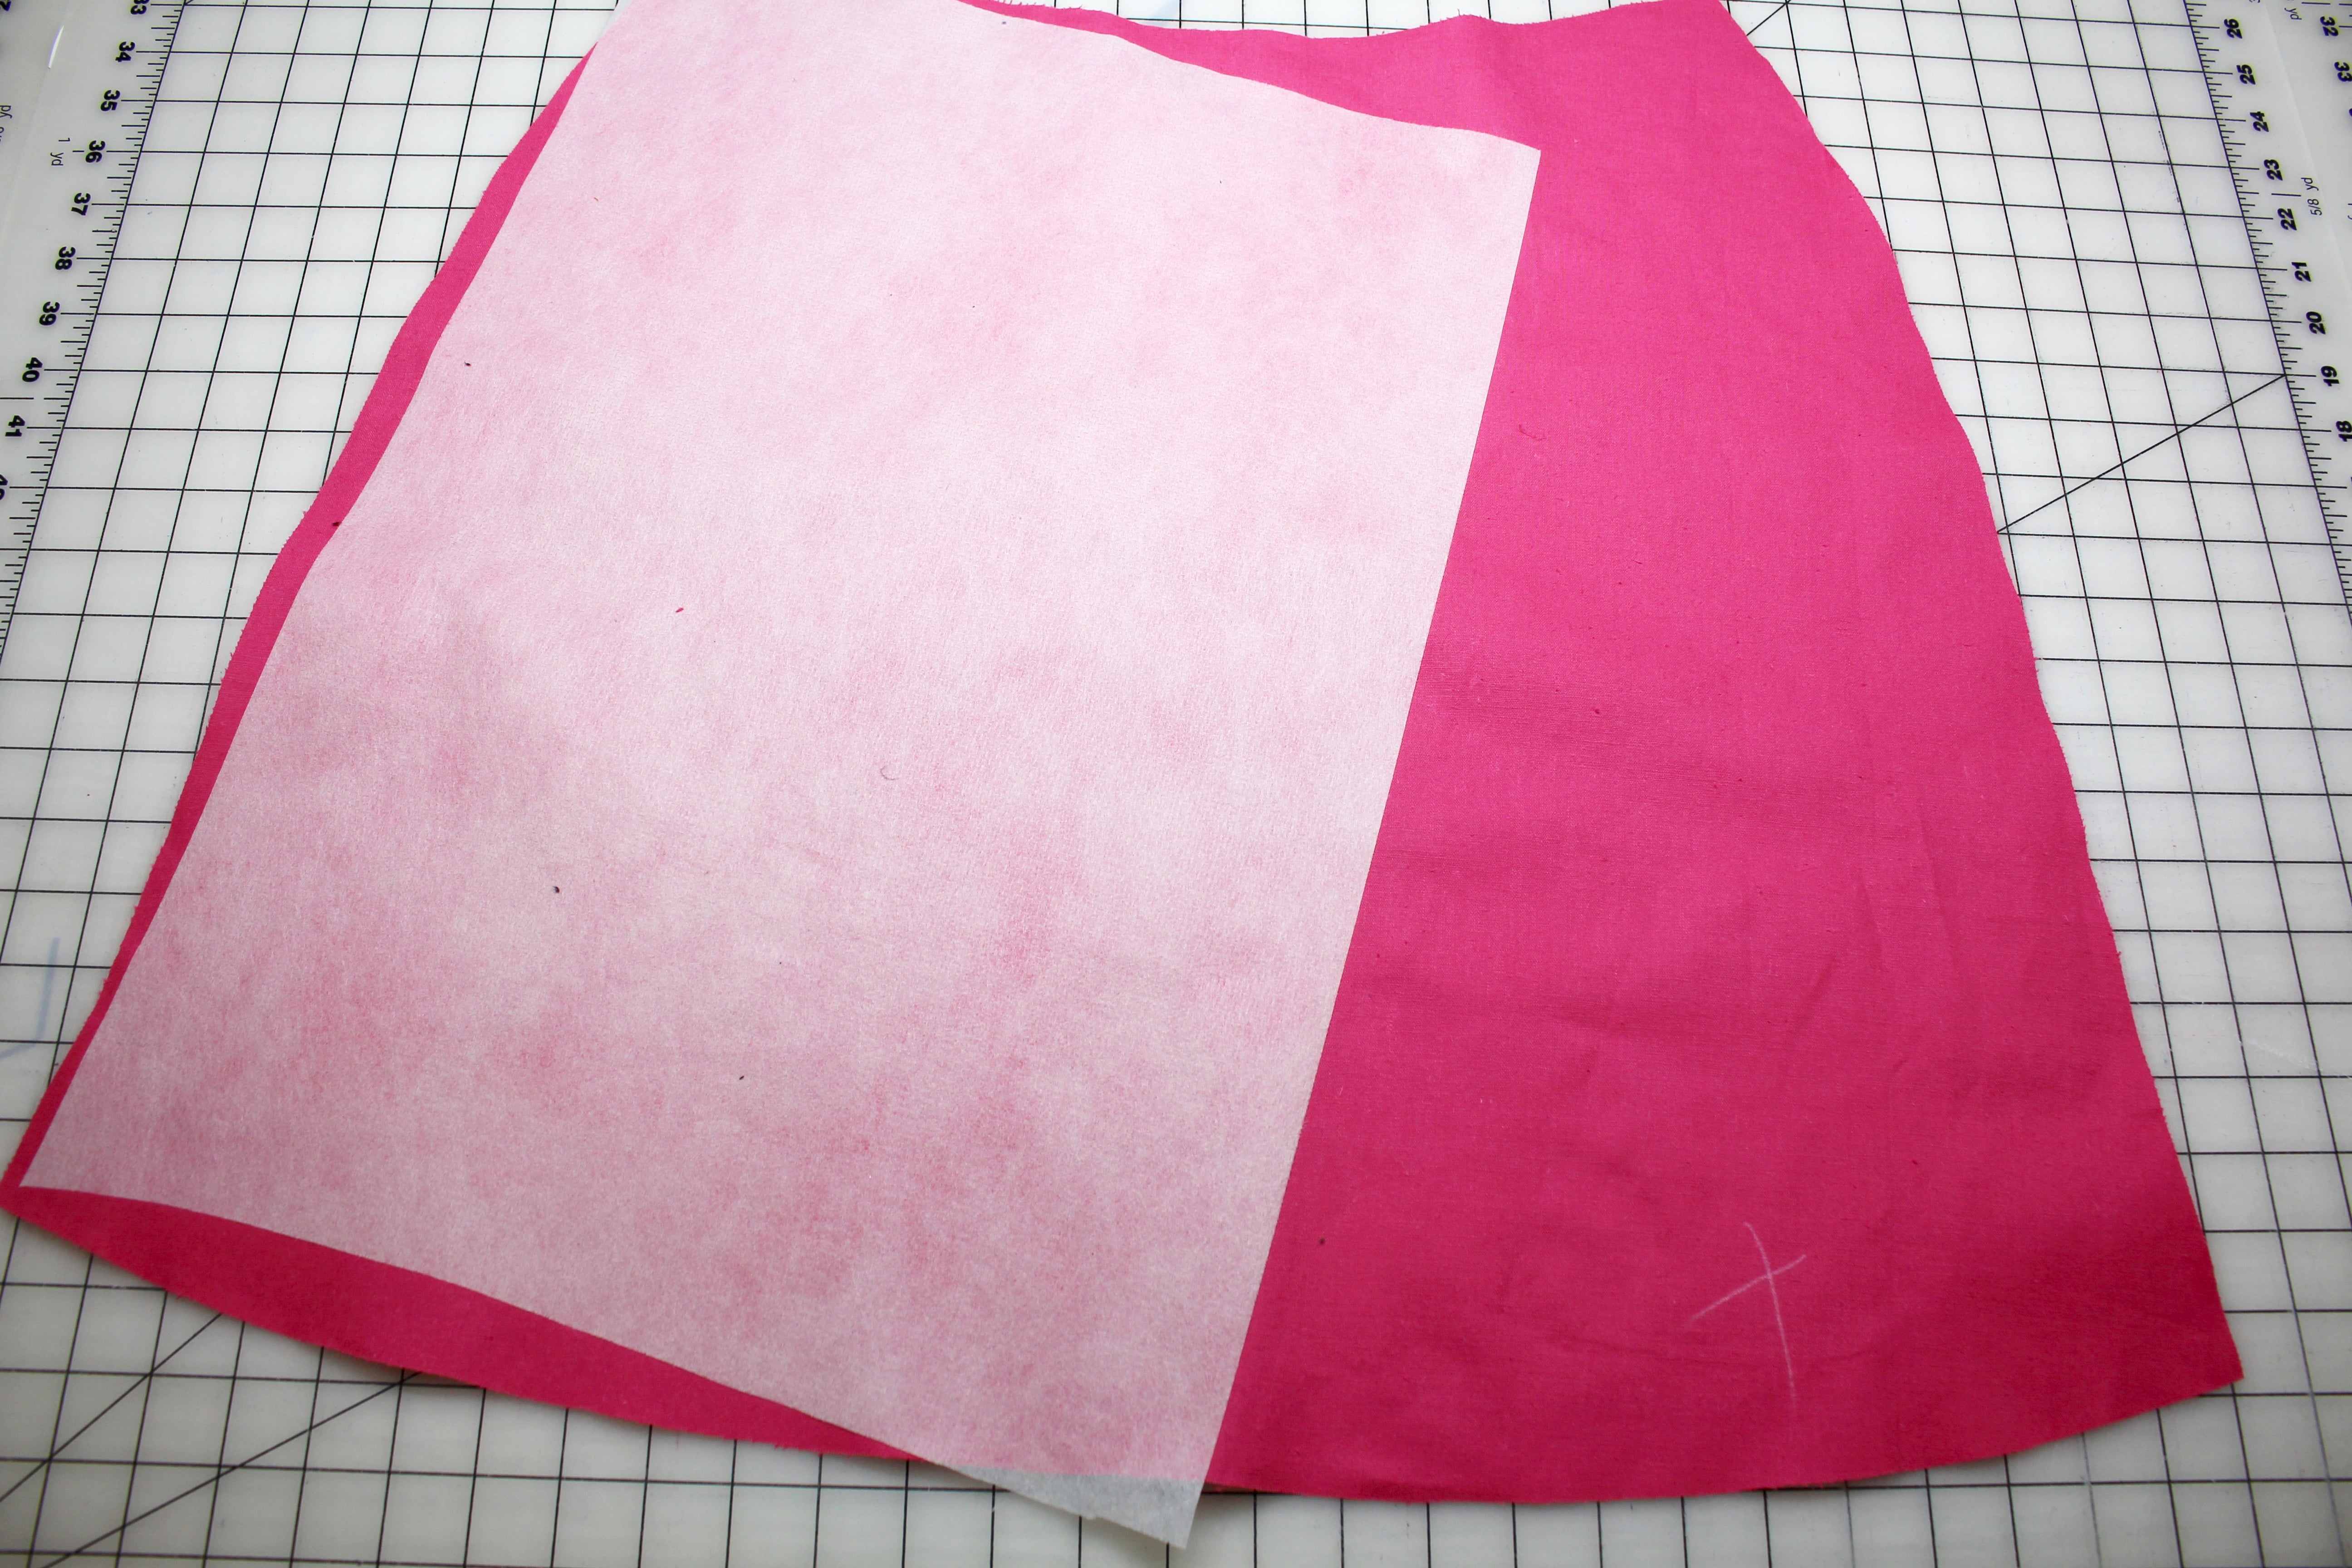
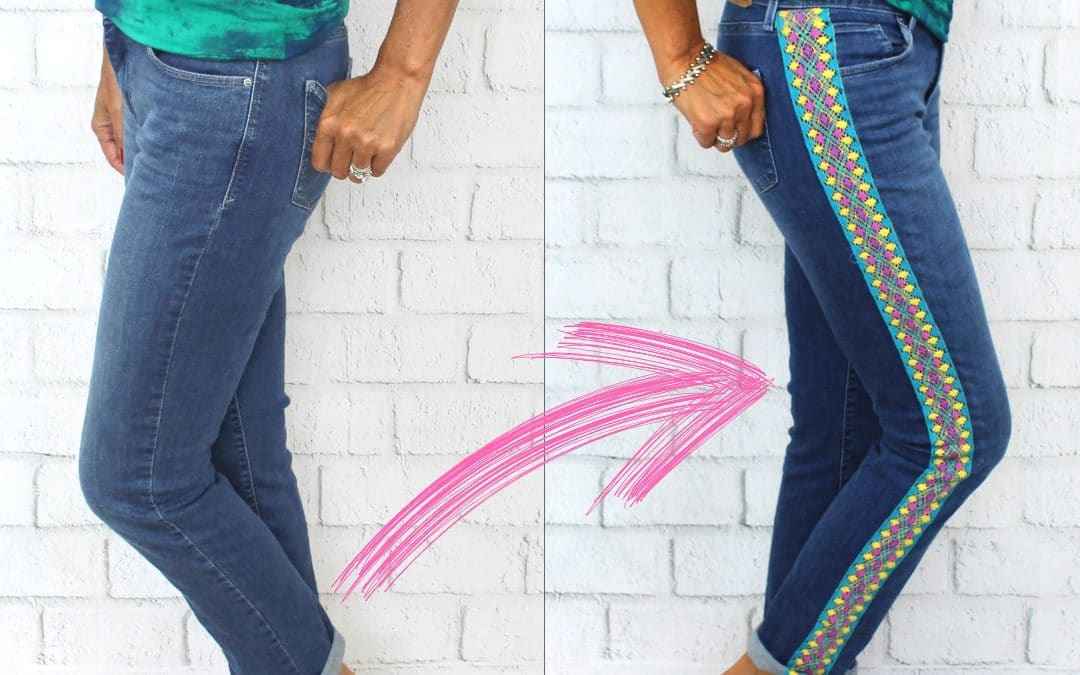
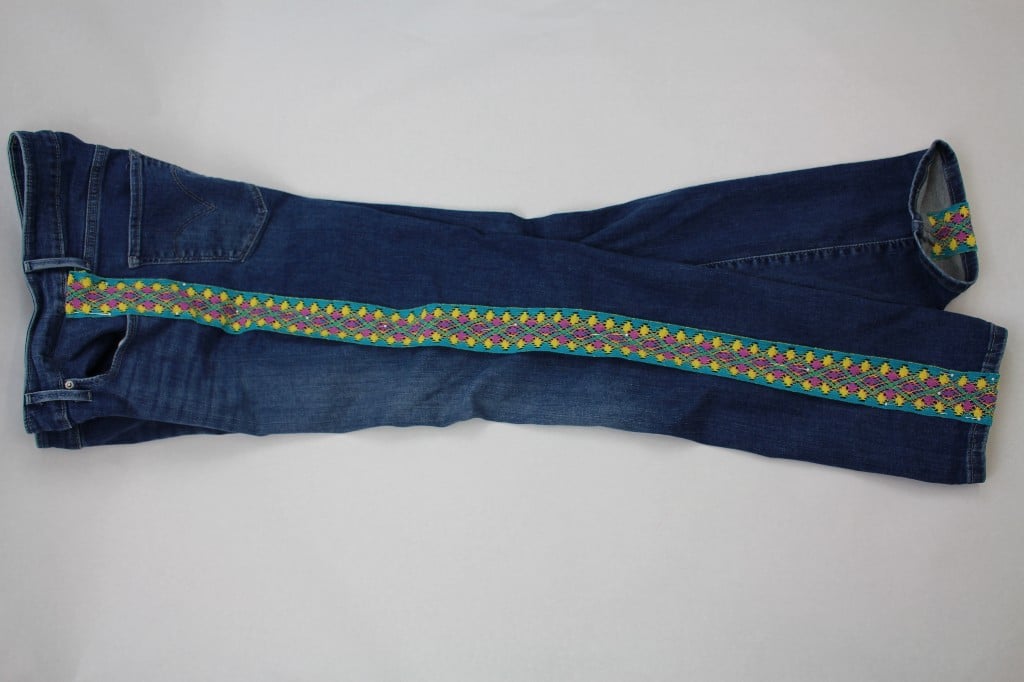
You might have noticed some of the fashions of the late 60’s and 70’s making a comeback on the store shelves, from floral fabrics to embellished jeans. How about adding crocheted ribbon trim along the outside leg! This is so easy!!!
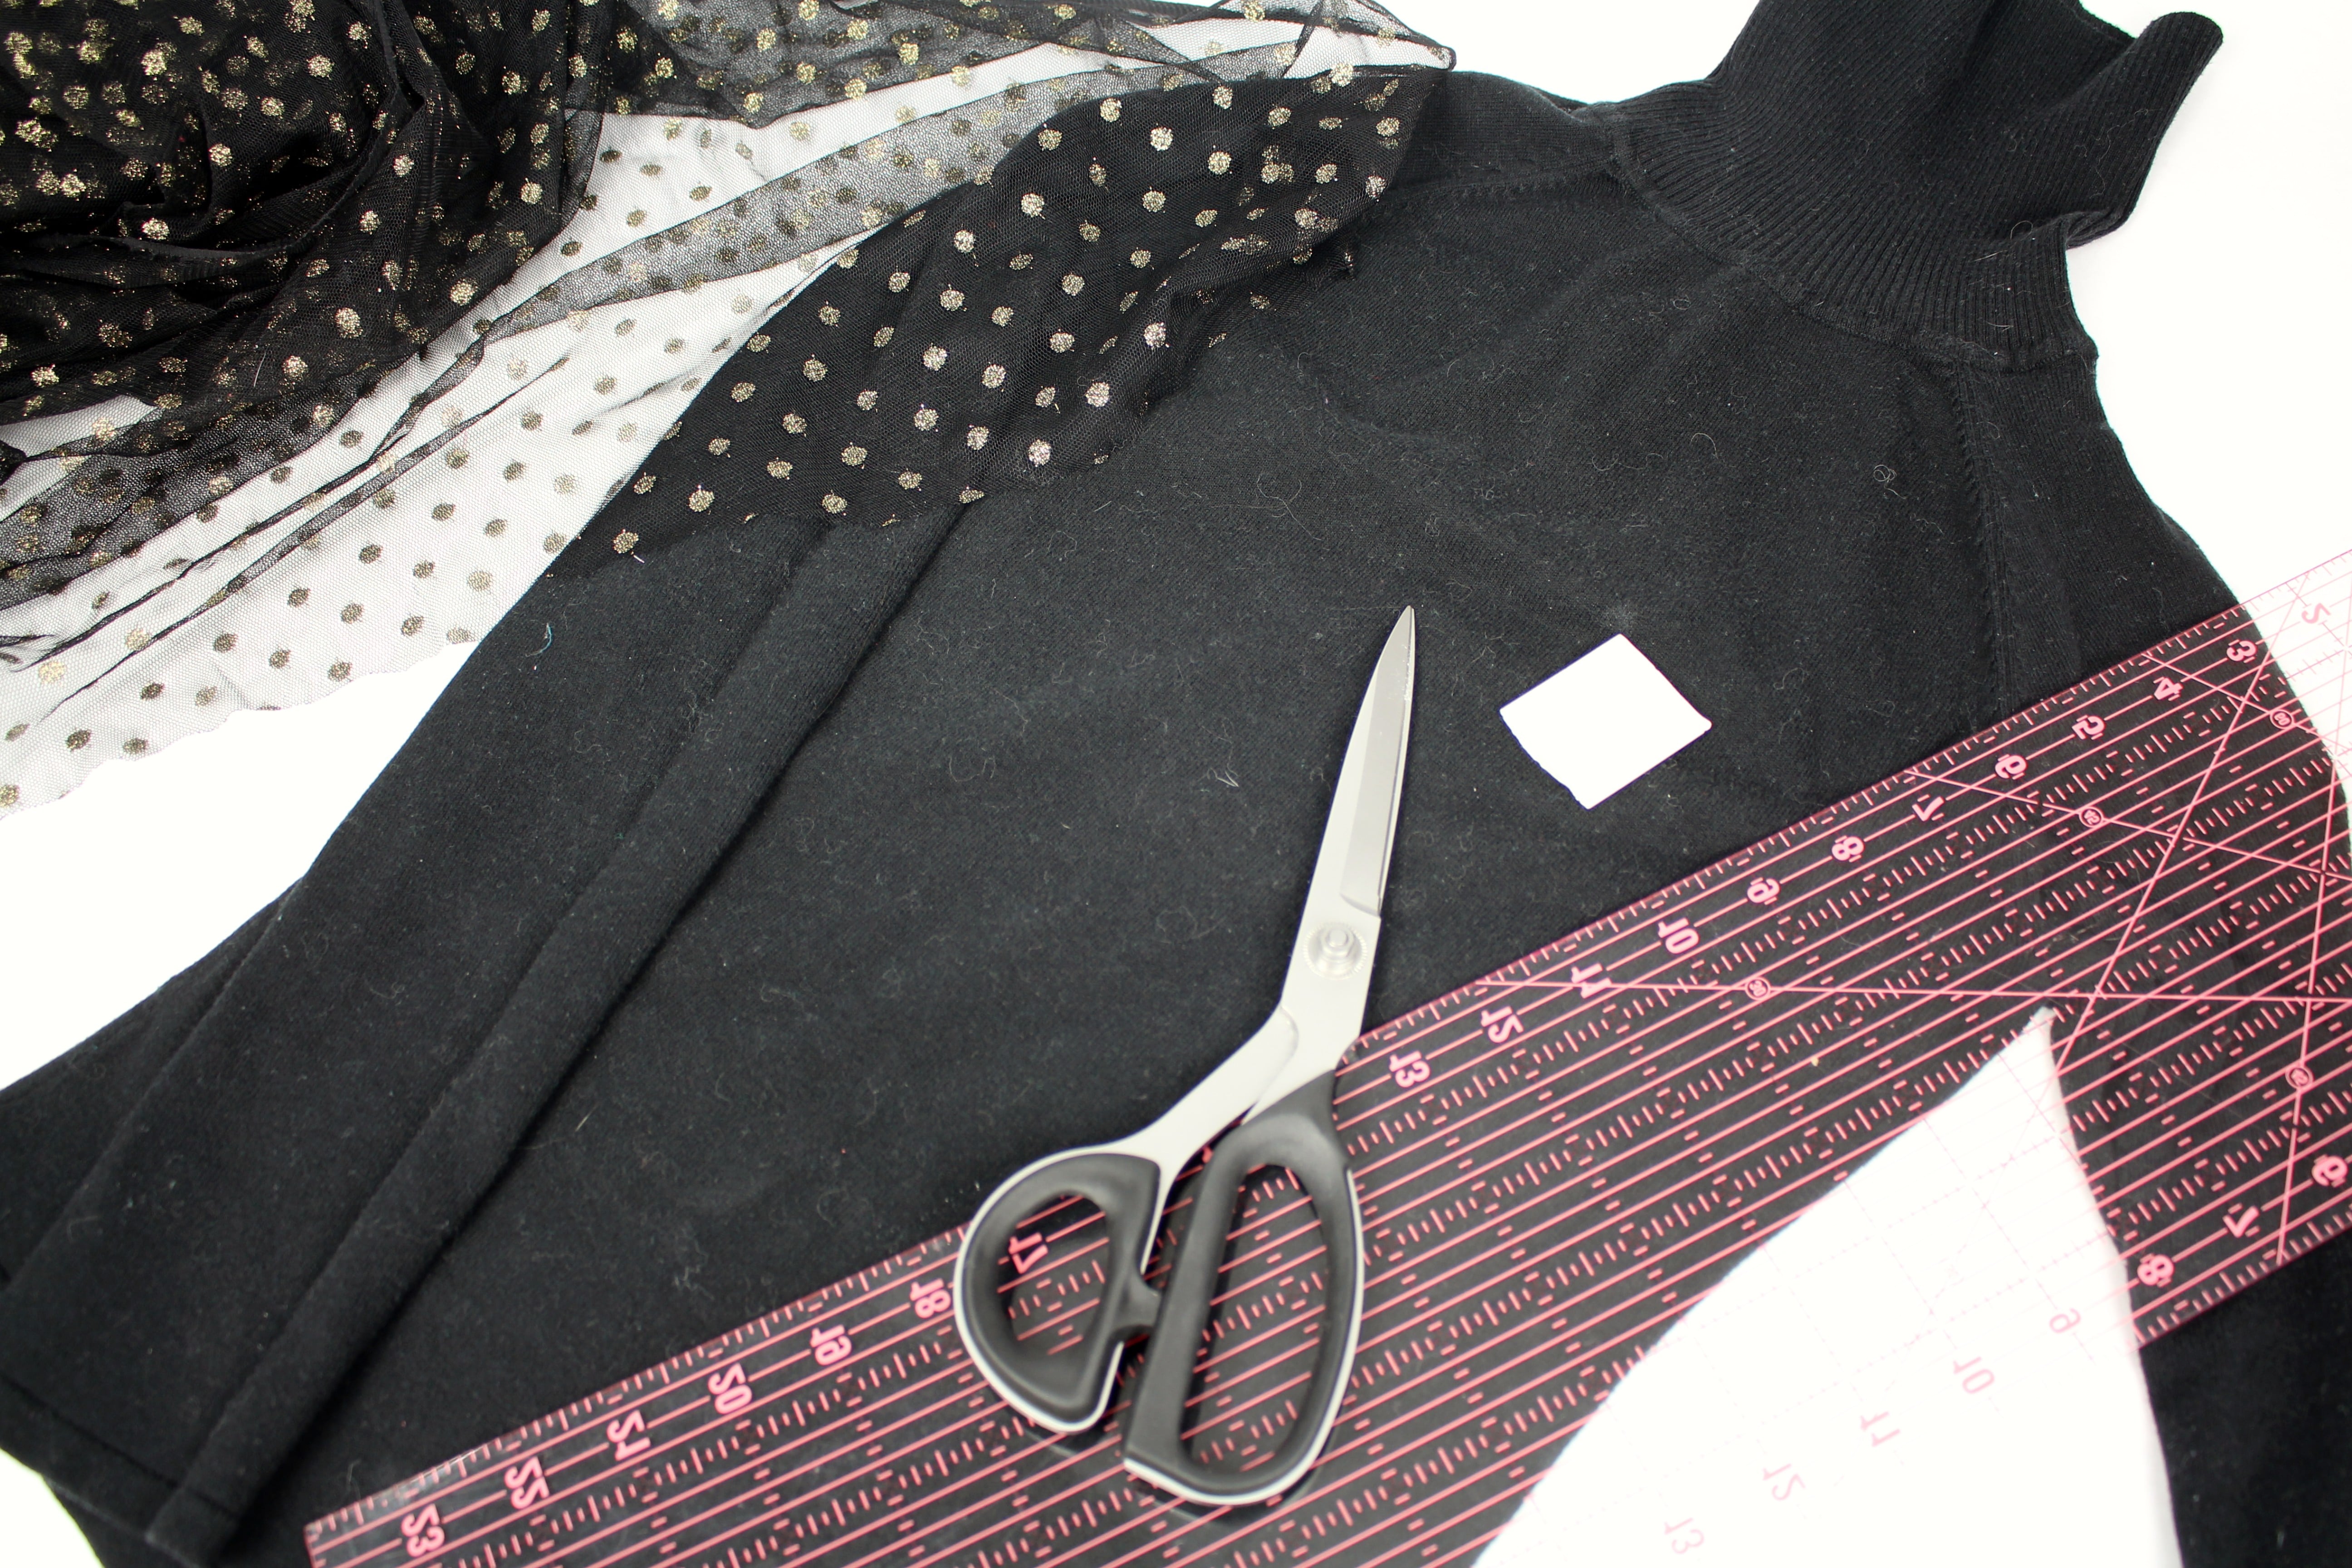
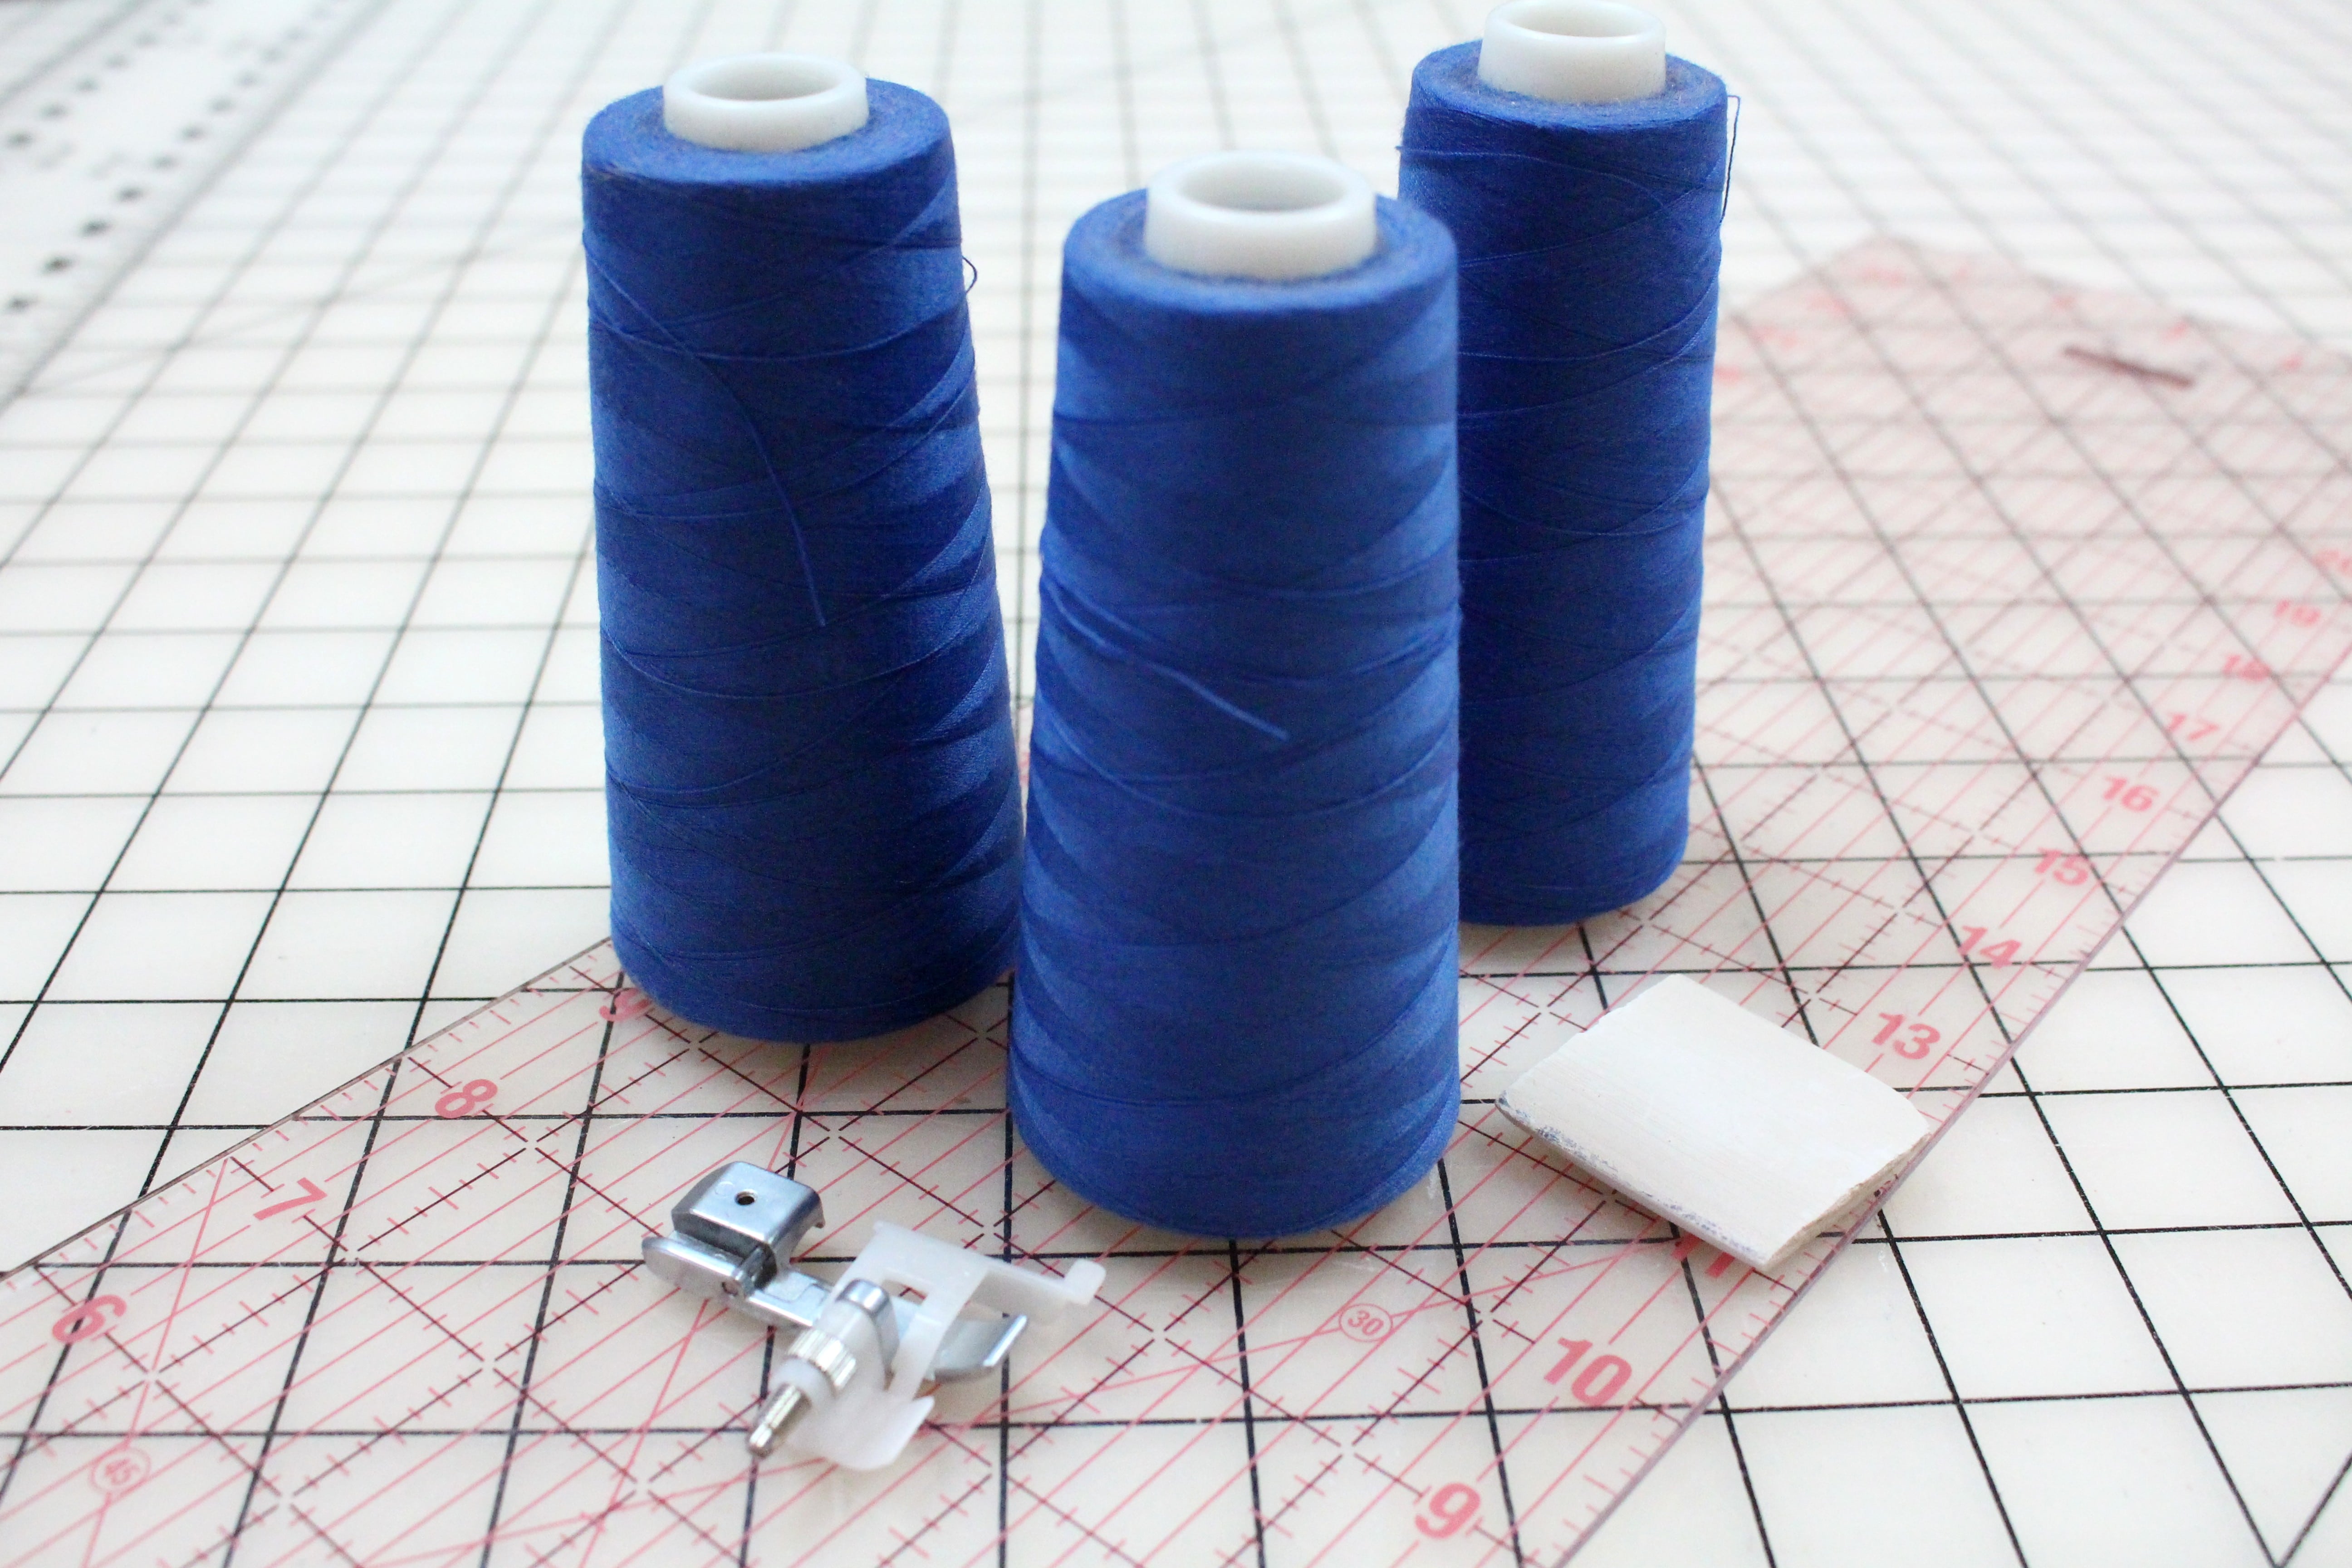
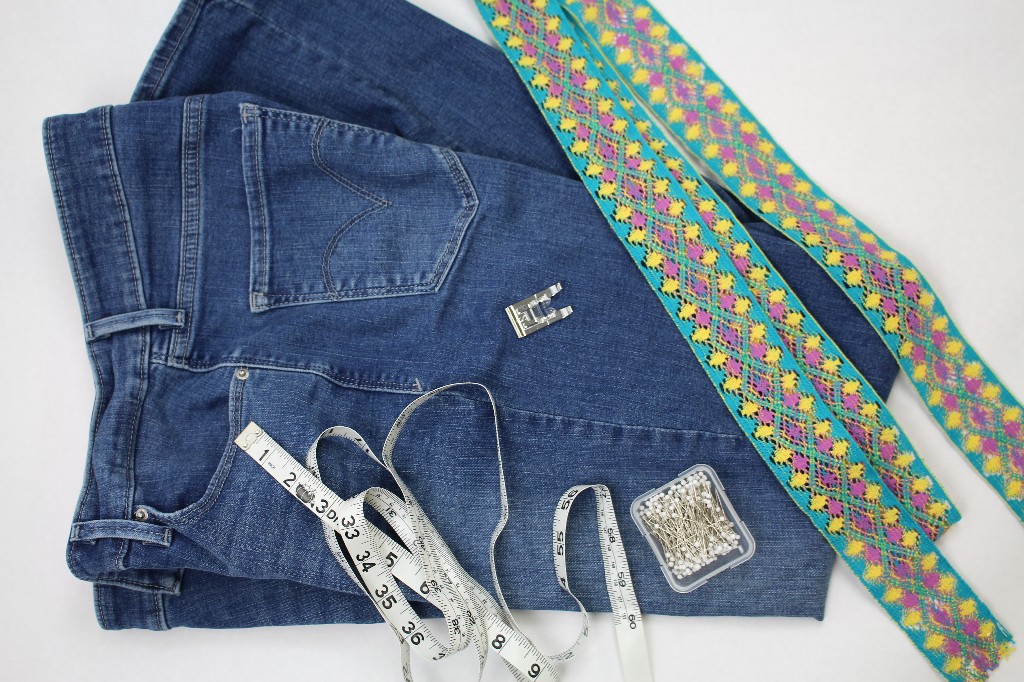
Supplies:
- Jeans
- Measuring tape
- Pins
- Ribbon or trim (check that the trim is washable)
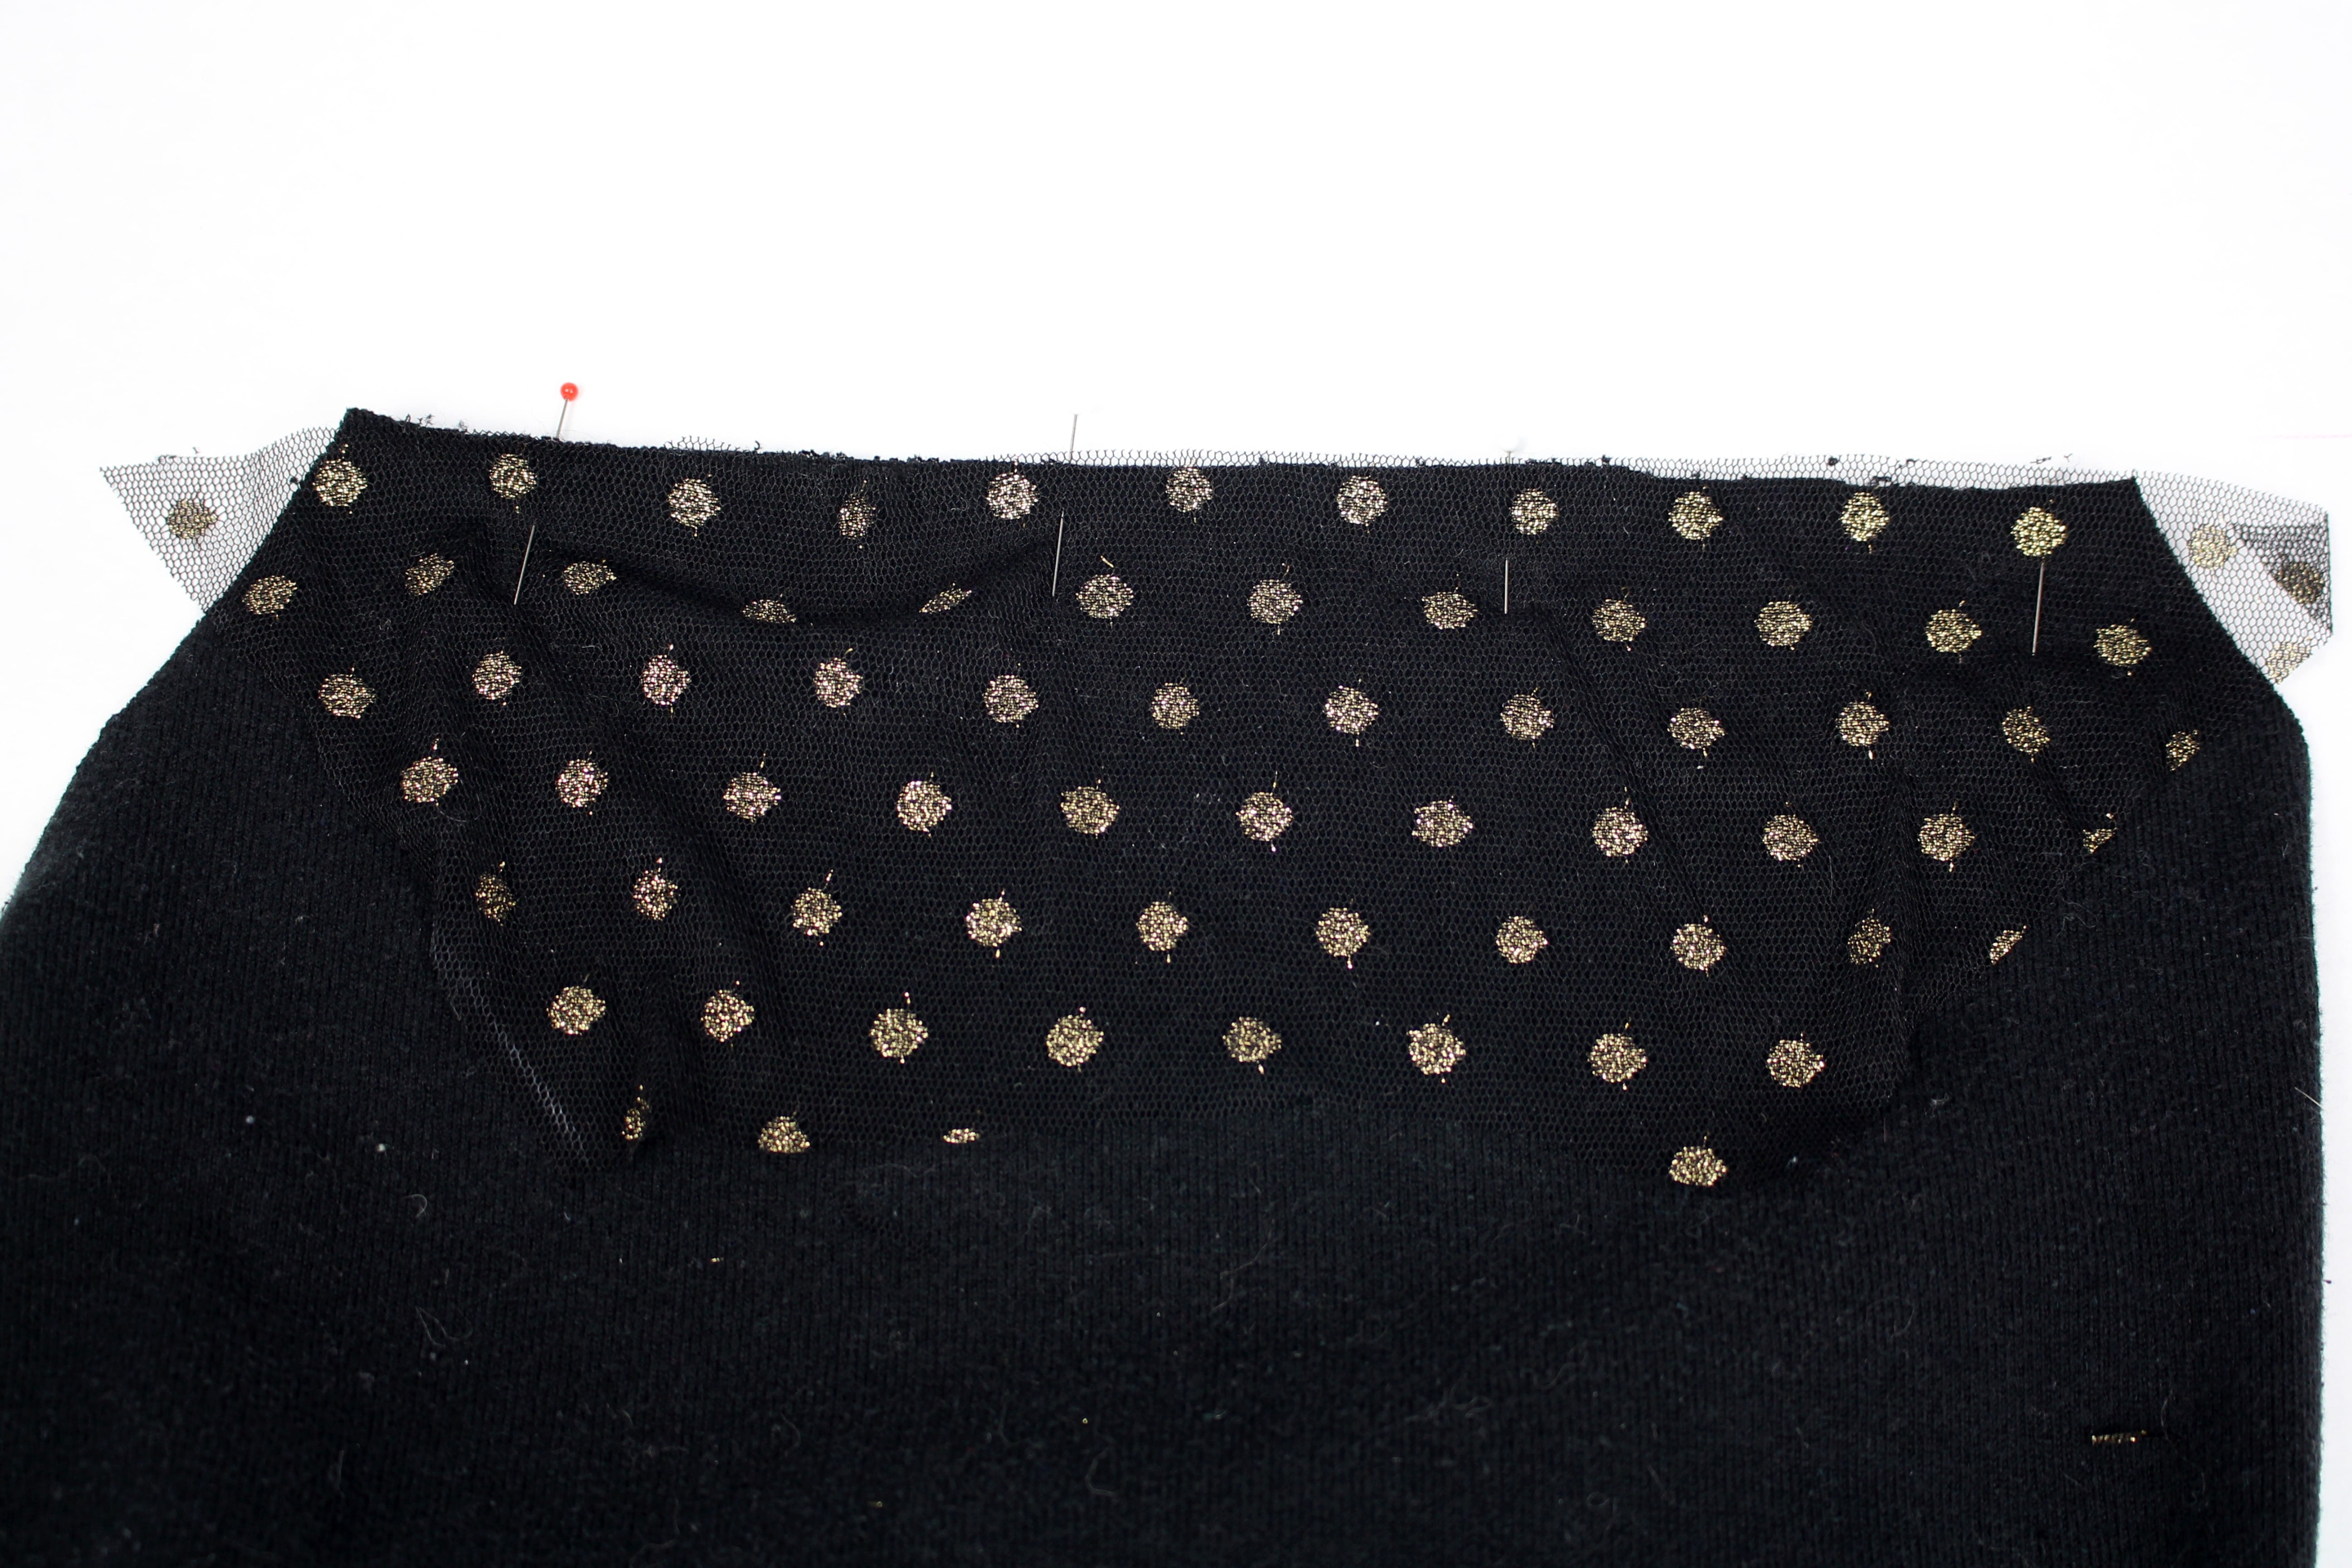
PREPPING
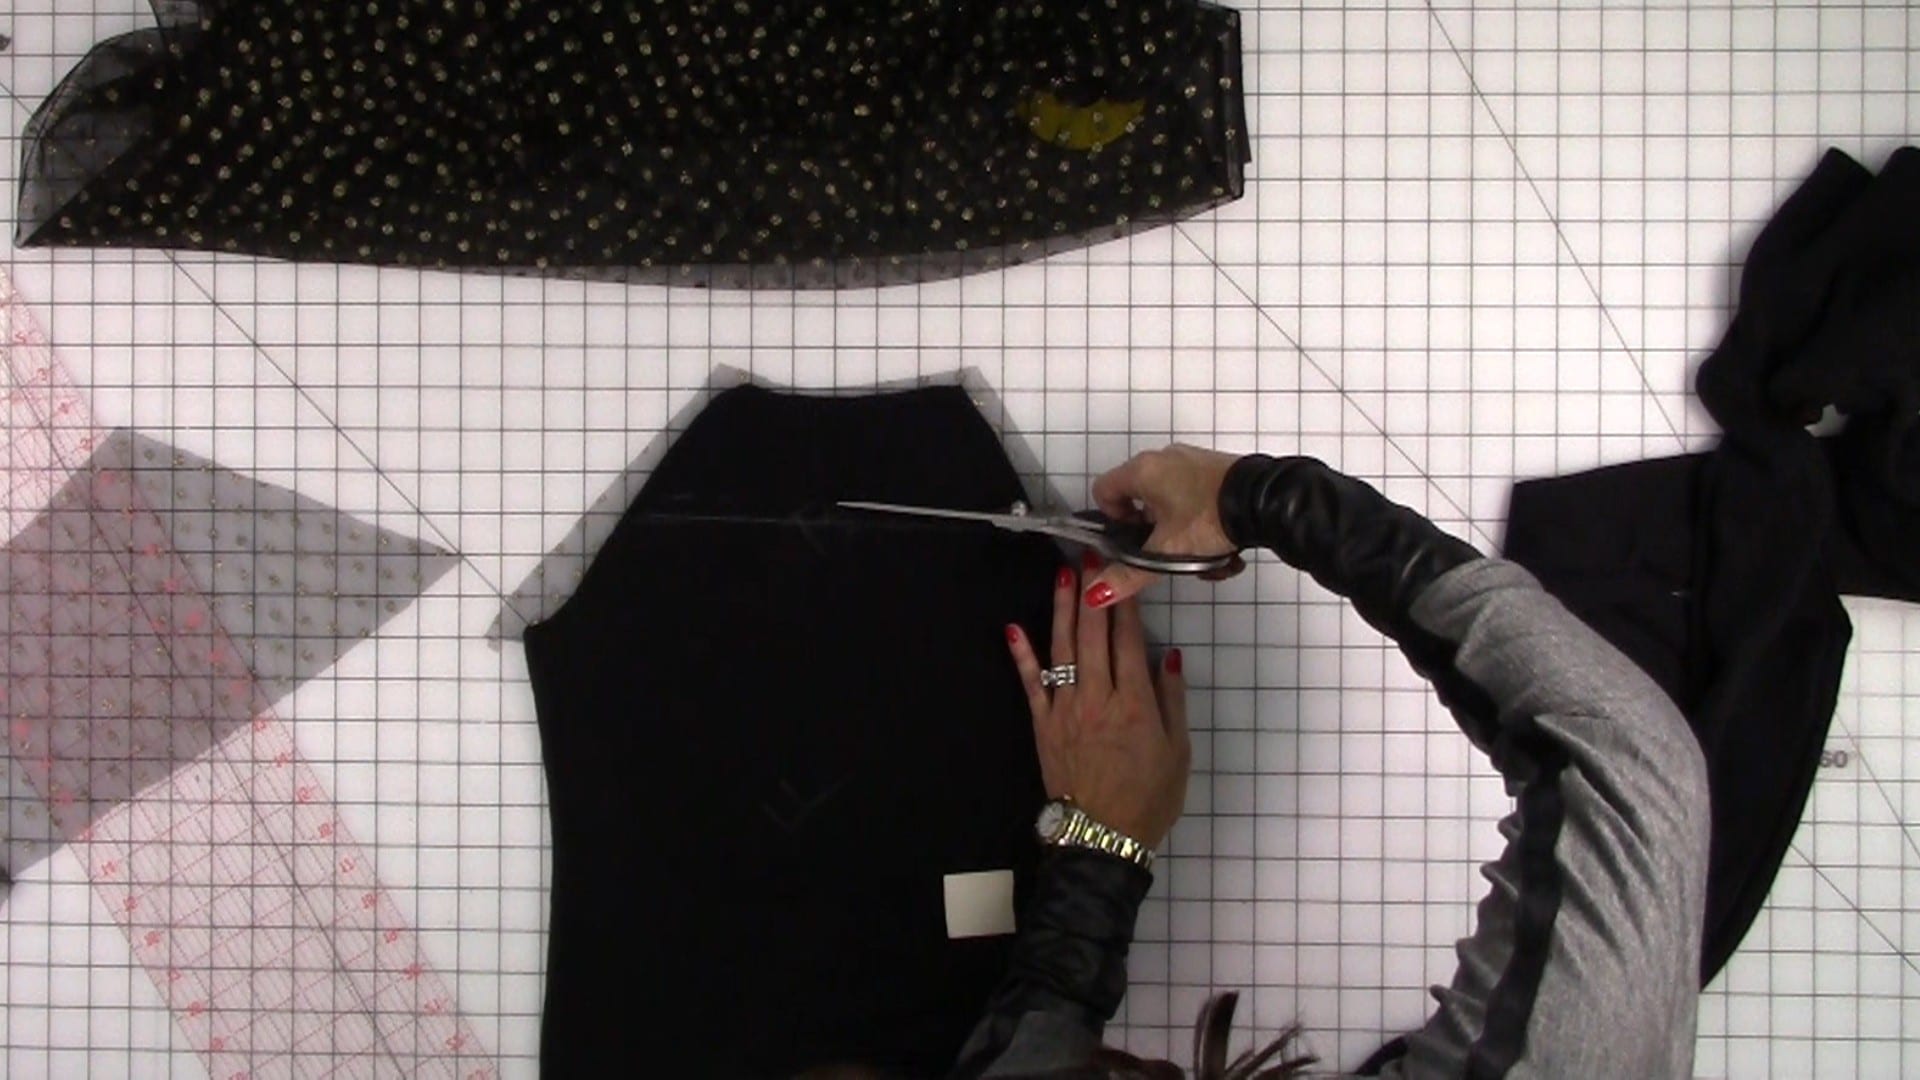
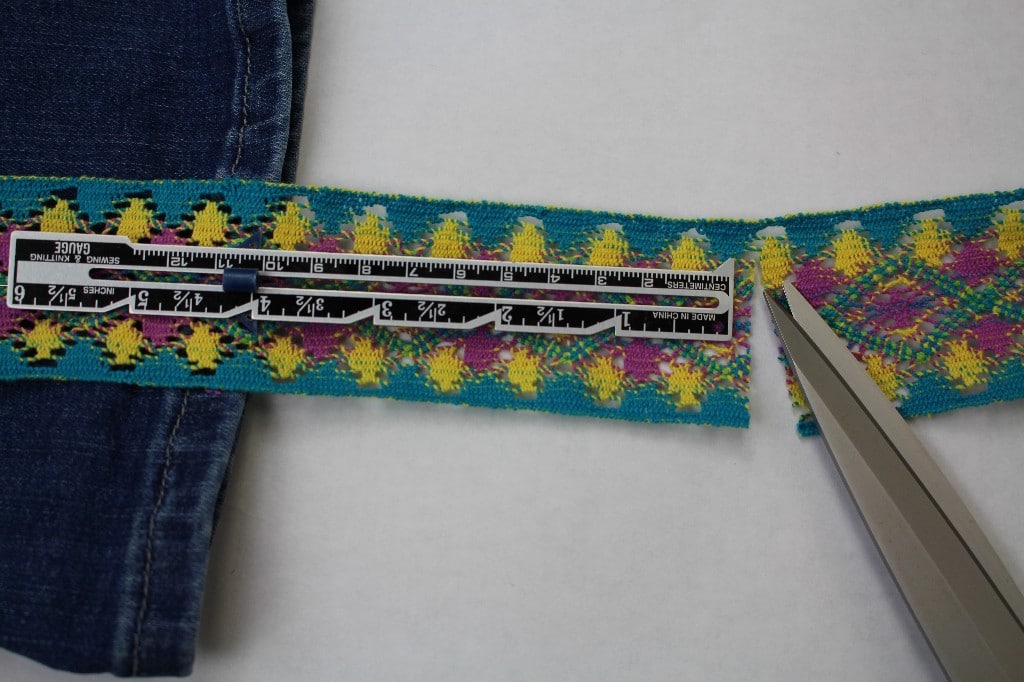
- Measure the outside of the jean leg from the bottom edge of the waistband to the hem.
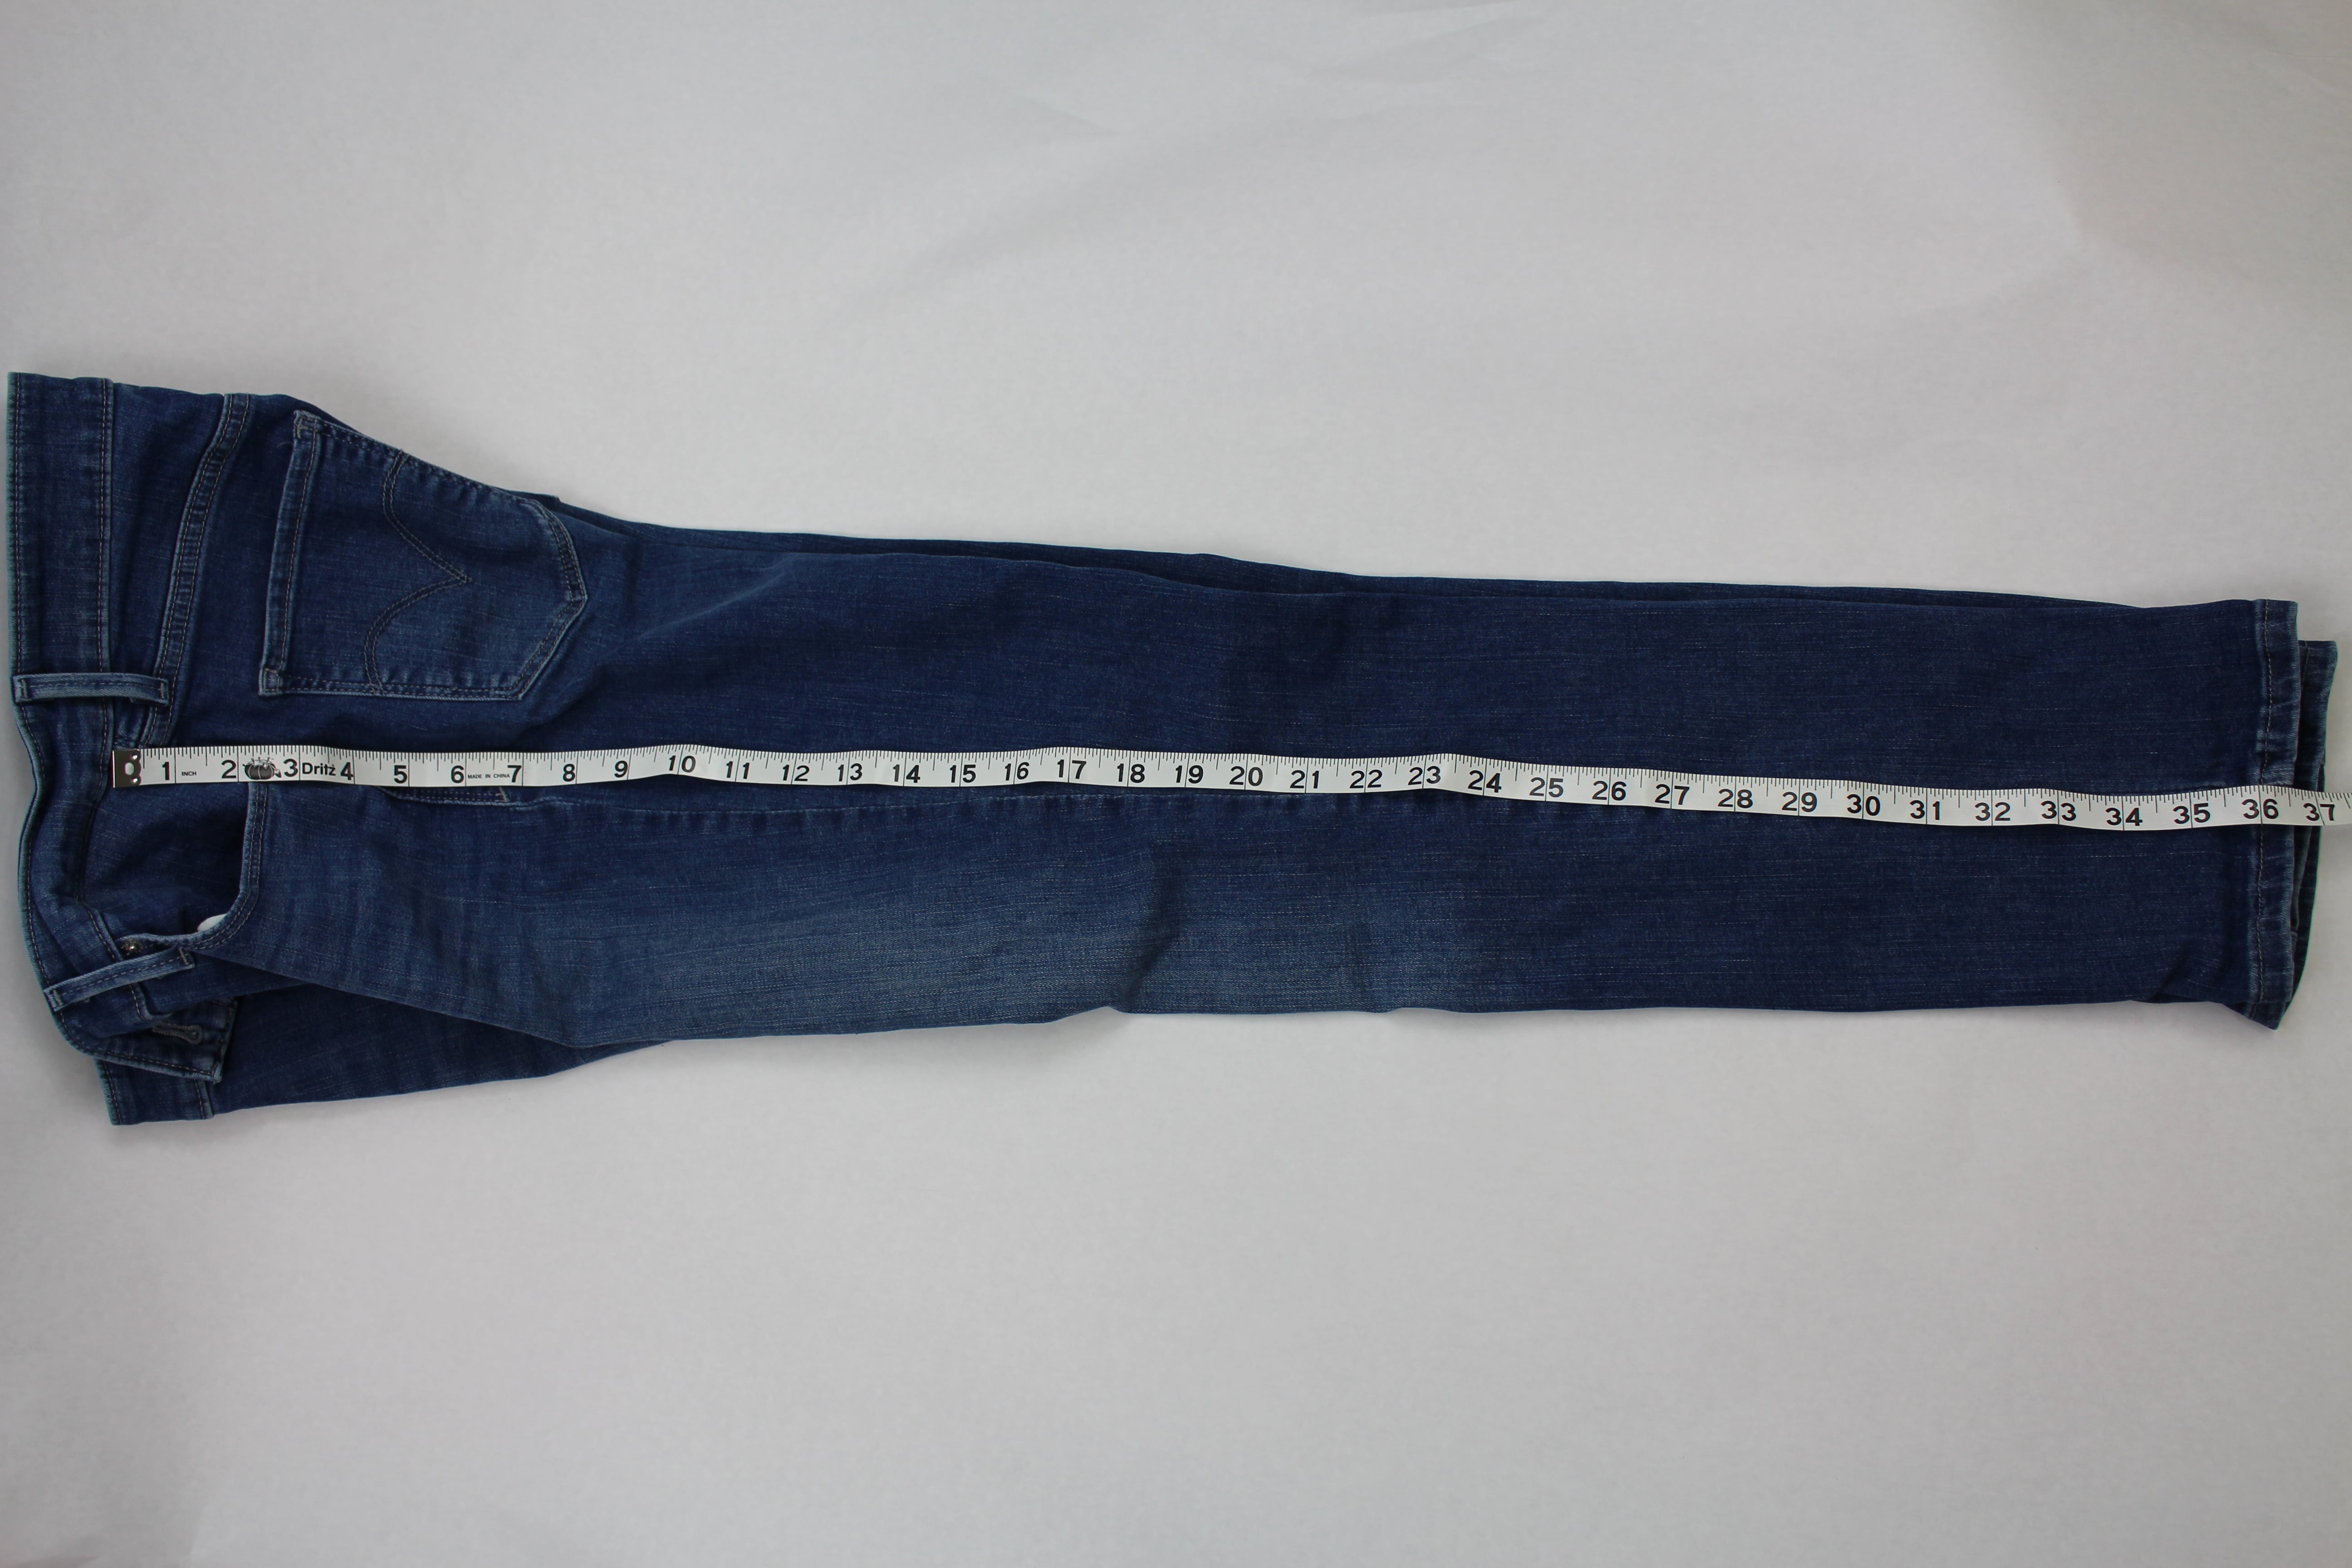
2. Add 6 inches to the outside leg measurement and cut 2 pieces of trim that exact length.
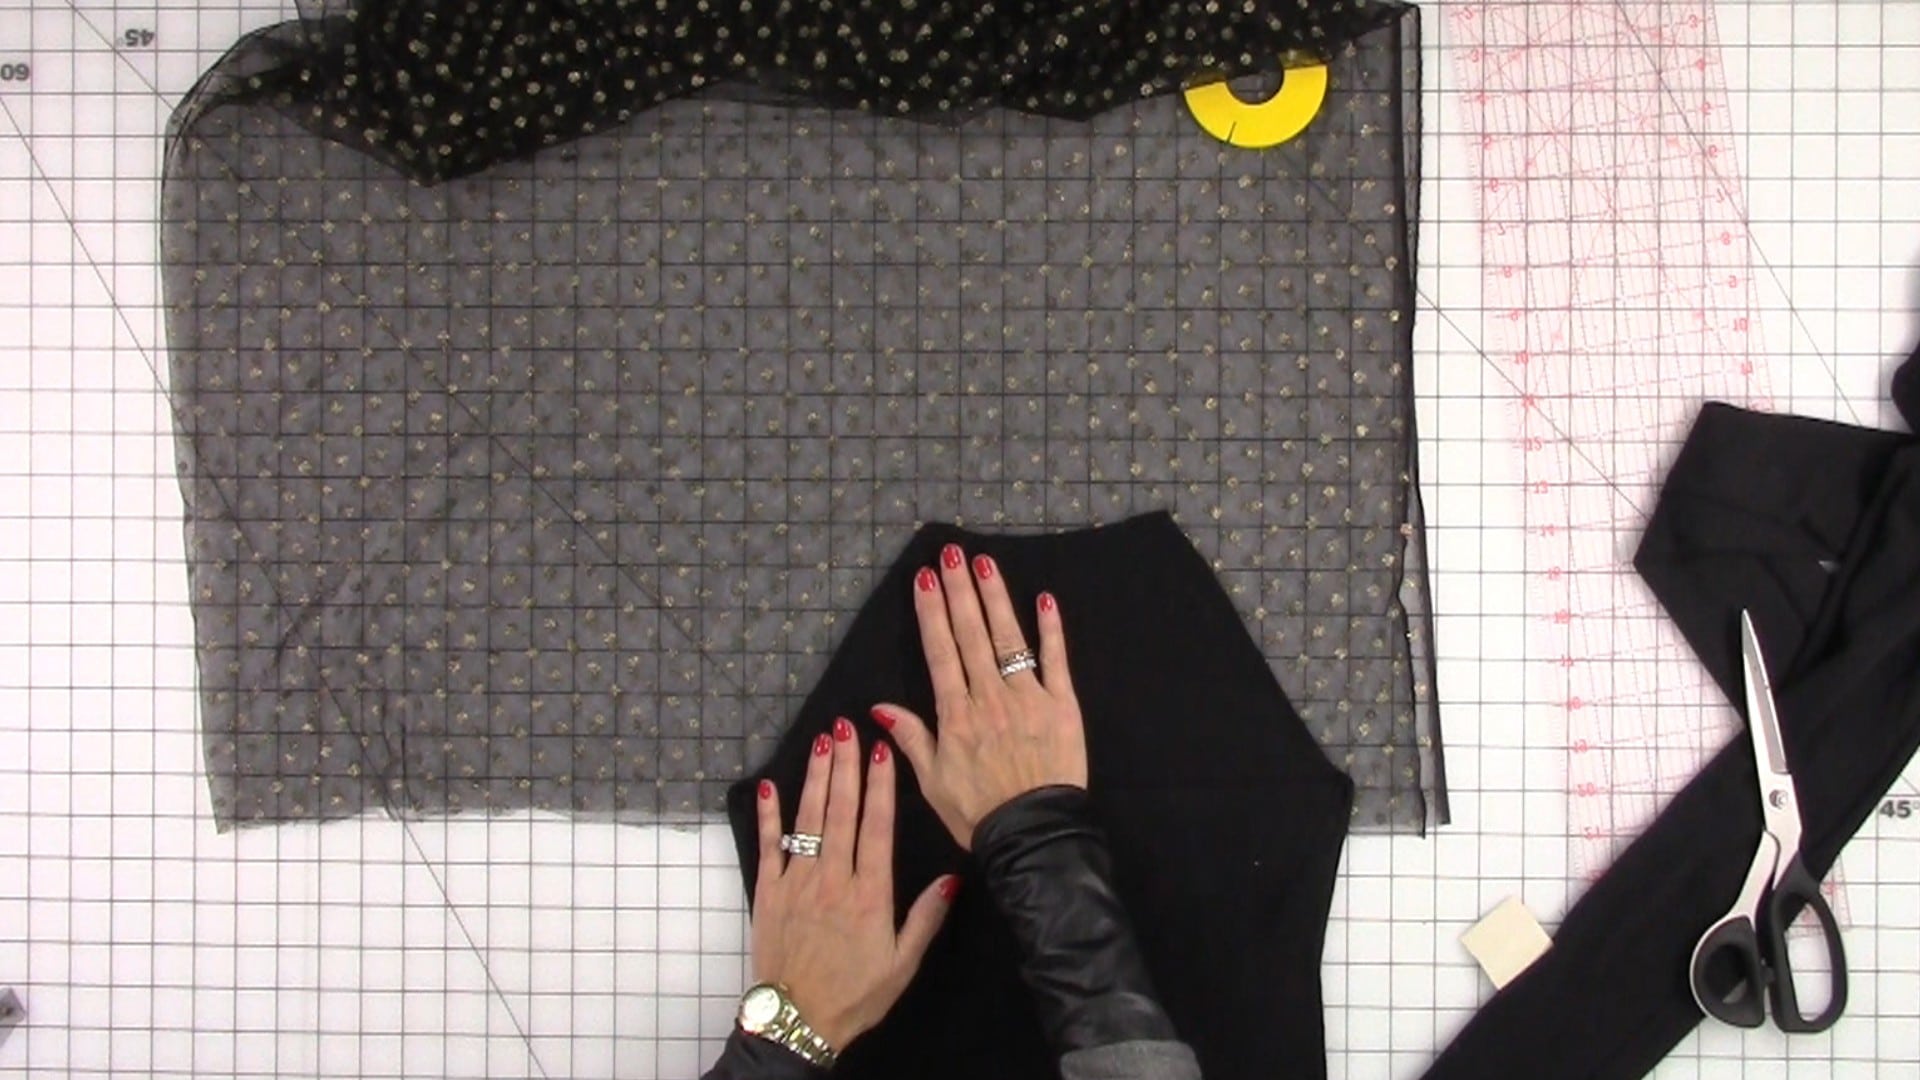
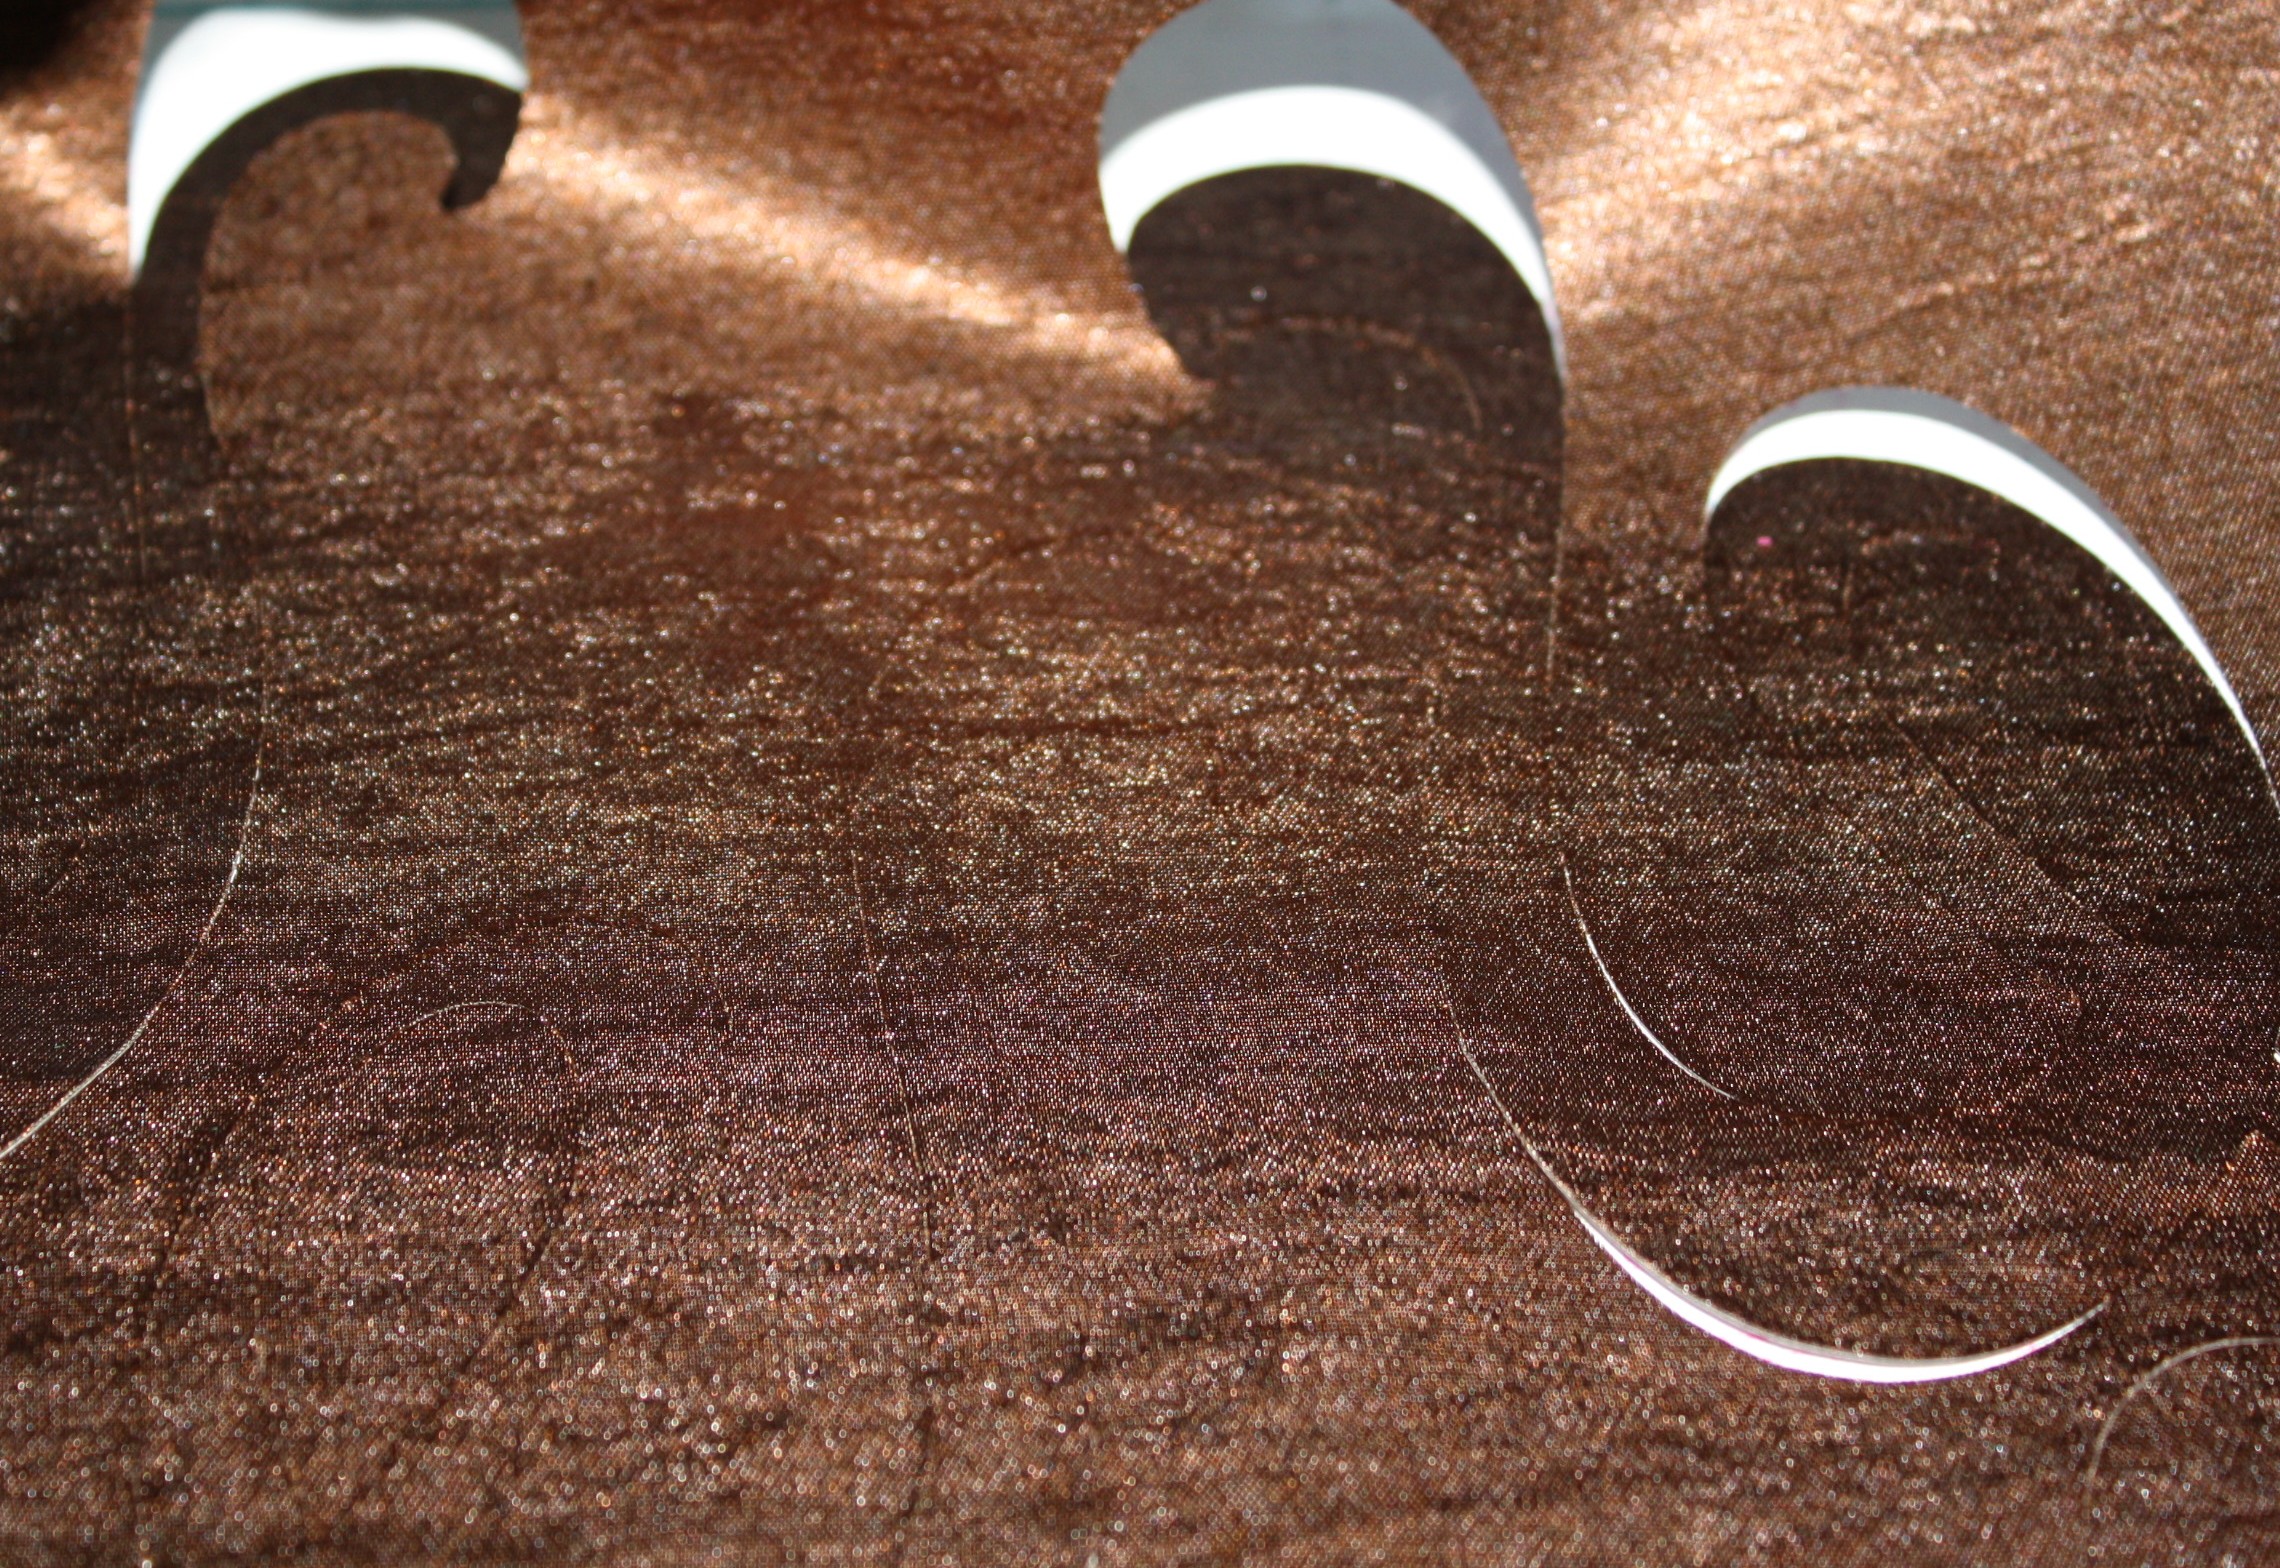
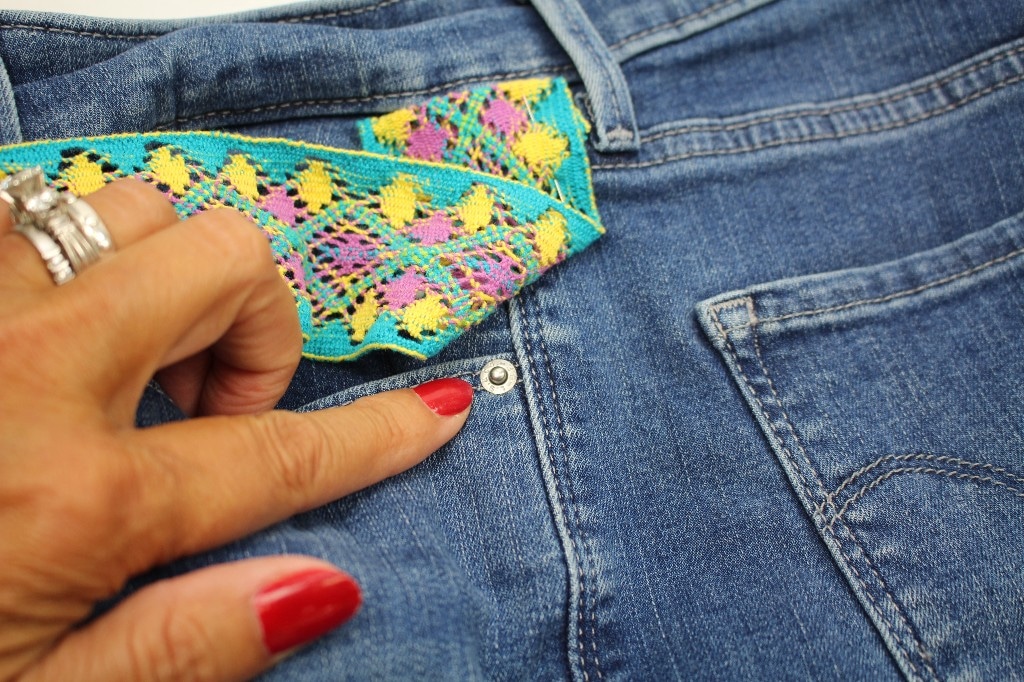
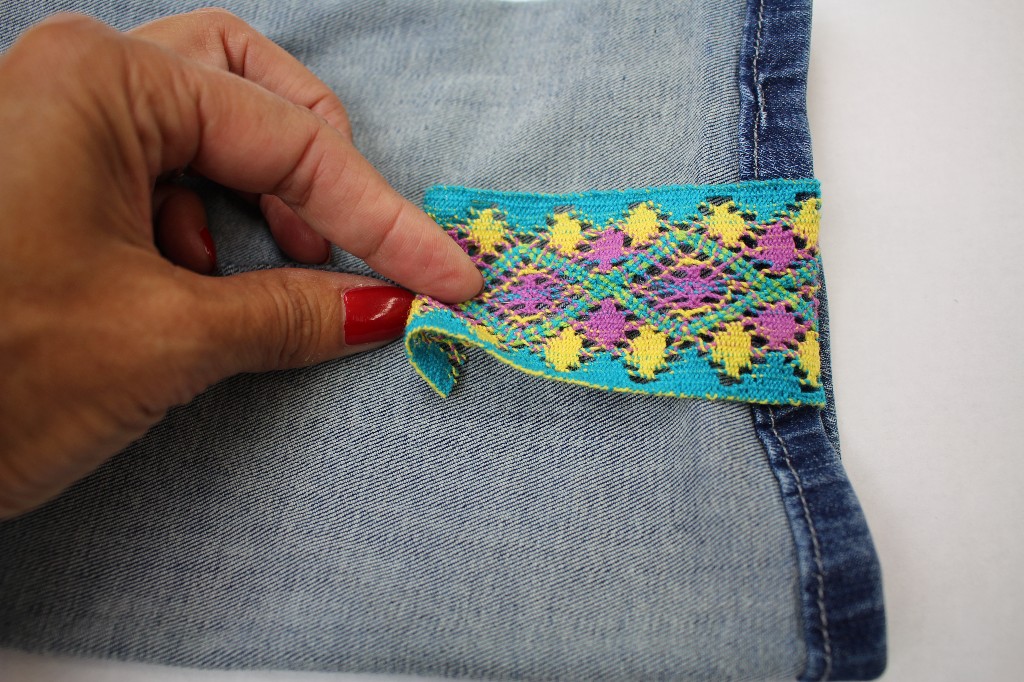
3. Starting at the edge of the waistband, center the trim with the outside leg seam. Fold under the raw edge of the trim about ½” and pin.

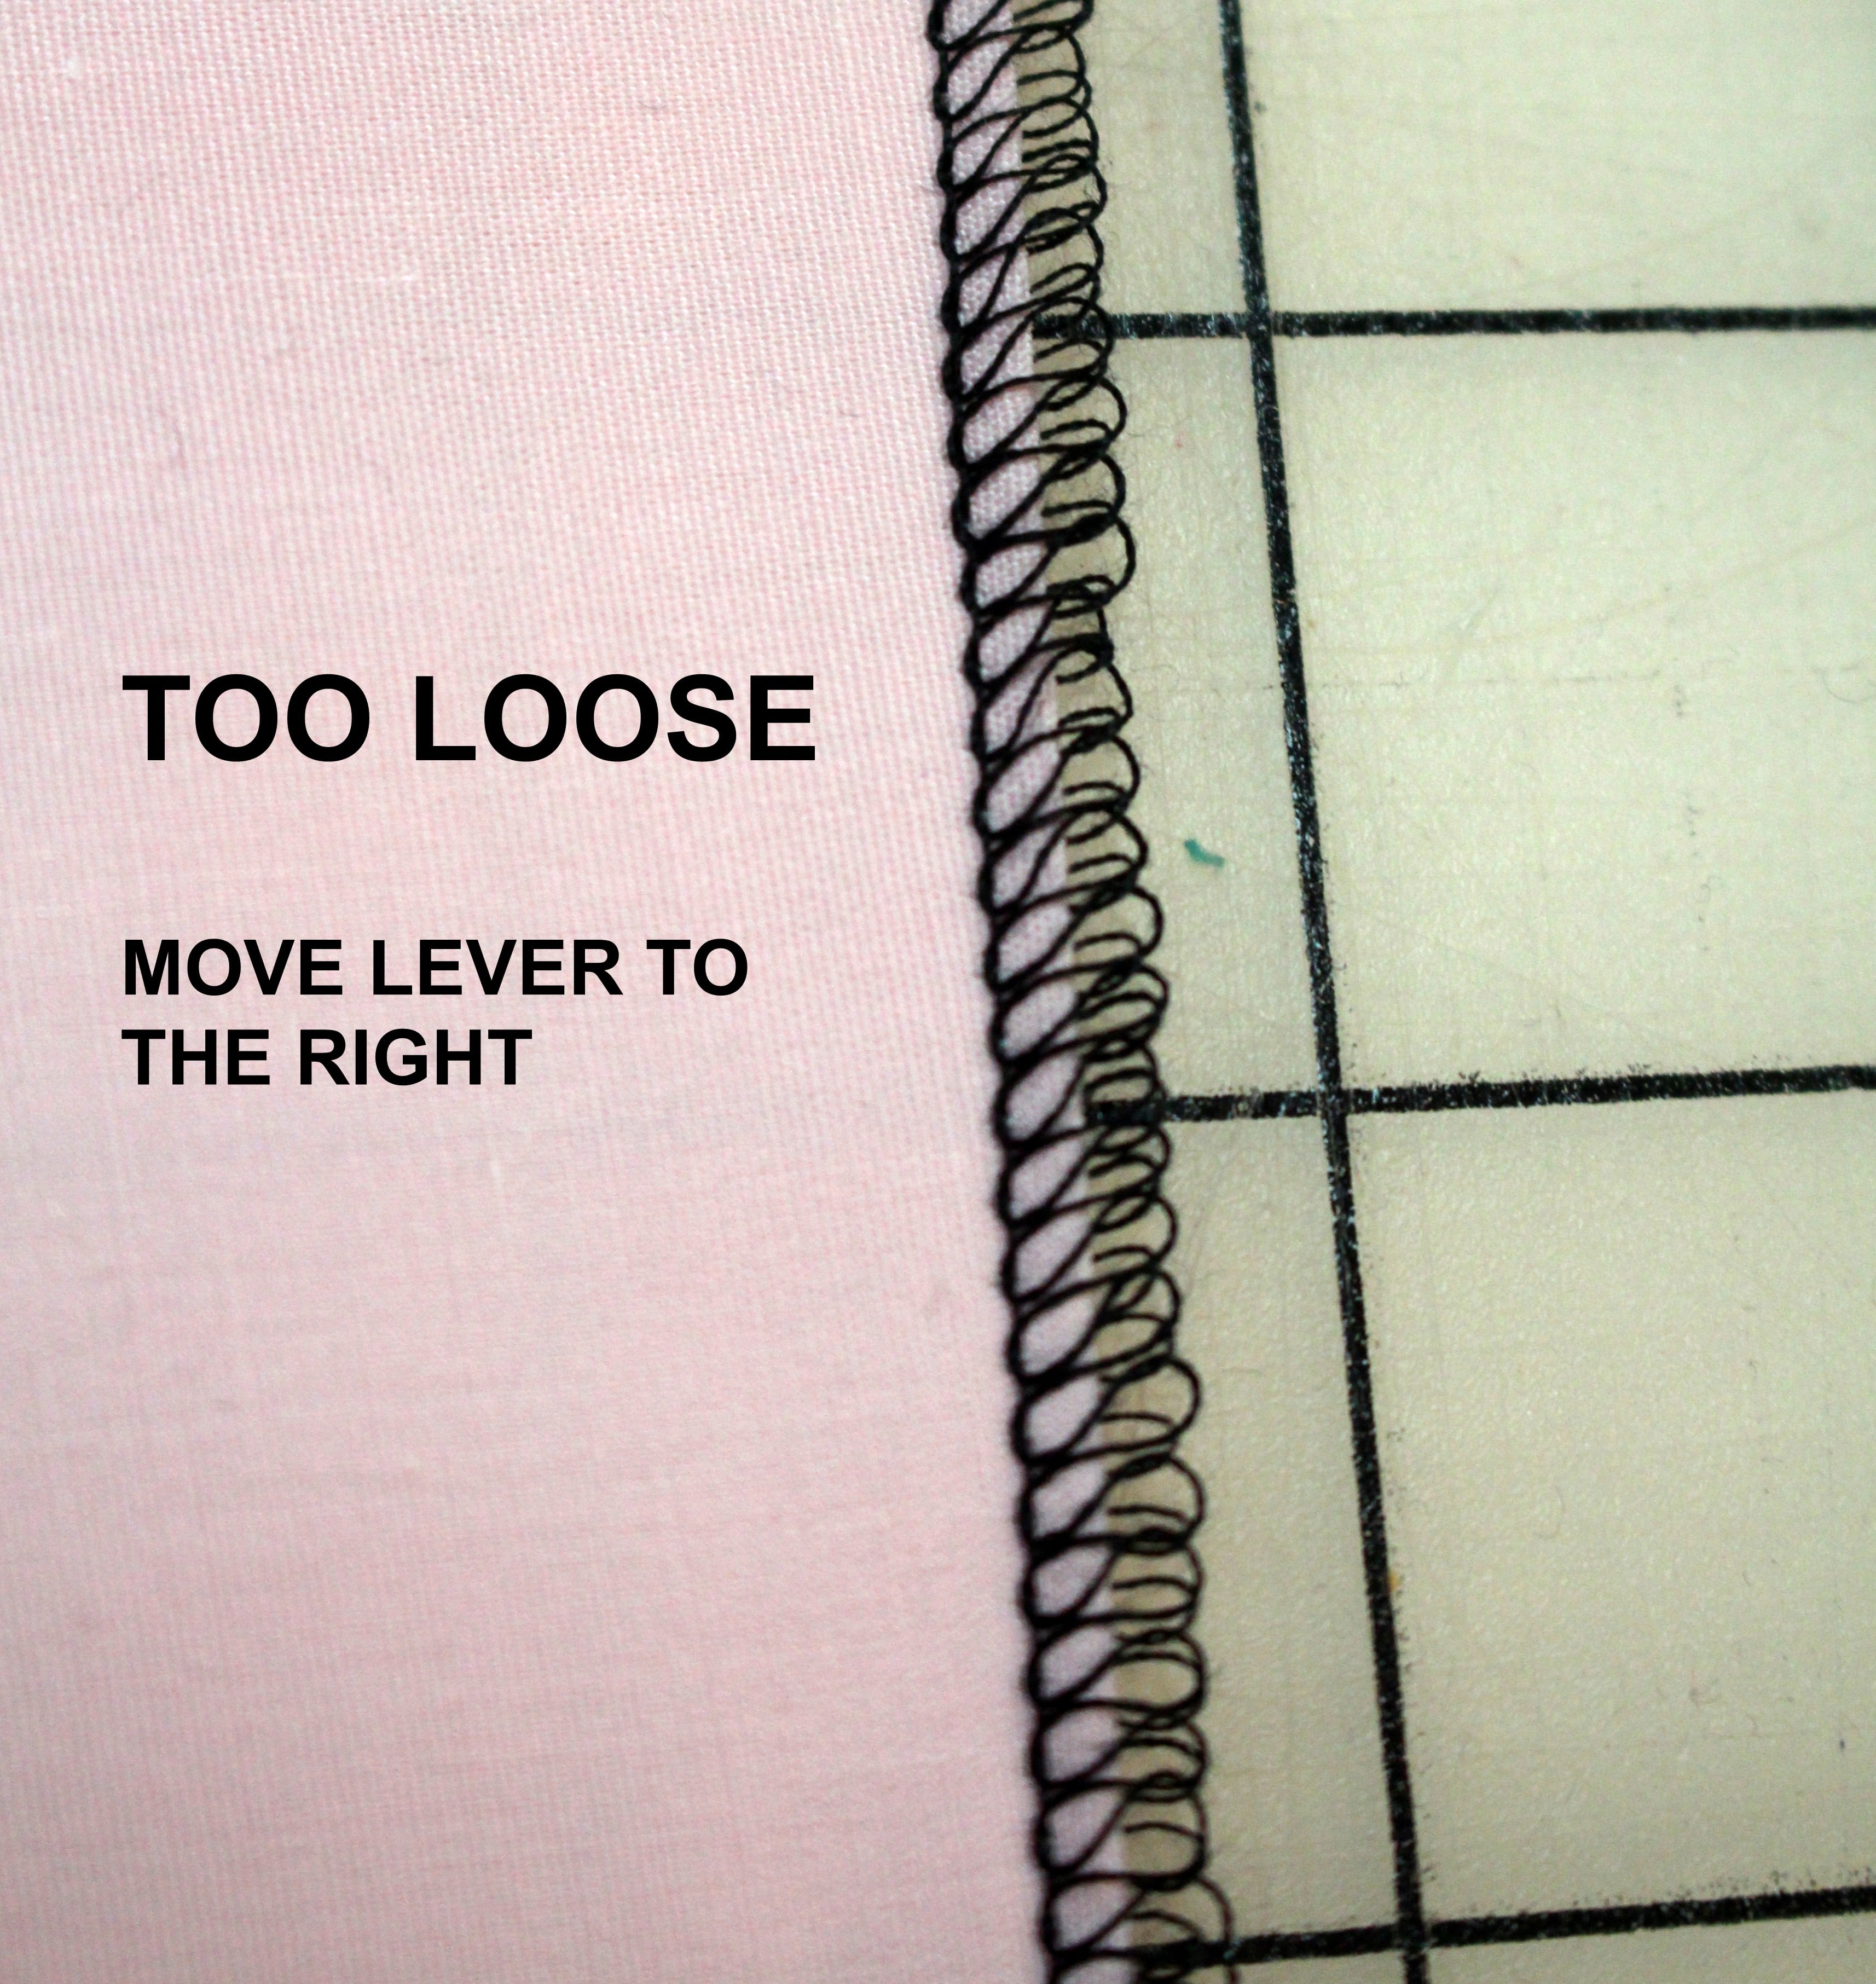
4. Continue to pin the trim along the outside leg seam. Be sure to look for metal rivets or other hardware! Here I have a rive and I will make sure to mark this spot as to not break the sewing machine needle.
5. Pin the ribbon/ trim all the way to the hemline. If you plan on folding up the jeans, measure 4 inches below the hemline and cut the trim. If you are not going to fold up the jean hem, measure 2 inches and cut off any excess ribbon.
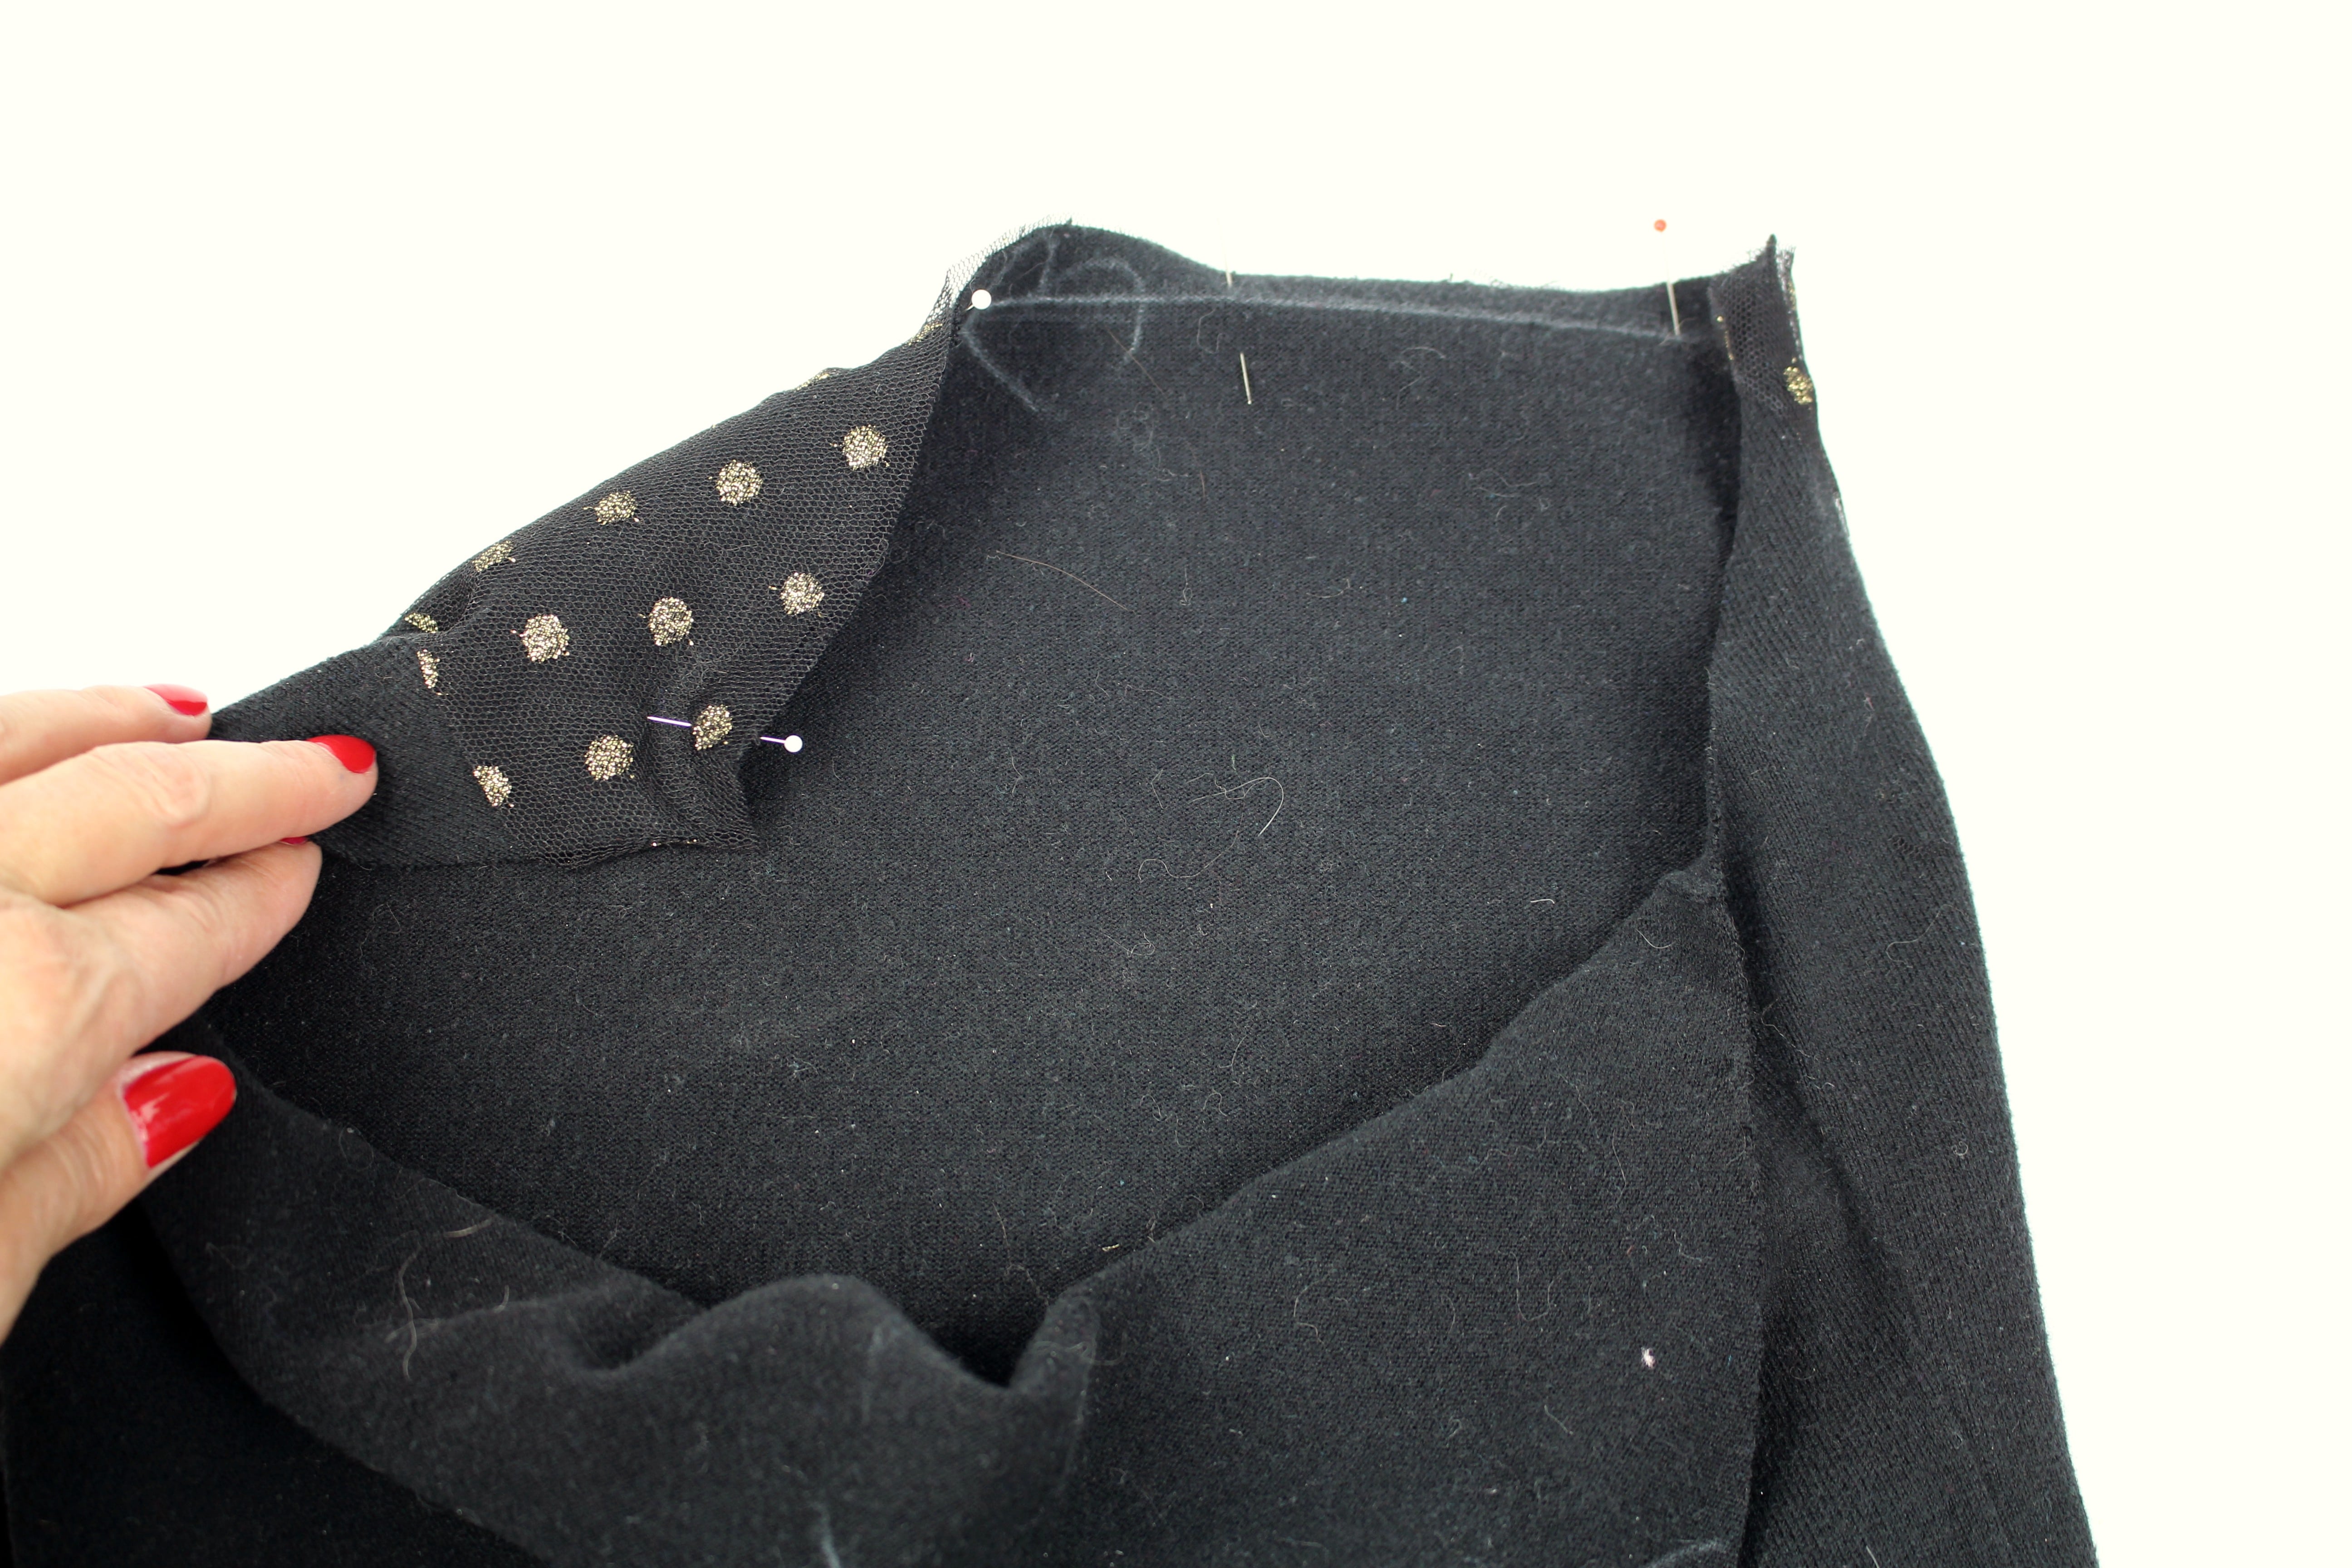
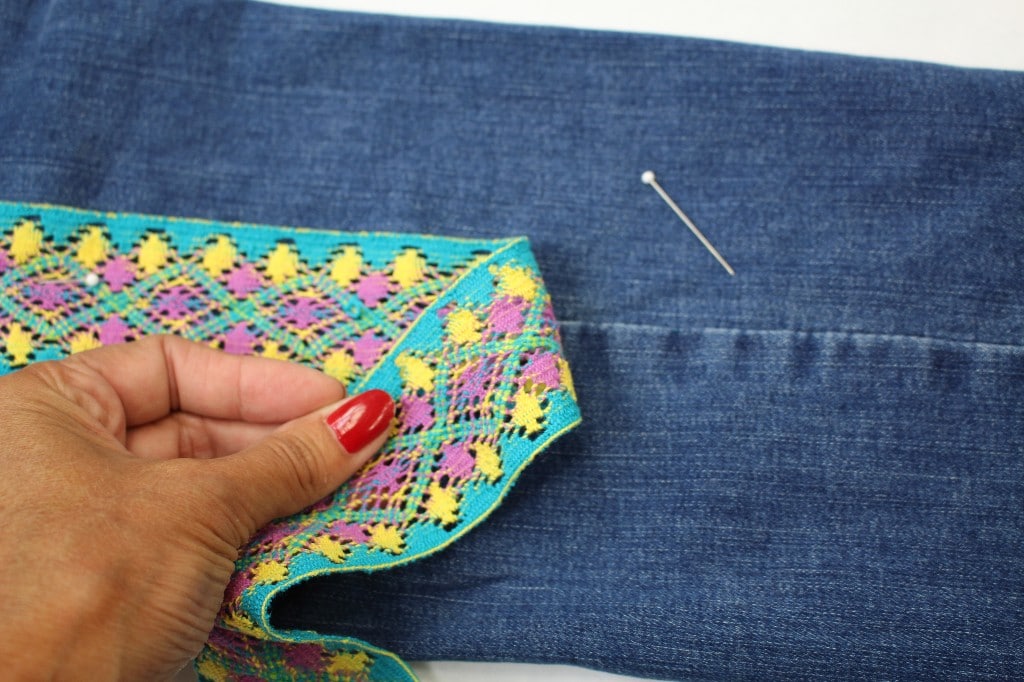
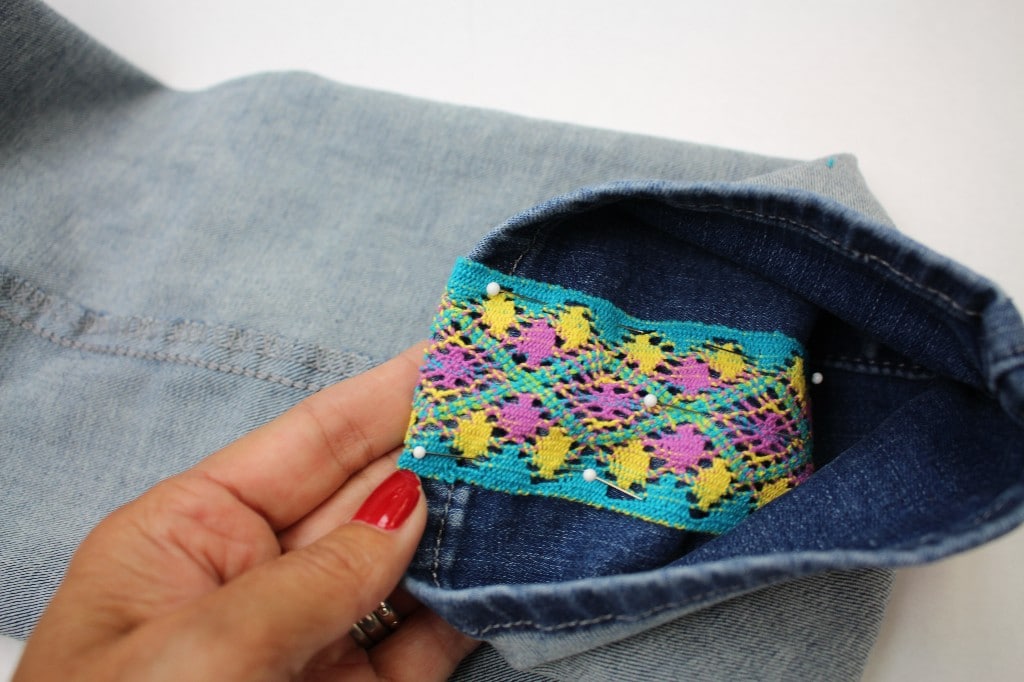
6. Turn the jeans inside out. Center the ribbon on the seam allowance, fold under the raw edge ½” and pin in place.
7. Follow these steps on both outside leg seams.
SEWING
Depending on the style and size of the jeans, it can be challenging sewing all the way down to the narrow hemline. To make is easier we are going to utilize the sewing sideways feature!
8. Set up the machine for sewing a straight stitch and move the needle all the way to the far-right position. Slide the jeans under the foot starting at the waistline. To read the full blog post, head over to my post as a Brother Expert Consultant on the Brother Stitching Social.
Looking for more ideas on refashioning jeans, check out my blog post on embellishing jeans with embroidery.Be sure to share photos on the social side #angelawolf – I always love to see what you are working on!
Cheers,


<iframe style="width:120px;height:240px;" marginwidth="0" marginheight="0" scrolling="no" frameborder="0" src="//ws-na.amazon-adsystem.com/widgets/q?ServiceVersion=20070822&OneJS=1&Operation=GetAdHtml&MarketPlace=US&source=ss&ref=as_ss_li_til&ad_type=product_link&tracking_id=angel0df-20&language=en_US&marketplace=amazon®ion=US&placement=B071Z2SX53&asins=B071Z2SX53&linkId=34a5a3fa8e0e9521990c5e781b560157&show_border=true&link_opens_in_new_window=true"></iframe>
<iframe style="width:120px;height:240px;" marginwidth="0" marginheight="0" scrolling="no" frameborder="0" src="//ws-na.amazon-adsystem.com/widgets/q?ServiceVersion=20070822&OneJS=1&Operation=GetAdHtml&MarketPlace=US&source=ss&ref=as_ss_li_til&ad_type=product_link&tracking_id=angel0df-20&language=en_US&marketplace=amazon®ion=US&placement=B07DCVHH5Z&asins=B07DCVHH5Z&linkId=c9d70b3a4f4346aad36d9f2bd43b7210&show_border=true&link_opens_in_new_window=true"></iframe>
<a target="_blank" href="https://shareasale.com/r.cfm?b=1173404&u=1586241&m=29190&urllink=&afftrack="><img src="https://static.shareasale.com/image/29190/300x2509.jpg" border="0" alt="FREE 7 Day Bluprint Trial at Craftsy.com" /></a>

Sewing with CraftOptics is a Great Solution for the Eyes!
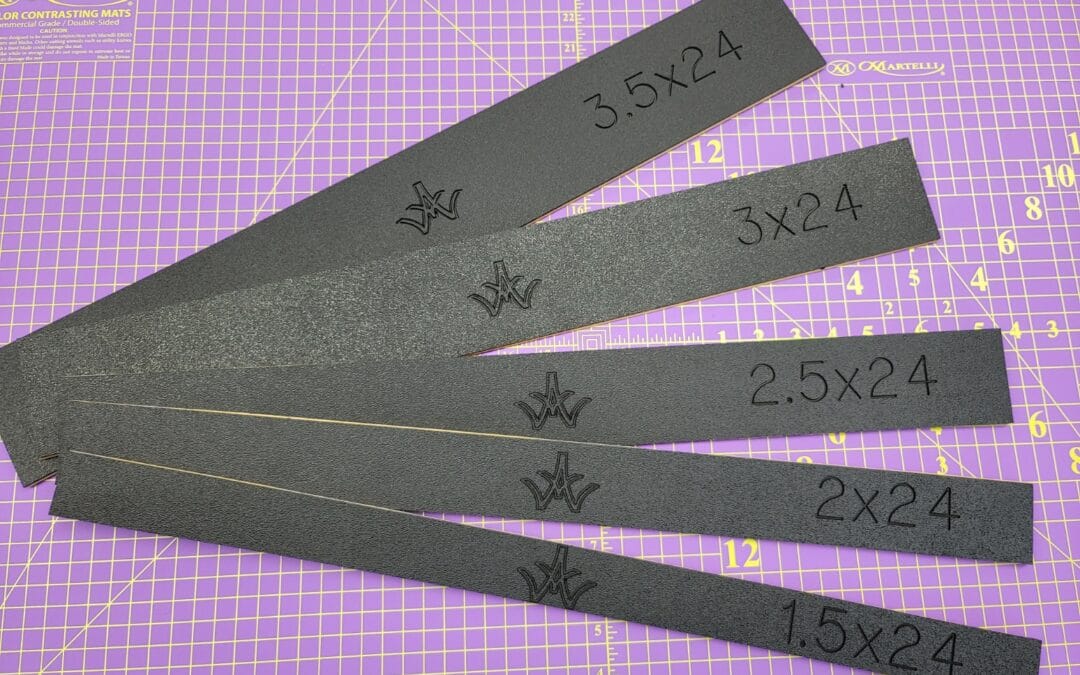
NEW Skini-Mini Angela Wolf Martelli Ruler Kits
New Angela Wolf & Martelli Ruler Sets I am so excited to announce my new ruler set designed by Martelli. In case you are new to Martelli, they are a family owned business located in Florida. I have been testing some of their products the last few months and I am...

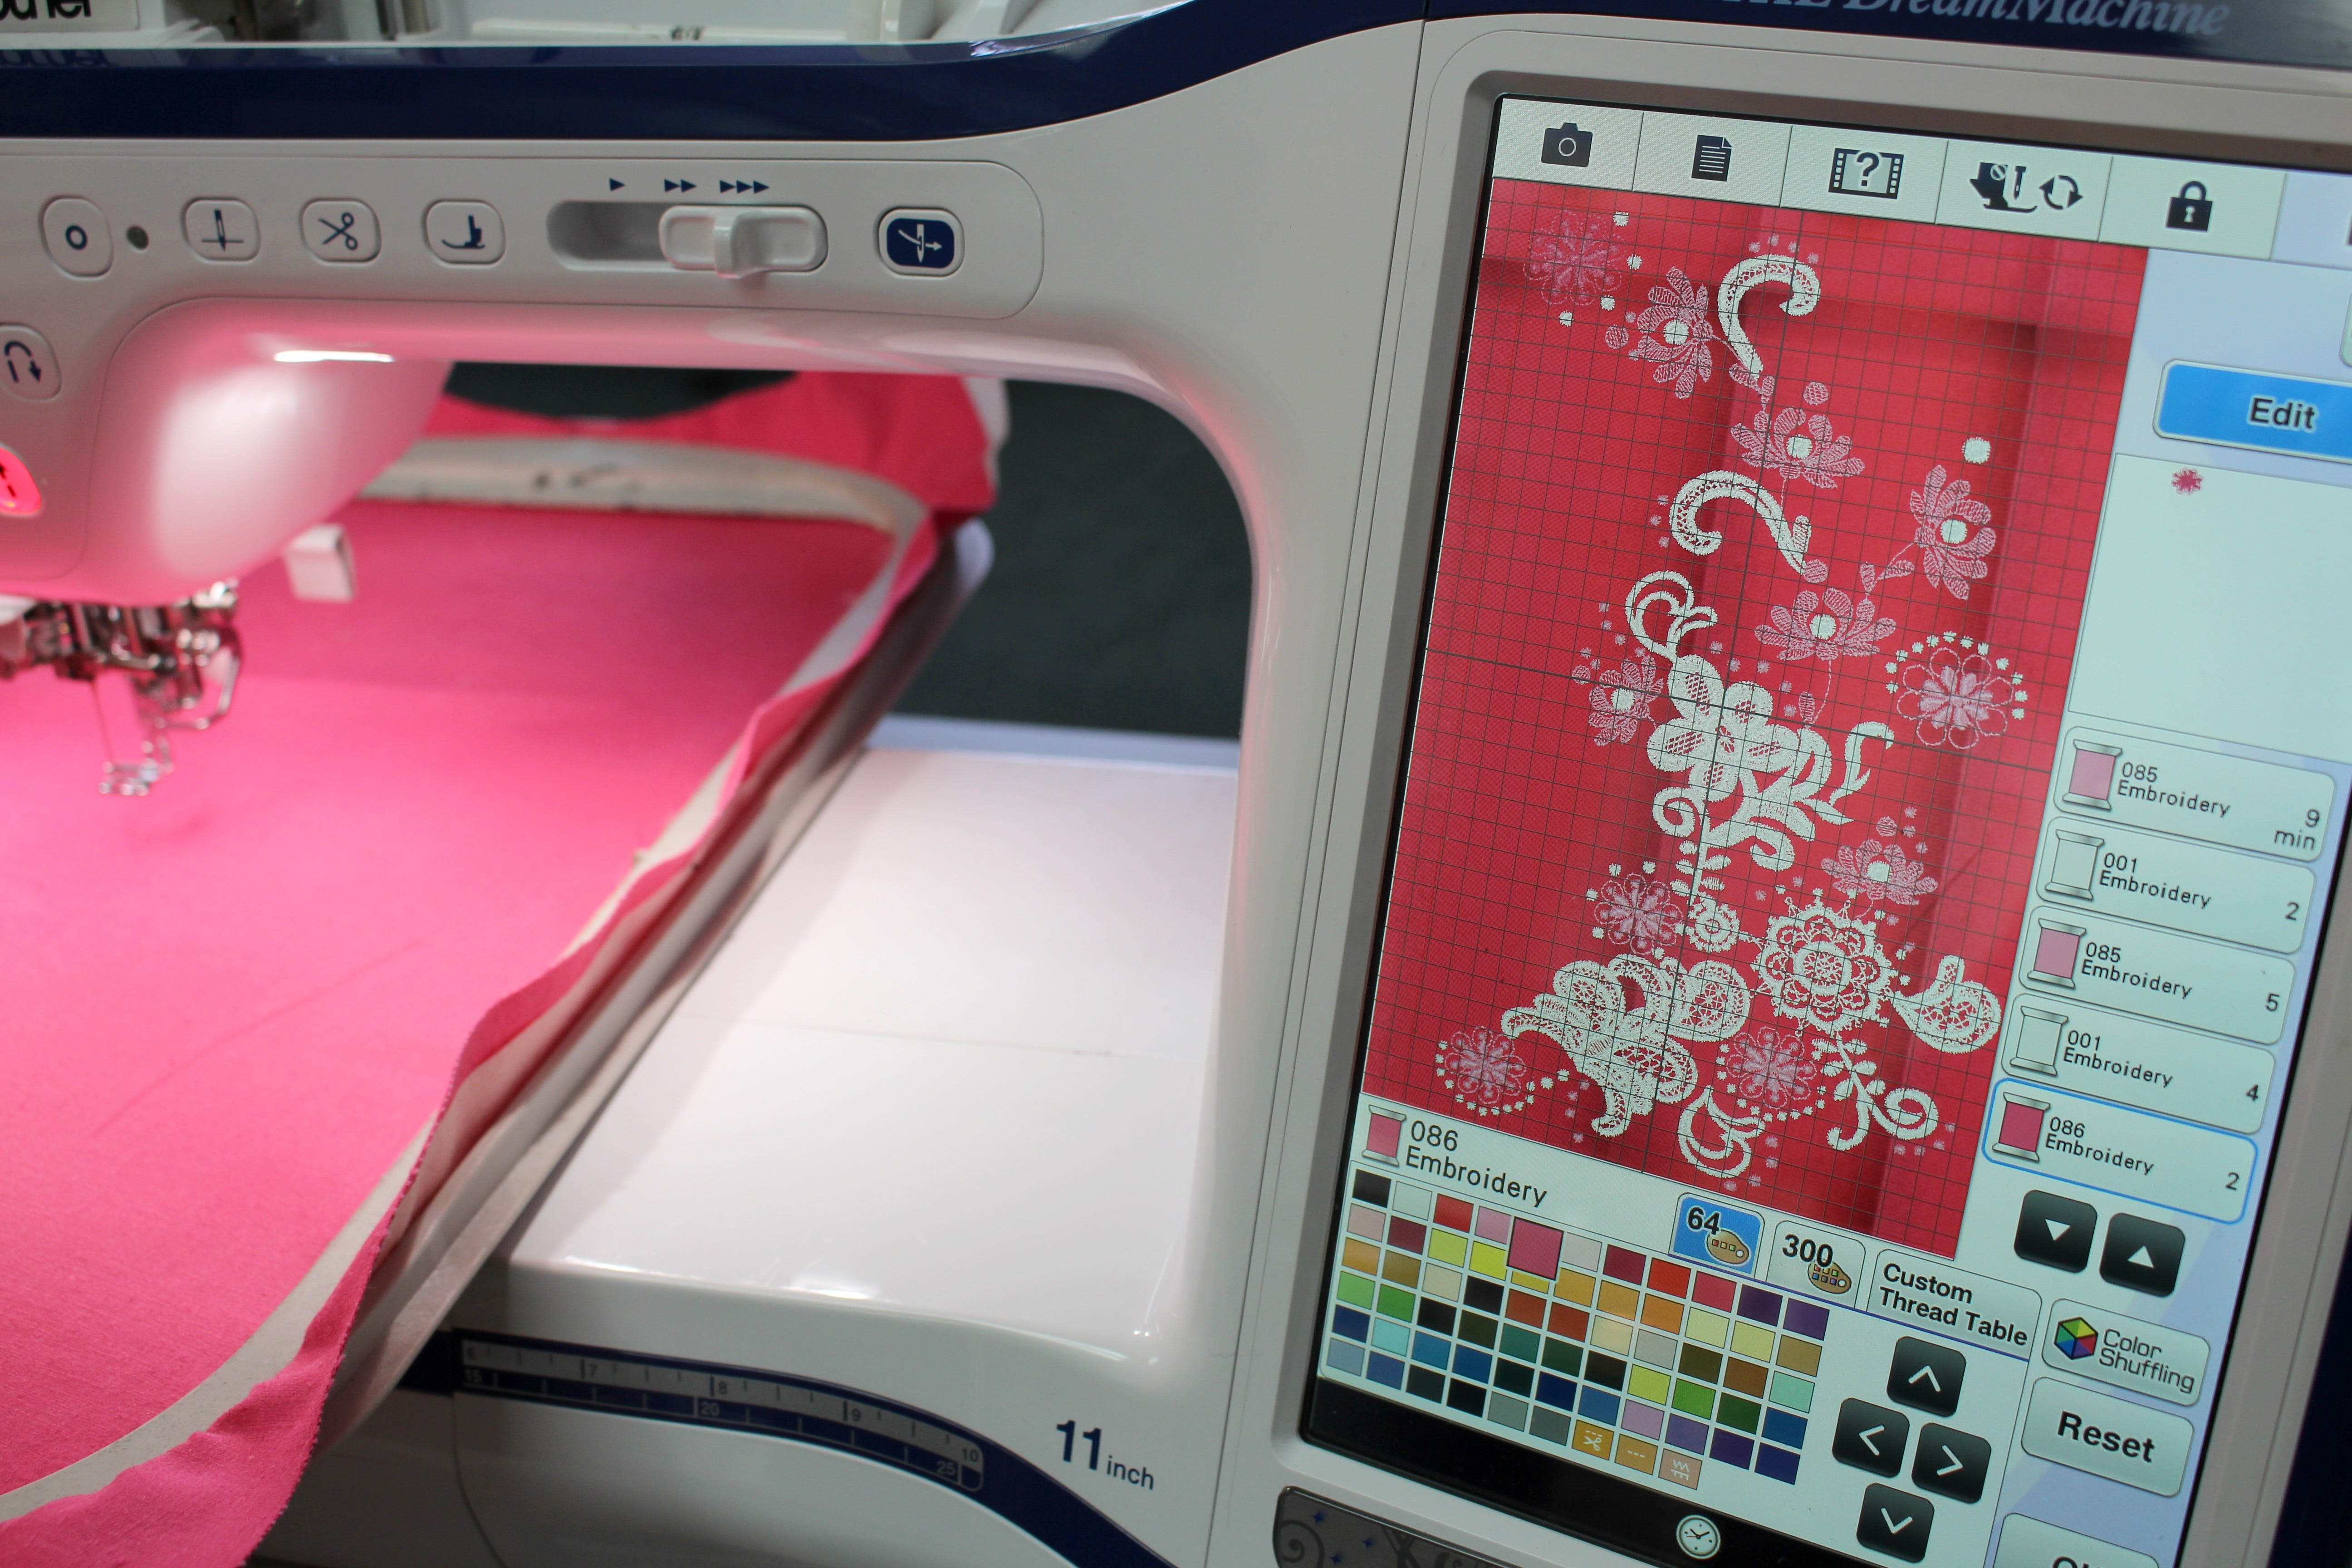
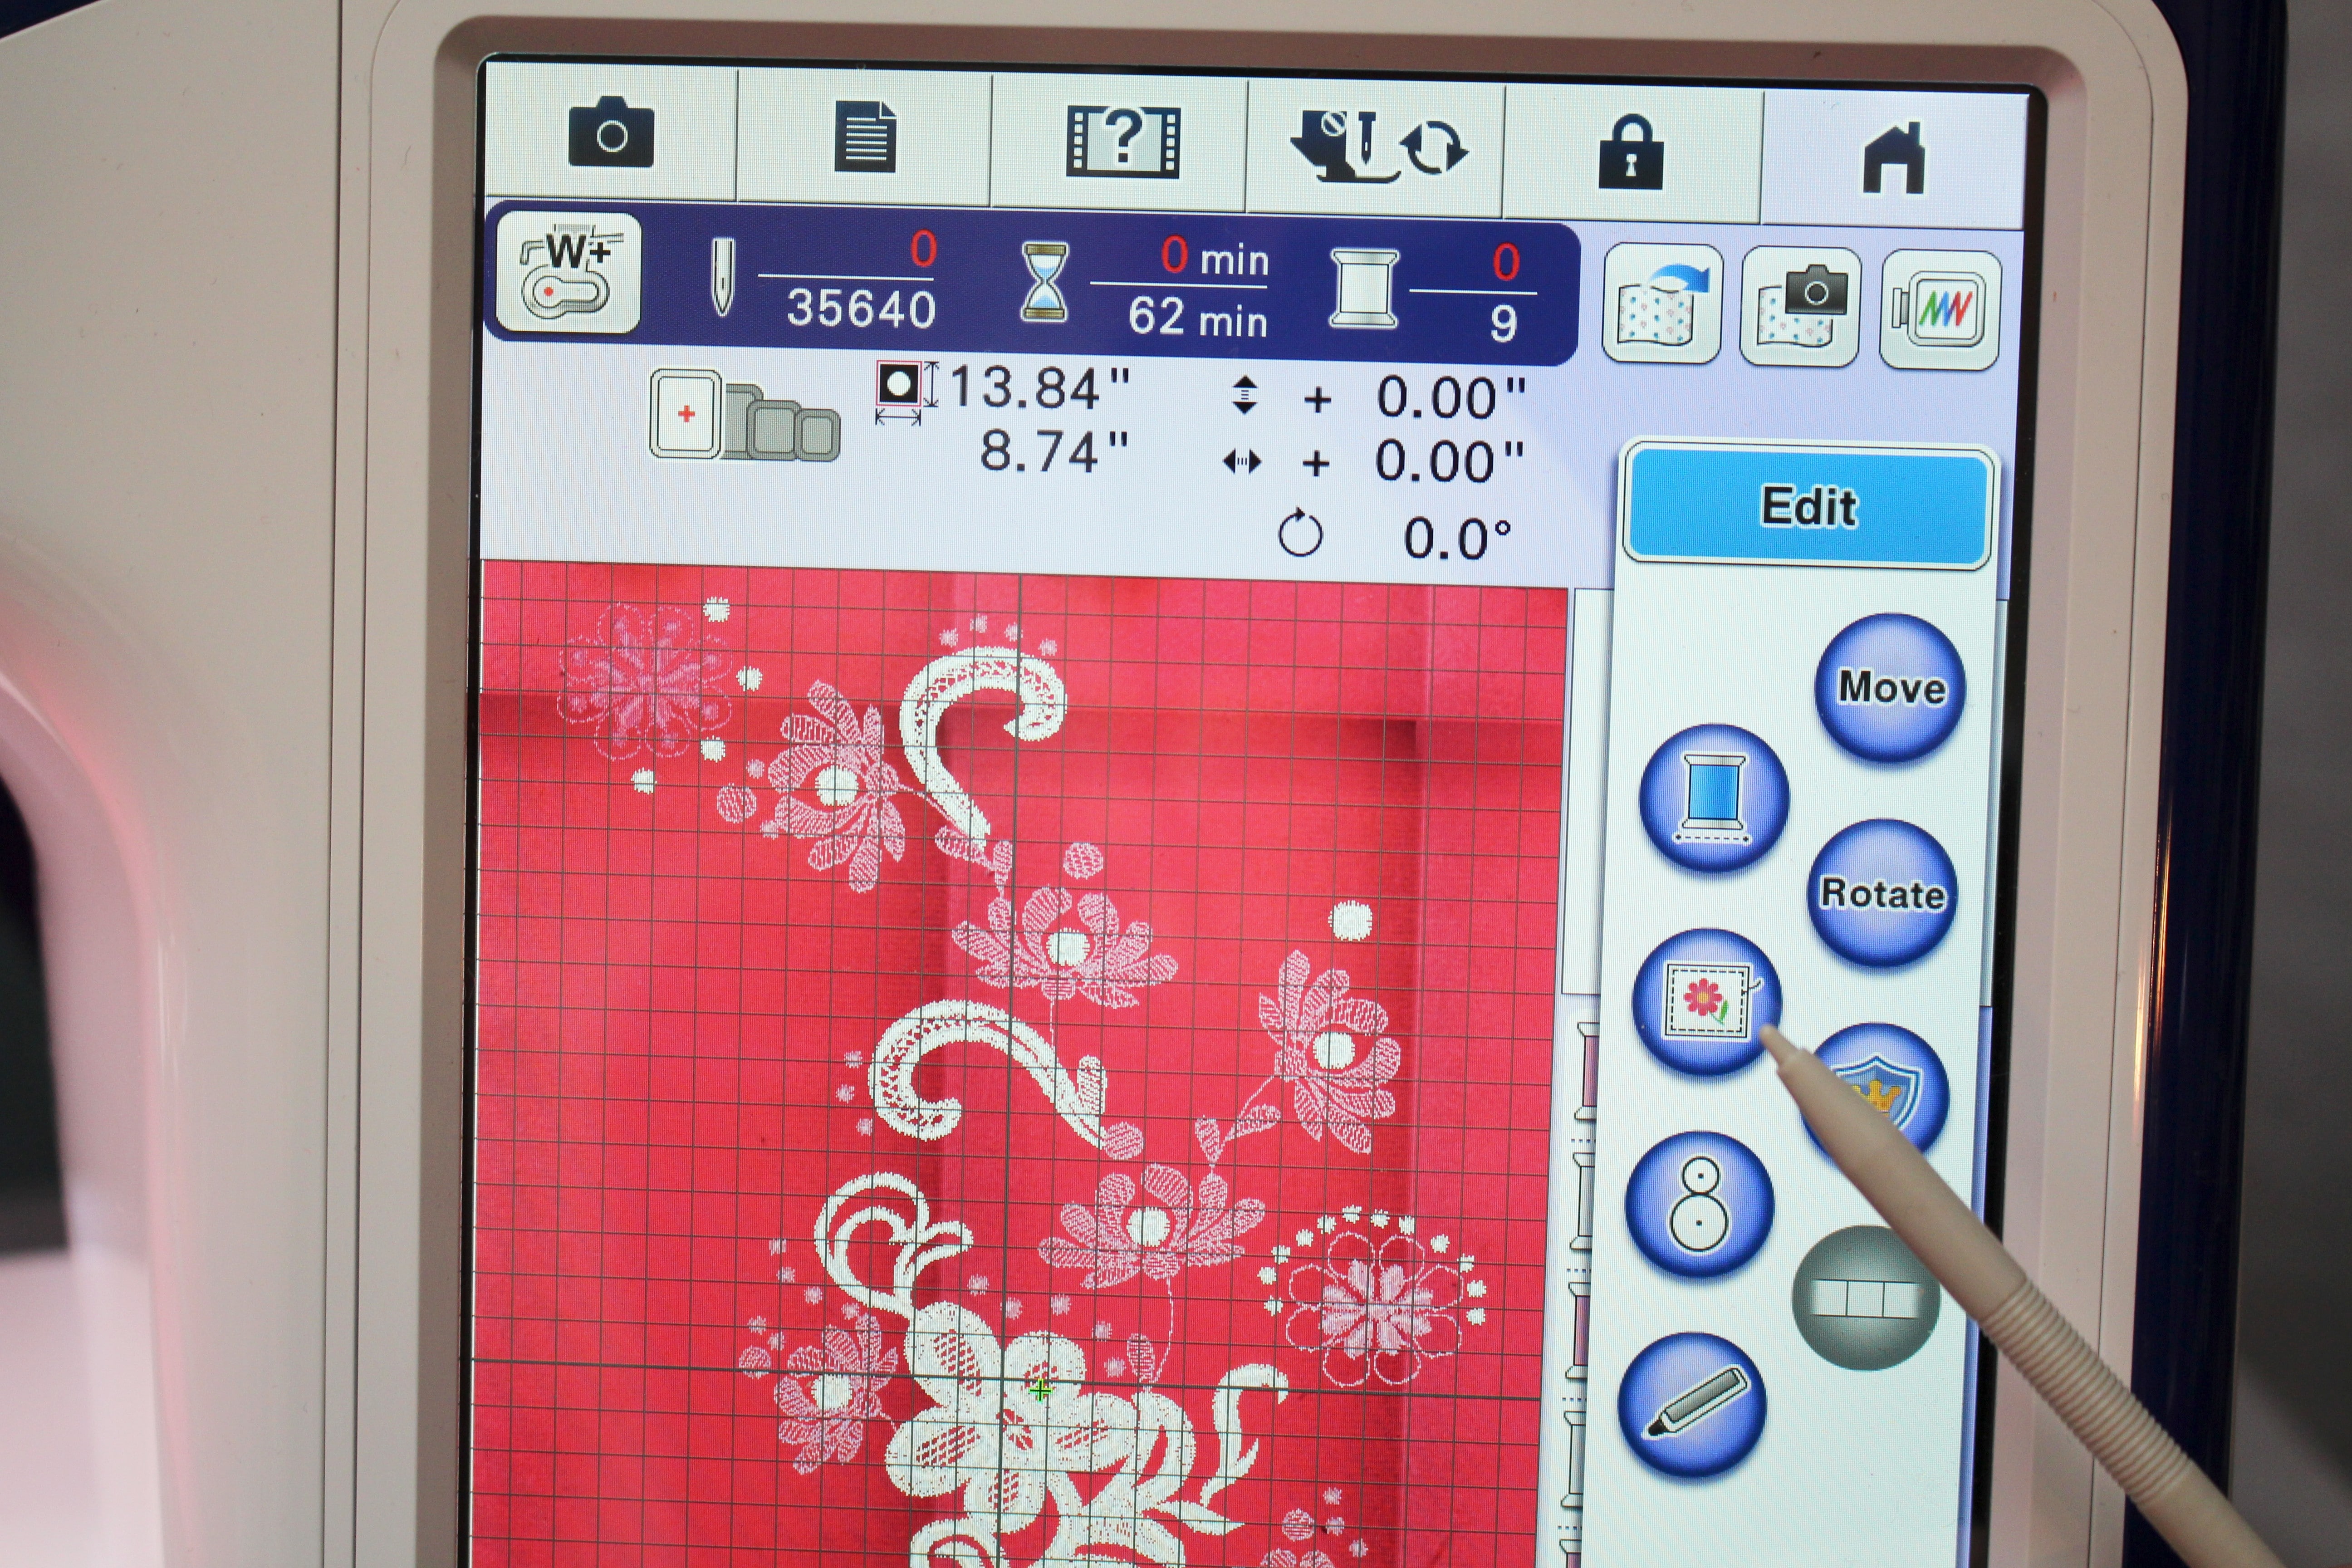
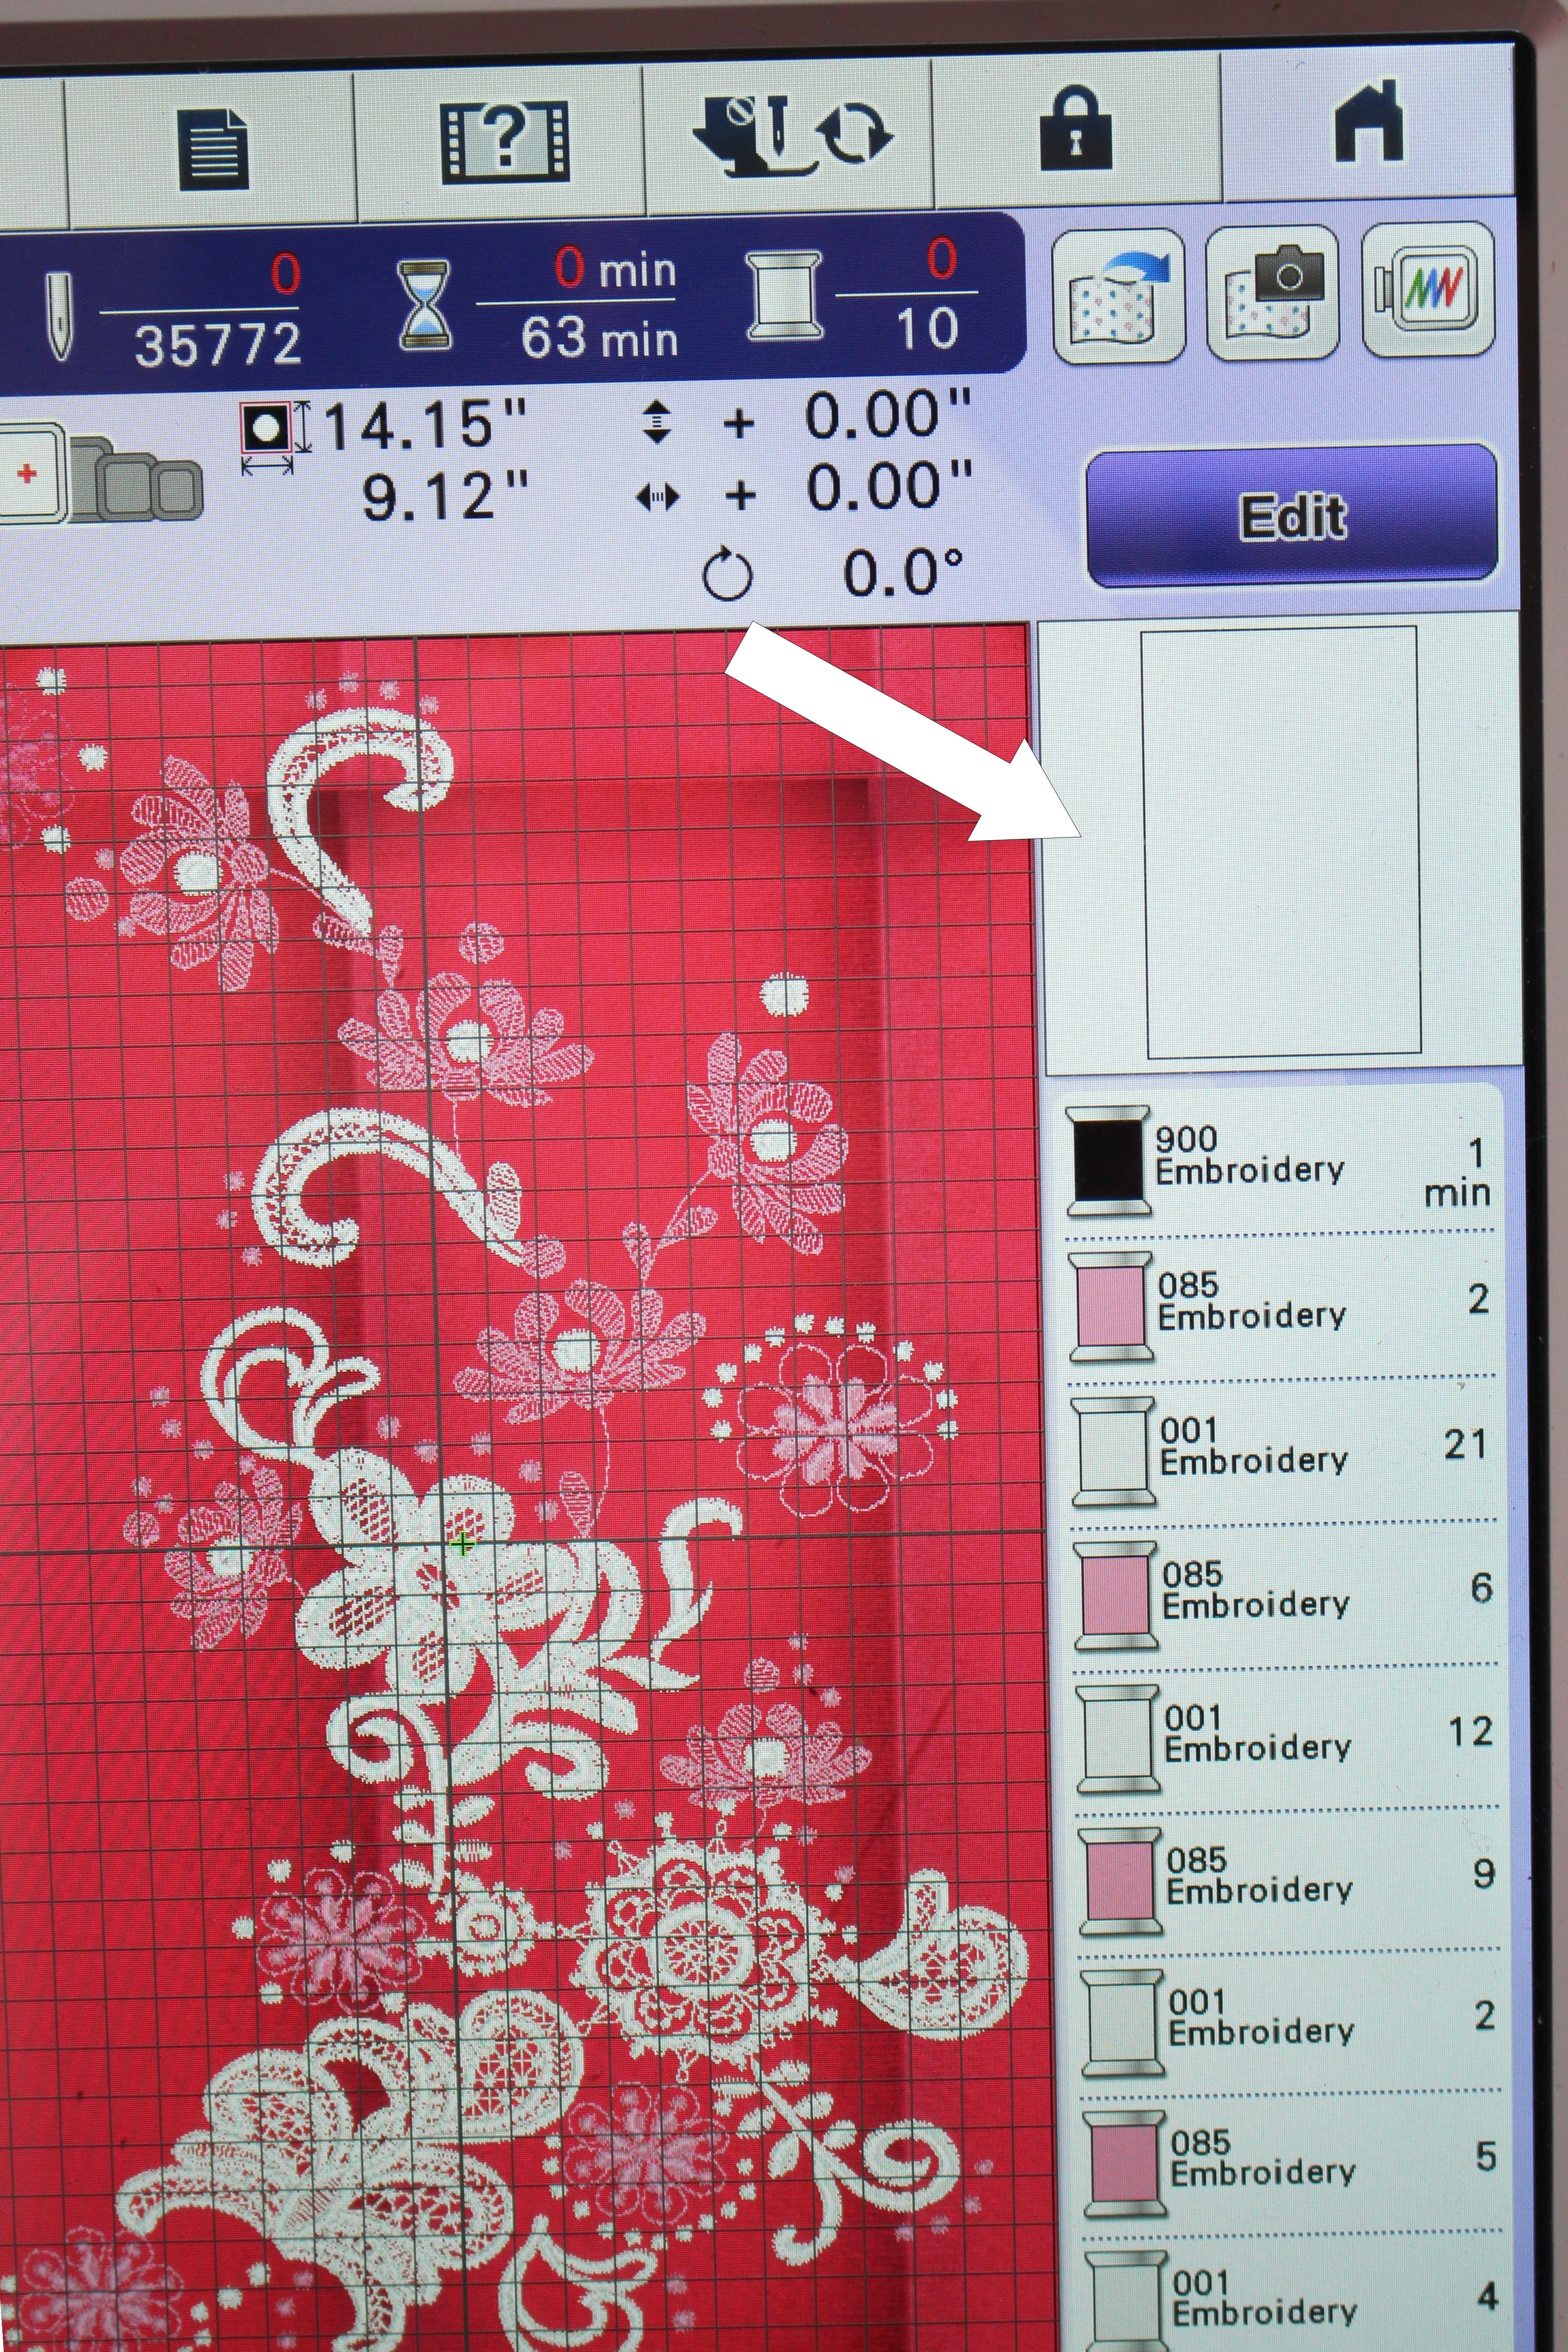
VLOG 250 Behind the Scenes ✂️ Unbox Craft Optics & Sleeve Hack
Episode 250 ~ At your side 🧵 Virtually! Unboxing Craft Optics & Sleeve Hack Behind the Scenes Episode 250 Included an interview with Jeff from CraftOptics and an unboxing of my new WOW glasses. Then I kick off Birthday sewing month with a sleeve hack for another...

At Your Side Virtually! Episode 228 Quick Christmas & Holiday Gift Decoration Ideas
Quick & Easy Christmas & Holiday Decor Quick Table Runner Instructions Fabric Requirements: a. Center fabric: Sew together seven of the quilted blocksmade in the 7 7/8 x 14 in hoop. Five of the blocks will havethe applique design and the two ends will be...

New Dress Form Unboxing & Giveaway with Joe Vecchiarelli
Birthday Week goes into 40 gifts to Christmas! Celebrating Birthday week then moves into Christmas and the Holiday's with Joe Vecchiarelli! Joe from French European Inc. has been so generous to the Wolfpack with awesome discounts and free dress forms and this year is...

Celebrating 50K YouTube Subscribers!
Let's Celebrate! I can't tell you how excited I was to see 50,000 of you have subscribed to my YouTube channel! I can still remember putting up my first videos 10 years ago. I thought a fun way to celebrate is to do a giveaway every week for the next month. YEAH!...
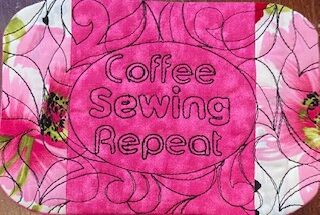
Episode 199: At Your Side Virtually! Mug Rug and Coffee Deco with Kathy Stipe and Barb Mikolajczyk
Episode 199 ~ At your side 🧵 Virtually! Create a mug run and decorate your coffee mug with vinyl Join Brother Brand Ambassador Angela Wolf and Brother Educator's Kathy Stipe and Barb Mikolajczyk Designing Mug Rugs in My Design Center-Quick and Easy Supplies needed:...
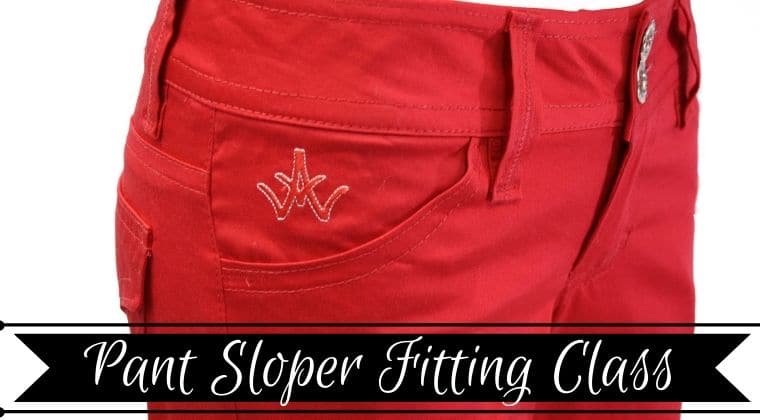
Pant Sloper Fitting Online Course
Pant Sloper Fitting Online Course Learn to fit your own pant sloper! Then take that sloper and turn it into a pattern. This class will be taught in a virtual & online setting; offering 5 live lessons with additional videos for specific fitting issues. You will...