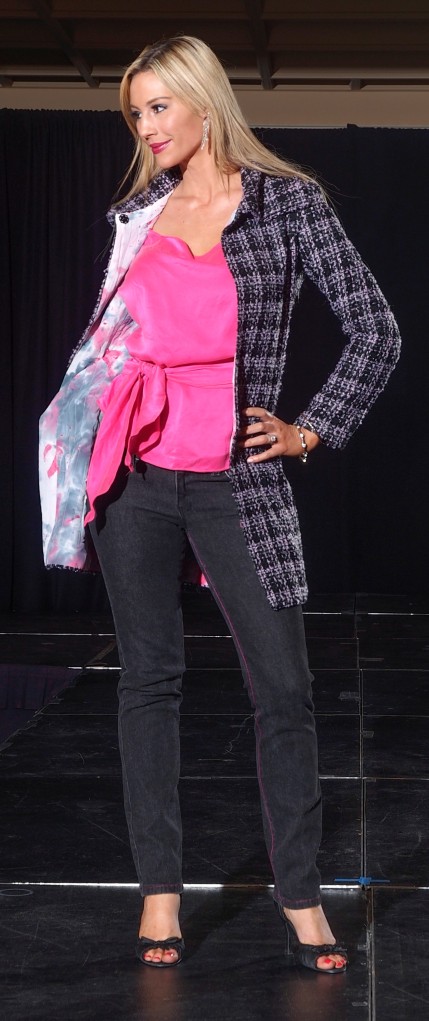
Kate Skirt Meets Loved To Pieces from Mister Domestic

Kate Skirt Meets Loved To Pieces from Mister Domestic

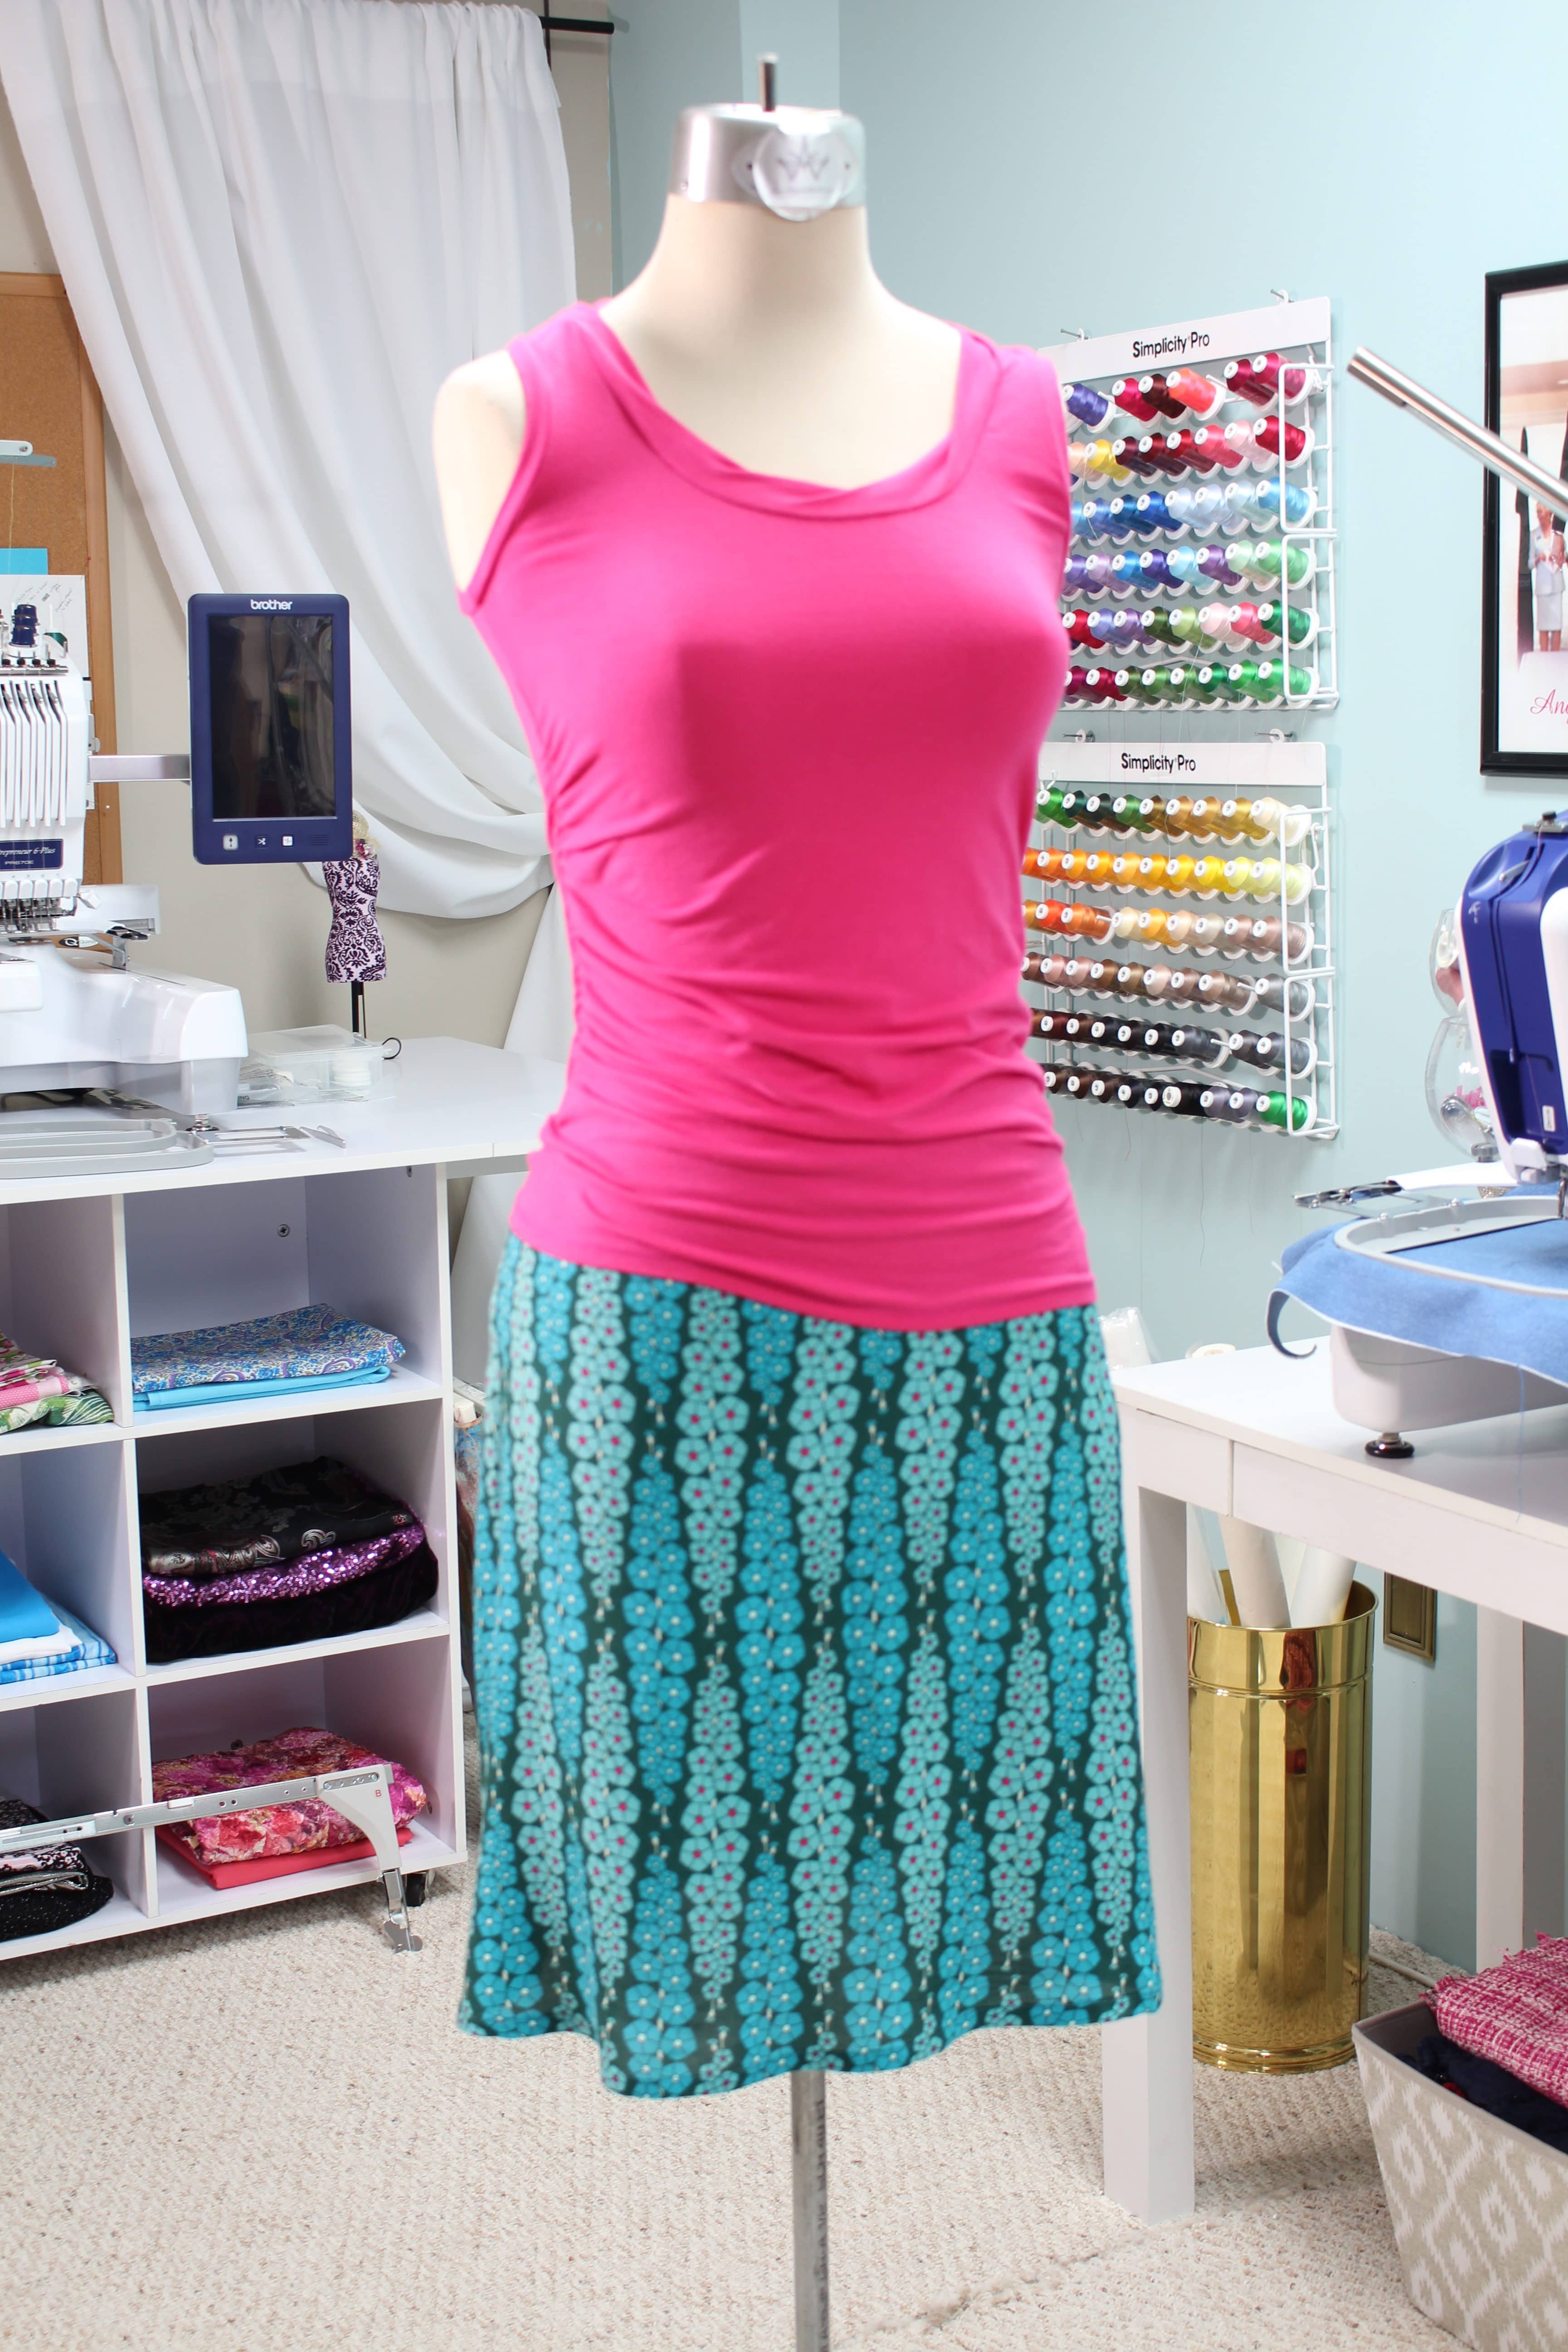
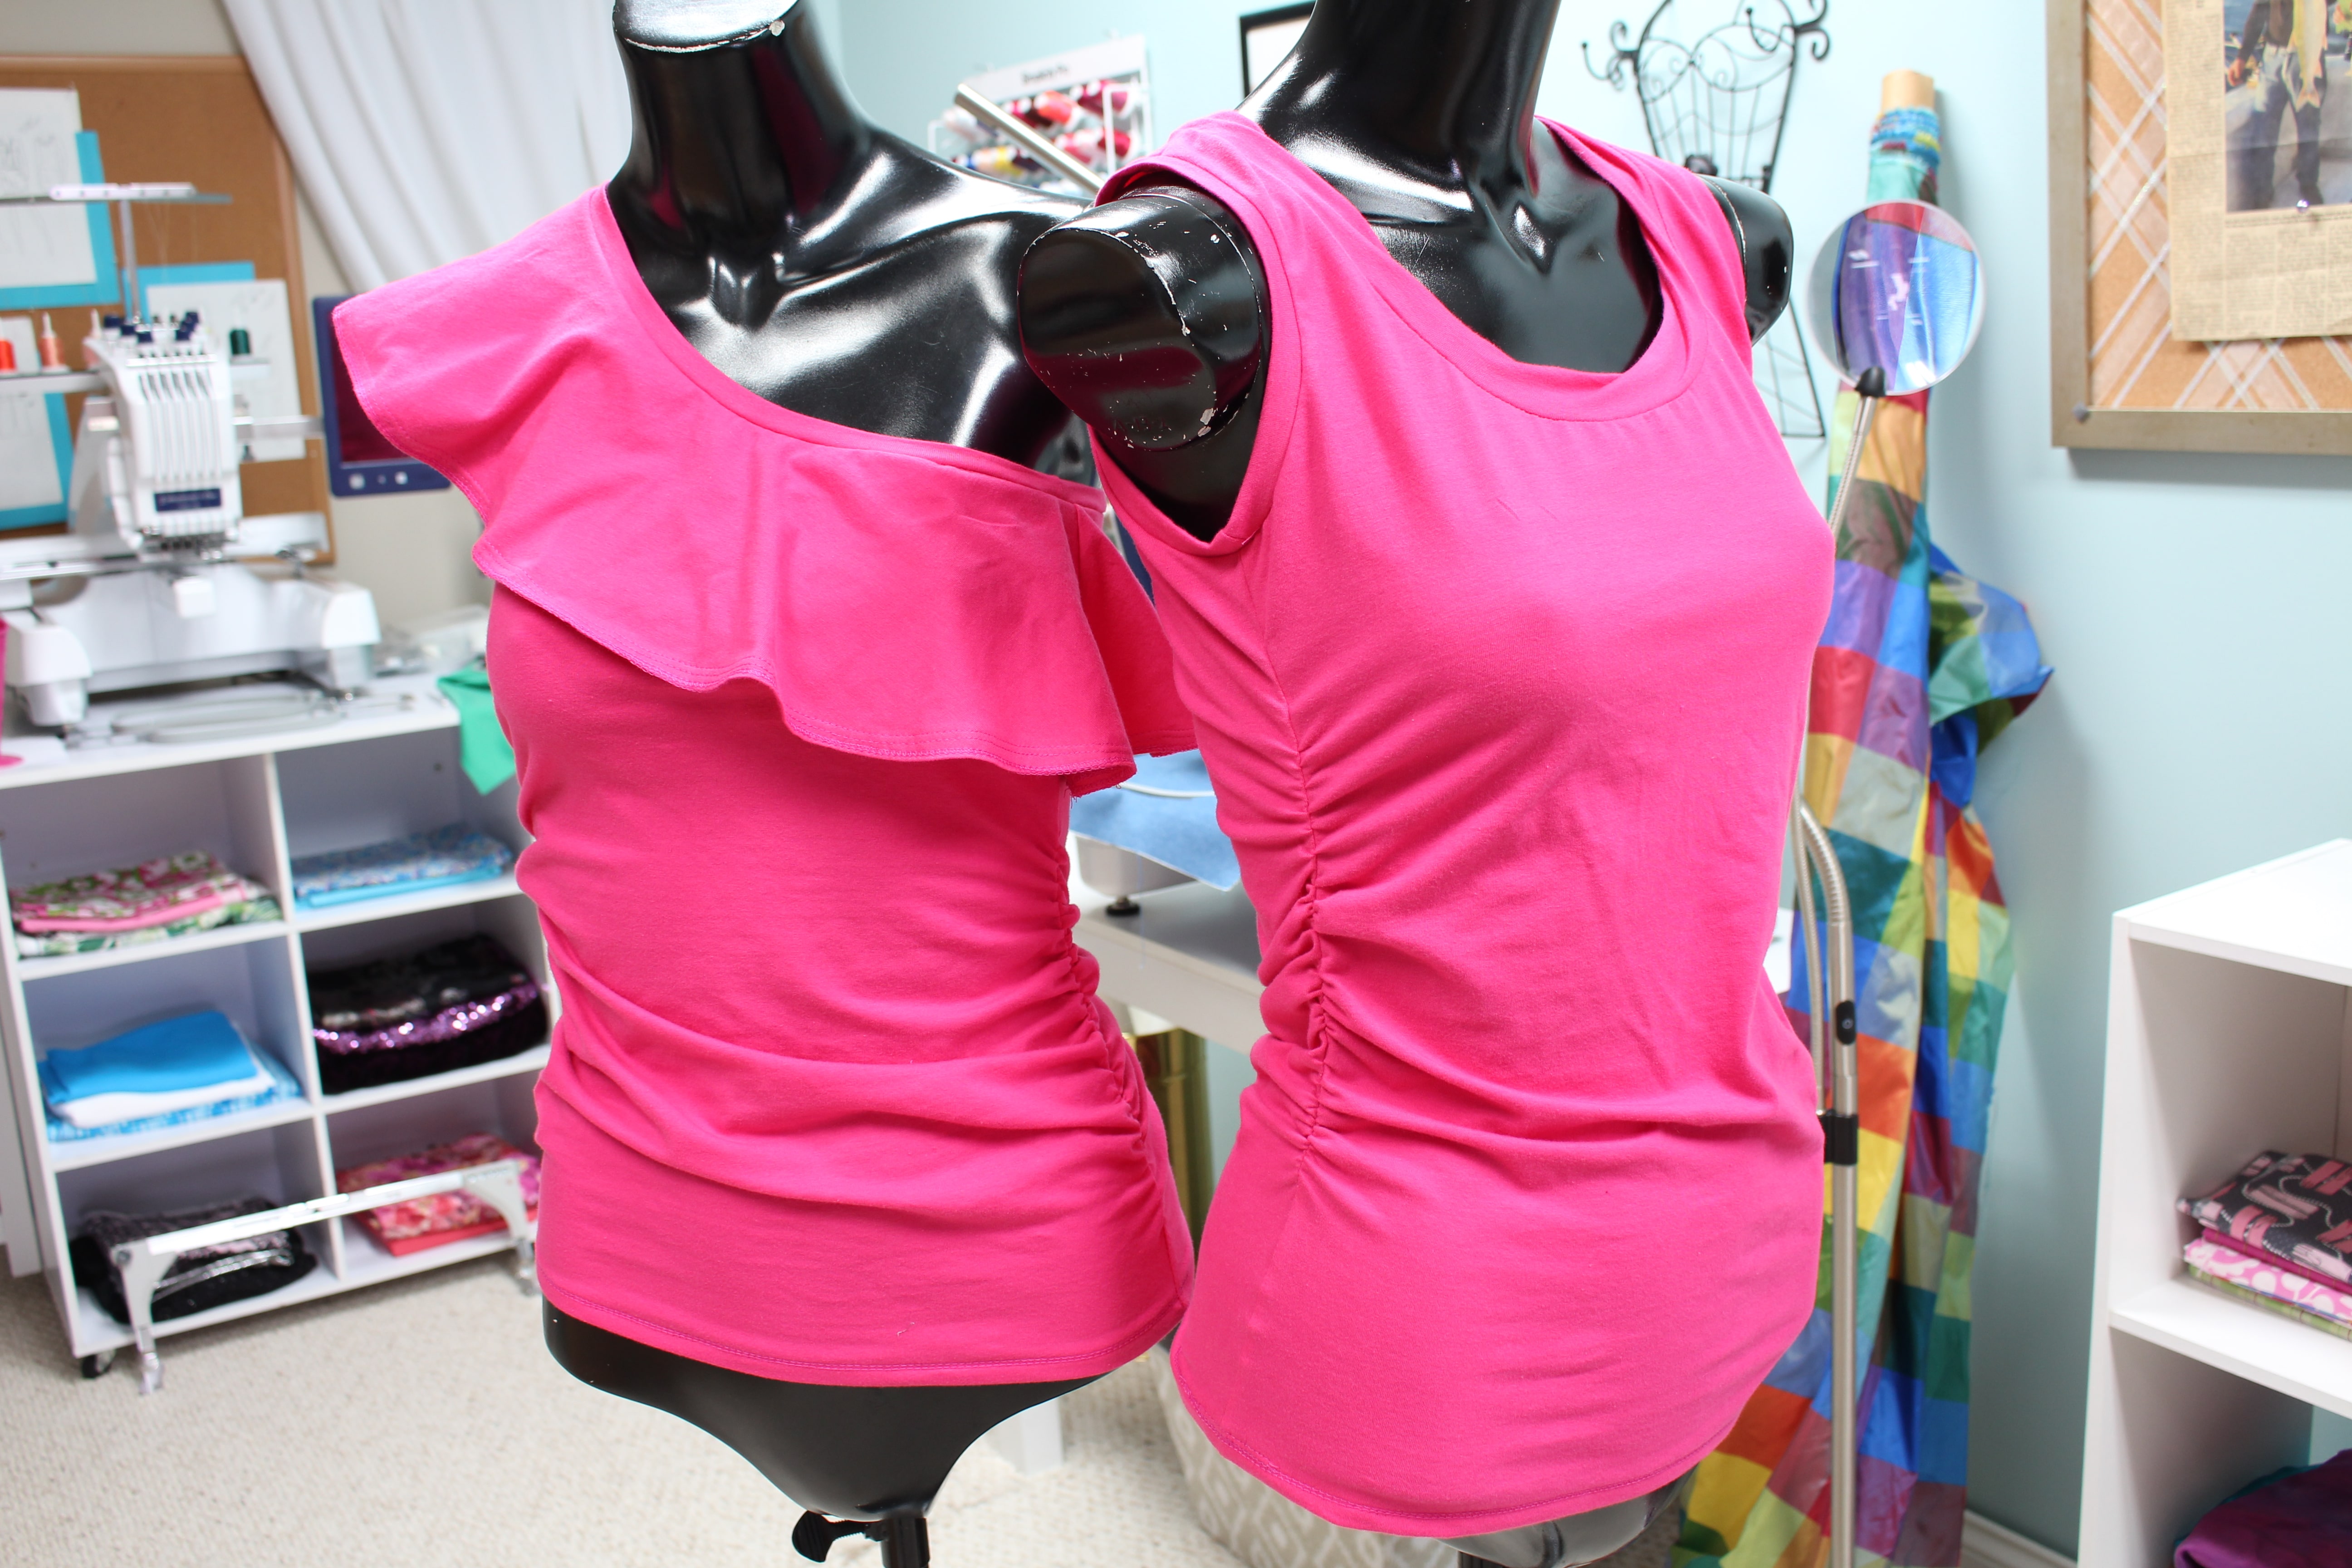
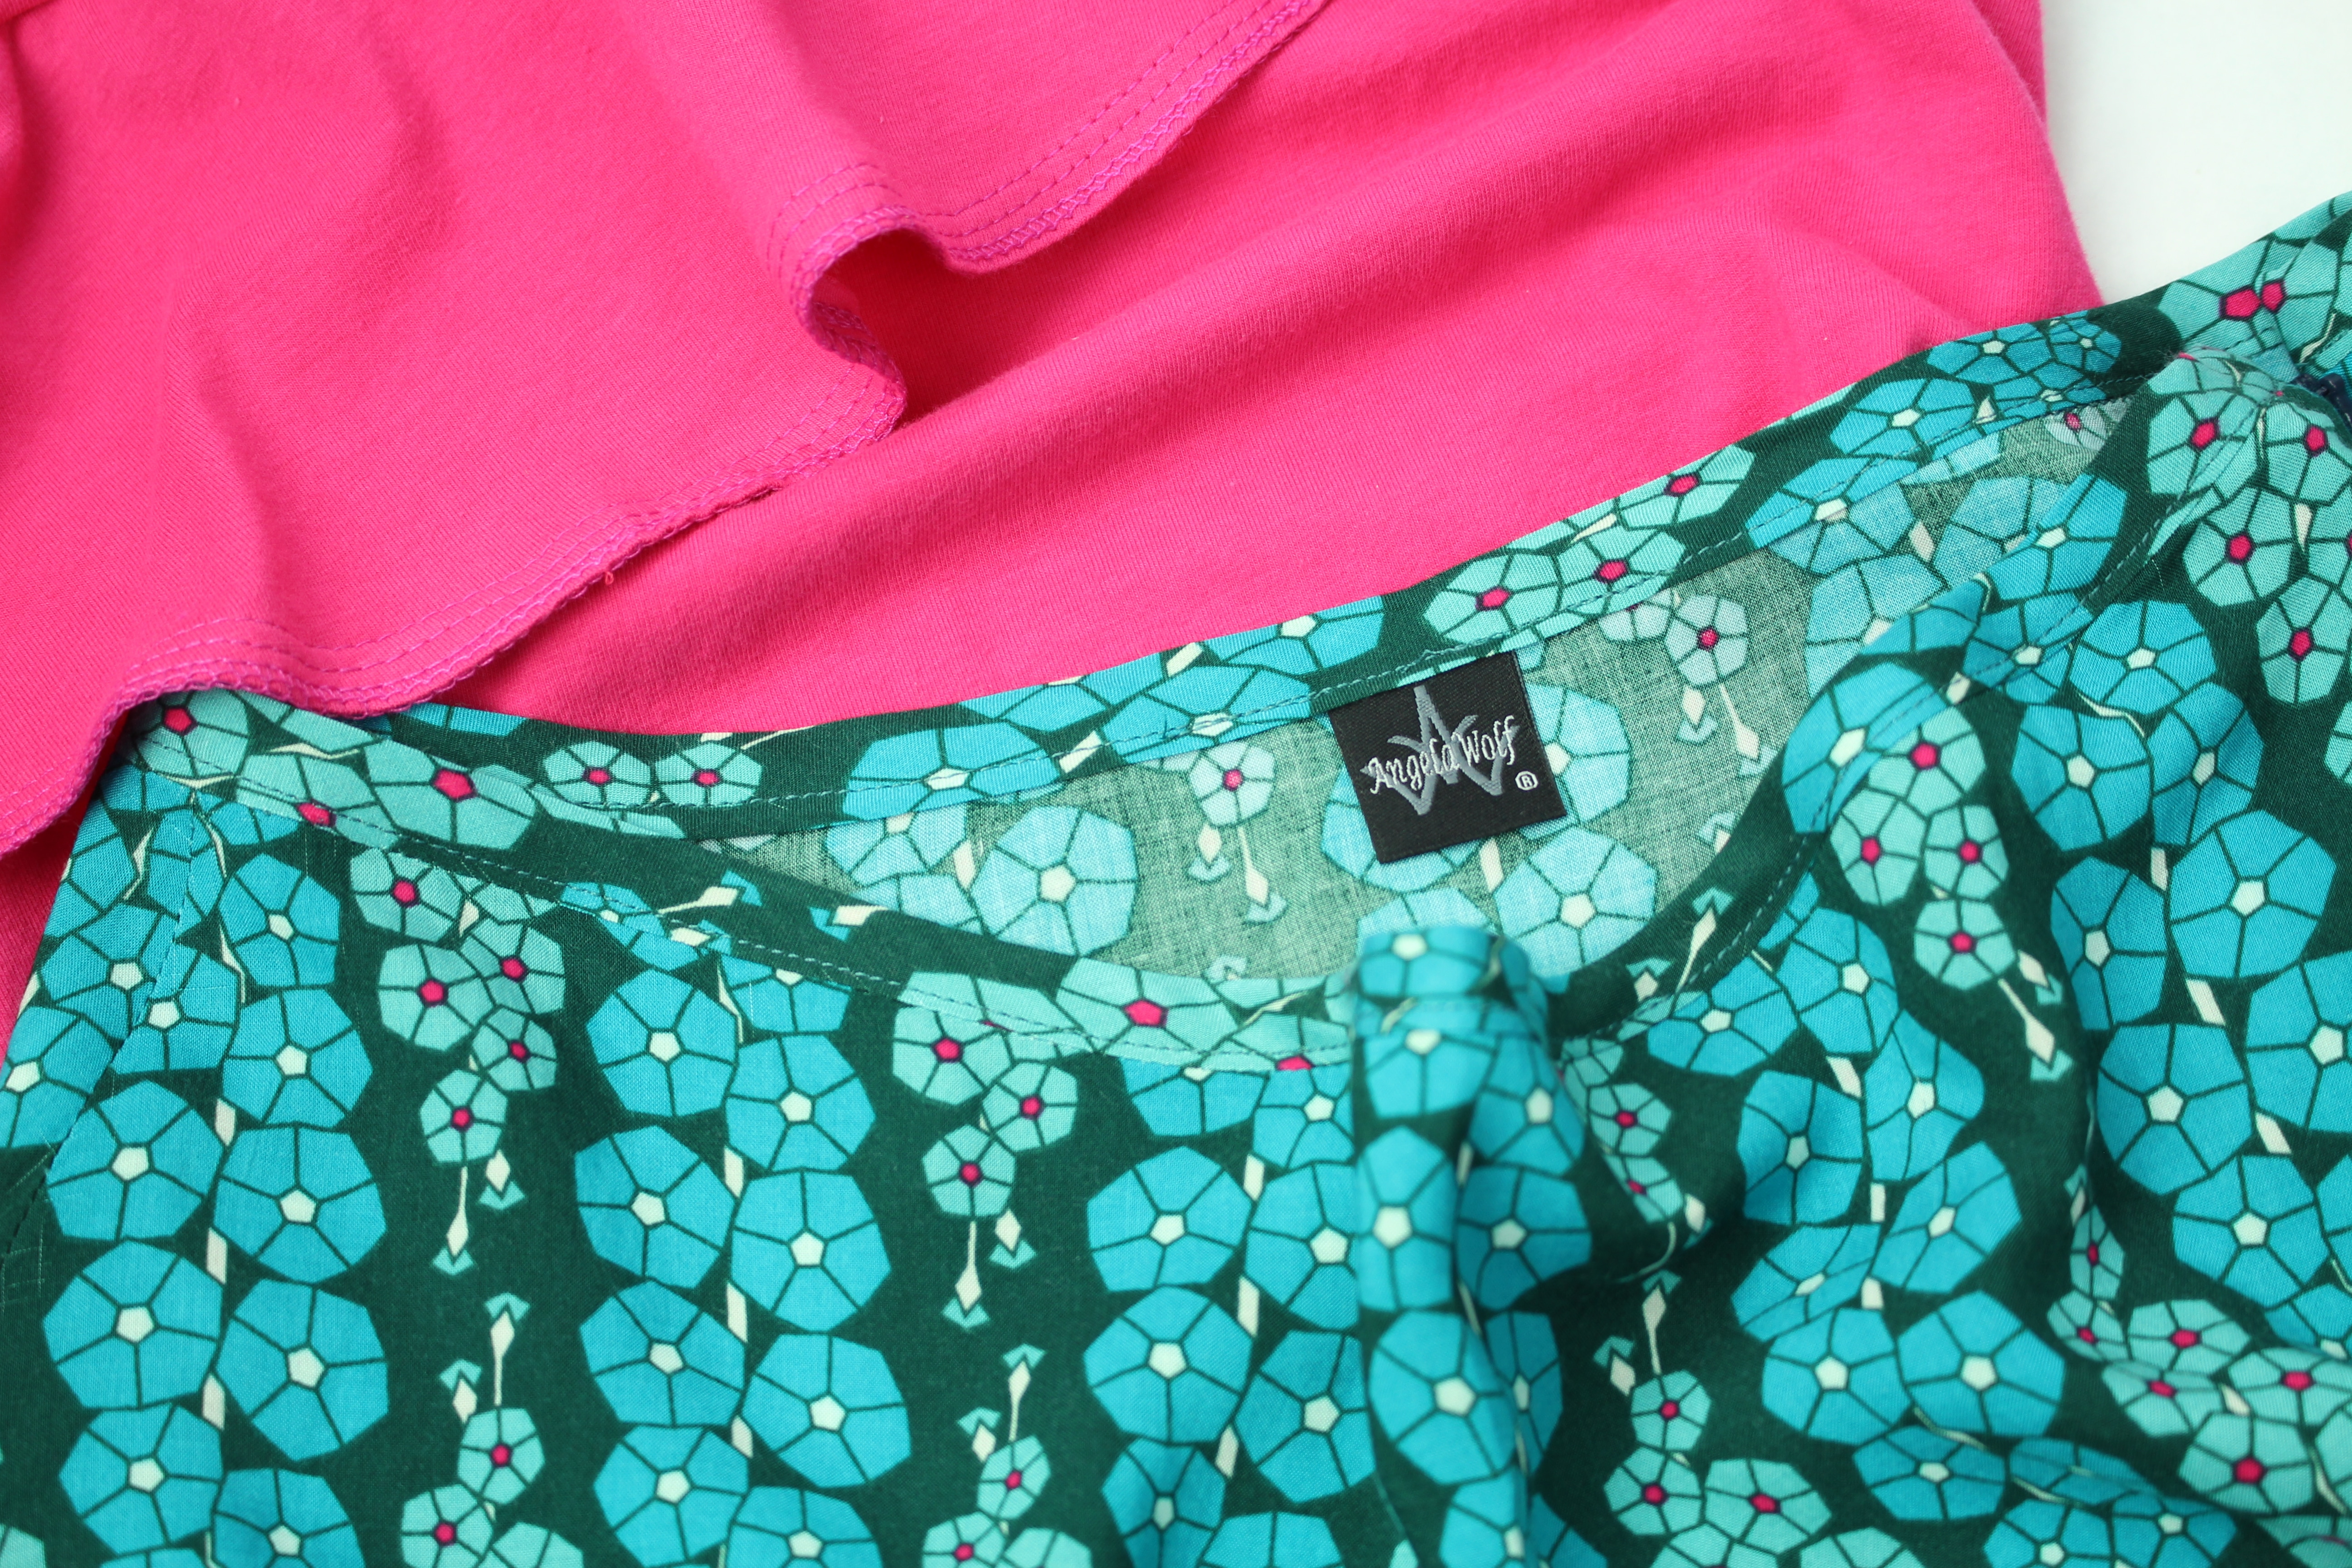
I am very excited to team up with Mathew Boudreaux (Mister Domestic) as part of his blog party launching his new fabric collection Loved to Pieces!  I had the choice of many of his beautiful fabrics and chose a beautiful 100% rayon fabric to sew the Kate Skirt Pattern. Of course I needed a top to go with the skirt, so I opted for a cotton / lycra knit Art Gallery Fabric with a color that coordinated with small circles in the rayon fabric.

When this fabric arrived it was even better than I expected.  The drape of the rayon was so light and airy and the cotton knit had great recovery!

Pre-Shrink

The first step is to pre-shrink the fabric.  I washed and dried each piece individually, just in case there was any bleeding. Both pieces came out just fine, in face they hardly wrinkled at all!  The rayon fabric frayed slightly and the cotton fabric tends to roll at the ends, but those are easy to work with.

Cutting The Kate Skirt

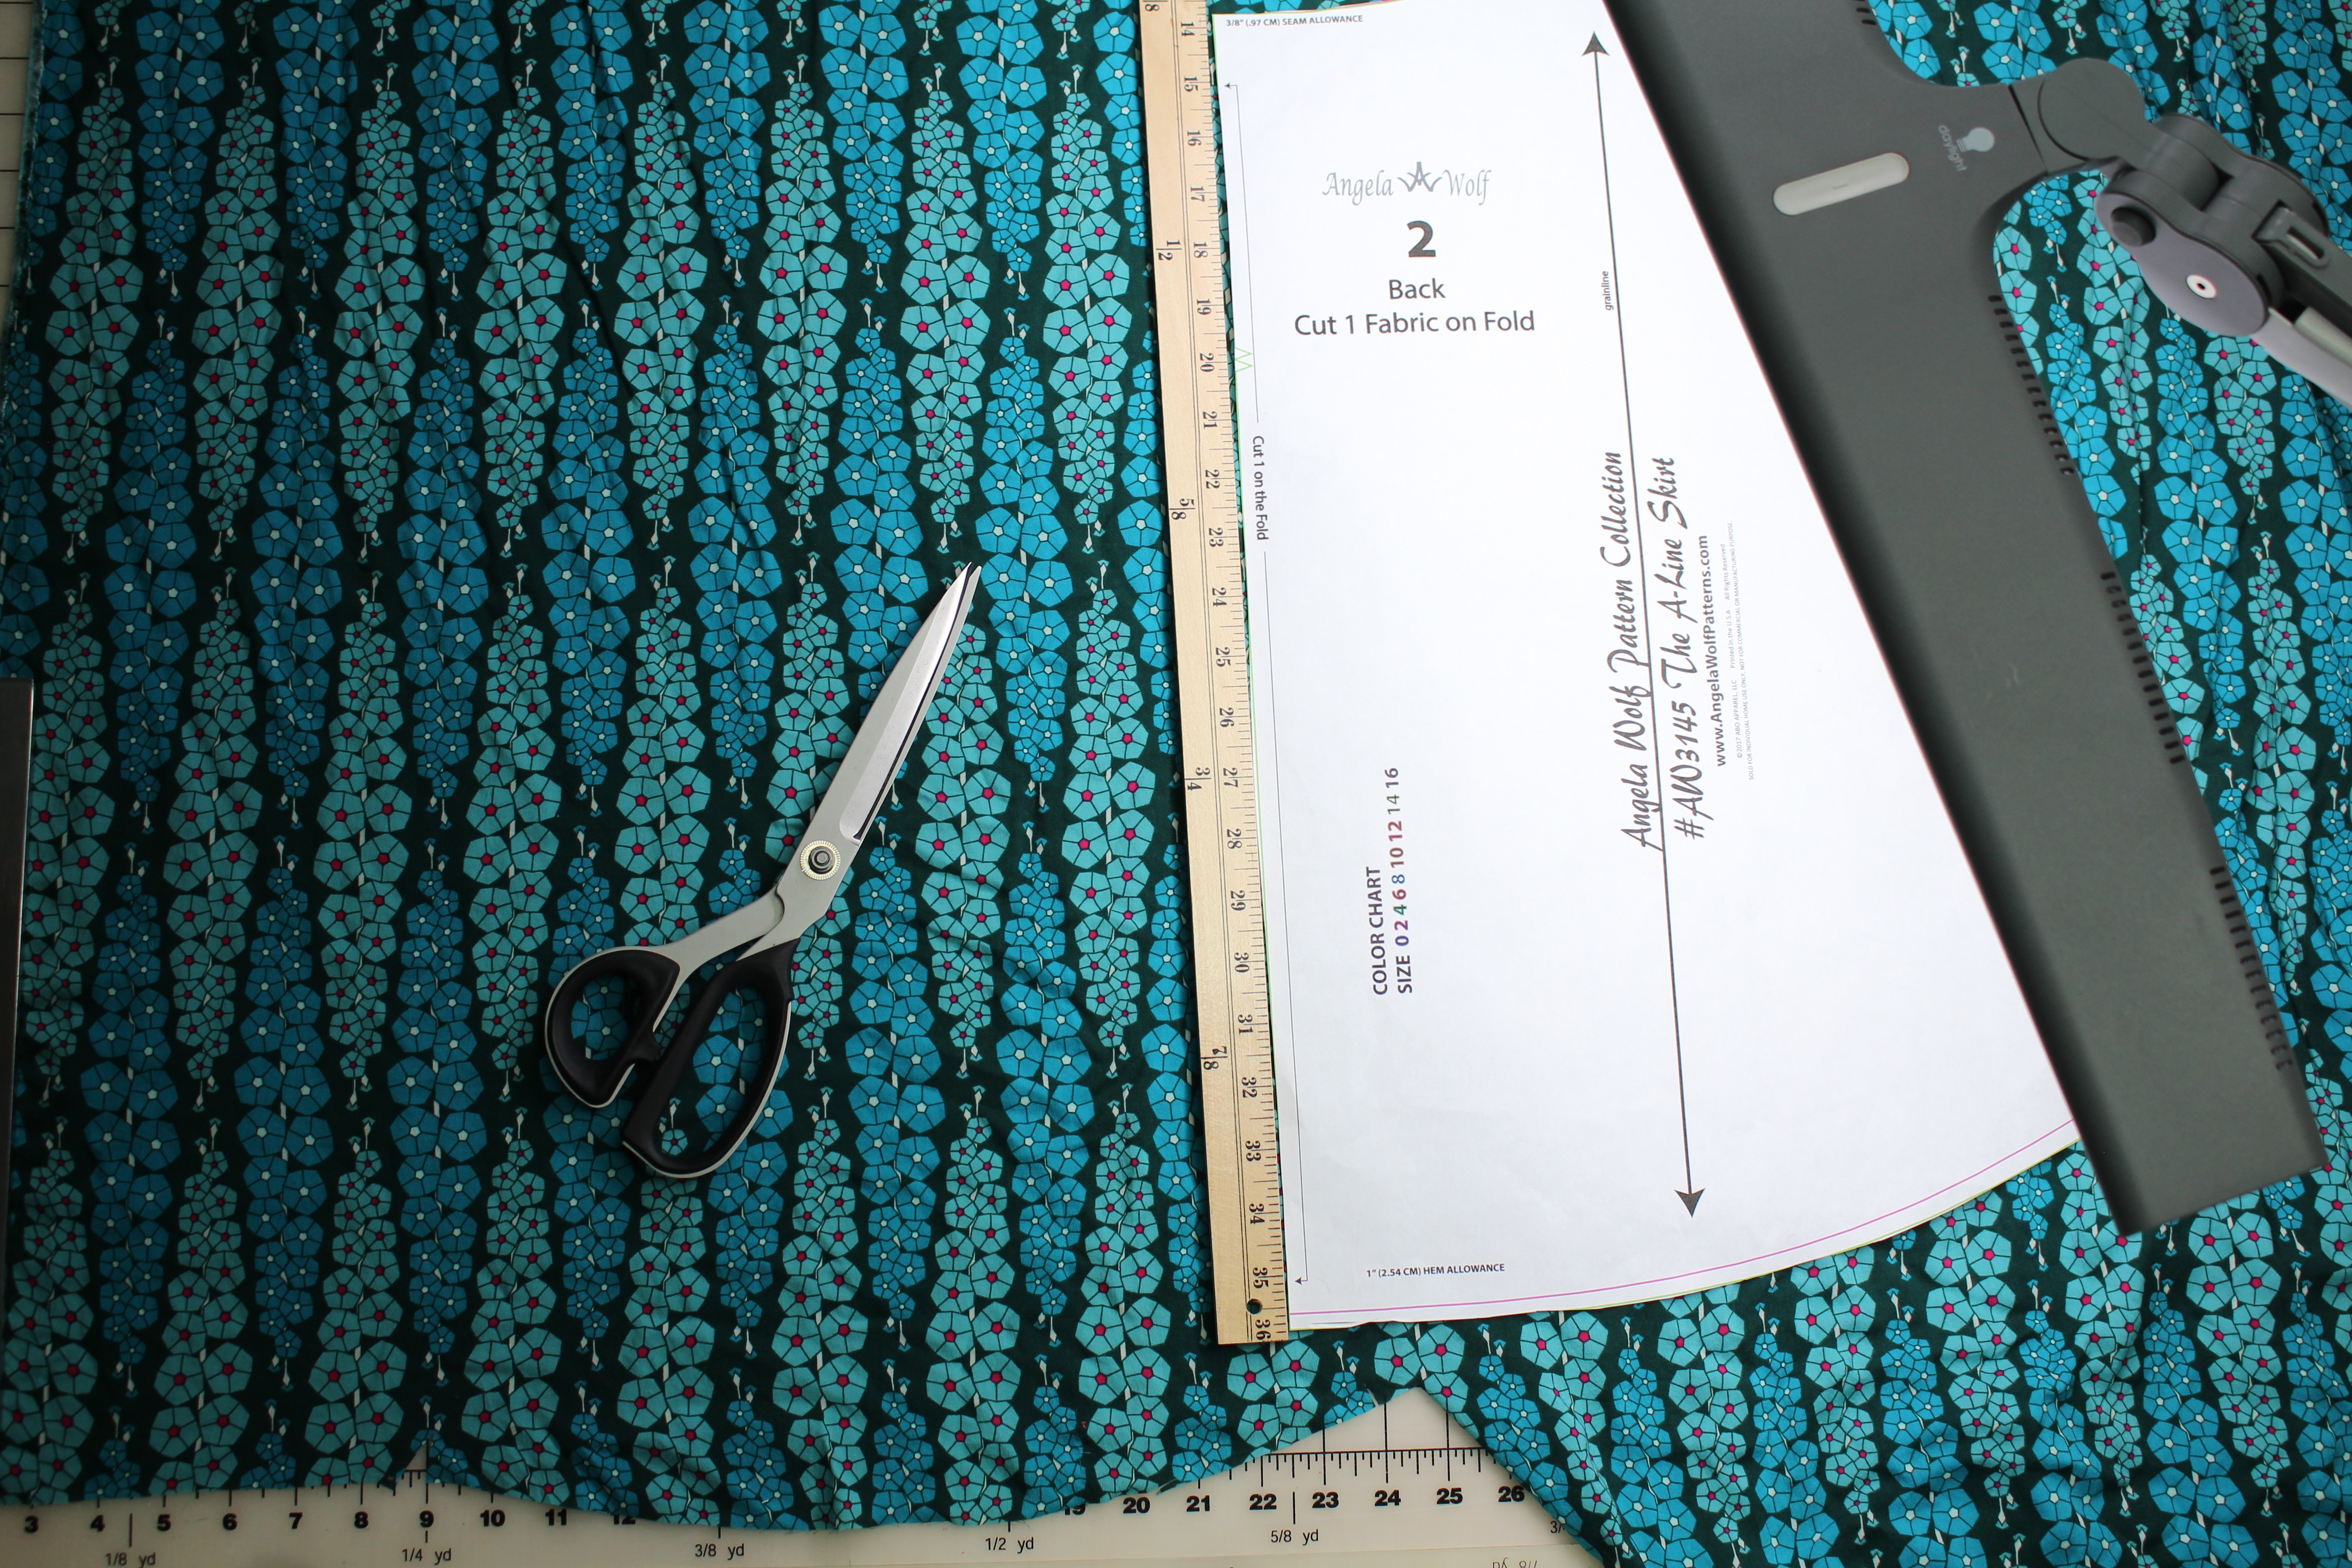
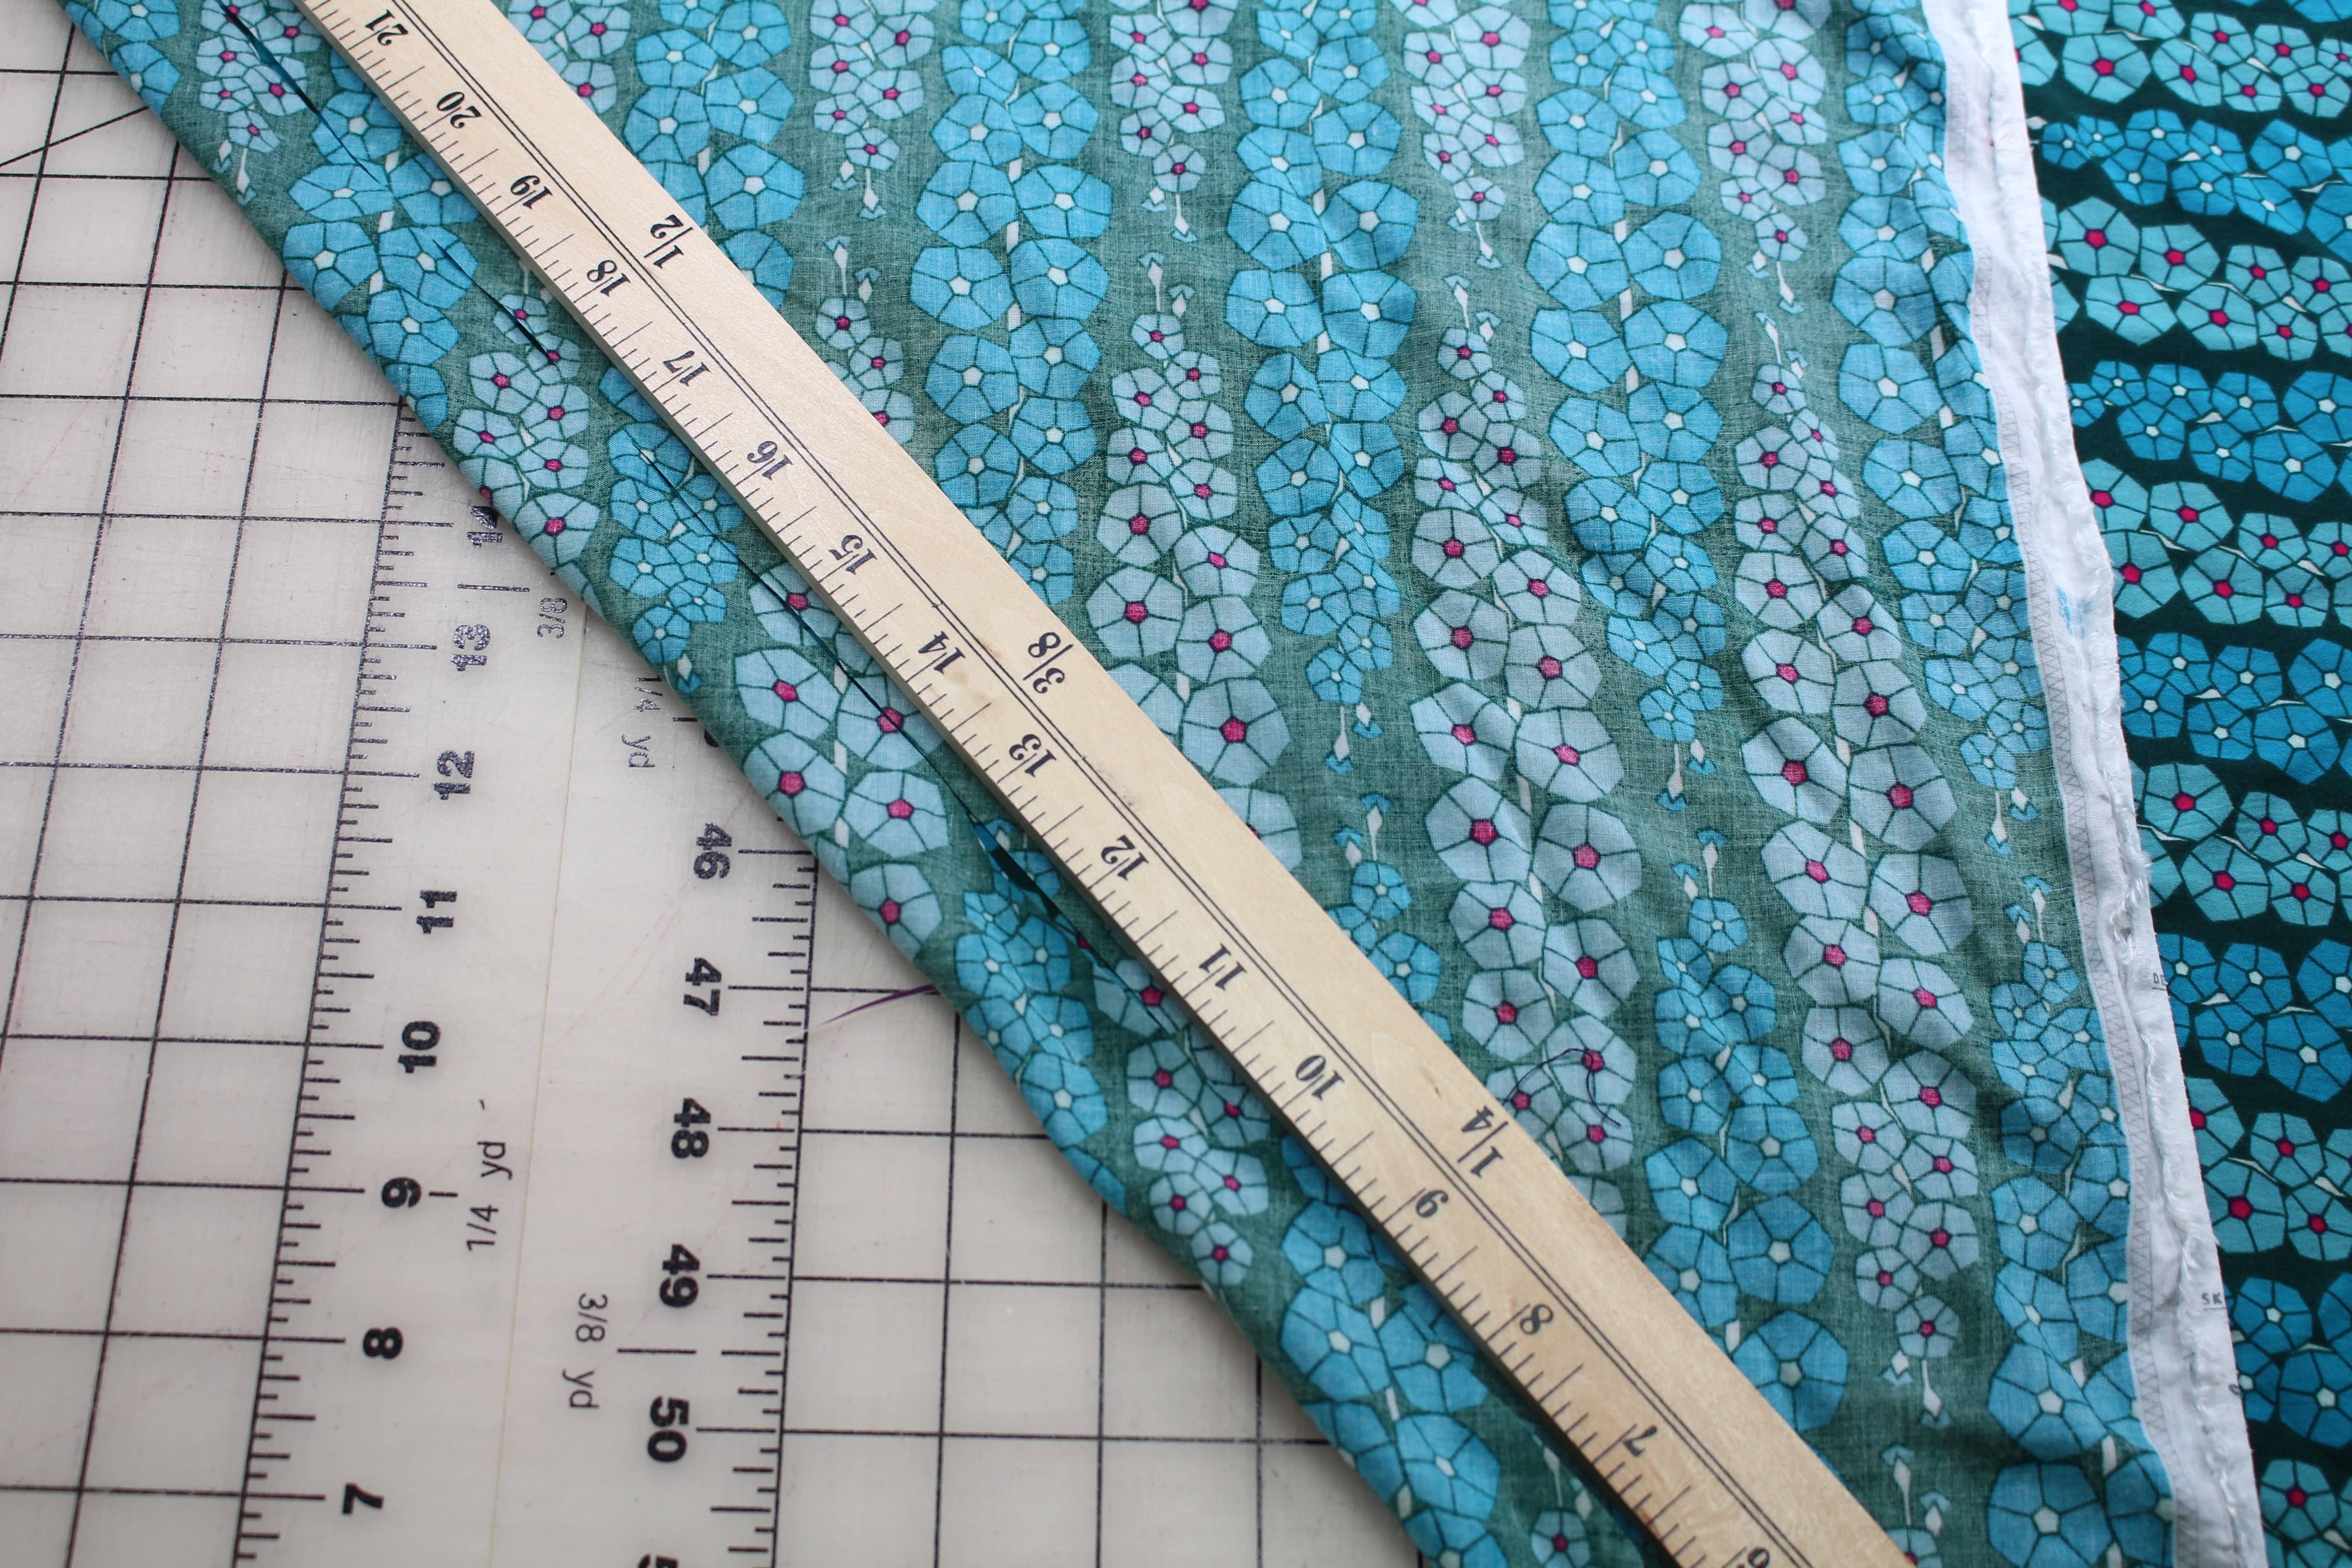
Because of the print, I chose to cut the skirt with one layer of fabric (meaning I didn’t fold the fabric).  The fabric is so lightweight and tends to shift which can cause issues matching up prints and grainlines.  After laying out the fabric, I used a yard stick to check the fabric grainlines.  They look pretty straight here, so I cut one side of the skirt and then folded the pattern over to cute the other side.
Bias Waistband

I altered the Kate Skirt pattern by cutting the waistband on the bias.  This fabric is so lightweight, it reminds me of silk charmeuse. I prefer bias waistbands for silk skirt, so thought the same for this one.  Not only is it comfortable, it works the print.
Finishing the Edges and Zipper Insertion

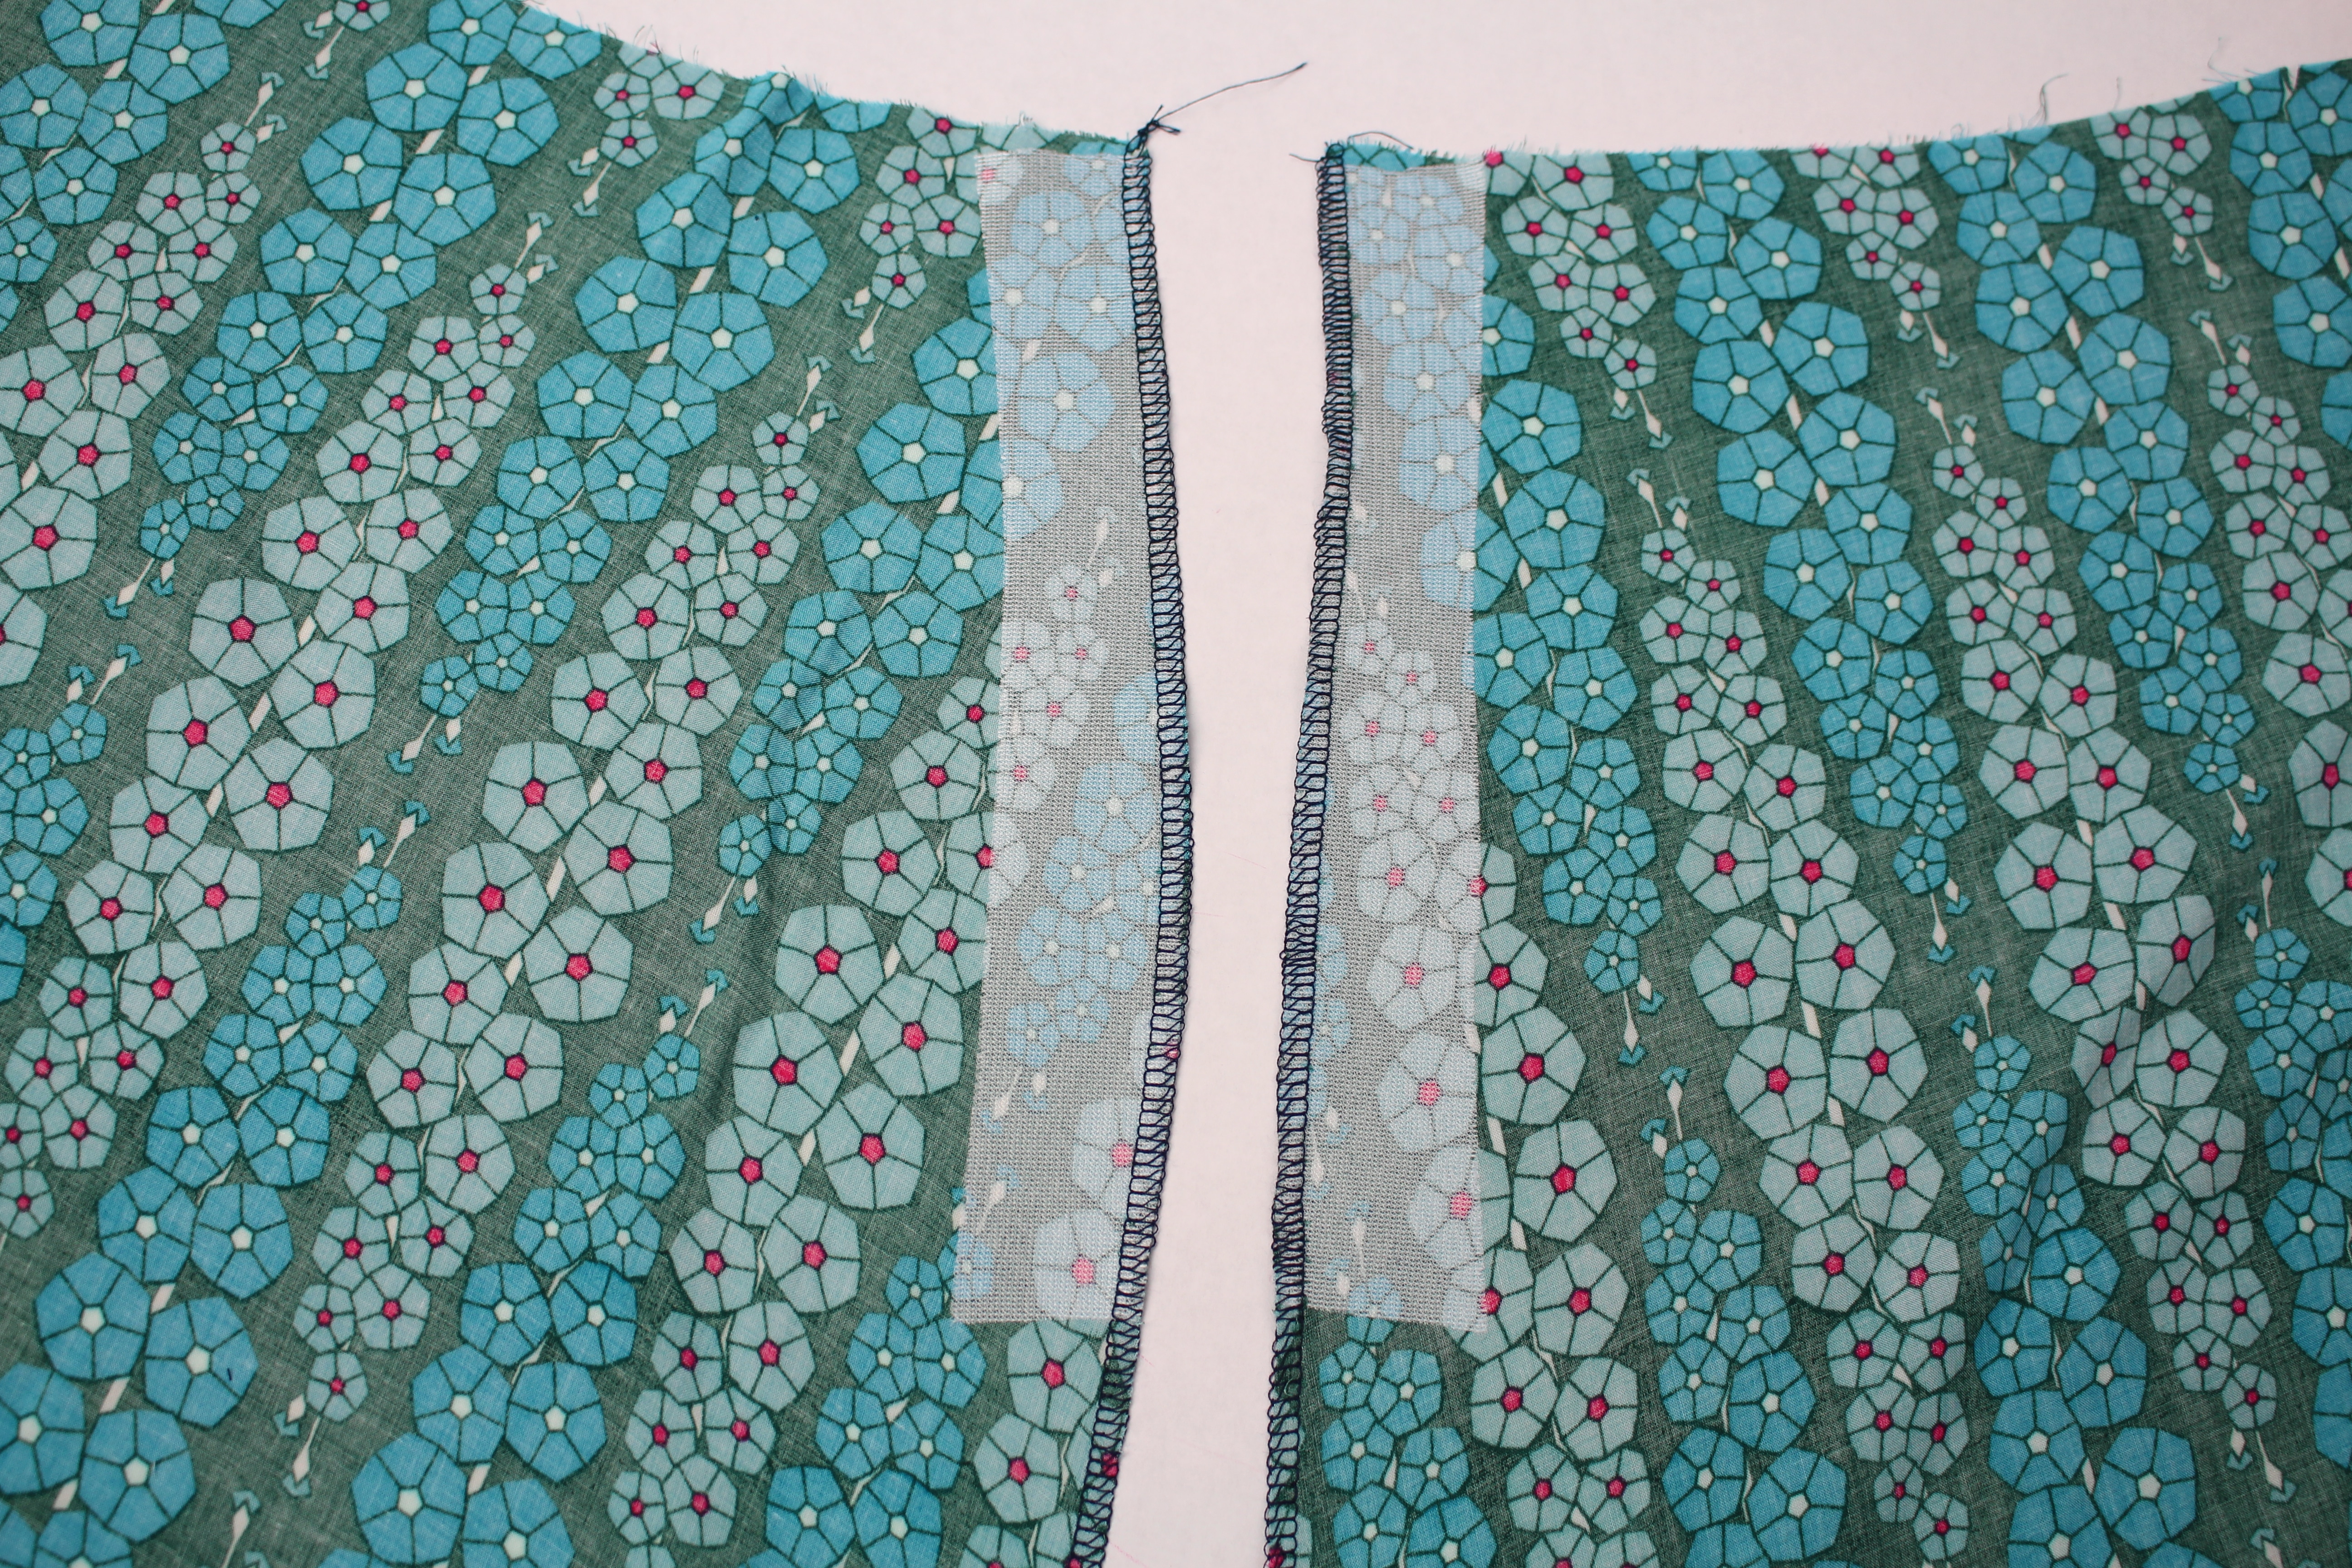
As I mentioned earlier, the rayon fabric tends to fray a little.  After cutting out the skirt, I ran the edges through the serger to finish the edges (I used a 3-thread wide overlock stitch).  But before serging the edges, press the fusible interfacing in the zipper location (see pattern instructions).  The fusible interfacing is light enough to not show through the fabric right side and prevent the fabric from stretching out while sewing in the zipper.

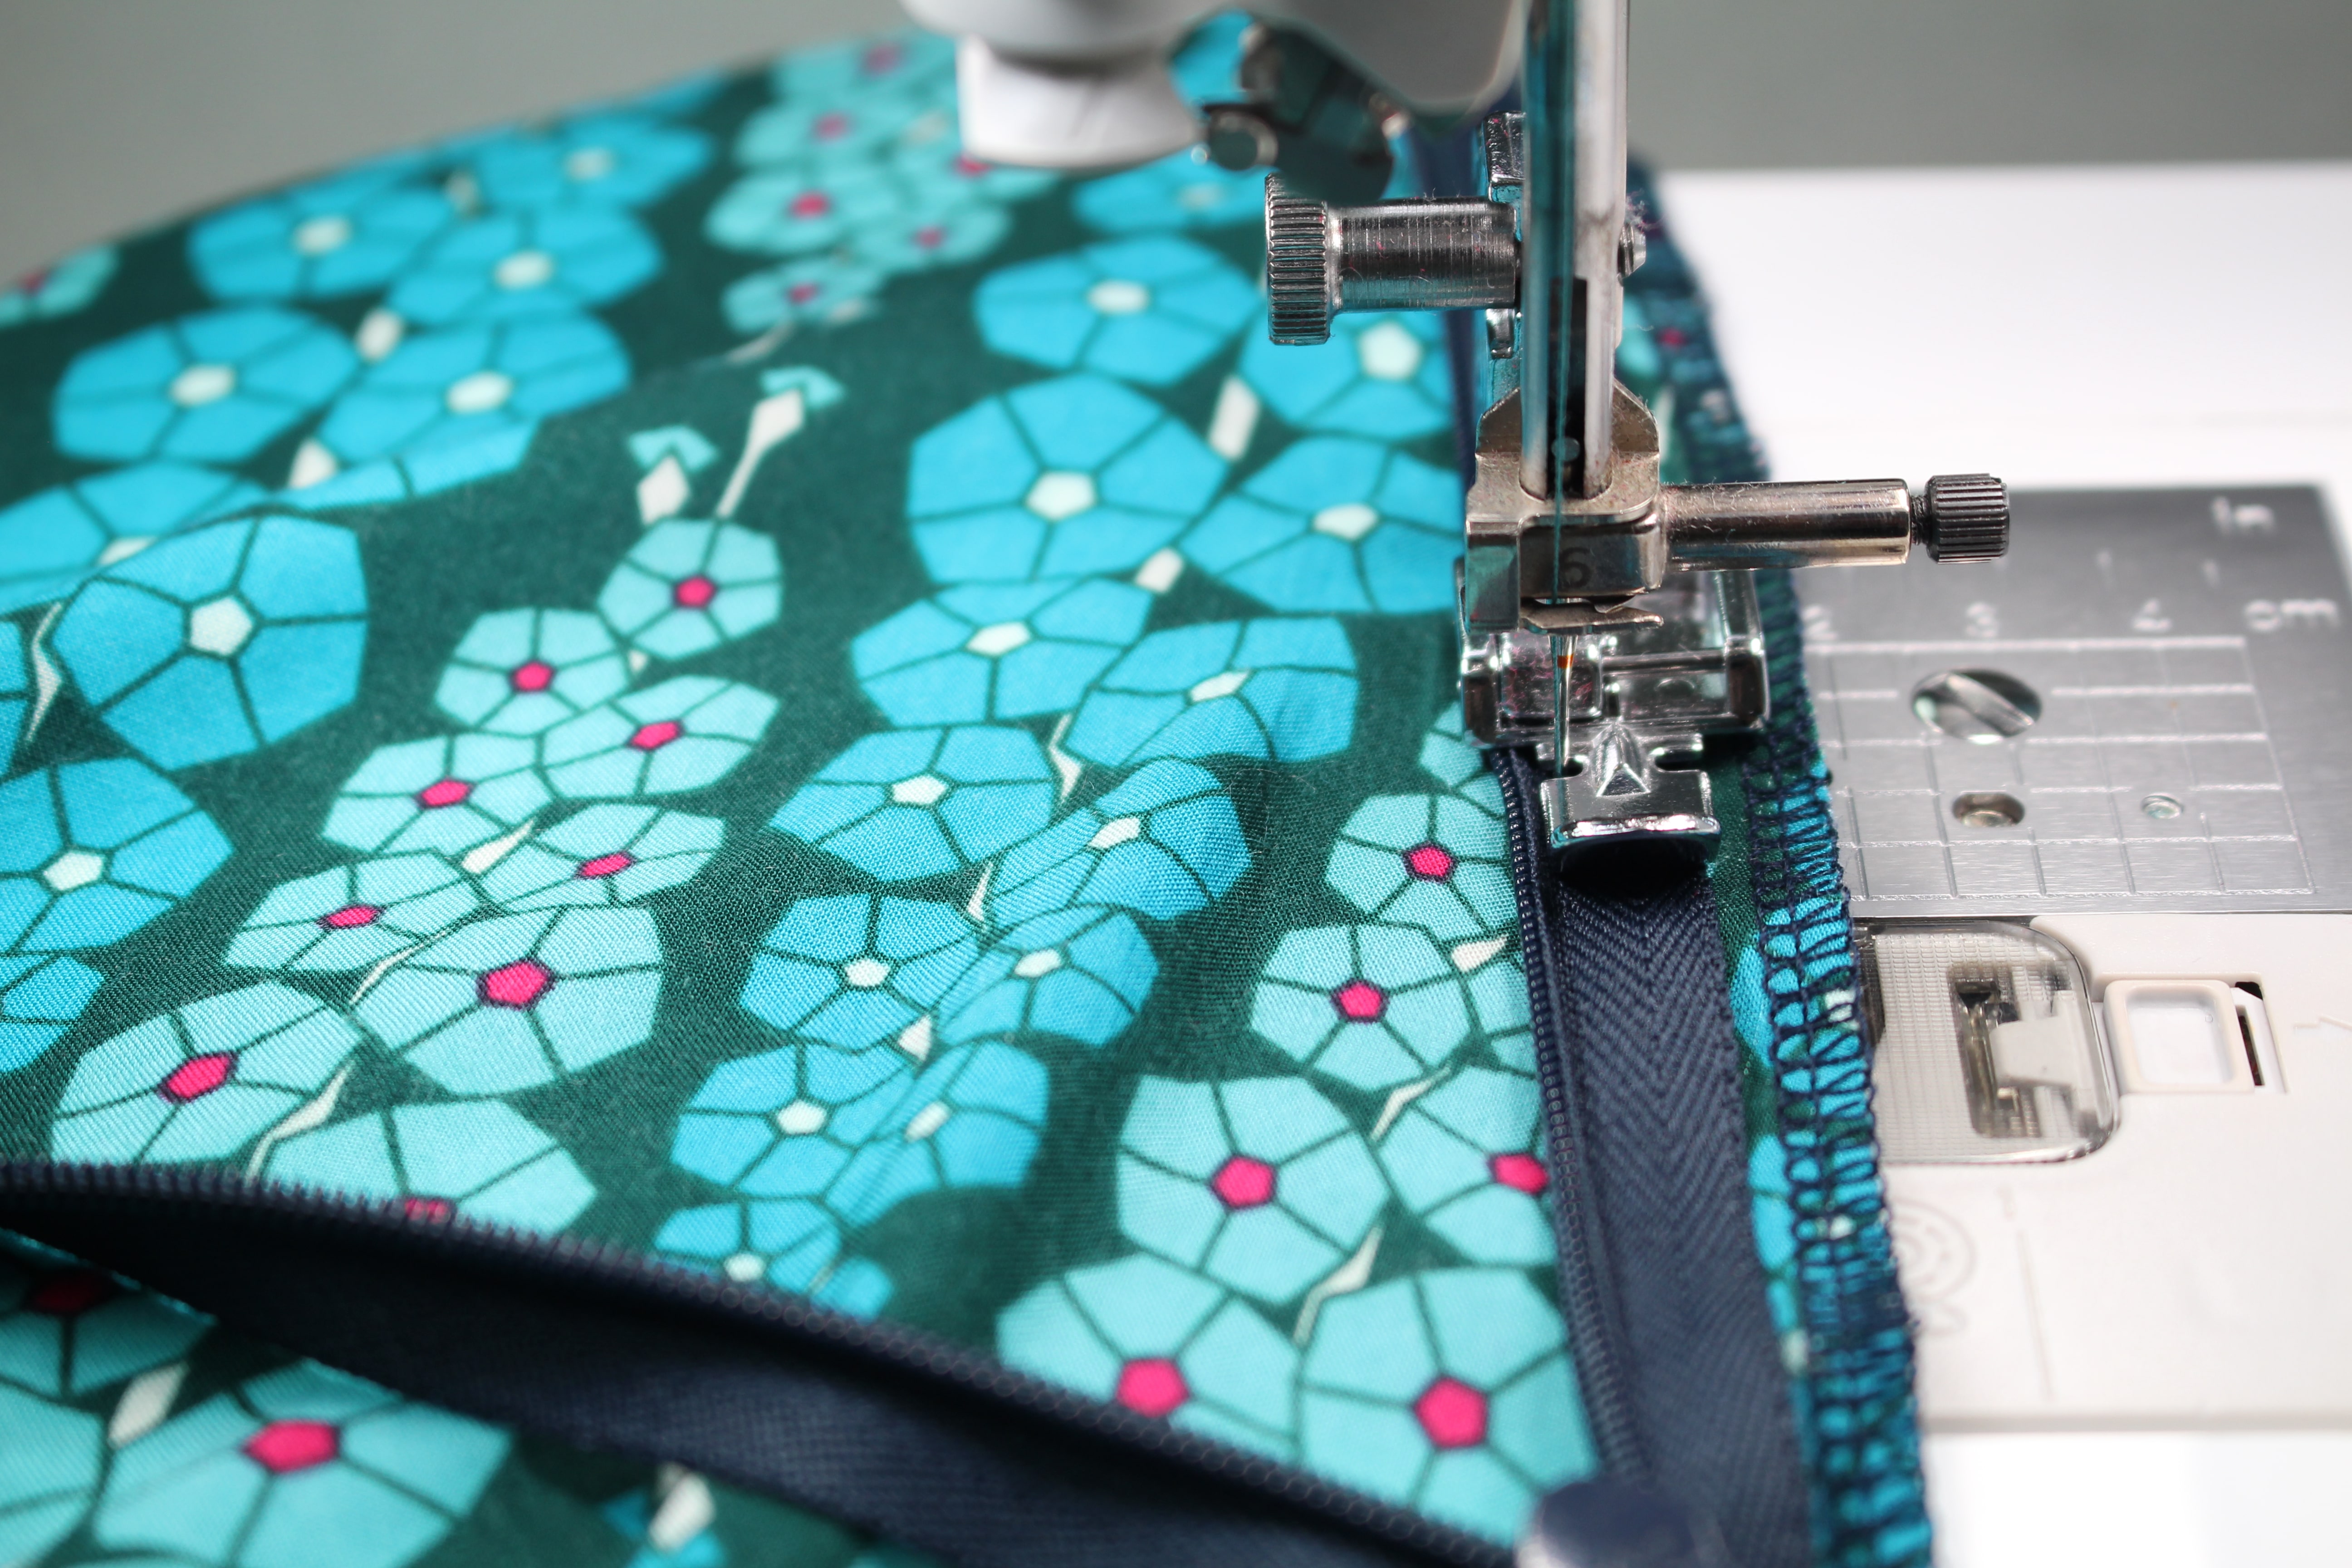
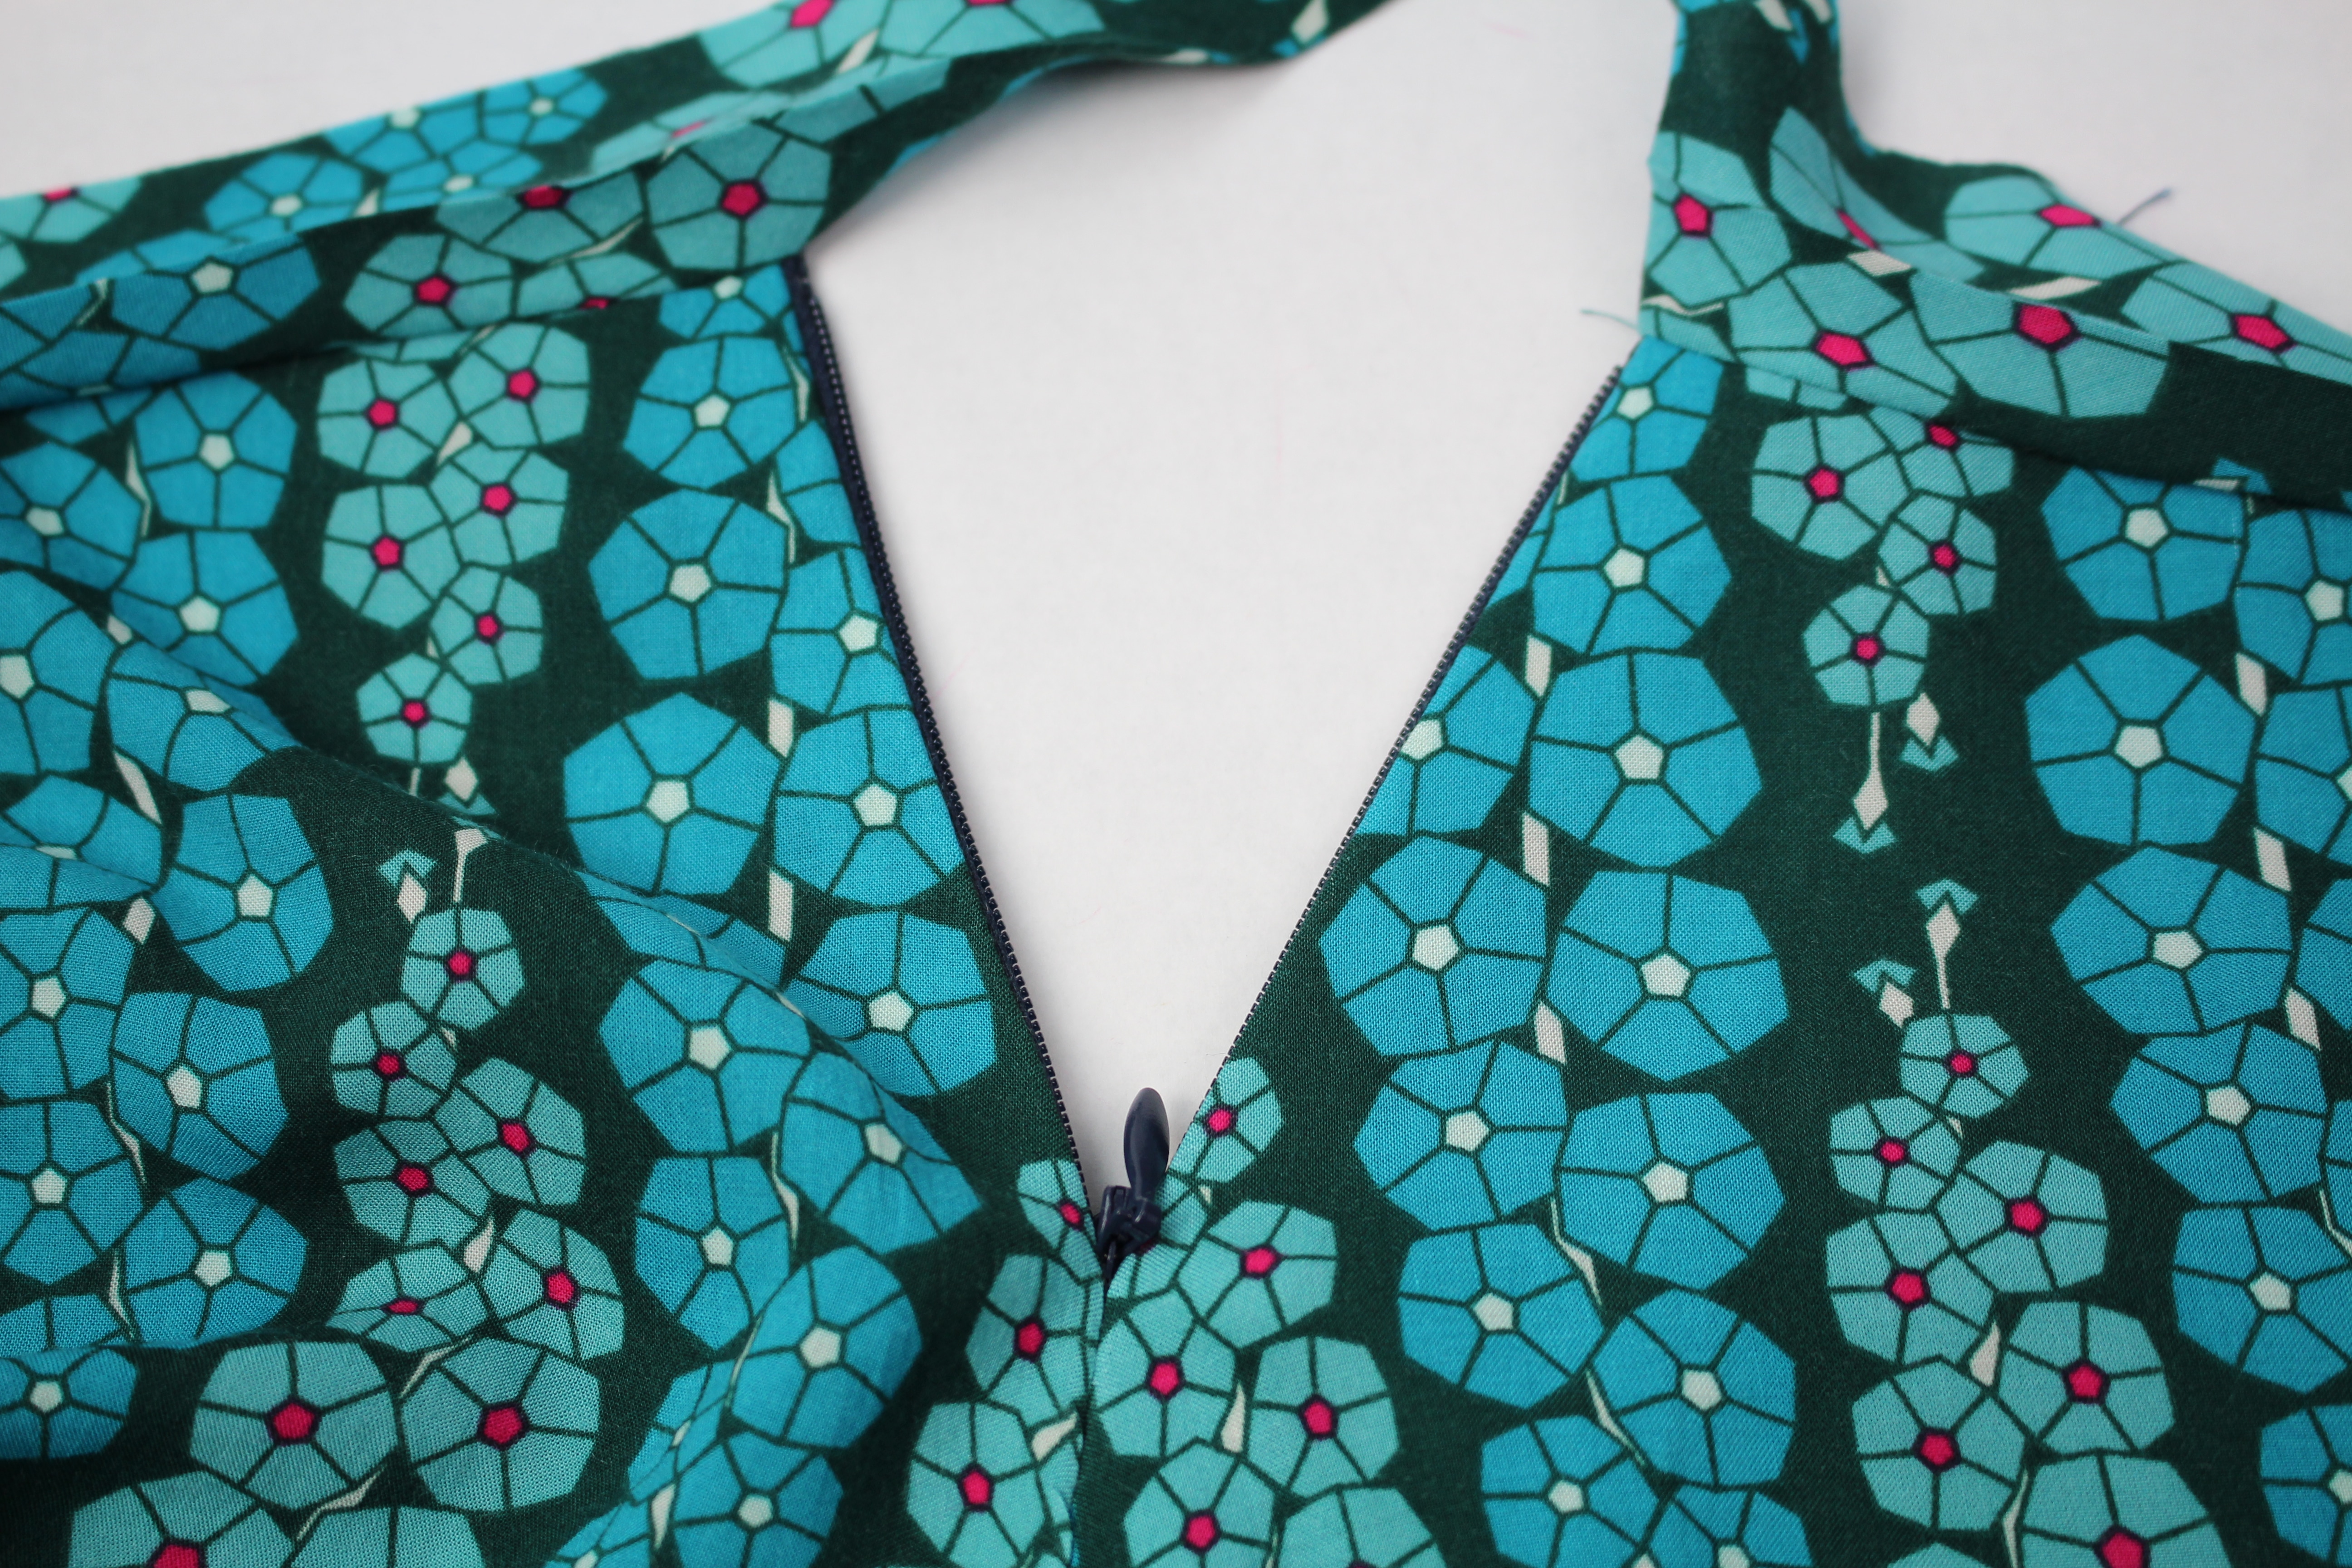
The next step is to sew in the invisible zipper and sew the side seams.
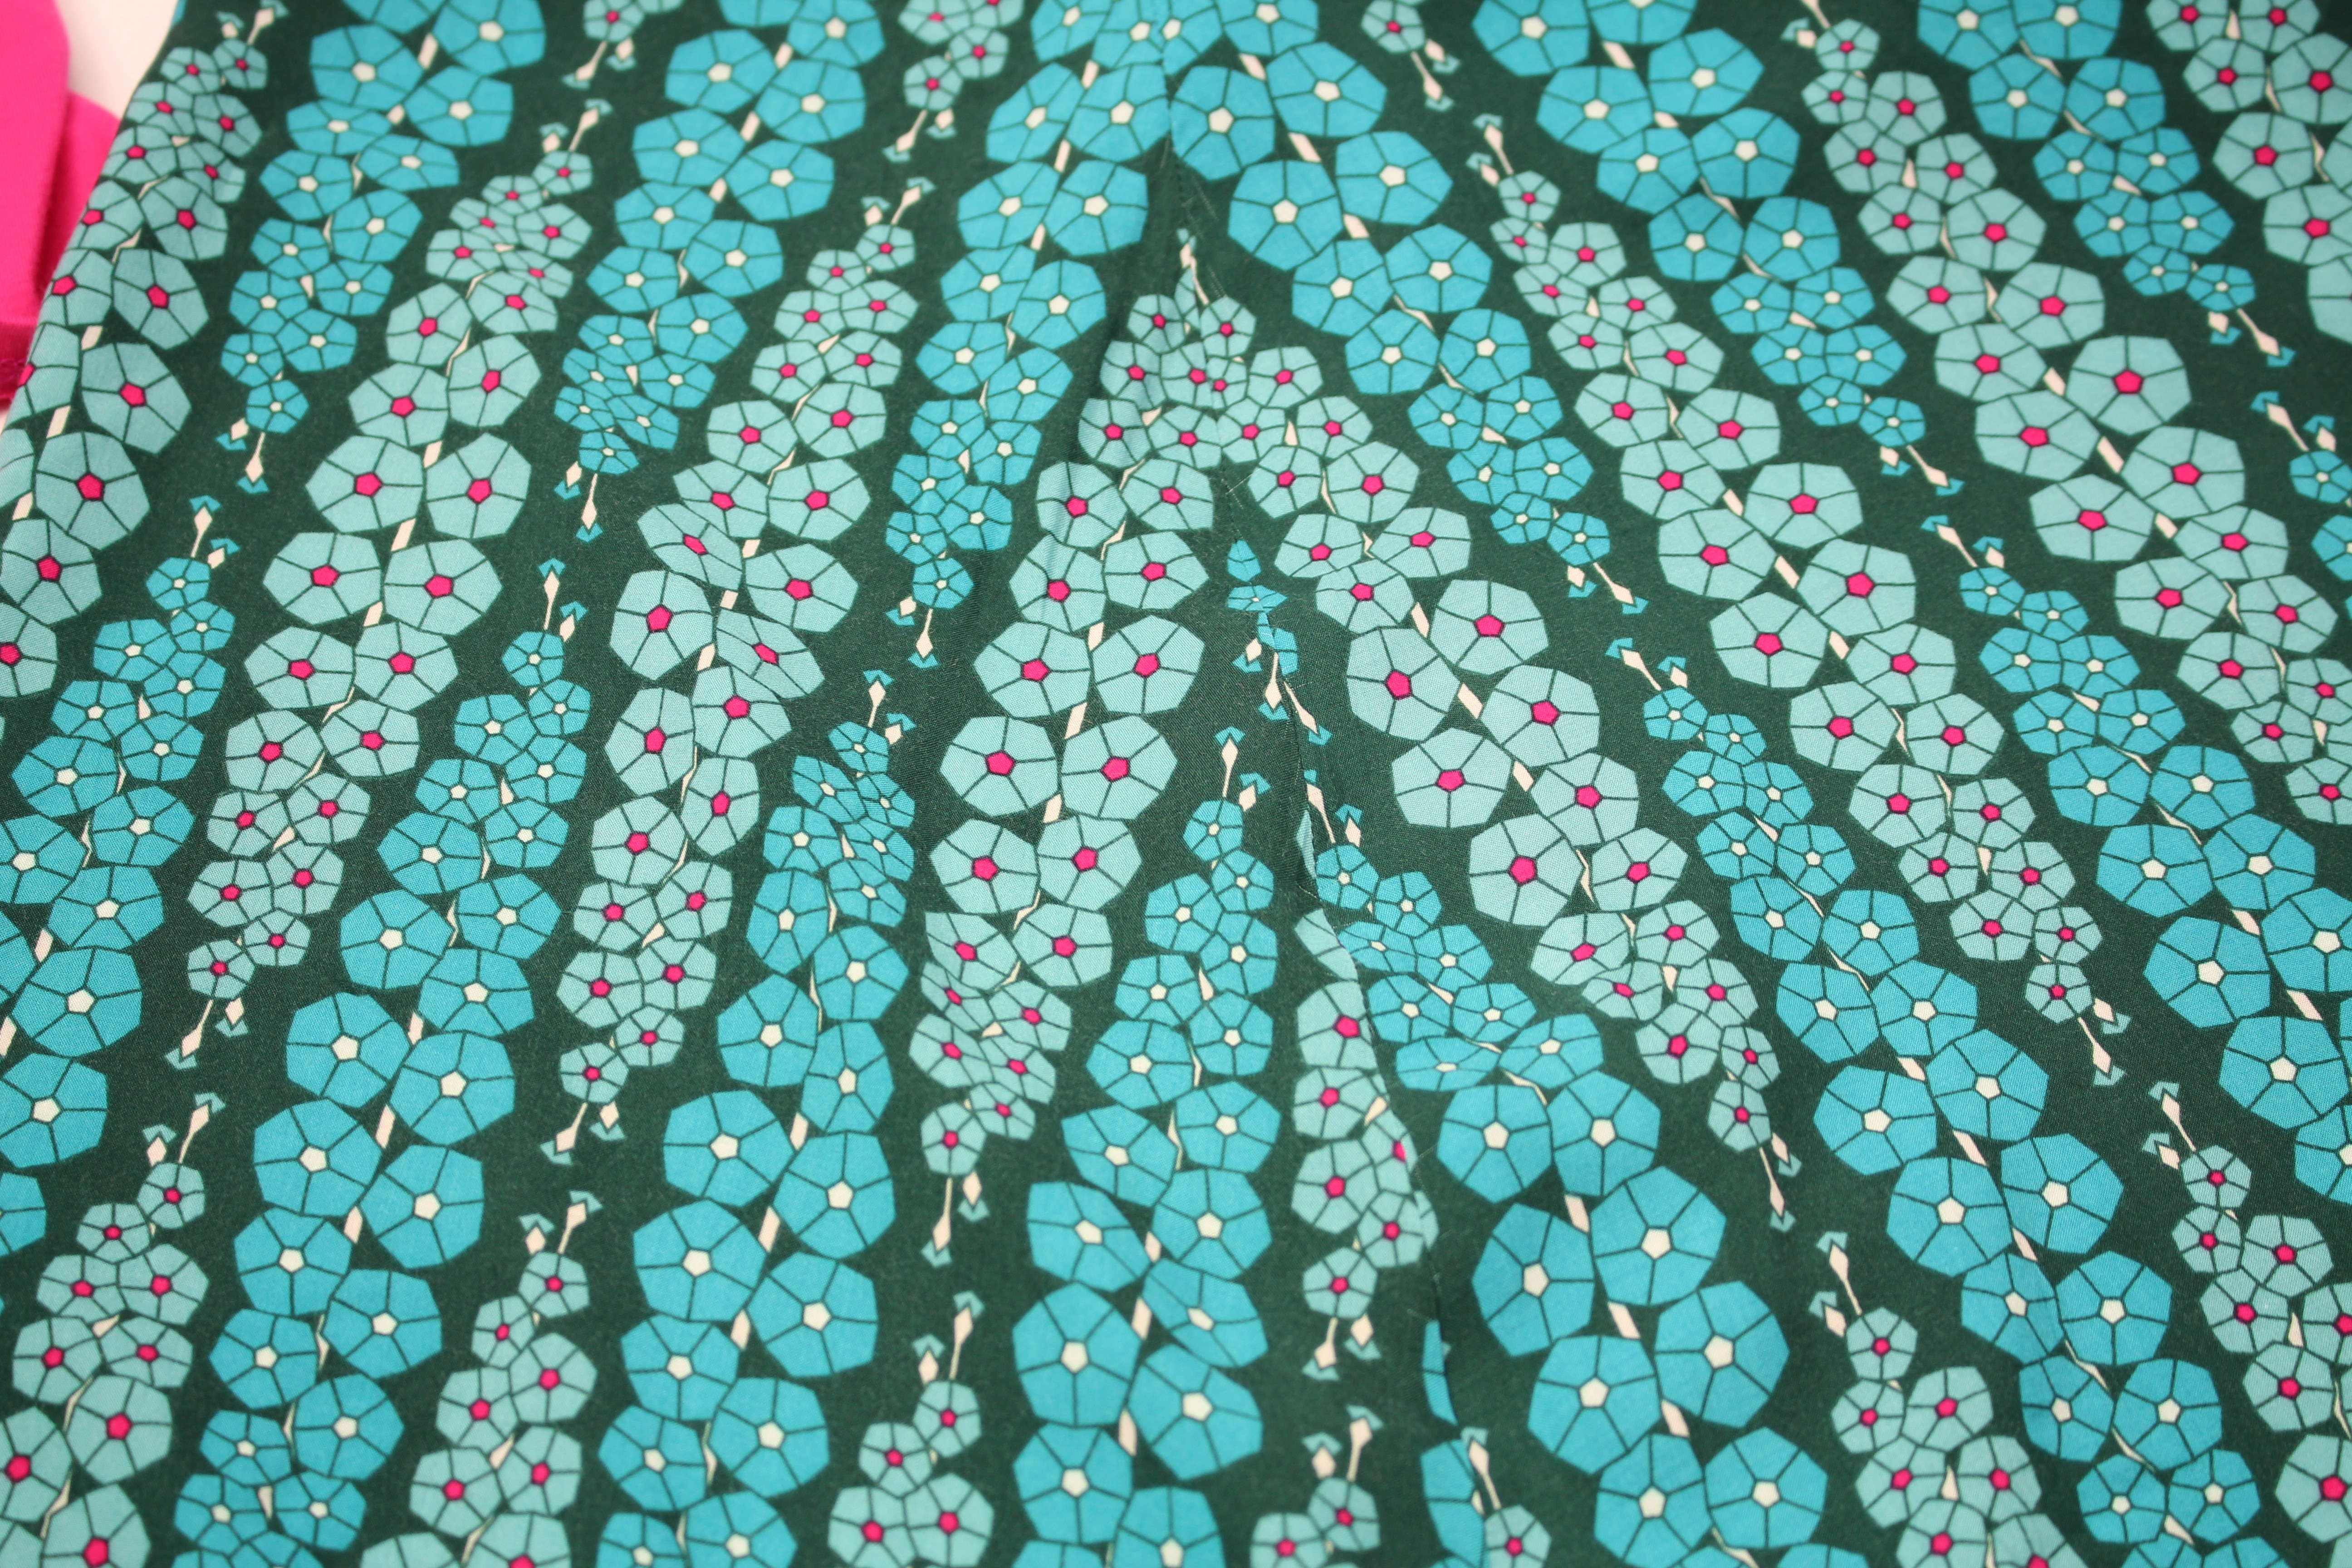
Check the pattern lining up on the side seam.  It looks pretty good here 🙂
The next step is to attach the waistband …

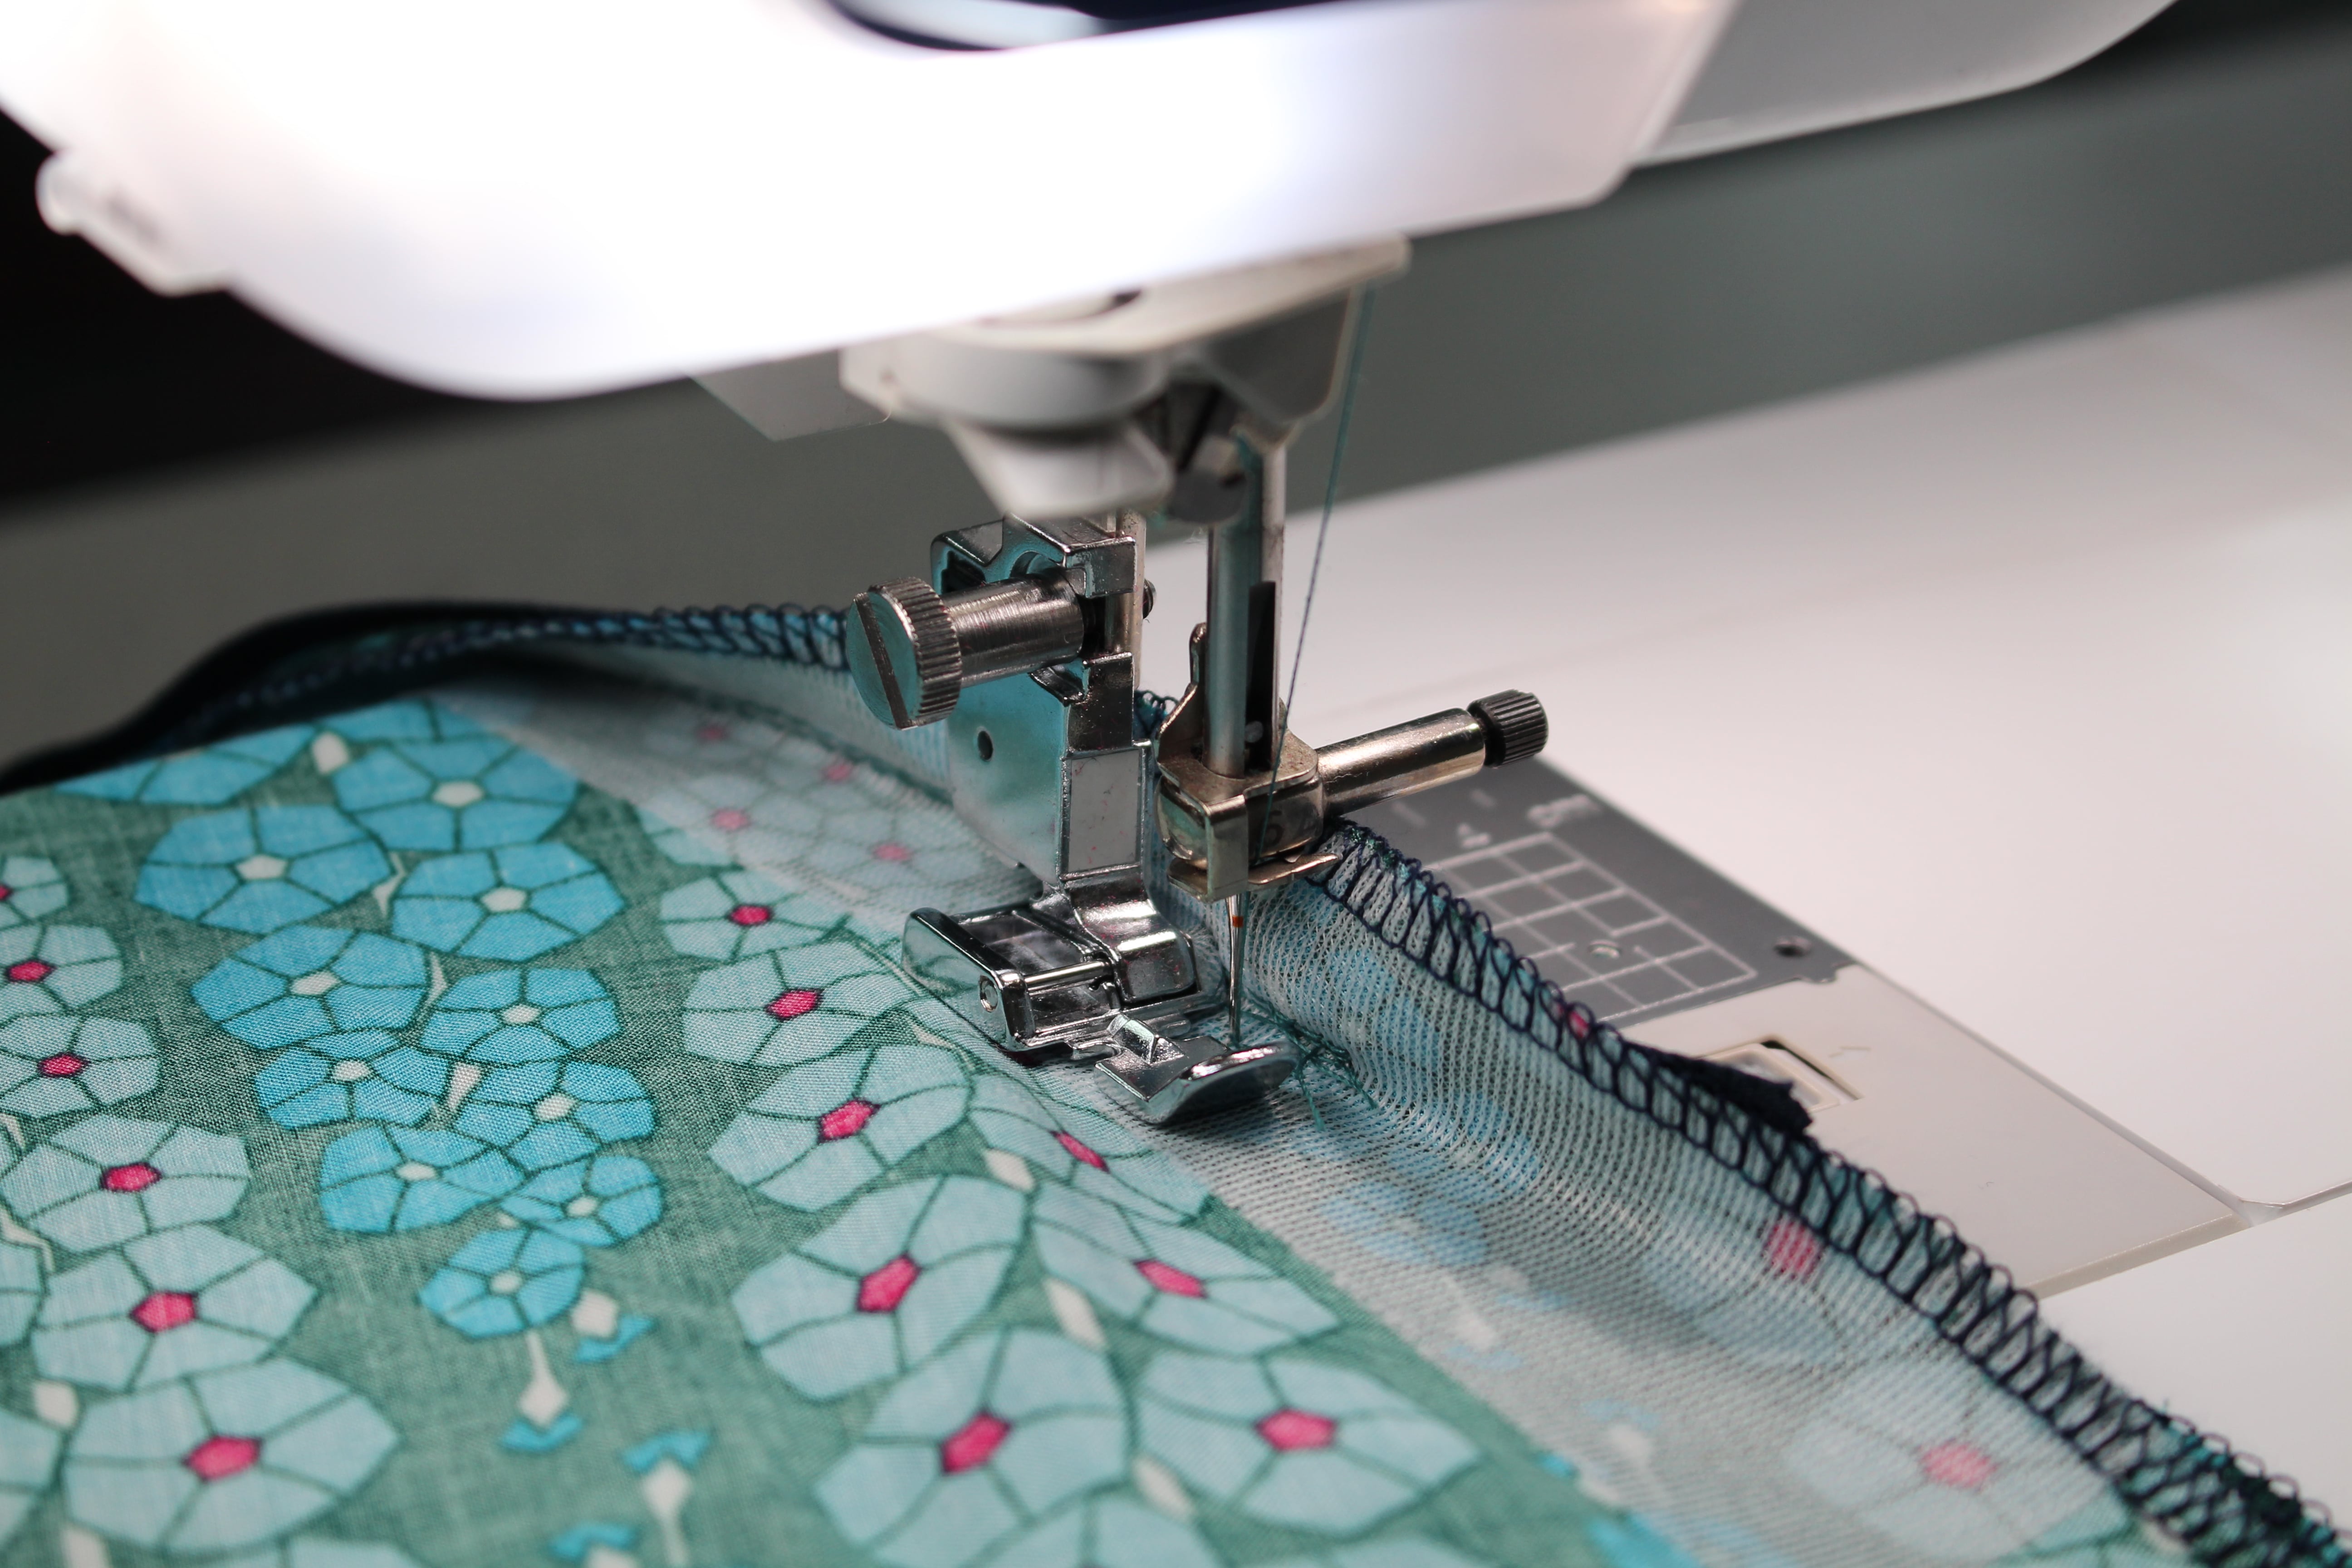
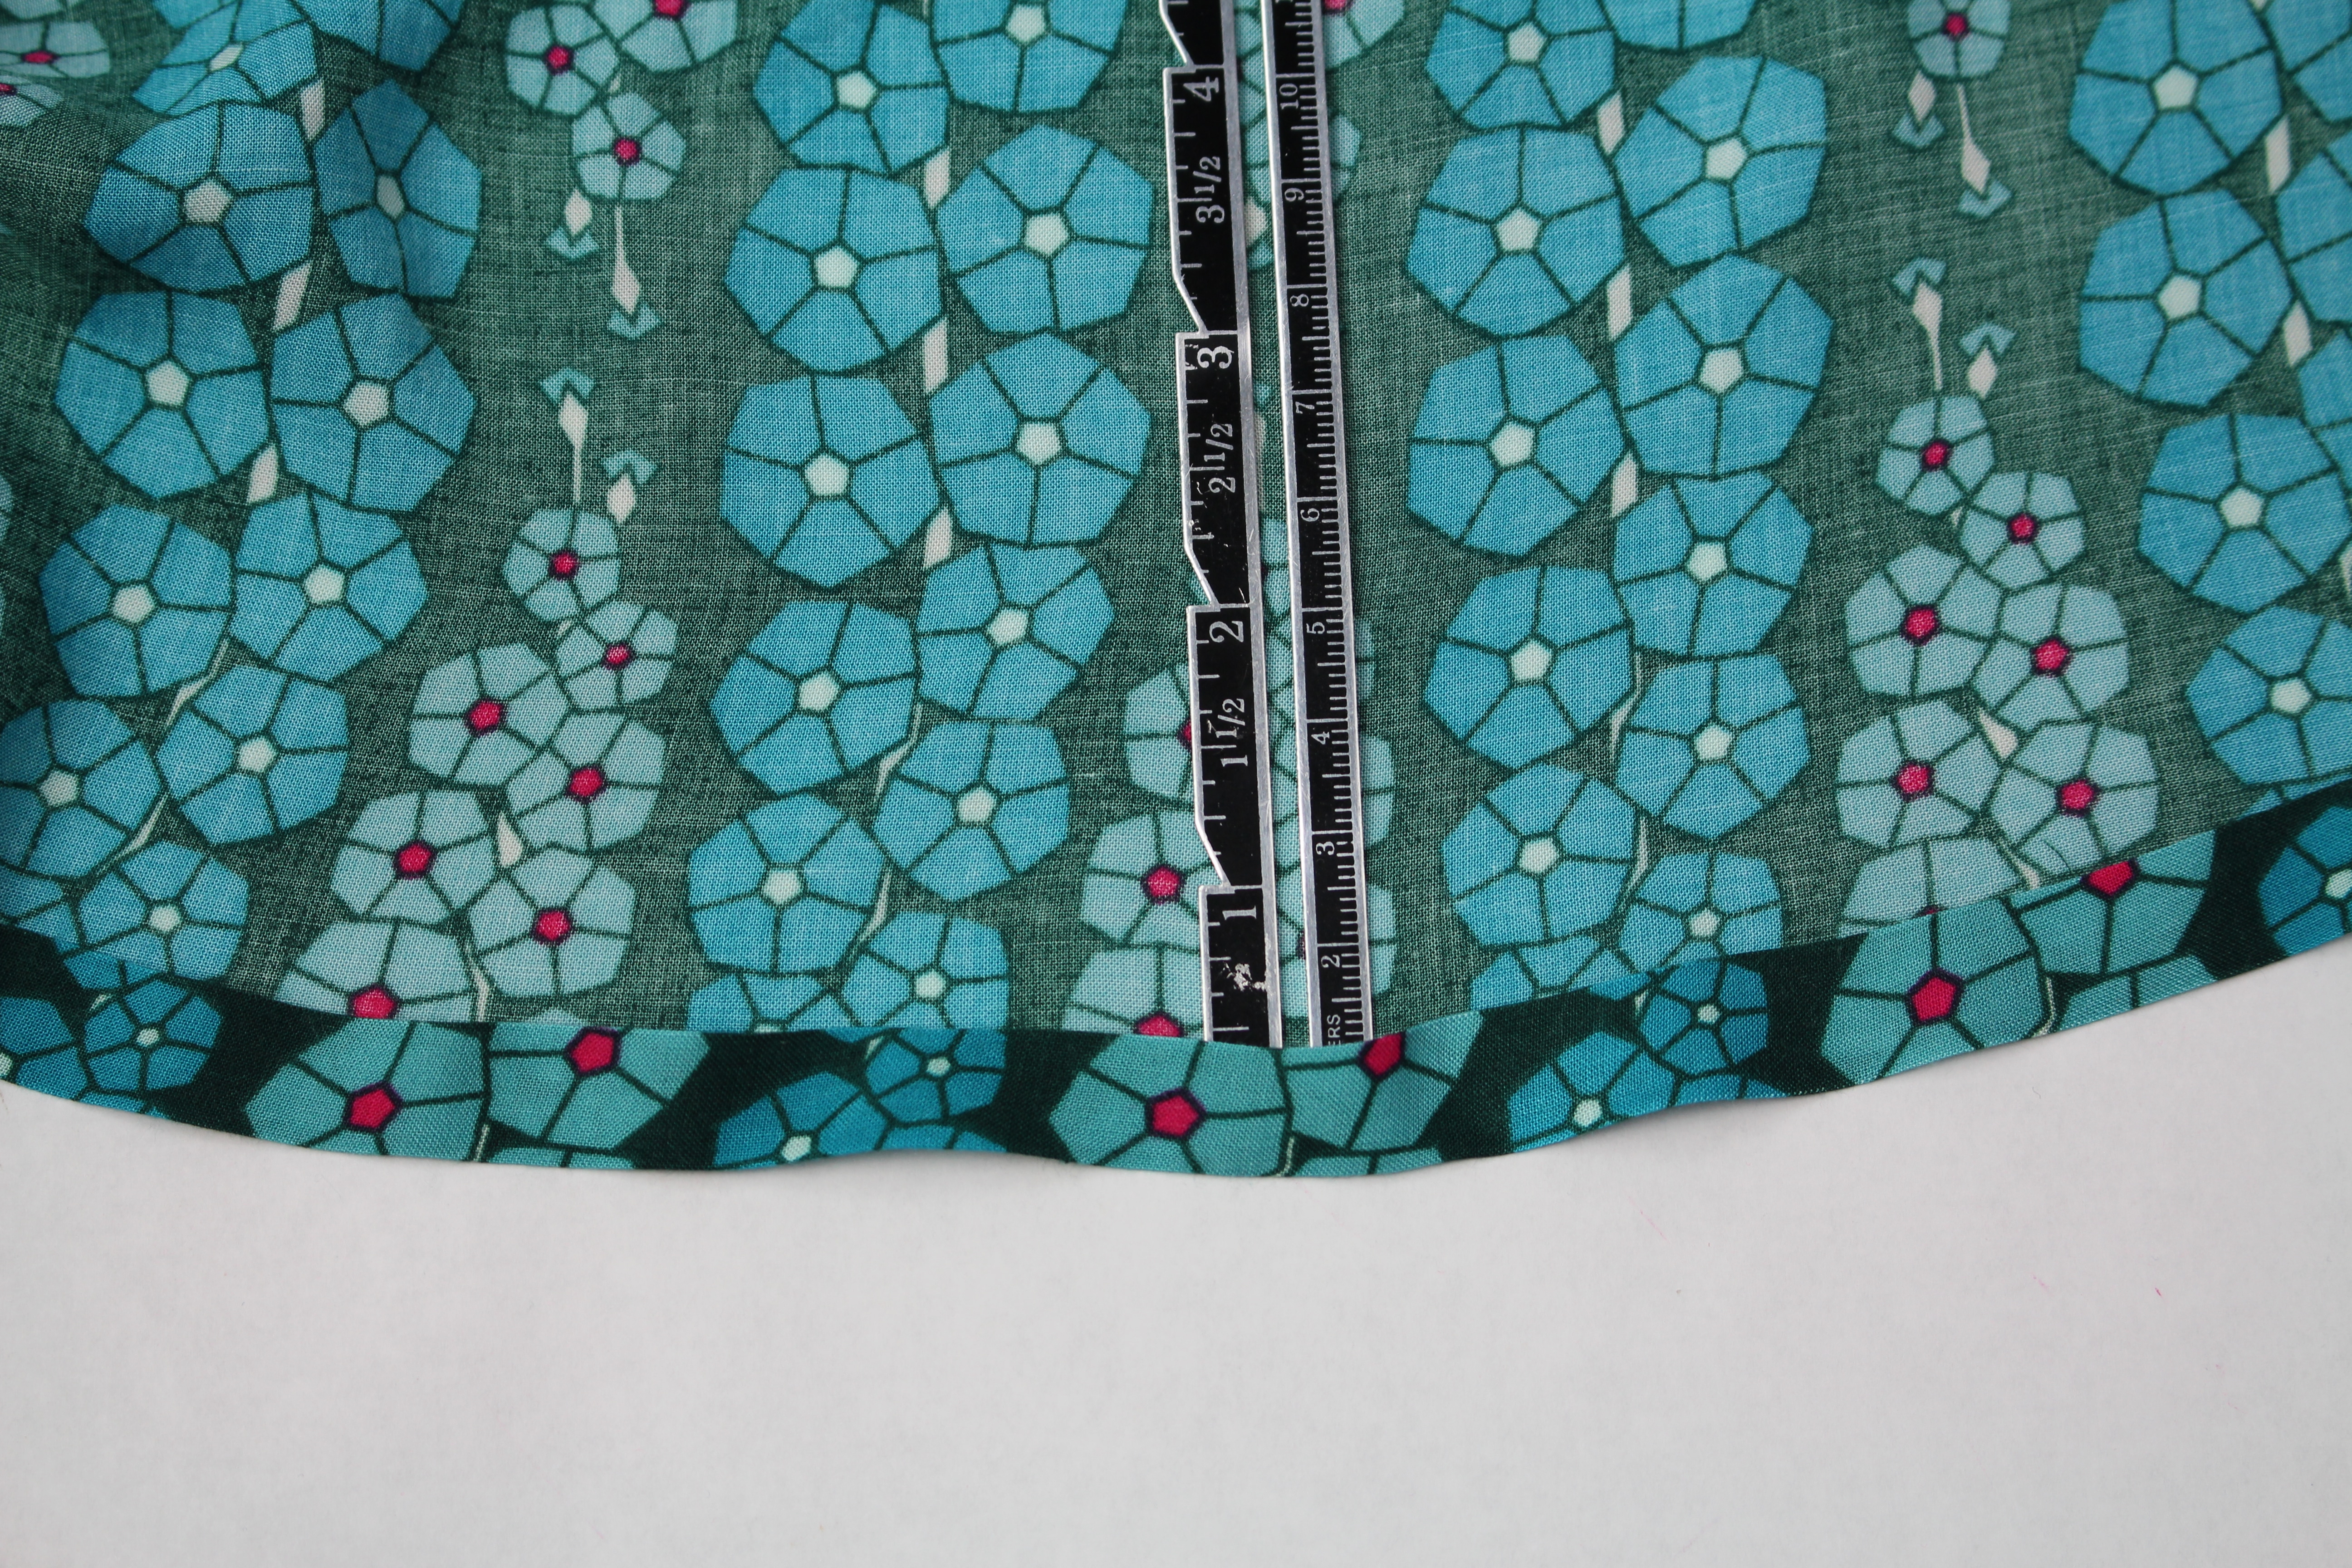
And lastly, the hem.  Turn the bottom of the skirt up 1/2″ toward the wrong side of the fabric and press.  Use a tailor’s clapper for a crisp crease.  Turn the hem up another 1/2″ and press. Topstitch the folded hem in place.
Here are a couple of YouTube videos showing how to sew the skirt if you want to follow along:

Here is a list of all the talented bloggers sharing in Mathew’s big fabric launch for Art Gallery Fabrics. And be sure to visit Mathew’s Mister Domestic Instagram for weekly fabric giveaways!

MISTER DOMESTIC’S LOVED TO PIECES BLOG PARTY

I will talk about the cotton shirts on Episode 88 of my facebook live show Behind the Scenes Wednesday, July 18th at 11:00am , where I will also interview Mathew about his new fabric launch.  Be sure to join us live or on the replay!

Cheers,

Creative Serging: Flatlock Stitching with Crochet Thread

Creative Serging: Flatlock Stitching with Crochet Thread

Decorative Serging:

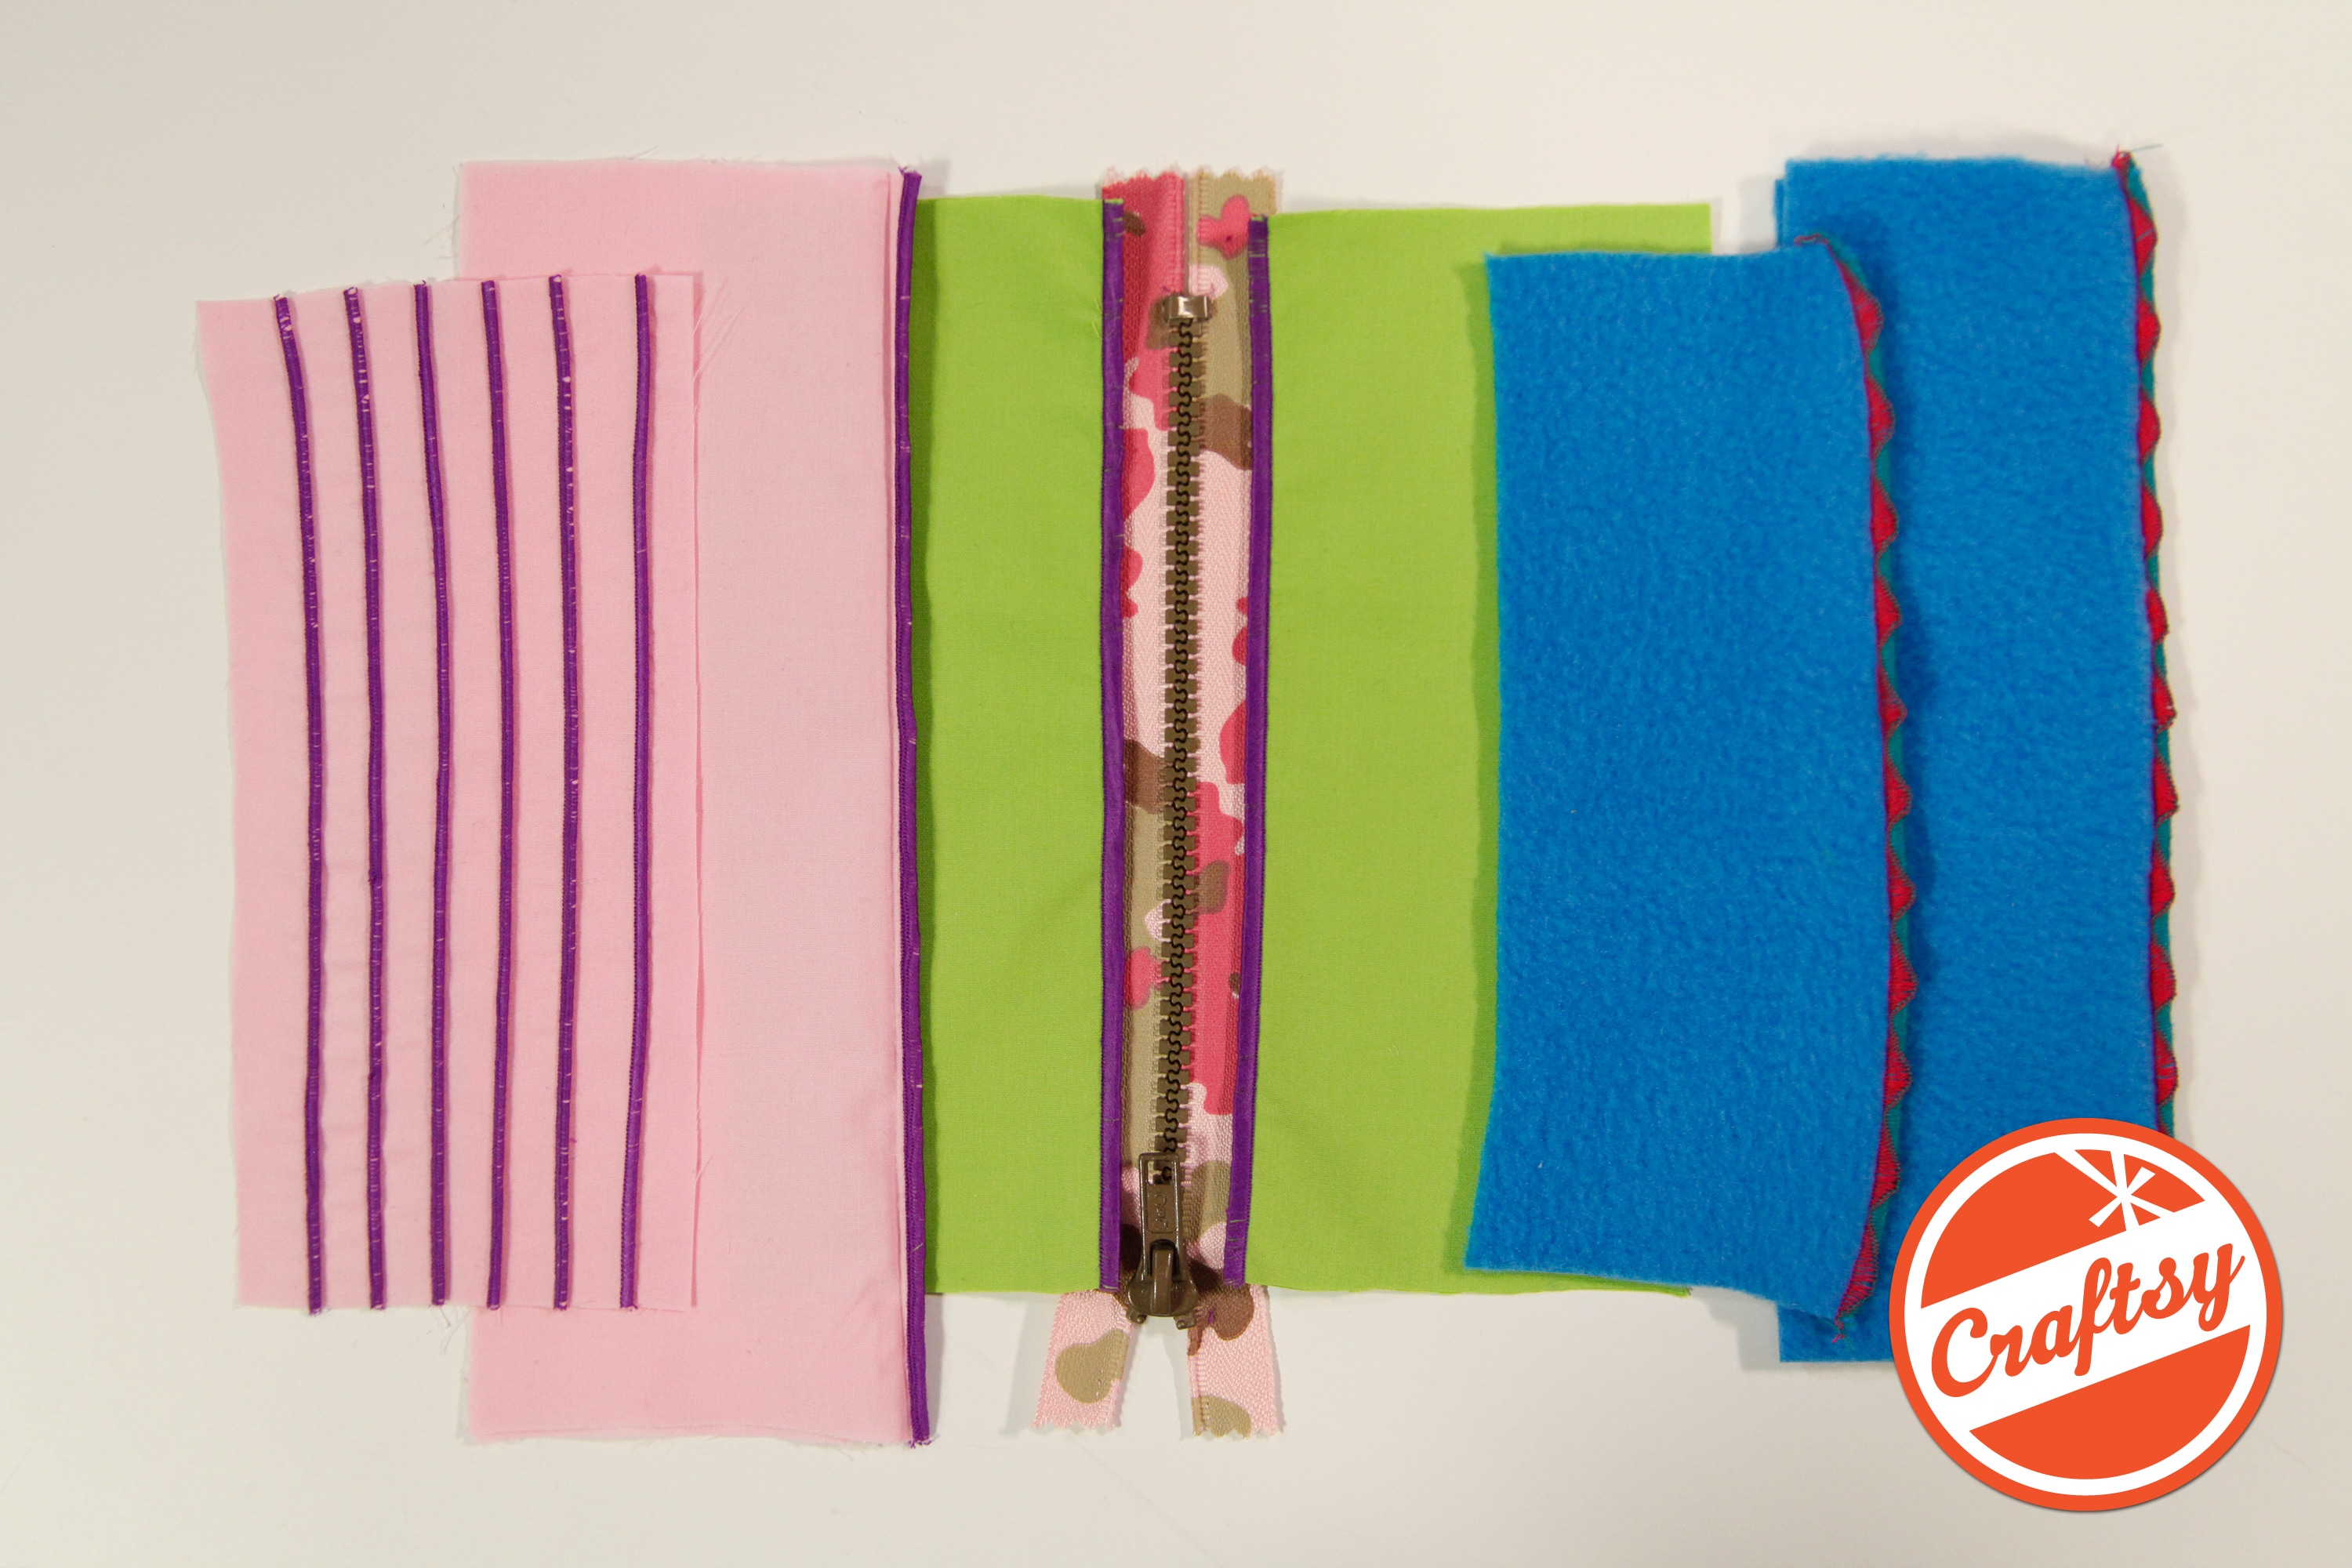
The serger can do so much more than simply finish fabric raw edges. Using crochet thread or yarn in the upper looper can create an entirely different look! This is a great way to restyle or embellishment fabric or a garment.

How to sew with creative serging - Angela Wolf

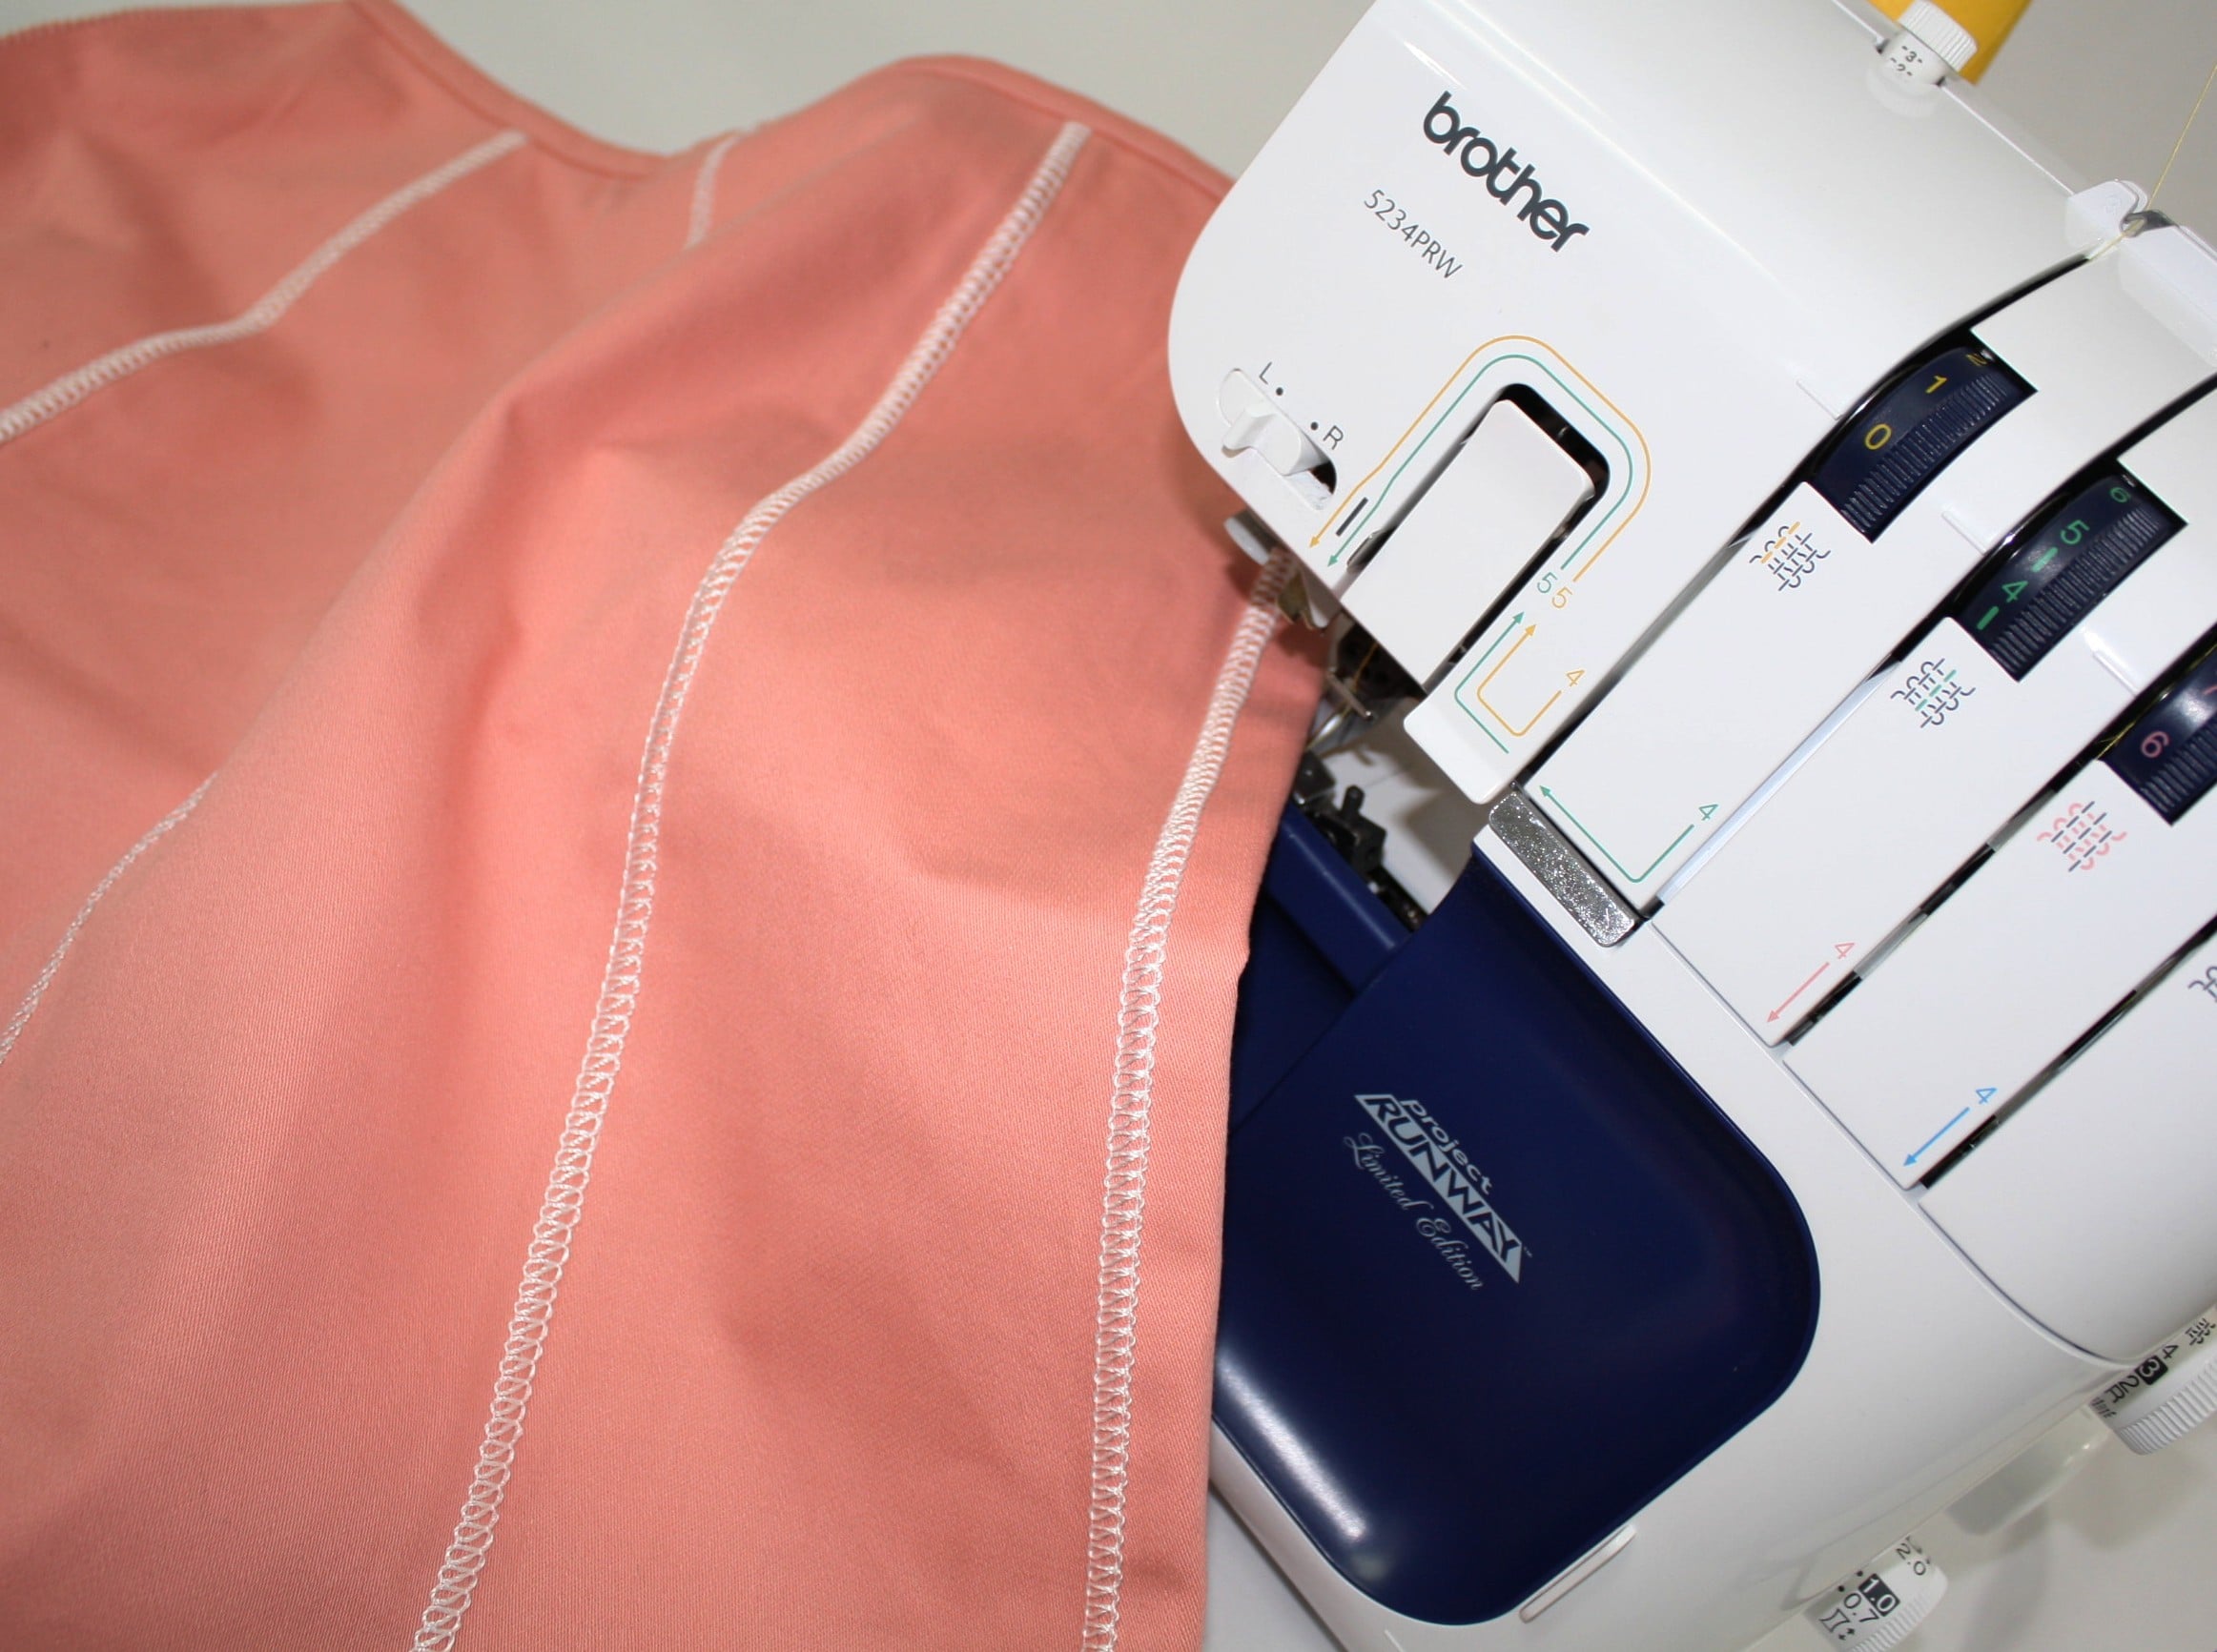
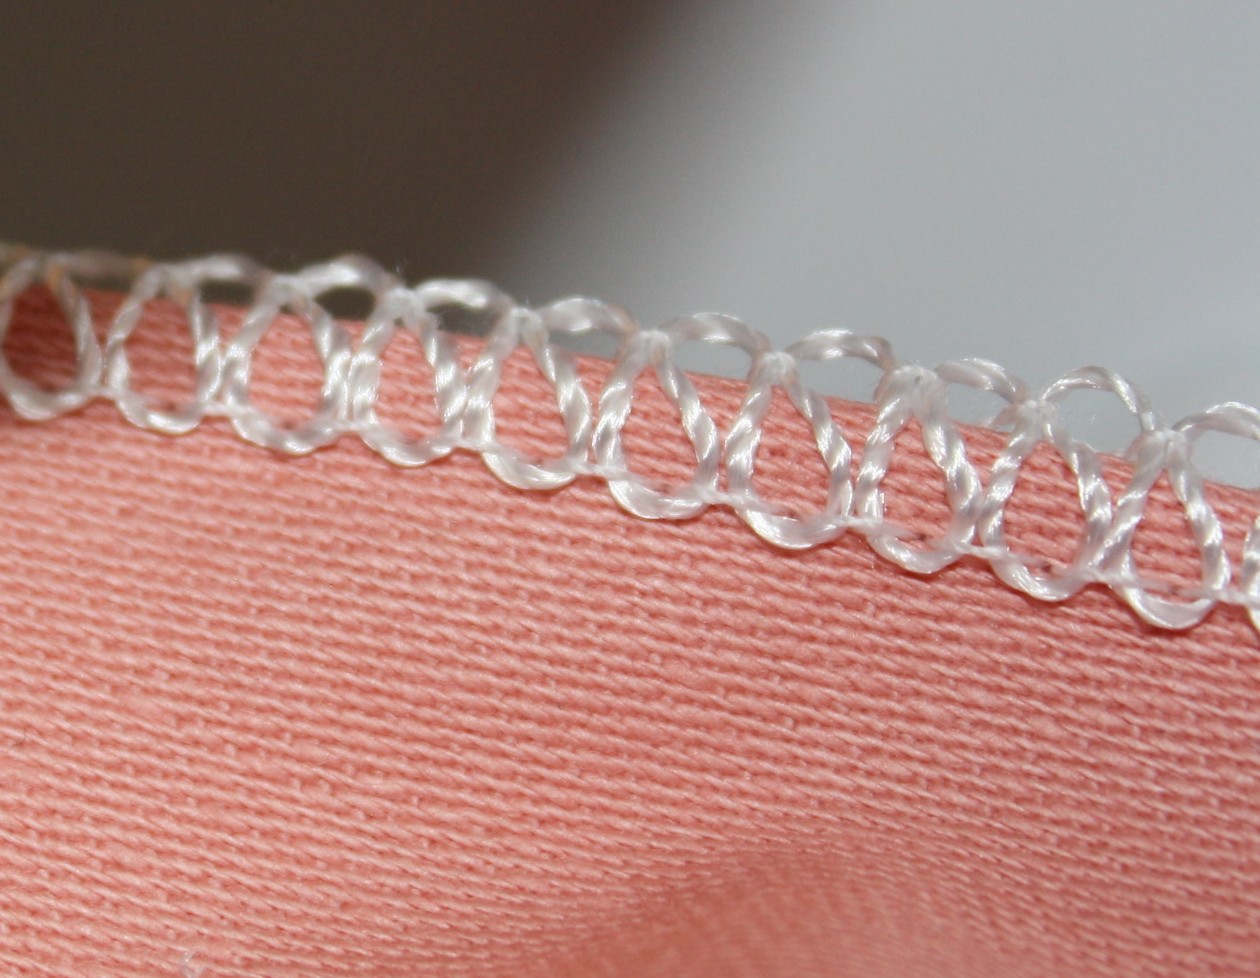
I am using the Brother Serger 3-thread flatlock stitch with a decorative crochet thread in the upper looper.   The left needle and lower looper have a similar color polyester thread.  The photo above shows the front of the flatlock stitch and the backside.  The backside looks like a ladder stitch.  (the peach thread is just the serged edge of the seam).

How to sew with creative serging - Angela Wolf

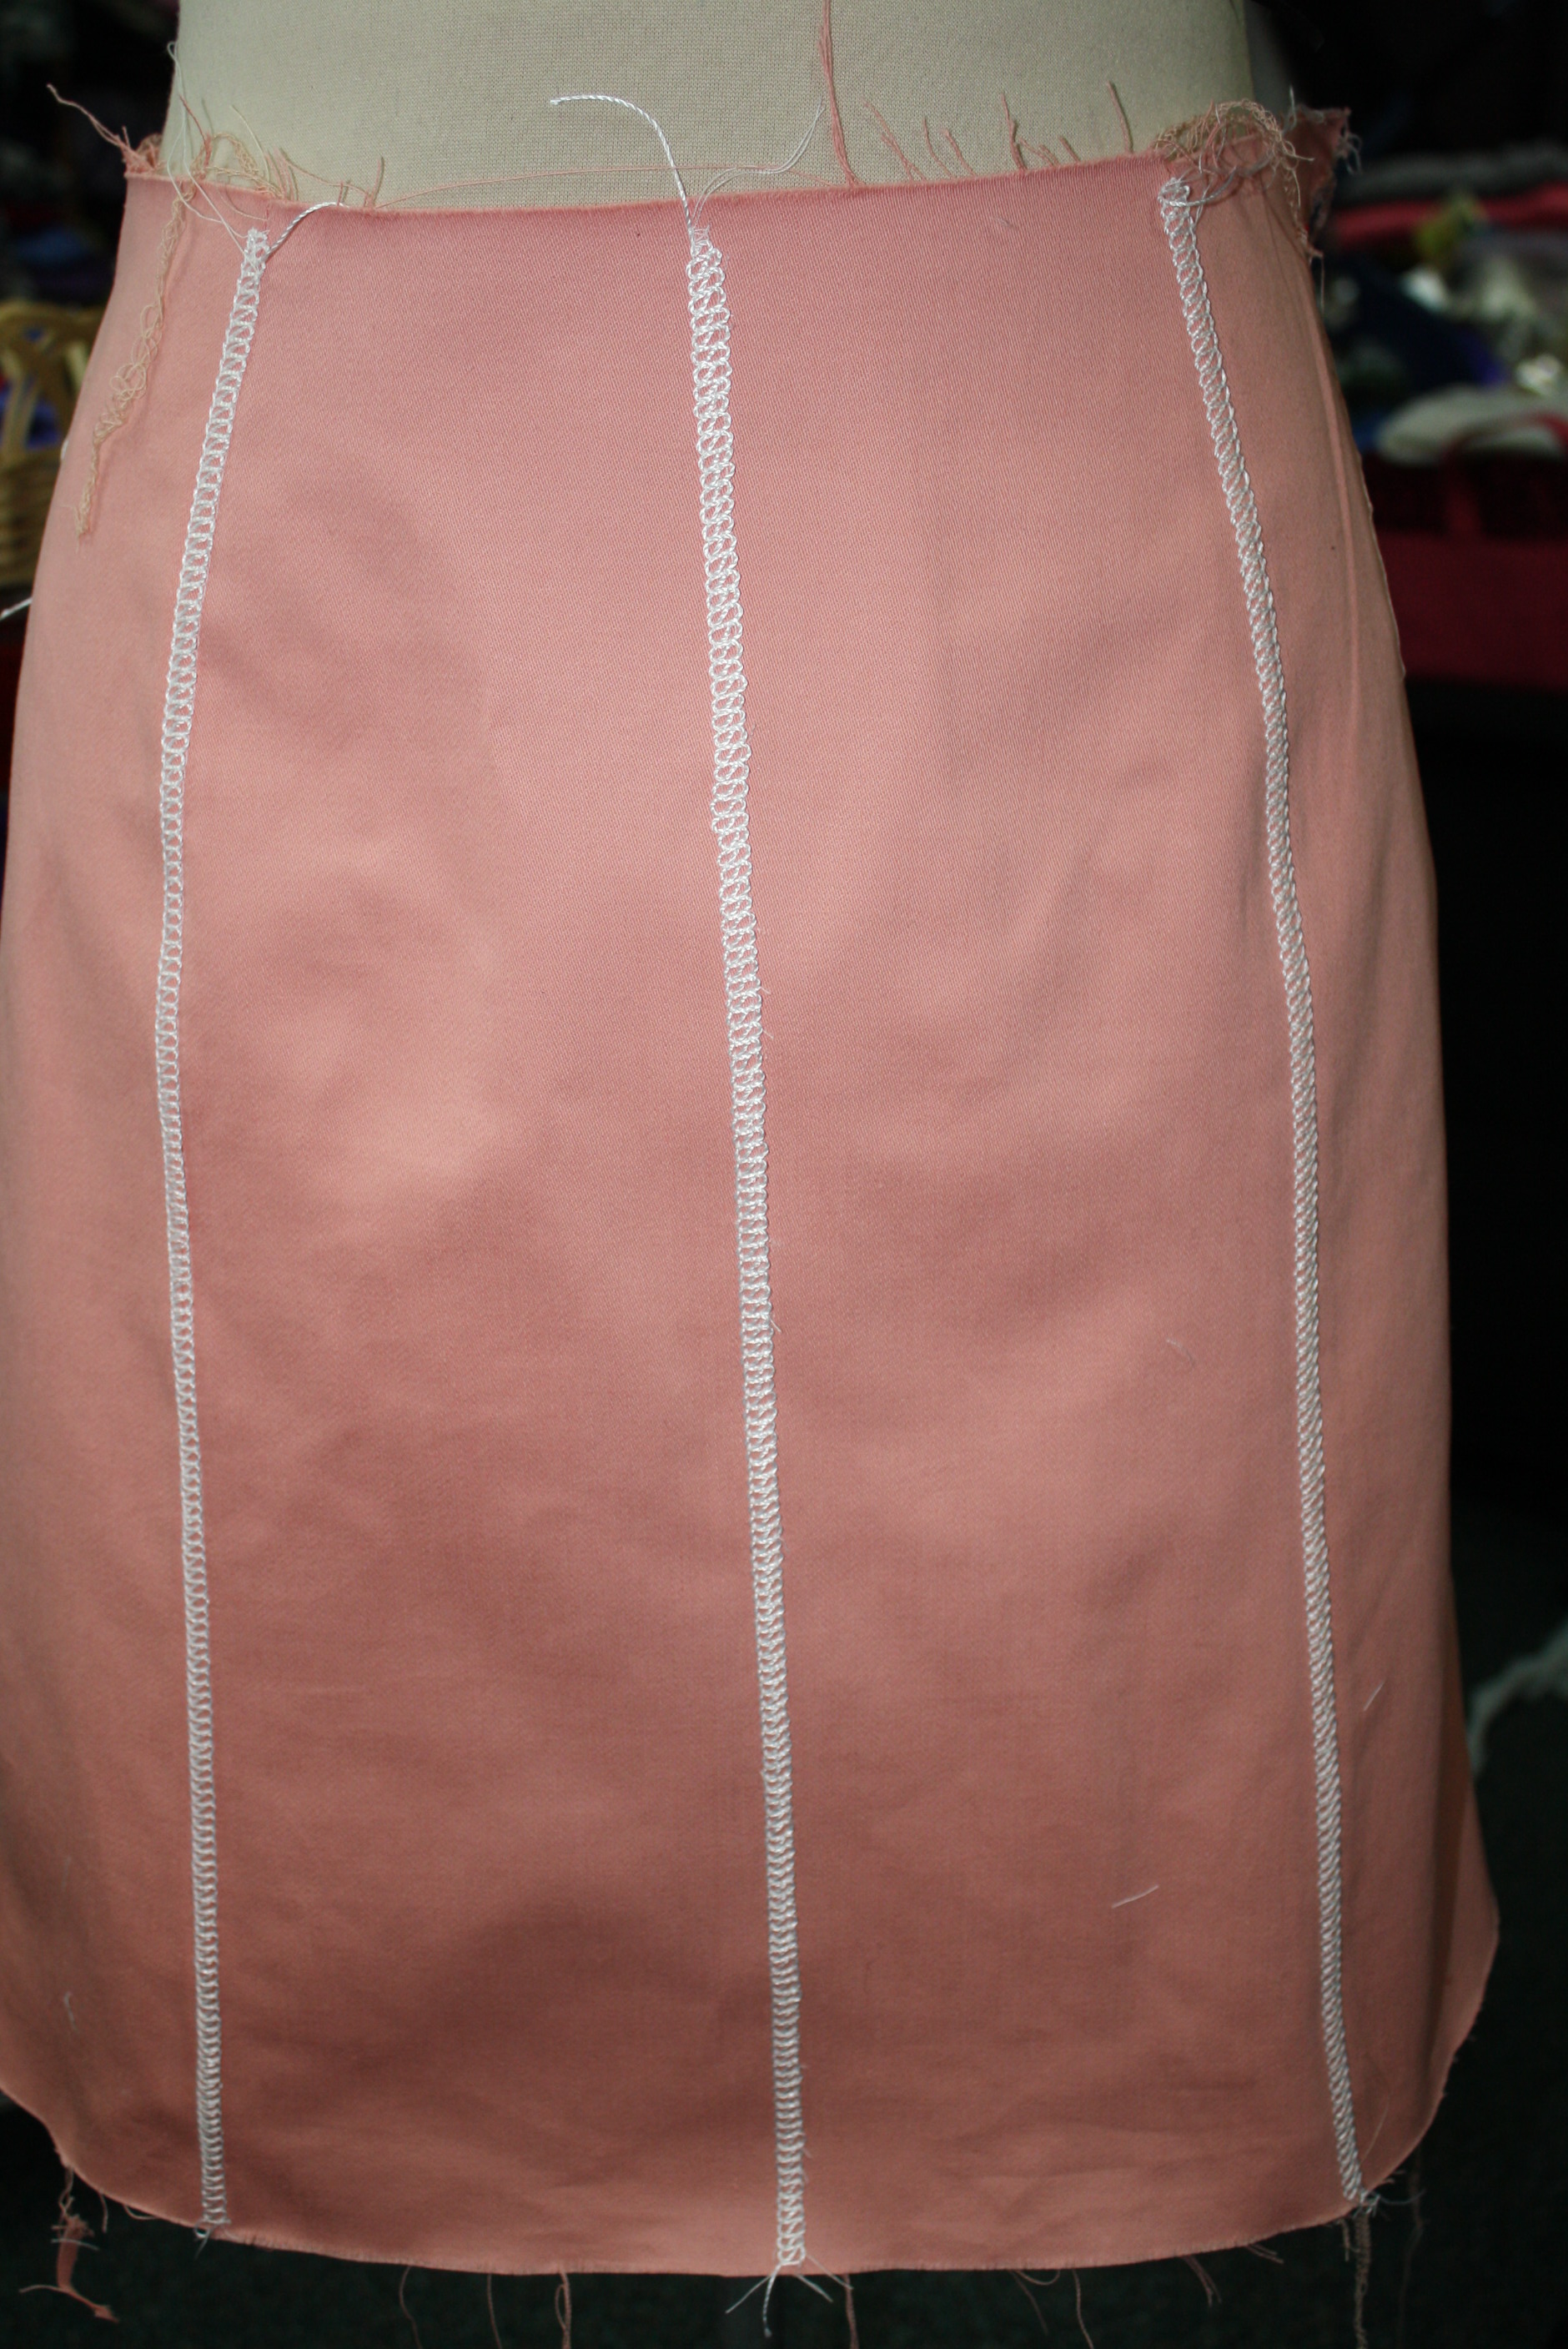
I started with the Kate Skirt Pattern.  I added seams to the front and center back, but you could just pencil in a line with tailors chalk – it doesn’t need to be a seam to add the flatlock decorative stitch.

How to sew a creative serged seam with Angela Wolf

Here is the back view.  Again there are 2 seams on each side back and this time there is a seam down the center back with a hidden zip. In order for this stitching to look even (with the zipper), I stitched the flat-felled embellishment down the edge of each center back seam, then added the zipper and closed the seam.  That part got a little tricky and you can see the stitches are not perfectly even.  I haven’t decided if I am going to rip it out and start again or hope nobody is looking at my tush that closely to notice 🙂

Setting up the Serger:

  • Set your serger up for a 3-thread overlock:  I am using a serger from Brother and the standard setting for the needle and looper tensions are 4.  When I give you new tension numbers you can compare this with your serger, if your serger has manual tension dials.  If you are serging with an air-threading serger, like this Babylock, set up your serger for the 2-thread flatlock – wide.
  • Thread the upper looper (or the only looper for the 2-thread flatlock) with a decorative thread.  Use standard poly serging thread in the needle and lower looper.


Decorative Thread Ideas:


Next, there are a few changes to the serger settings:

  • Stitch Width: 5mm
  • Stitch Length: 2-4mm
  • Needle Tension:  Decrease to 0 -3 (remember my standard setting is 4 so adjust for your serger)
  • Upper Looper Tension:  Decrease  to 2 – 3
  • Lower Looper Tension: Increase to 6 – 9
  • Disengage the knife

These setting serve as a guide.  It will depend on the fabric and thread you end up serging with.

Blind Hem Stitch Foot

See if your serger had a Blind Hem Foot, if not you can use the standard foot.

There is a setting on the foot that moves to the plastic or metal piece to right and left, allowing the needle to pierce more or less of the fabric.  Test the stitch on your fabric to determine the setting.

Fold the fabric in half or if you are embellishing a seam, fold along the seam line.   Align the fabric along the shield on the blind hem foot (if using a standard foot, mark a spot to align with).

Flat lock stitching with Angela Wolf

The idea is for the needle to pierce the fabric –  half the stitch is on the fabric and half is off the fabric.  In fact the stitch looks really messy coming out of the serger!

flat lock stitching with angela wolf

Stretch out the folded fabric to lie flat and press.

flat lock stitching with Angela Wolf

Pretty simple, but so fun!  Have you ever tried this before?  I would love some more ideas for decorative threads or yarns to use with this stitch.

Be sure to share photos of your creative serged project 🙂  #angelawolf

Cheers,

Angela Wolf


Ep. 304 Meet Jeff – Founder of CraftOptics

Ep. 304 Meet Jeff – Founder of CraftOptics

Episode 305 🧵 Behind the Scenes with Angela Wolf Featuring CraftOptics I am not sure about your, but if I am working in a low lit area or sewing beads onto a garment, I tend to lean forward and squint, this ending up with a terrible back ache!  CraftOptics has changed...

read more
Ep. 303 Delila Knit Top Part 3

Ep. 303 Delila Knit Top Part 3

Episode 303 🧵 Behind the Scenes with Angela Wolf The last part of our Delila Slit Sleeve Sewalong!  Have you checked out all the Delila tops posted in our private Angela Wolf Patterns Group?   So cute!!! Angie Hotchkiss ~  Angela Wolf Facebook GroupDarlene Deck ~...

read more
A BIG THANK YOU!!!!

A BIG THANK YOU!!!!

Vote for me for Craftsy's blogger awards!I woke up this morning to an email that made me very happy and I have YOU to thank 🙂  Just so you know, you made my day!!!!!  In case you missed it, Craftsy is holding their 2013 blogging awards.  Round one of voting is finished and your votes placed my blog into the finals in the category of Sewing – Best Craftsy Instructor Blog.  There are only 4 of us and now another round of voting continues until October 29th – Of course I am hoping you will vote again 🙂

First, let me tell you how encouraging this was to hear.  Writing a blog and posting video tutorials does take up quite a bit of time, but I personally do so in order to  encourage you to sew.  Not only sew, but to sew clothes and sew clothes that look like they walked out of a boutique with a high price tag.  I have been sewing my own clothes for over 20 years (that just gives me a reason to buy more shoes and handbags LOL) and I love sharing what I have learned with you.

So what happens now?  There is a final round of voting that will end on October 29th and Craftsy is offering a free class to one of the lucky voters.  For me, I already feel like a winner.  As a special thank you for the support you have already shown and encouragement for you to vote again during these final weeks (bribery never hurts right :)) I am going to offer a few giveaways. Angela Wolf Bootcut Jean

Recently I offered a free Crafty class to my new Sewing Designer Jeans class that will launch later this month and a huge CONGRATULATIONS to the winner Marie C..  Well, the class doesn’t include a pattern.  Why?  Because maybe you copied your favorite pair in Kenneth D. Kings class or you already have a favorite jean pattern from my friend Jennifer Stern or you like the range of sizes in Jalie … just to name a few of my favorite reasons.  During the class, I will be using my  Angel Bootcut Jean pattern (my current pattern includes misses sizes 0 – 16 and I am diligently working on the women’s sizes 16W – 24W) and I even show you how to alter the pattern for a higher or lower waist (amongst other fitting issues).  So, it only seems appropriate to giveaway one of my jean patterns.  How can you win?  Pretty simple – let me know why you want to sew my jean pattern and please vote in the final round on Craftsy (remember you can win a free class on Craftsy just for voting).  Afraid of sewing jeans – no worries, it’s really easy.  Remember back when I showed you videos on how to sew pockets.  There are lots more, just scroll through my posts about sewing jeans.  I will announce the winner of jeans pattern on Monday and I will announce another “thank you” giveaway tomorrow.

Again, THANK YOU so much for making my day today 🙂  xoxo Angela

Angela Wolf patterns 2013 -209

"Contemporary Couture Jacket"  Online Class on PatternReview.com

"Contemporary Couture Jacket" Online Class on PatternReview.com

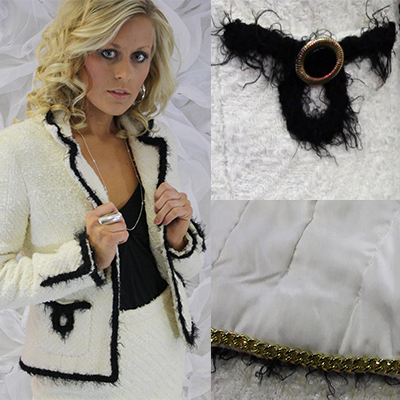
Angela Wolf sewing couture jacketA well-made jacket can show off an outfit to its best.  Join me on PatternReview  for the fundamentals and fine points of creating a contemporary couture jacket (hint: my version of the traditional Chanel jacket).

You’ll love the comfort and style of this jacket… it feels more like a sweater! It’s the perfect topper for jeans or more formal dress.  This couture jacket is a must-have for the modern lifestyle!

The class offers 12 videos with 2 hours and 45 minutes of HD video.  There is also a 164 page PDF file with photos and close up details of every step.

  • Selecting fabric and lining.
  • Creating a 3-piece sleeve, laying out the pattern, and cutting the fashion fabric.
  • Attaching fusible interfacing, finishing the edges, and cutting the lining.
  • Using a couture technique to quilt the lining.
  • Sewing a jacket with a plaid.
  • Preparing and hand-stitching the lining.
  • Sewing the sleeve vent and attaching sleeves.
  • Covering shoulder pads.
  • Trim ideas, including a tutorial on how to crochet your own trim!
  • Closure options including custom covered buttons.
  • Pockets with a couture touch.
  • And last but not least, adding the prestigious weighted chain.

  Join me 🙂

[vimeo http://www.vimeo.com/68063903 w=500&h=281]

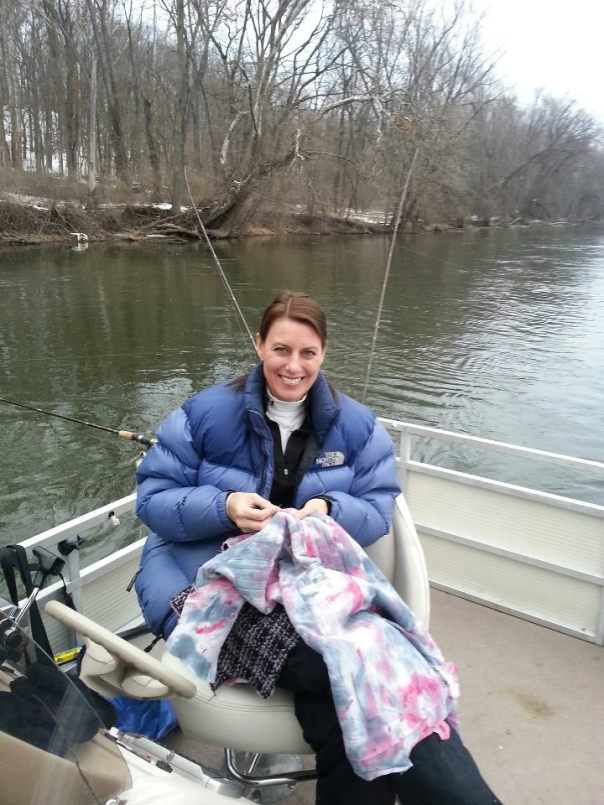
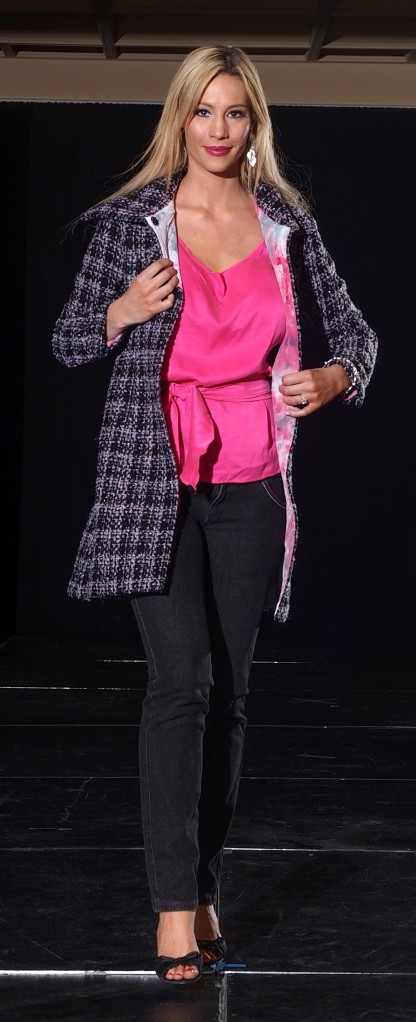
Thinking you don’t have time for a few hours of hand-stitching a couture jacket?  Why not bring the jacket with you!  Seriously, I hand-stitched the lining on this jacket while fishing (see the finished jacket below).  The lining is hand-dyed (and not with fish blood and guts :))    Fishing and sewing might be an odd combo, but it worked.  How about you, any fun sewing stories that can beat fishing?  Now be nice 🙂   Cheers xoxo Angela

angela wolf couture jacketAngela Wolf patternsAngela Wolf Patterns

"Contemporary Couture Jacket"  Online Class on PatternReview.com

“Contemporary Couture Jacket” Online Class on PatternReview.com

Angela Wolf sewing couture jacketA well-made jacket can show off an outfit to its best.  Join me on PatternReview  for the fundamentals and fine points of creating a contemporary couture jacket (hint: my version of the traditional Chanel jacket).

You’ll love the comfort and style of this jacket… it feels more like a sweater! It’s the perfect topper for jeans or more formal dress.  This couture jacket is a must-have for the modern lifestyle!

The class offers 12 videos with 2 hours and 45 minutes of HD video.  There is also a 164 page PDF file with photos and close up details of every step.

  • Selecting fabric and lining.
  • Creating a 3-piece sleeve, laying out the pattern, and cutting the fashion fabric.
  • Attaching fusible interfacing, finishing the edges, and cutting the lining.
  • Using a couture technique to quilt the lining.
  • Sewing a jacket with a plaid.
  • Preparing and hand-stitching the lining.
  • Sewing the sleeve vent and attaching sleeves.
  • Covering shoulder pads.
  • Trim ideas, including a tutorial on how to crochet your own trim!
  • Closure options including custom covered buttons.
  • Pockets with a couture touch.
  • And last but not least, adding the prestigious weighted chain.

  Join me 🙂

[vimeo http://www.vimeo.com/68063903 w=500&h=281]

Thinking you don’t have time for a few hours of hand-stitching a couture jacket?  Why not bring the jacket with you!  Seriously, I hand-stitched the lining on this jacket while fishing (see the finished jacket below).  The lining is hand-dyed (and not with fish blood and guts :))    Fishing and sewing might be an odd combo, but it worked.  How about you, any fun sewing stories that can beat fishing?  Now be nice 🙂   Cheers xoxo Angela

angela wolf couture jacketAngela Wolf patternsAngela Wolf Patterns

Pin It on Pinterest