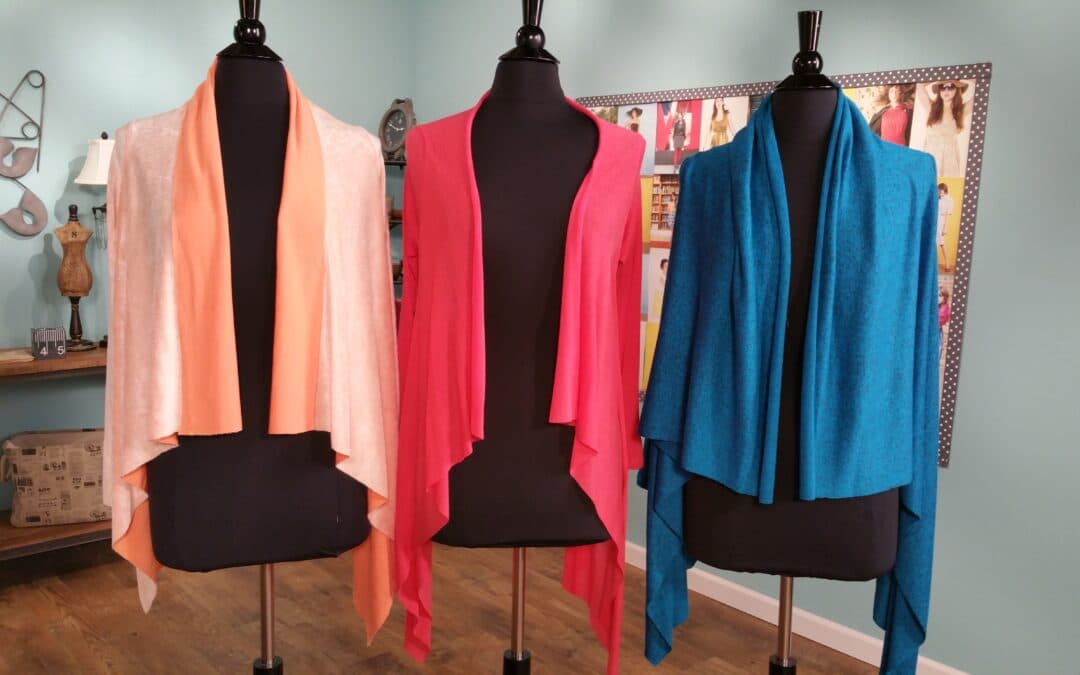


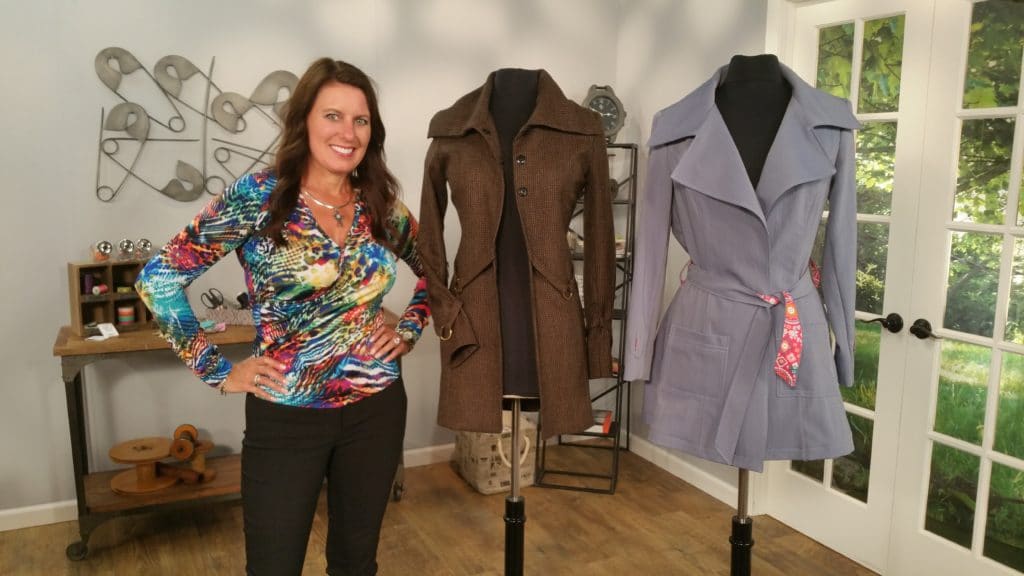


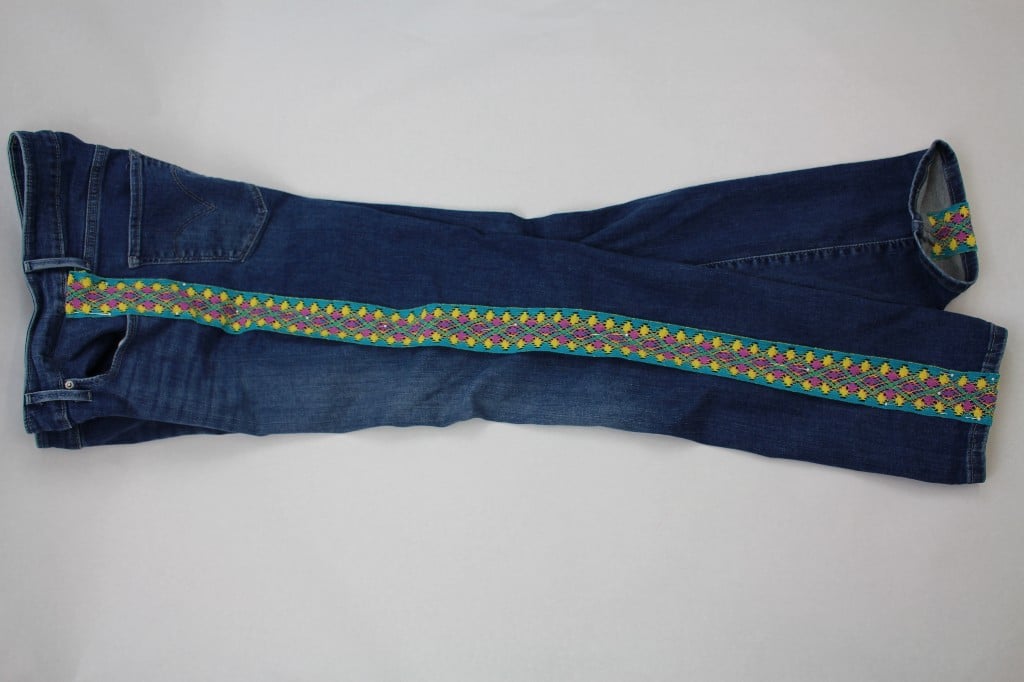
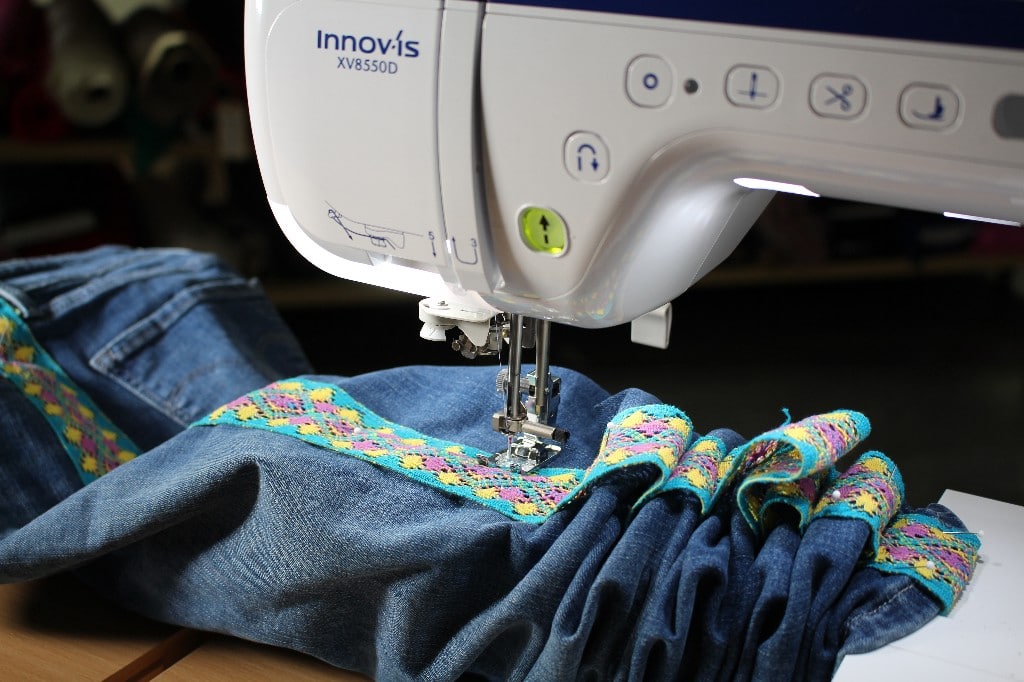

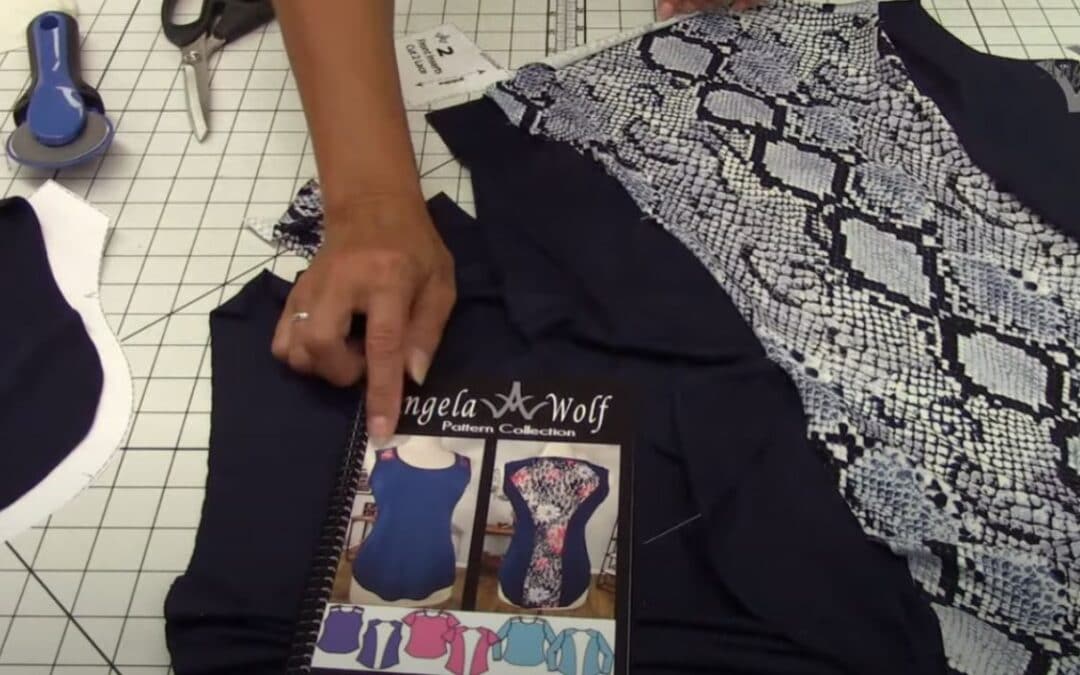
VLOG 238 Behind the Scenes ✂️ with Angela Wolf ! Last week we cut out the Lacy top pattern, this week we will serge it together. And I will be drawing 3 lucky winners for the beautiful Shannon Fabric!!! Also, check out the new renovations coming to Angela Wolf's...
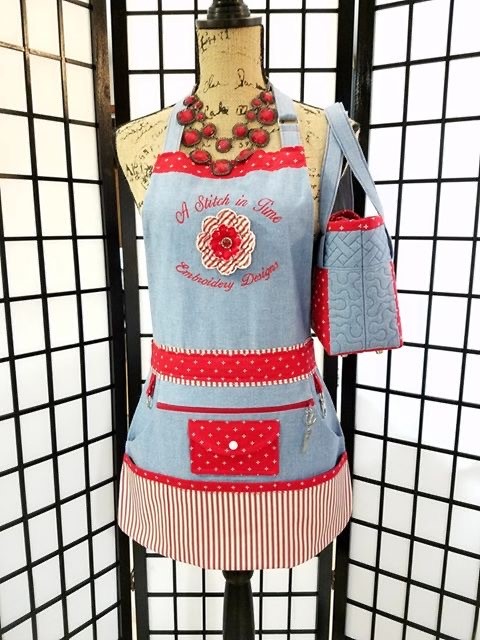
Apron Sew Along
Apron Sew Along
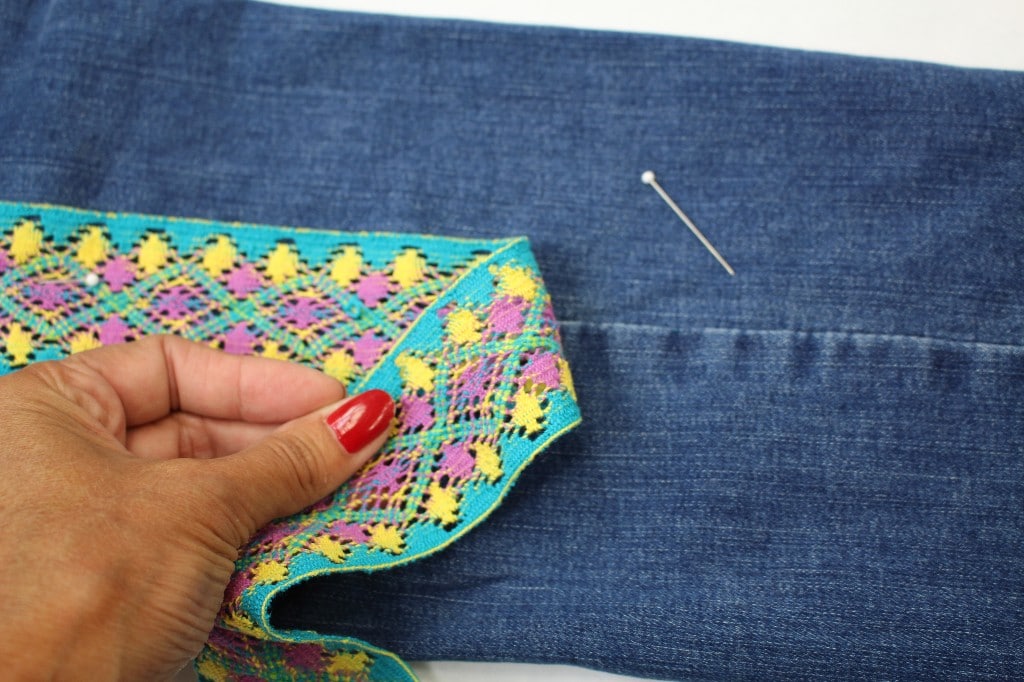
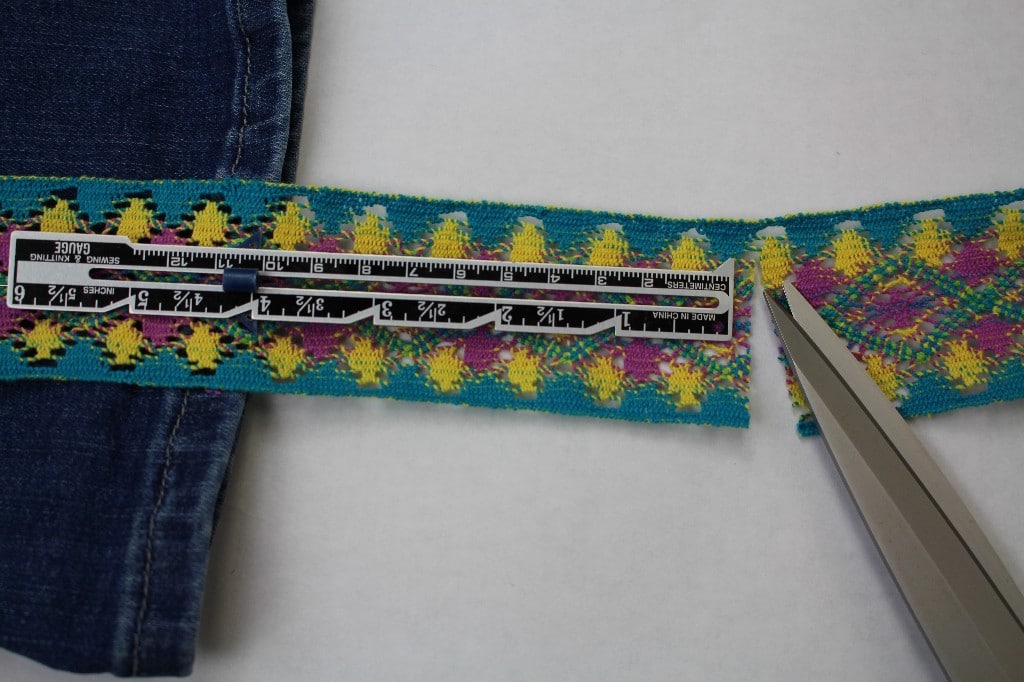
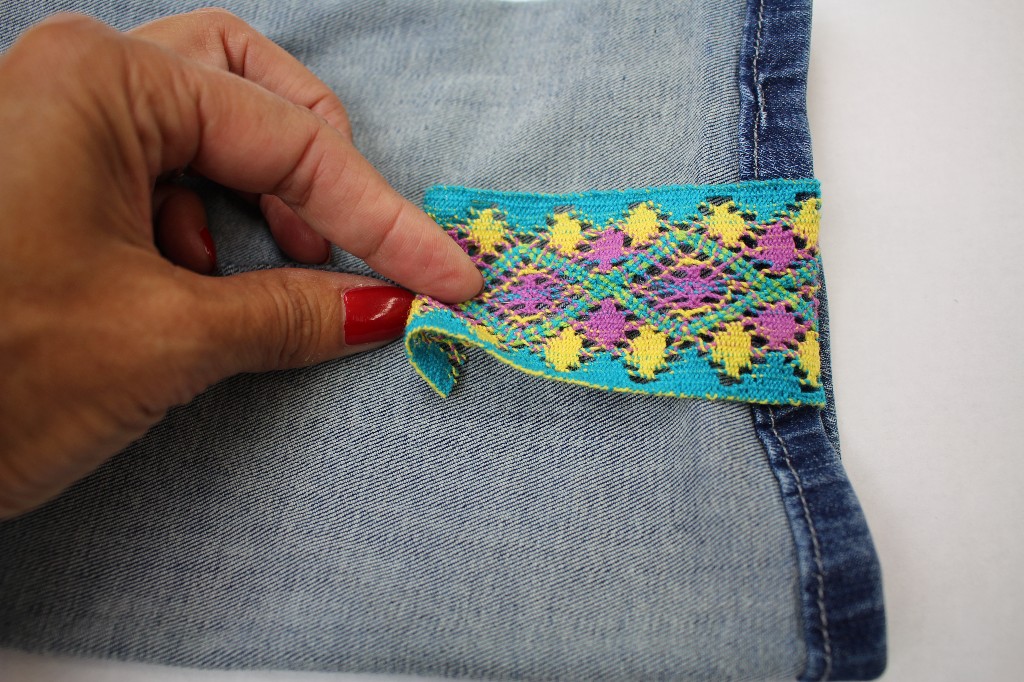
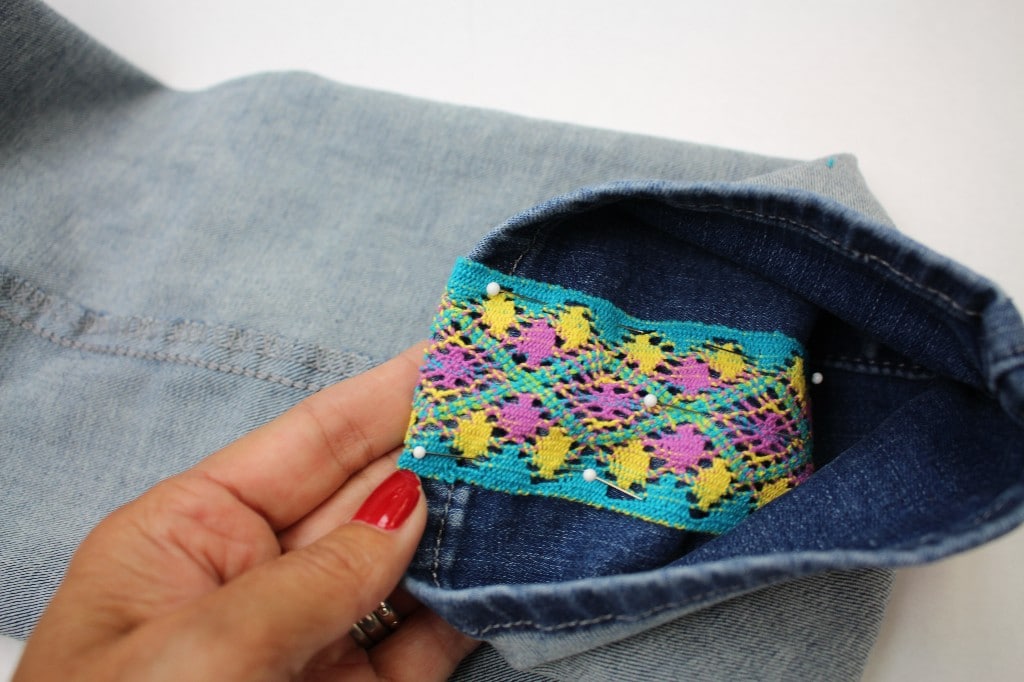
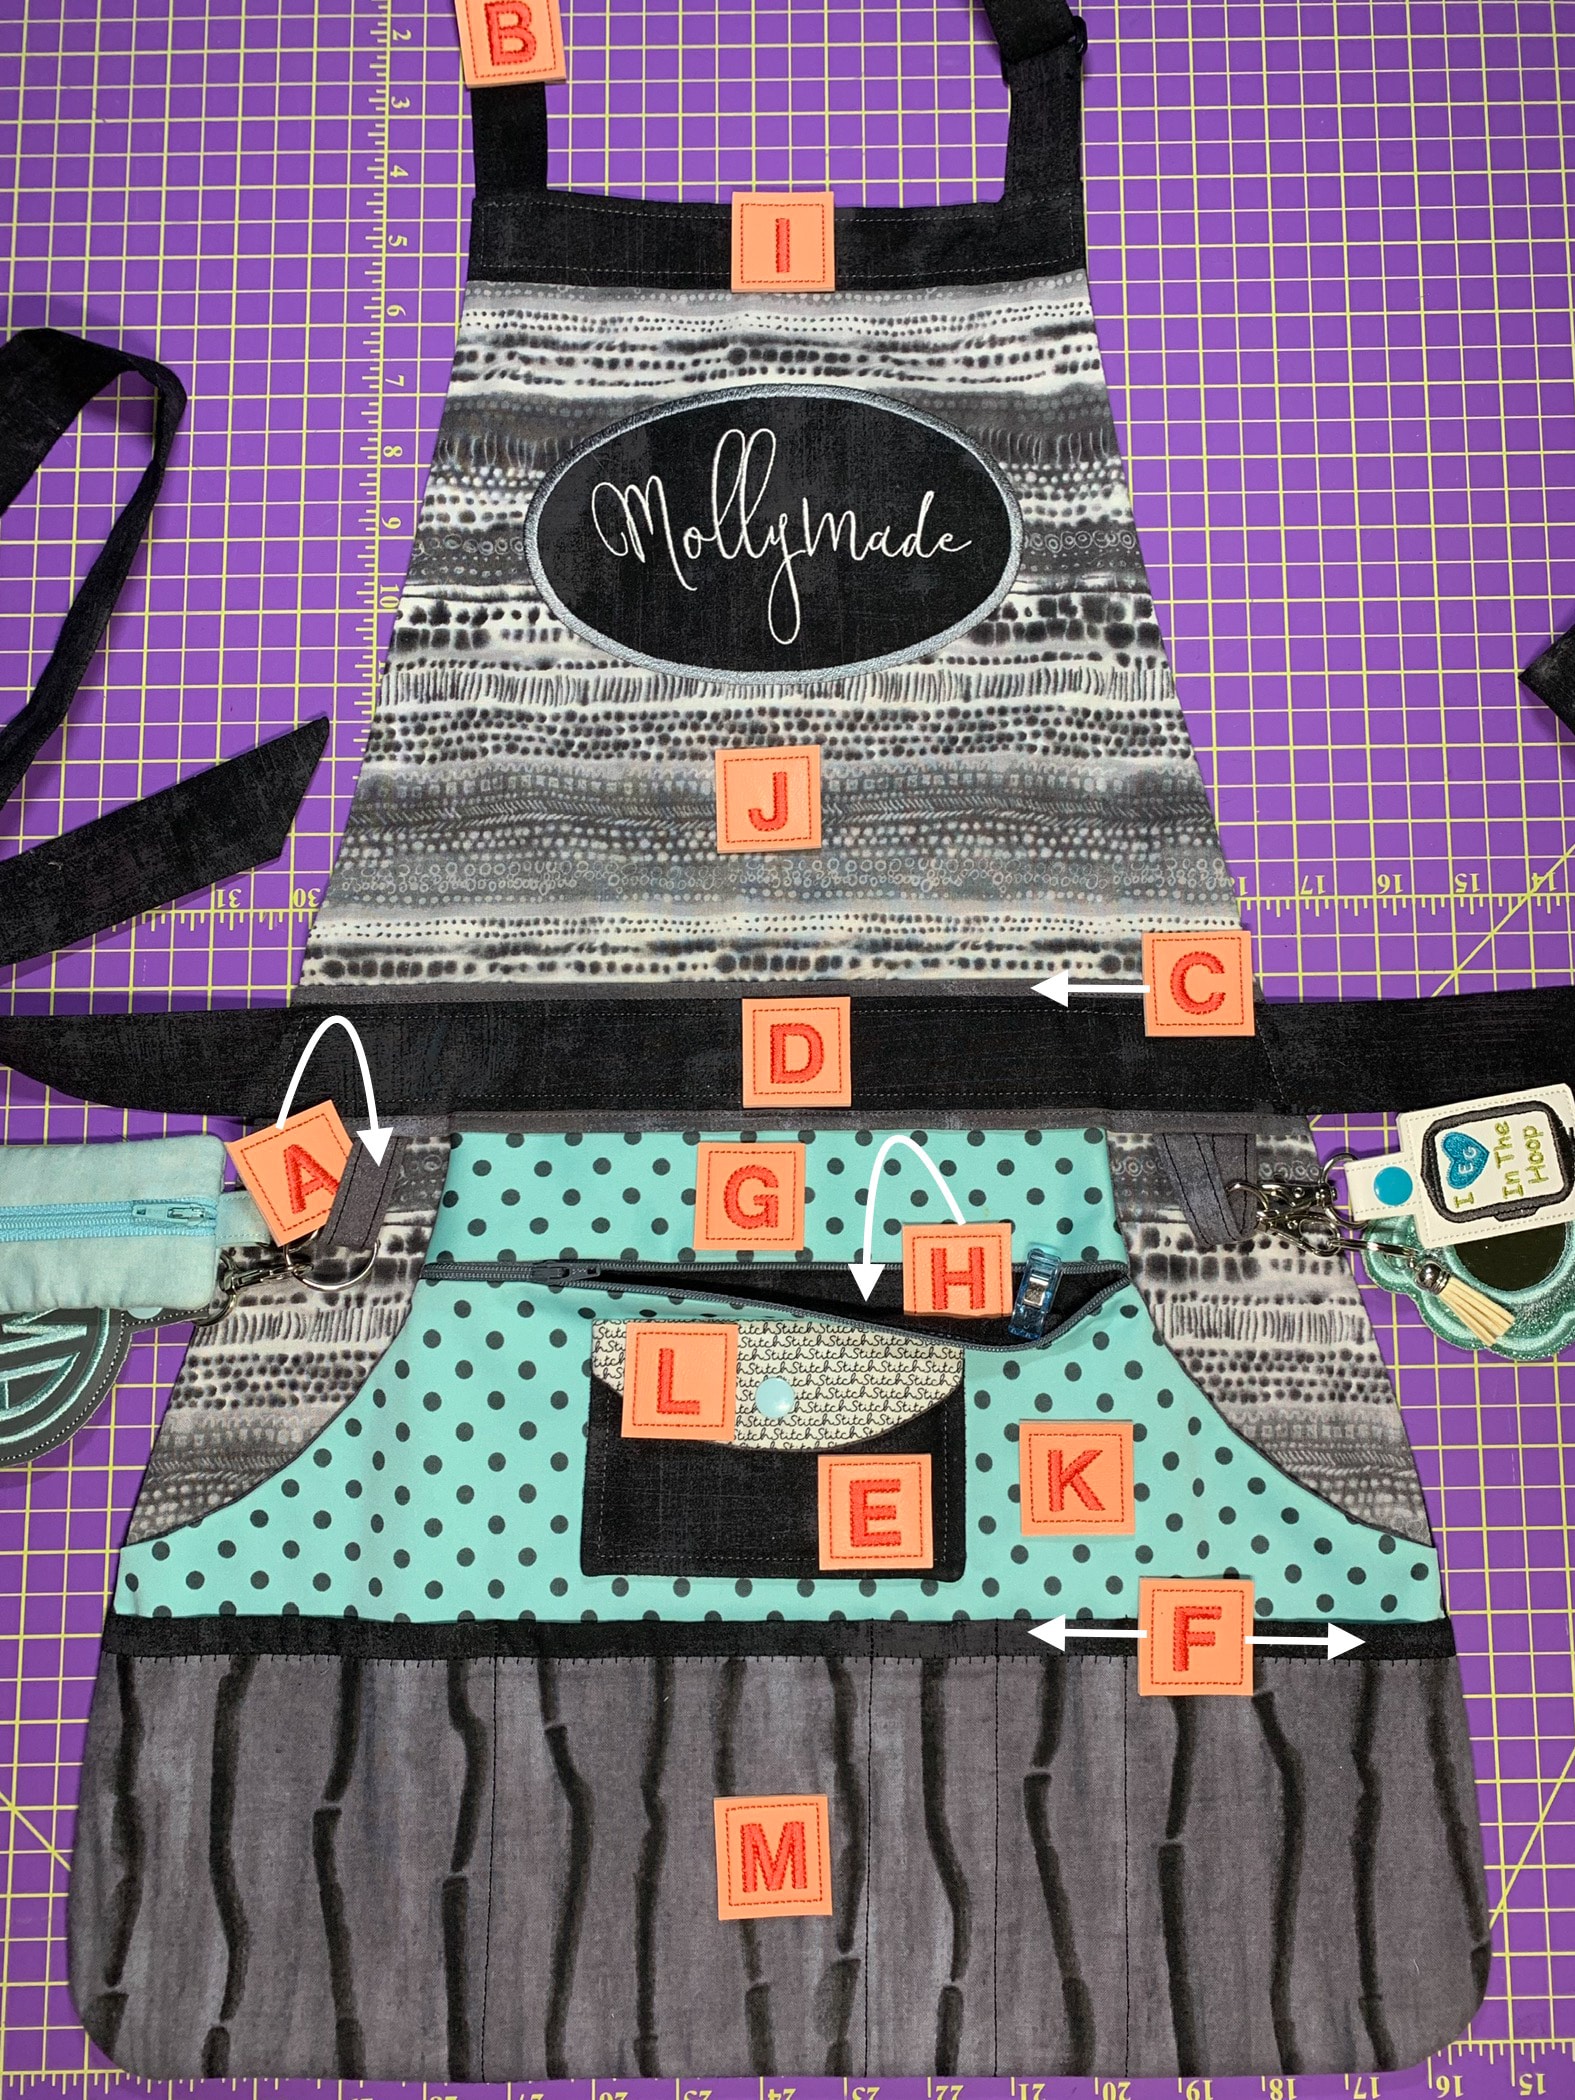
An apron is such a fun accessory to wear in the kitchen, at work, while dyeing fabrics, gardening, you name it! I thought it would be so fun to sew an apron and each day have guests on the live show showing how to embellish with embroidery, quilting, applique, and more.
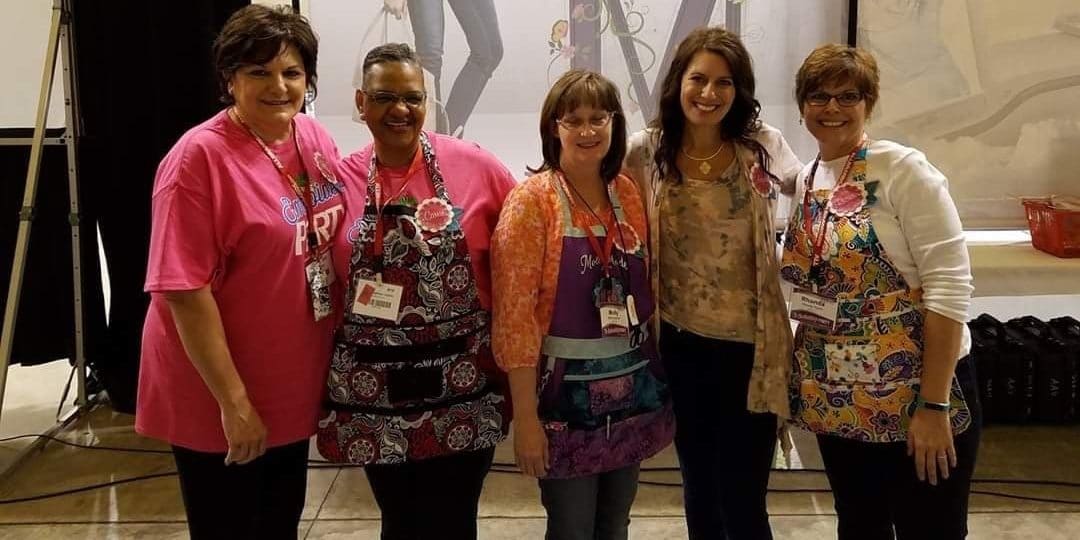
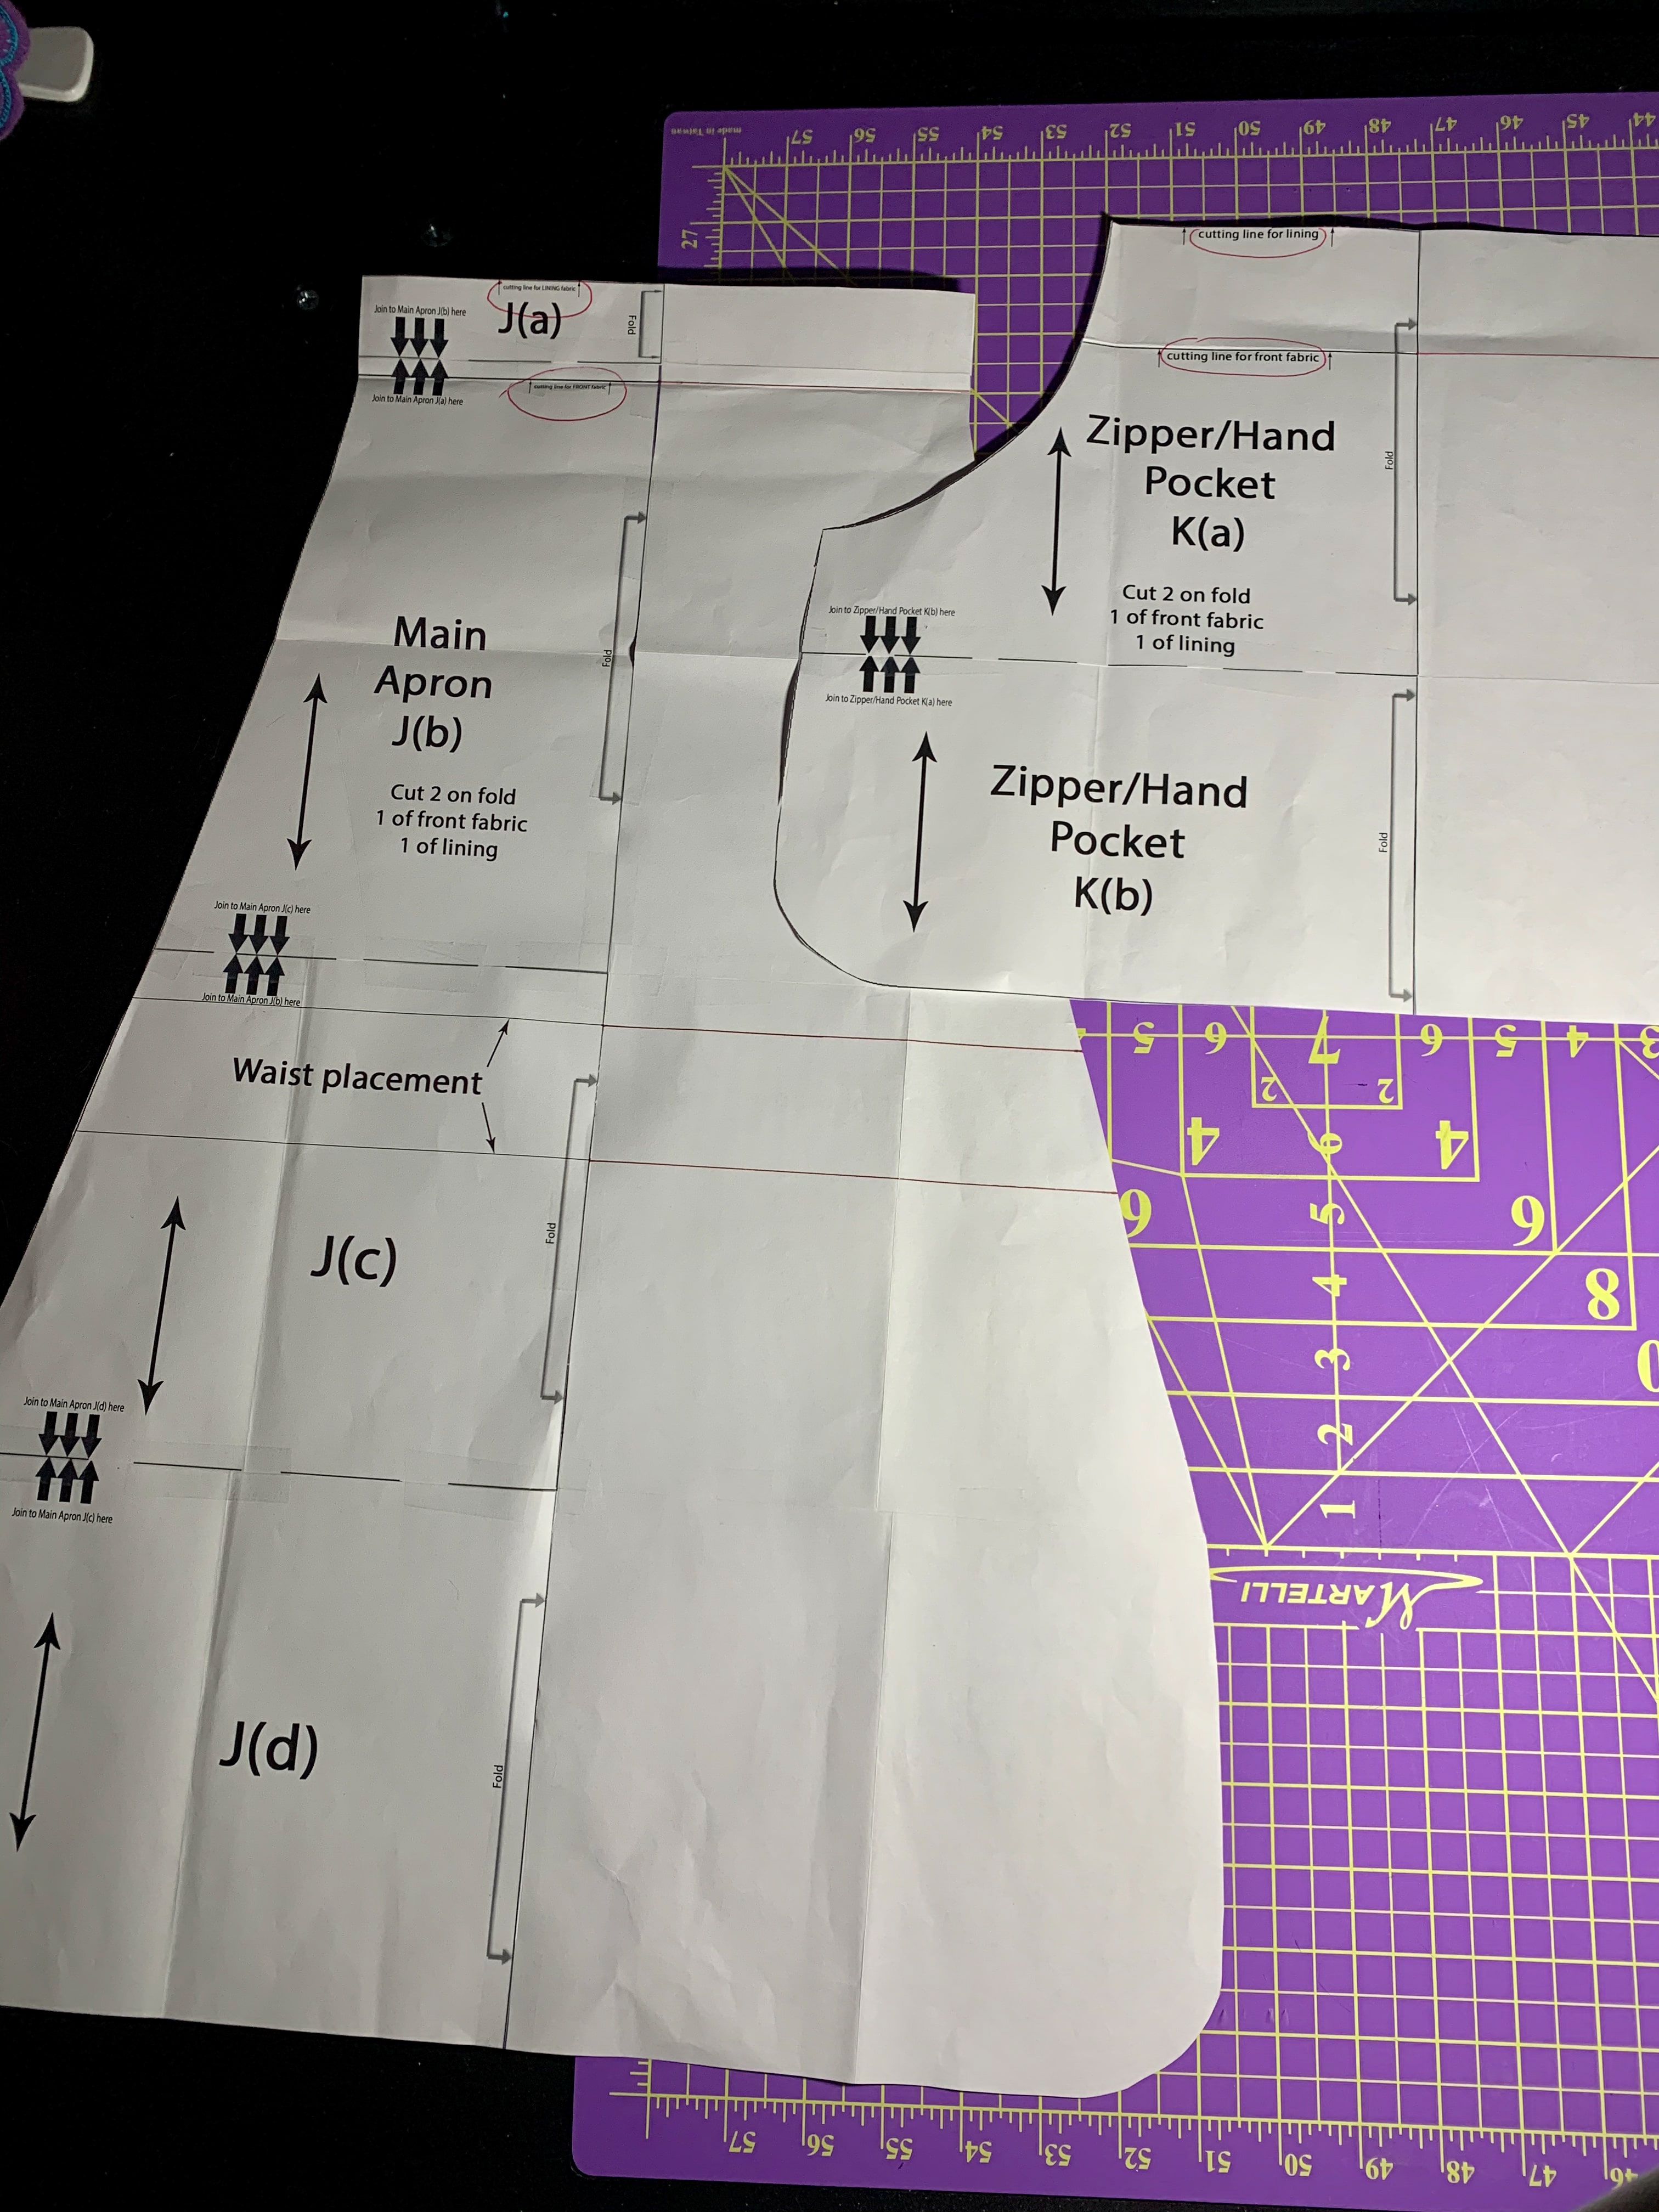
I will be using Molly Madison’s Apron Pattern, but feel free to use any apron pattern you might have on hand. Molly is a friend of mine and I just love the variations on her pattern as you see above.
Here is the schedule of live shows and I will include links to the live shows each morning:
Custom 4″ Zipper Case
Reen Wilcoxson from Embroidery Garden will be showing us how to make a 4″ zipper case. Here is the link to download the files.
You can find Reen at Embroidery Garden: