

Episode 259 ~ At your side 🧵 Virtually! Organizing and Sewing Clear Vinyl Join Angela Wolf with the next steps in sewing the Shirley Wrap with a sweater knit. Pressing hems with a tailors clapper, prepping neckline, and marking gathering.Catch the Next Show ... Be...
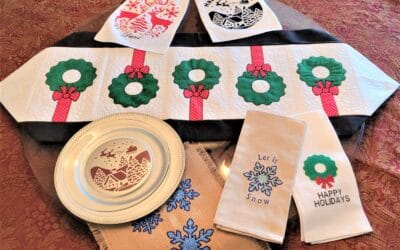
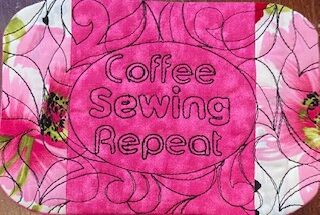
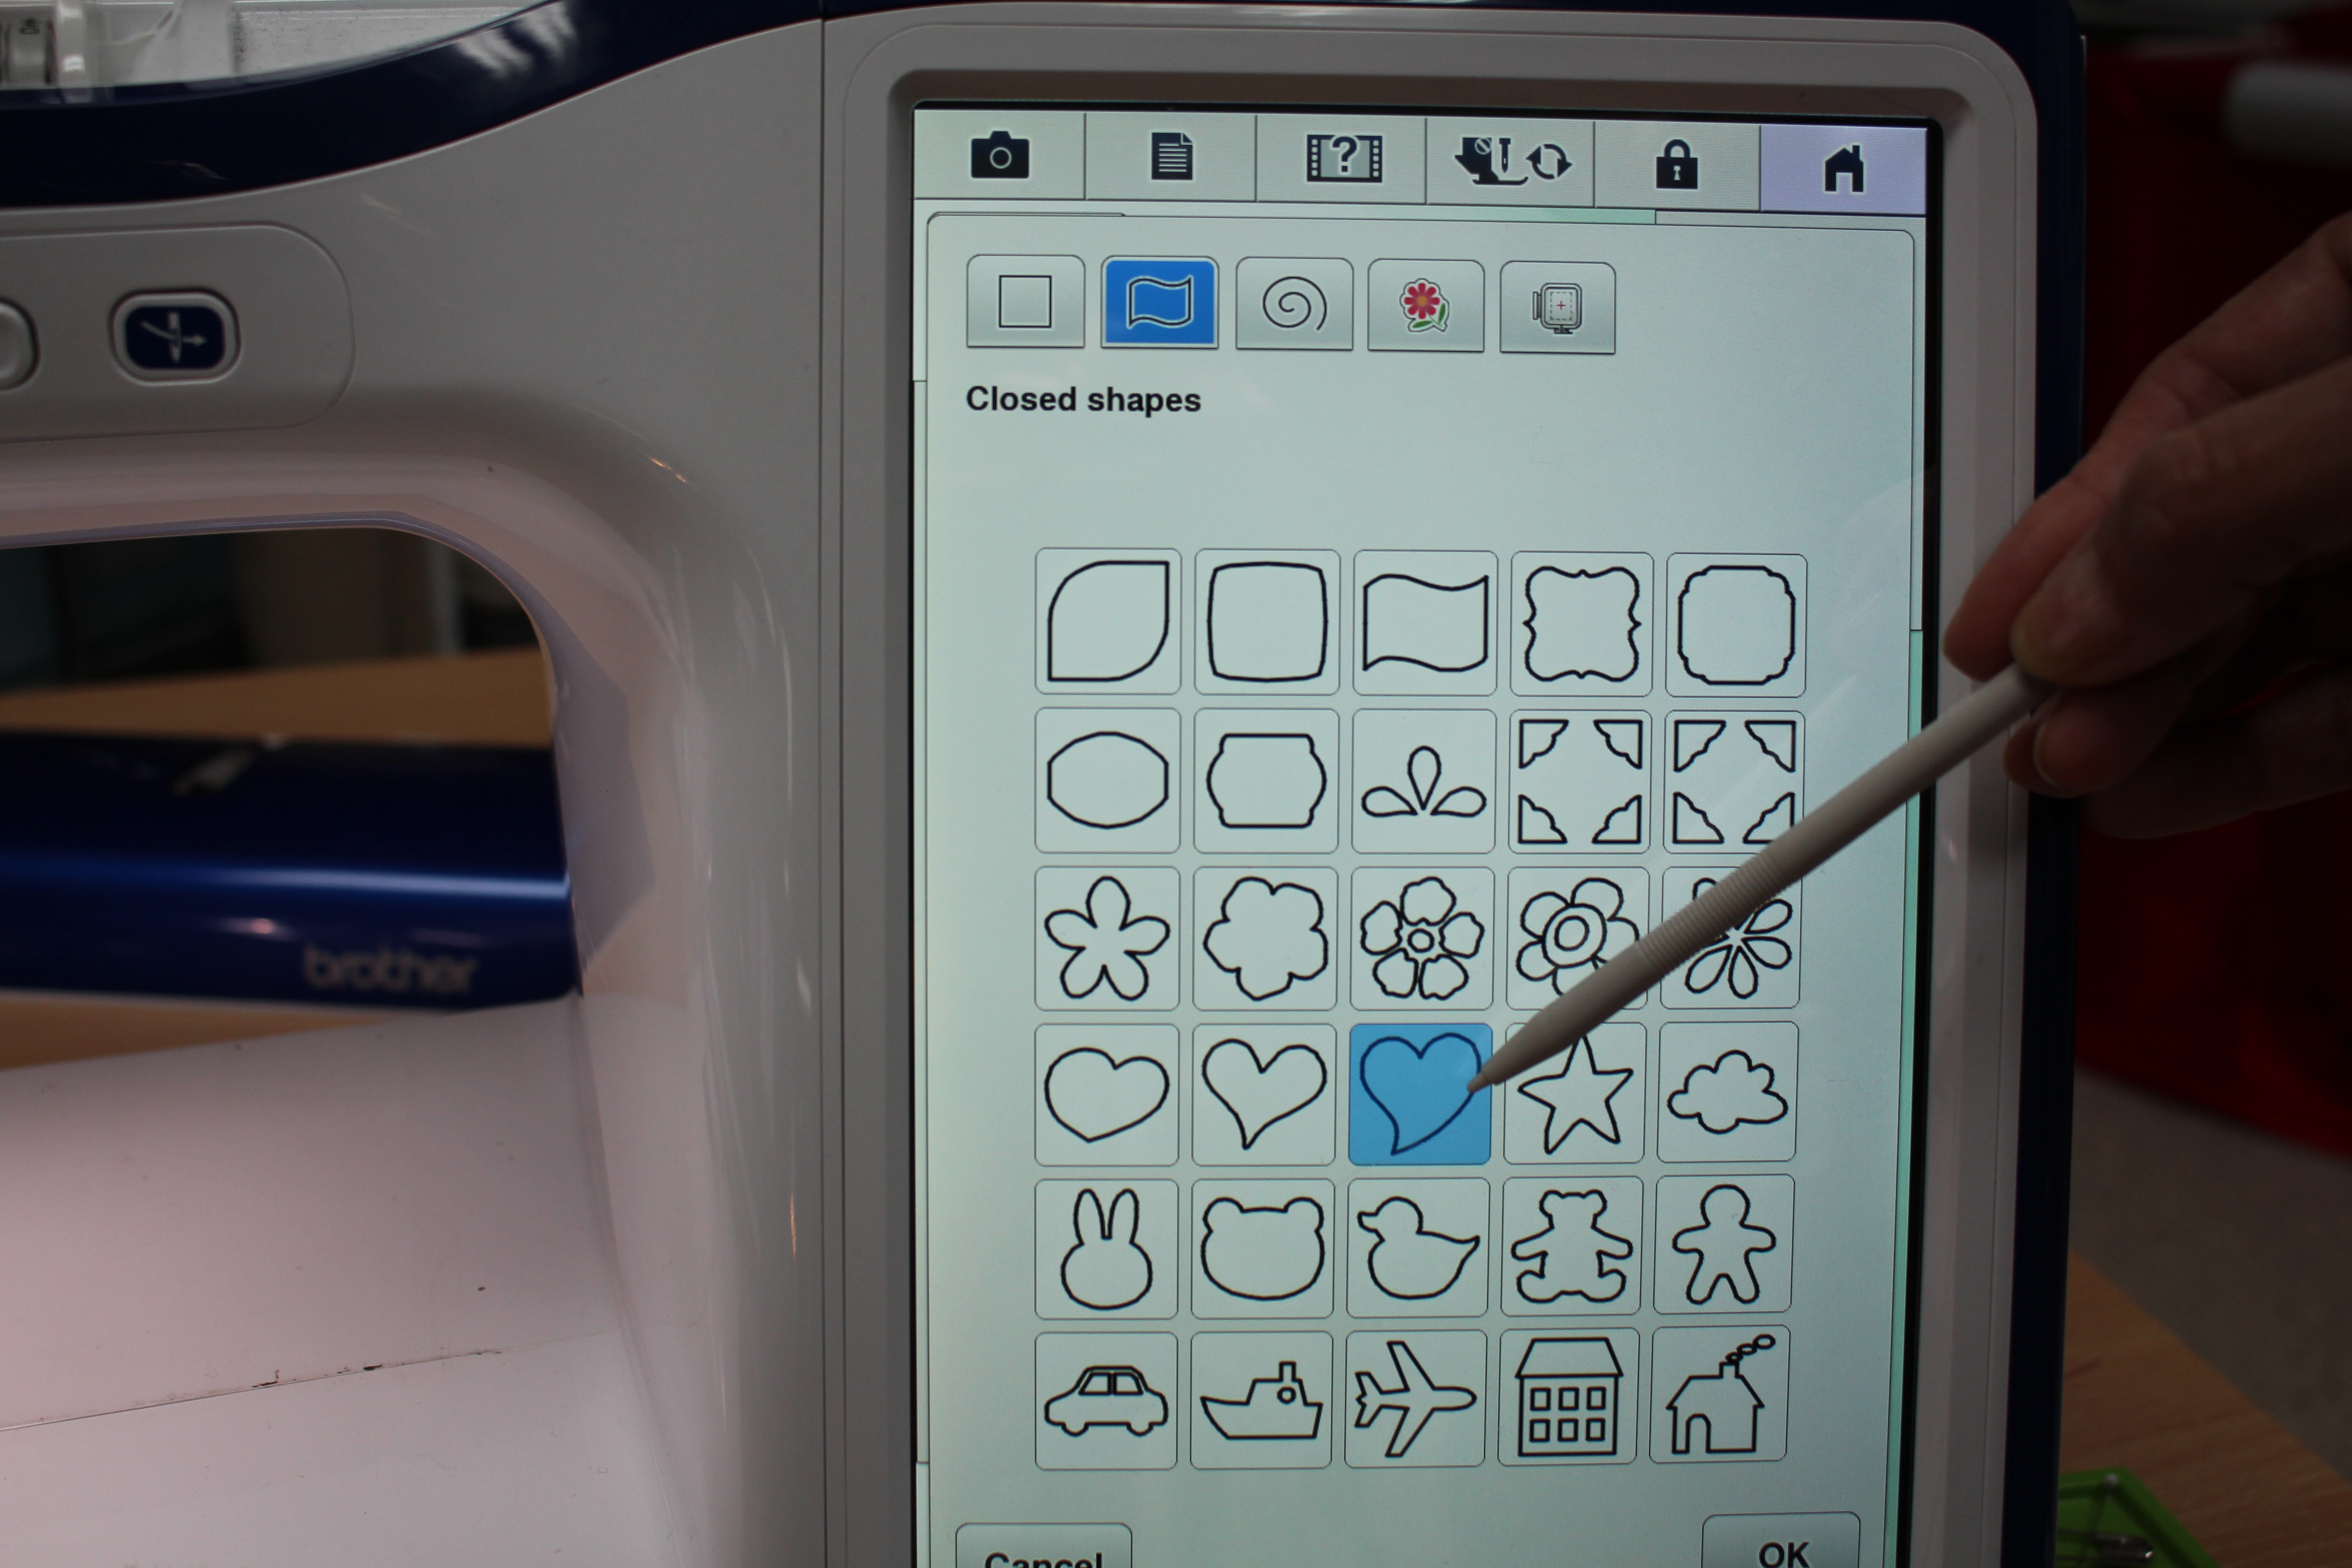
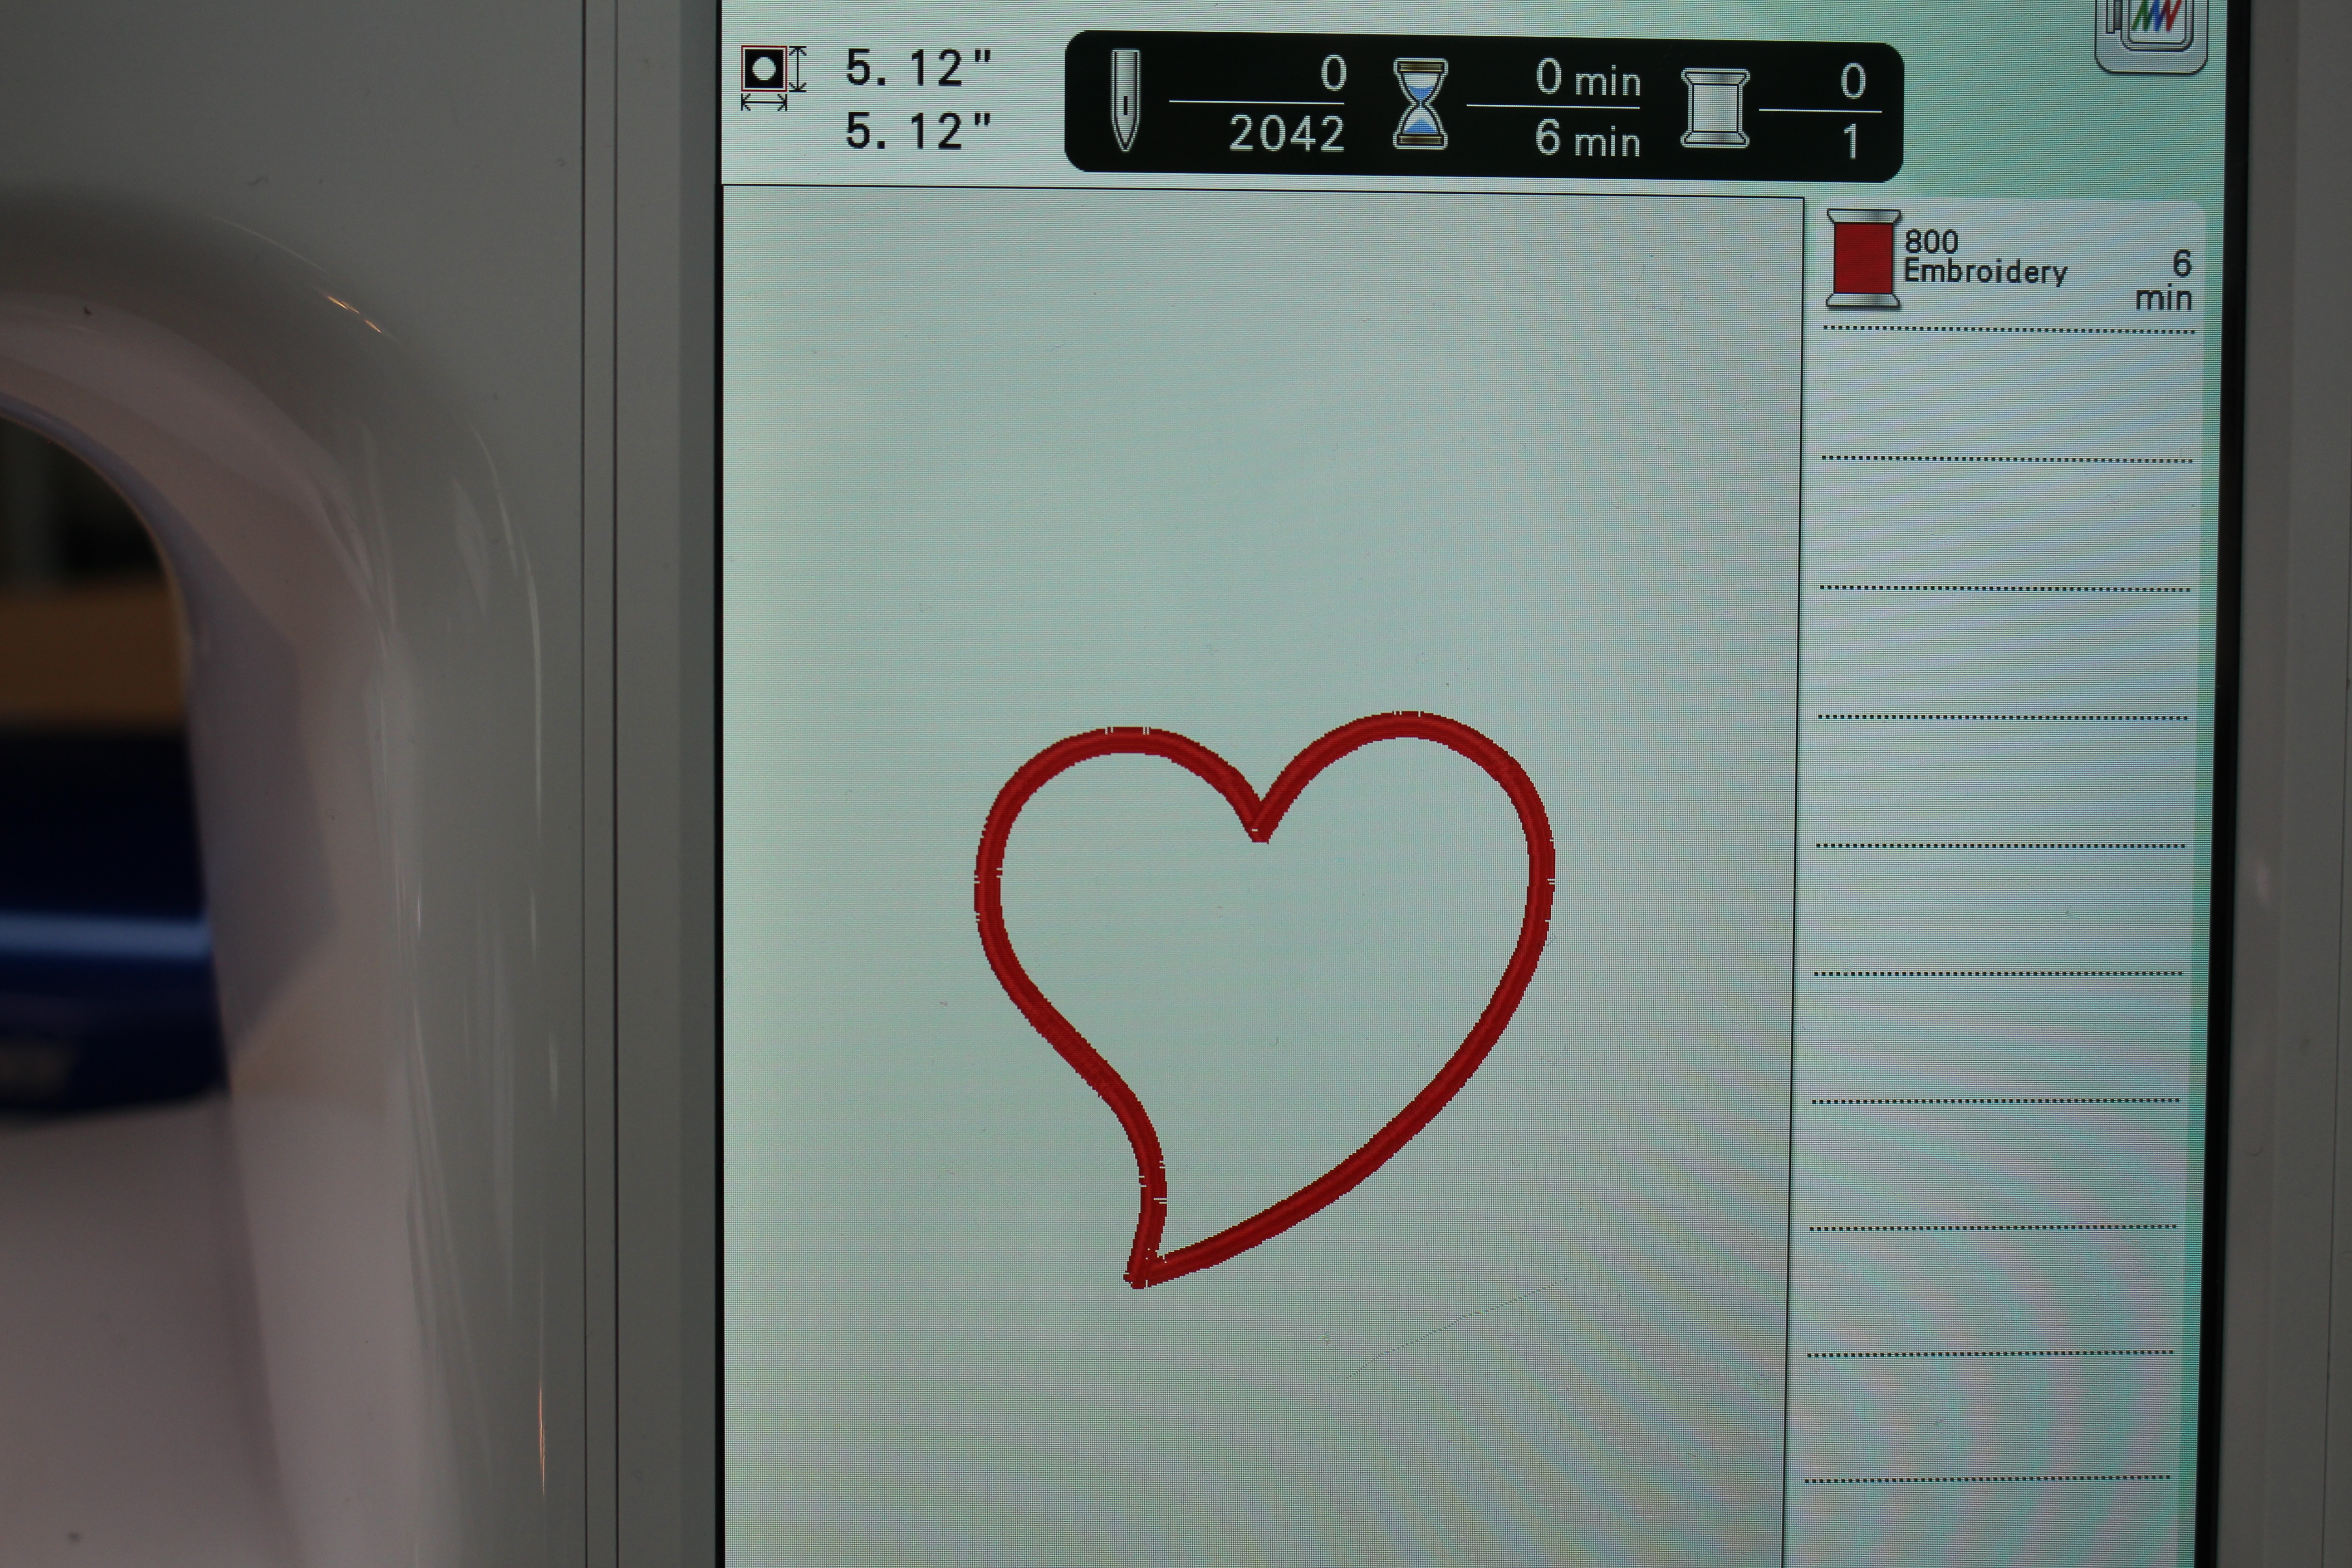
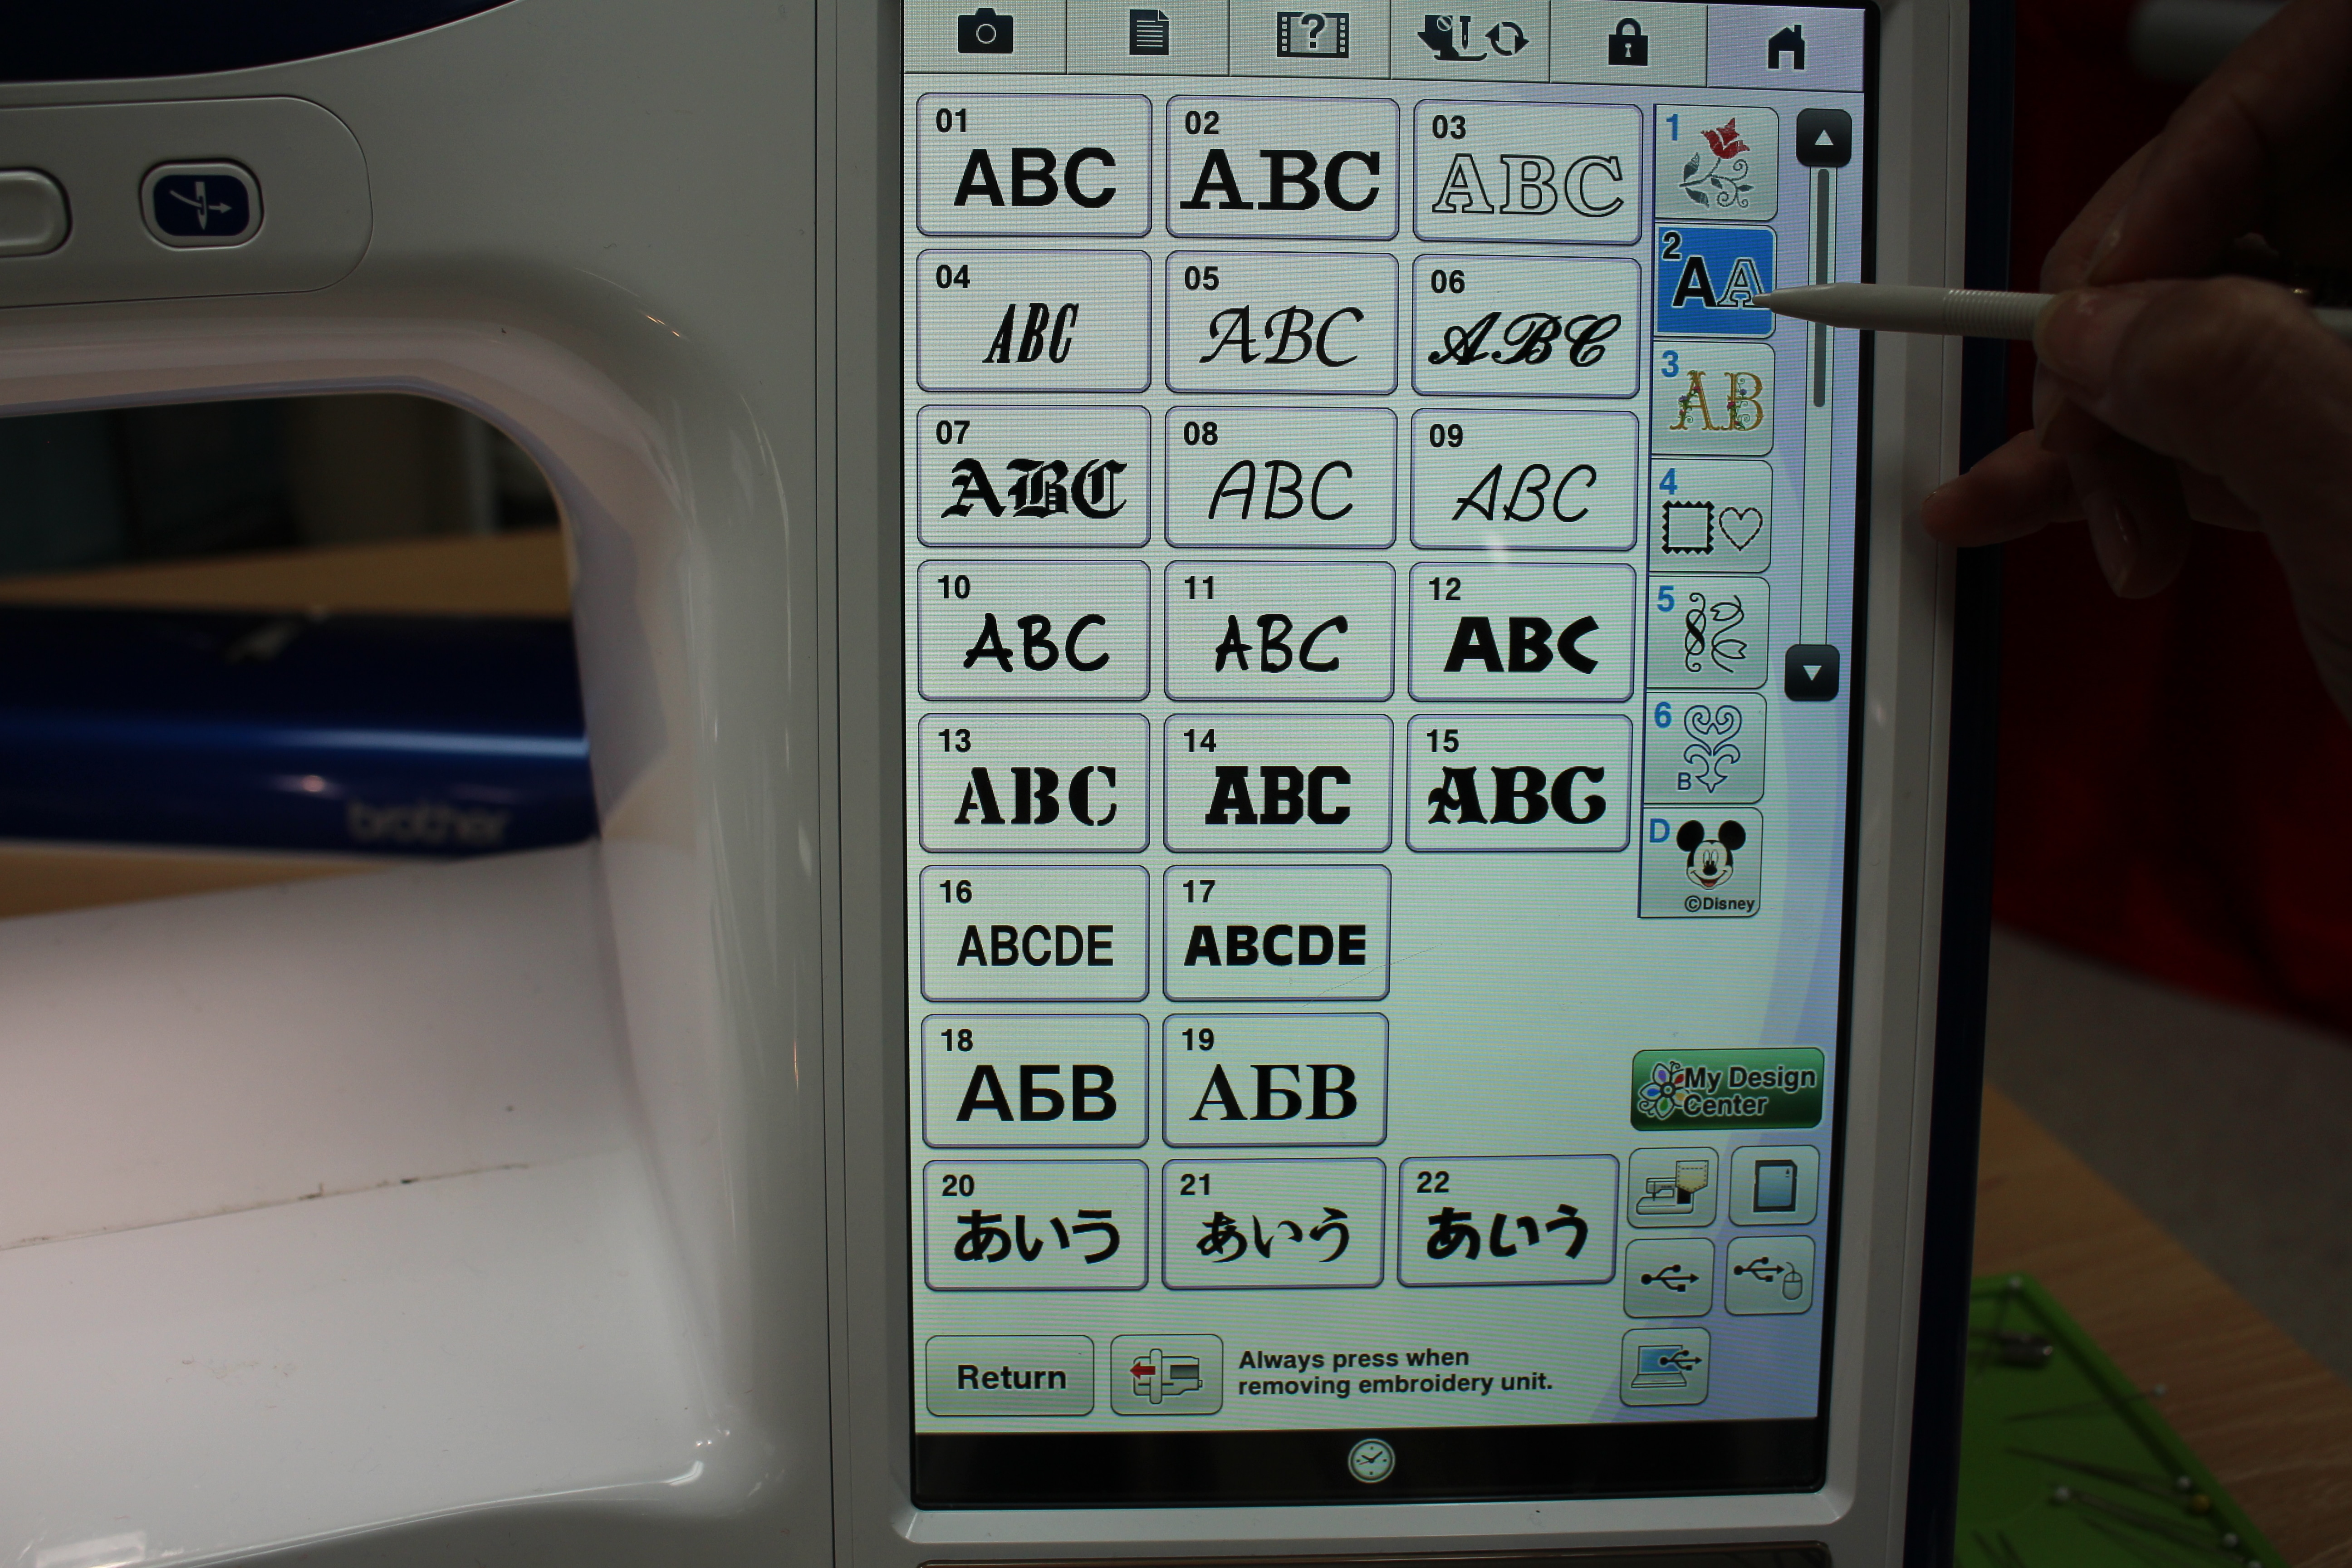
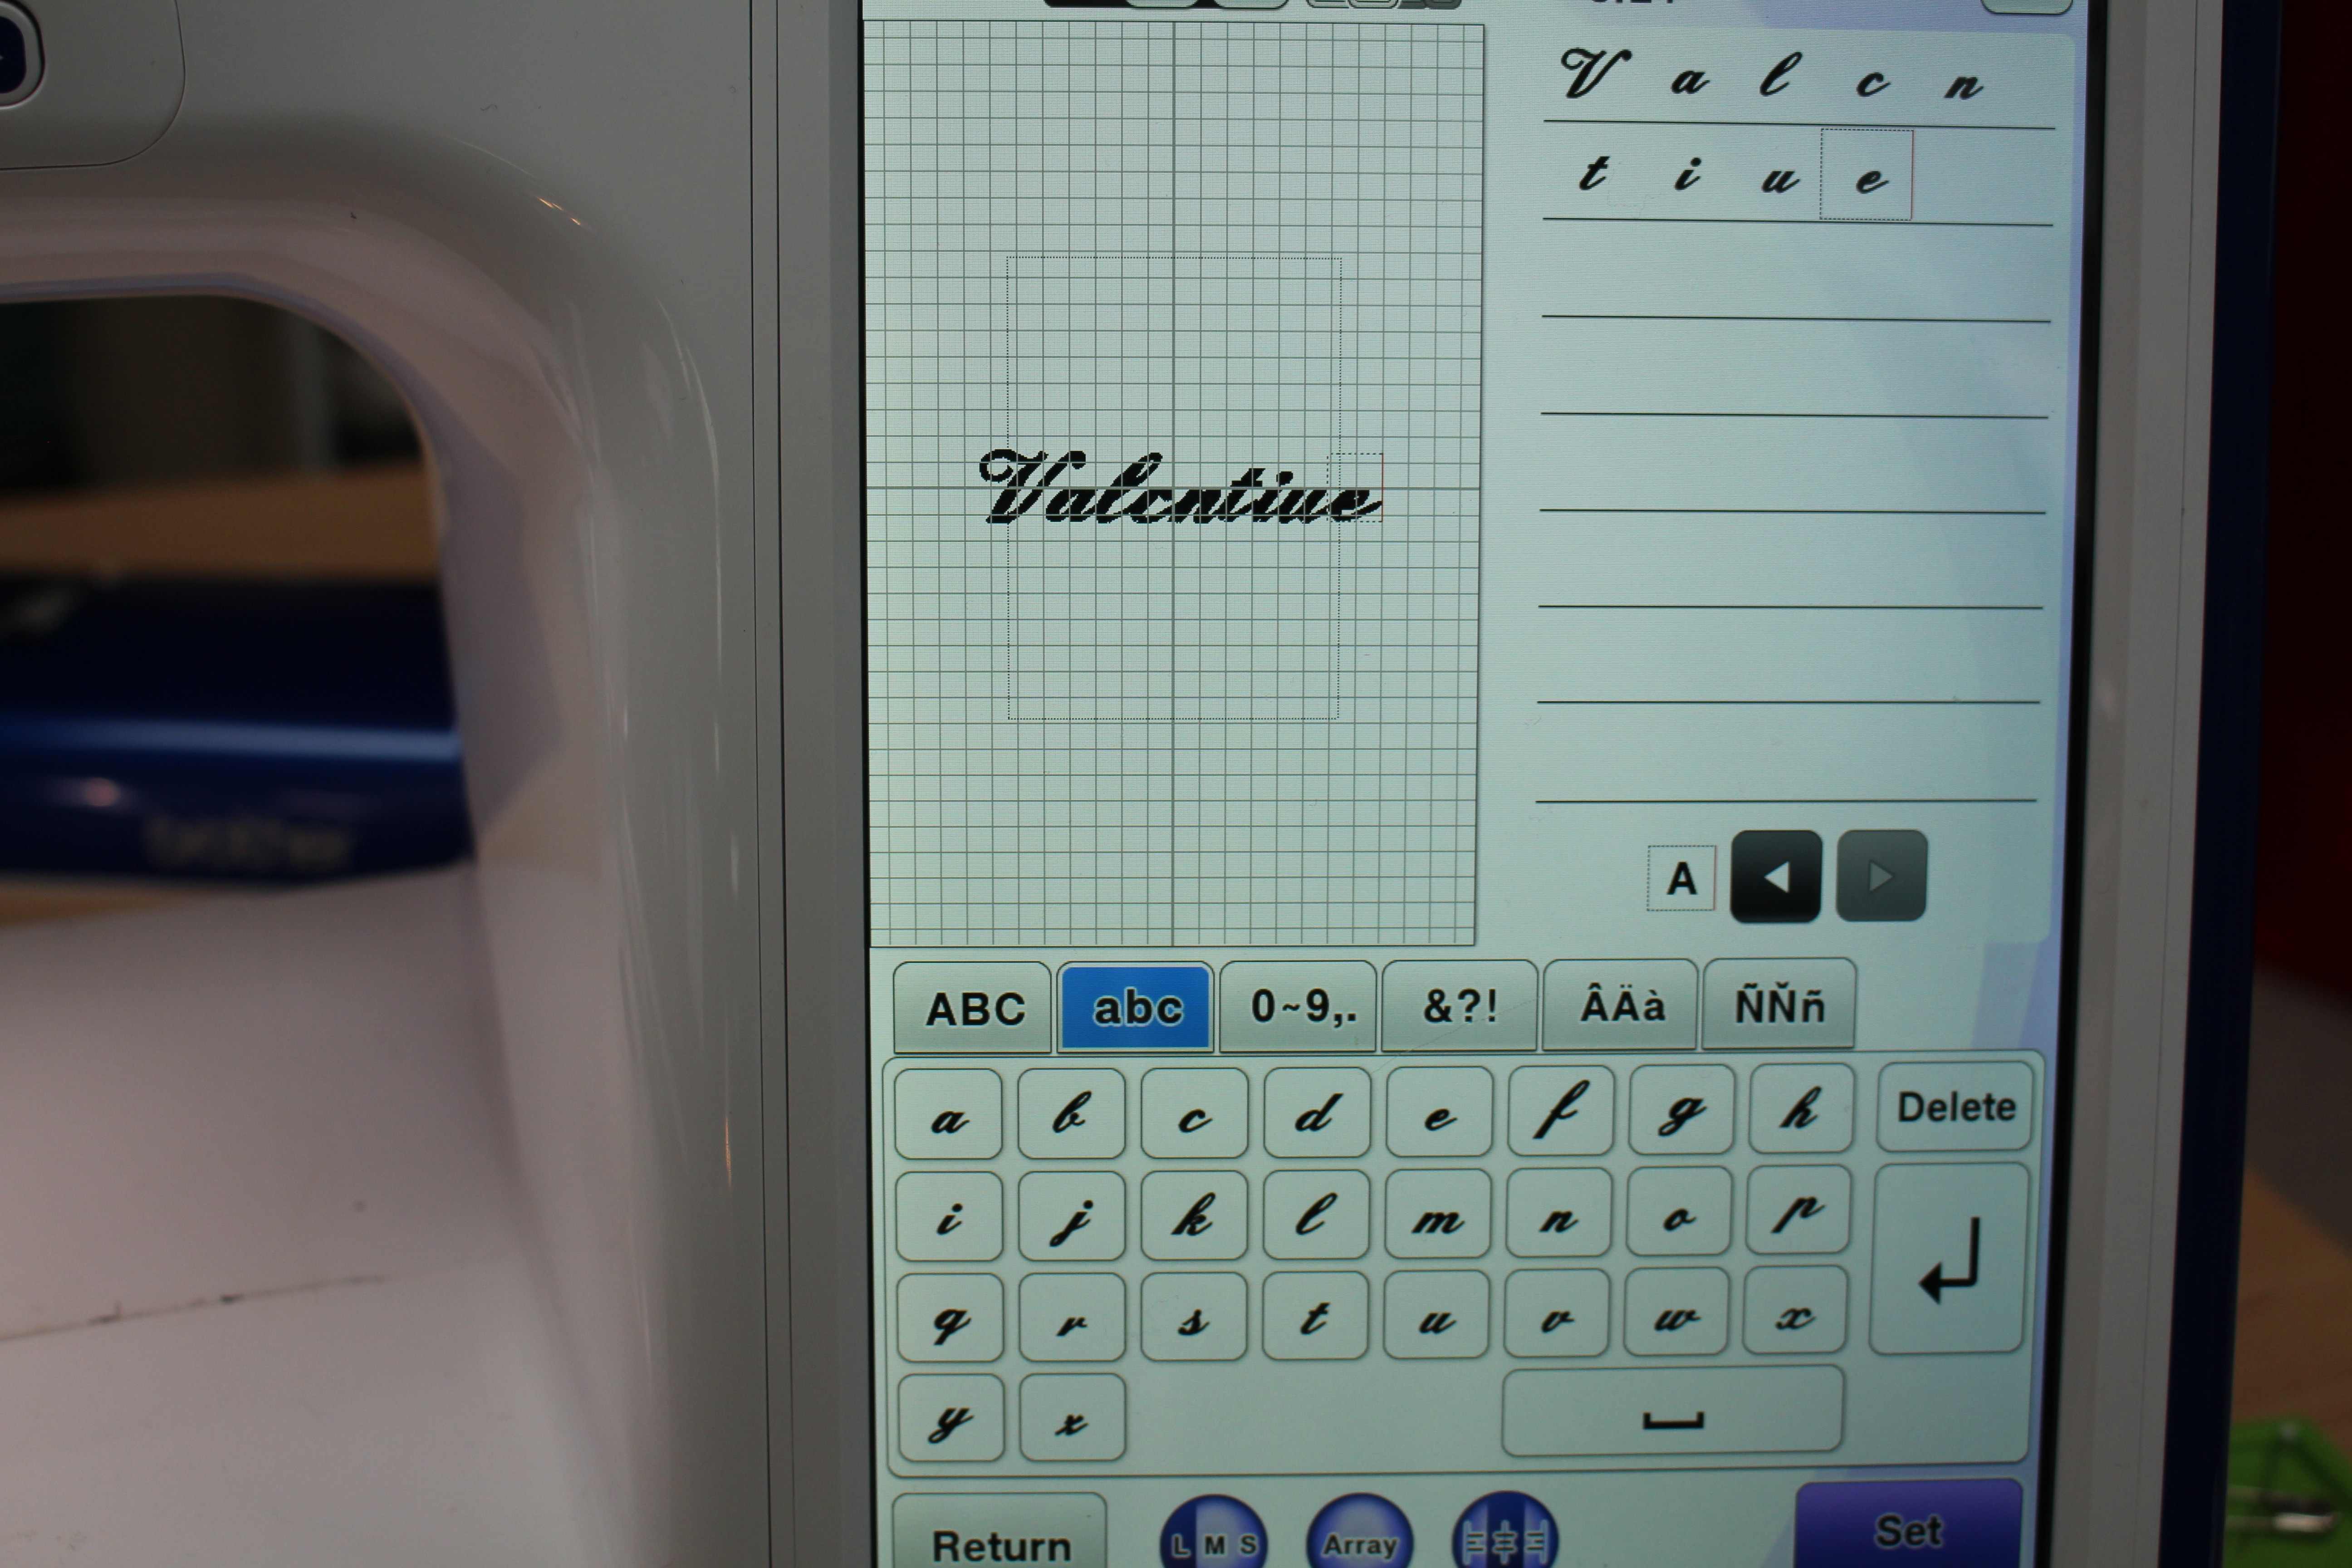
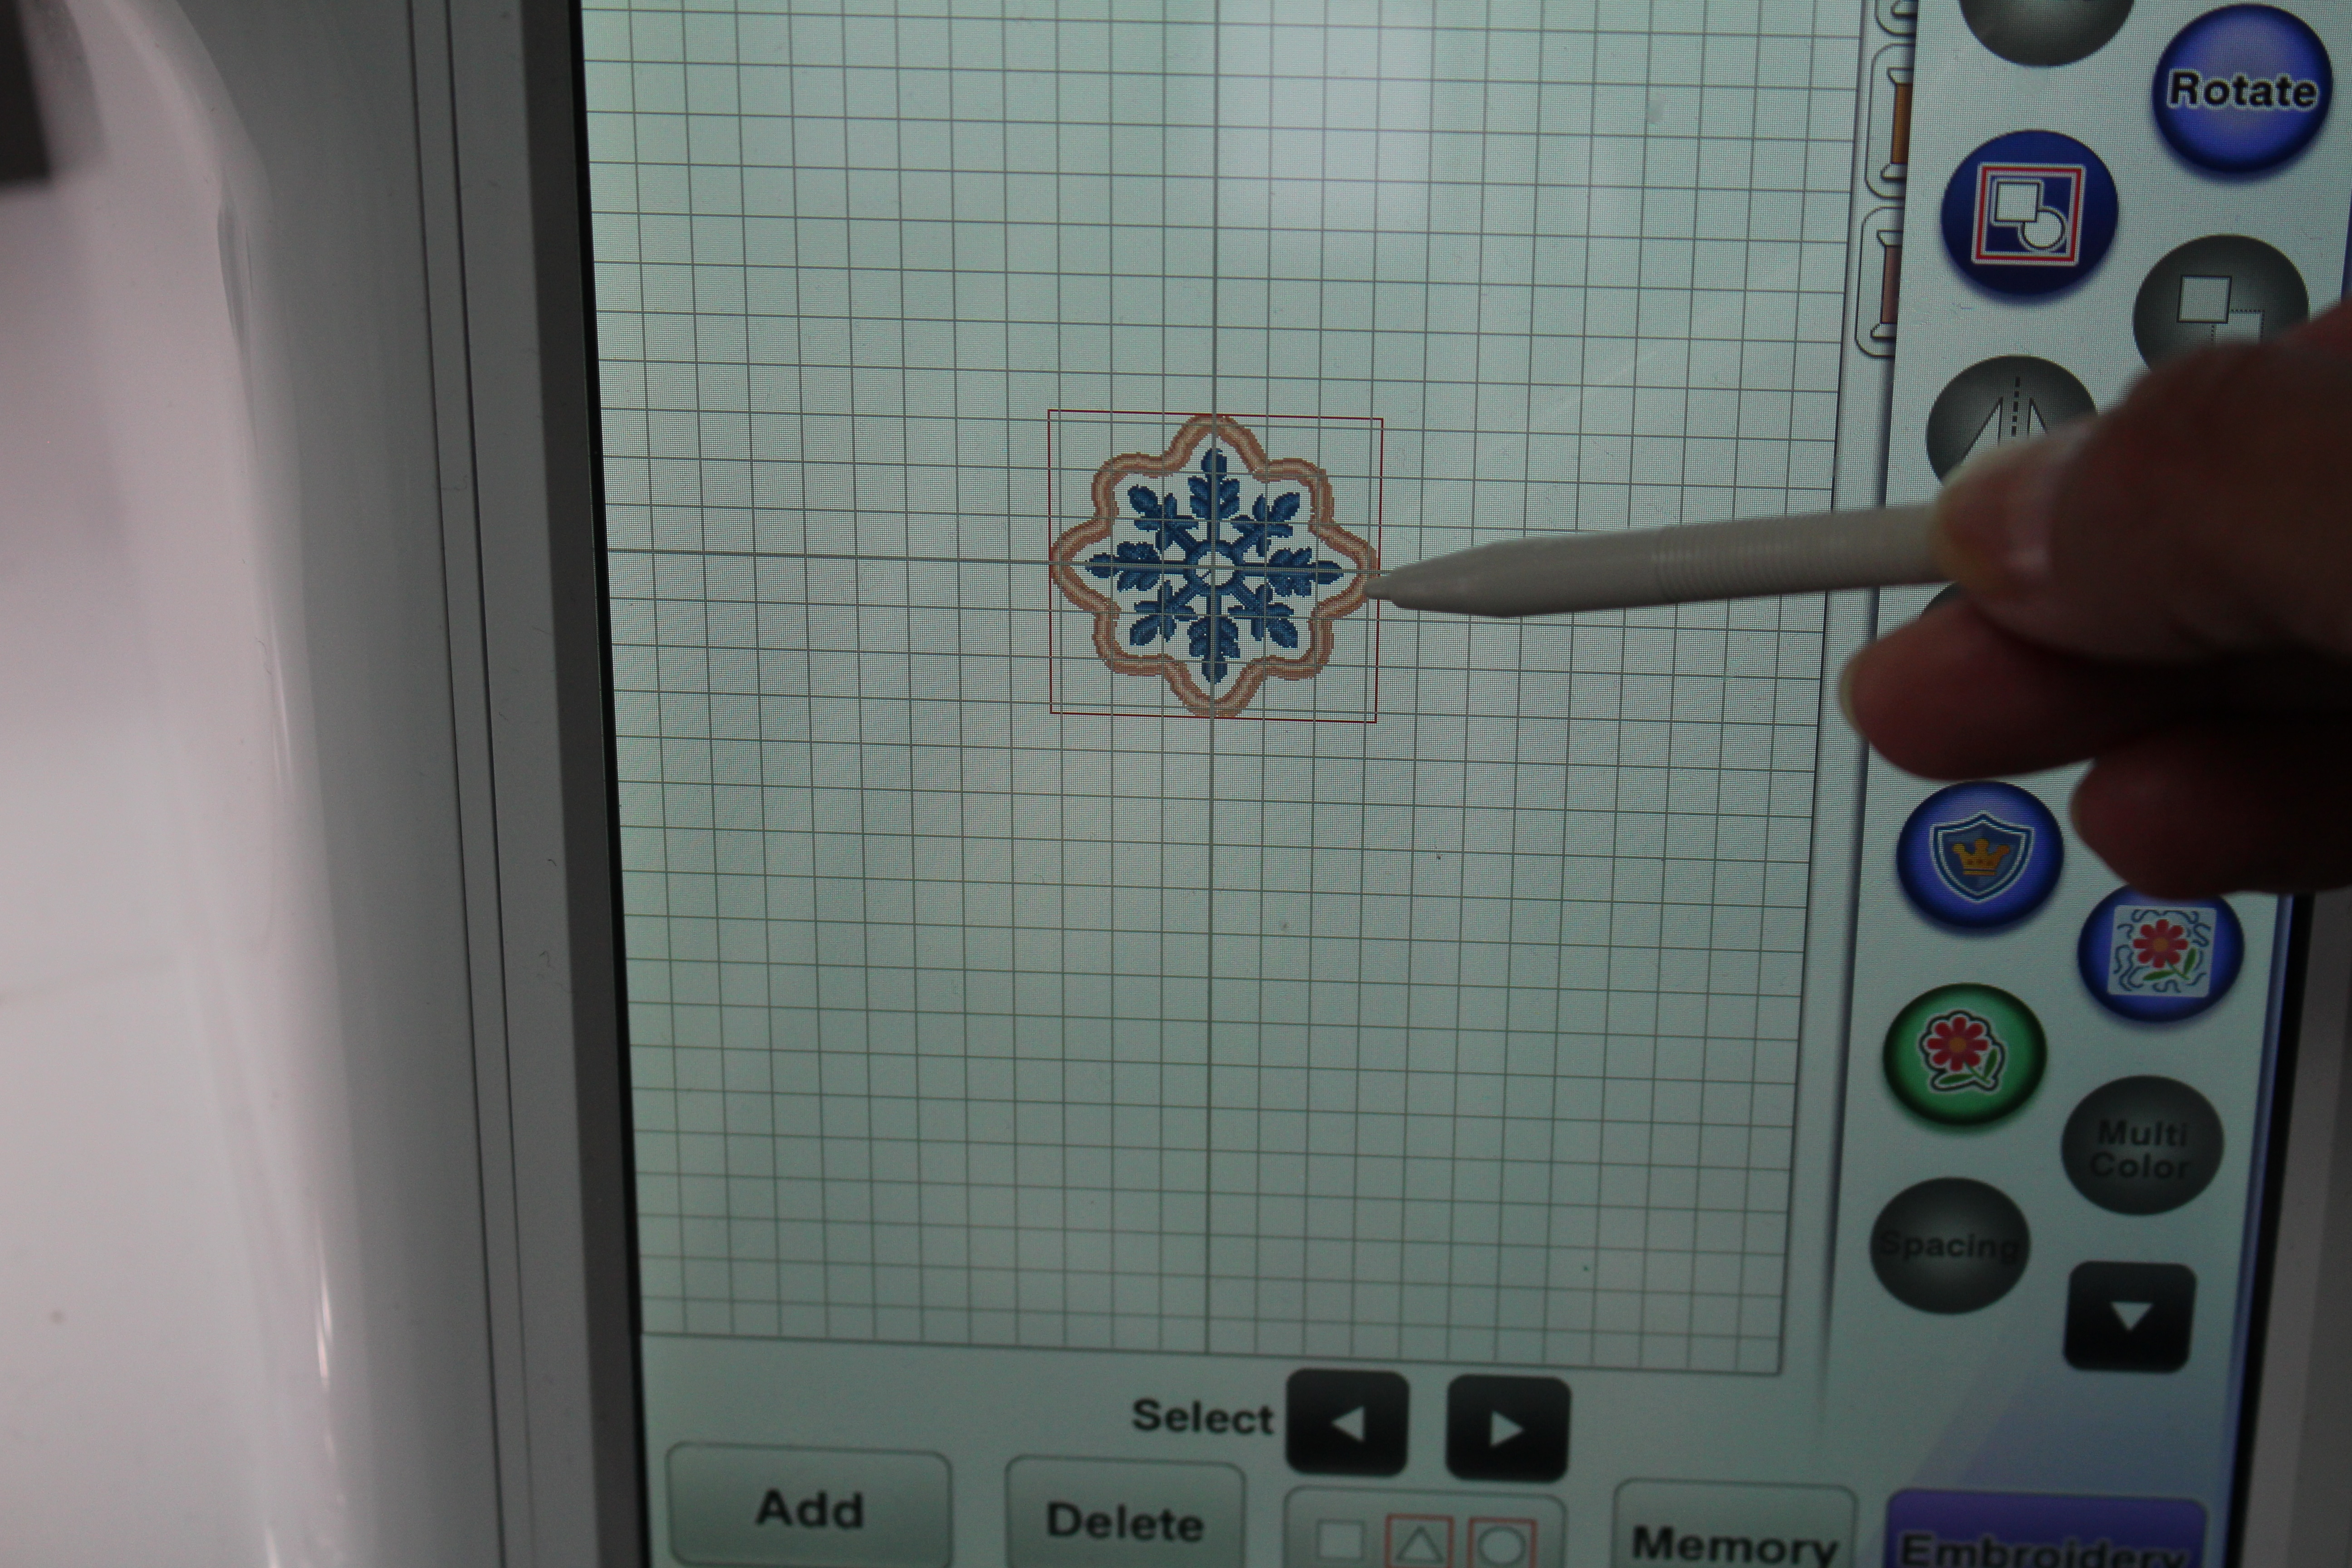
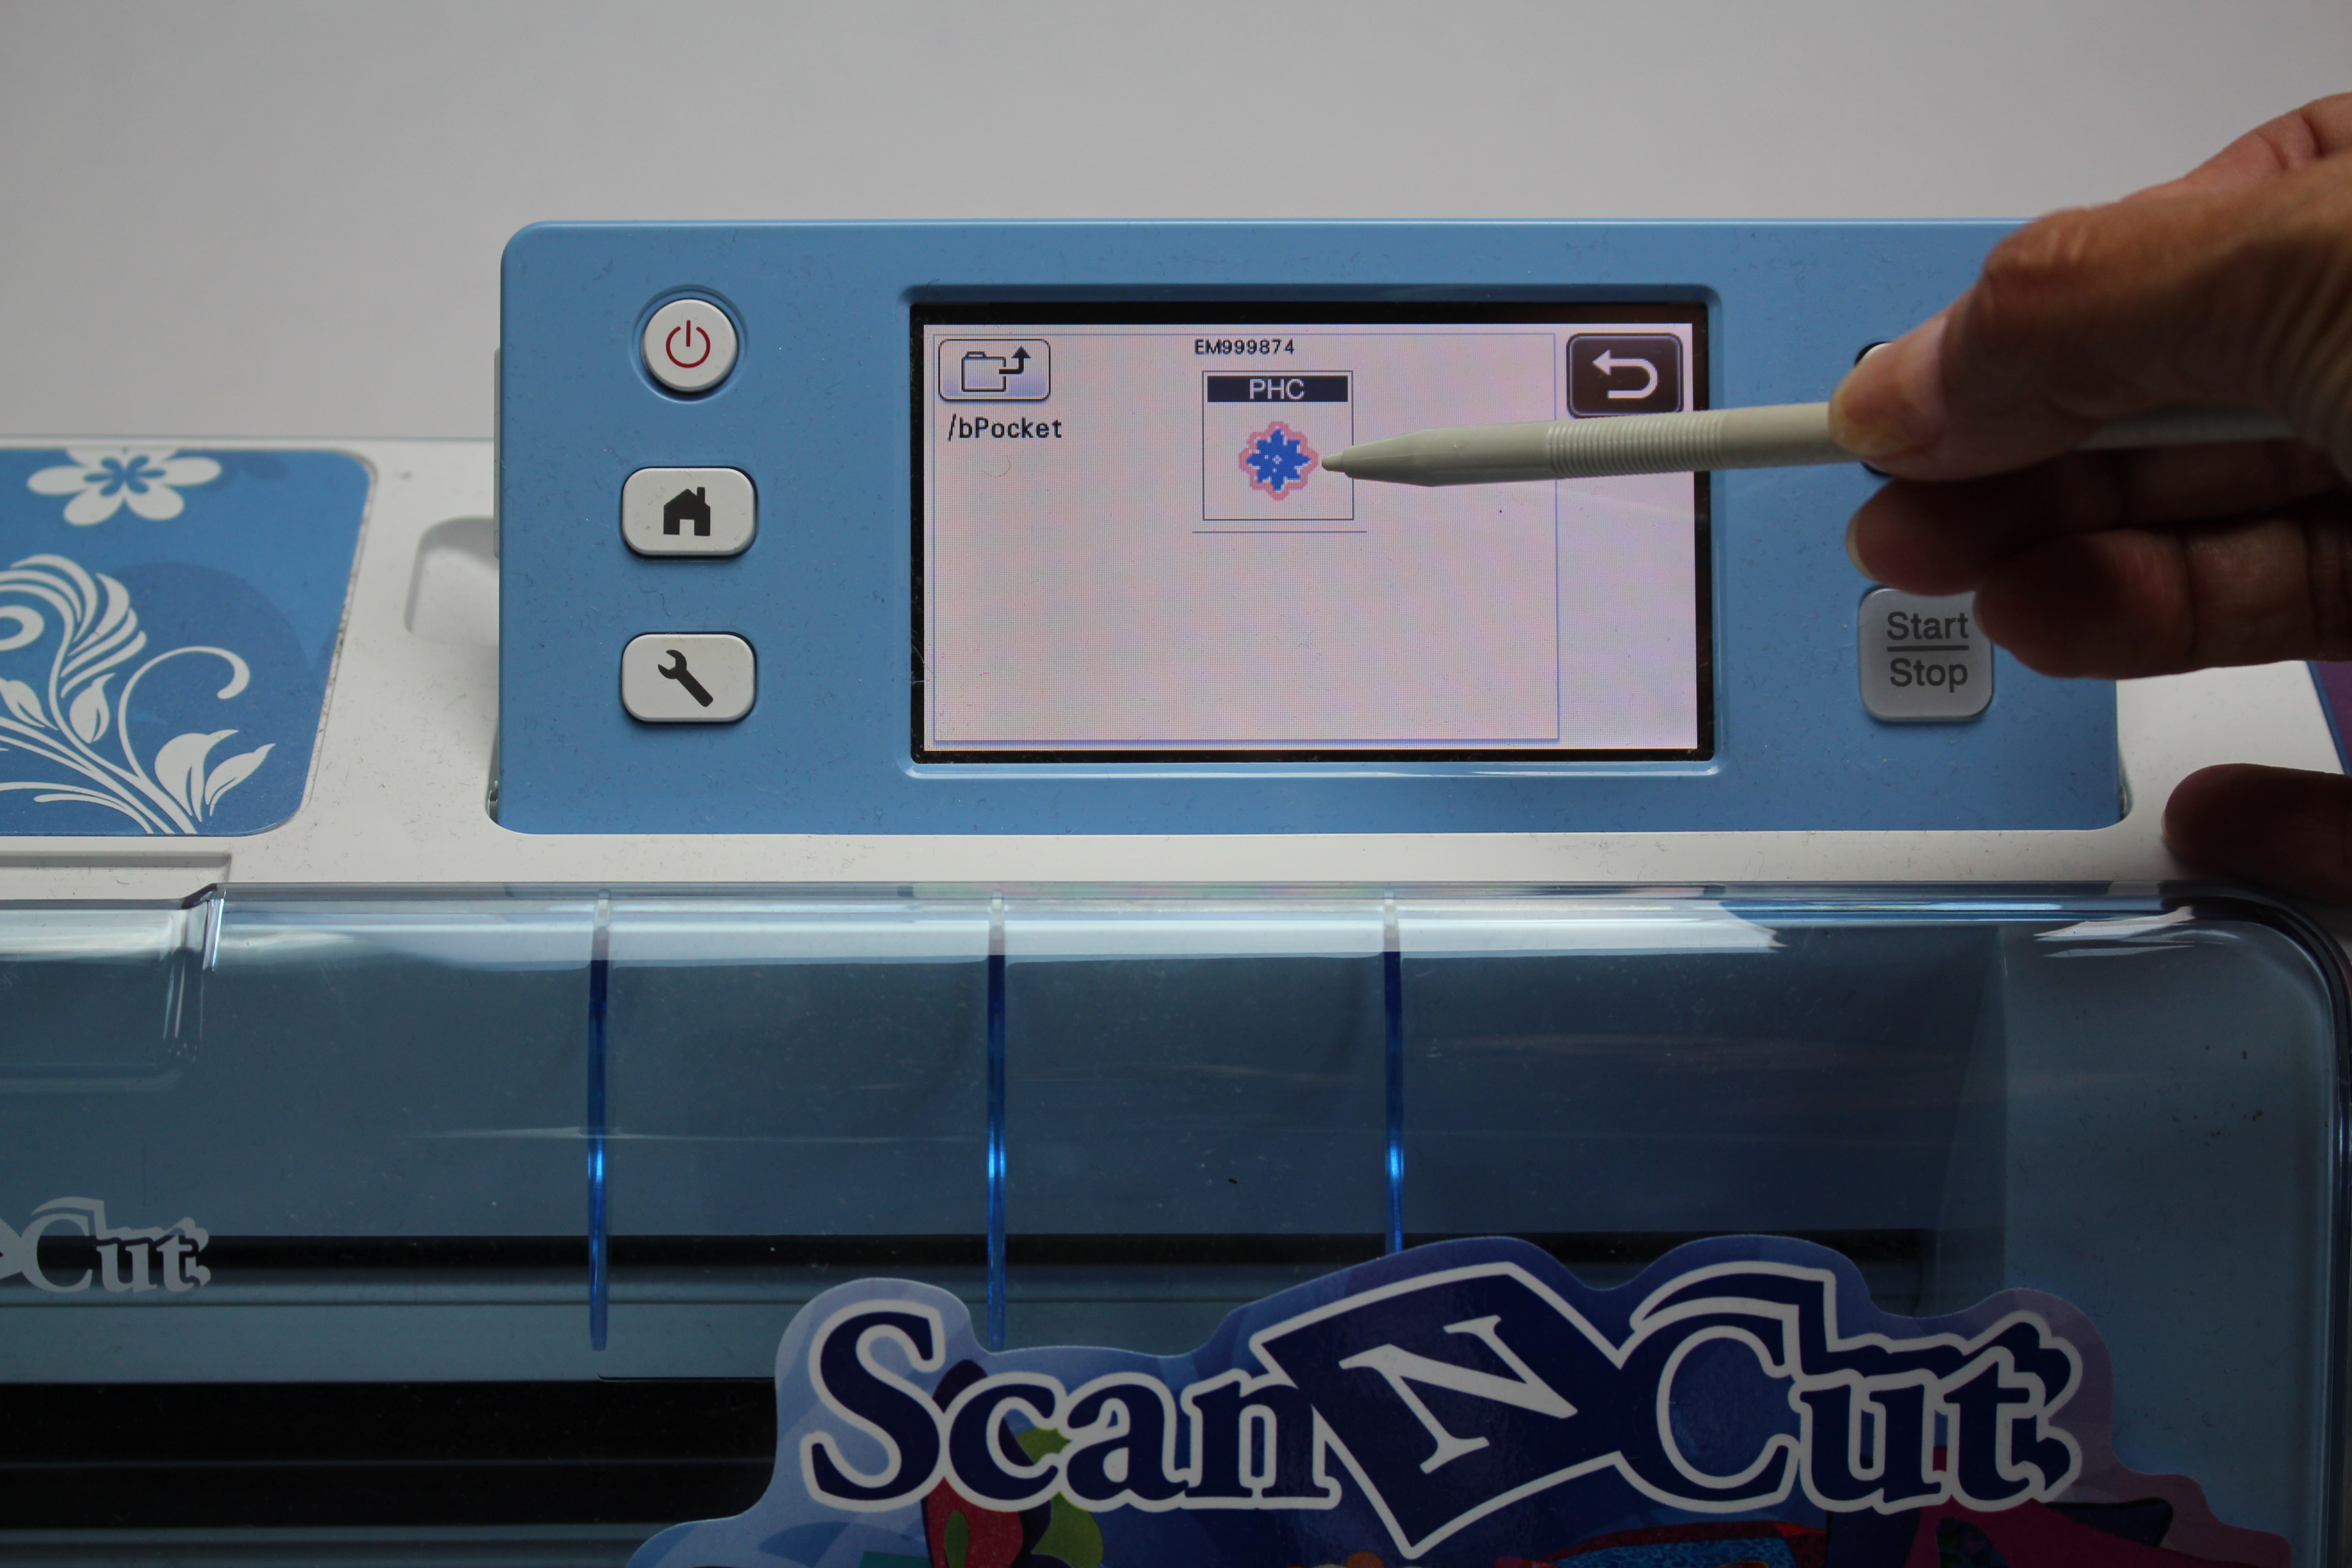
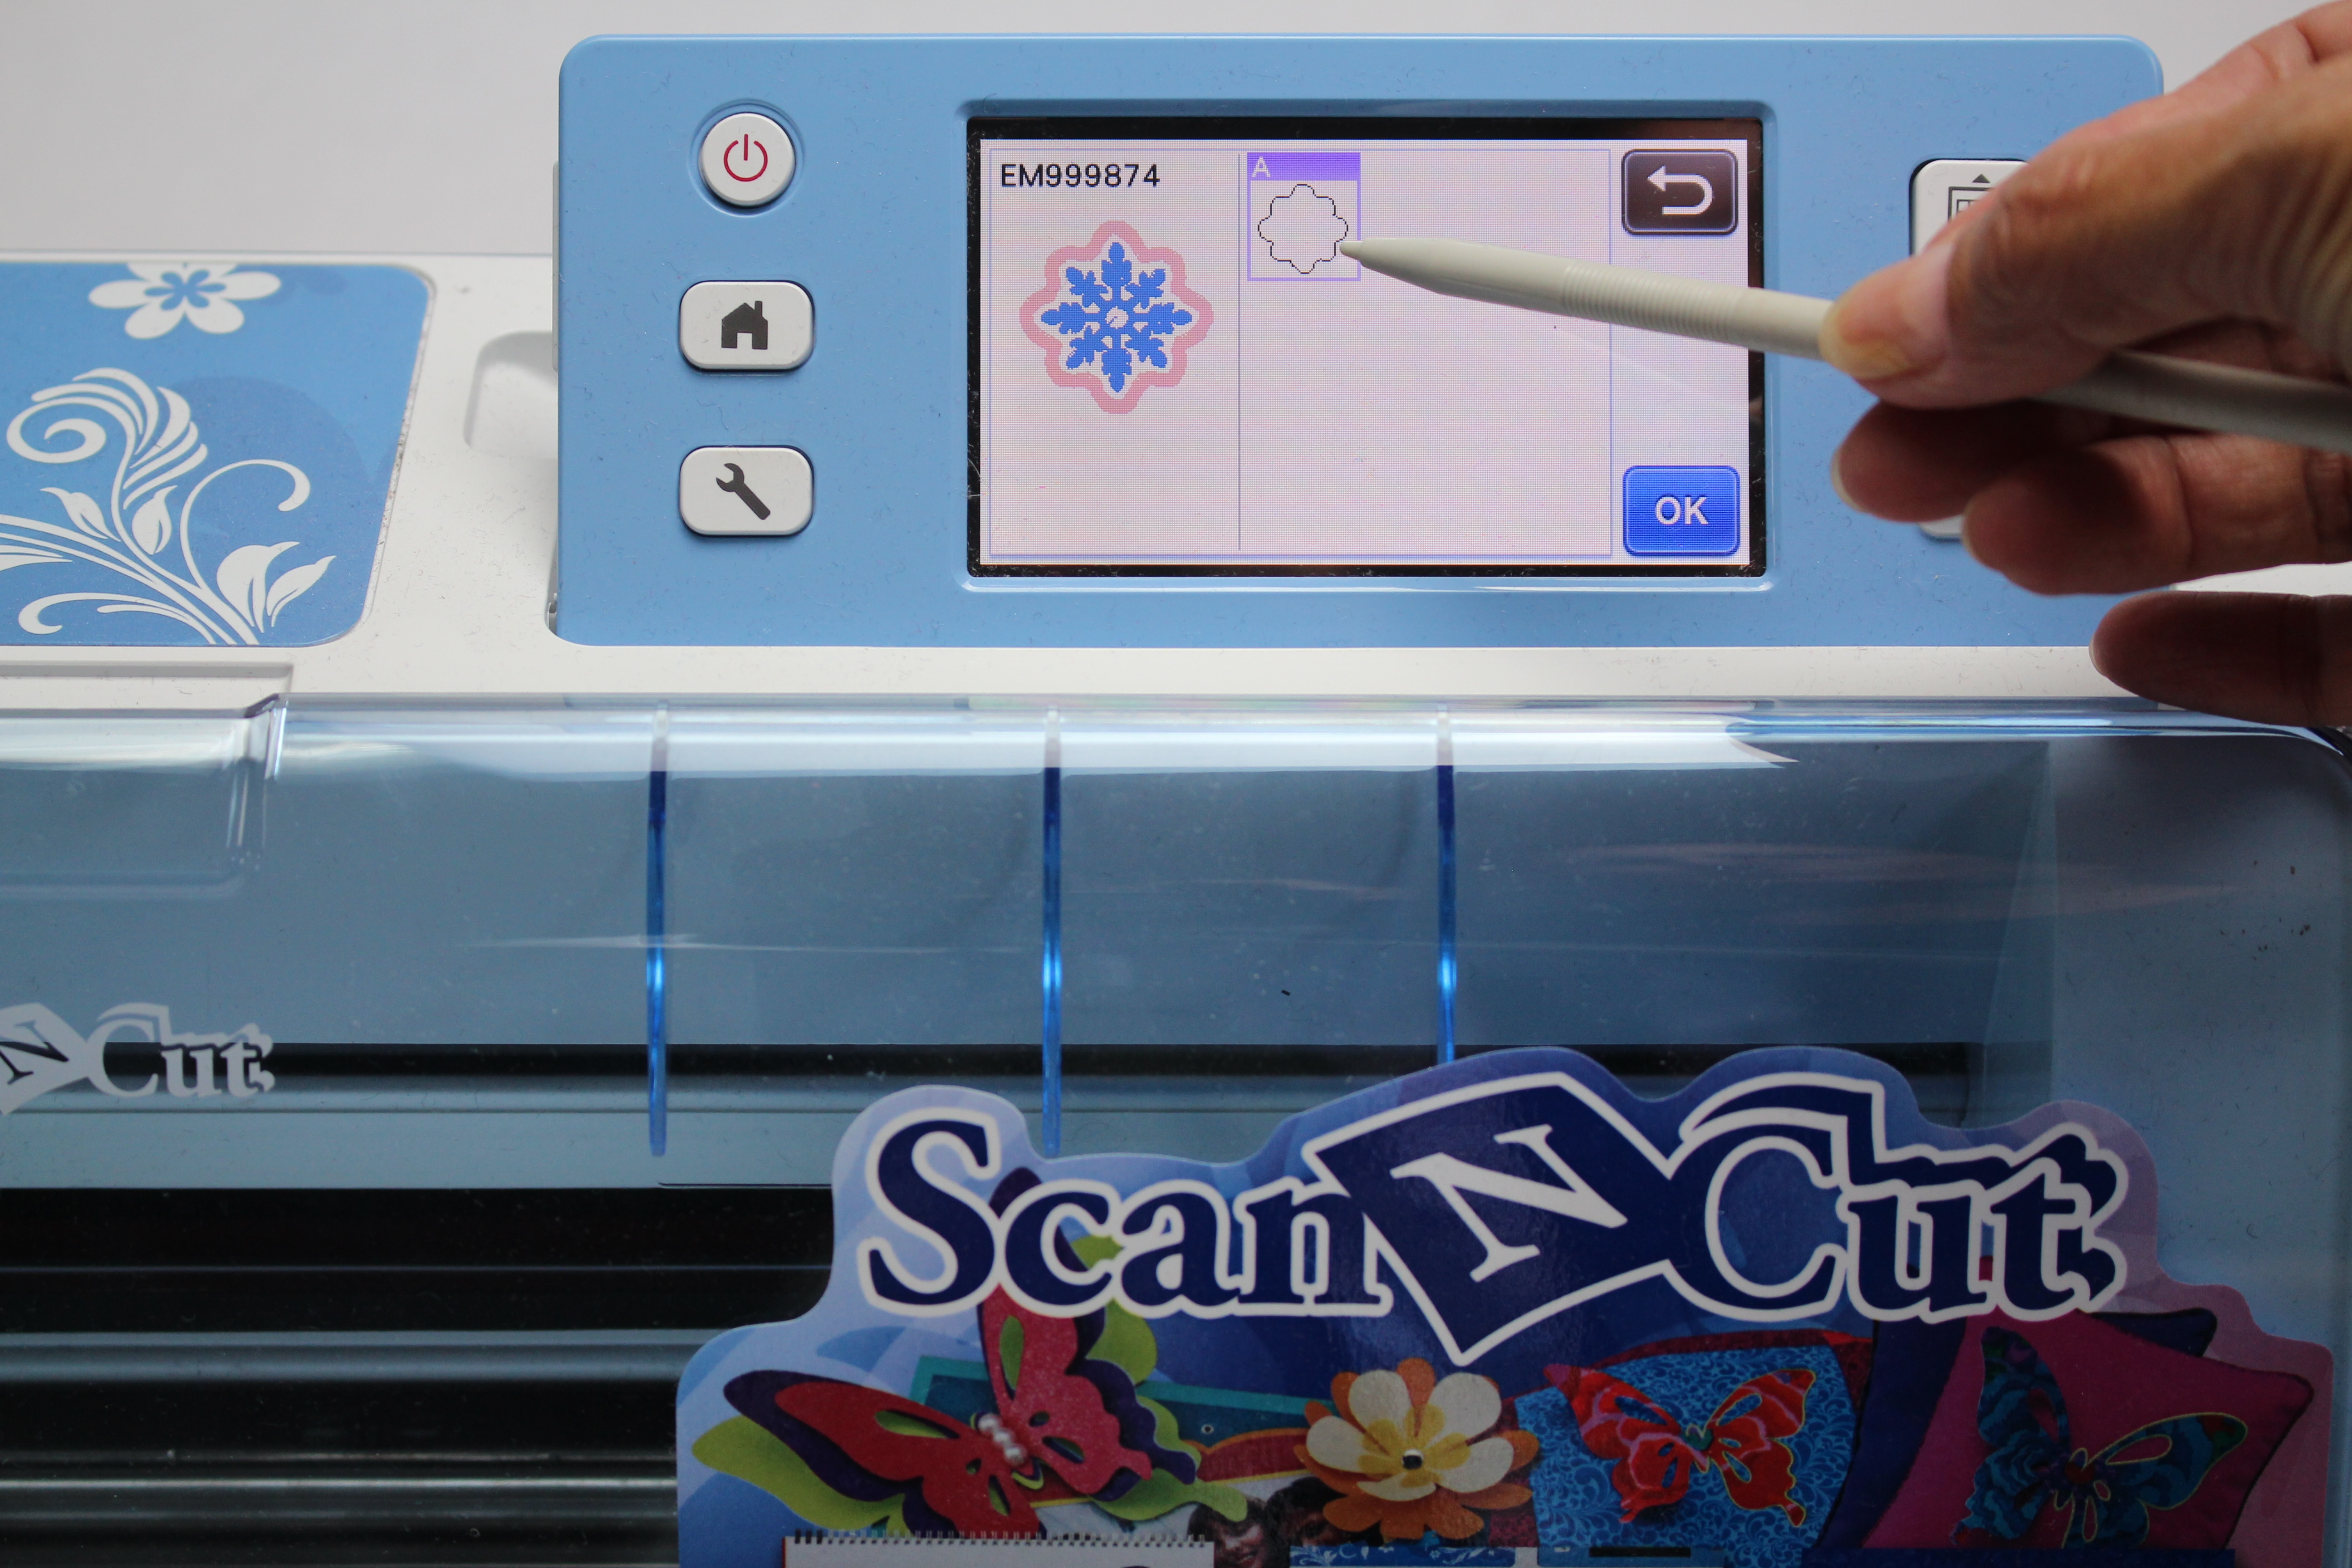
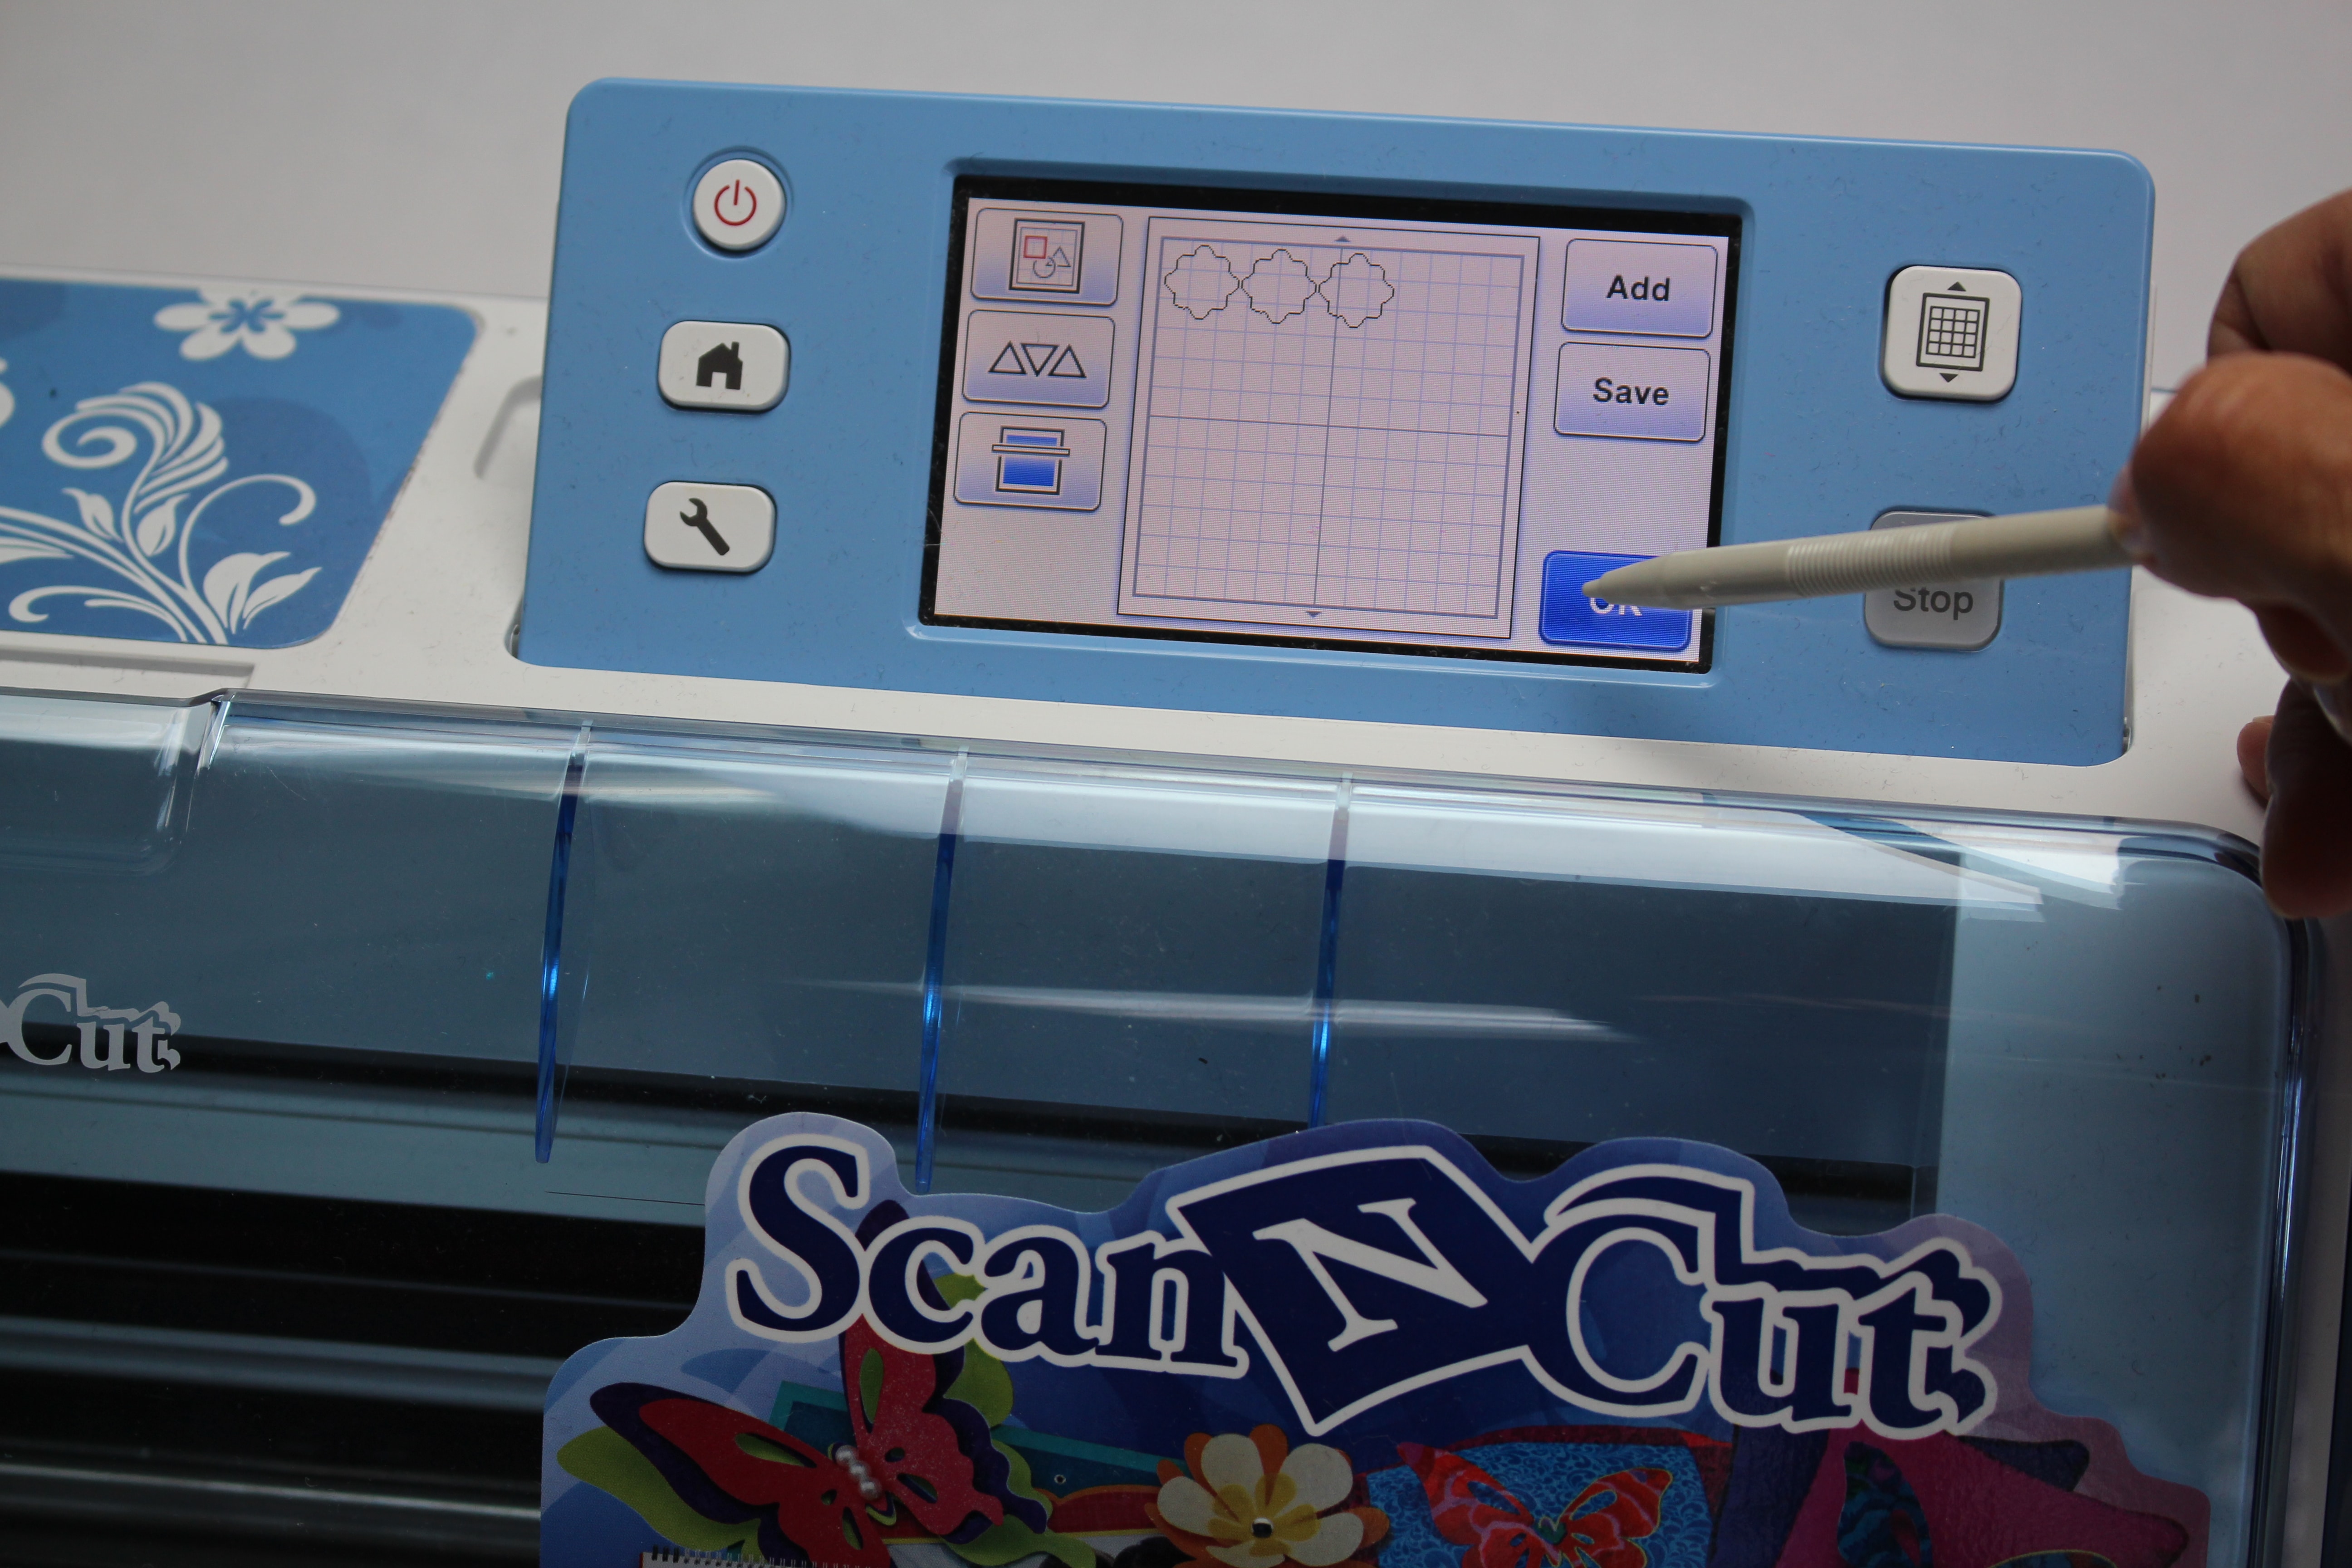
TUTORIAL: DIY CUSTOM MONOGRAM EMBROIDERED FABRIC ENVELOPE
Easy Sewing Project for Mother’s Day or Any Special Day ♥
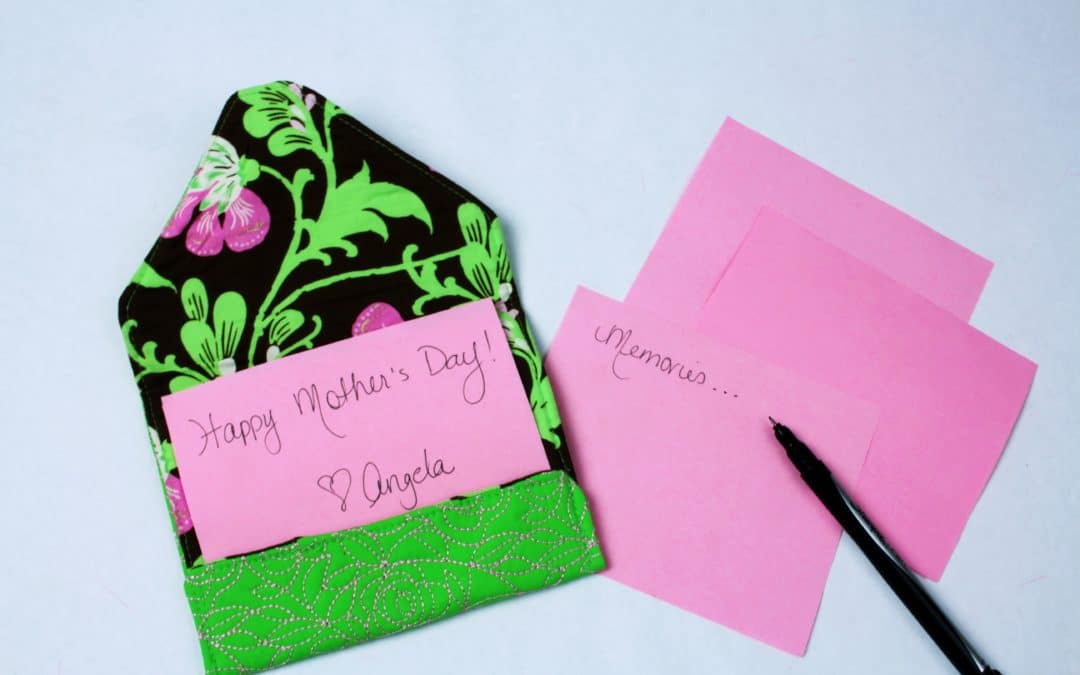
I was recently going through memory boxes and came across letters from a few people so dear to my heart that have since passed away. This made me think, I hardly write letters anymore! An email, text, and the occasional phone call – that’s the trend these days. With Mother’s Day coming up I thought this would be a perfect time to get the pen out. Even better, embroider a custom envelope Mom can keep the letters in ?
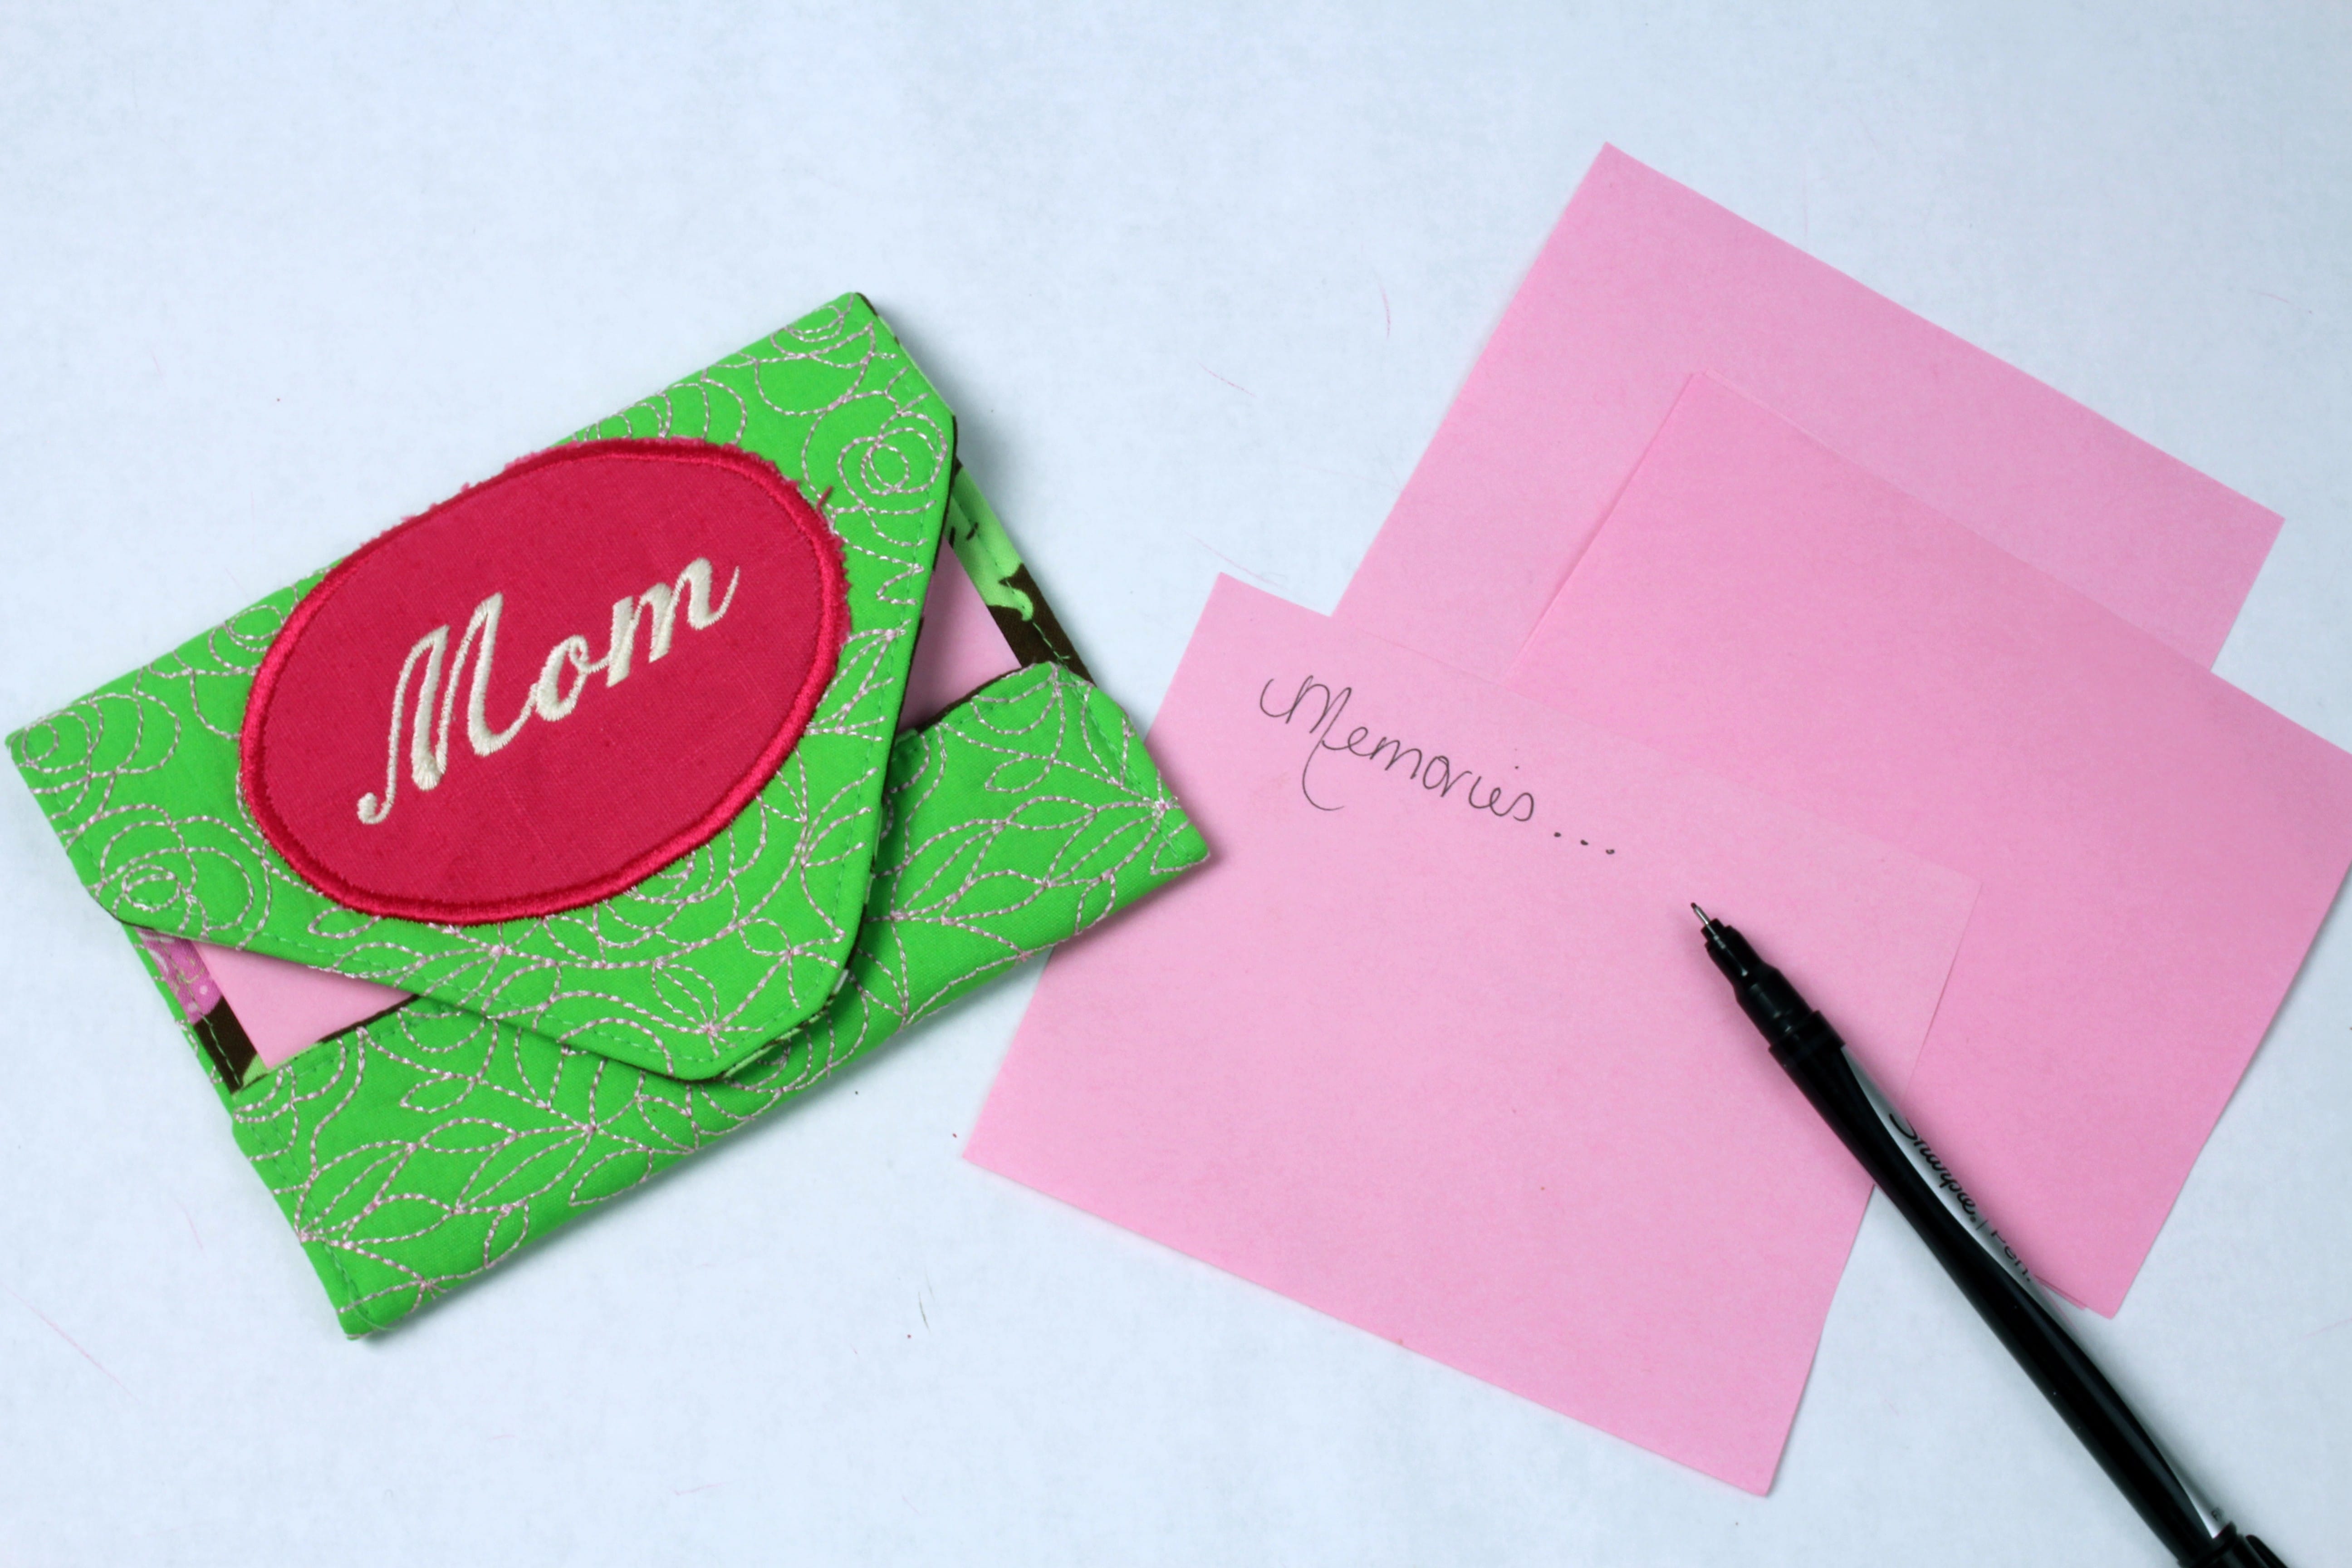
Each year I try to come up with something unique and personal to send my Mom on Mother’s Day. She love’s handwritten letters, so why not add a custom monogrammed envelope that she can keep the letters or use for something else – maybe to hold makeup or coupons. Something small she can carry that will remind her how special she is to all of us kids ♥
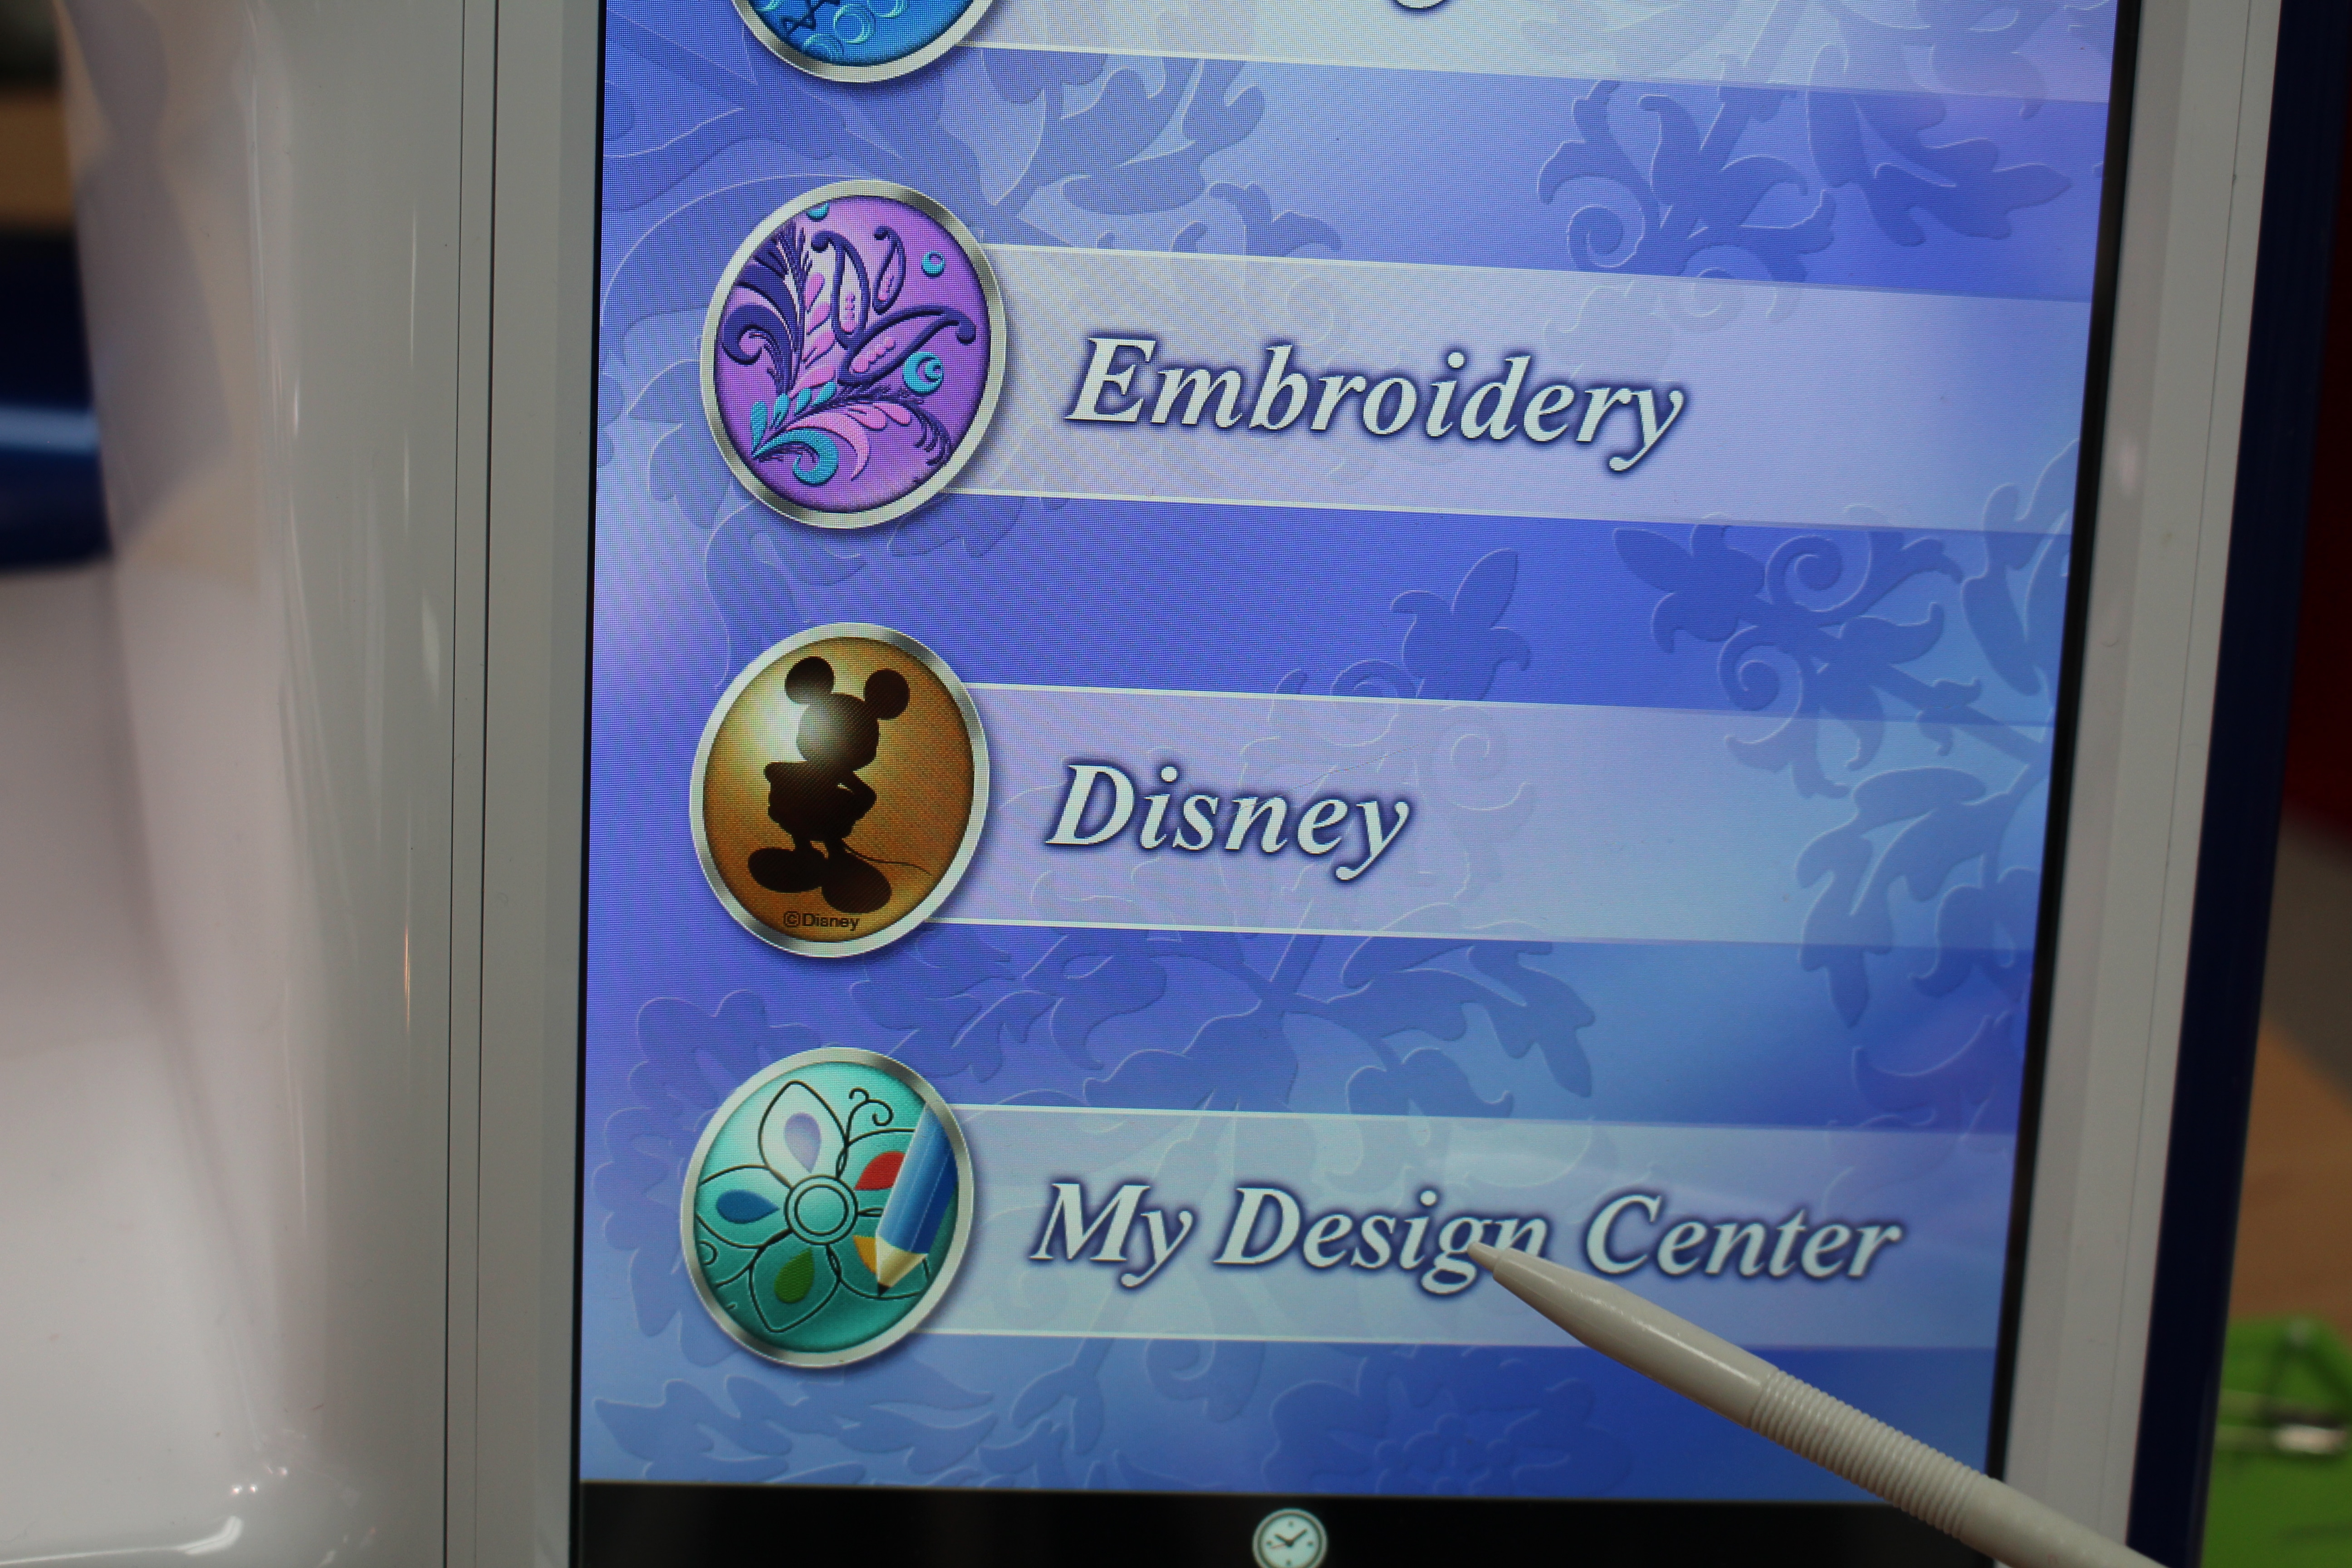
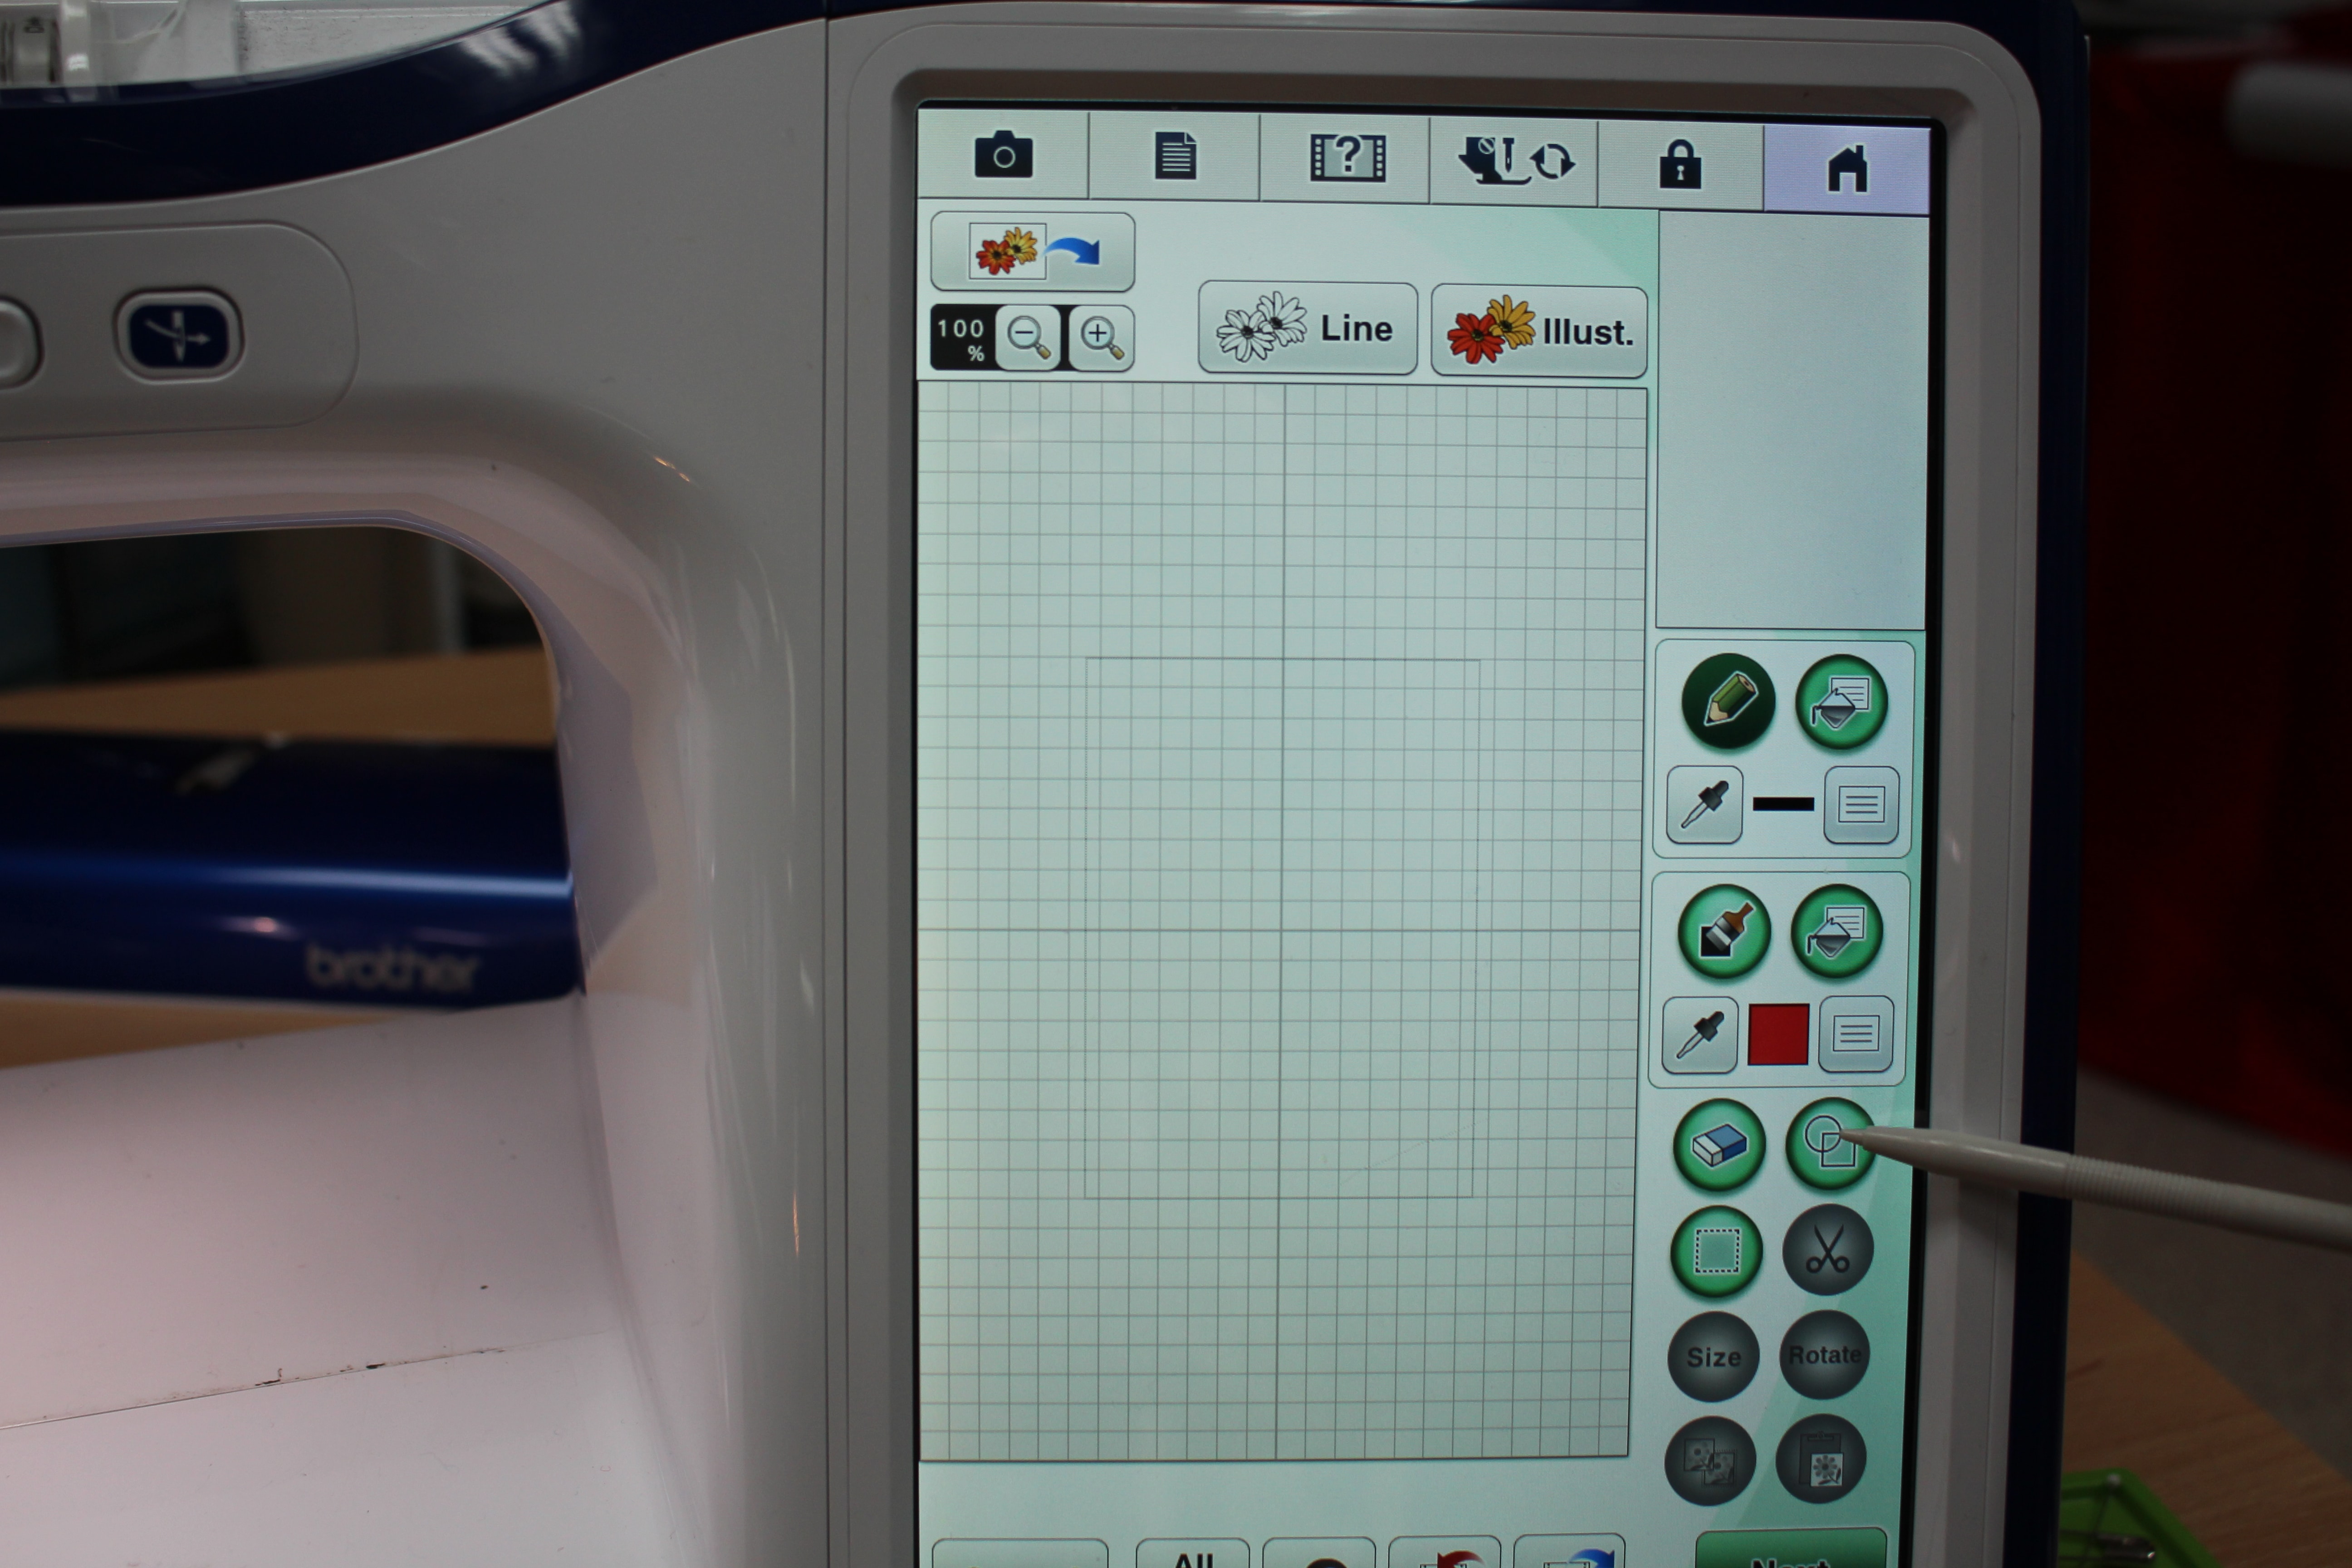
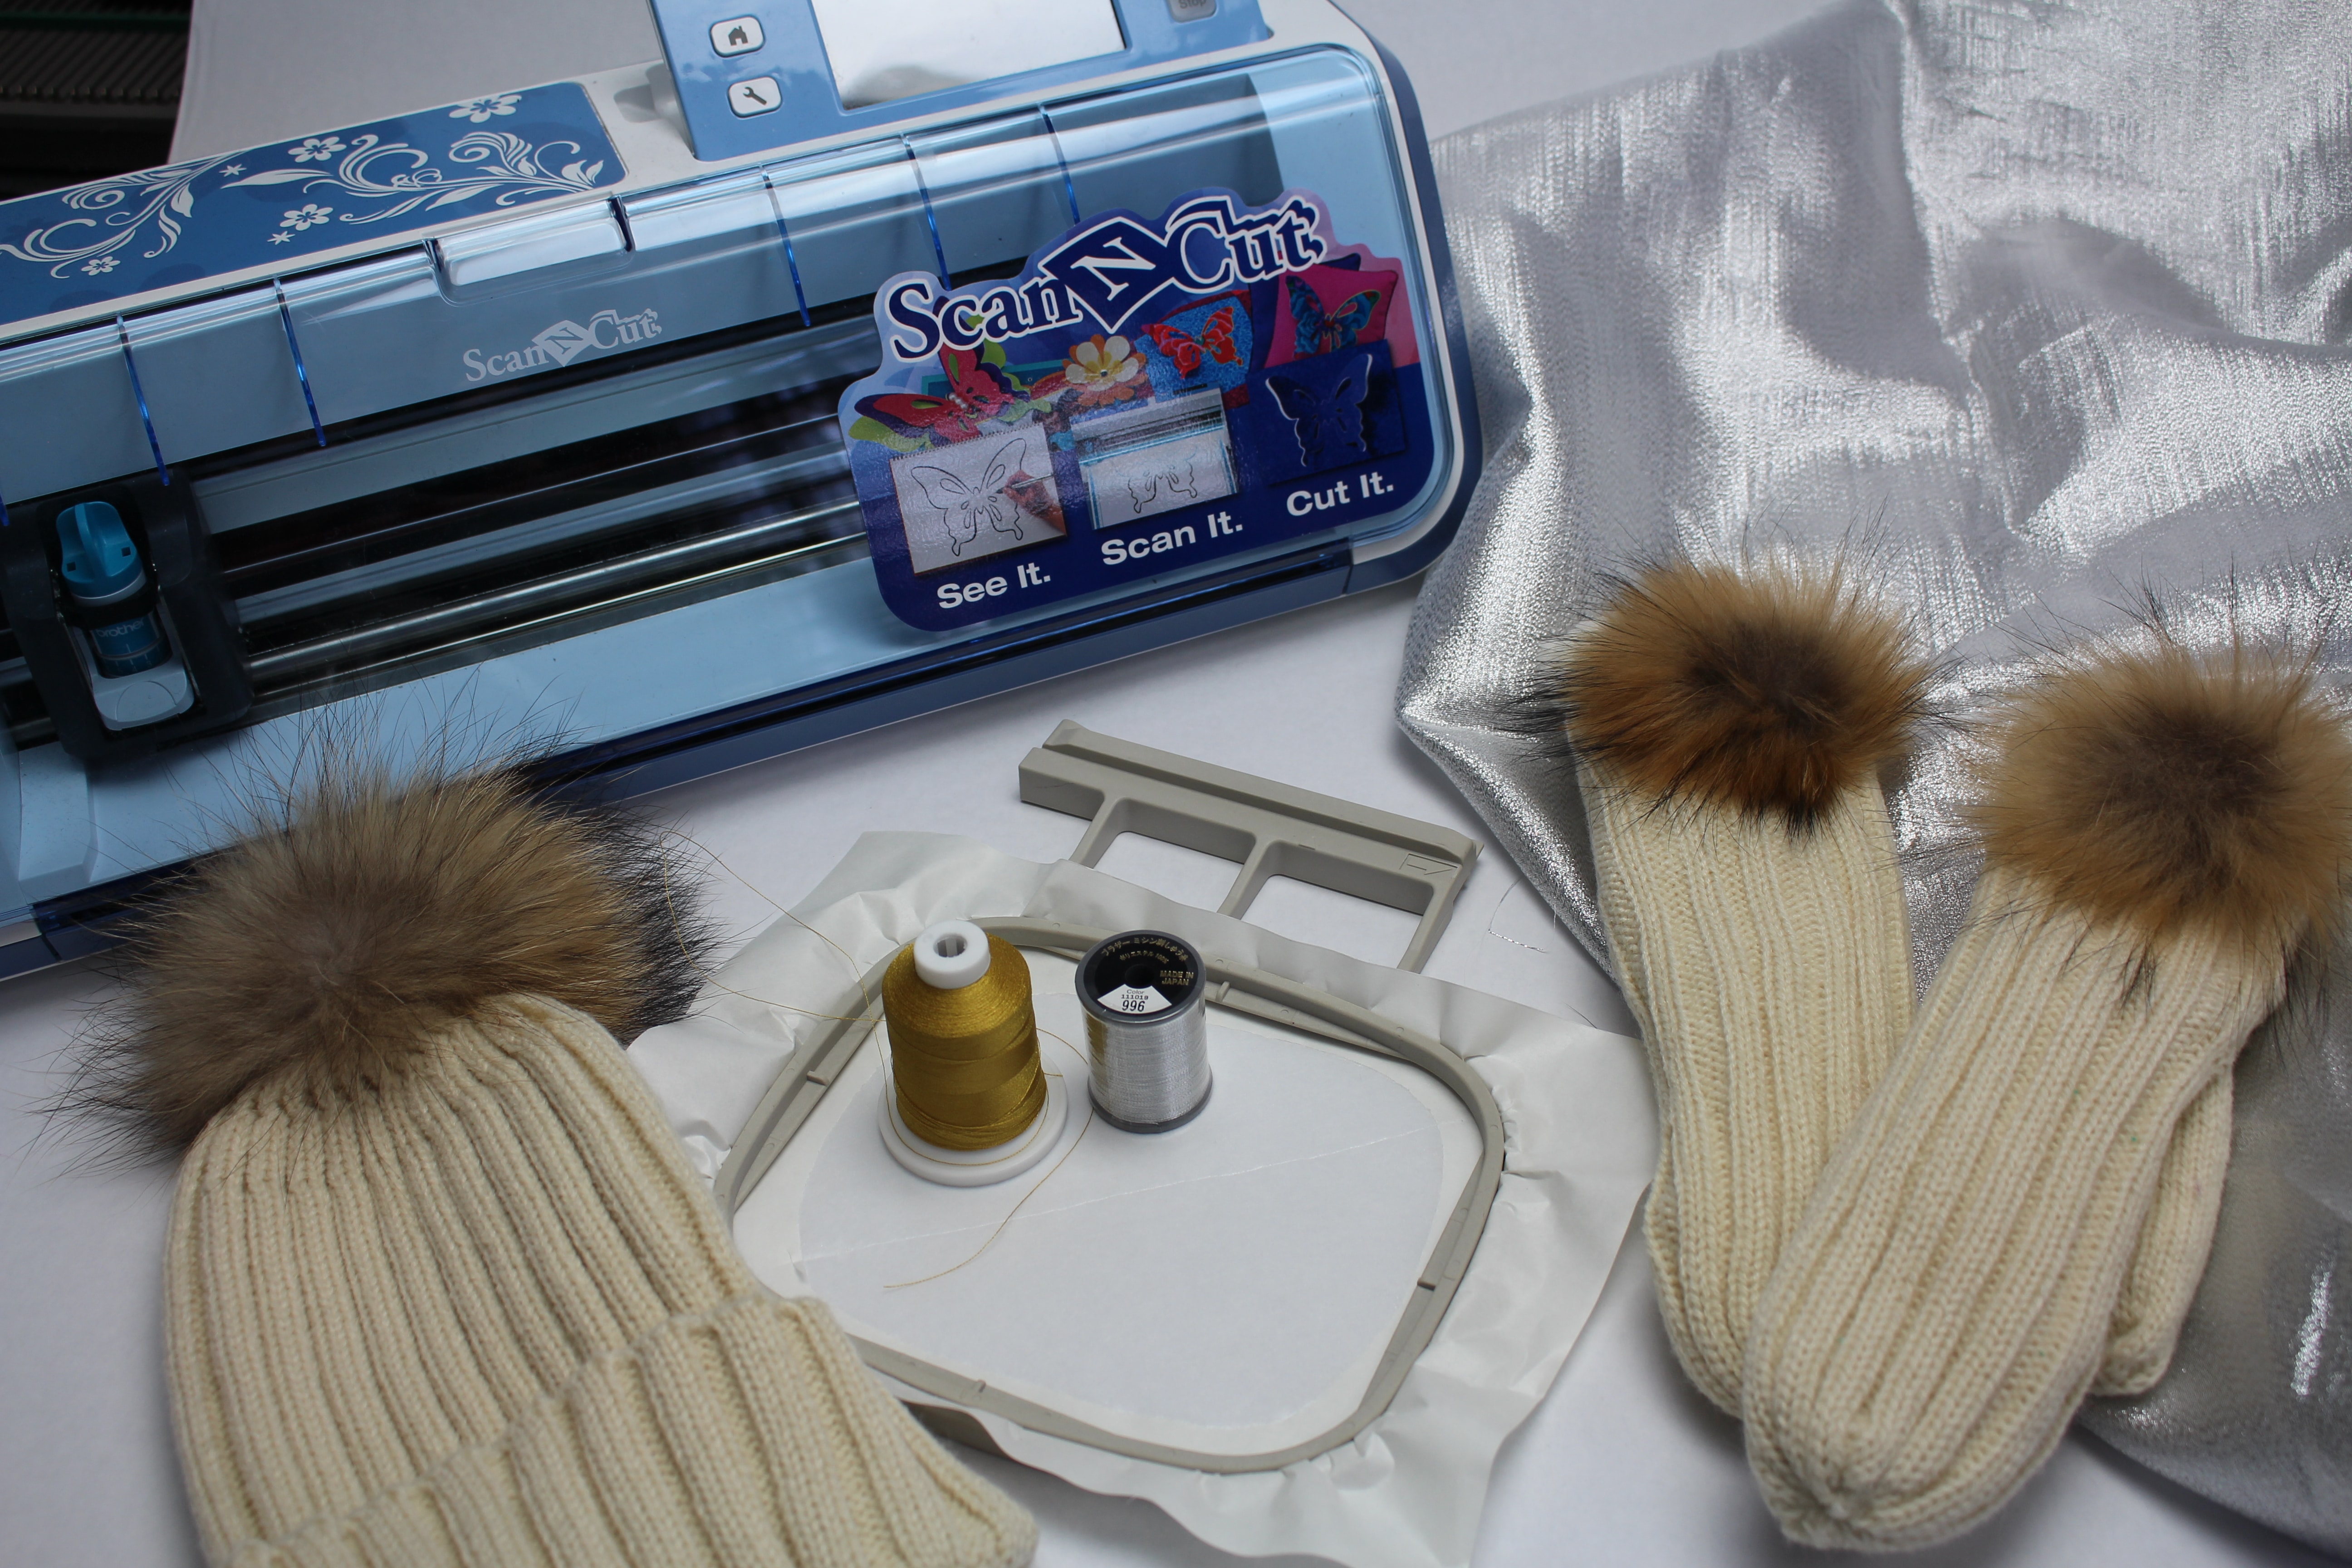
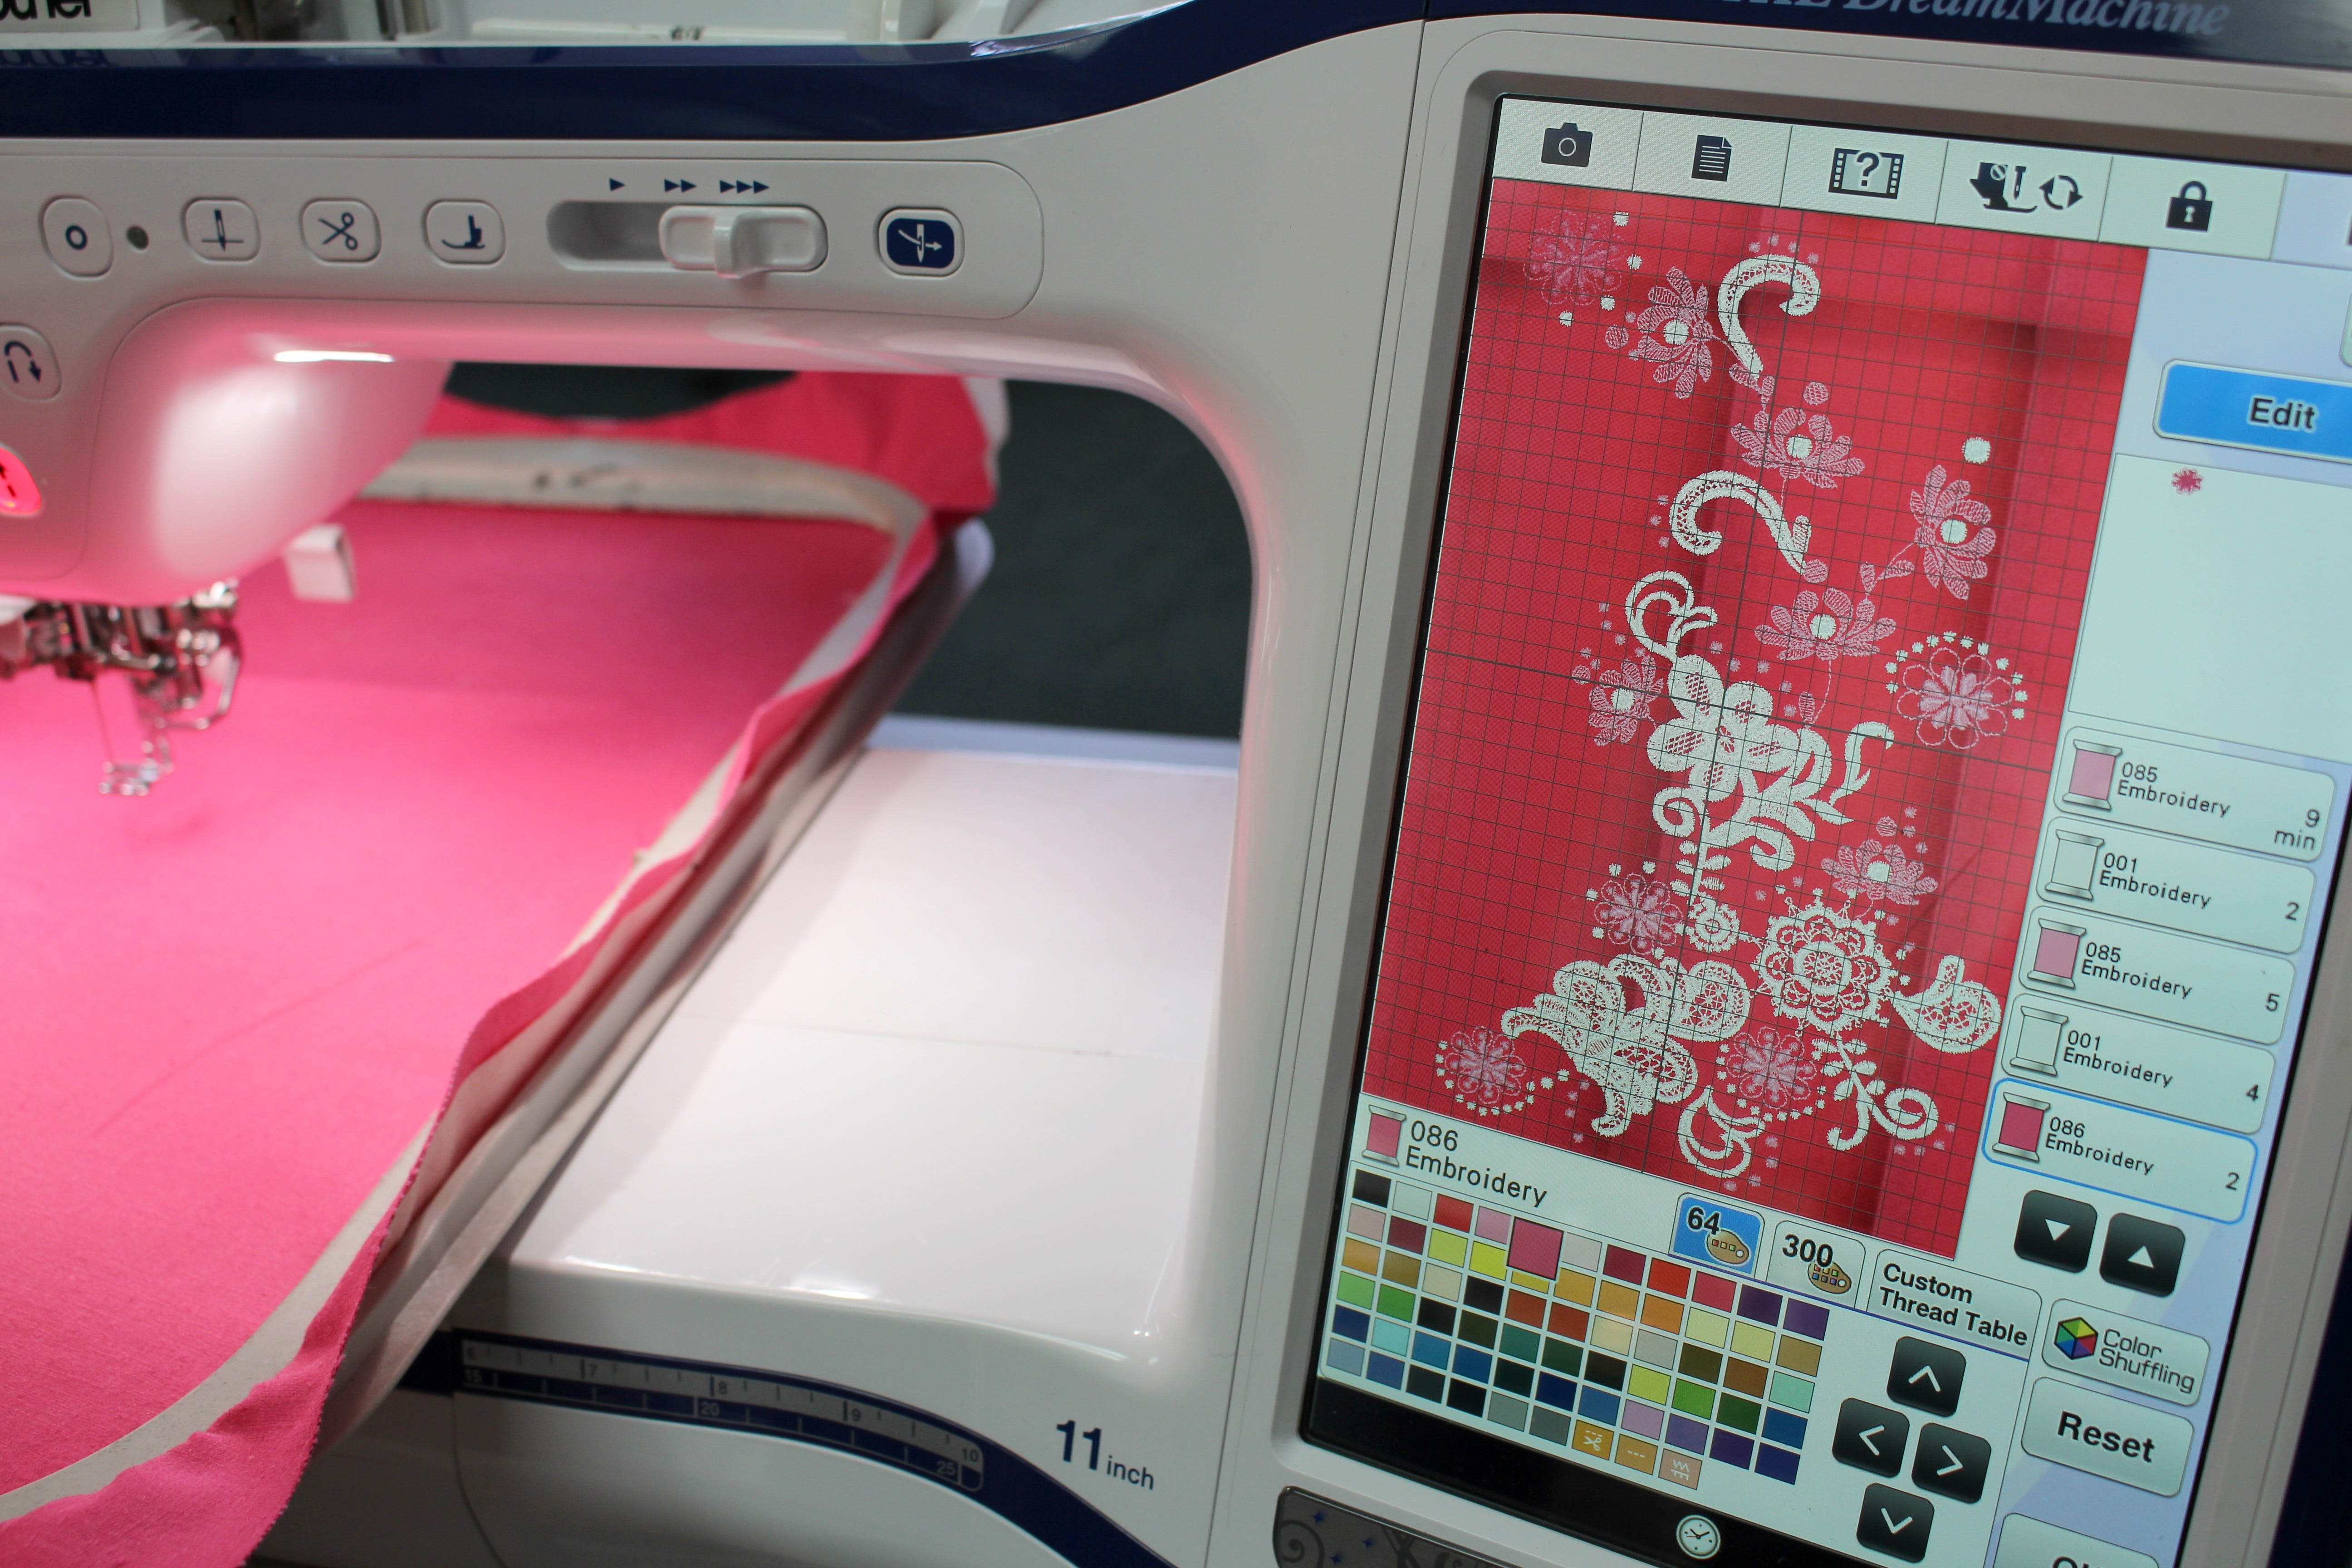
This project is very easy and only takes about 30 minutes (even faster if you are on the Brother 10-needle)
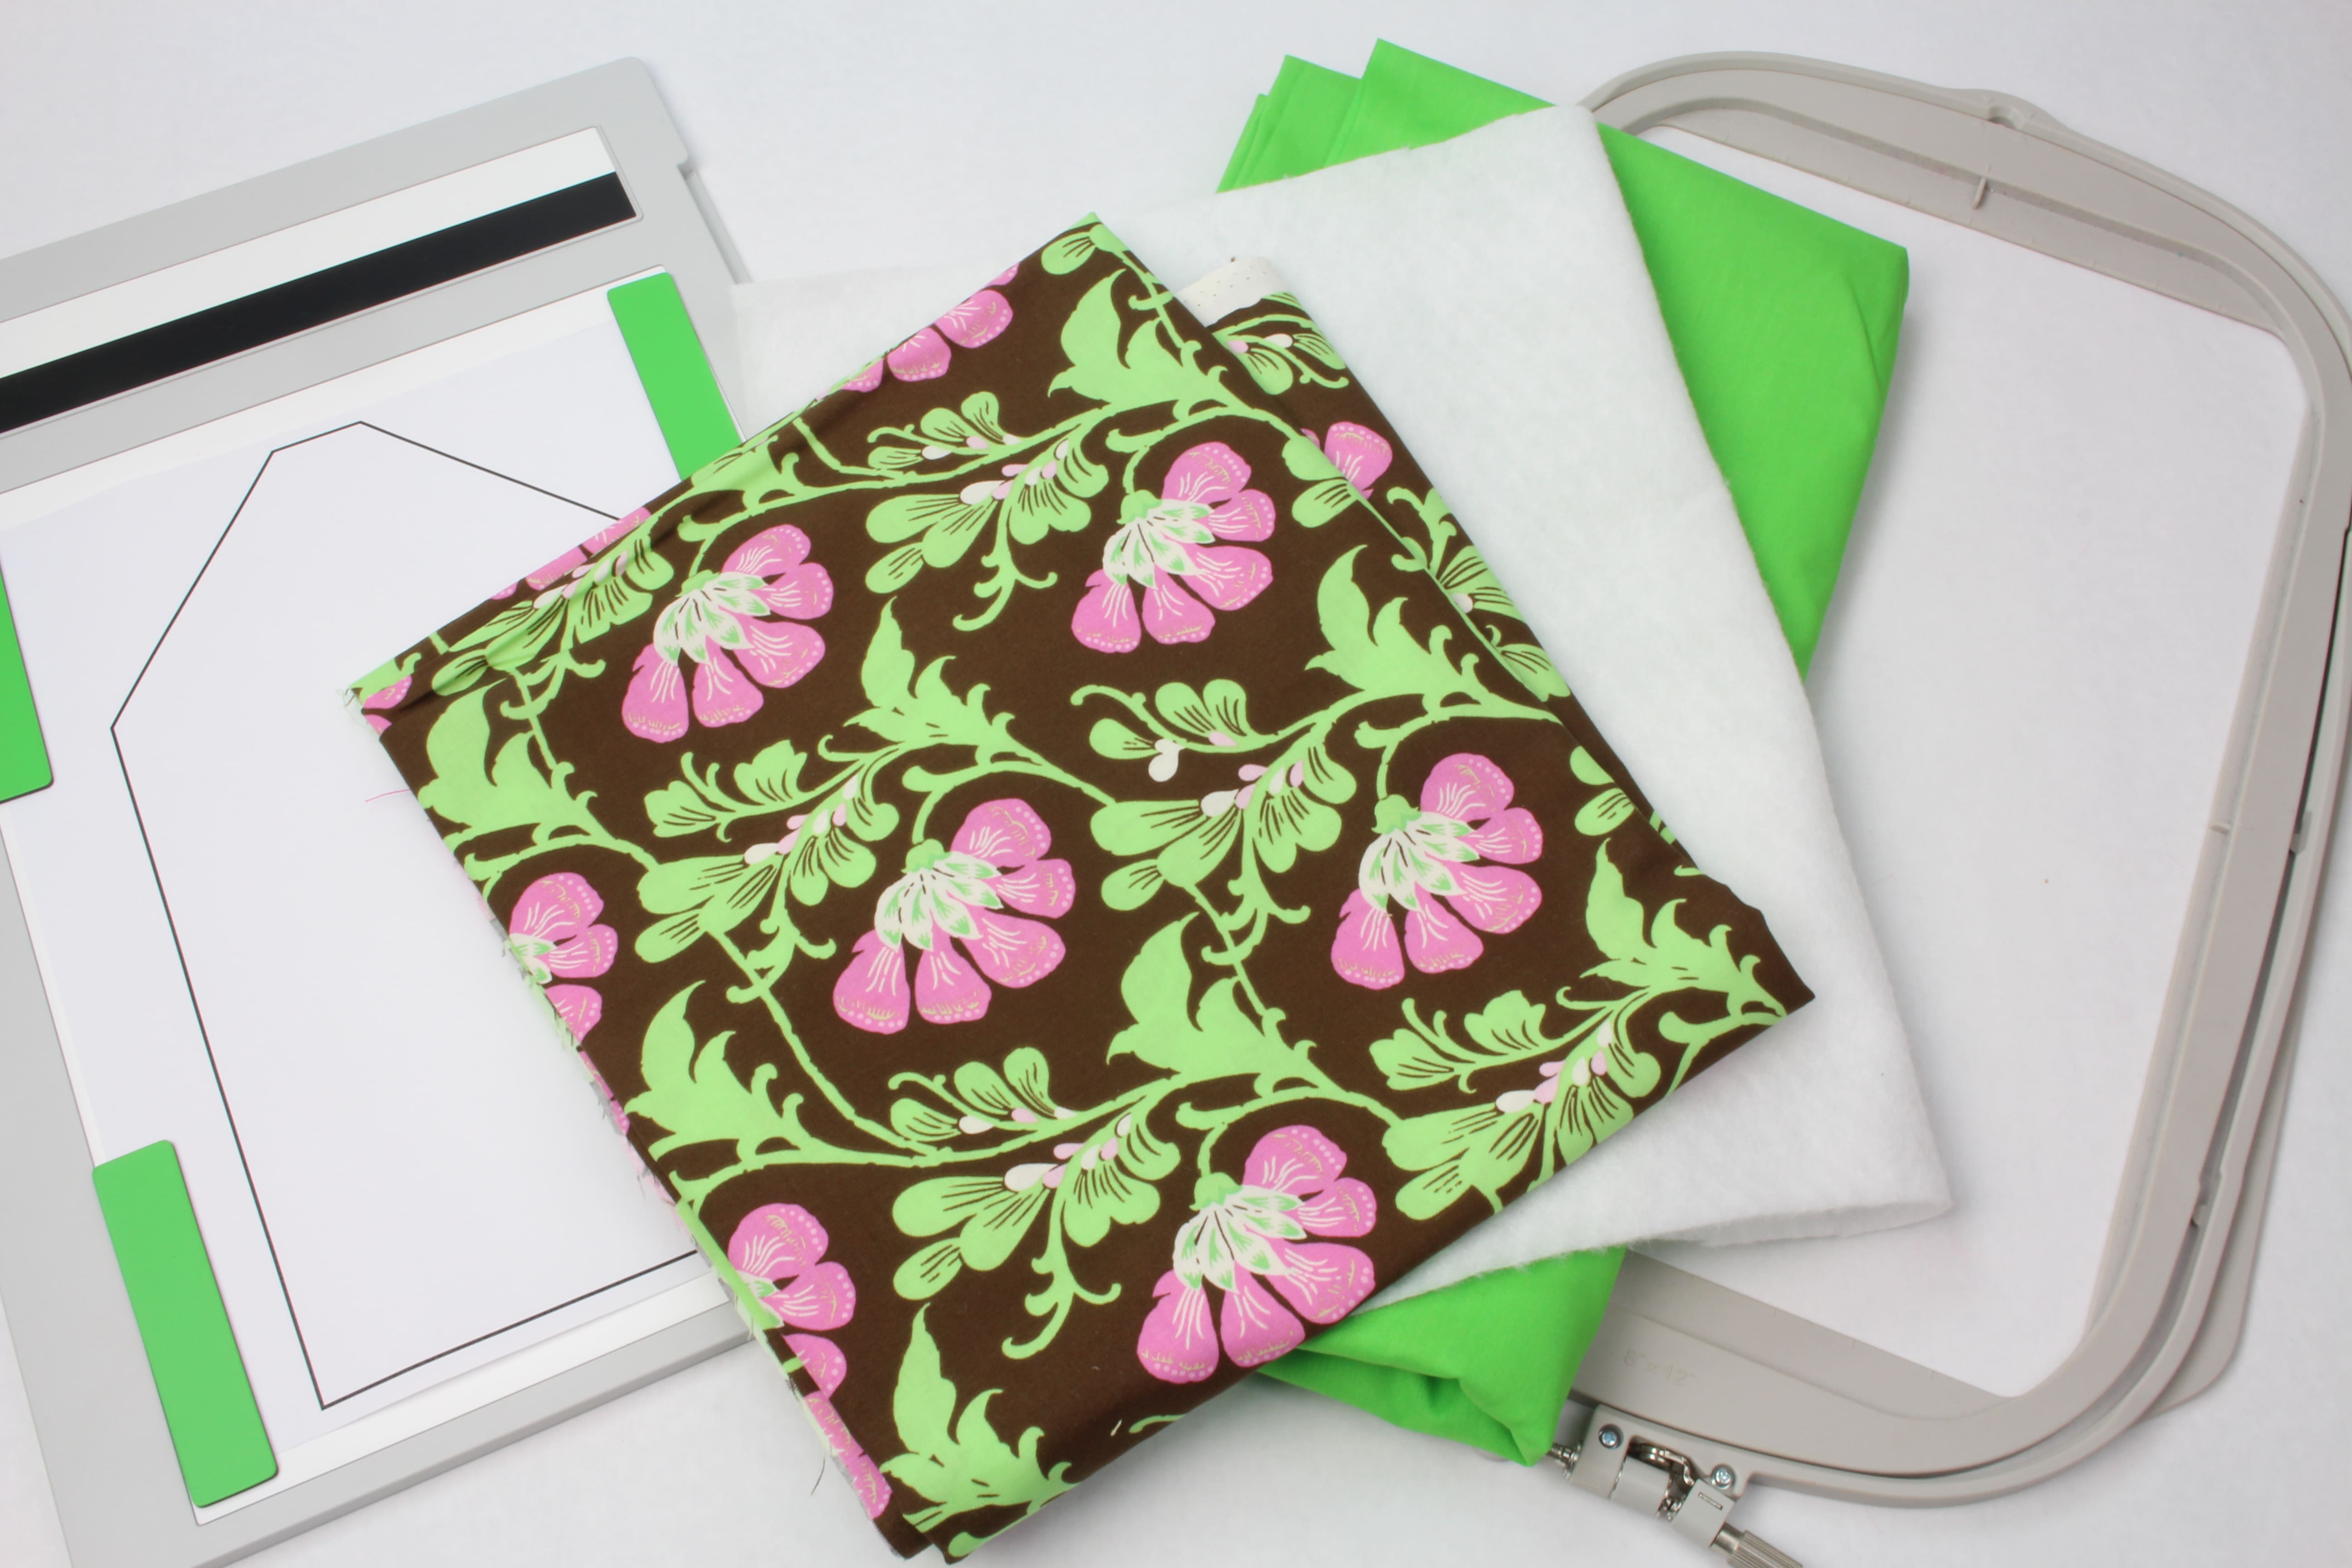
Supplies:
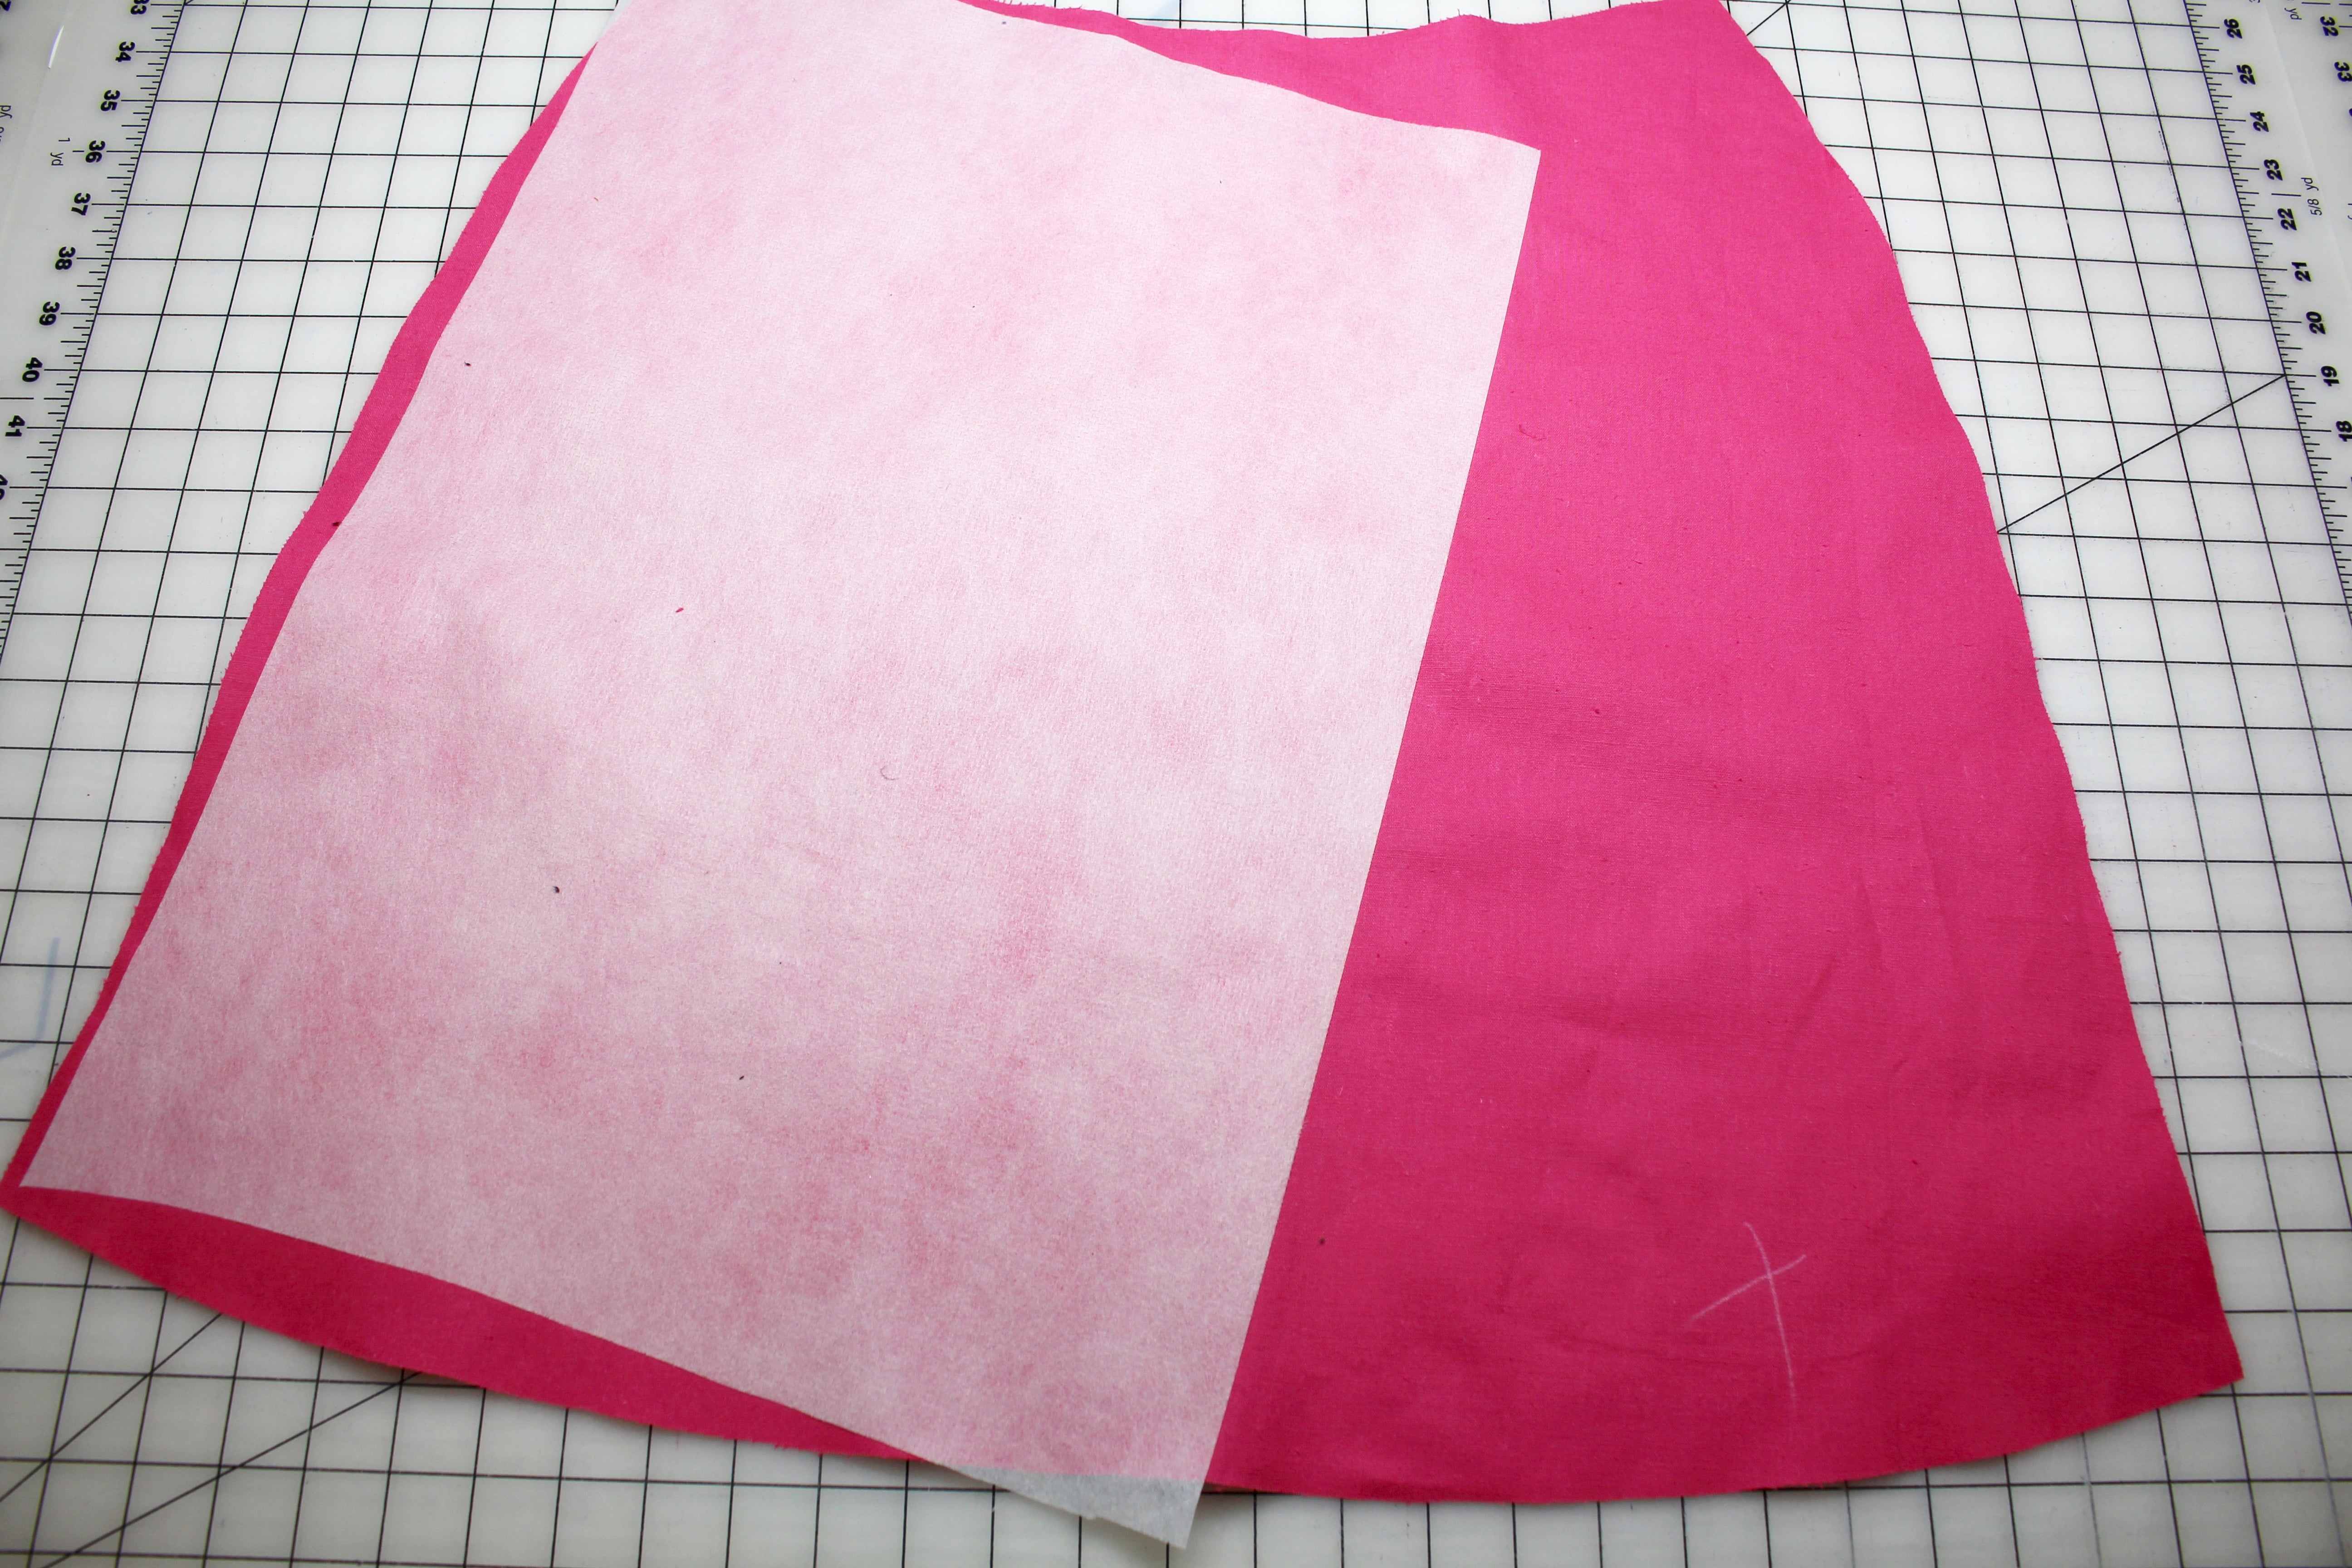
- Fabric 1 (solid colored) cut 1: 14” by 17”
- Fabric 2 (printed fabric for the lining) cut 1: 10” by 13”
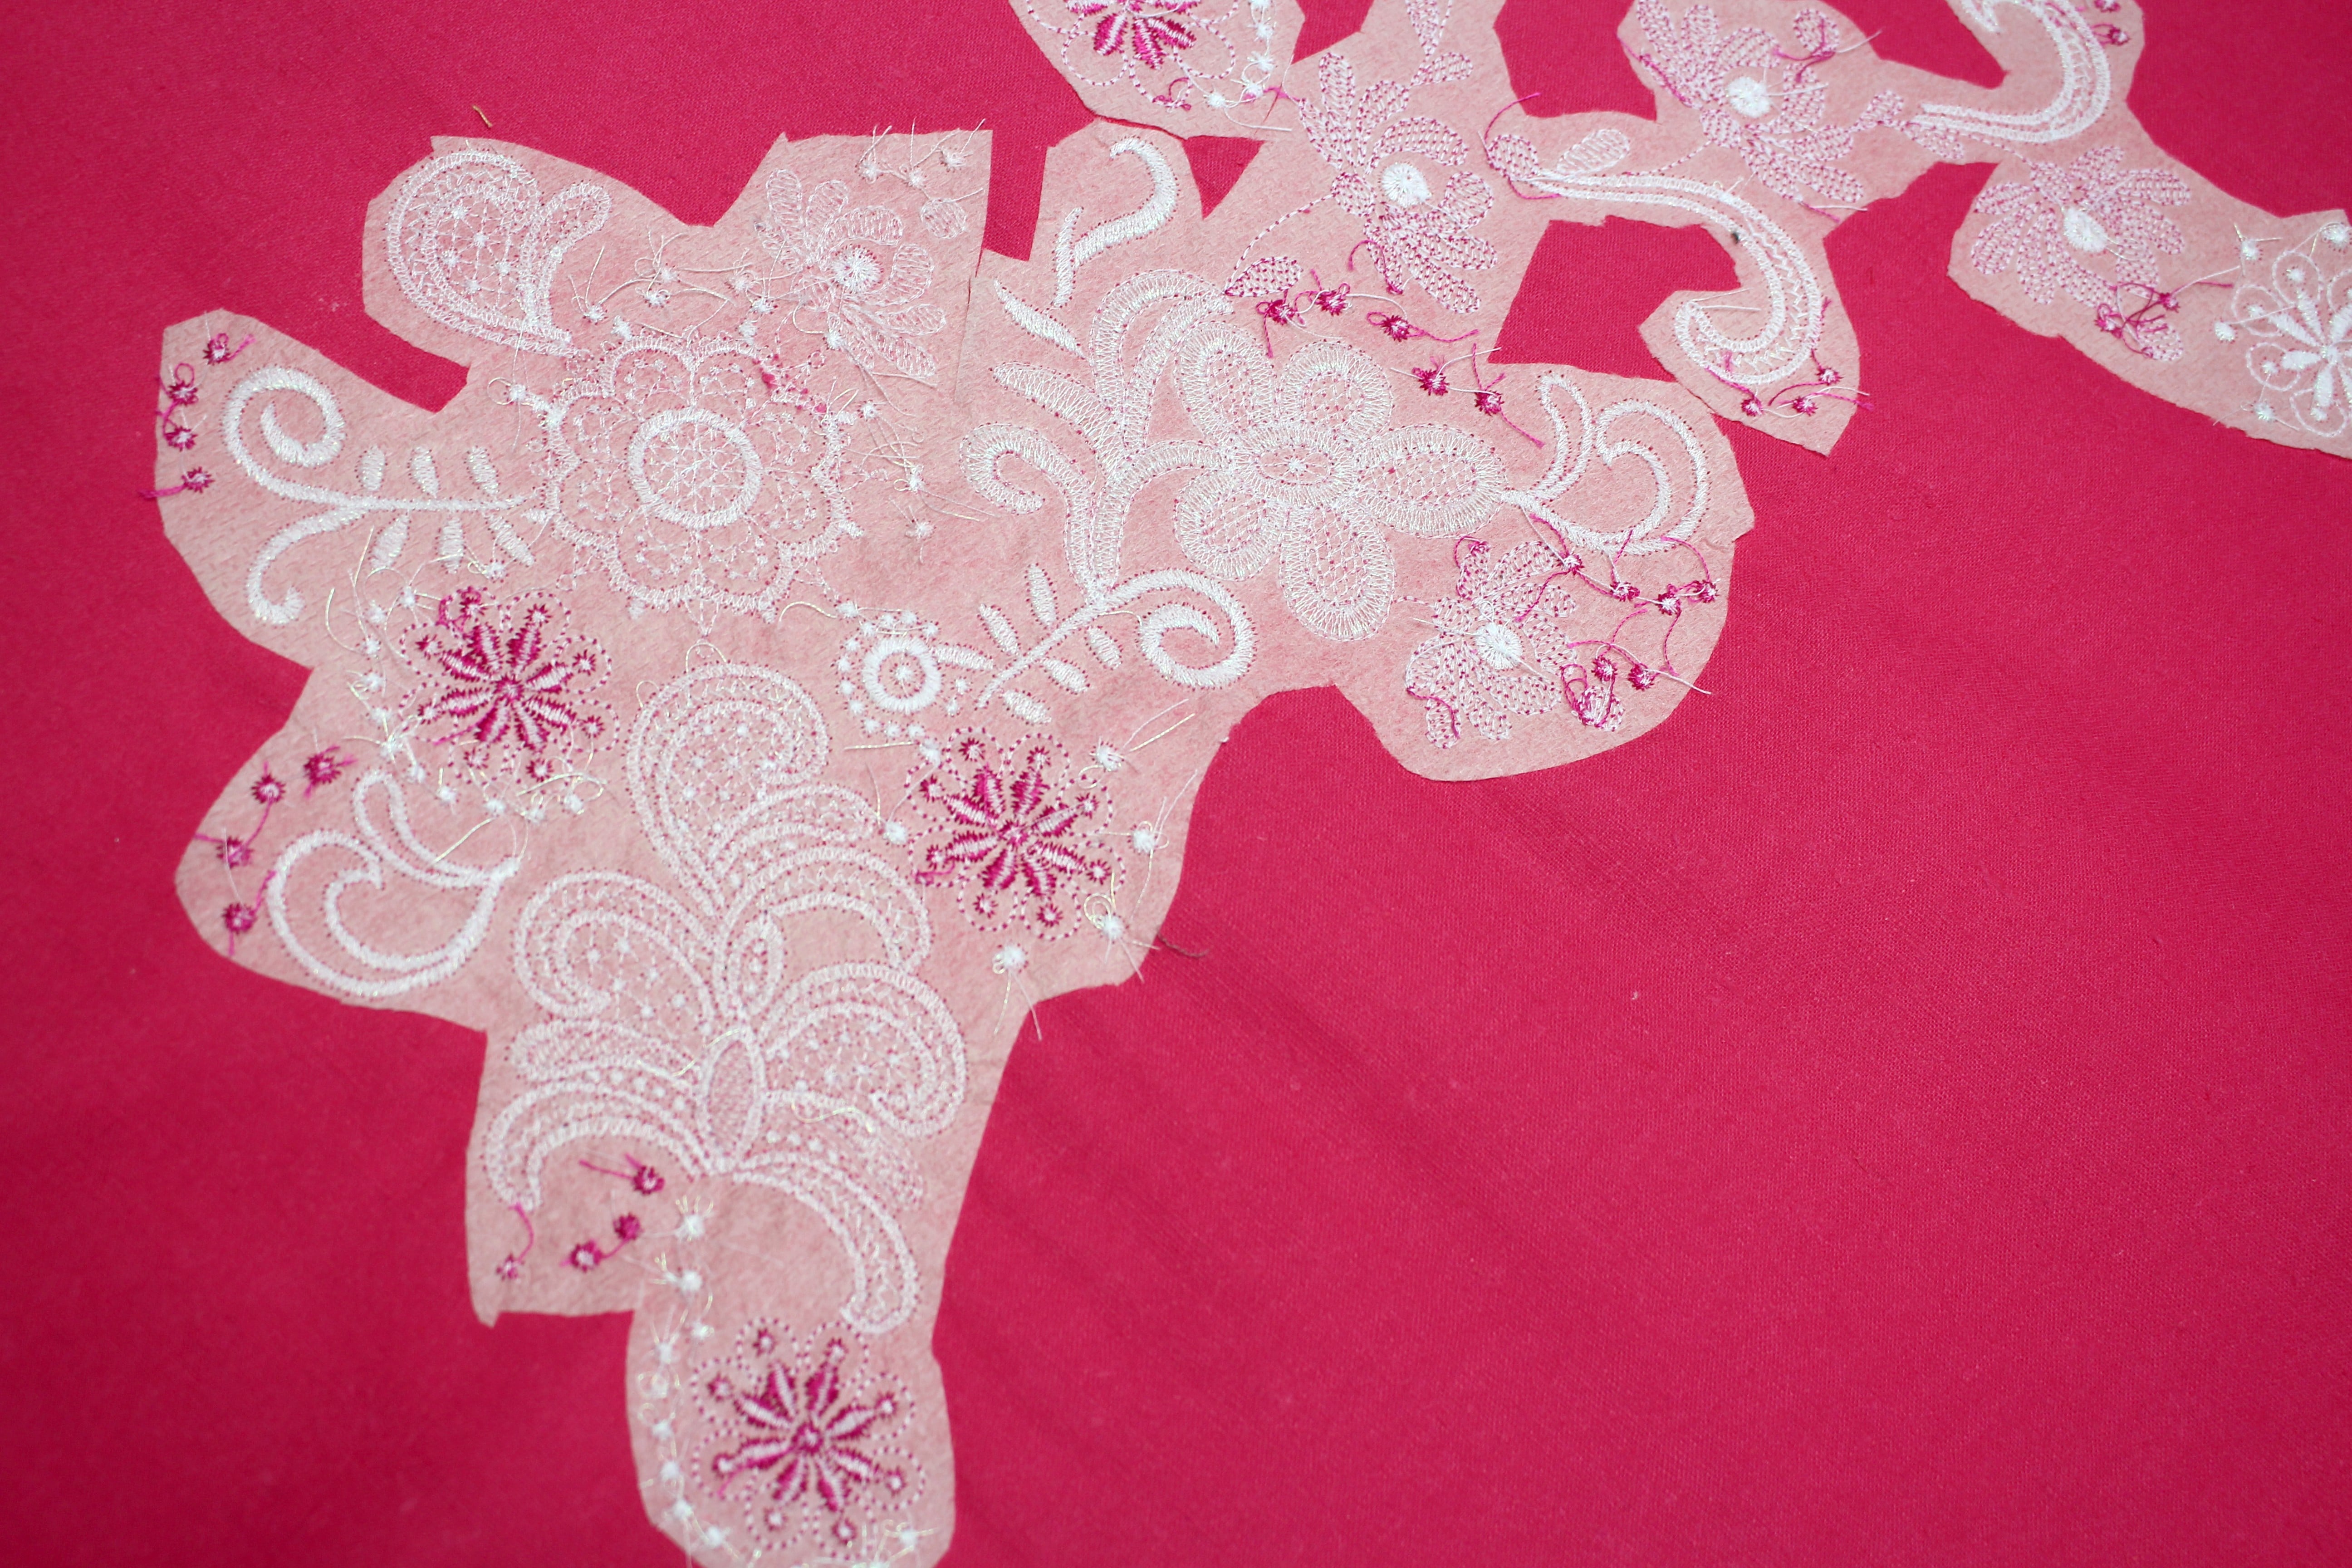
- Fabric 3 (applique fabric) cut 1: 7” by 5”
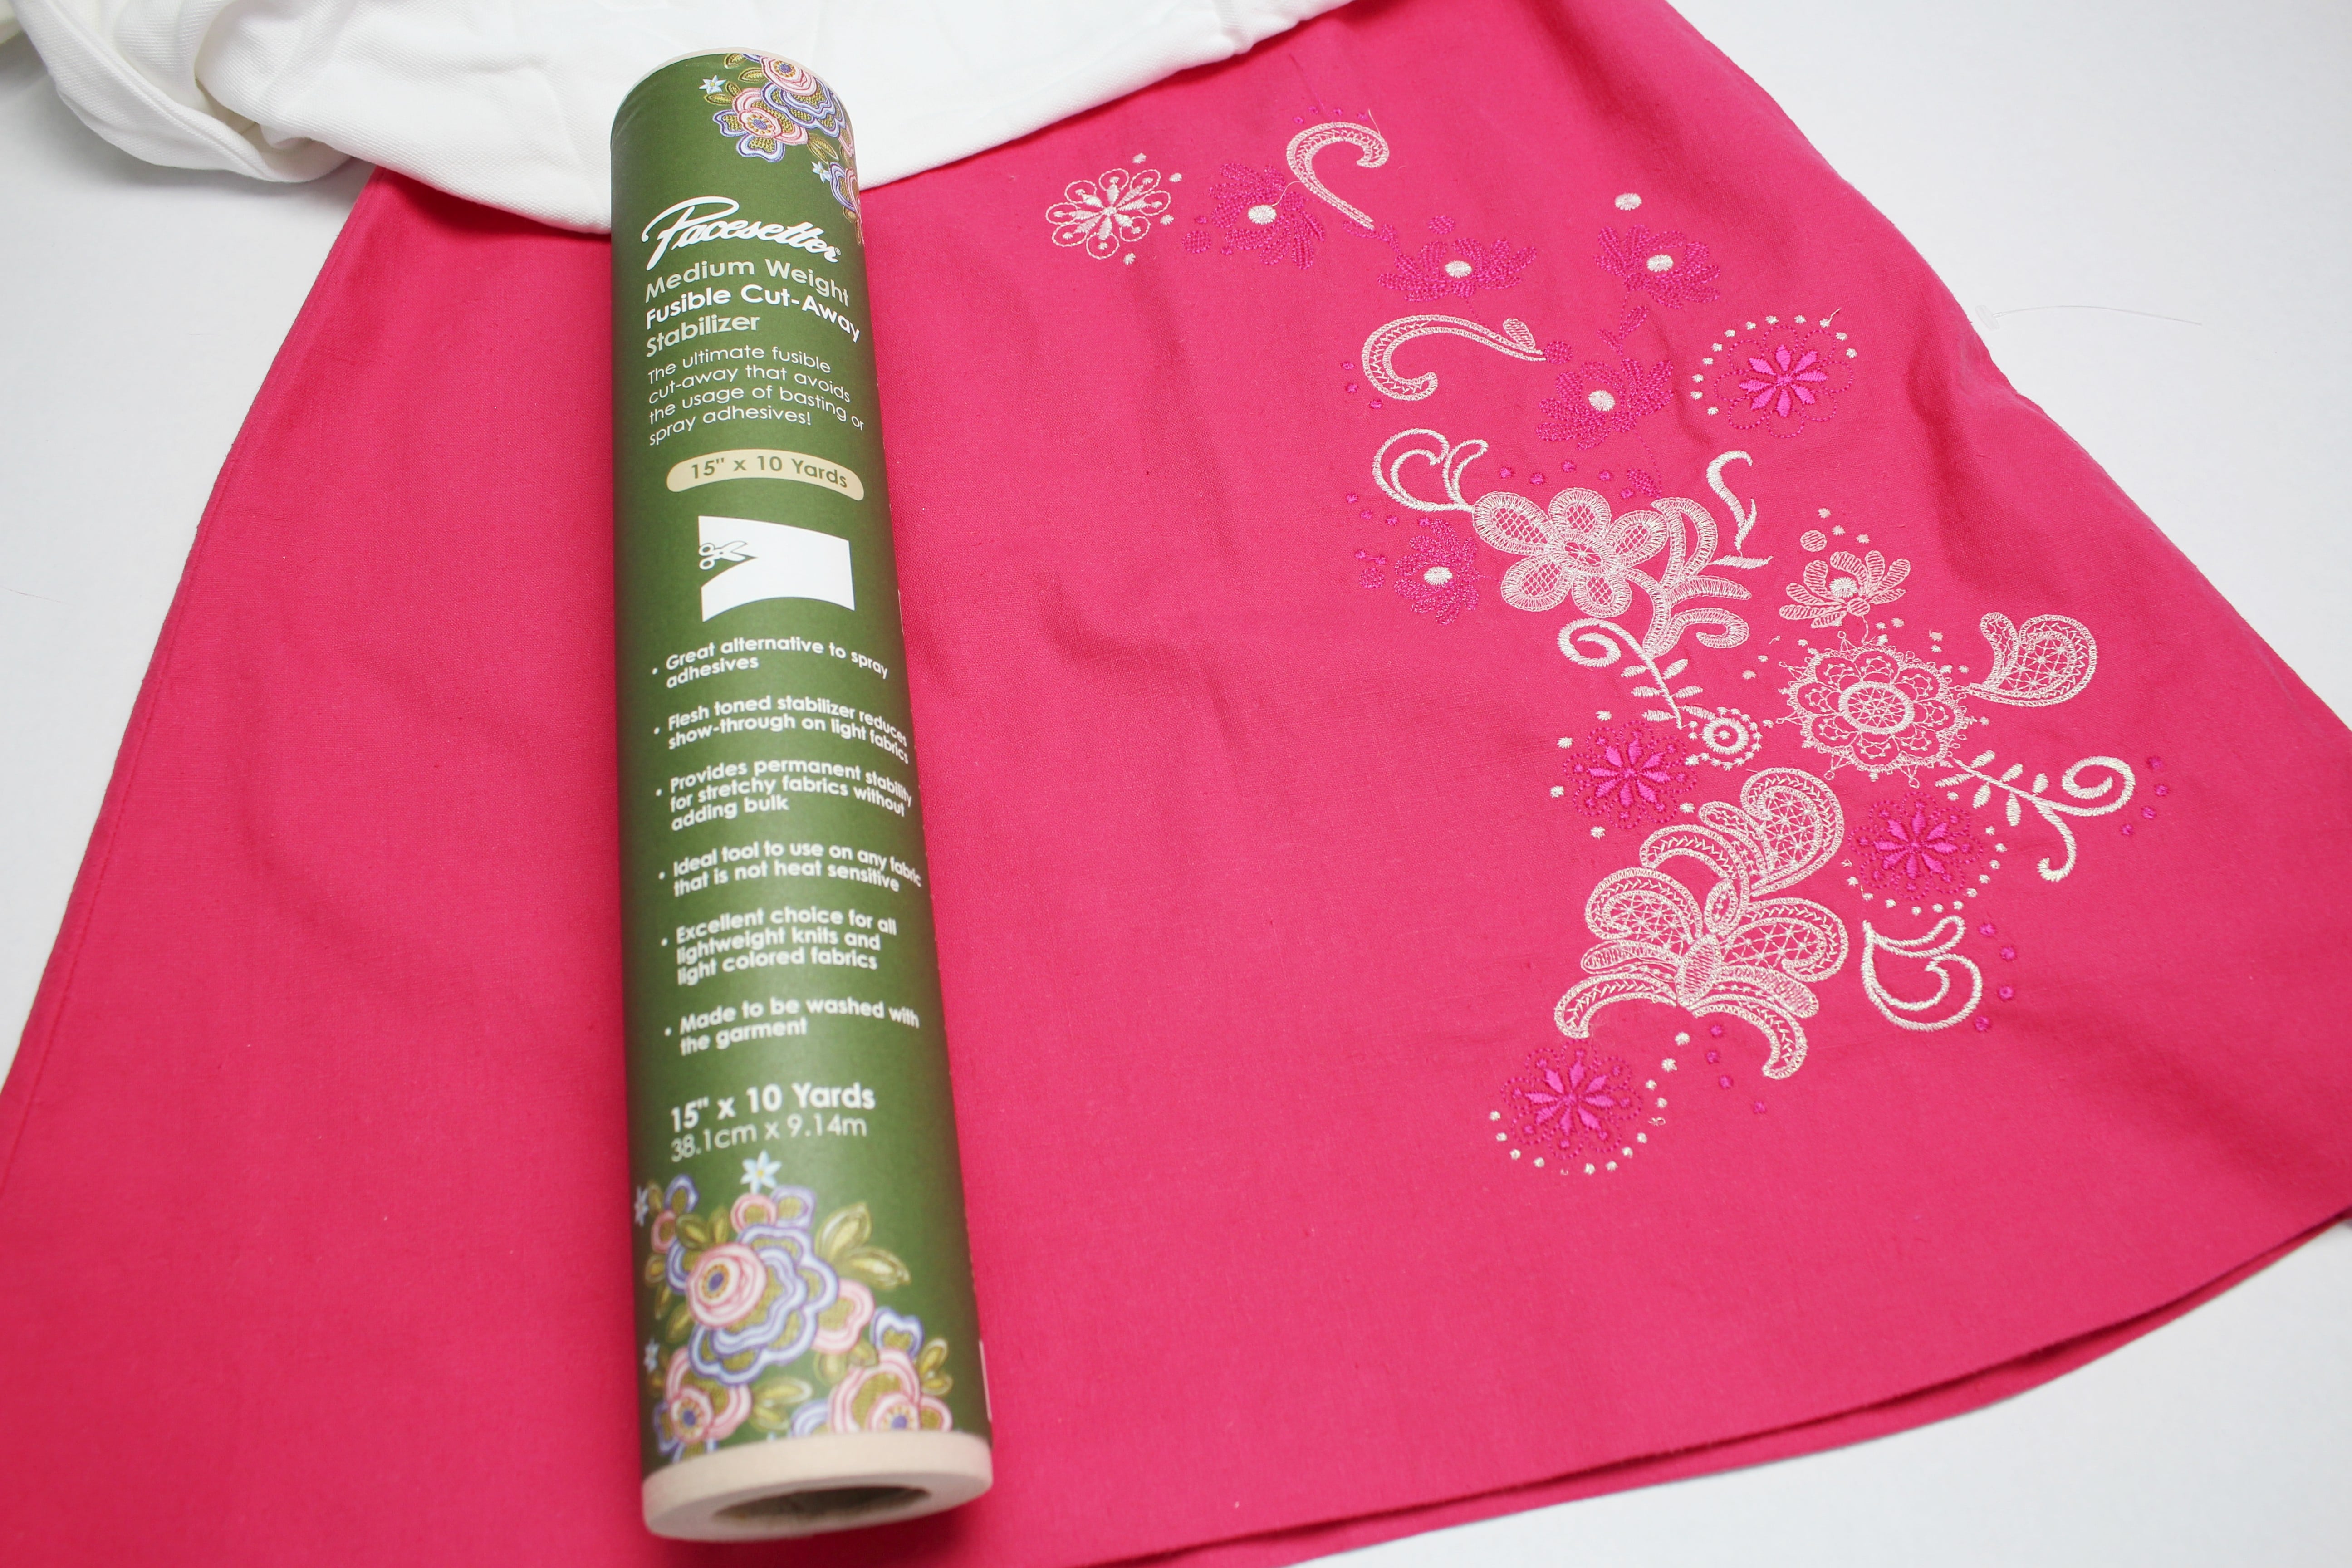
- Sticky Back Medium Weight Tearaway Stabilizer cut 1: 7” by 5”
- Rayon Embroidery Thread
- Universal Polyester Thread
- Quilt Batting cut 1: 14” by 17”
- Envelope Pattern (download PDF file)
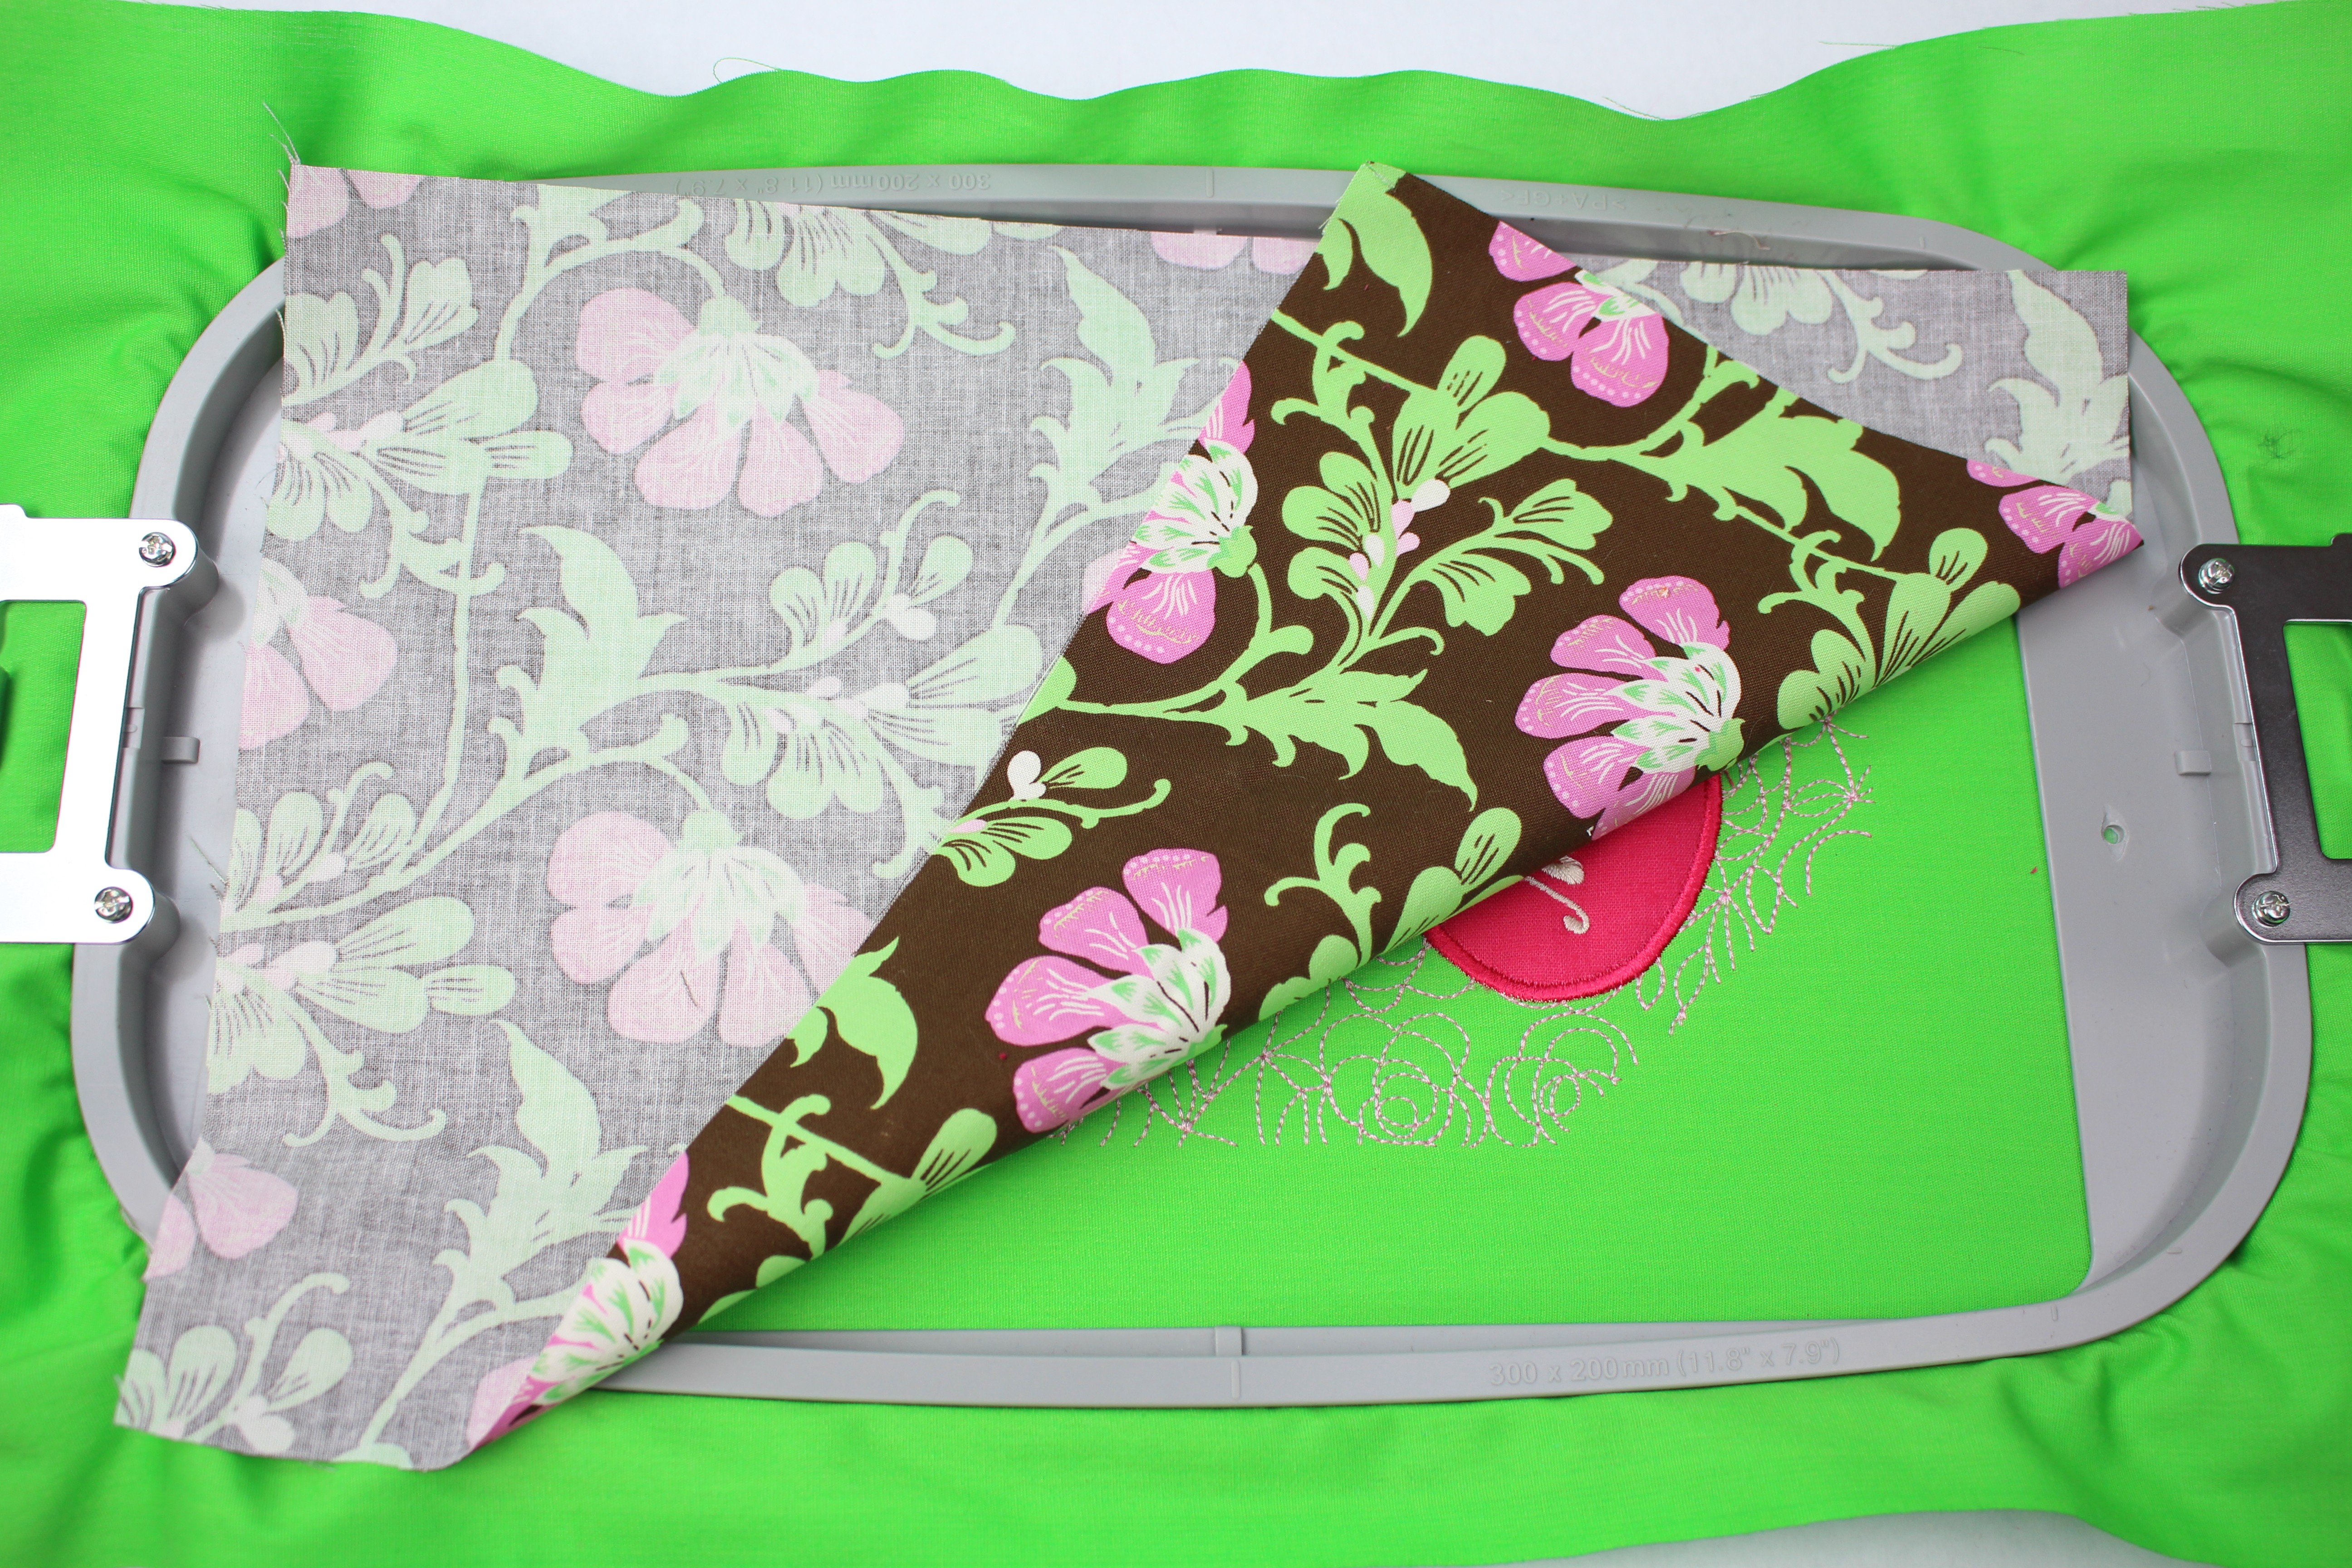
To read the full blog, head over to my post as a Brother Expert Consultant on the Brother Stitching Sewcial. This envelope is a cute idea for any gift, now I just need to add the personal note ♥Let me know what you think and be sure to share photos of your embroidered envelope. #brothersews #angelawolf
Happy Mother’s Day ♥

<a target="_blank" href="https://shareasale.com/r.cfm?b=1130525&u=1586241&m=29190&urllink=&afftrack="><img src="https://static.shareasale.com/image/29190/320x1002.jpg" border="0" alt="Craftsy Unlimited FREE 7 day trial at Craftsy.com" /></a>