
Quilting the Lining
Why not add a touch of couture to your tweed fringed skirt and quilt the lining. Similar to a Chanel style jacket, the quilted lining is stylish and luxurious. There is a lot of hand-sewing involved in this process, but it’s worth every stitch ? As you know, I sew many of my skirts and jackets this way and once you wear a quilted garment you will be hooked!
Lining
I mentioned in a previous lesson in the Fringe Skirt Sewalong that is is best to use a natural fiber for the lining. Here are some of my favorite options:
- china silk
- silk charmeuse
- lightweight cotton
- sueded silk
- cotton knit
Cutting the Lining
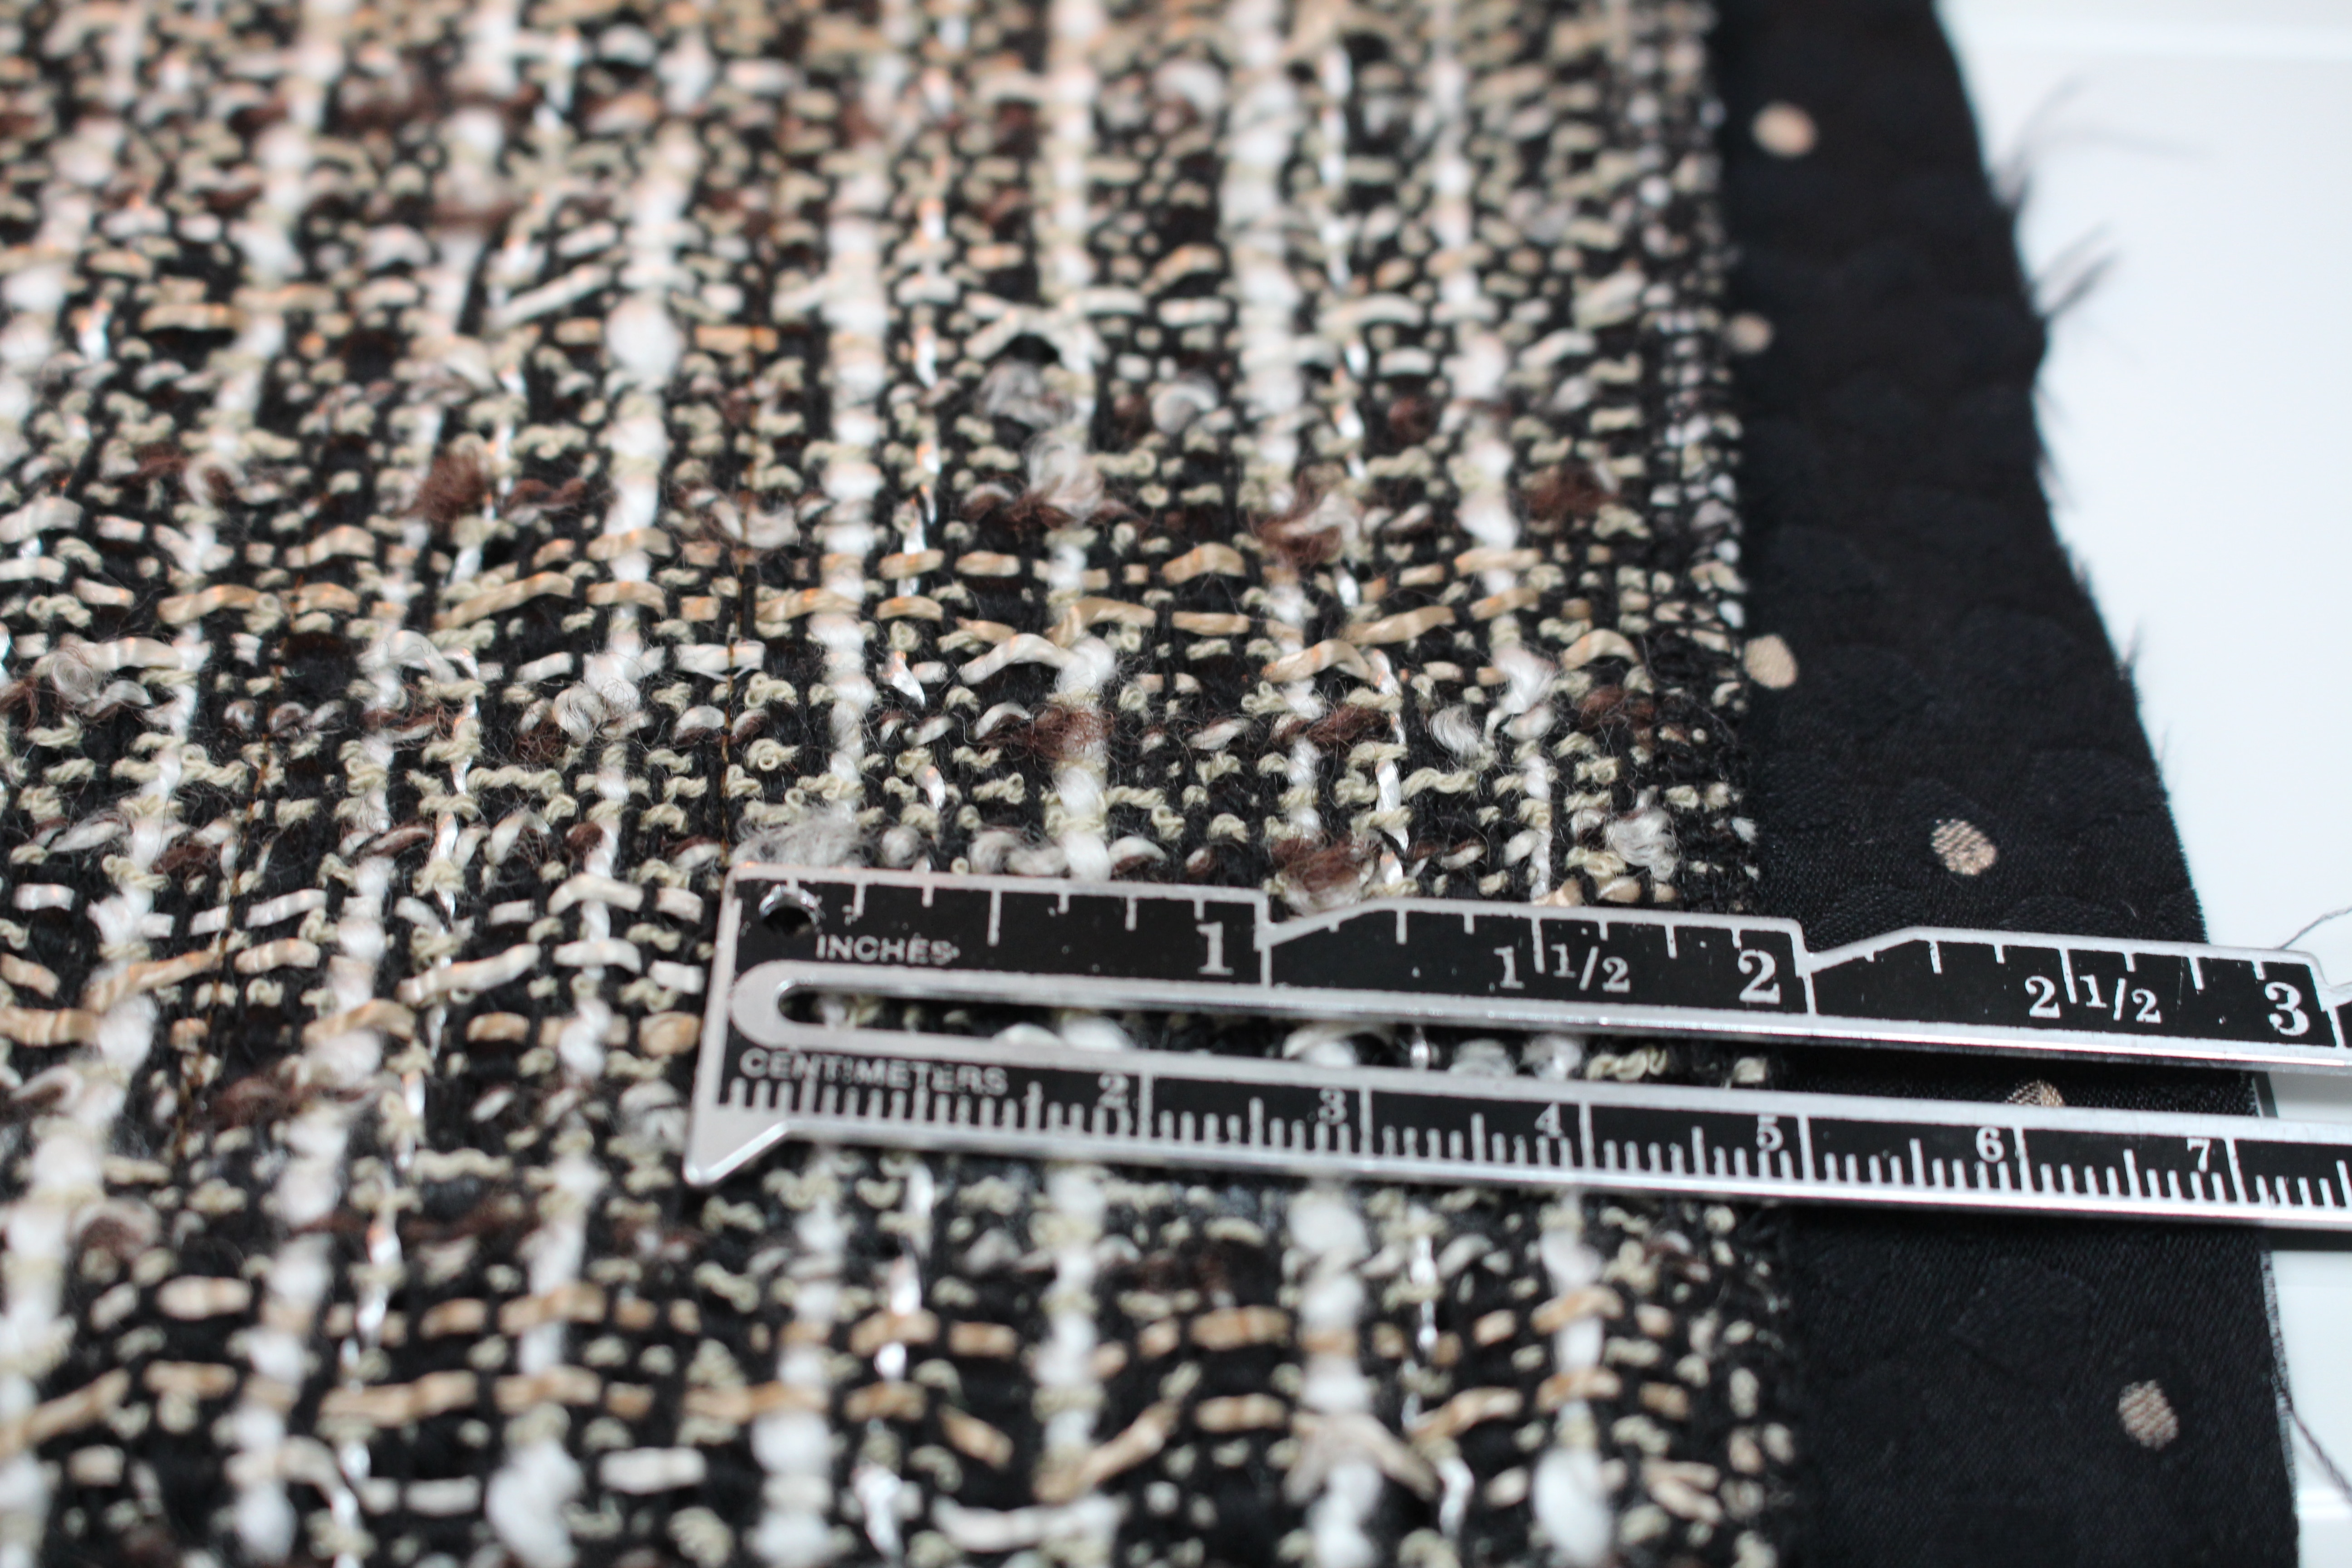
When quilting the lining you will need to cut your lining fabric a little bit wider than your fashion fabric. I usually lay my muslin or garment fabric on top of the lining as shown:
- cut the sides of the lining at least 1″ wider than the skirt
- fold up the fringe hem allowance and cut the lining 1″ longer than the top of the fringe marking
Preparing the Lining and Fashion Fabrics
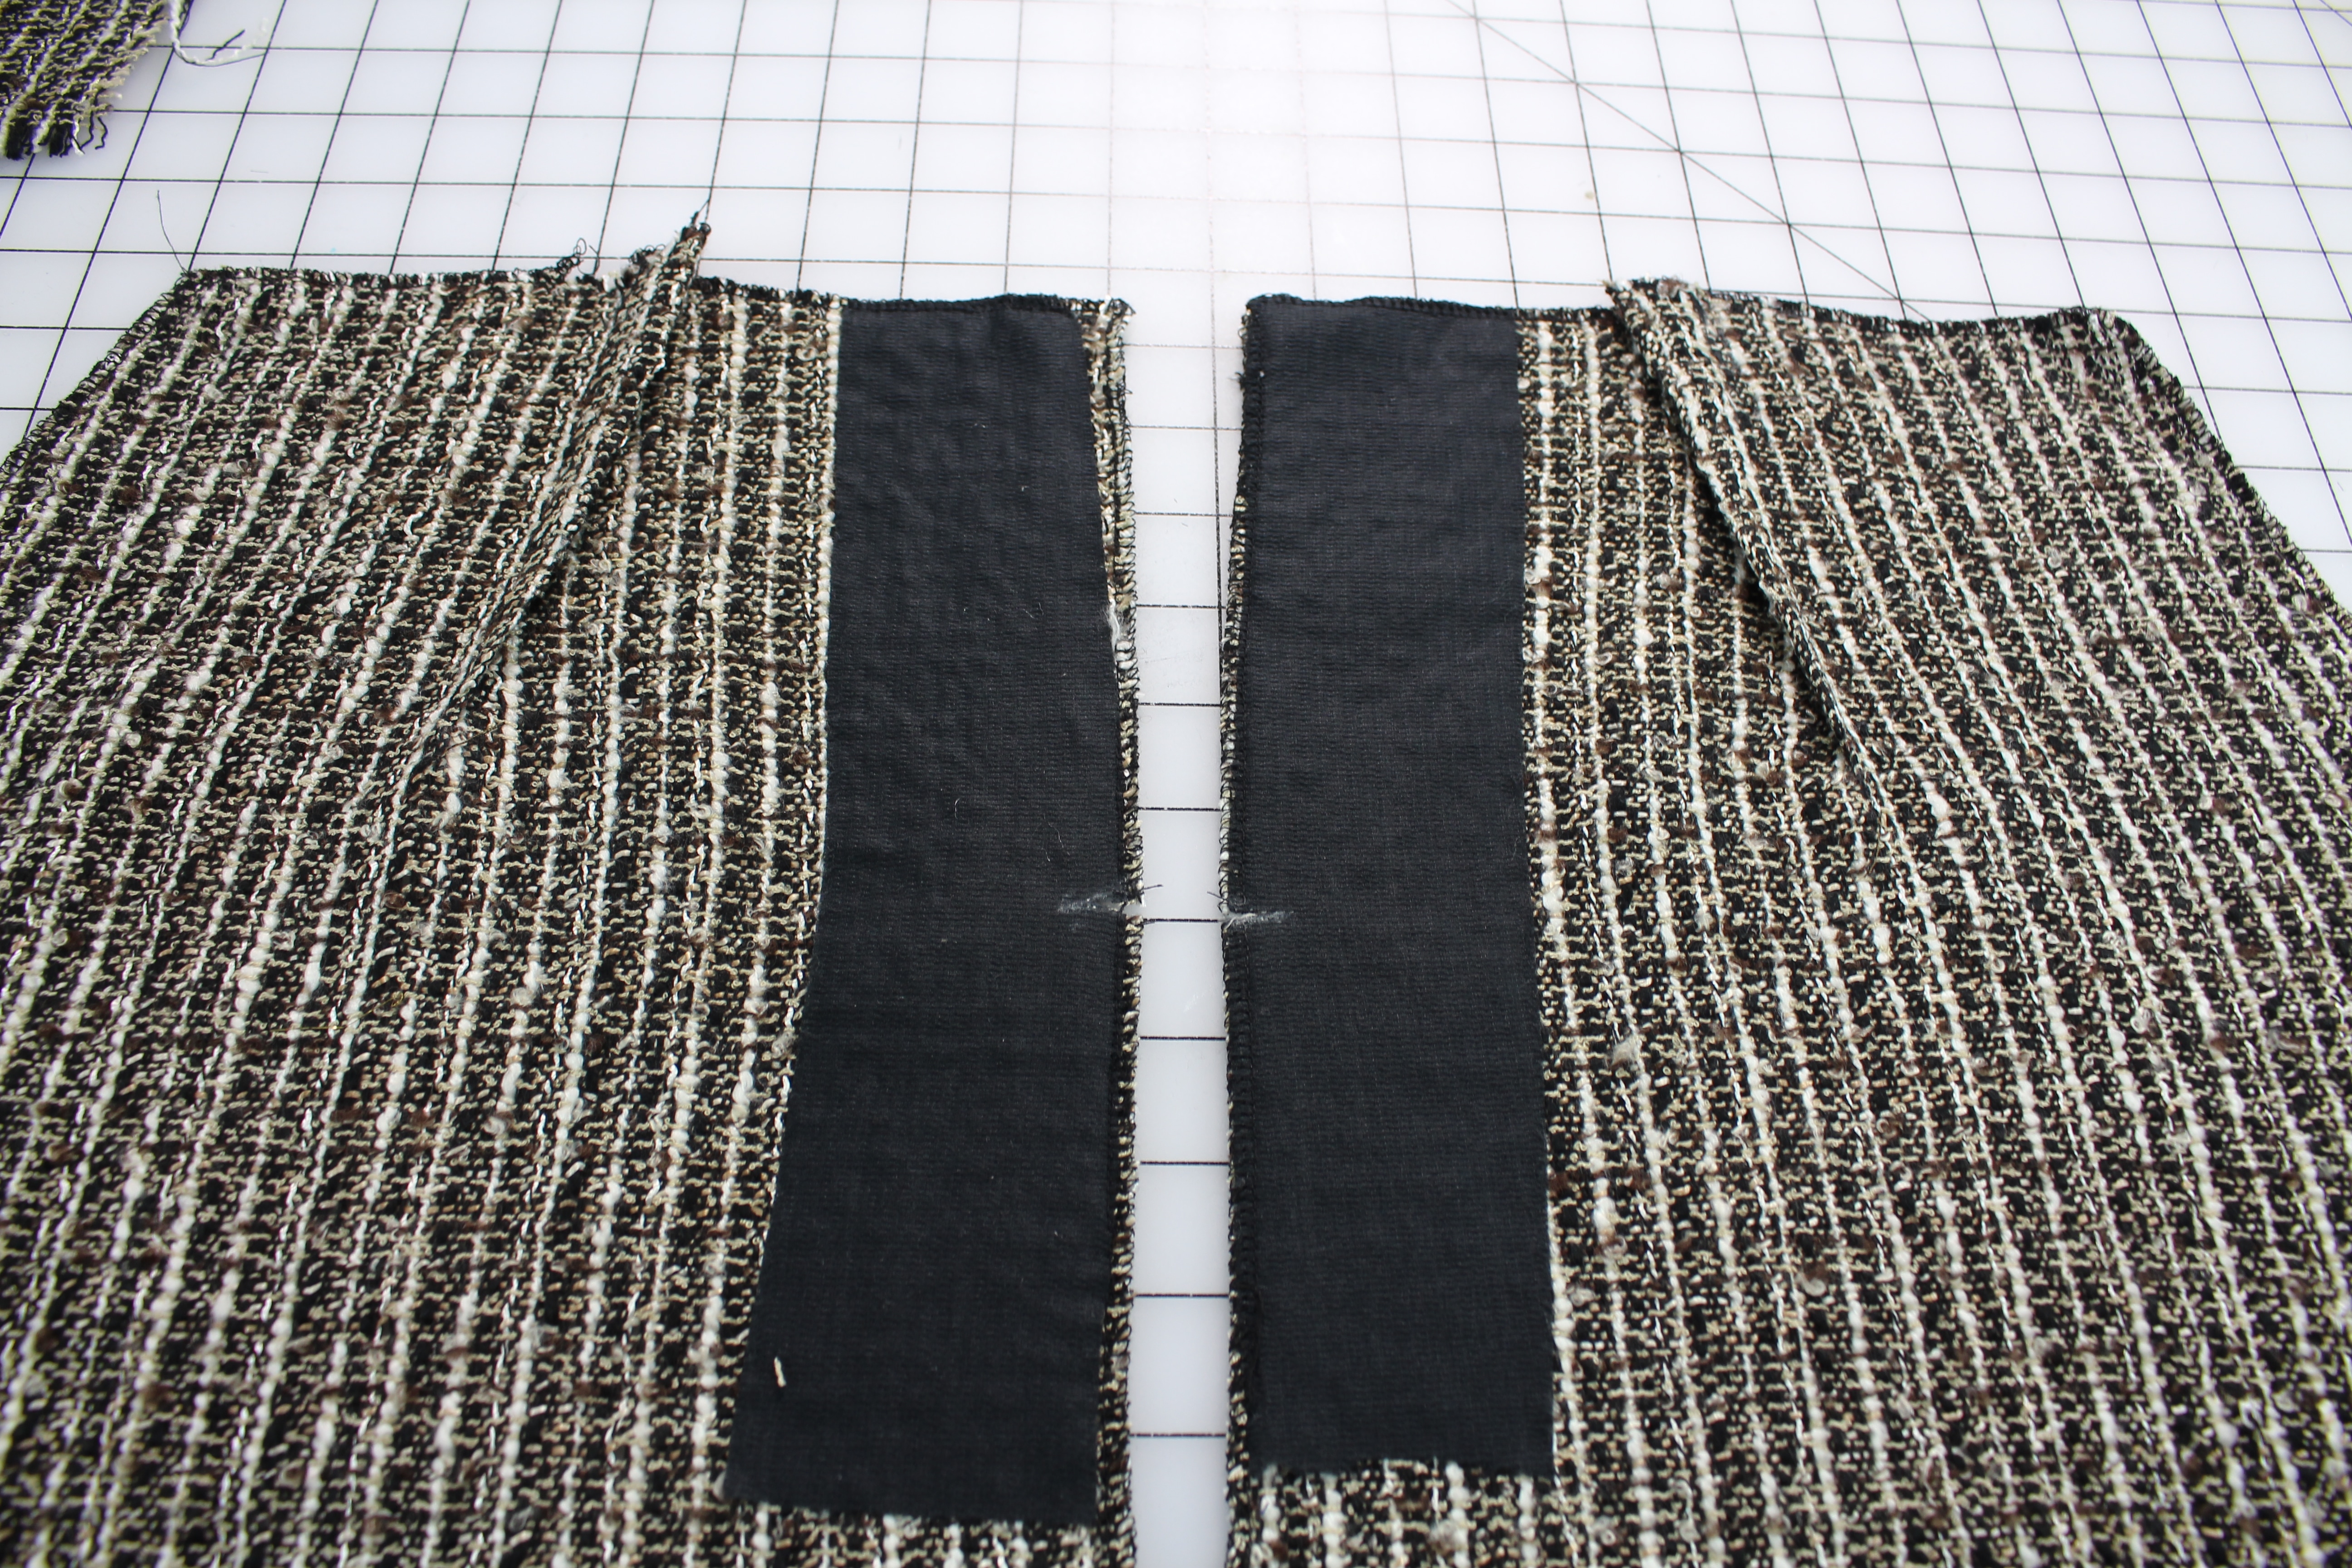
- Sew the darts on the lining, the same way you did on the fashion fabric. Press the darts toward the side seams or the opposite direction the dart are pressed on the fashion fabric.
- Prepare the zipper area on the skirt by pressing the fusible interfacing onto the wrong side of the fabric
- If the fashion fabric fabric or lining frays easily, serge the edges of the fabric with a 3-thread wide overlock stitch (DO NOT serge the hem on the fashion fabric!)
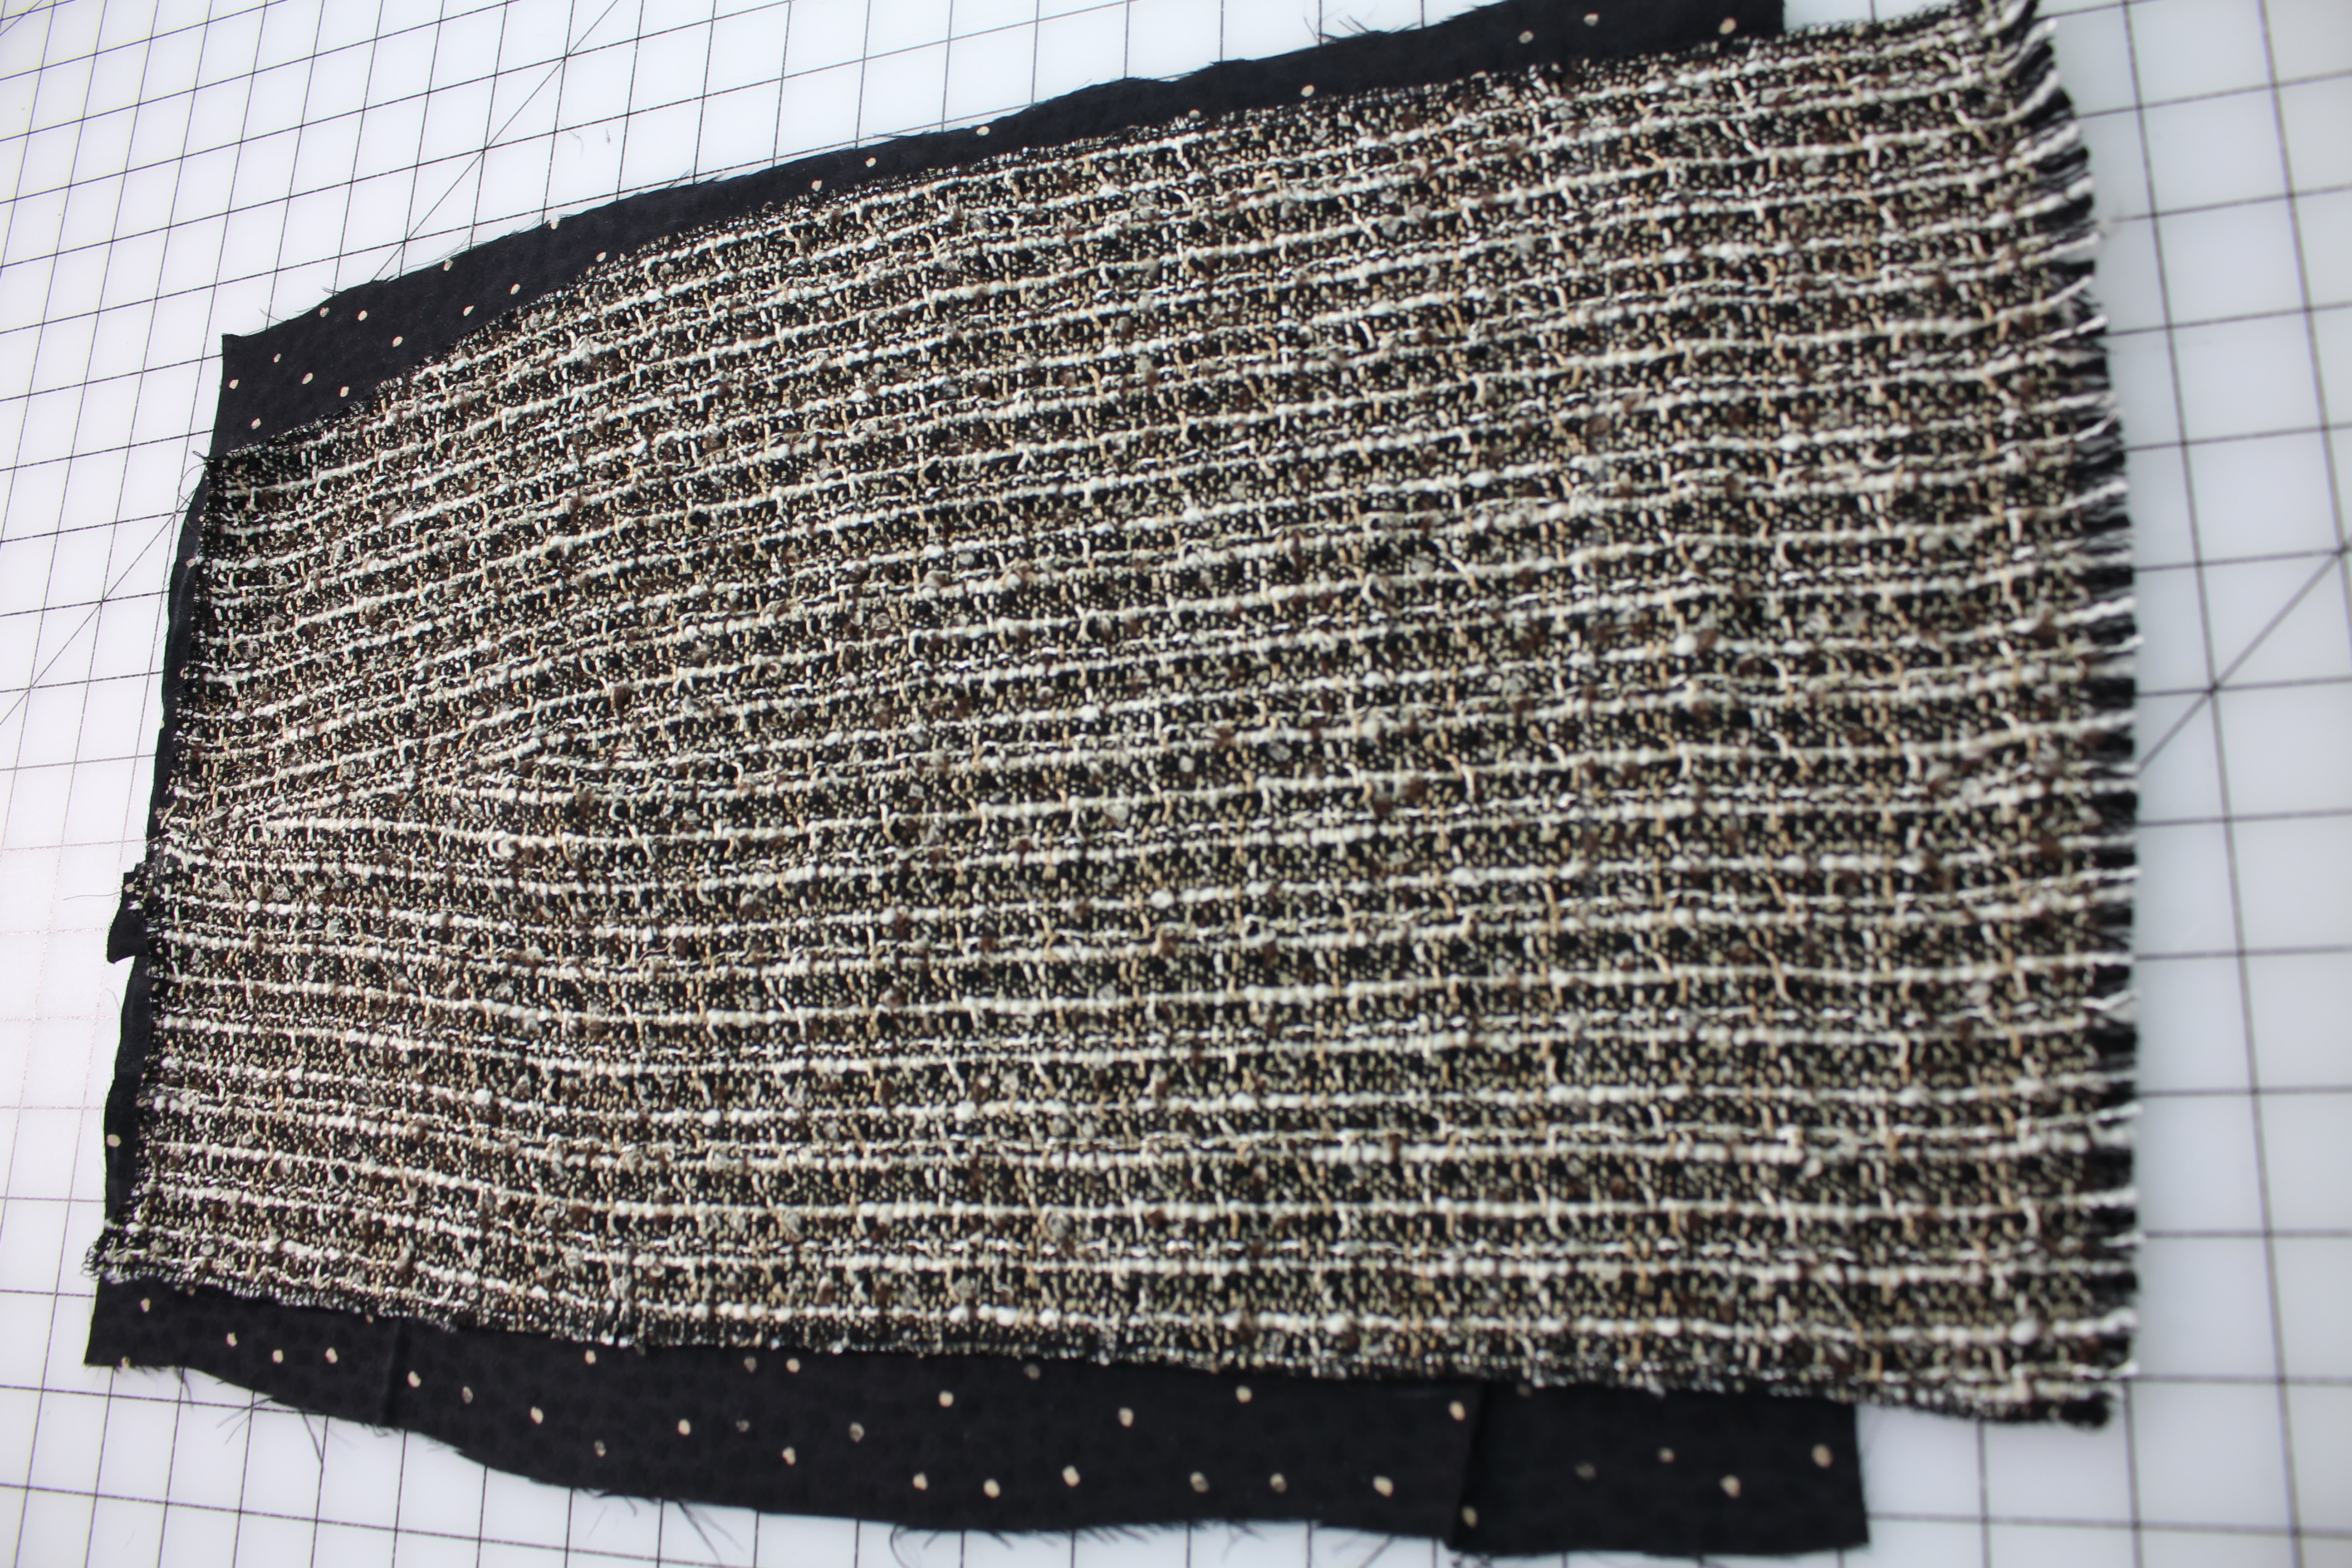
Baste the Lining
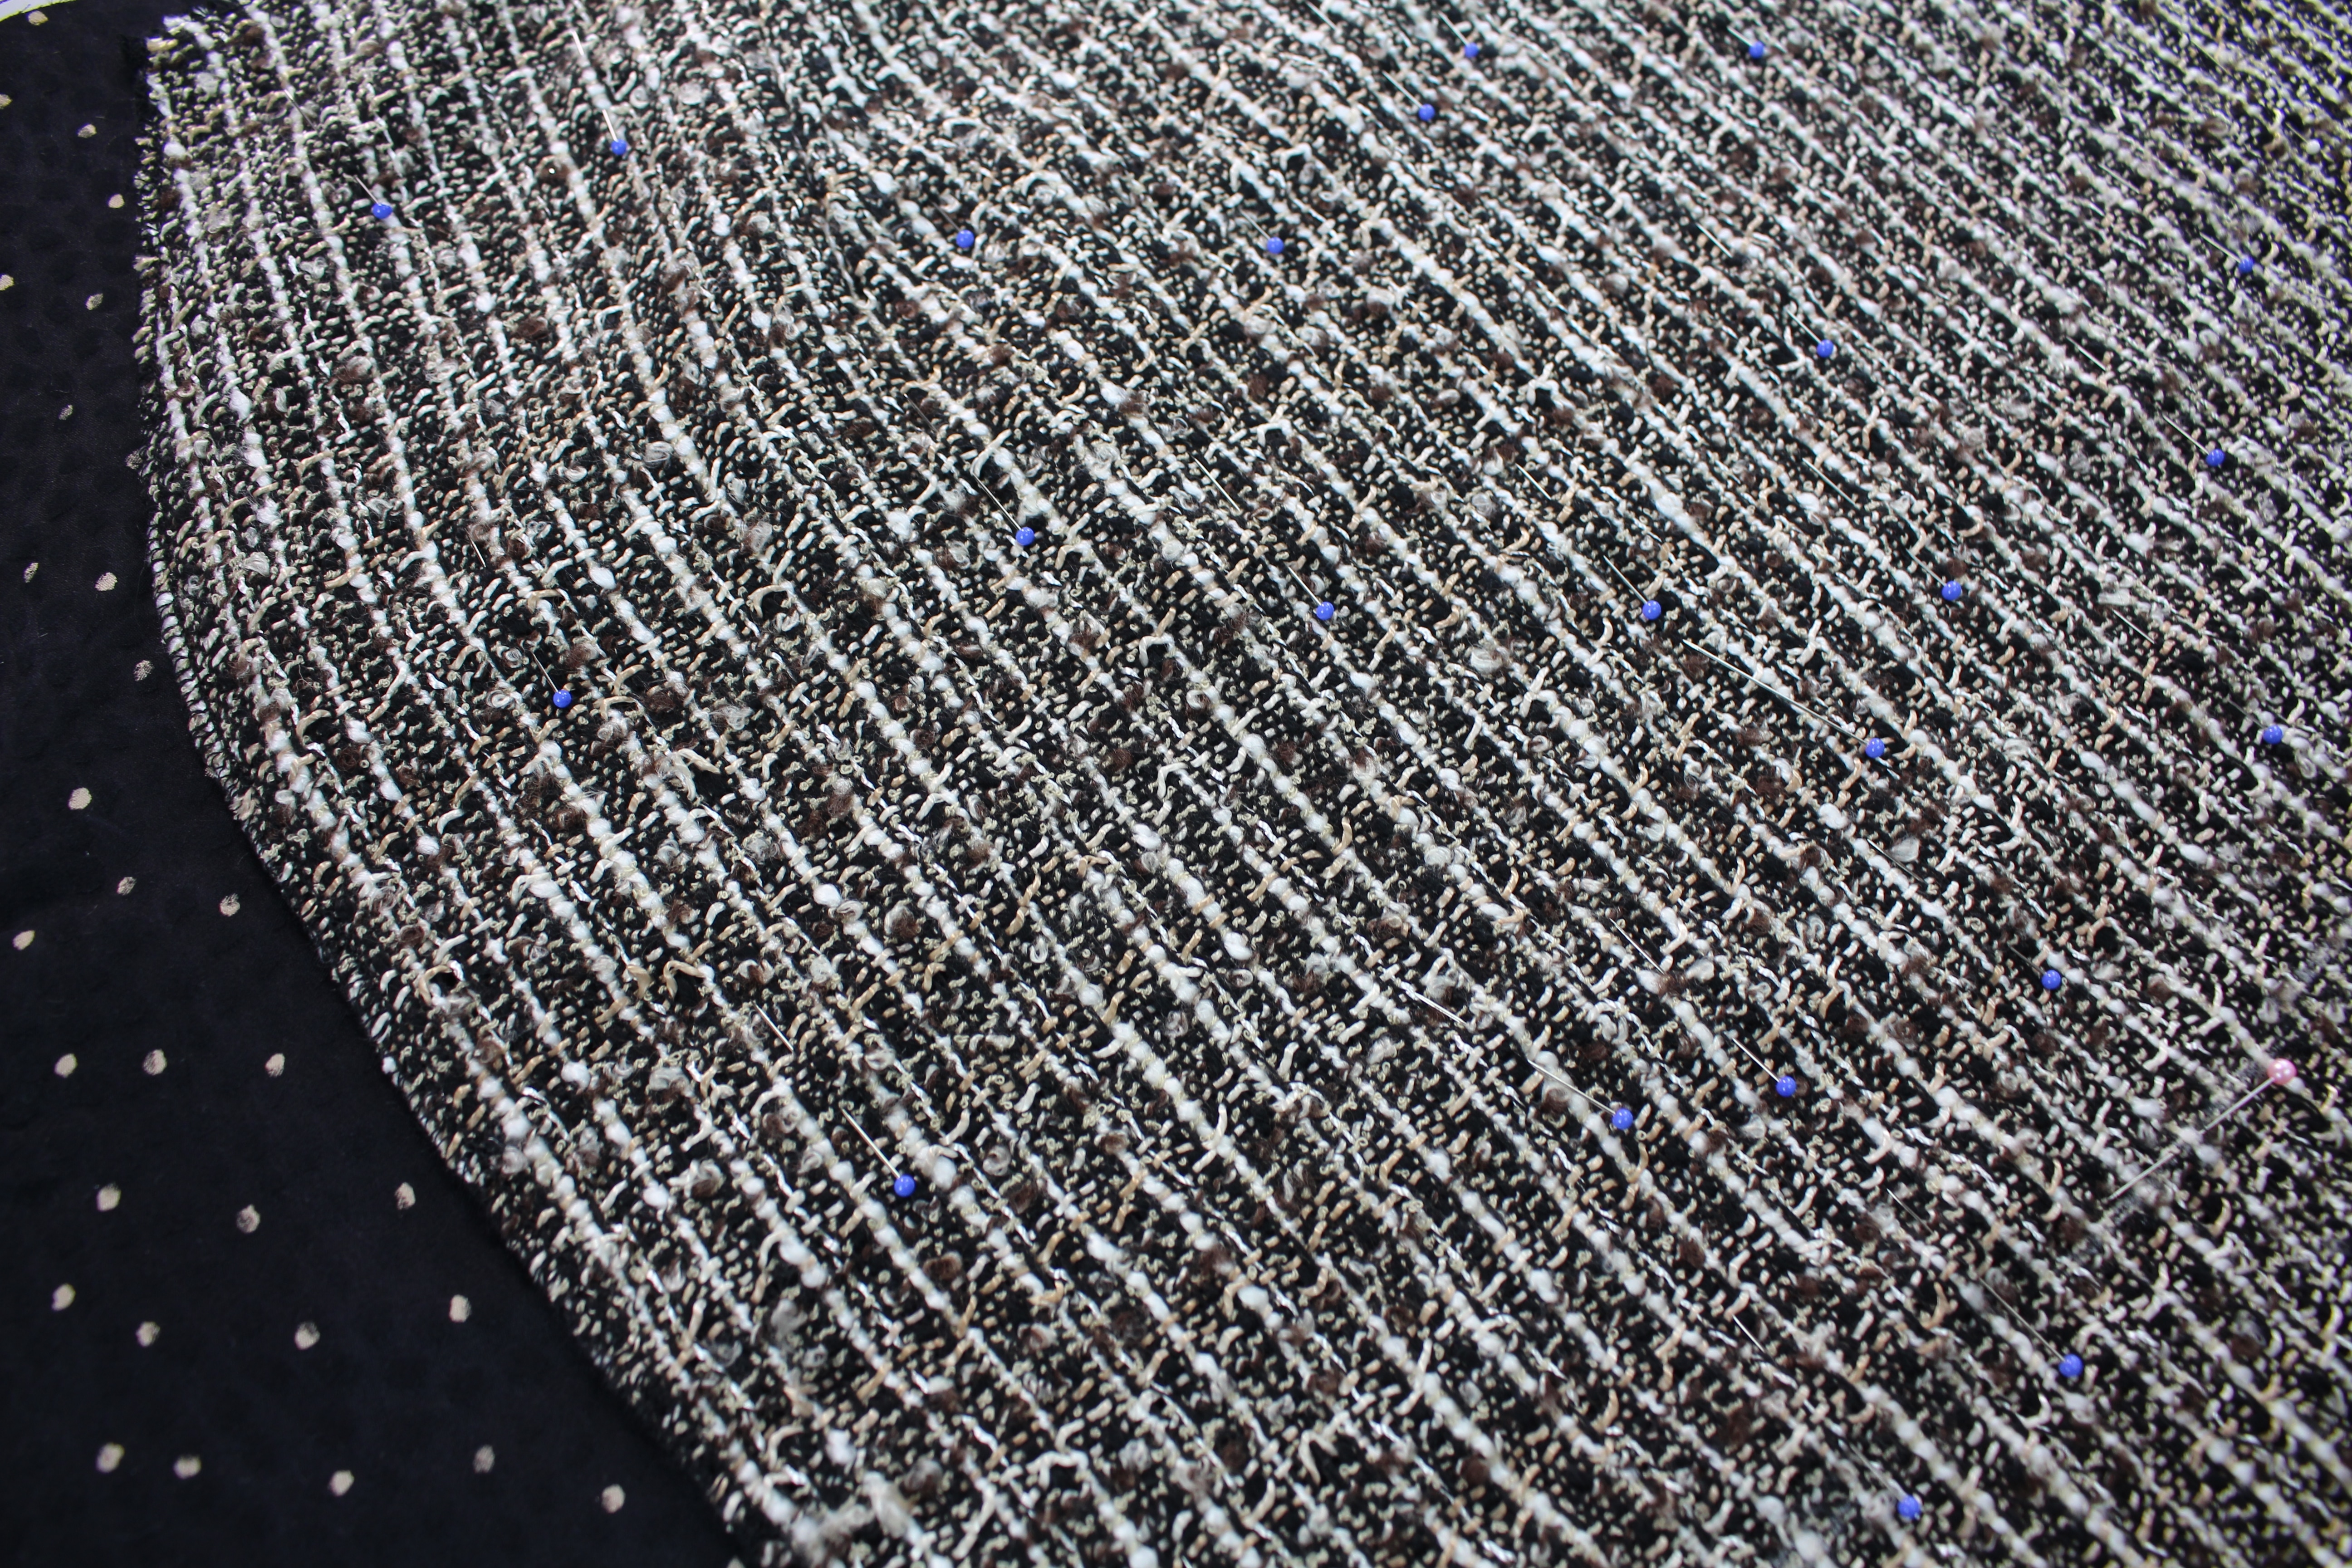
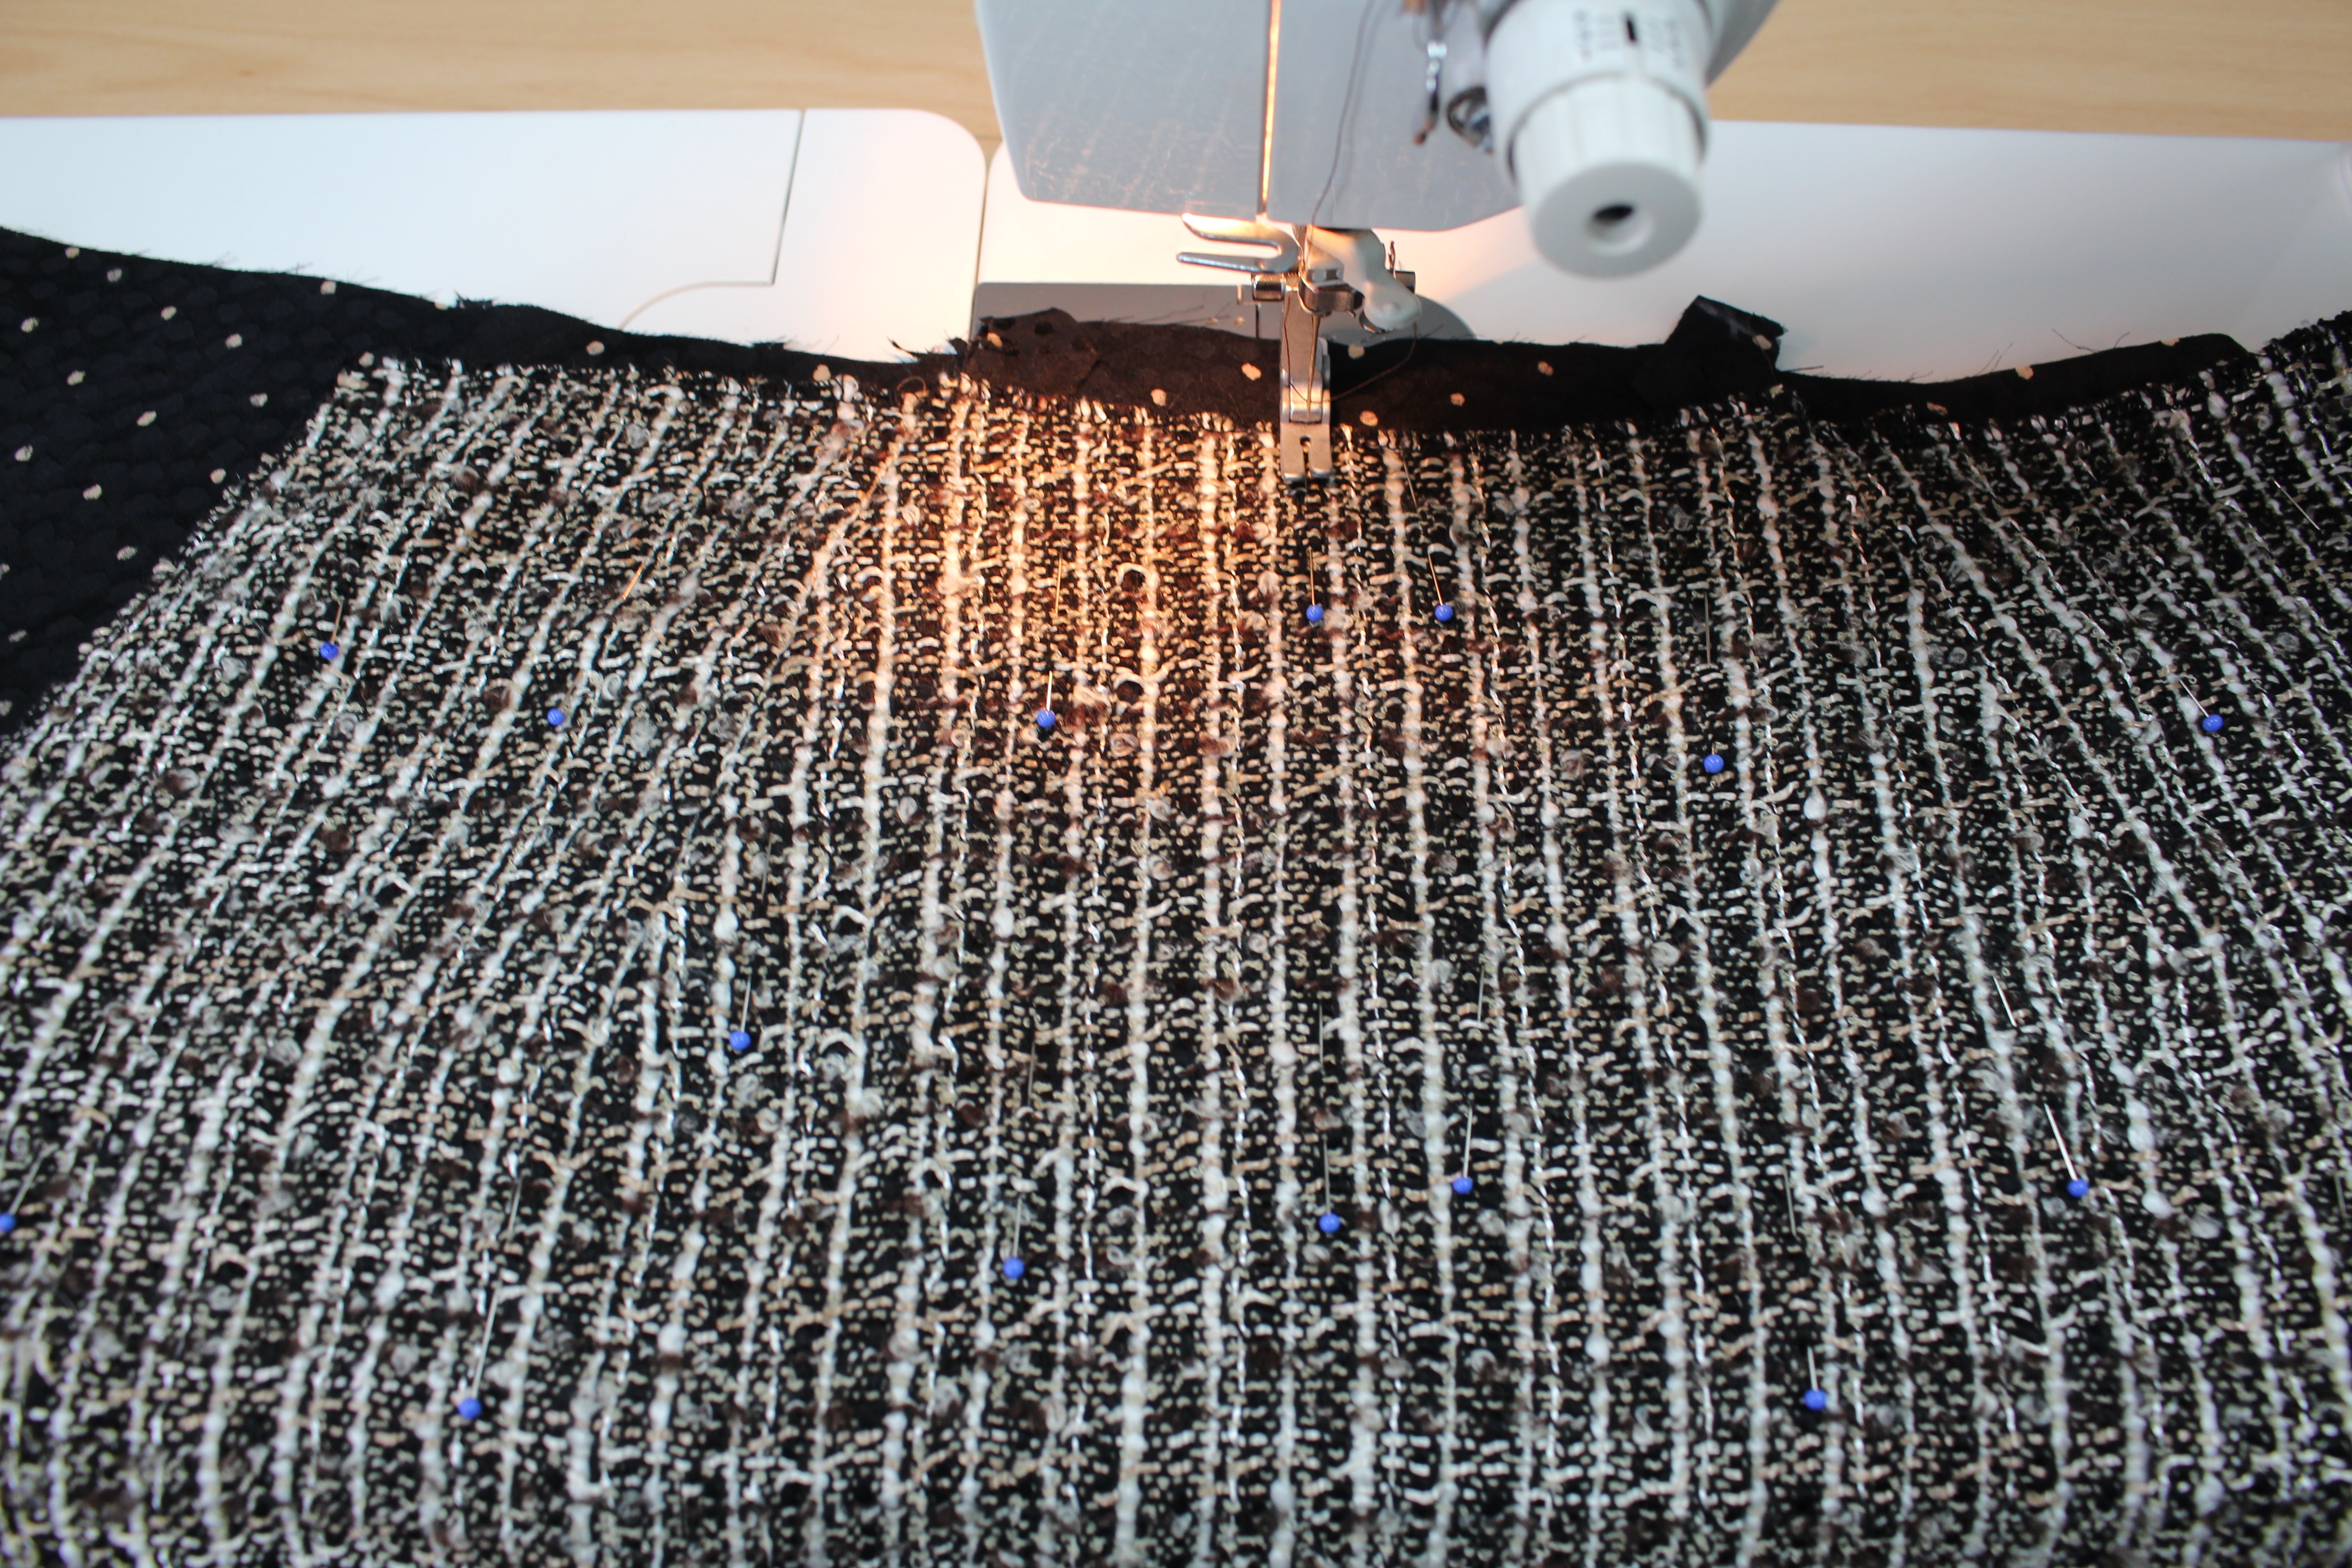
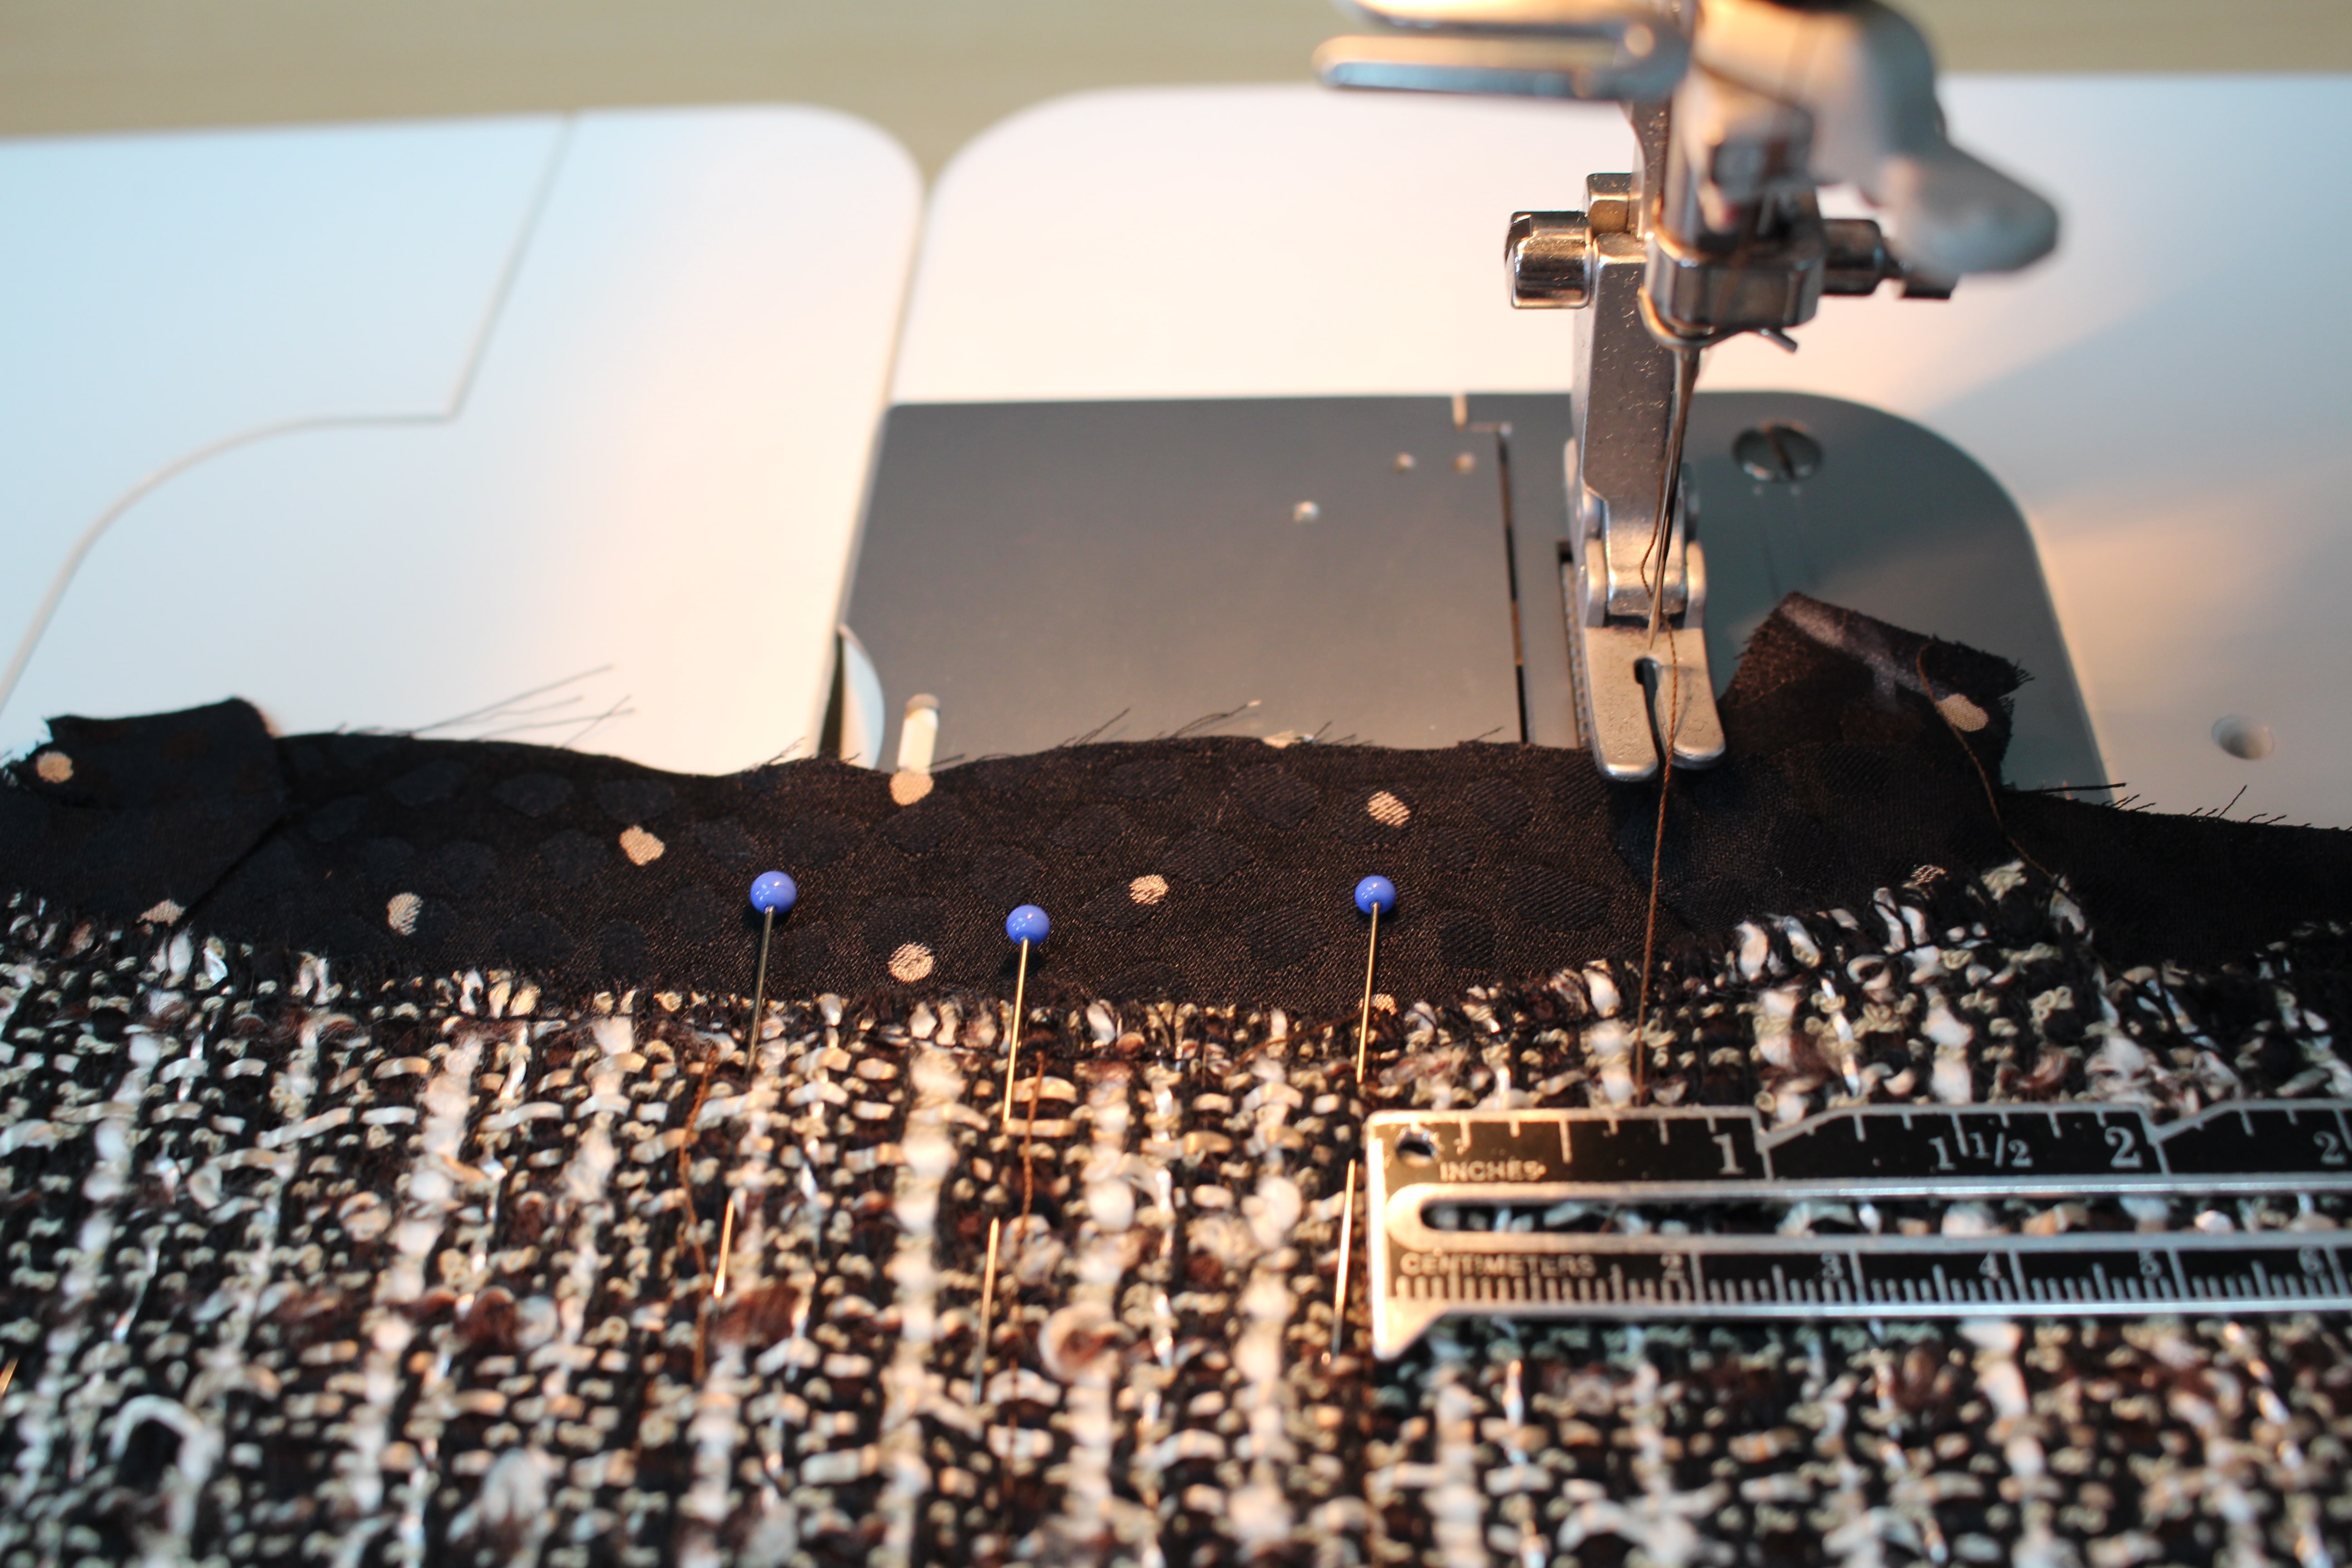
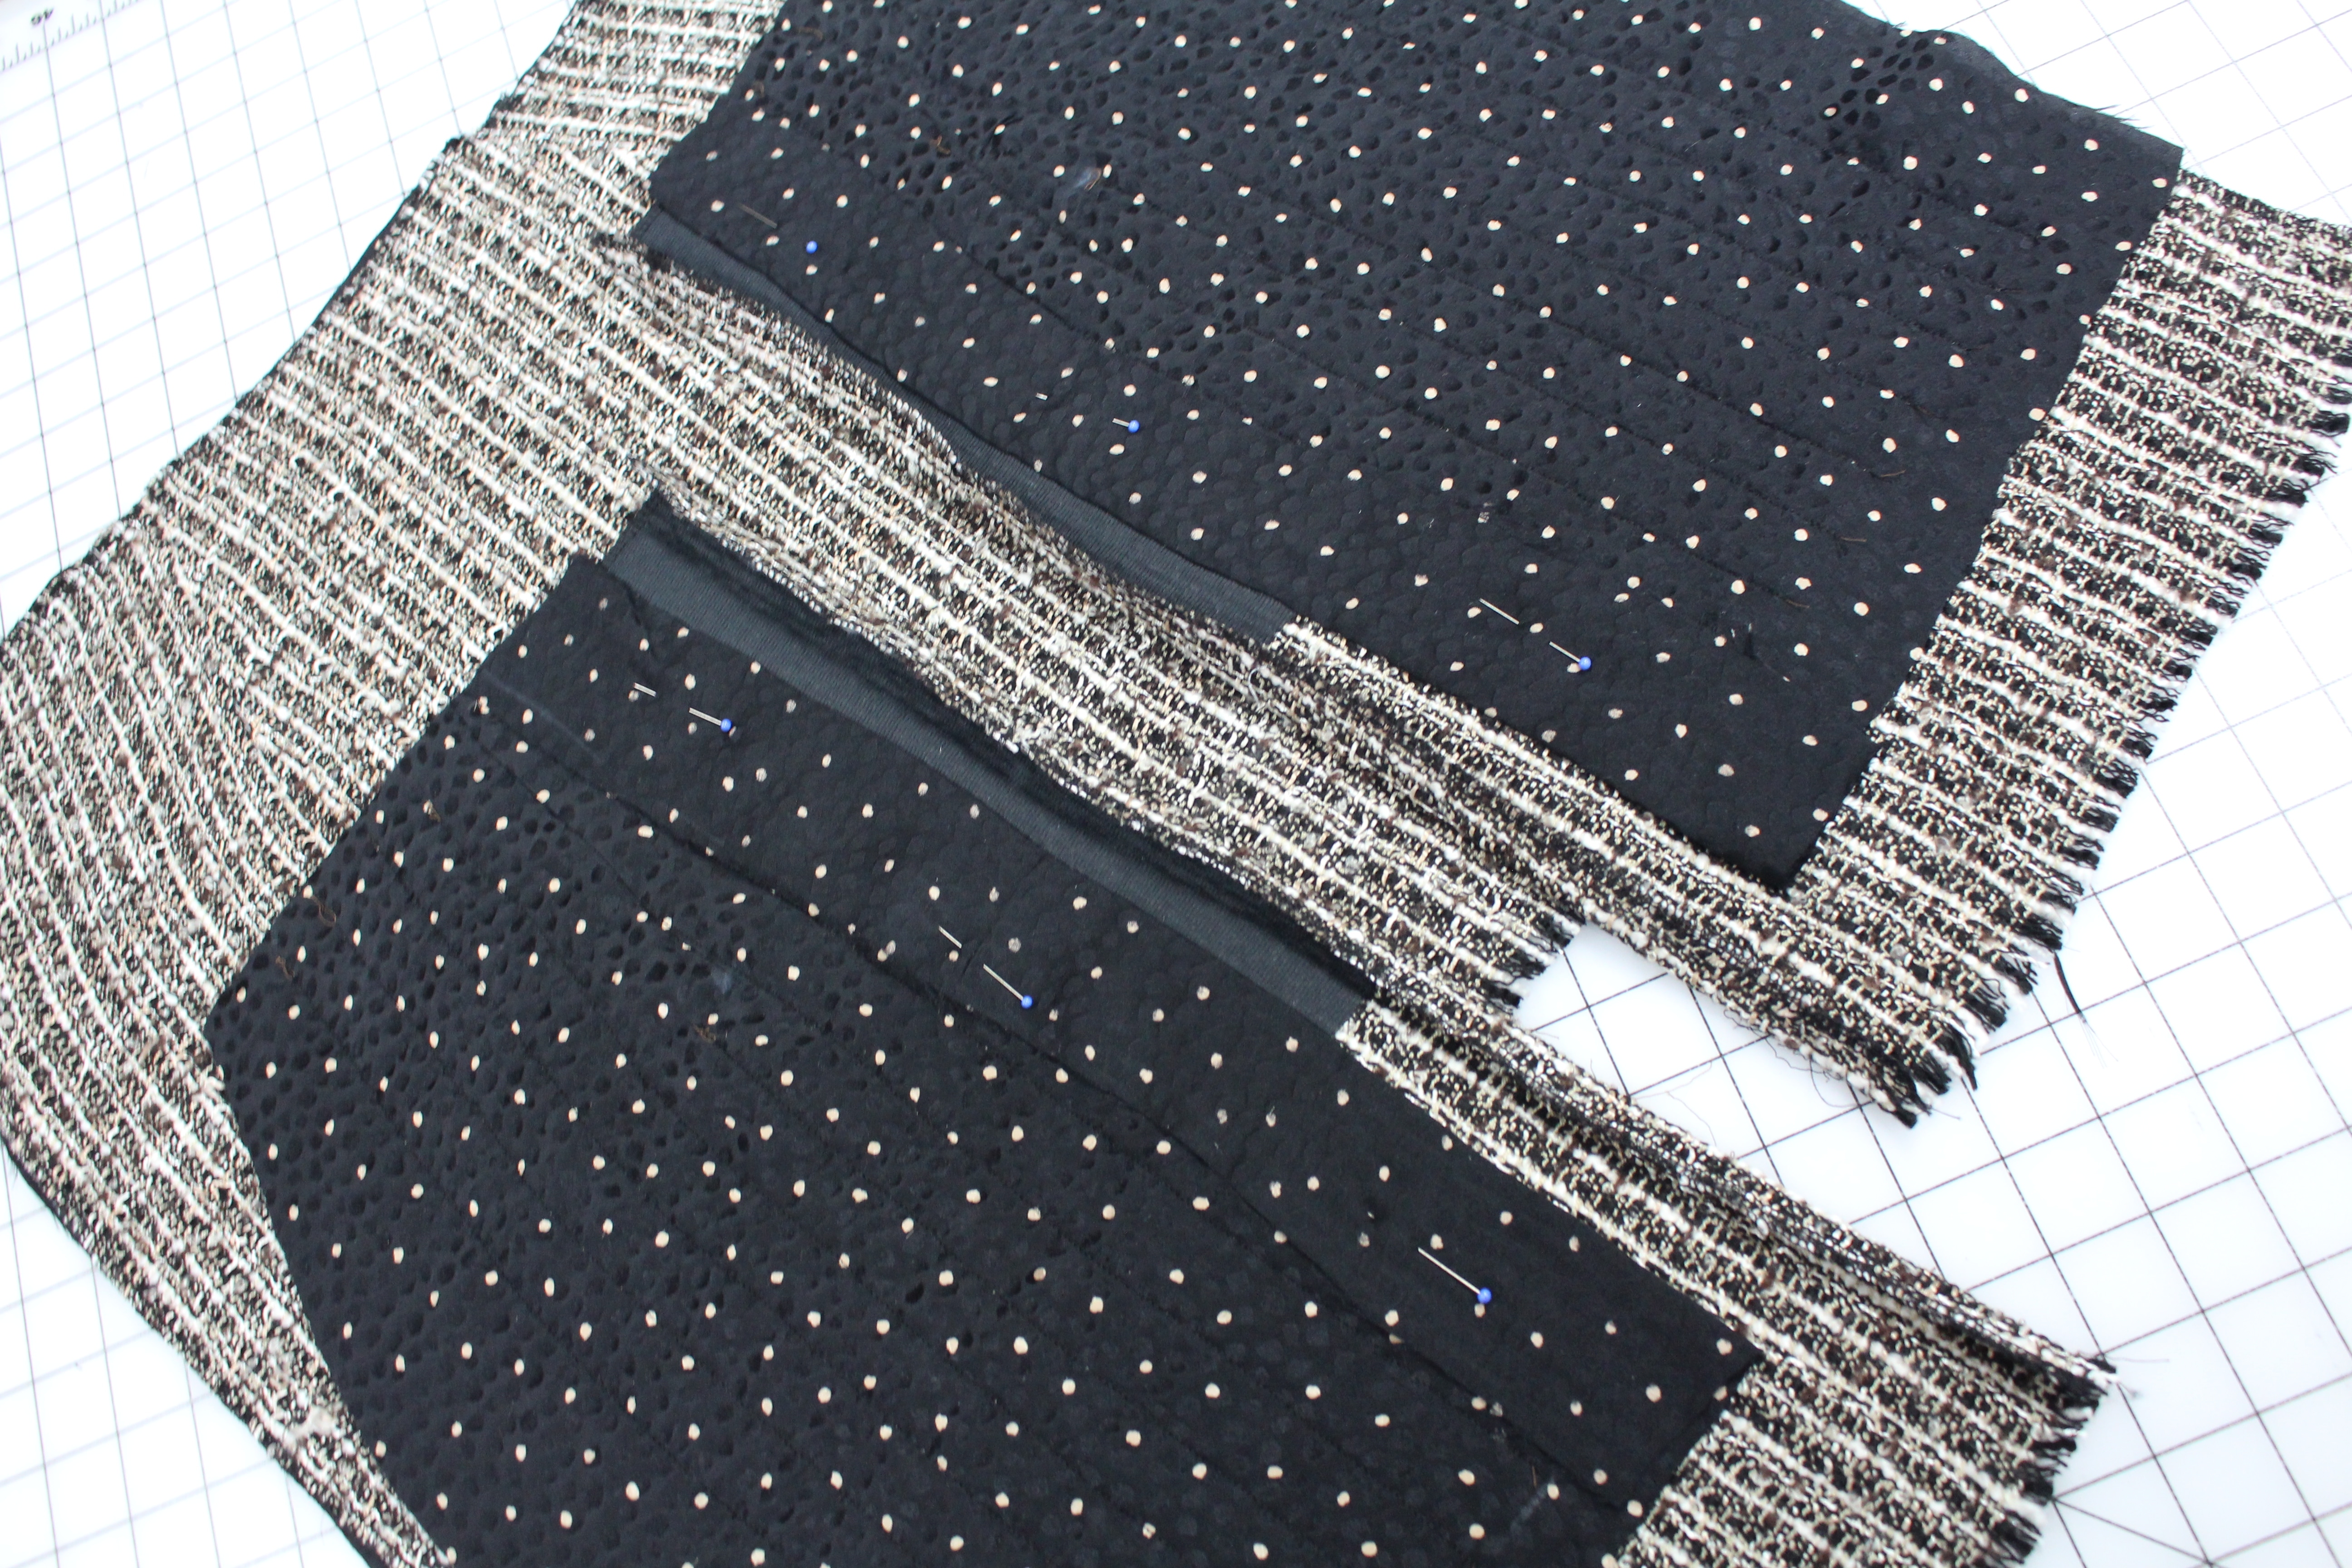
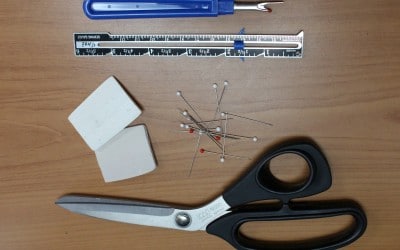
With wrong sides together, lay the tweed fabric on top of the lining. Starting at the waistline, line up the darts on both fabrics. Pin or hand-baste the fabrics together, starting at the center and moving out toward the side seams. (see my blue pins in the photo below)
Mark the area that you will not be stitching:
- Depending on the waistband: 1/2″ from the top edge
- 2″ from each side seam
- 2″ from the top of the fringe hemline
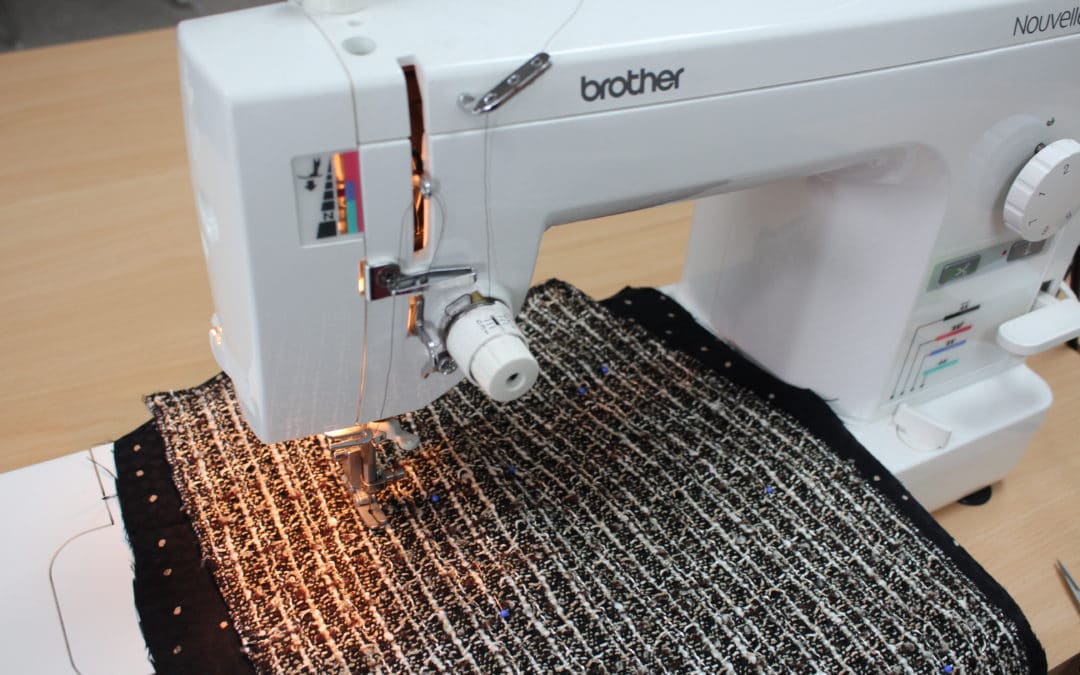
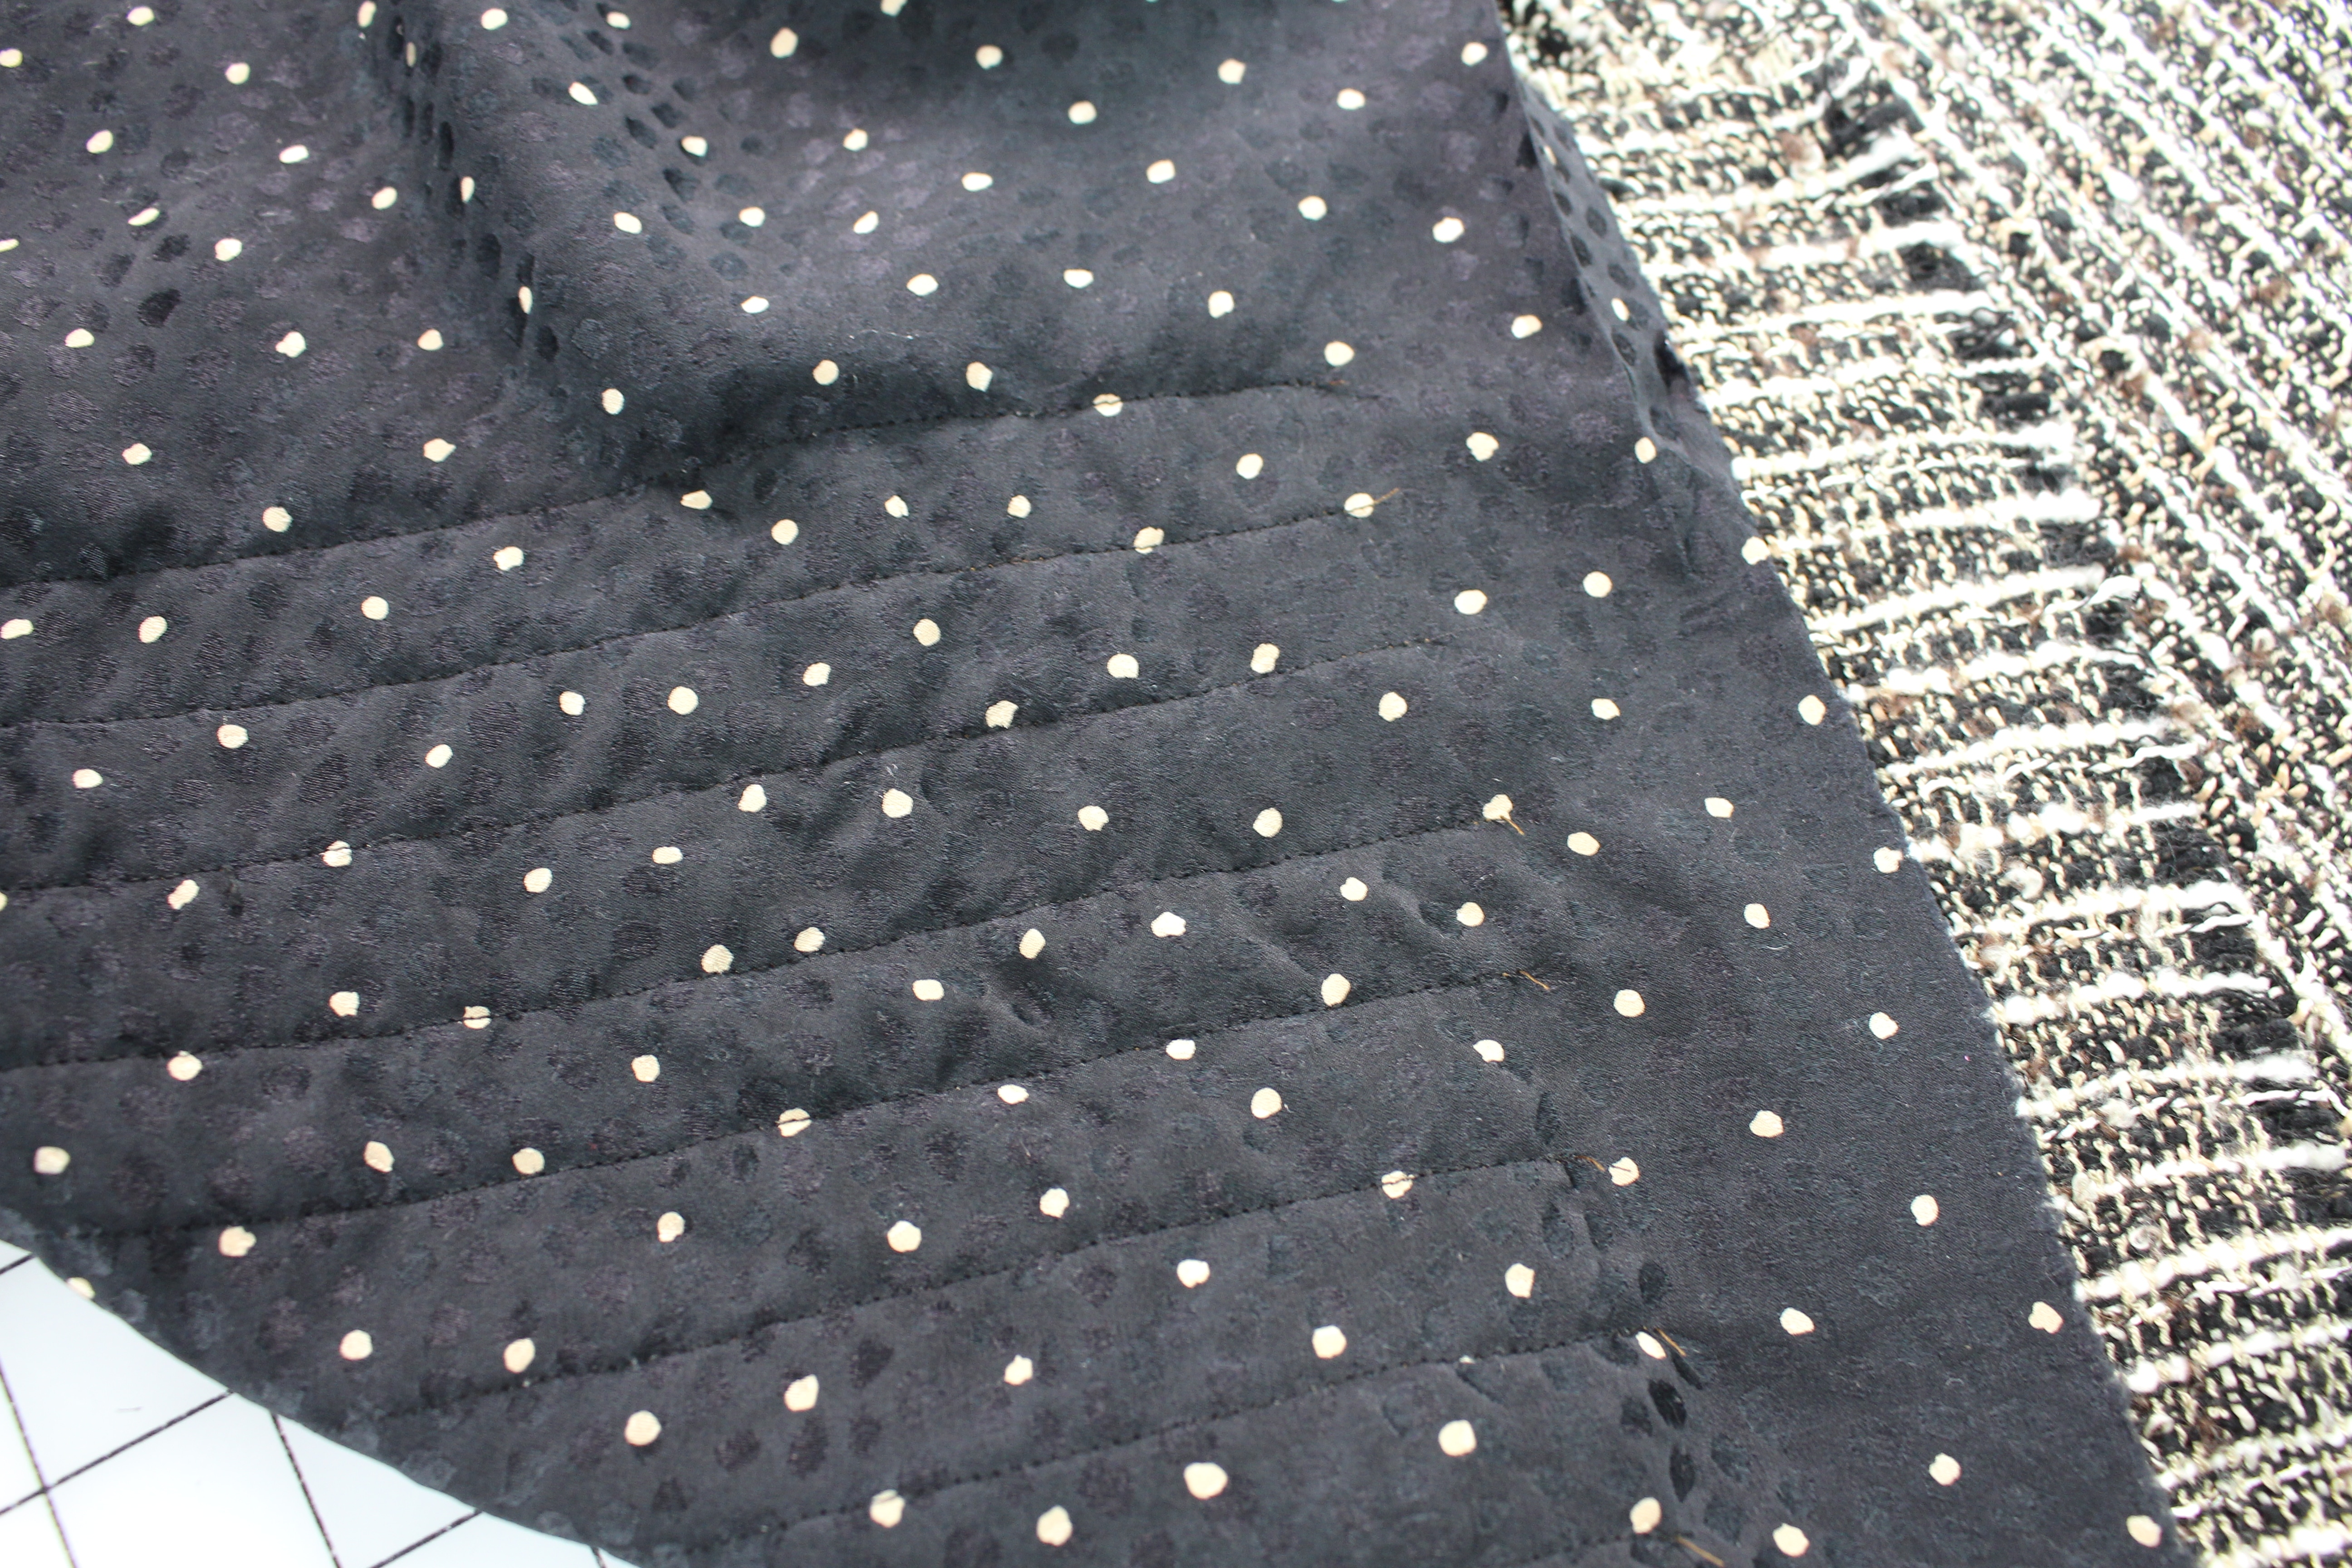
Quilting the Lining
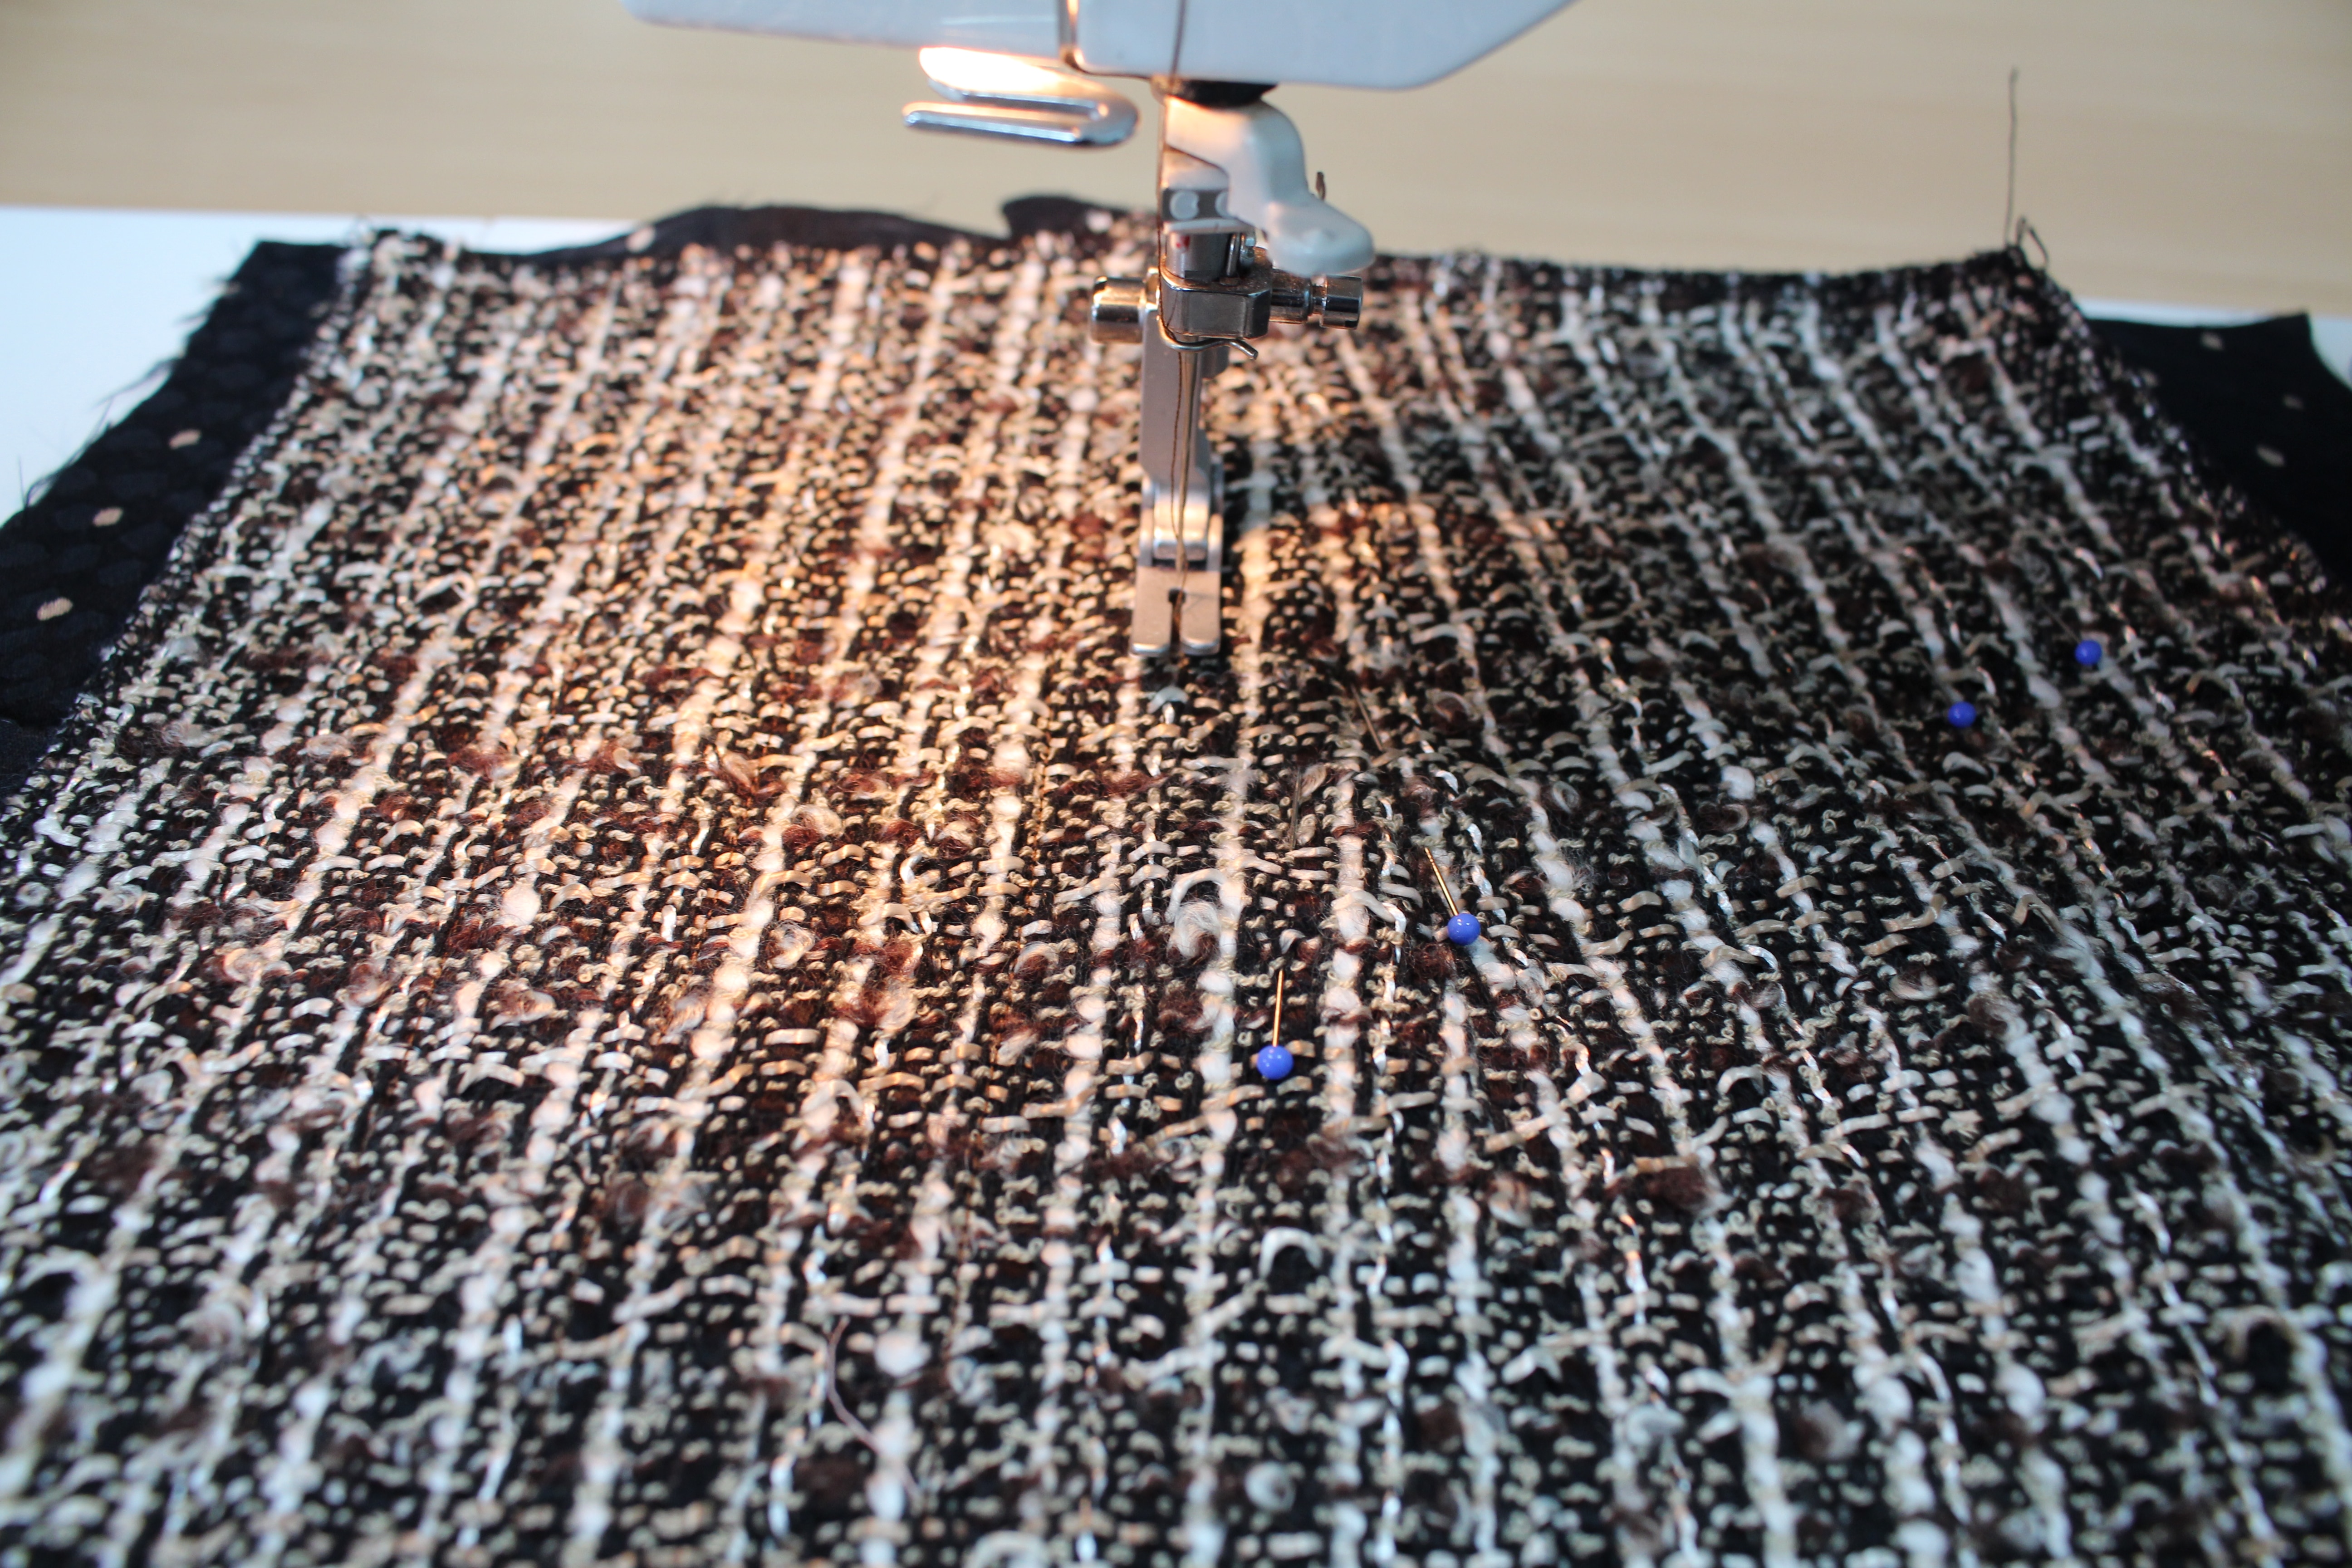
Starting at the top of the waistline in the center of the skirt, line up the needle with the grainline and stitch from the top of the skirt down. I am using a stitch length of 2.5.
Stop the stitching 1″ to 2″ higher than the top of the fringe placement
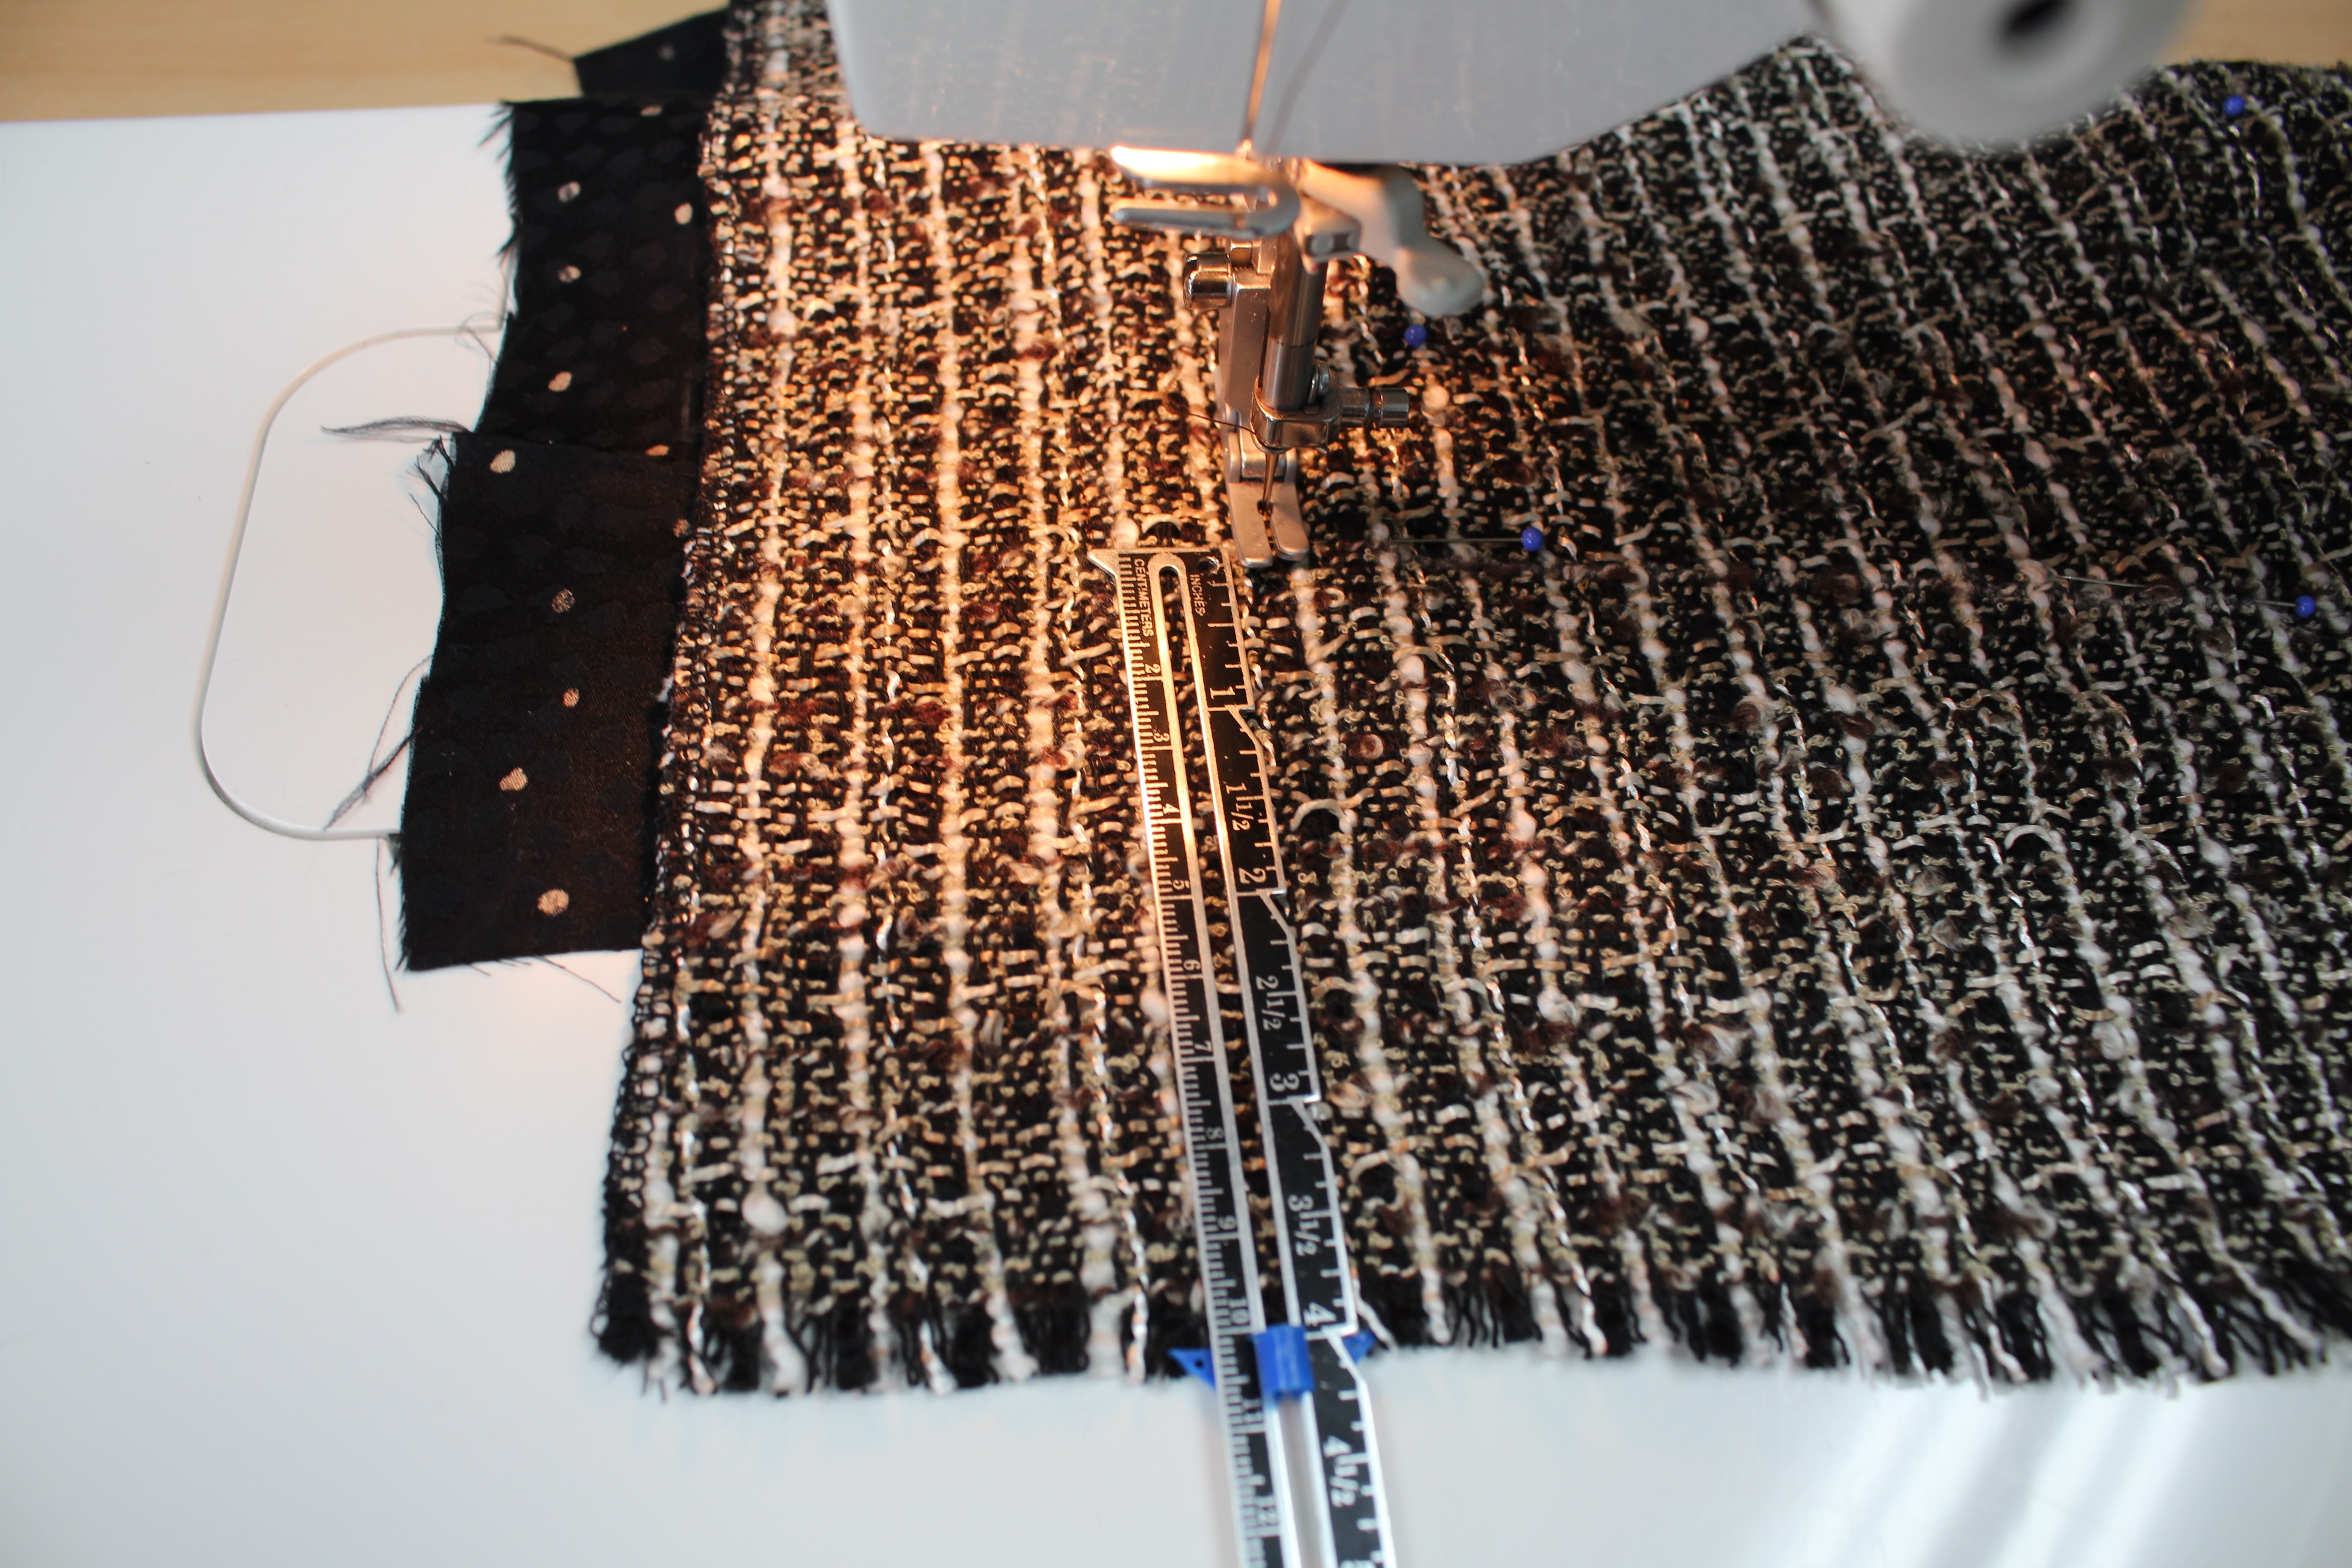
Continue to stitch parallel rows 1/2″ to 1″ apart, depending on the fabric design.
Stitch around the darts; stopping or starting the stitches around the dart, not through the dart.
Do not quilt rows within 2″ of the side seam. This leaves room to sew the seams together and press the seam allowances open.
Quilt the front and both side back pieces
So what do you think – are you going to try this touch of couture on your next tweed skirt?
Let me know your thoughts in the comments below and don’t forget to join the Angela Wolf Patterns Private Facebook Group to share photos, ask questions, and share ideas with your fellow sewer’s!
Cheers,

The Sewalong Schedule:
- Fabric & Sourcing (February 10. 2017)
- Fitting & Patternhacking (February 16. 2017)
- Cutting & Prep (February 21. 2017)
- All About Darts (February 23. 2017)
- Quilting the Lining (February 28. 2017)
- Invisible Zipper’s (March 2. 2017)
- Waistbands (March 7. 2017)
- Hemming & Fringe (March 9. 2017)
- Show off in the Angela Wolf Facebook Group!
Choosing Easy Sewing Patterns for Beginner Sewing Success!
Hopefully you had time over the weekend to spiff up your sewing room. My Craftsy class "Sew Confident: Essential Techniques for Beginners" has officially launched and we are already just shy of 500 students. Very Exciting! CONGRATULATIONS! First things first,...
Fashion Sewing for Beginners plus a quick sewing tip!
Sewing Tip of the Day! NEVER use a dull seam ripper!!!!! I buy my seam rippers in bulk from WAWAK Sewing and you should too 🙂 Then you can throw them away at the first sign of dullness and grab a new one. Have a Specific Sewing Need or...

How to Make Covered Buttons
All About Buttons! Embellishing is one of my favorite things to do, in fact sometimes I even add touches to ready-to-wear garments. One of the easiest ways to restyle is to change the buttons. Even better, your own custom covered buttons! From simple to couture,...

THANK YOU SO VERY MUCH!!!!! Just one more round to go!
I just got back from a 6 day Sit & Sew tour visiting all the Allbrands stores which started in Louisiana and ended in Texas. Fabulous trip, but definitely dragging a little today. I will be sharing details of the week as soon as I organize all the photos. In...

What does Cooking have to do with Sewing and Serging?
First off, I want to wish you a Happy New Year and I hope you are off to a great start in 2015! So far so good on this end J I started the year with a mini-vacation up north. Although, the snow didn't arrive until after the mini-vacation, which resulted in another...

TIPS ON HOW TO SEW FAUX LEATHER!
Leather is a major trend this season and continues on into the spring, yes leather for spring and summer! Here are a few tips to get you started: TIP 1. FABRIC Check the fabric for flaws, especially in faux leather you might find...


Share This
Share this post with your friends!