Kate Skirt Meets Loved To Pieces from Mister Domestic

Kate Skirt Meets Loved To Pieces from Mister Domestic

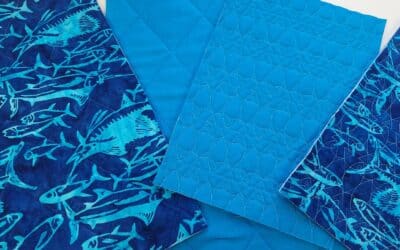
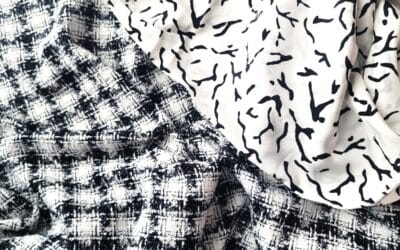
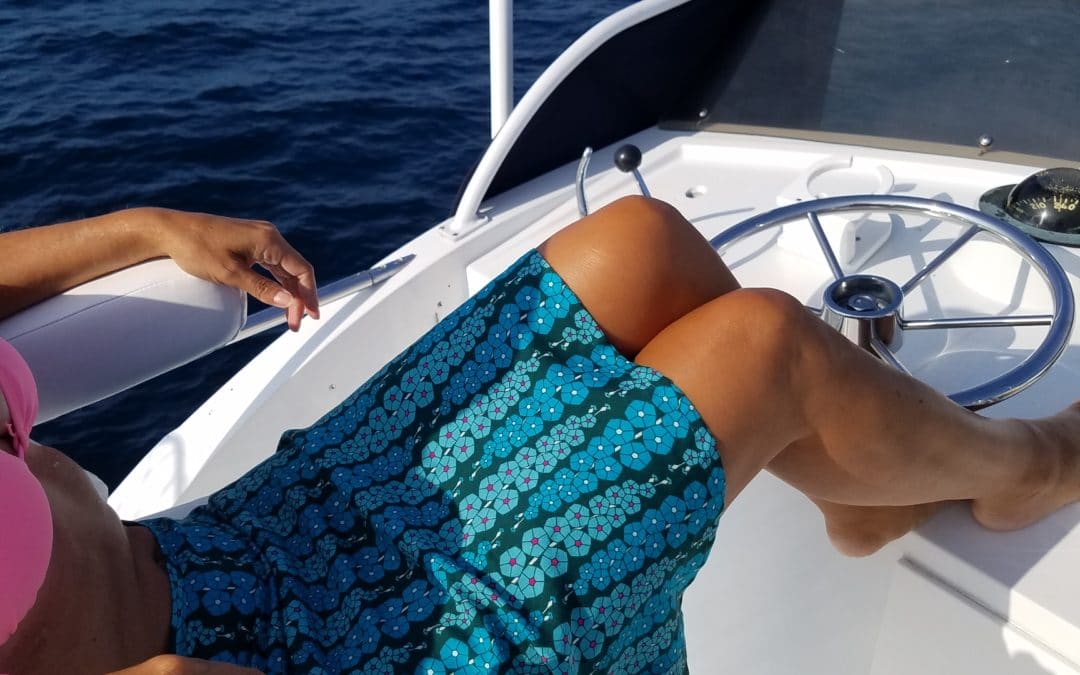
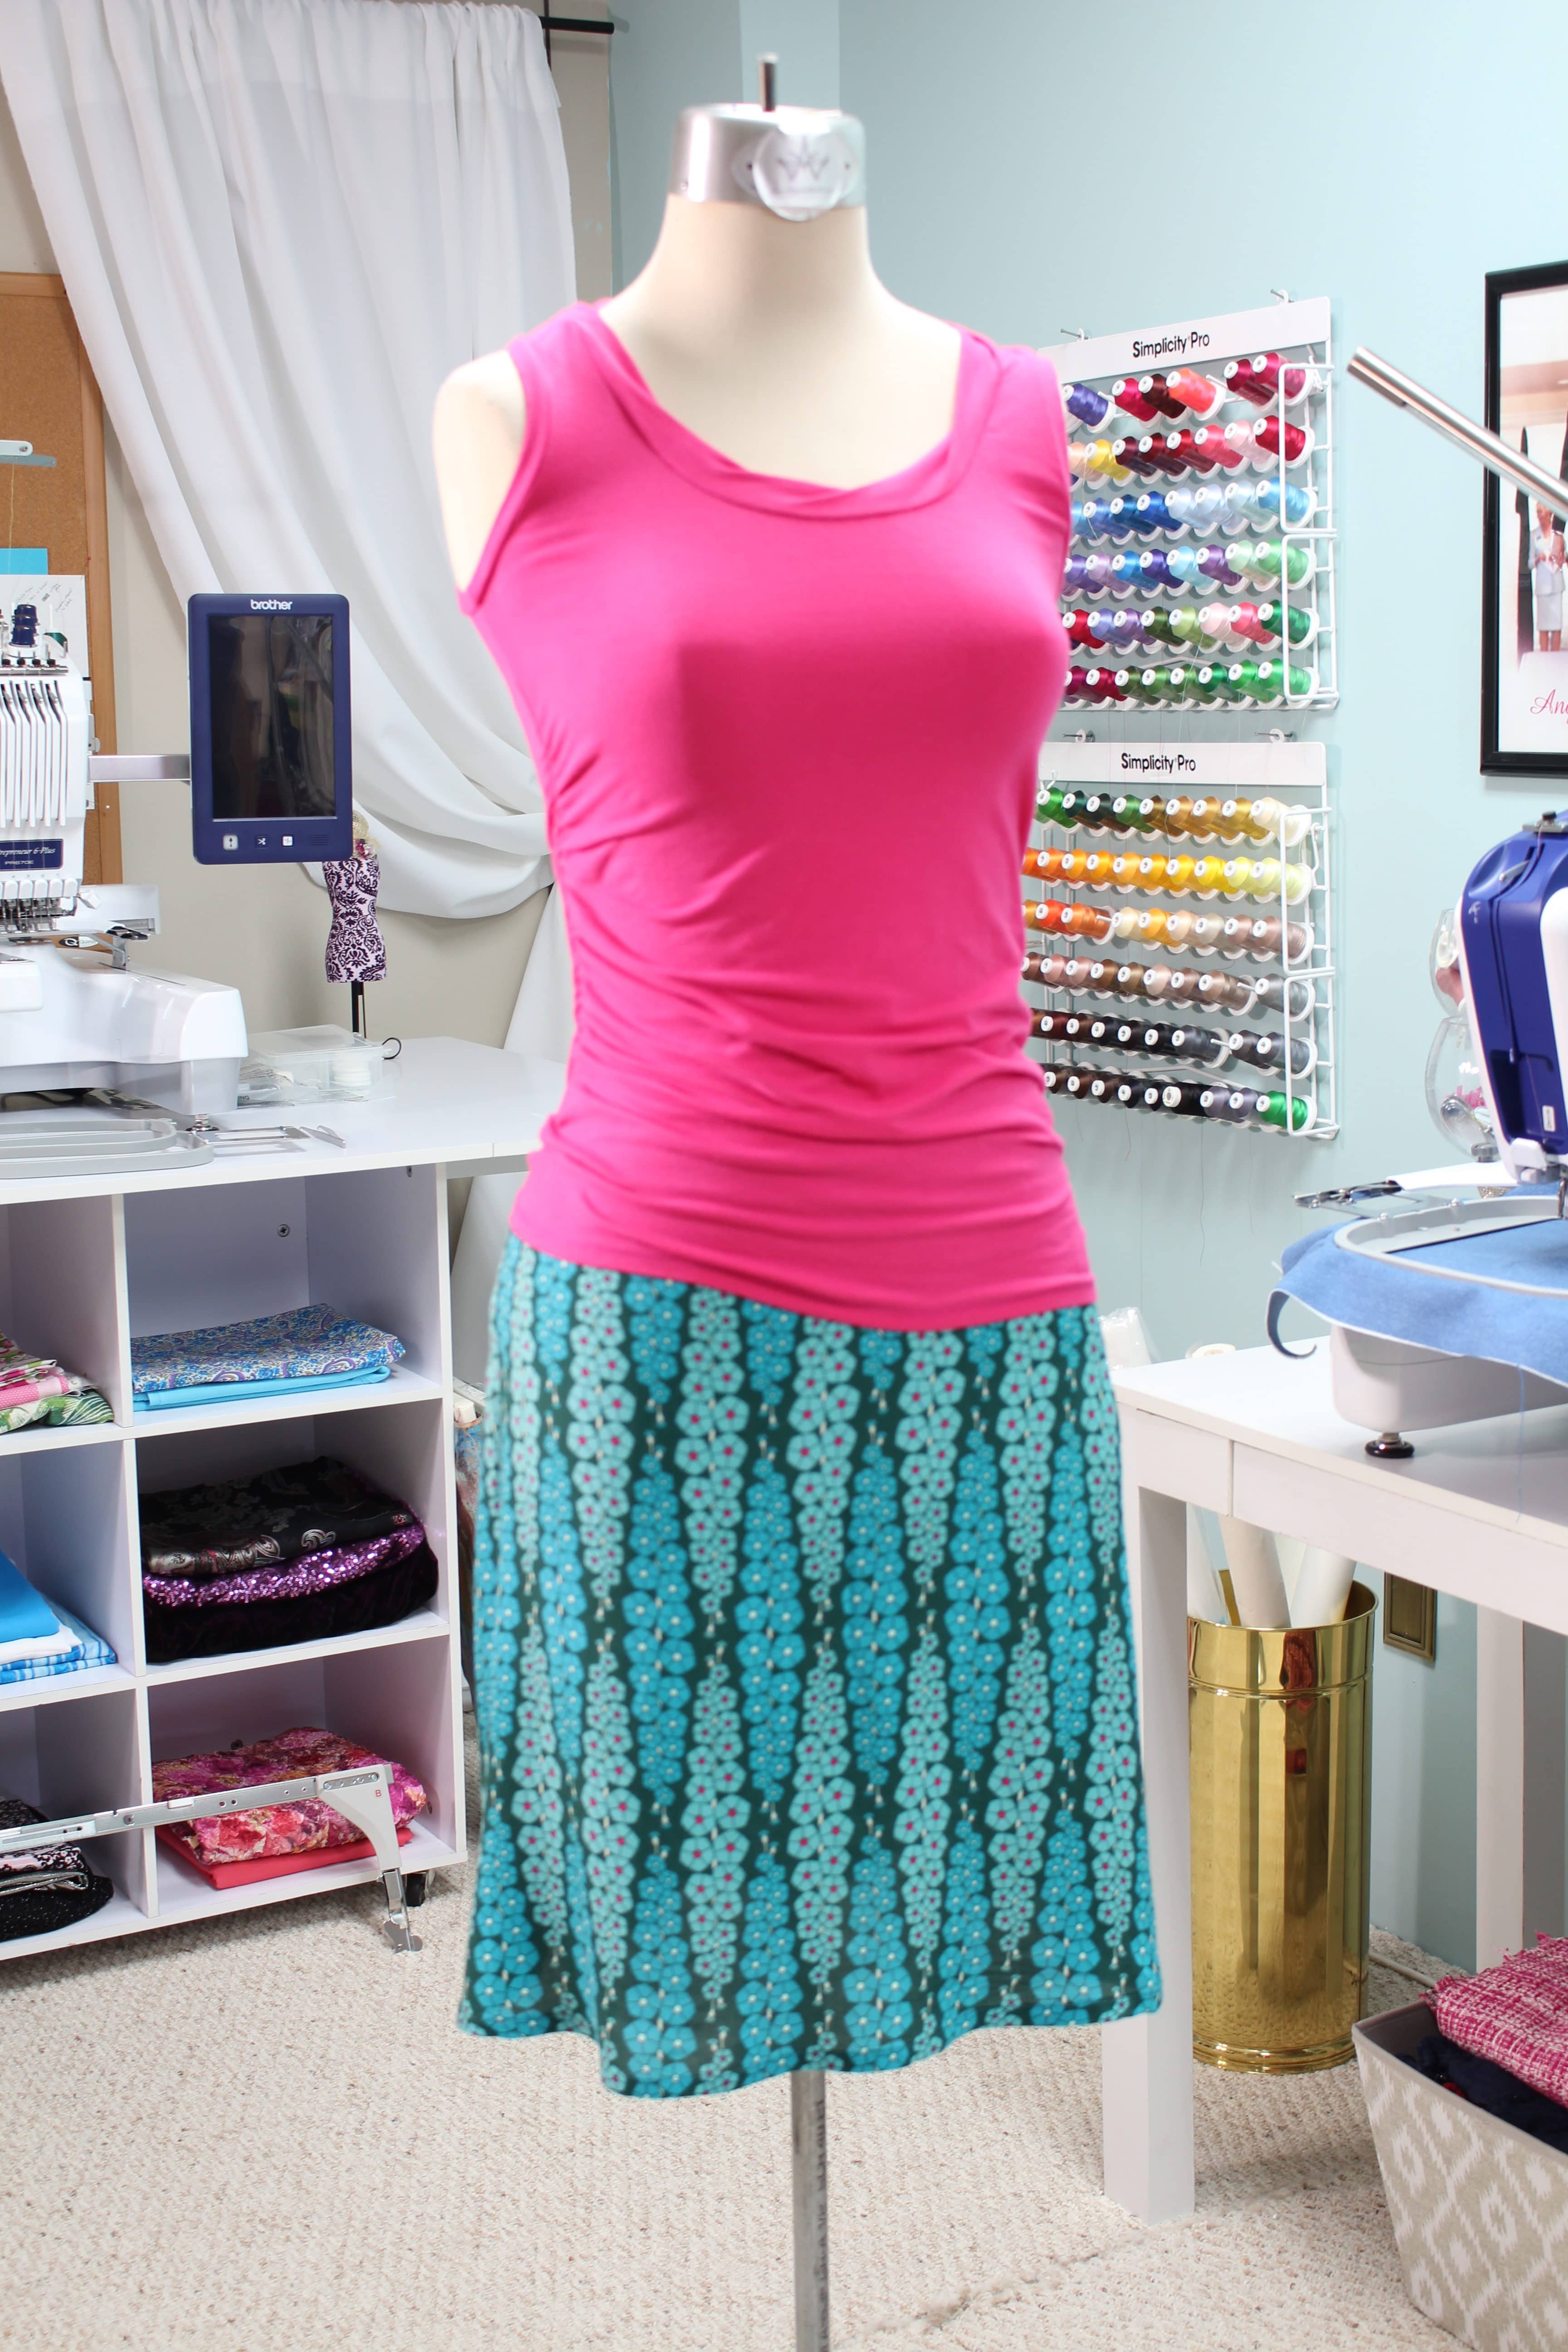
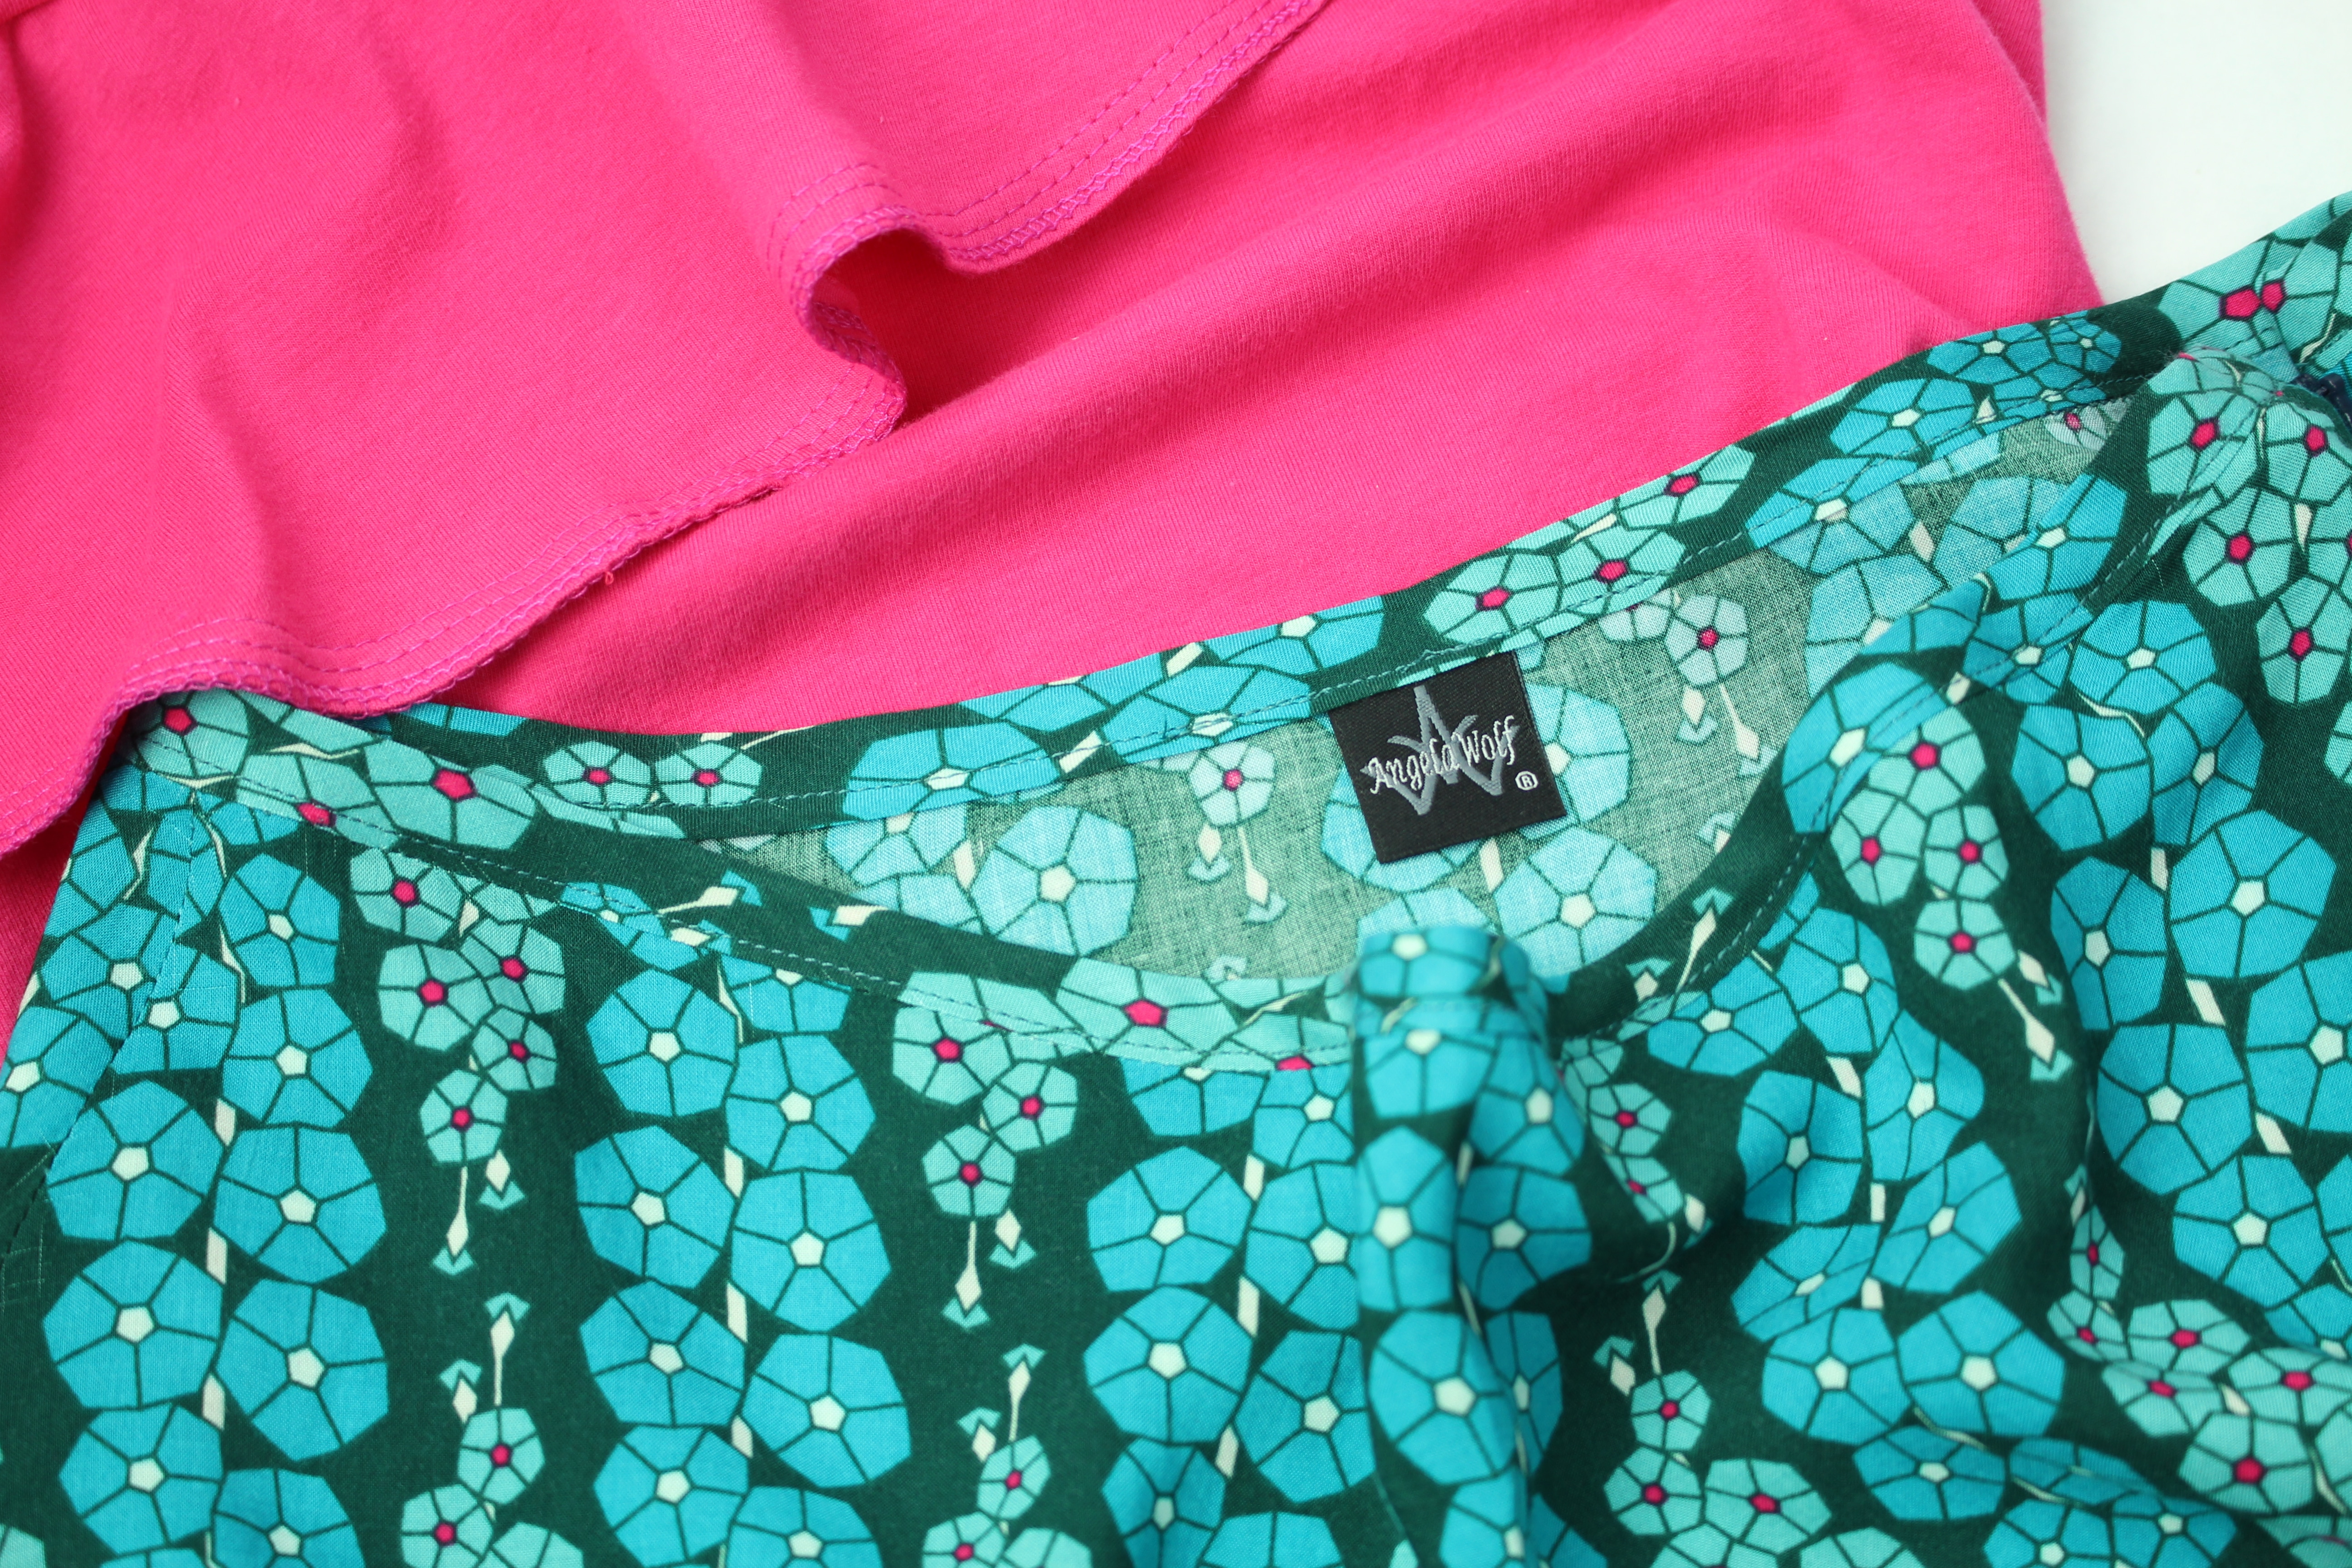
I am very excited to team up with Mathew Boudreaux (Mister Domestic) as part of his blog party launching his new fabric collection Loved to Pieces!  I had the choice of many of his beautiful fabrics and chose a beautiful 100% rayon fabric to sew the Kate Skirt Pattern. Of course I needed a top to go with the skirt, so I opted for a cotton / lycra knit Art Gallery Fabric with a color that coordinated with small circles in the rayon fabric.

When this fabric arrived it was even better than I expected.  The drape of the rayon was so light and airy and the cotton knit had great recovery!

Pre-Shrink

The first step is to pre-shrink the fabric.  I washed and dried each piece individually, just in case there was any bleeding. Both pieces came out just fine, in face they hardly wrinkled at all!  The rayon fabric frayed slightly and the cotton fabric tends to roll at the ends, but those are easy to work with.

Cutting The Kate Skirt

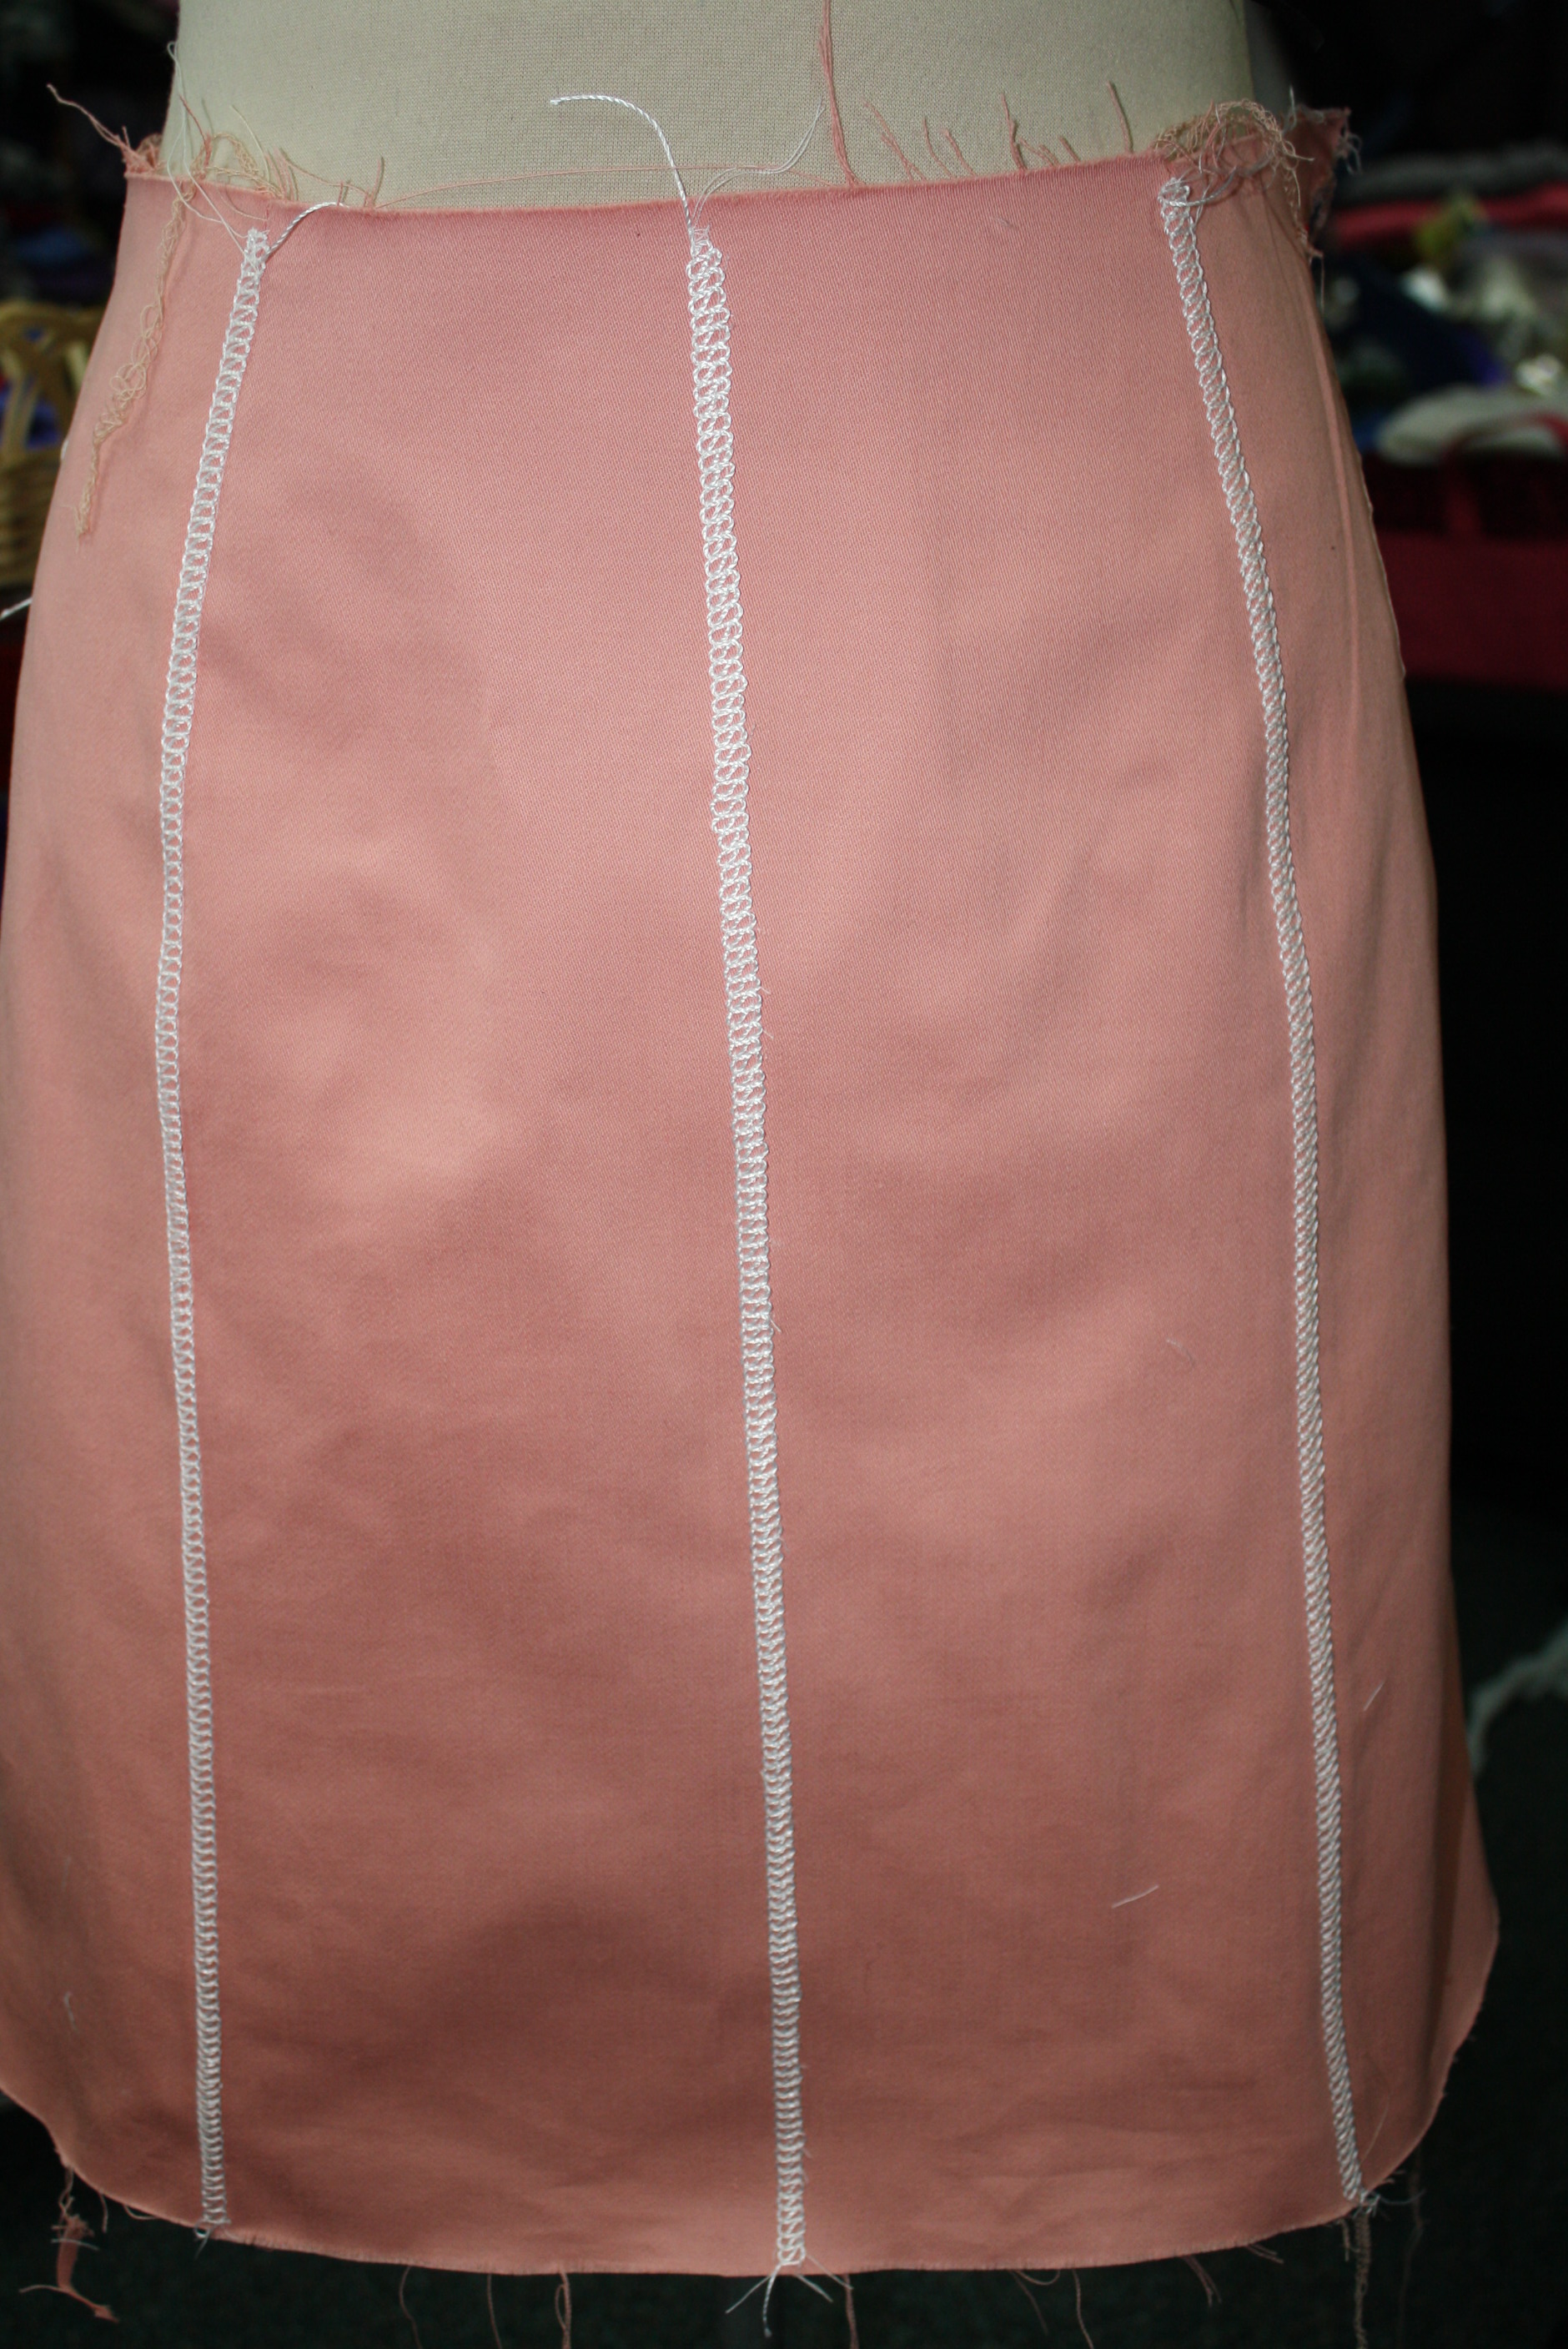
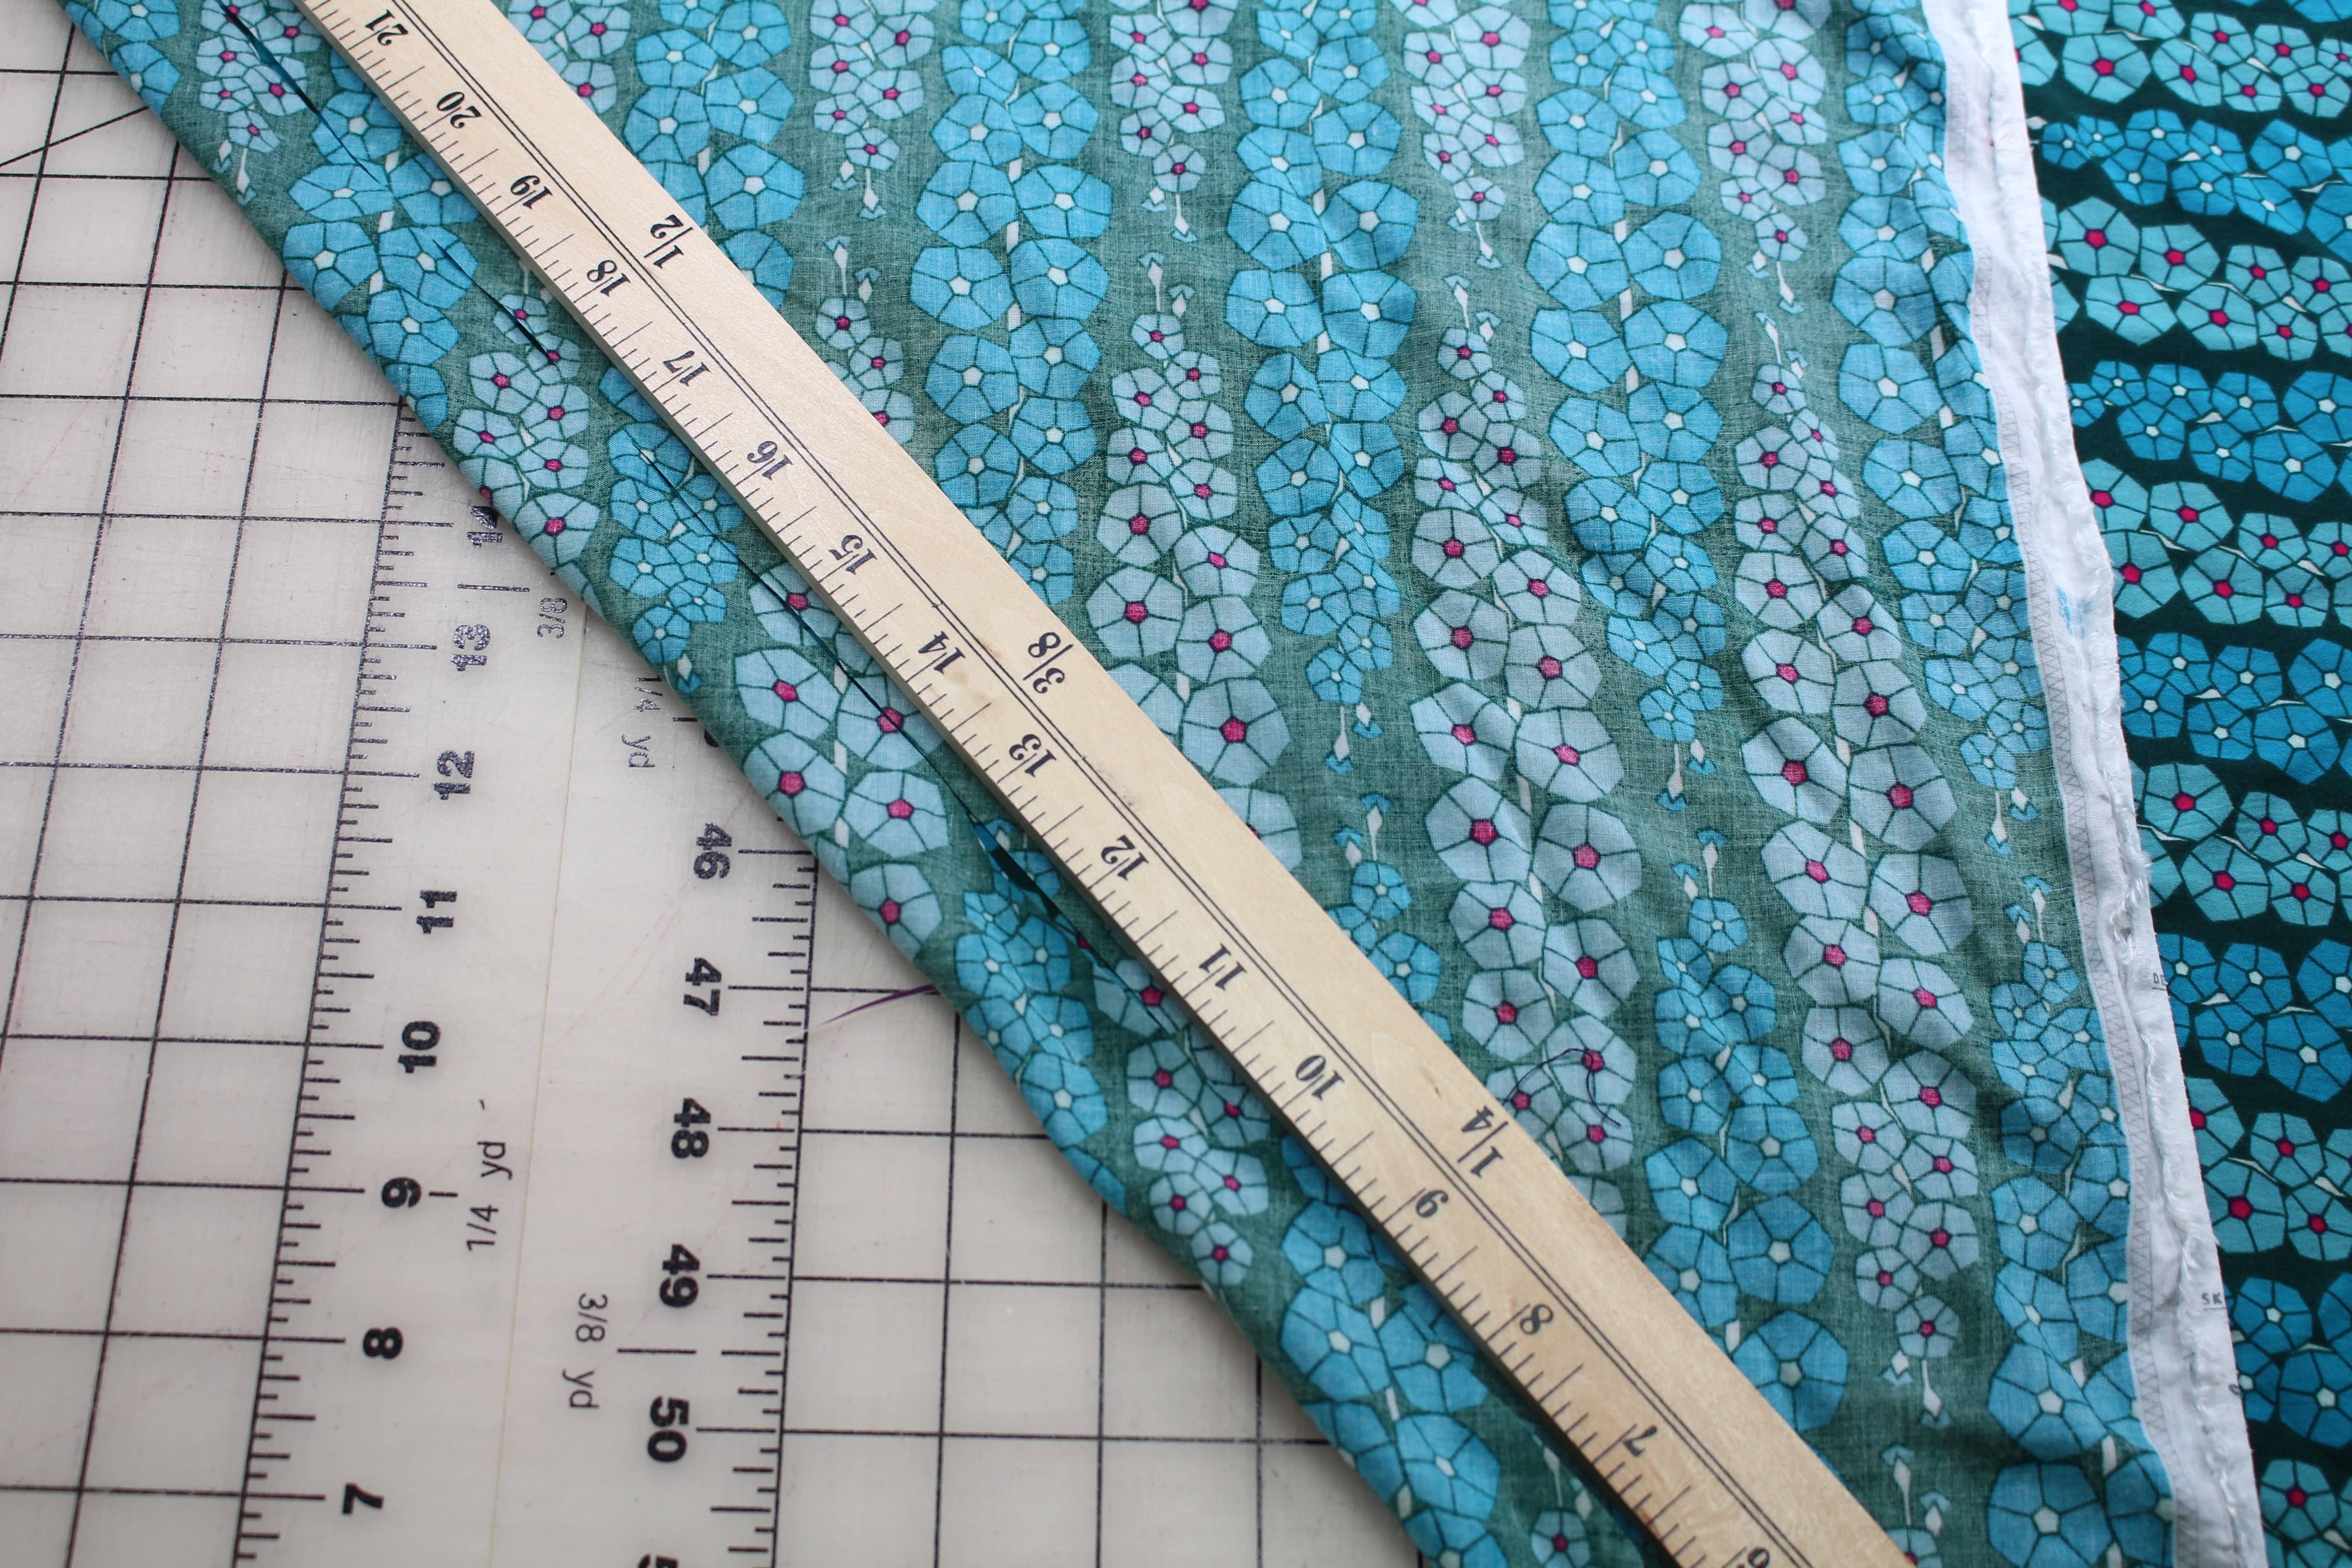
Because of the print, I chose to cut the skirt with one layer of fabric (meaning I didn’t fold the fabric).  The fabric is so lightweight and tends to shift which can cause issues matching up prints and grainlines.  After laying out the fabric, I used a yard stick to check the fabric grainlines.  They look pretty straight here, so I cut one side of the skirt and then folded the pattern over to cute the other side.

Bias Waistband

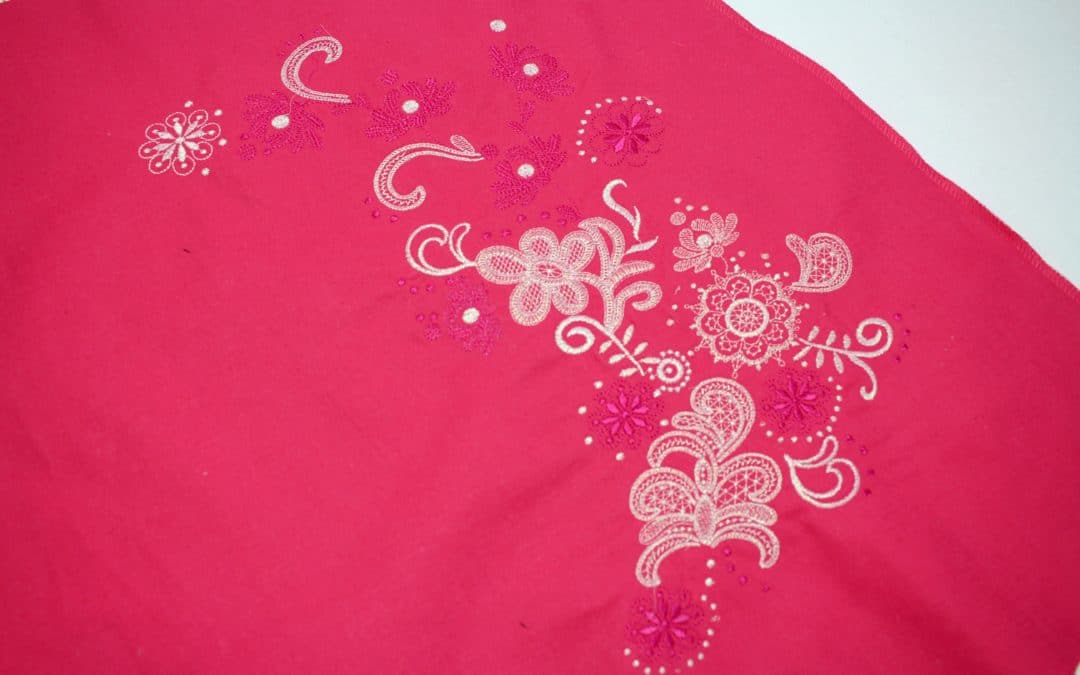
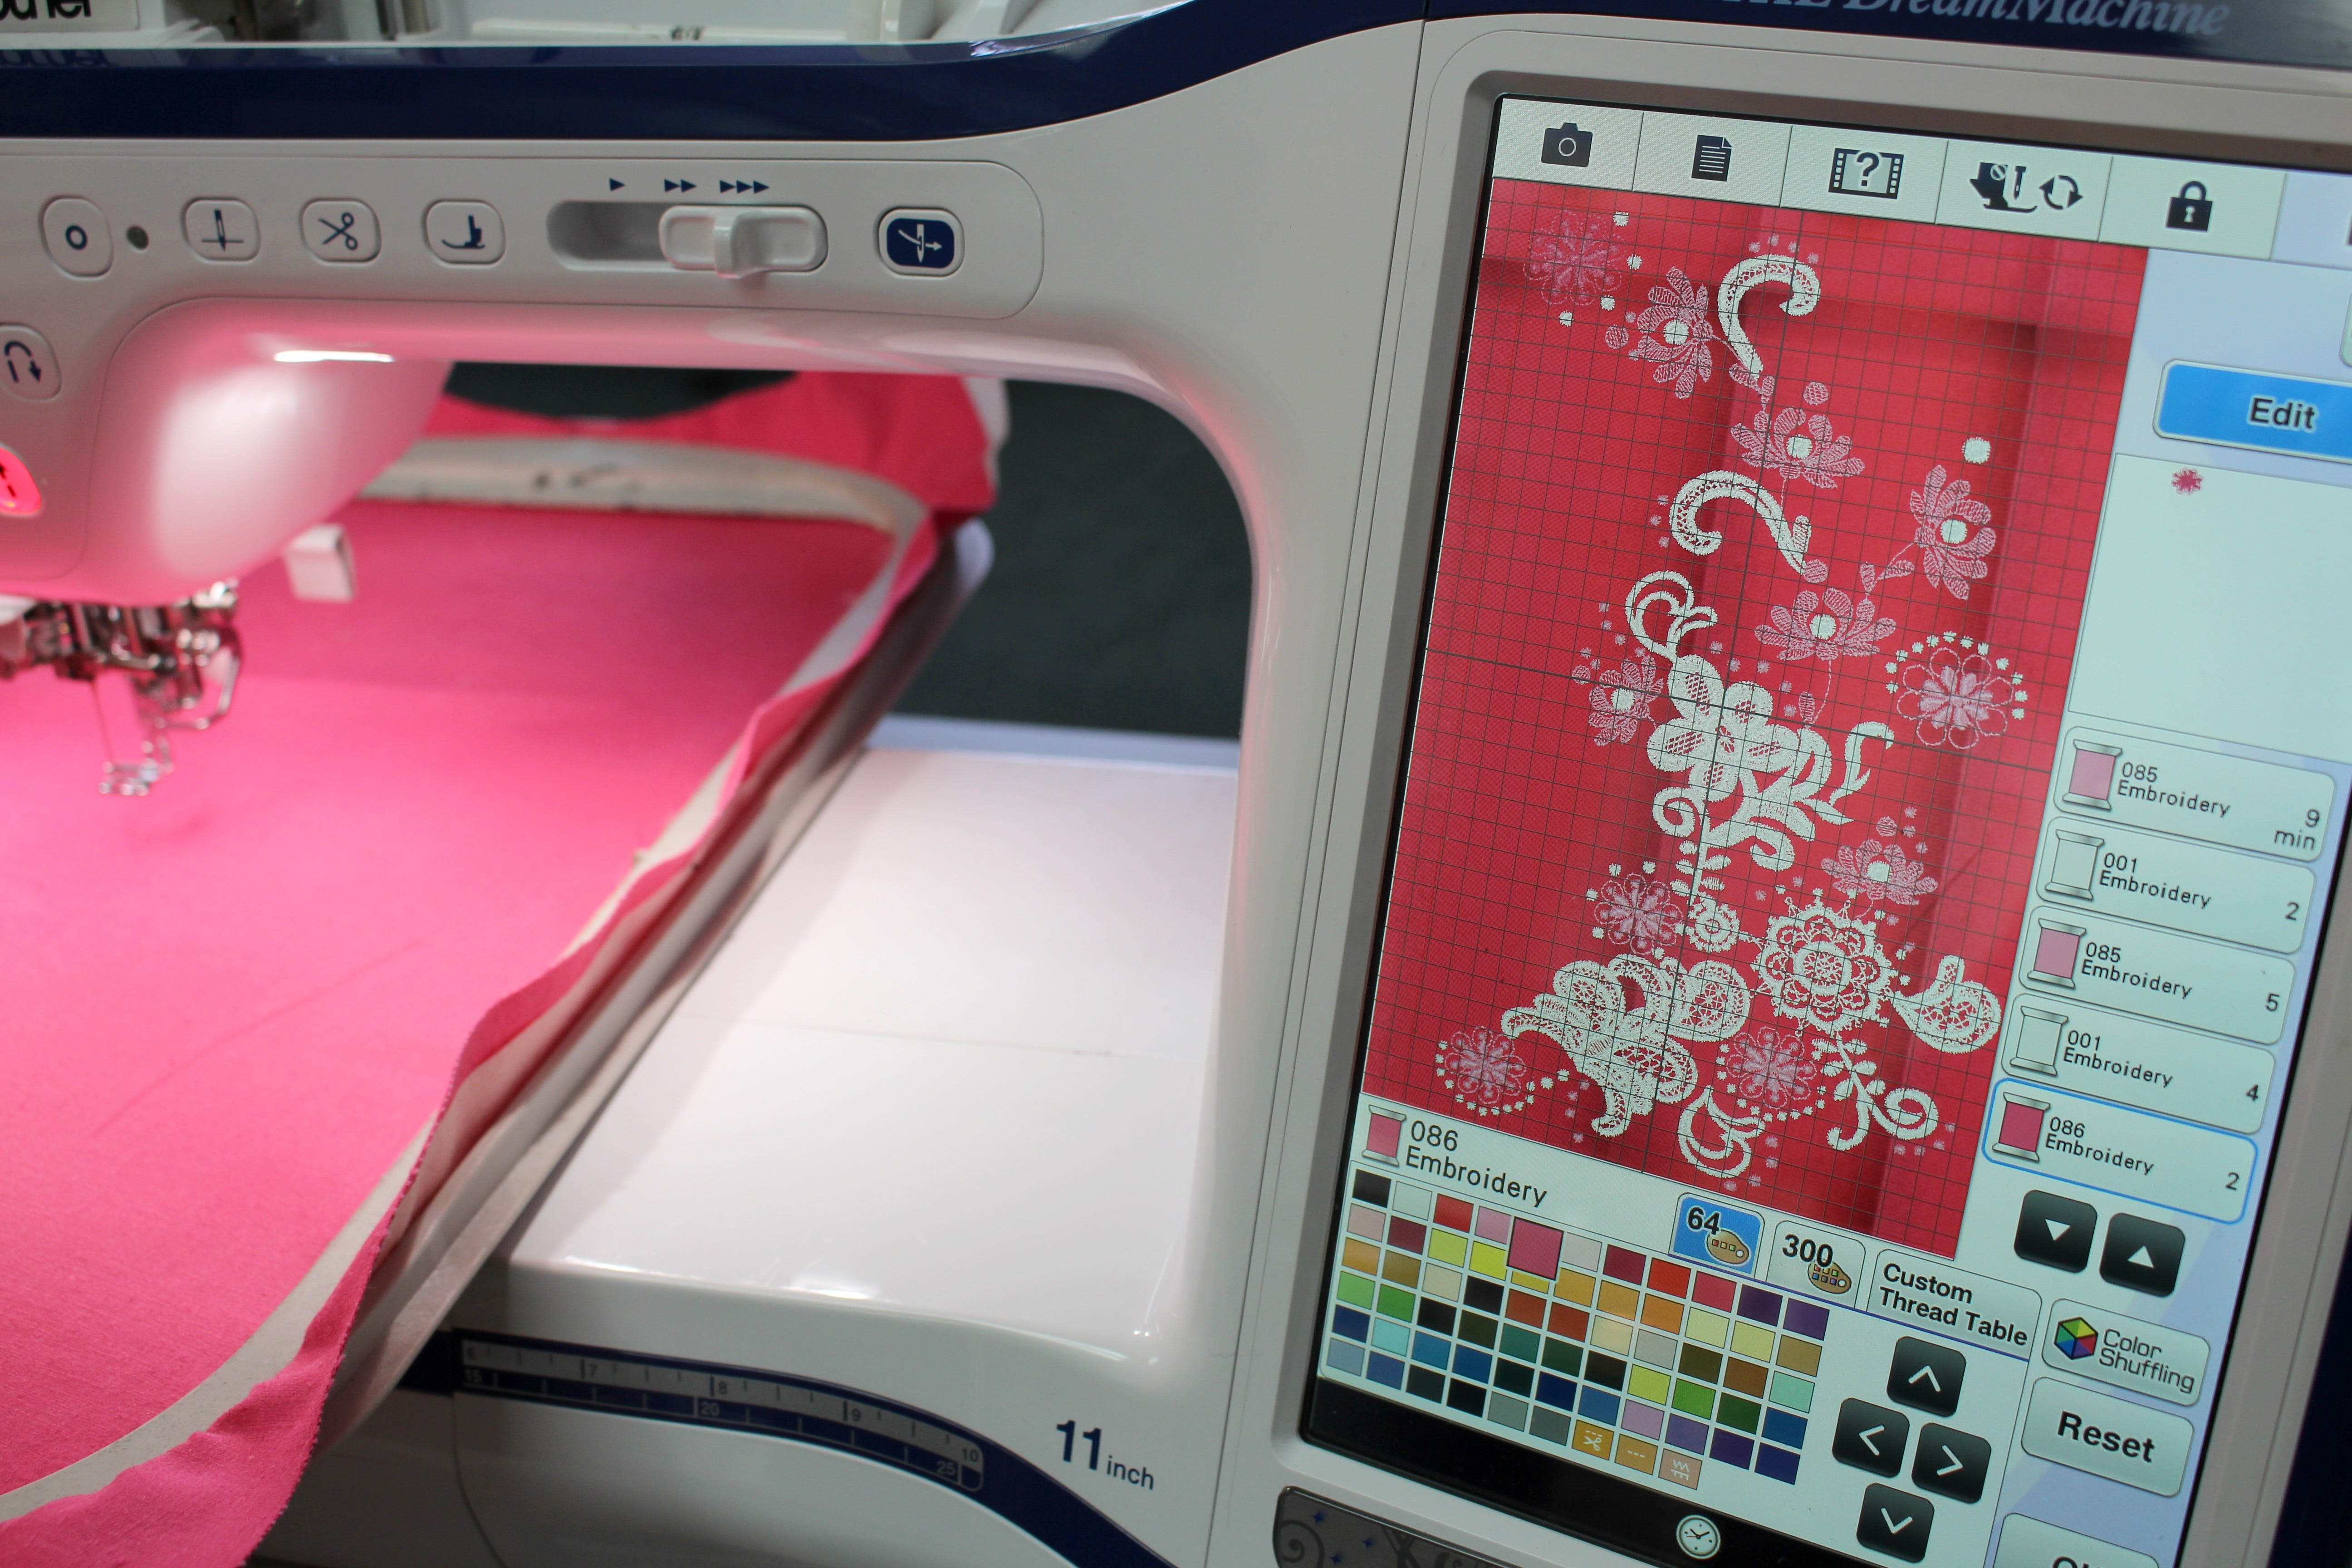
I altered the Kate Skirt pattern by cutting the waistband on the bias.  This fabric is so lightweight, it reminds me of silk charmeuse. I prefer bias waistbands for silk skirt, so thought the same for this one.  Not only is it comfortable, it works the print.

Finishing the Edges and Zipper Insertion

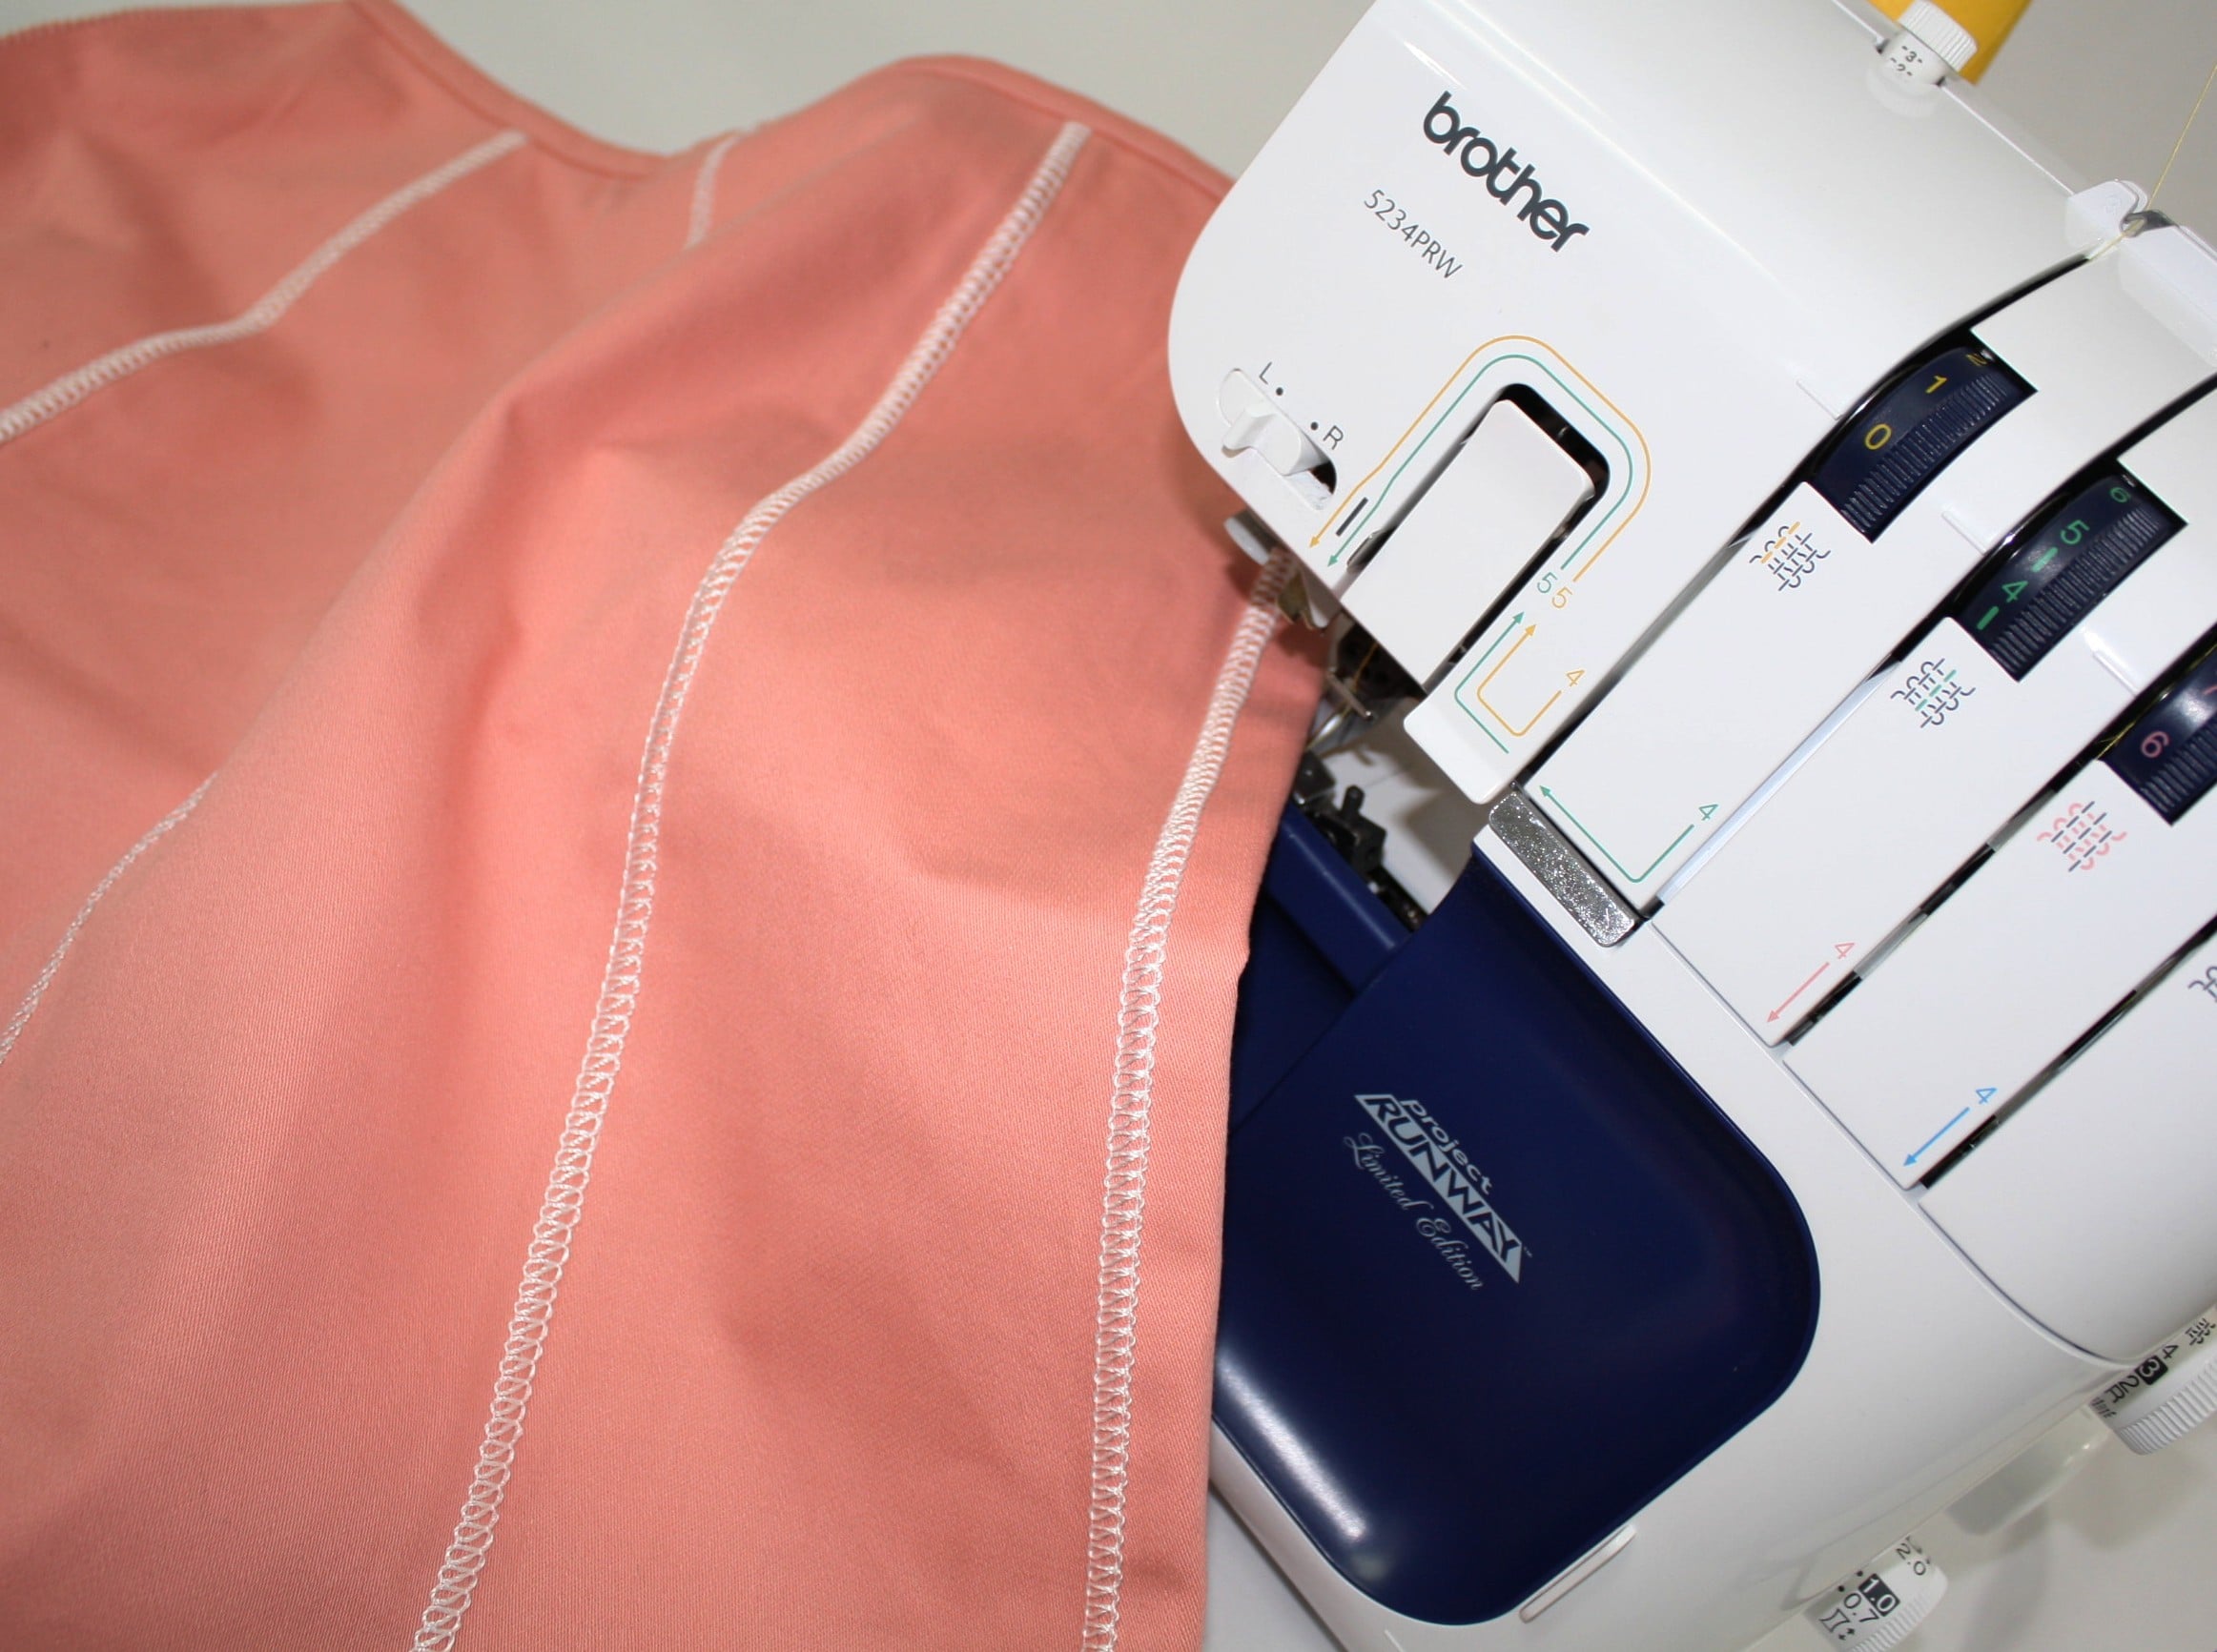
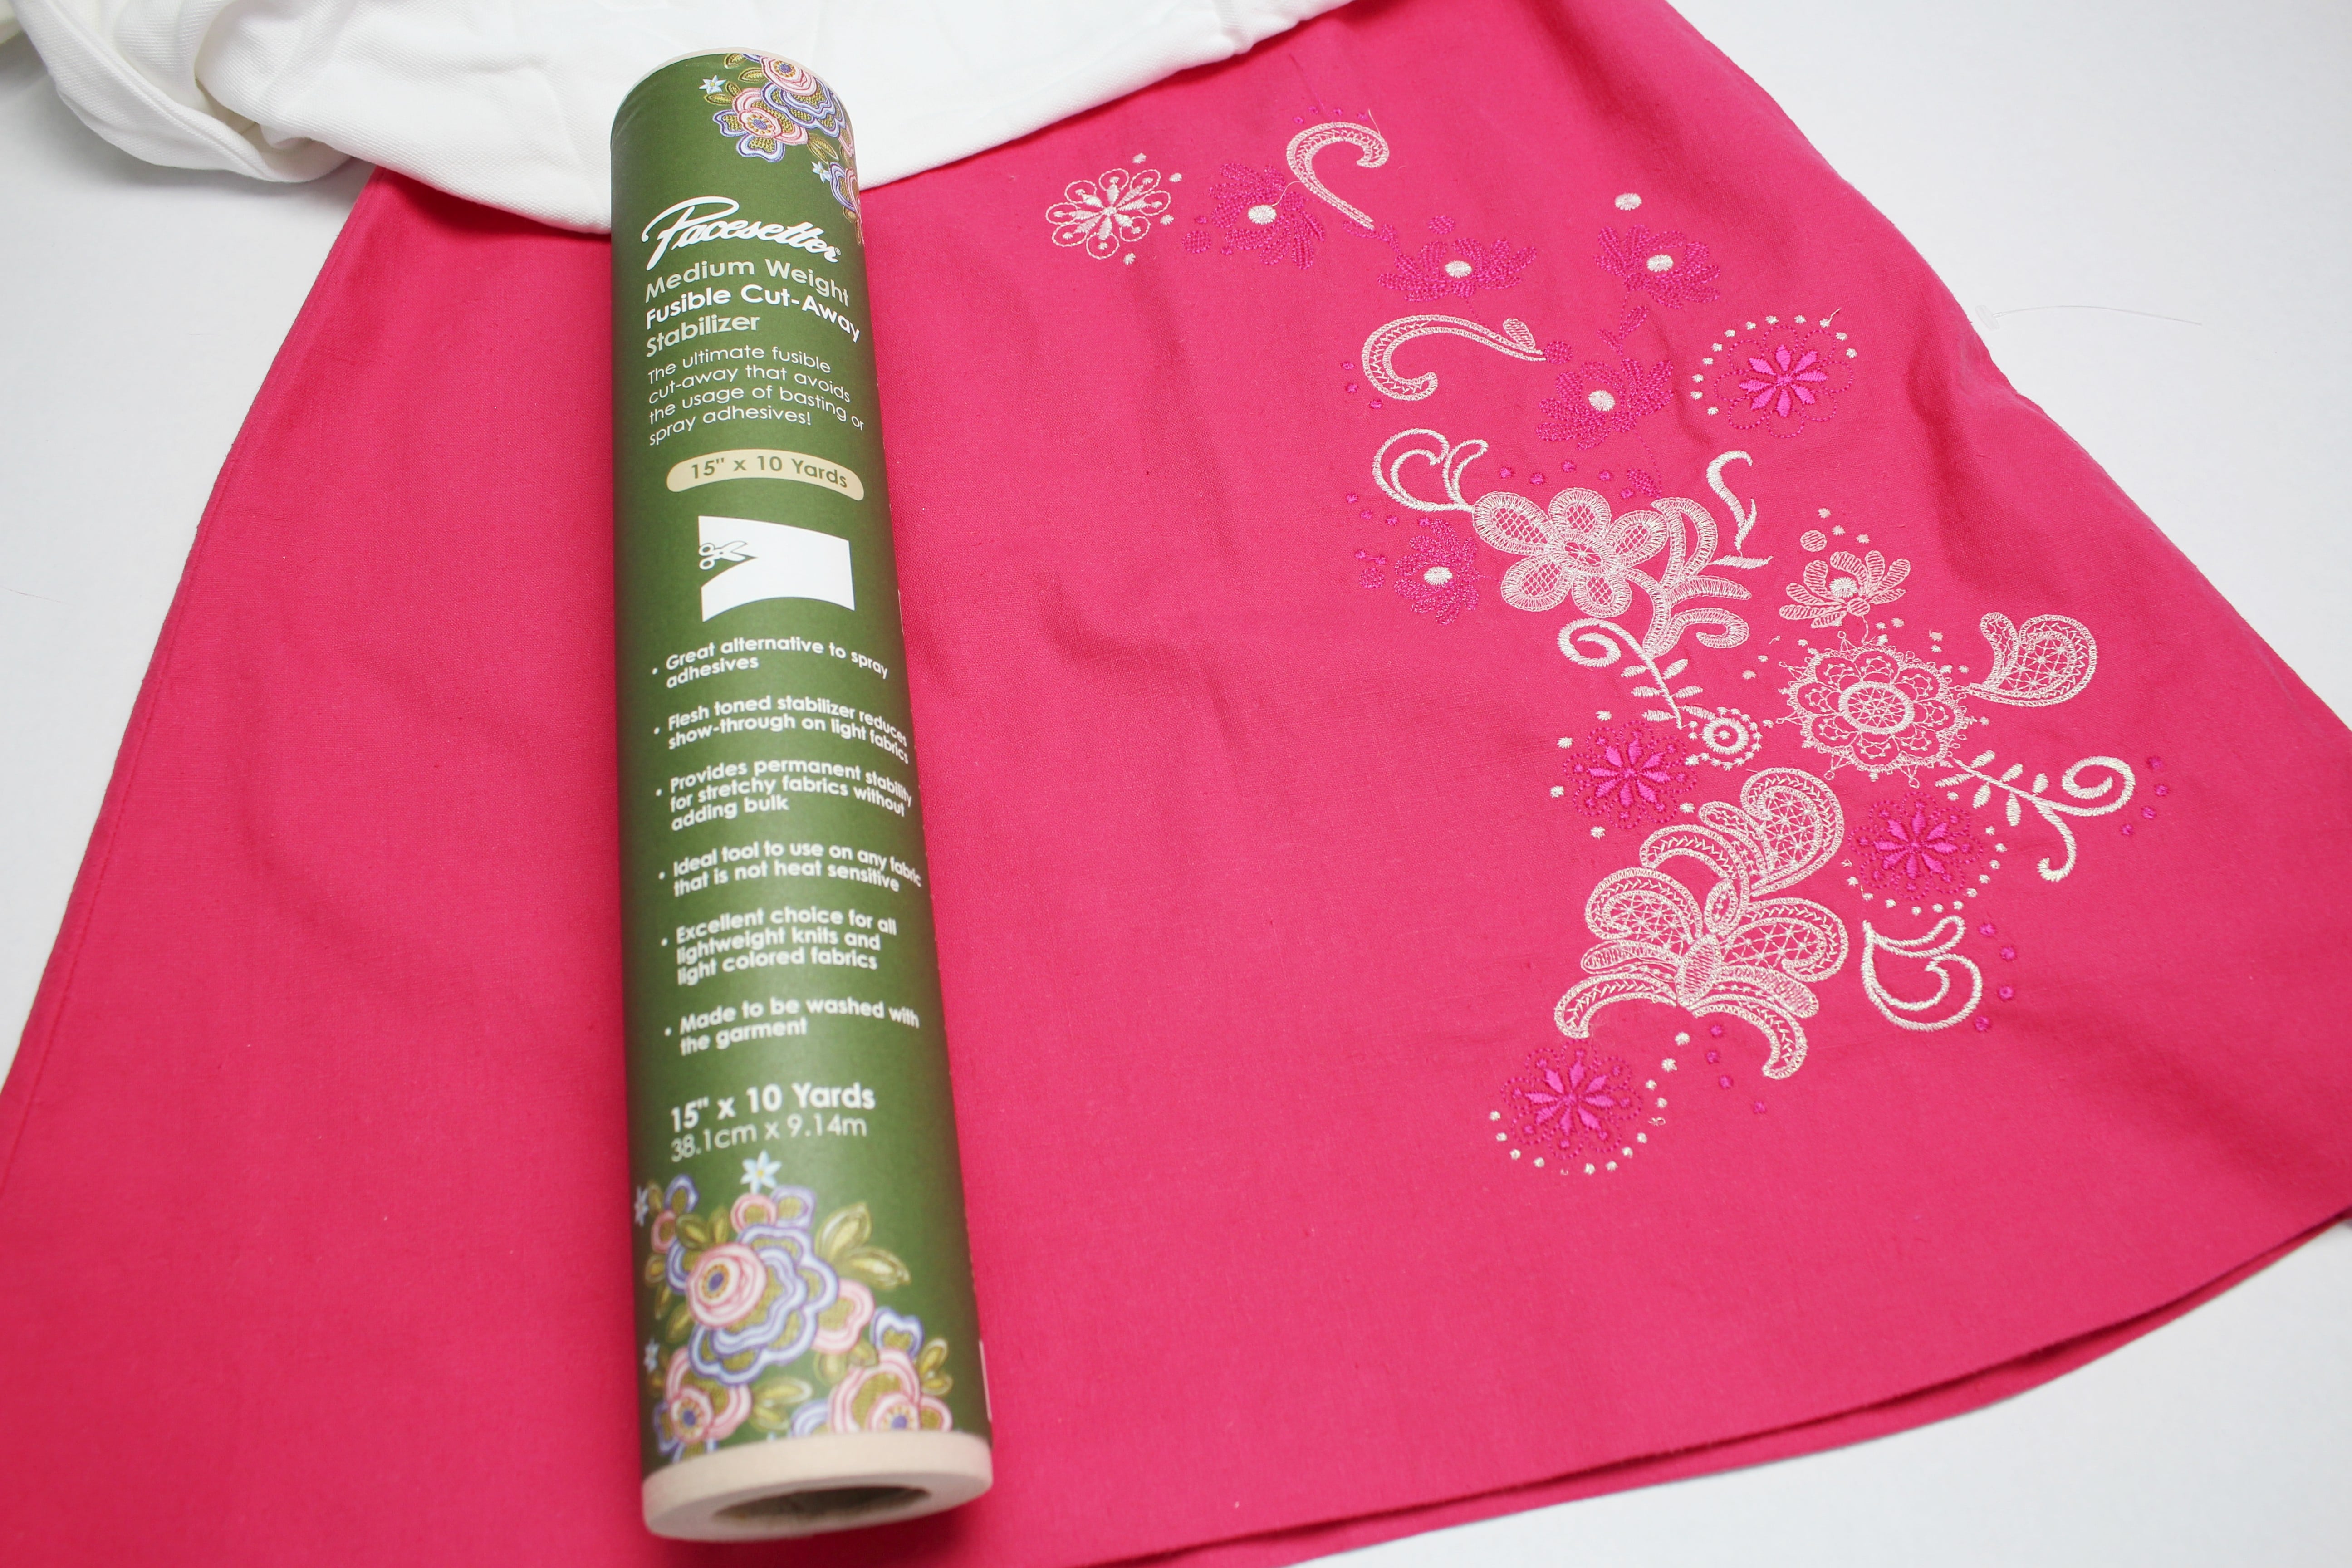
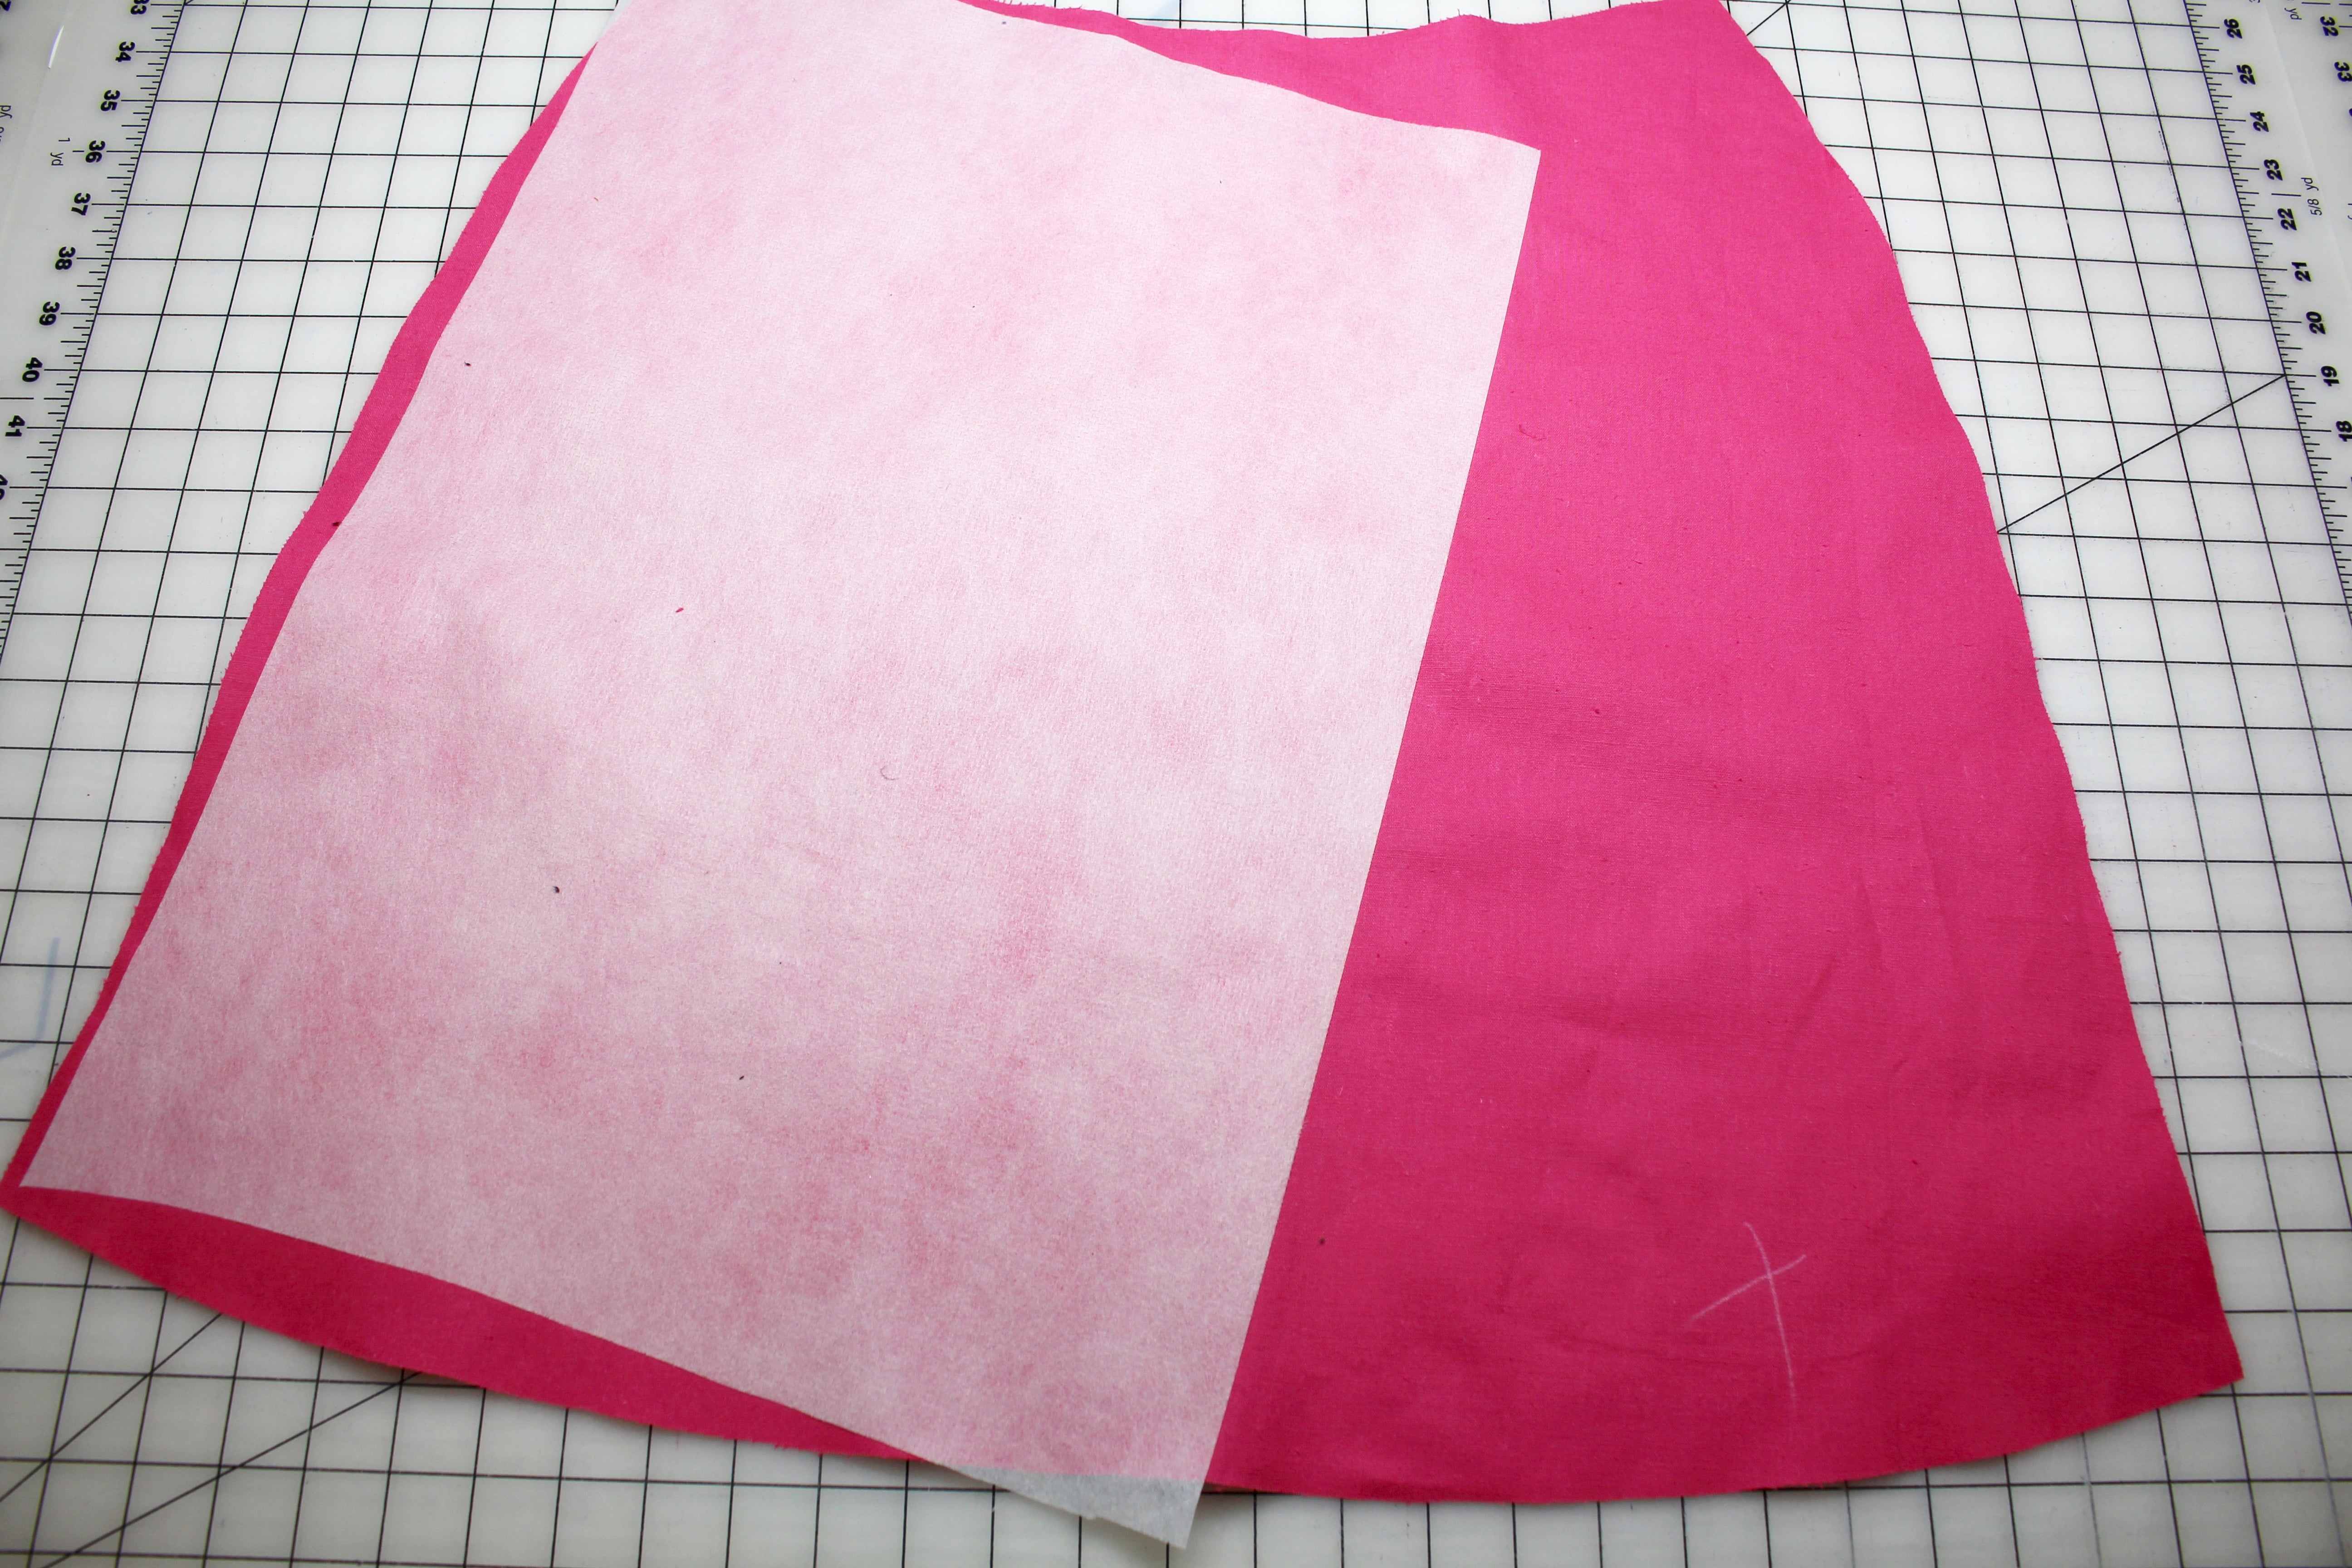
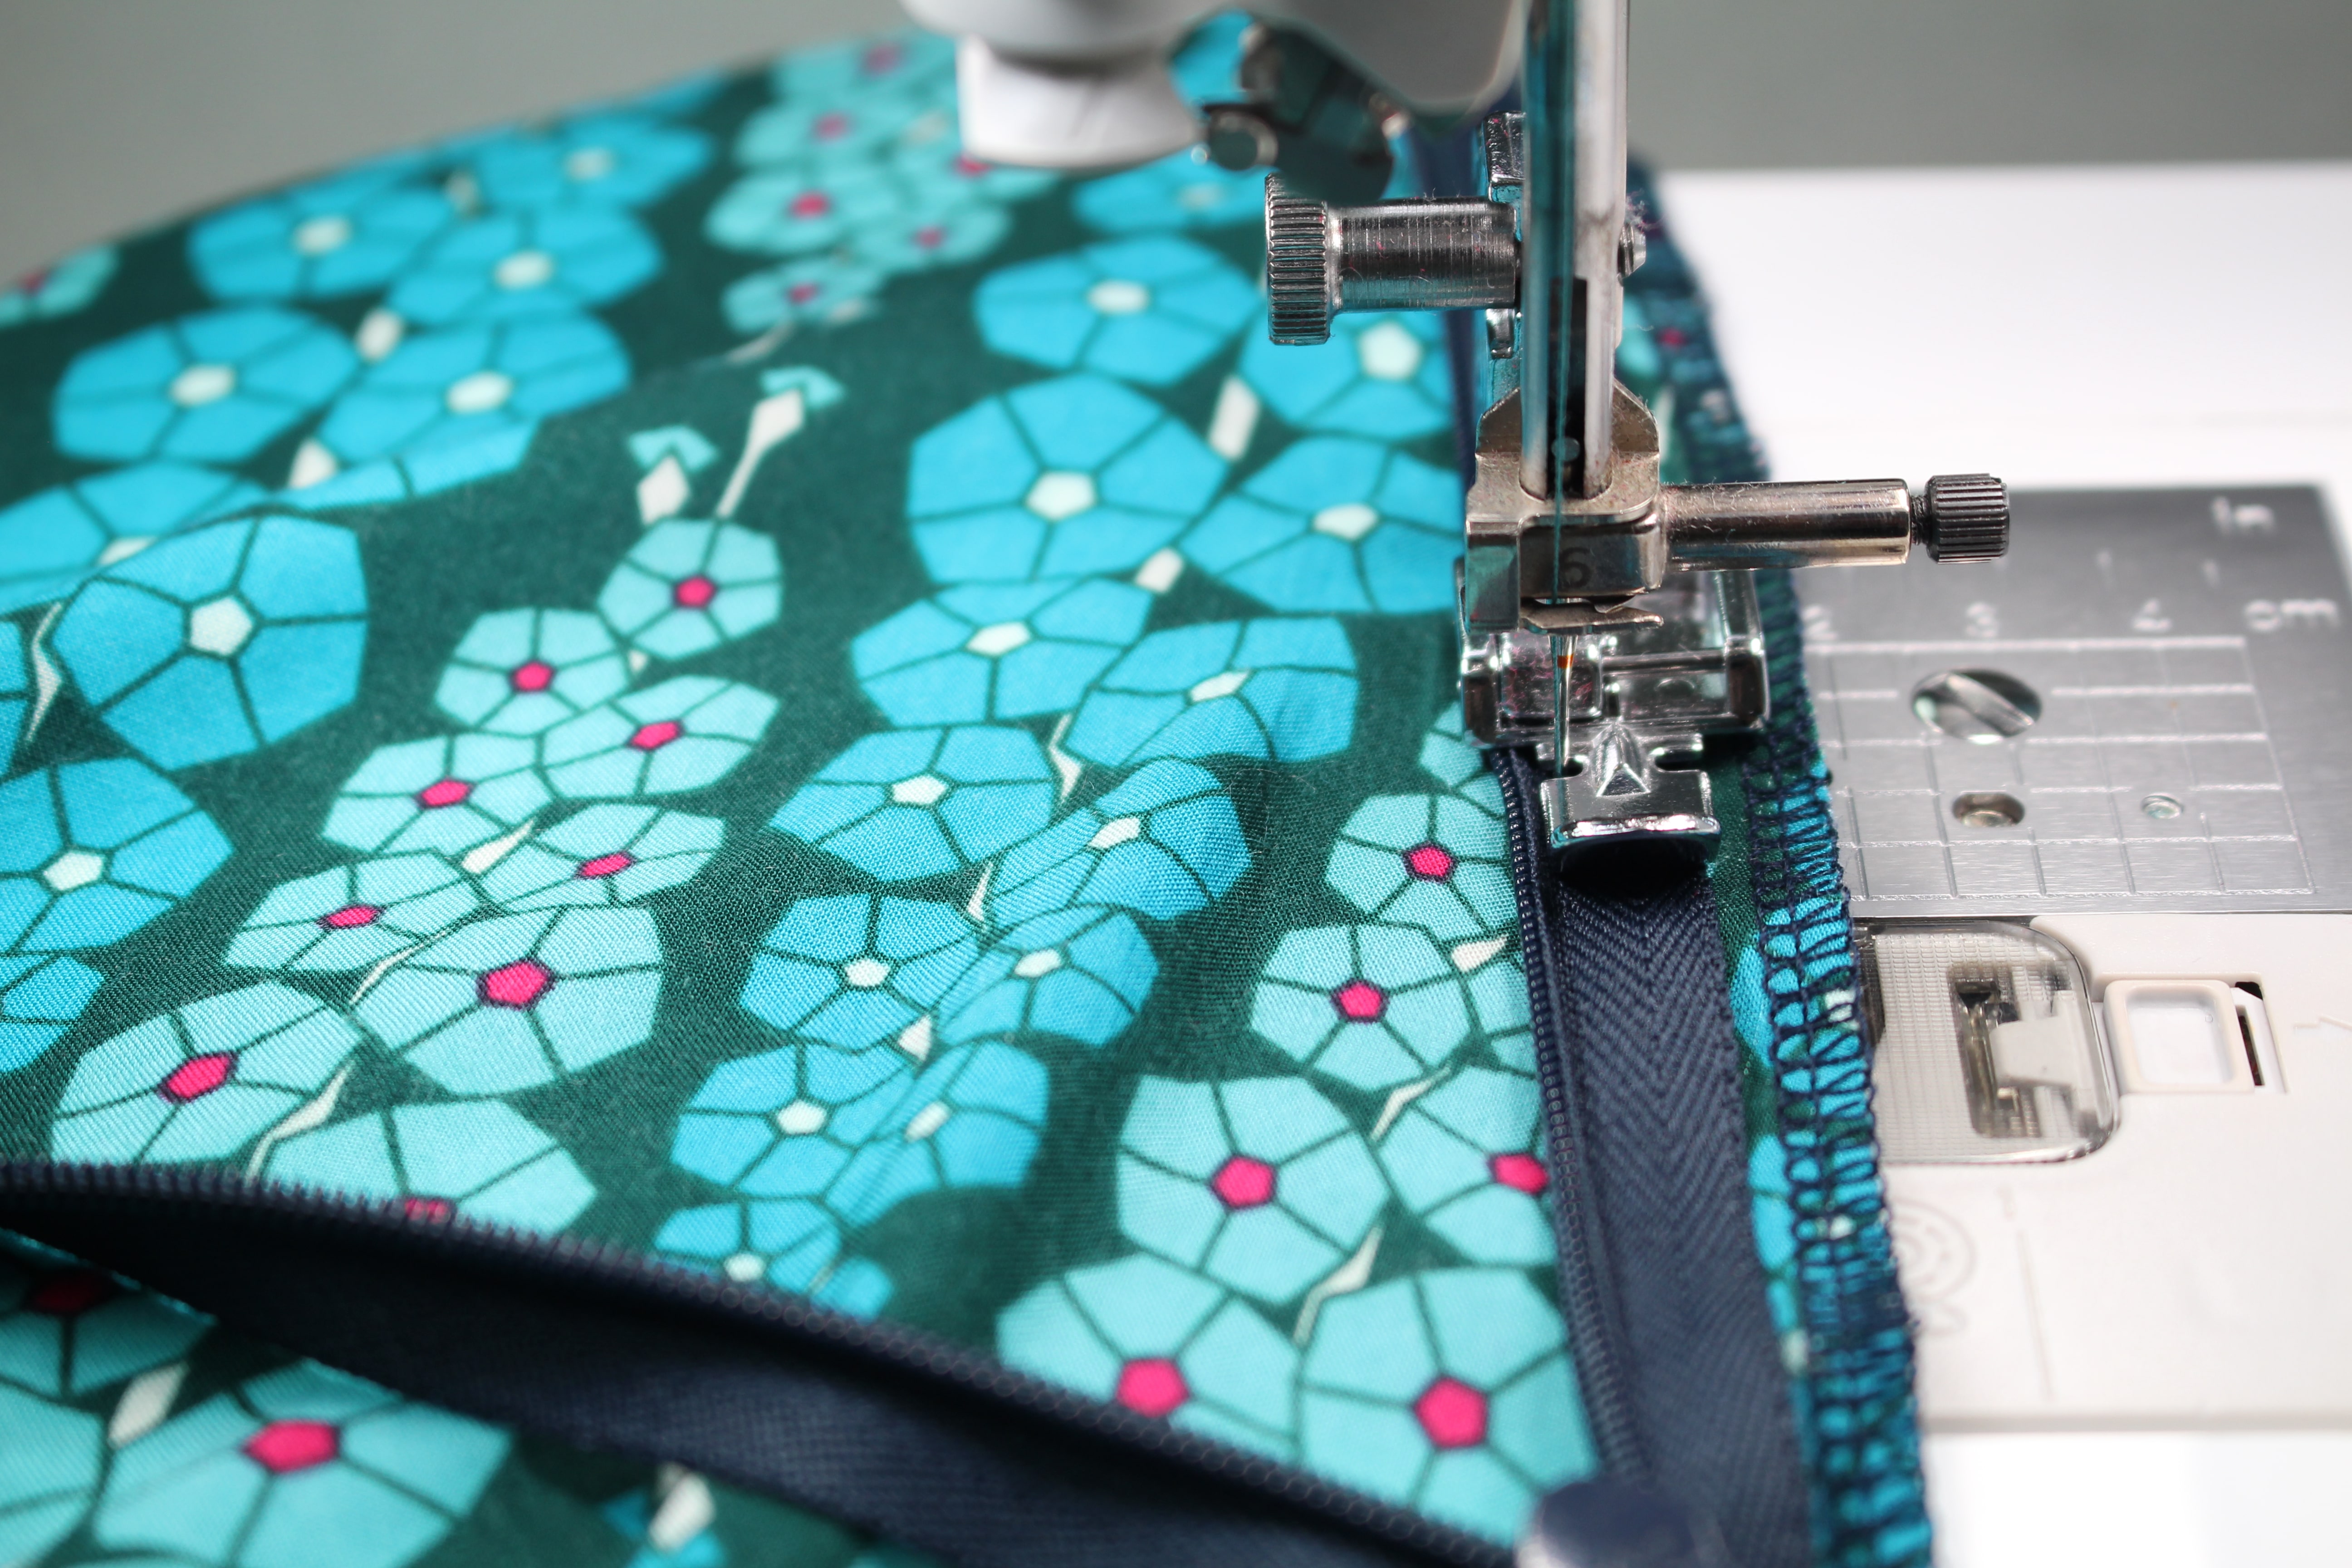
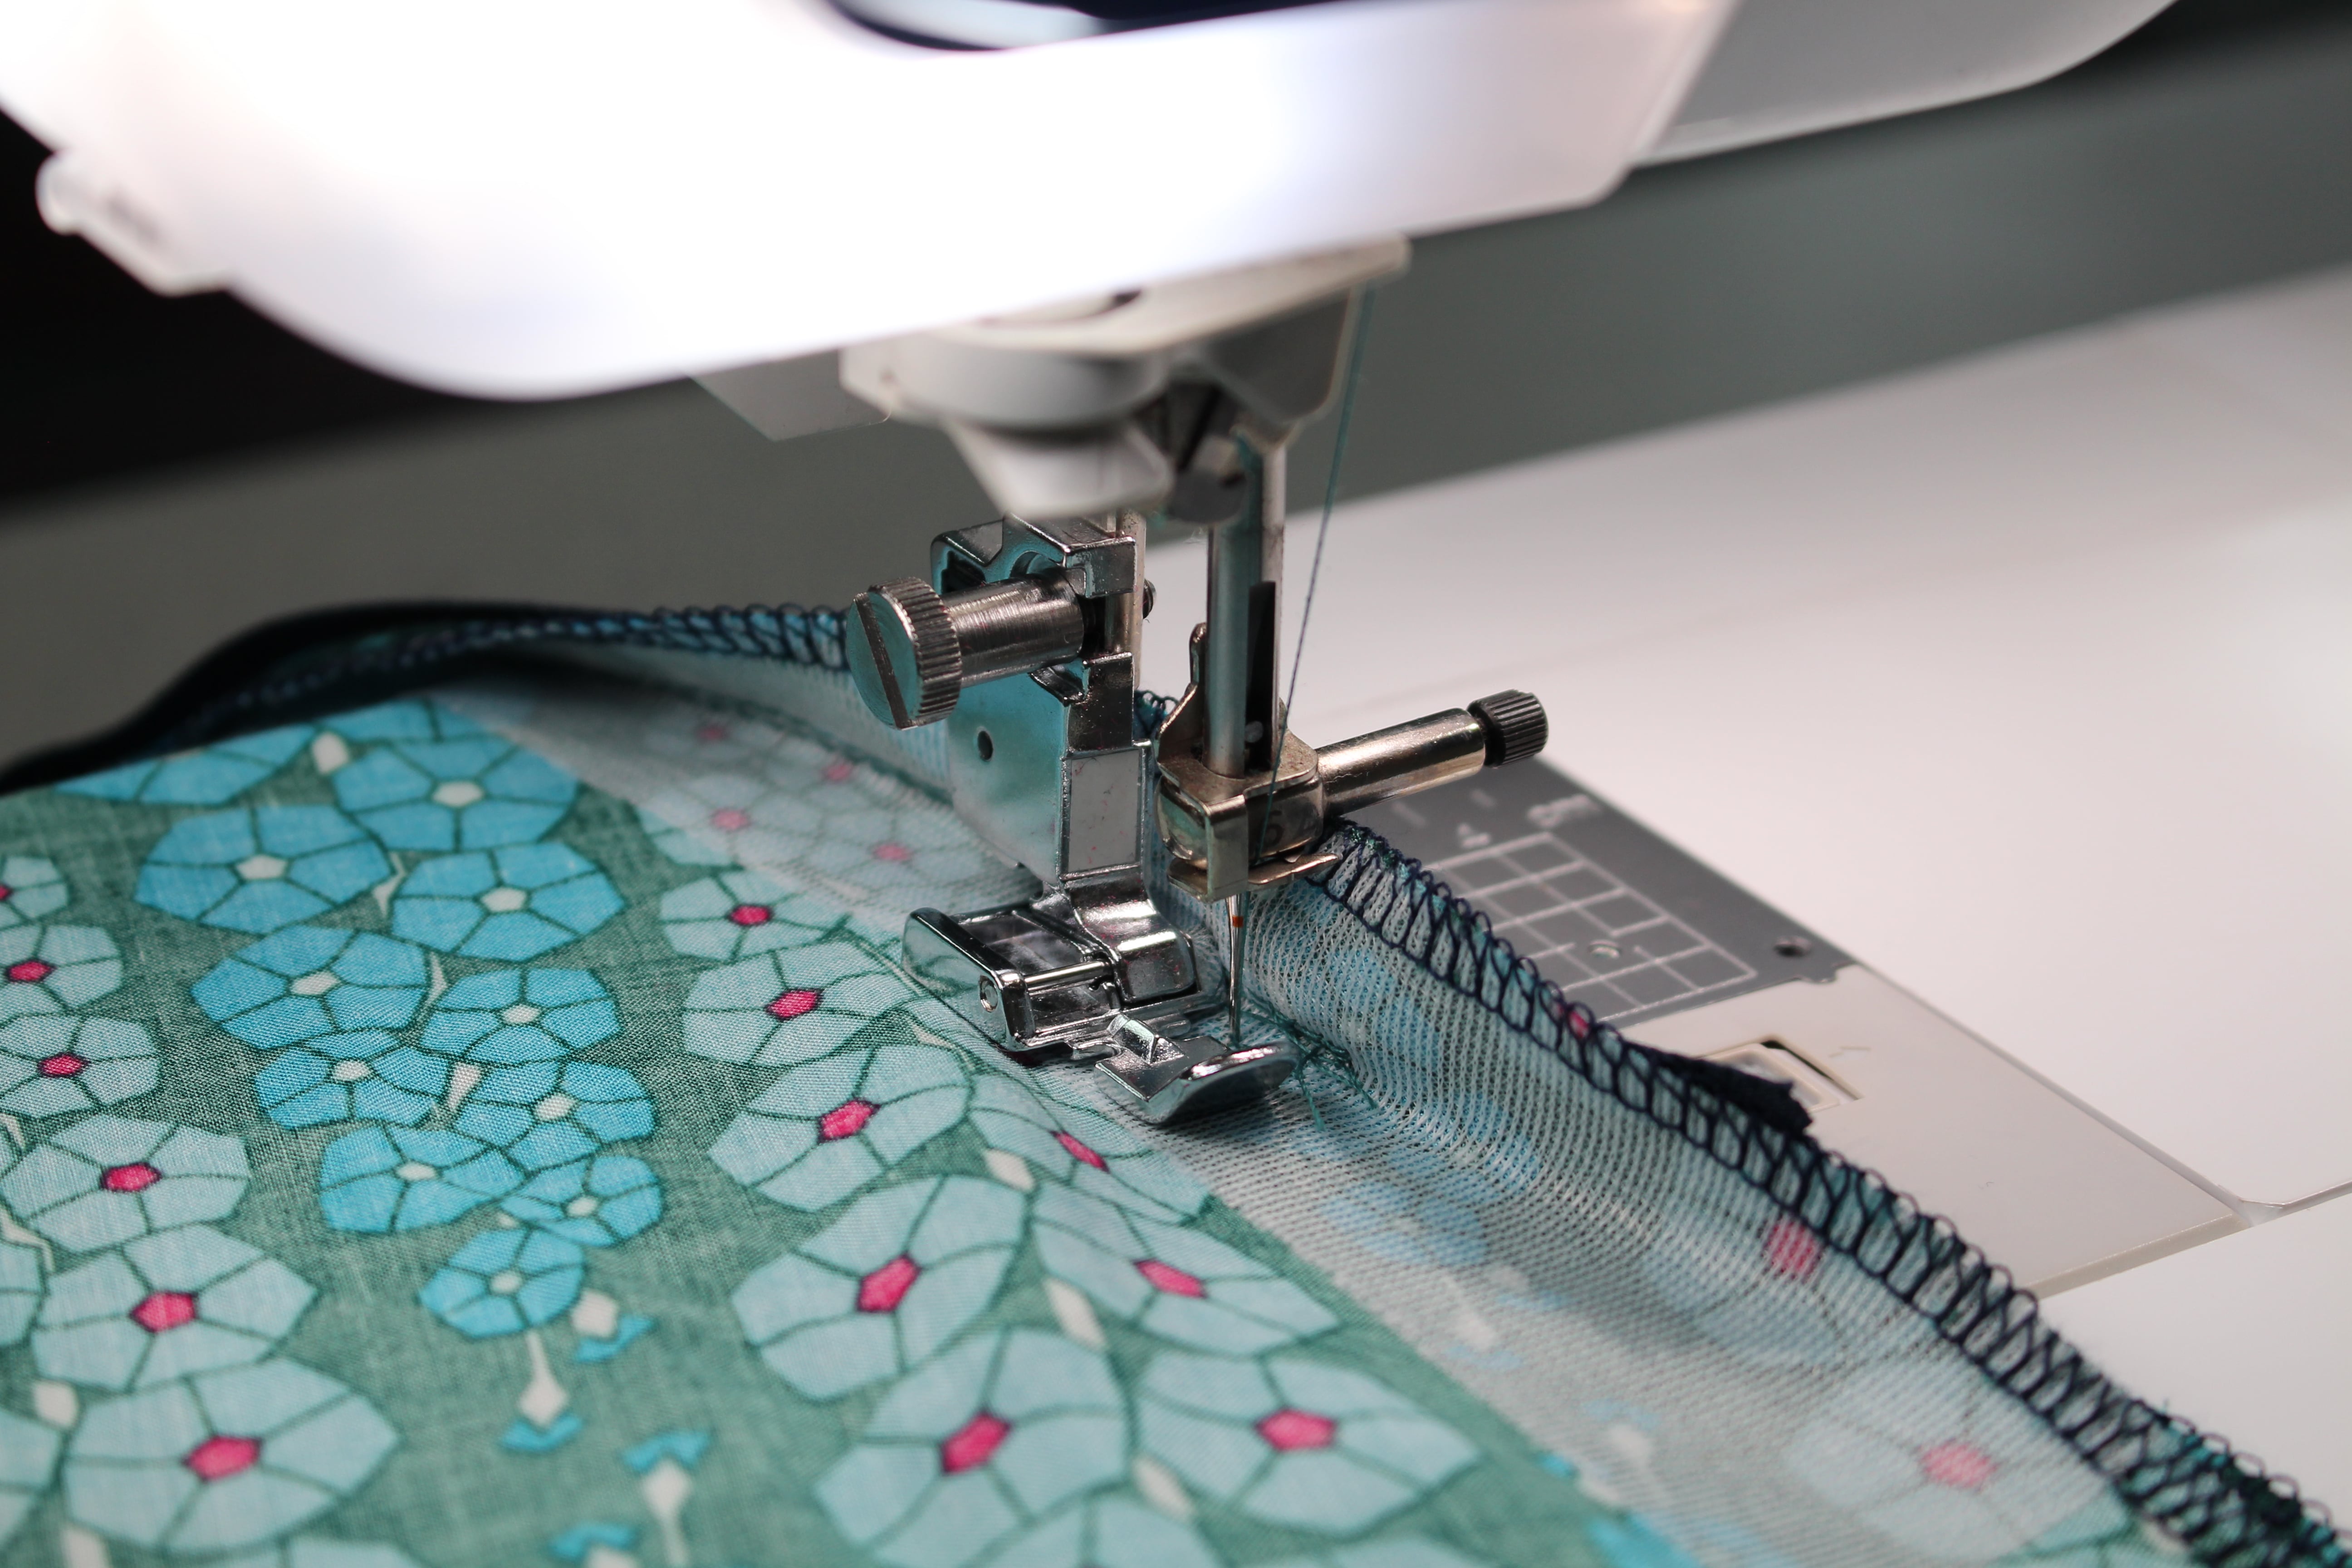
As I mentioned earlier, the rayon fabric tends to fray a little.  After cutting out the skirt, I ran the edges through the serger to finish the edges (I used a 3-thread wide overlock stitch).  But before serging the edges, press the fusible interfacing in the zipper location (see pattern instructions).  The fusible interfacing is light enough to not show through the fabric right side and prevent the fabric from stretching out while sewing in the zipper.

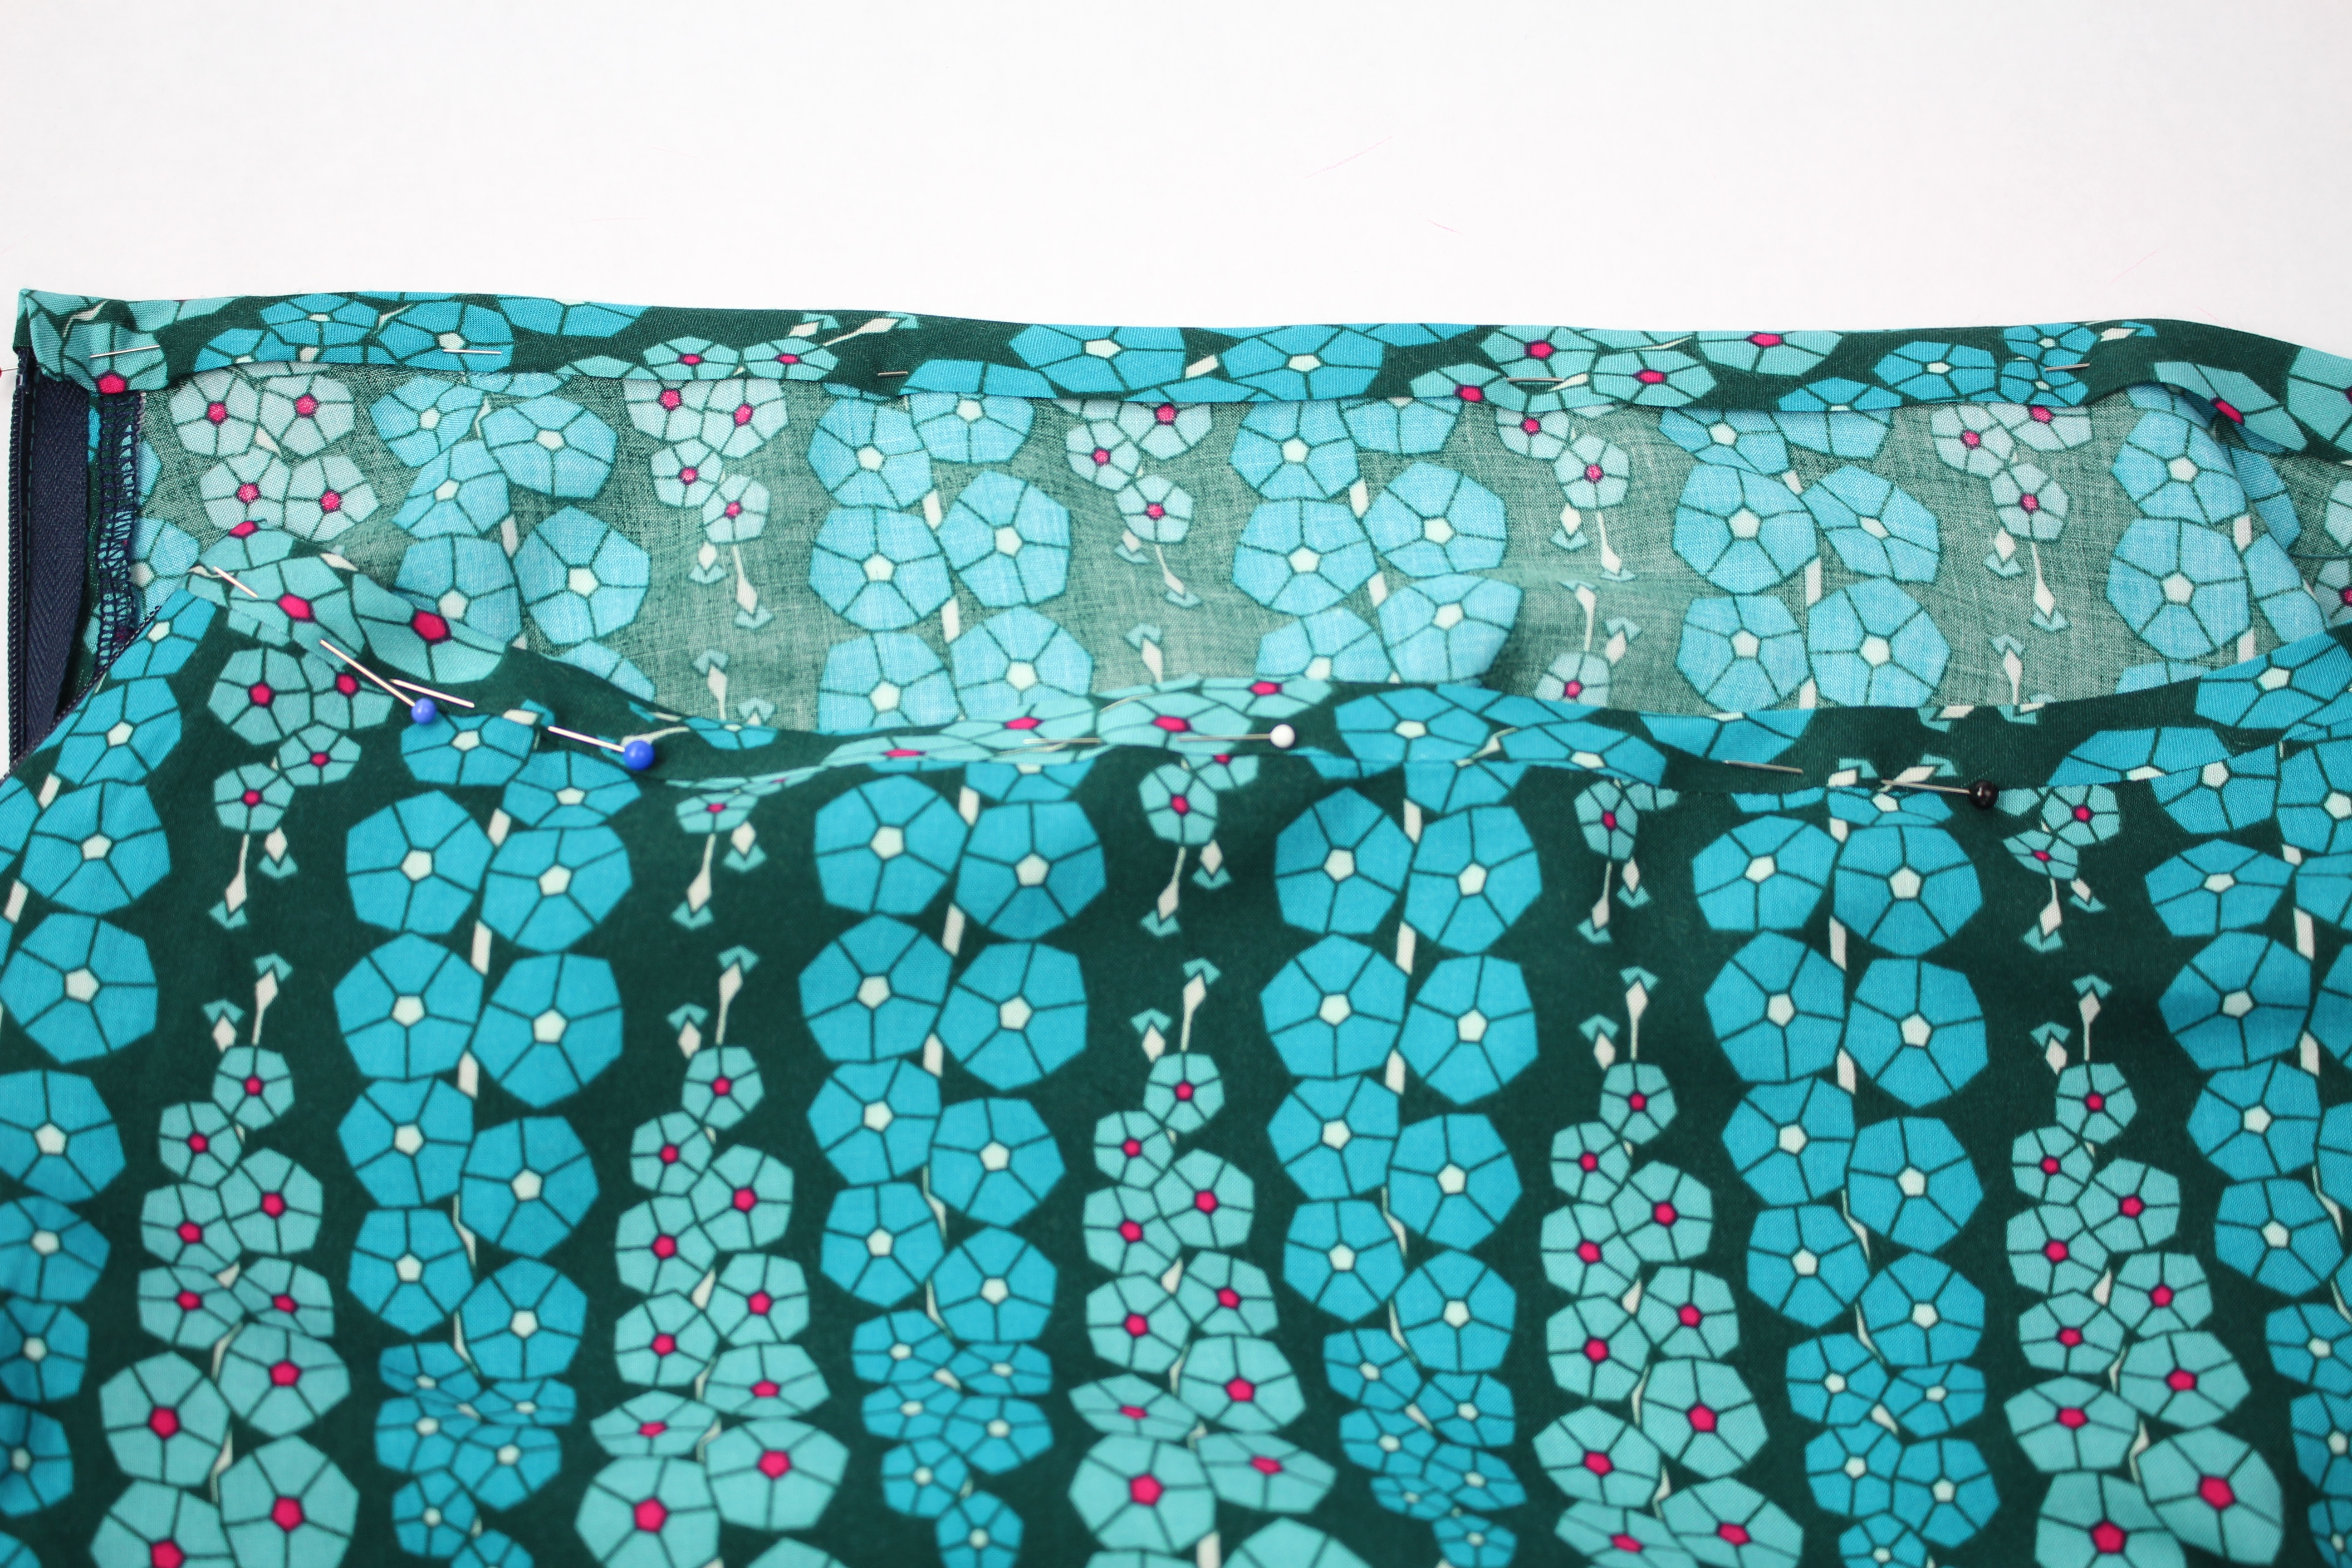
The next step is to sew in the invisible zipper and sew the side seams.

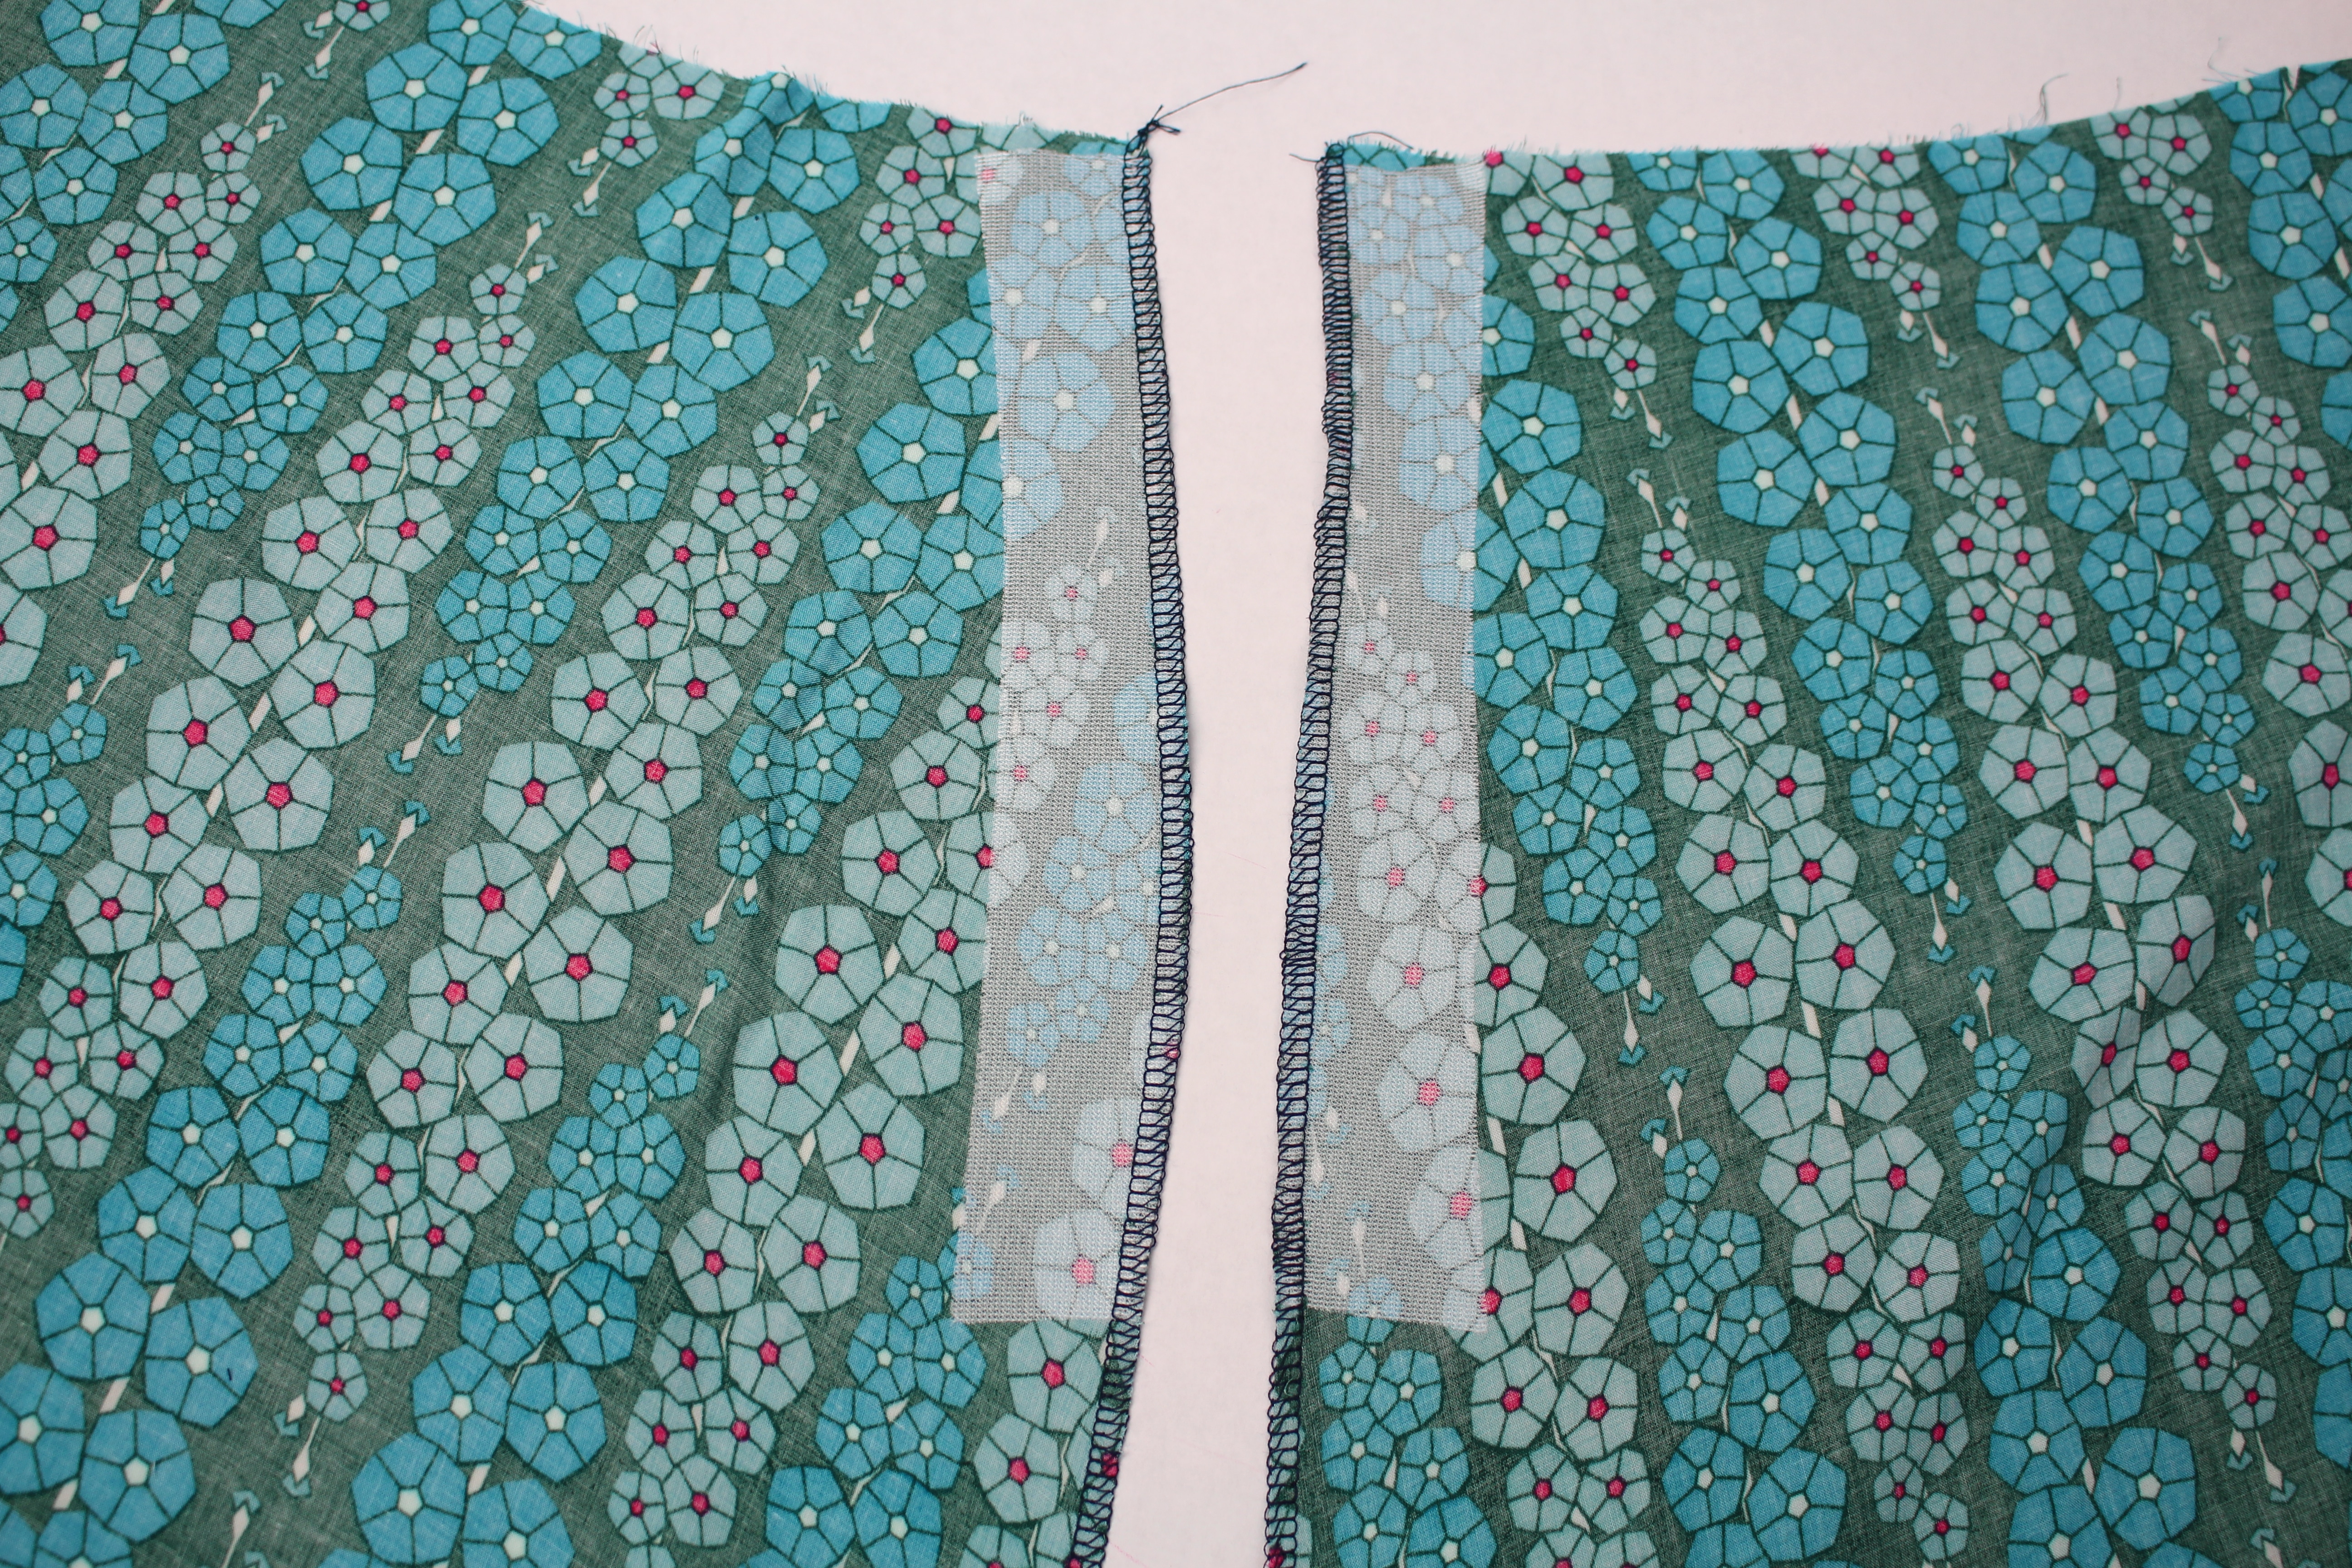
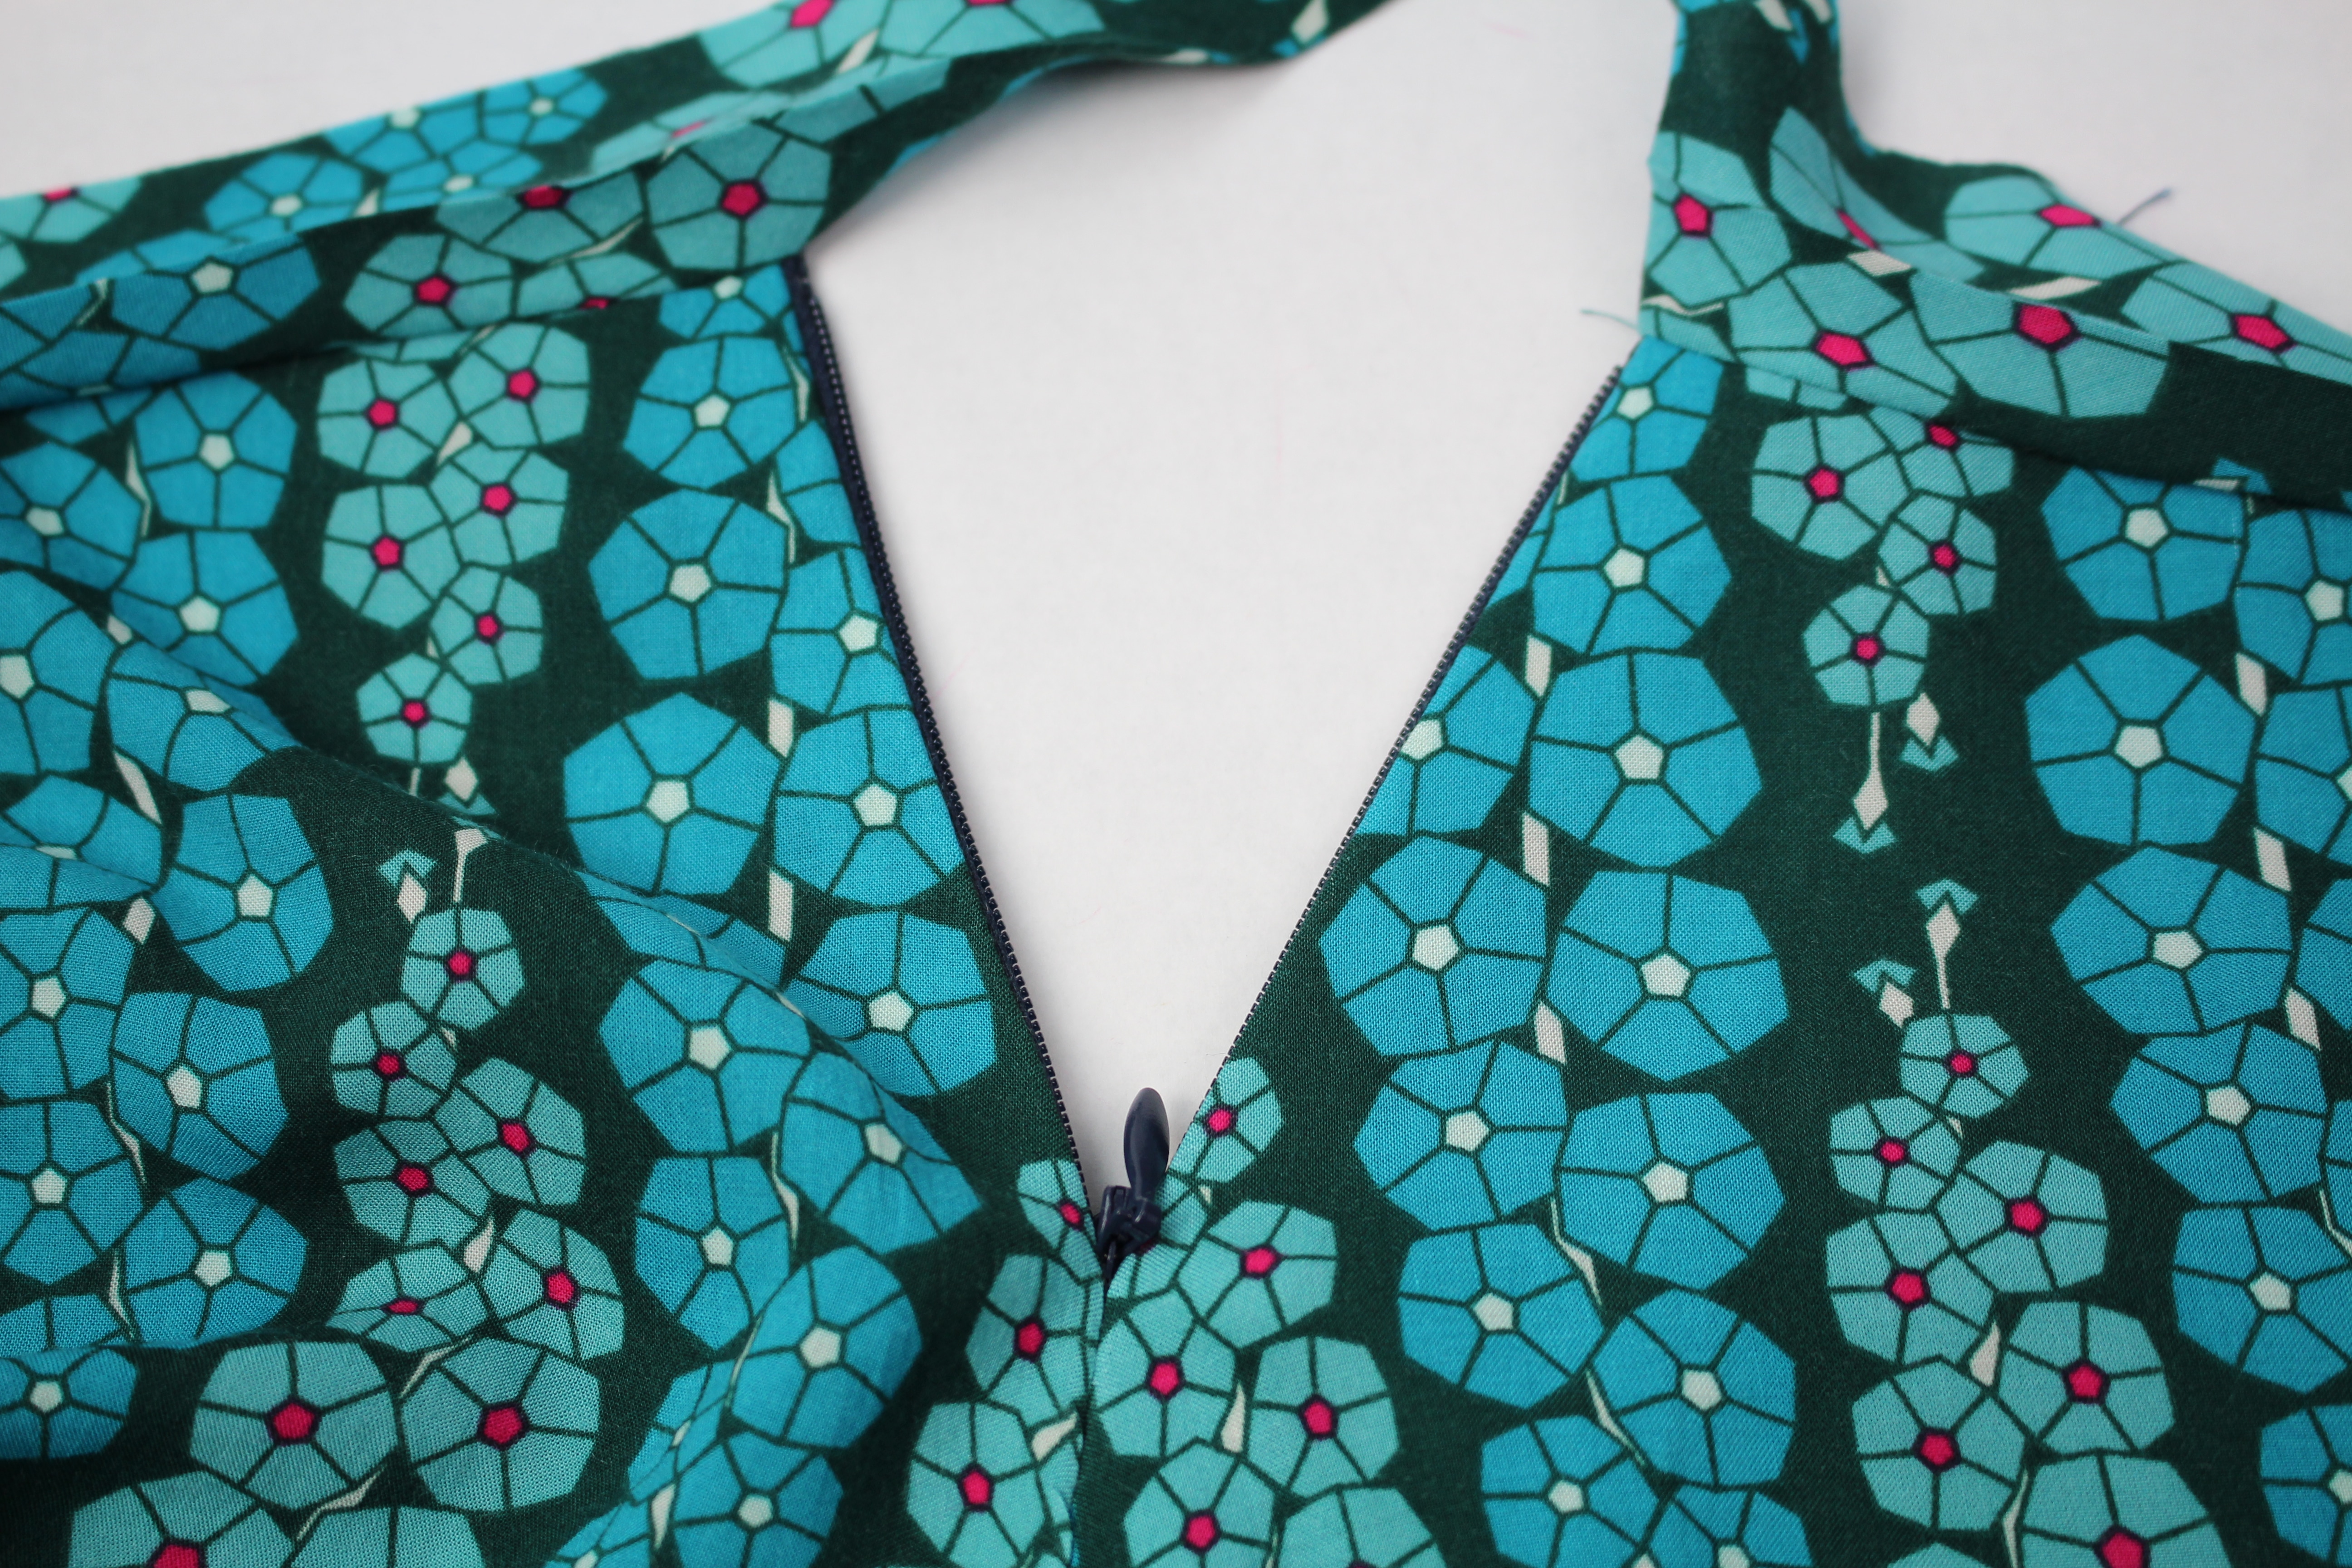
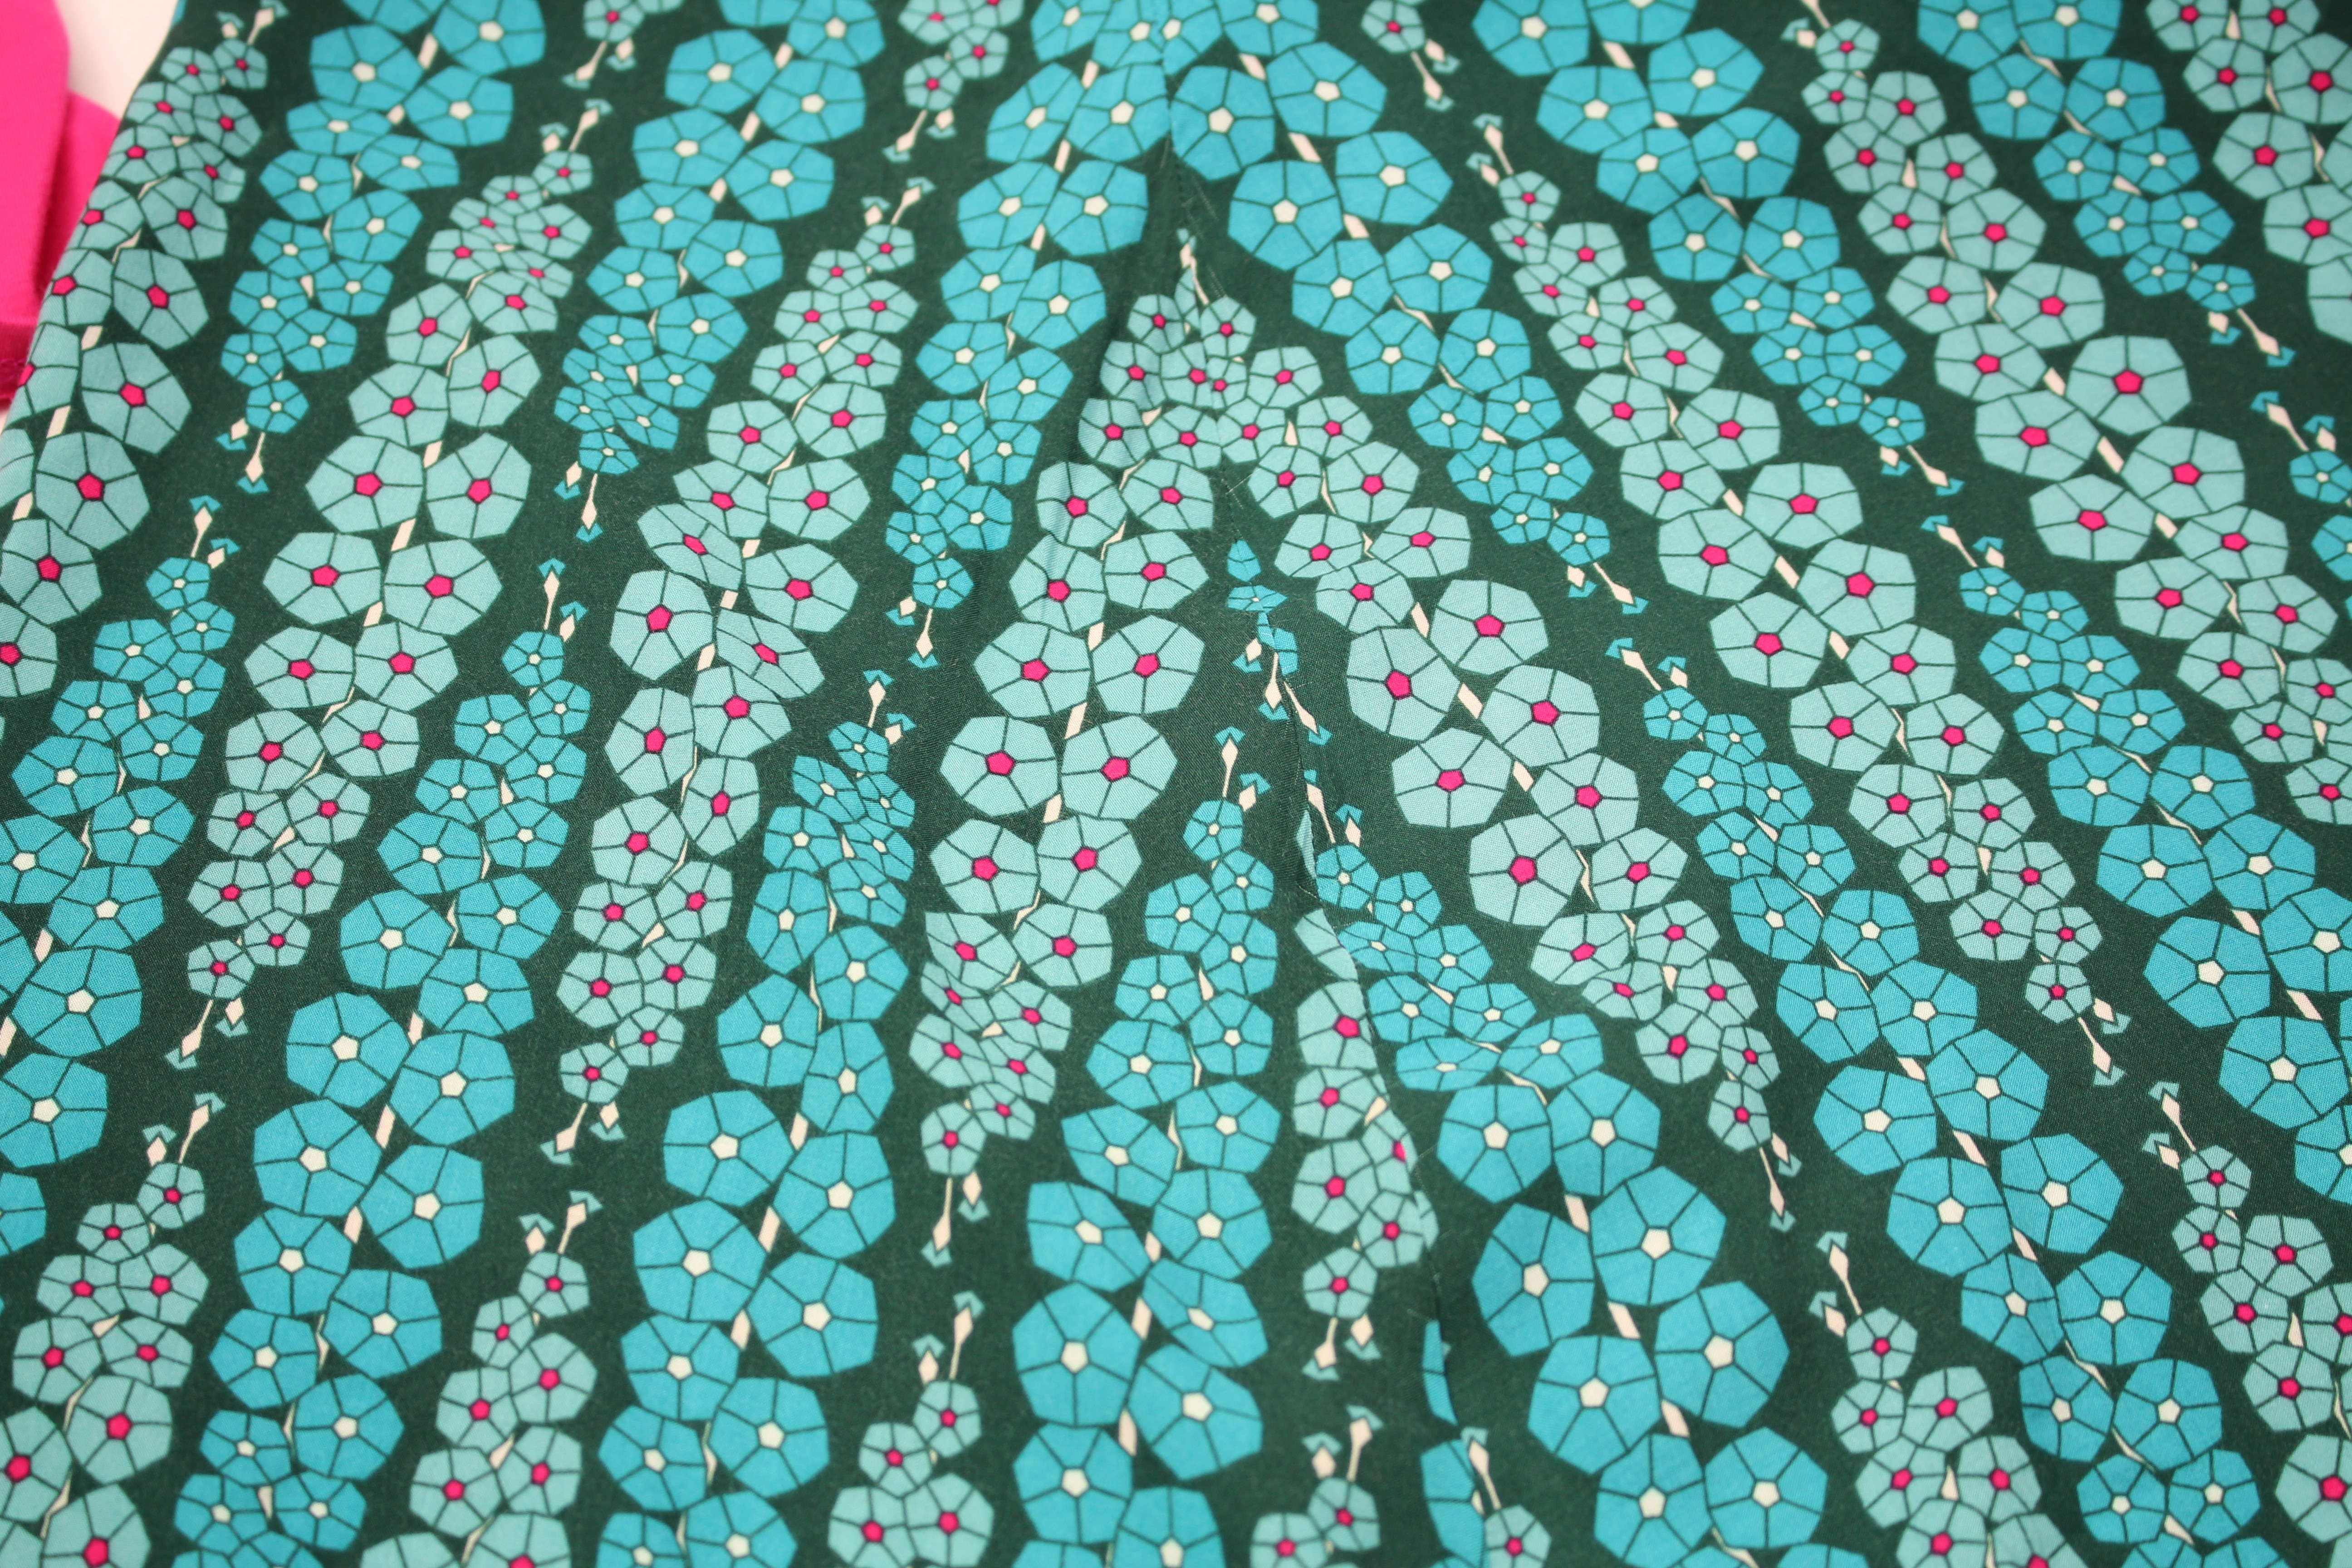
Check the pattern lining up on the side seam.  It looks pretty good here 🙂

The next step is to attach the waistband …

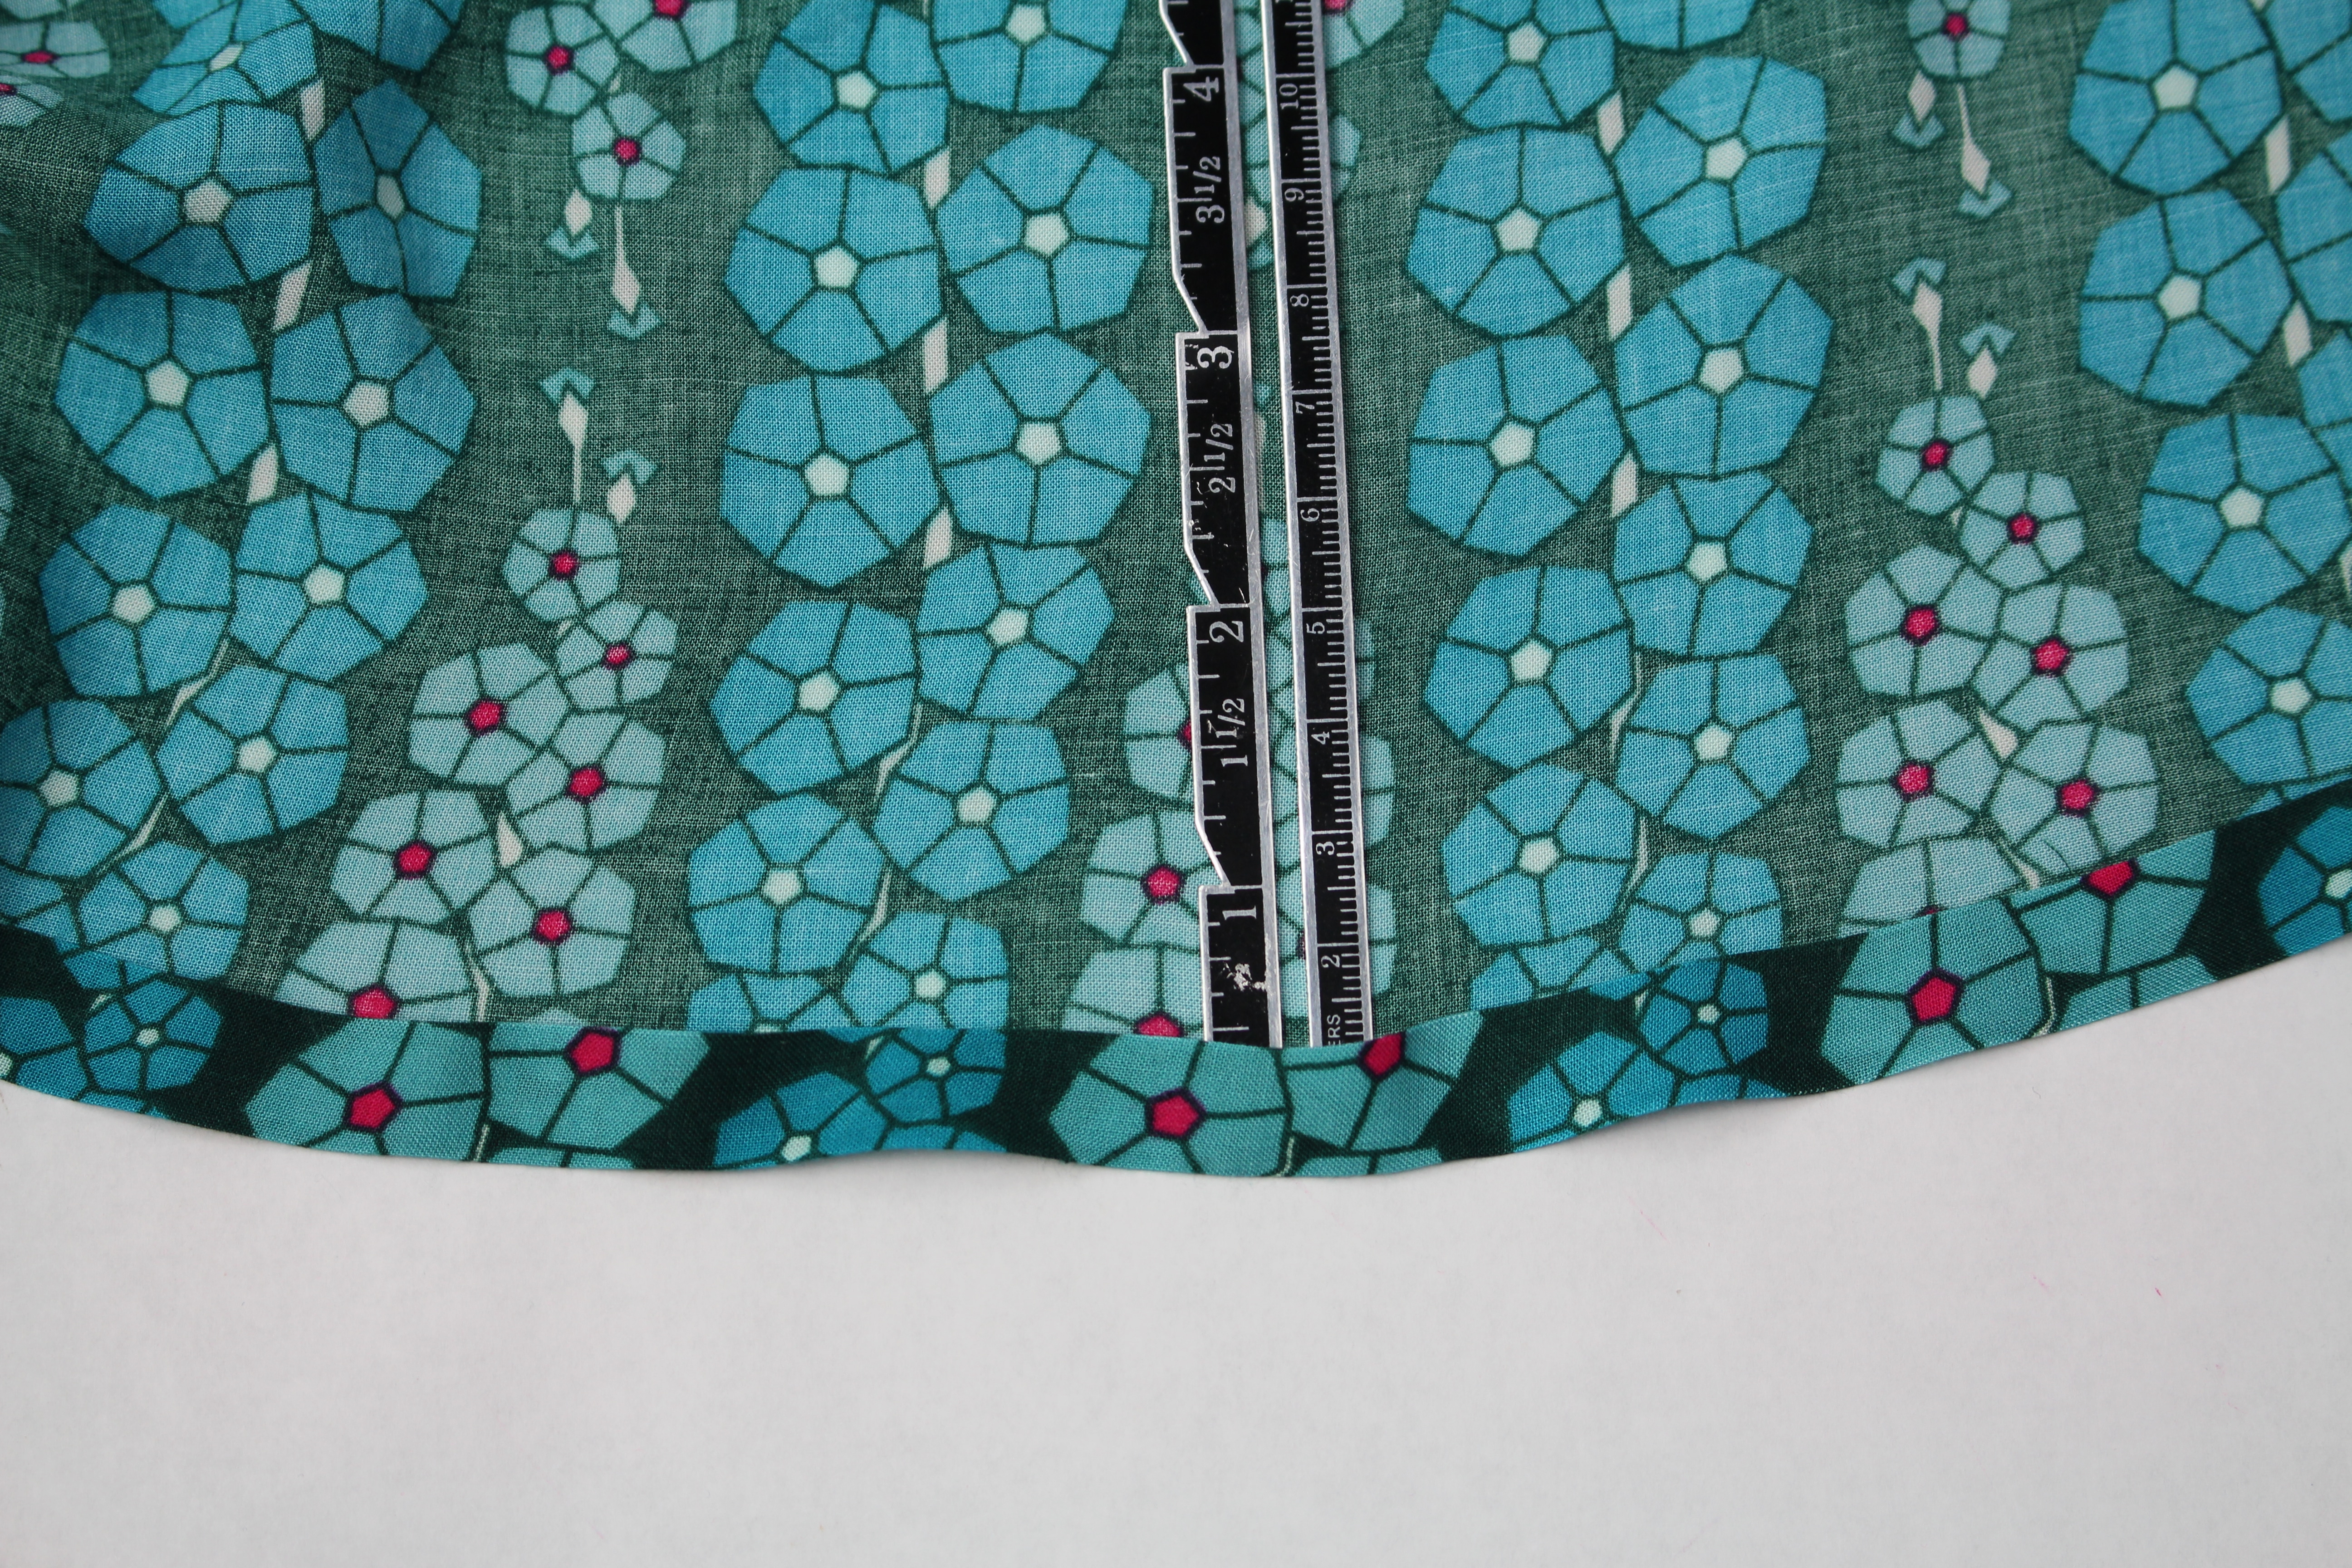
And lastly, the hem.  Turn the bottom of the skirt up 1/2″ toward the wrong side of the fabric and press.  Use a tailor’s clapper for a crisp crease.  Turn the hem up another 1/2″ and press. Topstitch the folded hem in place.

Here are a couple of YouTube videos showing how to sew the skirt if you want to follow along:

Here is a list of all the talented bloggers sharing in Mathew’s big fabric launch for Art Gallery Fabrics. And be sure to visit Mathew’s Mister Domestic Instagram for weekly fabric giveaways!

MISTER DOMESTIC’S LOVED TO PIECES BLOG PARTY

I will talk about the cotton shirts on Episode 88 of my facebook live show Behind the Scenes Wednesday, July 18th at 11:00am , where I will also interview Mathew about his new fabric launch.  Be sure to join us live or on the replay!

Cheers,

UPCYCLE ? DESIGN A SKIRT WITH EMBROIDERY

UPCYCLE ? DESIGN A SKIRT WITH EMBROIDERY

Embroidery is such a hot trend this spring!  Whether you are sewing a skirt from scratch or recycling one from the back of your closet, adding a touch of embroidery can create an entirely fresh look.  Keep in mind this would look great on a dress too ?

Supplies:

DESIGNER TIP: My skirt fabric is a linen blend, but the stabilizer I am using would work great on rayon, cotton sateen, denim, wool, and cotton blends.  JUST be careful with satin, silk blends, and velvet (to name a few).  You don’t want to damage the fabric from the iron when pressing on the fusible stabilizer; it’s best to test the stabilizer on a swatch of fabric first.

Determine the placement for the embroidery on the skirt.  I am going to focus on one side of the front of the skirt; marking that spot with a fabric pen or tailors chalk.   Press the embroidery stabilizer on the wrong side of the fabric covering the area to be embroidered.

Hoop the fabric and insert the hoop into the machine.  Choose an embroidery design or add a couple of designs onto the screen.  Scan the fabric in and move the embroidery design as needed. If you don’t have the scanning feature on your sewing machine, use an embroidery placement marker such as the snowman or other tools.

You can read the full blog, head over to my post as a Brother Expert Consultant on the Brother Stitching Sewcial. Be sure to share photos of embellished Kate skirt #angelawolf #brothersews

Cheers,


<a target="_blank" href="http://shareasale.com/r.cfm?b=1130527&u=1586241&m=29190&urllink=&afftrack="><img src="https://static.shareasale.com/image/29190/728x90.gif" border="0" alt="Craftsy Unlimited FREE 7 day trial at Craftsy.com" /></a>
325: Learn to Sew an Envelops Purse Clutch with Angel Wolf

325: Learn to Sew an Envelops Purse Clutch with Angel Wolf

Envelope Pattern There are three download versions for the envelope pattern: Full Layout - Use this for projector printing or printing on a plotter.   ENVELOPE PURSE Letter Size Printing - Use this when printing letter size paper (8.5" x 11").  Print pages 1-8, the...

read more
Quilted Grocery Bag Sewalong

Quilted Grocery Bag Sewalong

Quilted Grocery Bag Sewalong  I am so excited to share this new grocery bag sewalong with you!  This is an easy project with opportunities to make is more advanced with embroidery and embellishing. Sewalong Schedule #372 - 9/7 - Sewalong Part 1 Supplies and Pattern...

read more
Ep. 304 Meet Jeff – Founder of CraftOptics

Ep. 304 Meet Jeff – Founder of CraftOptics

Episode 305 đŸ§” Behind the Scenes with Angela Wolf Featuring CraftOptics I am not sure about your, but if I am working in a low lit area or sewing beads onto a garment, I tend to lean forward and squint, this ending up with a terrible back ache!  CraftOptics has changed...

read more
Ep. 303 Delila Knit Top Part 3

Ep. 303 Delila Knit Top Part 3

Episode 303 đŸ§” Behind the Scenes with Angela Wolf The last part of our Delila Slit Sleeve Sewalong!  Have you checked out all the Delila tops posted in our private Angela Wolf Patterns Group?   So cute!!! Angie Hotchkiss ~  Angela Wolf Facebook GroupDarlene Deck ~...

read more
Ep. 302 Delila Knit Top Sewalong Part 2

Ep. 302 Delila Knit Top Sewalong Part 2

Episode 302 đŸ§” Behind the Scenes with Angela Wolf We are onto part 2 in the Delila sew along!  We have cut our fabric and ready to sew.  Did you have any questions about fitting?  If so, be sure to take your photos with questions to the Angela Wolf Patterns Facebook...

read more
Ep. 301 Delila Knit Top Sewalong Part 1

Ep. 301 Delila Knit Top Sewalong Part 1

Episode 301 đŸ§” Behind the Scenes with Angela Wolf Getting into summer and looking for stylish tops to wear with jeans, shorts, or skirts and one of my fist patterns always shows up ... The DelilaDelila Pattern has 9 Options  I designed this pattern to be able to sew...

read more
Ep. 260 Sewing the Shirley Wrap Top with a Sweater Knit

Ep. 260 Sewing the Shirley Wrap Top with a Sweater Knit

Episode 260 đŸ§” Behind the Scenes with Angela Wolf ~ Sew the Shirley Wrap with a Sweater Knit The Shirley Wrap pattern is so versatile and this time we will use a thicker, sweater knit fabric.    You can find the Shirley pattern in PDF and paper patterns in size XXS -...

read more

Creative Serging: Flatlock Stitching with Crochet Thread

Creative Serging: Flatlock Stitching with Crochet Thread

Decorative Serging:

The serger can do so much more than simply finish fabric raw edges. Using crochet thread or yarn in the upper looper can create an entirely different look! This is a great way to restyle or embellishment fabric or a garment.

How to sew with creative serging - Angela Wolf

I am using the Brother Serger:  3-thread flatlock stitch with a decorative crochet thread in the upper looper.   The left needle and lower looper have a similar color polyester thread.  The photo above shows the front of the flatlock stitch and the backside.  The backside looks like a ladder stitch.  (the peach thread is just the serged edge of the seam).

How to sew with creative serging - Angela Wolf

I started with the Kate Skirt Pattern.  I added seams to the front and center back, but you could just pencil in a line with tailors chalk – it doesn’t need to be a seam to add the flatlock decorative stitch.

How to sew a creative serged seam with Angela Wolf

Here is the back view.  Again there are 2 seams on each side back and this time there is a seam down the center back with a hidden zip. In order for this stitching to look even (with the zipper), I stitched the flat-felled embellishment down the edge of each center back seam, then added the zipper and closed the seam.  That part got a little tricky and you can see the stitches are not perfectly even.  I haven’t decided if I am going to rip it out and start again or hope nobody is looking at my tush that closely to notice 🙂

Setting up the Serger:

  • Set your serger up for a 3-thread overlock:  I am using a serger from Brother and the standard setting for the needle and looper tensions are 4.  When I give you new tension numbers you can compare this with your serger, if your serger has manual tension dials.  If you are serging with an air-threading serger, like this Babylock, set up your serger for the 2-thread flatlock – wide.
  • Thread the upper looper (or the only looper for the 2-thread flatlock) with a decorative thread.  Use standard poly serging thread in the needle and lower looper.


Decorative Thread Ideas:


Next, there are a few changes to the serger settings:

  • Stitch Width: 5mm
  • Stitch Length: 2-4mm
  • Needle Tension:  Decrease to 0 -3 (remember my standard setting is 4 so adjust for your serger)
  • Upper Looper Tension:  Decrease  to 2 – 3
  • Lower Looper Tension: Increase to 6 – 9
  • Disengage the knife

These setting serve as a guide.  It will depend on the fabric and thread you end up serging with.

Blind Hem Stitch Foot

See if your serger had a Blind Hem Foot, if not you can use the standard foot.

There is a setting on the foot that moves to the plastic or metal piece to right and left, allowing the needle to pierce more or less of the fabric.  Test the stitch on your fabric to determine the setting.

Fold the fabric in half or if you are embellishing a seam, fold along the seam line.   Align the fabric along the shield on the blind hem foot (if using a standard foot, mark a spot to align with).

Flat lock stitching with Angela Wolf

The idea is for the needle to pierce the fabric –  half the stitch is on the fabric and half is off the fabric.  In fact the stitch looks really messy coming out of the serger!

flat lock stitching with angela wolf

Stretch out the folded fabric to lie flat and press.

flat lock stitching with Angela Wolf

Pretty simple, but so fun!  Have you ever tried this before?  I would love some more ideas for decorative threads or yarns to use with this stitch.

Be sure to share photos of your creative serged project 🙂  #angelawolf

Cheers,

Angela Wolf


Quilted Grocery Bag Sewalong

Quilted Grocery Bag Sewalong

Quilted Grocery Bag Sewalong  I am so excited to share this new grocery bag sewalong with you!  This is an easy project with opportunities to make is more advanced with embroidery and embellishing. Sewalong Schedule #372 - 9/7 - Sewalong Part 1 Supplies and Pattern...

read more

Pin It on Pinterest