


Contact Us
Get in the know. Sign up with your email address to receive news and updates. First name Last name Email address Subscribe Thank you for subscribing! Contact Angela Wolf ... Name Email Address Message 11 + 7 = Click Here to Send Join my Craftsy online class tailoring...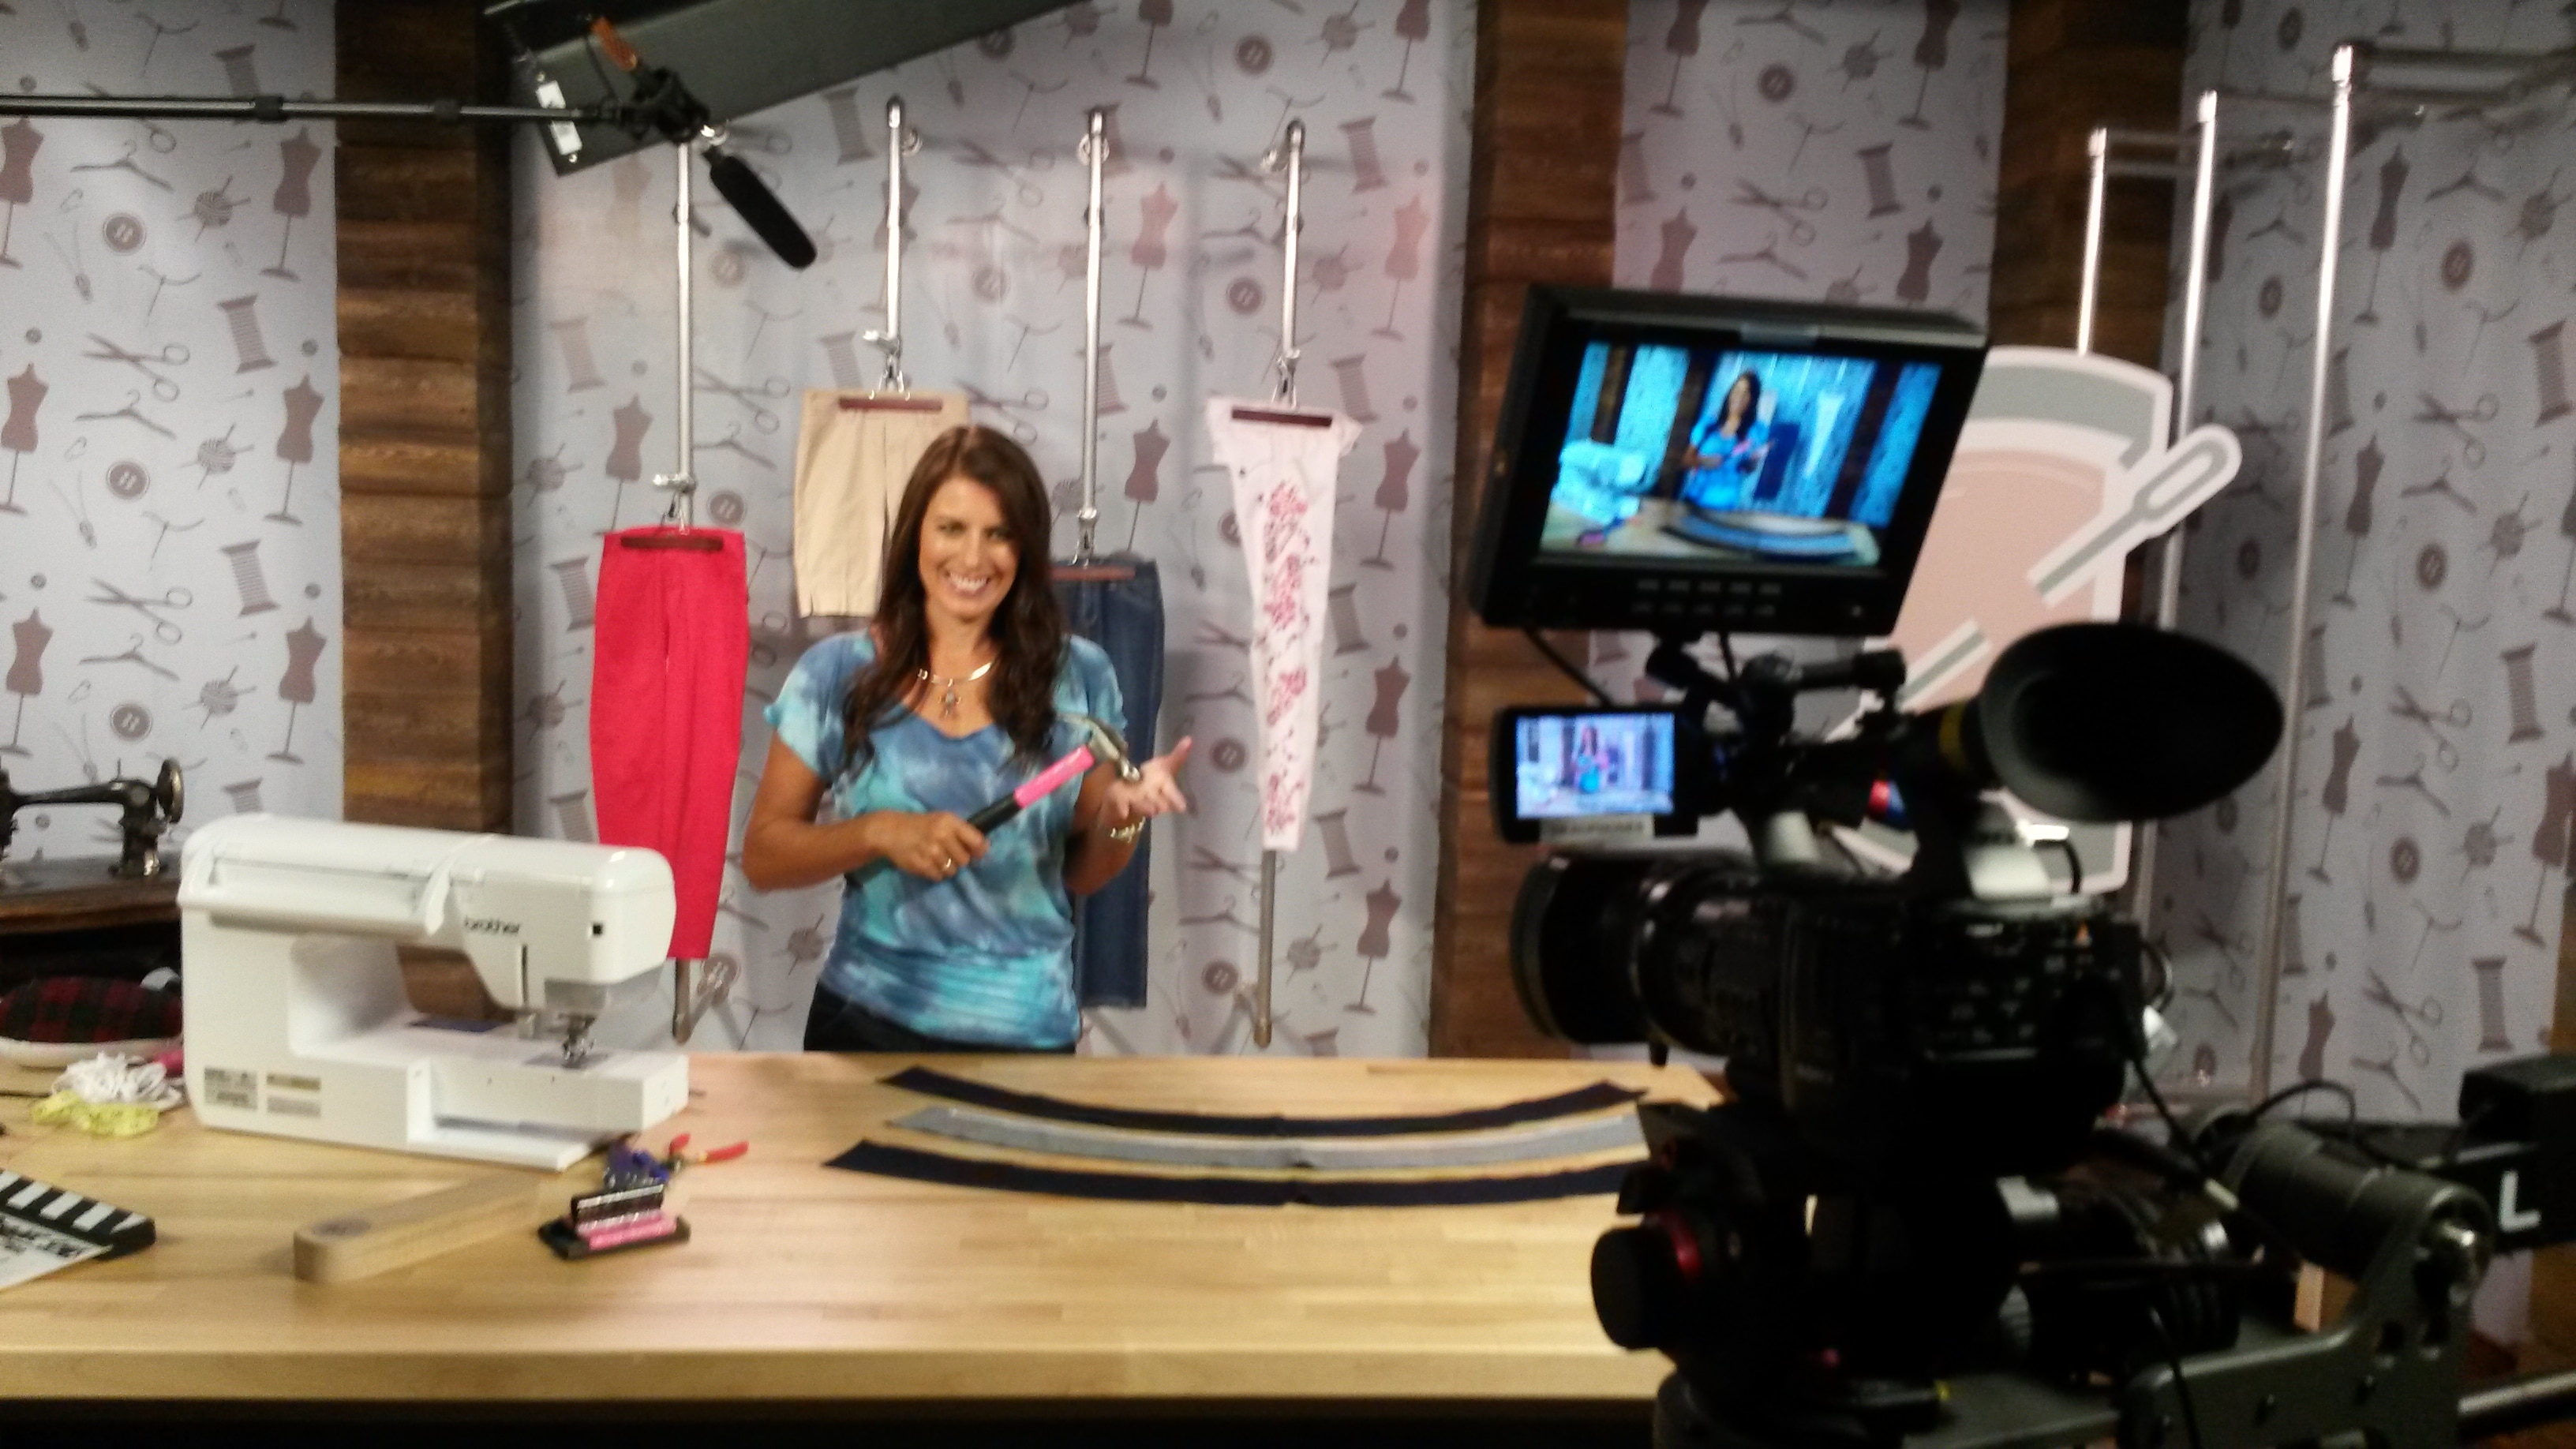
Online Classes
Online Fashion, Fitting, & Sewing Classes!
 Can’t make it to a live event? No problem, join me online! I offer in-depth classes that teach everything from fitting, sewing techniques, sew-a-longs, and so much more. My classes are featured in both Craftsy.com and PatternReview.com. Once enrolled in an online class, the information will always be there for you to access and even better, I am there on the class boards to answer your questions! Every class offers an opportunity for you to meet fellow sewer’s from all over the world, share photos of your projects, and comments on each others posts. Join me today!
Sew Confident: Essential Techniques for Beginners!

Click Here to View Trailer Video!
Add to your bank of basic sewing skills so you can conquer more complex projects with confidence! Join me to build the bridge of essential techniques that will take you beyond beginner sewing. During class, you will learn how to work with patterns, choose fabrics and achieve perfect seams with consistency. Once you’re seaming with success, I will guide you step by step through some fabulous finishing techniques that will keep your projects from fraying, and show you how to use under-stitching, topstitching, and stay-stitching for extra polish. You’ll even find out how to shape your projects for a flattering fit, add beautiful buttons and confidentially install invisible zippers!
Click here for 50% off this class today!
Learn to Alter Ready-to-Wear for a Perfect Fit with a 3-Part Series of Classes.
Whether you want to learn to alter for yourself or thinking of making money sewing for others, these classes are for you! The advanced classes even include help with pricing:

Part 1. Tailoring Ready-to-Wear
Click Here to View Class Trailer!
Ready-to-Wear shouldn’t be “ready-to-swear”.  Learn to make your own alterations to store bought clothing including marking, shortening and lengthening hems, altering waistbands, replacing zippers, tapering tops, hemming jeans while keeping the original designer hem, altering sleeves on a lined jacket, and much more.
Click here for 50% OFF this class today!
Part 2. Tailoring Ready-to-Wear: Beyond the Basics

Click Here to View Trailer Video!
This class offers more advanced techniques than part 1, including some pricing ideas for the business minded. Learn to alter pants, make flattering adjustments to the behind and taper legs for a look you will love. Learn to let out and extend waistbands and discover fixes for uneven hips. Master dress alterations for a petite waist and demystify hemming from the waist. Diagnose and fix a zipper that is bowing in the back, replace a zipper in the front fly and adjust a hidden zipper in the side seam. Plus hem cuffs for both women’s and men’s shirts with confidence. Learn the tailoring skills you need to perfect the fit of your entire wardrobe.
Click here for 50% off this class today!
Part 3. Tailoring Ready-to-Wear: The Jacket
Click Here to View Trailer Video!
Upgrade ready-to-wear and home-sewn jackets with fitting lessons. Discover the secrets of ready-to-wear jacket construction as you go inside the seams and find out how to tell whether or not a jacket can be altered. Use the petite adjustments to remove side-seam wrinkles. Raise shoulders for a perfect seam placement and jacket sleeves for a better fit through the arms. Take in side seams, center-back and princess seams for a better fit and slenderizing look. Hem lined jackets from the bottom for the length you want. Plus, hem sleeves from the shoulder to preserve buttonholes or embroidery decorations. Get comfortable identifying fit issues and tailoring jackets to look and feel custom made.
Click here for 50% off this class today!
Sewing Designer Jeans

Click to View Class Trailer!
Allow me to guide you though every step of sewing custom jeans with all the details of expensive designer pairs. Learn to remedy common fitting issues as you personalize a commercial pattern to complement your figure, and alter the rise and leg styles to create the look you long for. This class goes through all the construction from beginning to end, including adding details like different pocket options, topstitching effects, rivets, bling, and more. You will also master constructing pockets with French seams, sewing professional fly fronts with ease, adding a comfortable contour waistband, distressing and finishing everything flawlessly.
Click here for 50% off this class today!
Creative Serging Beyond the Basics
Click to View Class Trailer Video!
Explore clever finishing and decorative techniques for woven and knit fabric like blind hems, coverstitches and lettuce edges, and learn to navigate curves and corners without thread bulk. Let me  show you how to adjust your machine settings to create perfect results when creating piping or gathering, sewing flatlock and overlock stitches, and inserting separating zippers and elastic. Add inspired touches and professional finish to your garments and home decor.
Click here for 50% OFF this class today!
Sew with Your Serger: Quick and Easy Projects
 Use luxurious fabric and your serger to easily create stylish projects. Learn to handle sumptuous silks as you use your serger to sew gorgeous infinity, bias, and pieces scarves. Add interest to taffeta, silk dupioni and linen with serger pintucks and gathers. Then, use
 your embellished fabric to make elegant, decorative pillow with quick and clean closures. Sew up beautiful bags from silk charmeuse as you learn to apply contrasting linings, install exposed metal zippers and add contrast with custom piping – all in a few streamlined steps on one machine.
  Create a super-cute faux suede clutch featuring a boxed bottom and lining with enclosed seams. Transform embellished fabric into a fold-over clutch with a designer touch. Plus, dress up your bags with jump rings, charms, chains, and more. Create quick serger projects and tap into the versatility of your machine.
Click here for 50% off this class today!

Sewing Jacket Series on PatternReview.com
[vimeo http://vimeo.com/36487405 w=500&h=275]
Create a Jacket Muslin
The first step in sewing a designer jacket is fit. Learn how to sew and fit a jacket muslin. You can even post photos of your muslin for personal fitting suggestions! Click here to join me!
[vimeo 59585267 w=500 h=275]
Beginners Guide to Sewing Jackets
(use any pattern) Click here to join me!
[vimeo http://vimeo.com/44256284 w=500&h=275]
Sew a Designer Unlined Jacket
Learn how to make the inside of an unlined jacket look as good as the outside. Click here to join me!
[vimeo http://vimeo.com/68063903 w=500&h=275]
Contemporary Couture Jacket
Sew the ultimate couture jacket using my favorite technique of all – quilted lining. Click here to join me!
[vimeo http://vimeo.com/51290388 w=500&h=275]
Restyling with Exposed Zippers
Get ready for a really fun class, add exposed zippers to any garment. Click here to join me!
[vimeo http://vimeo.com/54142143 w=500&h=275]
Beginners Guide to Hand-Dyeing Fabrics
Learn to dye fabrics, just like my many colorful tops and linings. Click here to join me!
LEARN A FEW MORE ALTERATIONS:
[vimeo http://www.vimeo.com/39855226 w=500&h=275]
Altering Ready-to-Wear Jackets
Get those expensive Ready To Wear Jackets to fit you! This class has PDF files and a few short videos to focus on altering jackets that you’ve already purchased or sewn. Click here to join me!
- Tapering a lined Jacket
- Learn to alter the back seams, side seams and under bust adjustments for a tapered fit.
- Learn how to adjust a jacket that puckers under the sleeve and into the bust area.
- Learn the proper way to raise the shoulders.
- Learn to taper a 2-pieced sleeve.
- Hem a lined jacket
- Hem the sleeves on a lined jacket.
- Hem with a vent.
- Hem with simple attached lining.
Bonus: Post pictures of your own jacket for personal fitting advice and solutions. Click here to join me!
 Altering Pants
Finally, an alterations class you’ve been waiting for! Learn to alter your own pants pattern or your favorite RTW pants for a perfect fit! This class has all PDF files, no video. Click here to join me!
The “Saggy Butt” … You will be taught how to alter to resolve the problem of a crotch seam that is too low as well as making adjustments for a flat derriere.
The Gaping Waistband … A gaping waistband is a very common problem when purchasing pants. You can’t go down a size because the hips fit great, what do you do? This lesson will not only teach you how mark your waistband correctly, you will learn a few different options on how to alter you own pants.
Tapering Pant legs … Alteration #1: Do you ever have a problem in the hip area of your pants where there is way too much fabric? I call this “elephant ears”. Just hold the fabric out and you will see the image I am talking about. This fitting issue is common in women with smaller hips or an athletic build. Alteration #2: Learn to taper the legs on your pants in order change the look of your straight leg to a boot leg or skinny bell bottoms. Alteration #3: Want to look 5 pounds skinnier in your pants? See before and after pictures and learn how to make this simple alteration to your pant legs.
Hemming … Learn the proper lengths for a hem as well as a few trick to the trade on sewing a professional hem.
Bow Legs … The alterations is geared to sewing from a pattern, learn a simple alteration that will camouflage bow legs.
Bonus: Upload photos of your muslin for personal fitting advice. Click here to join me!

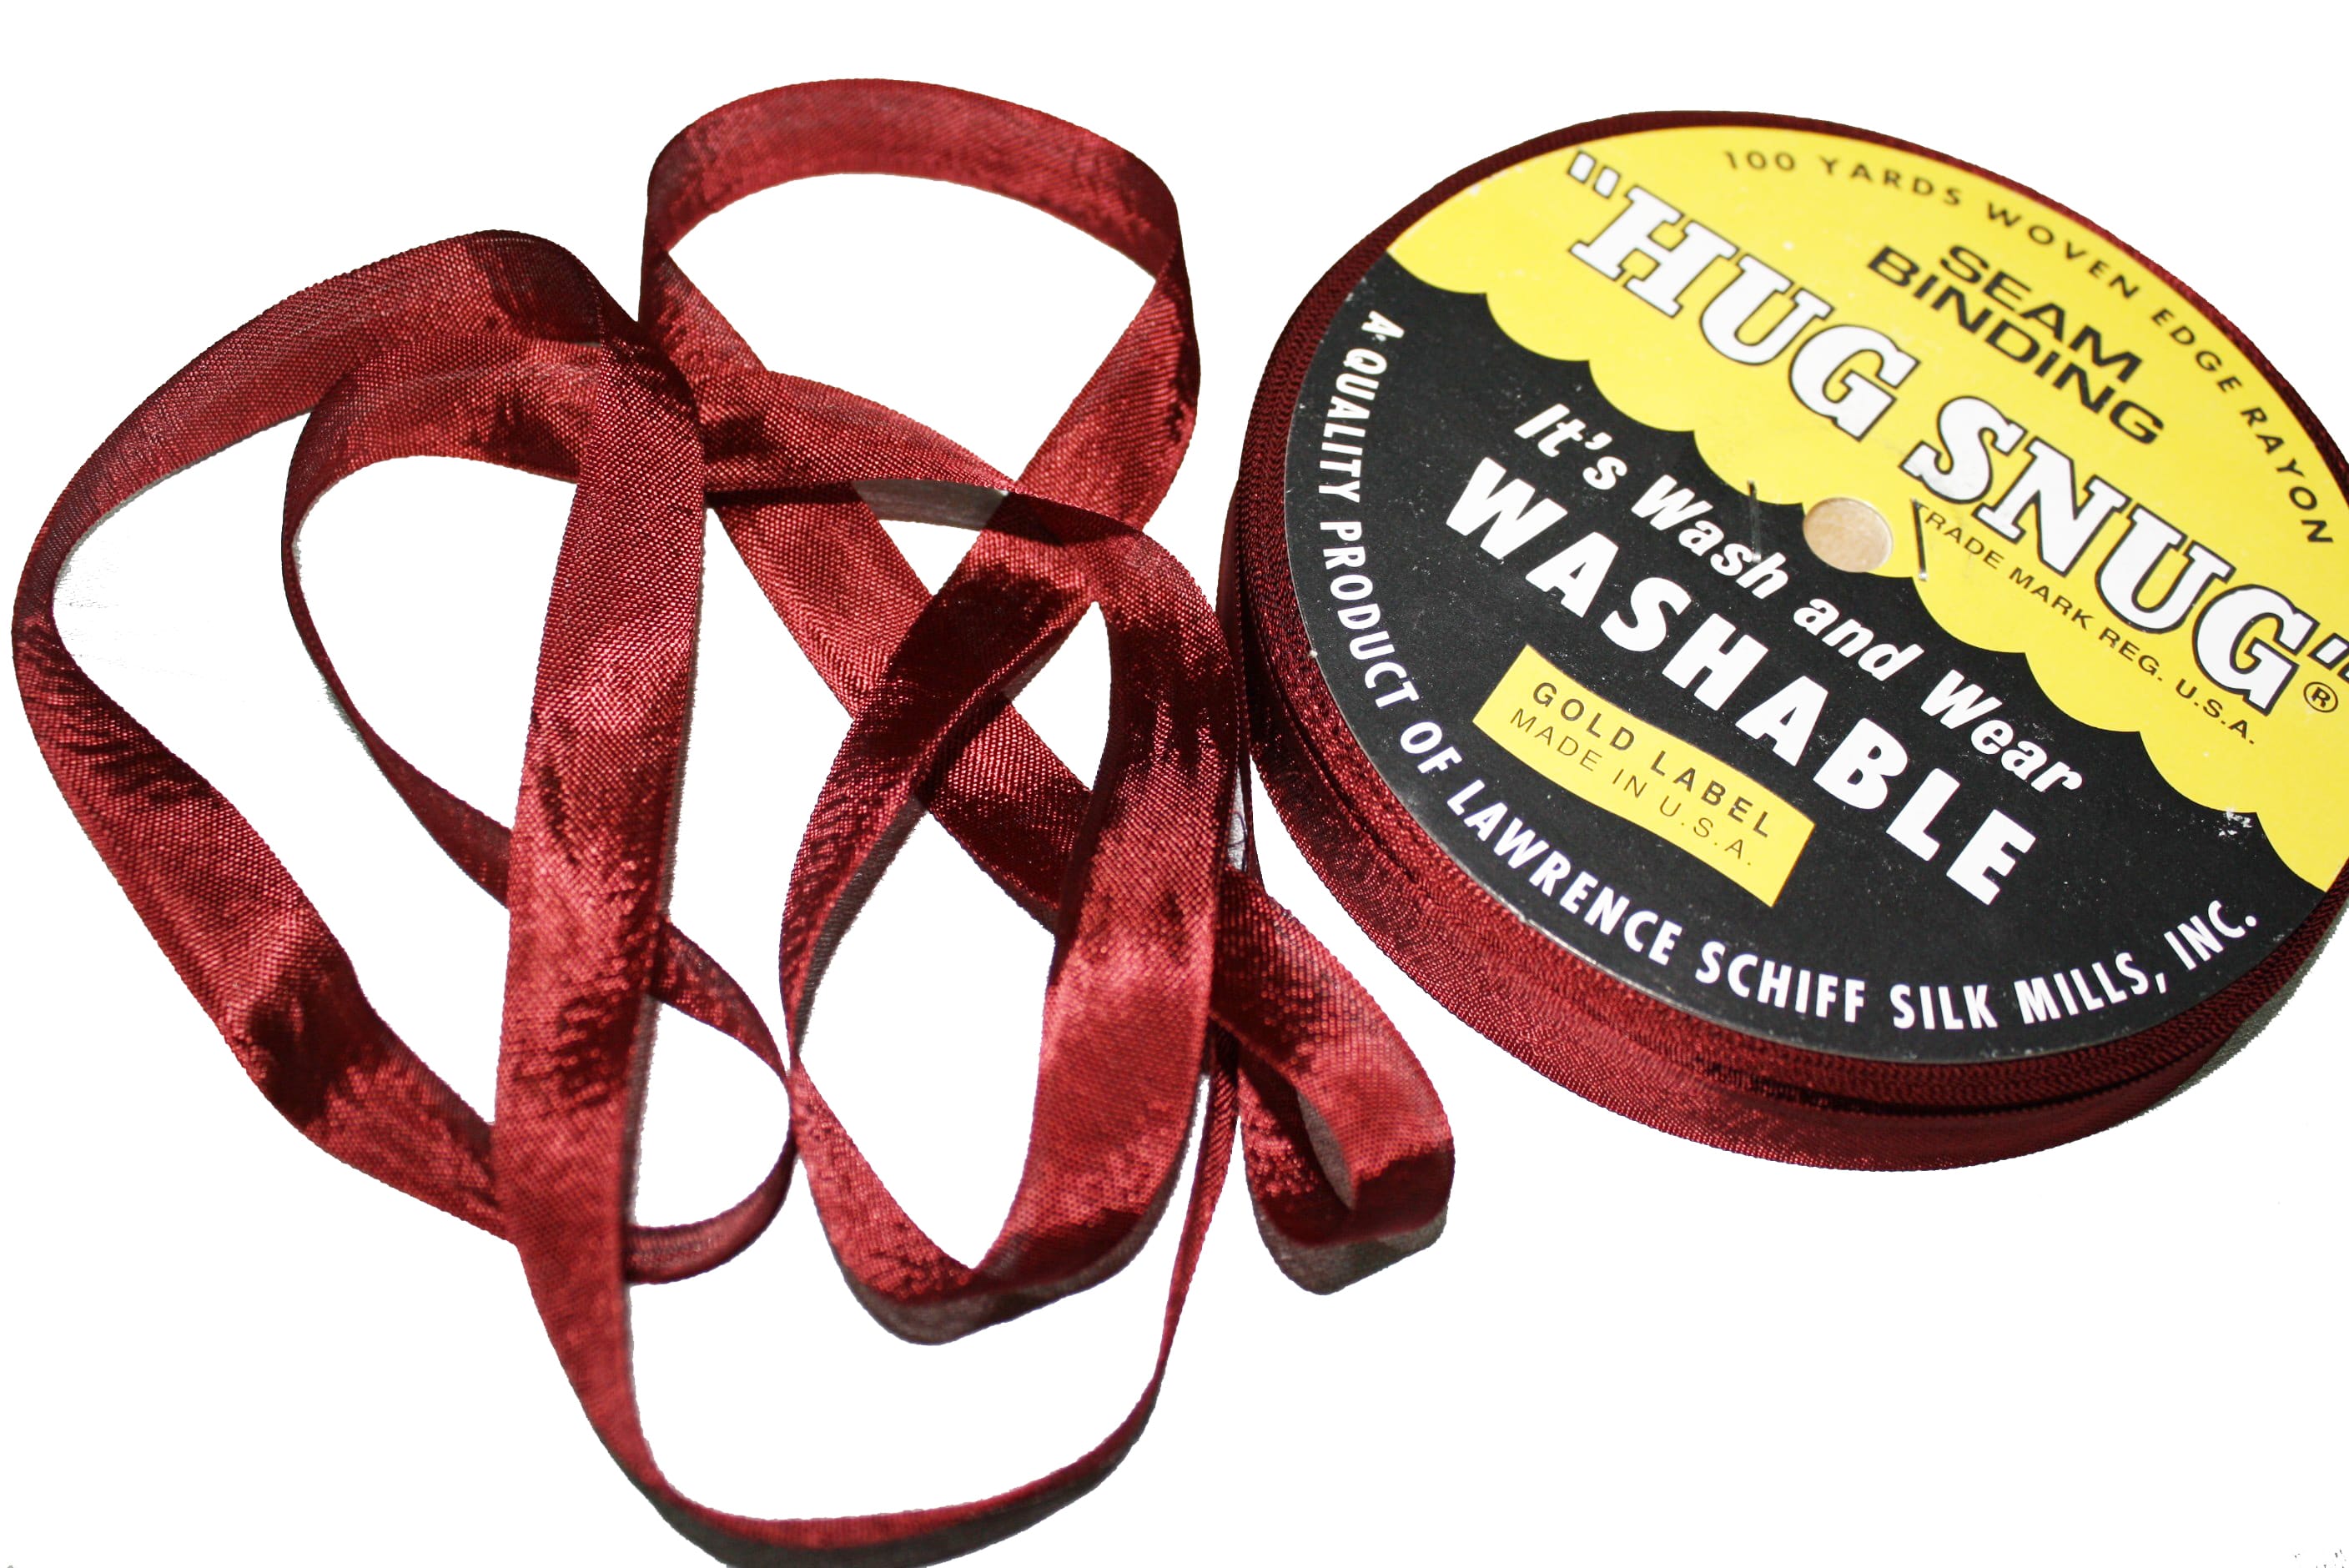
Product Review – Hug Snug Seam Binding for Hemming

There are so many sewing products on the market, it can get overwhelming trying to decide which ones to try. Here is one for you … Hug-Snug Seam Binding. Take a look inside some of your nicer pants and skirts, you will often see a rich looking ribbon covering the hem allowance edge. Hug-Snug is probably the ribbon you see. This ribbon is 100% Rayon, has a satin finish and it comes in a TON of colors.
 Regardless if you are sewing a garment from scratch or doing alterations, this is a fast, professional looking hem and it’s really easy:
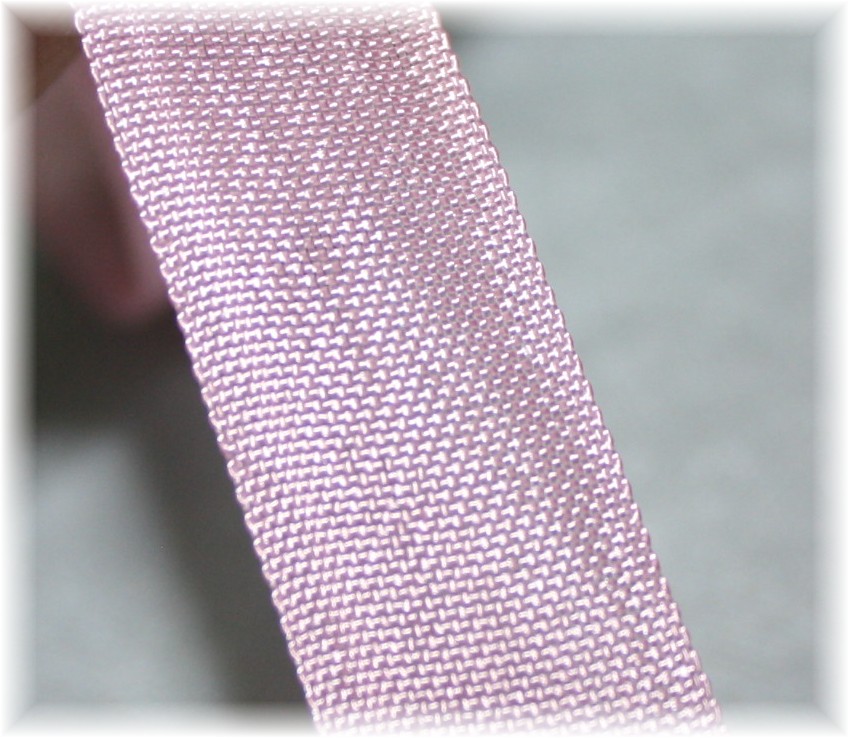
Press up the hem. Working on the right side of the fabric, align the ribbon over the raw edge of the hem allowance.

The edge of the fabric should land in the middle of the ribbon. Stitch along the edge of the ribbon. (I am using contrasting color ribbon and thread so it’s easier to see :))

The above photo shows the single stitch line and how the ribbon covers the fabric raw edge.


Attach the ribbon all the way around the hem. When you get to the end, trim the ribbon leaving 2″ – 3″ extra.


Stitch just past the starting point …
… fold under the end of the ribbon, enclosing the raw edge of the ribbon.

Turn the fabric and stitch the folded edge of the ribbon in place.

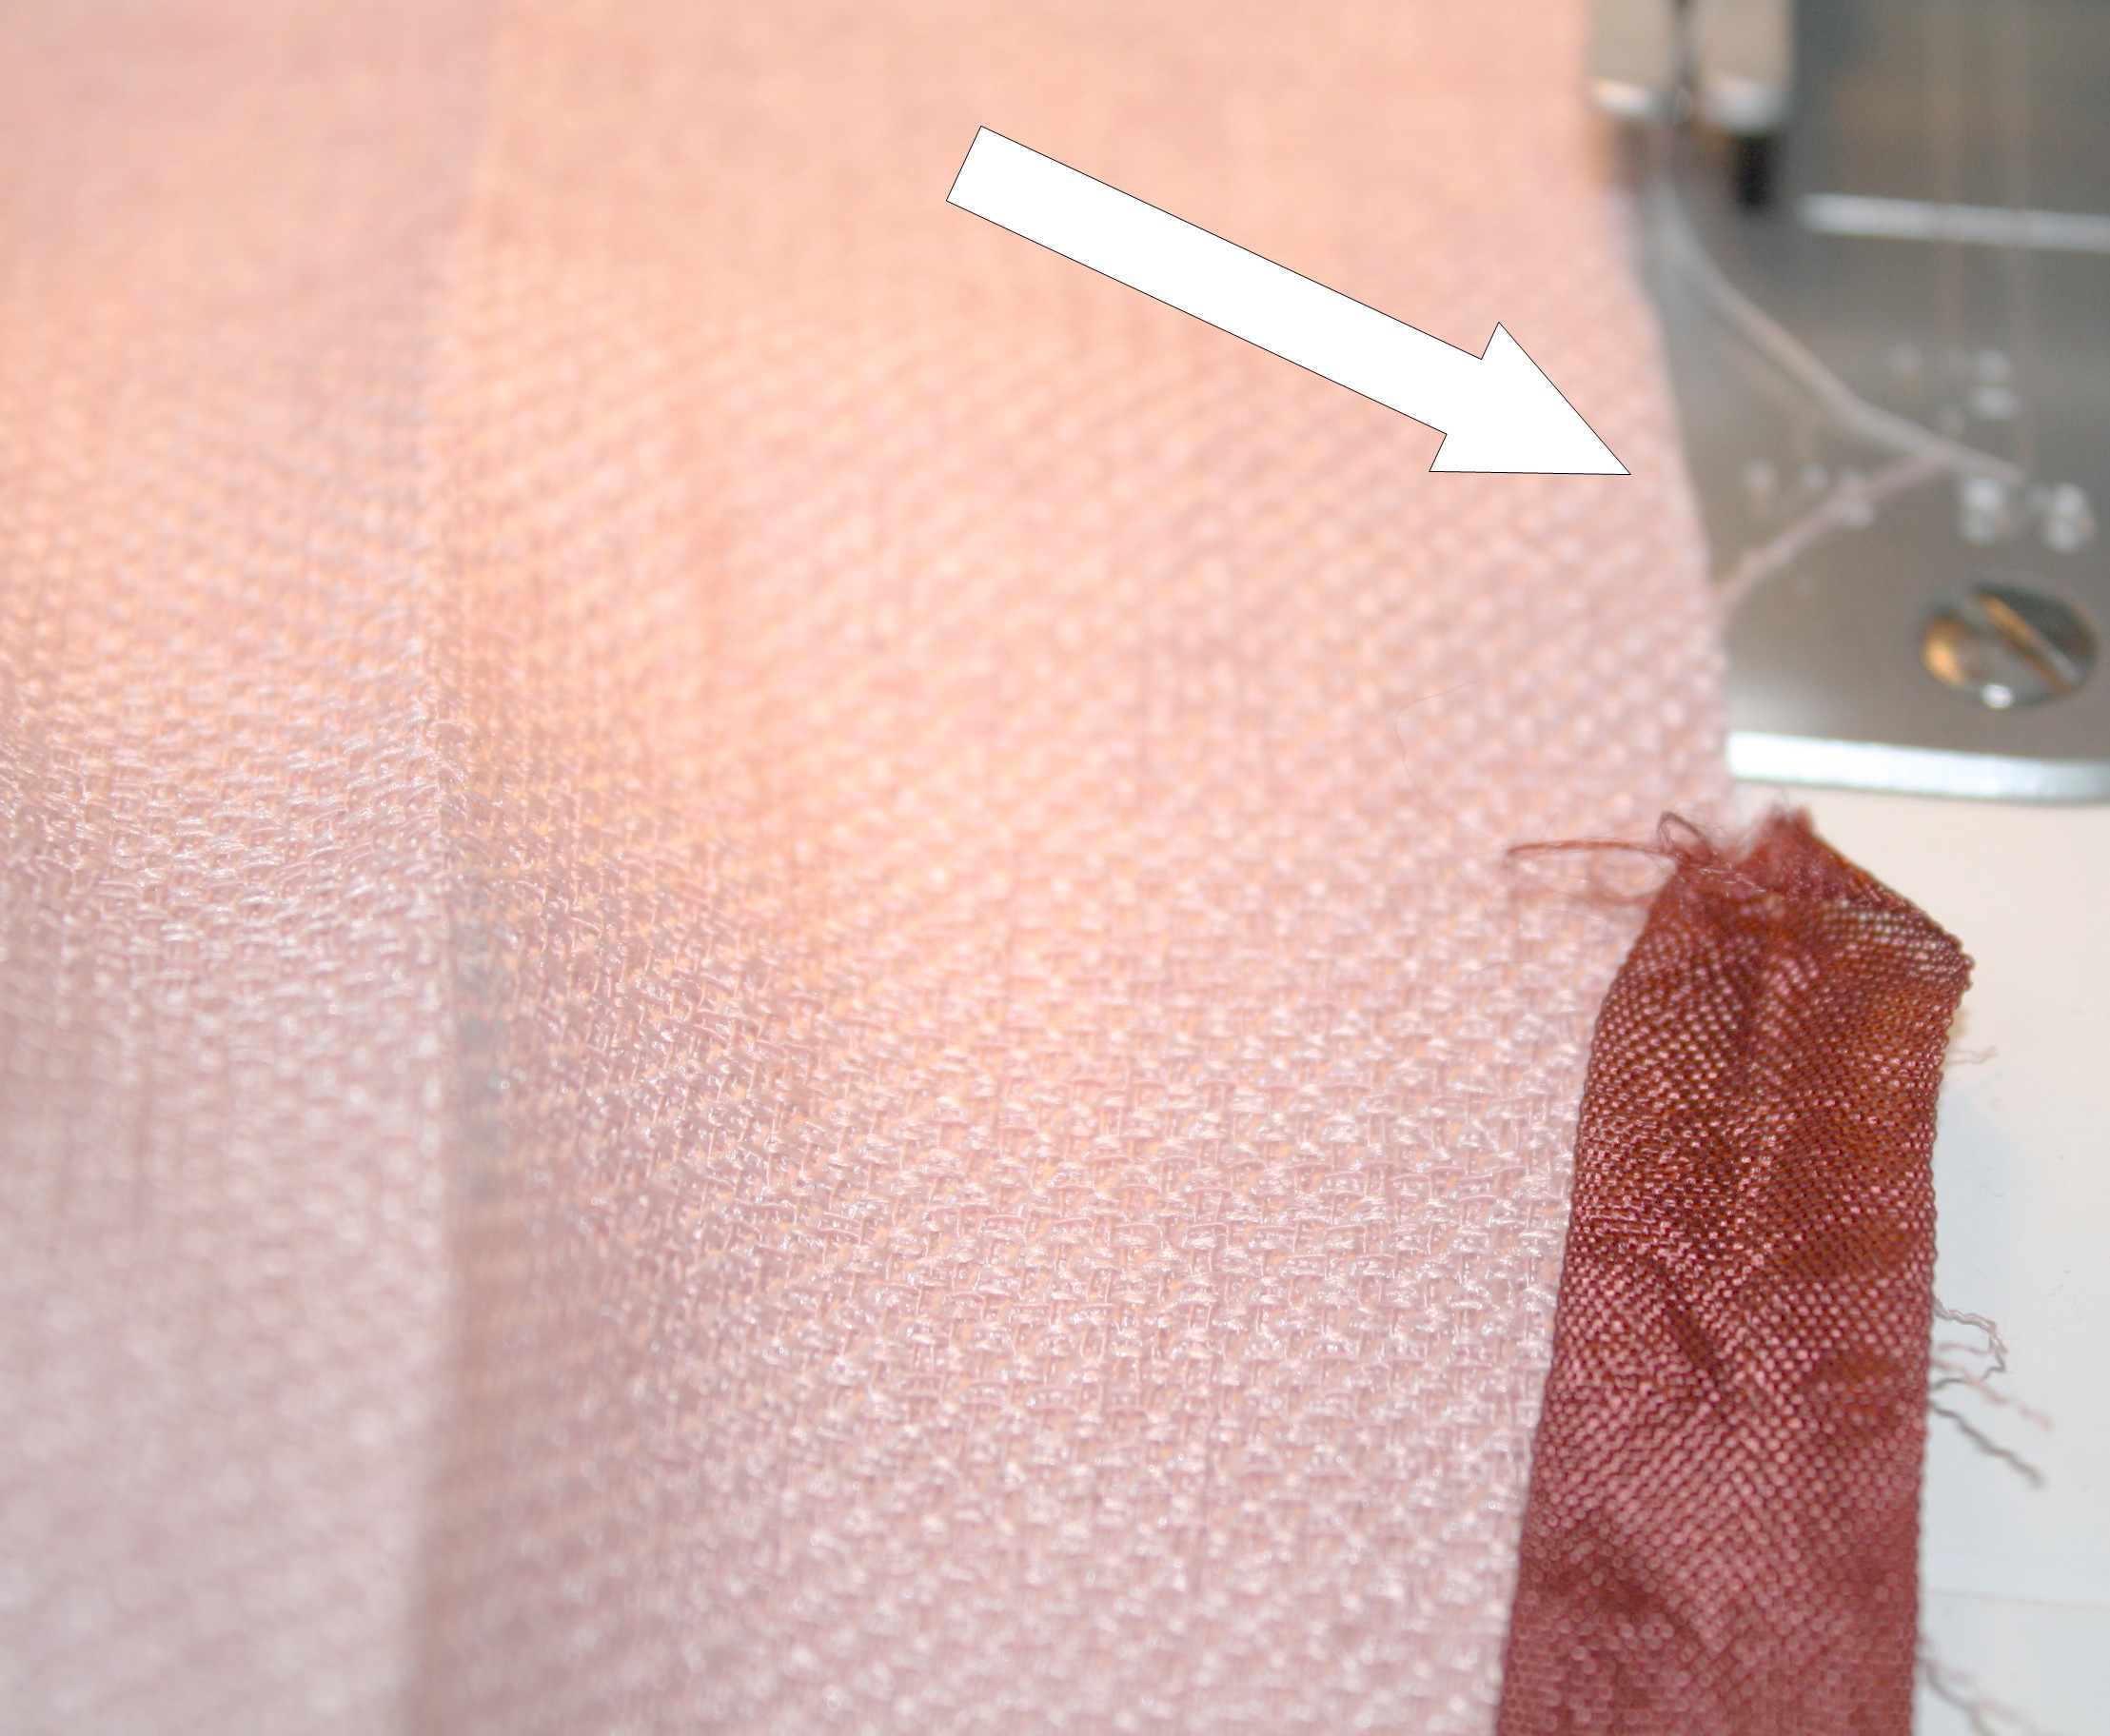
The ribbon is attached, covering all raw edges. Hem the garment as usual, using the edge of the ribbon as the hem allowance edge. The ribbon is so much thinner than fabric and really makes a perfect blind hem! Below I am using a blind hem machine:


Notice how the ribbon edge is connected to the garment, finishing the hem. If using the blind hem stitch on a sewing machine or hand-stitching the hem in place, do the same thing; connect the edge of the ribbon to the fabric.
I told you it’s easy! Again, Hug-Snug Seam Binding comes in a ton of colors:

I borrowed this color chart from WAWAK SEWING SUPPLIES. In fact, if you want to give this product a try, WAWAK is offering 10% off until March 31st.
How are the jeans coming along for the wardrobe challenge? Don’t forget to upload your photos to the Flickr group, there are some really cute outfits showing up 🙂
Cheers,


Sewing Pattern Alterations – Fitting a Jean Pattern for a Round Stomach
Sewing jeans are really easy once you get the hang of the process, but fitting the pattern can be challenging. The next few posts are going to deal with exactly that, fitting various body shapes. This pattern alteration is needed if you have a fuller stomach, in the old days referred to as an apple shape. Although, I am not sure where the fruit terms originated from, I really don’t like them. I would rather be a glass! Wine glass, red wine glass, martini glass, goblet, water-glass, I think you get the idea. It just sounds a little more glamorous than an apple or pear 🙂 Anyway, if you made up a jean muslin and the pattern fit great in the legs, hips, and tush, but you just can’t get that center front closed … here you go:
Fitting a Jean Pattern for a Round Stomach
1. Tape the front pocket in place. Start by drawing lines on your pattern (don’t cut yet):
- Draw a line (green) across the hip and up to the tip of the side seam.
- Draw 2 lines (purple) perpendicular to the green line,
 2. Cut along the green line, cutting up to the side seam put NOT through the edge.

3. Slide the pattern open. Look what happens, you just gave a little more room in the front tummy area in the width and height of the pattern.

4. The upper waist curve is too extreme if left like this. Cut each purple line, down to the green line, but NOT through it. Slide each line open until the waist curve angles down more like the original pattern.

5. Redraw a new waistline and center front crotch curve (red line).

If you are having difficulty redrawing the front crotch curve, slide the pattern back together. Mark the bottom edge of the facing area and trim off the front fly facing. Follow all the steps and then tape the front facing back in place once the new center front is drawn in, lining up the facing with the marking on the pattern. Draw a line extending the facing up to the waistline ( I used this pattern piece, because I knew someone would ask about that).
Here is your new front pattern piece, use this for the front and left, of course one will have a front facing section and the other will not. This is the same alteration for any pant style when you need a little more room in the tummy area.
How are your jeans coming along for March’s wardrobe challenge? The judges are almost finished with February’s winners, hope to announce them this weekend.
SPECIAL OFFER FROM WAWAK SEWING!
Looking to stock up on jean sewing supplies – zippers, jean thread, jean buttons … WAWAK Sewing is offering $10 off the next order of $80 or more! This offer is good until March 31st, use PROMO CODE: WAGW314 when checking out. What a great treat for the jean challenge! Thanks WAWAK! 🙂
That’s all for today 🙂 Sun is shining and snow is melting, thank goodness!!!!


