


The Lacy Knit Top Sewing Pattern The design for the Lacy Knit Top was a result of our everlasting Covid lockdown! Whether lounging at home, working in the studio, or working out in our home gym ~ this top hit the mark. Semi-fitted in the bust area, looser thru the...
Fringe Skirt Sewalong Part 1: Choosing Fabrics
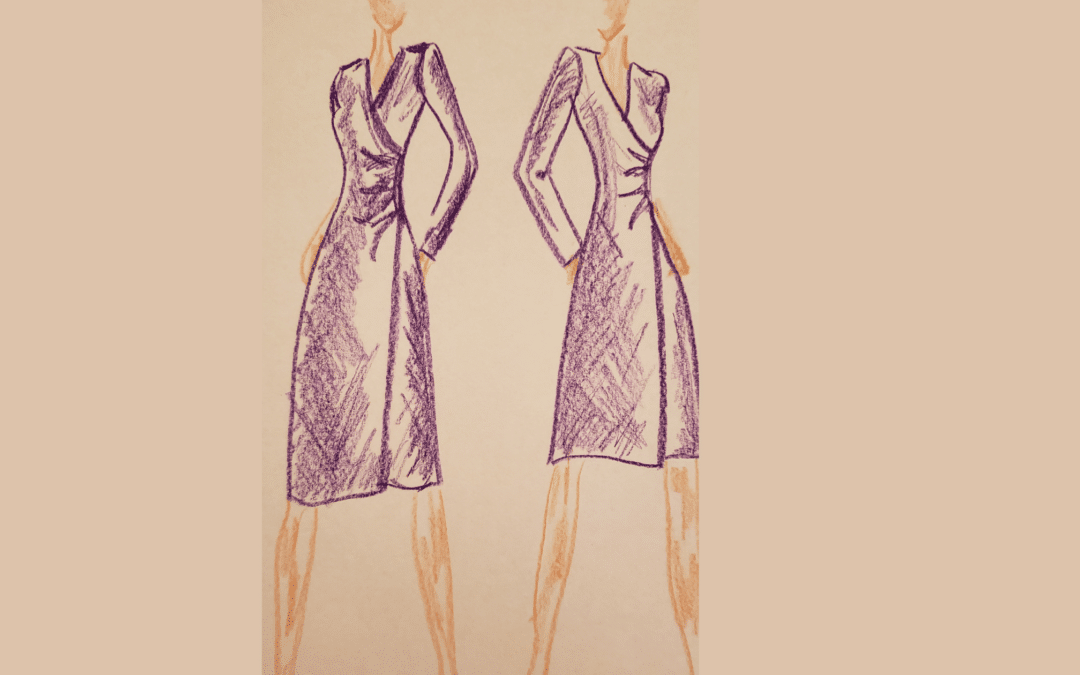
The Fringe Skirt Pattern
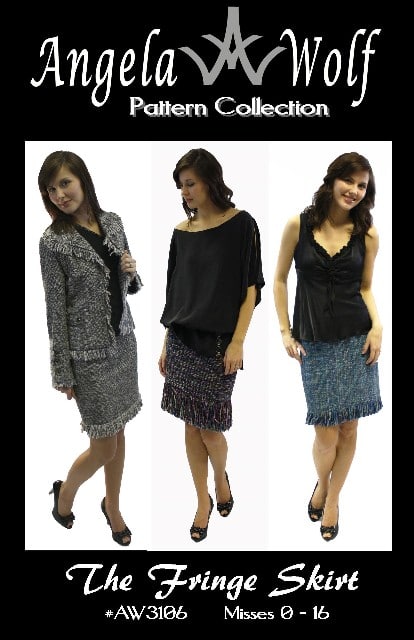
The Fringe Skirt Pattern: The Angela Wolf Fringe Skirt Pattern is available here in print and digital format. You can also find the pattern at many local retailers.
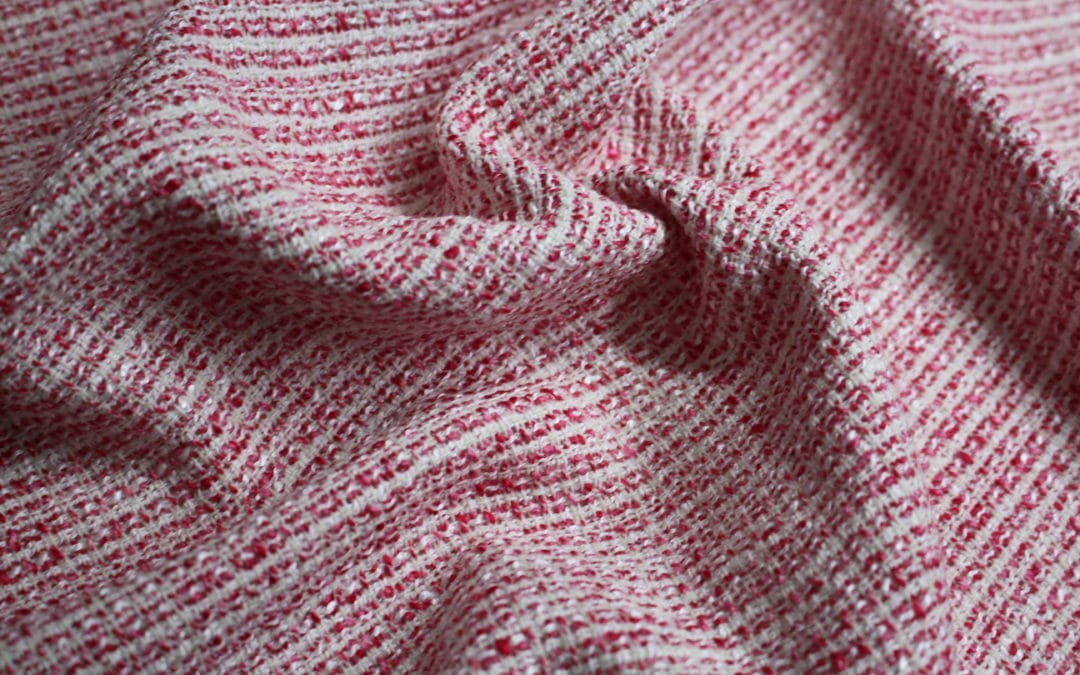
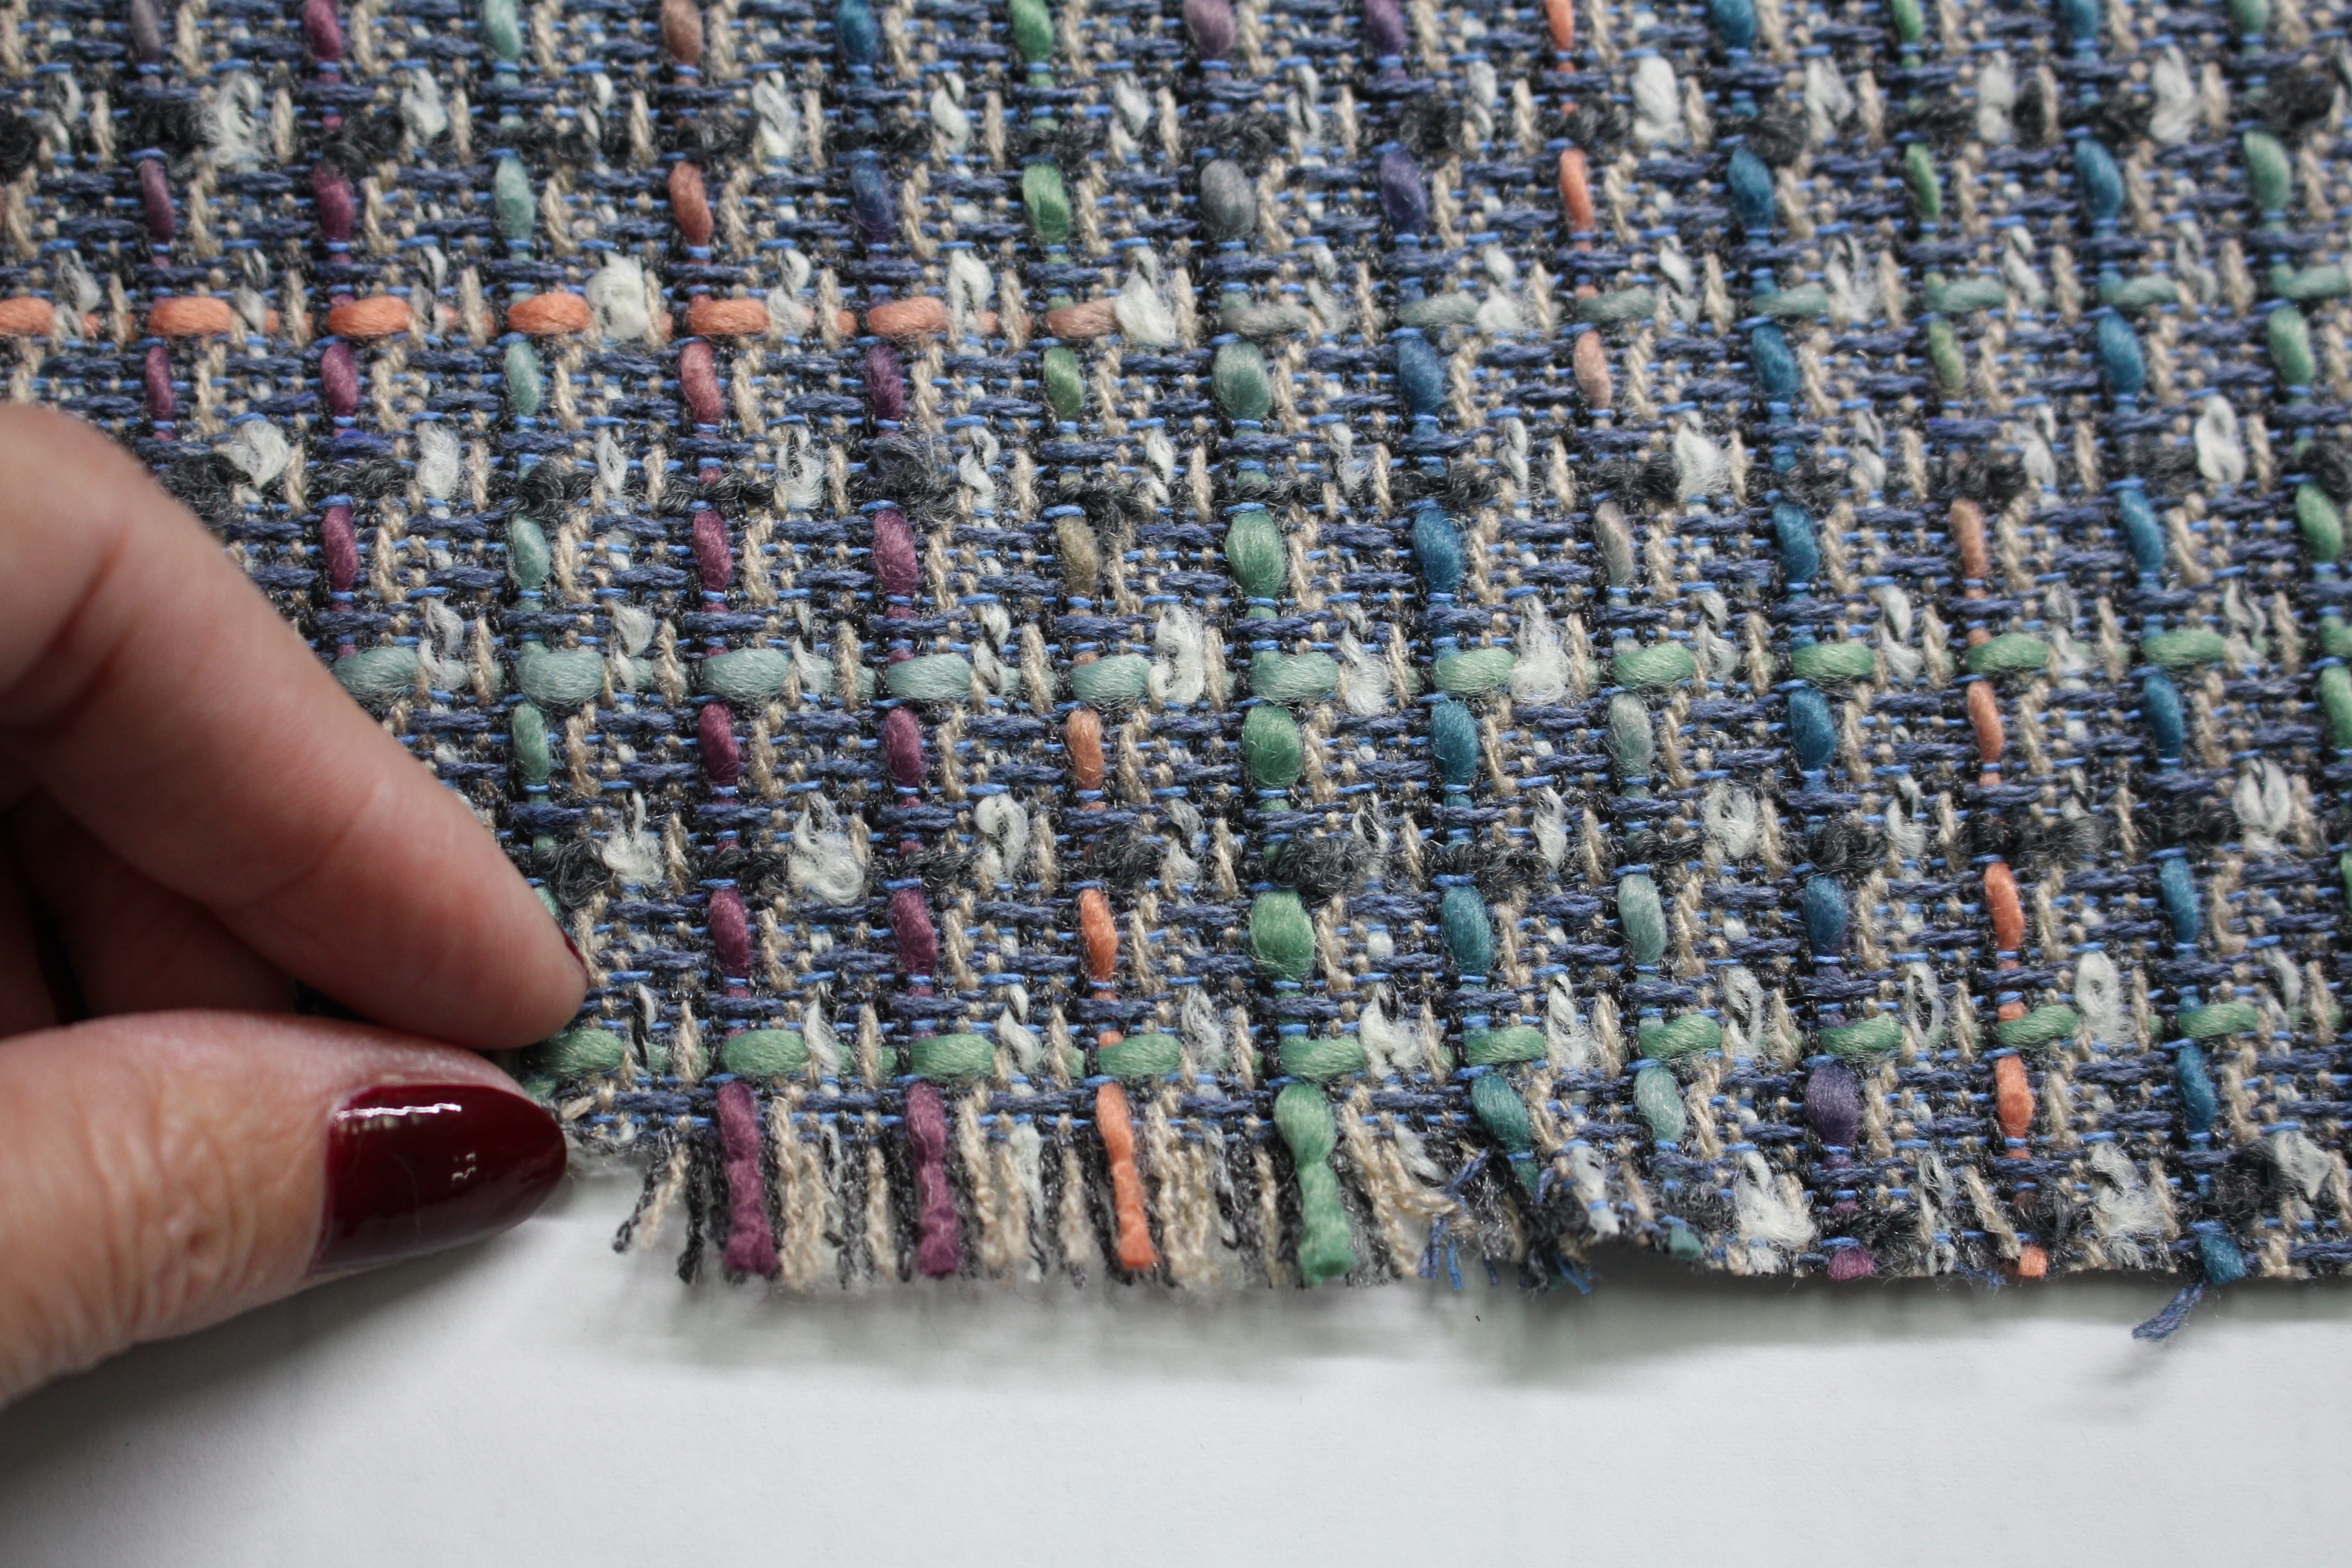
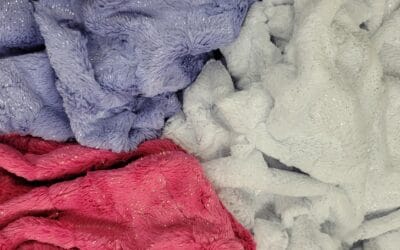
Garment Fabric: tweed, boucle, join the facebook group of resources on choosing fabrics.
Lining: Any lightweight fabric will work for the lining polyester, acetate, satin, cotton – my favorite is bemberg rayon, silk charmeuse, and china silk. If you plan on adding a touch of couture by quilting the lining choose a natural fiber fabric for the lining.
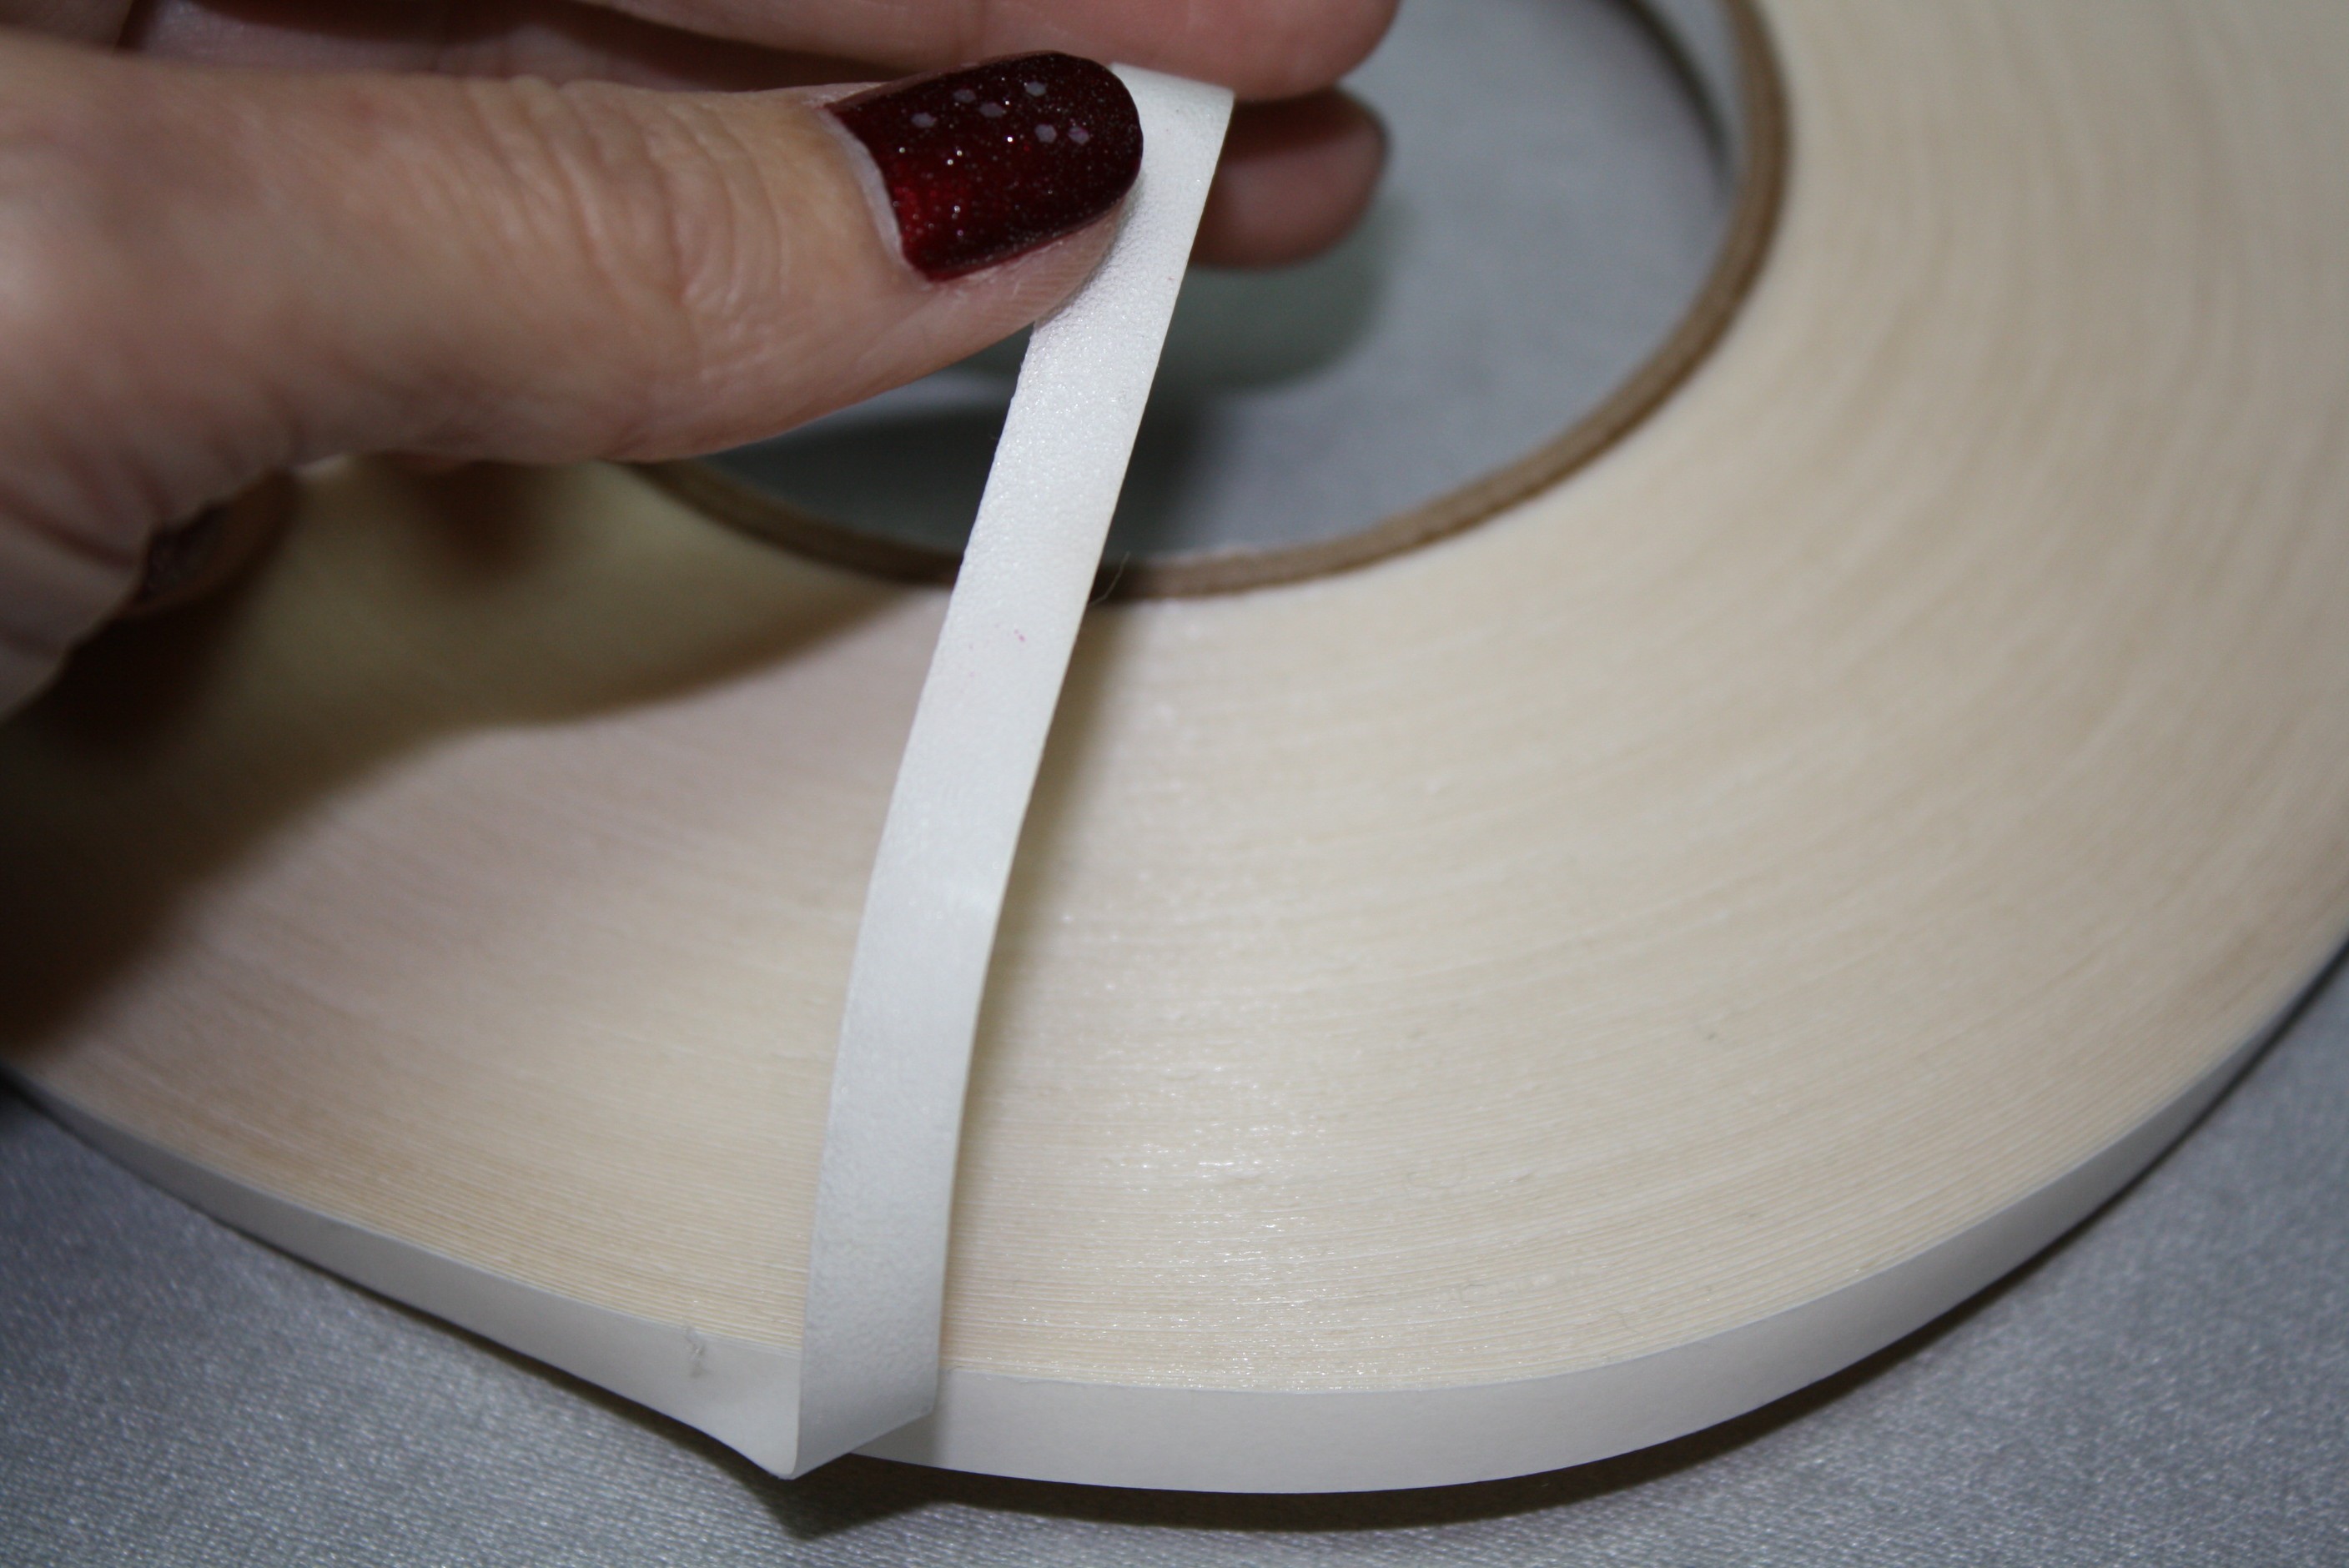
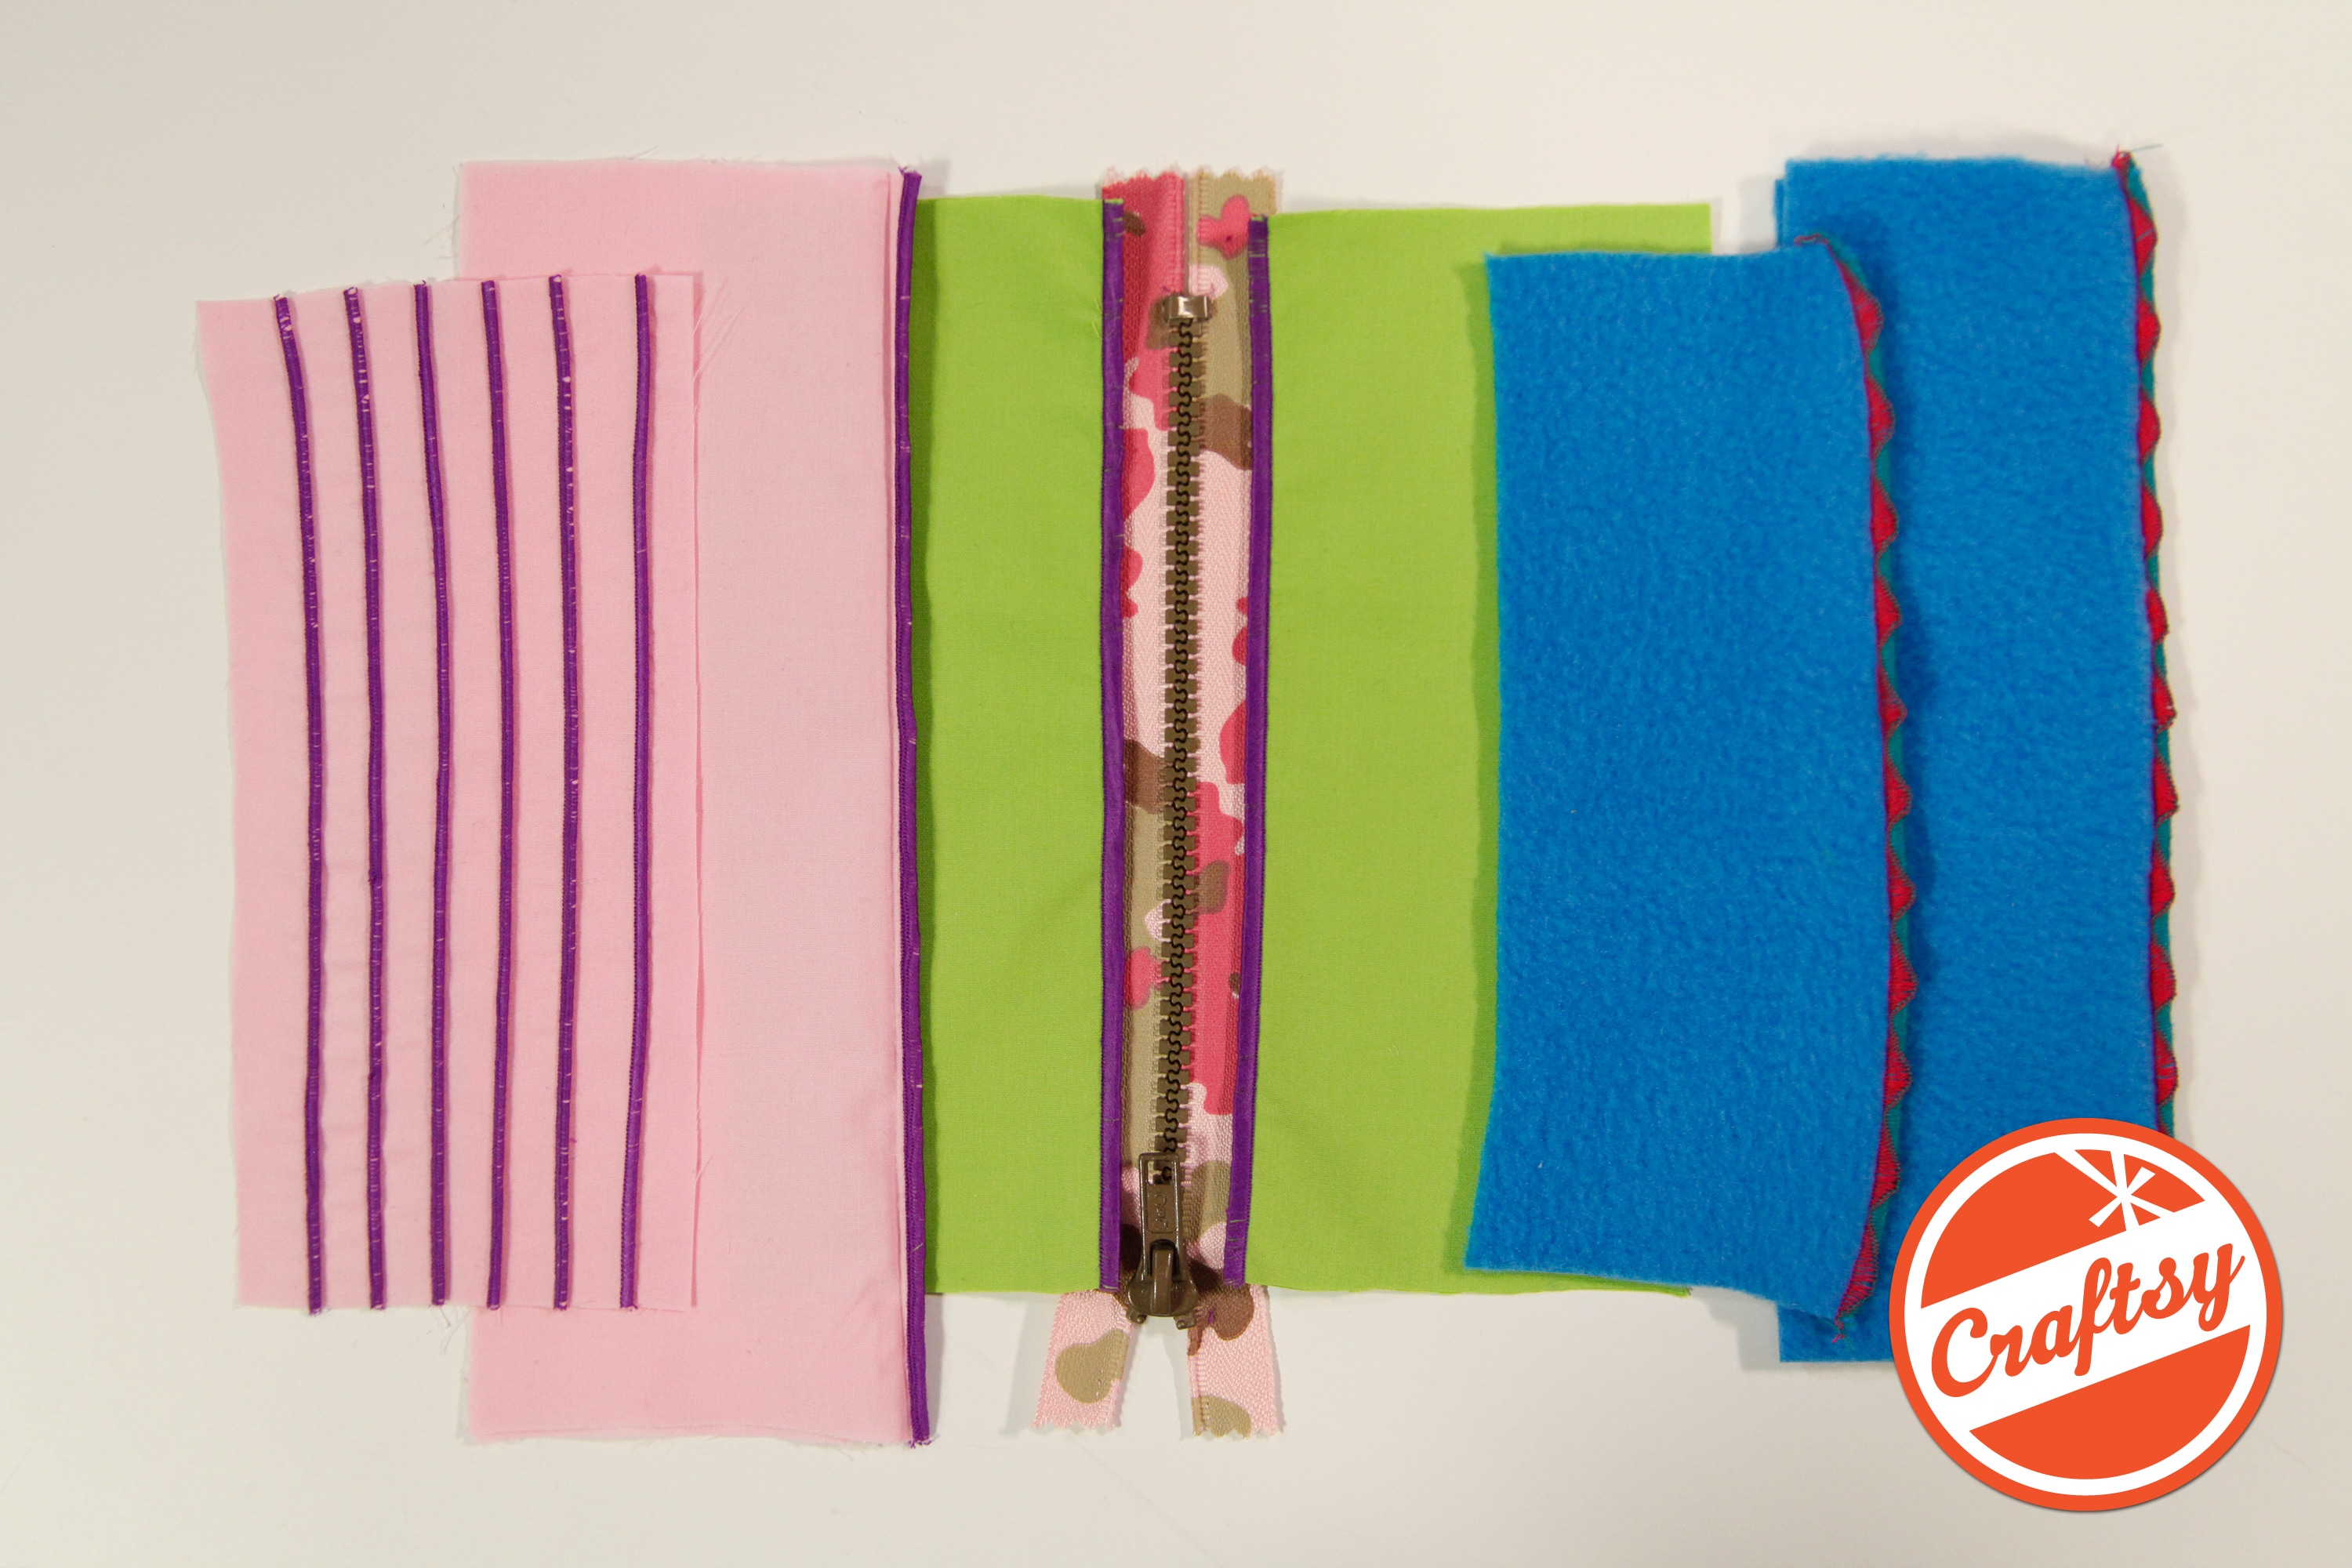
Interfacing: A lightweight fusi-knit interfacing is used in the zipper area and in the waistband
Notions: 9″ invisible zipper, hook and eye, universal all purpose thread or silk thread, hand sewing needle, pins, scissors, sewing machine needle size 80/12, awl or something to unravel the fabric to make the tweed, zipper foot,
Fabrics & Supplies
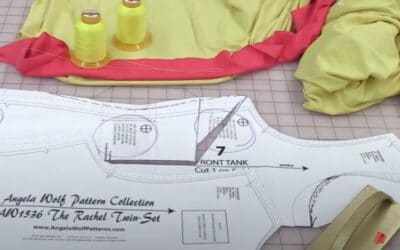
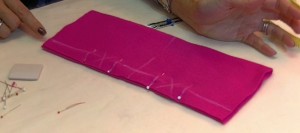
The fringe on the skirt is made with three layers of fabric. A tweed or boucle is an ideal fabric for this pattern, simply because it’s easy to unravel the fabric as shown below.
Pre-Shrink the Fabrics
It’s important to pre-shrink the fabrics before cutting, especially if the fabric is a natural fiber. Do this by steam pressing. You can also take the fabric to the dry cleaners and ask them to “steam press” the fabric. Note: Just dry cleaning will not pre-shrink the fabric, it has to be STEAM PRESSED. If you plan on washing and drying the finished skirt, then wash and dry the fabric the same way.
Join Angela Wolf’s Private Facebook Group!
We are all sharing fabric sources in the Angela Wolf Facebook Group. Join the fun 🙂

The Sewalong Schedule:
- Fabric & Sourcing (February 10.2017)
- Fitting & Patternhacking (February 16.2017)
- Cutting & Prep (February 21.2017)
- All About Darts (February 23.2017)
- Quilting the Lining (February 28 2017)
- Invisible Zipper’s (March 2 2017)
- Waistbands (March 7.2017)
- Hemming & Fringe (March 9 2017)
- Show off in the Angela Wolf Facebook Group!


