Episode 302 🧵 Behind the Scenes with Angela Wolf We are onto part 2 in the Delila sew along! We have cut our fabric and ready to sew. Did you have any questions about fitting? If so, be sure to take your photos with questions to the Angela Wolf Patterns Facebook...

Ep. 105 Behind the Scenes LIVE ? Fabric Haul, Sewing, Embroidery
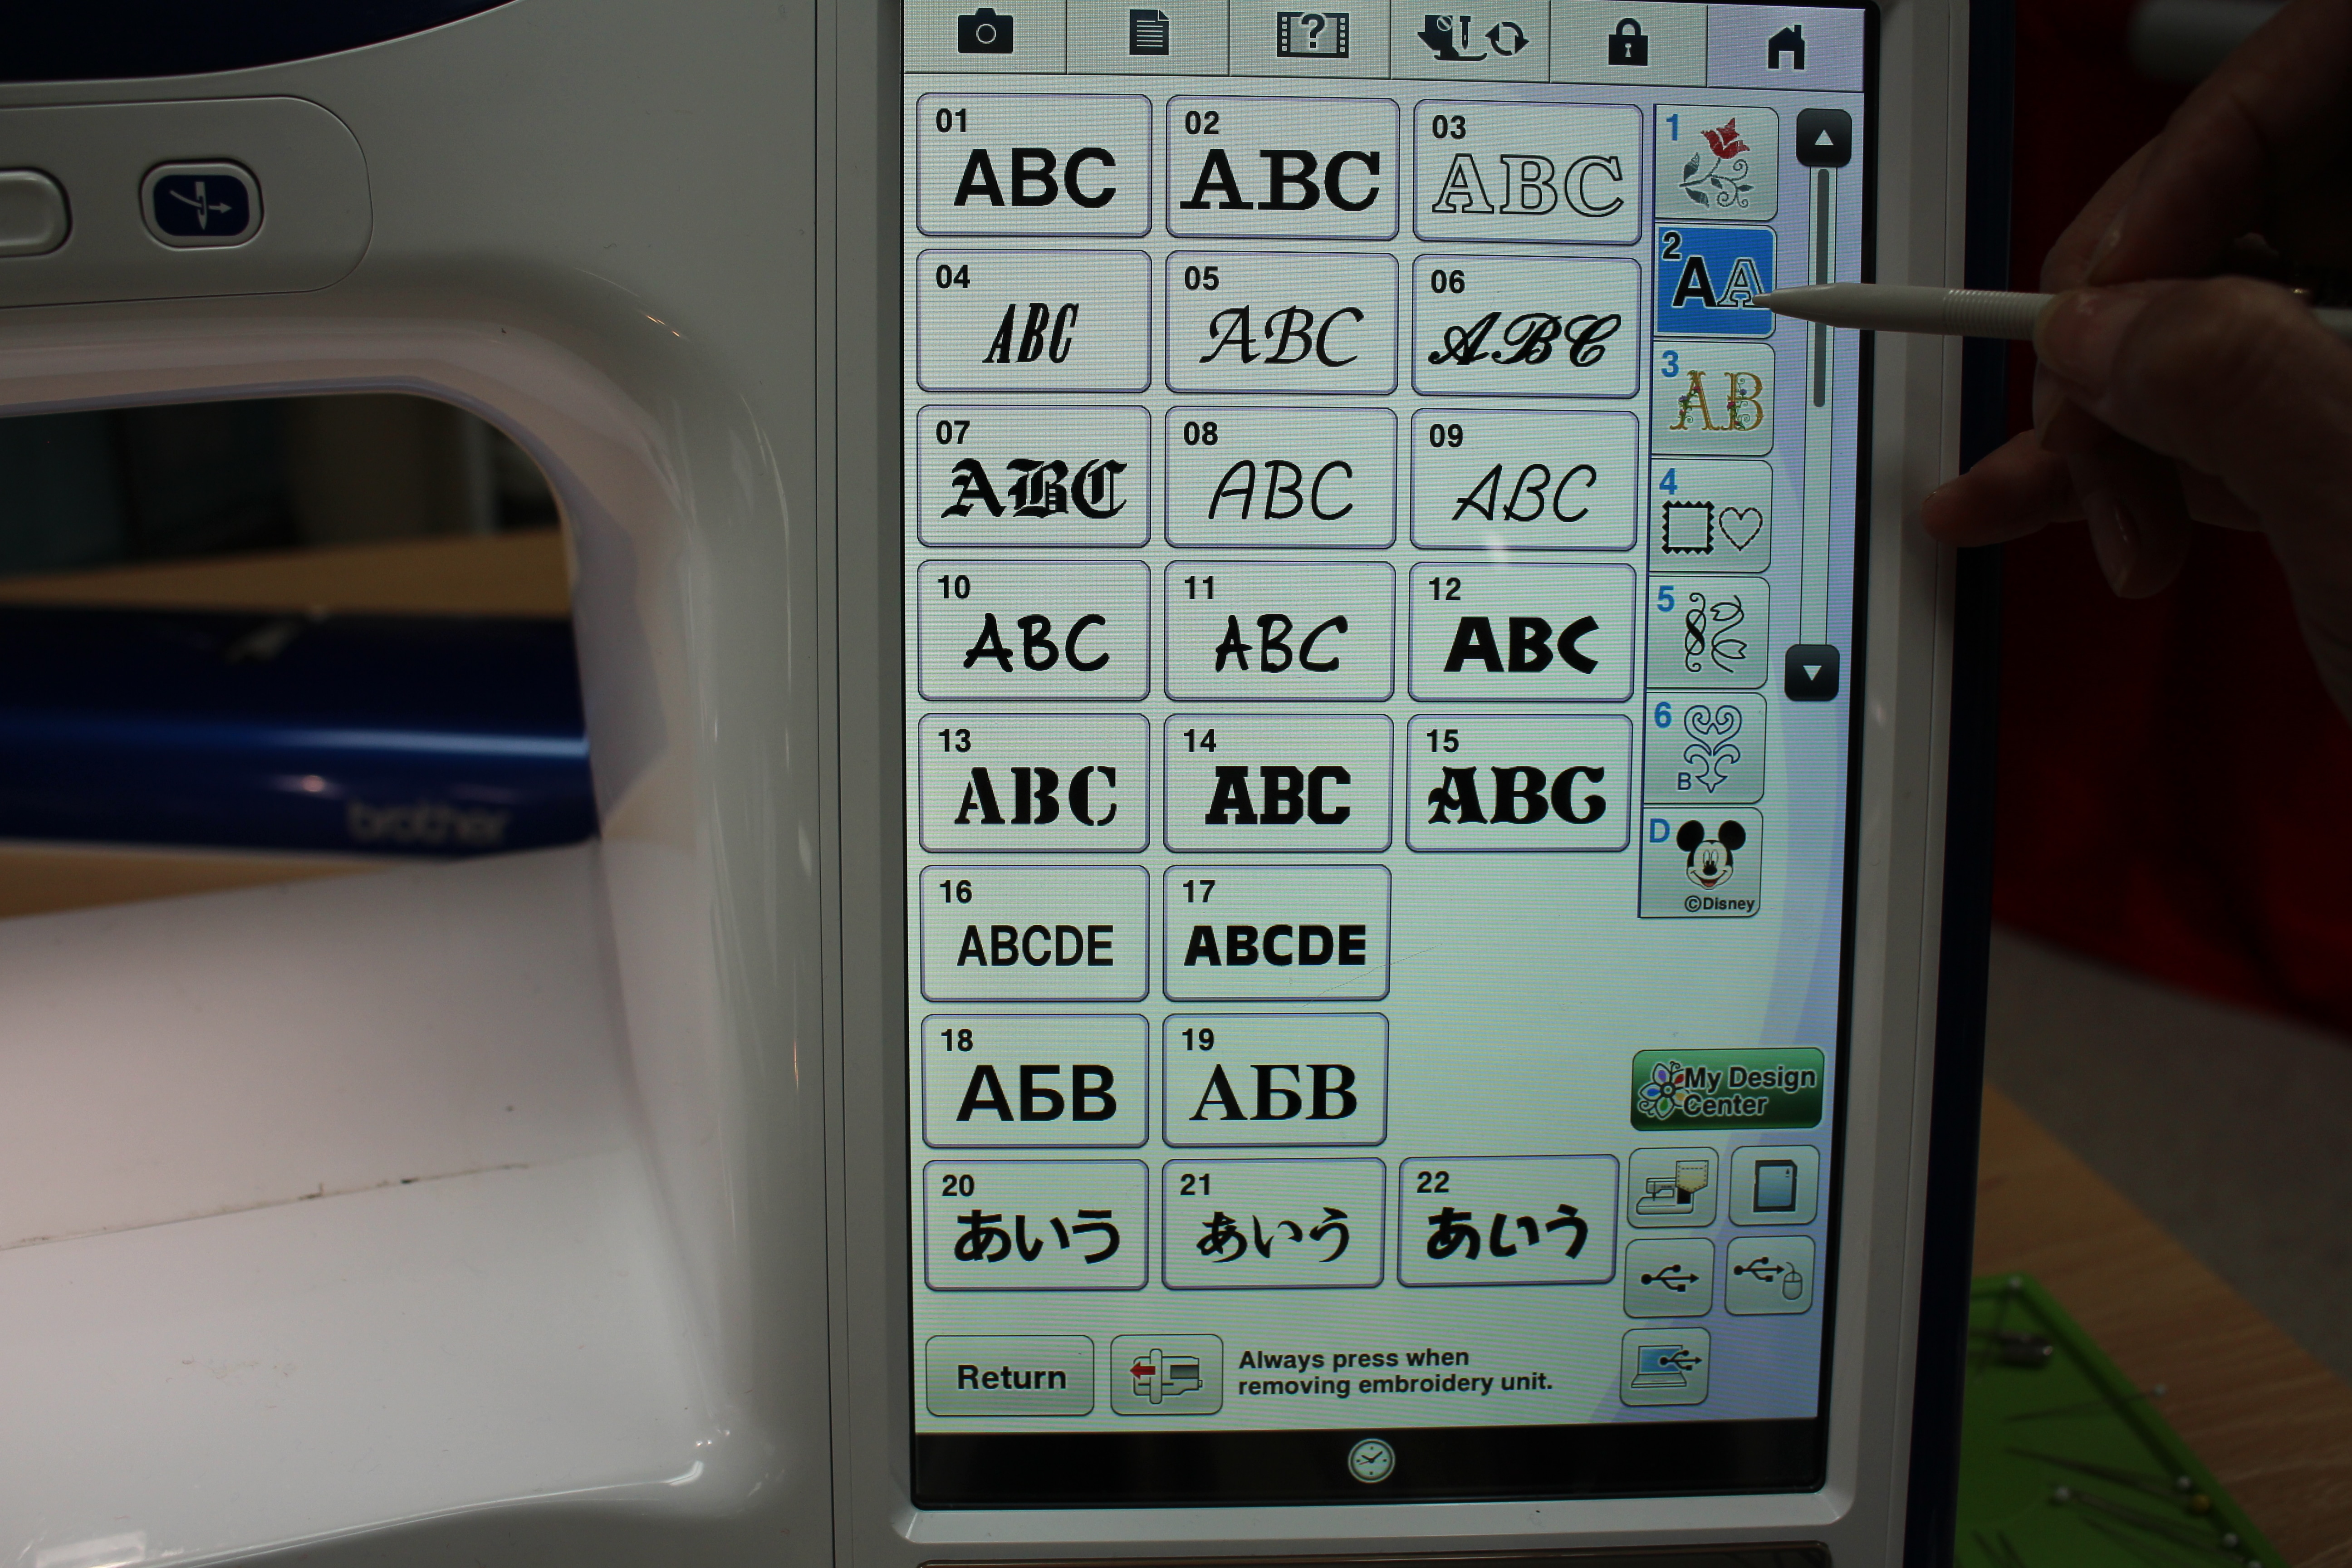
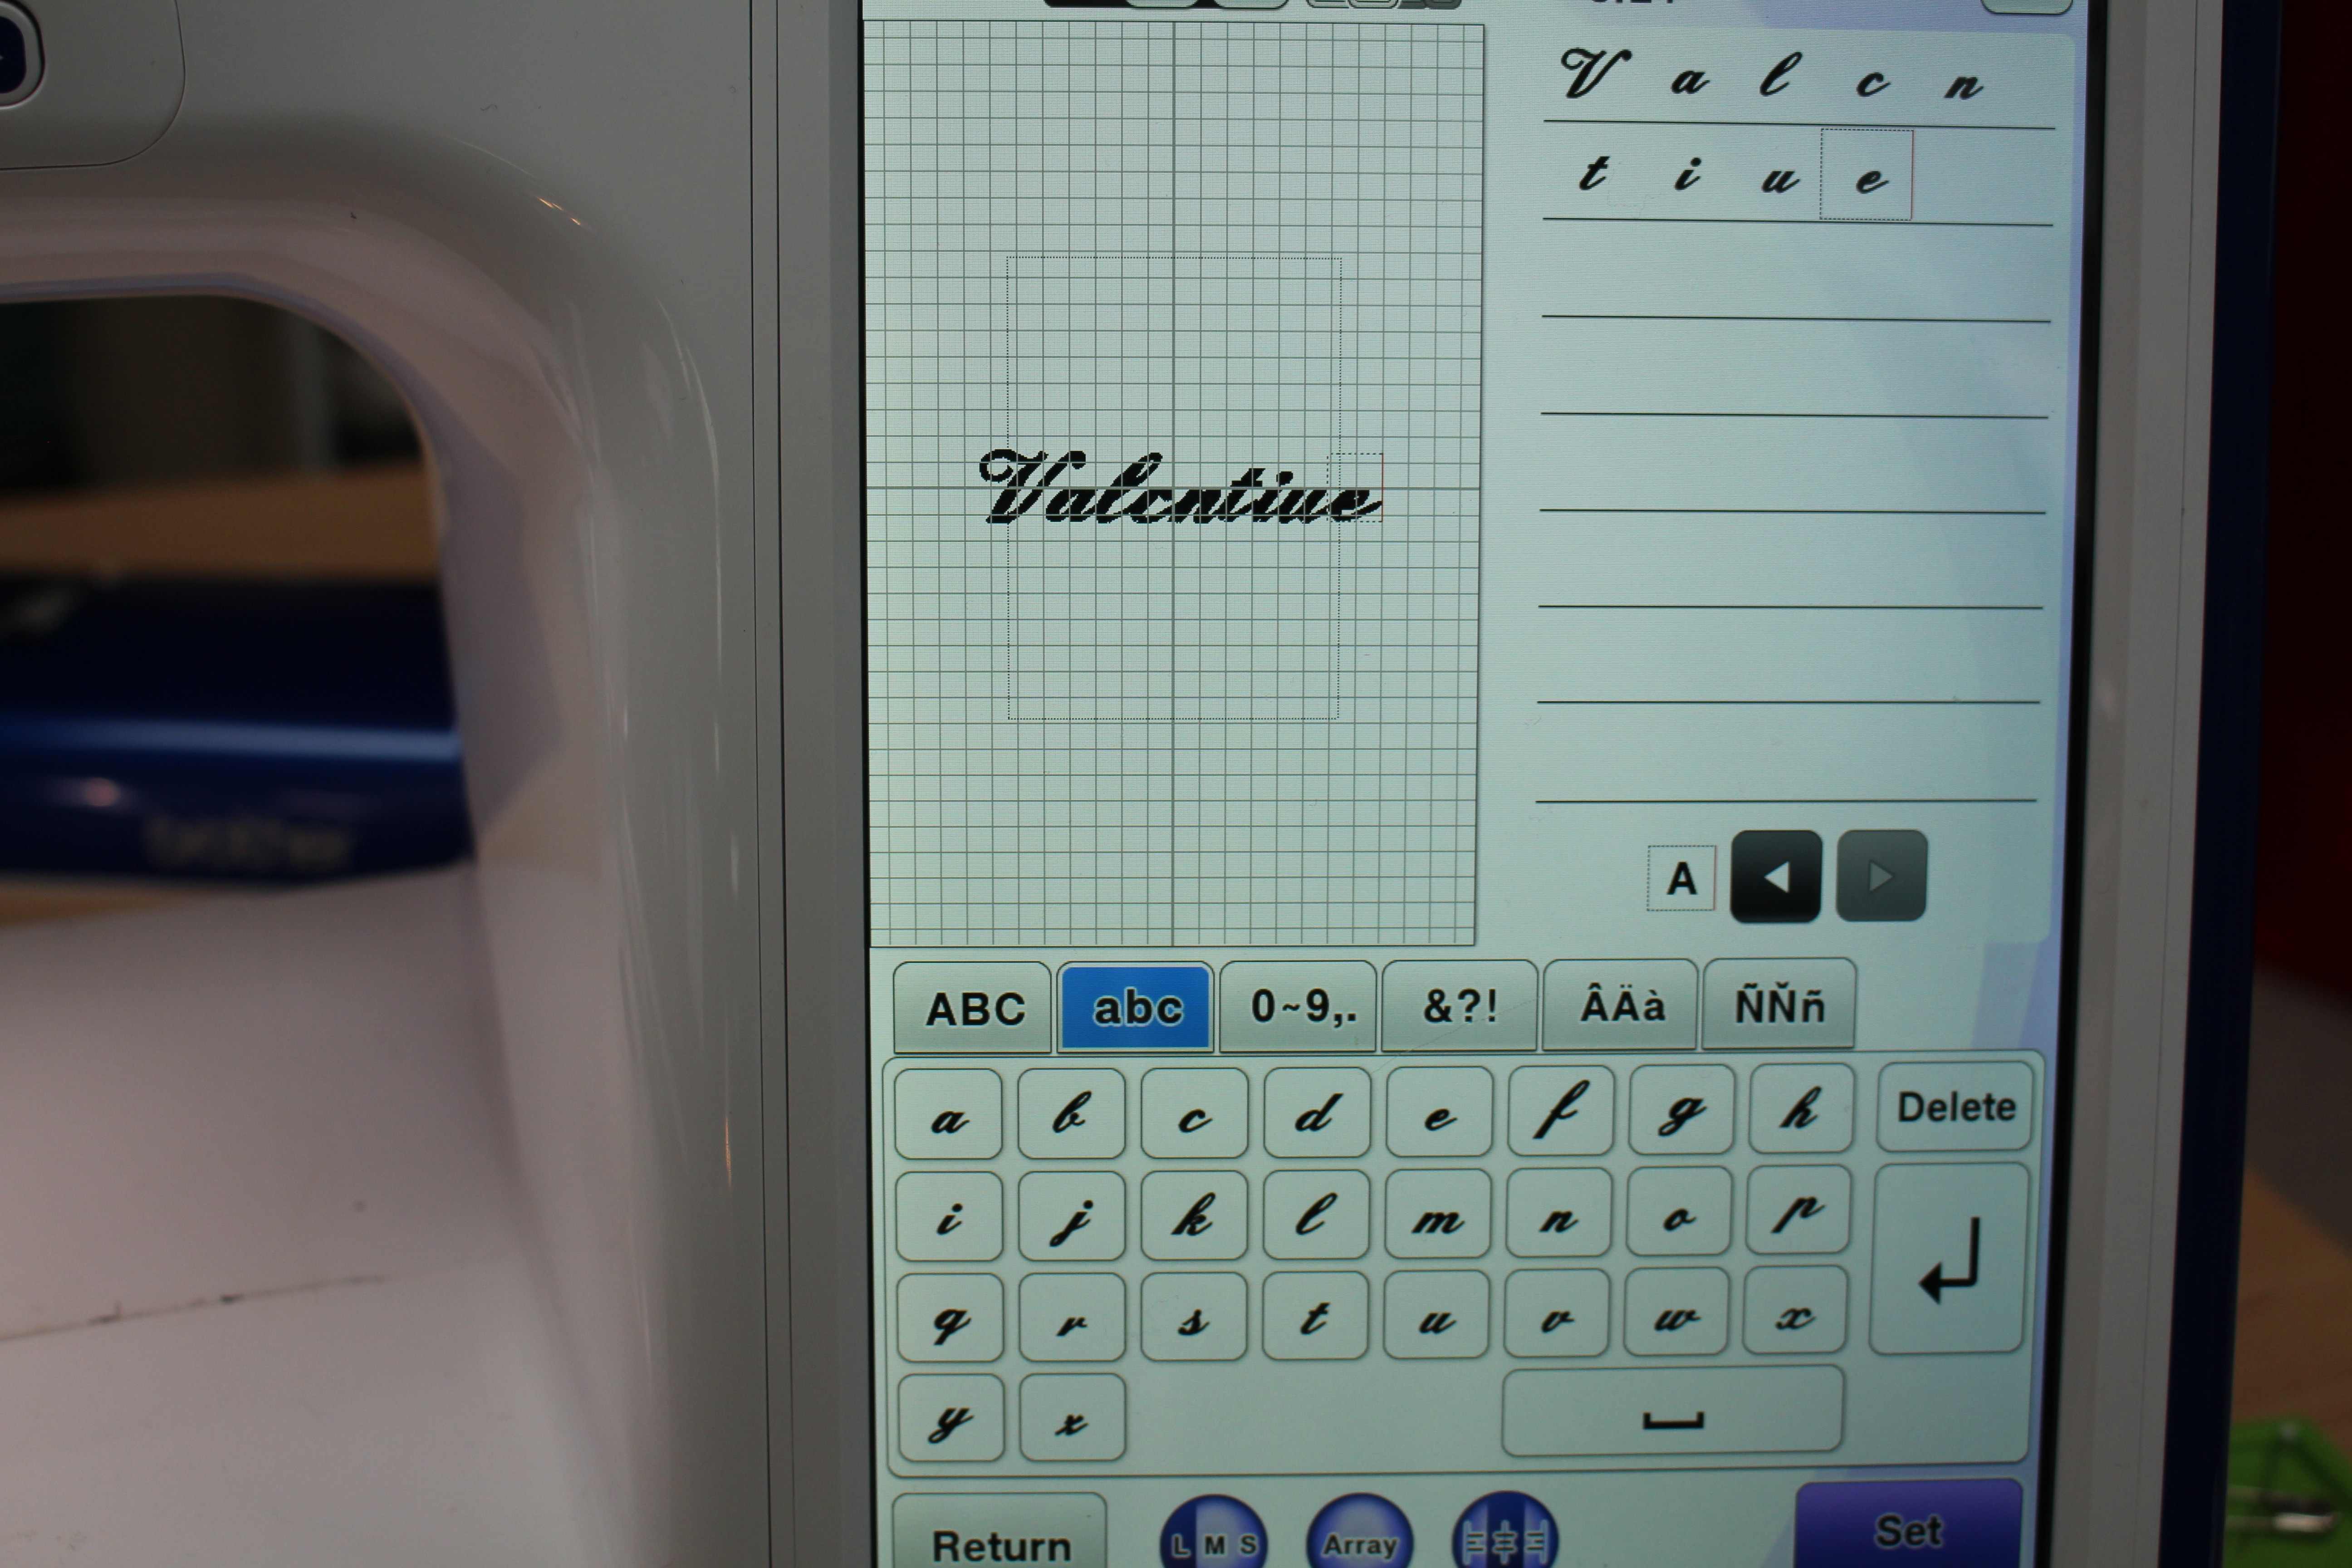
Episode 105 Behind the Scenes LIVE with Angela Wolf ? A short episode while we are all getting ready for Thanksgiving ? Colin and Cody show how they embroider their hoodies, turkey day tips, a sneak peek at last weeks fabric haul, and schedule for next weeks Birthday Sewing Marathon ?
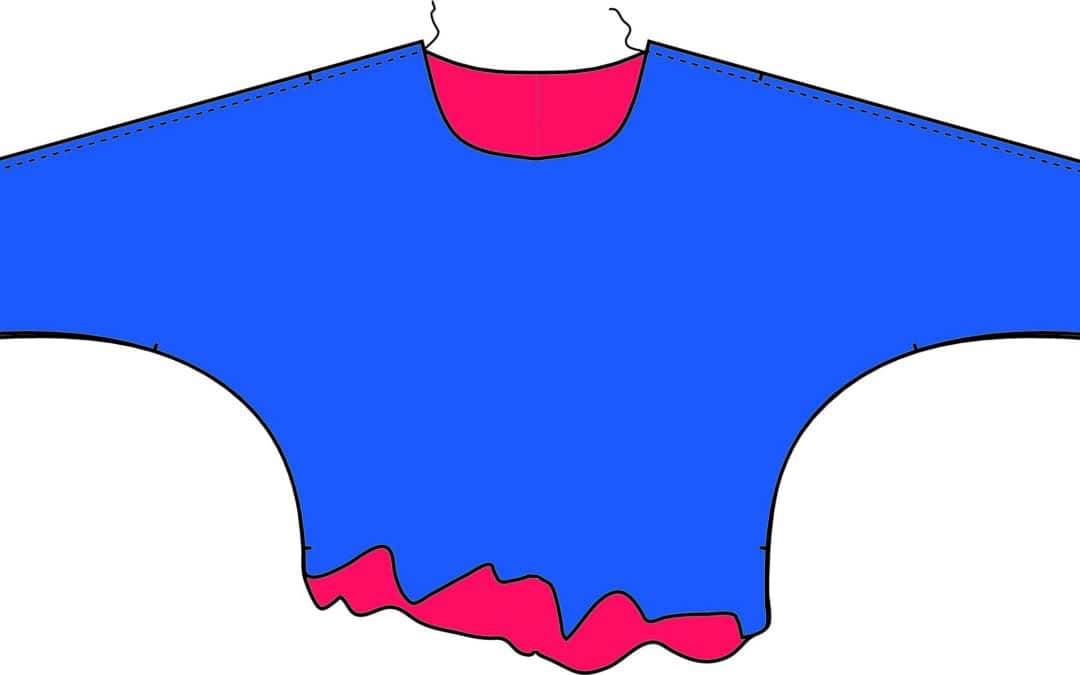
Ep. 302 Delila Knit Top Sewalong Part 2
read more

Ep. 301 Delila Knit Top Sewalong Part 1
Episode 301 🧵 Behind the Scenes with Angela Wolf Getting into summer and looking for stylish tops to wear with jeans, shorts, or skirts and one of my fist patterns always shows up ... The DelilaDelila Pattern has 9 Options I designed this pattern to be able to sew...

Ep. 260 Sewing the Shirley Wrap Top with a Sweater Knit
Episode 260 🧵 Behind the Scenes with Angela Wolf ~ Sew the Shirley Wrap with a Sweater Knit The Shirley Wrap pattern is so versatile and this time we will use a thicker, sweater knit fabric. You can find the Shirley pattern in PDF and paper patterns in size XXS -...
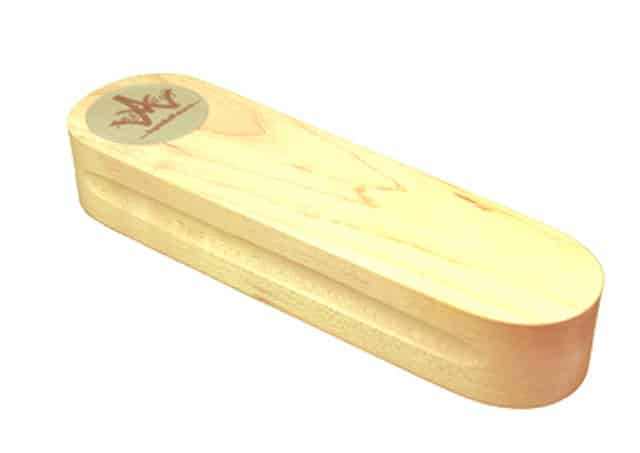
VLOG 259 Behind the Scenes ✂️ Pressing with a Tailors Clapper
Episode 259 ~ At your side 🧵 Virtually! Organizing and Sewing Clear Vinyl Join Angela Wolf with the next steps in sewing the Shirley Wrap with a sweater knit. Pressing hems with a tailors clapper, prepping neckline, and marking gathering.Catch the Next Show ... Be...
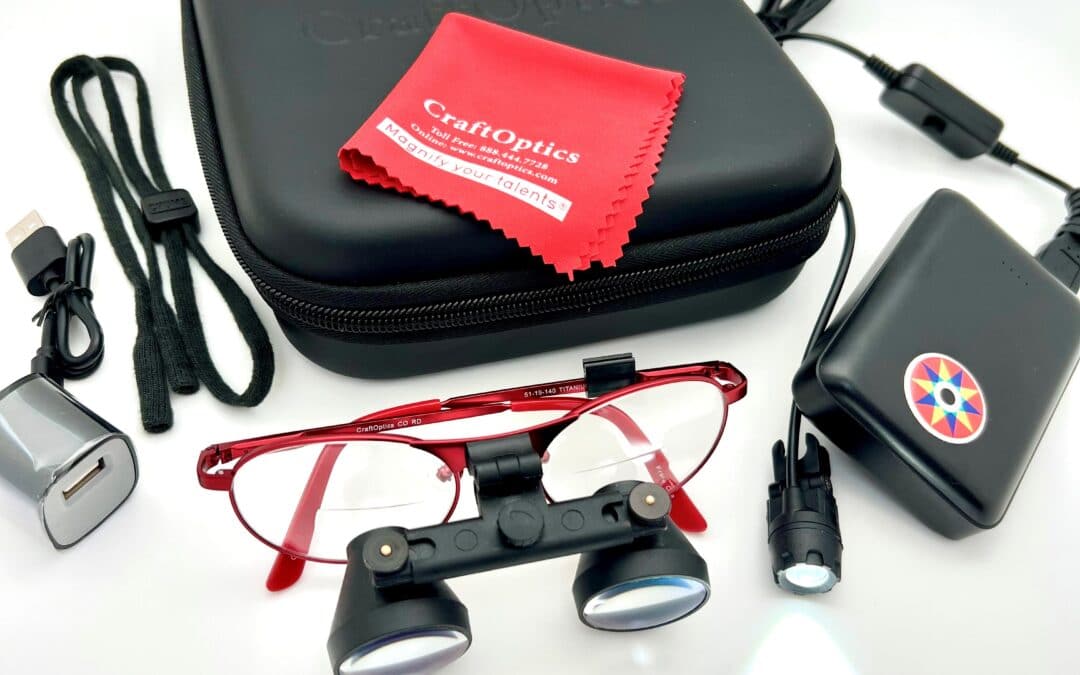
Sewing with CraftOptics is a Great Solution for the Eyes!
Have you see the WOW package from CraftOptics? I met Jeff Caplan from CraftOptics a few years ago in Puyallup, his booth was around the corner from Kai Scissors. I was intrigued by the glasses and loved hearing the comments that people would say after trying them...
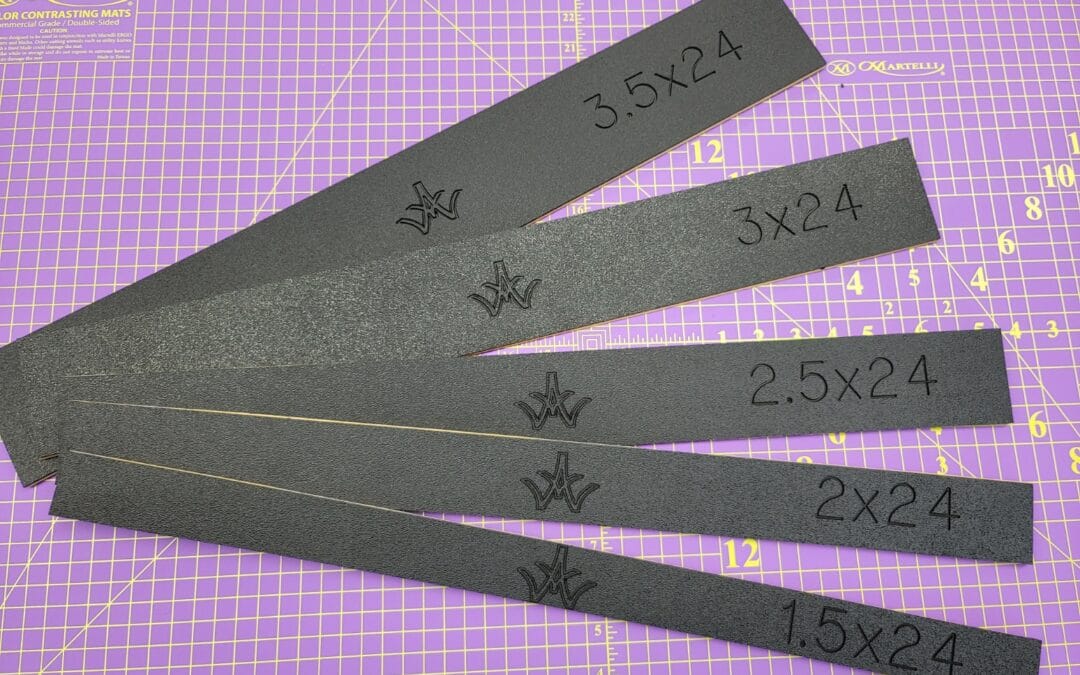
NEW Skini-Mini Angela Wolf Martelli Ruler Kits
New Angela Wolf & Martelli Ruler Sets I am so excited to announce my new ruler set designed by Martelli. In case you are new to Martelli, they are a family owned business located in Florida. I have been testing some of their products the last few months and I am...