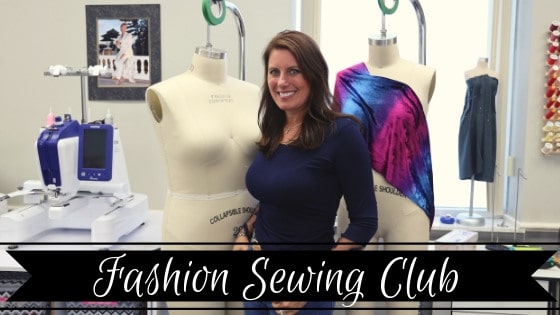
Sewing & Embellishing Pillow Cases
At Your Side 🧵 Virtually LIVE
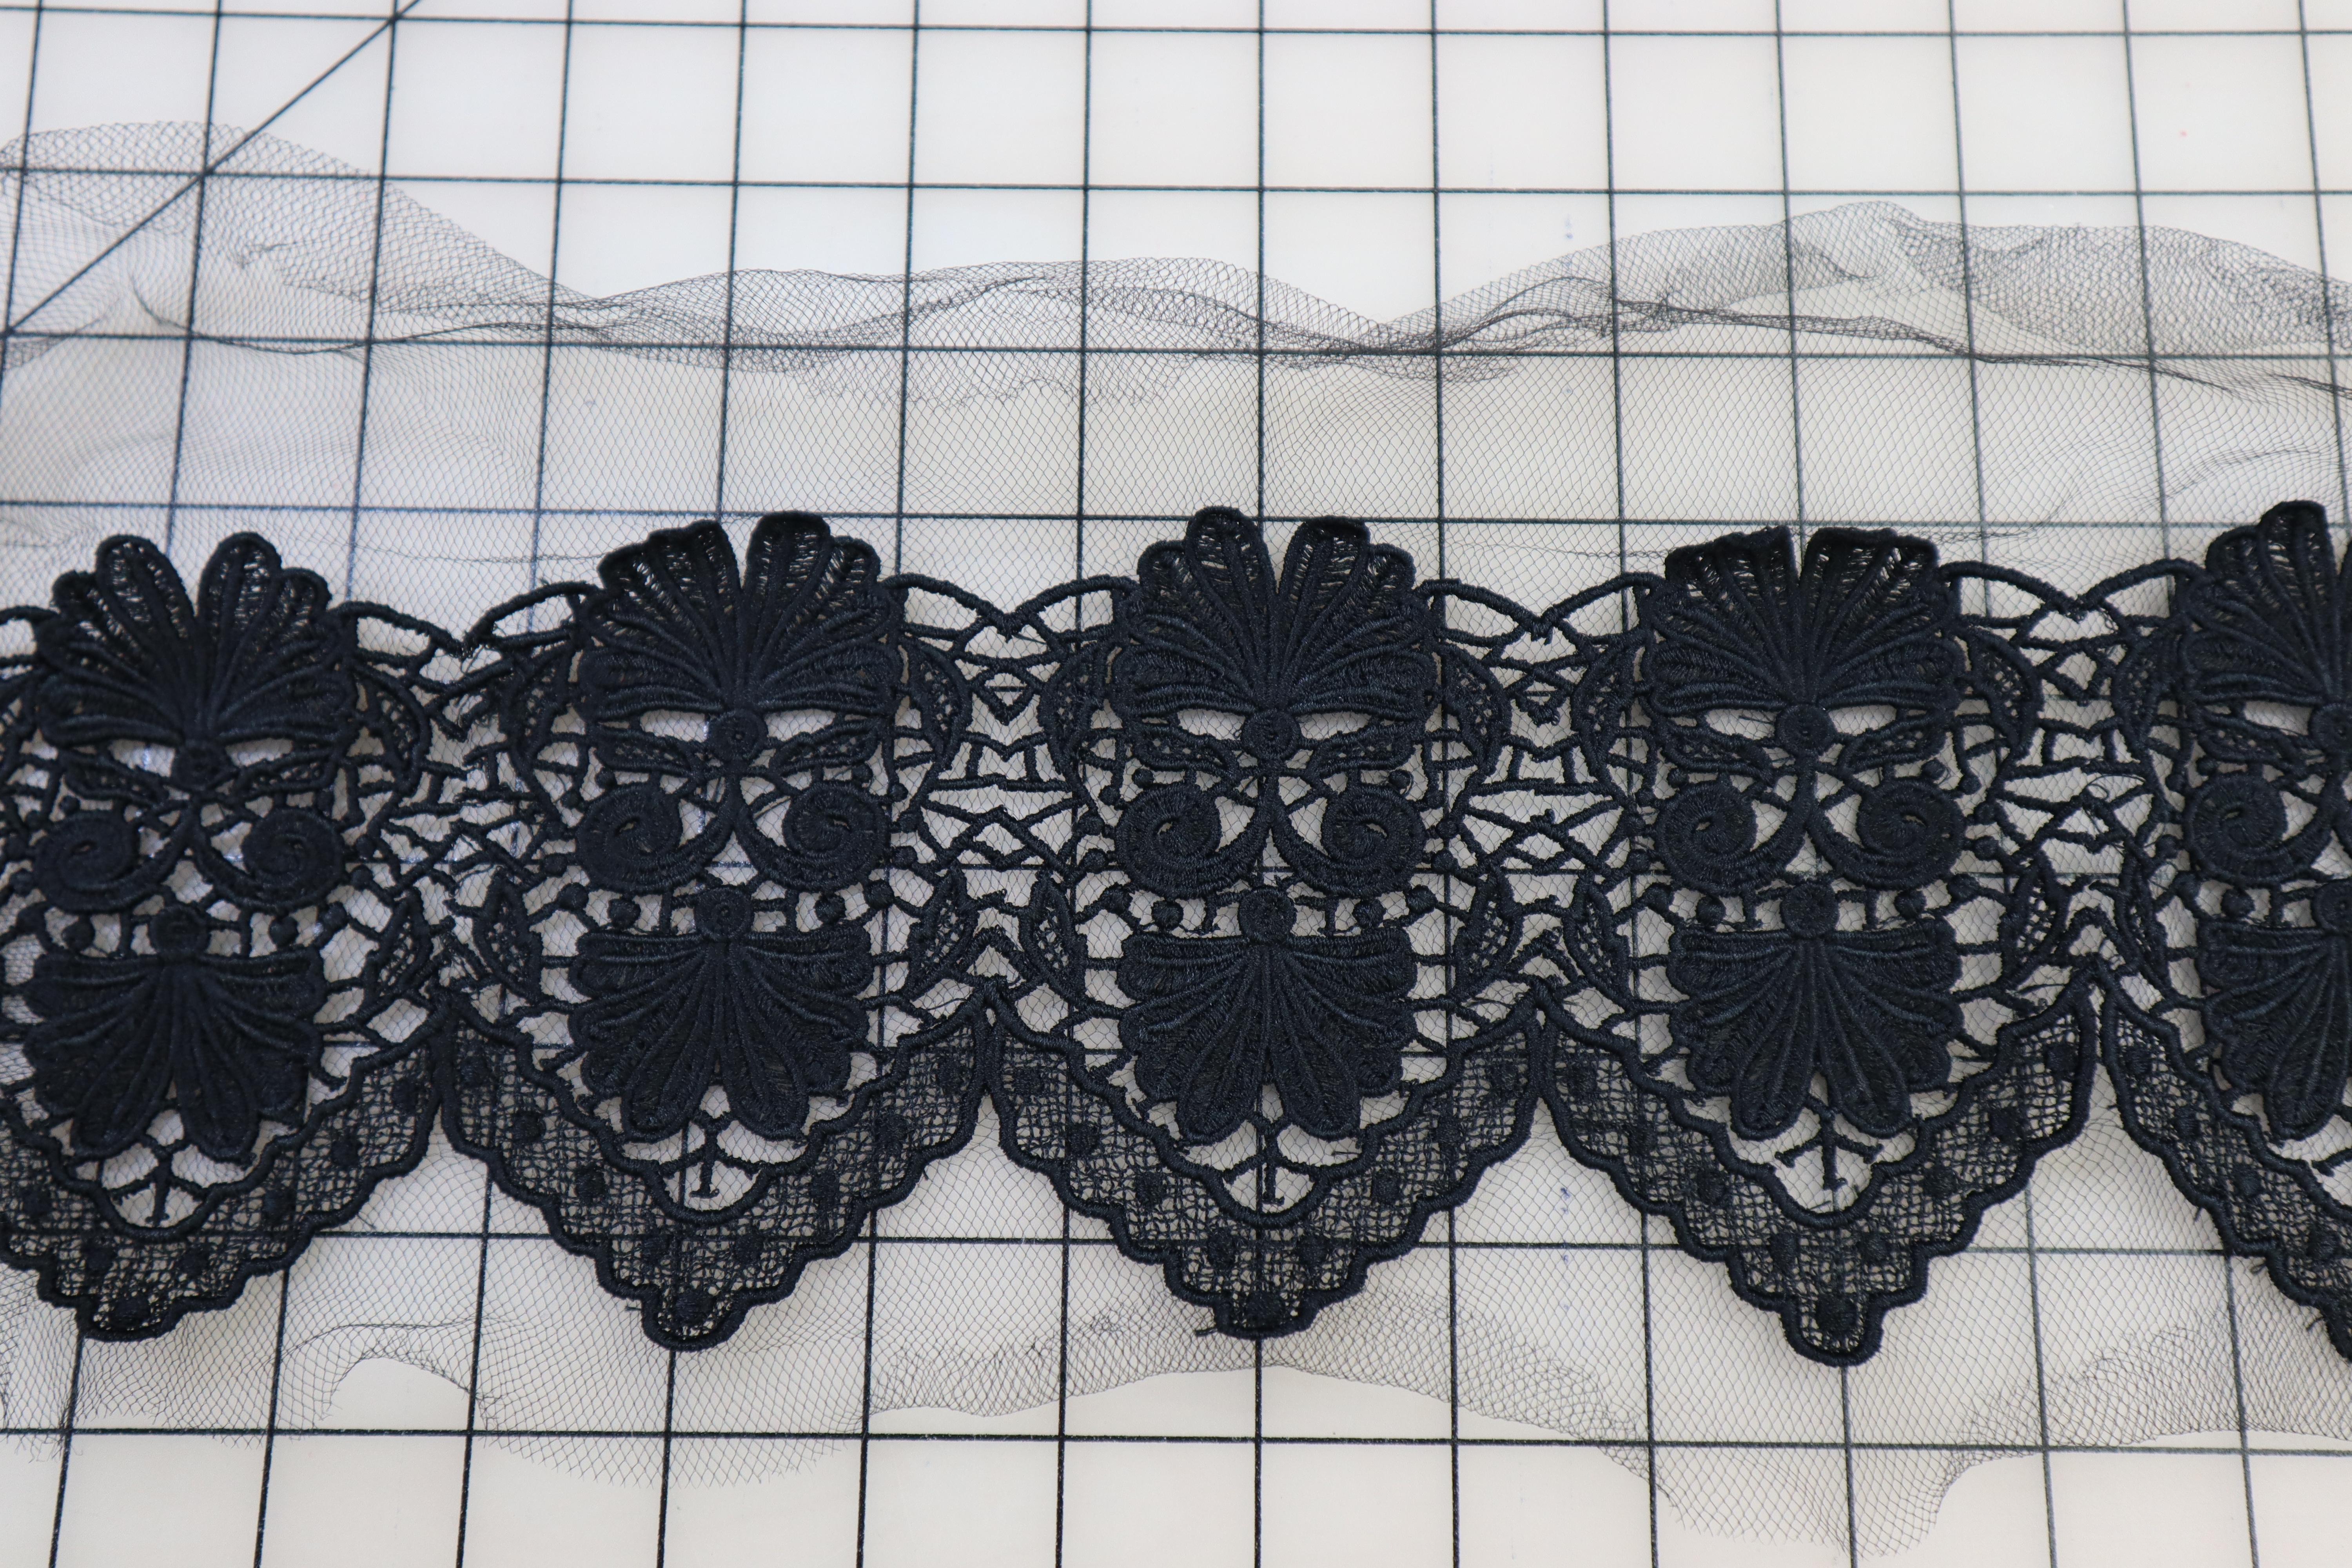
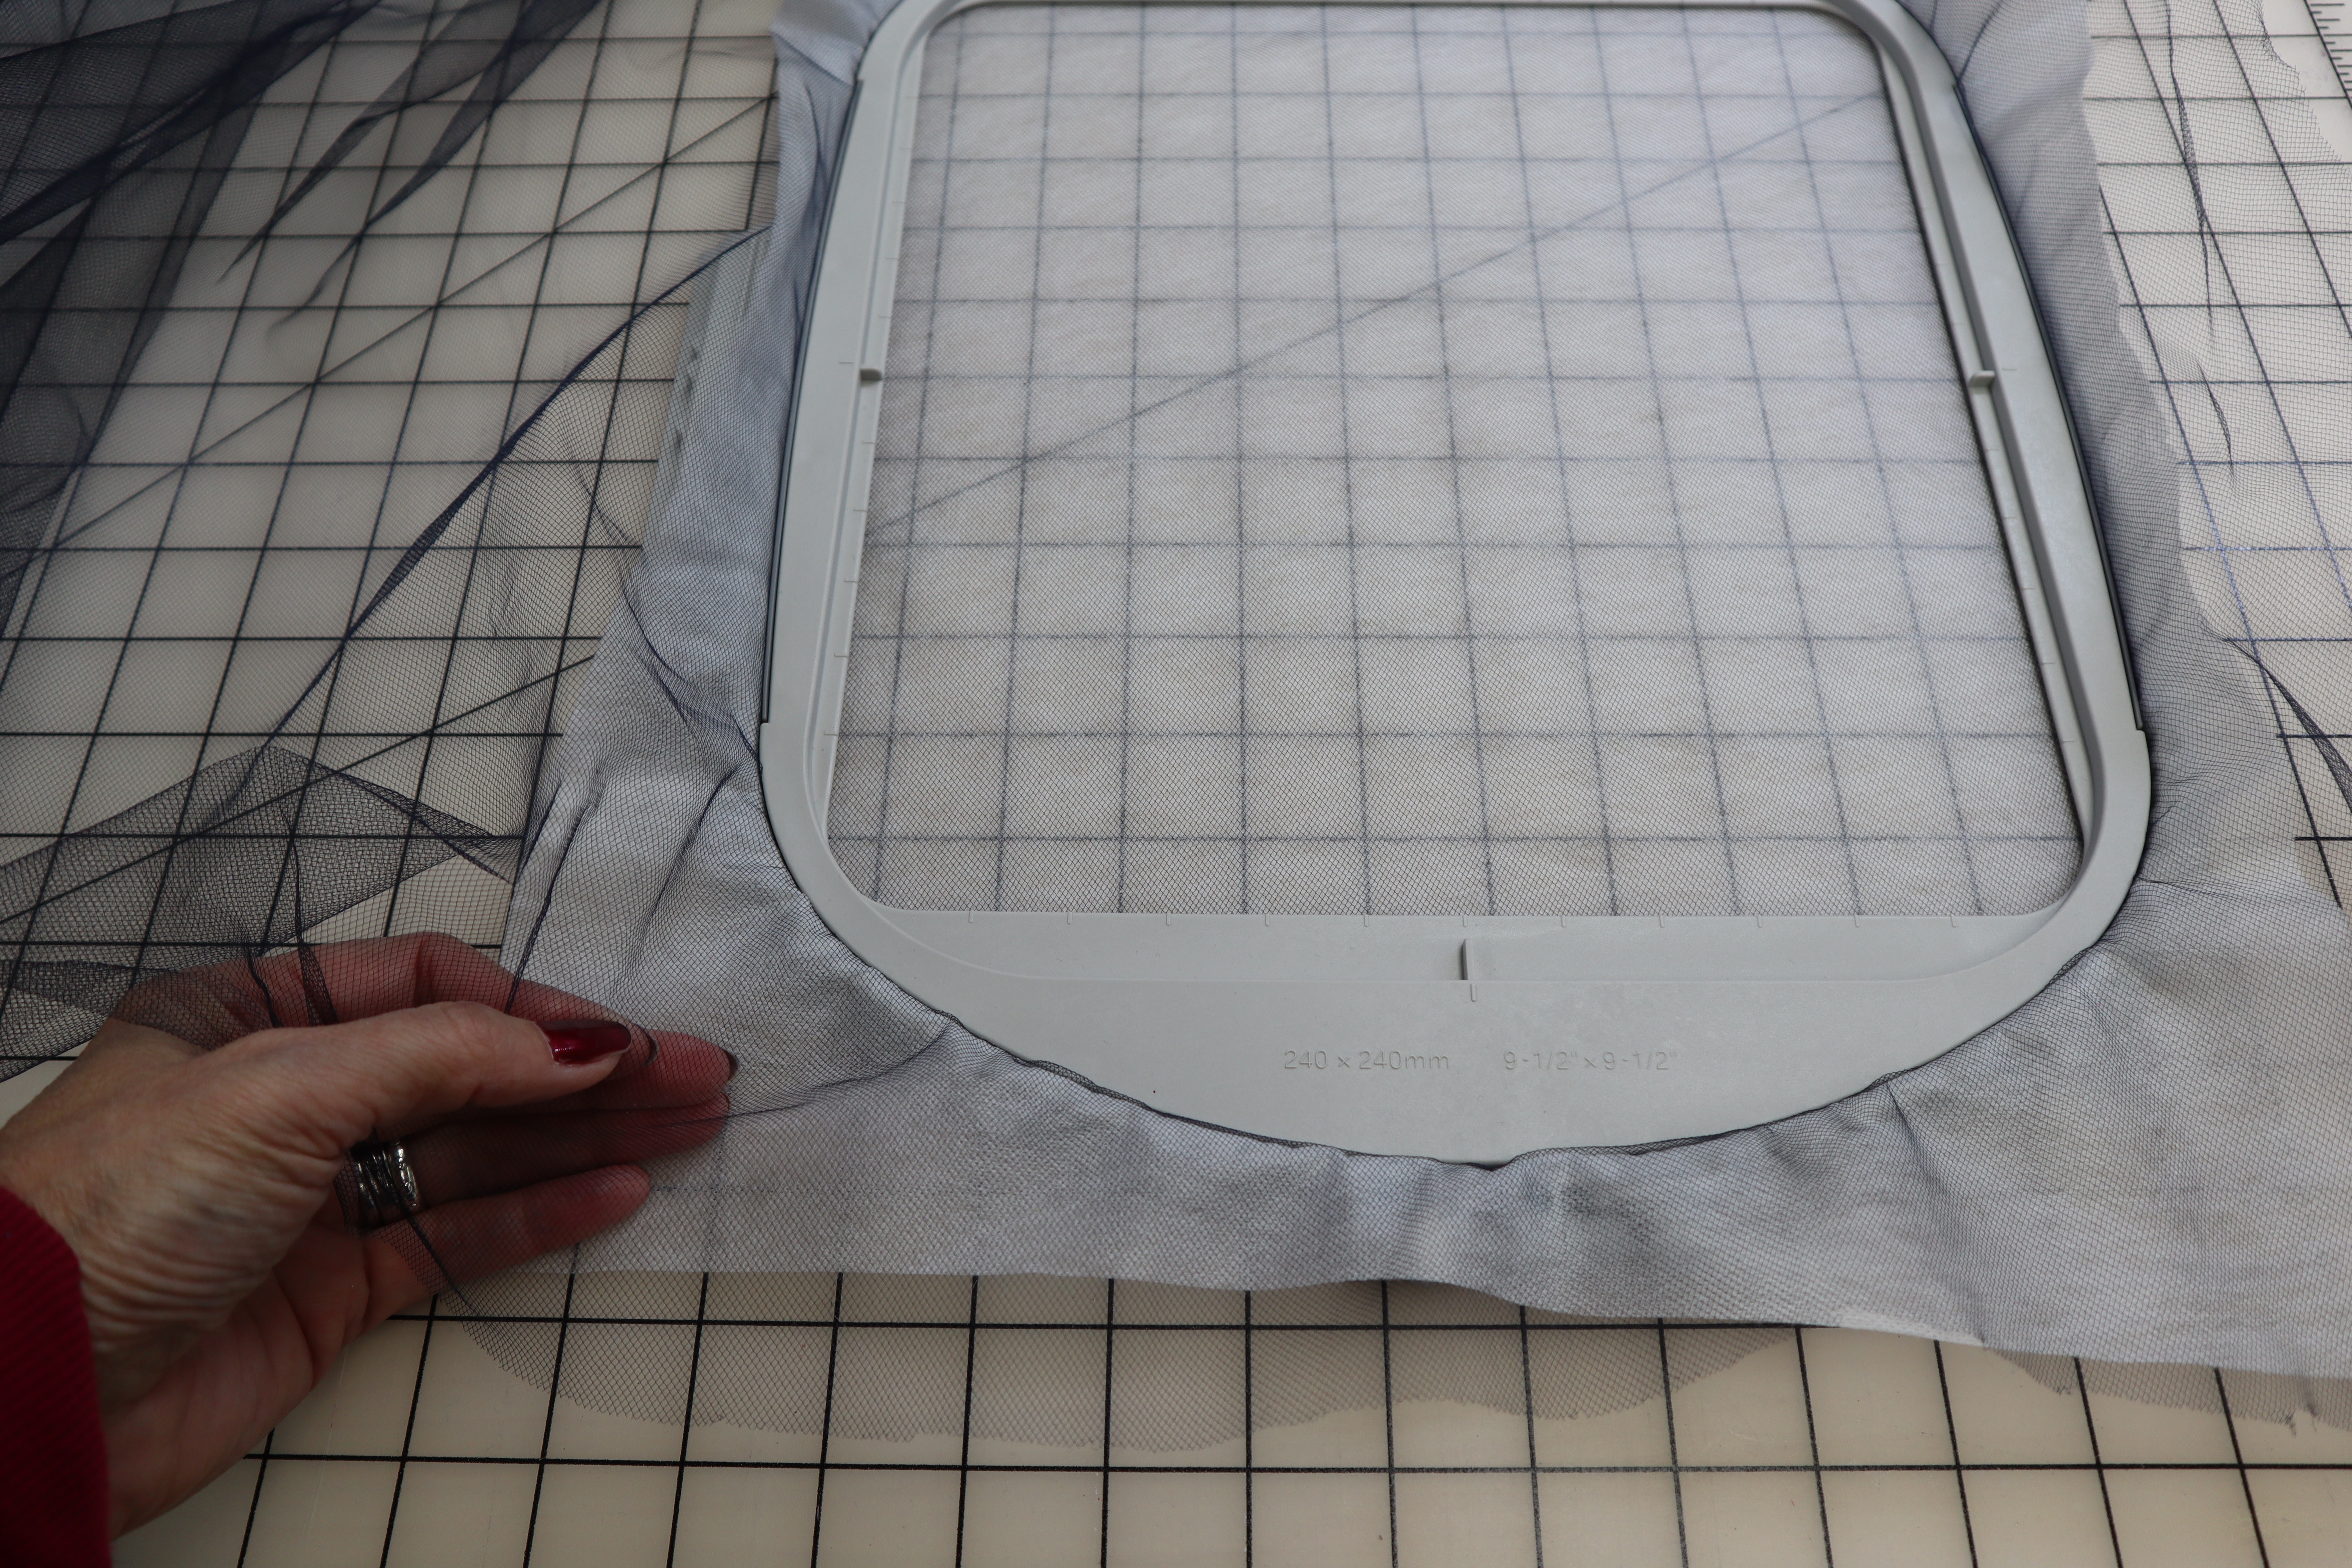
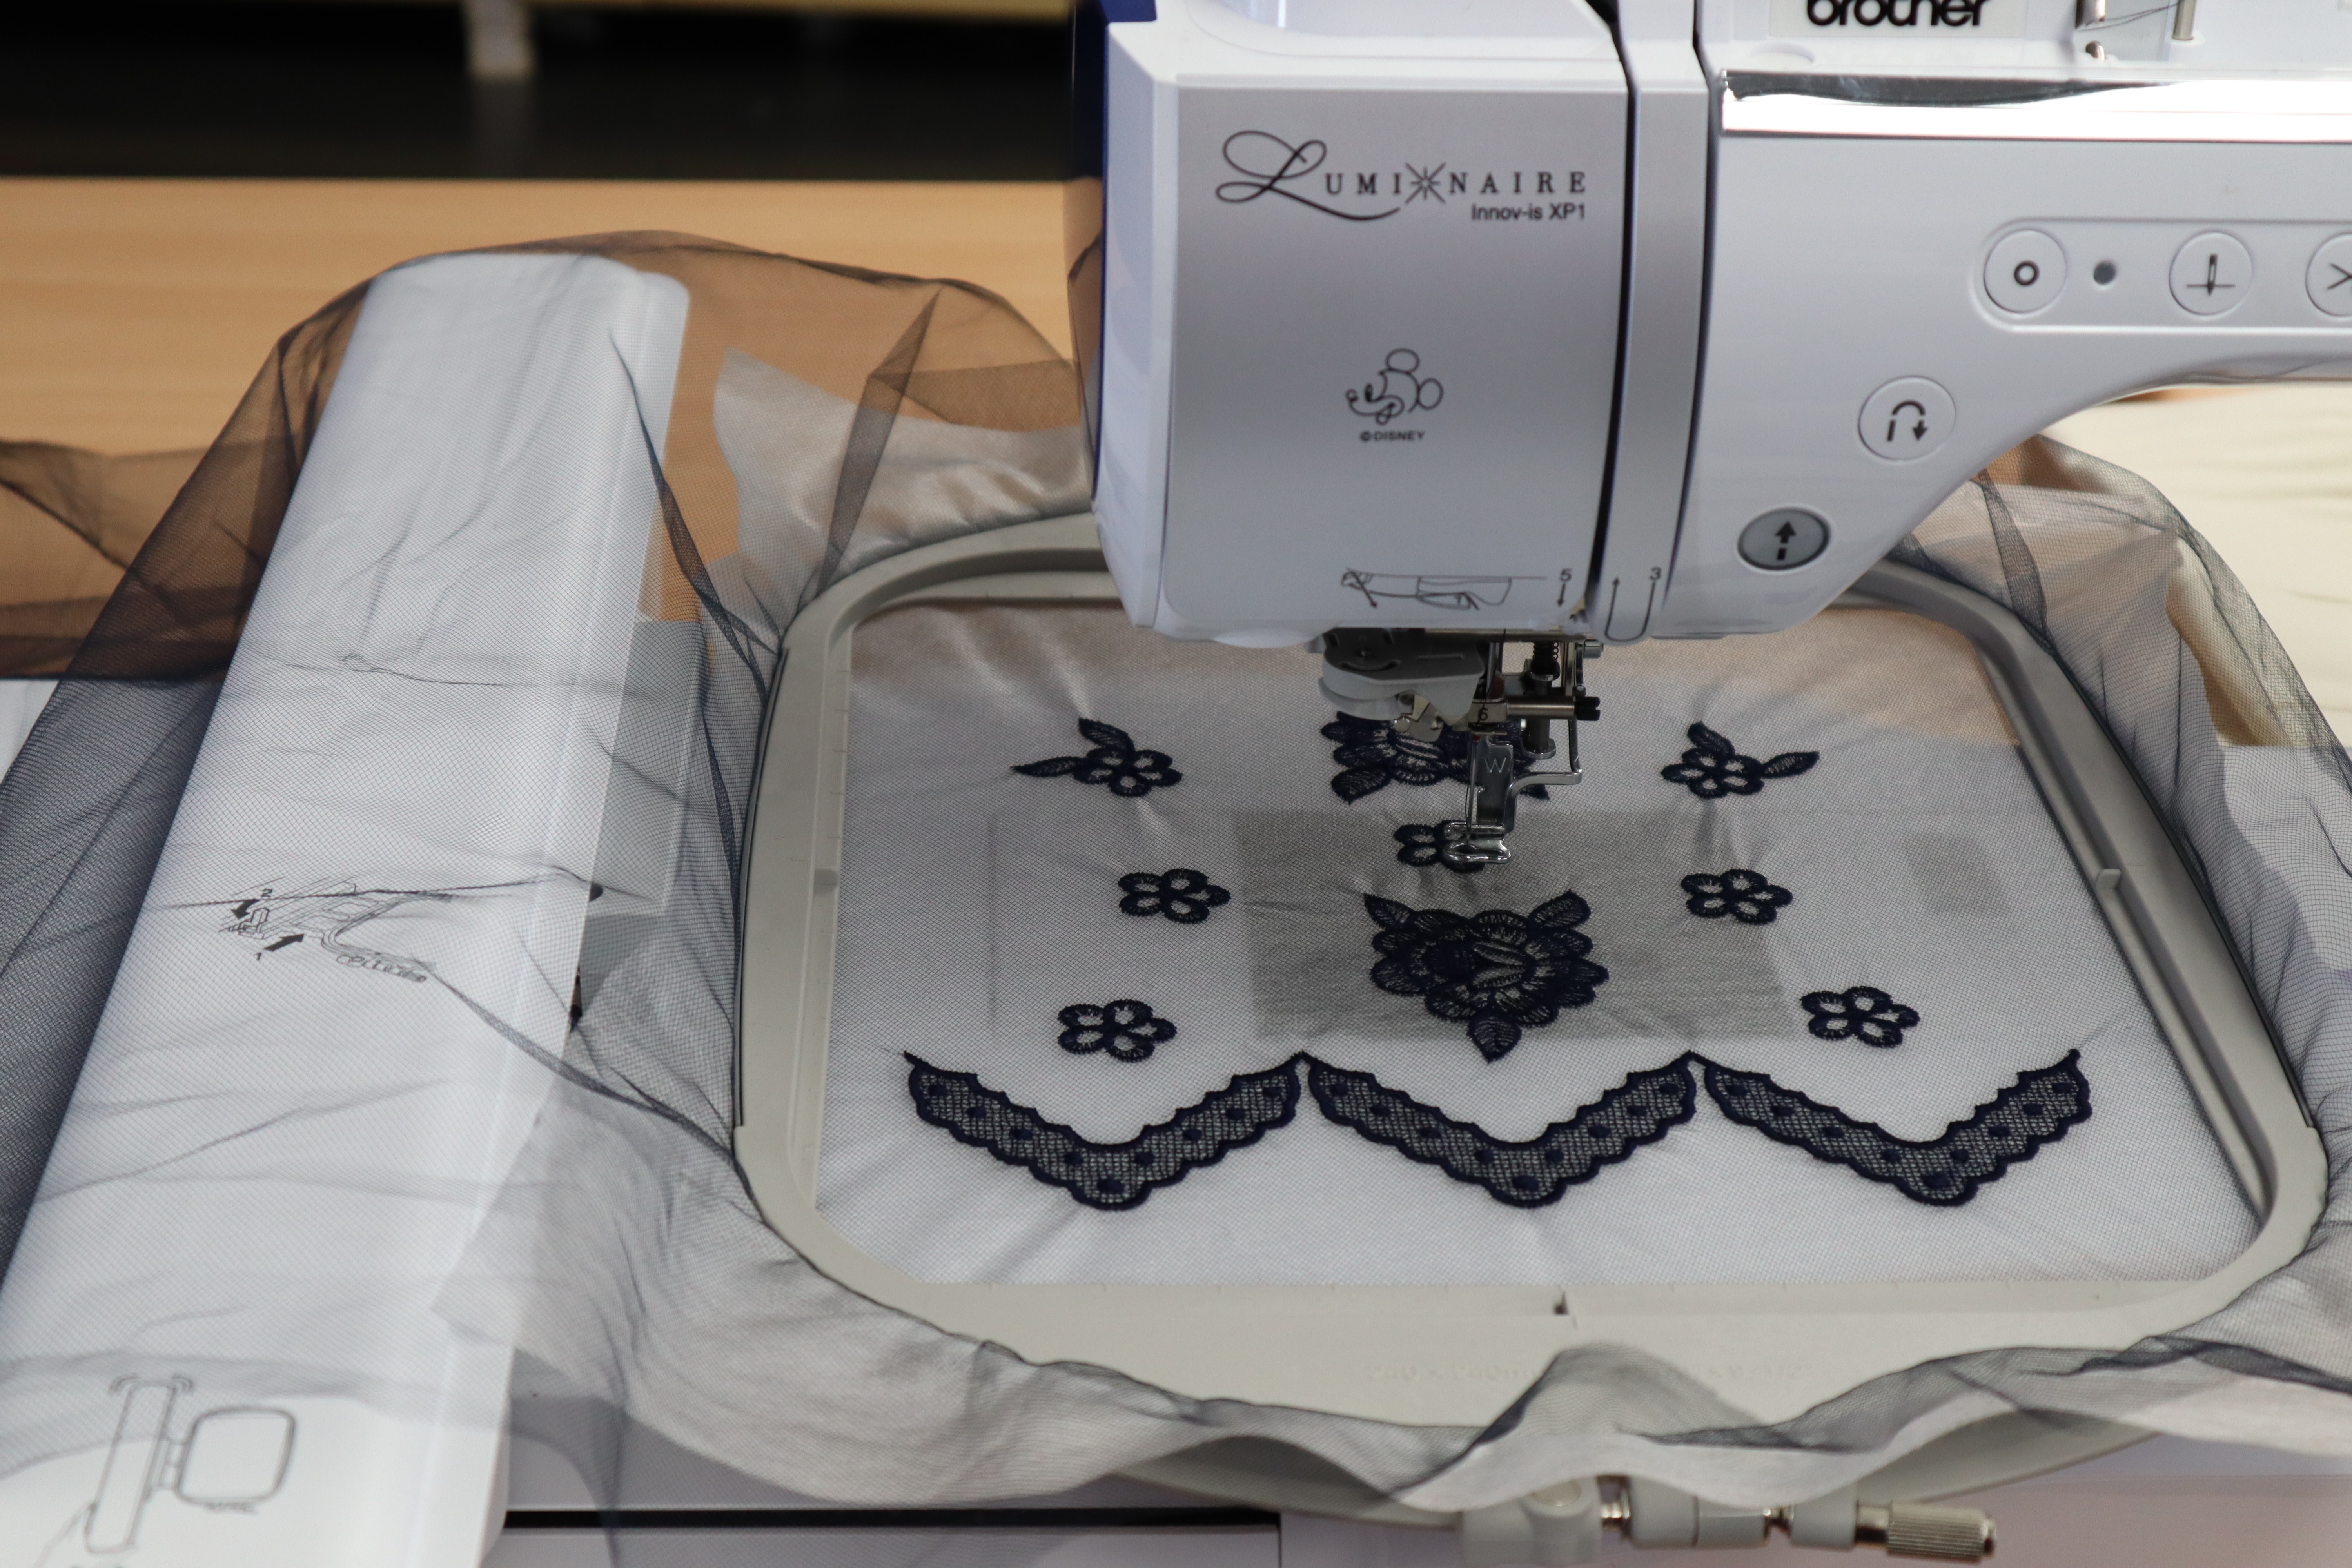
Learn How to Sew, Embroider, & Embellish a Pillow Case
It has been so fun taking over the Brother Sews Facebook and YouTube channel during this stay at home mandate! I always like to find the positive and this has been the best, being able to hang out with you all virtually. Many have asked where to find the replay’s, so I will be sure to post them here on my blog at the end of each day.
So going back, we had an entire week of making pillow cases, embroiderying ideas, BES 4 Lettering tutorial, and more! Here are all the replays:
Now that was fun! I hope you are inspired to dig into your stash and make a few pillow cases 🙂 Next week the theme is spa and pampering, which we all need a little of right now.
Let me know if there is a specific lesson you might like in the upcoming live shows.
Cheers,