First off, thanks so much for the embroidery tips! I started with simply adding letters on sueded silk, just trying to get a grip on rotating the word and changing the overall size. I am happy to announce, embroidering letters is much easier than I thought.
I choose a font from the Brother Dreamweaver XE and all you have to do is push the letters on the touch screen. Changing from upper case to lower case is a breeze. Then another push of the button and the entire word rotated directions. (I know I said no monogram towels for Christmas gifts, but I think I changed my mind – this is way too much fun! Now I just need the machine to offer spell check :))
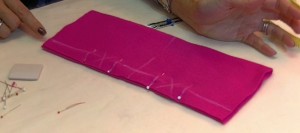
So here is where I screwed up … I was in a hurry and grabbed a bobbin that was 1/3 full. Instead of taking all that thread off the bobbin and starting fresh, I added more thread to that bobbin. Not a big deal, unless you run out of bobbin thread! This sewing machine has an automatic sensor that tells you when you are going to run out of thread. Very cool feature, unless the machine doesn’t know you are going to run out of thread, which is exactly what happened here. I was lucky the thread ran out at the end of my first “S”, but I still had to line up another “S” or change my idea to Princes (on pink fabric). I played around with the laser light and found that I could tell the machine where to start the last letter. Not too shabby!
I have big design ideas for my newly found passion for embroidery, but for the first few tests I am going to work on small pieces of fabric and share with those of you that are as much a novice as I am on this.
A few emails rolled in about how exactly to embroidery the jeans and I thought this photo might help. Remember there were 3 hoopings on each leg. The front pockets were already attached and the back was finished, except for the back pocket. I waited to add the back pocket because I was worried the fabric would be too thick under the embroidery hoop. You can see how the design started large near the hip, then smaller, and then even smaller at the ankle.
I am off to buy more embroidery thread and needles. Thanks to many of you for your advice, I think this is going to be fun. In the next post I will show you what the Princess is for and add more texture to the fabric. Have a great week! Cheers 🙂 Angela
I have a new fetish for altering fabrics and I am on a mission to test some new and old techniques and see if they will fit into high-end fashion. Embroidery is definitely high on the list, and I am not talking about embroidered bunny’s on the front of my sweatshirt or his and her towel’s (although I have to practice somewhere 🙂 I am more thinking about using embroidery to create new fabrics and using that fabric in my garments. A few ideas I am going to try:
attaching two unusual textures
quilting silk charmeuse
sleeve embellishment
embroidered jeans
embroidery + needle felting
distressing
adding faux fur
shirring
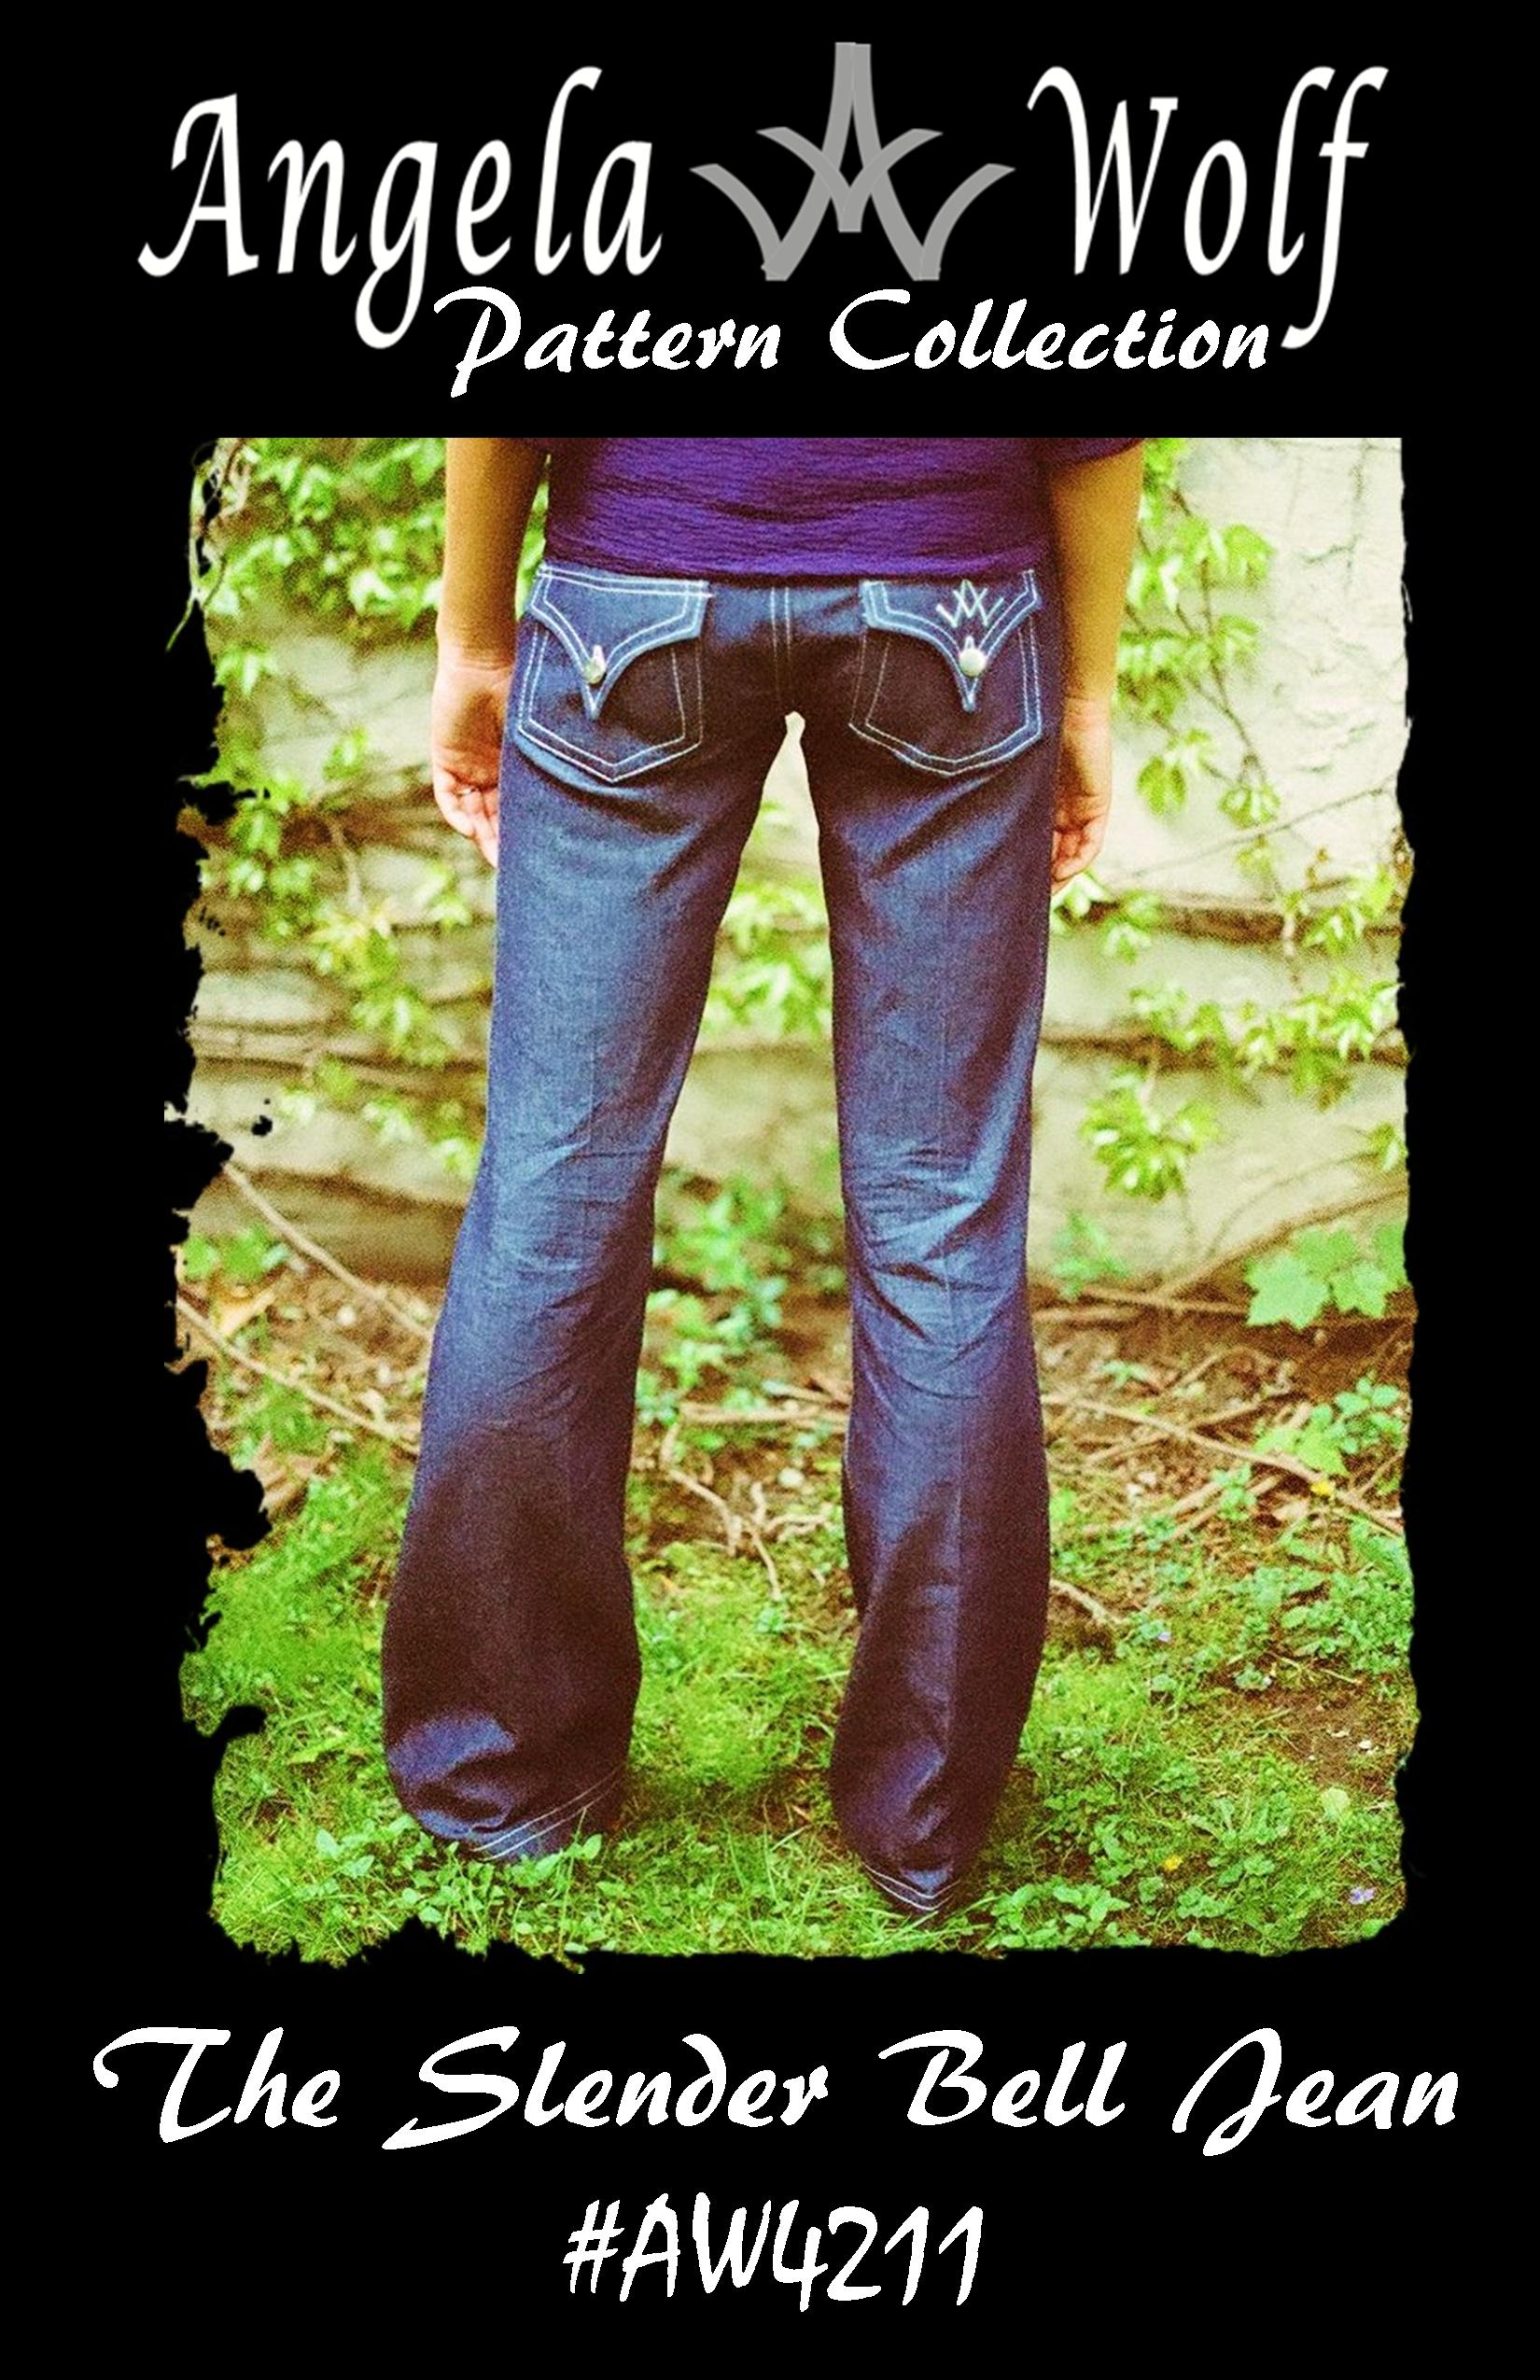
Just a touch of ideas and I am going to give them a try over the summer, looking into my fall wardrobe. I don’t expect them all to be a success, but I know this will be fun! So to kick off my experiment I thought I better learn how to embroider. These jeans were my first embroidery project last May, not too shabby if I don’t say so myself. The jean pattern is an altered version of my Angel Bootcut Jean and the embroidery design I created on Brother’s Dreamweaver . Trust me, I had no idea what I was doing but these new embroidery machines tell you what to do!
I sewed the jeans in a little different order starting with the front and back pockets and then the outside seam. A bit of a risk, after all that work, that the embroidery turns out awful. Looking back, you would think I would have tested the design on something, even a scrap of fabric. I am too stubborn for that. Each leg took 3 hooping’s and at first the total embroidery hours for both legs was tallying up to be 26 1/2 hours … YIKES! Then I realized that each color would only embroider for a few minutes and I would have to keep changing threads (this is only a one thread embroidery machine, in case you might think I have the fancy one). I decided to change the order of color, even if it altered the final design.
The embroidery design: I changed the design from being a little larger in the top (1st hooping) a little smaller in the middle (second hooping) and really small at the ankle (third hooping). Minus a few mistakes (which I won’t point out :)) I was really pleased with the final results.
One thing I learned with embroidering stretch denim – after you embroider, the denim doesn’t stretch. Just keep that in mind and make alterations to your pattern to allow for that non-stretch, especially if you are sewing skinny jeans or jeggings. I am planning on embroidering another pair of jeans with all one color of thread, I am thinking black fabric with silver thread or something along that line.
Any embroidery tips for me would be greatly appreciated, I have a lot of fabric I want to try (especially silk charmeuse). There is so much to learn and take into account. For example, embroidery thread. There are a ton of choices, any advice on the what’s the best and why? I would love to know the scoop!
Hope you are all enjoying February, I can hardly believe it’s almost over! I spent last week taping season 5 for It’s Sew Easy TV, despite the cold and snow – we had a successful week. Here is one of my favorite photo’s on set with June Mellinger (Brother) and Christopher Straub (Project Runway). I have to say, he is one talented designer! He even left an autographed handbag for Katie, my ninth grade apprentice. She absolutely adores him and I can’t wait to see her face when she opens her gift 🙂 By the way, that handbag in the photo is fabric he designed. I foresee an order with spoonflower soon.
I have been busy working on some custom garments and my new collection, which I will be sharing over the next few weeks, including launching some new patterns. First, I have to share one of my last gown dilemma’s. The fabric was gorgeous, but challenging to work with … slipper, shiny, textured, get the idea? I was having a heck of a time inserting the back zipper. I couldn’t use a hidden zipper, as I could not find a color to matched the fabric. The problem occurred when I was topstitching around the zipper. I hand basted in the zipper, marked the center back seam with chalk (that was also basted closed), and marked the stitch line with chalk. The fabric really presented a challenge with the texture. Being a total perfectionist, I ripped the topstitching out twice because it just was not straight enough. Then I remembered the Laser Vision Guide on my Brother Dreamweaver XE VM6200D. This worked like a charm! I was able to line up the laser light with center back seam and topstitch perfectly straight, all the way around the zipper. I won’t forget about that handy tool next time. Here is the short video I put together if you want to see more details. Now, back to the cutting table. Enjoy 🙂 xoxo Angela
This is a fun and easy sewing project; sewing fleece texting gloves. You know I can’t resist coming up with a few fun gifts items to sew. How about a pair of texting gloves! I don’t know about you, but I really get annoyed when I have to take off my gloves in order to answer my phone, text, or check an email. Instead of buying gloves and cutting off the fingertips, I decided to whip up a pair of custom gloves. These are easy and fast to sew, not to mention you can customize how tight and tall you want them and not worry about your rings getting in the way. Did I mention they are GREAT for fishing!
1. Measure around your knuckles, this will be the width of your gloves.
2. Measure from your knuckles up your wrist and come up with a length measurement.
3. Chalk mark your stitch lines, making sure to block out the area for your thumb.
4. Stitch and press your seam allowance open.
5. Fold the glove in half so the folded edge is at your knuckles.
6. Hand stitch the thumb hole closed.
7. Serge the raw edge.
That’s it! You can add beading, decorative stitching, embroidery … by the way, if you add embroidery, do so before you sew the gloves together. This is such an easy project. Show everyone how creative you are and post photo’s on my facebook, Instagram, and pinterest of your new gloves. Let me know if you have any questions.
Cheers and stay warm!
Brother™ has provided me with the DreamWeaver XE, but all opinions expressed are entirely my own.
Dark jeans are really in trend this fall so that means distressing with a hammer might not be an option. I have tested the MuVit Digital Dual Feed Foot on the Brother Dreamweaver XE and believe it or not, after sewing over many thick seams there was not one skipped stitch! The only thing I added was a #14 denim jean needle and various thicknesses of denim. This foot is different from a walking foot, not only because it has a rolling belt, but the foot plugs into the sewing machine giving the foot it’s own brain … or something like that. You can then adjust the foot by pressing a few buttons on the sewing machine. I have to say technology is really making sewing fun and easy!
The video below shows you just how smooth this digital dual feed foot works and I even tested it on one of my new jean patterns. Which by the way, I am happy to announce my first two jean patterns are up and available! Both patterns come with detailed sewing instructions in a book format, very easy to follow. The other bonus that comes with both of these jean patterns is a downloadable PDF file, download to your tablet and you can enlarge the photos for detailed viewing. The PDF file offers color photos and details on where to distress the jeans as you sew. My goal is to help you sew jeans that fit perfect and look expensive 🙂 Enjoy and don’t forget about the previous videos on sewing jean pockets if you need a little extra help. Hope you had a great Thanksgiving weekend, lot’s of family, food and shopping on my end. Wait until you see my new shoes (and yes that’s plural!) xoxo Angela