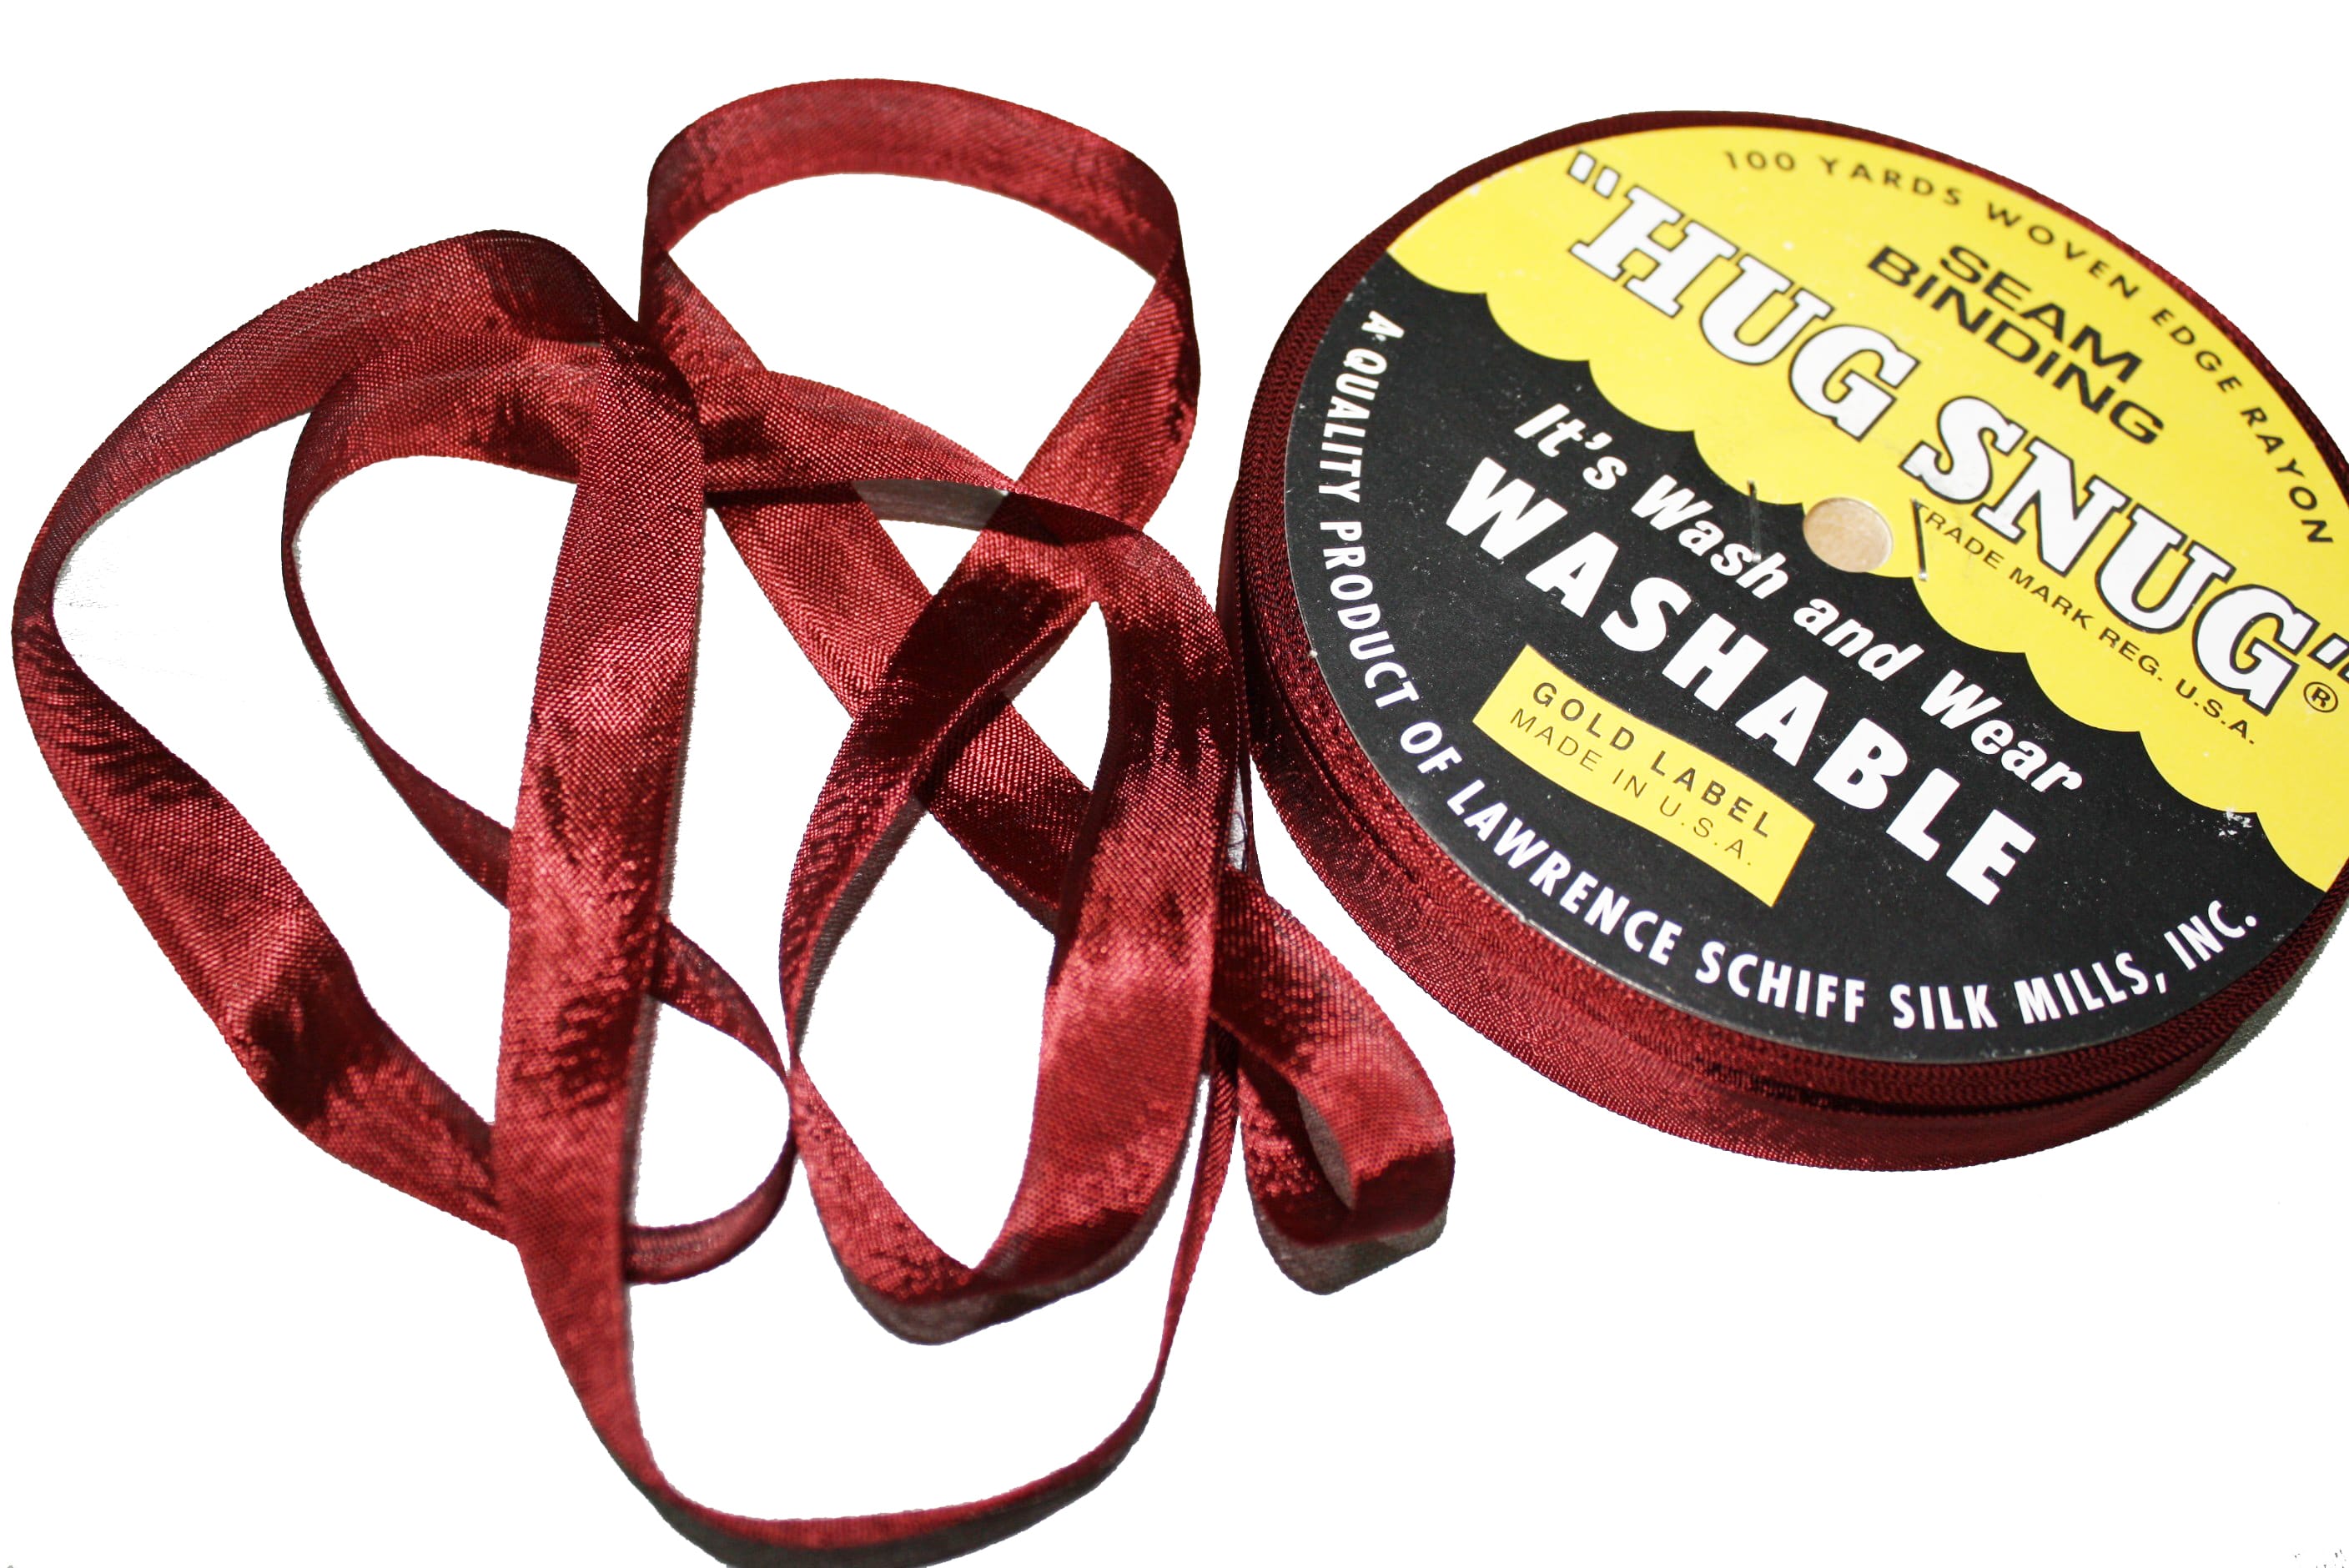
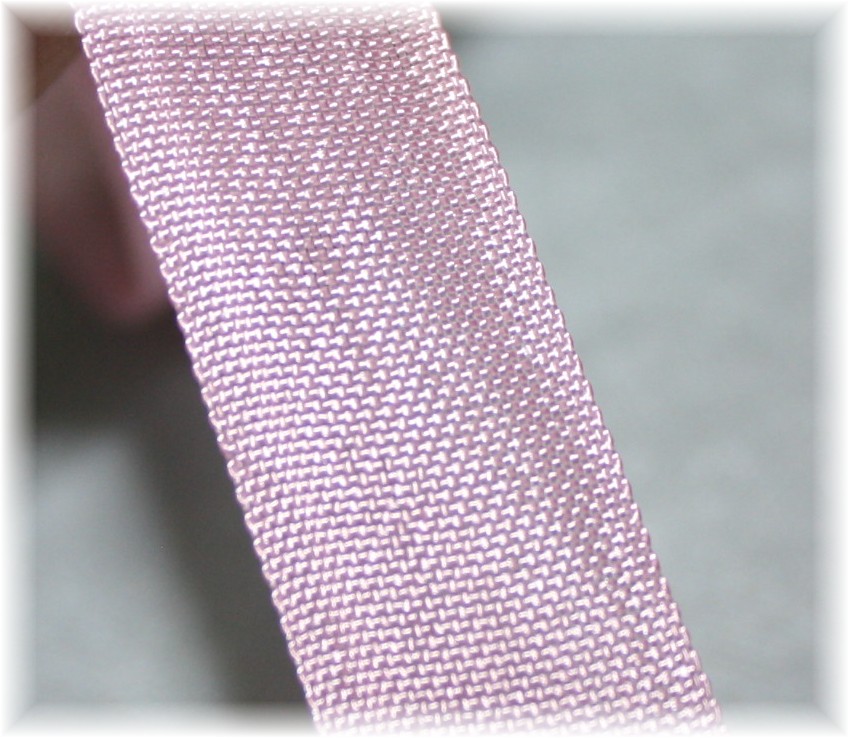
There are so many sewing products on the market, it can get overwhelming trying to decide which ones to try. Here is one for you … Hug-Snug Seam Binding. Take a look inside some of your nicer pants and skirts, you will often see a rich looking ribbon covering the hem allowance edge. Hug-Snug is probably the ribbon you see. This ribbon is 100% Rayon, has a satin finish and it comes in a TON of colors.
Regardless if you are sewing a garment from scratch or doing alterations, this is a fast, professional looking hem and it’s really easy:
Press up the hem. Working on the right side of the fabric, align the ribbon over the raw edge of the hem allowance.
The edge of the fabric should land in the middle of the ribbon. Stitch along the edge of the ribbon. (I am using contrasting color ribbon and thread so it’s easier to see :))
The above photo shows the single stitch line and how the ribbon covers the fabric raw edge.
Attach the ribbon all the way around the hem. When you get to the end, trim the ribbon leaving 2″ – 3″ extra.
Stitch just past the starting point …
… fold under the end of the ribbon, enclosing the raw edge of the ribbon.
Turn the fabric and stitch the folded edge of the ribbon in place.
The ribbon is attached, covering all raw edges. Hem the garment as usual, using the edge of the ribbon as the hem allowance edge. The ribbon is so much thinner than fabric and really makes a perfect blind hem! Below I am using a blind hem machine:
Notice how the ribbon edge is connected to the garment, finishing the hem. If using the blind hem stitch on a sewing machine or hand-stitching the hem in place, do the same thing; connect the edge of the ribbon to the fabric.
I told you it’s easy! Again, Hug-Snug Seam Binding comes in a ton of colors:
I borrowed this color chart from WAWAK SEWING SUPPLIES. In fact, if you want to give this product a try, WAWAK is offering 10% off until March 31st.
How are the jeans coming along for the wardrobe challenge? Don’t forget to upload your photos to the Flickr group, there are some really cute outfits showing up 🙂
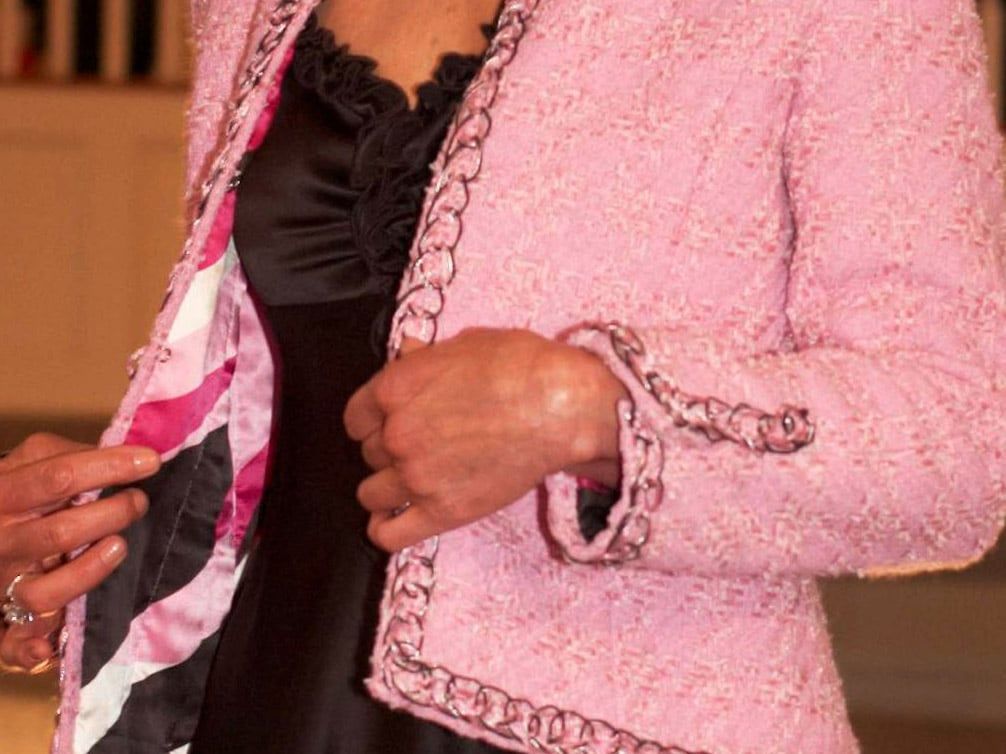
Sewing jeans are really easy once you get the hang of the process, but fitting the pattern can be challenging. The next few posts are going to deal with exactly that, fitting various body shapes. This pattern alteration is needed if you have a fuller stomach, in the old days referred to as an apple shape. Although, I am not sure where the fruit terms originated from, I really don’t like them. I would rather be a glass! Wine glass, red wine glass, martini glass, goblet, water-glass, I think you get the idea. It just sounds a little more glamorous than an apple or pear 🙂 Anyway, if you made up a jean muslin and the pattern fit great in the legs, hips, and tush, but you just can’t get that center front closed … here you go:
Fitting a Jean Pattern for a Round Stomach
1. Tape the front pocket in place. Start by drawing lines on your pattern (don’t cut yet):
Draw a line (green) across the hip and up to the tip of the side seam.
Draw 2 lines (purple) perpendicular to the green line,
2. Cut along the green line, cutting up to the side seam put NOT through the edge.
3. Slide the pattern open. Look what happens, you just gave a little more room in the front tummy area in the width and height of the pattern.
4. The upper waist curve is too extreme if left like this. Cut each purple line, down to the green line, but NOT through it. Slide each line open until the waist curve angles down more like the original pattern.
5. Redraw a new waistline and center front crotch curve (red line).
If you are having difficulty redrawing the front crotch curve, slide the pattern back together. Mark the bottom edge of the facing area and trim off the front fly facing. Follow all the steps and then tape the front facing back in place once the new center front is drawn in, lining up the facing with the marking on the pattern. Draw a line extending the facing up to the waistline ( I used this pattern piece, because I knew someone would ask about that).
Here is your new front pattern piece, use this for the front and left, of course one will have a front facing section and the other will not. This is the same alteration for any pant style when you need a little more room in the tummy area.
How are your jeans coming along for March’s wardrobe challenge? The judges are almost finished with February’s winners, hope to announce them this weekend.
Looking to stock up on jean sewing supplies – zippers, jean thread, jean buttons … WAWAK Sewing is offering $10 off the next order of $80 or more! This offer is good until March 31st, use PROMO CODE: WAGW314 when checking out. What a great treat for the jean challenge! Thanks WAWAK! 🙂
That’s all for today 🙂 Sun is shining and snow is melting, thank goodness!!!!
This is my new DVD with Threads Magazine and this was a fun one. I took a basic pattern and teach you how to alter one pattern into 4 different styles. Click here for details and behind the scenes photos with the crew!
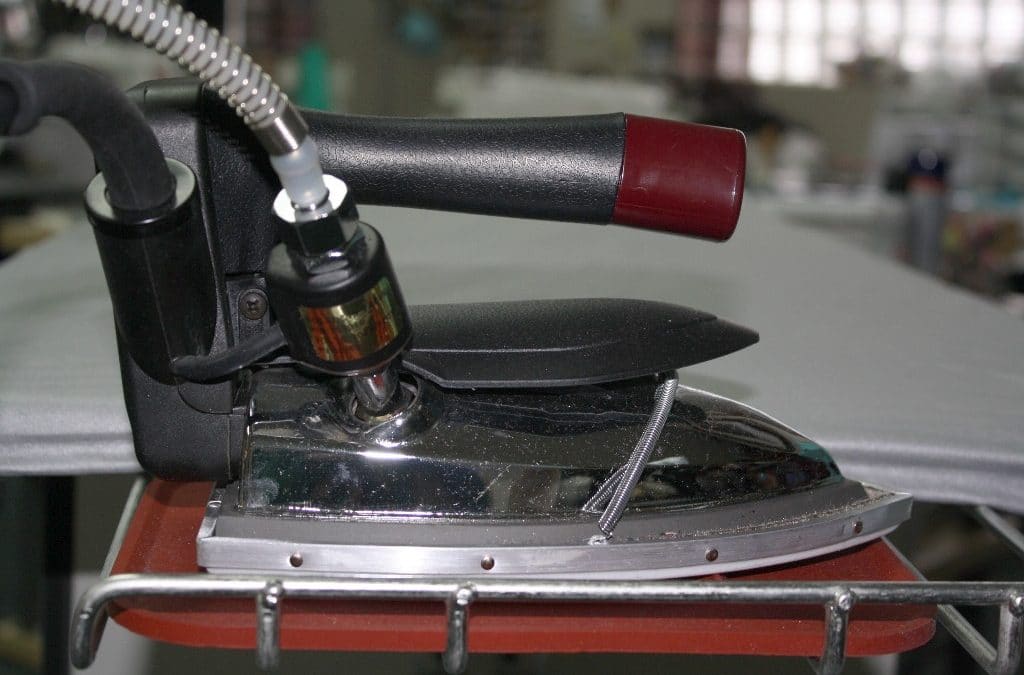
I recall a class I taught years ago, one of the students gave me a review “great class, she is a pressing fanatic!” Well, that is true. In reality, pressing is what makes your sewing look professional. I thought I would share how I have my studio set up:
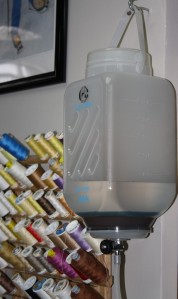
My all time favorite iron is the Hot Steam SGB-600 and I can’t believe how long I went without splurging on such a reasonably priced powerhouse steam iron. This iron plugs into a standard outlet (make sure to check that when researching commercial steam irons) and has a water container that holds almost an entire gallon of distilled water. The water container is attached to a wall and then the hose needs to hang from the ceiling or a high point. I have ceiling tiles in my studio and I am using clips that would typically hold a plant, I think I found them at Ace Hardware.
The iron came with the rubber mat, which is nice! I added the Iron Shoe which allows you press ANYTHING and it won’t leave shiny marks – even on cheap satin and poly! I will share more about that later.
One more thing, this iron has a powerful burst of steam and it DOES NOT leak, yeah! Have you ever ruined fabric from a leaky iron? Um, this brings back a memory … years ago, I was making a custom suit for a client. Just visualize a rich colored brown fabric – silk, wool blend. My iron was having a bad day and a few drips (or I should say a burst of drips) later the suit ended up in the trash. Very expensive fabric, but I couldn’t get the spots out! I have had this iron for quite a while and have never had as much as a drop.
Did I mention, I can’t stand irons that automatically turn off! What a waste of time, it’s never hot when you need it. That being said I do keep around a couple inexpensive Rowenta’s for applying interfacing. They are easy to clean, very hot, and don’t usually leak (I say that with a squint in my eye as every iron seems to have its own personality, although out of about 30 Rowenta’s I only had 2 that dripped and 1 that caught on fire – another eventful day in the studio!).
Tip: keep a tube of Ez-Off Iron cleaner around – perfect for removing interfacing gook!
Do you have a favorite iron or a dripping horror story to share?
I am thrilled to see all of the excitement for my 2014 Wardrobe Challenge! The month of January is so full of new years resolutions, crazy weather and catching up from the holidays, I wanted to make this month’s challenge simple and fun. All you have to do is create a Pinterest board “wardrobe challenge 2014” and pin photos that inspire you. This is not a trick, just post anything that inspires you to design and sew, this can be absolutely anything. Ideas: colors, animals, architecture, food (that is the downfall of pinterest, everyone posts such fabulous looking food, I swear I can smell it through the computer screen!) Pin something from each sponsor – that can be a repin from their pinterest board or pin something from their website and leave a comment here or on my pinterest board with a link to your new board. In case you need the links to the sponsors here they are again: Brother, Threads and Sew Stylish Magazines, WAWAK sewing, It’s Sew Easy, Angela Wolf Patterns, and some of you couldn’t find my pinterest page. Again, if you need an invitation to pinterest email me info@angelawolf.com. For more details on January’s Challenge, there is still a week to enter, then we move on to February’s challenge! Good Luck 🙂
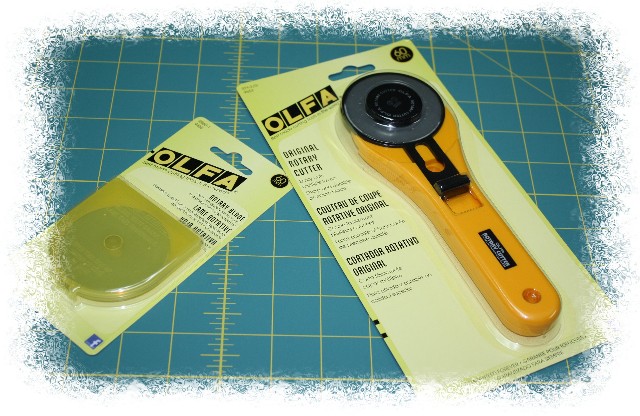
Olfa 60mm Rotary Jumbo Cutter, Replacement Blade, and Cutting Mat from WAWAKsewing.com
Now, onto a quick time-saving tip. When I sit down to sew, there are a few items that I quite often need and I find it faster to prepare these in advance. One example is fusible interfacing: hemming jacket sleeves, plackets, zipper placement, bound button holes, these are just the first few areas I need the interfacing and to get up, unfold the interfacing and cut 1 strip is a total “time sucker”, my new word for the year! For jacket hem’s I typically use 3″ to 4″ wide strips of interfacing and for the zipper placement 1″ to 1-1/2″ strips.
This is light-weight fusible interfacing (HTC fusi-knit) and with two layers you can still see through the interfacing to line up the 1″ grid on the Olfa cutting mat.
Keeping the grainlines and stretch of the interfacing in mind:
cut strips parallel to the selvage 28″ long by 1 1/2″ wide. The most common use for these strips is to support the center back seams on a dress when inserting a hidden zipper (I am hooked on sewing dresses lately!) and it is rare that I would need longer than 28″ for a zipper.
cut strips perpendicular to the selvage 4″ long by the width of the interfacing (in this case 22″ wide). These strips are perfect for re-hemming jackets and sleeve hems. If you do alterations, this is really a bonus to have these cut strips on hand.
Store these strips in a photo box next to your sewing station and you are all set!
A few tips on the rotary blade:
Always clear your cutting area from pins! It always amazes me how one little dent in the blade can ruin the cutting, but it is true. Maybe it’s not quite as noticeable when cutting thick fabric, but try cutting bias strips of silk chiffon. If the blade is damaged, even in the slightest bit, the cutting is fragmented and you end up cutting the strips over with scissors. Pain in the tush 🙂 I used to try to sharpen the blades, but seriously I am trying to save time not cause more work. The blades are not that expensive, especially this month they are 25% off at WAWAK sewing, time to stock up for a few months! The replacement blades come in a nice plastic container. As I am always fearful of throwing a blade in the trash, I use one of the containers to store bad blades. See the blue dot in the photo above, that dot tells me this package is bad blades. When its full, snap the container closed, add a piece of tape for extra security, and toss with no worries.
Lastly, take extra precaution and close the blade cover when not in use. It makes me crazy when anyone in my studio leaves the blade exposed when they are not using it! I have a pretty long cutting table and I am often grabbing bolts of fabric and sliding patterns around, one slip could end up being a bloody mess. Thankfully that hasn’t happened, but I have heard a few horror stories 🙁
My question to you – Have you ever tried sharpening your old blades and did you have any luck or do you prefer stocking up on replacement blades when a great sale hits?
Have fun filling your pinterest board, remember to add #wardrobechallenge when sharing your experience!


 Regardless if you are sewing a garment from scratch or doing alterations, this is a fast, professional looking hem and it’s really easy:
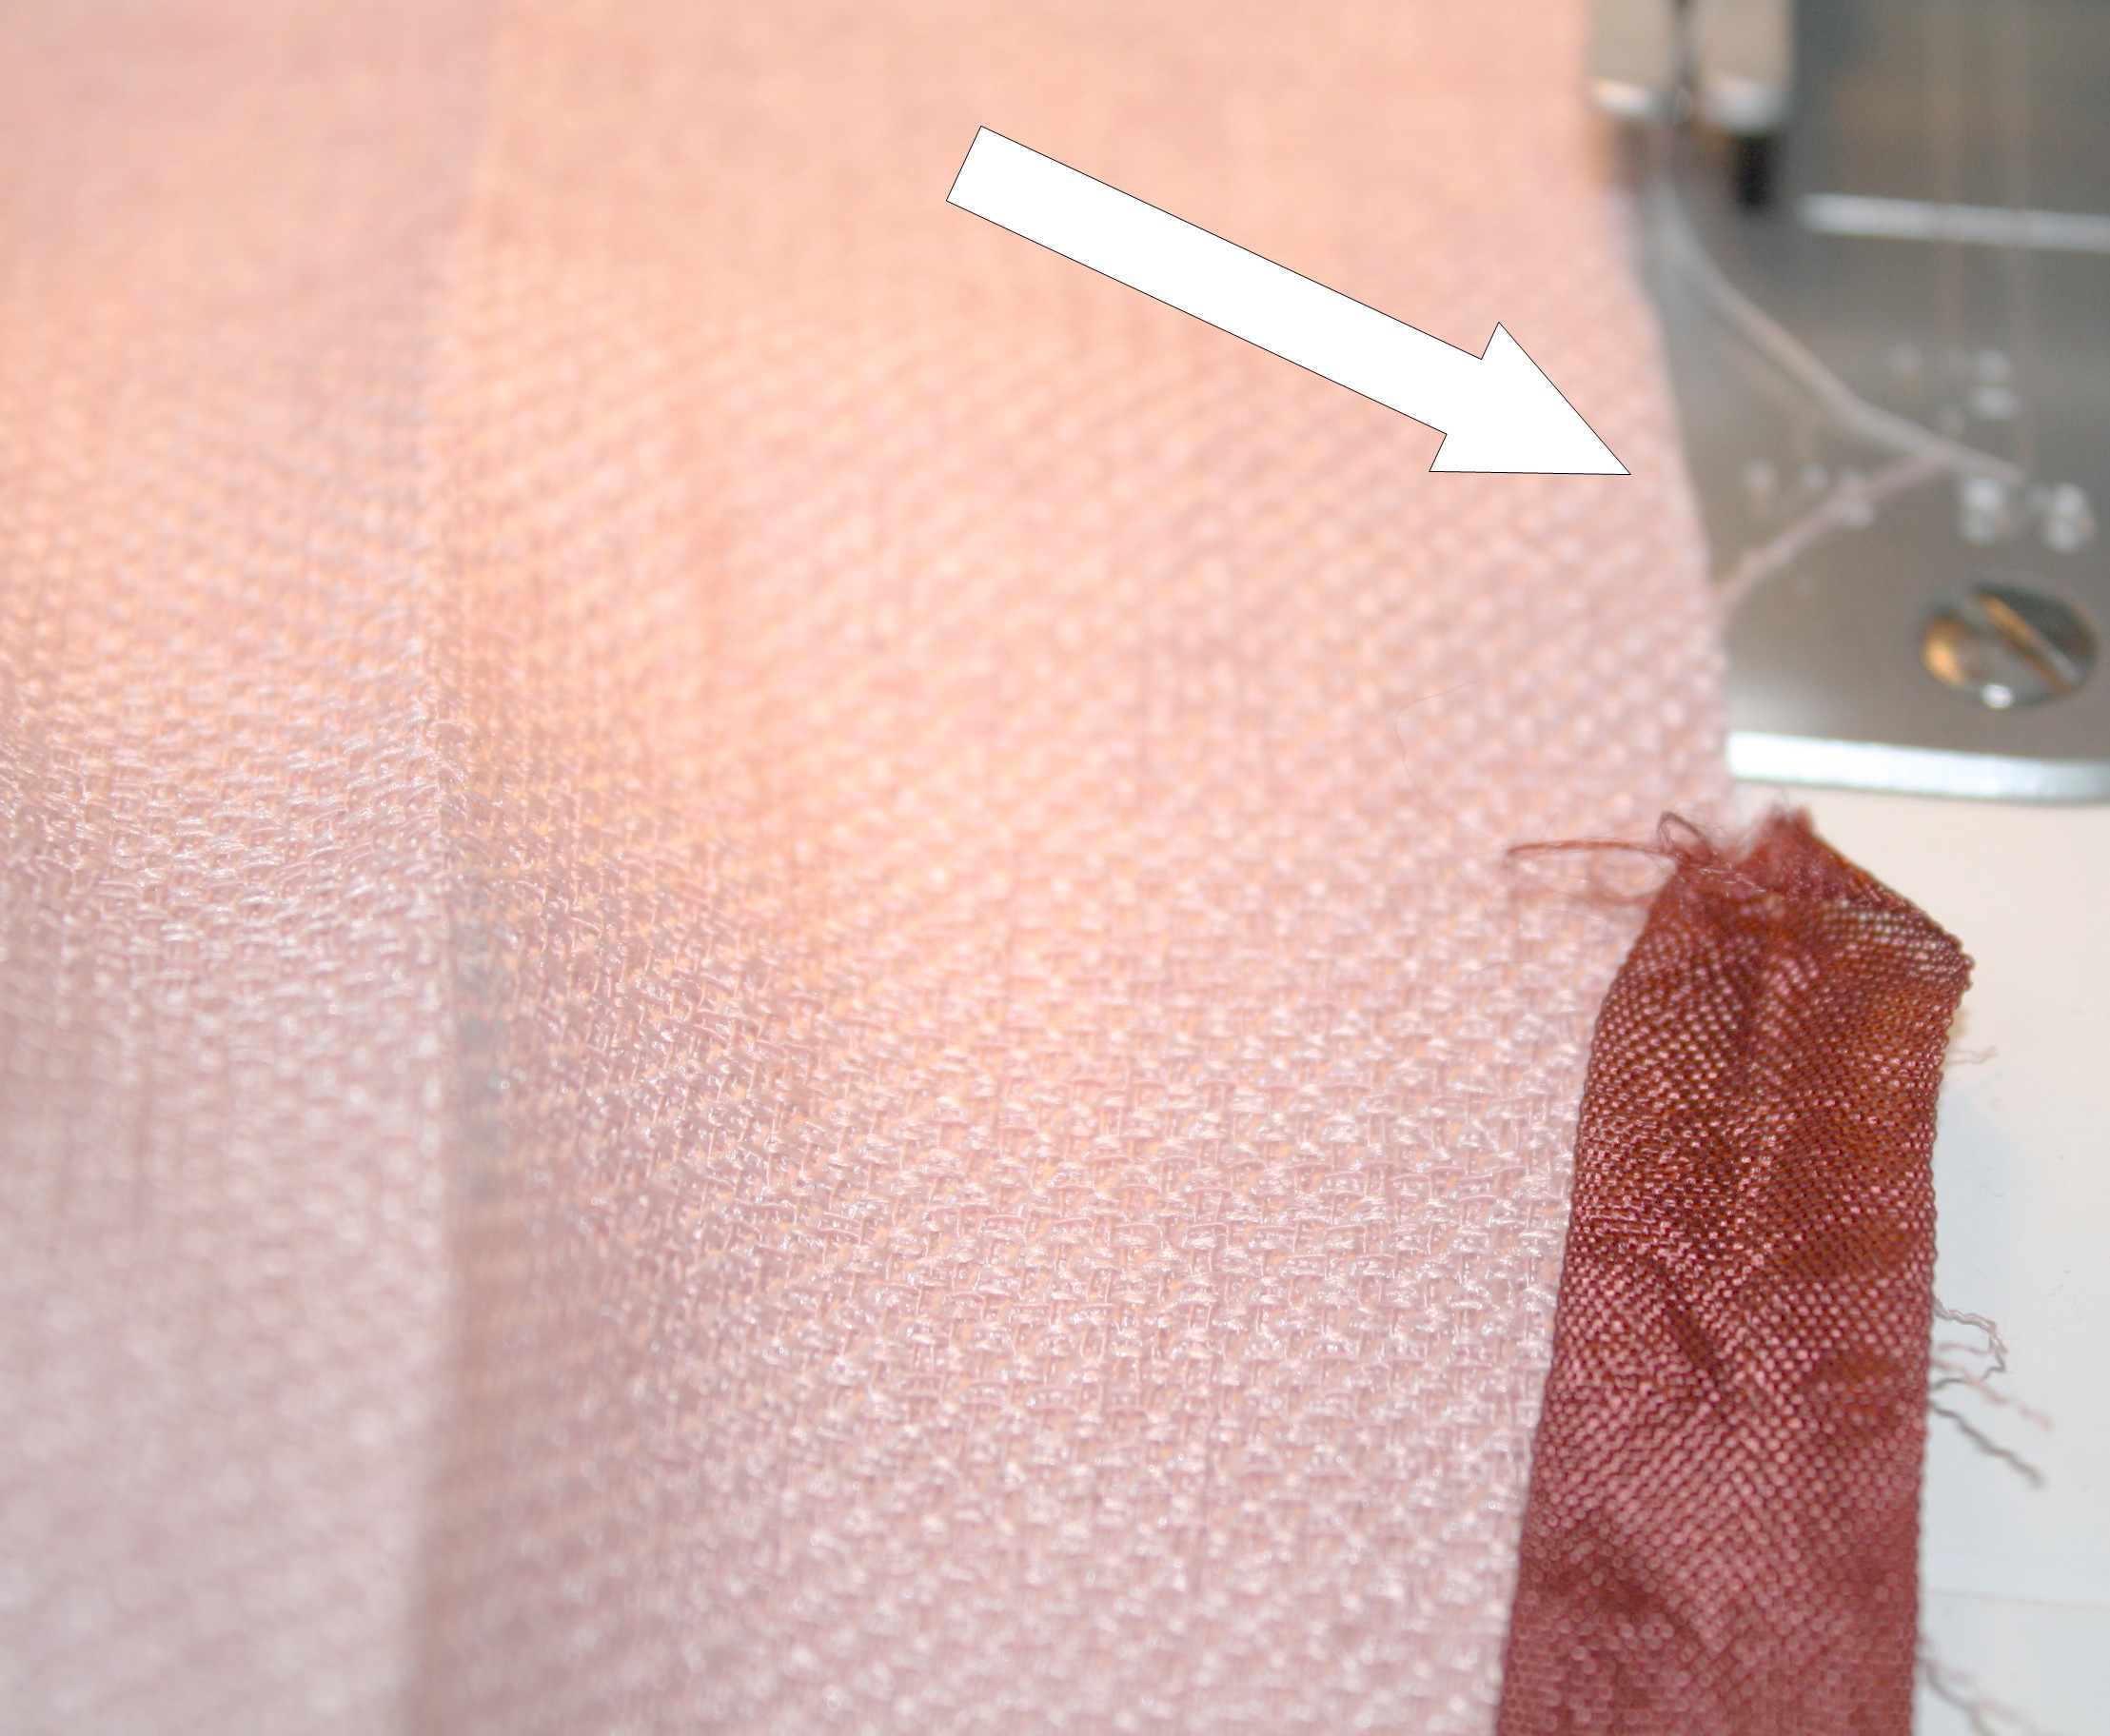


 2. Cut along the green line, cutting up to the side seam put NOT through the edge.