No Results Found
The page you requested could not be found. Try refining your search, or use the navigation above to locate the post.

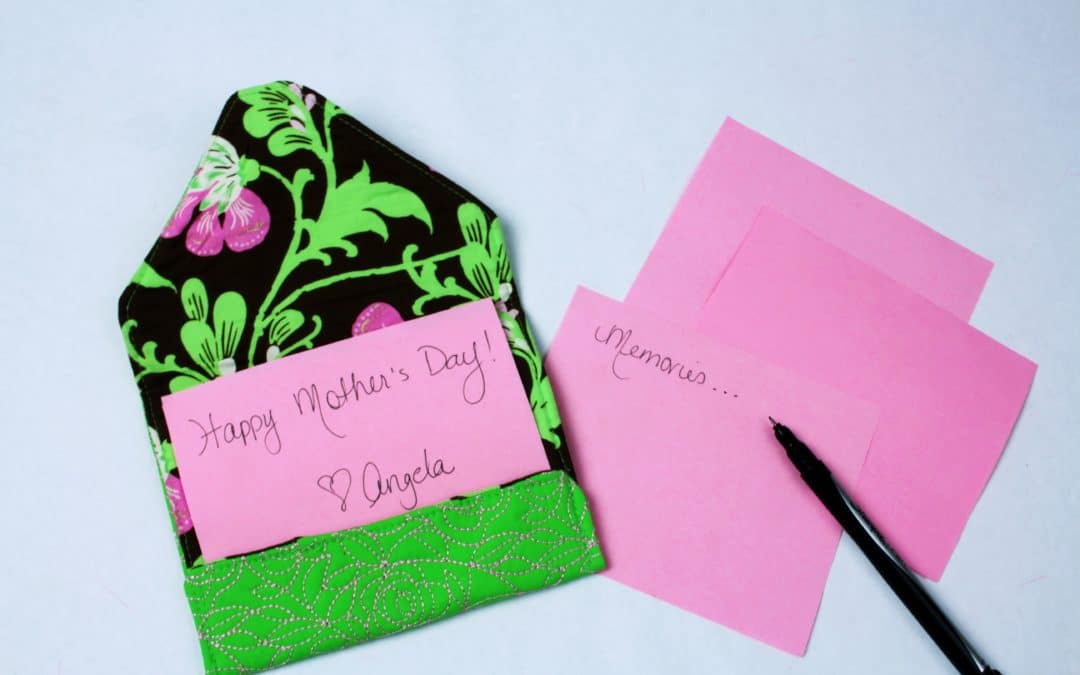
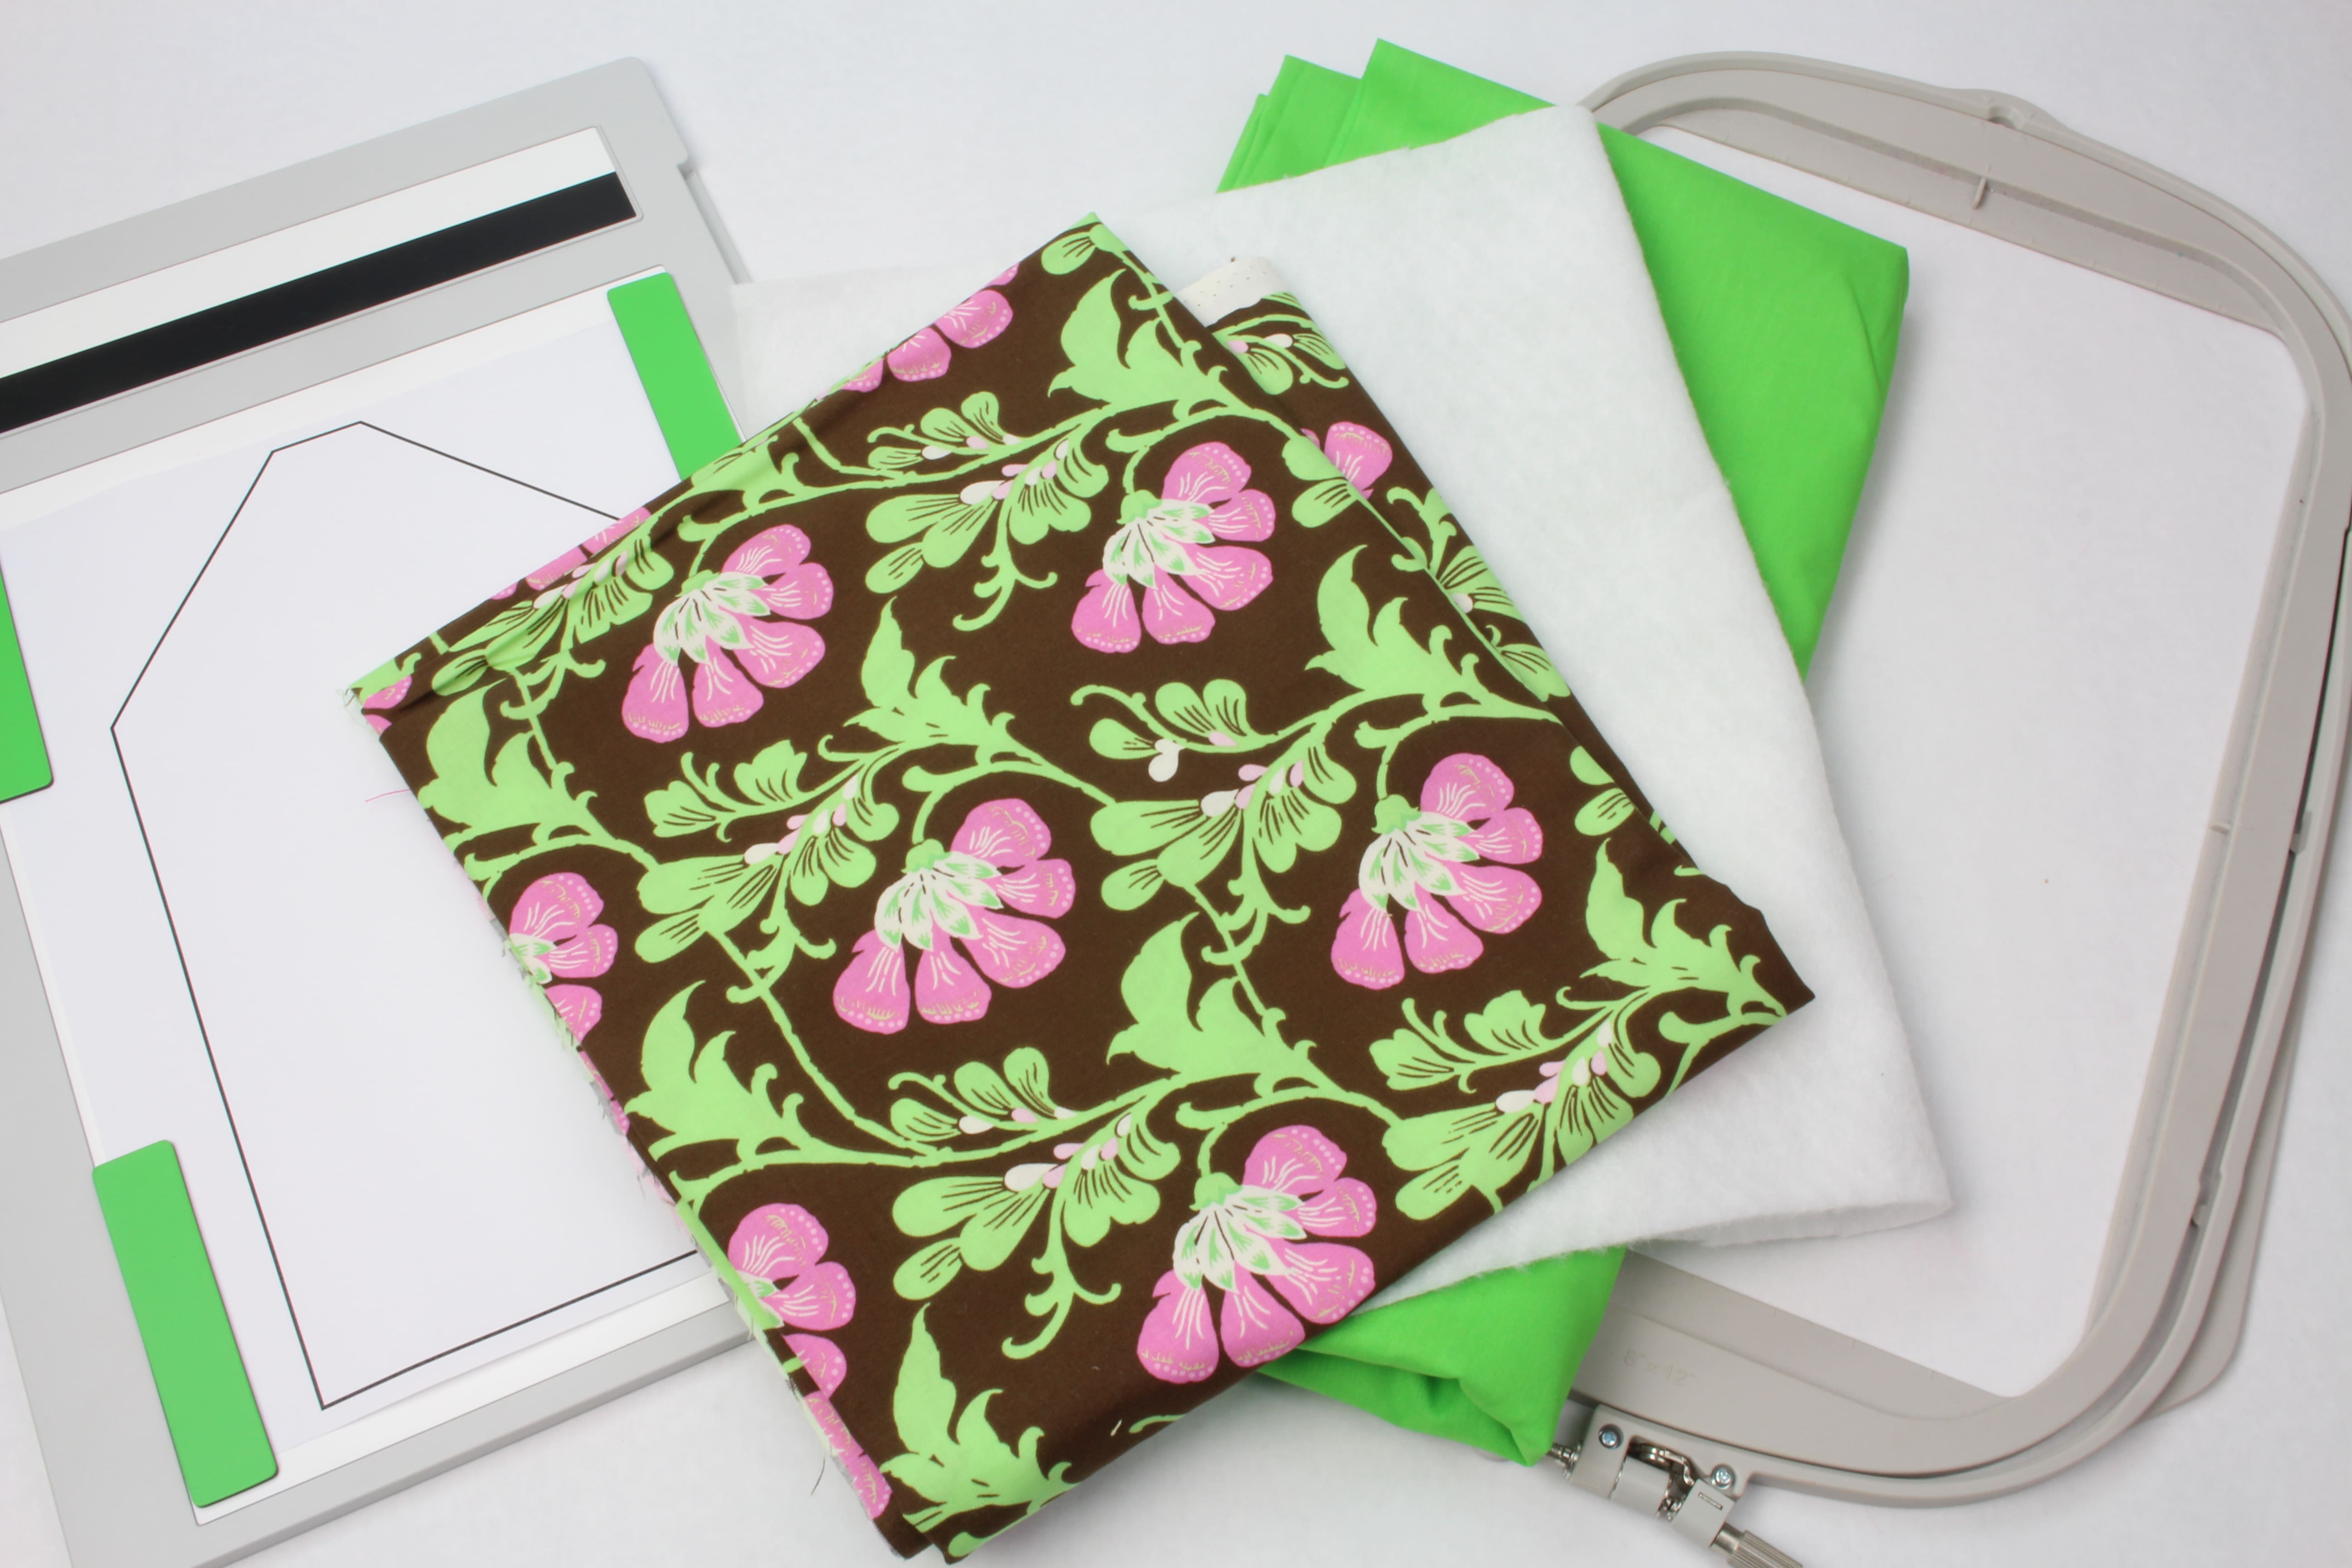
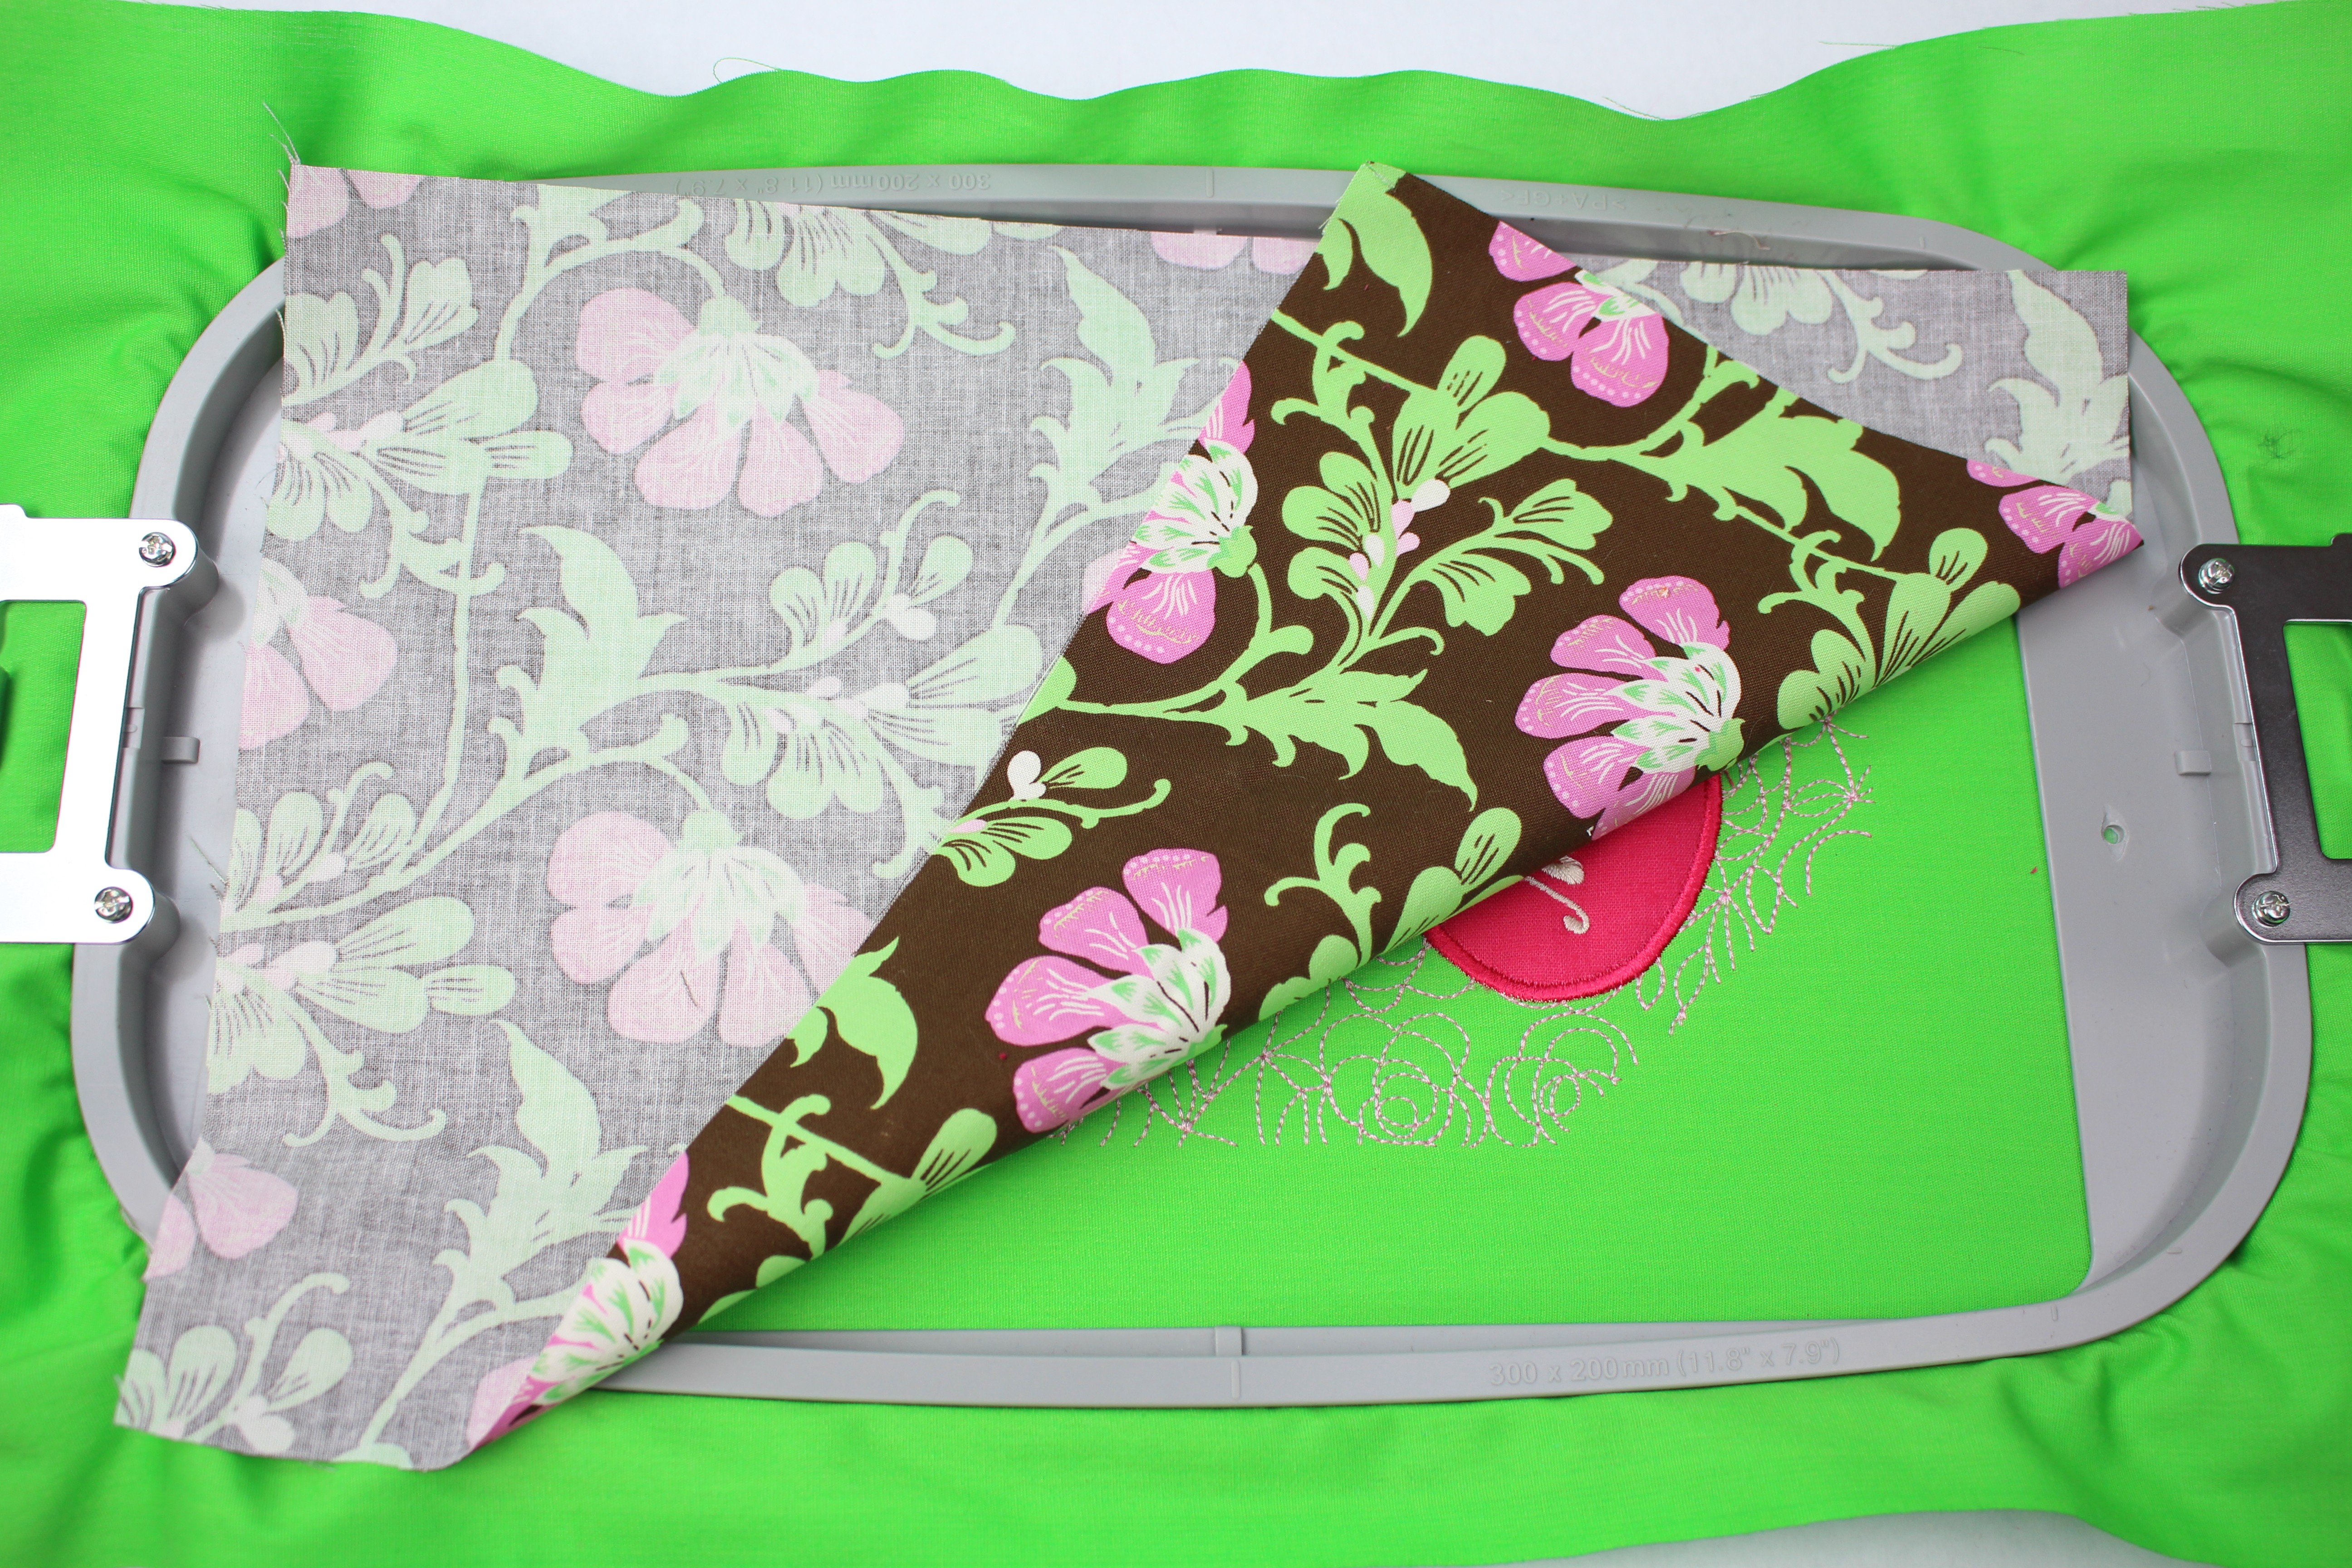
I was recently going through memory boxes and came across letters from a few people so dear to my heart that have since passed away. This made me think, I hardly write letters anymore! An email, text, and the occasional phone call – that’s the trend these days. With Mother’s Day coming up I thought this would be a perfect time to get the pen out. Even better, embroider a custom envelope Mom can keep the letters in ?
Each year I try to come up with something unique and personal to send my Mom on Mother’s Day. She love’s handwritten letters, so why not add a custom monogrammed envelope that she can keep the letters or use for something else – maybe to hold makeup or coupons. Something small she can carry that will remind her how special she is to all of us kids ♥
This project is very easy and only takes about 30 minutes (even faster if you are on the Brother 10-needle)
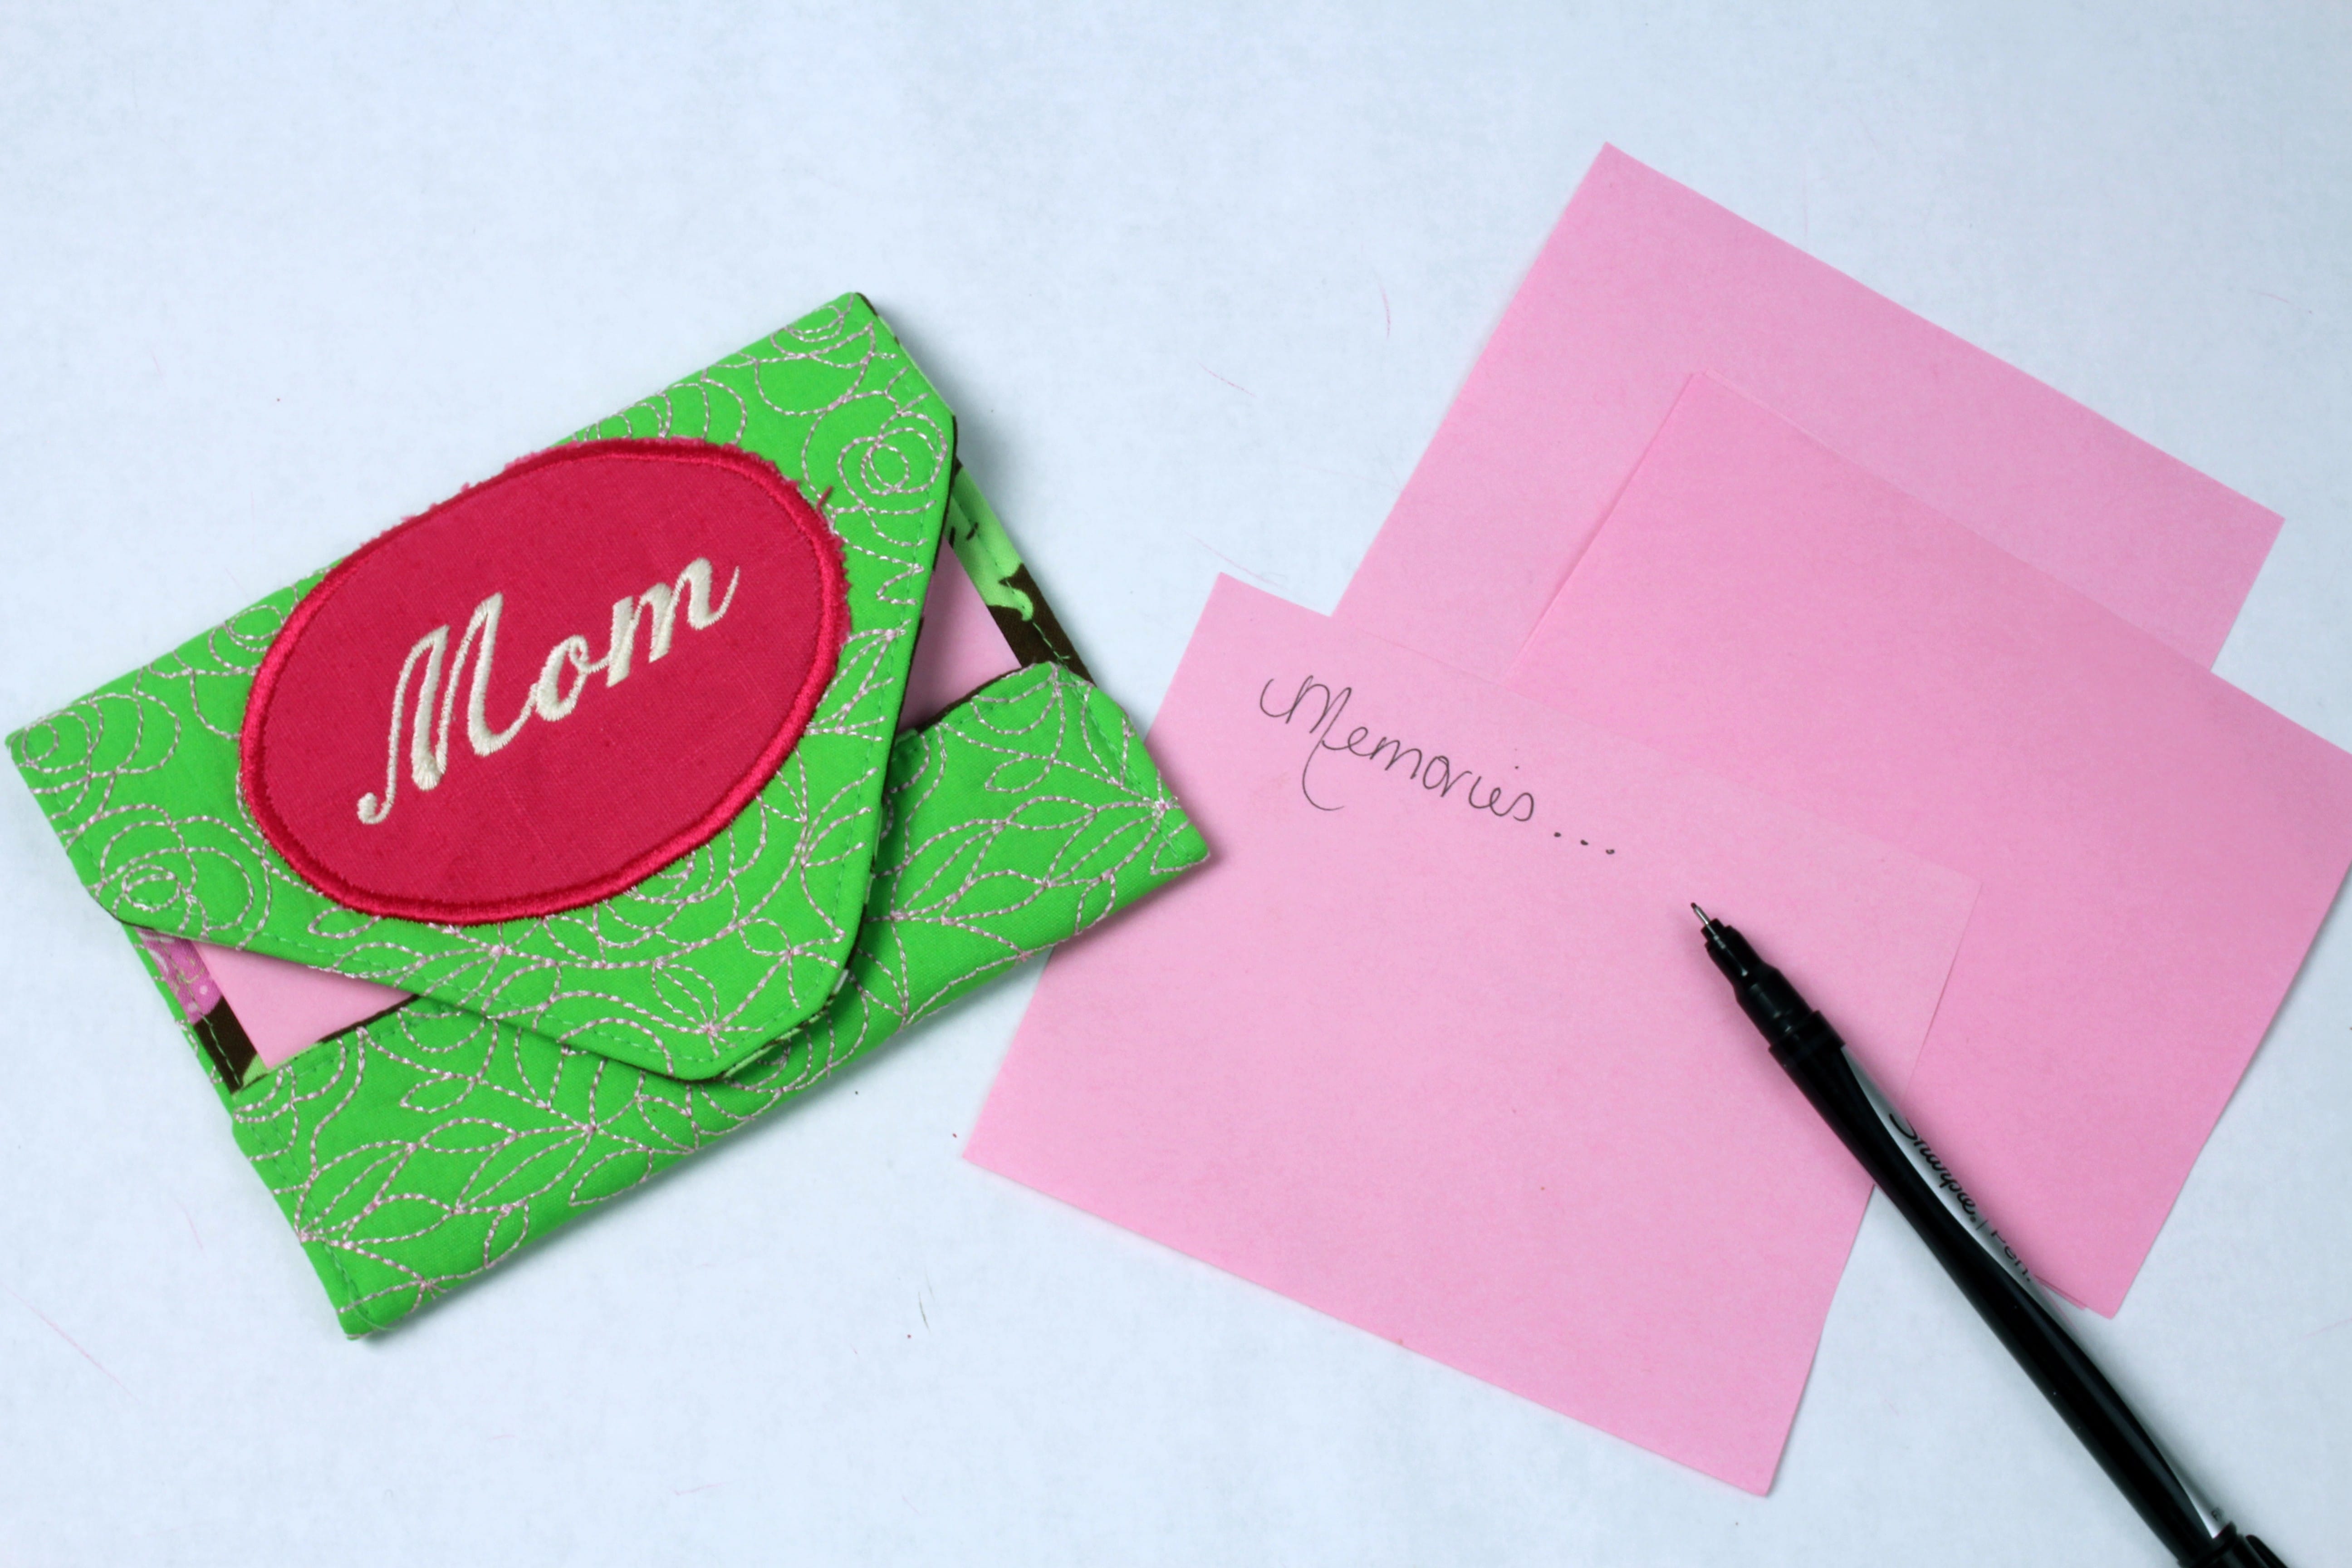
To read the full blog, head over to my post as a Brother Expert Consultant on the Brother Stitching Sewcial. This envelope is a cute idea for any gift, now I just need to add the personal note ♥Let me know what you think and be sure to share photos of your embroidered envelope. #brothersews #angelawolf
Happy Mother’s Day ♥

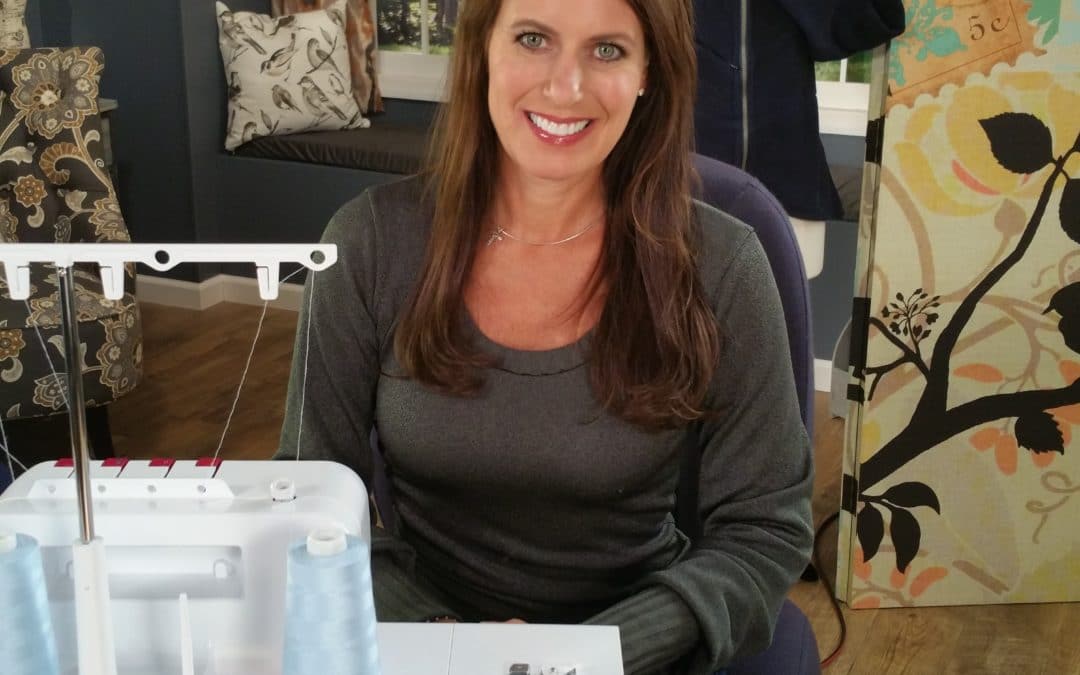
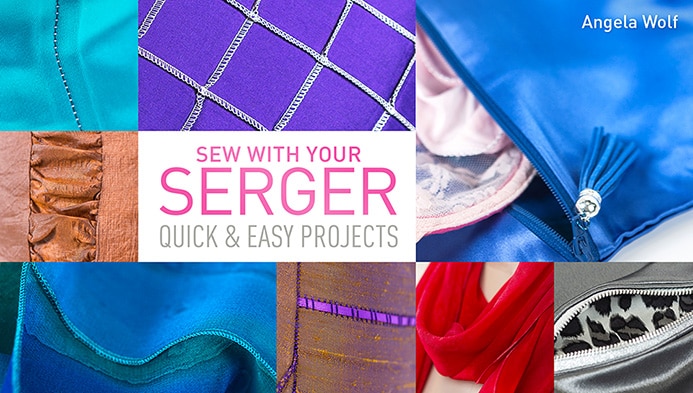
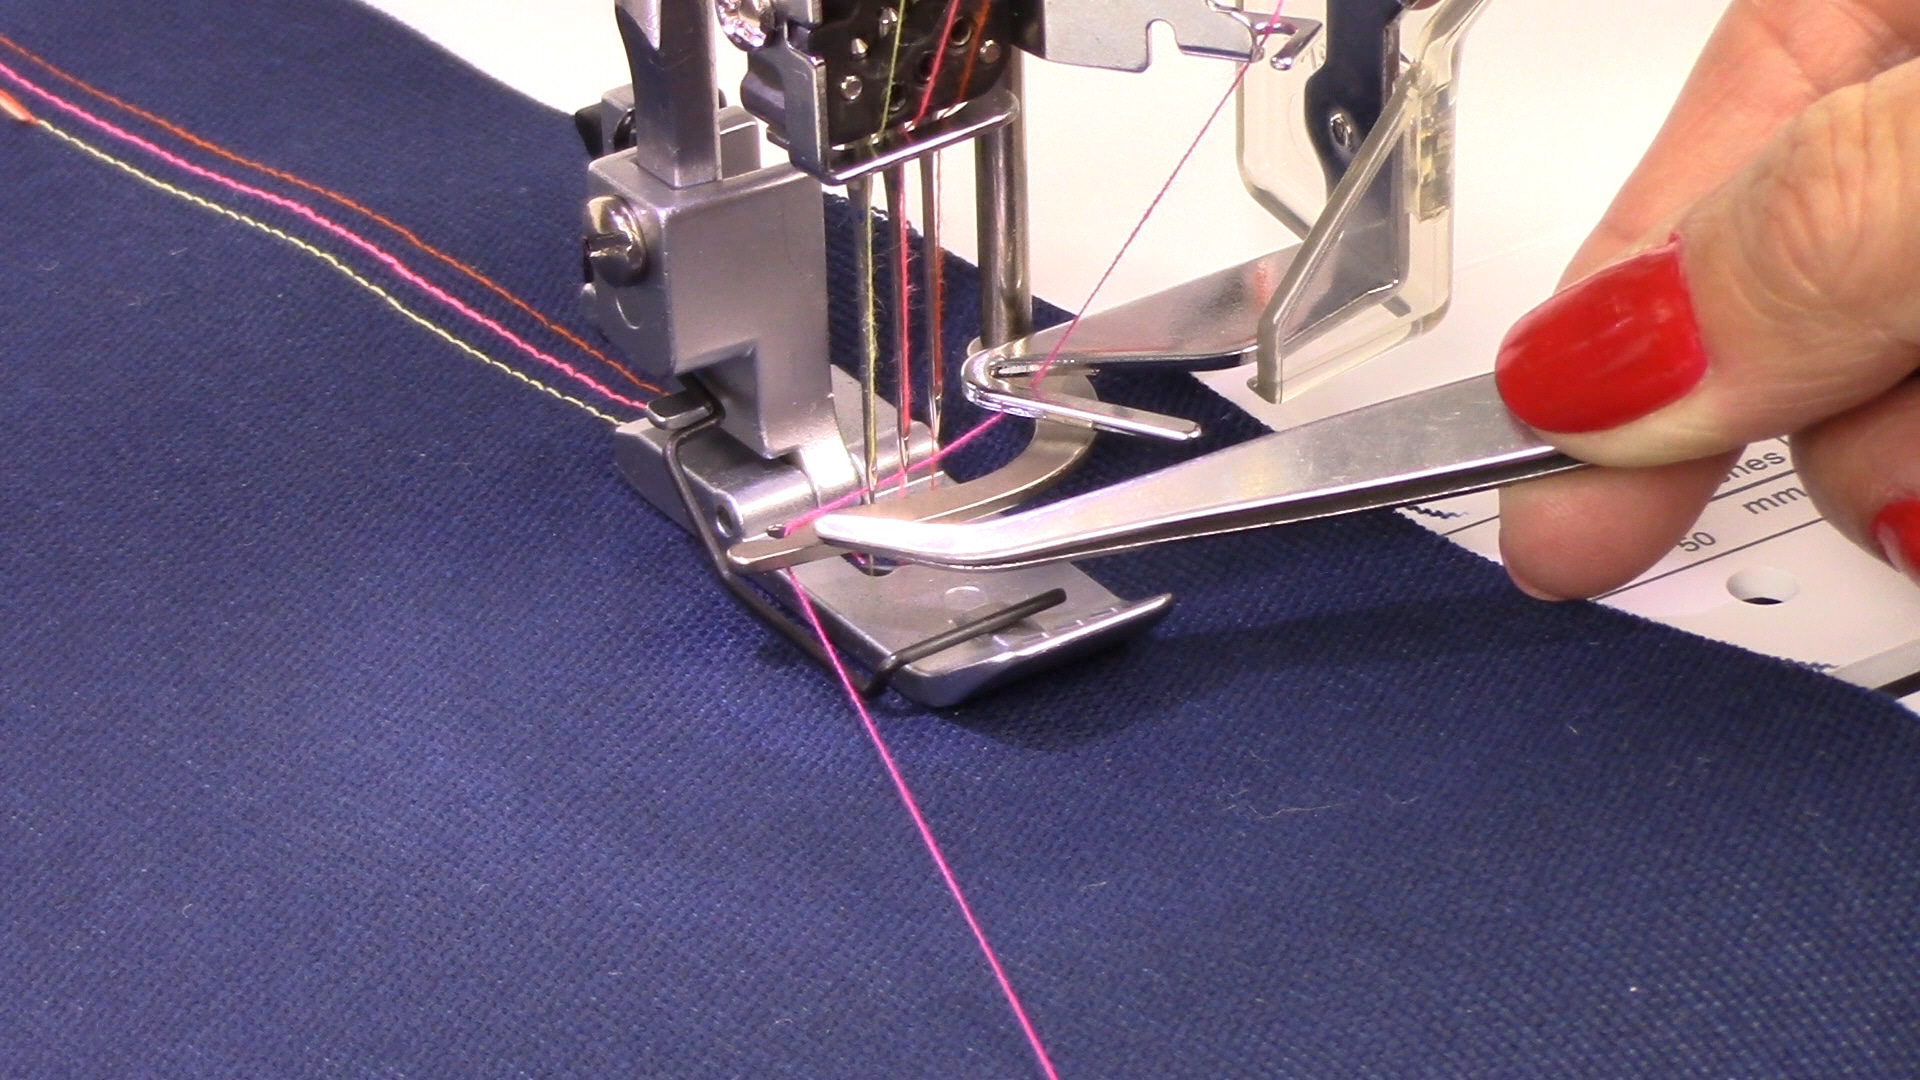
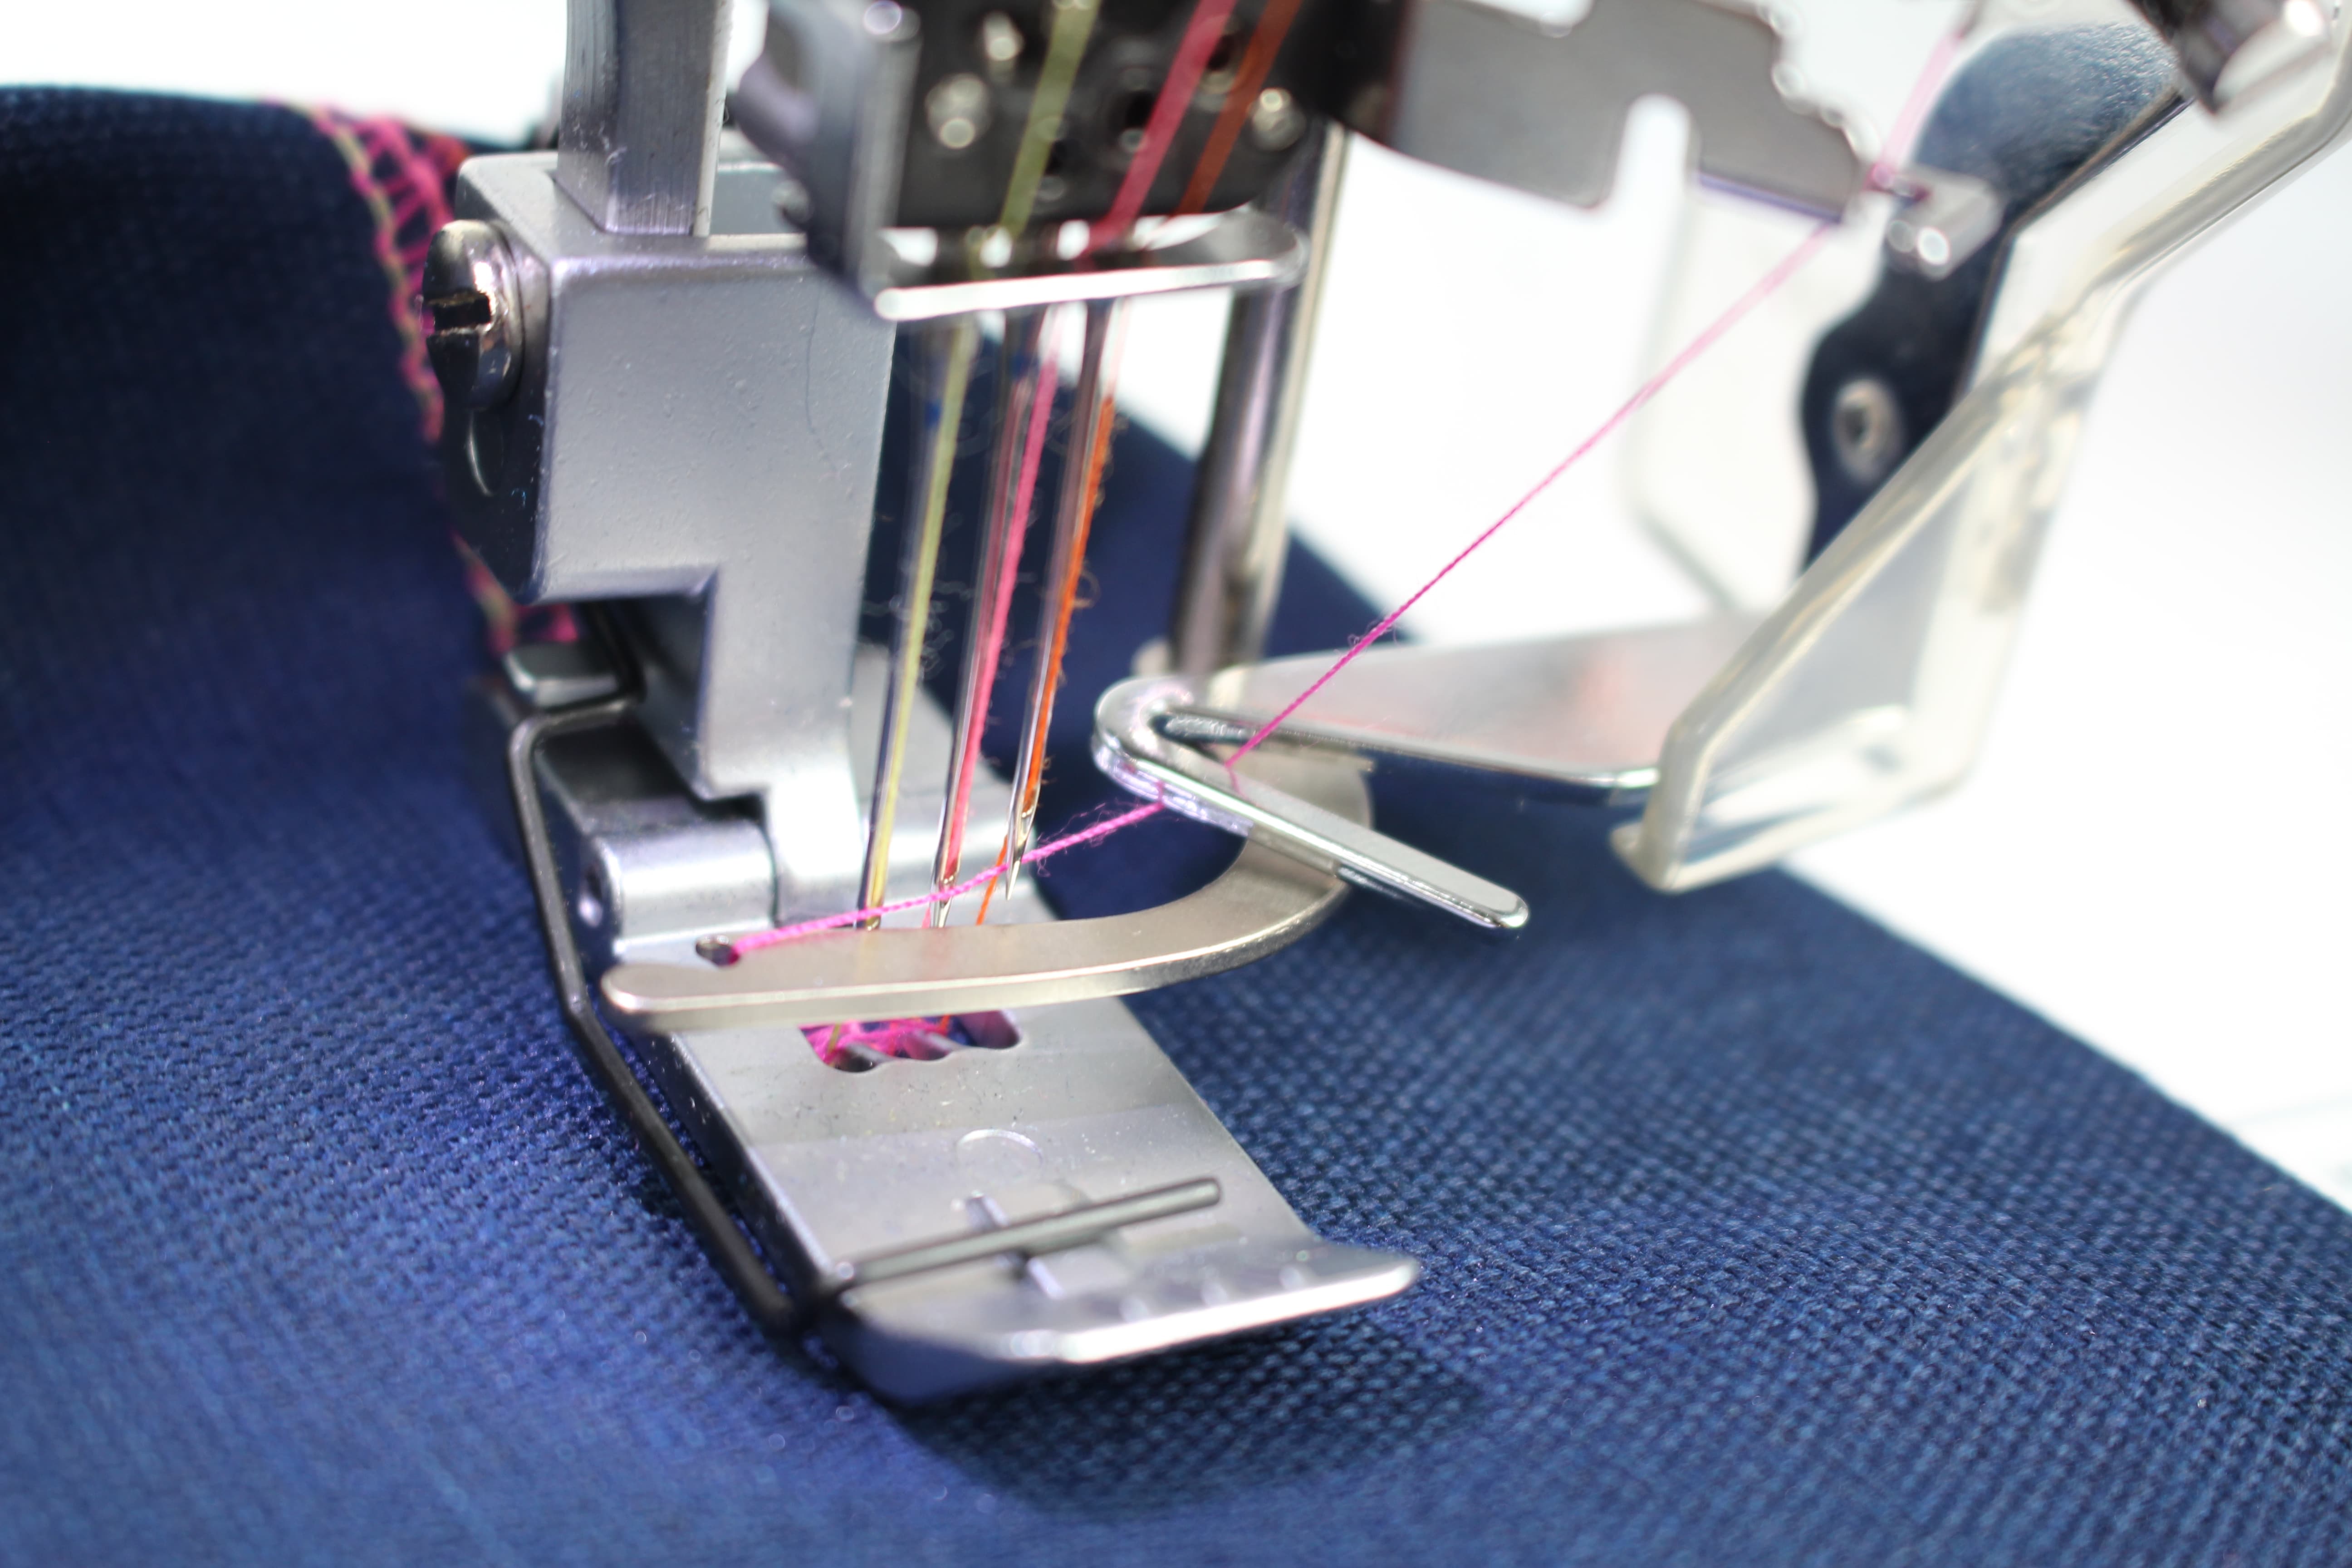
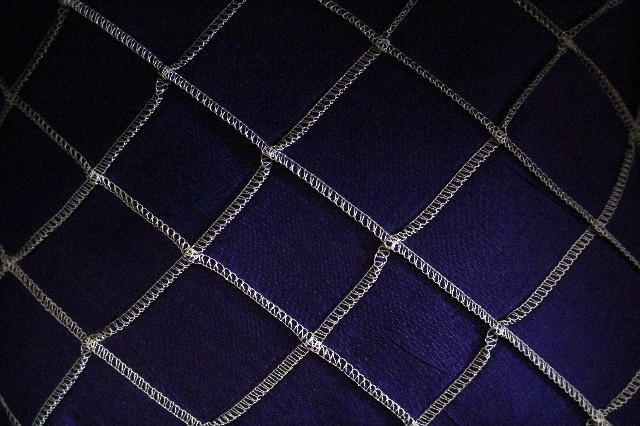
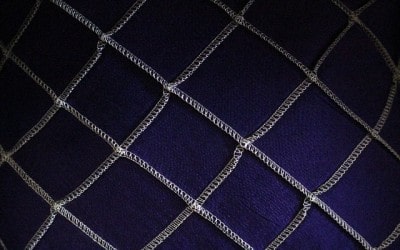
There are so many stitches we can do with our serger / overlock machines! You might recognize the flatlock stitch as seen on sportswear or a decorative stitch used to connect two pieces of fabric. This stitch is fun and easy to do!
Supplies:
Use the blind hem foot – alter the settings on the foot to stitch across half of the fabric.
Watch the It’s Sew Easy Episode below for details on where to position the fabric to create the flatlock stitch. Be sure to test the fabric and stitch before starting a project. Depending on the thickness of the fabric, the blind hem foot will need to be adjusted to the right or left for a wider or narrower stitch.
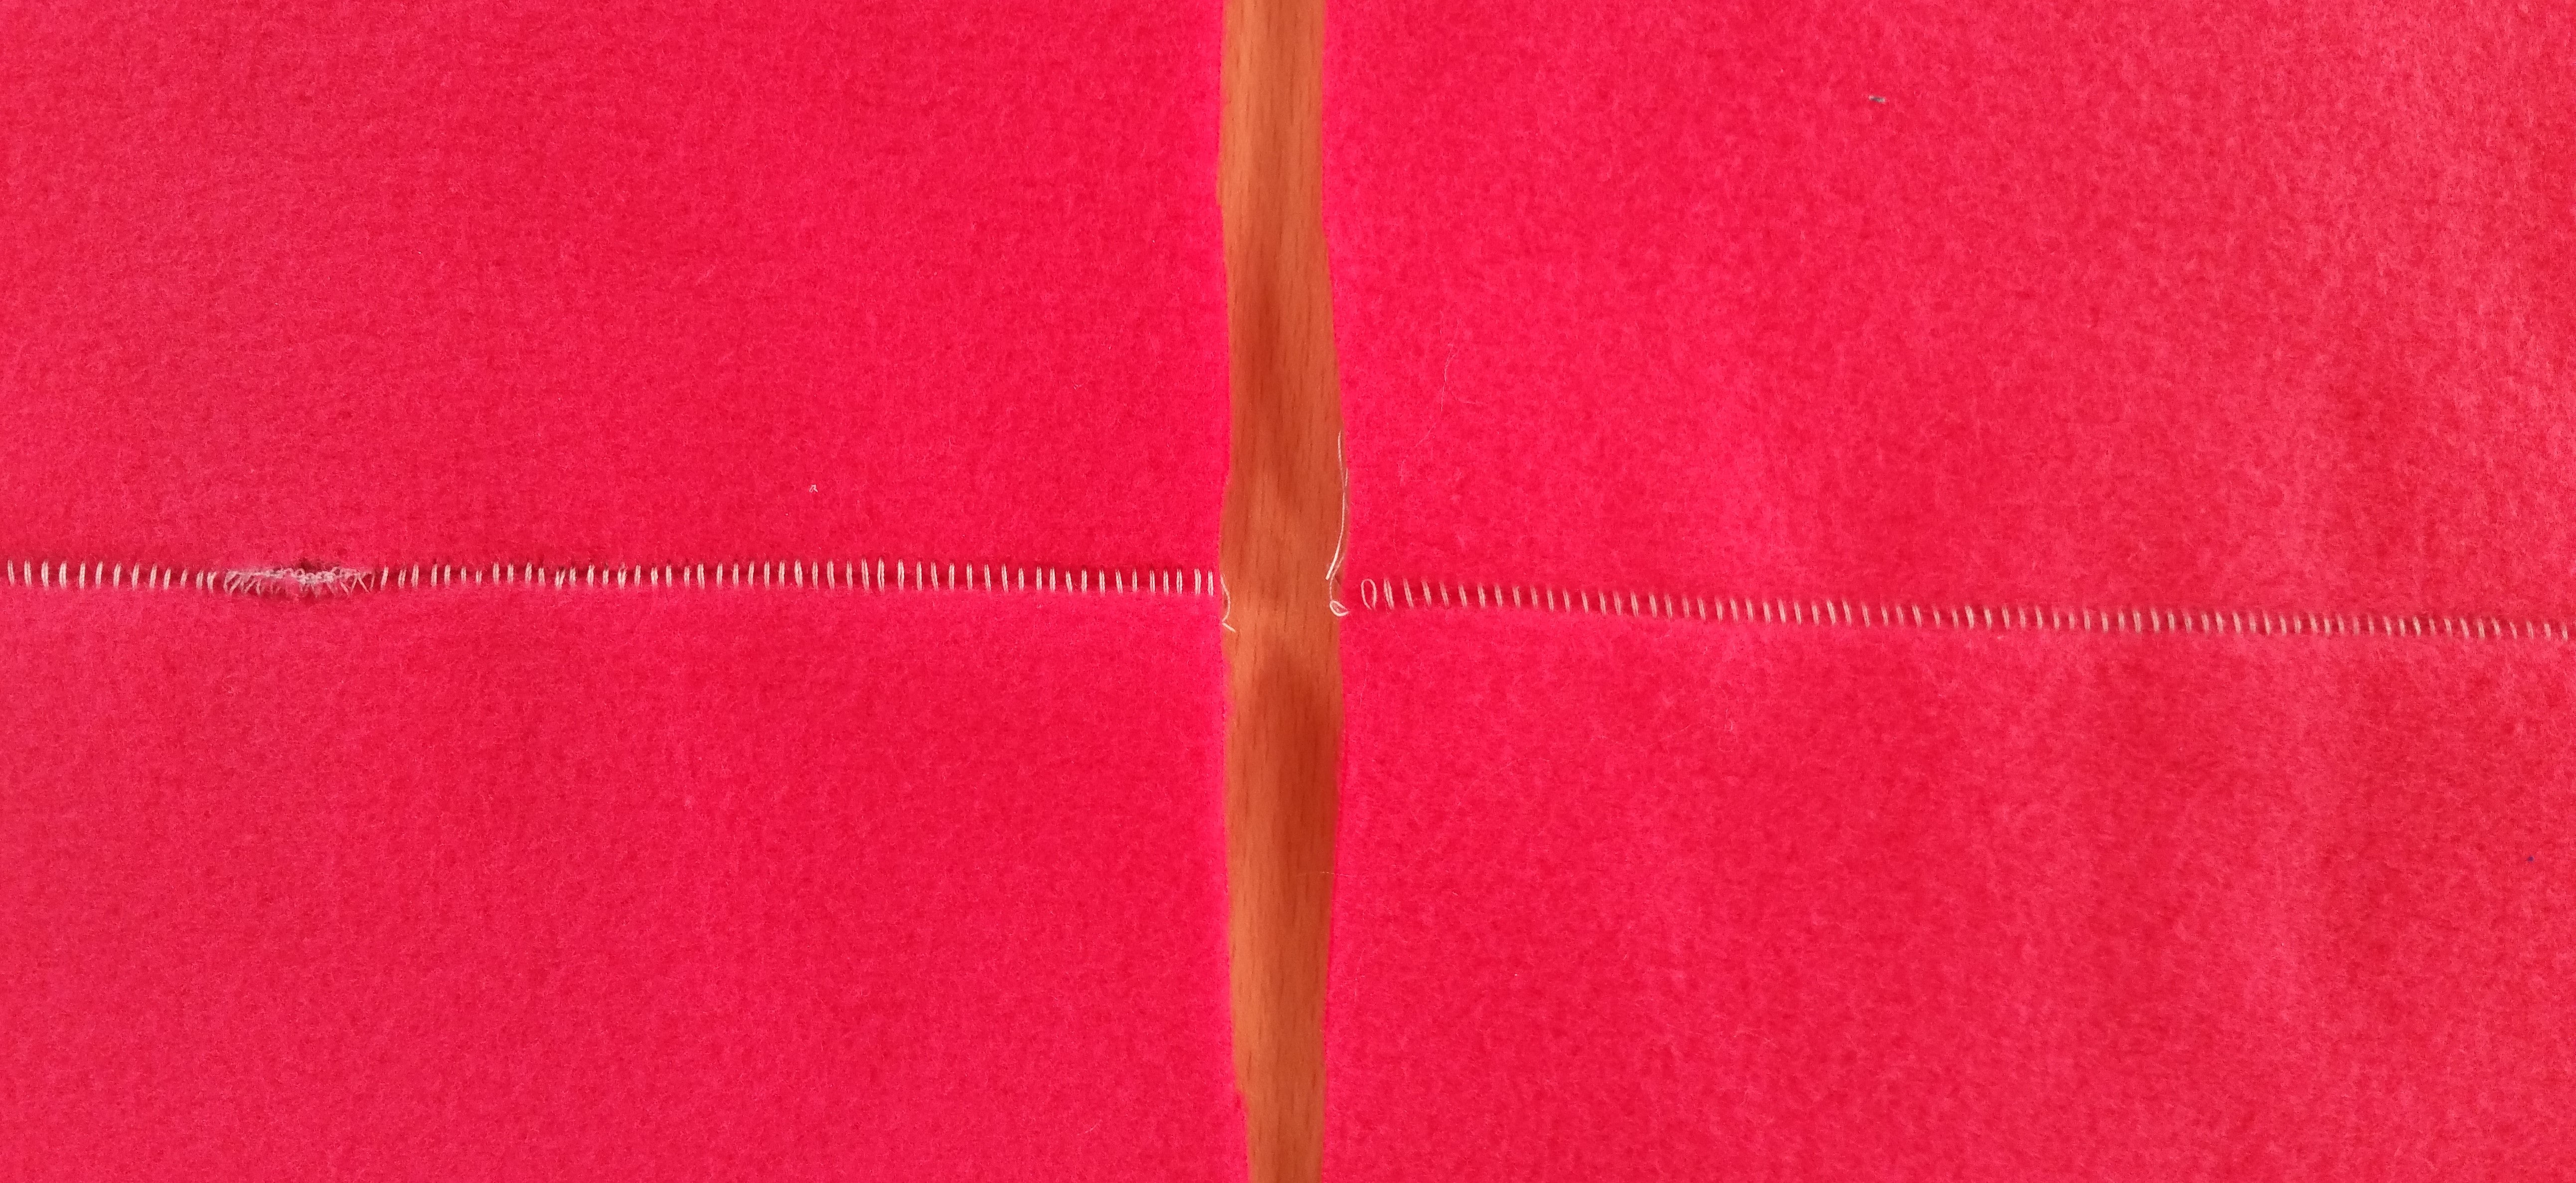
The photo to the left shows where the stitch width was too narrow and slipped off the fabric, thus creating a hole. The photo to the right looks much better.
Let me know when you try this stitch. I would love to see your creativity with this one 🙂
Cheers,

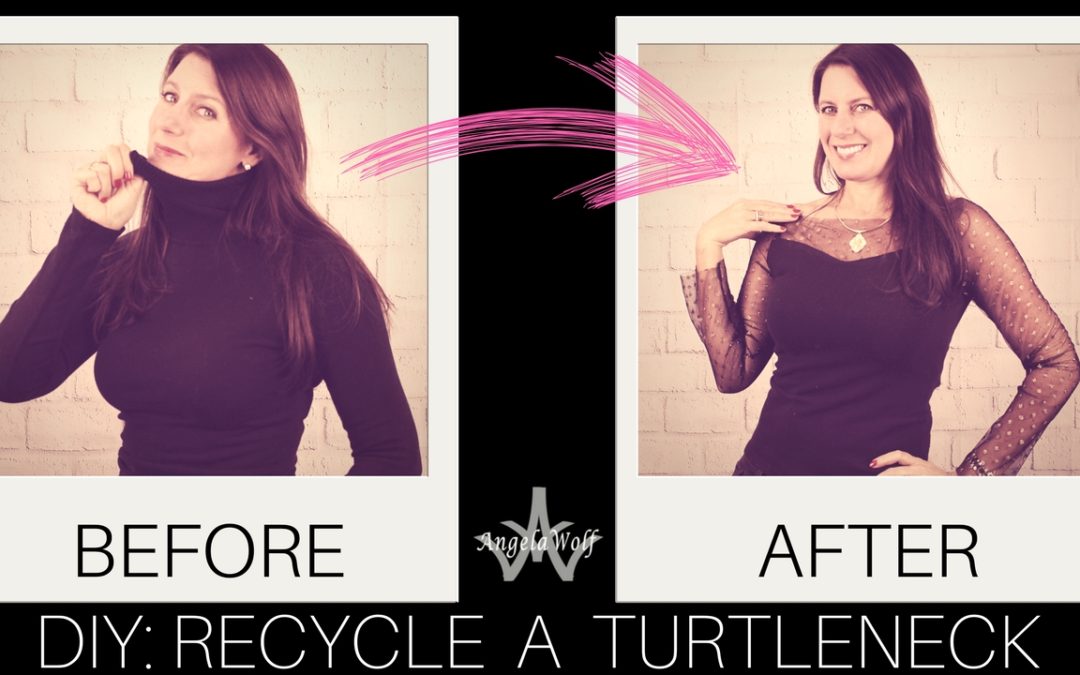

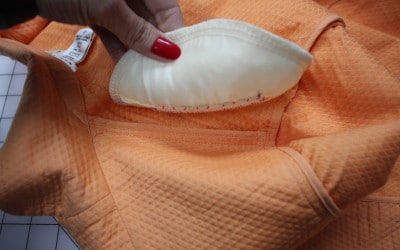
I have a few turtlenecks that are made of beautiful fabrics, but I can’t stand the high, tight neckline. Time for another DIY recycle project to makeover this sweater! The look of see through fabric, embroidered, and embellished tulle are so trendy right now – why not add a touch of glamour 🙂 I have listed all the steps here and included a video below with the full tutorial.
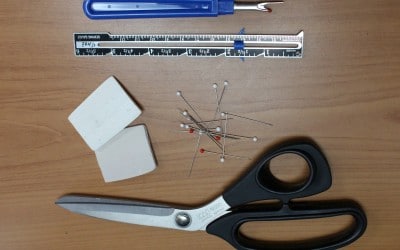
Supplies: Turtleneck, Tulle Fabric, Sewing Supplies including scissors, quilters ruler, tailors chalk, pins, universal or stretch thread (you can find the sewing supplies here on my amazon page)
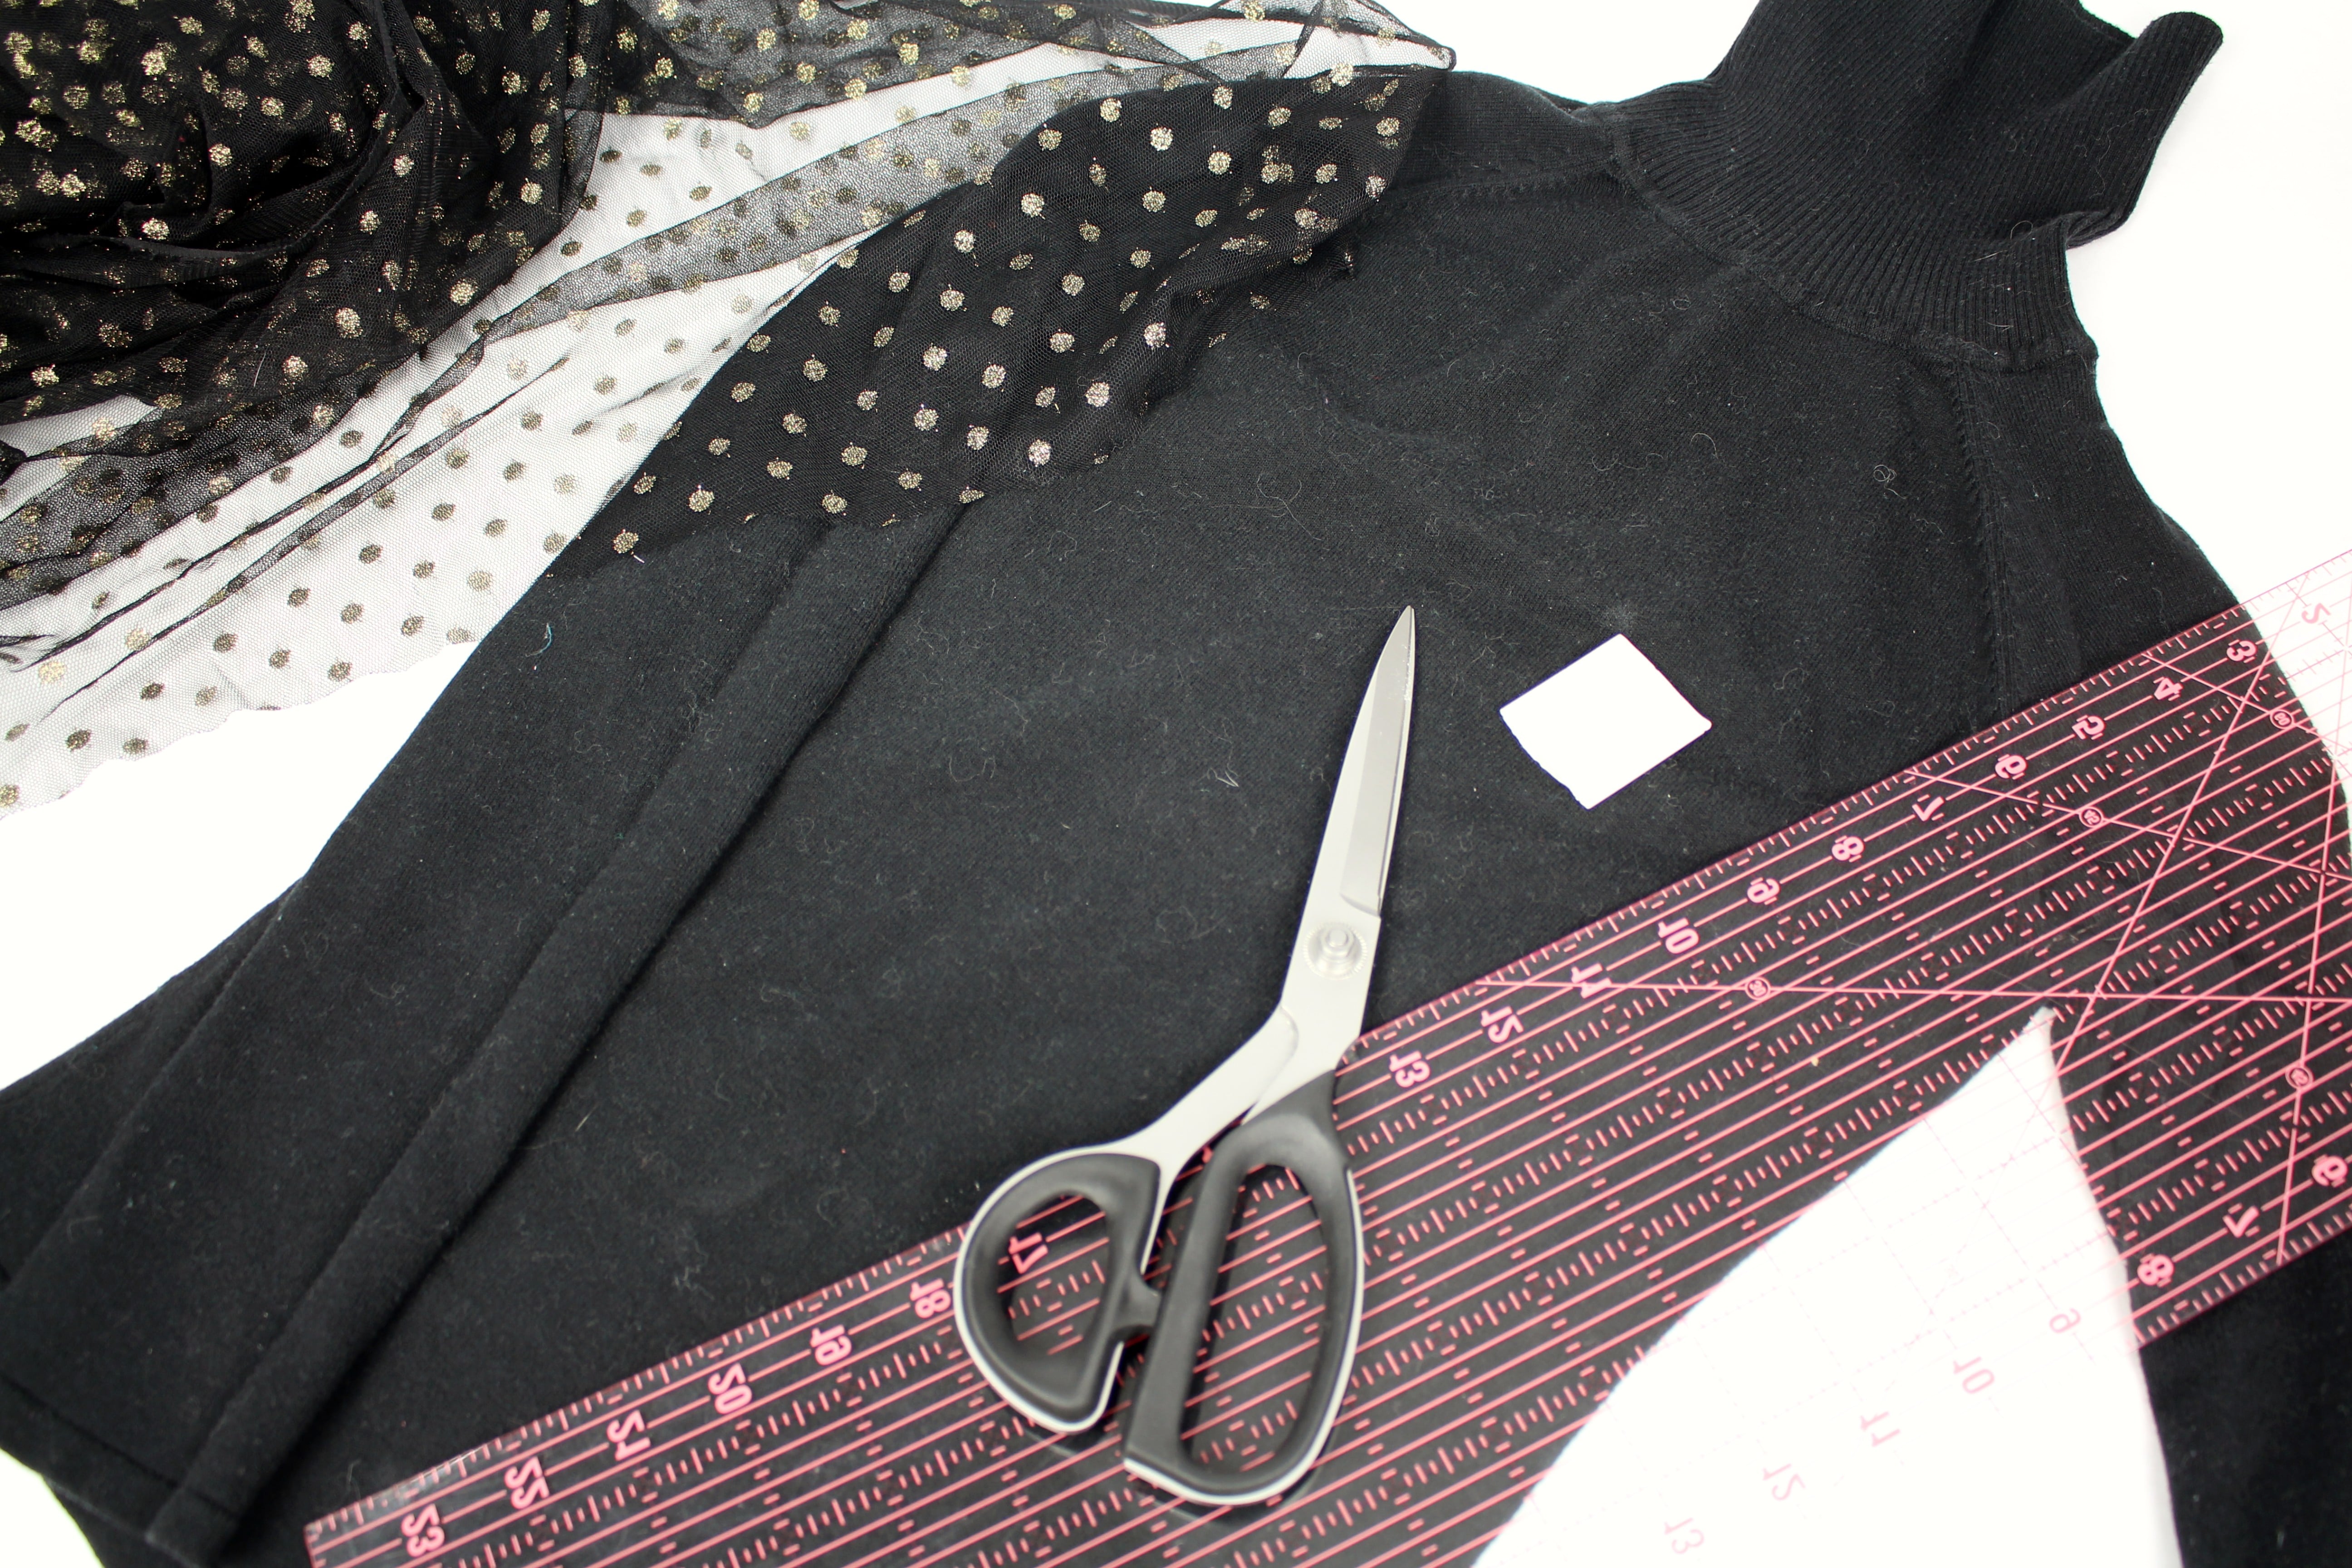
The first thing we are going to do is cut off the sleeves and collar (my turtleneck has a raglan sleeve, but any sleeve style will work). Cut inside of the sleeve seamline and underneath the collar. Save the sleeves to use as a pattern.

Mark the back of the sweater: Trace the back for the sweater outline onto the tulle fabric from the underarm up.
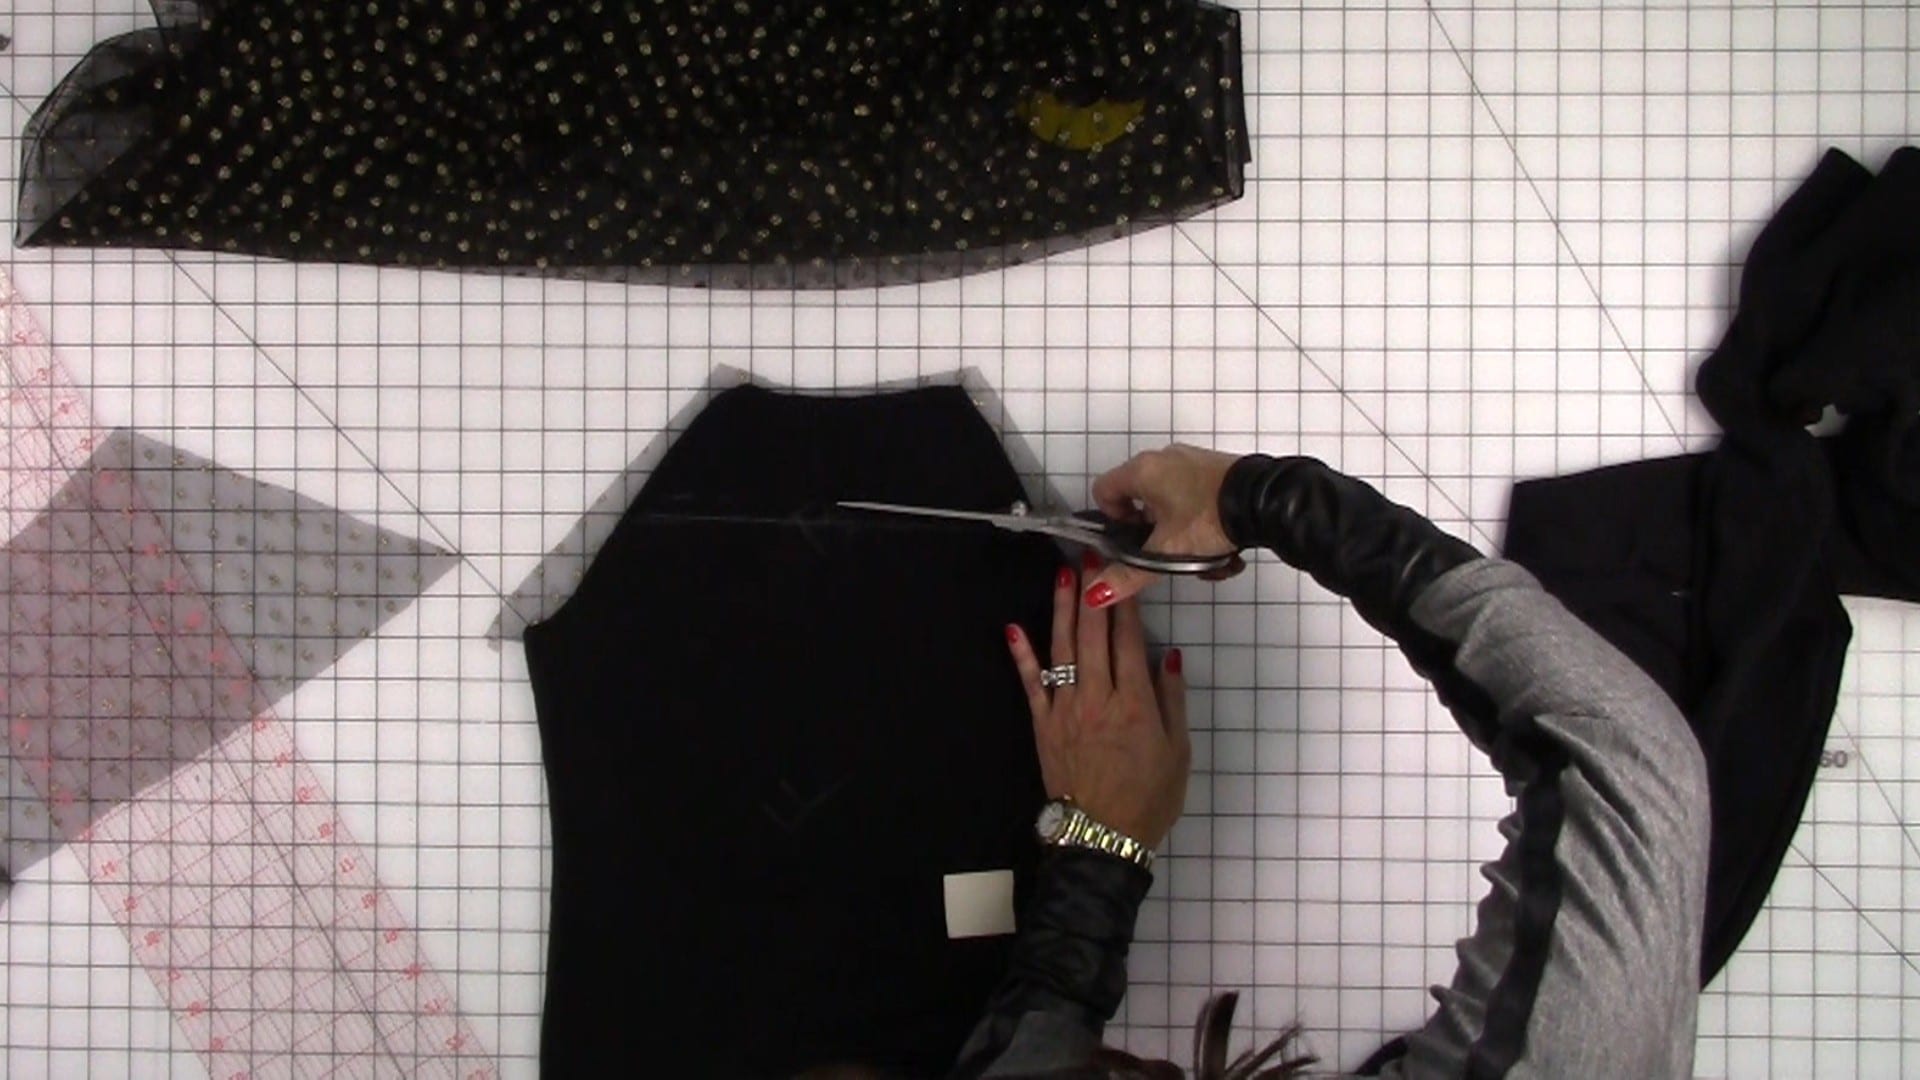
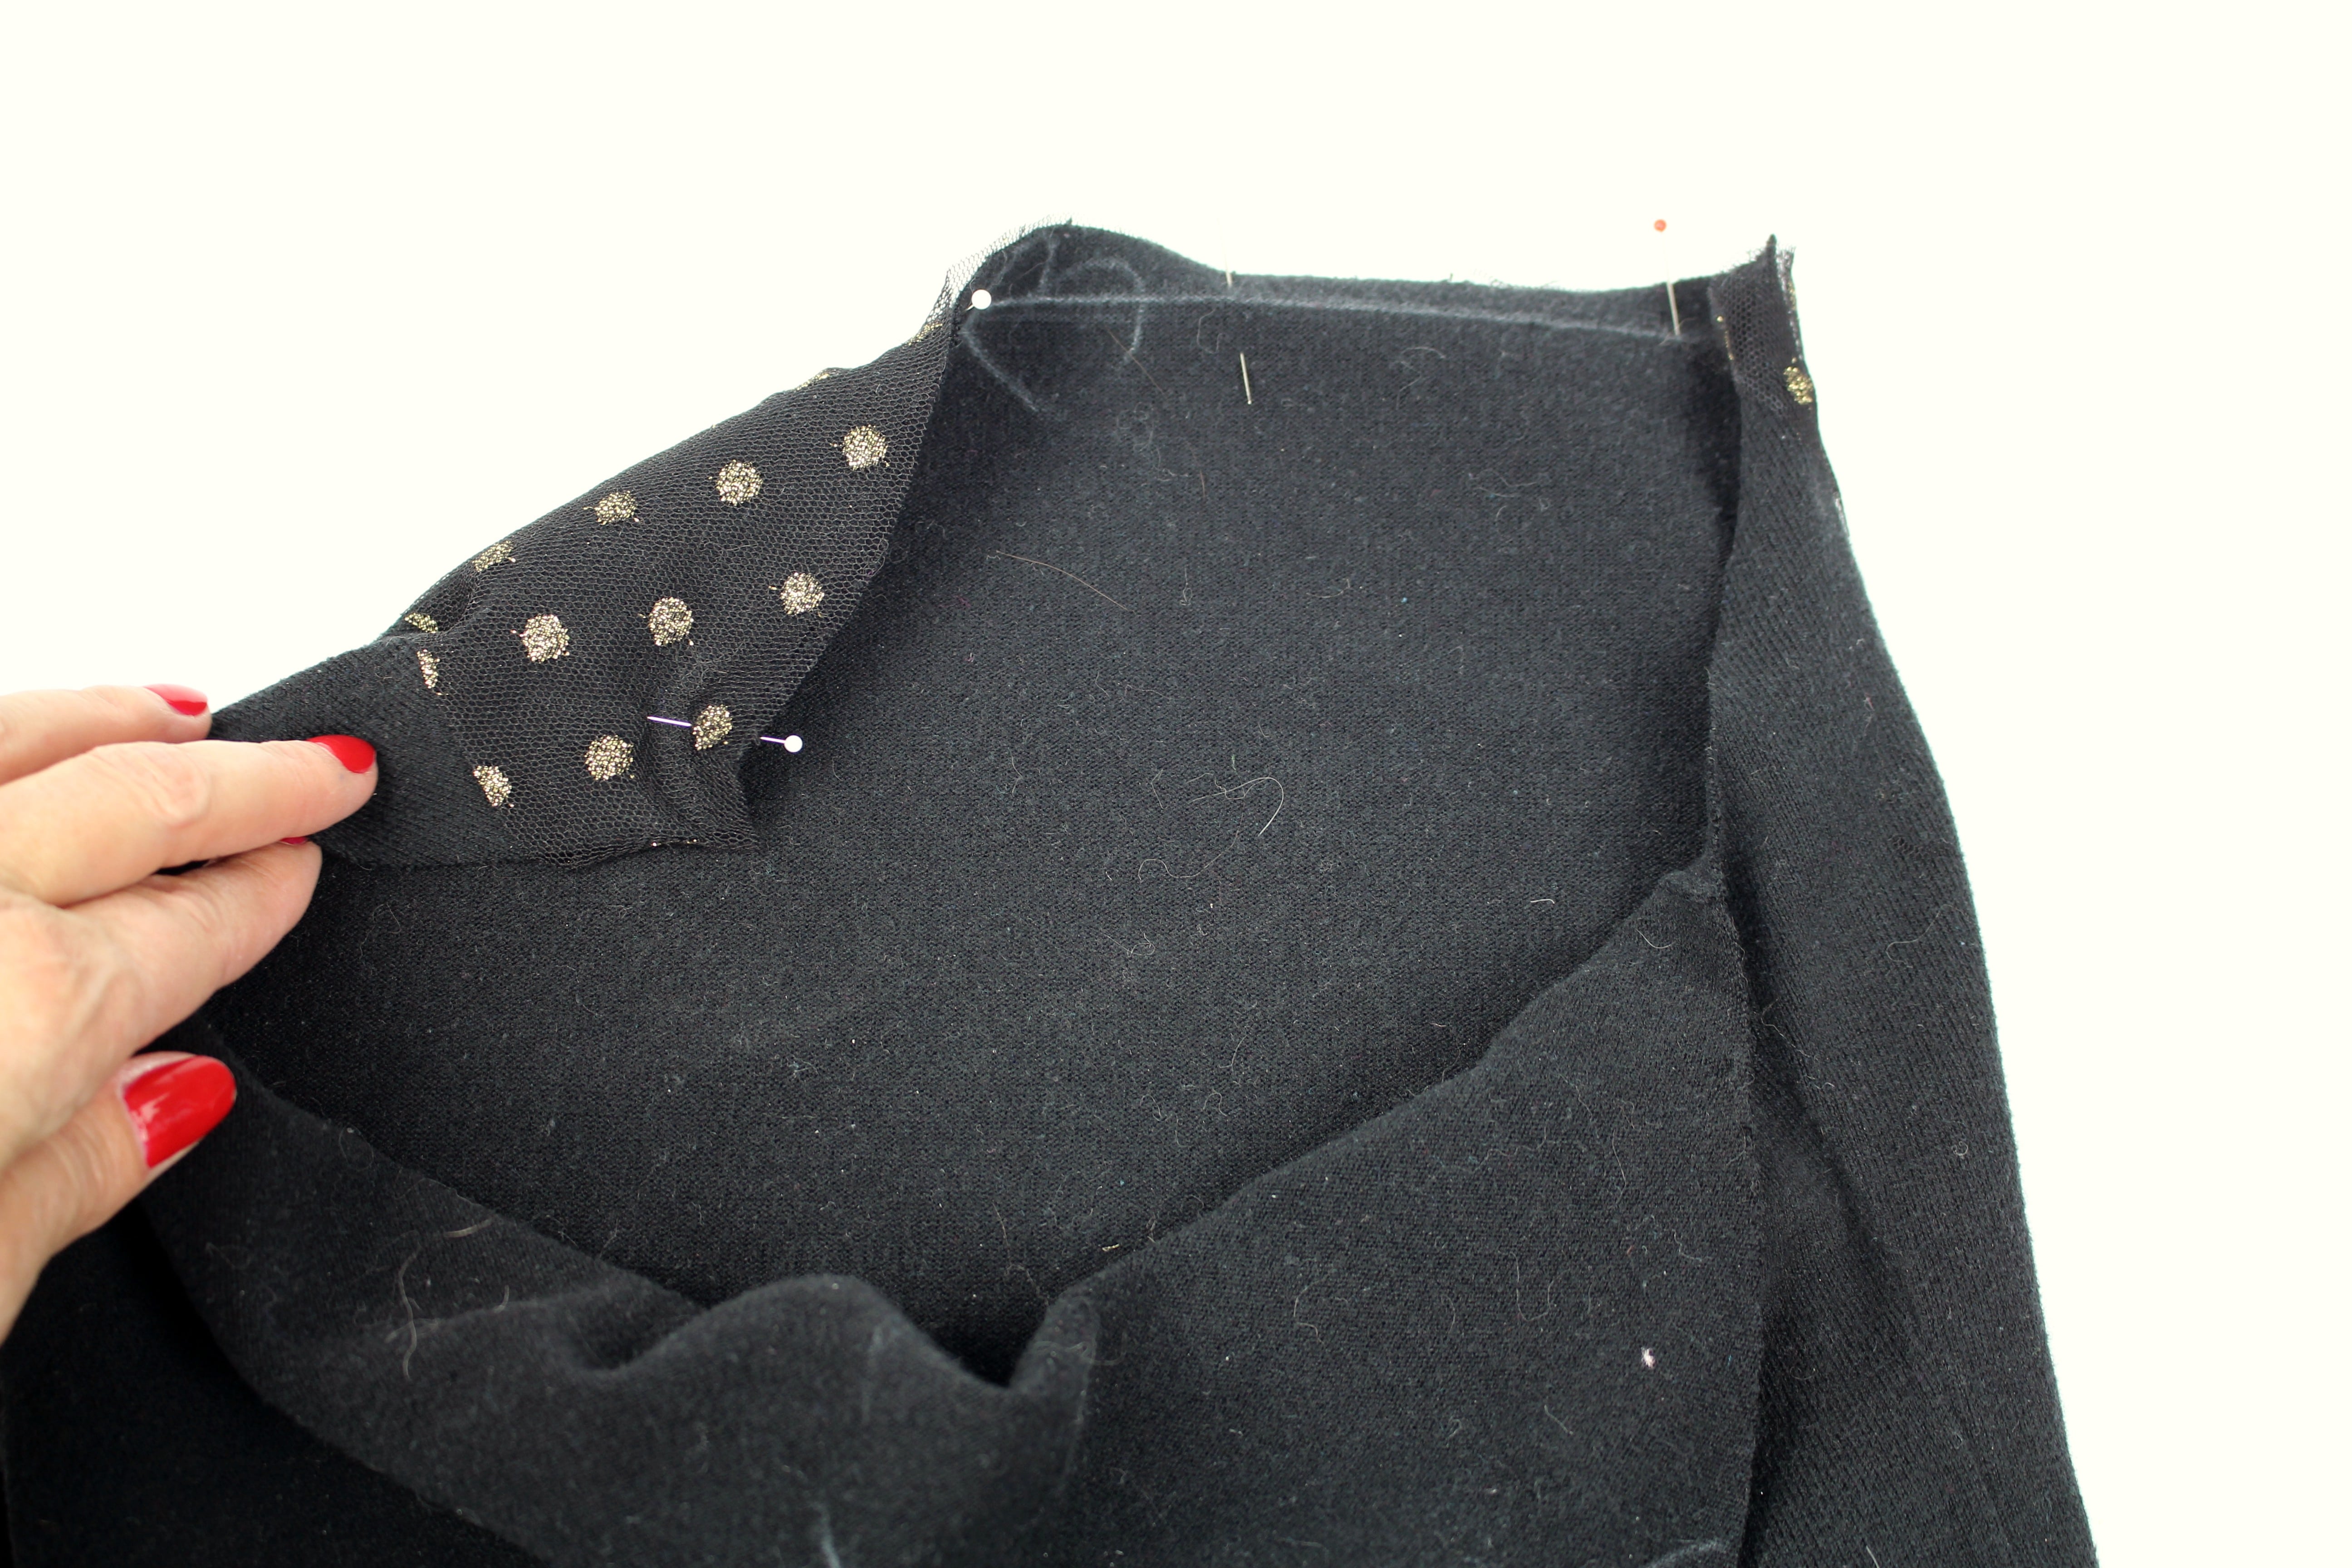
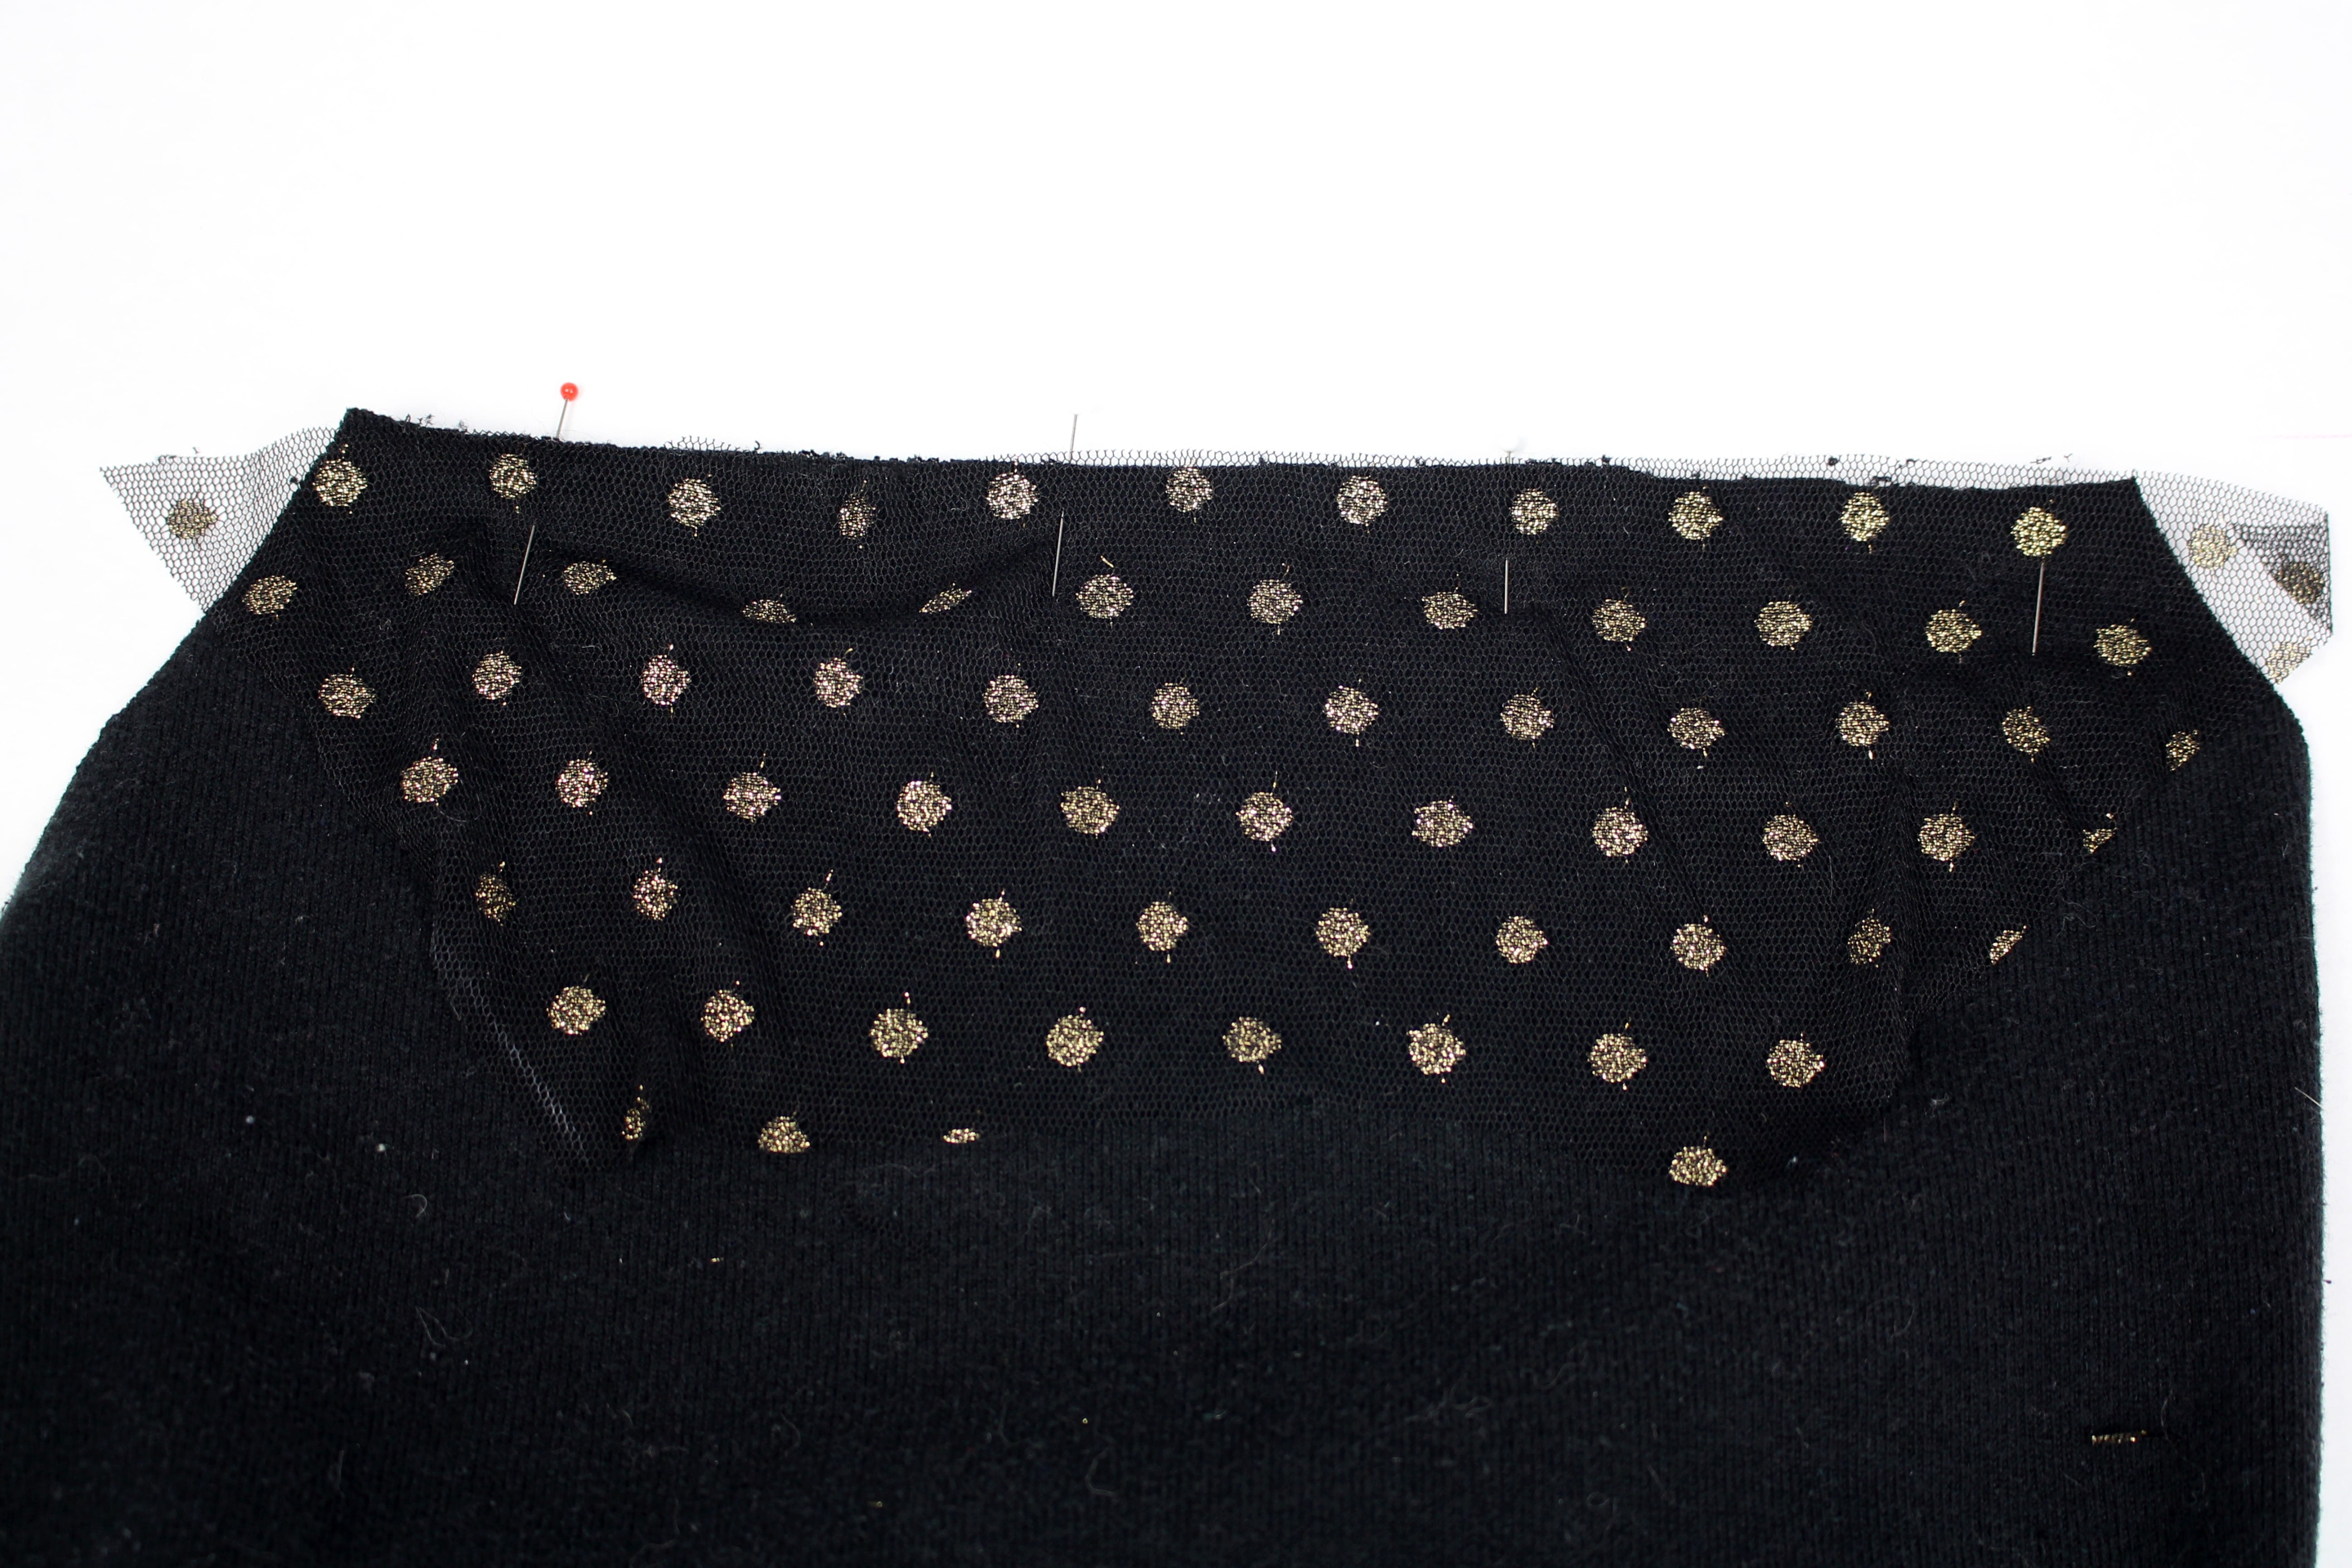
Mark a line across the sweater where you want the sweater fabric to meet the tulle fabric. Add a seam allowance and cut. Align the sweater with the tulle fabric. add a seam allowance onto the tulle fabric and cut. (the video below shows all these steps in detail).
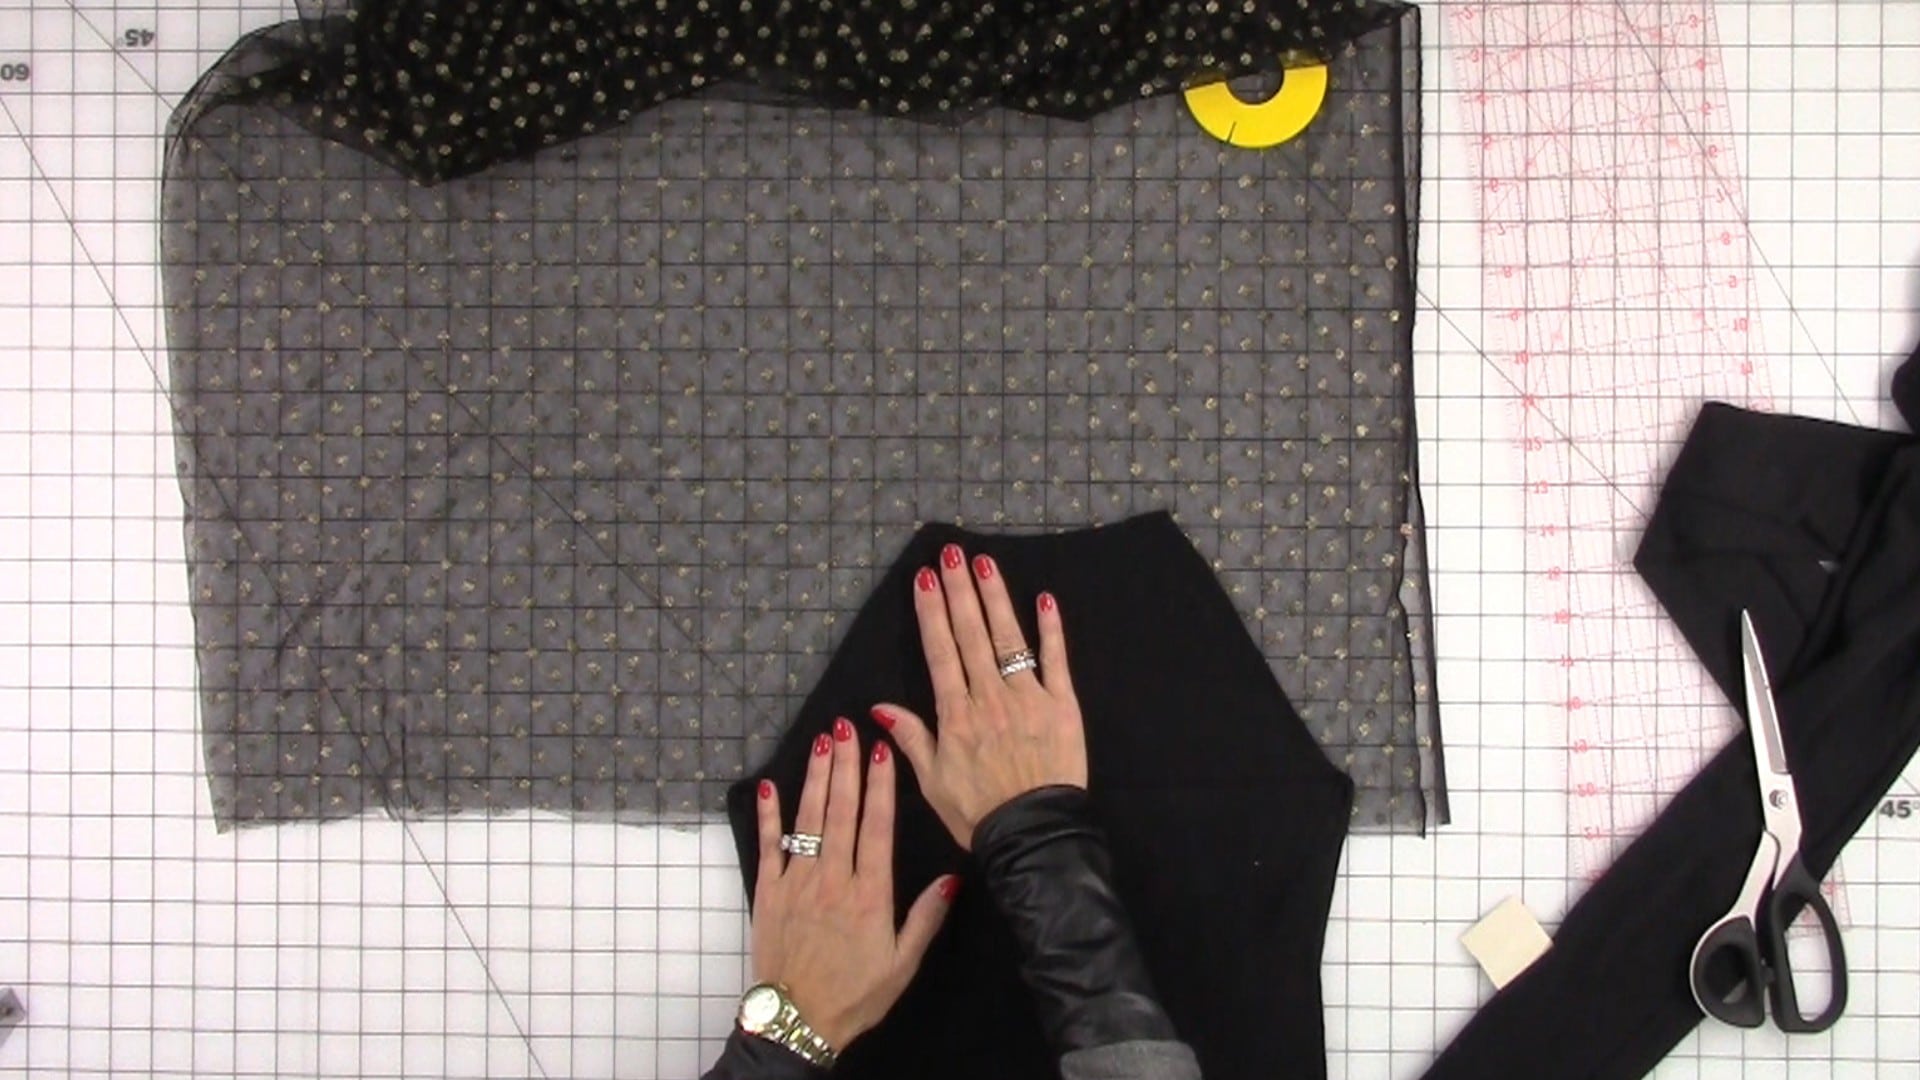
With right sides together, pin the tulle fabric to the sweater fabric.
Click on the video below to watch the full tutorial or head over to my post as a Brother Expert Consultant on the Brother Stitching Sewcial.
Are you going to try this cute restyle? Leave a comment below and tell me what you think 🙂
Cheers,

The page you requested could not be found. Try refining your search, or use the navigation above to locate the post.


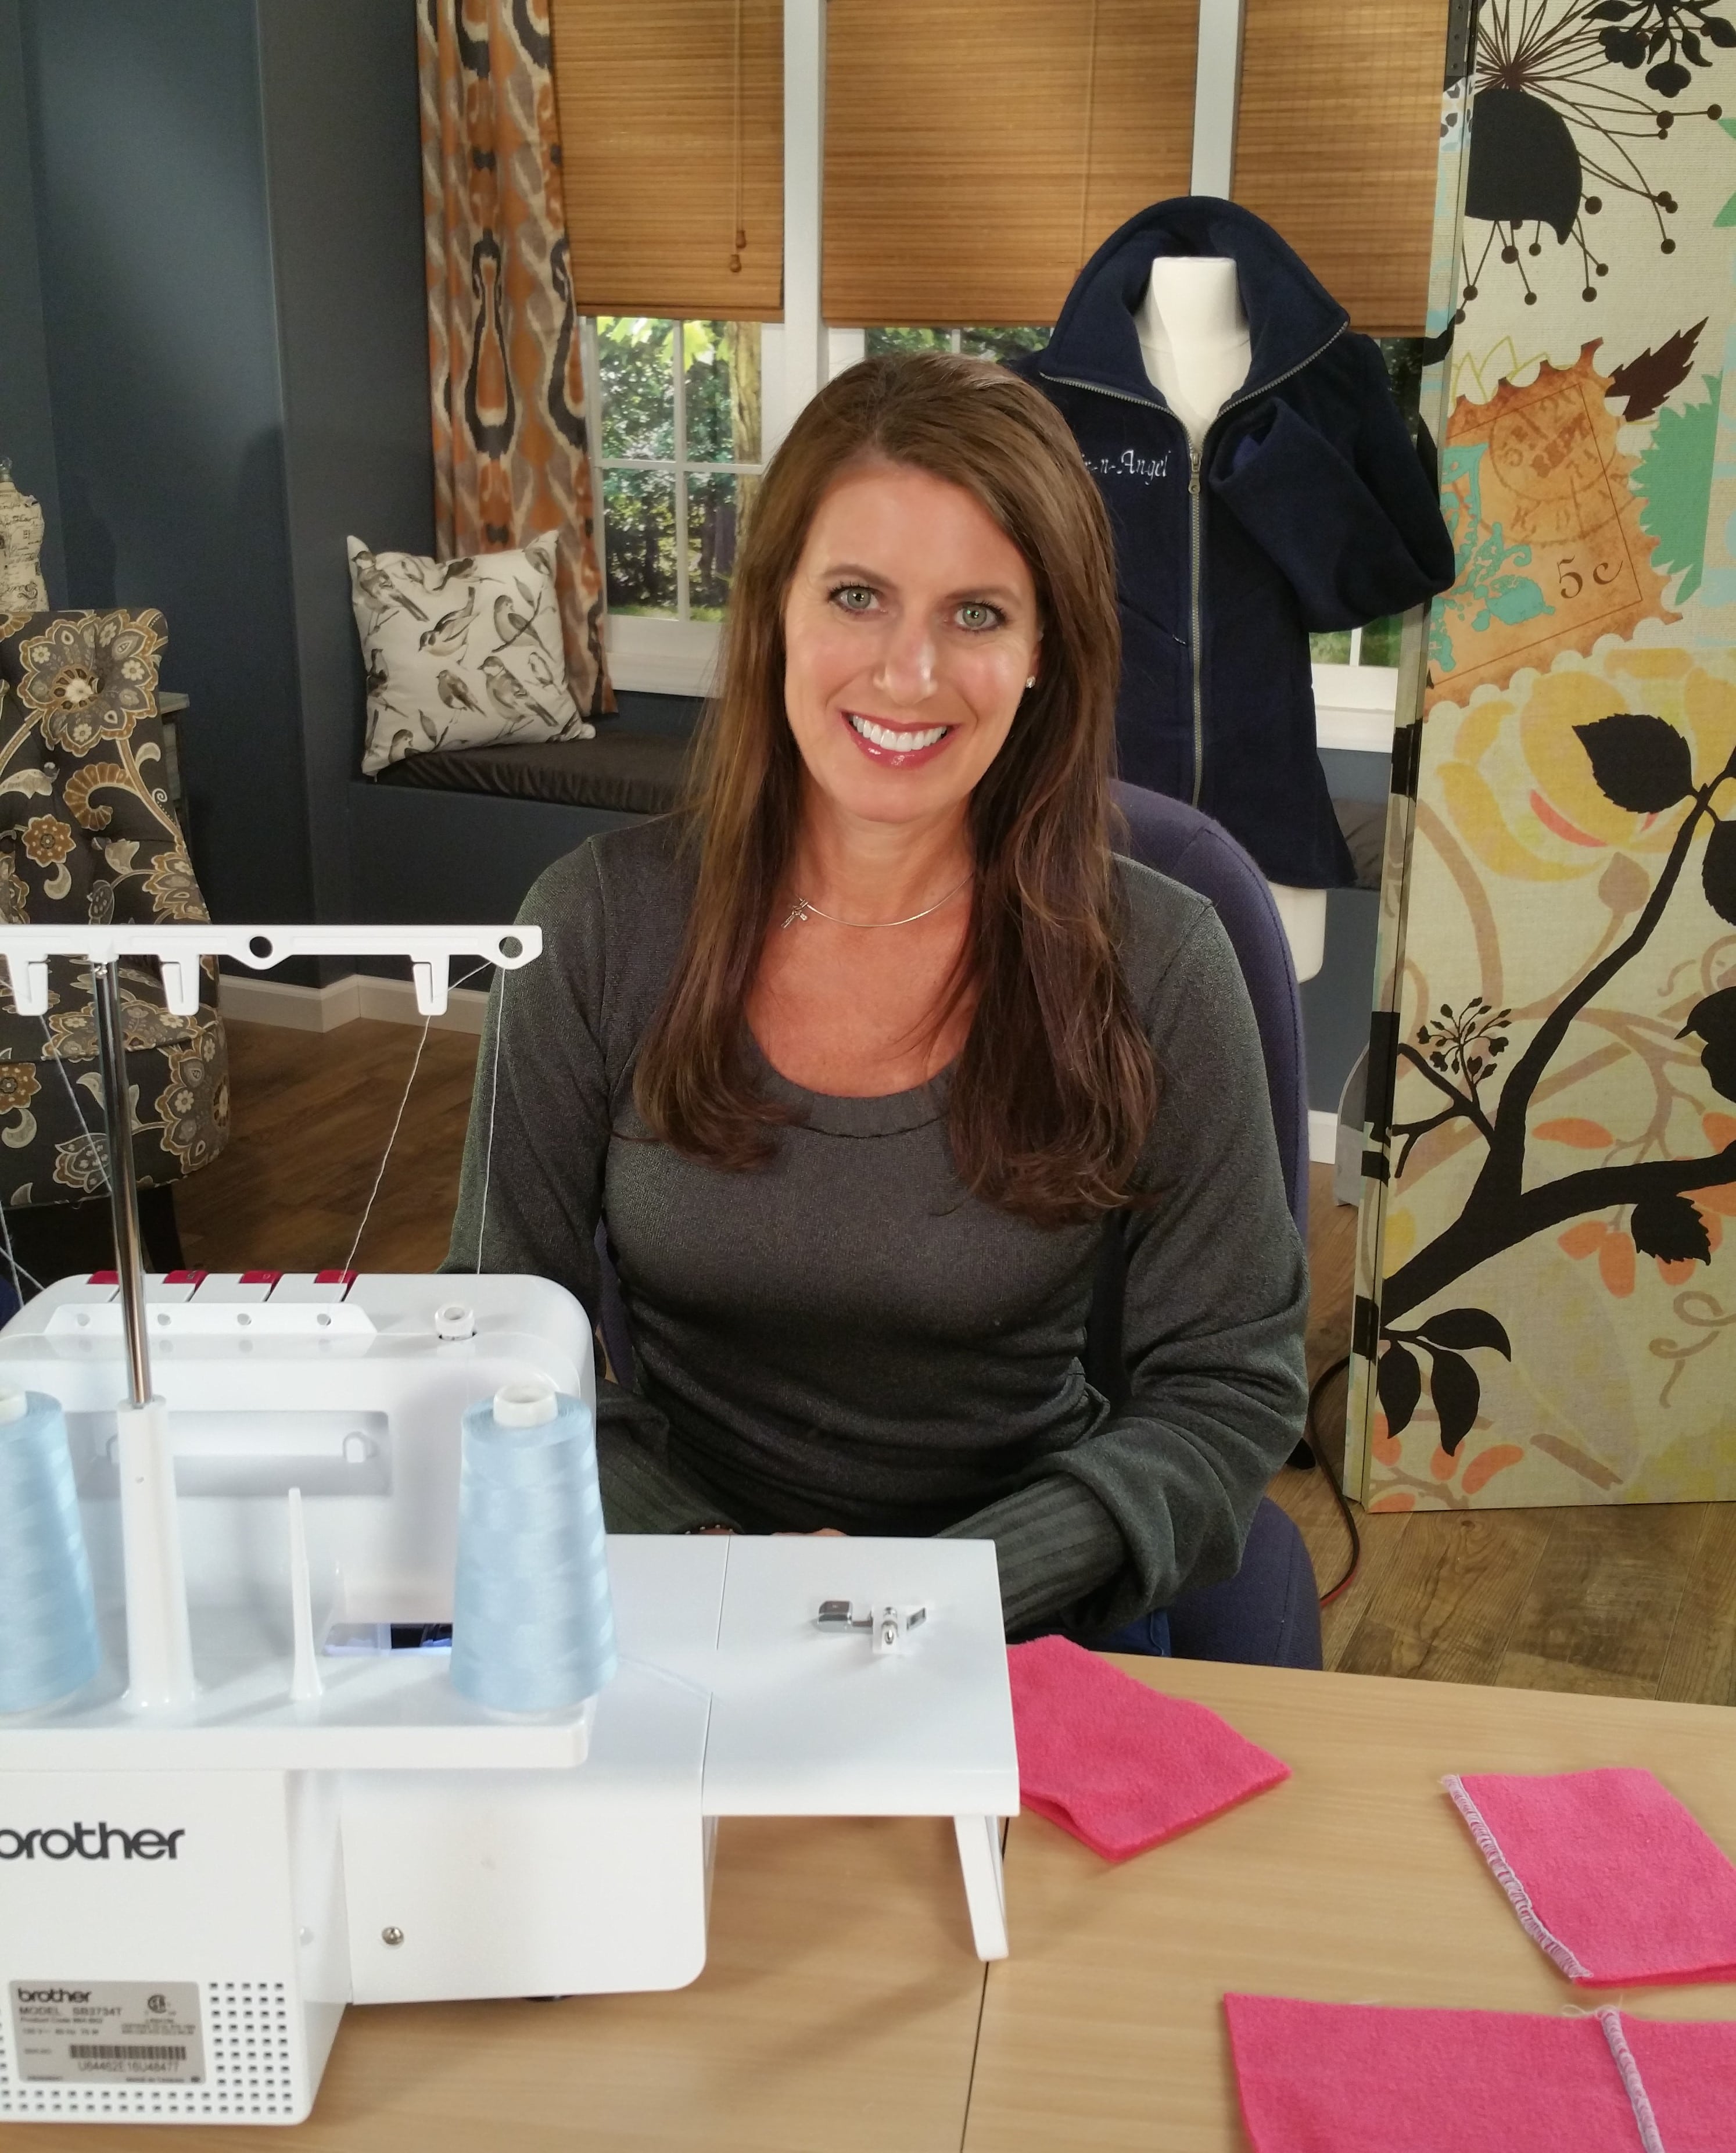
I was so excited to see this new double sided top coverstitch machine by Brother! I can think of so many applications for these decorative stitches including sportswear, decorative stitching, chainstitch, hemming knits, and so much more. I am going to start a set of tutorials with the top cover stitch machine by showing you an in-depth look at threading the machine, including the top cover thread. At first it might look intimidating, but threading is quite simple.
Start by taking you machine out of the box and remove the packaging tape. You will find a dust cover, manual (always keep that handy), a plug with pedal attachment, accessory box, and DVD. If you have more than one machine in your sewing studio here is a tip: place all machine parts in a decorative box and keep each box next to the coordinating machine.
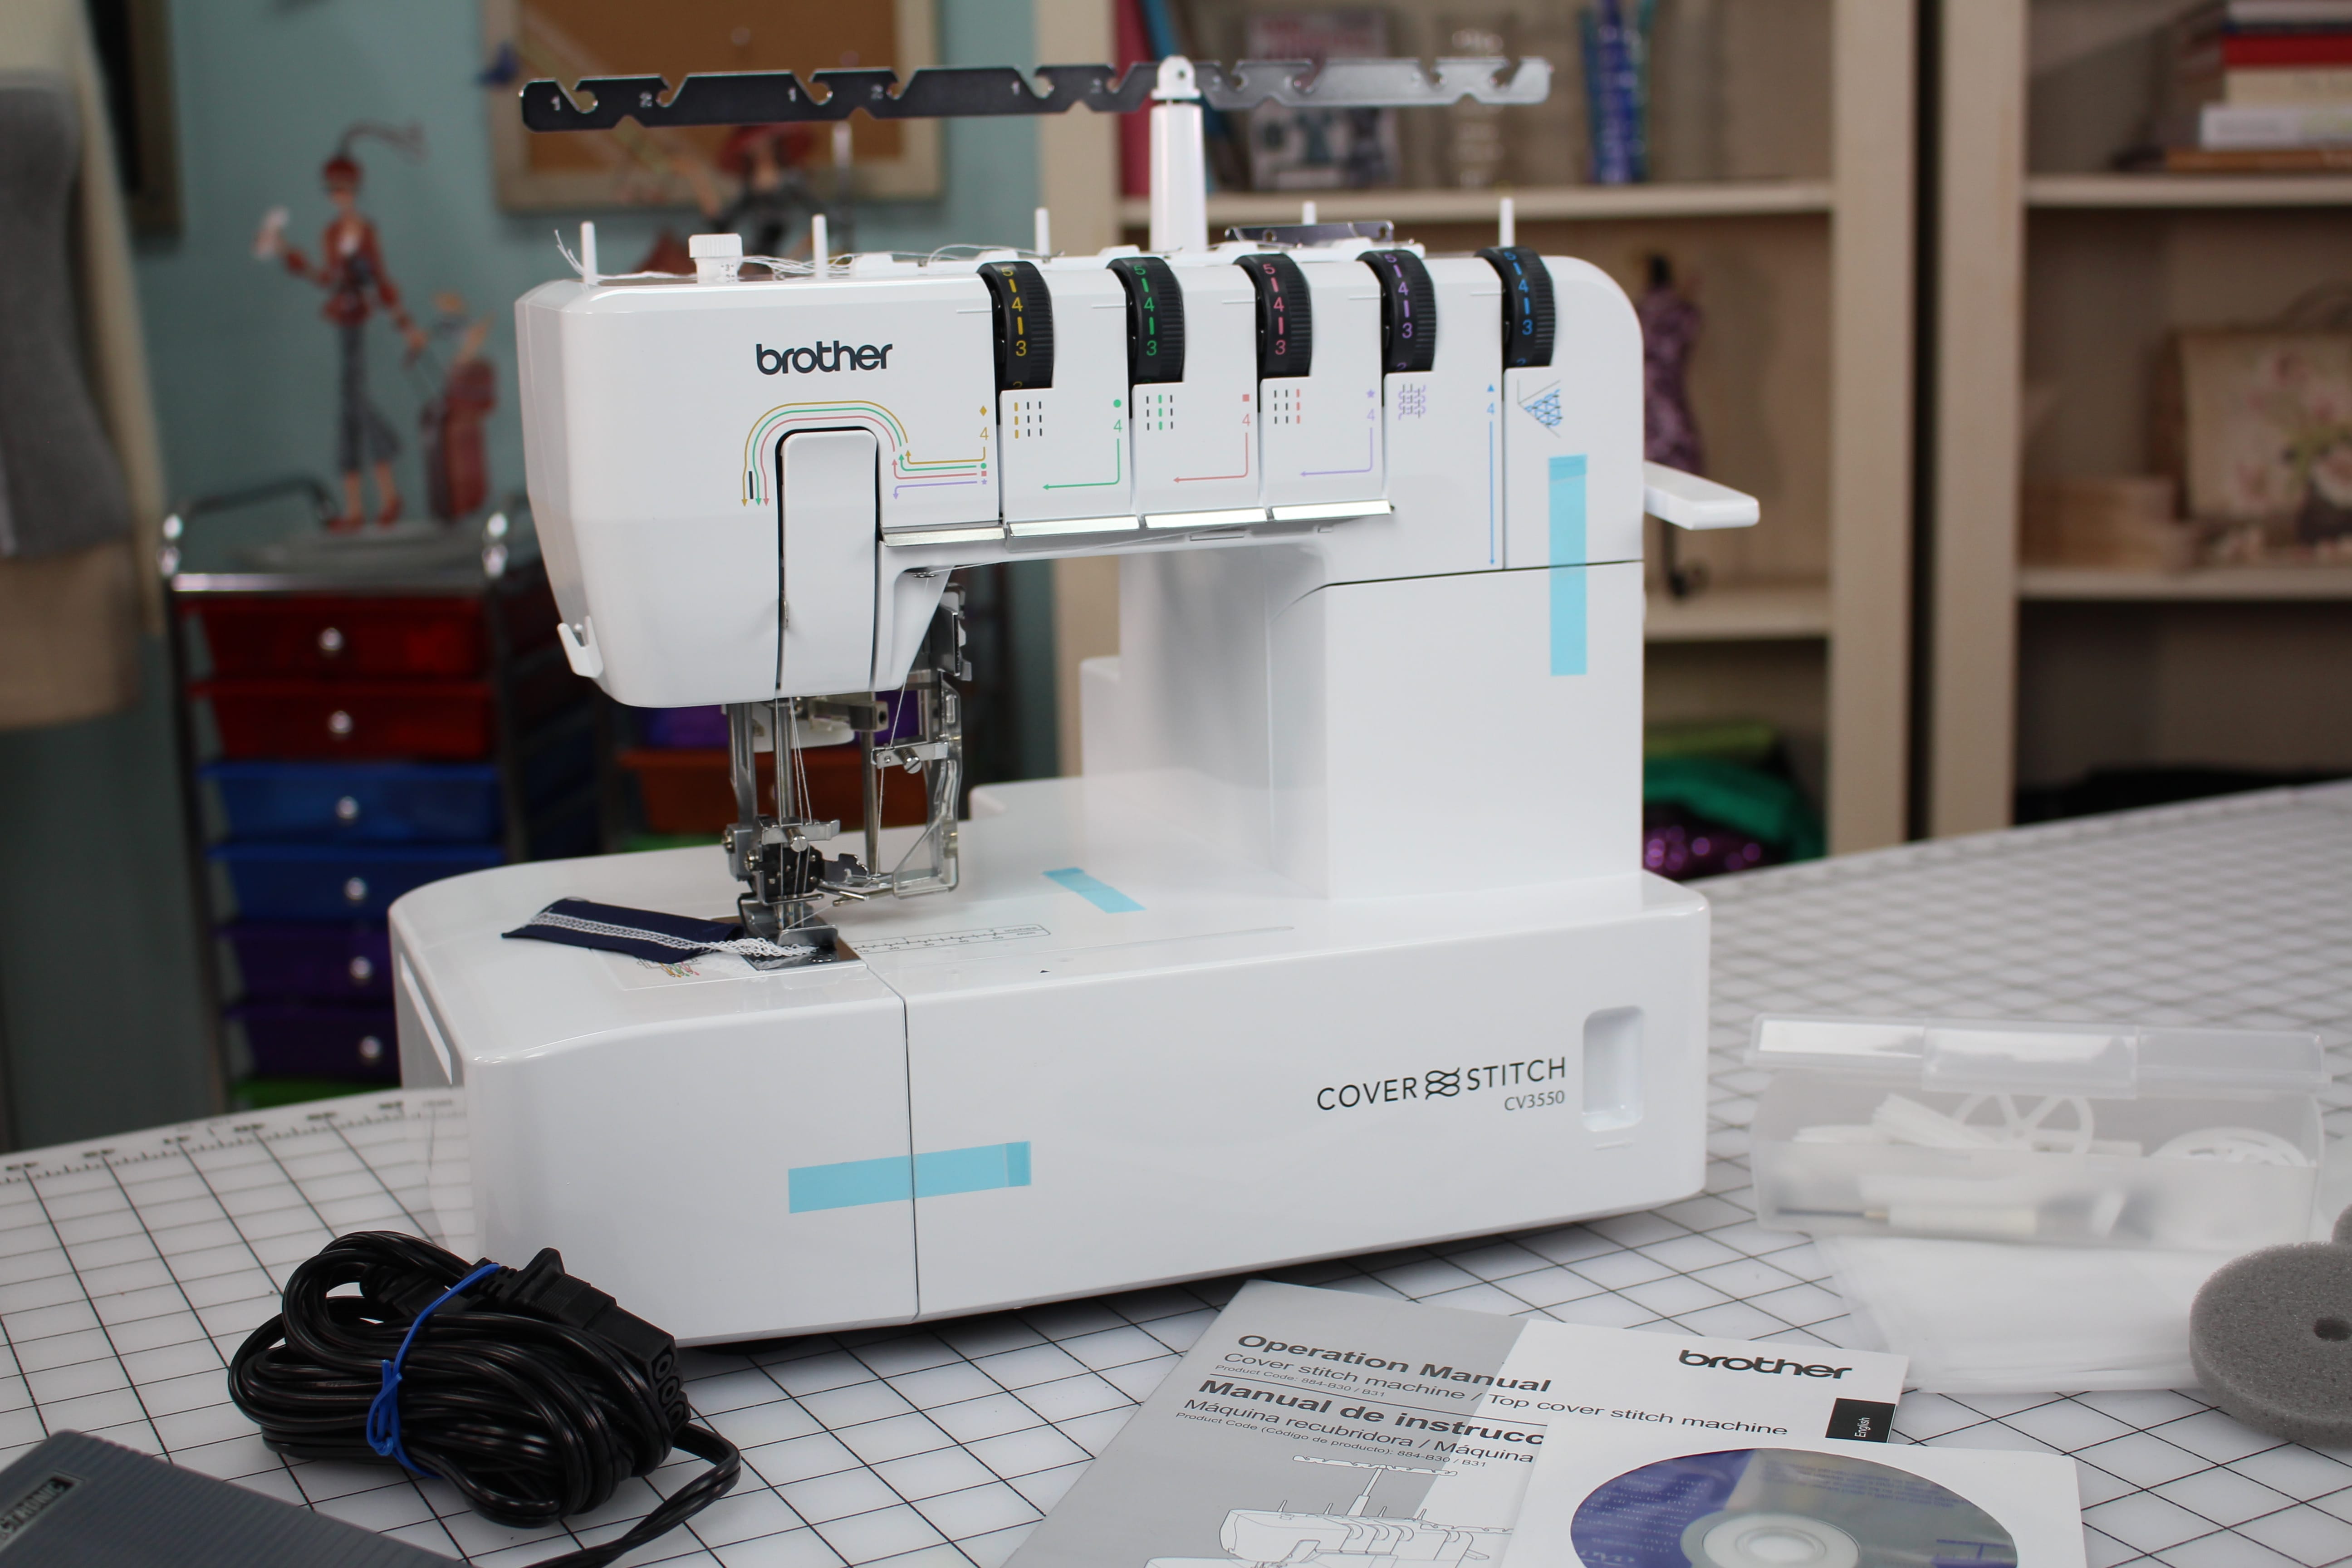
If your machine already has the top coverstitch threaders attached it will look like the photo below. If not, the video will show you how to remove and reattach these parts. You will need 5 spools of serger thread to thread the entire machine (I am going to use different colors so you can see a little better). When threading the coverstitch machine, start with the looper which is the spool on the far right side. You will then move onto threading the needles. For this demonstration I am using all three needles.
To read the full blog about threading the coverstitch machine, head over to my post as a Brother Expert Consultant on the Brother Stitching Sewcial.


Ask Angela ...: There are countless women like me who must have the same question to ask, so I'll make an attempt to speak for the group. After reaching those golden years, we start to wonder why our clothes -- especially shirts and blouses -- seem to have lost all...
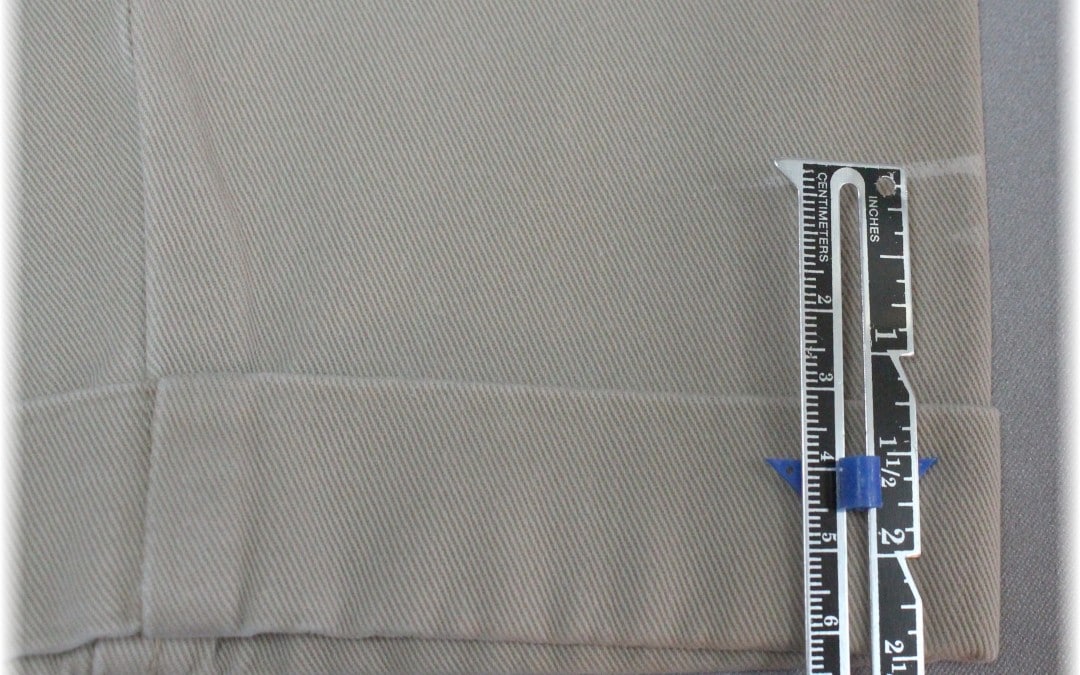
Although I teach three Tailoring Ready-to-Wear classes on Craftsy, there are a few alterations that many students ask about that were not included in the classes. One of the most common questions: "How do I hem pants with a cuff?" Hemming cuffed pants is very...
I have been experimenting with various ways to create custom fabrics. You might have seen photos on my Facebook page with a few of my favorites by embellishing with: embroidery needle felting scanNcut thread art with the Dream Frame couching One that you might be...
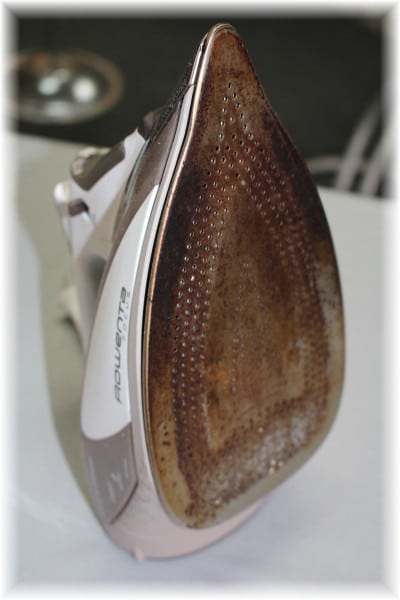
Welcome to Ask Angela where your questions get answered in detail! This weeks question is from Glenda and you can watch the video above (click here if you don't see the video). You will find a tutorial on how to clean a dirty iron face and even a preview of my...
Hopefully you had time over the weekend to spiff up your sewing room. My Craftsy class "Sew Confident: Essential Techniques for Beginners" has officially launched and we are already just shy of 500 students. Very Exciting! CONGRATULATIONS! First things first,...
Sewing Tip of the Day! NEVER use a dull seam ripper!!!!! I buy my seam rippers in bulk from WAWAK Sewing and you should too 🙂 Then you can throw them away at the first sign of dullness and grab a new one. Have a Specific Sewing Need or...
All About Buttons! Embellishing is one of my favorite things to do, in fact sometimes I even add touches to ready-to-wear garments. One of the easiest ways to restyle is to change the buttons. Even better, your own custom covered buttons! From simple to couture,...
I just got back from a 6 day Sit & Sew tour visiting all the Allbrands stores which started in Louisiana and ended in Texas. Fabulous trip, but definitely dragging a little today. I will be sharing details of the week as soon as I organize all the photos. In...
First off, I want to wish you a Happy New Year and I hope you are off to a great start in 2015! So far so good on this end J I started the year with a mini-vacation up north. Although, the snow didn't arrive until after the mini-vacation, which resulted in another...
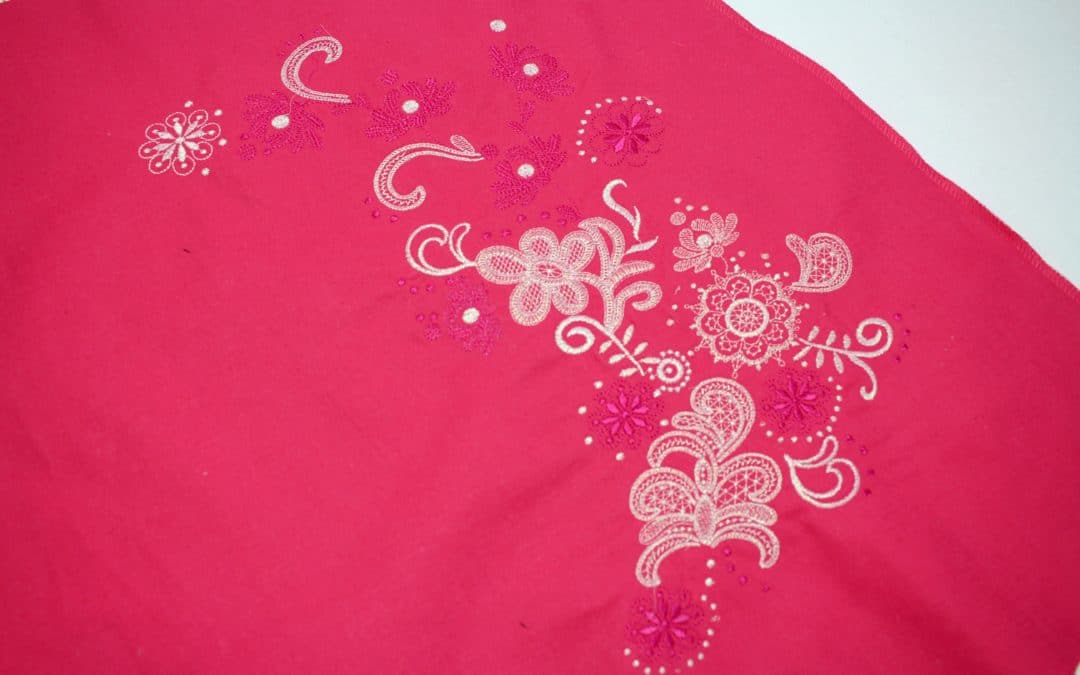
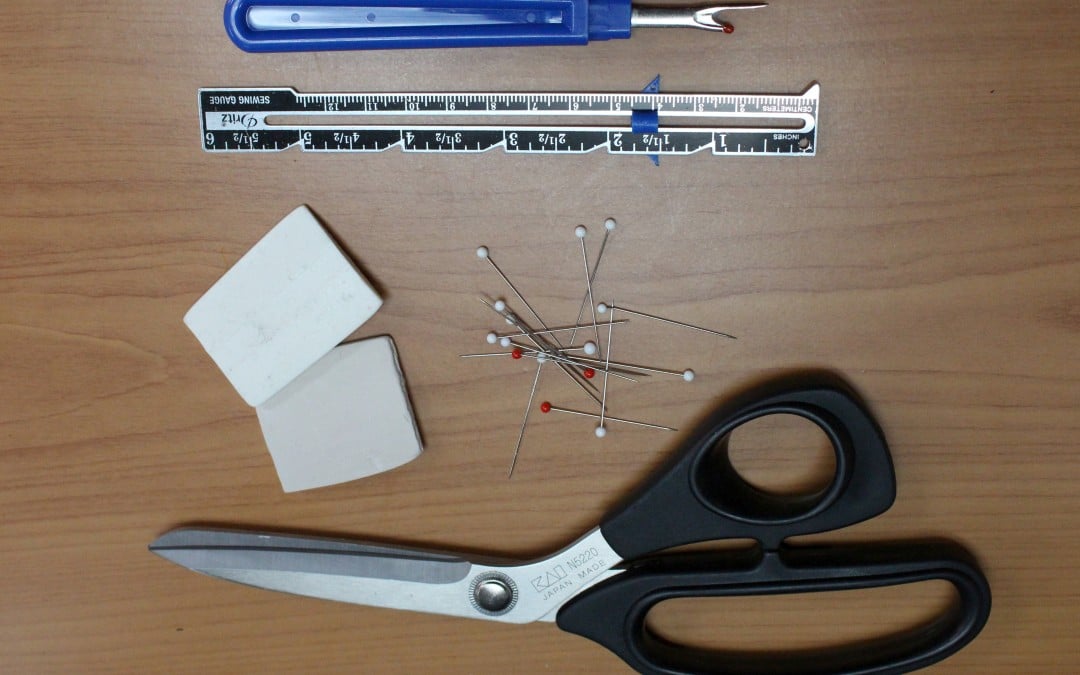
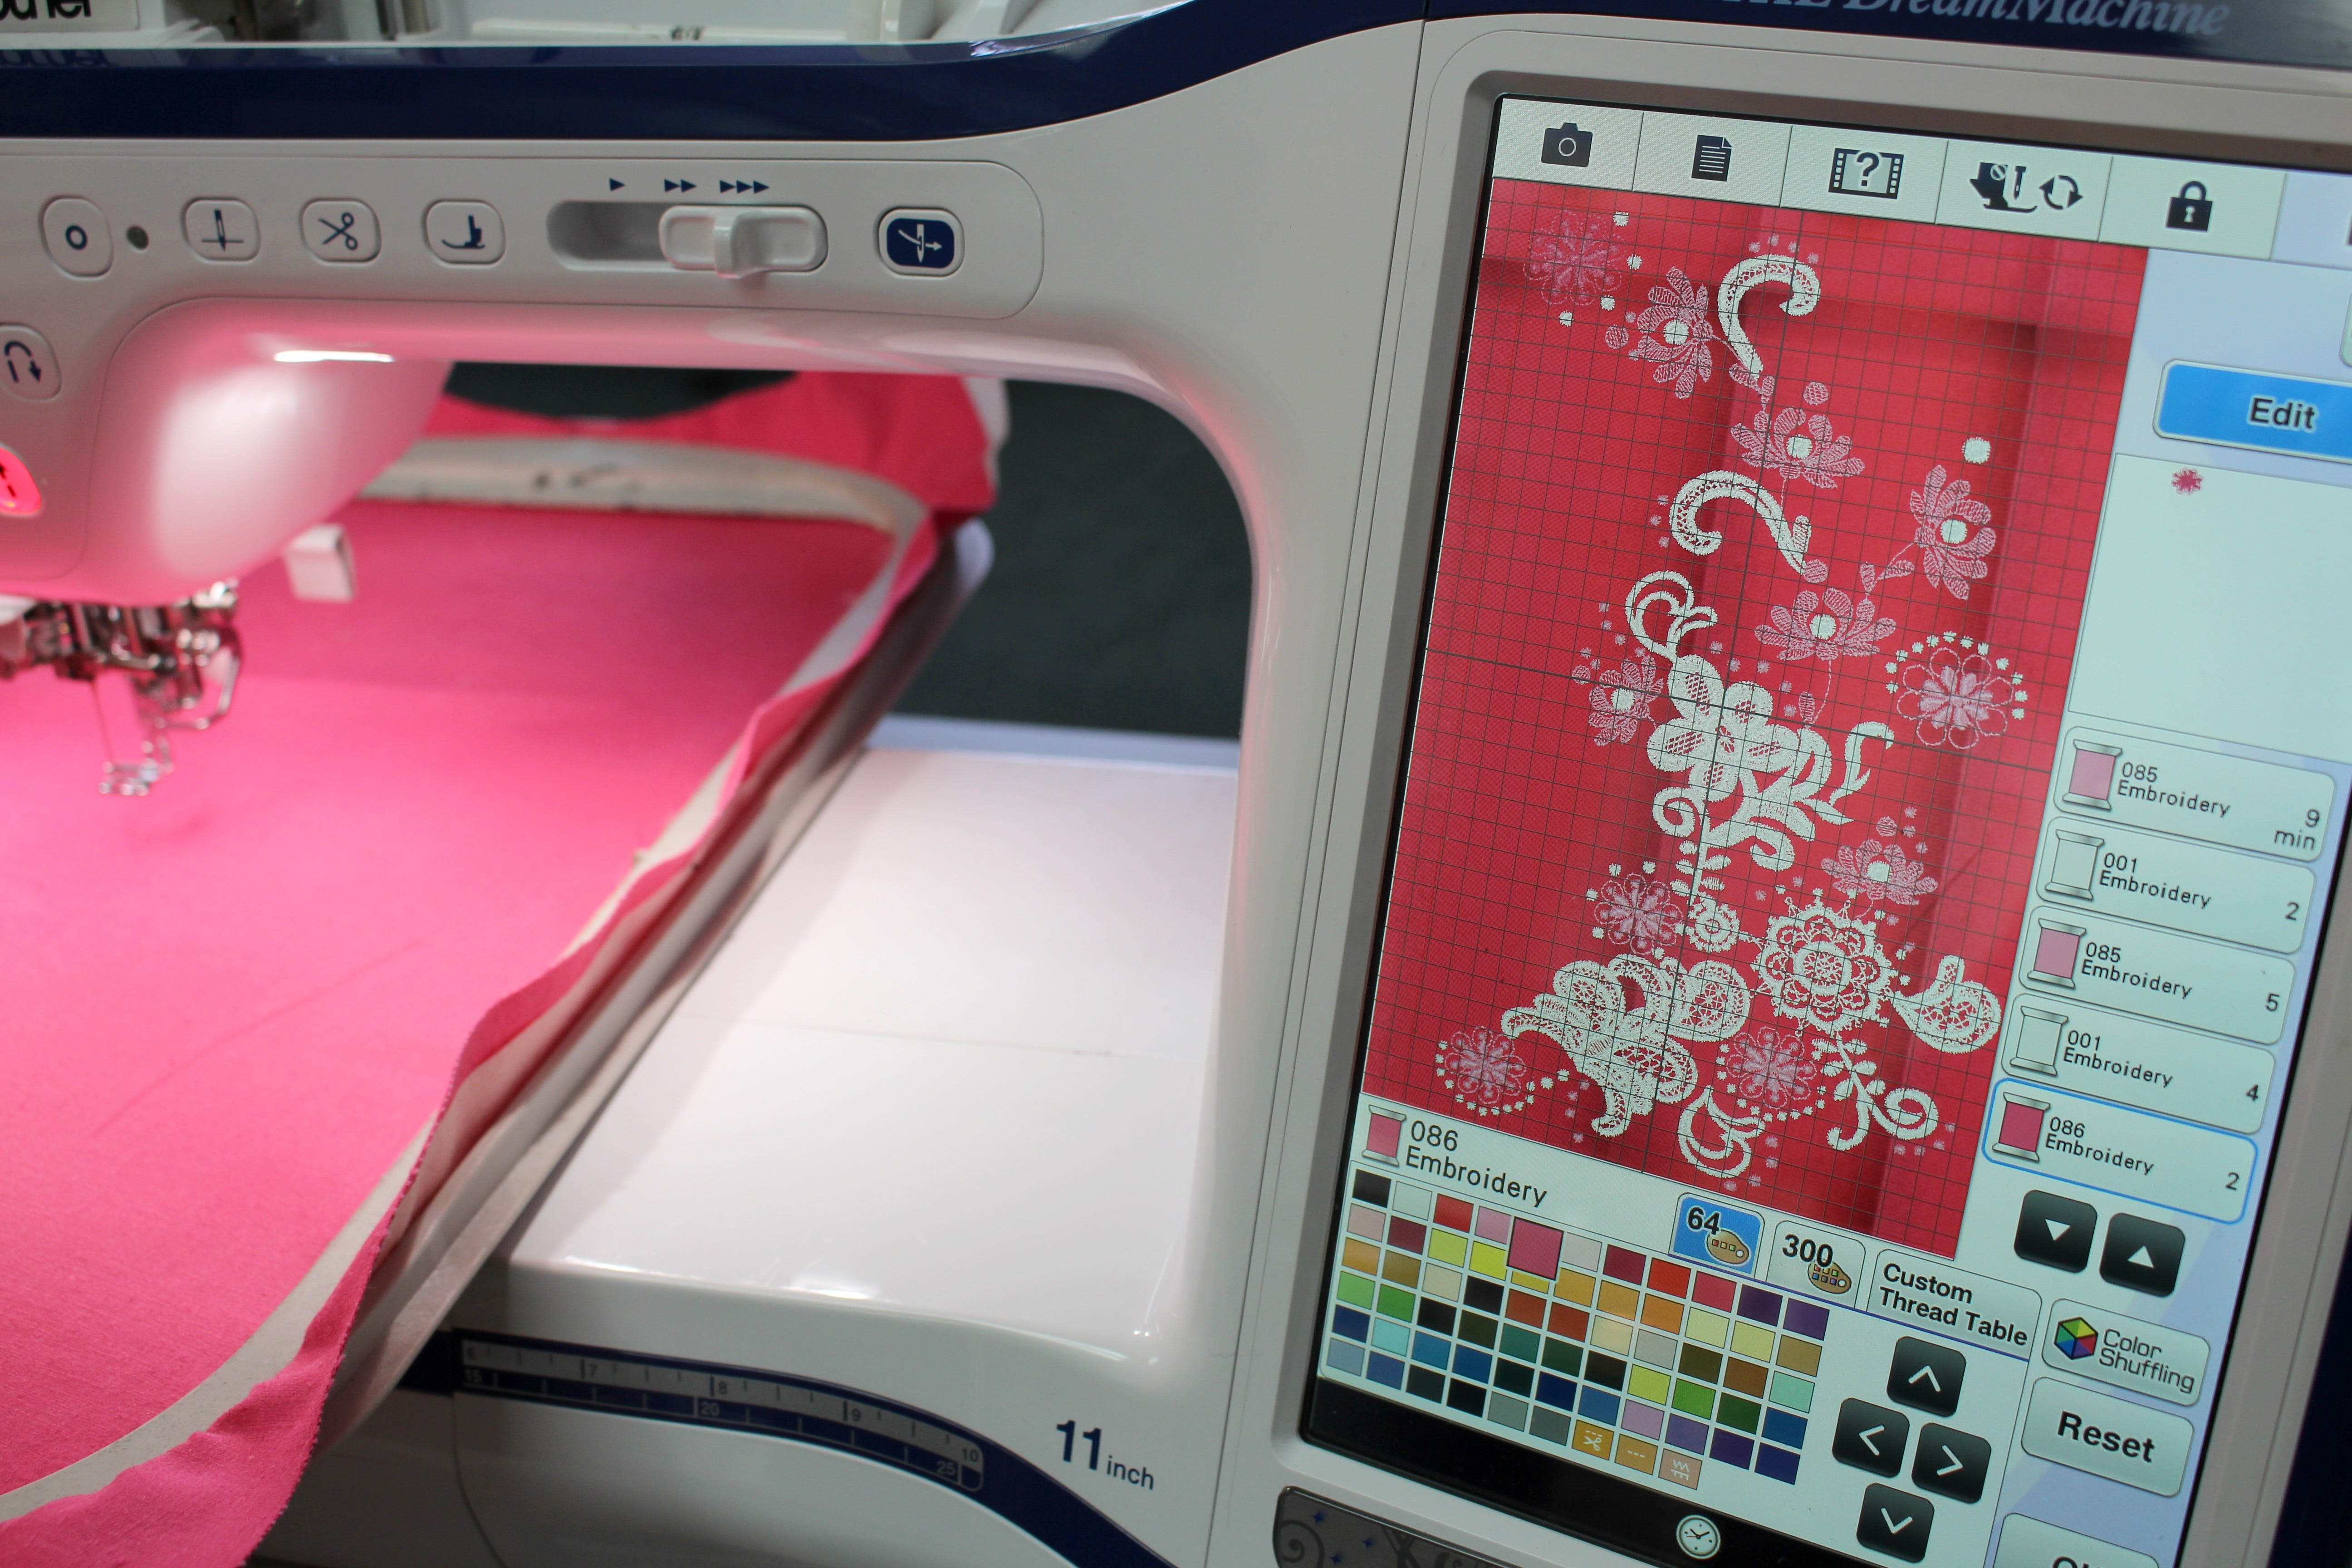
Embroidery is such a hot trend this spring! Whether you are sewing a skirt from scratch or recycling one from the back of your closet, adding a touch of embroidery can create an entirely fresh look. Keep in mind this would look great on a dress too ?
Supplies:
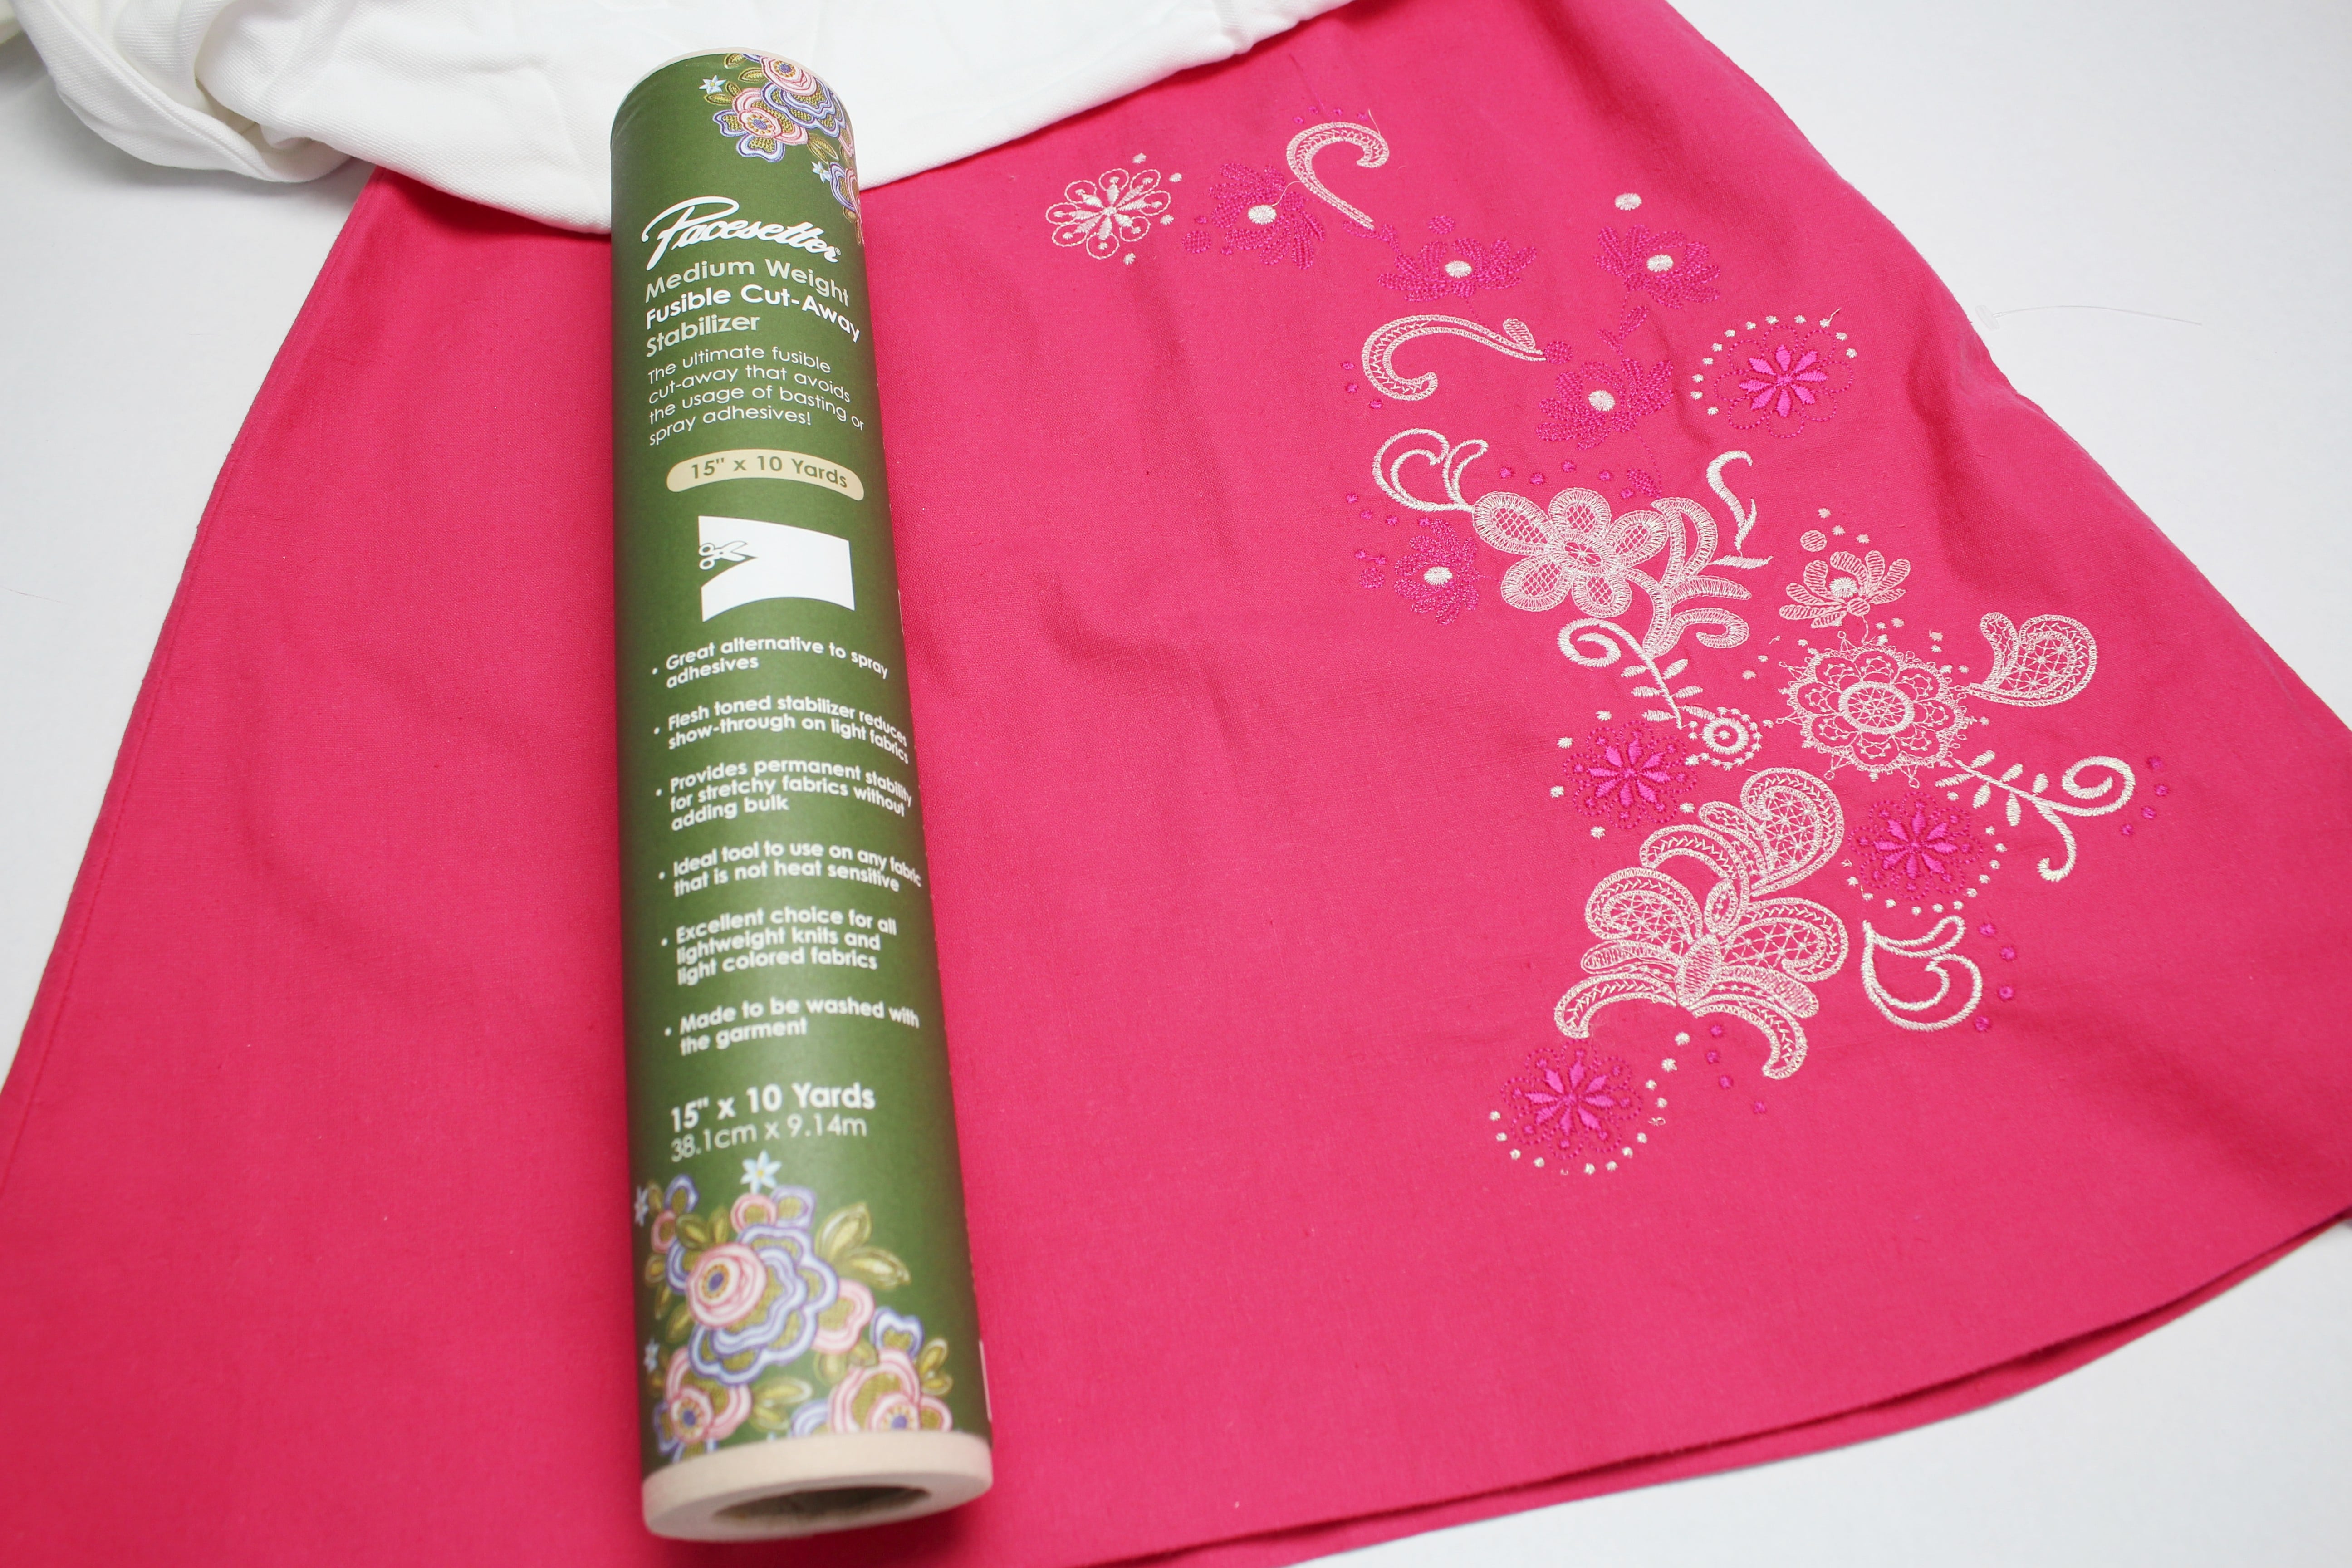
DESIGNER TIP: My skirt fabric is a linen blend, but the stabilizer I am using would work great on rayon, cotton sateen, denim, wool, and cotton blends. JUST be careful with satin, silk blends, and velvet (to name a few). You don’t want to damage the fabric from the iron when pressing on the fusible stabilizer; it’s best to test the stabilizer on a swatch of fabric first.
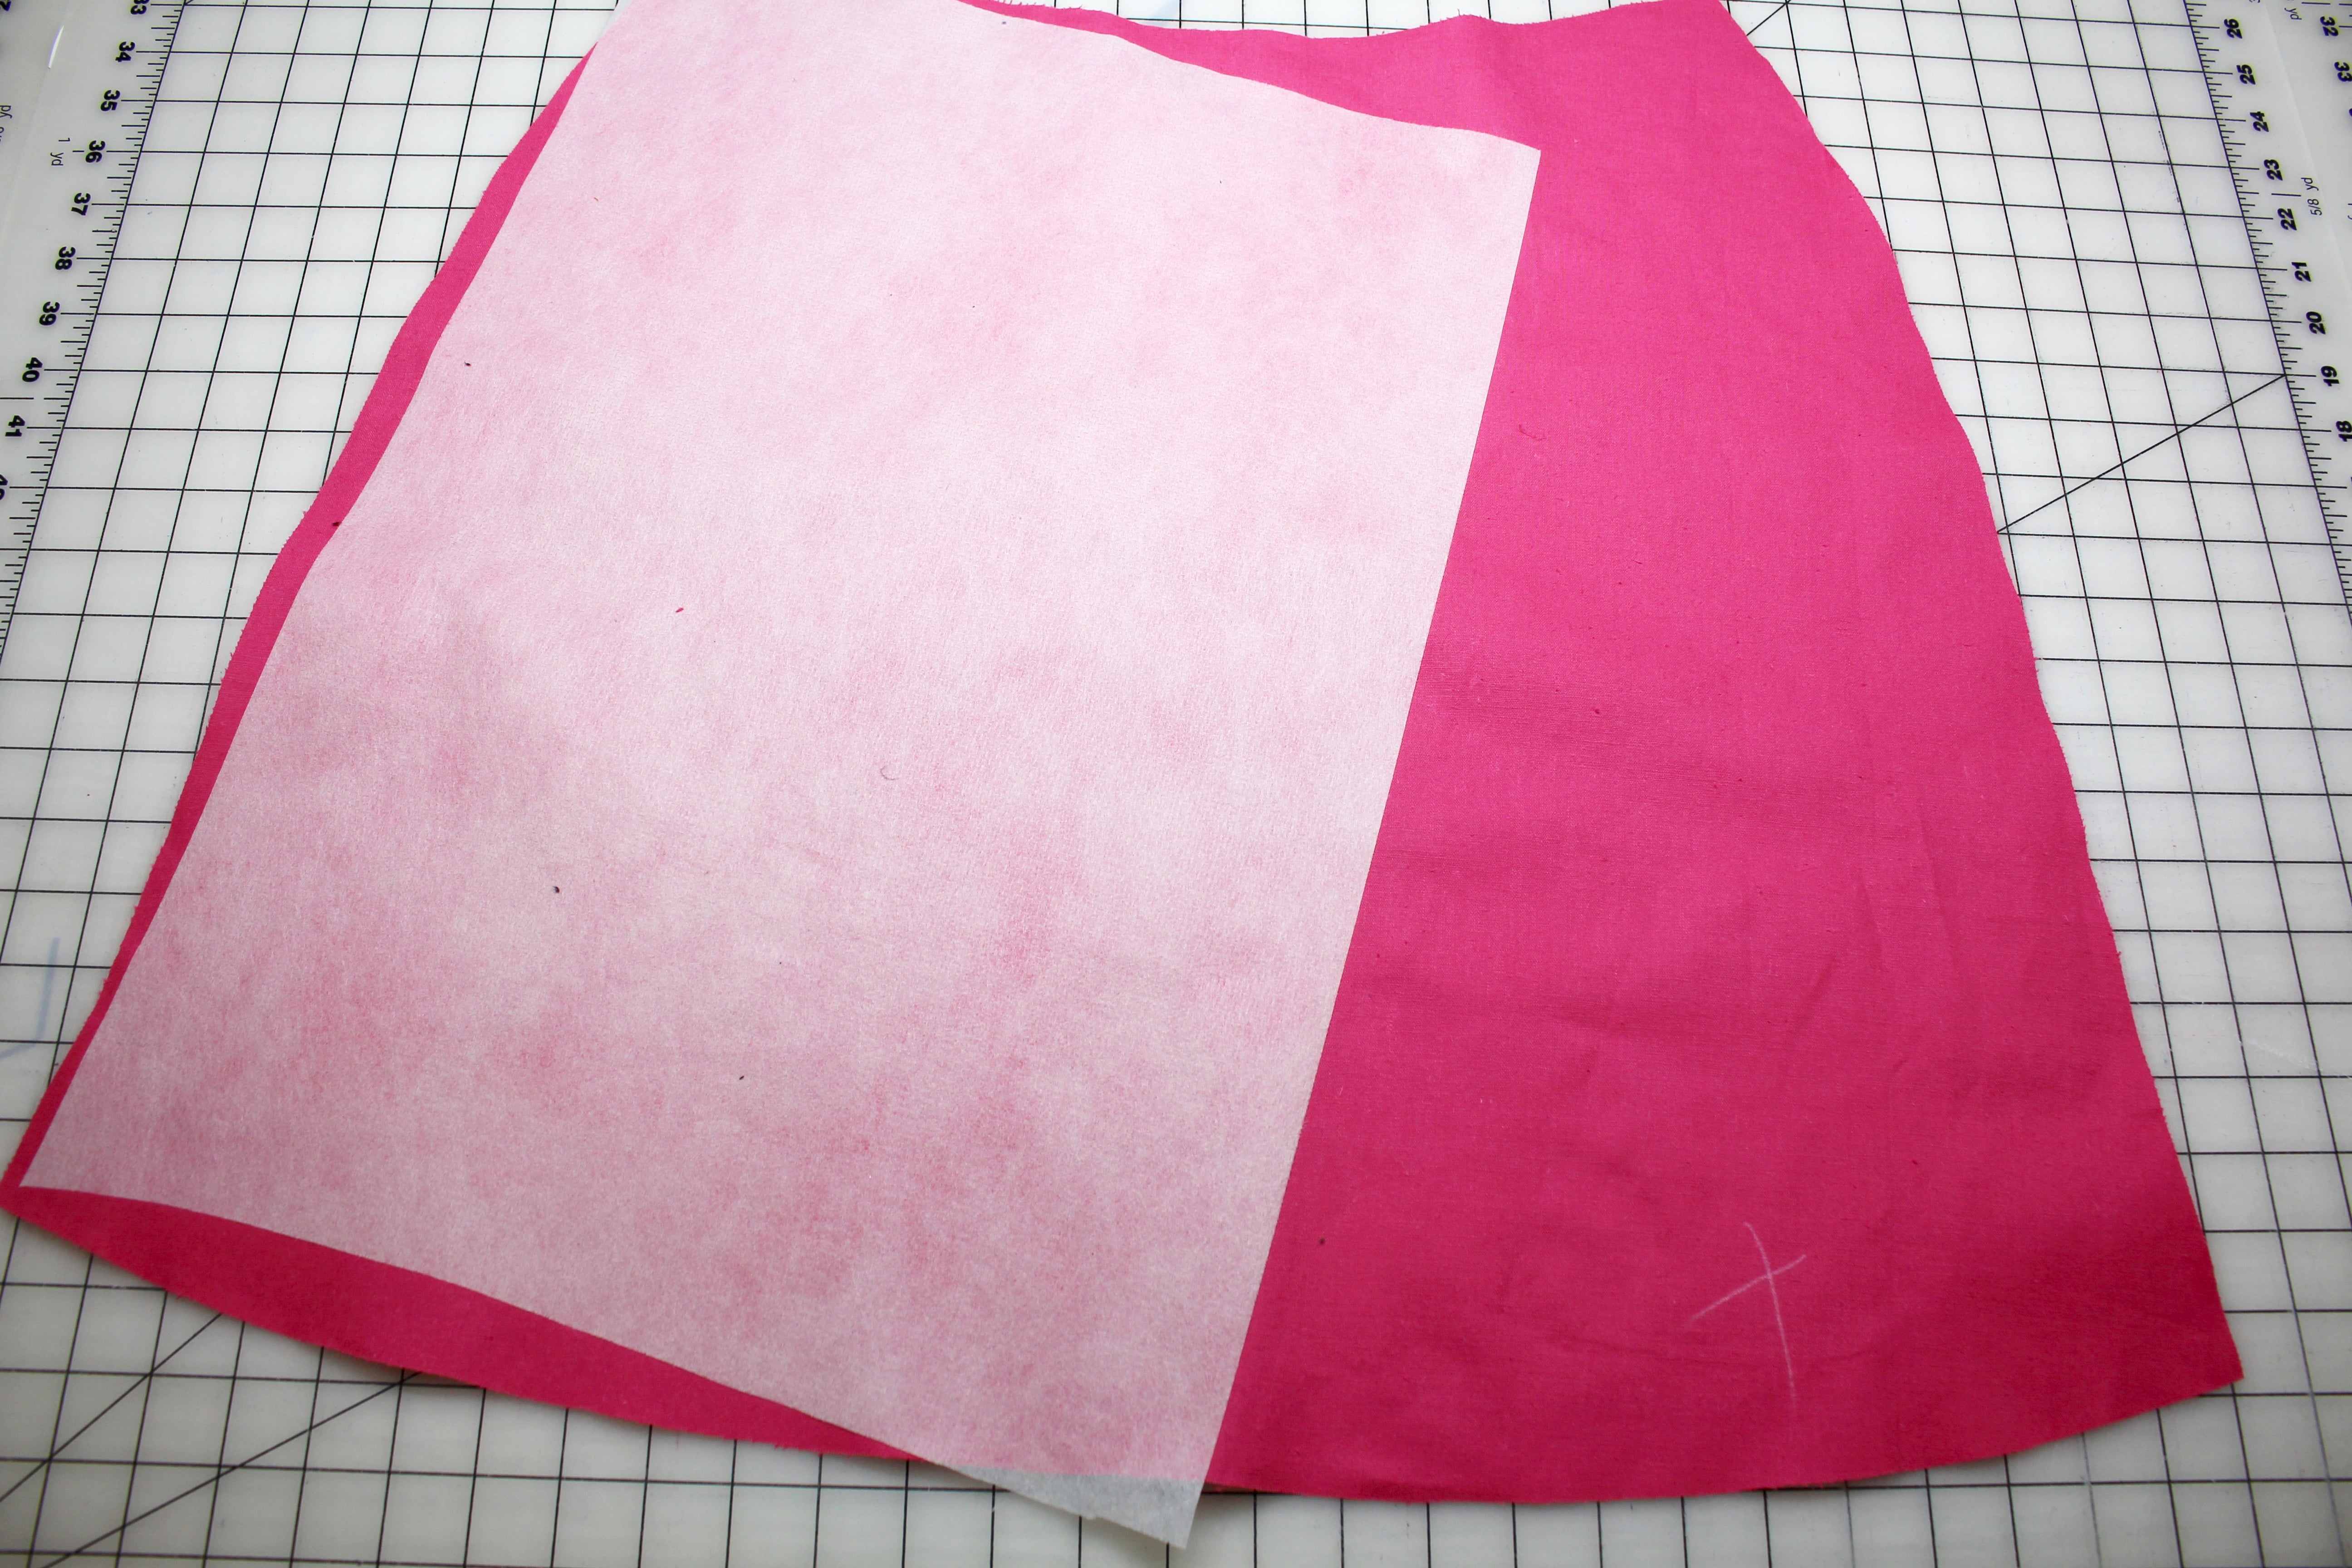
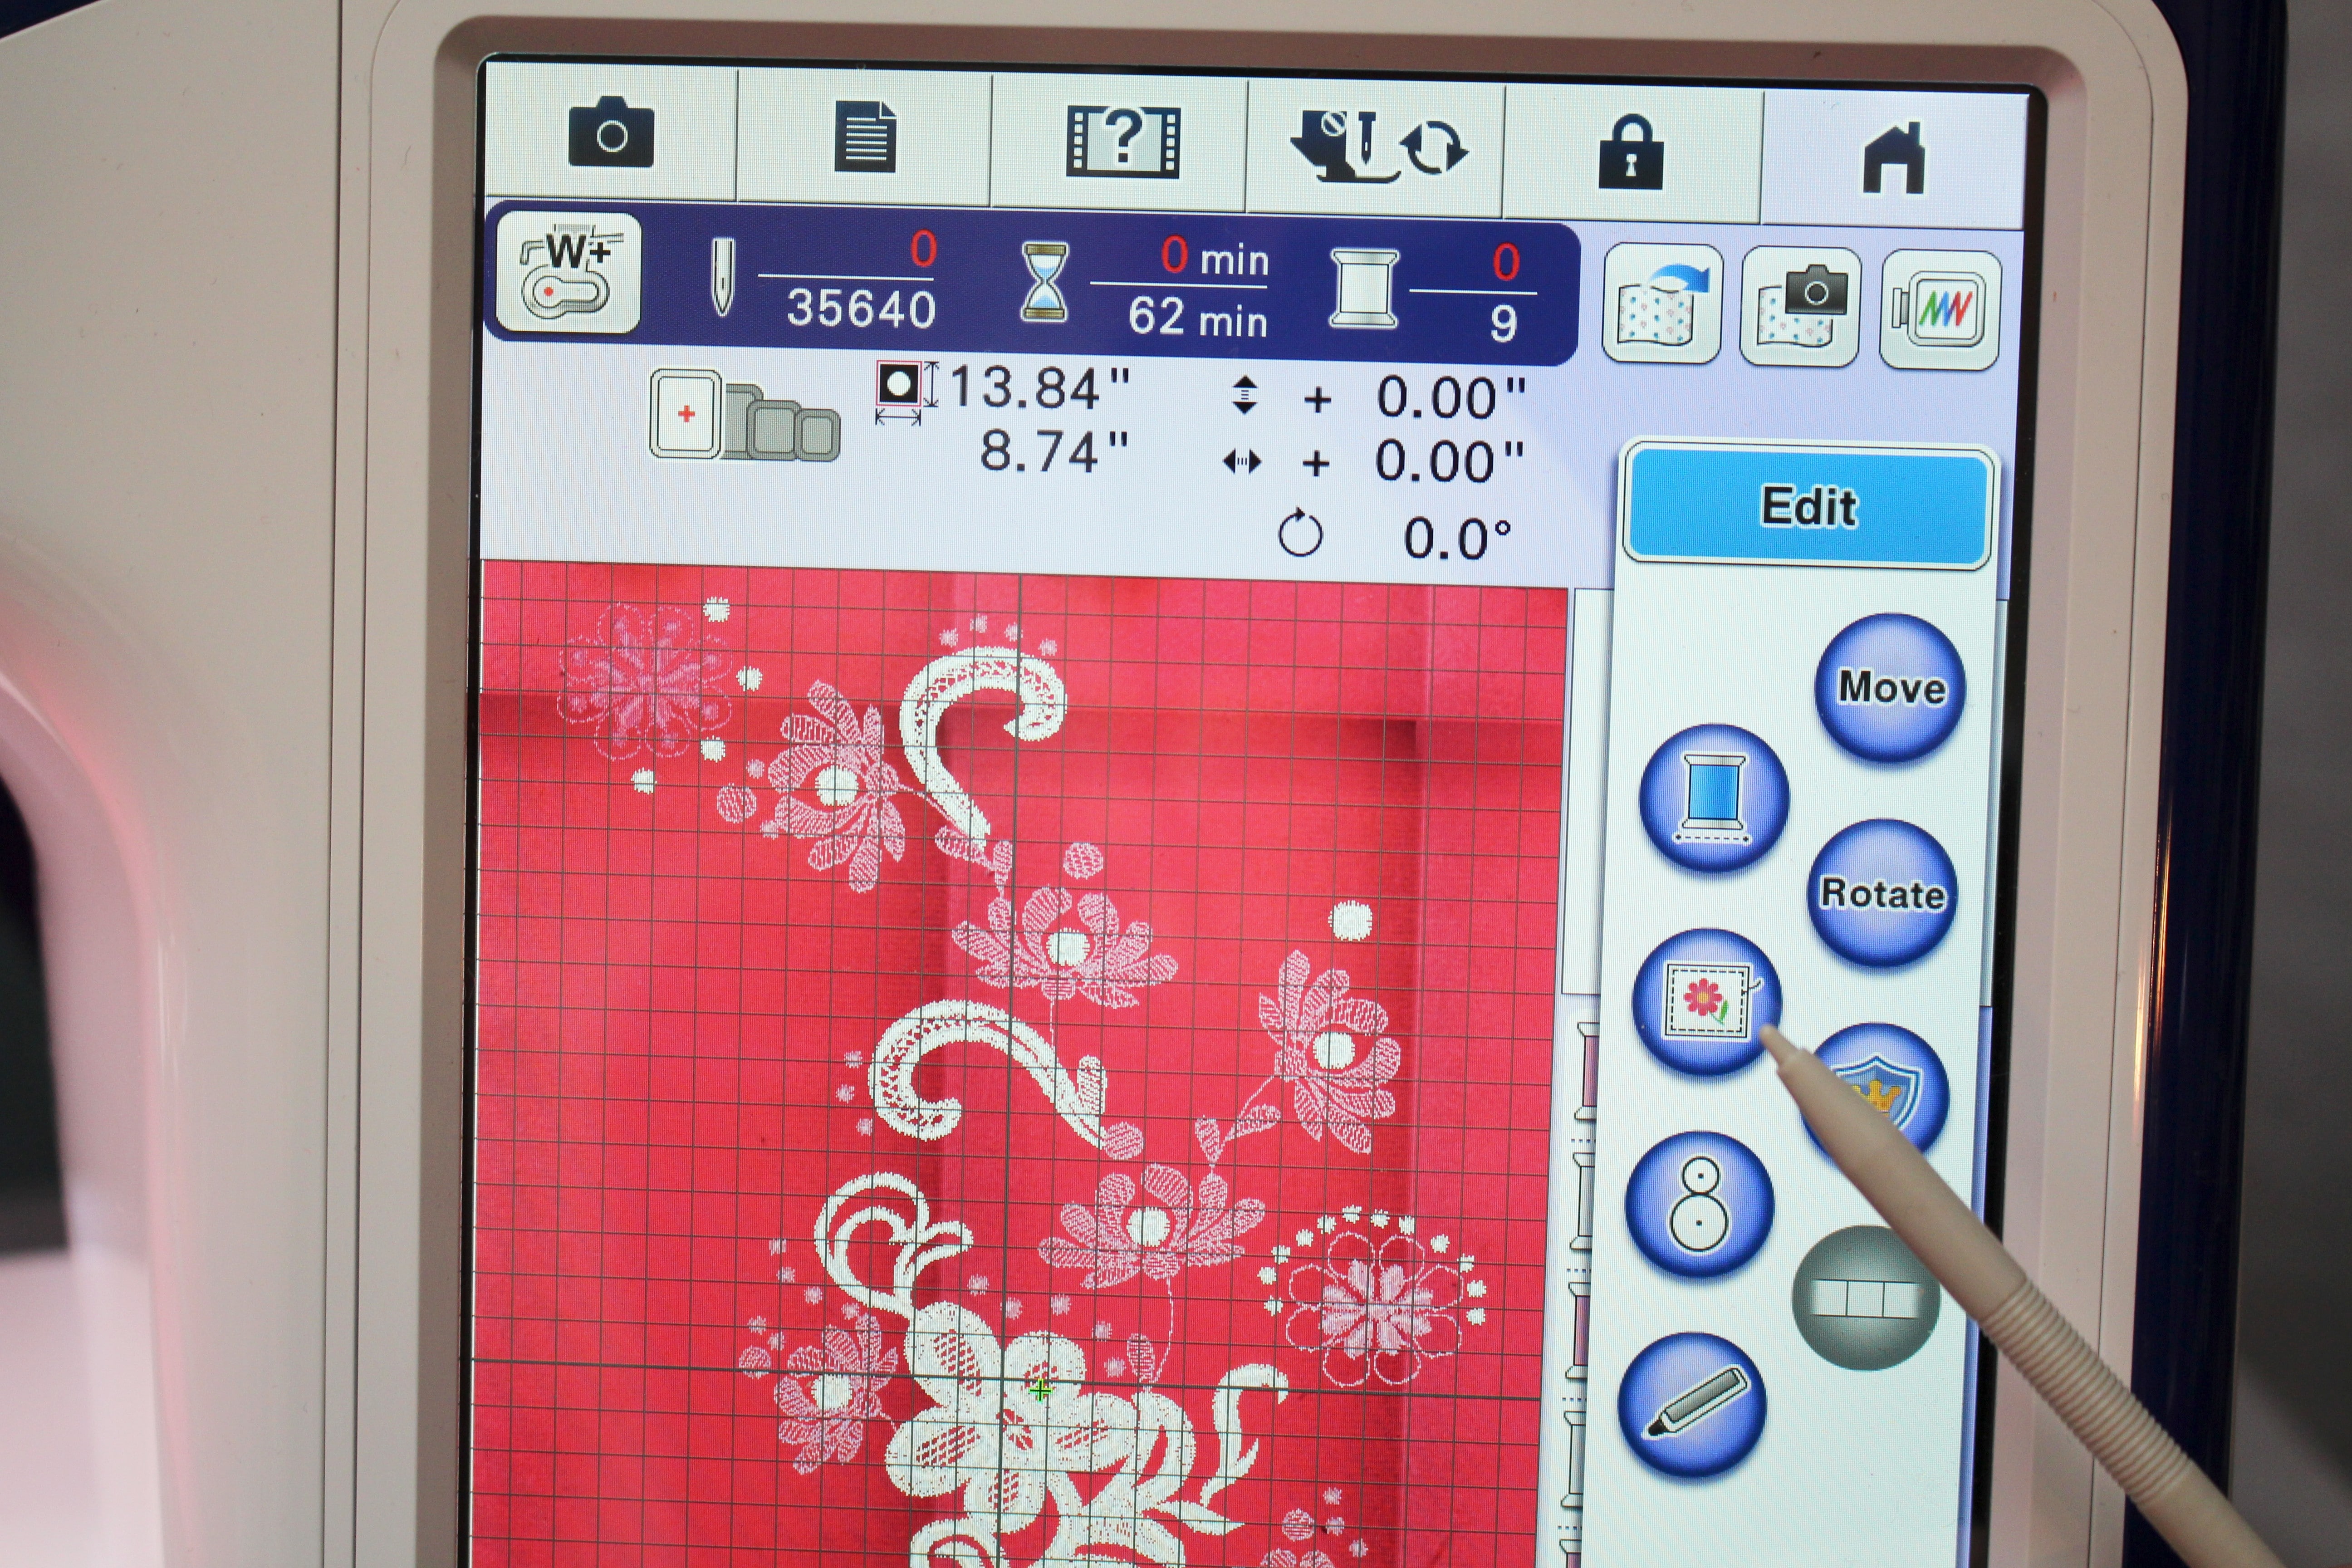
Determine the placement for the embroidery on the skirt. I am going to focus on one side of the front of the skirt; marking that spot with a fabric pen or tailors chalk. Press the embroidery stabilizer on the wrong side of the fabric covering the area to be embroidered.
Hoop the fabric and insert the hoop into the machine. Choose an embroidery design or add a couple of designs onto the screen. Scan the fabric in and move the embroidery design as needed. If you don’t have the scanning feature on your sewing machine, use an embroidery placement marker such as the snowman or other tools.

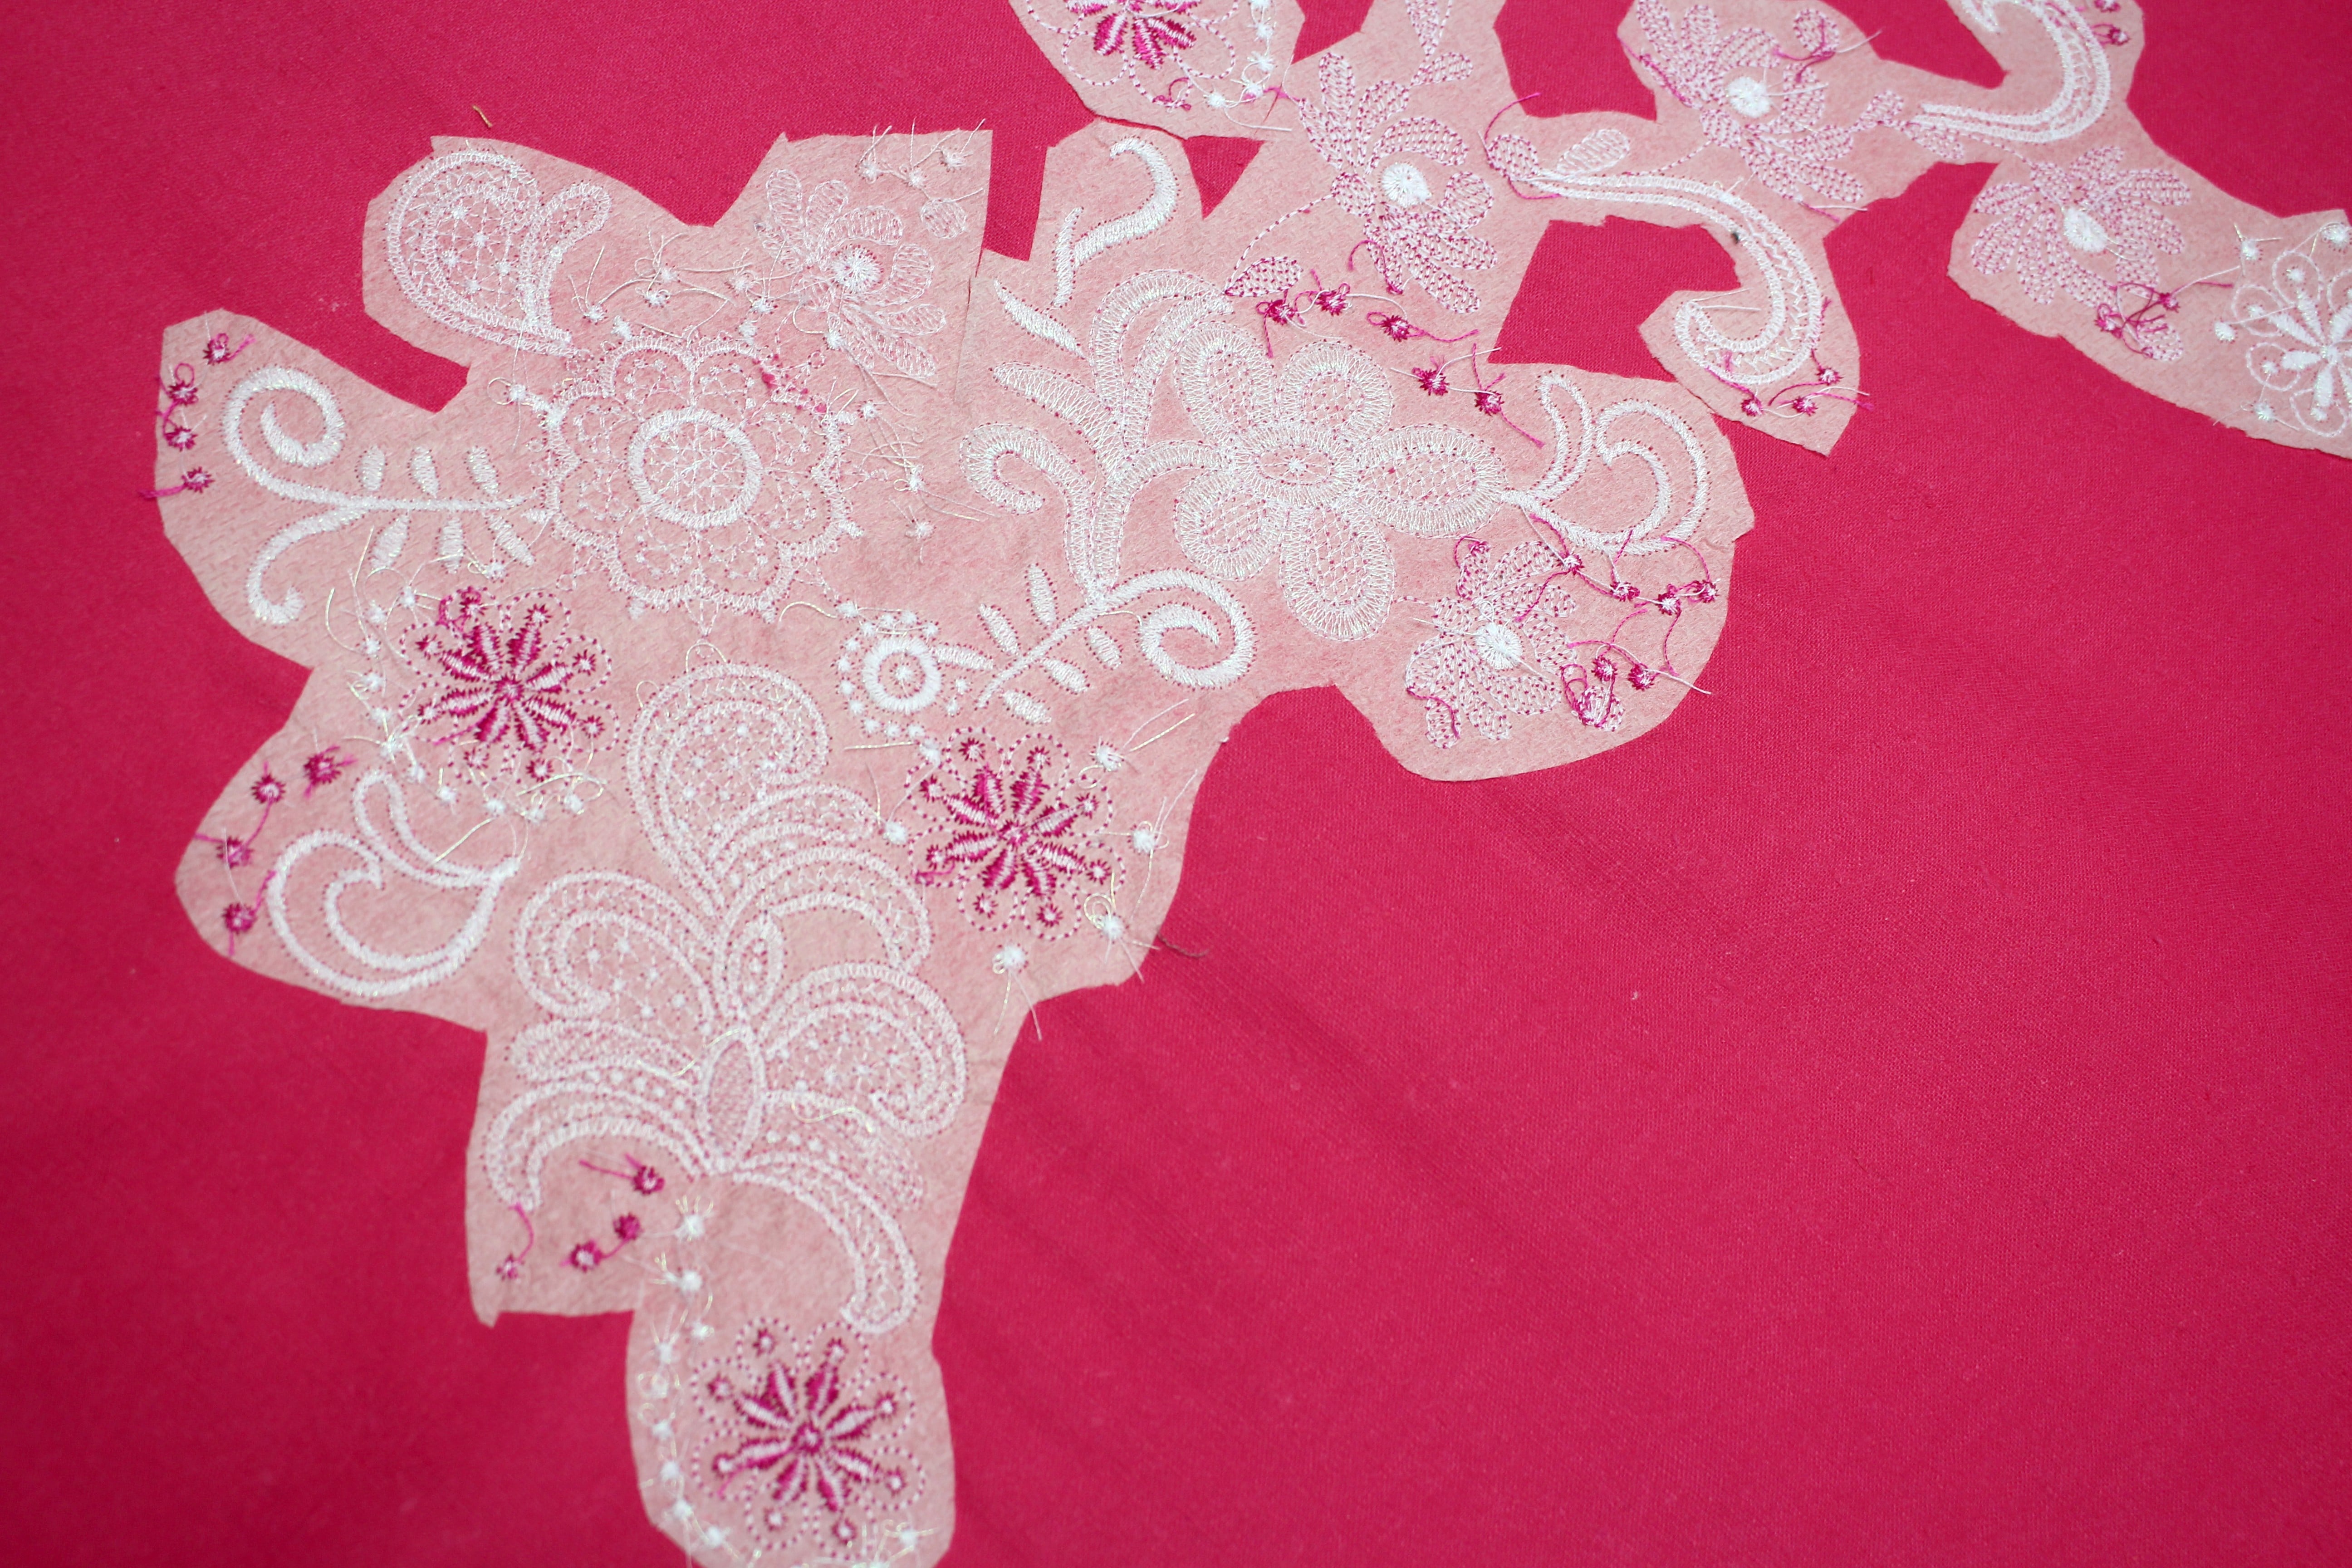
You can read the full blog, head over to my post as a Brother Expert Consultant on the Brother Stitching Sewcial. Be sure to share photos of embellished Kate skirt #angelawolf #brothersews
Cheers,
Ask Angela ...: There are countless women like me who must have the same question to ask, so I'll make an attempt to speak for the group. After reaching those golden years, we start to wonder why our clothes -- especially shirts and blouses -- seem to have lost all...
Although I teach three Tailoring Ready-to-Wear classes on Craftsy, there are a few alterations that many students ask about that were not included in the classes. One of the most common questions: "How do I hem pants with a cuff?" Hemming cuffed pants is very...
I have been experimenting with various ways to create custom fabrics. You might have seen photos on my Facebook page with a few of my favorites by embellishing with: embroidery needle felting scanNcut thread art with the Dream Frame couching One that you might be...
Welcome to Ask Angela where your questions get answered in detail! This weeks question is from Glenda and you can watch the video above (click here if you don't see the video). You will find a tutorial on how to clean a dirty iron face and even a preview of my...
Hopefully you had time over the weekend to spiff up your sewing room. My Craftsy class "Sew Confident: Essential Techniques for Beginners" has officially launched and we are already just shy of 500 students. Very Exciting! CONGRATULATIONS! First things first,...
Sewing Tip of the Day! NEVER use a dull seam ripper!!!!! I buy my seam rippers in bulk from WAWAK Sewing and you should too 🙂 Then you can throw them away at the first sign of dullness and grab a new one. Have a Specific Sewing Need or...

All About Buttons! Embellishing is one of my favorite things to do, in fact sometimes I even add touches to ready-to-wear garments. One of the easiest ways to restyle is to change the buttons. Even better, your own custom covered buttons! From simple to couture,...

I just got back from a 6 day Sit & Sew tour visiting all the Allbrands stores which started in Louisiana and ended in Texas. Fabulous trip, but definitely dragging a little today. I will be sharing details of the week as soon as I organize all the photos. In...

First off, I want to wish you a Happy New Year and I hope you are off to a great start in 2015! So far so good on this end J I started the year with a mini-vacation up north. Although, the snow didn't arrive until after the mini-vacation, which resulted in another...


