
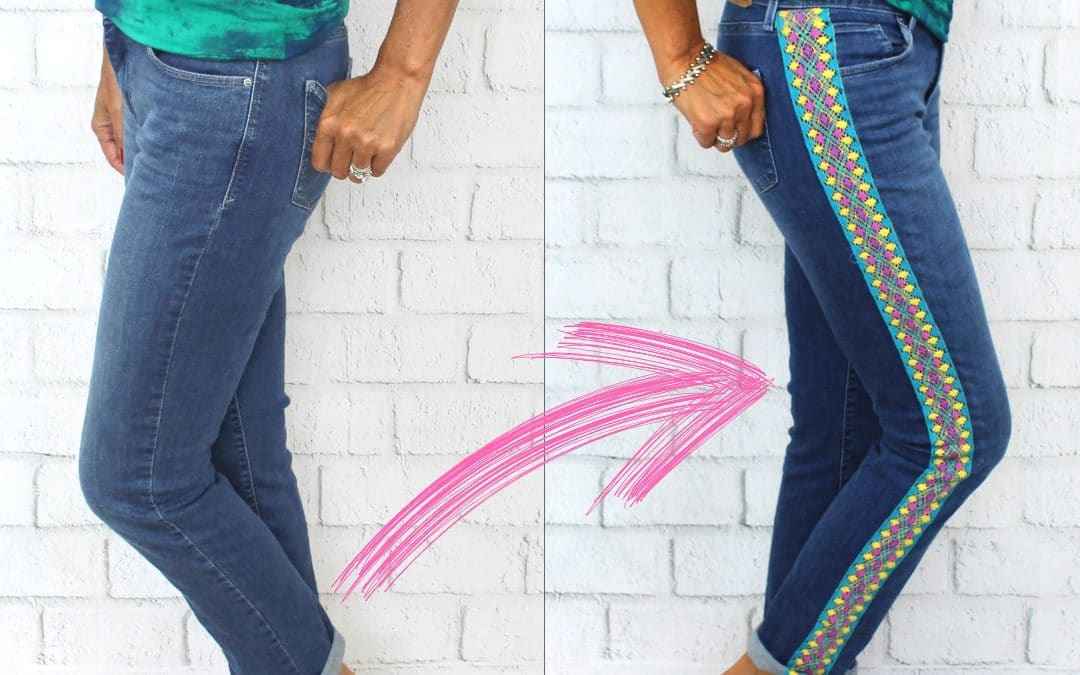
Refashion Jeans with Trim
You might have noticed some of the fashions of the late 60’s and 70’s making a comeback on the store shelves, from floral fabrics to embellished jeans. How about adding crocheted ribbon trim along the outside leg! This is so easy!!!
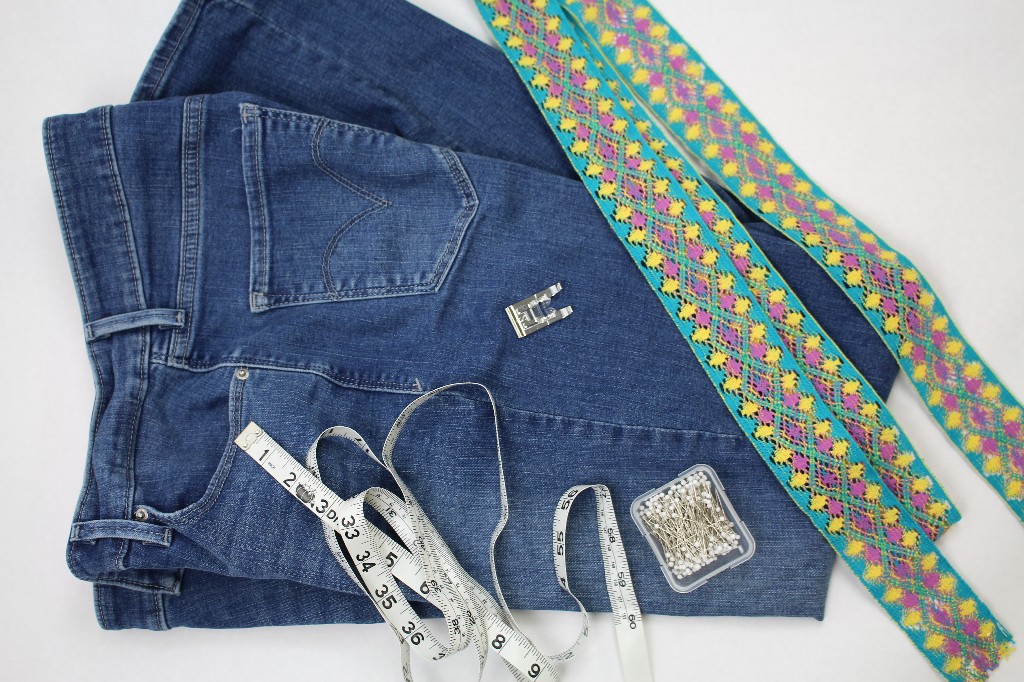
Supplies:
- Jeans
- Measuring tape
- Pins
- Ribbon or trim (check that the trim is washable)
PREPPING
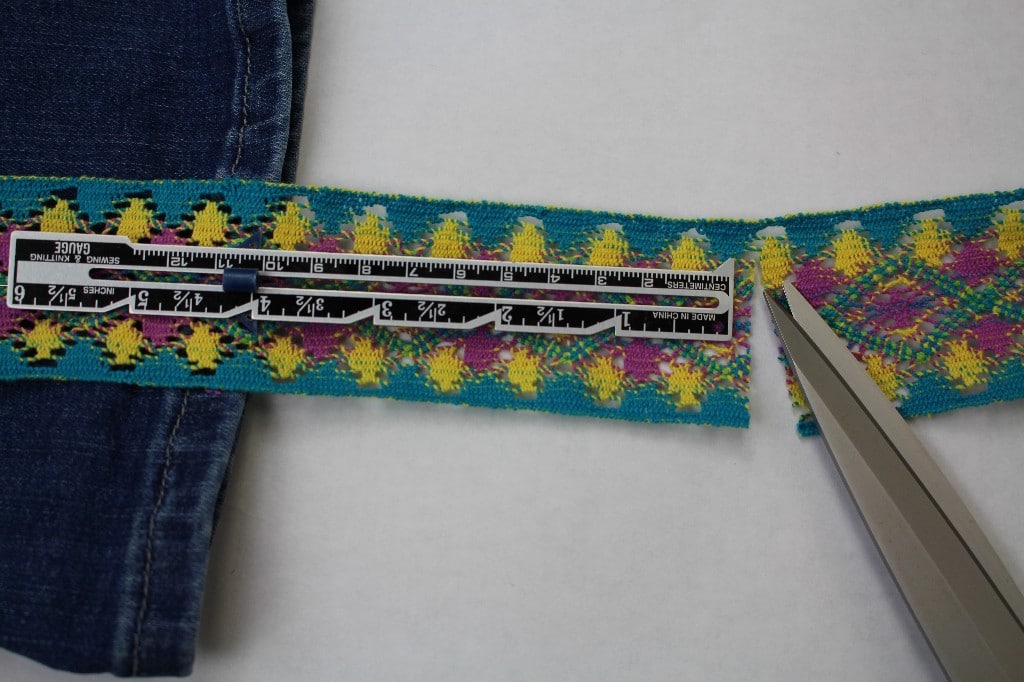
- Measure the outside of the jean leg from the bottom edge of the waistband to the hem.
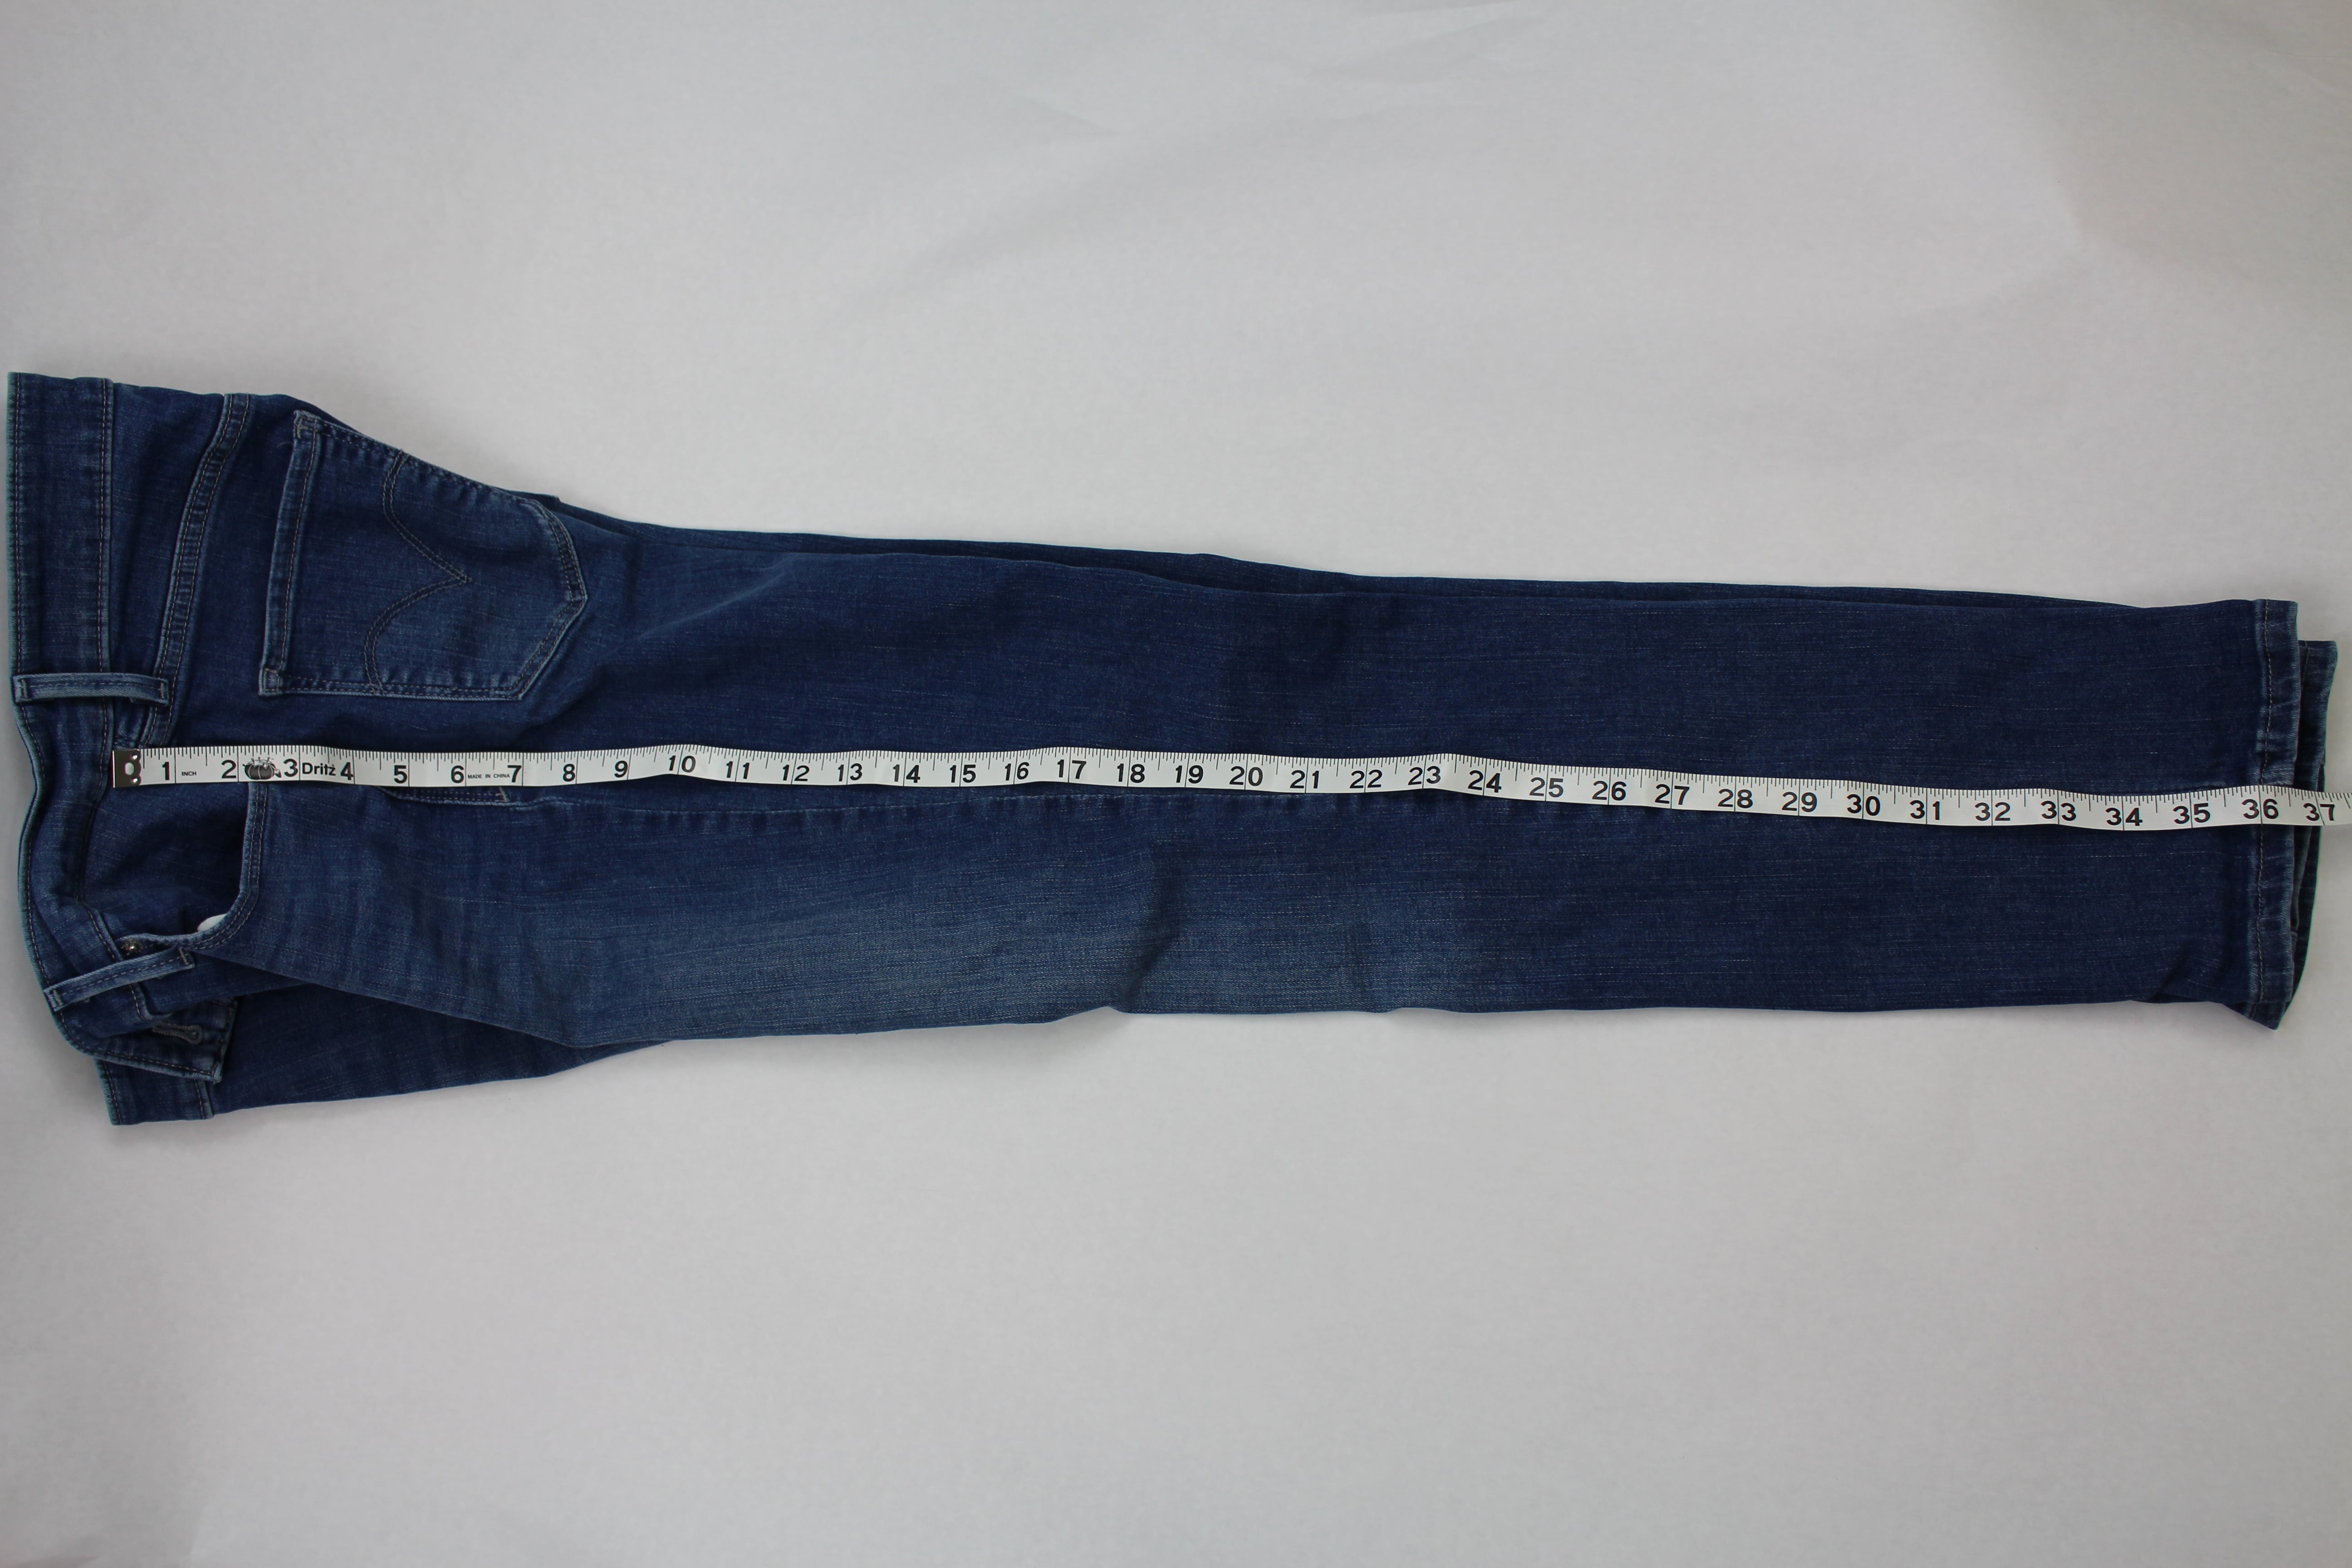
2. Add 6 inches to the outside leg measurement and cut 2 pieces of trim that exact length.
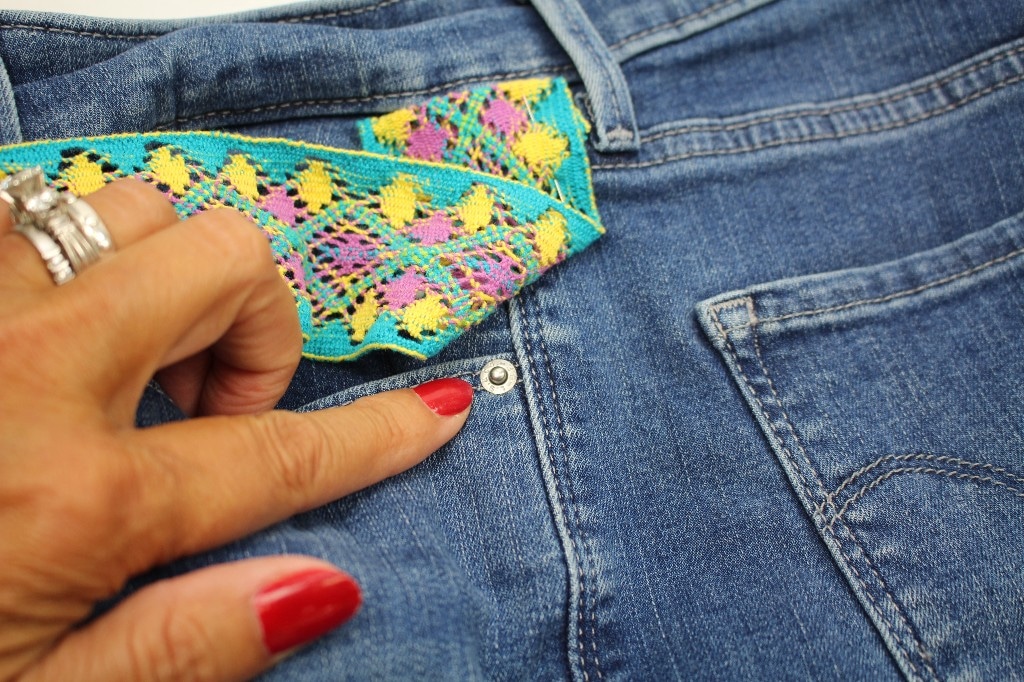
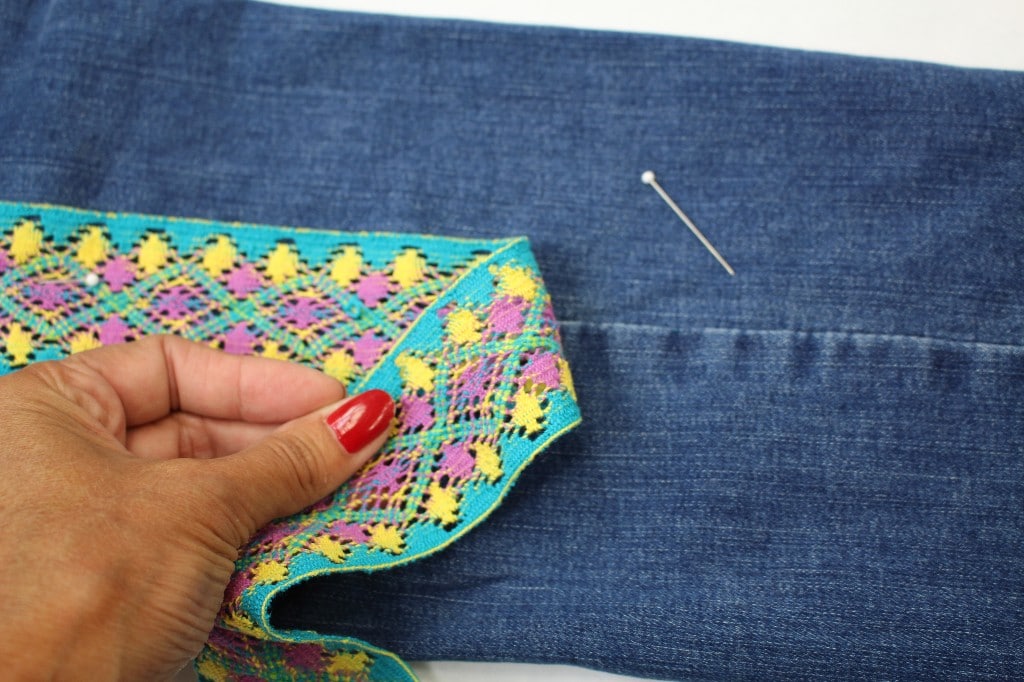
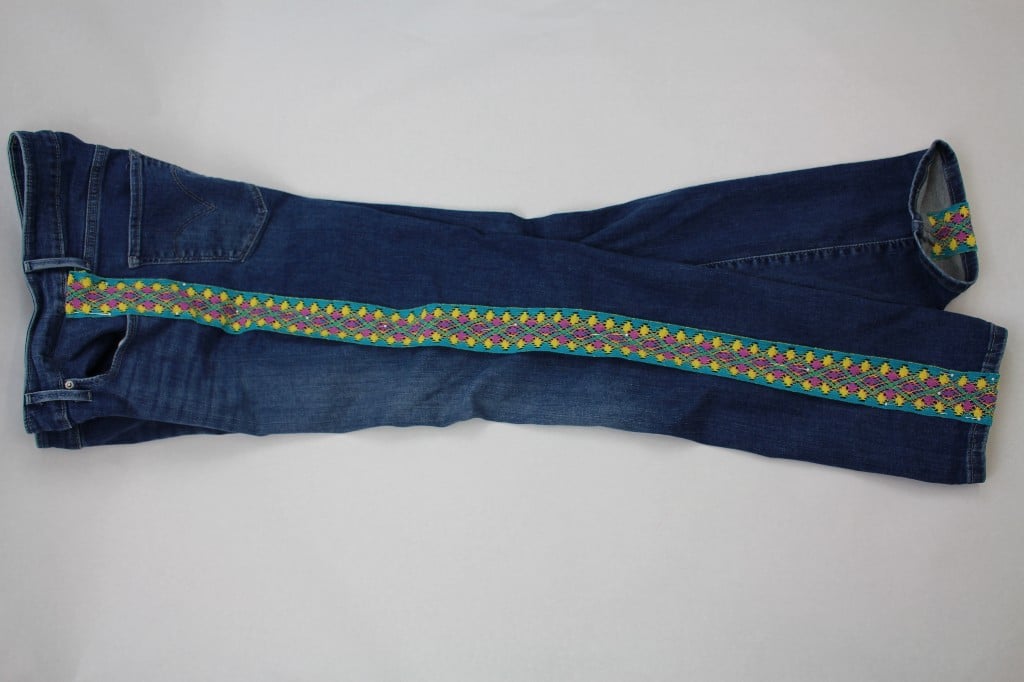
3. Starting at the edge of the waistband, center the trim with the outside leg seam. Fold under the raw edge of the trim about ½” and pin.

4. Continue to pin the trim along the outside leg seam. Be sure to look for metal rivets or other hardware! Here I have a rive and I will make sure to mark this spot as to not break the sewing machine needle.
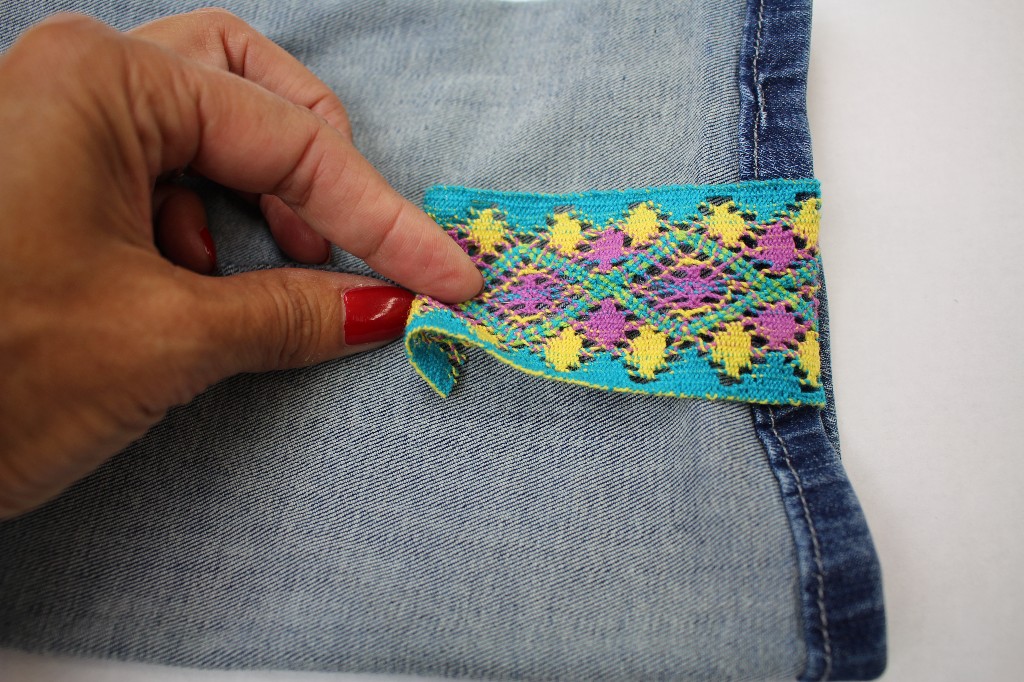
5. Pin the ribbon/ trim all the way to the hemline. If you plan on folding up the jeans, measure 4 inches below the hemline and cut the trim. If you are not going to fold up the jean hem, measure 2 inches and cut off any excess ribbon.
6. Turn the jeans inside out. Center the ribbon on the seam allowance, fold under the raw edge ½” and pin in place.
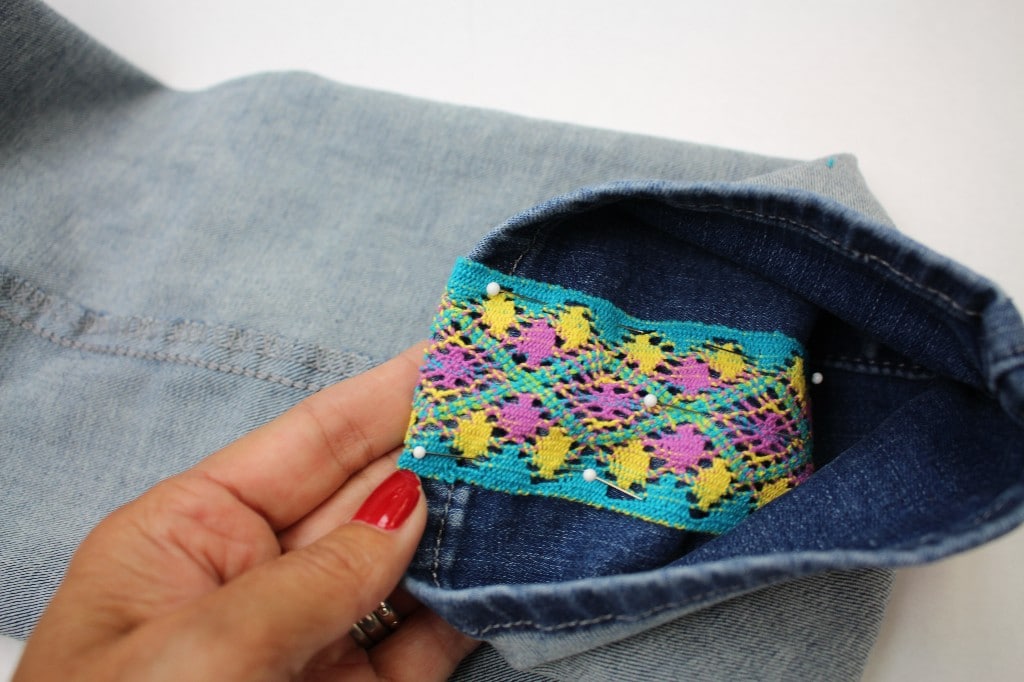
7. Follow these steps on both outside leg seams.
SEWING
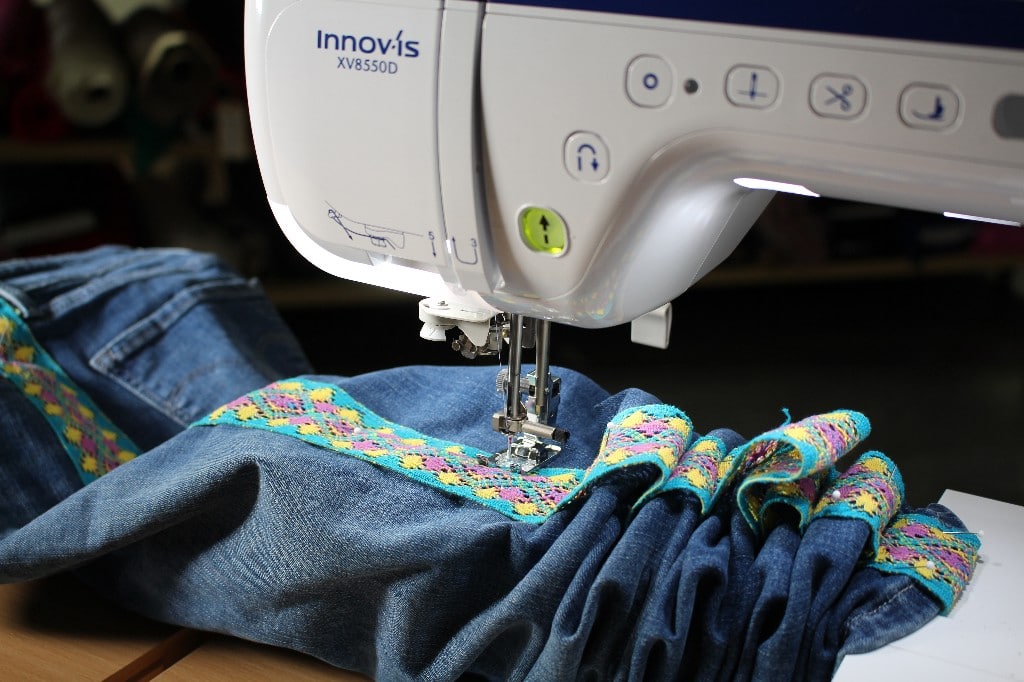
Depending on the style and size of the jeans, it can be challenging sewing all the way down to the narrow hemline. To make is easier we are going to utilize the sewing sideways feature!
8. Set up the machine for sewing a straight stitch and move the needle all the way to the far-right position. Slide the jeans under the foot starting at the waistline. To read the full blog post, head over to my post as a Brother Expert Consultant on the Brother Stitching Social.
Looking for more ideas on refashioning jeans, check out my blog post on embellishing jeans with embroidery.Be sure to share photos on the social side #angelawolf – I always love to see what you are working on!
Cheers,


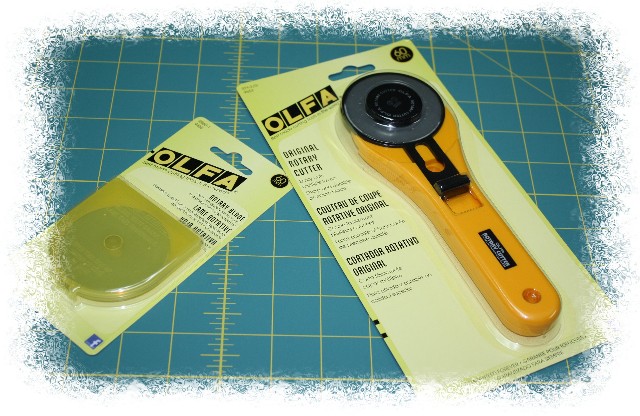
Time-saving Sewing Tip! Pre-cut interfacing with Olfa in minutes!
I am thrilled to see all of the excitement for my 2014 Wardrobe Challenge! The month of January is so full of new years resolutions, crazy weather and catching up from the holidays, I wanted to make this month's challenge simple and fun. All...

How to Prepare & Sew a Jacket Lapel (another giveaway)
When I asked what part of sewing jackets you find the most intimidating to sew, many of you left a comment about the collar and lapel. I must have had a premonition, as this week's episode of It's Sew Easy gives you a few tips for success. You are right, the collar...
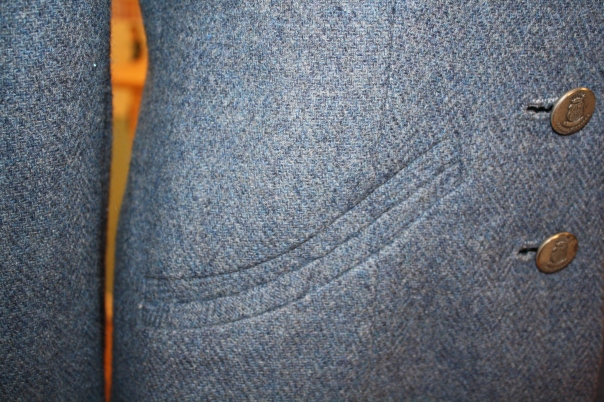
How to Sew a Curved Welt Pocket
Getting back to sewing jackets ... by any chance did you happen to catch last weeks episode on It's Sew Easy TV where I demonstrated adding a curved welt pocket. Welt pockets can be a little intimidating because once you cut into the garment, you can't change your...

Sewing Your Own Wardrobe and ONLINE CLASS SALE on PatternReview.com!
There is only one reason I have not moved South in order to enjoy beautiful sunny weather all year round ... jackets and boots! This is the time of year I rearrange my wardrobe, bringing out all the cute jackets I finished last March and never had a chance to wear...

A BIG THANK YOU!!!!
I woke up this morning to an email that made me very happy and I have YOU to thank 🙂 Just so you know, you made my day!!!!! In case you missed it, Craftsy is holding their 2013 blogging awards. Round one of voting is finished and your votes placed my blog into the...

Pintucking with a Serger / Overlock Machine
I am having so much fun finding ways to use my serger, more than simply finishing the edges in my garments! With over 5,000 students in the Craftsy class Creative Serging - Beyond the Basics , many of you are already expanding your serger use. I was thrilled to see...

Embroidery Embellishment and Congrats to Serger Class Winner!
Getting new samples ready for It's Sew Easy TV season 6 taping, I am finishing designing new dresses and experimenting with embellishing with embroidery. I have had this purple raw silk for years and really like the color, but it's SO bright by...


Share This
Share this post with your friends!