Envelope Pattern There are three download versions for the envelope pattern: Full Layout - Use this for projector printing or printing on a plotter. ENVELOPE PURSE Letter Size Printing - Use this when printing letter size paper (8.5" x 11"). Print pages 1-8, the...
Creative Serging: Flatlock Stitching with Crochet Thread
Decorative Serging:
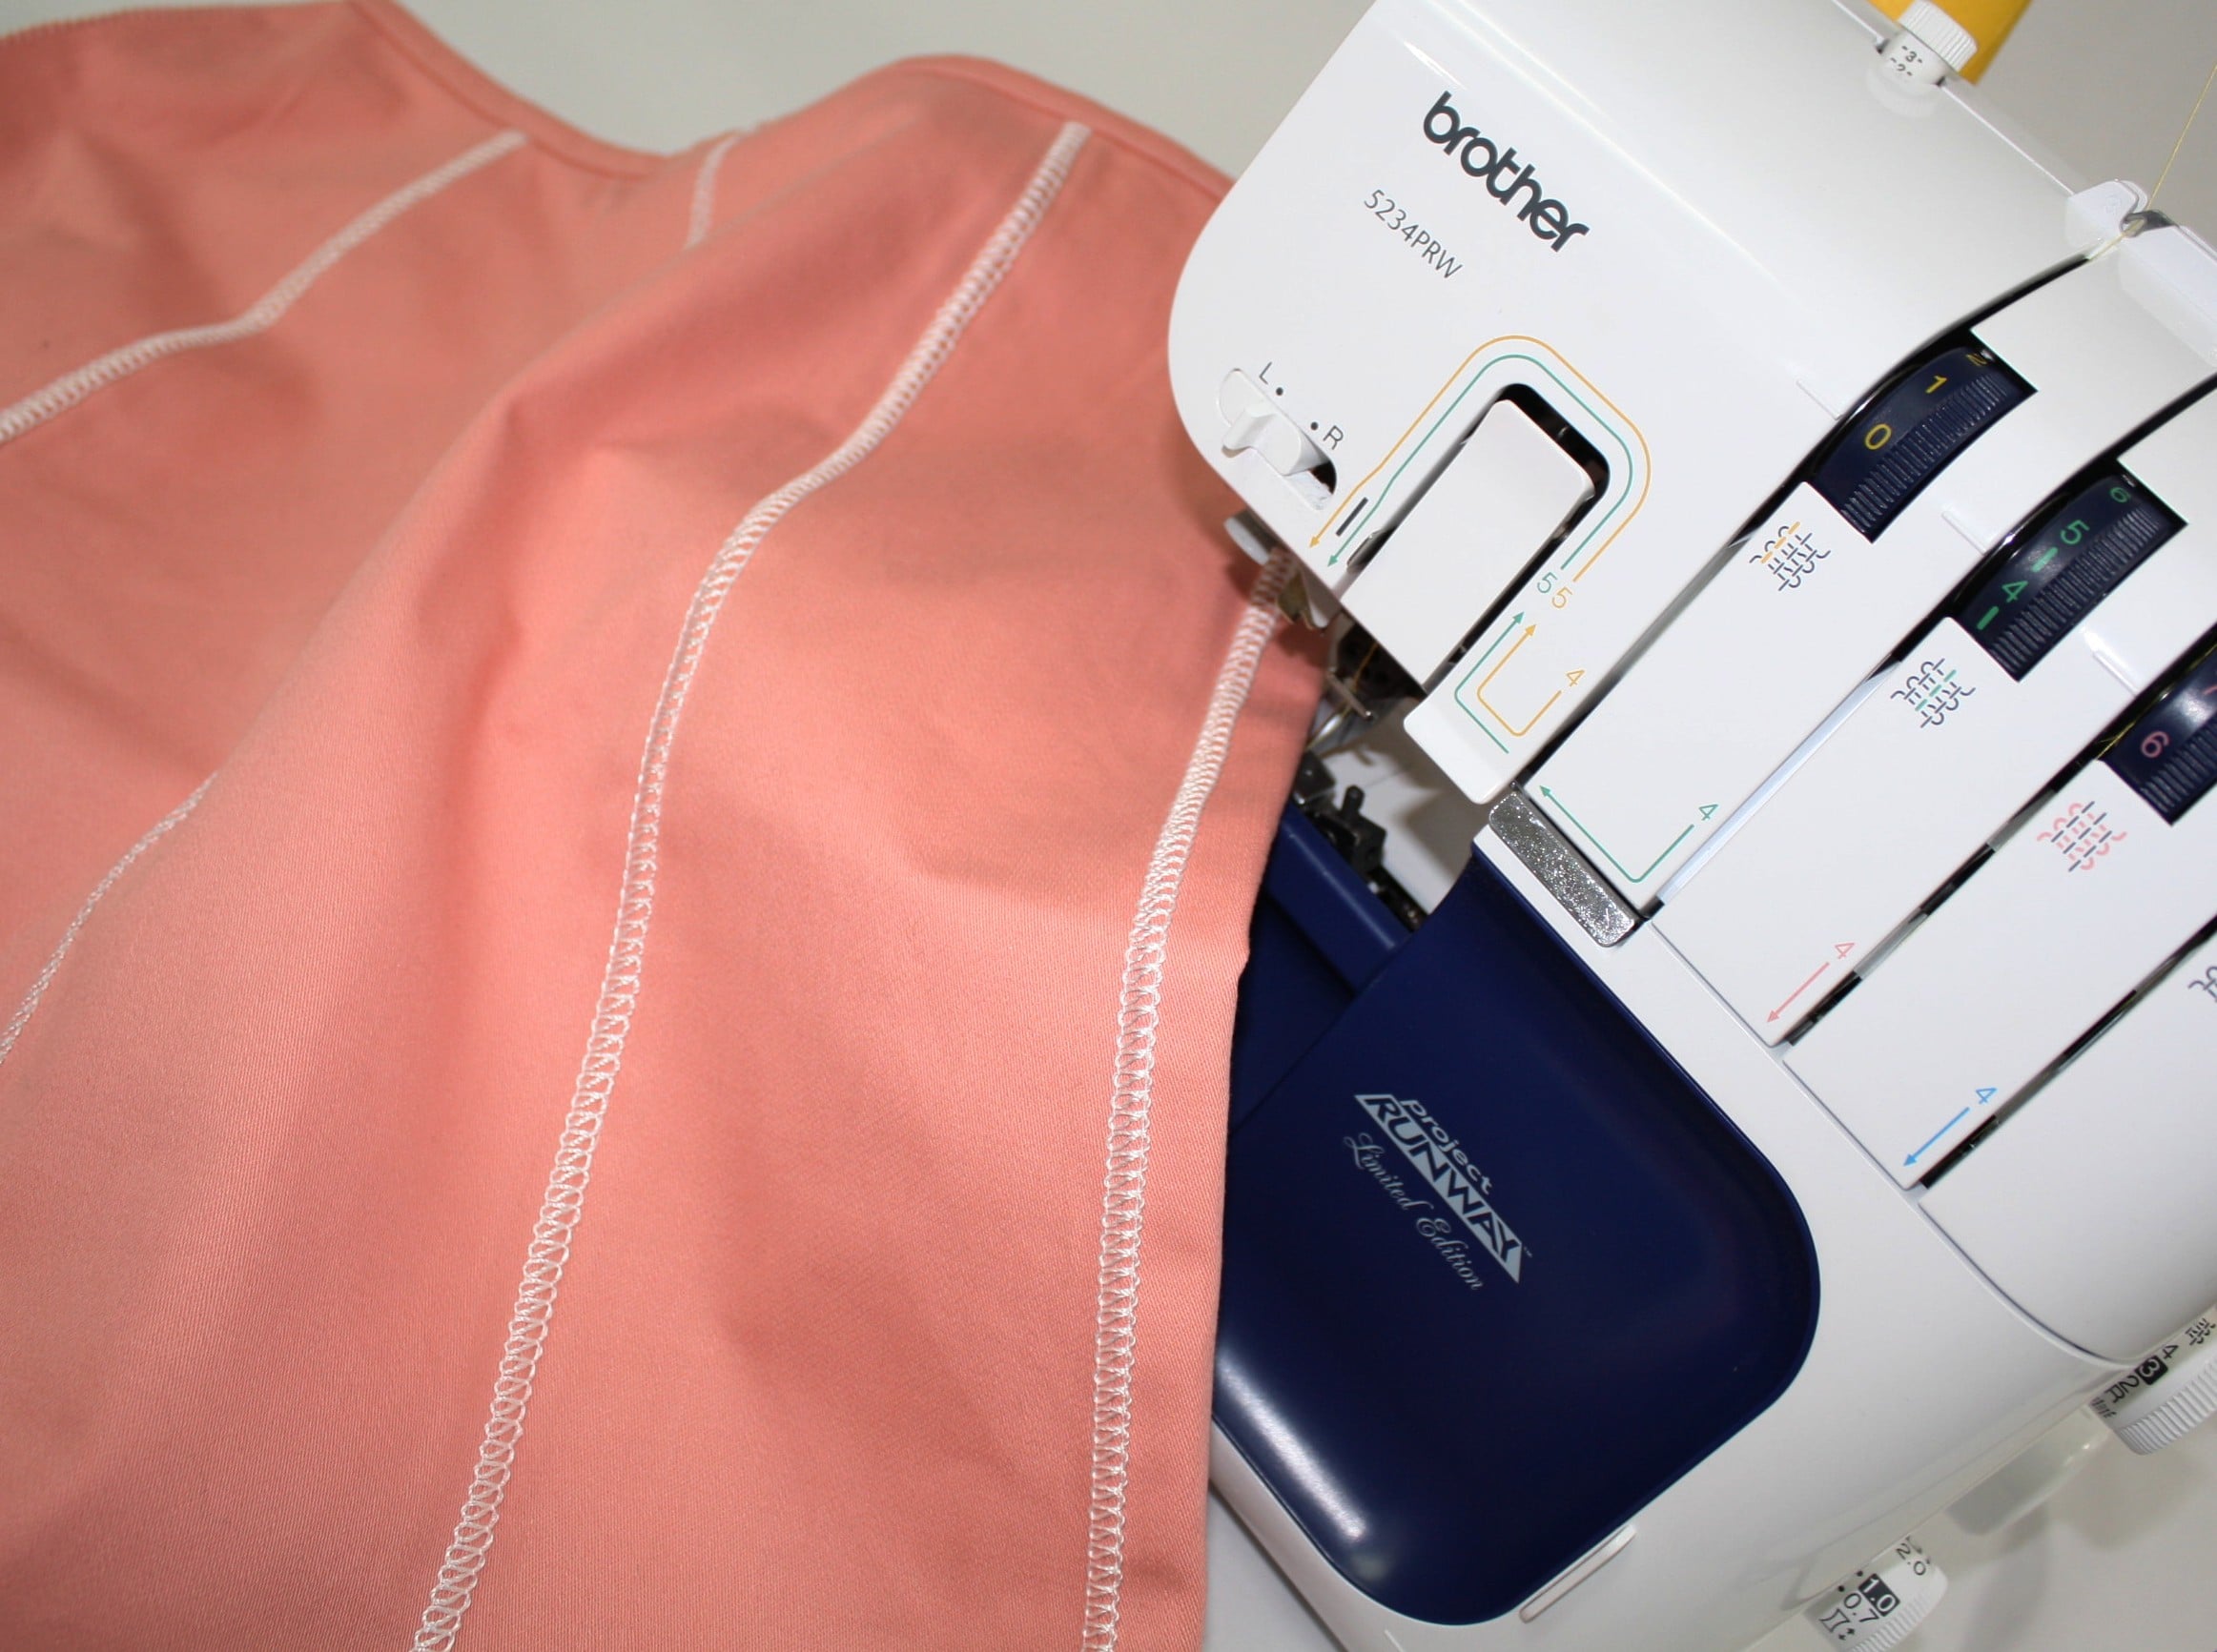
The serger can do so much more than simply finish fabric raw edges. Using crochet thread or yarn in the upper looper can create an entirely different look! This is a great way to restyle or embellishment fabric or a garment.

I am using the Brother Serger: 3-thread flatlock stitch with a decorative crochet thread in the upper looper. The left needle and lower looper have a similar color polyester thread. The photo above shows the front of the flatlock stitch and the backside. The backside looks like a ladder stitch. (the peach thread is just the serged edge of the seam).
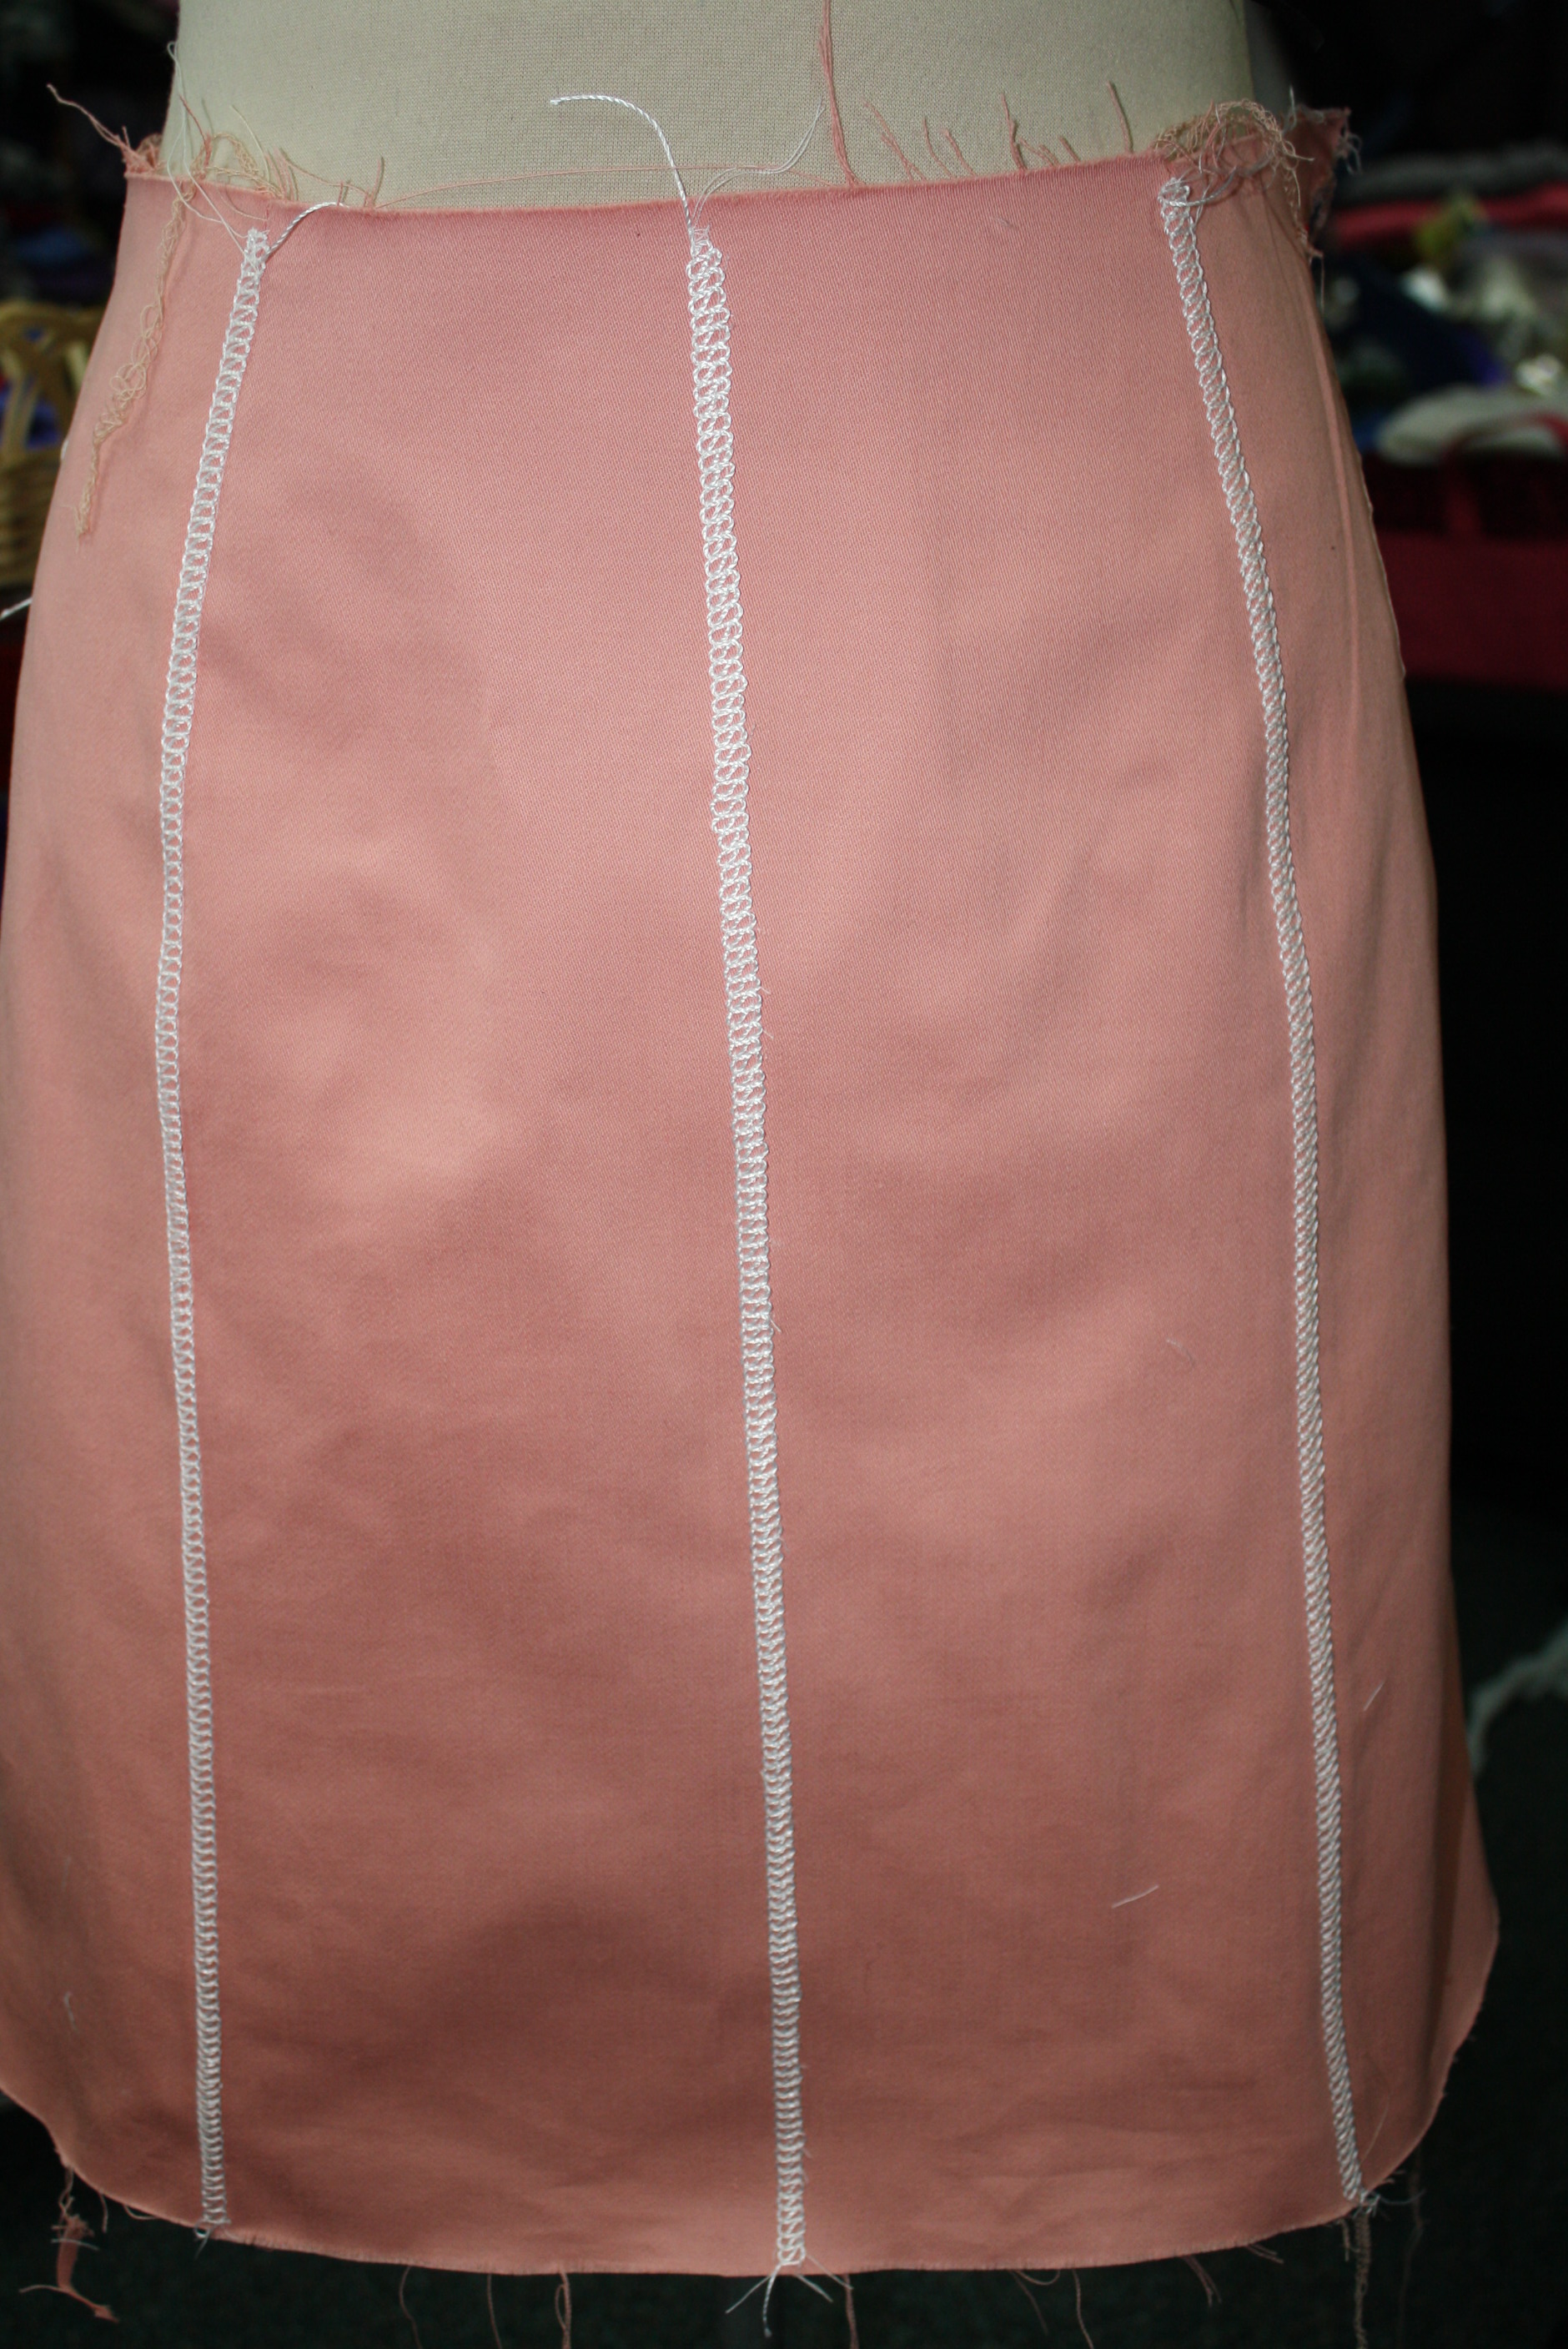
I started with the Kate Skirt Pattern. I added seams to the front and center back, but you could just pencil in a line with tailors chalk – it doesn’t need to be a seam to add the flatlock decorative stitch.

Here is the back view. Again there are 2 seams on each side back and this time there is a seam down the center back with a hidden zip. In order for this stitching to look even (with the zipper), I stitched the flat-felled embellishment down the edge of each center back seam, then added the zipper and closed the seam. That part got a little tricky and you can see the stitches are not perfectly even. I haven’t decided if I am going to rip it out and start again or hope nobody is looking at my tush that closely to notice 🙂
Setting up the Serger:
- Set your serger up for a 3-thread overlock: I am using a serger from Brother and the standard setting for the needle and looper tensions are 4. When I give you new tension numbers you can compare this with your serger, if your serger has manual tension dials. If you are serging with an air-threading serger, like this Babylock, set up your serger for the 2-thread flatlock – wide.
- Thread the upper looper (or the only looper for the 2-thread flatlock) with a decorative thread. Use standard poly serging thread in the needle and lower looper.

![]()
Decorative Thread Ideas:
- Crochet Thread
- Coats denim jean thread (which comes in a lot of colors now)
- Yarn
- Thin ribbon
Next, there are a few changes to the serger settings:
- Stitch Width: 5mm
- Stitch Length: 2-4mm
- Needle Tension: Decrease to 0 -3 (remember my standard setting is 4 so adjust for your serger)
- Upper Looper Tension: Decrease to 2 – 3
- Lower Looper Tension: Increase to 6 – 9
- Disengage the knife
These setting serve as a guide. It will depend on the fabric and thread you end up serging with.

See if your serger had a Blind Hem Foot, if not you can use the standard foot.
There is a setting on the foot that moves to the plastic or metal piece to right and left, allowing the needle to pierce more or less of the fabric. Test the stitch on your fabric to determine the setting.
Fold the fabric in half or if you are embellishing a seam, fold along the seam line. Align the fabric along the shield on the blind hem foot (if using a standard foot, mark a spot to align with).

The idea is for the needle to pierce the fabric – half the stitch is on the fabric and half is off the fabric. In fact the stitch looks really messy coming out of the serger!

Stretch out the folded fabric to lie flat and press.

Pretty simple, but so fun! Have you ever tried this before? I would love some more ideas for decorative threads or yarns to use with this stitch.
Be sure to share photos of your creative serged project 🙂 #angelawolf
Cheers,


325: Learn to Sew an Envelops Purse Clutch with Angel Wolf
read more
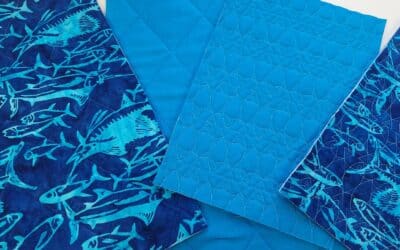
Quilted Grocery Bag Sewalong
Quilted Grocery Bag Sewalong I am so excited to share this new grocery bag sewalong with you! This is an easy project with opportunities to make is more advanced with embroidery and embellishing. Sewalong Schedule #372 - 9/7 - Sewalong Part 1 Supplies and Pattern...
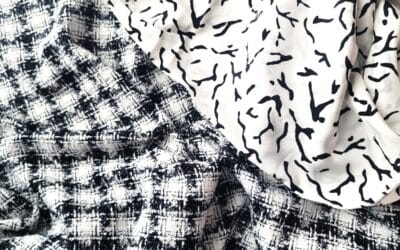
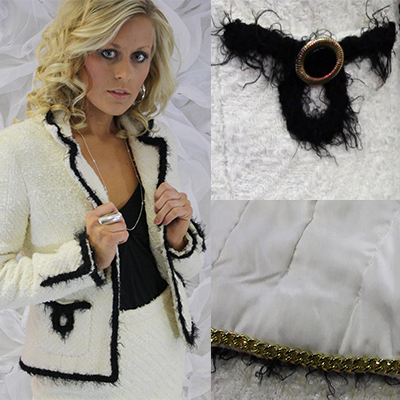
309: Boucle Skirt + Quilted Lining = Touch of Couture Part 1
Tweed Skirt Sewalong Part 1 In part 1 of this sewalong I will share options for choosing the best fabrics and pattern. Join me in choosing the best lining to coordiante with my fabric!Skirt Patterns to choose from: ~ The Kate Skirt ~ The Fringe Skirt Pattern ~...