Envelope Pattern There are three download versions for the envelope pattern: Full Layout - Use this for projector printing or printing on a plotter. ENVELOPE PURSE Letter Size Printing - Use this when printing letter size paper (8.5" x 11"). Print pages 1-8, the...

Ep. 105 Behind the Scenes LIVE ? Fabric Haul, Sewing, Embroidery
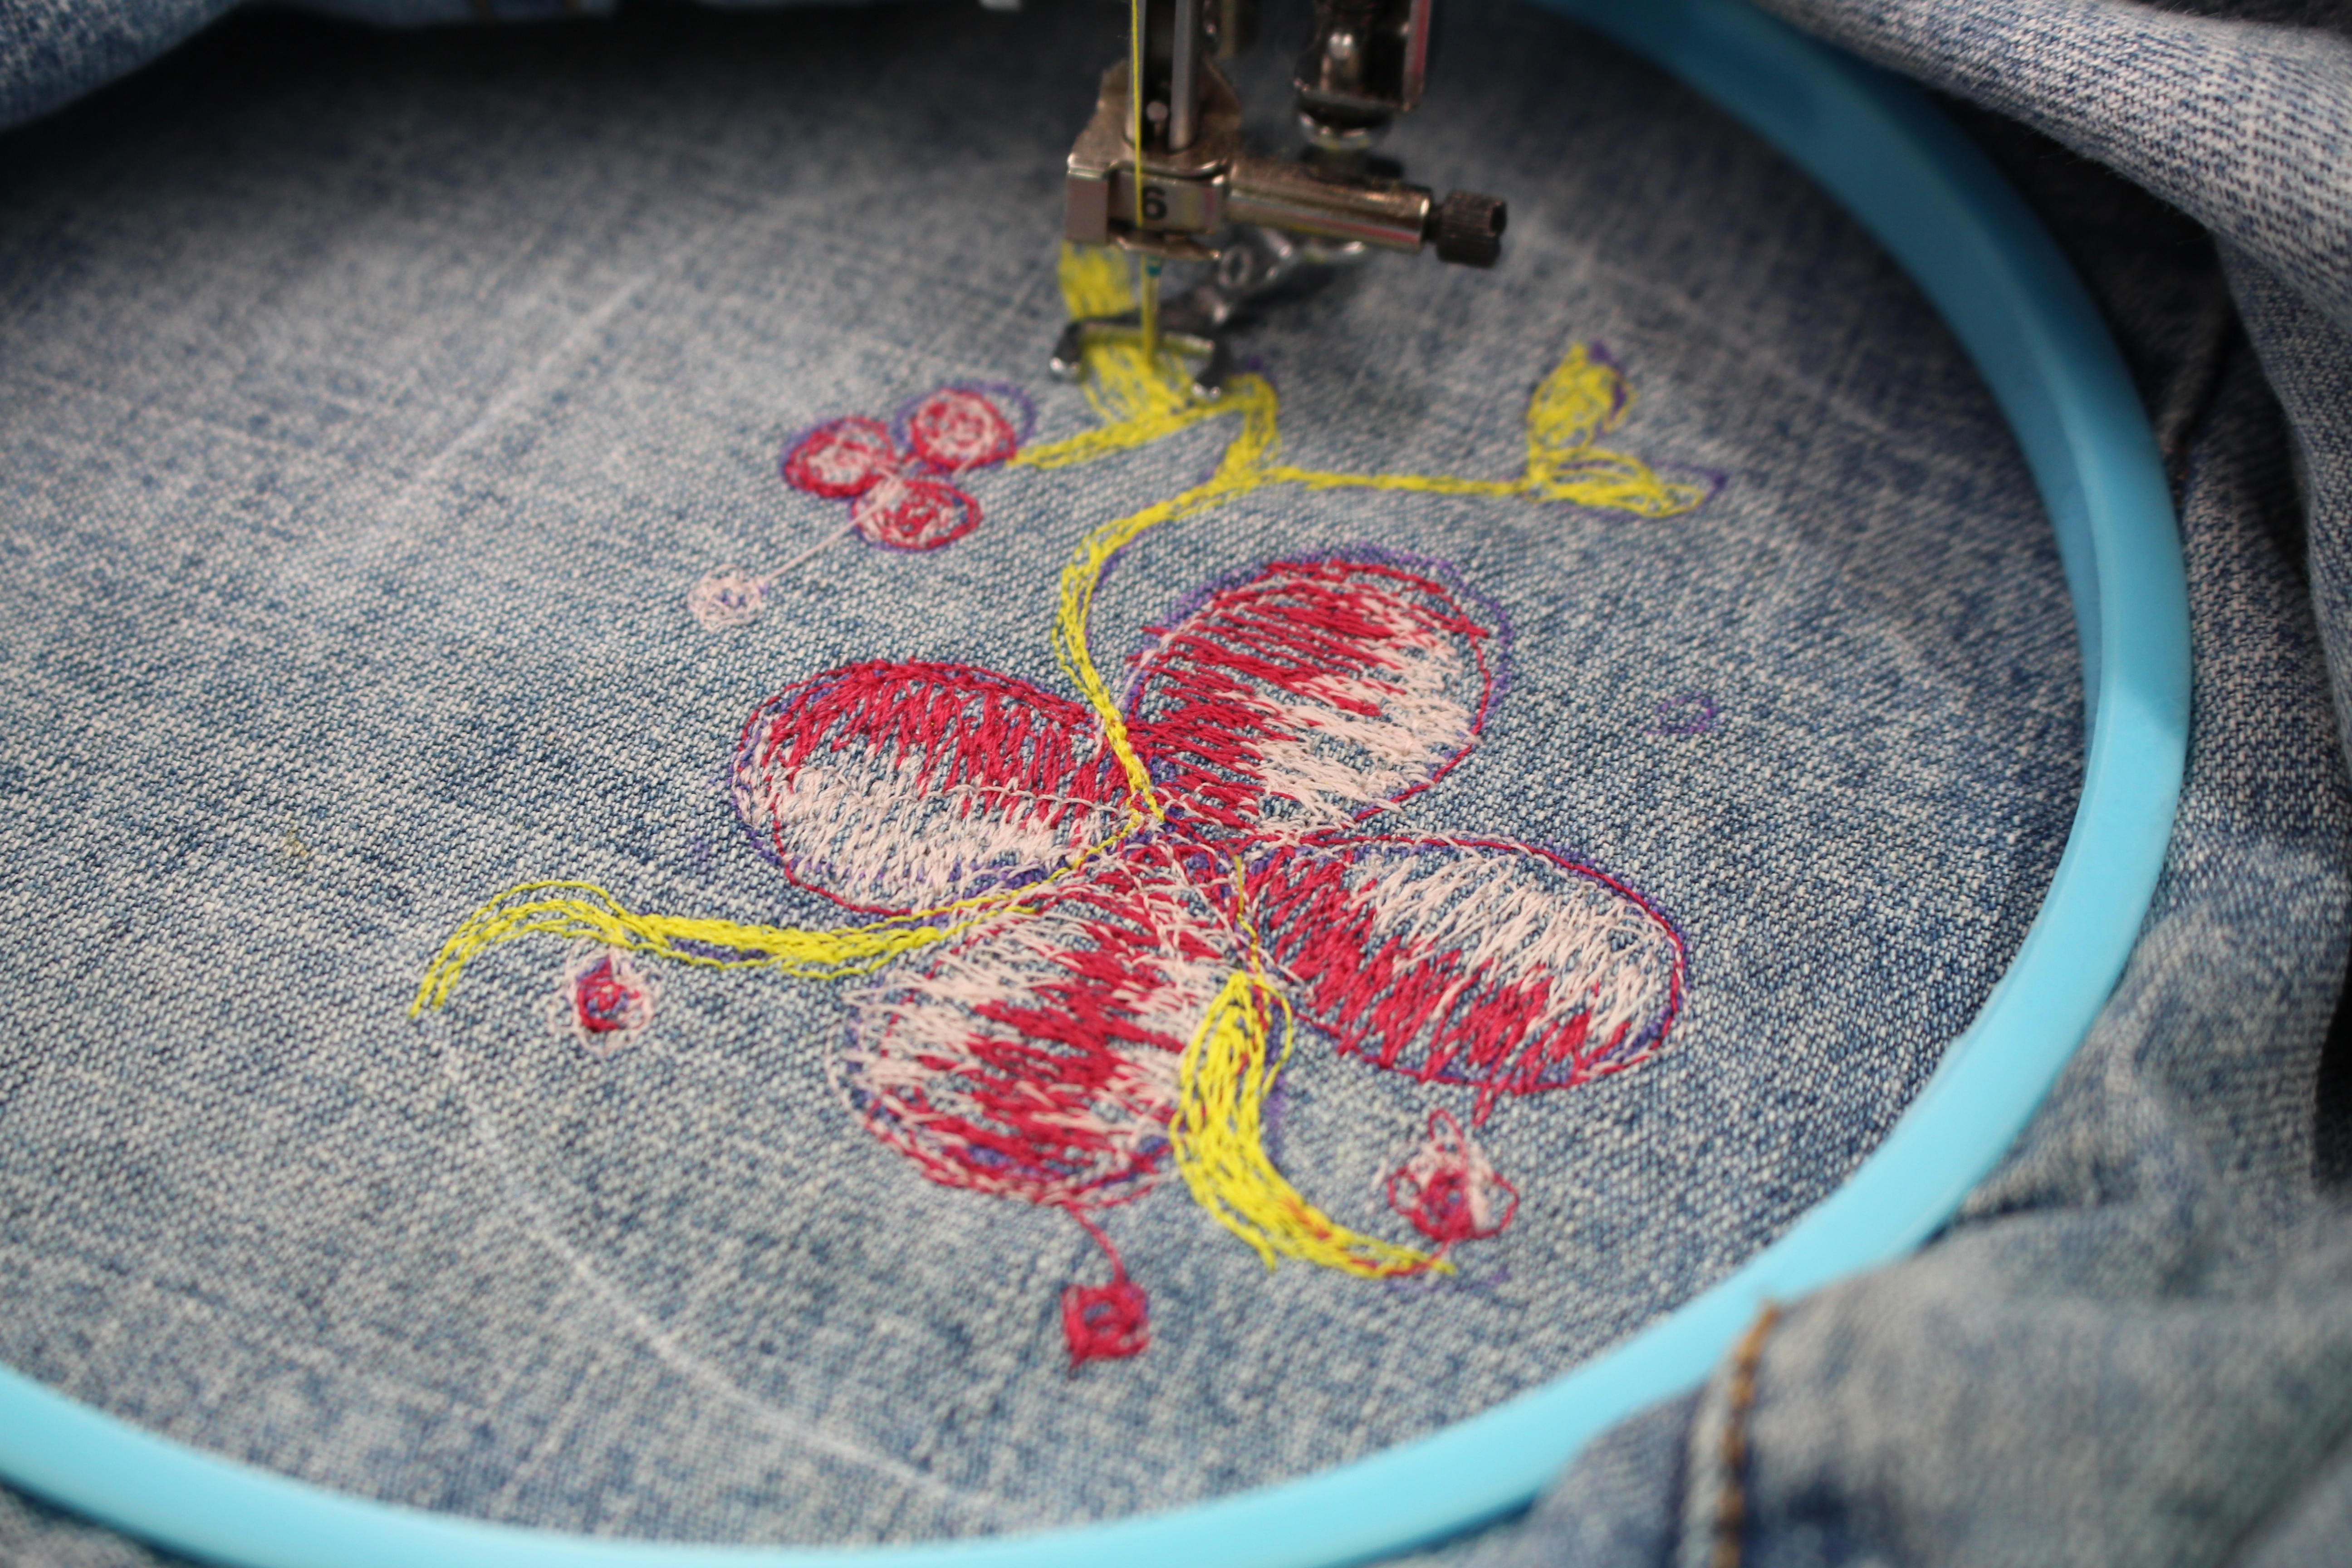
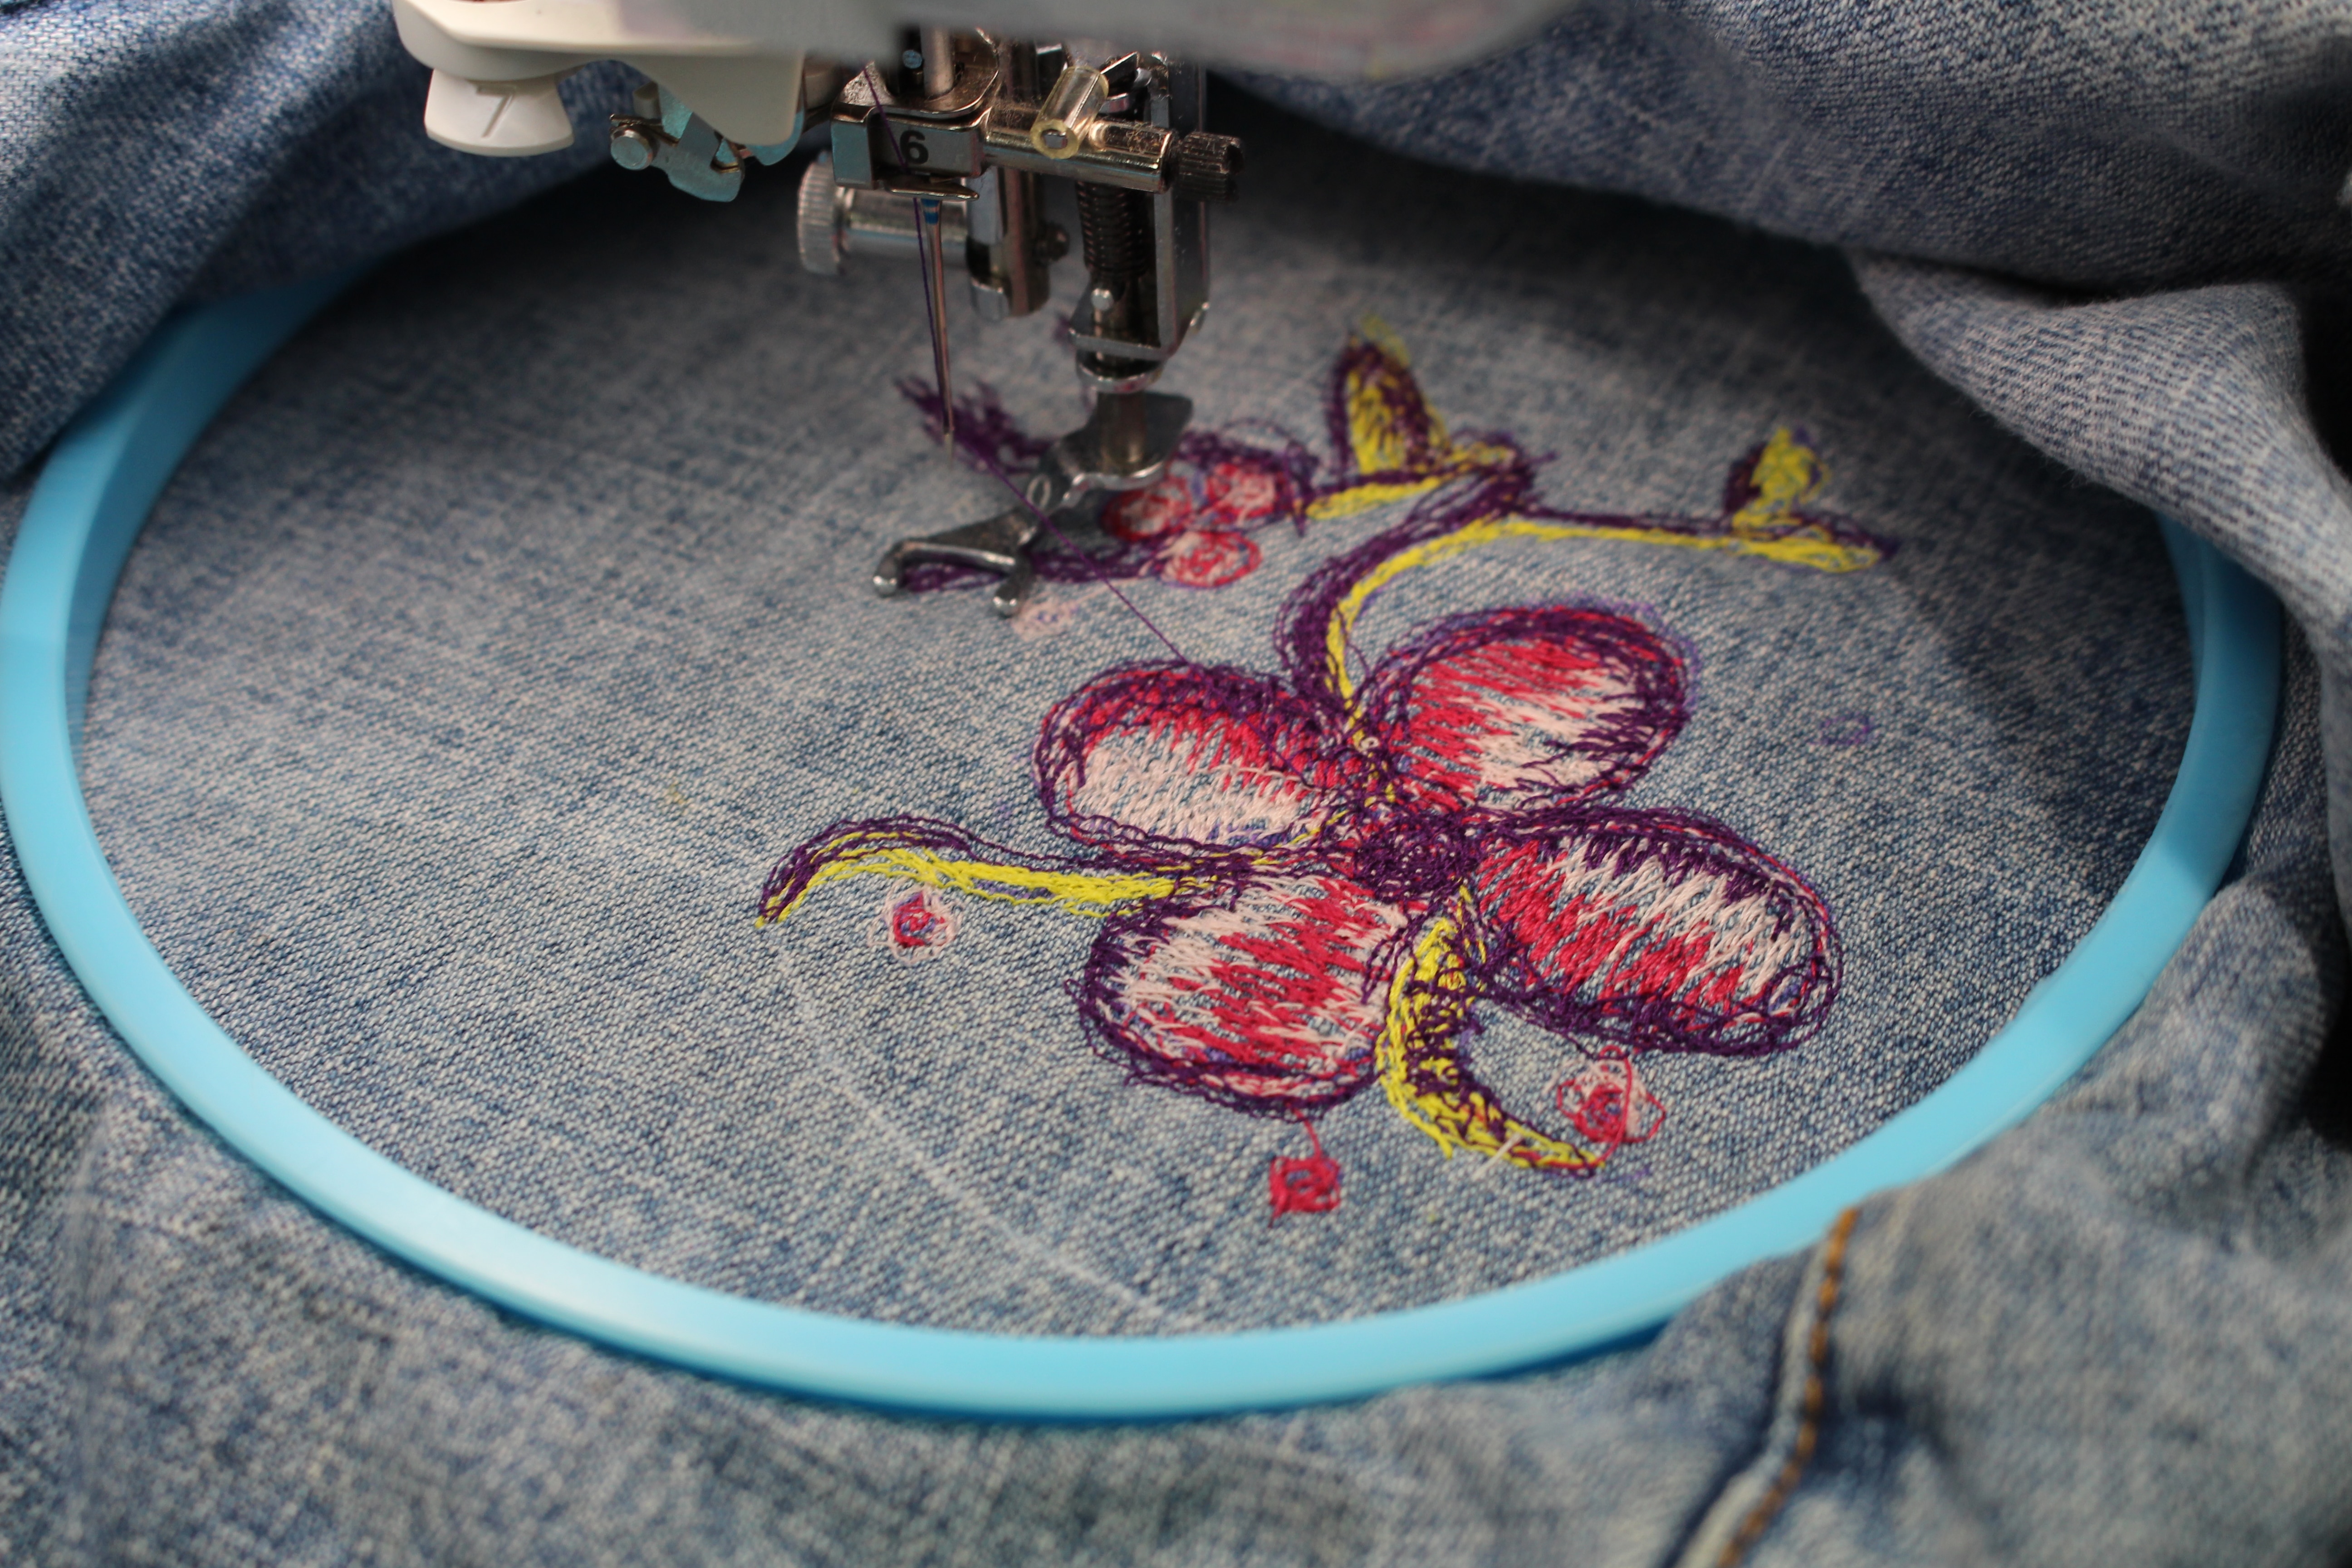
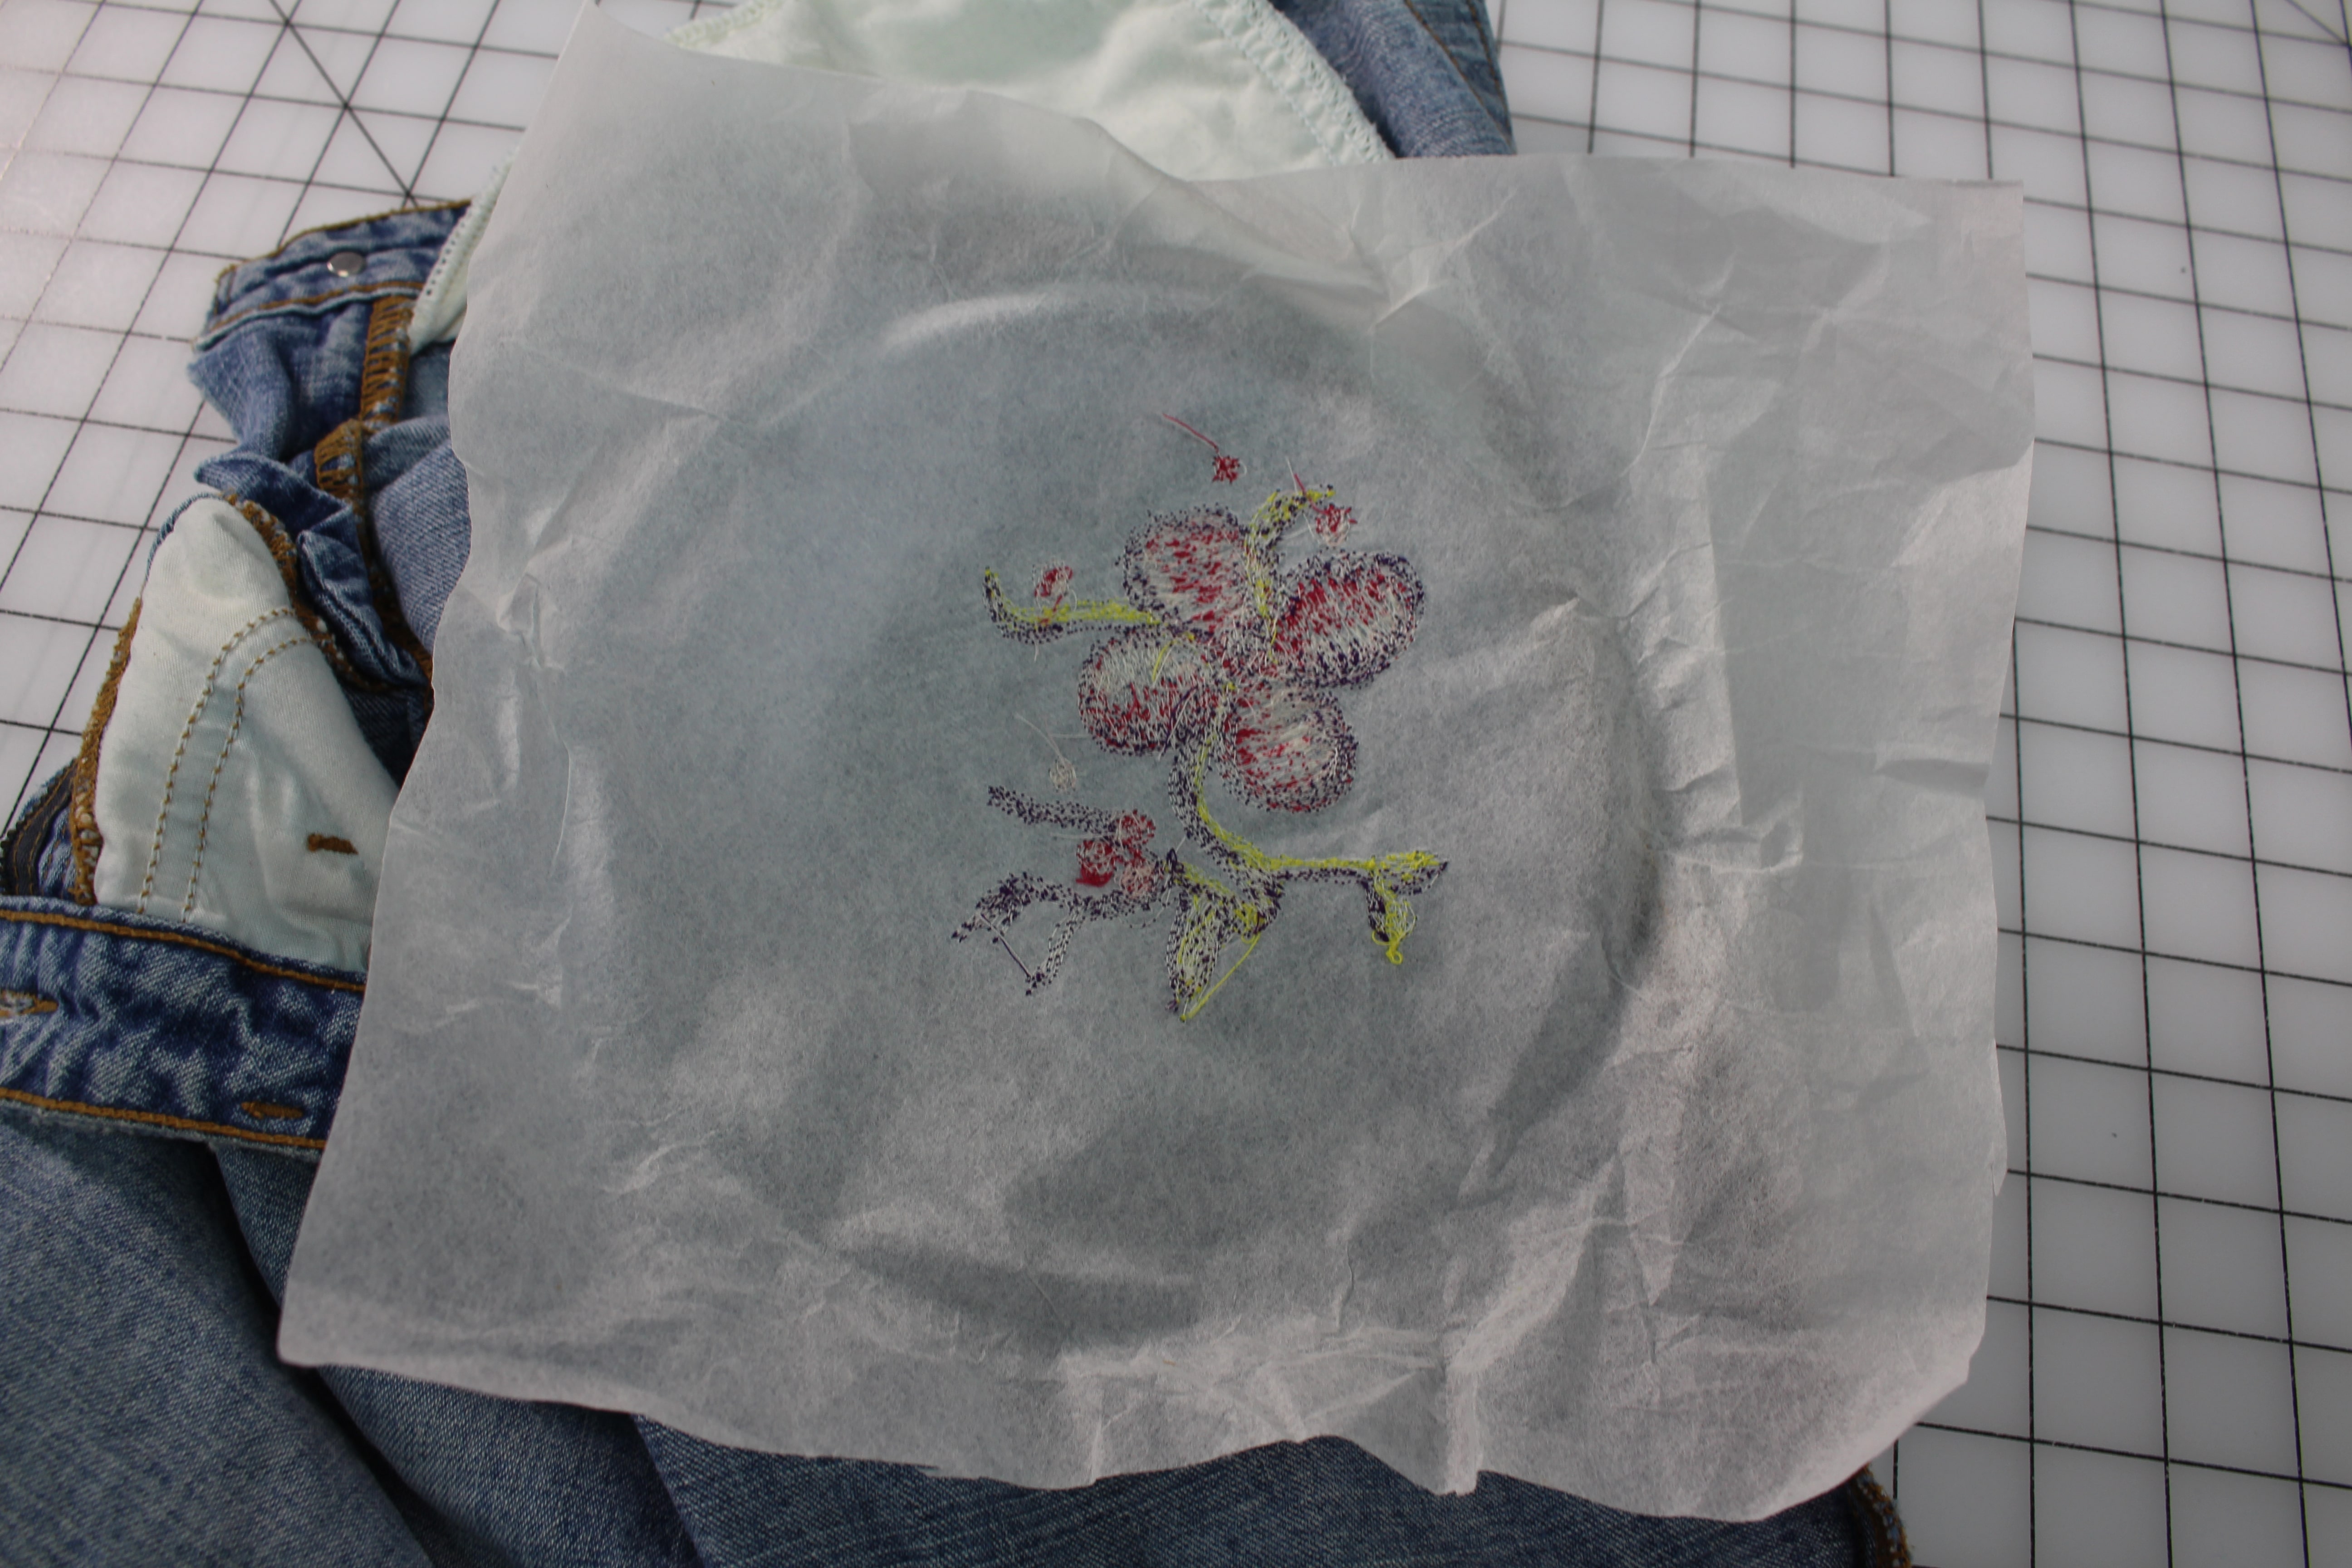
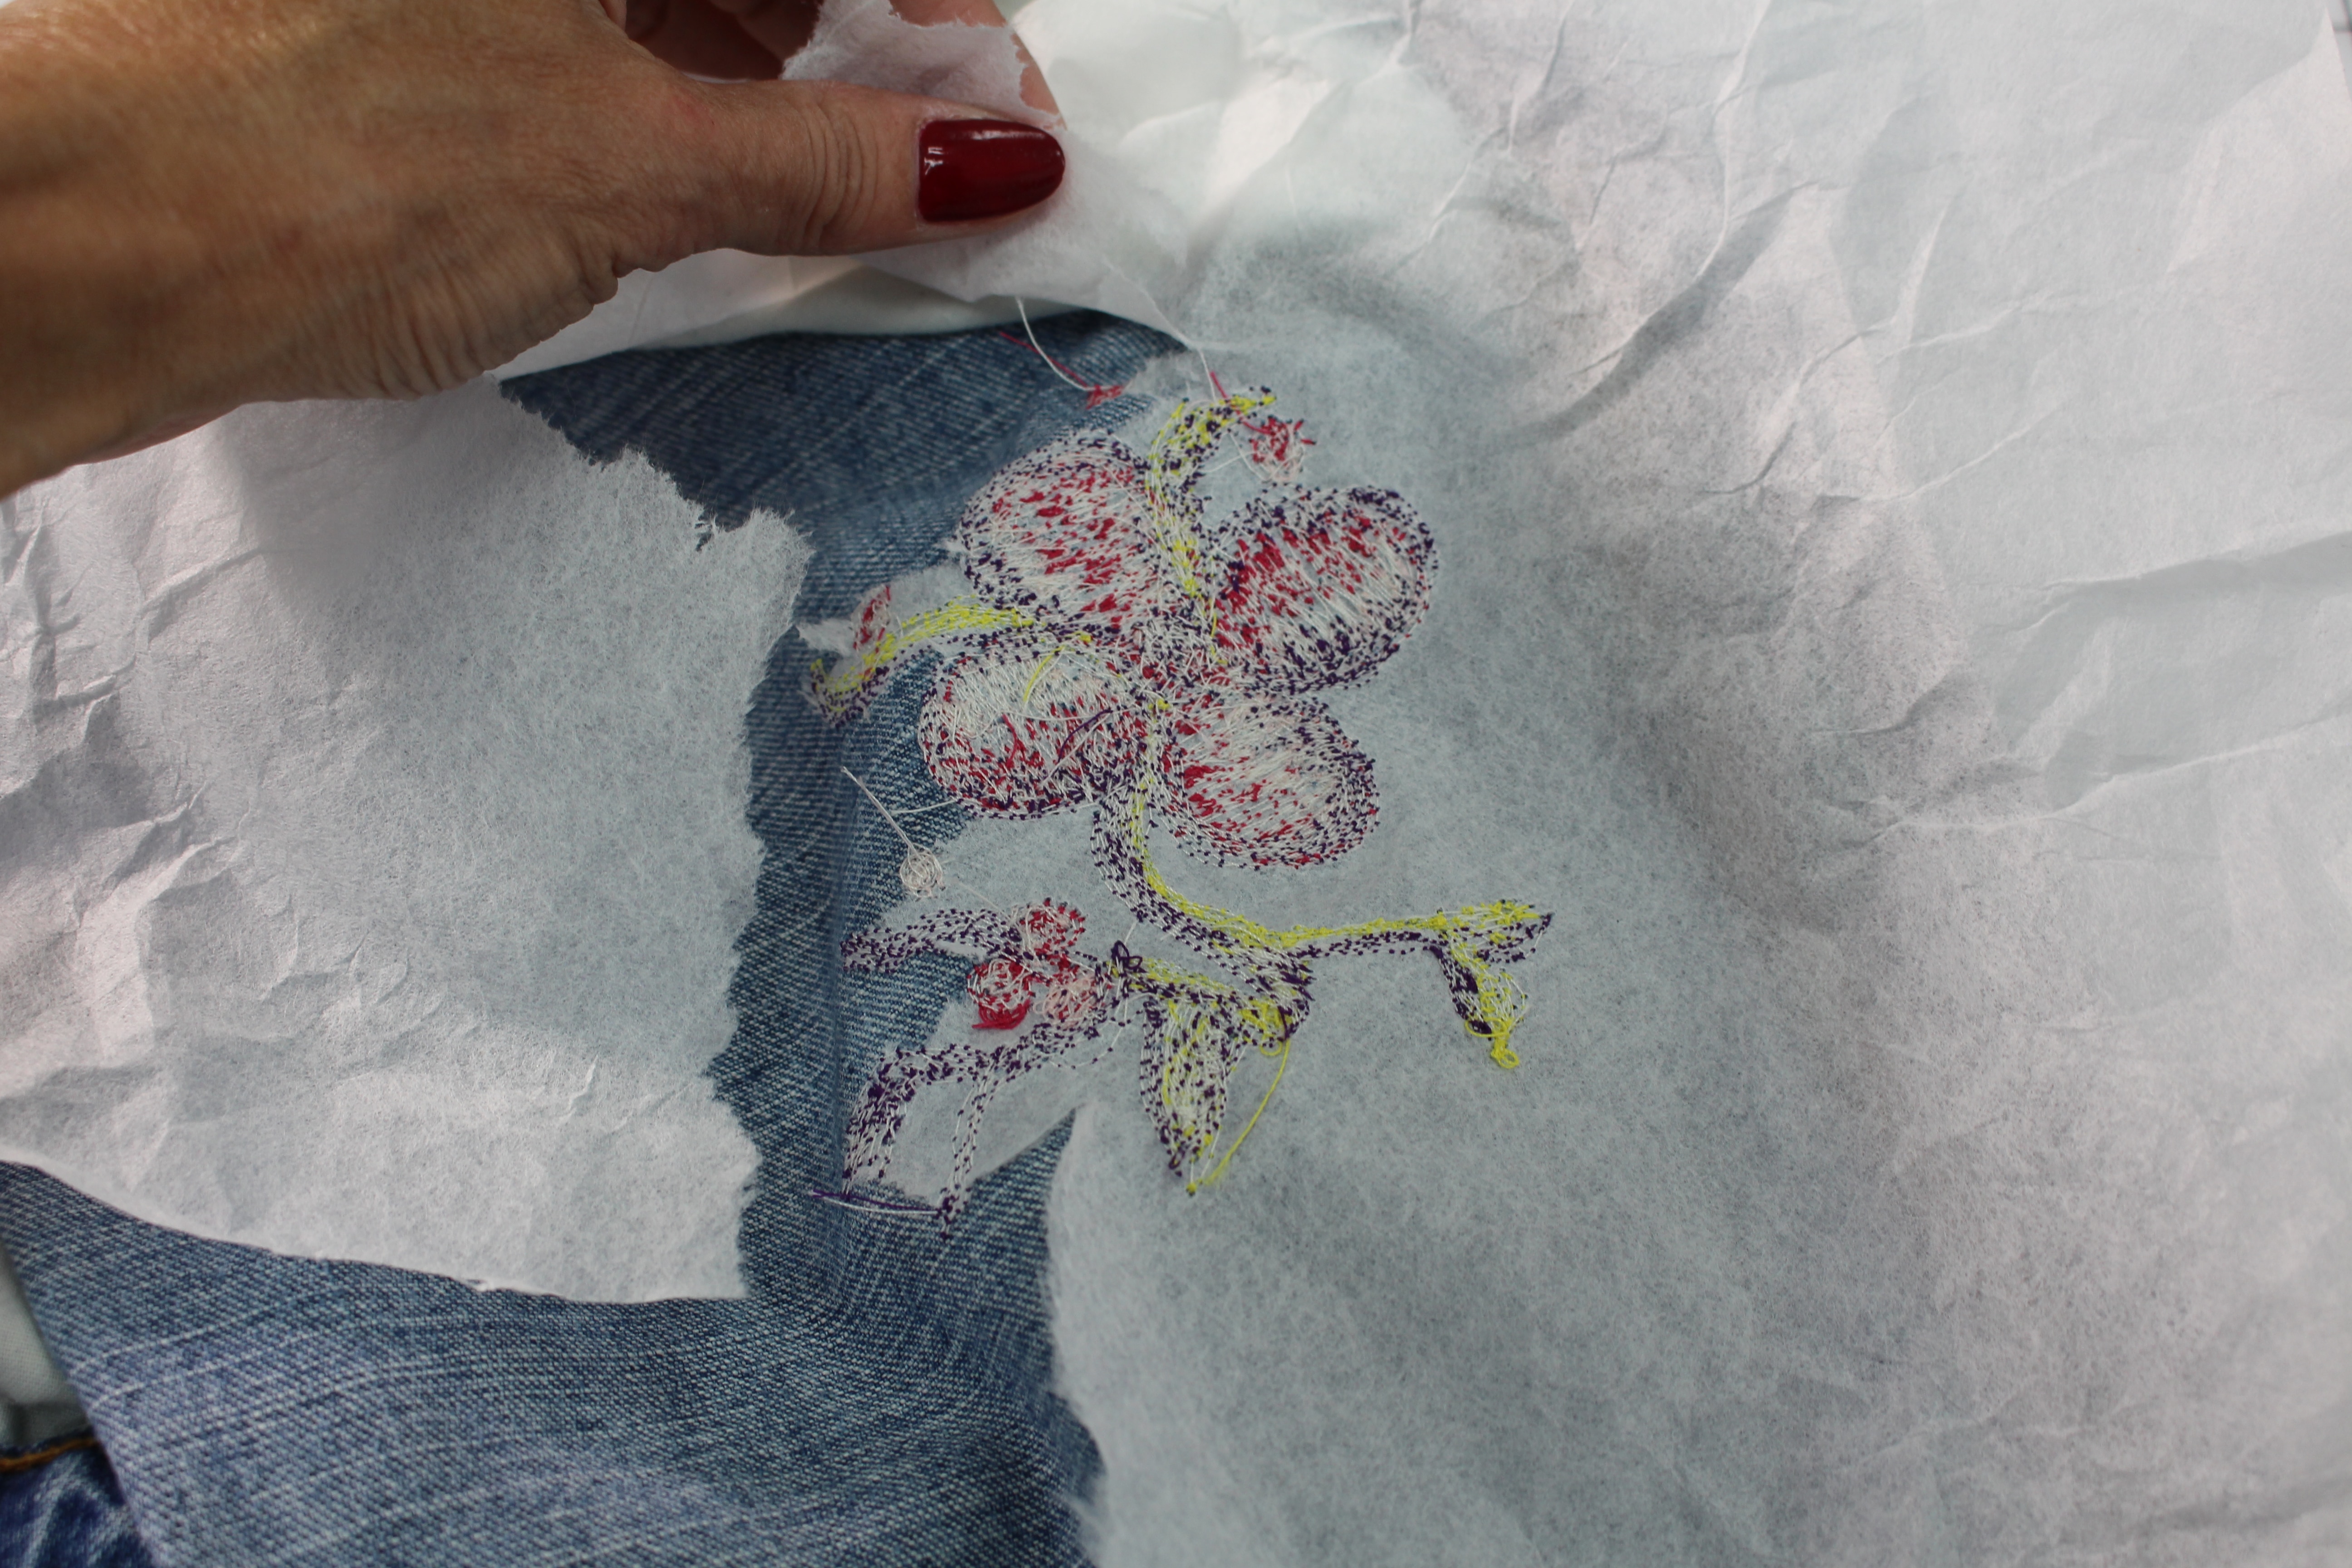
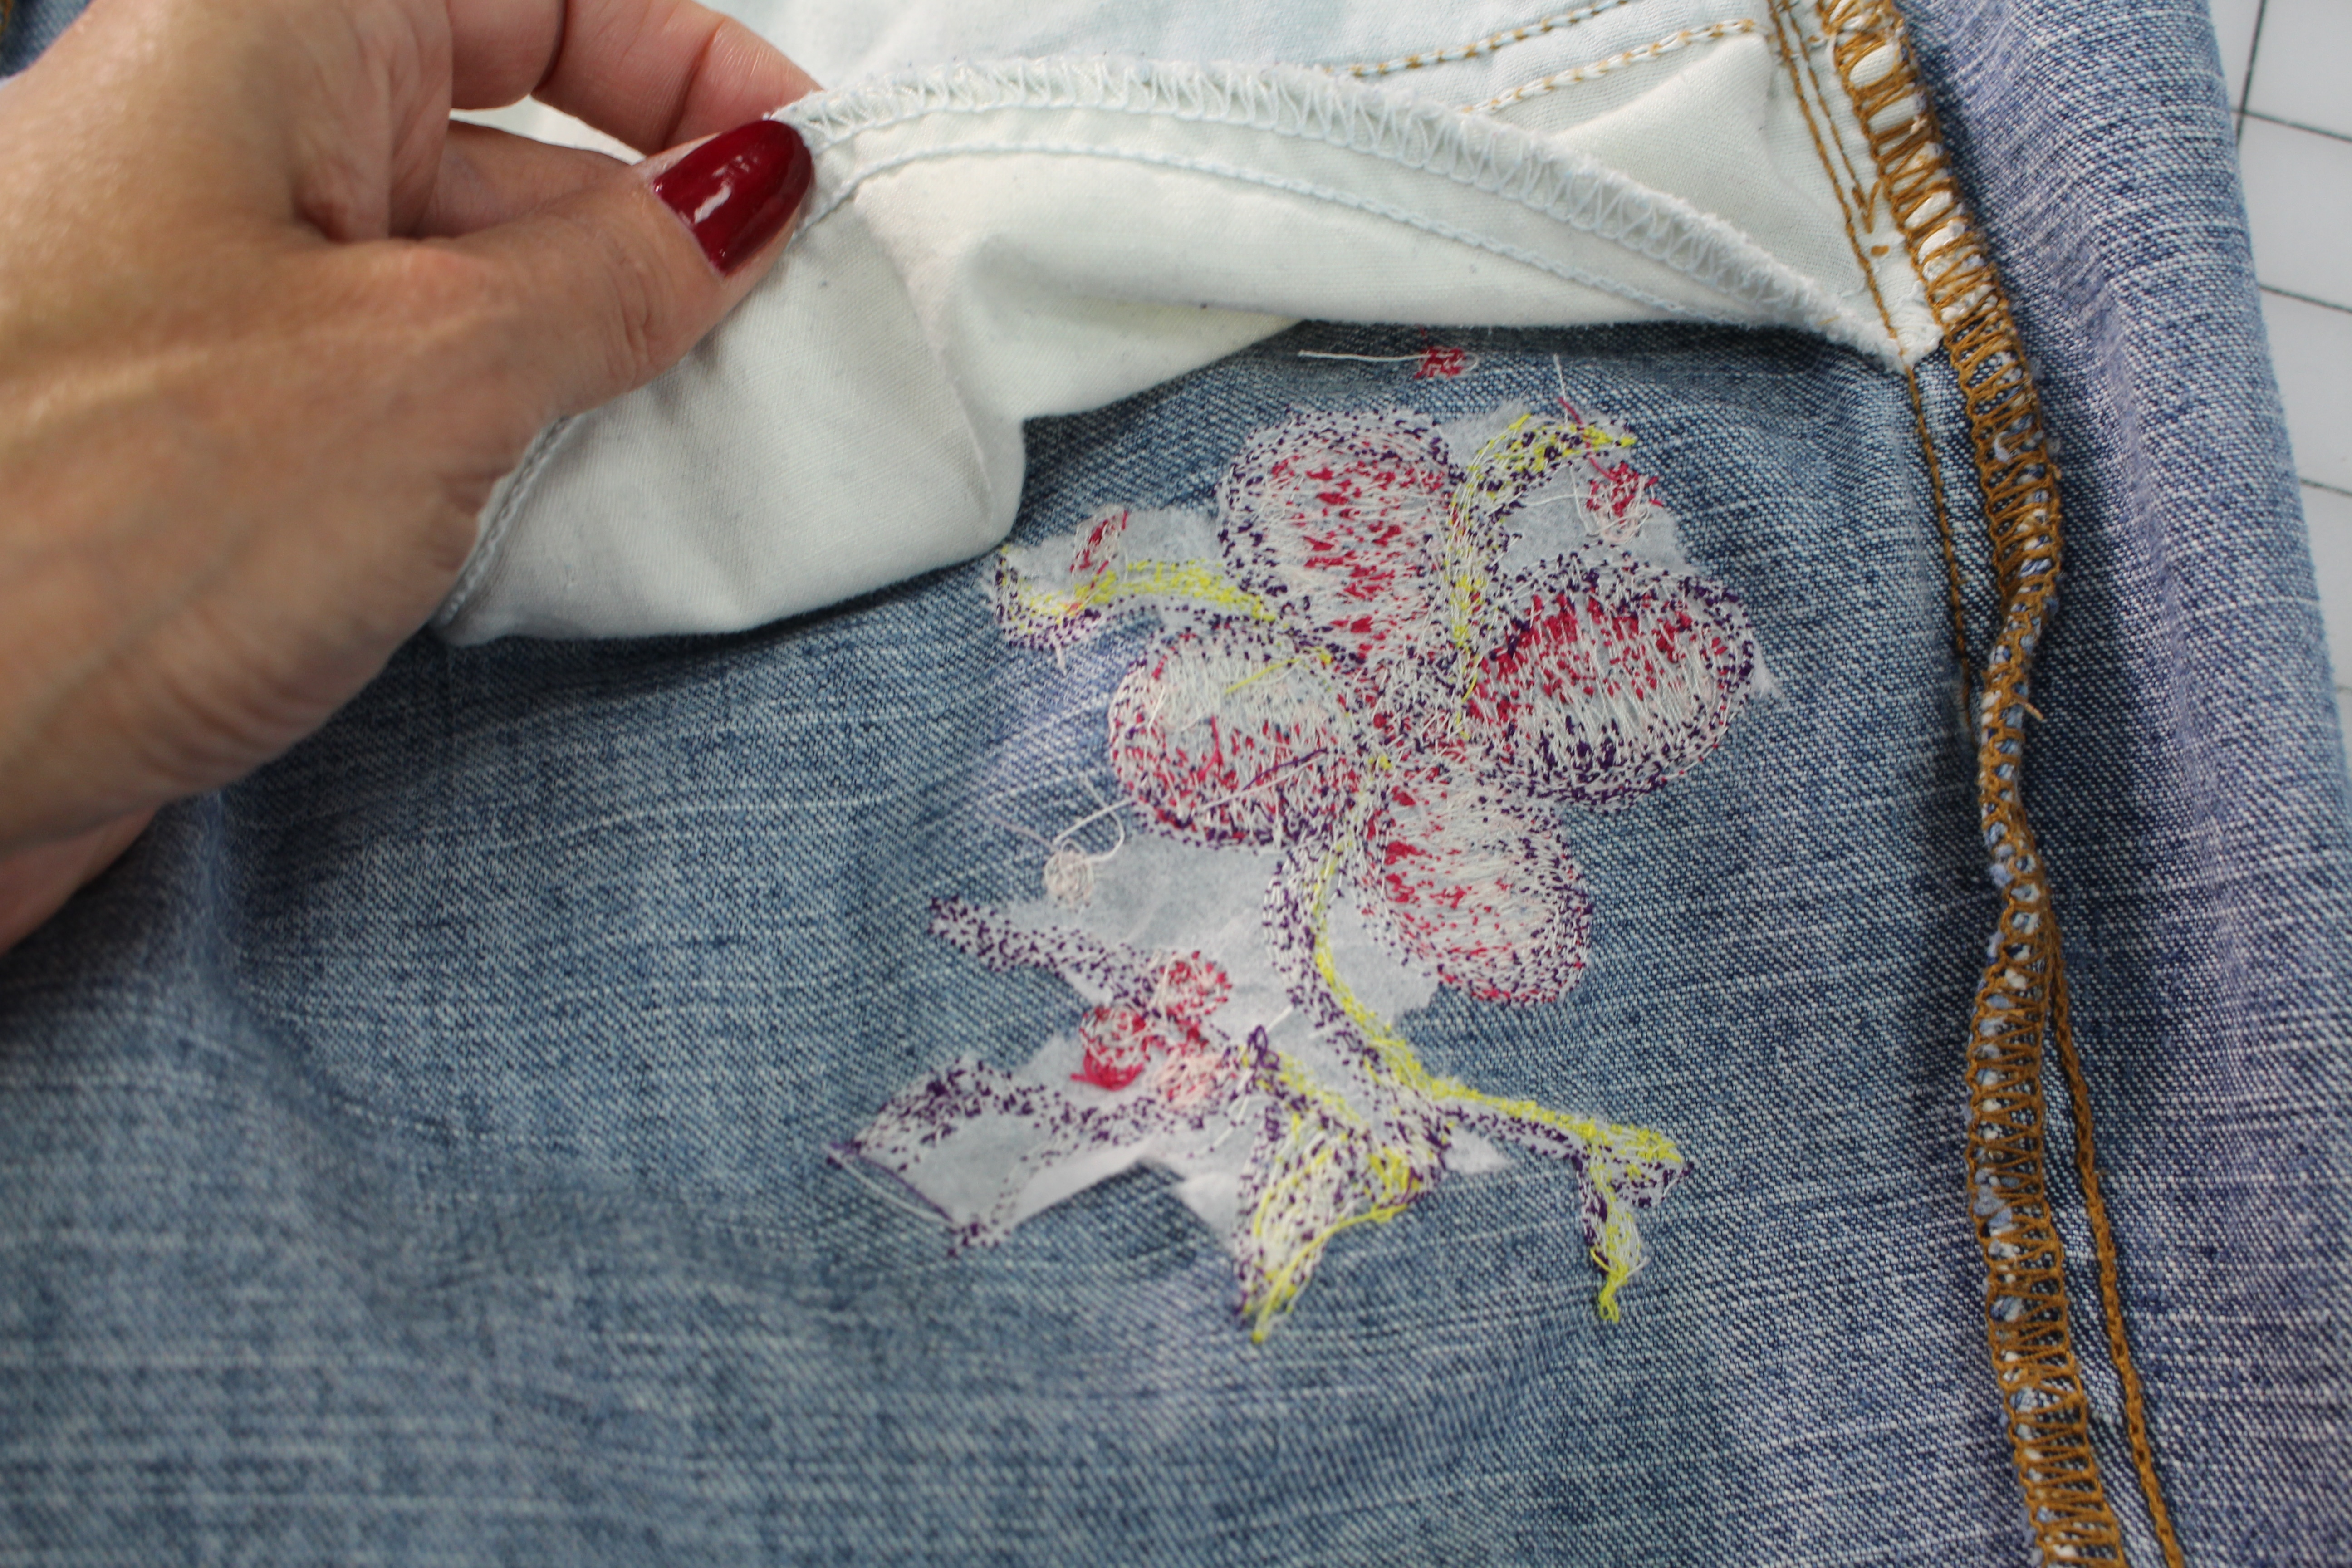
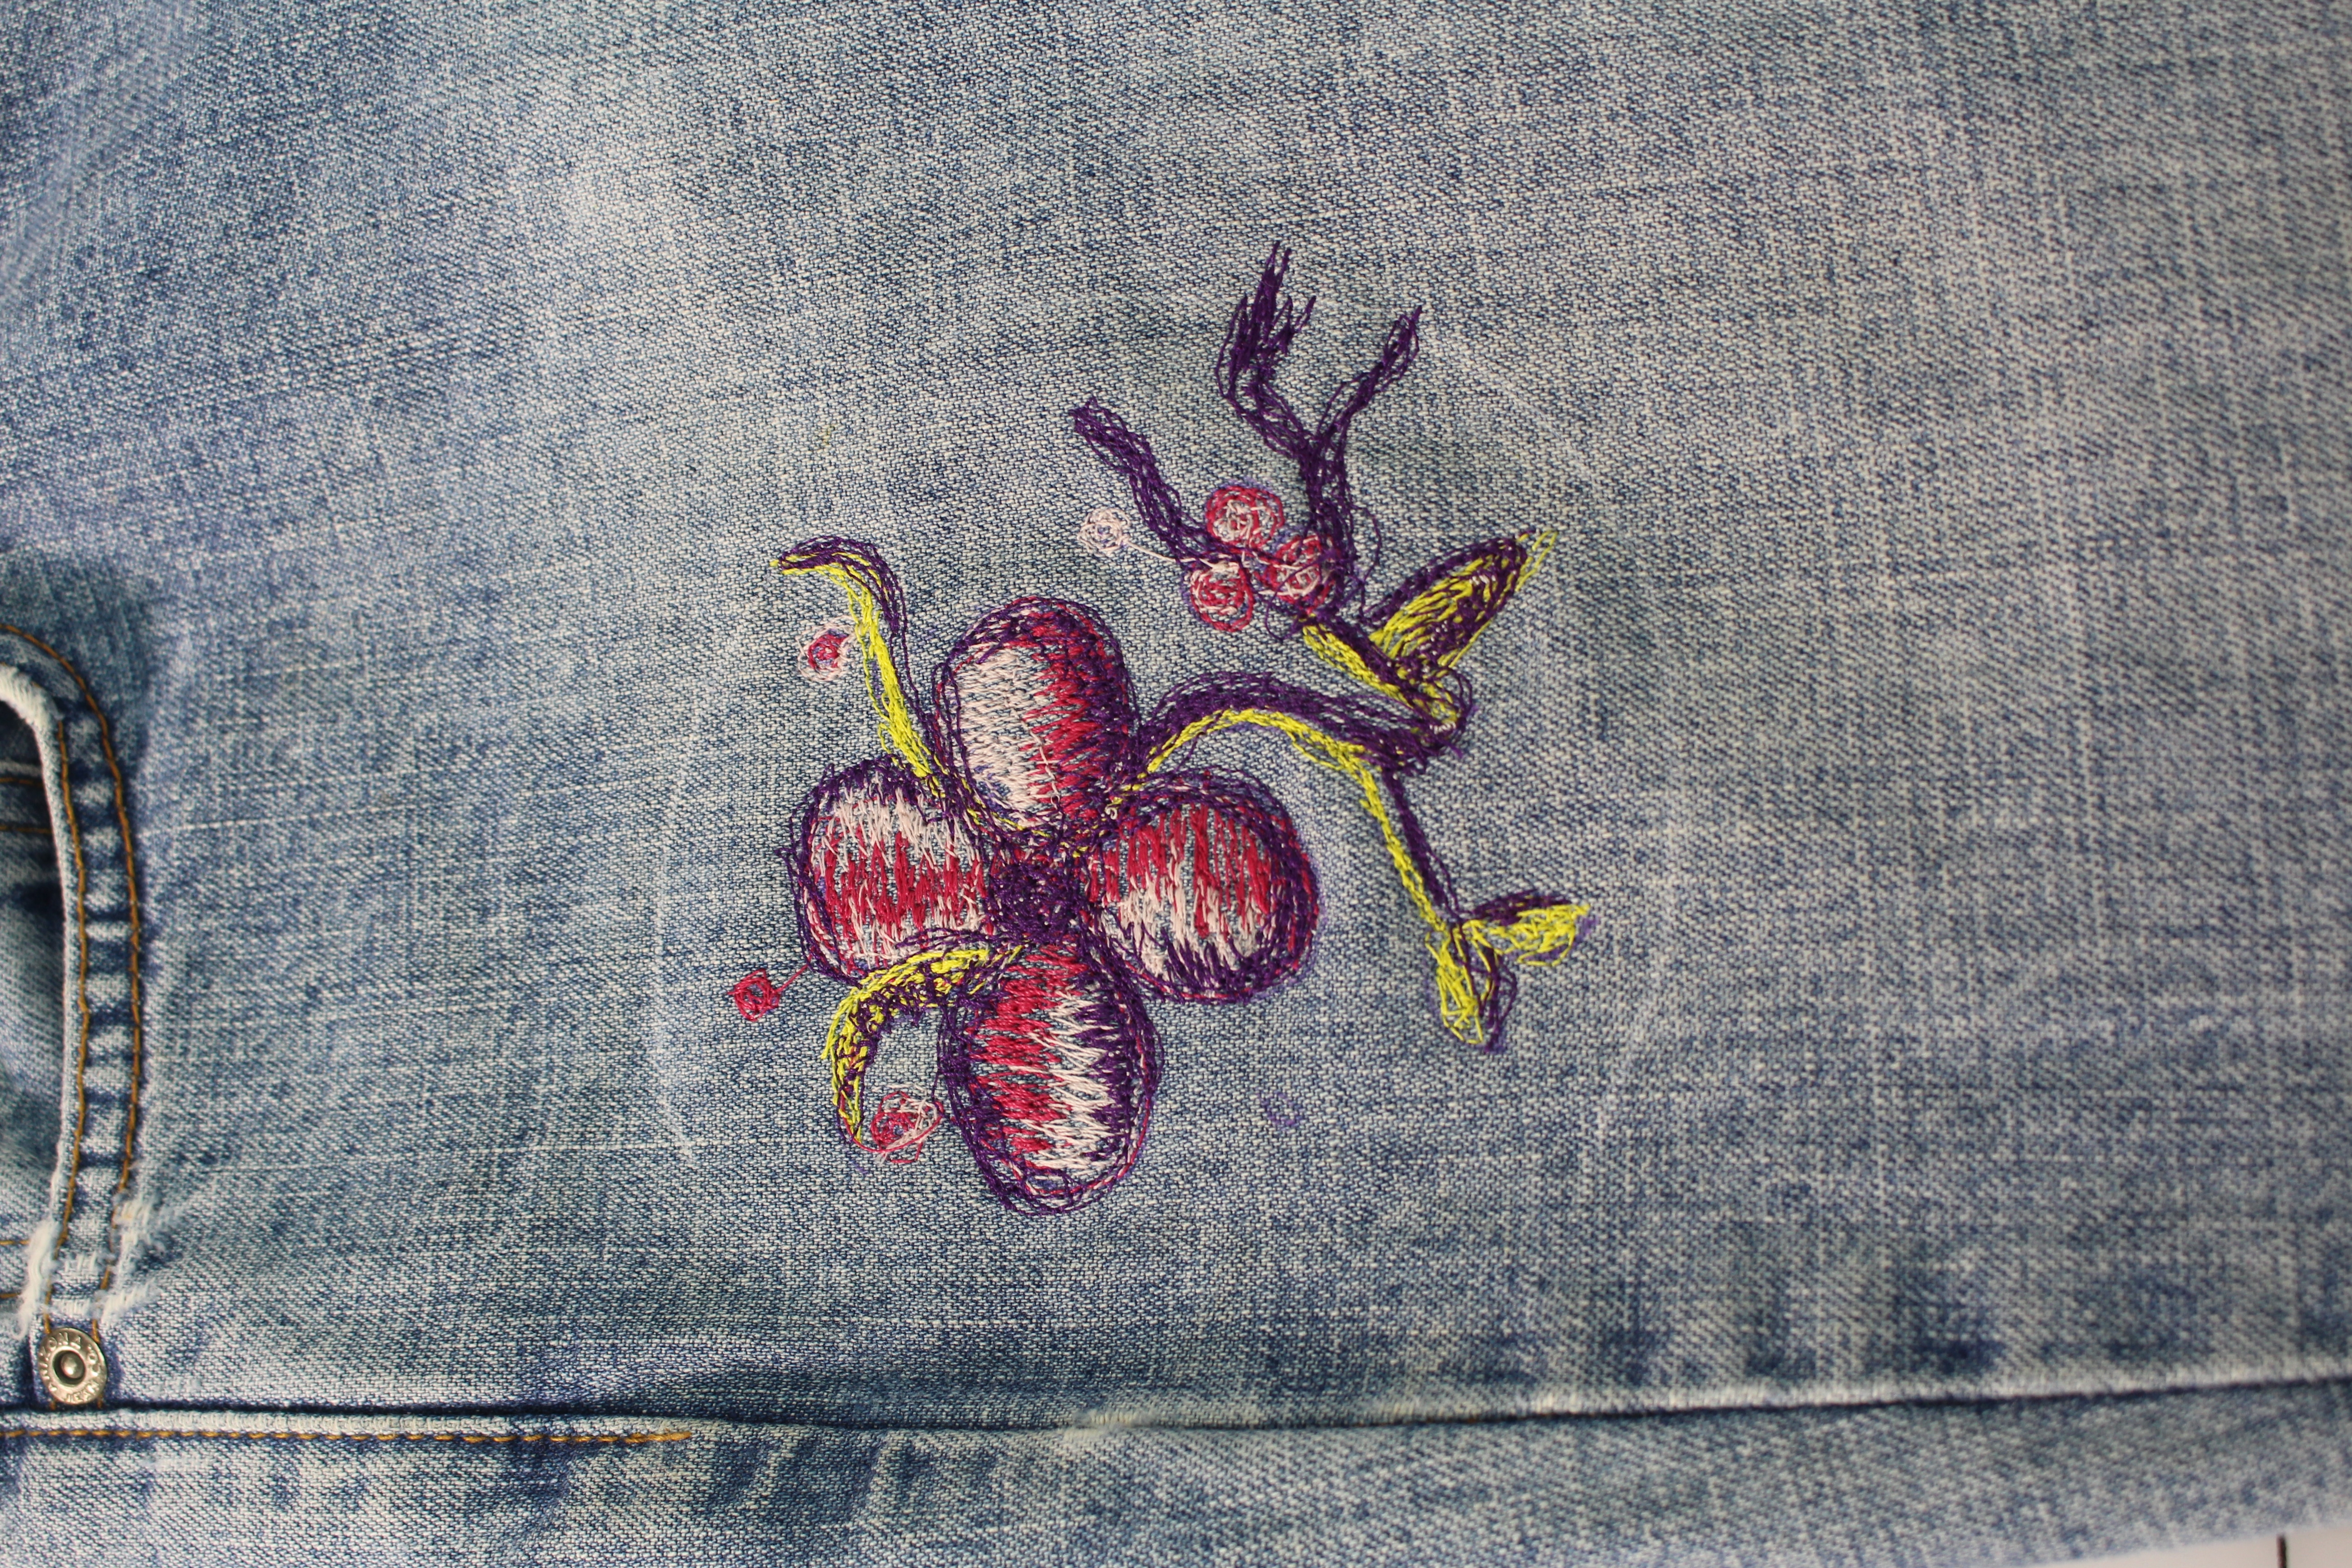
Episode 105 Behind the Scenes LIVE with Angela Wolf ? A short episode while we are all getting ready for Thanksgiving ? Colin and Cody show how they embroider their hoodies, turkey day tips, a sneak peek at last weeks fabric haul, and schedule for next weeks Birthday Sewing Marathon ?
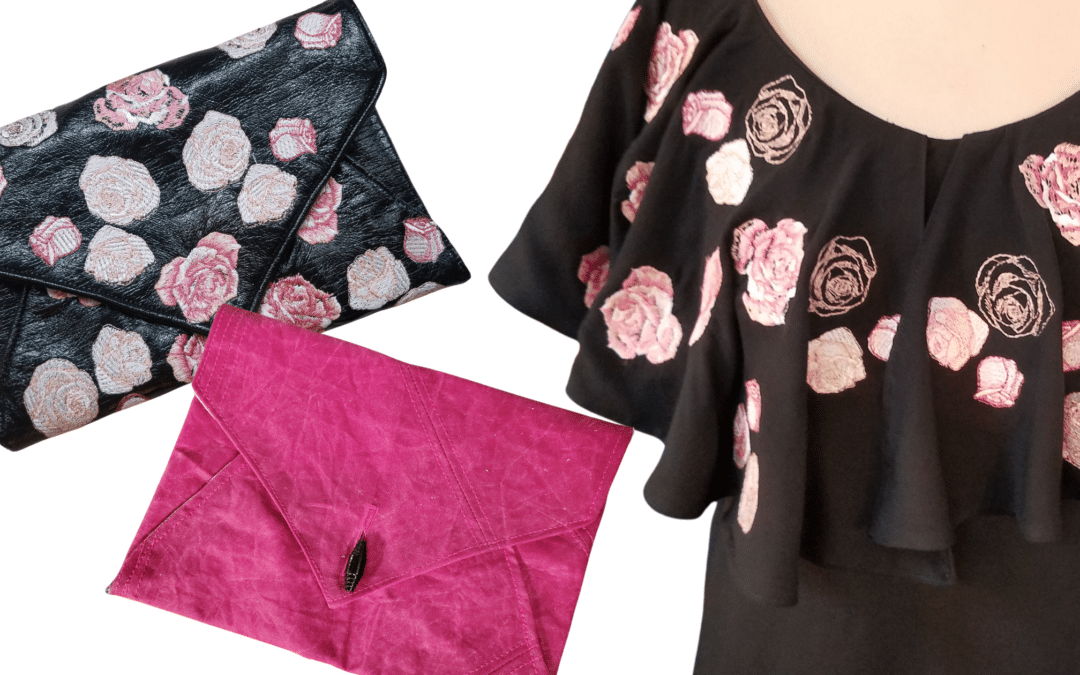
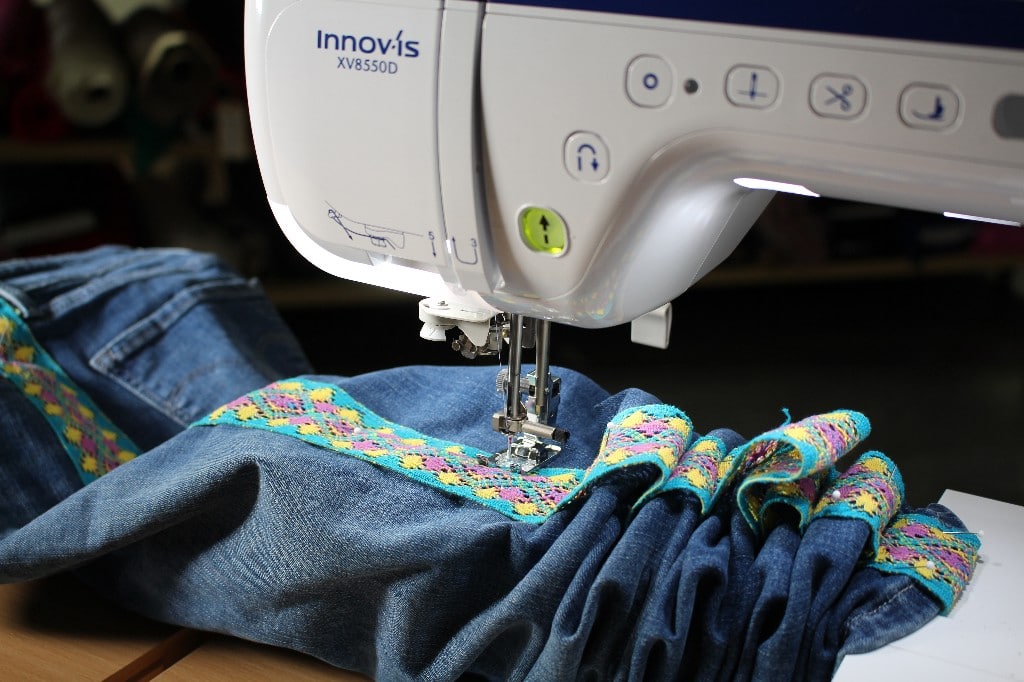
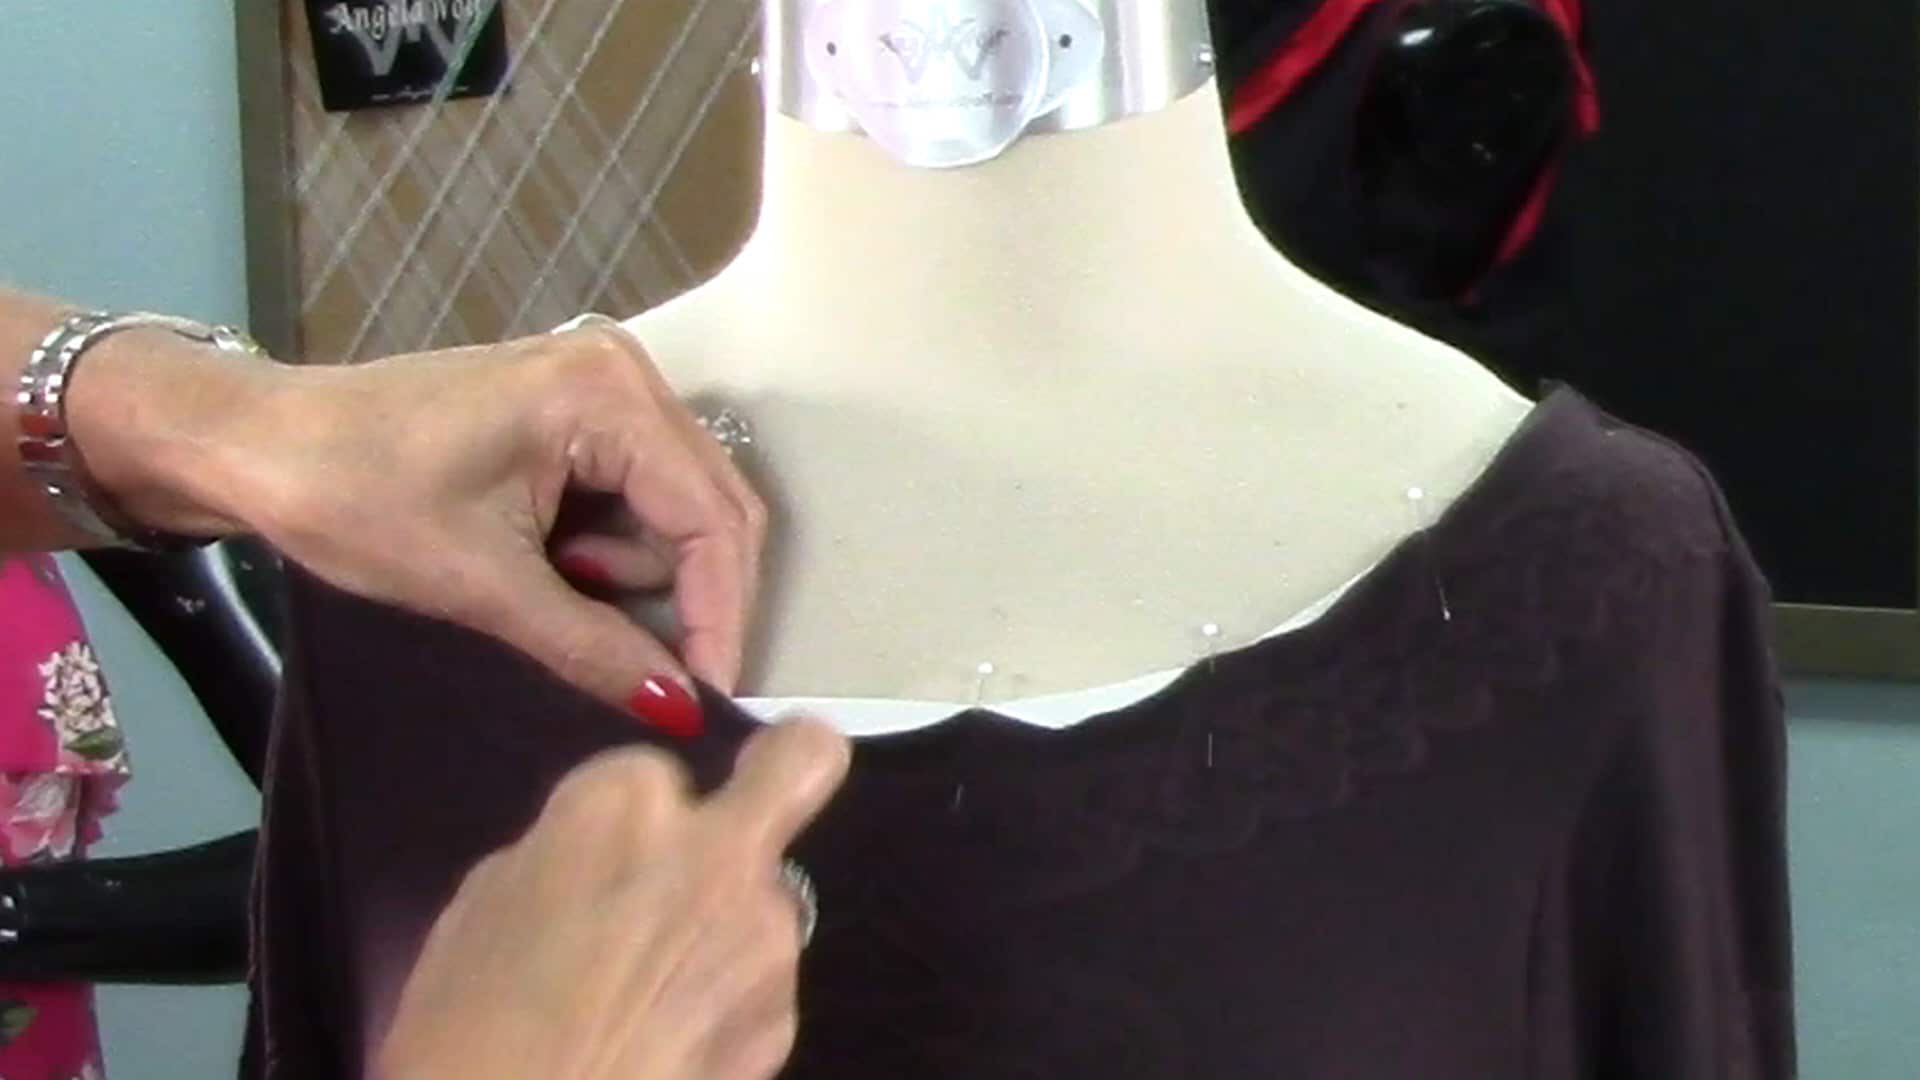
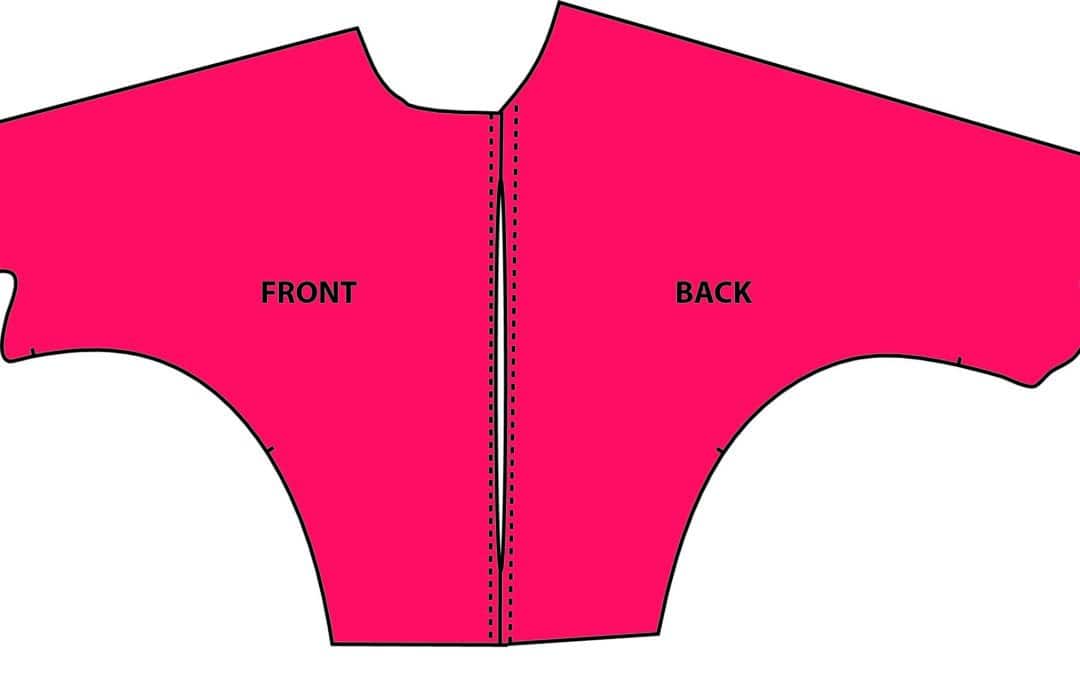
325: Learn to Sew an Envelops Purse Clutch with Angel Wolf
read more
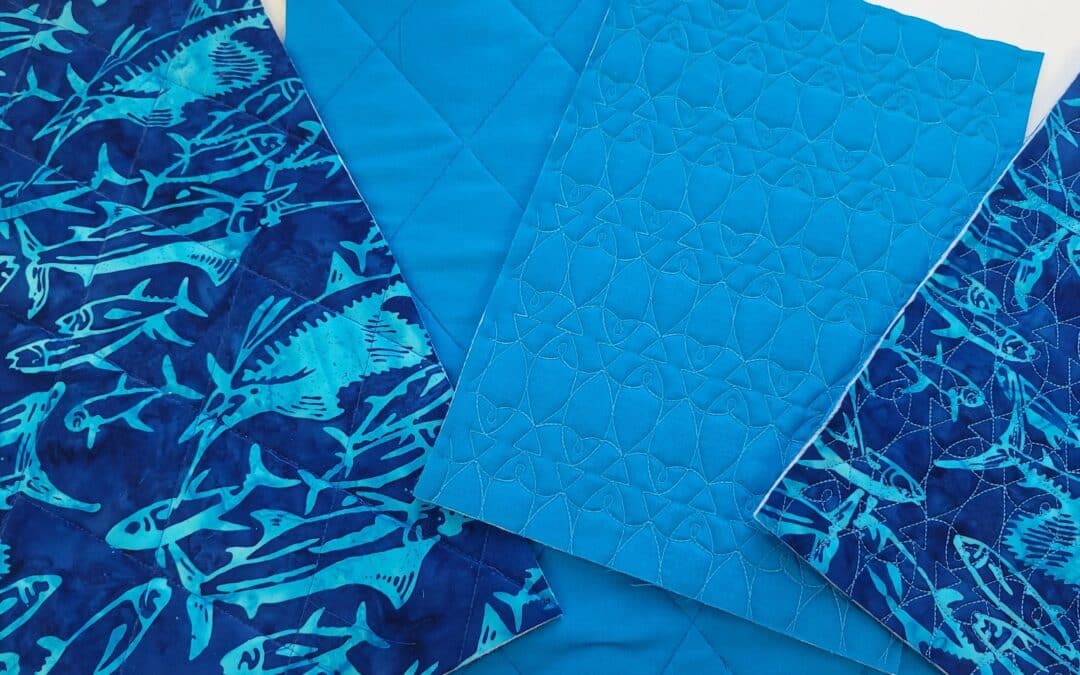
Quilted Grocery Bag Sewalong
Quilted Grocery Bag Sewalong I am so excited to share this new grocery bag sewalong with you! This is an easy project with opportunities to make is more advanced with embroidery and embellishing. Sewalong Schedule #372 - 9/7 - Sewalong Part 1 Supplies and Pattern...
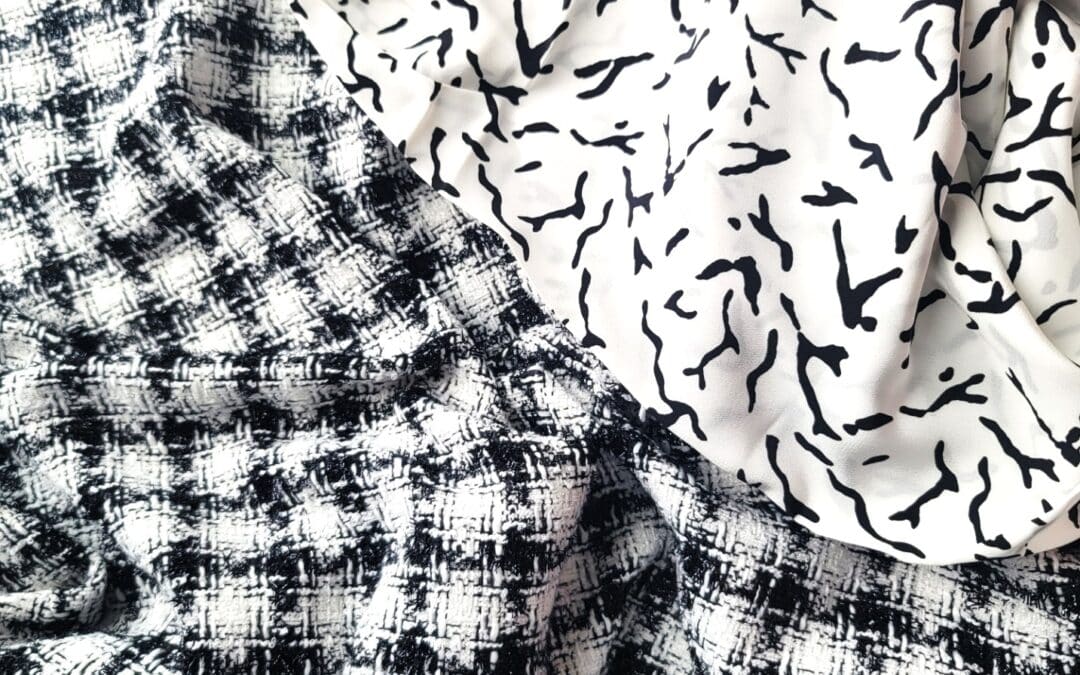
309: Boucle Skirt + Quilted Lining = Touch of Couture Part 1
Tweed Skirt Sewalong Part 1 In part 1 of this sewalong I will share options for choosing the best fabrics and pattern. Join me in choosing the best lining to coordiante with my fabric!Skirt Patterns to choose from: ~ The Kate Skirt ~ The Fringe Skirt Pattern ~...

Ep. 305: Learn What is Planned for the Sew Fun Cruise in February 2024
Episode 305 🧵 Behind the Scenes with Angela Wolf I know you have heard me say many time ... I am never going on a cruise! Winn and I are on the water all the time, why would I want to go on a cruise?!? Kelli Presley and Phyllis Batz will be joining me live to talk...
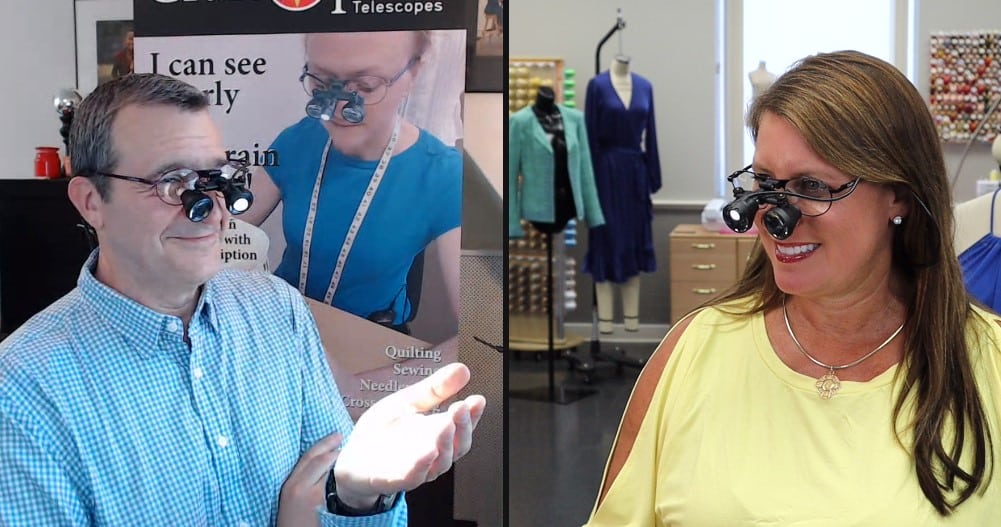
Ep. 304 Meet Jeff – Founder of CraftOptics
Episode 305 🧵 Behind the Scenes with Angela Wolf Featuring CraftOptics I am not sure about your, but if I am working in a low lit area or sewing beads onto a garment, I tend to lean forward and squint, this ending up with a terrible back ache! CraftOptics has changed...
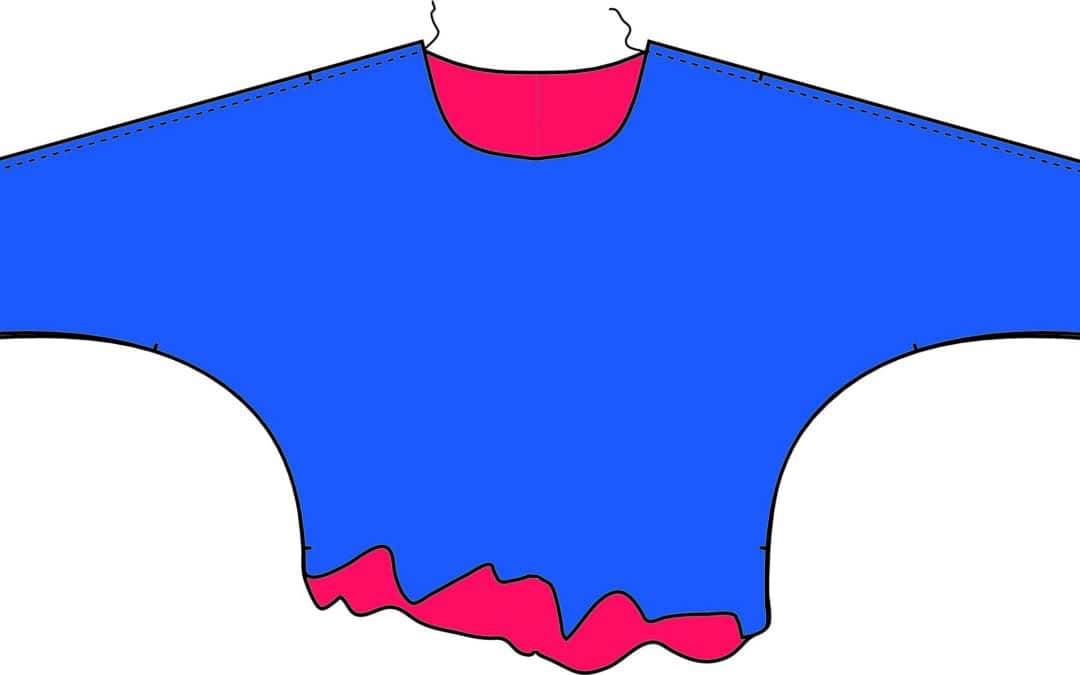
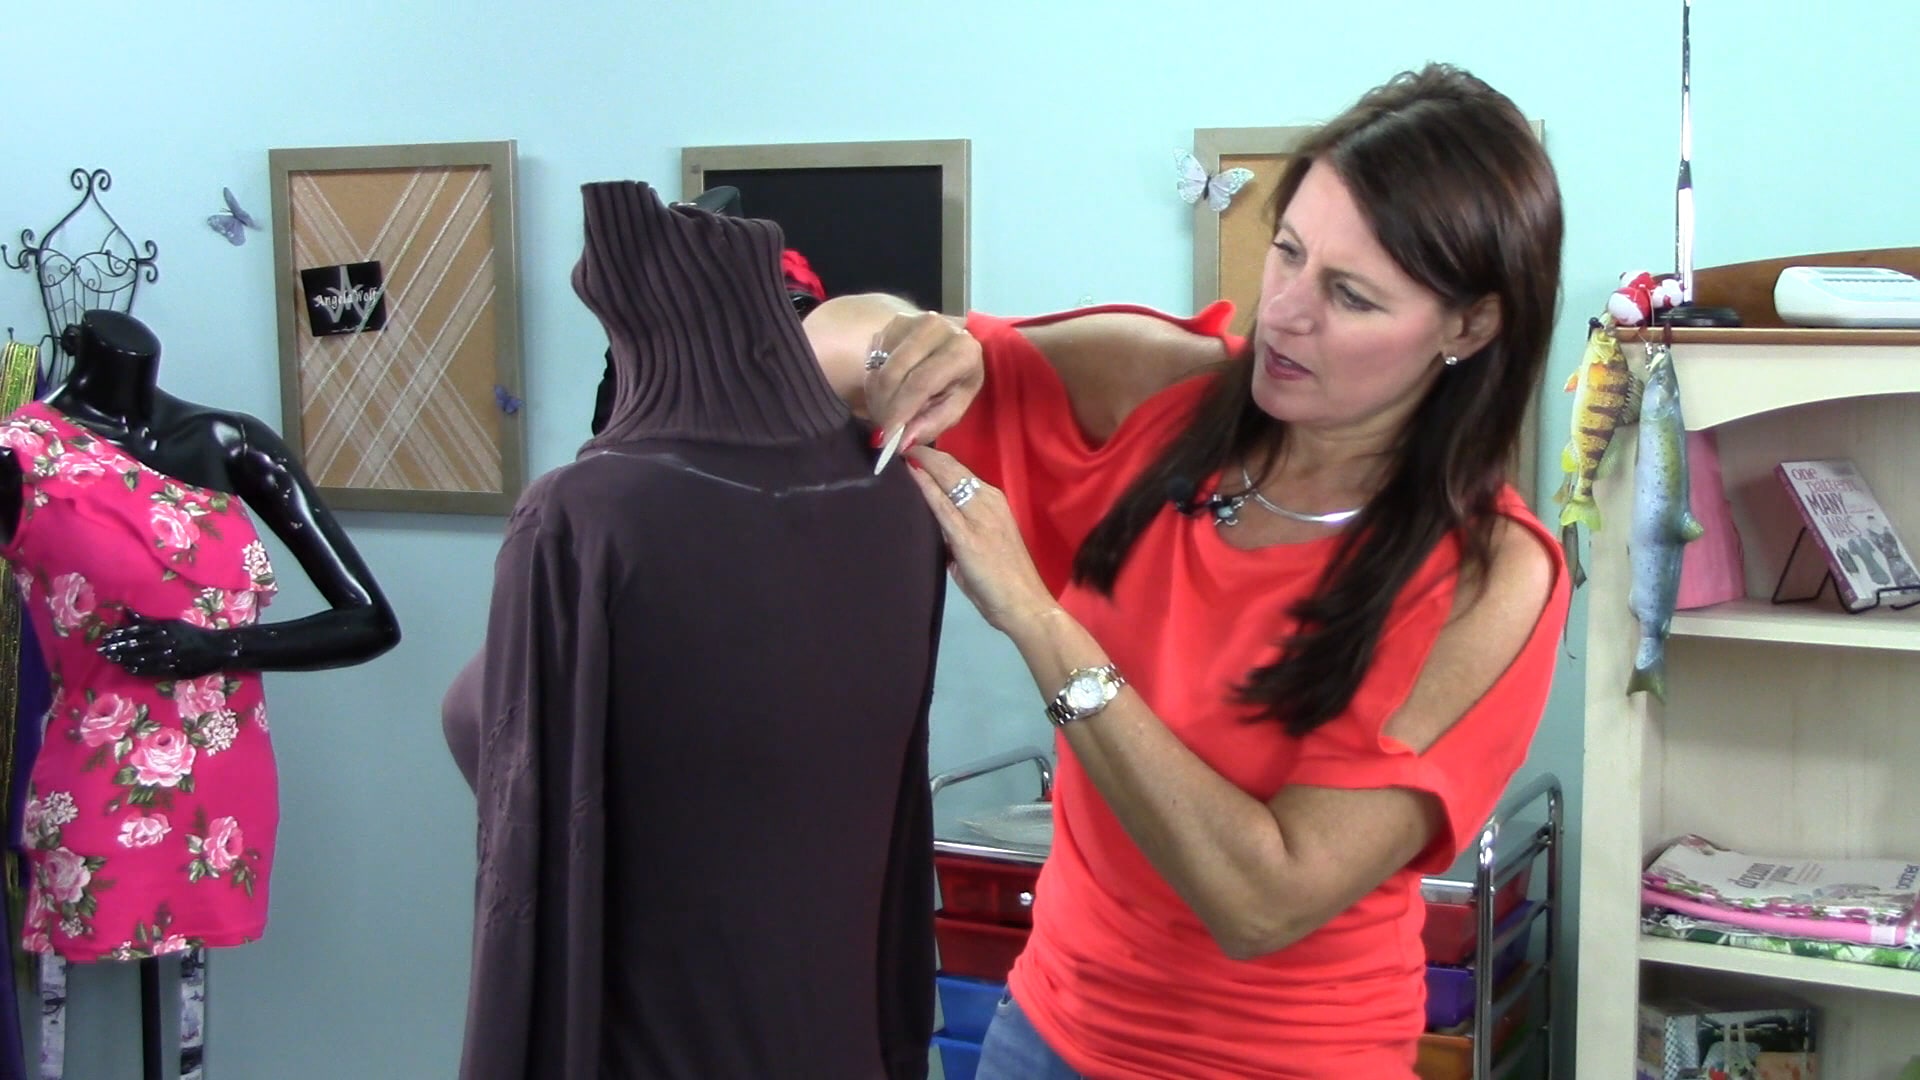
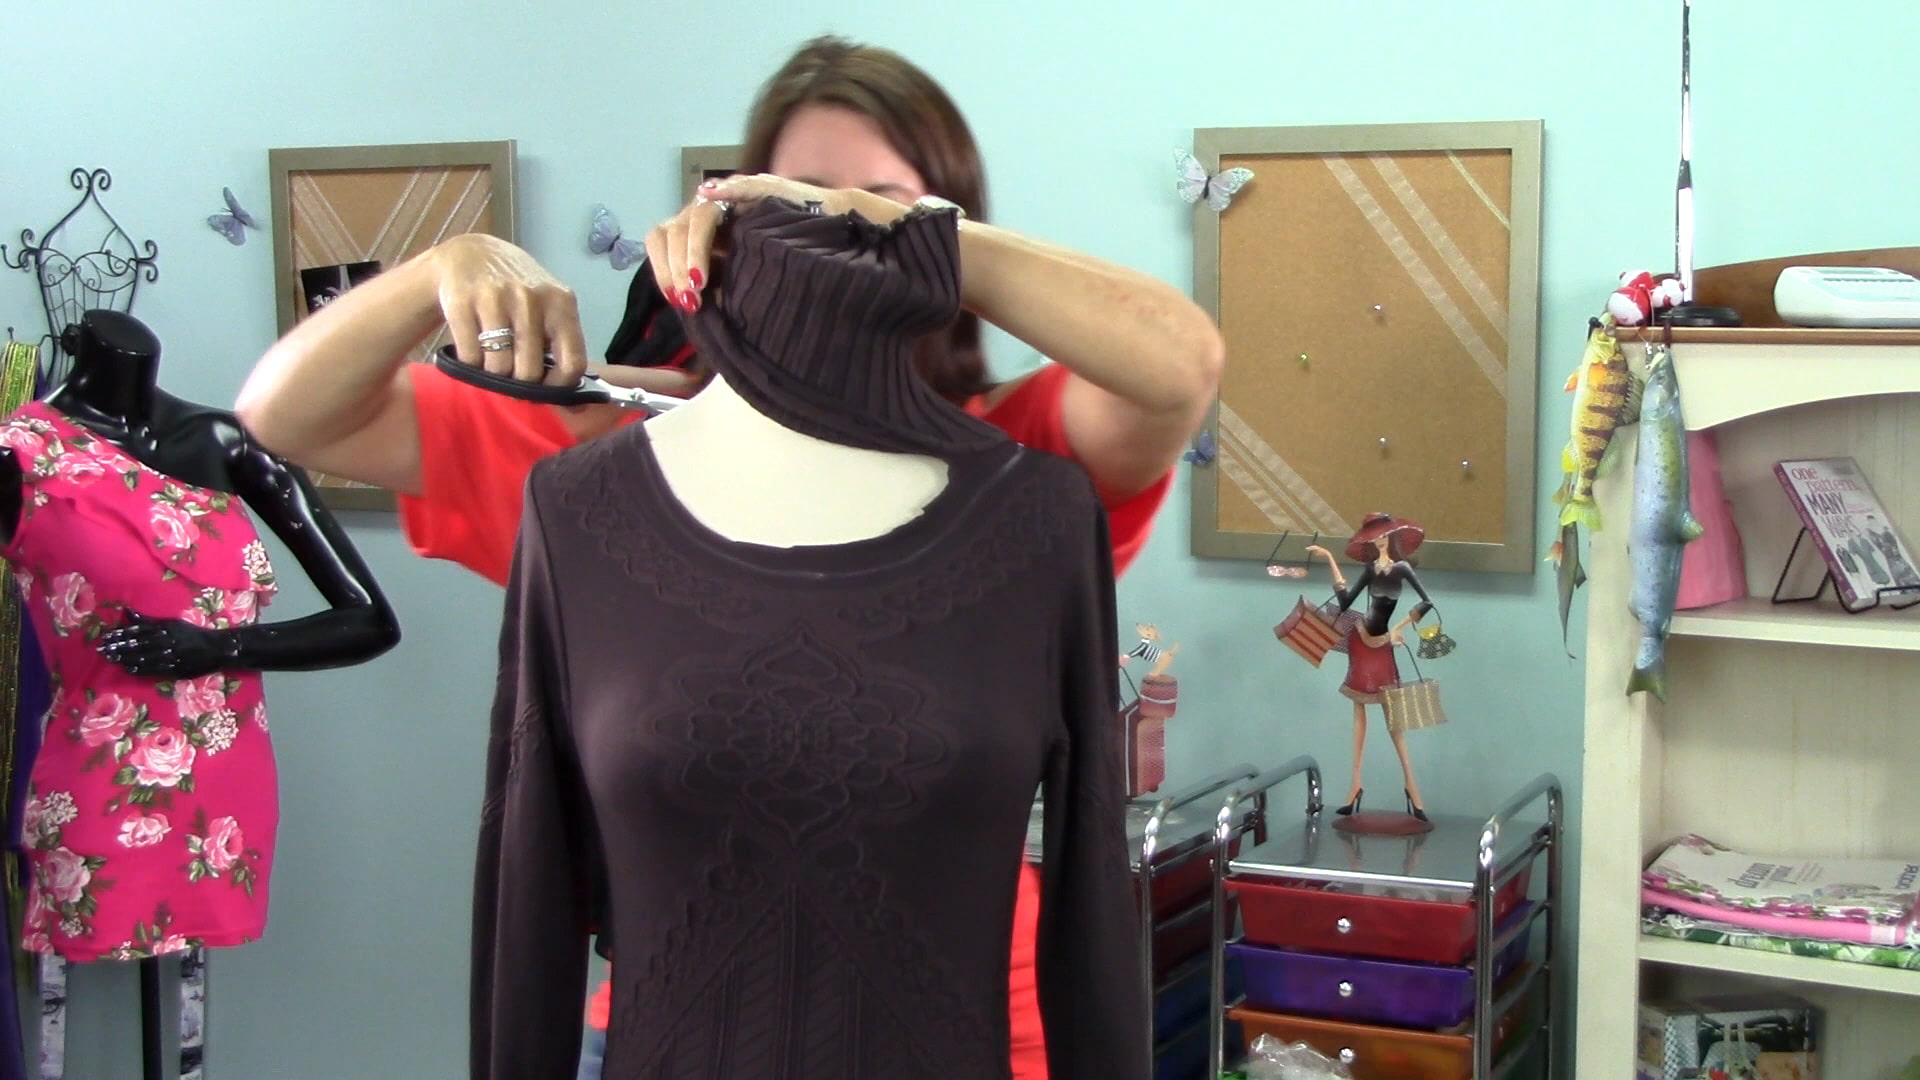
Ep. 303 Delila Knit Top Part 3
Episode 303 🧵 Behind the Scenes with Angela Wolf The last part of our Delila Slit Sleeve Sewalong! Have you checked out all the Delila tops posted in our private Angela Wolf Patterns Group? So cute!!! Angie Hotchkiss ~ Angela Wolf Facebook GroupDarlene Deck ~...