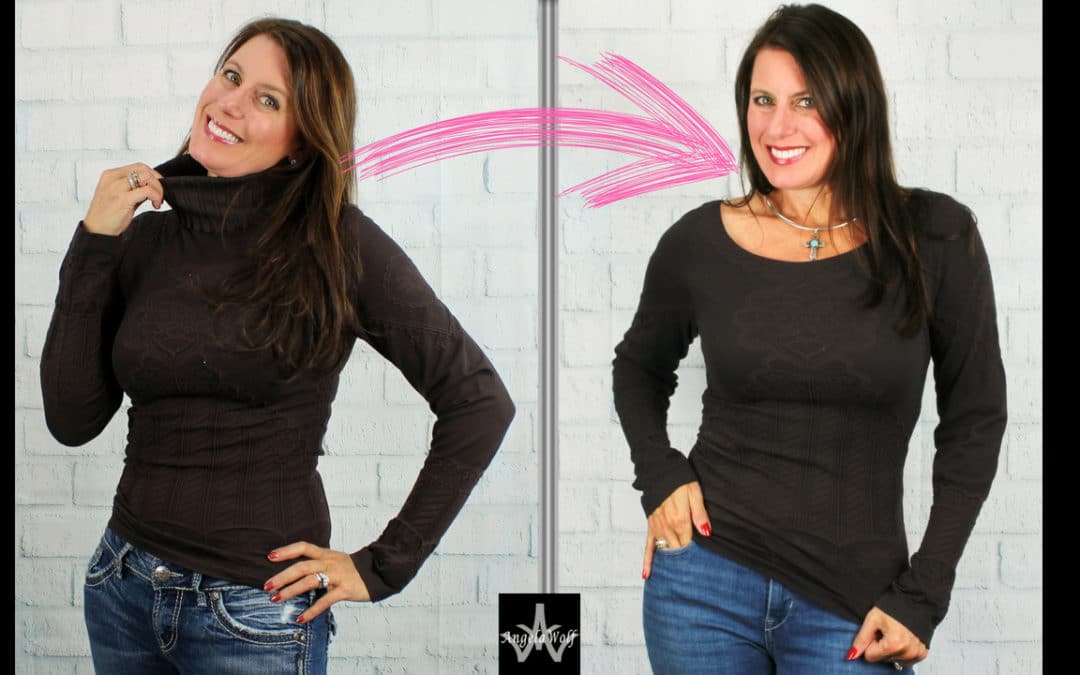
Transform a Turtleneck into a Stylish Boatneck Top
Here is another recycle project for the turtlenecks in our closet and its easy – perfect for beginners! For this sewing tutorial I am using a turtleneck that has a design, but any tank top will work. Click below for the video tutorial and here is a quick recap.
SUPPLIES:
SCISSORS
½” WIDE ELASTIC
PINS
TAILORS CHALK OR FABRIC MARKING PEN / PENCIL
TURTLENECK
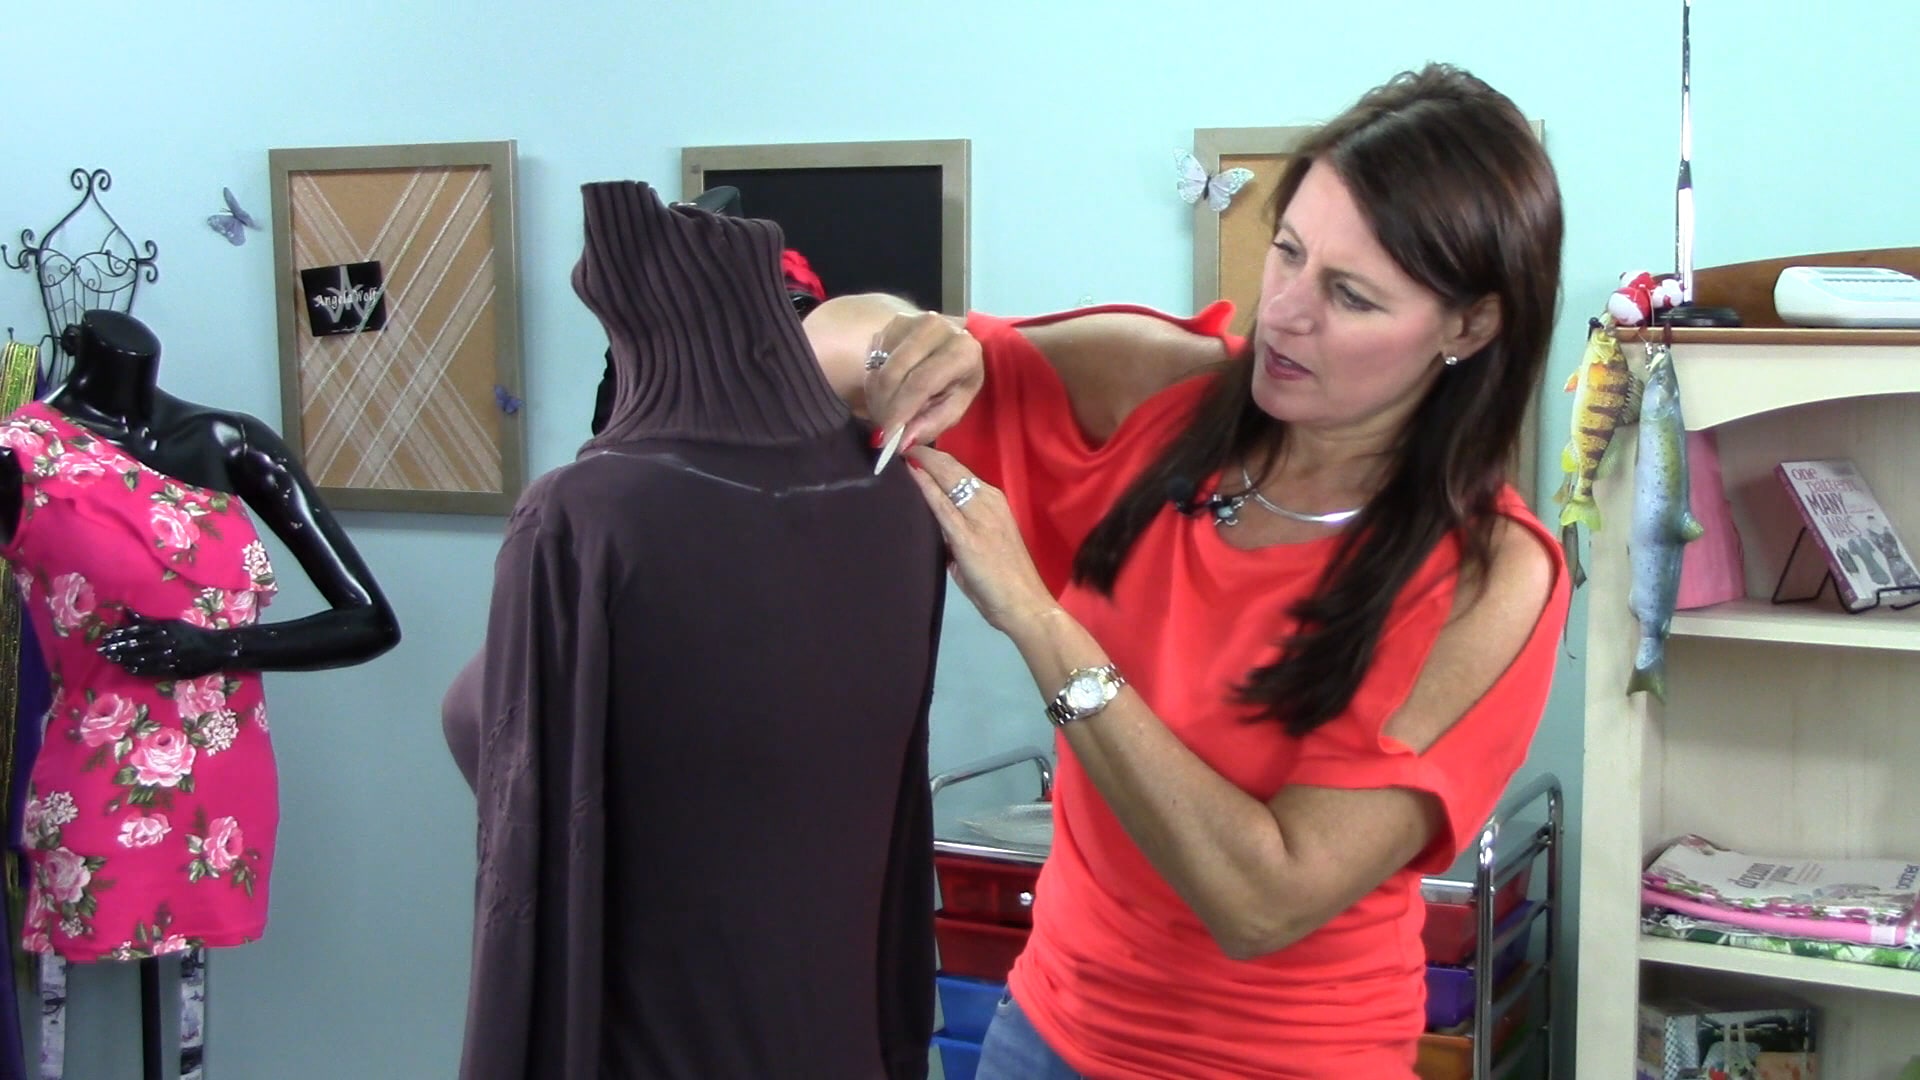
Start by marking the new boat neckline on the turtleneck. I am using a dress form and following the design on the turtleneck. Another option is to measure from the center front and back neck down to the top of the newly desired neckline.
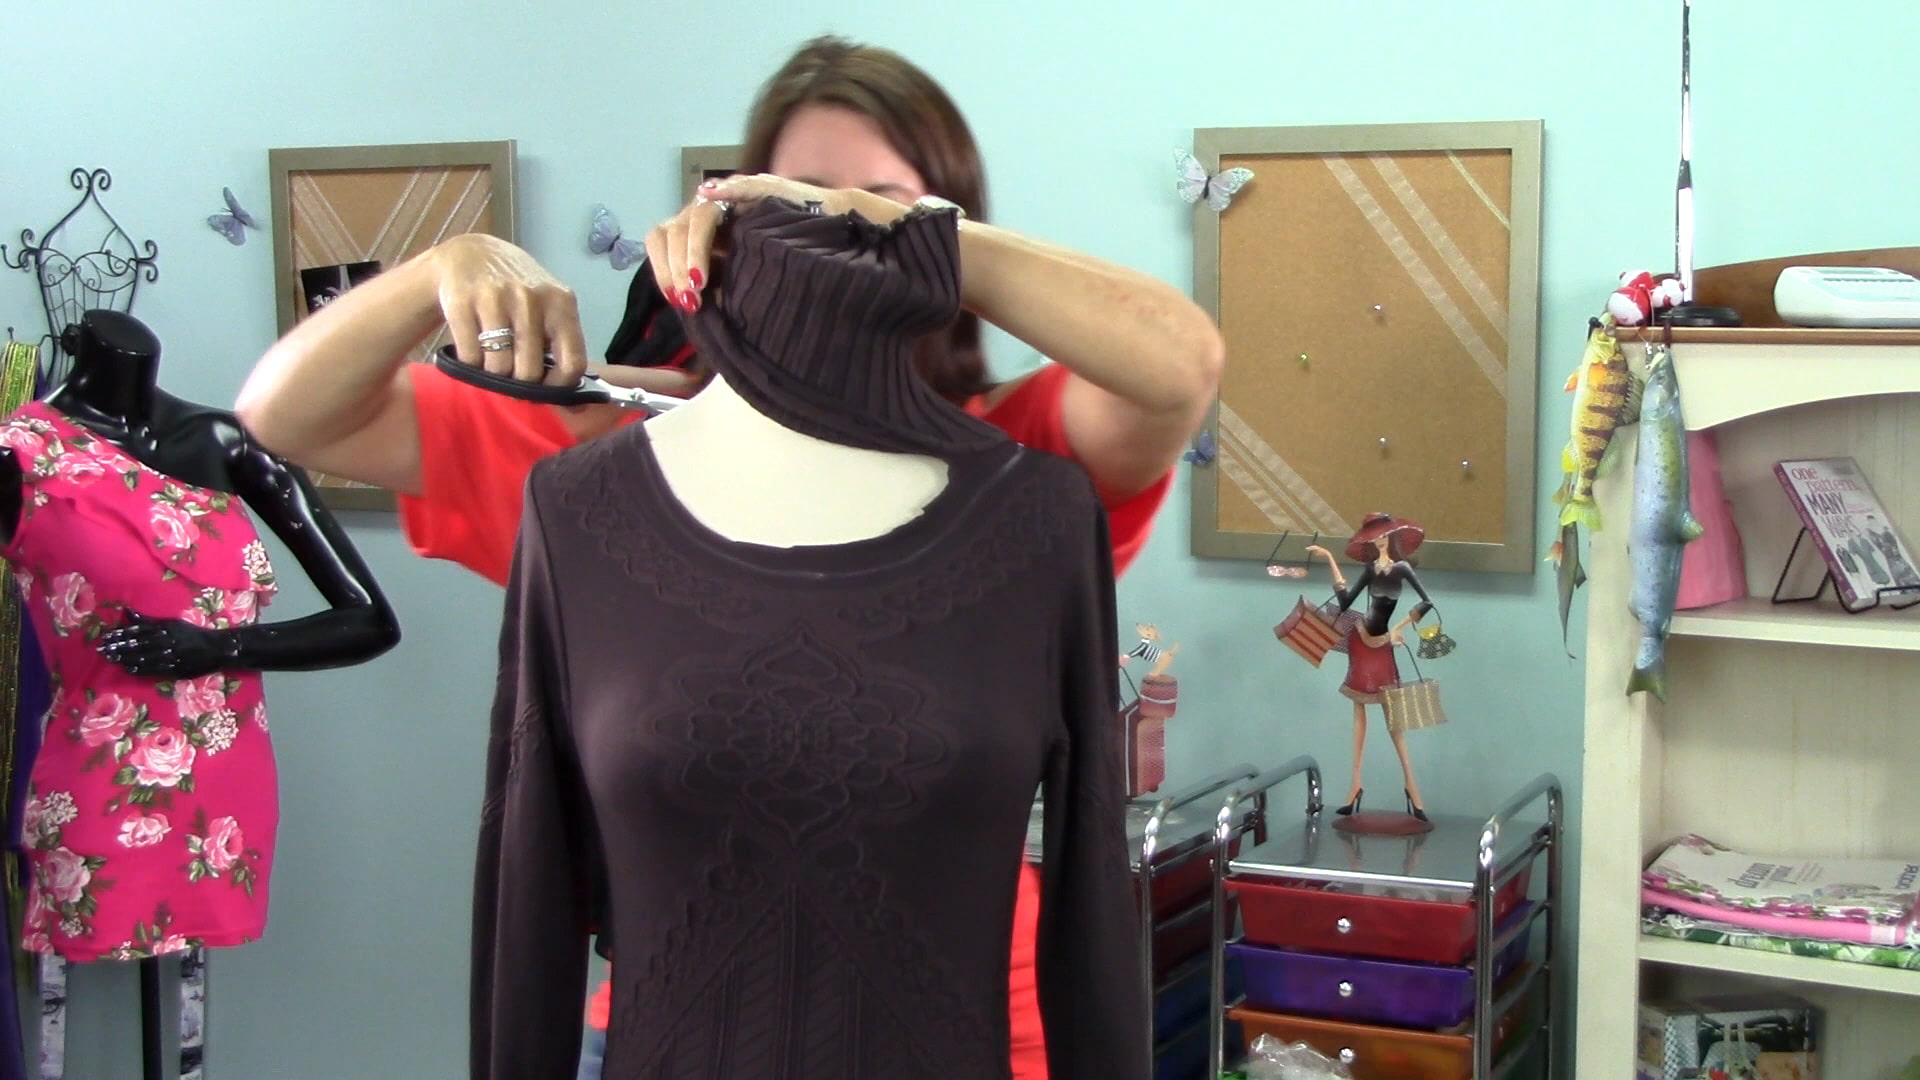
Add a ½” seam allowance and mark the new cutting line. Start cutting higher than the new marking to test the fabric for fraying.
If it is determined the fabric does not fray, then go ahead and cut along the last chalk marked line. If the fabric does fray, leave an extra 1” of fabric from the chalk marked line until after you attach the elastic.
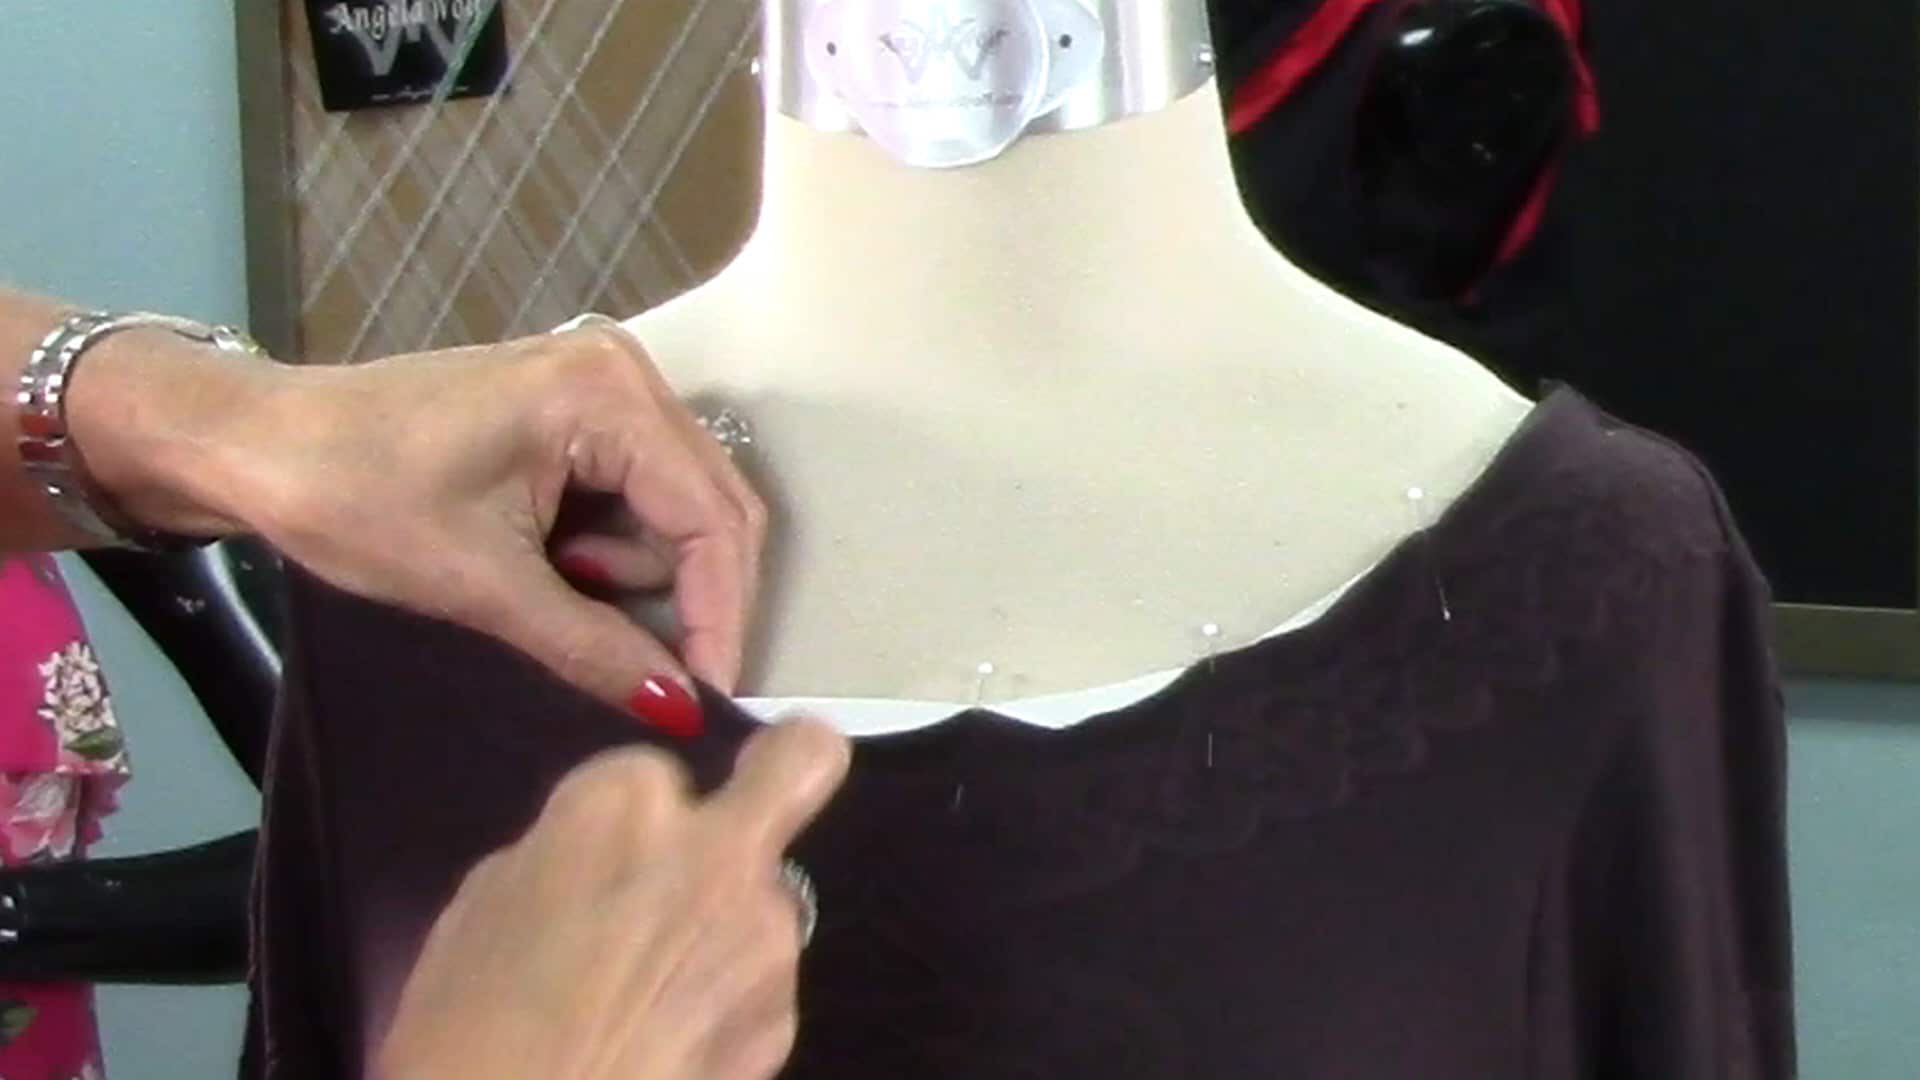
Measure around the circumference around the new neckline. Subtract 1” from that measurement and cut the elastic the same length. Start from the center front and pin the elastic to the wrong side of the fabric. Stretch the elastic as you pin so the elastic is a little shorter in length than the fabric. Continue to pin all the way around the top. When you get to the center back, cross the elastic ends and pin to secure. To read the full blog, head over to my post as a Brother Expert Consultant on the Brother Stitching Sewcial or watch the video below.
I would love to see your creative designs, be sure to tag me if you post a photo #angelawolf #brothersews
Cheers,
I would love to see your creative designs, be sure to tag me if you post a photo #angelawolf #brothersews
Cheers,
<a target="_blank" href="https://shareasale.com/r.cfm?b=1130527&u=1586241&m=29190&urllink=&afftrack="><img src="https://static.shareasale.com/image/29190/728x90.gif" border="0" alt="Craftsy Unlimited FREE 7 day trial at Craftsy.com" /></a>
Envelope Pattern There are three download versions for the envelope pattern: Full Layout - Use this for projector printing or printing on a plotter. ENVELOPE PURSE Letter Size Printing - Use this when printing letter size paper (8.5" x 11"). Print pages 1-8, the...
Quilted Grocery Bag Sewalong I am so excited to share this new grocery bag sewalong with you! This is an easy project with opportunities to make is more advanced with embroidery and embellishing. Sewalong Schedule #372 - 9/7 - Sewalong Part 1 Supplies and Pattern...
Tweed Skirt Sewalong Part 1 In part 1 of this sewalong I will share options for choosing the best fabrics and pattern. Join me in choosing the best lining to coordiante with my fabric!Skirt Patterns to choose from: ~ The Kate Skirt ~ The Fringe Skirt Pattern ~...
Episode 305 🧵 Behind the Scenes with Angela Wolf I know you have heard me say many time ... I am never going on a cruise! Winn and I are on the water all the time, why would I want to go on a cruise?!? Kelli Presley and Phyllis Batz will be joining me live to talk...
Episode 305 🧵 Behind the Scenes with Angela Wolf Featuring CraftOptics I am not sure about your, but if I am working in a low lit area or sewing beads onto a garment, I tend to lean forward and squint, this ending up with a terrible back ache! CraftOptics has changed...
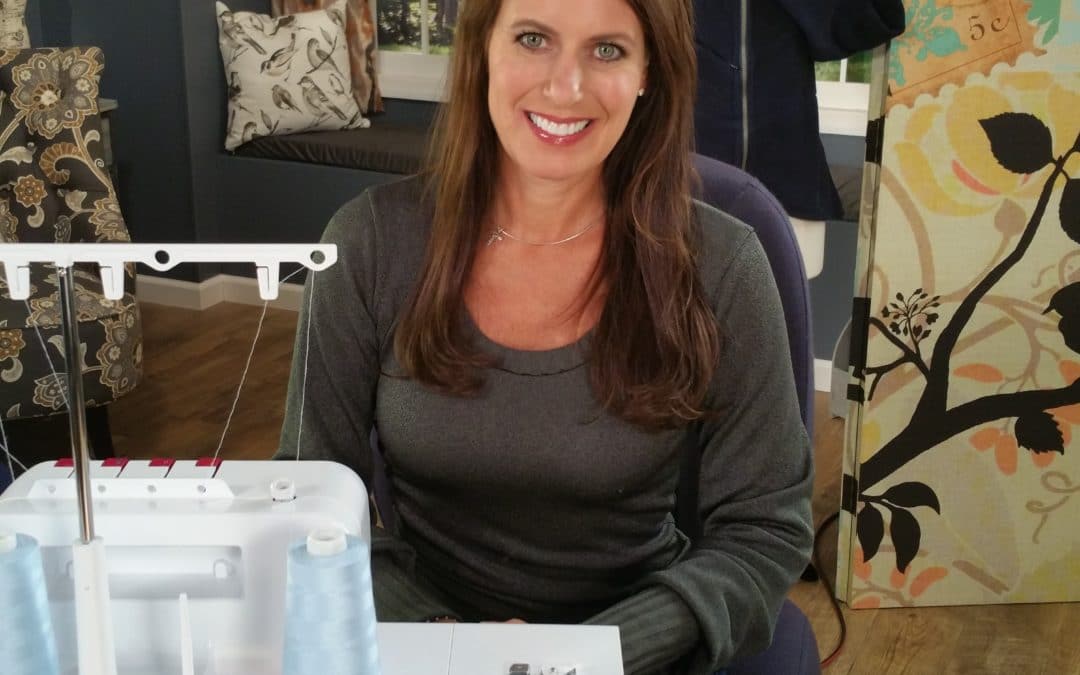
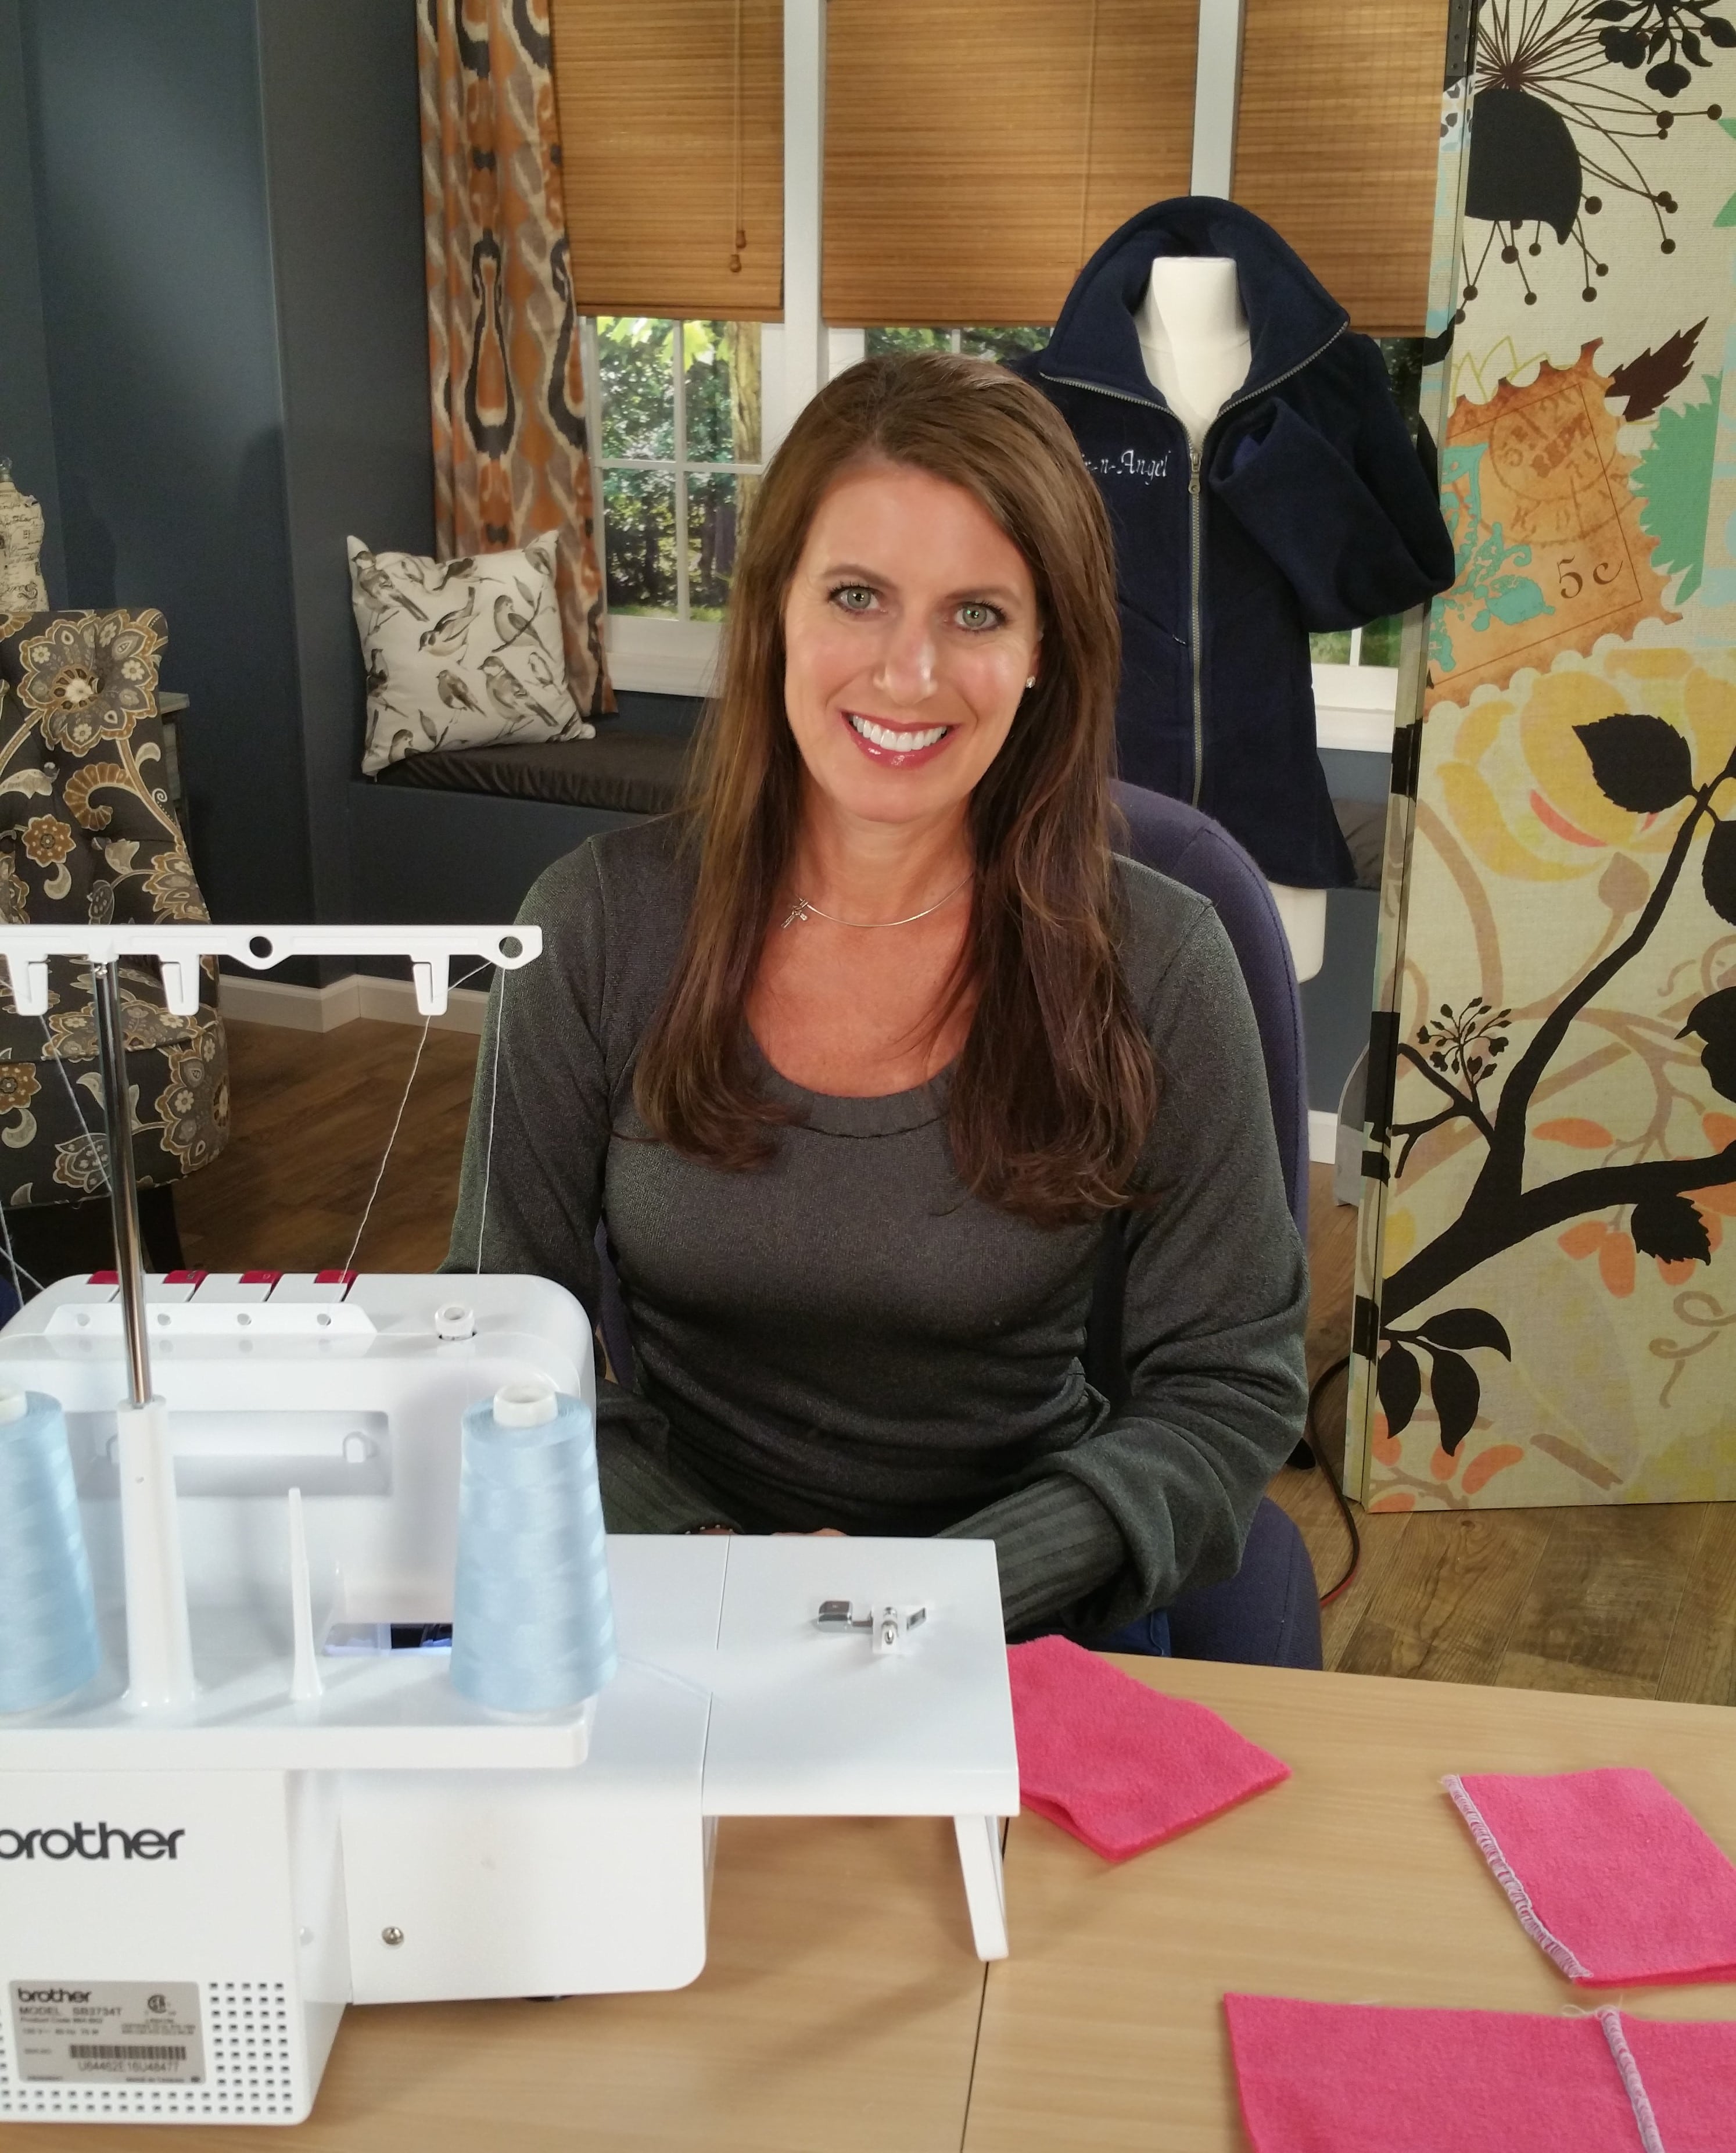
There are so many stitches we can do with our serger / overlock machines! You might recognize the flatlock stitch as seen on sportswear or a decorative stitch used to connect two pieces of fabric. This stitch is fun and easy to do!
Use the blind hem foot – alter the settings on the foot to stitch across half of the fabric.
Watch the It’s Sew Easy Episode below for details on where to position the fabric to create the flatlock stitch. Be sure to test the fabric and stitch before starting a project. Depending on the thickness of the fabric, the blind hem foot will need to be adjusted to the right or left for a wider or narrower stitch.
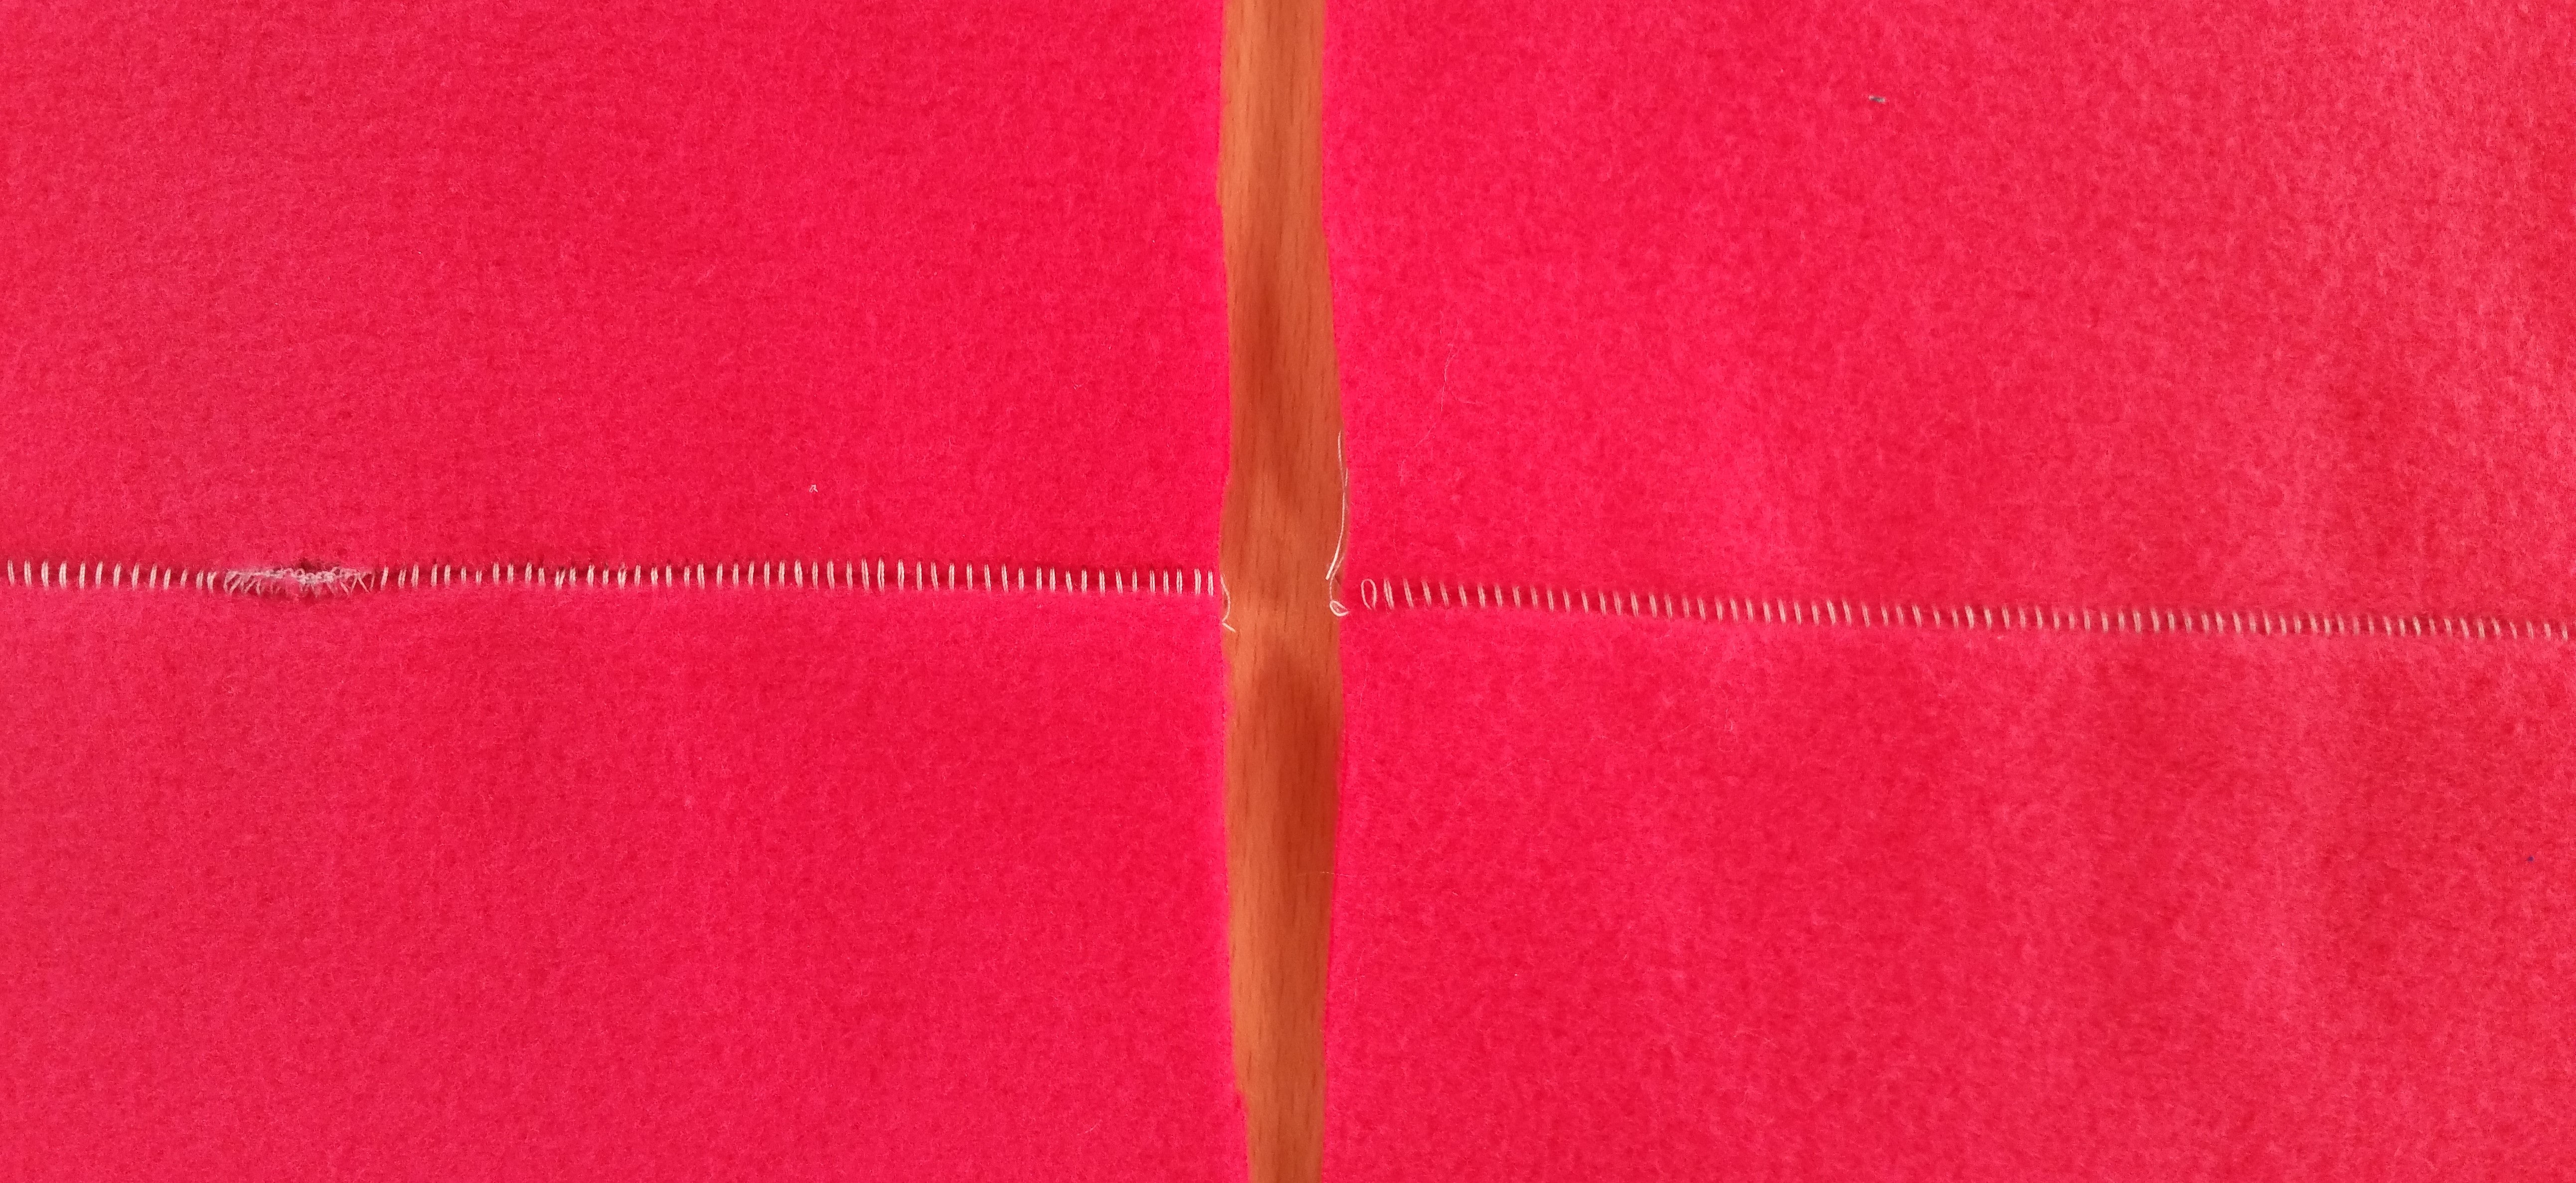
The photo to the left shows where the stitch width was too narrow and slipped off the fabric, thus creating a hole. The photo to the right looks much better.
Let me know when you try this stitch. I would love to see your creativity with this one 🙂
Cheers,
<a target="_blank" href="https://shareasale.com/r.cfm?b=1130527&u=1586241&m=29190&urllink=&afftrack="><img src="https://static.shareasale.com/image/29190/728x90.gif" border="0" alt="Craftsy Unlimited FREE 7 day trial at Craftsy.com" /></a>
Envelope Pattern There are three download versions for the envelope pattern: Full Layout - Use this for projector printing or printing on a plotter. ENVELOPE PURSE Letter Size Printing - Use this when printing letter size paper (8.5" x 11"). Print pages 1-8, the...
Quilted Grocery Bag Sewalong I am so excited to share this new grocery bag sewalong with you! This is an easy project with opportunities to make is more advanced with embroidery and embellishing. Sewalong Schedule #372 - 9/7 - Sewalong Part 1 Supplies and Pattern...
Tweed Skirt Sewalong Part 1 In part 1 of this sewalong I will share options for choosing the best fabrics and pattern. Join me in choosing the best lining to coordiante with my fabric!Skirt Patterns to choose from: ~ The Kate Skirt ~ The Fringe Skirt Pattern ~...
Episode 305 🧵 Behind the Scenes with Angela Wolf I know you have heard me say many time ... I am never going on a cruise! Winn and I are on the water all the time, why would I want to go on a cruise?!? Kelli Presley and Phyllis Batz will be joining me live to talk...
Episode 305 🧵 Behind the Scenes with Angela Wolf Featuring CraftOptics I am not sure about your, but if I am working in a low lit area or sewing beads onto a garment, I tend to lean forward and squint, this ending up with a terrible back ache! CraftOptics has changed...
Episode 303 🧵 Behind the Scenes with Angela Wolf The last part of our Delila Slit Sleeve Sewalong! Have you checked out all the Delila tops posted in our private Angela Wolf Patterns Group? So cute!!! Angie Hotchkiss ~ Angela Wolf Facebook GroupDarlene Deck ~...
I am having so much fun finding ways to use my serger, more than simply finishing the edges in my garments! With over 5,000 students in the Craftsy class Creative Serging – Beyond the Basics , many of you are already expanding your serger use. I was thrilled to see Craftsy posted a few of my videos on YouTube … below you will see how to add pintucking. A great embellishment on home dec and apparel. The video shows you how to change the settings on the Brother Project Runway Serger 5234PRW (although it doesn’t show you how to remove the stitch finger, so check your manual and don’t forget that part!) In fact, no matter what serger you use, pull out the manual and set the serger to a rolled or narrow hem. I am showing you how to do the pintucking using a blindhem foot. If you don’t have that foot, a standard foot works fine. Just serge straight 🙂
Speaking of manuals, lets take a vote … how many of you have read through your entire serger manual? I must confess, until last year I only scanned the pages referring to threading 🙂 Enjoy xoxo Angela
Ruching with Elastic Thread on a Serger / Coverstitch Machine
Loose flowing tops are right on trend right now, here is a quick way to add a little flair and fit with one of my favorite serging techniques; ruching with elastic thread. Add the ruching to the sleeve edge, hem or neckline. This is so cute and really easy! This ruching can be done on a sewing machine by winding the elastic thread in the bobbin, threading the machine with any silk, cotton, or polyester thread, and stitch with a narrow zigzag. What about serging with the chainstitch? The chainstitch is found on coverstitch machines or sergers with the added coverstitch function.
SET UP THE SERGER / COVERSTITCH MACHINE For this sample I am using my Brother 1034D 3 or 4 Thread Serger with Easy Lay In Threading with Differential Feed
. Thread the machine like you would for a chainstitch: use thread in the needle and elastic thread in the looper. Be patient with the elastic thread, but it will go through the machine just fine 🙂
Adjust the tension:
Loosen the needle tension (loosen by 2 notches)
Tighten the looper tension (start by tightening 1 notch)
When adjusting the tensions, my coverstitch has a standard setting at 4 – so adjust the tension on your machine accordingly. Then simply run the edge of the fabric through the serger. The photo’s below show you the front and back side of the first row of stitching.
Put the fabric back in the machine, line up the previous row of stitching with the edge of the presser foot and stitch.
That it! I usually ruch 2 – 6 rows depending on the design. Another idea is to ruch the waist on a skirt – the elastic ruching makes a great waistband and then you wear the waist high or low. I will dig up a photo of my silk bathing suit cover up that is sewn like this.
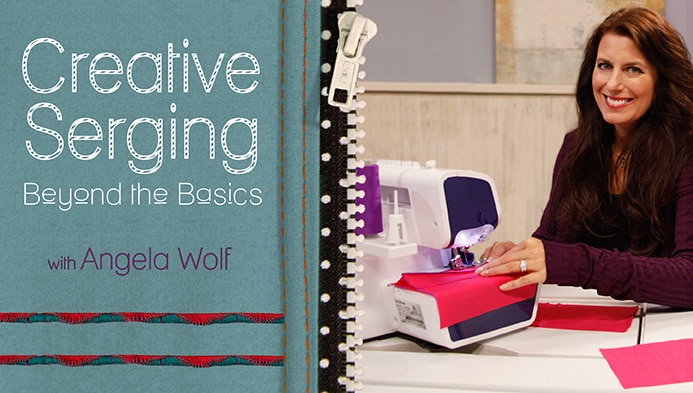
FREE SERGING CLASS GIVEAWAY!
Speaking of using a coverstitch and overlock machine – I have a class on Craftsy called Creative Serging – Beyond the basics. I am giving away a FREE CLASS to one lucky reader. All you have to do is leave a comment below telling me why you would like to take the free class. Click over and “‘like” my facebook page and you will get 2 entries. If you leave a comment on the facebook page you get an extra entry as well (that’s 3 entries total :)). One name will be drawn randomly on August 1st. I know many of you are already in my class as we are just under 5,000 students, awesome! For those of you that are already enjoying the class, leave a comment as to what you like most about the class and I will include you in the next giveaway (trust me, it will be good :))