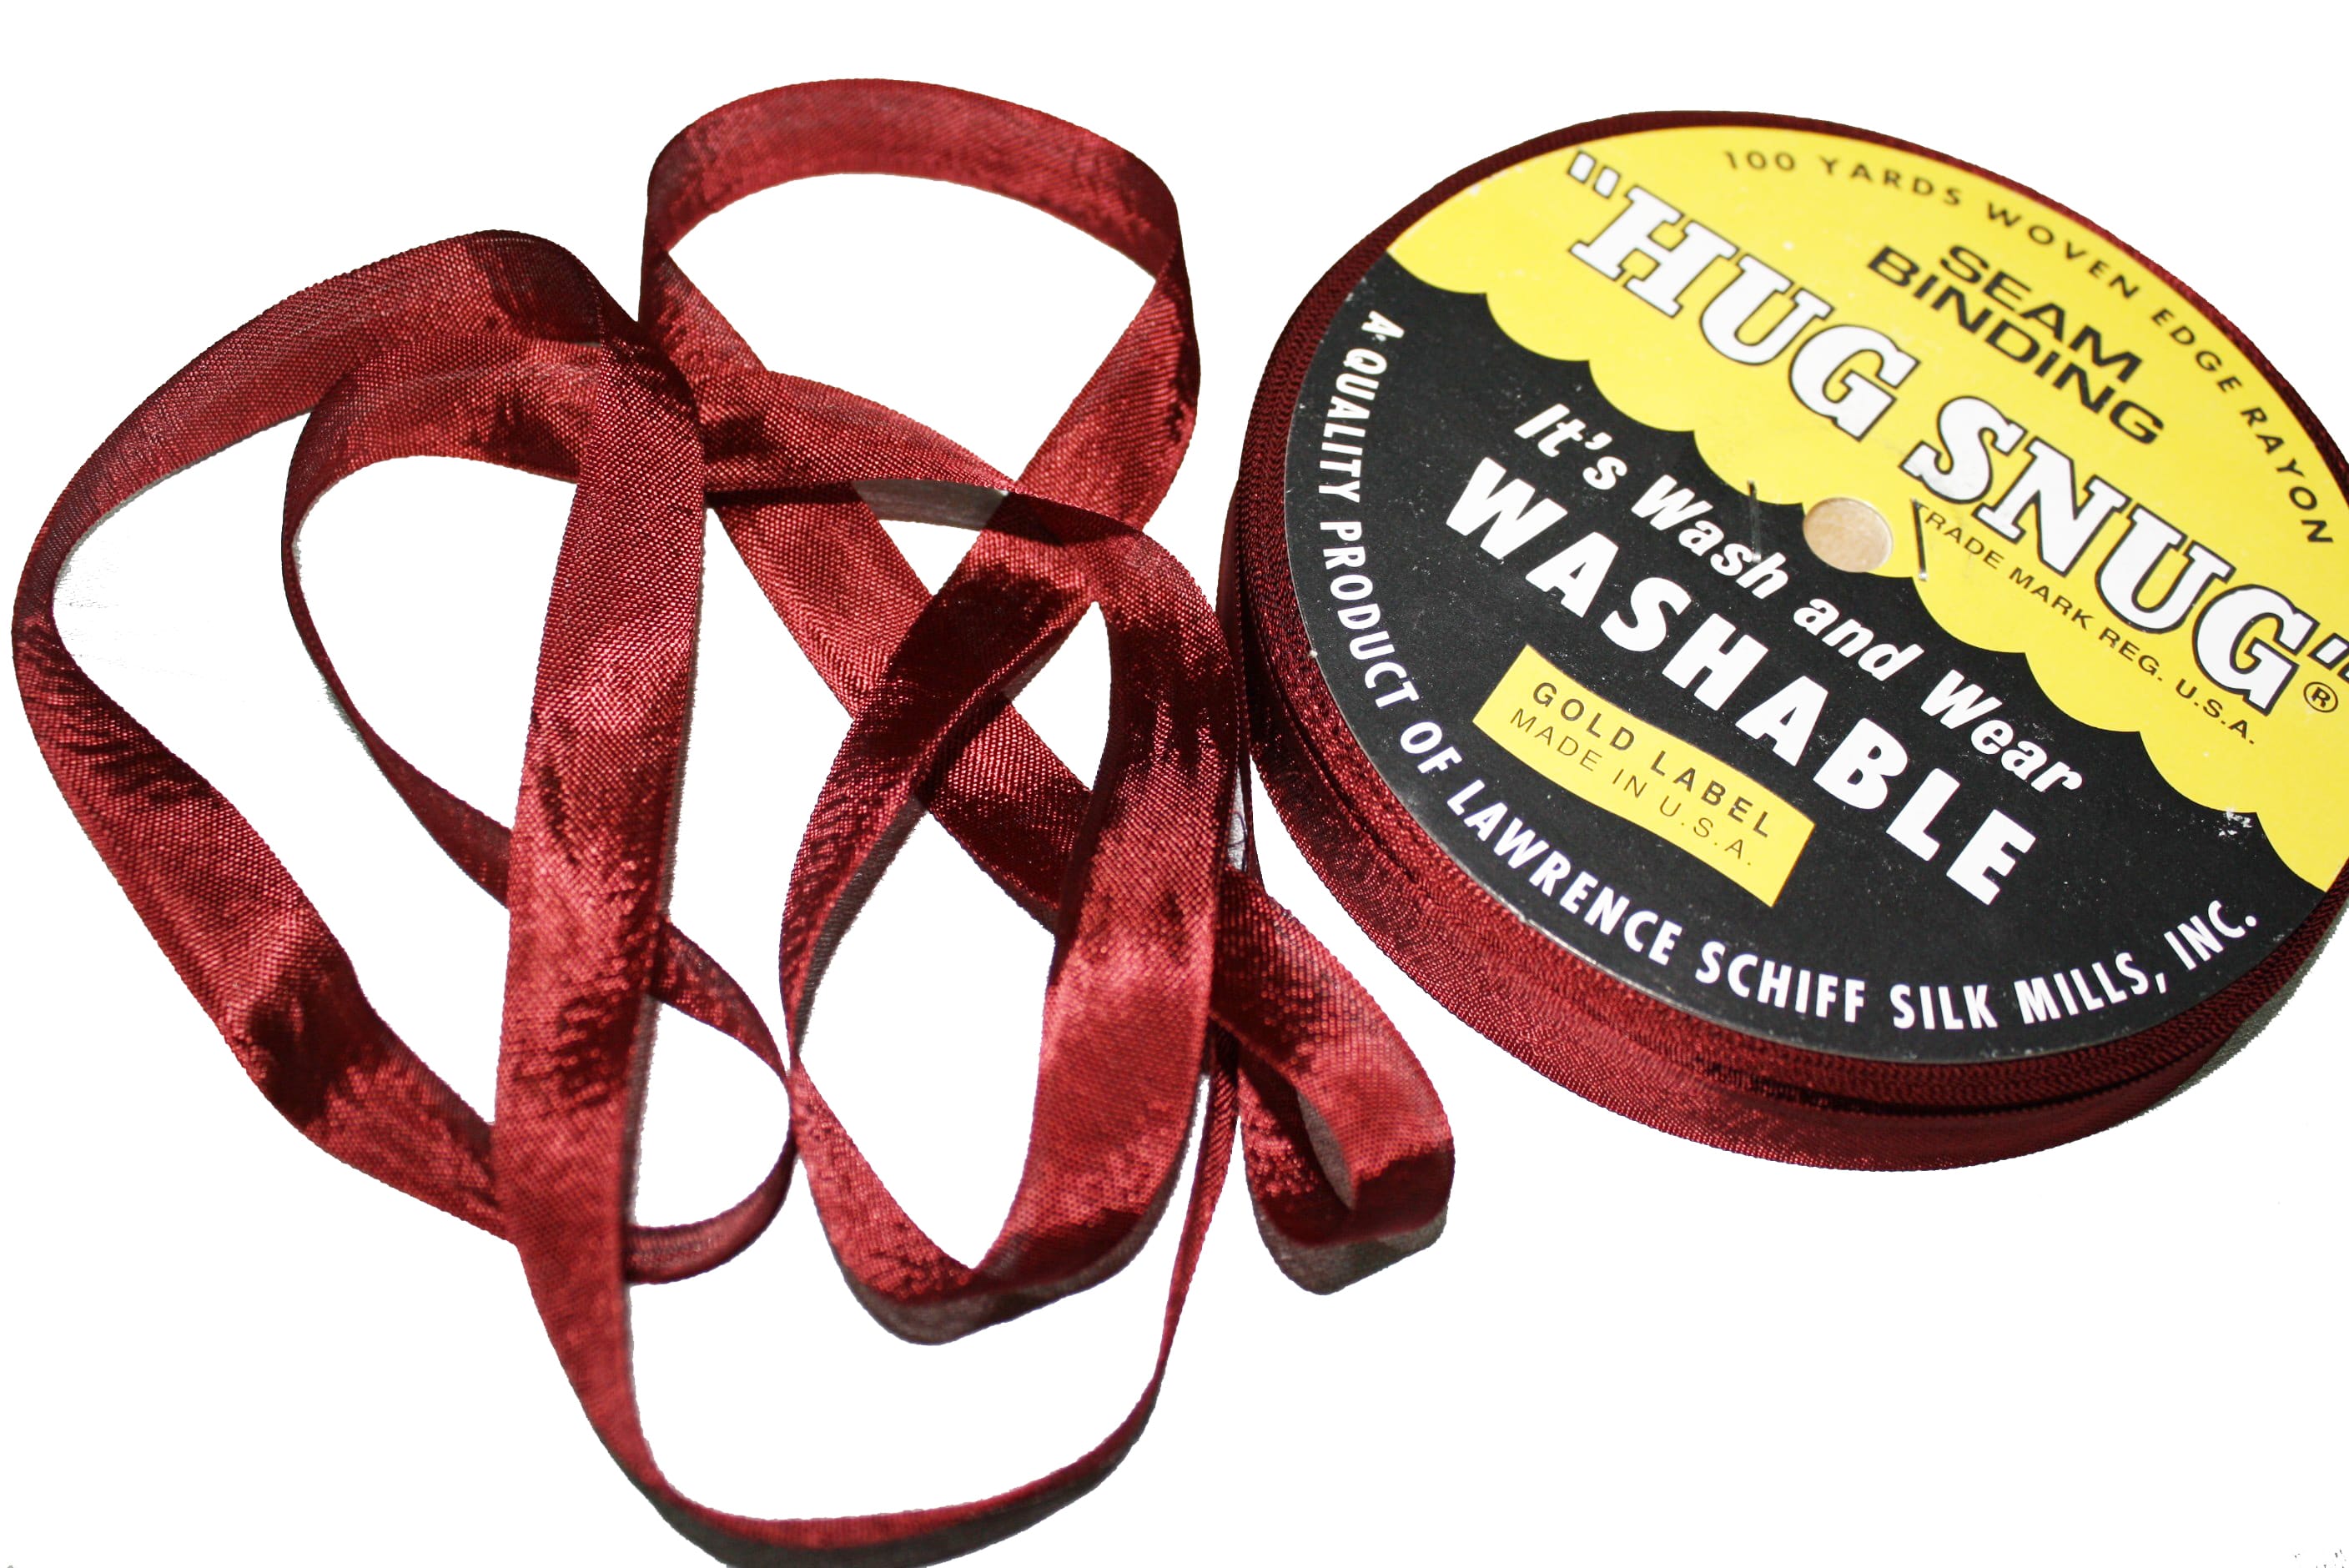
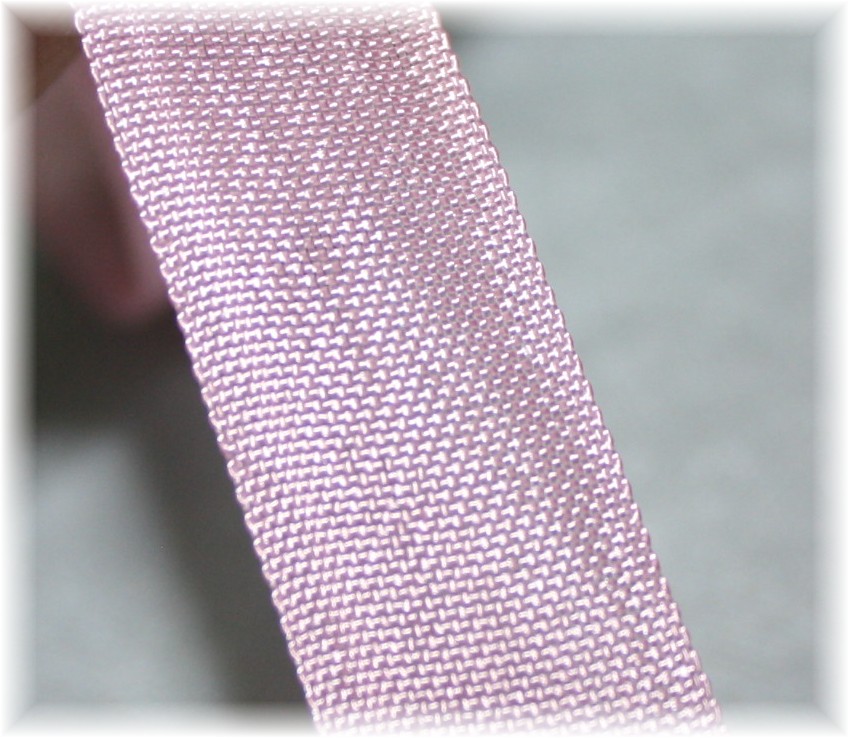
There are so many sewing products on the market, it can get overwhelming trying to decide which ones to try. Here is one for you … Hug-Snug Seam Binding. Take a look inside some of your nicer pants and skirts, you will often see a rich looking ribbon covering the hem allowance edge. Hug-Snug is probably the ribbon you see. This ribbon is 100% Rayon, has a satin finish and it comes in a TON of colors.
Regardless if you are sewing a garment from scratch or doing alterations, this is a fast, professional looking hem and it’s really easy:
Press up the hem. Working on the right side of the fabric, align the ribbon over the raw edge of the hem allowance.
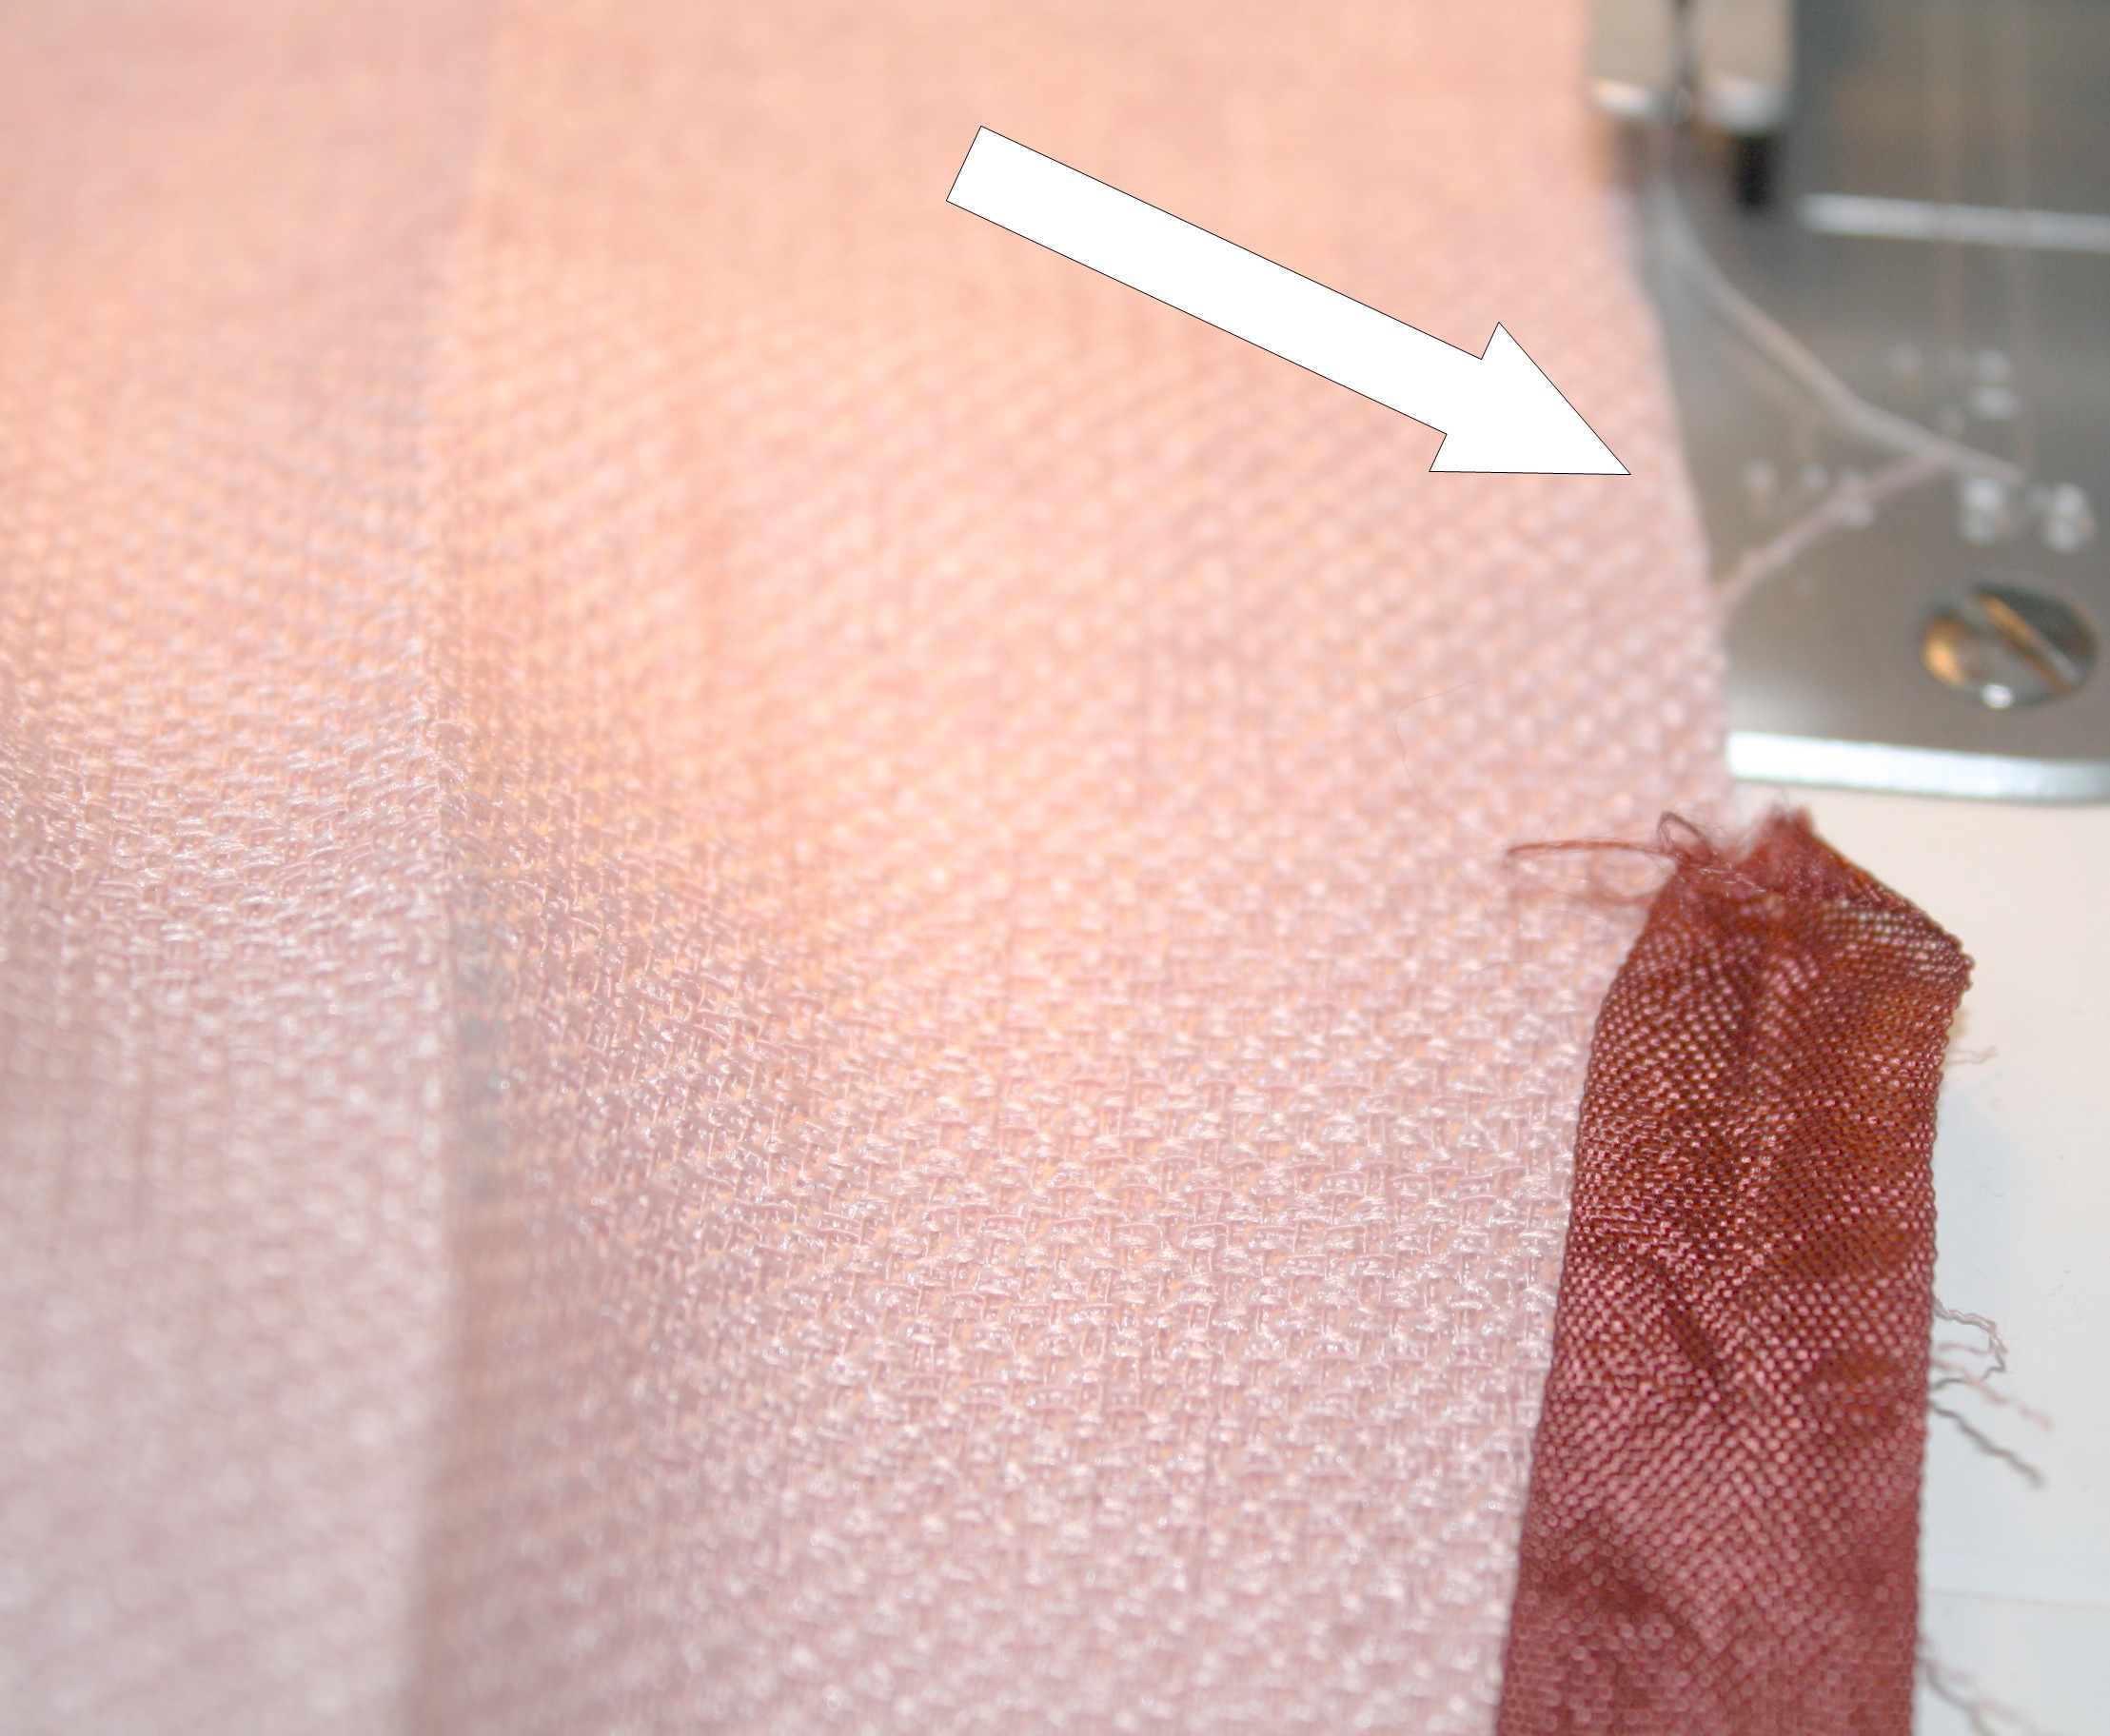
The edge of the fabric should land in the middle of the ribbon. Stitch along the edge of the ribbon. (I am using contrasting color ribbon and thread so it’s easier to see :))
The above photo shows the single stitch line and how the ribbon covers the fabric raw edge.
Attach the ribbon all the way around the hem. When you get to the end, trim the ribbon leaving 2″ – 3″ extra.
Stitch just past the starting point …
… fold under the end of the ribbon, enclosing the raw edge of the ribbon.
Turn the fabric and stitch the folded edge of the ribbon in place.
The ribbon is attached, covering all raw edges. Hem the garment as usual, using the edge of the ribbon as the hem allowance edge. The ribbon is so much thinner than fabric and really makes a perfect blind hem! Below I am using a blind hem machine:
Notice how the ribbon edge is connected to the garment, finishing the hem. If using the blind hem stitch on a sewing machine or hand-stitching the hem in place, do the same thing; connect the edge of the ribbon to the fabric.
I told you it’s easy! Again, Hug-Snug Seam Binding comes in a ton of colors:
I borrowed this color chart from WAWAK SEWING SUPPLIES. In fact, if you want to give this product a try, WAWAK is offering 10% off until March 31st.
How are the jeans coming along for the wardrobe challenge? Don’t forget to upload your photos to the Flickr group, there are some really cute outfits showing up 🙂
I am having so much fun finding ways to use my serger, more than simply finishing the edges in my garments! With over 5,000 students in the Craftsy class Creative Serging – Beyond the Basics , many of you are already expanding your serger use. I was thrilled to see Craftsy posted a few of my videos on YouTube … below you will see how to add pintucking. A great embellishment on home dec and apparel. The video shows you how to change the settings on the Brother Project Runway Serger 5234PRW (although it doesn’t show you how to remove the stitch finger, so check your manual and don’t forget that part!) In fact, no matter what serger you use, pull out the manual and set the serger to a rolled or narrow hem. I am showing you how to do the pintucking using a blindhem foot. If you don’t have that foot, a standard foot works fine. Just serge straight 🙂
Speaking of manuals, lets take a vote … how many of you have read through your entire serger manual? I must confess, until last year I only scanned the pages referring to threading 🙂 Enjoy xoxo Angela
Getting new samples ready for It’s Sew Easy TV season 6 taping, I am finishing designing new dresses and experimenting with embellishing with embroidery. I have had this purple raw silk for years and really like the color, but it’s SO bright by itself! I will probably color block with black for one of the designs, but for this one I wanted to try adding a touch of embellishment. This is the start (obviously I have not pressed out the embroidery hoop marking) …
I found this flower in the Brother Quattro sewing machine. The flower was originally a medium size, so I tried to make it as large as possible for one of the flowers and as small as possible for the other. This was so easy to do! Using the touch screen I was able to enlarge the flower and move the design to the top left of the screen, which will embroider in the top left part of the hoop.
You can see below how the first larger flower is embroidering on the top left side of the hoop.
First flower looks great!
For the second flower – I turned the shape upside down, made the flower as small and narrow as possible, and moved the shape to the bottom right side of the hoop.
Looks pretty good!!!!! I used a silver metallic thread, although you can’t see that very well from the photo’s – clean and simple.
As far as designing, I cut the bottom of the dress to allow for a straight skirt or adding darts or pleats to the waistband. I am definitely adding the darts 🙂 I will post photos when the dress is finished.
Congratulations Wilma Coats the winner of my Creative Serging Class on Craftsy! Again, here is a coupon if you would like to join us in a fun, creative online class.
Ruching with Elastic Thread on a Serger / Coverstitch Machine
Loose flowing tops are right on trend right now, here is a quick way to add a little flair and fit with one of my favorite serging techniques; ruching with elastic thread. Add the ruching to the sleeve edge, hem or neckline. This is so cute and really easy! This ruching can be done on a sewing machine by winding the elastic thread in the bobbin, threading the machine with any silk, cotton, or polyester thread, and stitch with a narrow zigzag. What about serging with the chainstitch? The chainstitch is found on coverstitch machines or sergers with the added coverstitch function.
SET UP THE SERGER / COVERSTITCH MACHINE For this sample I am using my Brother 1034D 3 or 4 Thread Serger with Easy Lay In Threading with Differential Feed
. Thread the machine like you would for a chainstitch: use thread in the needle and elastic thread in the looper. Be patient with the elastic thread, but it will go through the machine just fine 🙂
Adjust the tension:
Loosen the needle tension (loosen by 2 notches)
Tighten the looper tension (start by tightening 1 notch)
When adjusting the tensions, my coverstitch has a standard setting at 4 – so adjust the tension on your machine accordingly. Then simply run the edge of the fabric through the serger. The photo’s below show you the front and back side of the first row of stitching.
Put the fabric back in the machine, line up the previous row of stitching with the edge of the presser foot and stitch.
That it! I usually ruch 2 – 6 rows depending on the design. Another idea is to ruch the waist on a skirt – the elastic ruching makes a great waistband and then you wear the waist high or low. I will dig up a photo of my silk bathing suit cover up that is sewn like this.
FREE SERGING CLASS GIVEAWAY!
Speaking of using a coverstitch and overlock machine – I have a class on Craftsy called Creative Serging – Beyond the basics. I am giving away a FREE CLASS to one lucky reader. All you have to do is leave a comment below telling me why you would like to take the free class. Click over and “‘like” my facebook page and you will get 2 entries. If you leave a comment on the facebook page you get an extra entry as well (that’s 3 entries total :)). One name will be drawn randomly on August 1st. I know many of you are already in my class as we are just under 5,000 students, awesome! For those of you that are already enjoying the class, leave a comment as to what you like most about the class and I will include you in the next giveaway (trust me, it will be good :))
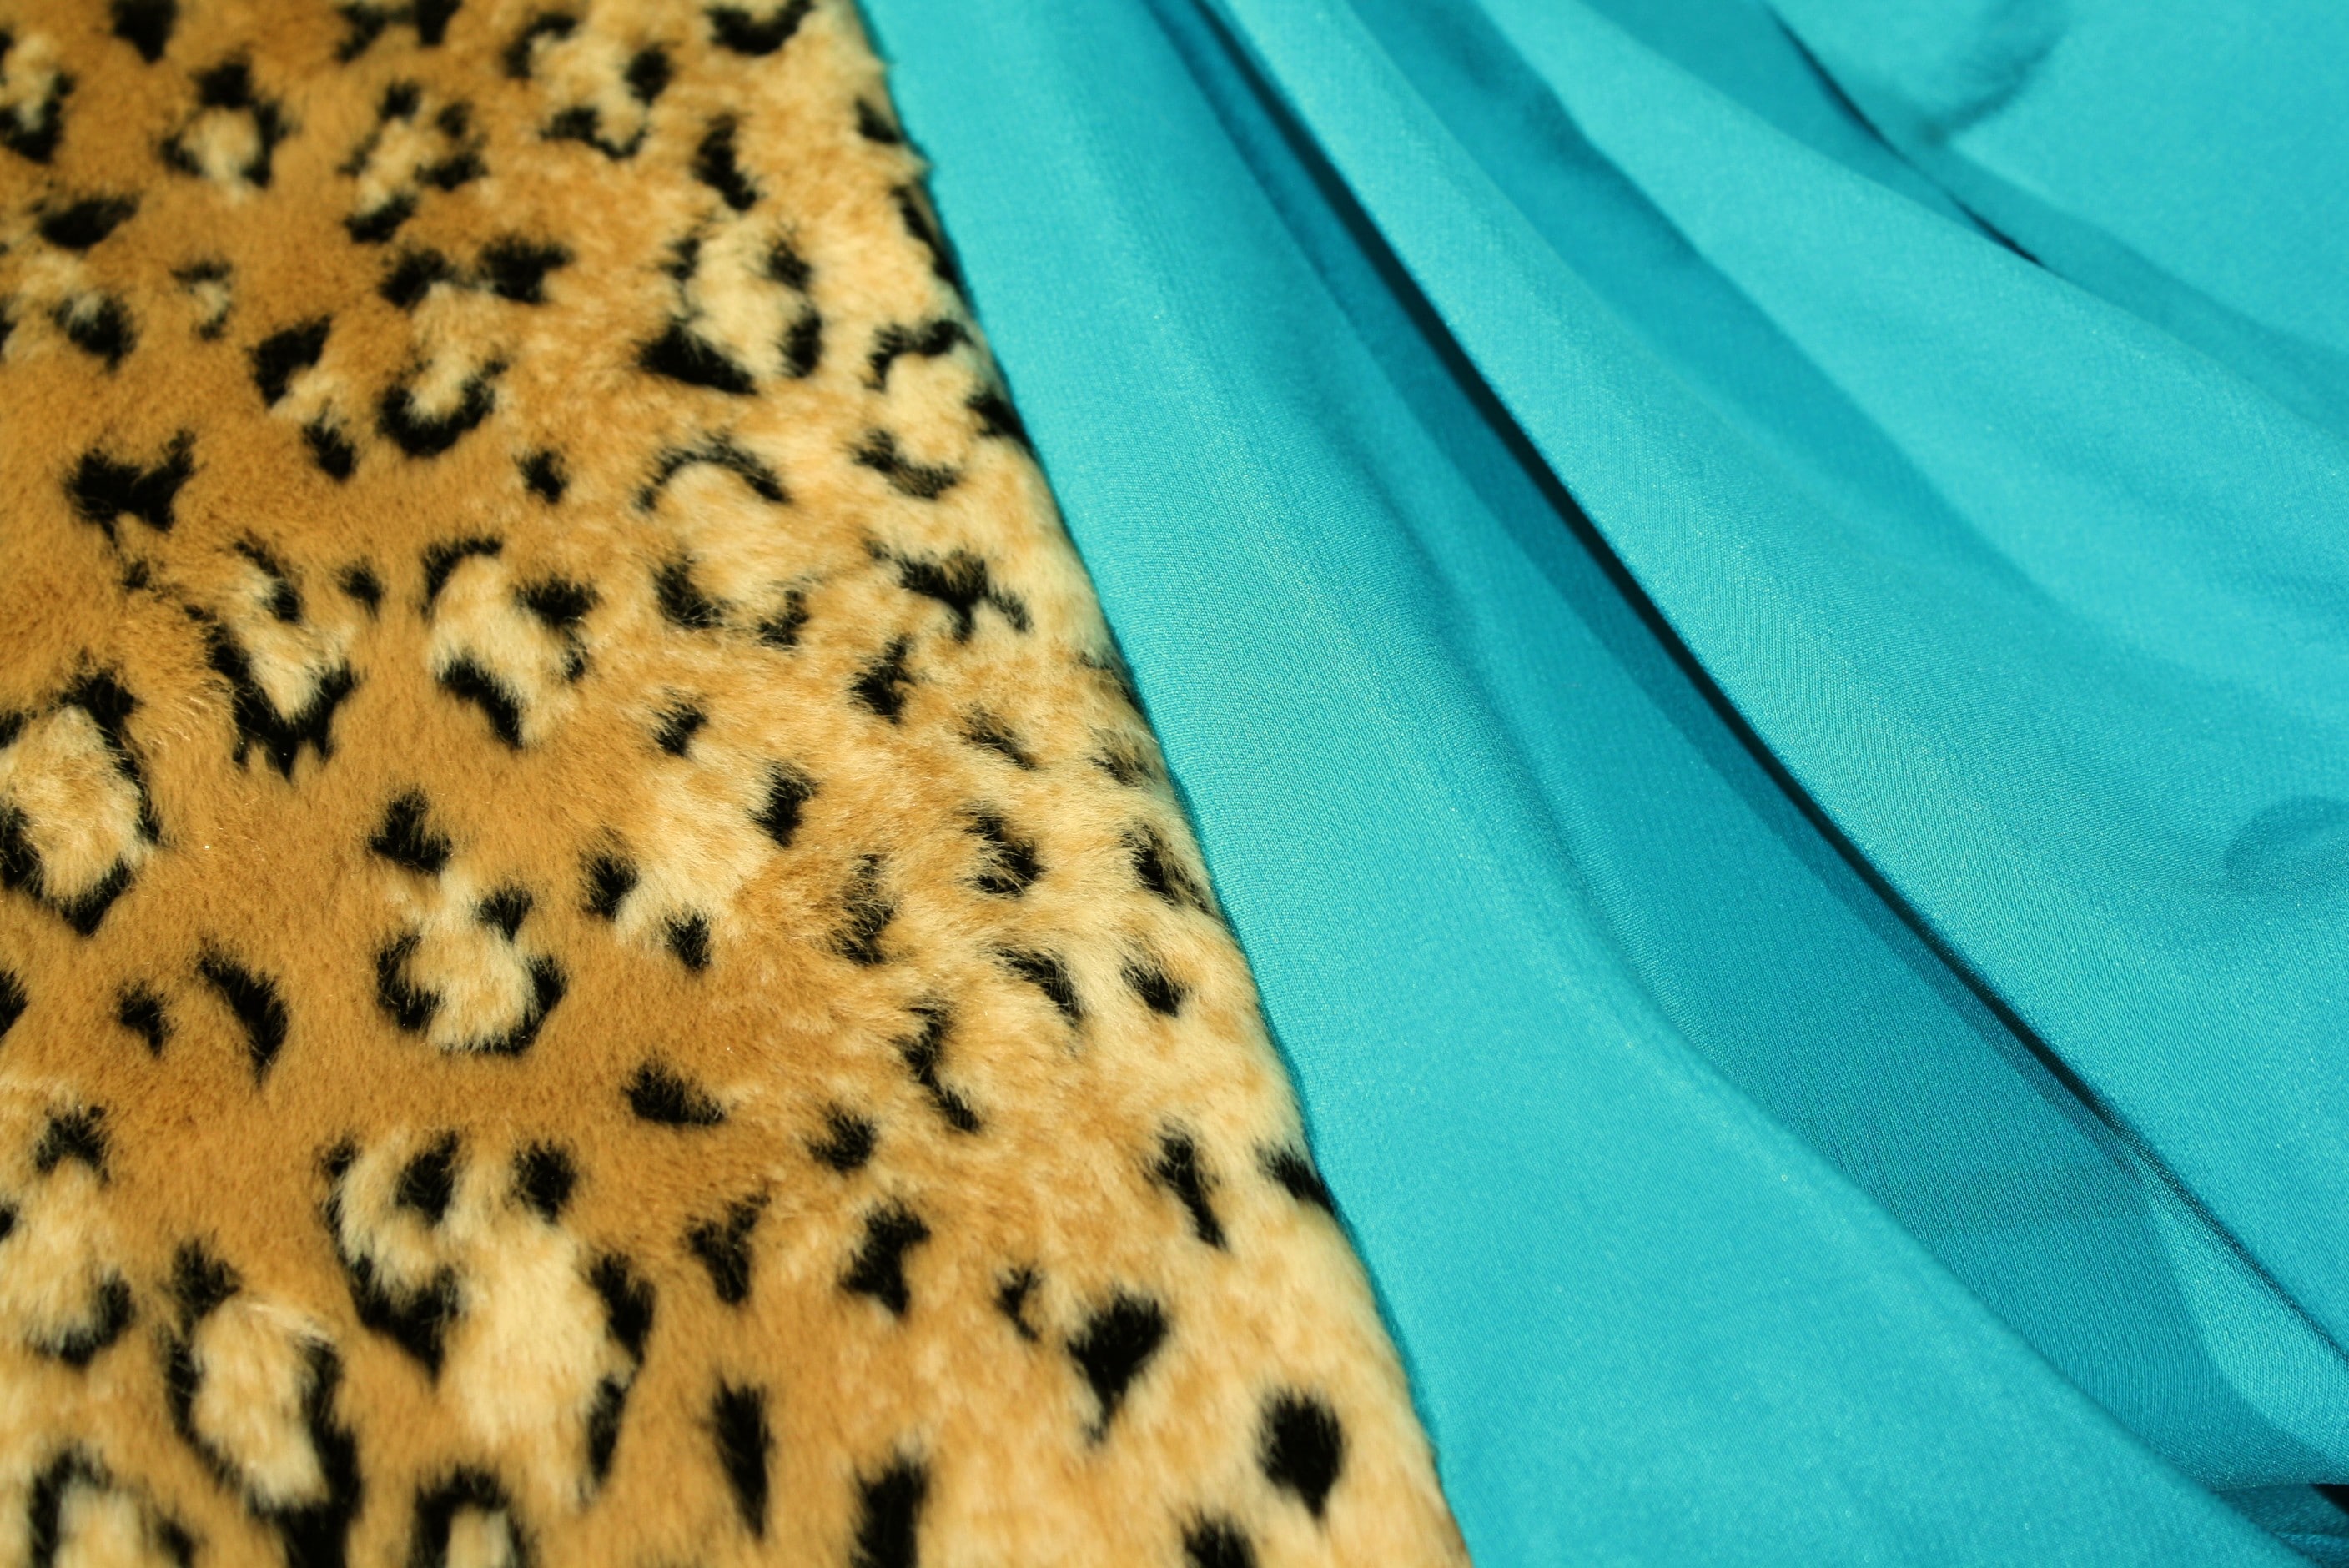
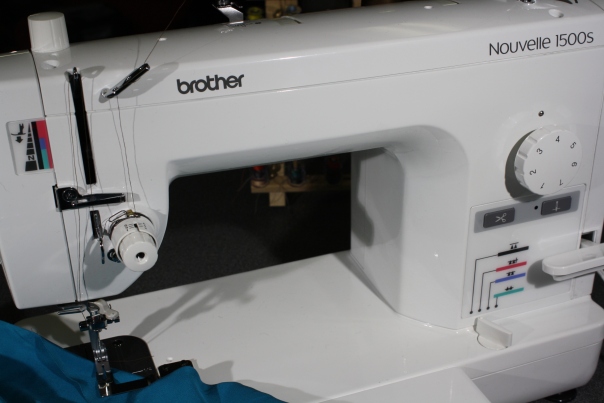
There is nothing more frustrating than sewing a gorgeous jacket with luxurious fabrics like faux fur, velvet, and leather (to name a few) and when it comes time to attach the lining to the facing, you end up with small puckers and an uneven feed – meaning one layer of the fabric ends up longer than the other. Well, I have great news for those of you that have the Brother PQ1500S.
You have already done the hard work sewing the jacket, why not use a few tools to make sewing the lining a breeze. The PQ1500 comes with an easy way to perfectly adjust your presser foot pressure and feed dog position, it’s color coded! Seriously, this takes all the testing and questioning out of the picture, heck you don’t even need to read the manual (which I know most of us are too busy to do :)).
First, look at the presser foot pressure indicator. You can see the color coding and the dial to adjust the presser foot height is on top of the machine. Simply turn it right and left to raise and lower, but here is the key … no more guessing where the height ends up. The colors on the indicator coordinate with the feed dog position and there is a fabric chart in the manual that you can use as a guide.
The main features I am going to show in this video involve the “pin feeding” that you will find in the feed dog position and the “fabric separator” that is used to join lining to the fabric. This is so easy you won’t believe it, so watch the video and if you want to see my previous post on how to mark and cut faux fur click here. Cheers 🙂 Angela


 Regardless if you are sewing a garment from scratch or doing alterations, this is a fast, professional looking hem and it’s really easy: