How to Sew Silk Lining to Faux Fur Perfectly!
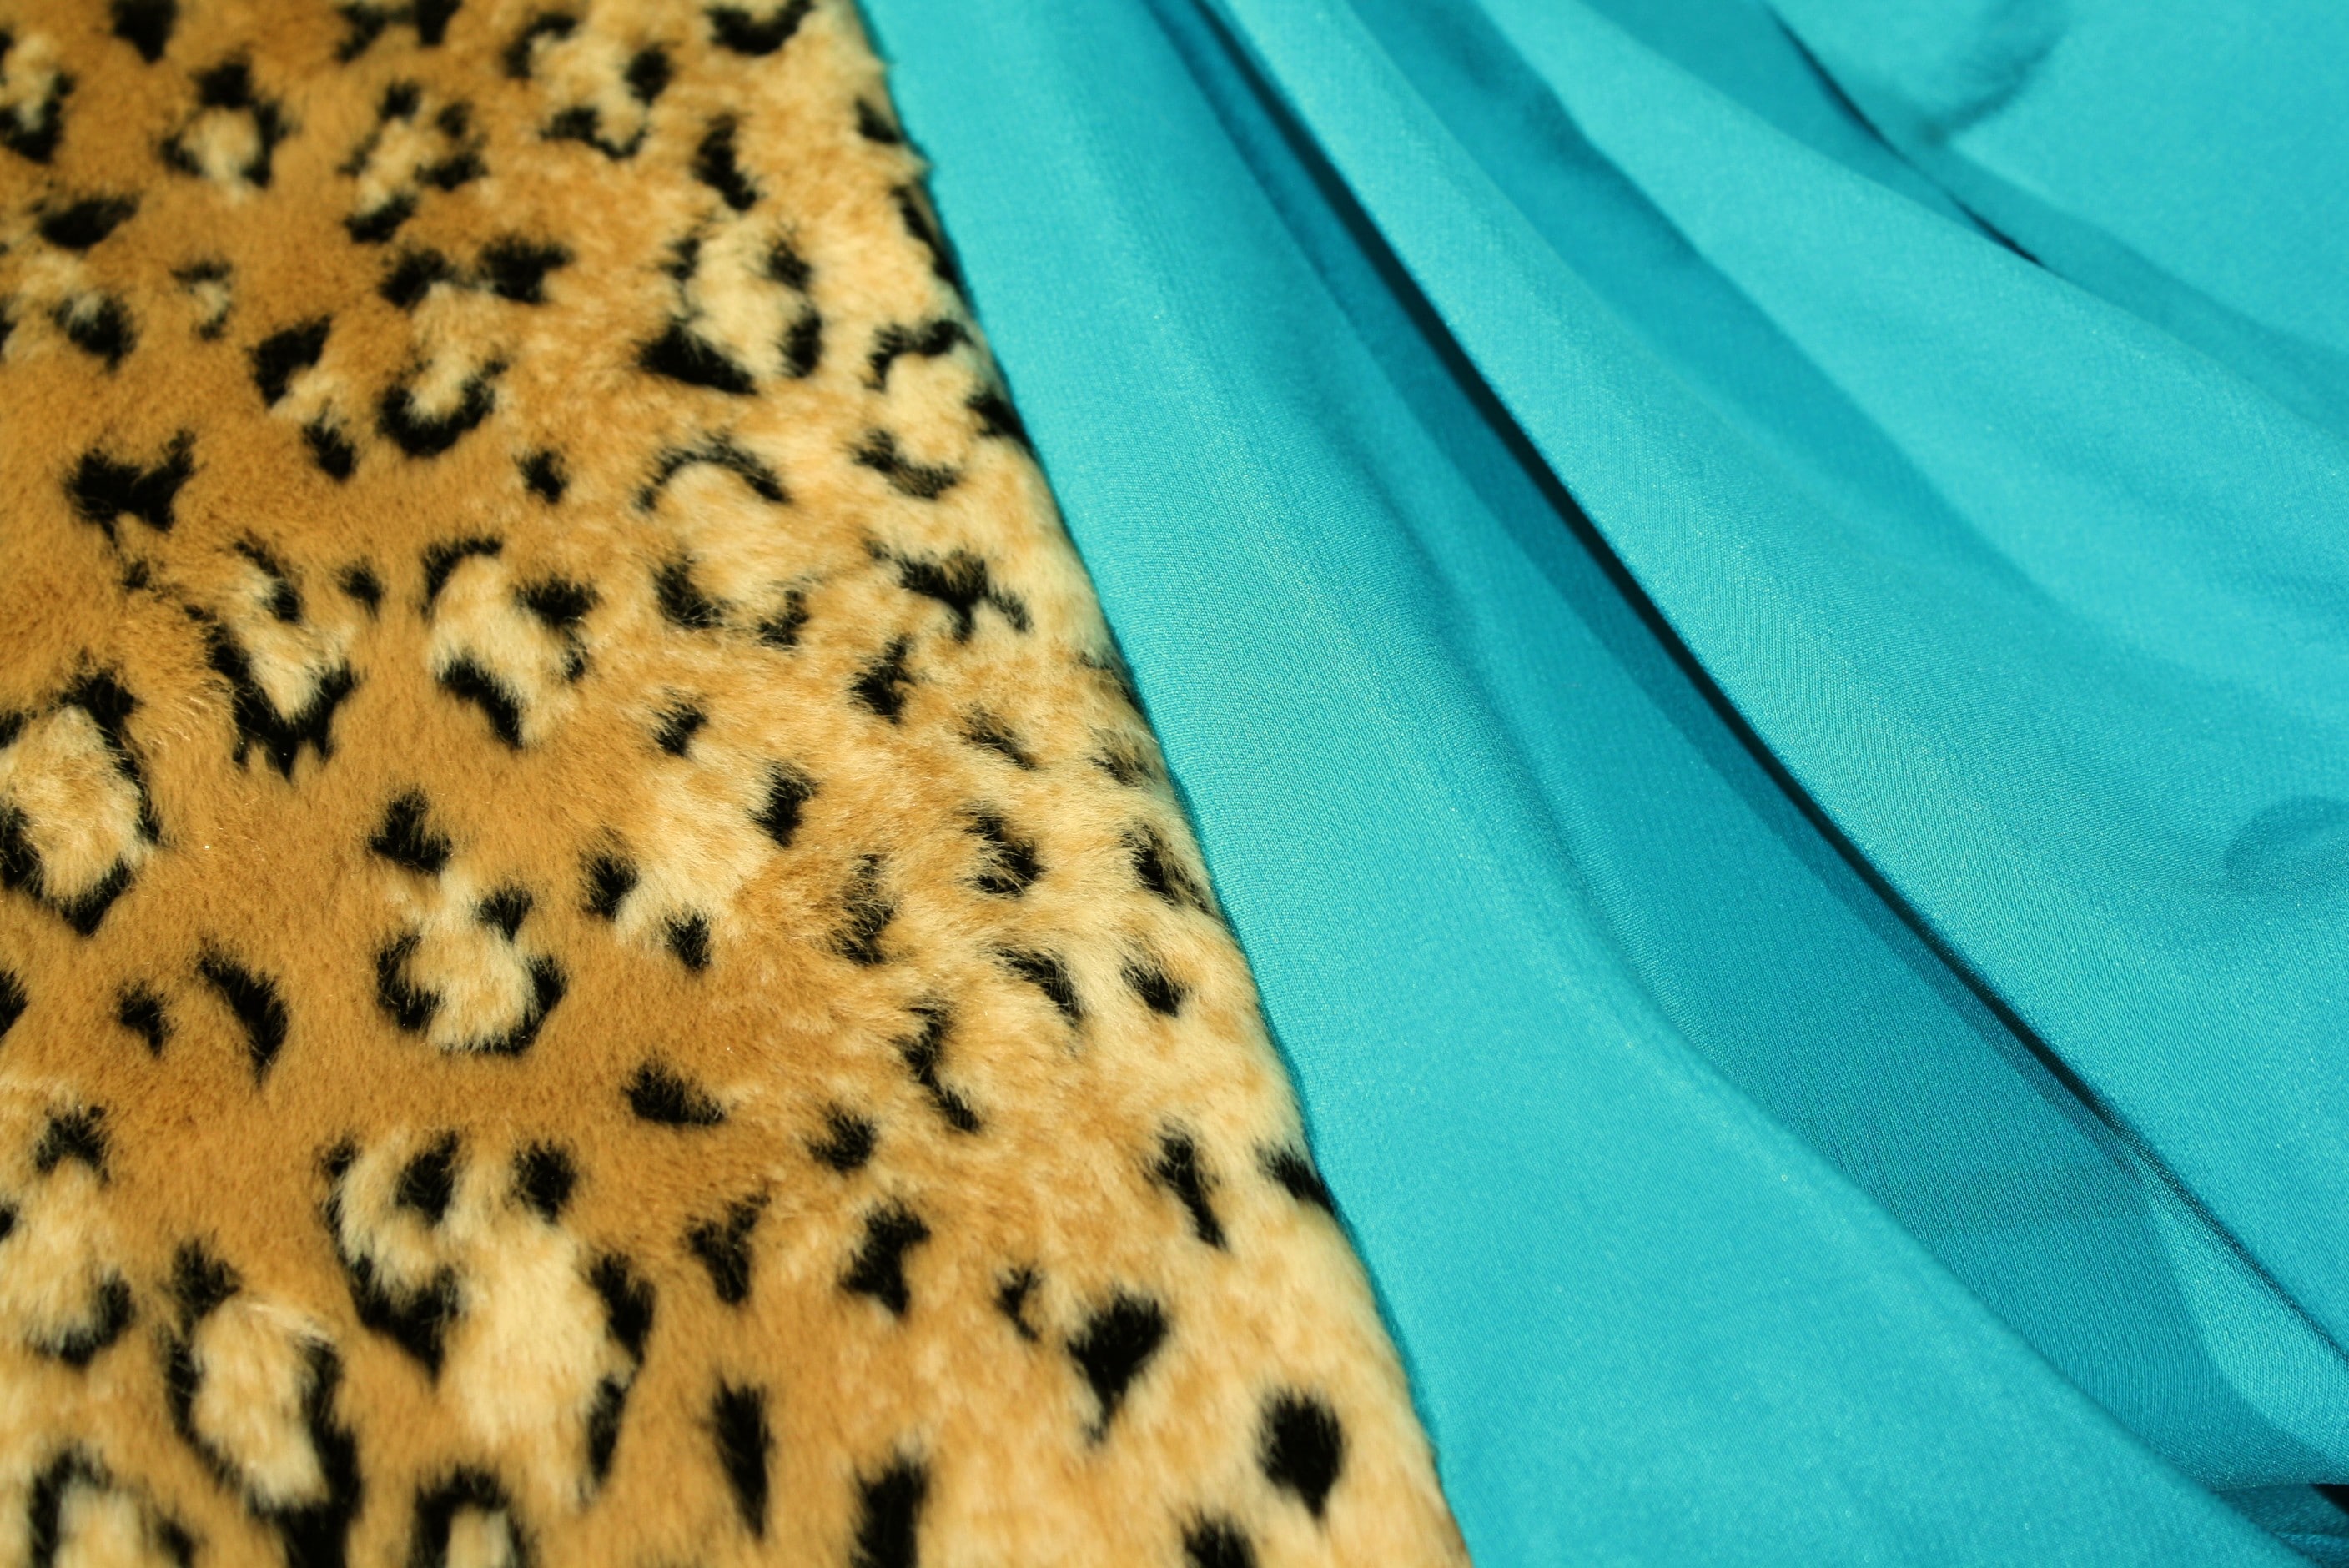
 There is nothing more frustrating than sewing a gorgeous jacket with luxurious fabrics like faux fur, velvet, and leather (to name a few) and when it comes time to attach the lining to the facing, you end up with small puckers and an uneven feed – meaning one layer of the fabric ends up longer than the other. Well, I have great news for those of you that have the Brother PQ1500S.
You have already done the hard work sewing the jacket, why not use a few tools to make sewing the lining a breeze. The PQ1500 comes with an easy way to perfectly adjust your presser foot pressure and feed dog position, it’s color coded! Seriously, this takes all the testing and questioning out of the picture, heck you don’t even need to read the manual (which I know most of us are too busy to do :)).
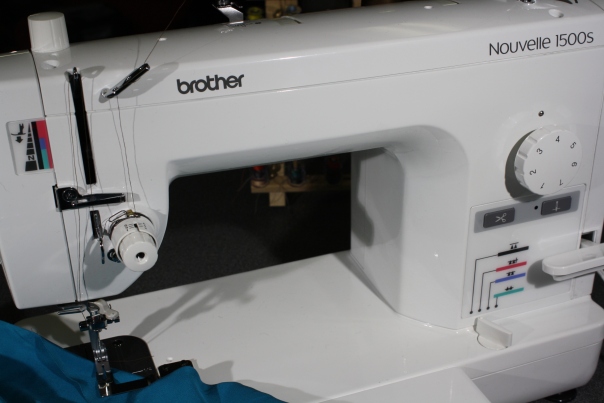
First, look at the presser foot pressure indicator. You can see the color coding and the dial to adjust the presser foot height is on top of the machine. Simply turn it right and left to raise and lower, but here is the key … no more guessing where the height ends up. The colors on the indicator coordinate with the feed dog position and there is a fabric chart in the manual that you can use as a guide.
The main features I am going to show in this video involve the “pin feeding” that you will find in the feed dog position and the “fabric separator” that is used to join lining to the fabric. This is so easy you won’t believe it, so watch the video and if you want to see my previous post on how to mark and cut faux fur click here. Cheers 🙂 Angela
[youtube=http://www.youtube.com/watch?v=XHhfI8DdcRM]