Hope you are all enjoying February, I can hardly believe it’s almost over! I spent last week taping season 5 for It’s Sew Easy TV, despite the cold and snow – we had a successful week. Here is one of my favorite photo’s on set with June Mellinger (Brother) and Christopher Straub (Project Runway). I have to say, he is one talented designer! He even left an autographed handbag for Katie, my ninth grade apprentice. She absolutely adores him and I can’t wait to see her face when she opens her gift 🙂 By the way, that handbag in the photo is fabric he designed. I foresee an order with spoonflower soon.
I have been busy working on some custom garments and my new collection, which I will be sharing over the next few weeks, including launching some new patterns. First, I have to share one of my last gown dilemma’s. The fabric was gorgeous, but challenging to work with … slipper, shiny, textured, get the idea? I was having a heck of a time inserting the back zipper. I couldn’t use a hidden zipper, as I could not find a color to matched the fabric. The problem occurred when I was topstitching around the zipper. I hand basted in the zipper, marked the center back seam with chalk (that was also basted closed), and marked the stitch line with chalk. The fabric really presented a challenge with the texture. Being a total perfectionist, I ripped the topstitching out twice because it just was not straight enough. Then I remembered the Laser Vision Guide on my Brother Dreamweaver XE VM6200D. This worked like a charm! I was able to line up the laser light with center back seam and topstitch perfectly straight, all the way around the zipper. I won’t forget about that handy tool next time. Here is the short video I put together if you want to see more details. Now, back to the cutting table. Enjoy 🙂 xoxo Angela
This is a fun and easy sewing project; sewing fleece texting gloves. You know I can’t resist coming up with a few fun gifts items to sew. How about a pair of texting gloves! I don’t know about you, but I really get annoyed when I have to take off my gloves in order to answer my phone, text, or check an email. Instead of buying gloves and cutting off the fingertips, I decided to whip up a pair of custom gloves. These are easy and fast to sew, not to mention you can customize how tight and tall you want them and not worry about your rings getting in the way. Did I mention they are GREAT for fishing!
1. Measure around your knuckles, this will be the width of your gloves.
2. Measure from your knuckles up your wrist and come up with a length measurement.
3. Chalk mark your stitch lines, making sure to block out the area for your thumb.
4. Stitch and press your seam allowance open.
5. Fold the glove in half so the folded edge is at your knuckles.
6. Hand stitch the thumb hole closed.
7. Serge the raw edge.
That’s it! You can add beading, decorative stitching, embroidery … by the way, if you add embroidery, do so before you sew the gloves together. This is such an easy project. Show everyone how creative you are and post photo’s on my facebook, Instagram, and pinterest of your new gloves. Let me know if you have any questions.
Cheers and stay warm!
Brother™ has provided me with the DreamWeaver XE, but all opinions expressed are entirely my own.
Dark jeans are really in trend this fall so that means distressing with a hammer might not be an option. I have tested the MuVit Digital Dual Feed Foot on the Brother Dreamweaver XE and believe it or not, after sewing over many thick seams there was not one skipped stitch! The only thing I added was a #14 denim jean needle and various thicknesses of denim. This foot is different from a walking foot, not only because it has a rolling belt, but the foot plugs into the sewing machine giving the foot it’s own brain … or something like that. You can then adjust the foot by pressing a few buttons on the sewing machine. I have to say technology is really making sewing fun and easy!
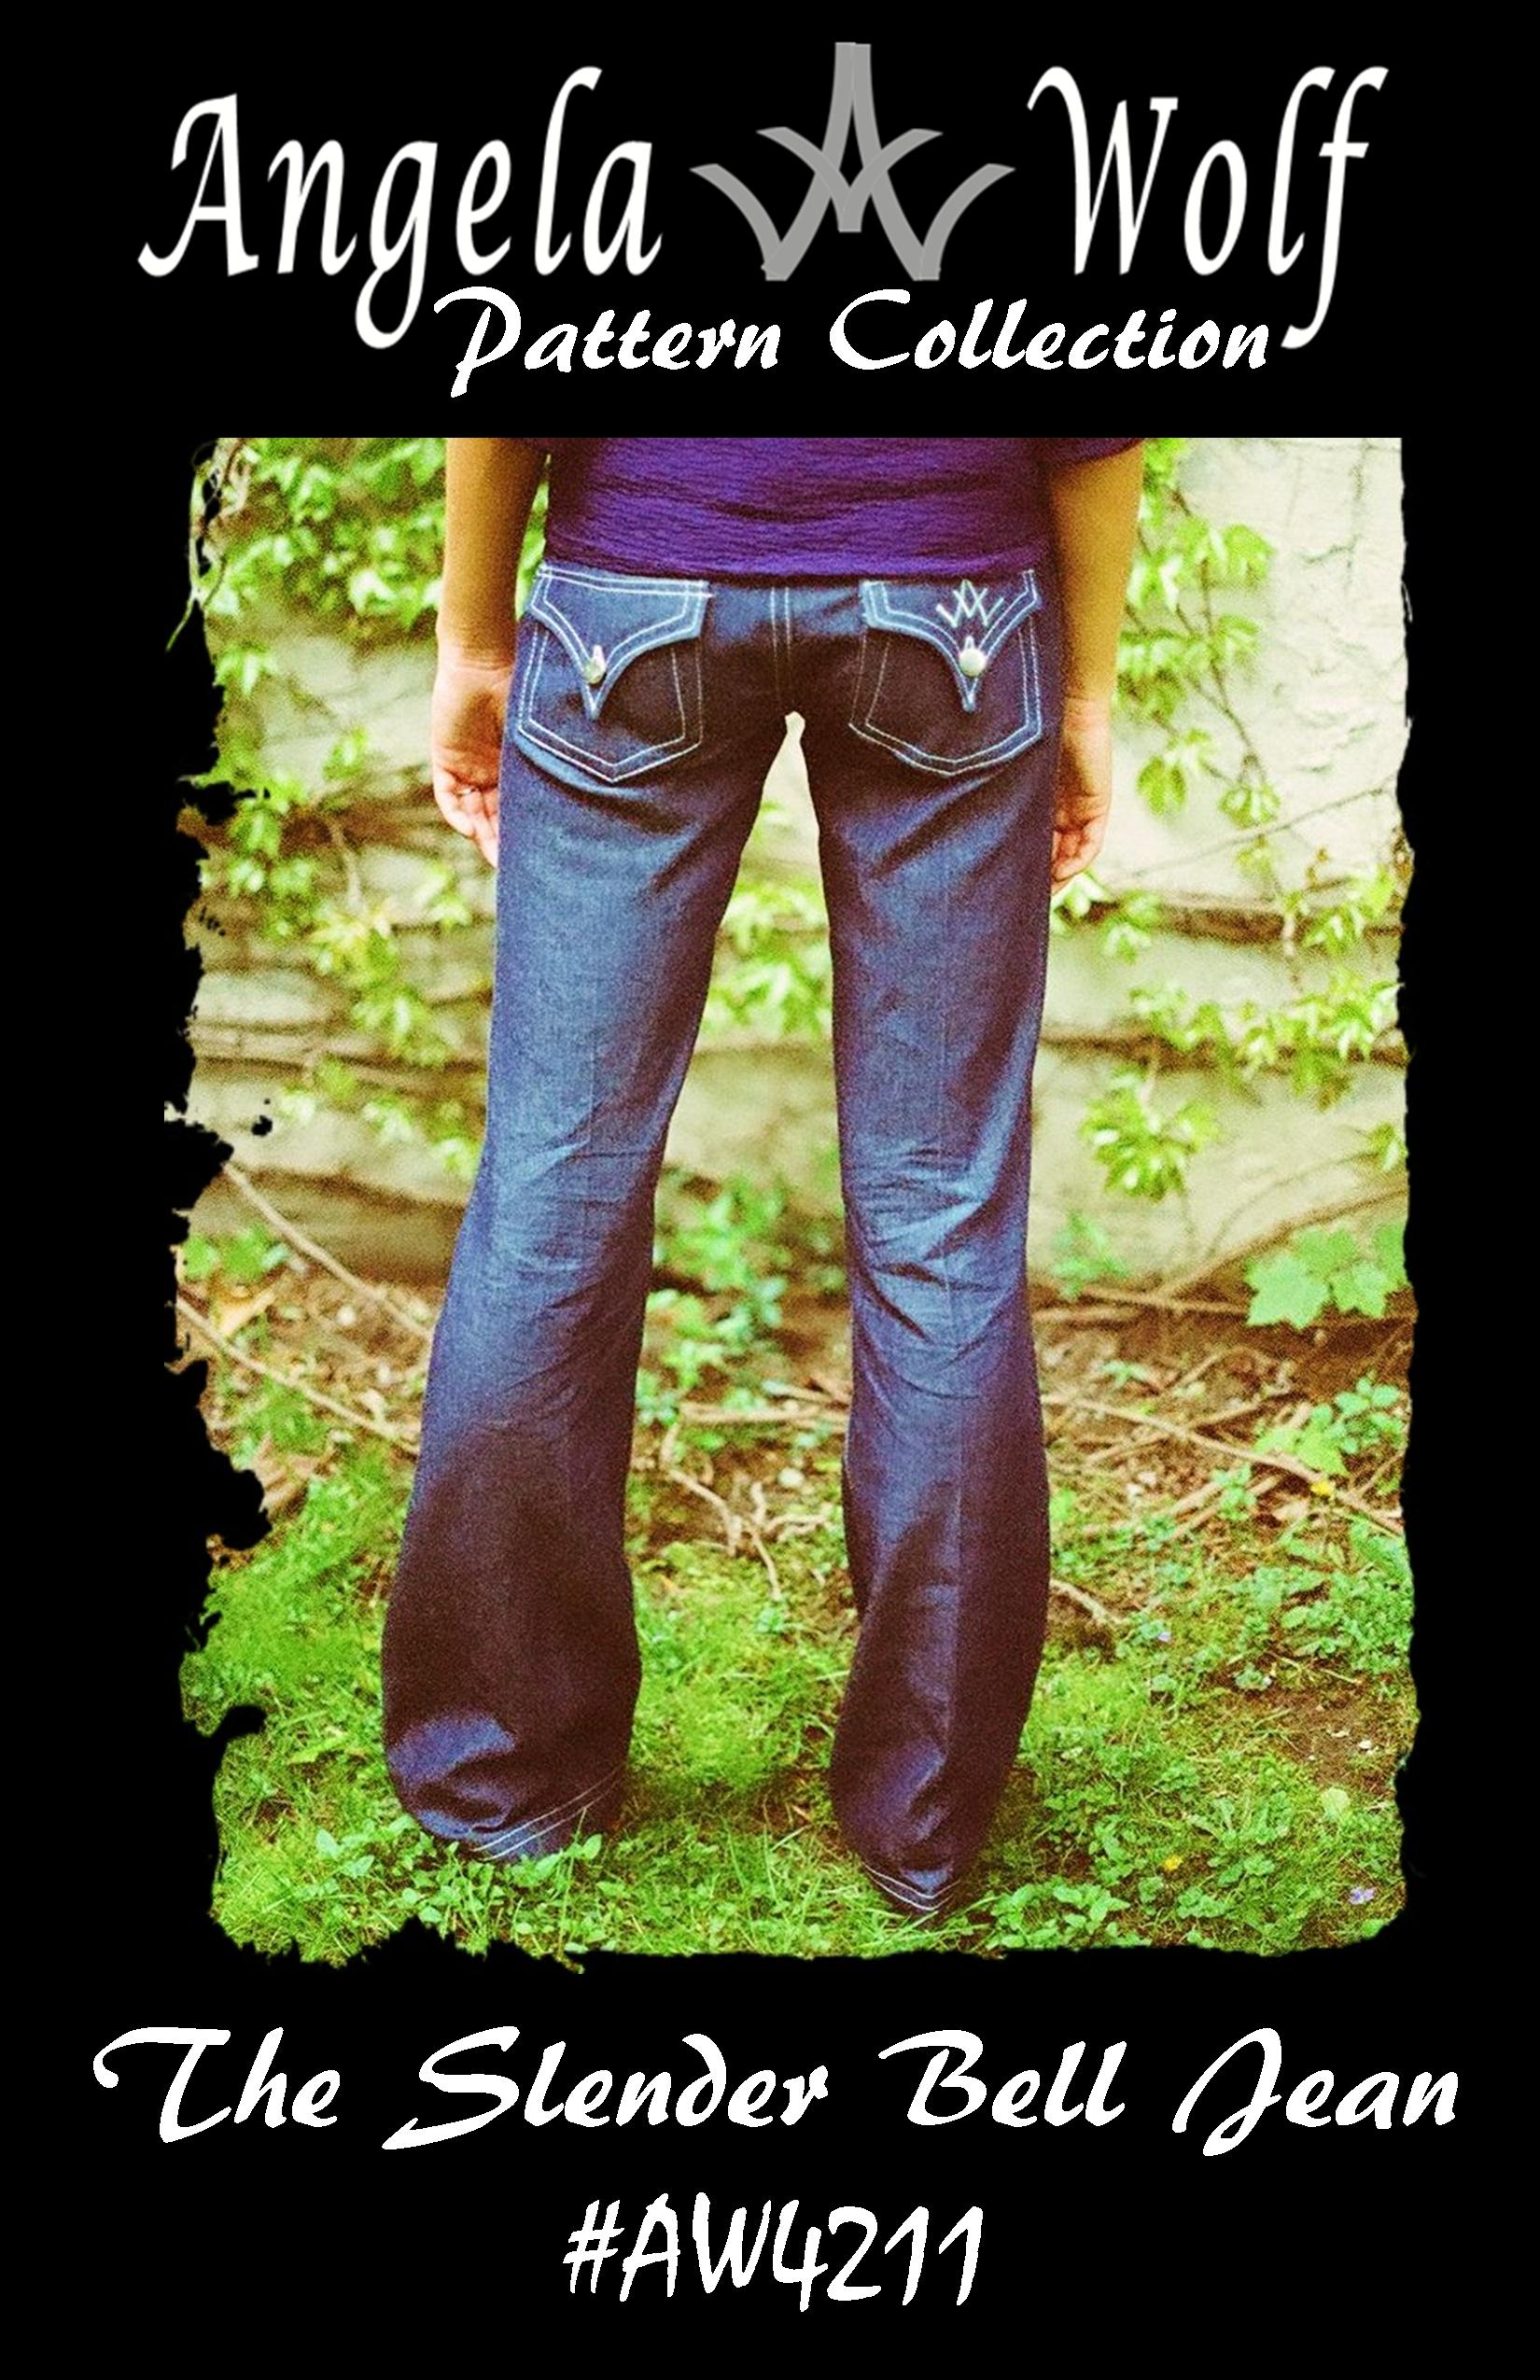
The video below shows you just how smooth this digital dual feed foot works and I even tested it on one of my new jean patterns. Which by the way, I am happy to announce my first two jean patterns are up and available! Both patterns come with detailed sewing instructions in a book format, very easy to follow. The other bonus that comes with both of these jean patterns is a downloadable PDF file, download to your tablet and you can enlarge the photos for detailed viewing. The PDF file offers color photos and details on where to distress the jeans as you sew. My goal is to help you sew jeans that fit perfect and look expensive 🙂 Enjoy and don’t forget about the previous videos on sewing jean pockets if you need a little extra help. Hope you had a great Thanksgiving weekend, lot’s of family, food and shopping on my end. Wait until you see my new shoes (and yes that’s plural!) xoxo Angela
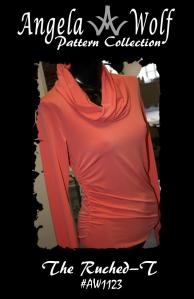
My first pattern The Ruched-T (now available in sizes XXS – 5X and paper or downloadable :))has been out a few months now and I have really enjoyed all the emails and facebook postings from everyone wearing their new tops 🙂 A few of you have asked how I do the ruching and I thought the best way to explain is to just show you. So I have put together a short video and of course I had to show another awesome feature on the Brother Dreamweaver XE VM6200D, the multi function foot controller. This special foot allows you to use your feet to backstitch, cut the thread, put the needle down, etc. and then you can keep your hands on the fabrics while sewing! Wait until you see this one! Anyway, enjoy ruching your tee’s and keep sending me photo’s, I love it 🙂 xoxo Angela
I hope you are all safe from hurricane Sandy and my heart goes out to all those affected. We even experienced severe weather here in Michigan! I made it to the beach yesterday and after getting stuck in the sand with our SUV, I was able to snap a few shots. Unbelievable waves on Lake Michigan, over 20 footers. I think I’ll pass on fishing for a few days 🙂
Lake Michigan during hurricane Sandy …over 20 foot seas!
Now onto sewing …. more specifically topstitching. Topstitching jackets and jeans are not only a designer touch; this has become a main focus in today’s fashion. The more creative the topstitching the more expensive your garment looks. On that note, have you ever finished a great looking jacket only to discover you can’t find a matching color in the thick topstitching thread? Would you like to hem your favorite jeans – again not being able to match the original jean thread color. This video shows you an easy way to solve that problem, using two spools of Coats & Clark polyester thread and a #14 denim jean needle. You will even get a peek at the automatic needle threader on the Brother Dreamweaver XE, yes it even works with 2 threads! Enjoy 🙂
Here is part 2 for finishing off the front of your designer jean pockets. This video will show you how to add a coin pocket, which is totally optional. Sometimes I add a logo instead, just depends what kind of mood I am in 🙂 Of course I have to show off a few other features on the Brother Dreamweaver XE VM6200D, like using the V-Sonic PenPal to determine how wide my zigzag stitch will be – you really have to see it to believe it. Now, I just have to finalize the last of the Angela Wolf Jean Patternsso we can ship them out soon, wish me luck! xoxo Angela
Brother™ has provided me with the DreamWeaver XE, but all opinions expressed are entirely my own
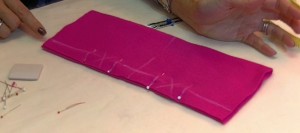
Another quick lesson on sewing designer jeans, sewing the front pockets. I have broken this into two parts as this lesson will cover attaching the silk charmeuse lining and topstitching the pocket edge. The next lesson shows how to add a coin pocket and closing up the lining. To get started you will need your front jean pieces and the pocket lining. You will usually find cotton as the fabric for the pocket lining, but I prefer to use something a little more luxurious, like silk charmeuse. Because the silk is so thin you can’t see the pockets through the outside of the jean, not to mention the fabric feels awesome against the skin.
Again, experimenting with some of the new features on my Brother Dreamweaver XE VM6200Dstitching this pocket is painless. First off, look at the size of the new “J” foot. (The picture has the original foot alongside the new foot). The longer length really makes a difference when sewing across layers of fabric. The foot glides across humps, thicker seams, even uneven edges as the pocket we will topstitch. I call this a BIG plus!
Onto sewing the pockets … pin your silk charmeuse lining to the denim fabric along the curve of your pocket. You can stitch from either side, I chose to stitch with the denim on the top so you can see the sew straight laser vision guide a little better. I have aligned the laser with the raw edge of the fabric, allowing me to sew the entire pocket curve with a precise seam allowance.
Press the Pocket Lining … Turn the lining to the inside of the pocket and steam press, using the tailor’s clapper to permanently hold that crease (shown on video below).
Topstitch the Pocket Edge … Again, utilizing the laser light to make sure my first topstitch line is perfectly placed 1/8″ from the edge of the pocket curve. Then I move the laser light to align with the previous topstitch line, but here is a new one for you. I am able to use the v-sonic pen pal to touch where I want the laser light to move to. You have to check out the video below to get the full visual of this unique feature, but simply put … engage the pen pal, touch the bed of the sewing machine where you want the laser light to shine, and hit OK. That’s it! Just imagine how easy sewing straight rows of topstitching will be 🙂
I was thrilled to take part in preview of the new V-series sewing machines from Brother. The three new machines in this new V-series offer new technology that can really make your sewing and embroidery fun and easy … sew straight laser vision guide, v-sonic pen pal, drop light embroidery placement, just to name a few.
Since my Angela Wolf Jean Pattern’s are ready to launch in October, I thought it would be fun to put together some blog posts sewing my jeans to help you follow along and brag about the new Brother Dreamweaver XE VM6200D. This machine just came out so if you are thinking of picking up a new machine, you have to check this one out.
So, I have to tell you about this sew straight laser vision light. When I heard this, I really couldn’t imagine how this could work. I sew all the time, how on earth can this help me sew a straight line? First off, if you need help sewing a straight line – this feature is incredible! For me, I usually use the foot or guide on the plate to sew straight. I have to admit, after using the laser light for an entire day I noticed my eyes felt better (from not staring) and I was able to sit up straighter, instead of leaning over the machine. I know your thinking, go buy glasses 🙂
Anyway, this is how this works. The laser is shown on the main sewing screen. Simply touch the icon and you are given a range of 10.5mm to adjust the laser position. In the pictures below you can see the laser light on my fingers. The lighting on this machine is so bright (perfect for sewing black fabric), I had to lower the light level to less than half to take this picture.
Brother™ has provided me with the DreamWeaverTM XE, but all opinions expressed are entirely my own.
I can’t believe it, but my first pattern is finished and printed! What an adventure this has been. From a fashion designer perspective, I typically design a garment and have it made in a range of sizes … meaning I don’t have to supply directions with illustrations :). Knowing I can’t be in your sewing room, I wanted to guide you through every step in sewing a professional looking garment with a tutorial booklet. So, I decided to ask my worst critic to review the new pattern format since he seems to be the one always sitting on my laptop keyboard, sewing machine, and papers.
He loves the spiral bound direction booklet that accompanies every pattern, great to chew on … I chose this layout because it’s perfect to sit next to your sewing machine to follow along and take notes.
Tyler analyzed the directions and is happy to see detailed illustrations and designer sewing tips, now anyone can have a professional looking knit top in less than an hour with these easy to follow directions. If you’re a beginner sewer there are extra sewing tips just for you. If you are an advanced sewer, the booklet is laid out in a fashion that you can quickly skip ahead to the directions that you need. Another great feature that will be available for all the patterns (coming in November) is a special area on the website for fitting with video’s and tutorials to help guide you through step by step.
This particular pattern has many design options including three sleeve lengths, ruching options, and various collars. Sizing for the Angela Wolf Pattern Collection is based on the ready-to-wear clothing line so make sure to check the body measurements, this top is currently available in Misses size XXS – XL (women’s sizes will be out in January). Checkout the website for more details.
Last, but not least, is the quality of paper the pattern is printed on. I can’t tell you how many of my tissue patterns Tyler has shredded into pieces so I had to find an alternative. These patterns are printed on quality paper so not only will they not shred, they hardly wrinkle … you can even write on them and keep notes for fitting. Because the patterns are printed on one continuous sheet, you can even request that the pattern be shipped in a tube, then you won’t even have fold creases.
“Love the patterns and the fit is awesome, so the big question is how many more patterns are coming? This took forever and you are neglecting my brushing not to mention we haven’t played fetch in ages!” … Tyler
Did I mention my cat fetches a ball, rolls over, and begs for food – totally not normal! Well, the jean patterns are almost finished, followed by the skirts, and then onto the jackets …
Is your local PBS a little behind the times and not yet airing It’s Sew Easy? No worries, every week It’s Sew Easy will show one of their weekly episodes online. Totally free of charge and if you register on the website there are even additional tutorials you can follow. A new episode starts every Friday at noon and today starts Episode 113. Rebecca Cornell and Christy Howden open the show with felting techniques for a fun toy. Next, Tricia Waddell and Katrina Loving have a mom friendly tip for reinforcing seams for heavy wear on stuffed animals and clothing. Then, Sheree Schattenmann creates a simple duvet for a baby’s room. Angela Wolf wraps up the show and the first season of It’s Sew Easy showing how to distress jeans for a fashion look suitable for kids, teens, and moms.


 Hope you are all enjoying February, I can hardly believe it’s almost over! I spent last week taping season 5 for It’s Sew Easy TV, despite the cold and snow – we had a successful week. Here is one of my favorite photo’s on set with June Mellinger (Brother) and Christopher Straub (Project Runway). I have to say, he is one talented designer! He even left an autographed handbag for Katie, my ninth grade apprentice. She absolutely adores him and I can’t wait to see her face when she opens her gift 🙂 By the way, that handbag in the photo is fabric he designed. I foresee an order with spoonflower soon.


 lity of paper the pattern is printed on. I can’t tell you how many of my tissue patterns Tyler has shredded into pieces so I had to find an alternative. These patterns are printed on quality paper so not only will they not shred, they hardly wrinkle … you can even write on them and keep notes for fitting. Because the patterns are printed on one continuous sheet, you can even request that the pattern be shipped in a tube, then you won’t even have fold creases.


