Episode 102 Behind the Scenes LIVE talking Halloween DIY

Episode 102 Behind the Scenes LIVE talking Halloween DIY

Episode 102 Behind the Scenes LIVE talking Halloween DIY costumes and decorations and more Trick or Treat Teresa is joining to share life with 3 under 2 Julie will share a creative pumpkin decoration and more … Get ready for some laughs!
Coupon code for the week: FALL20
Cheers,
Angela

1802 Sewing News LIVE

1802 Sewing News LIVE

1802 Sewing News LIVE with Angela Wolf talking with special guest Laura Pifer Trash to Couture talking fashion blogging and quick Halloween costumes Joanne Banko calls in to discuss her project of the month Houston Quilt Festival

Episode 96 Behind the Scenes

Episode 96 Behind the Scenes

Episode 96 Behind the Scenes LIVE with Angela Wolf Let’s talk fabric storage take a close up look at thew new Scan-n-Cut, sewing news update and live Q&A
See you soon,
Angela

Episode 95 Behind the Scenes

Episode 95 Behind the Scenes

Episode 95 Behind the Scenes LIVE with Angela Wolf Let’s take a closer look at Gaby’s sewing room and organizing tips! The video was a little blurry last week, so Gaby has sent me photo’s of her entire sewing room!!! She has such great organizing tips sewing news update and live Q&A
See you soon,
Angela

DIY: Refashion Jeans with Trim

DIY: Refashion Jeans with Trim

Refashion Jeans with Trim 

You might have noticed some of the fashions of the late 60’s and 70’s making a comeback on the store shelves, from floral fabrics to embellished jeans. How about adding crocheted ribbon trim along the outside leg!  This is so easy!!!

Supplies:

  • Jeans
  • Measuring tape
  • Pins
  • Ribbon or trim (check that the trim is washable)

PREPPING

  1. Measure the outside of the jean leg from the bottom edge of the waistband to the hem.

2. Add 6 inches to the outside leg measurement and cut 2 pieces of trim that exact length.

3. Starting at the edge of the waistband, center the trim with the outside leg seam. Fold under the raw edge of the trim about ½” and pin.

4. Continue to pin the trim along the outside leg seam. Be sure to look for metal rivets or other hardware! Here I have a rive and I will make sure to mark this spot as to not break the sewing machine needle.

5. Pin the ribbon/ trim all the way to the hemline. If you plan on folding up the jeans, measure 4 inches below the hemline and cut the trim.  If you are not going to fold up the jean hem, measure 2 inches and cut off any excess ribbon.

6. Turn the jeans inside out. Center the ribbon on the seam allowance, fold under the raw edge ½” and pin in place.

7. Follow these steps on both outside leg seams.


SEWING

Depending on the style and size of the jeans, it can be challenging sewing all the way down to the narrow hemline.  To make is easier we are going to utilize the sewing sideways feature!

8. Set up the machine for sewing a straight stitch and move the needle all the way to the far-right position. Slide the jeans under the foot starting at the waistline. To read the full blog post, head over to my post as a Brother Expert Consultant on the Brother Stitching Social.

Looking for more ideas on refashioning jeans, check out my blog post on embellishing jeans with embroidery.Be sure to share photos on the social side #angelawolf – I always love to see what you are working on!

Cheers,

<iframe style="width:120px;height:240px;" marginwidth="0" marginheight="0" scrolling="no" frameborder="0" src="//ws-na.amazon-adsystem.com/widgets/q?ServiceVersion=20070822&OneJS=1&Operation=GetAdHtml&MarketPlace=US&source=ss&ref=as_ss_li_til&ad_type=product_link&tracking_id=angel0df-20&language=en_US&marketplace=amazon®ion=US&placement=B071Z2SX53&asins=B071Z2SX53&linkId=34a5a3fa8e0e9521990c5e781b560157&show_border=true&link_opens_in_new_window=true"></iframe>
<iframe style="width:120px;height:240px;" marginwidth="0" marginheight="0" scrolling="no" frameborder="0" src="//ws-na.amazon-adsystem.com/widgets/q?ServiceVersion=20070822&OneJS=1&Operation=GetAdHtml&MarketPlace=US&source=ss&ref=as_ss_li_til&ad_type=product_link&tracking_id=angel0df-20&language=en_US&marketplace=amazon®ion=US&placement=B07DCVHH5Z&asins=B07DCVHH5Z&linkId=c9d70b3a4f4346aad36d9f2bd43b7210&show_border=true&link_opens_in_new_window=true"></iframe>
<a target="_blank" href="https://shareasale.com/r.cfm?b=1173404&u=1586241&m=29190&urllink=&afftrack="><img src="https://static.shareasale.com/image/29190/300x2509.jpg" border="0" alt="FREE 7 Day Bluprint Trial at Craftsy.com" /></a>

Vlog 116 Behind the Scenes

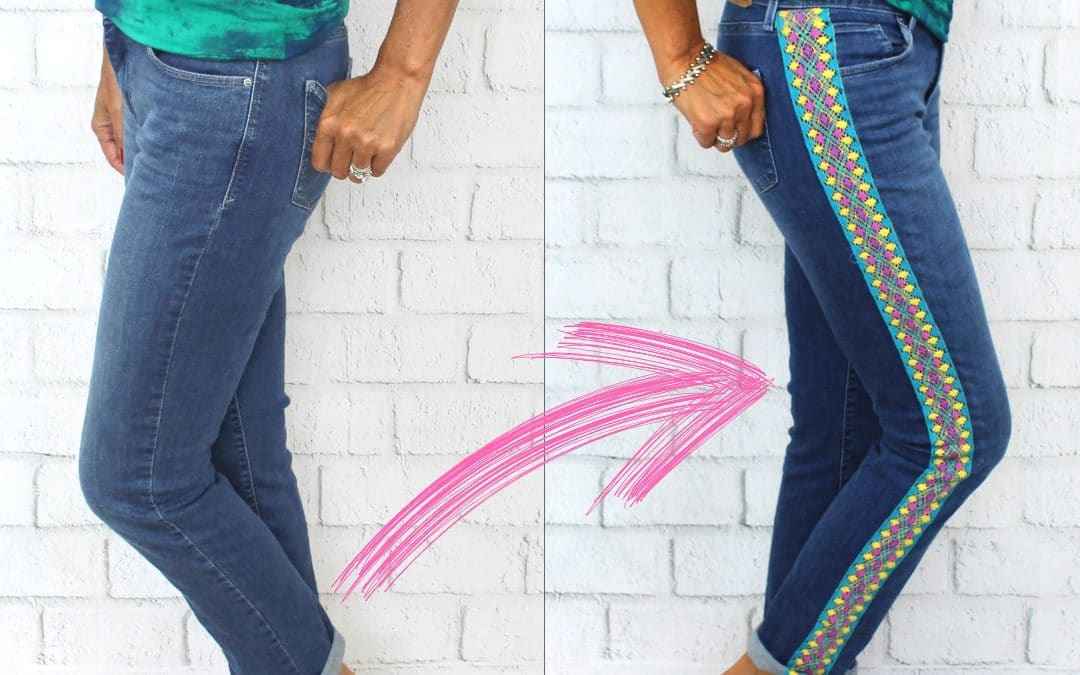
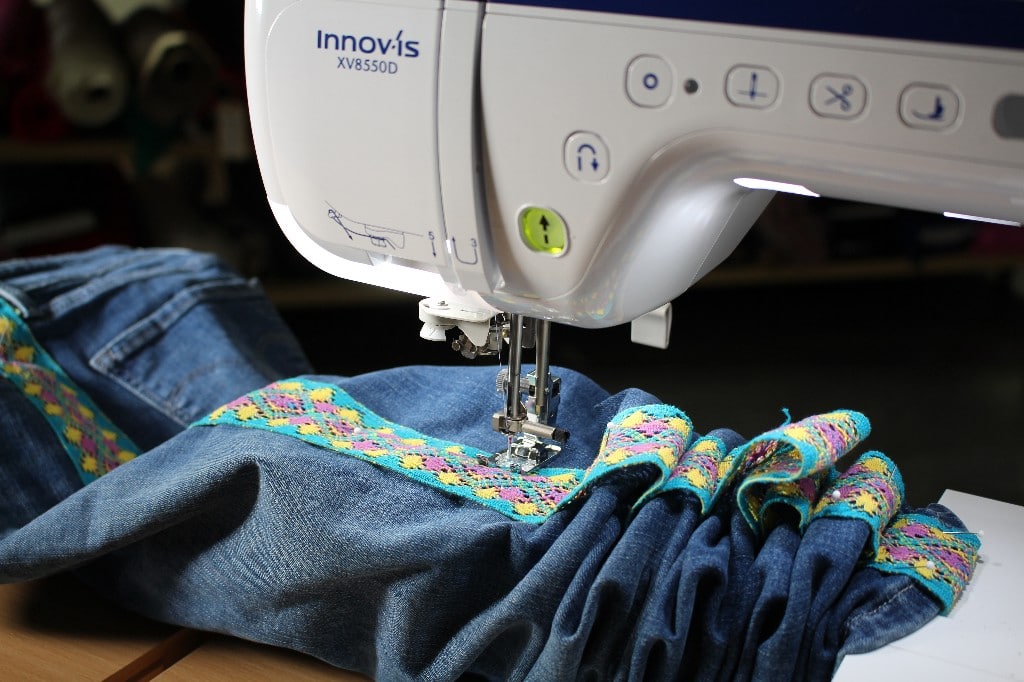
Vlog 117 Behind the Scenes with Angela Wolf Hi all! If you are watching this video, then I am in sky on my way to Laura's Sewing shop in Palm Beach! Here is a new episode of It's Sew Easy with a tutorial on sewing a tank or cami. You will see how to add the adjustable...
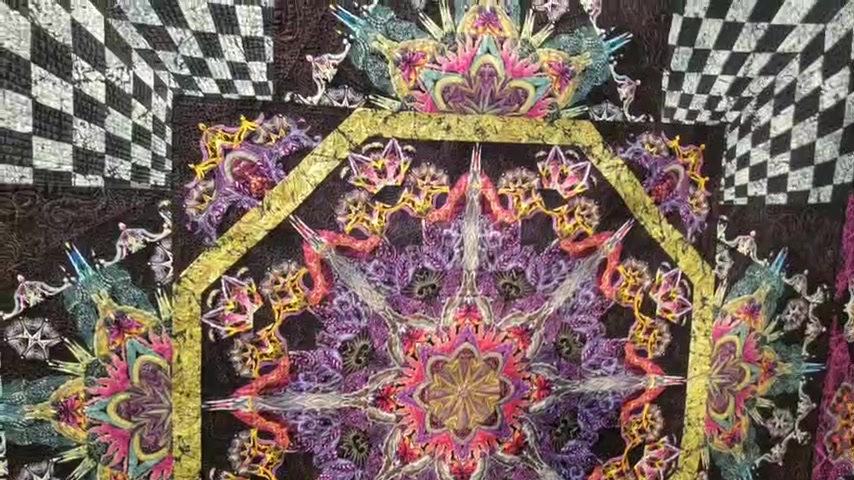
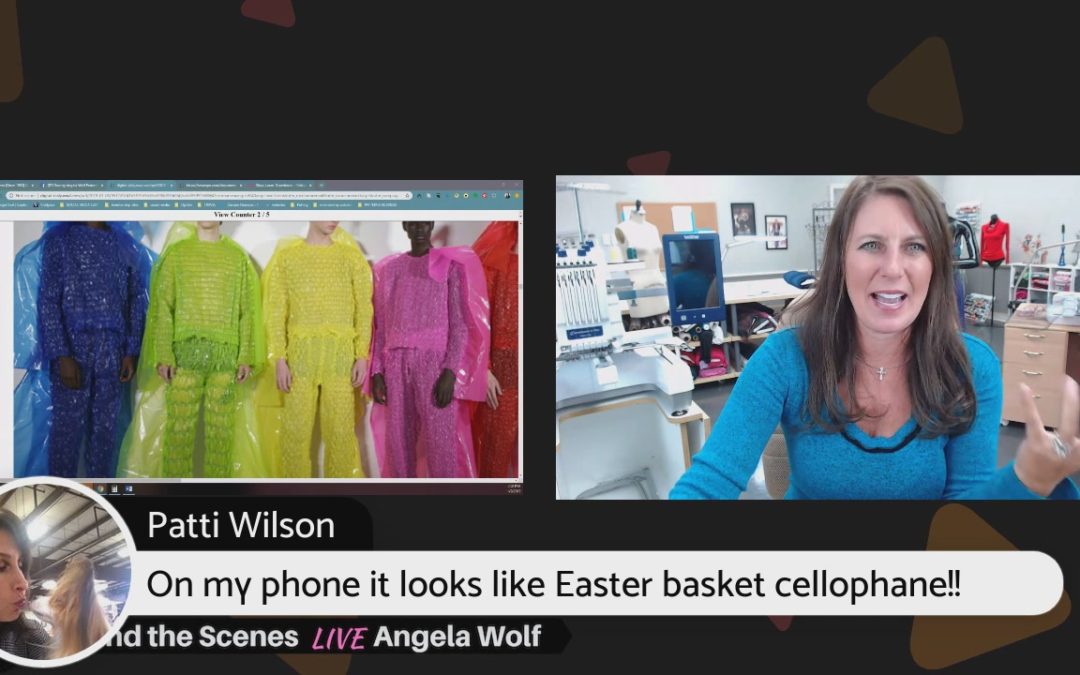
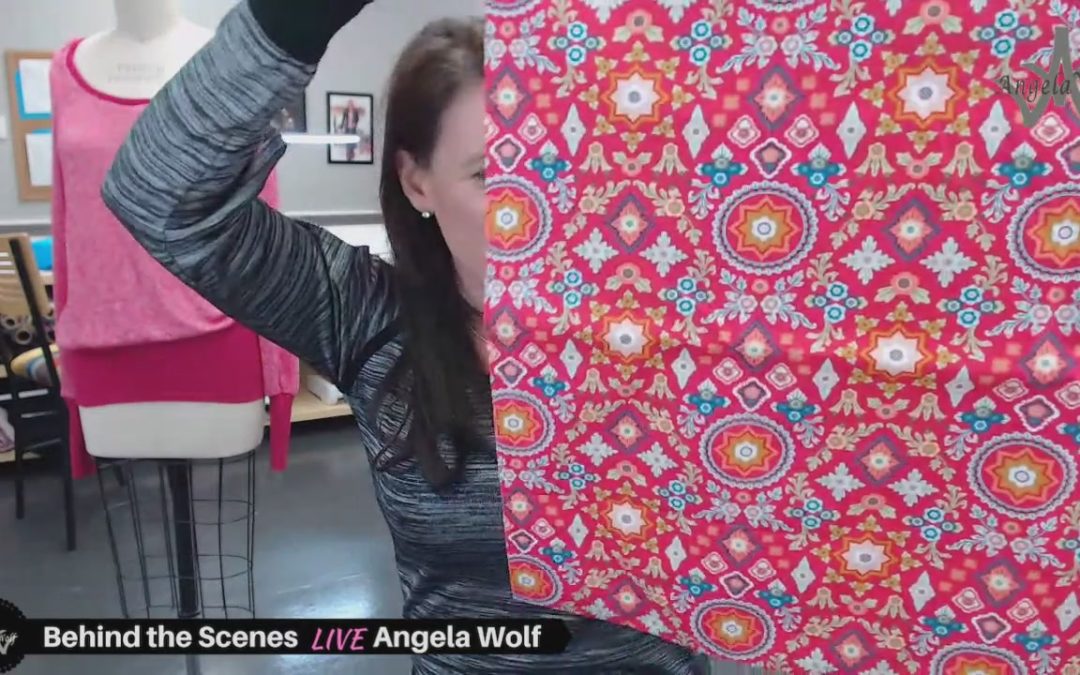
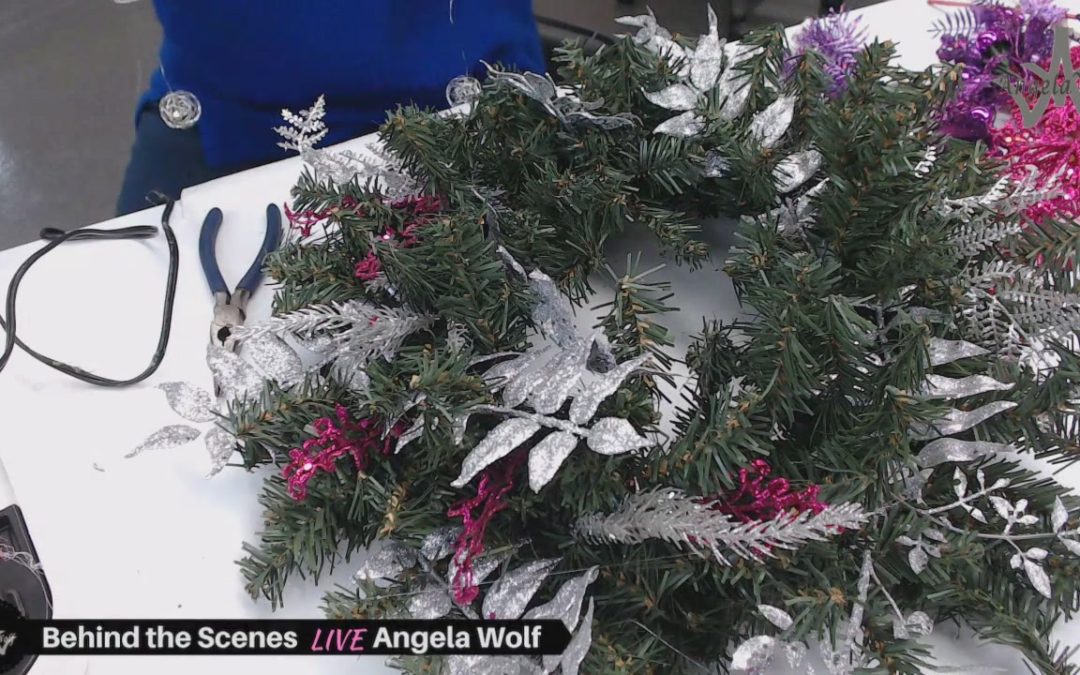
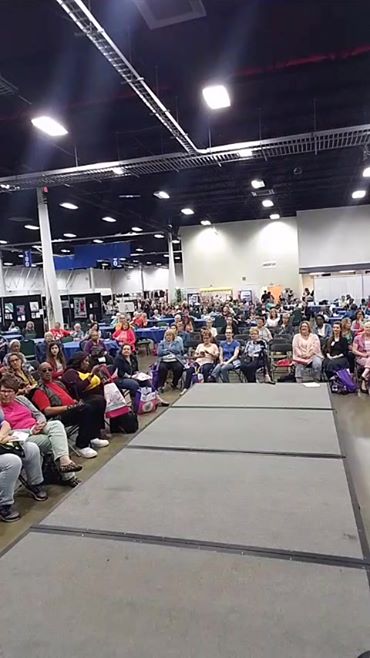
Vlog 116 Behind the Scenes

Vlog 116 Behind the Scenes

Vlog 116 Behind the Scenes with Angela Wolf back in the studio talking Expo's, Events, and getting organized with a new multi-needle @hornofamerica embroidery cabinet from SewingMachine.com. First up, meet Katie from the Sewing & Stitchery Expo in Puyallup - she will...

Birthday Week Sewing Marathon!!!

Birthday Week Sewing Marathon!!!

Episode 104 Behind the Scenes LIVE ? Houston Quilt Festival Recap, Tutorial on using the Projector for Embroidery, Announcing New Events in 2019 and Getting Ready for Original Sewing & Quilt Expo in Novi ? See you soon! xoxo AngelaLaunching Birthday Week Sewing...

Episode 94 Behind the Scenes LIVE with Angela Wolf

Episode 94 Behind the Scenes LIVE with Angela Wolf

Episode 94 Behind the Scenes LIVE with Angela Wolf Special guest Gabby shows off her sewing space and shares sewing room tips and tricks for organizing! Then take a closer look at the Luminaire, which I am unboxing as we speak
See you soon!
Angela

Pin It on Pinterest