Product Review – Hug Snug Seam Binding for Hemming

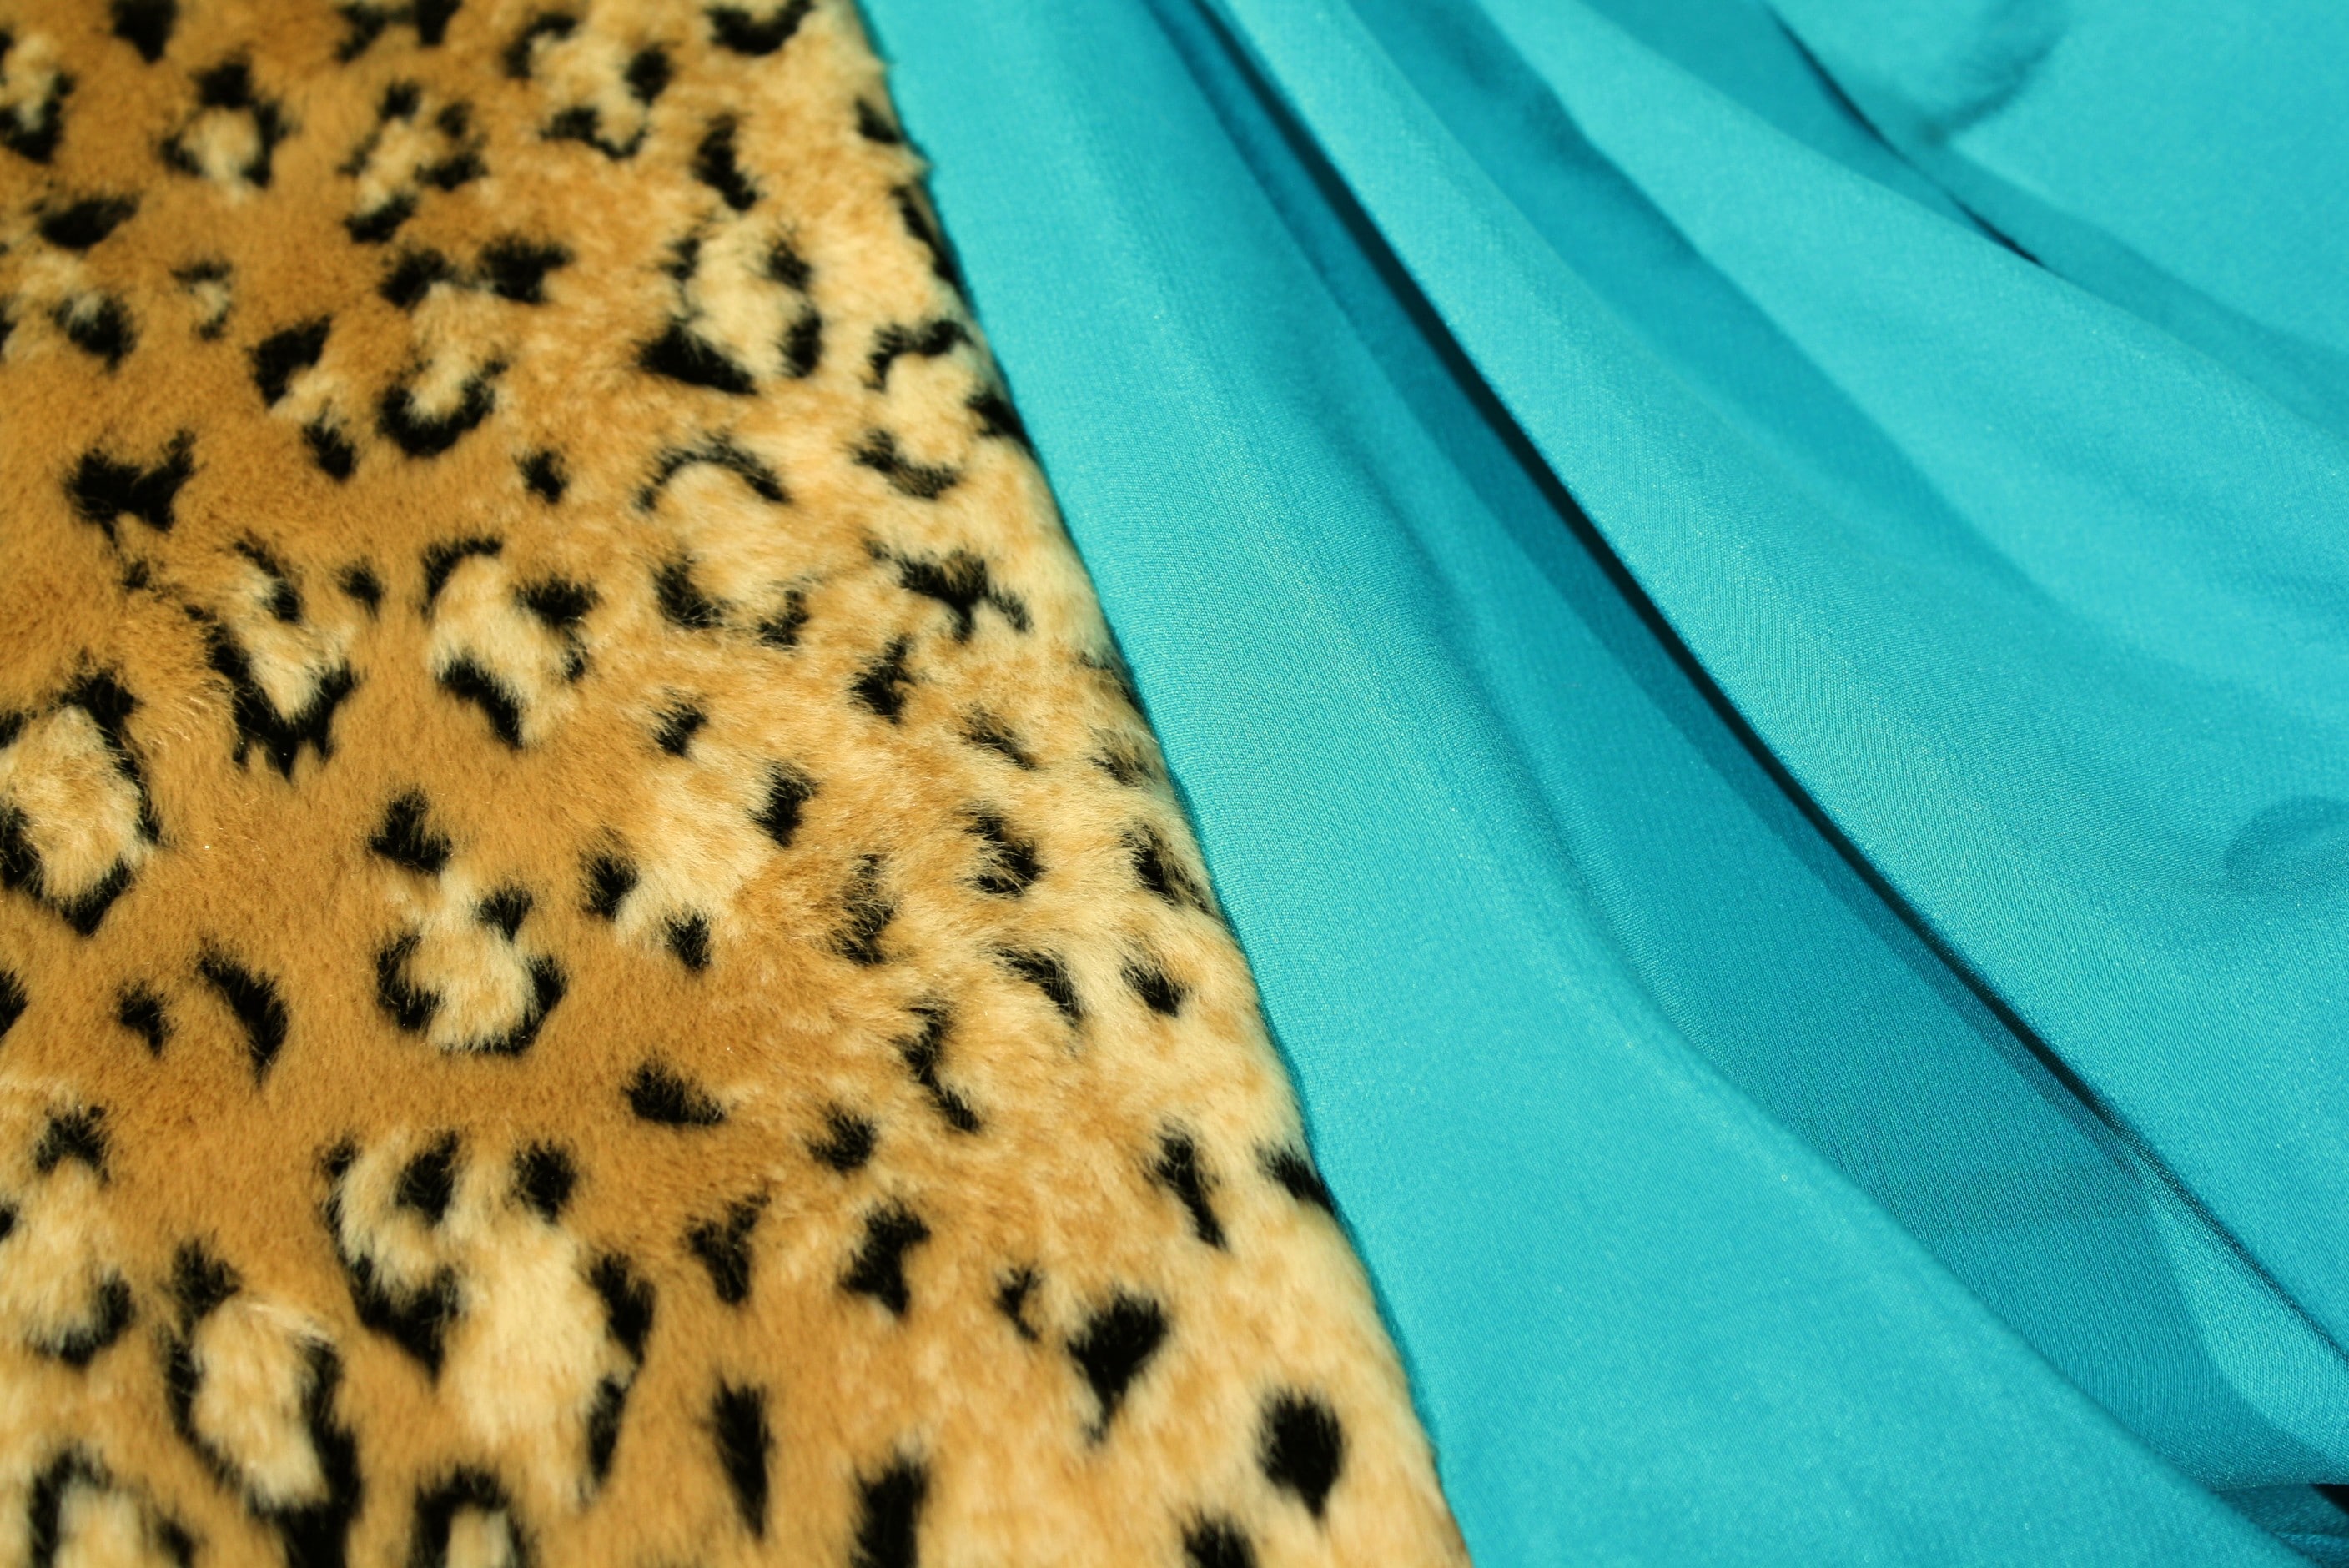
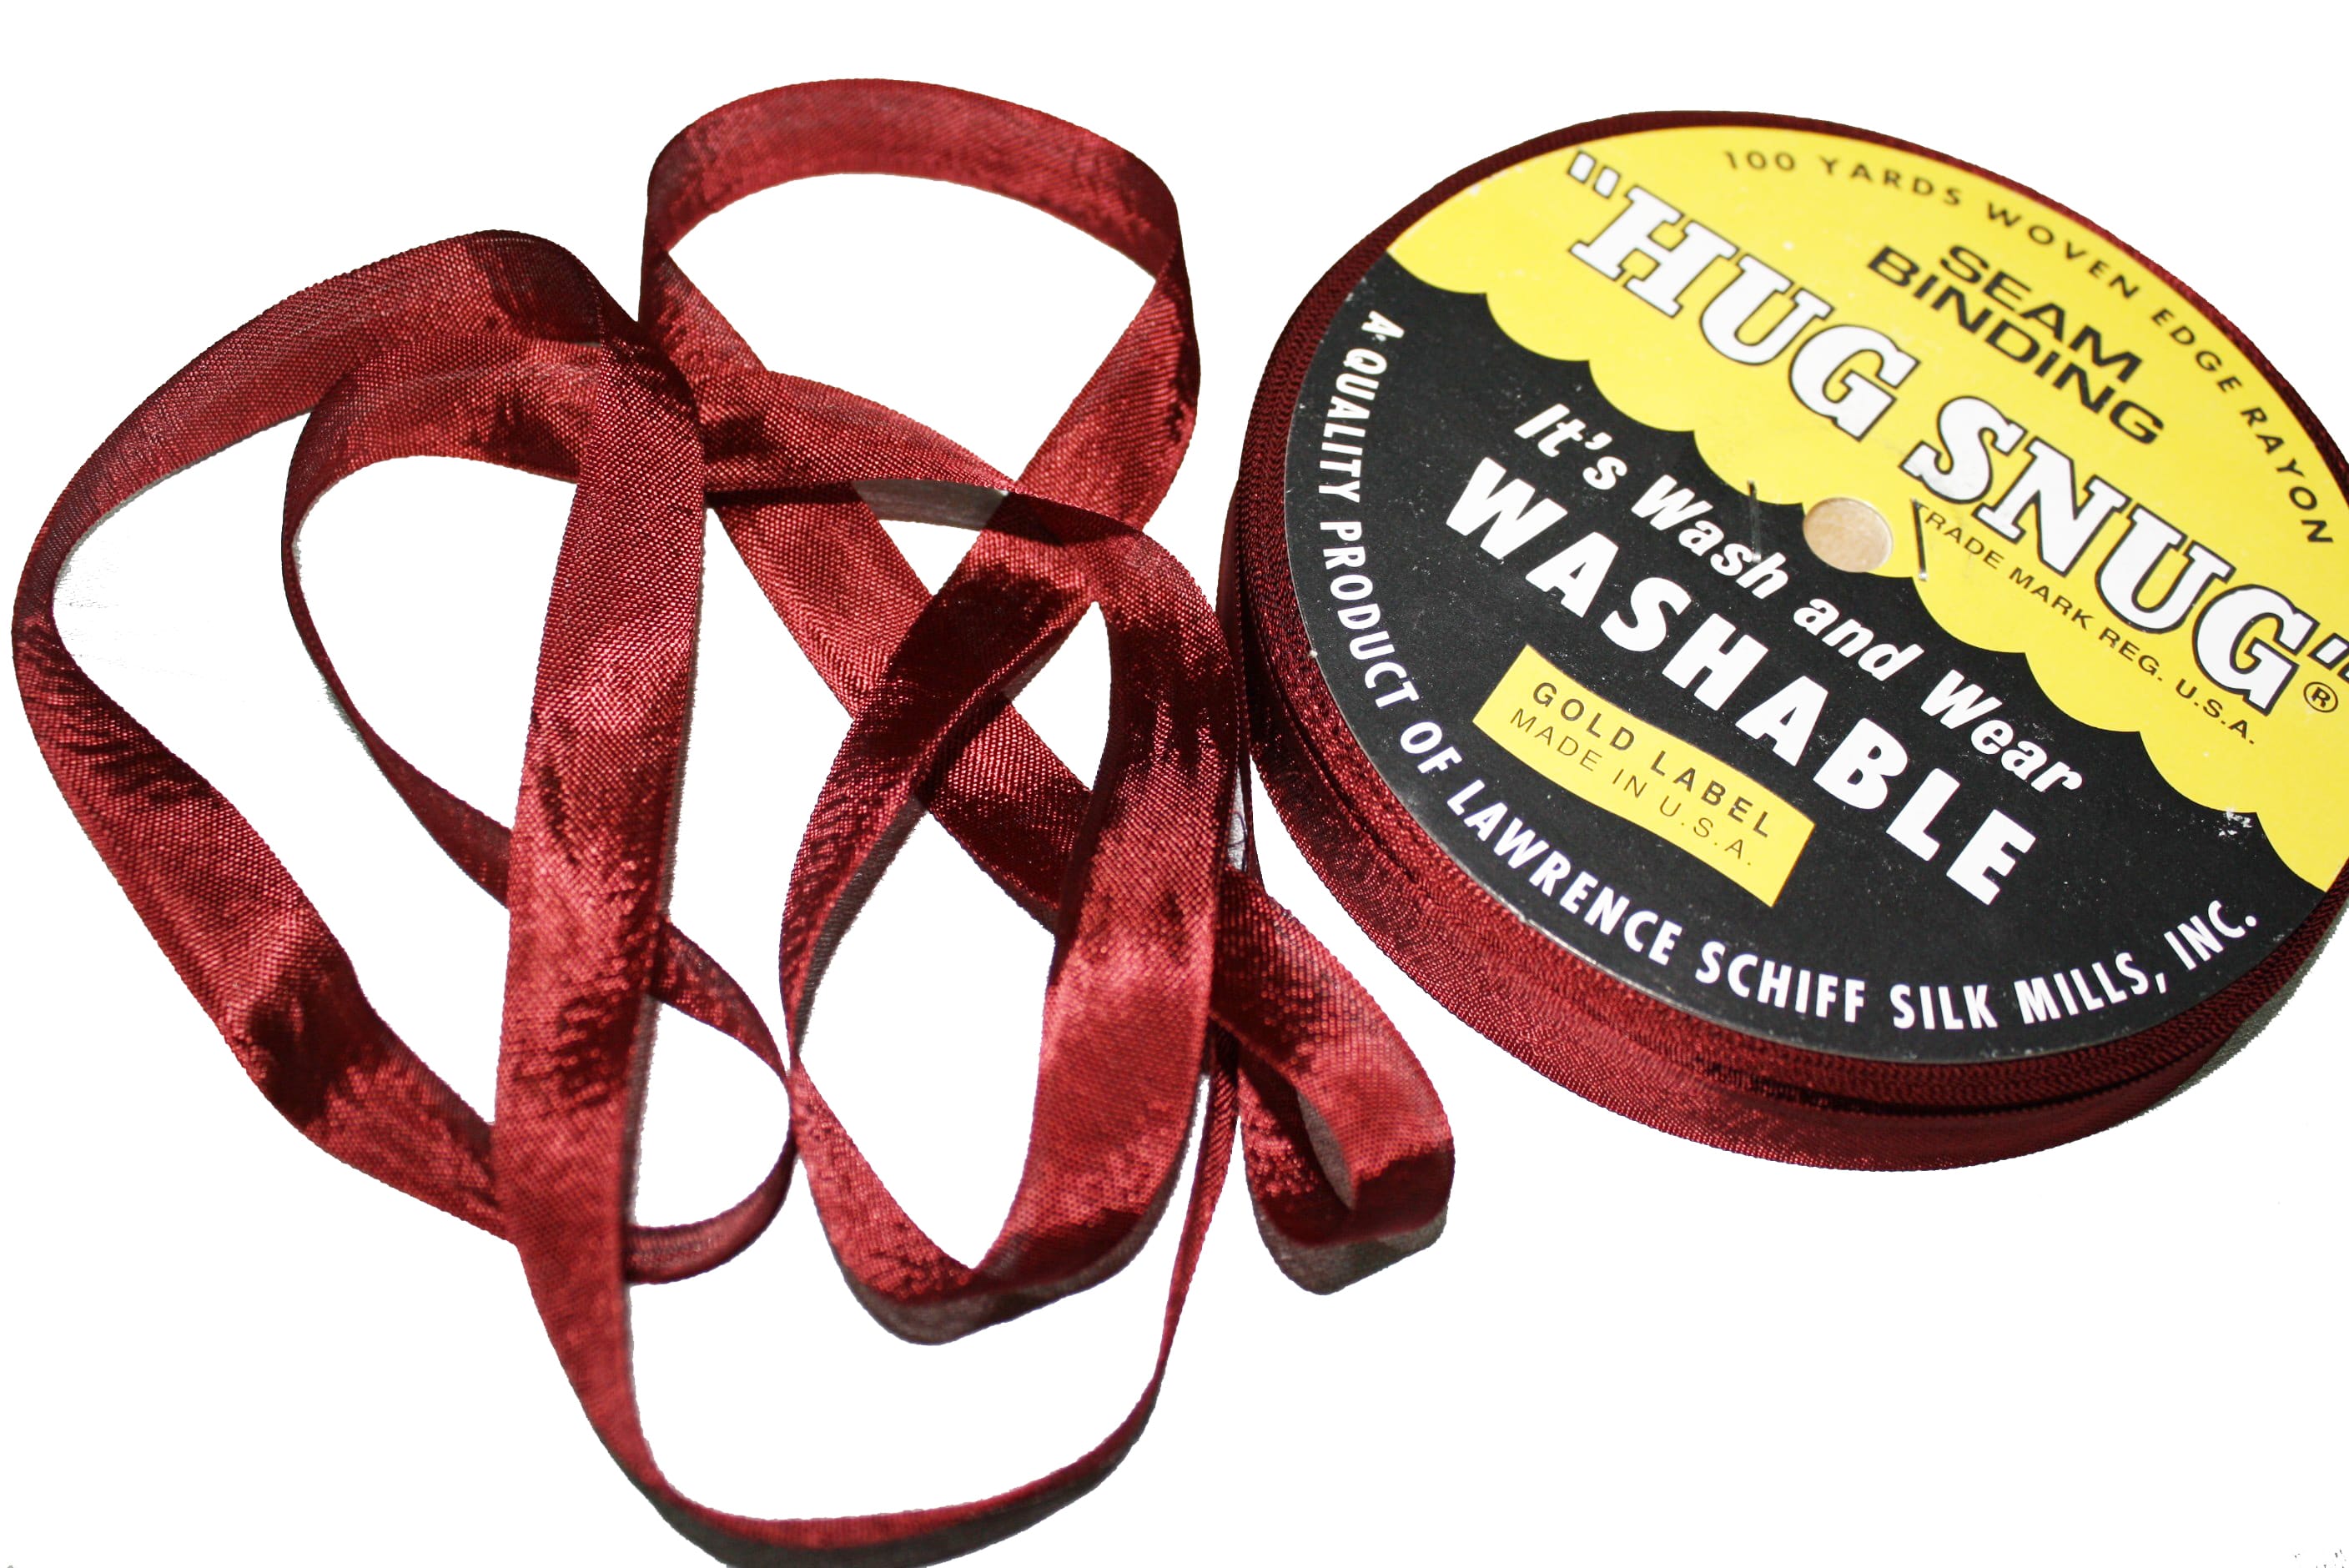
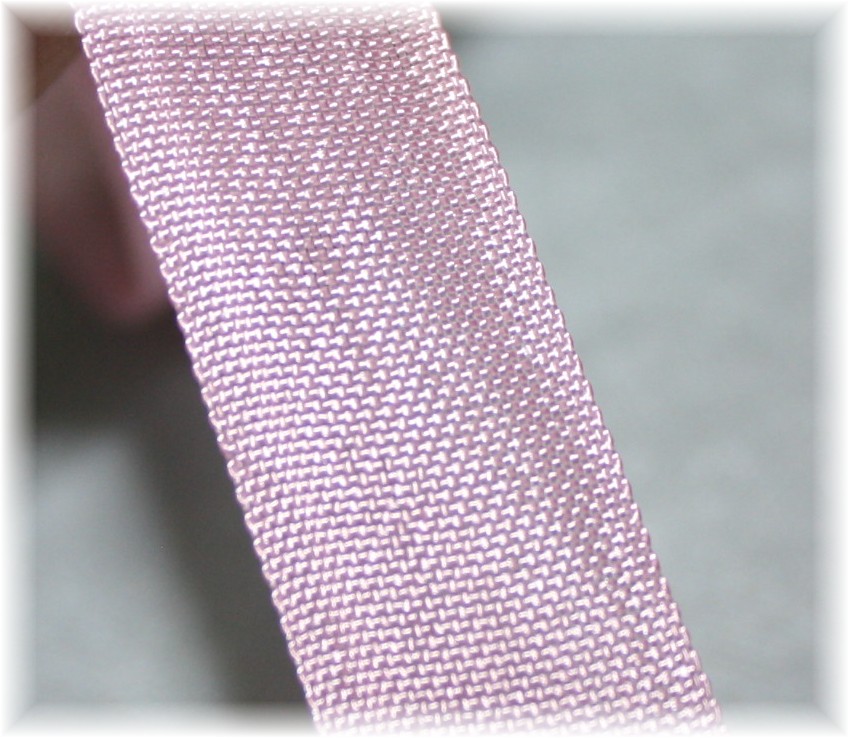
There are so many sewing products on the market, it can get overwhelming trying to decide which ones to try. Here is one for you … Hug-Snug Seam Binding. Take a look inside some of your nicer pants and skirts, you will often see a rich looking ribbon covering the hem allowance edge. Hug-Snug is probably the ribbon you see. This ribbon is 100% Rayon, has a satin finish and it comes in a TON of colors.
 Regardless if you are sewing a garment from scratch or doing alterations, this is a fast, professional looking hem and it’s really easy:
Press up the hem. Working on the right side of the fabric, align the ribbon over the raw edge of the hem allowance.

The edge of the fabric should land in the middle of the ribbon. Stitch along the edge of the ribbon. (I am using contrasting color ribbon and thread so it’s easier to see :))

The above photo shows the single stitch line and how the ribbon covers the fabric raw edge.


Attach the ribbon all the way around the hem. When you get to the end, trim the ribbon leaving 2″ – 3″ extra.


Stitch just past the starting point …
… fold under the end of the ribbon, enclosing the raw edge of the ribbon.

Turn the fabric and stitch the folded edge of the ribbon in place.

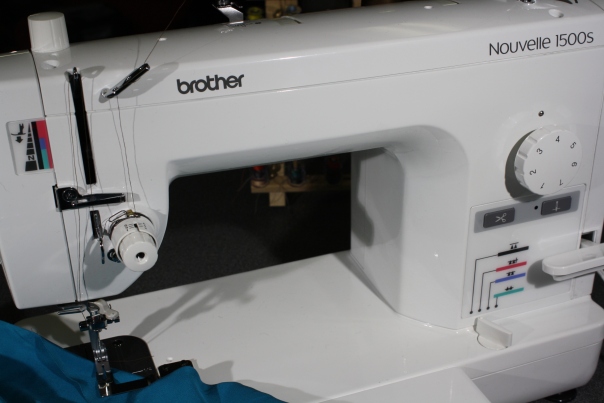
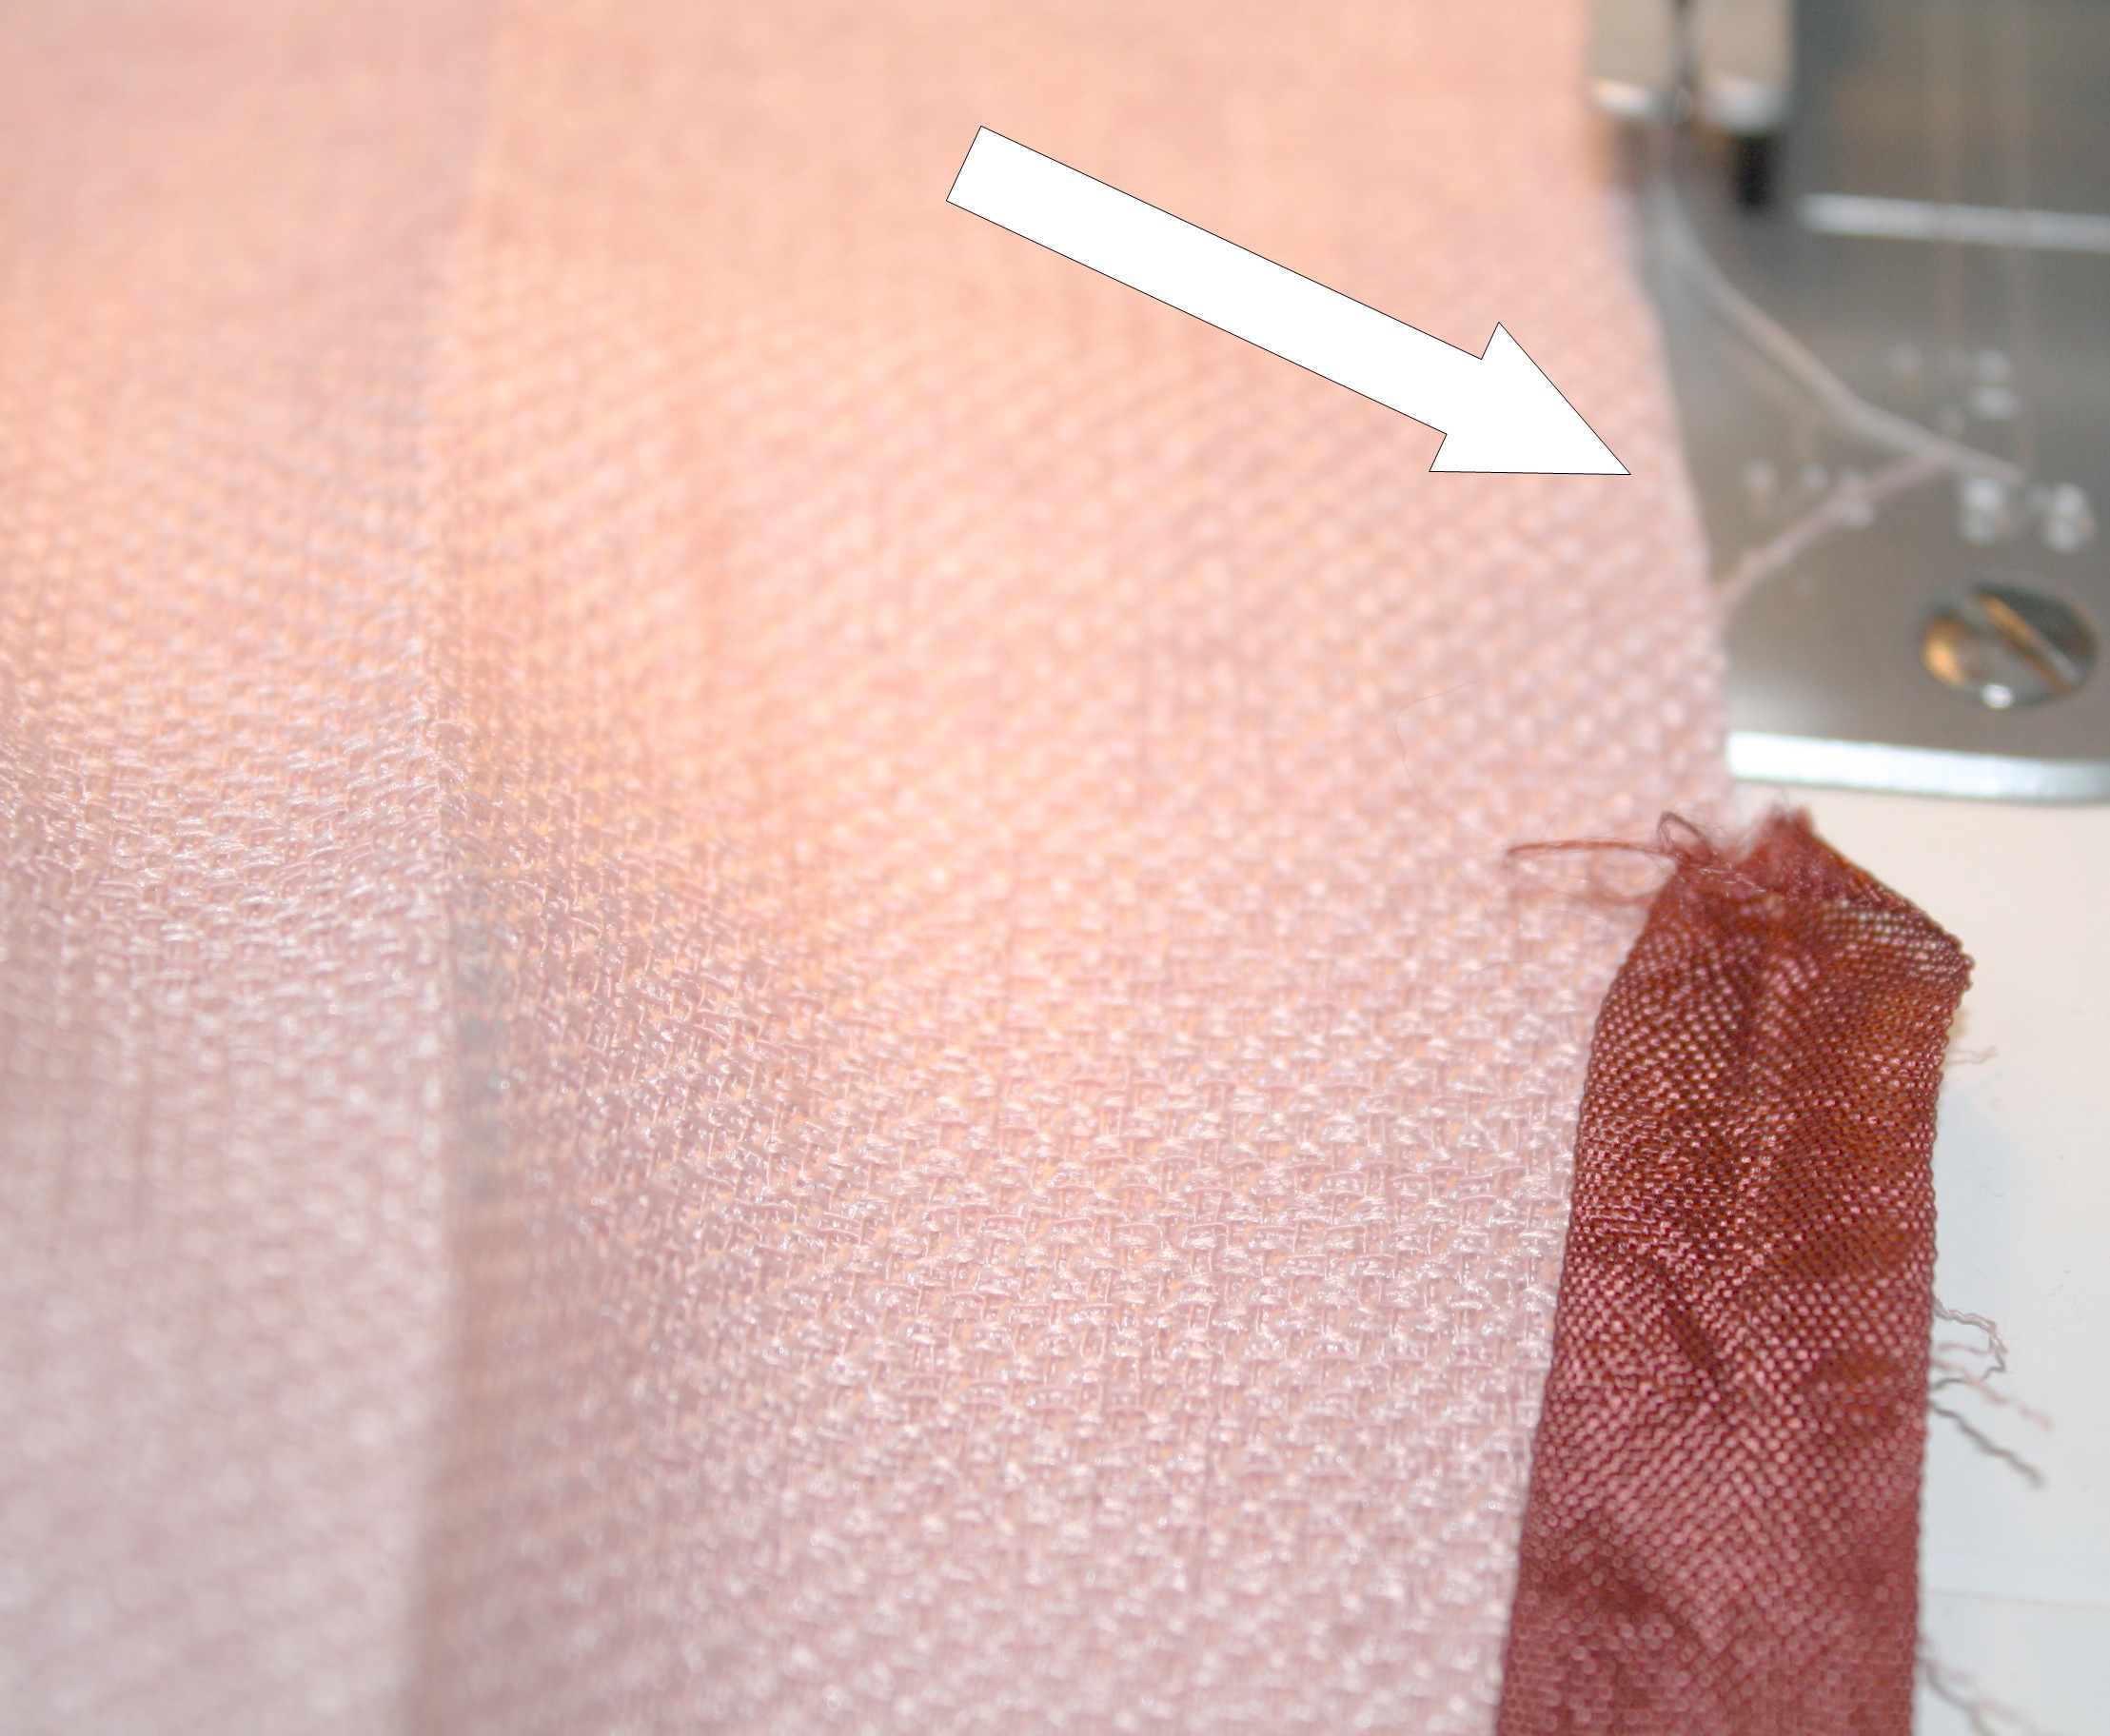
The ribbon is attached, covering all raw edges. Hem the garment as usual, using the edge of the ribbon as the hem allowance edge. The ribbon is so much thinner than fabric and really makes a perfect blind hem! Below I am using a blind hem machine:


Notice how the ribbon edge is connected to the garment, finishing the hem. If using the blind hem stitch on a sewing machine or hand-stitching the hem in place, do the same thing; connect the edge of the ribbon to the fabric.
I told you it’s easy! Again, Hug-Snug Seam Binding comes in a ton of colors:

I borrowed this color chart from WAWAK SEWING SUPPLIES. In fact, if you want to give this product a try, WAWAK is offering 10% off until March 31st.
How are the jeans coming along for the wardrobe challenge? Don’t forget to upload your photos to the Flickr group, there are some really cute outfits showing up 🙂
Cheers,