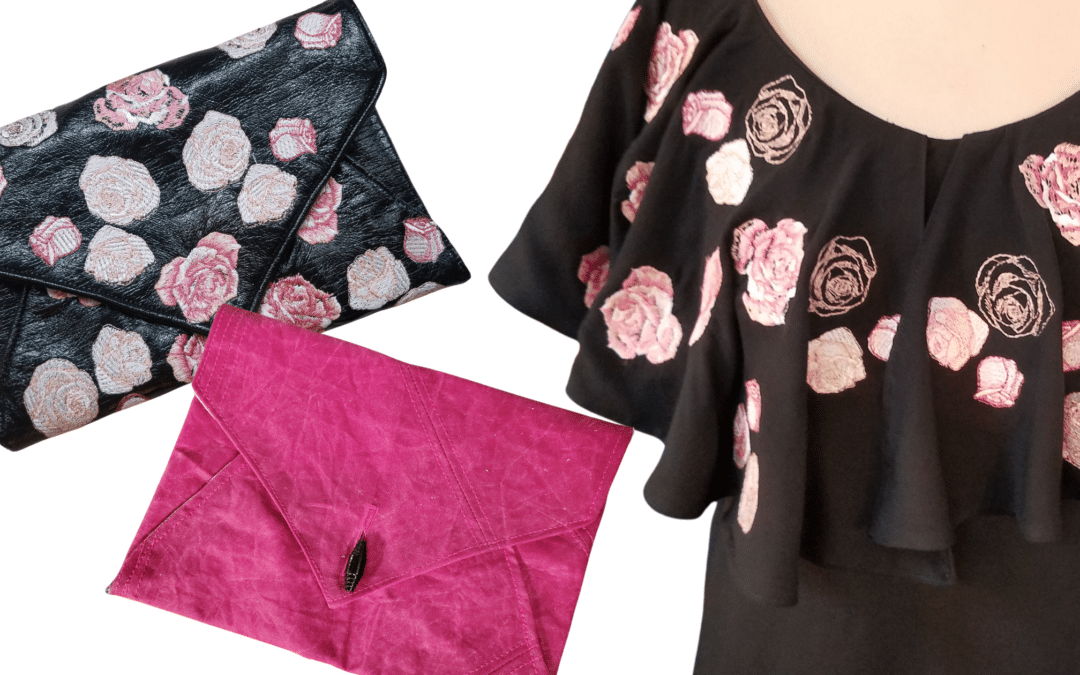
Envelope Pattern There are three download versions for the envelope pattern: Full Layout - Use this for projector printing or printing on a plotter. ENVELOPE PURSE Letter Size Printing - Use this when printing letter size paper (8.5" x 11"). Print pages 1-8, the...
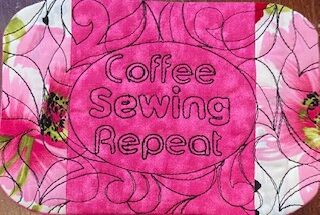
Episode 199: At Your Side Virtually! Mug Rug and Coffee Deco with Kathy Stipe and Barb Mikolajczyk
Episode 199 ~ At your side 🧵 Virtually! Create a mug run and decorate your coffee mug with vinyl
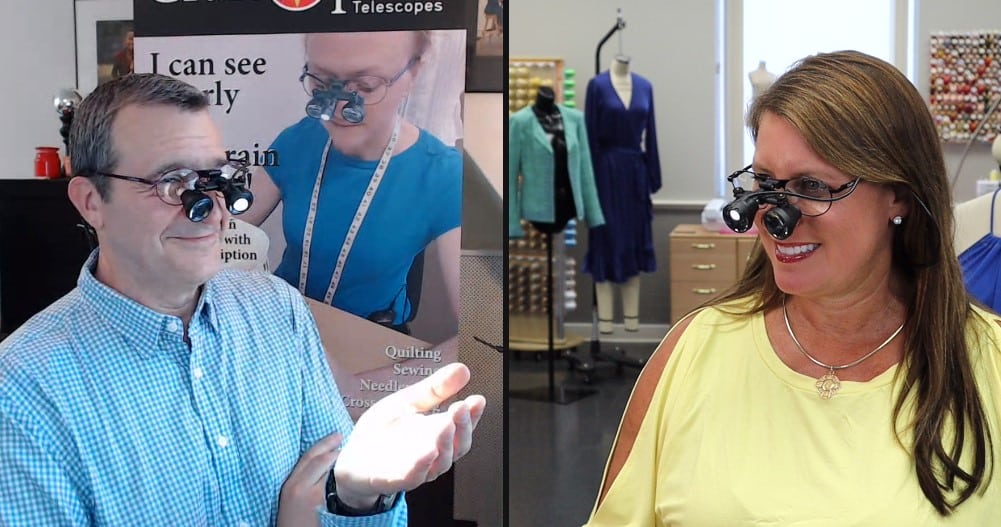
Join Brother Brand Ambassador Angela Wolf and Brother Educator’s Kathy Stipe and Barb Mikolajczyk
Designing Mug Rugs in My Design Center-Quick and Easy
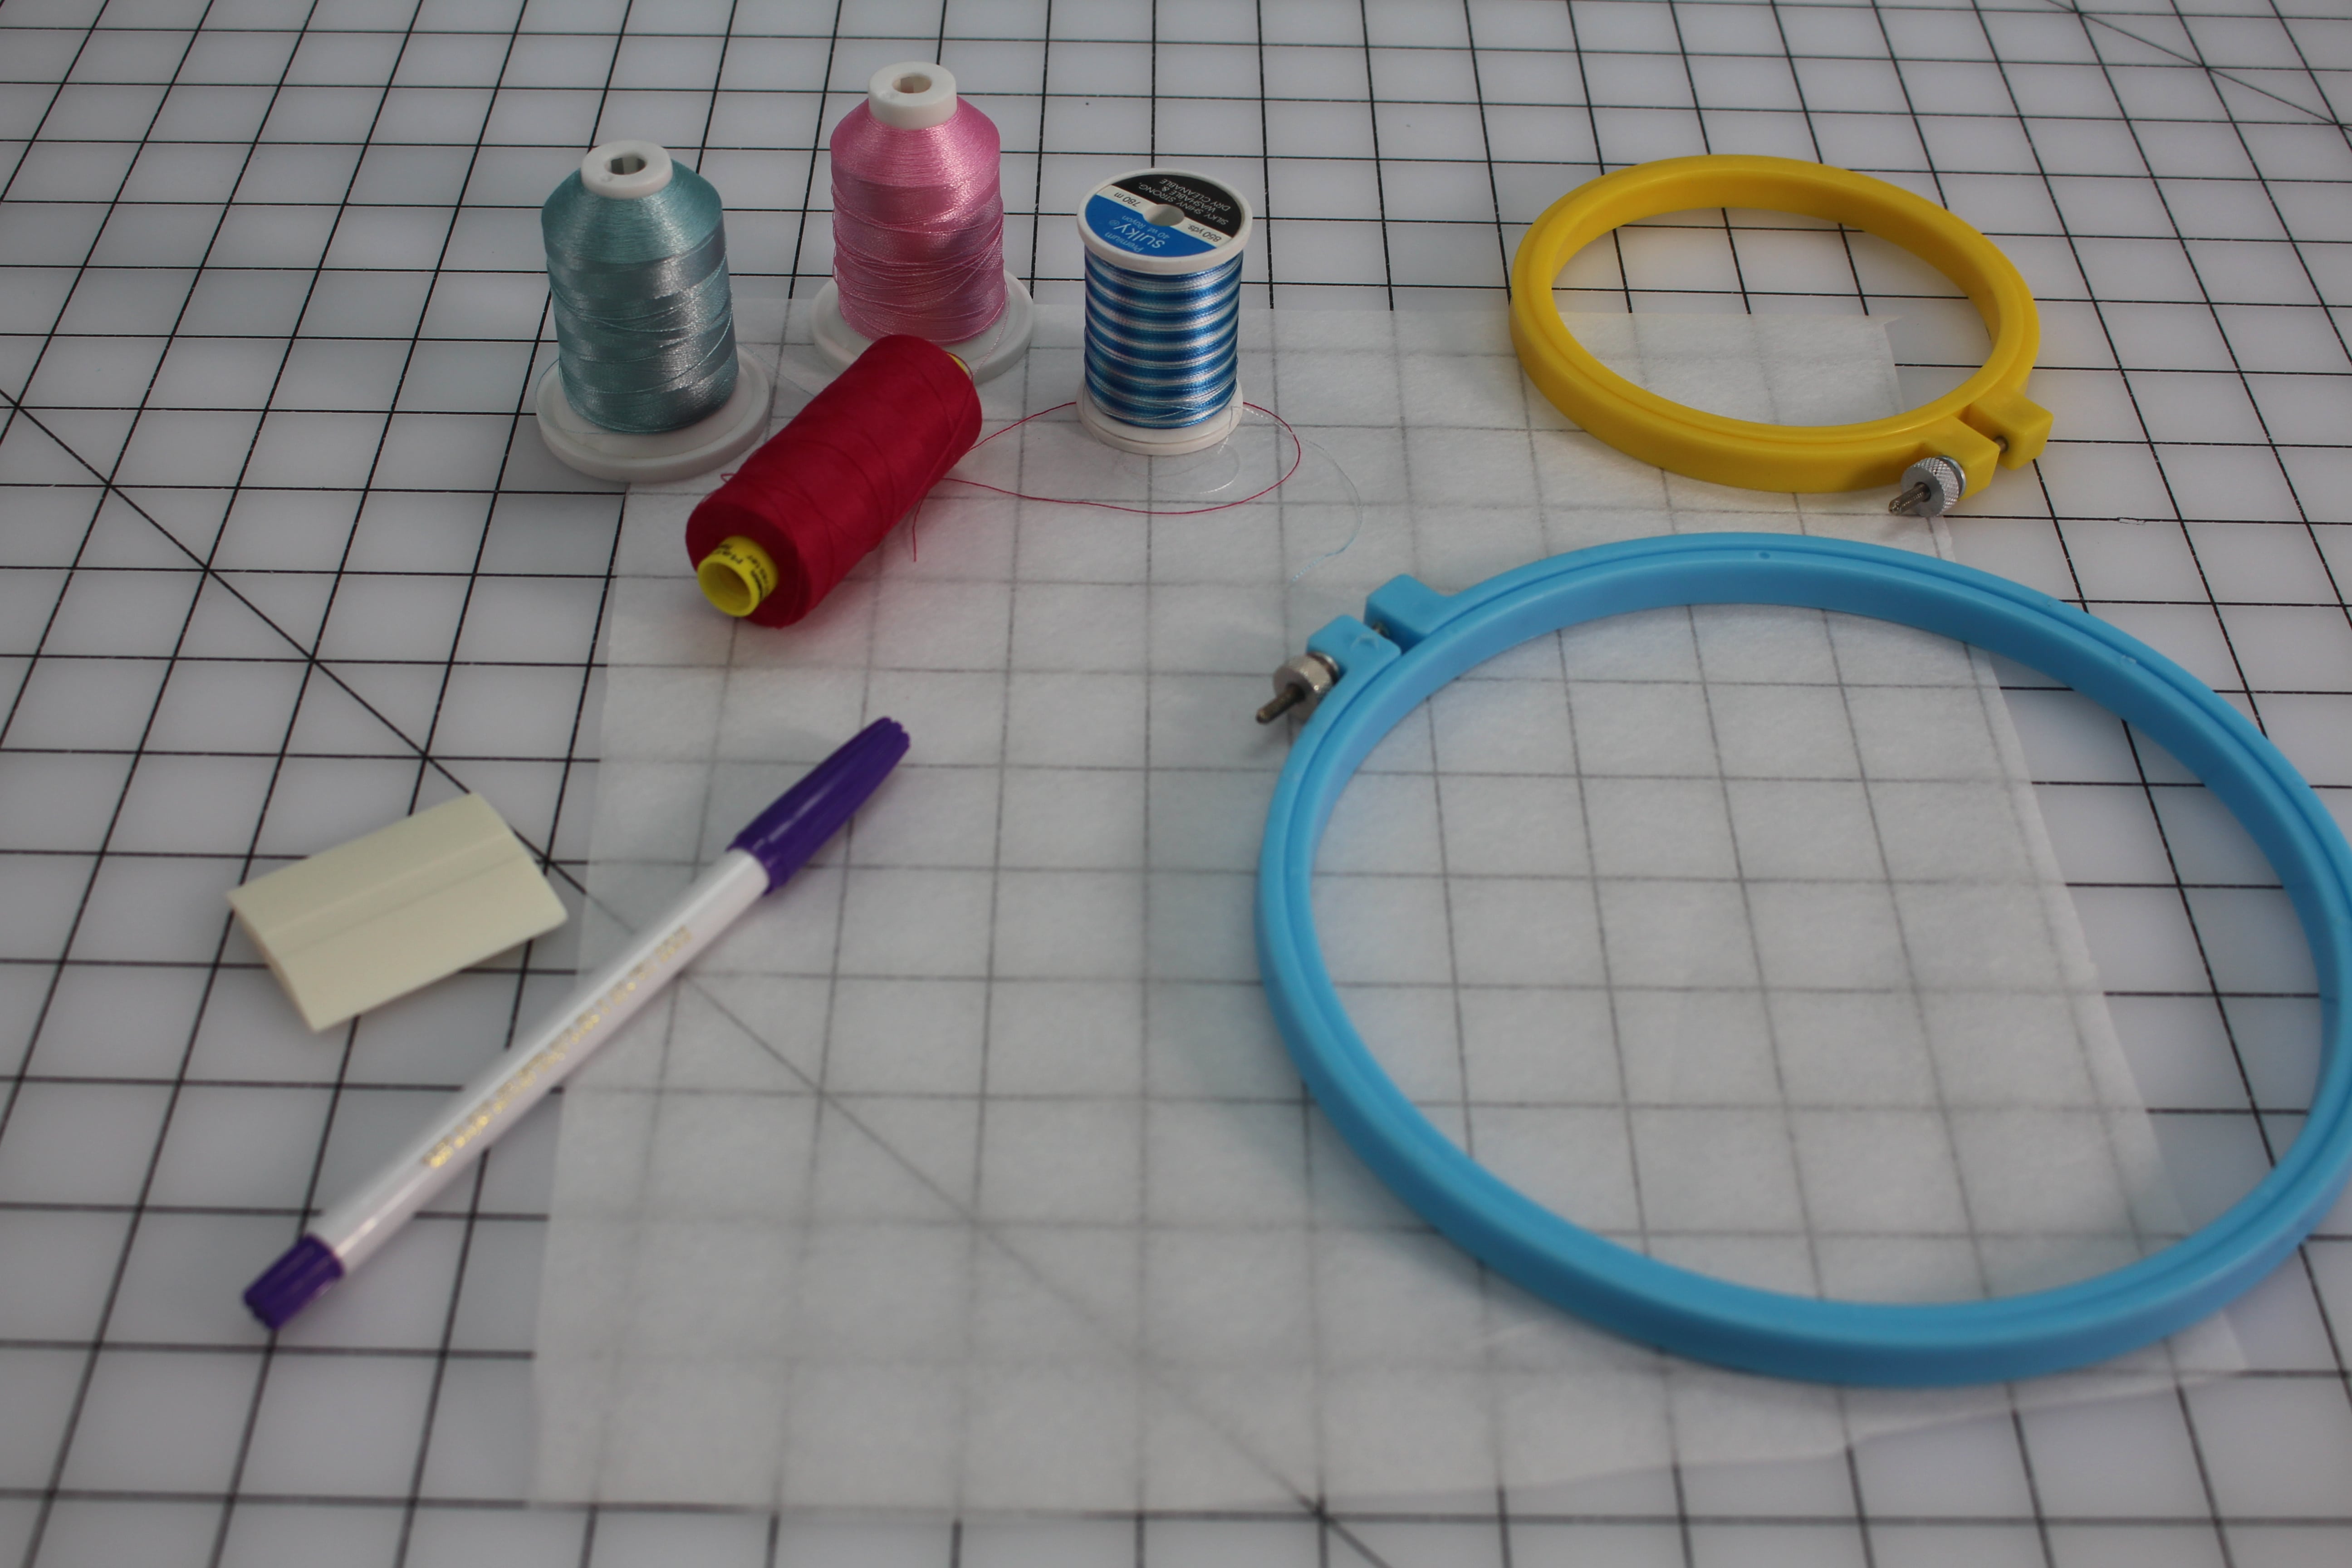
Supplies needed:
-
-
- Threads of your choice
- 5×7” Frame (or whatever you want)
- Tear away stabilizer
- Top fabric (size needed to have enough to cut a little excess around the outer edges)
- Batting (again to fit)
- 2 Back pieces (enough to fold each piece in half – wrong sides together- and have 1” overlap in the middle of the back at the folds).
-
To create your design Using My Design Center:
-
-
- Pick shape wanted (or draw it or Scan it in)
- Size to slightly bigger (.5) then you want the finished Mug Rug (assign single run stitch to it for placement)
- Save to memory in MCD
- All clear
- If piecing, draw lines for “seams” * Make sure no lines intersect!
- Save to memory as the 2nd step
- All clear
- Bring in Scanned saying (or add it in embroidery)
- Add shape around wording or design if desired
- Save to memory
- Add quilting where desired (using established shapes)
- Save to memory as a separate step
- Make another identical shape (as the original) only assign triple stitch to it and make it slightly smaller than the placement stitch
- Save in memory as a separate step
-
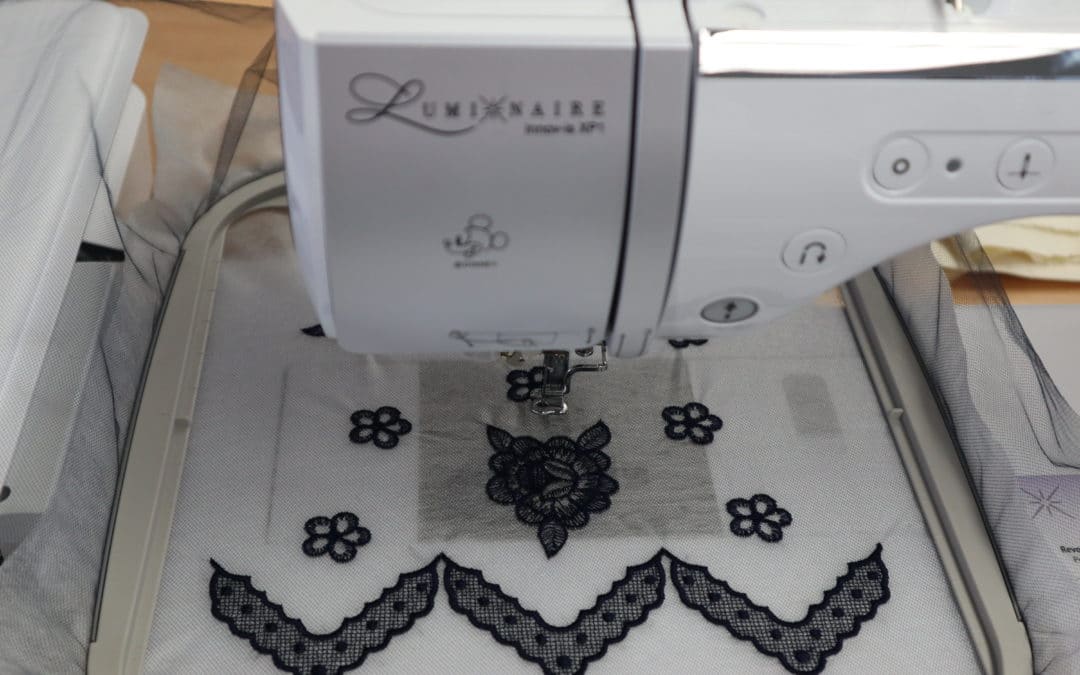
Bring each step over to Embroidery and save in Memory
Build your Final Design for the Mug Rug in the Embroidery side.
Bring in:
- Placement Stitch
- ADD
- Piecing seams (if there are any) From Pocket
- ADD
- Wording and or Quilting from the pocket (if there is either)
- Final stitch is the outside shape in triple stitch and slightly smaller than the placement stitch.
You have created your complete design!!!
Instructions to stitch out:
- Hoop Tearaway stabilizer
- Stitch the placement stitch
- Lay the batting down (cover the placement line)
- Lay center piece right side up over the batting
- If Piecing: Lay the different sections of piecing right side down. Make sure the edge to be the seam will be under the stitch and that you have enough fabric to fold over after the seam is stitched to cover the area needed.
- Do all the piecing one piece at a time
- Stitch the saying or embroidery and the quilting
- Back: Fold both pieces in half with wrong sides together and finger press or press
Lay the 2 back pieces on top of the hoop with the folds overlapping in the middle about an inch
- Stitch the final stitch (triple stitch of the total outside shape.
- Trim around all edges to ¼” and pay special attention to trimming the corners.
- Turn right side out through the folds in the back.
- Poke edges and corners
- Press


