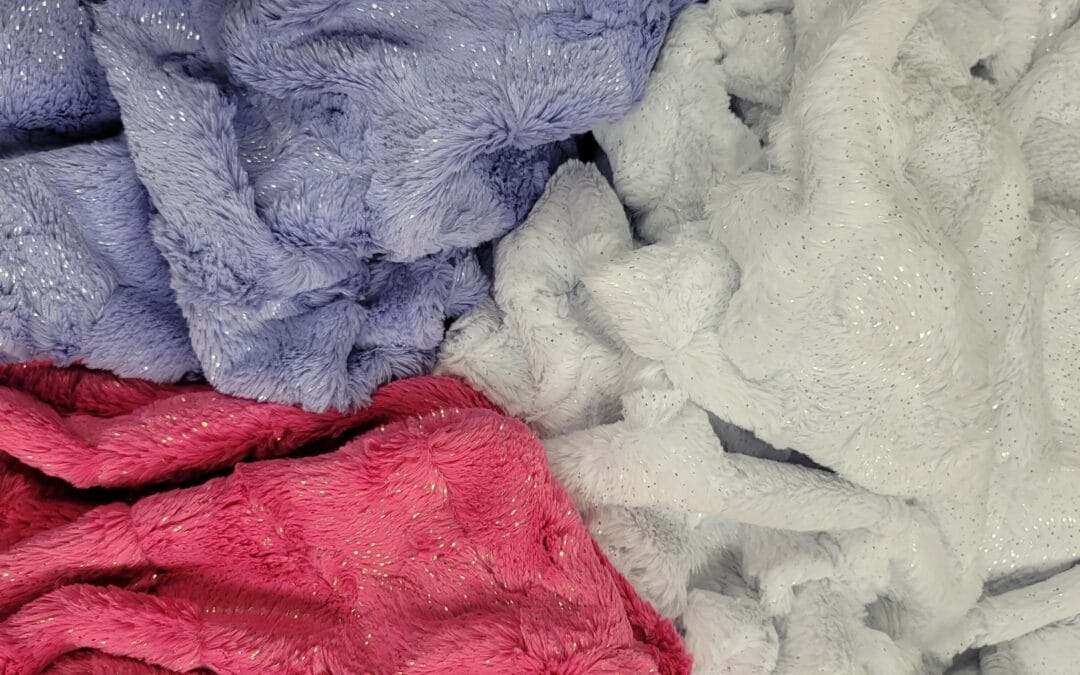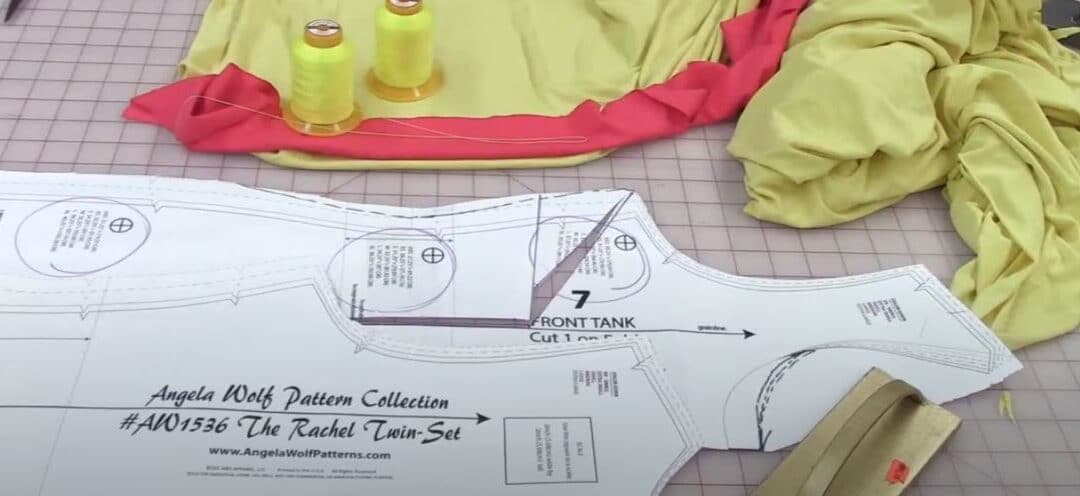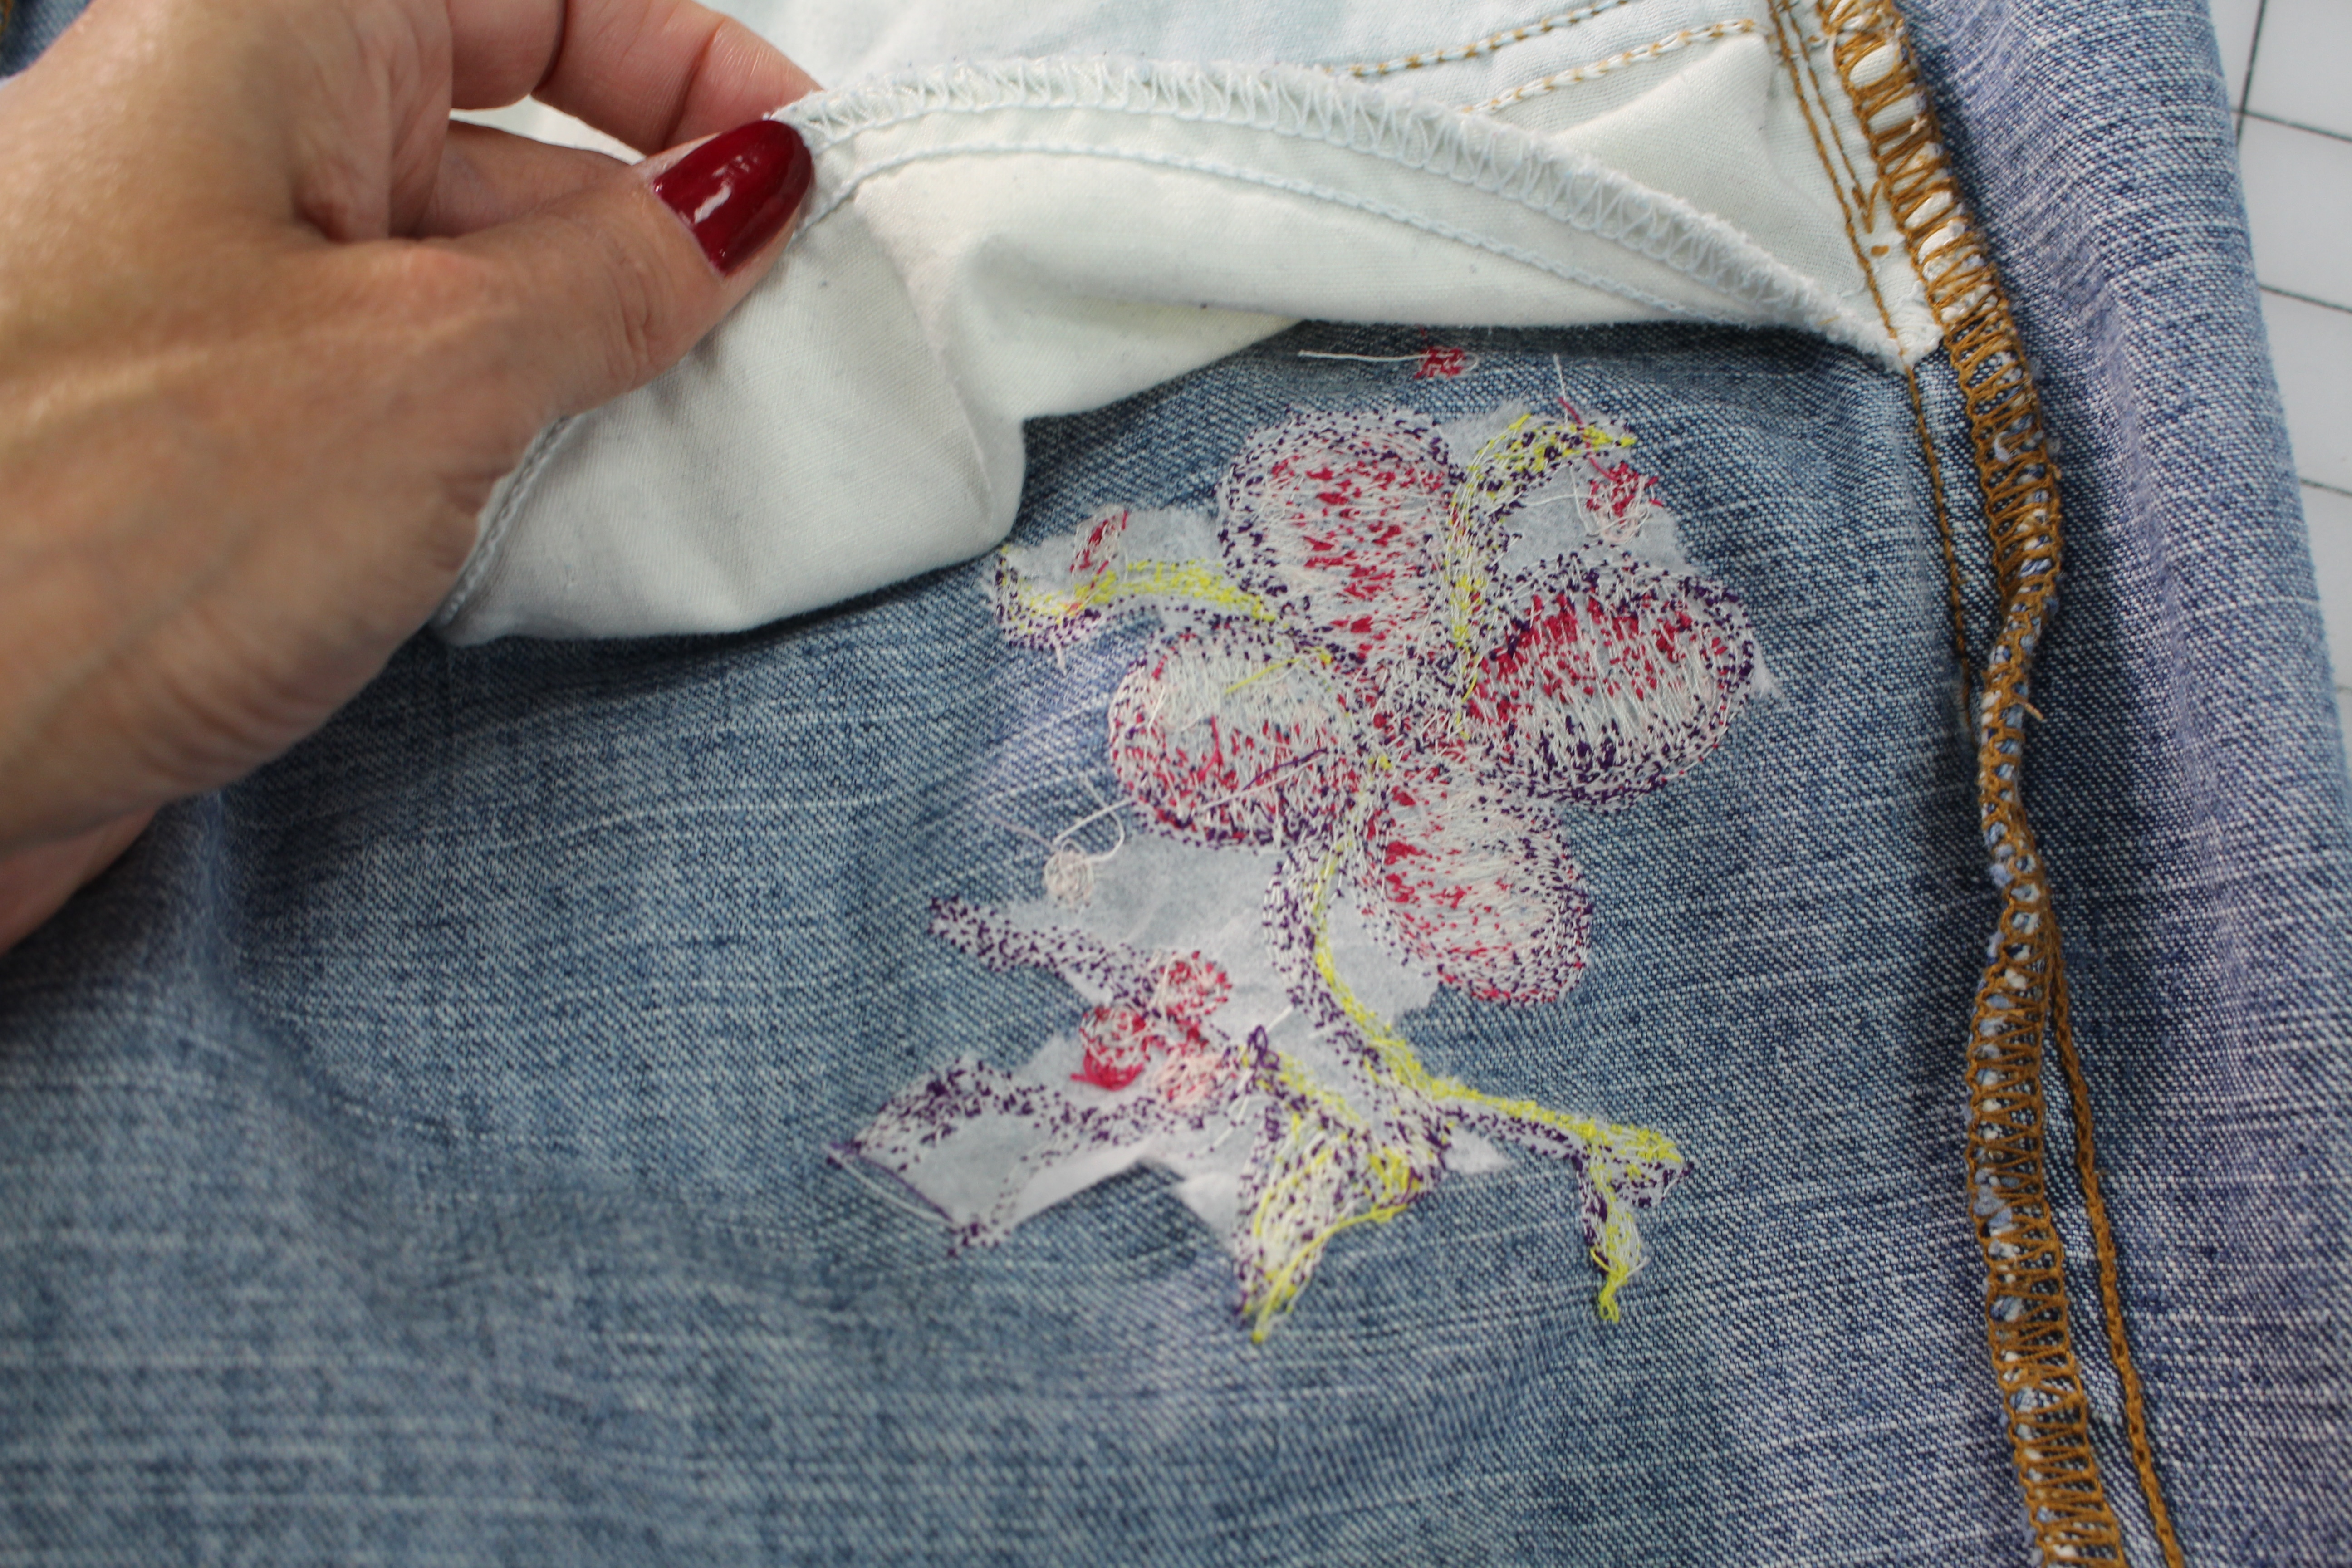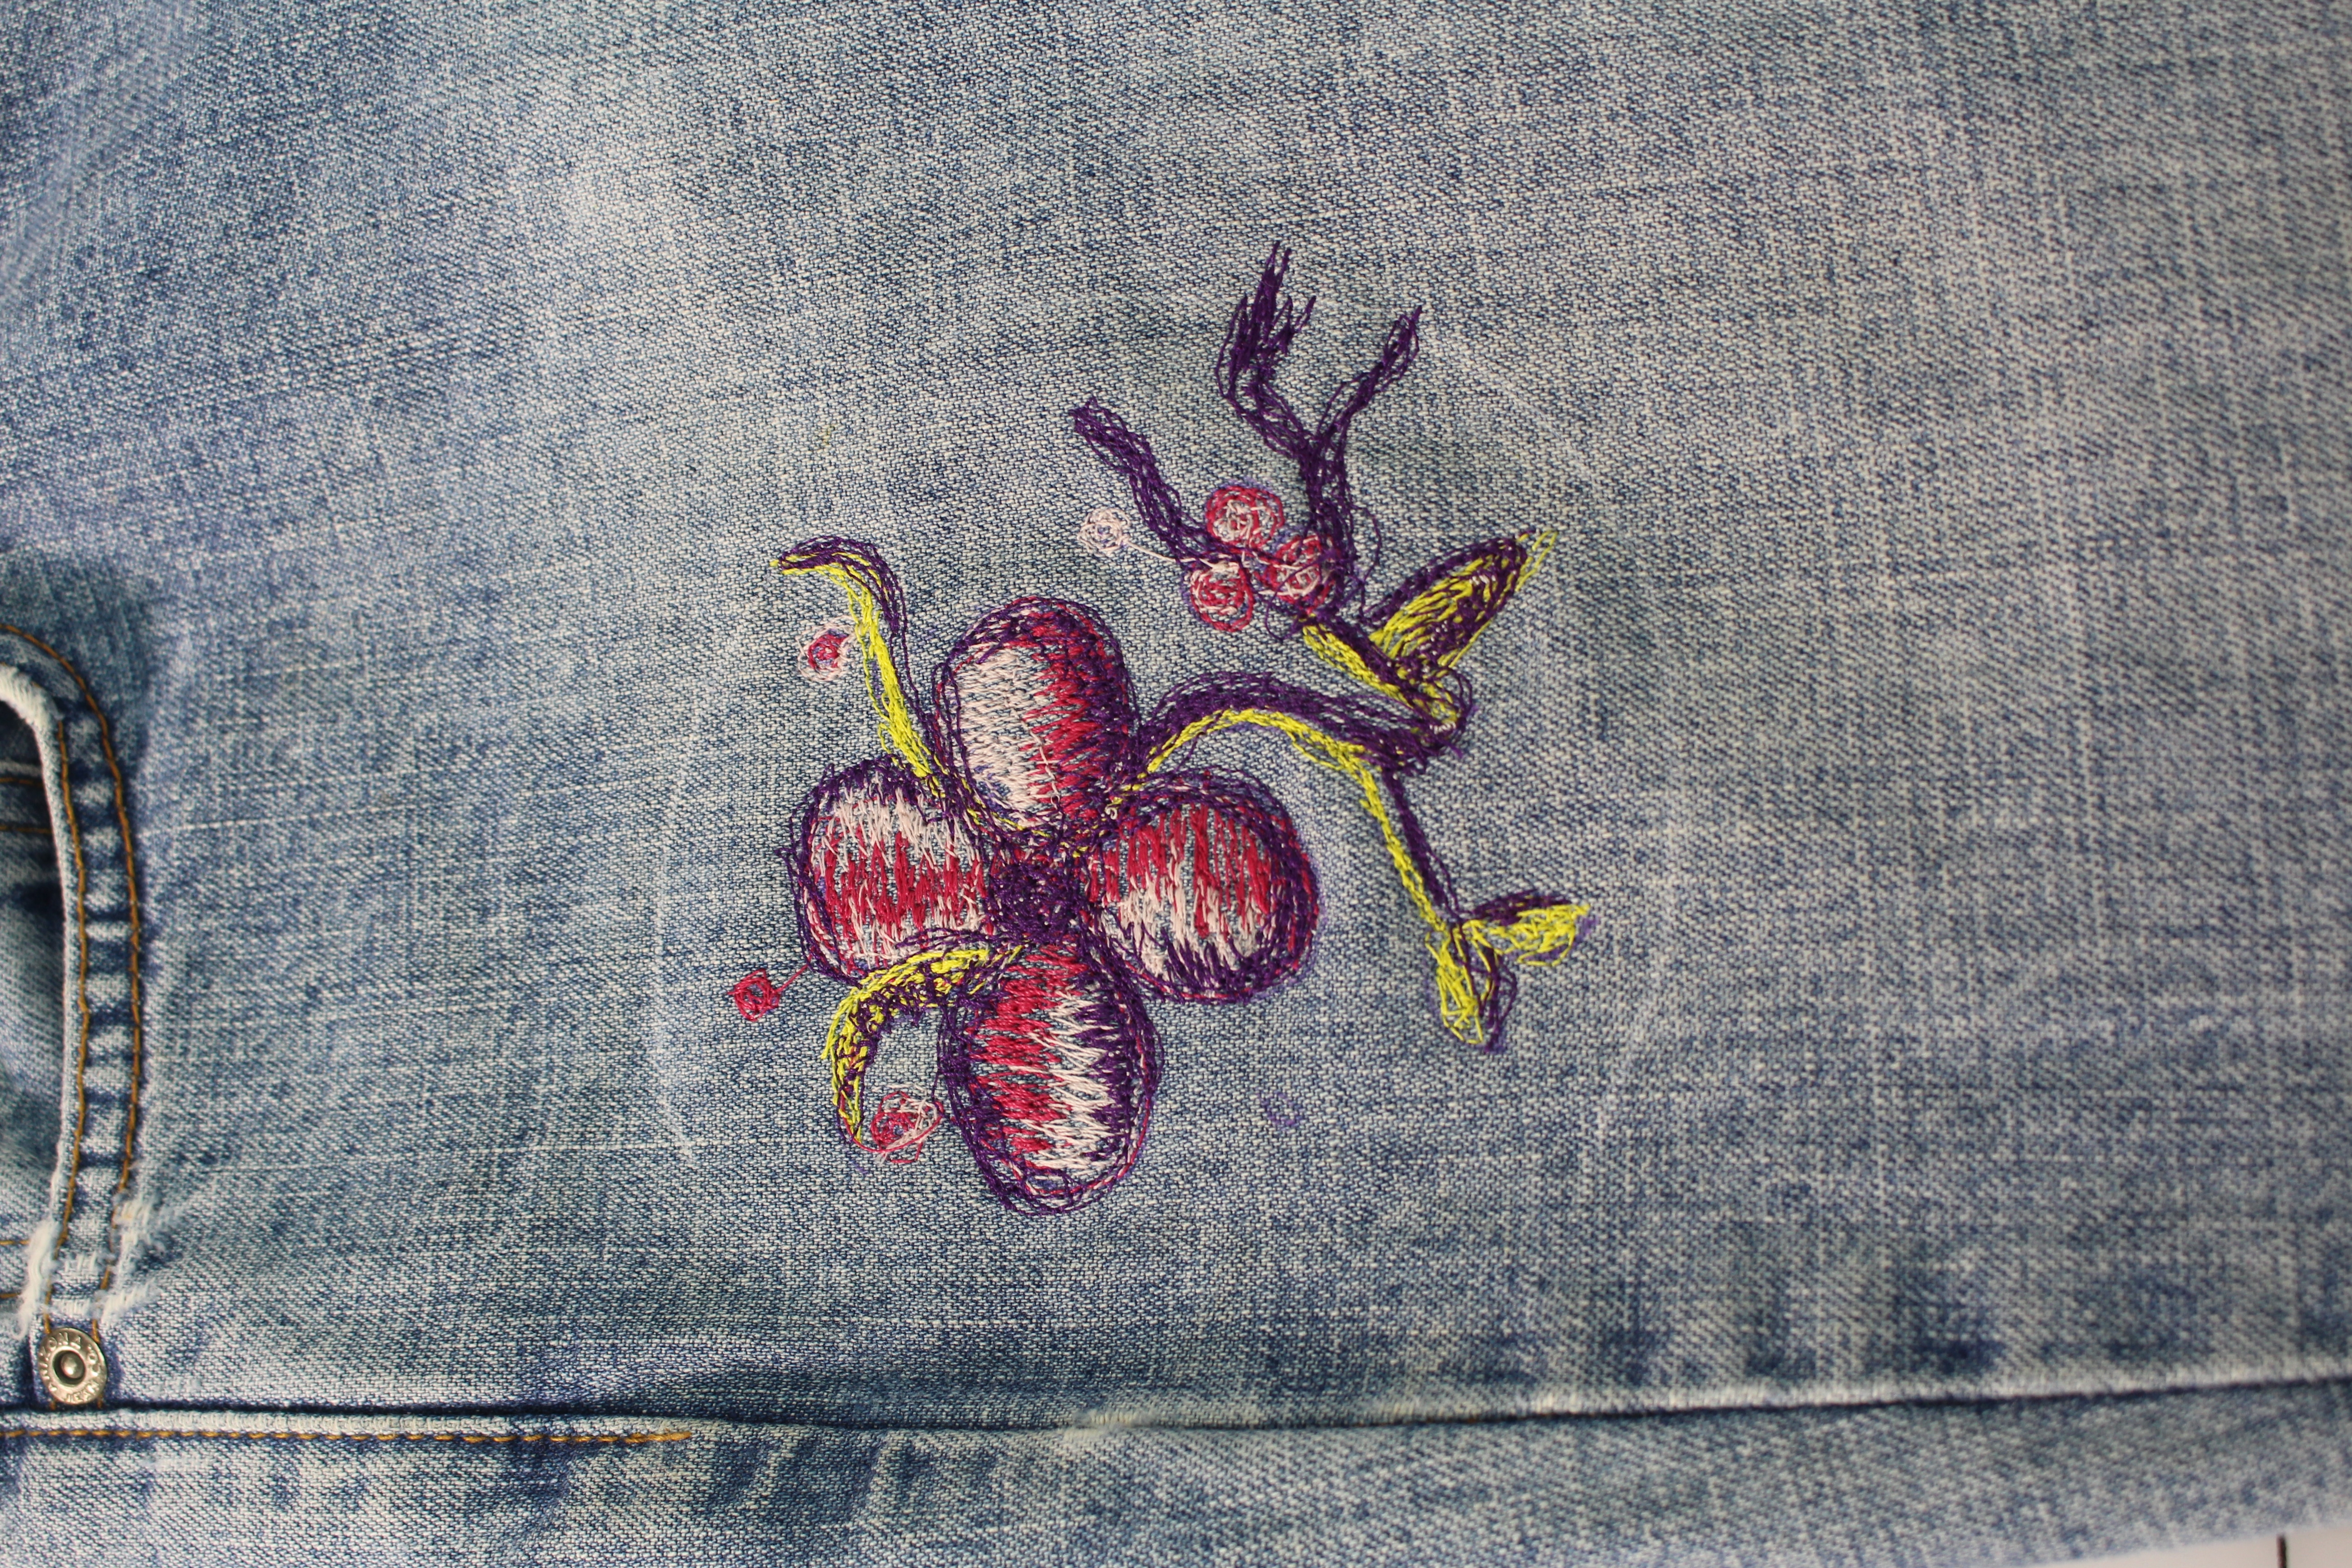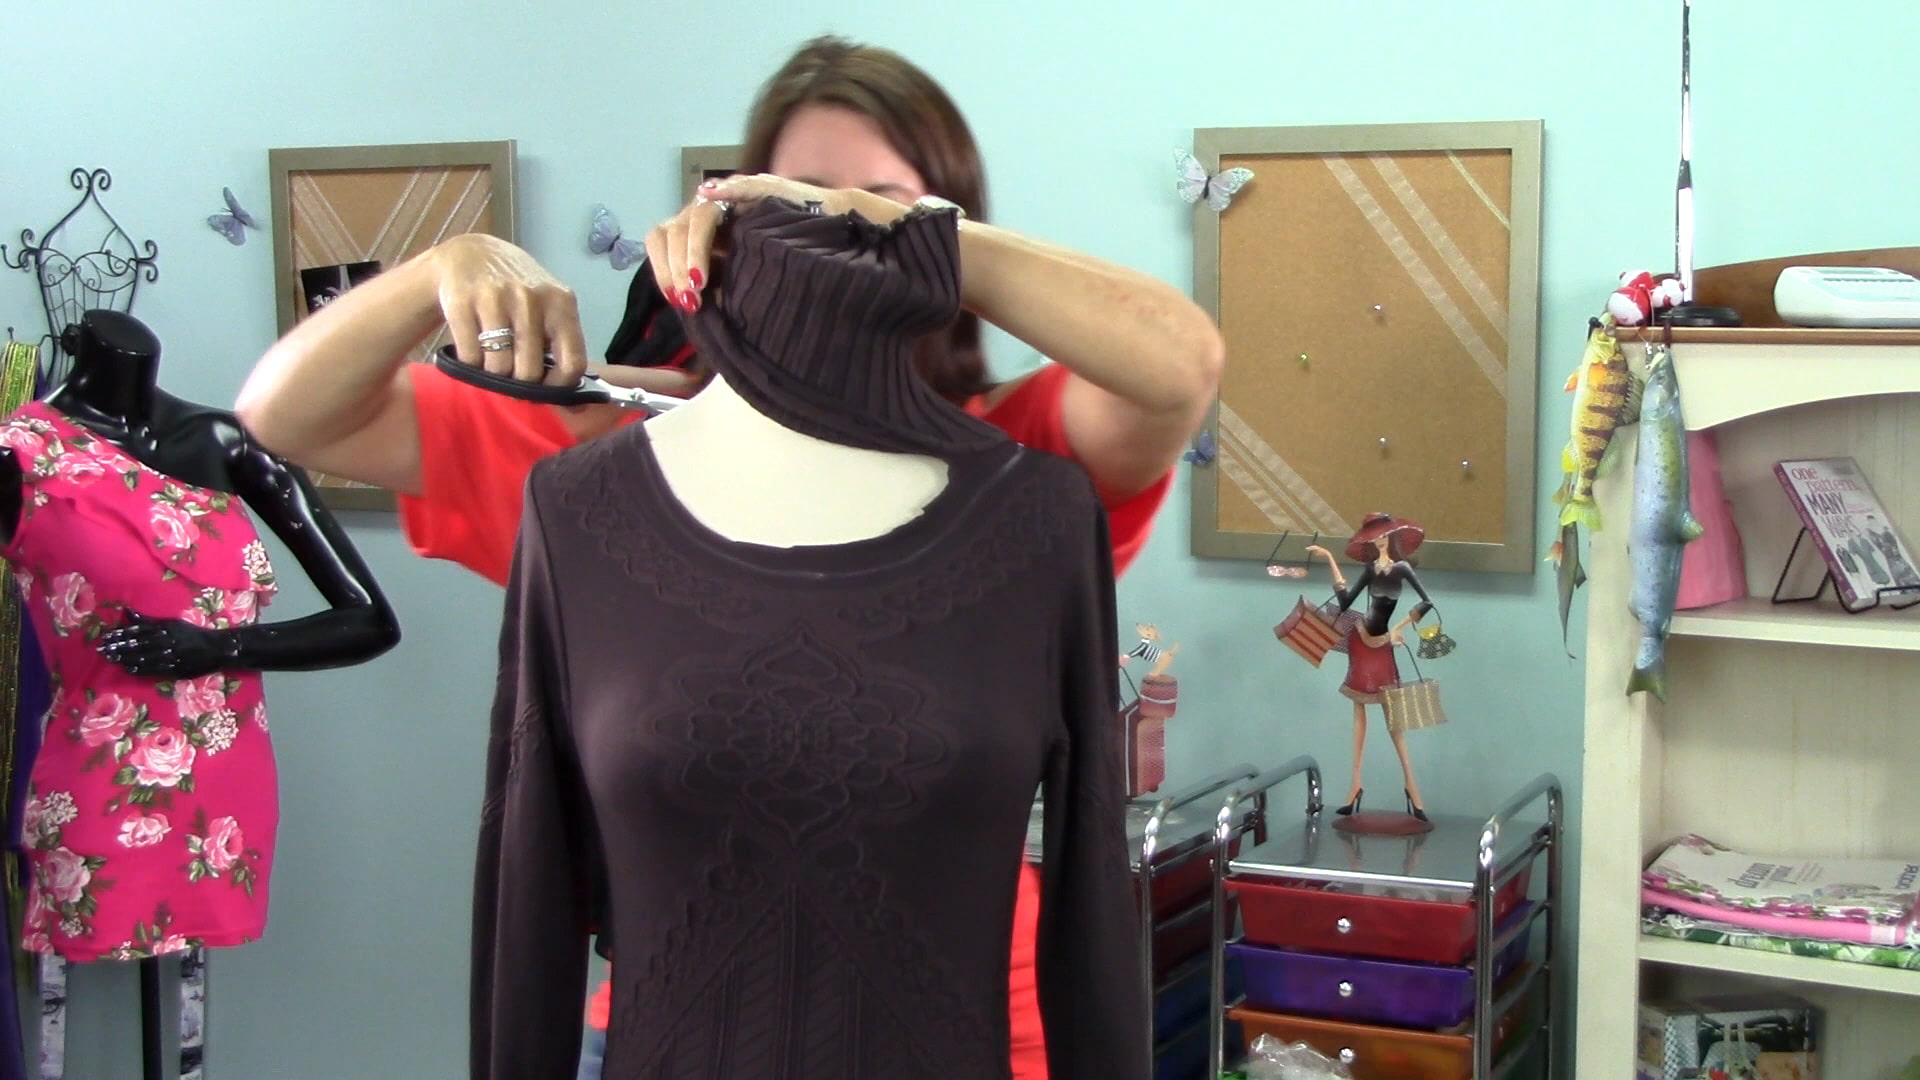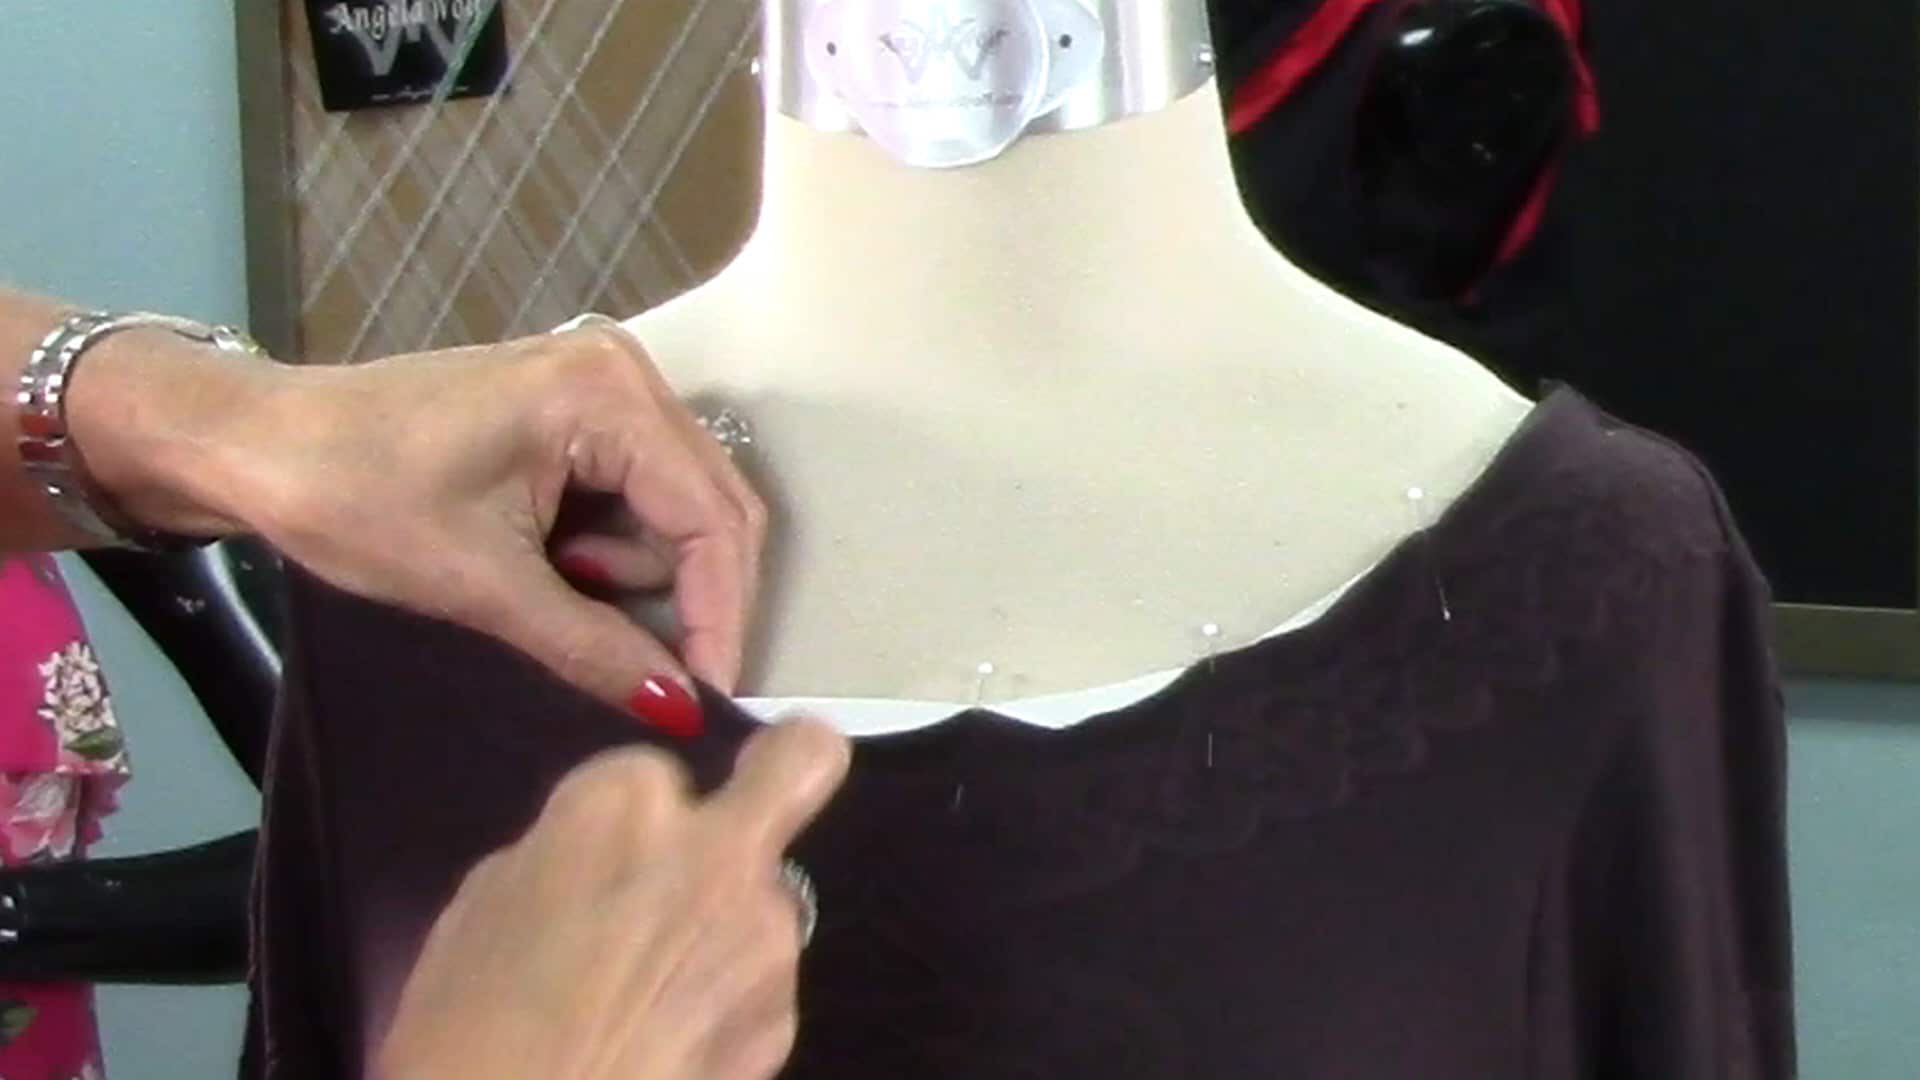


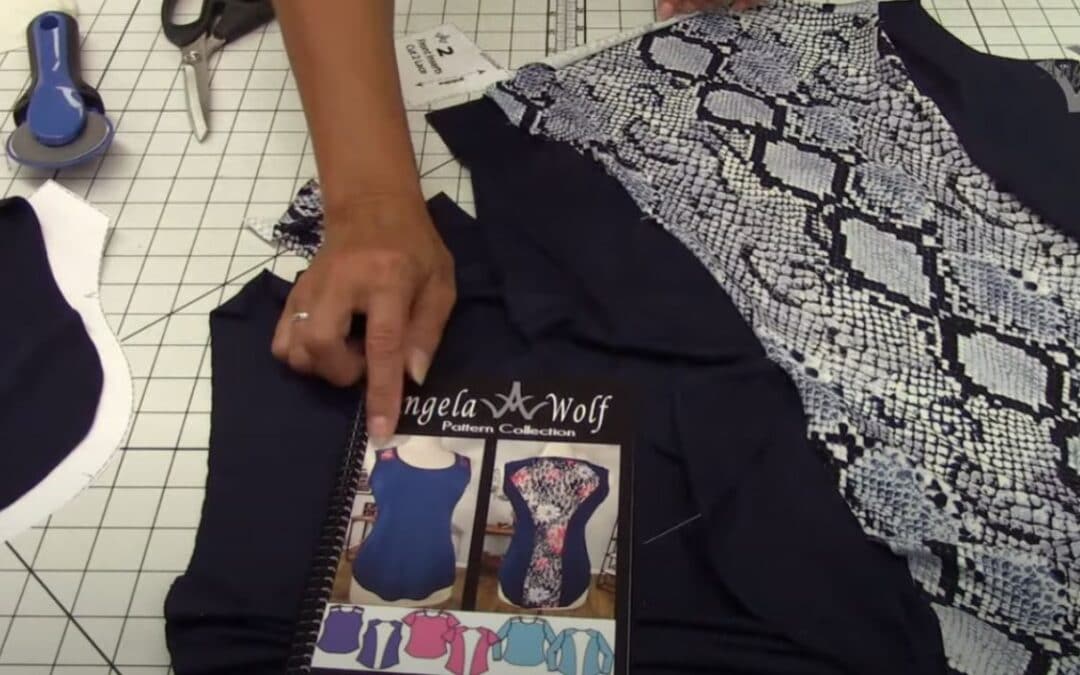
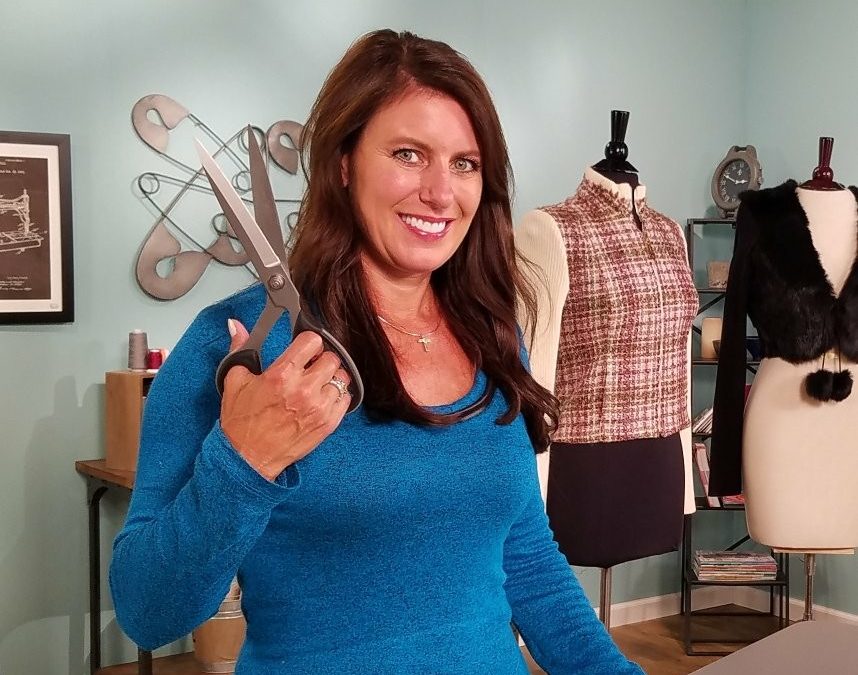
VLOG 238 Behind the Scenes ✂️ with Angela Wolf ! Last week we cut out the Lacy top pattern, this week we will serge it together. And I will be drawing 3 lucky winners for the beautiful Shannon Fabric!!! Also, check out the new renovations coming to Angela Wolf's...
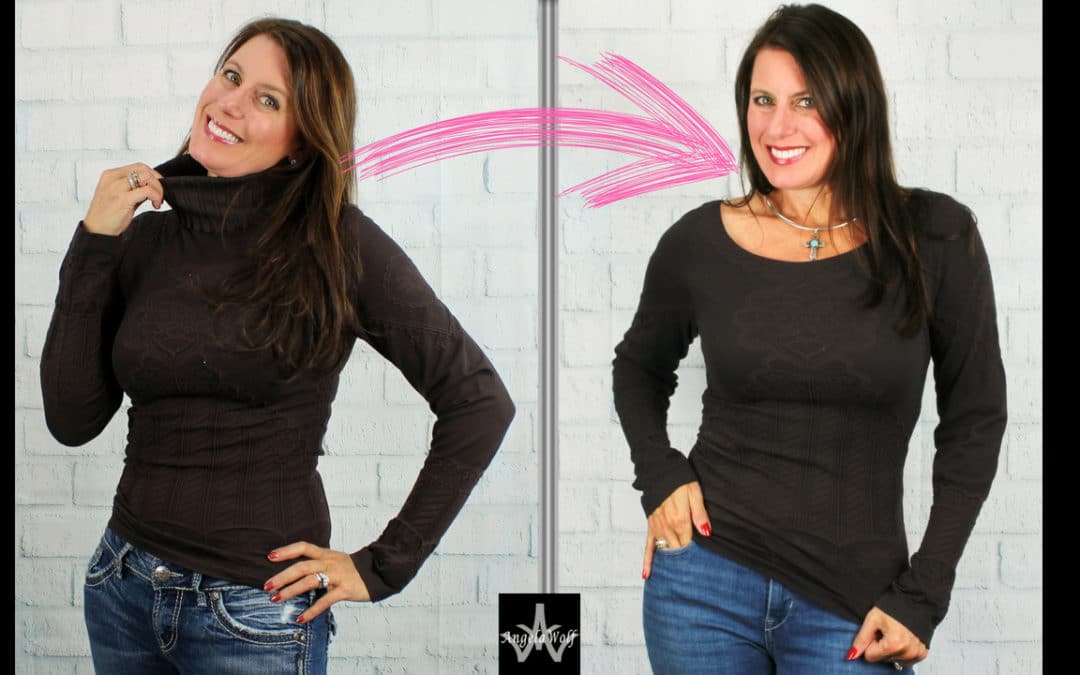
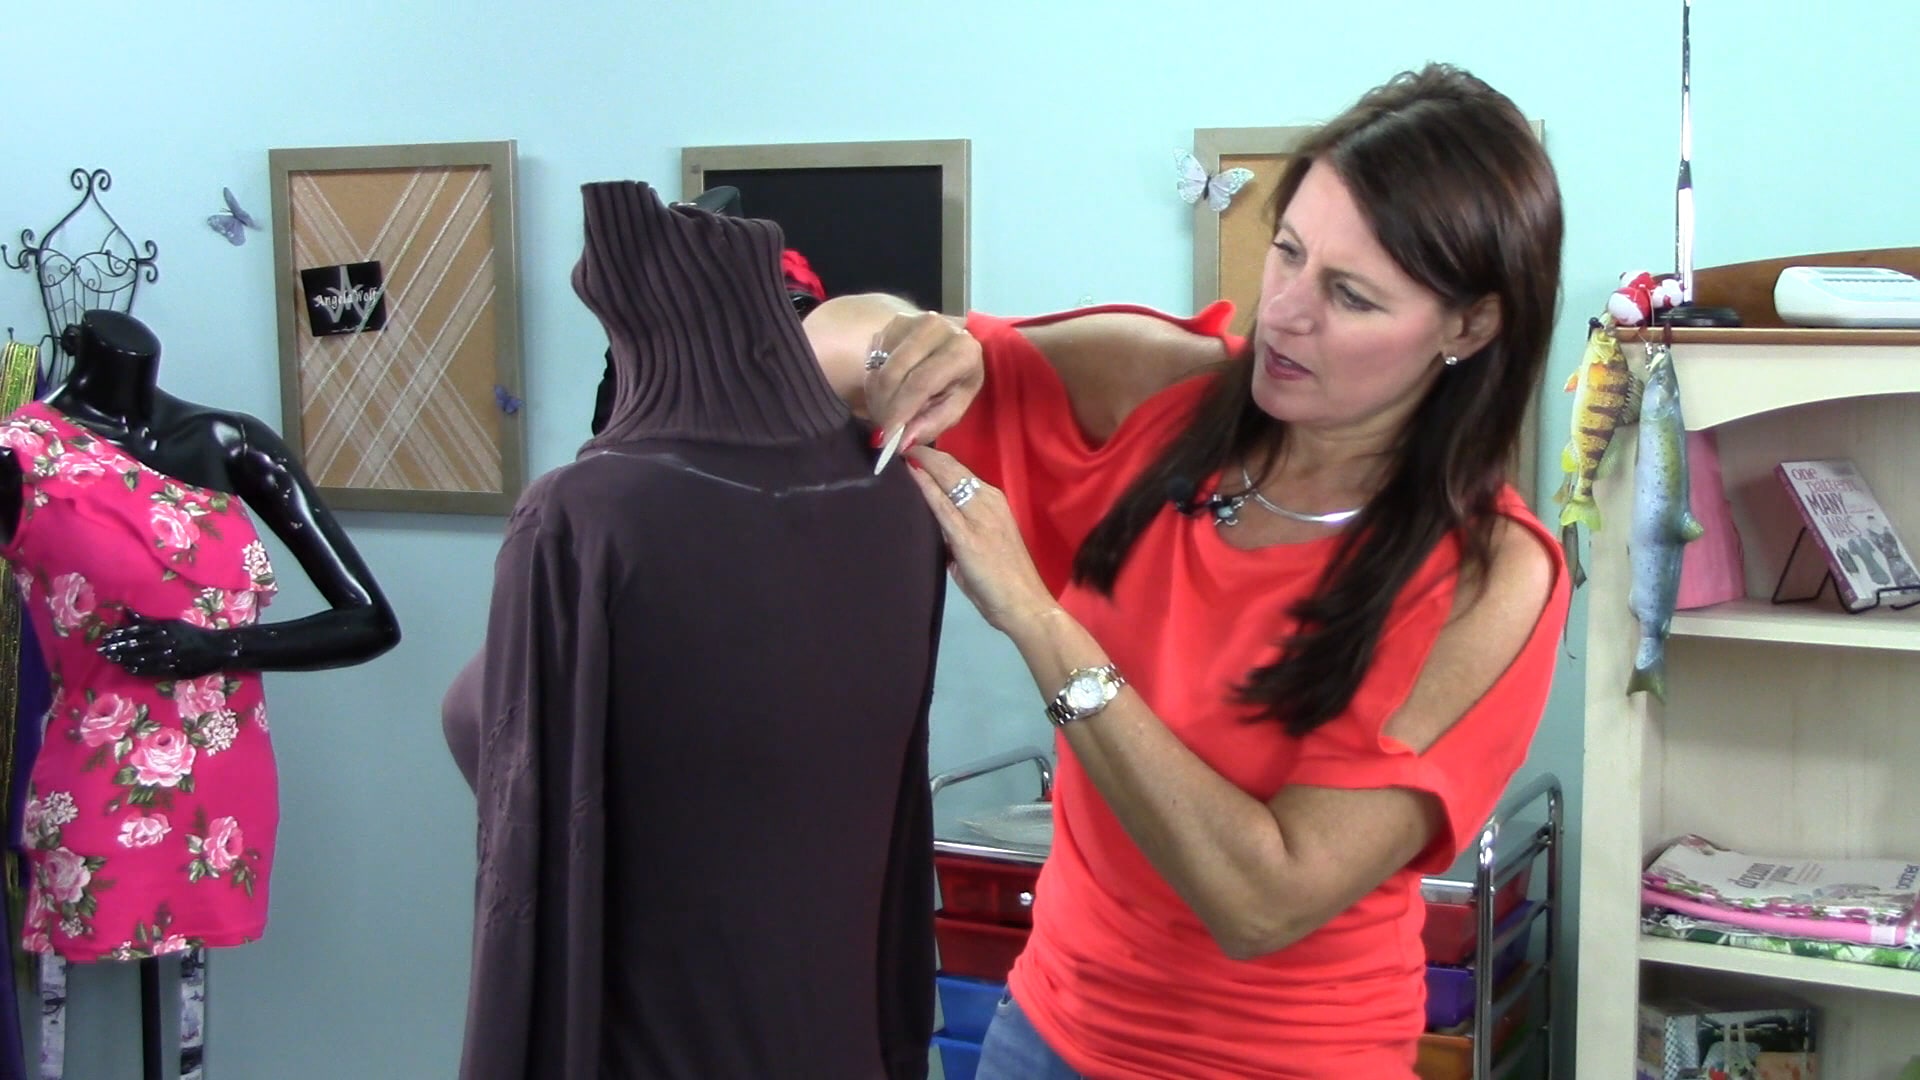
Learn How to Design & Sew Pajama Pants
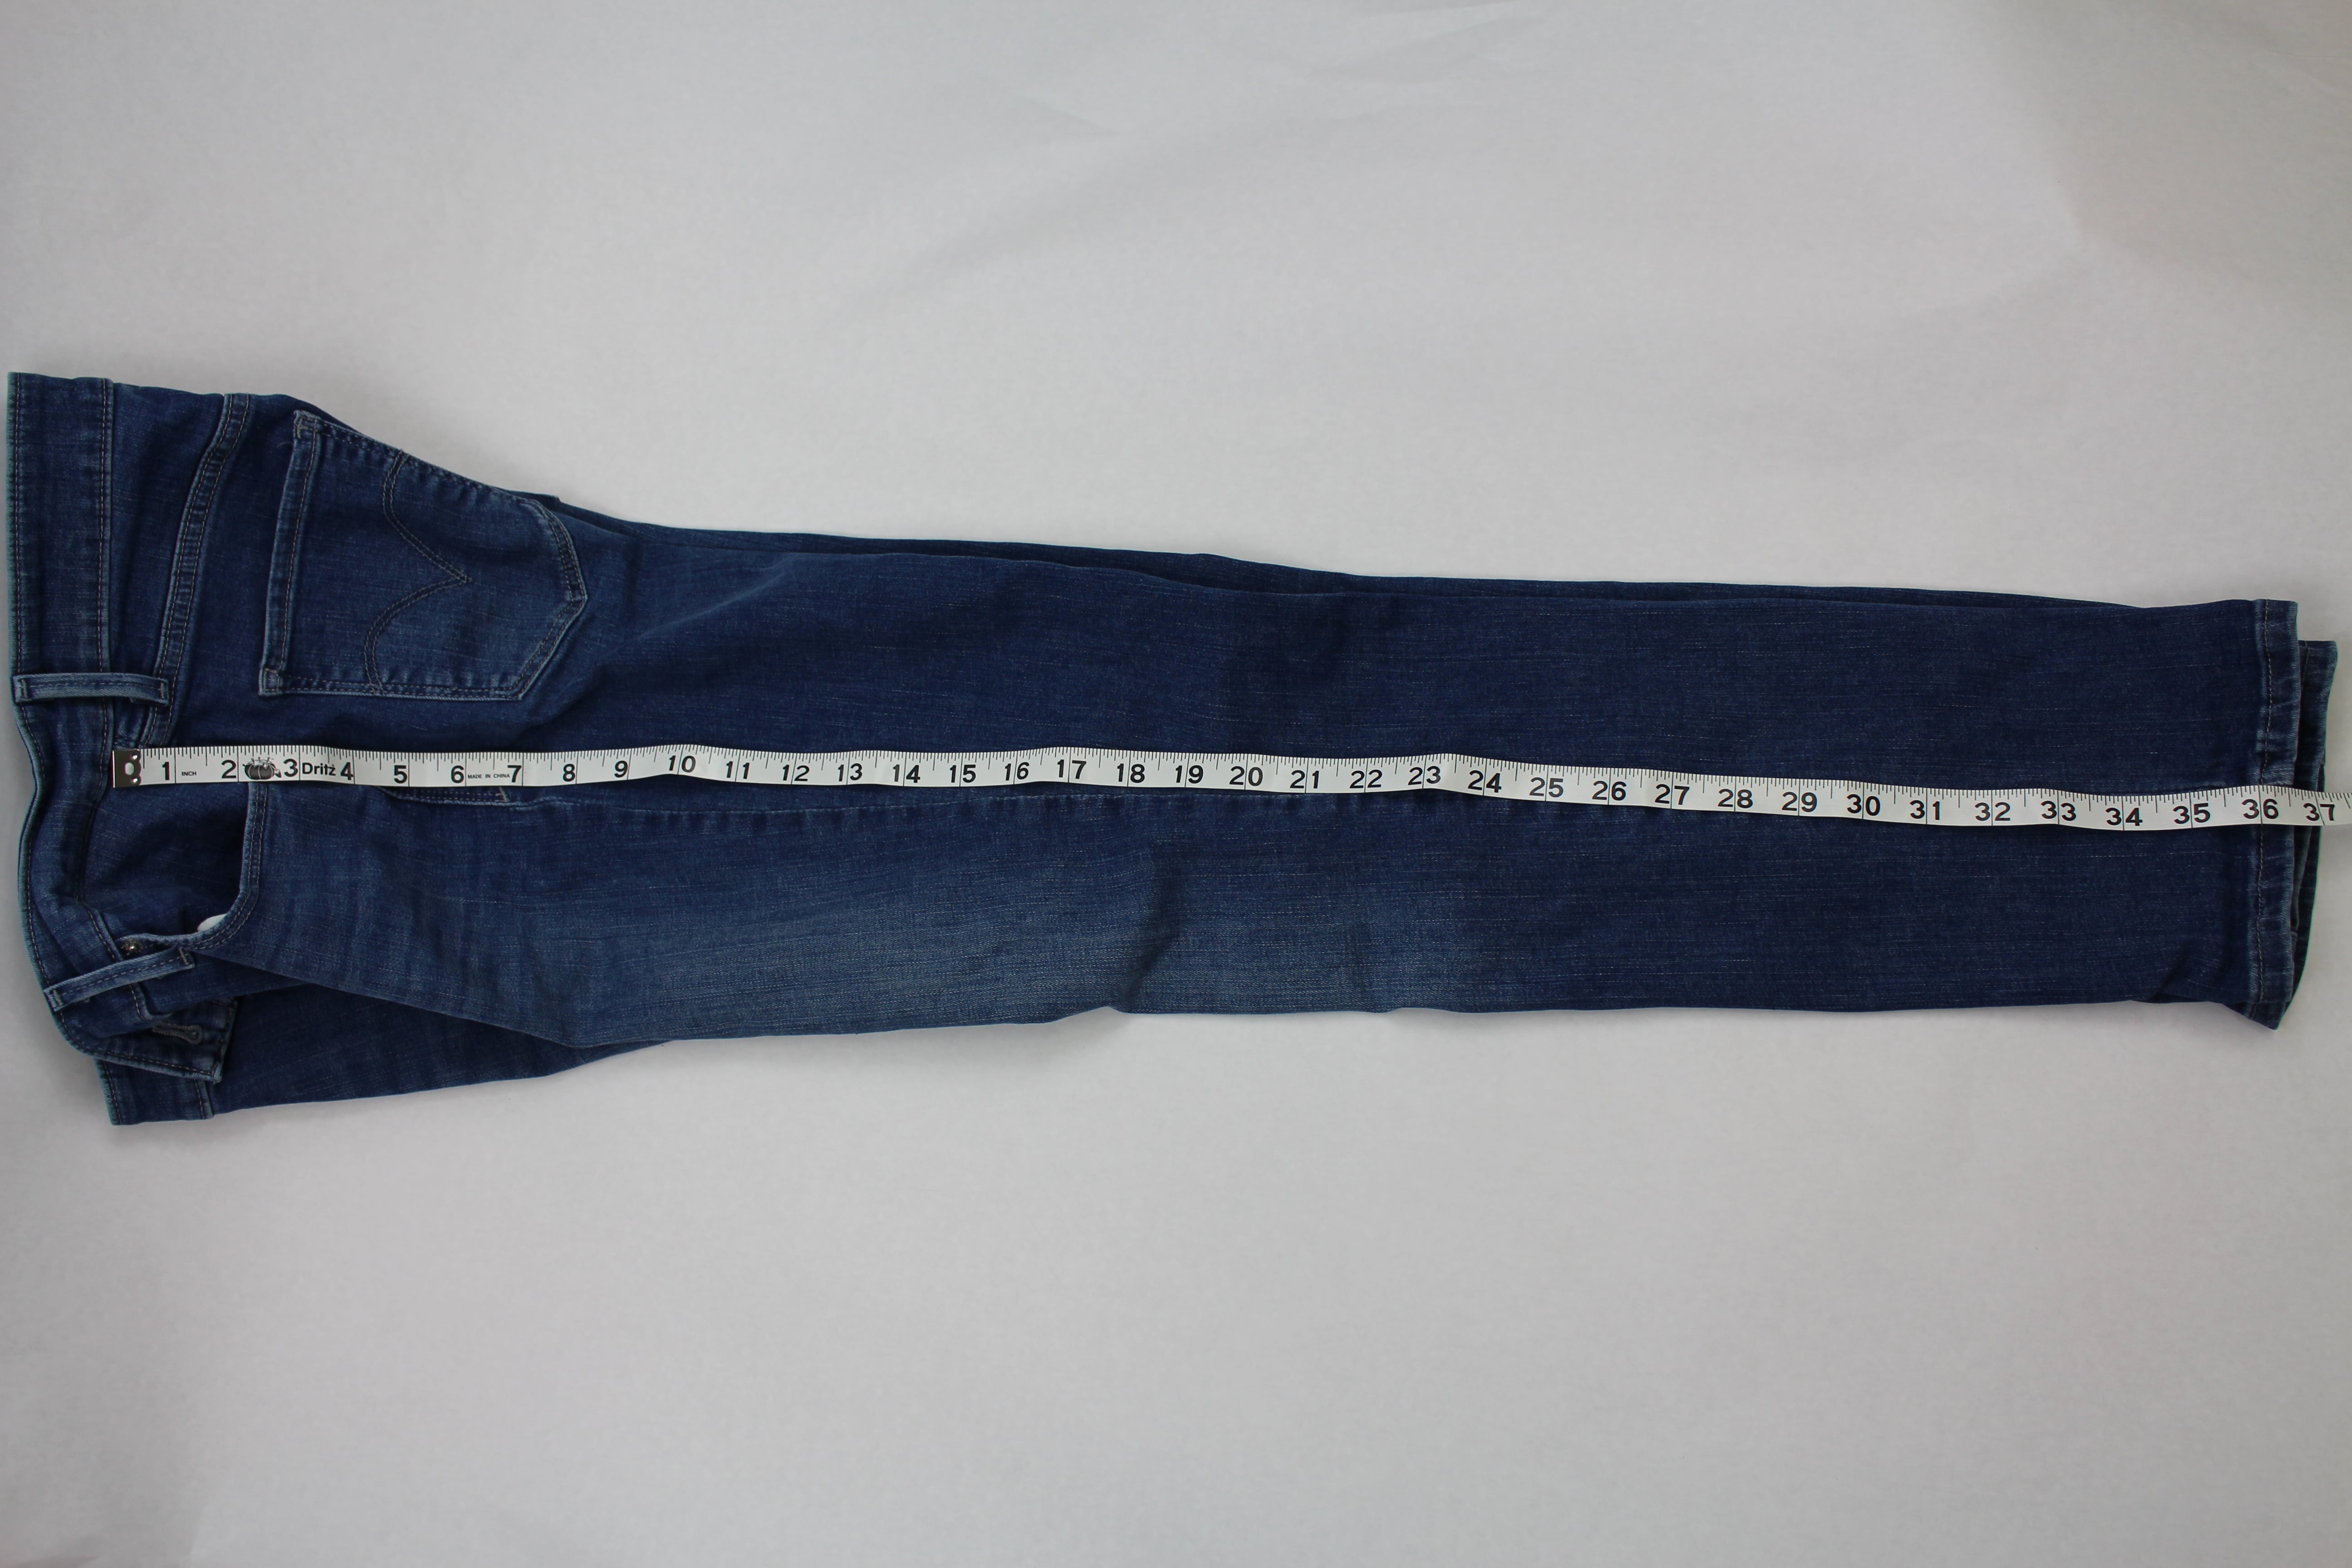
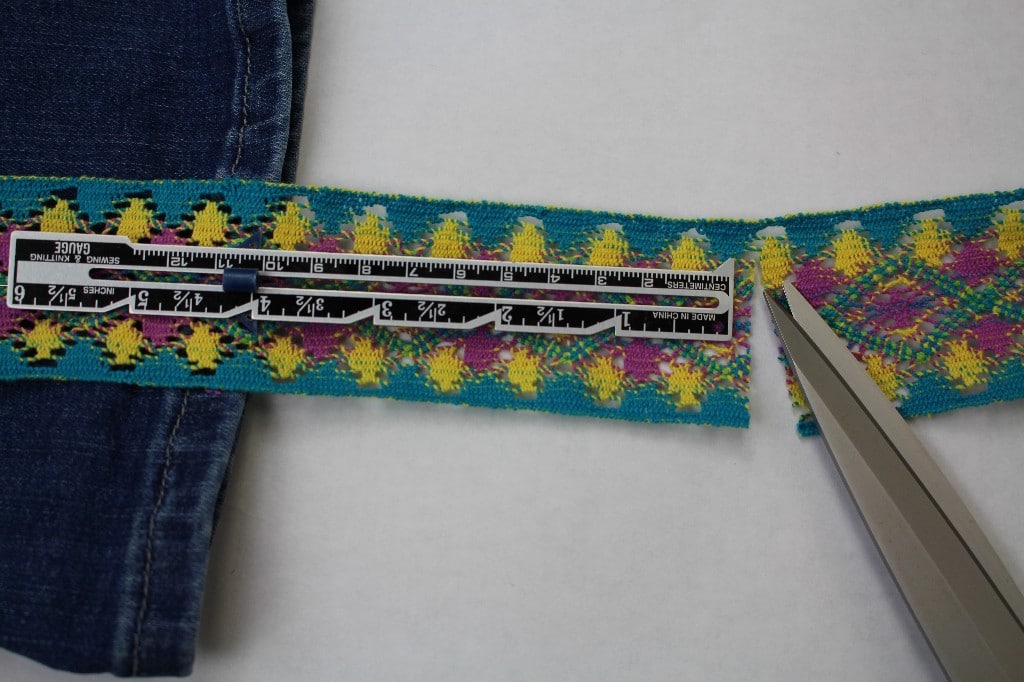
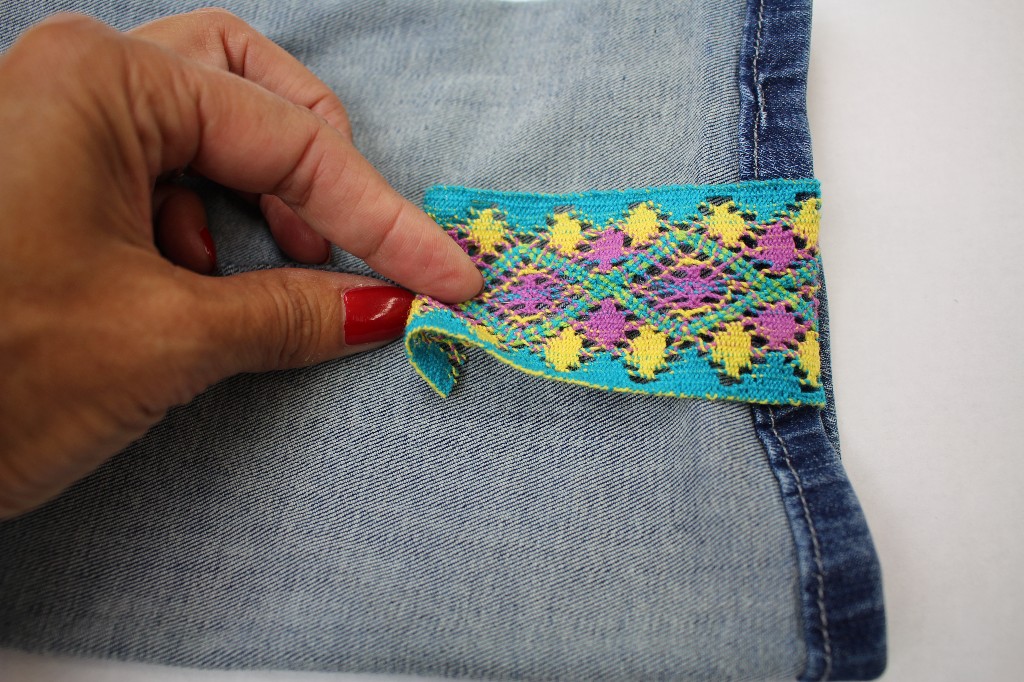
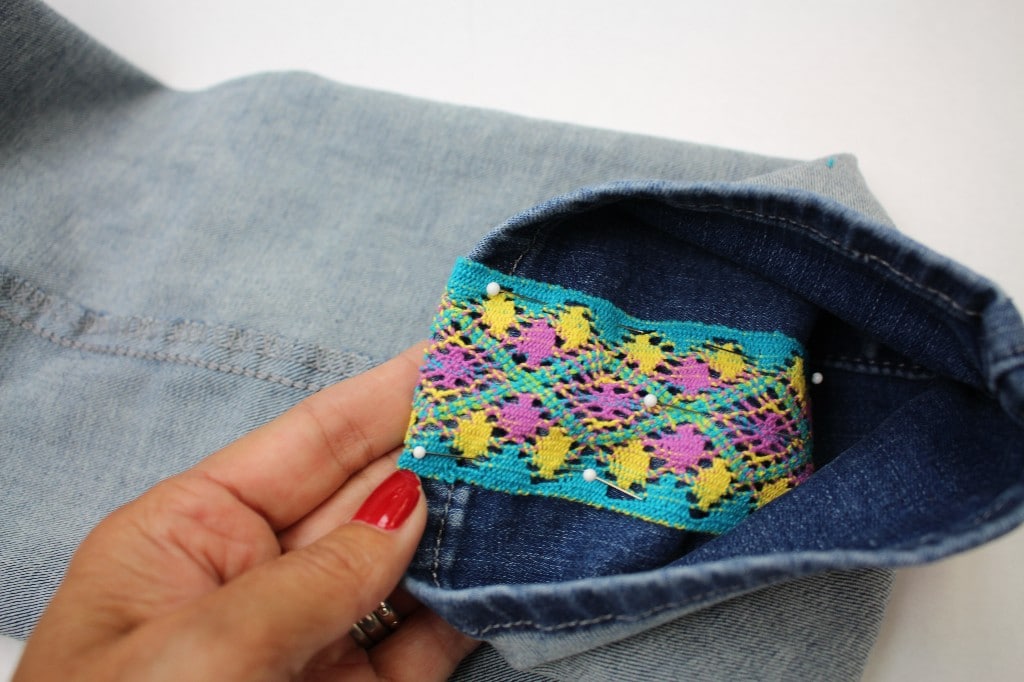
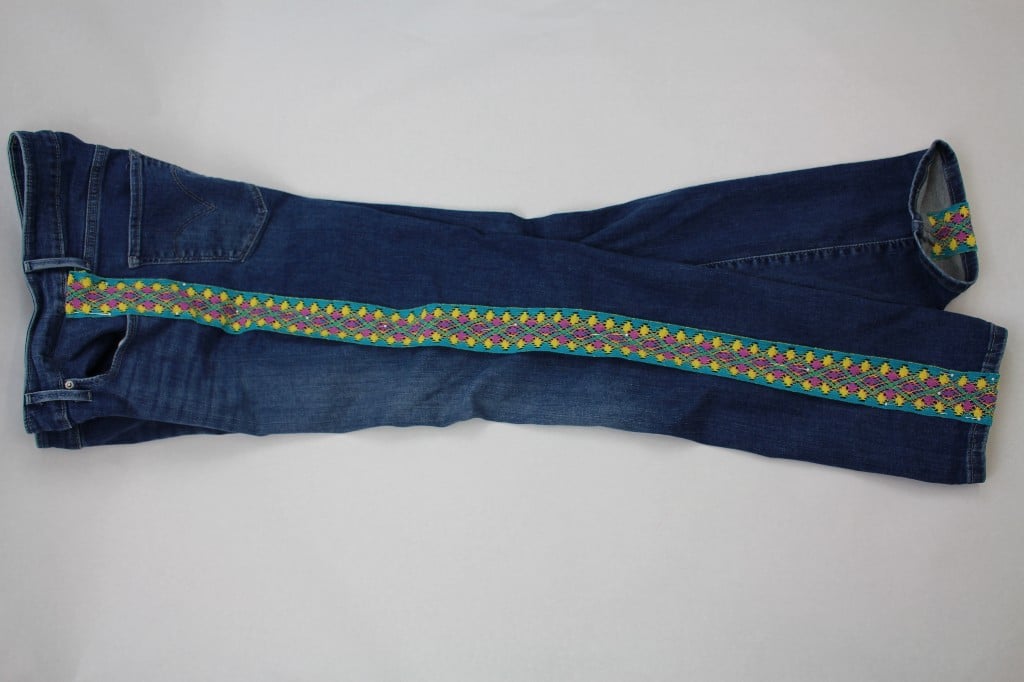
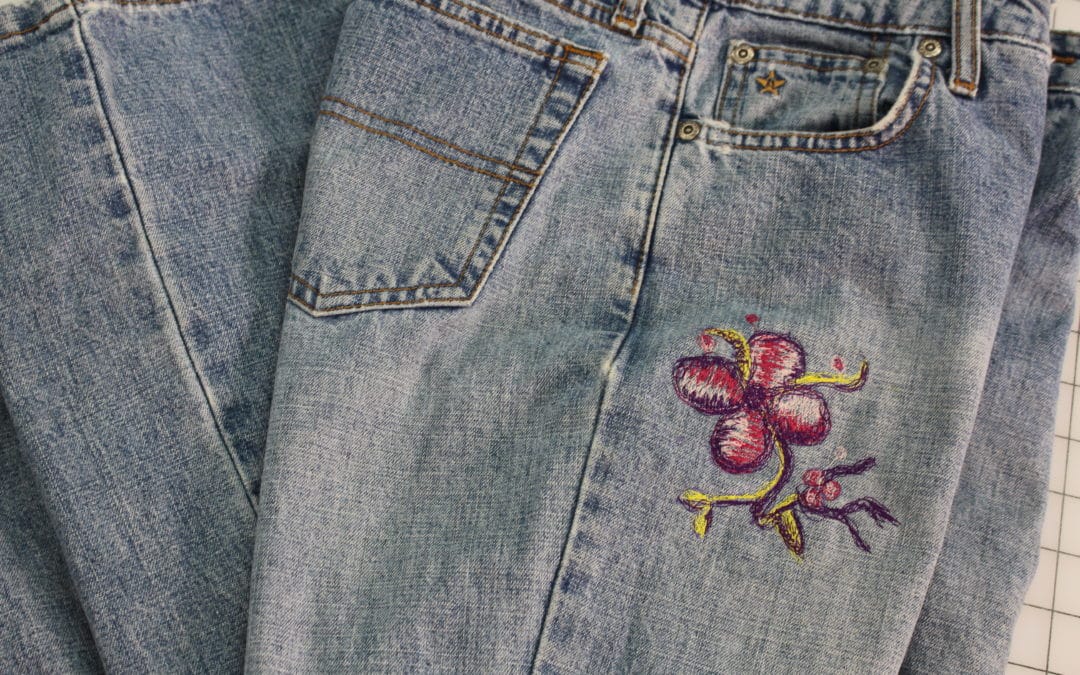
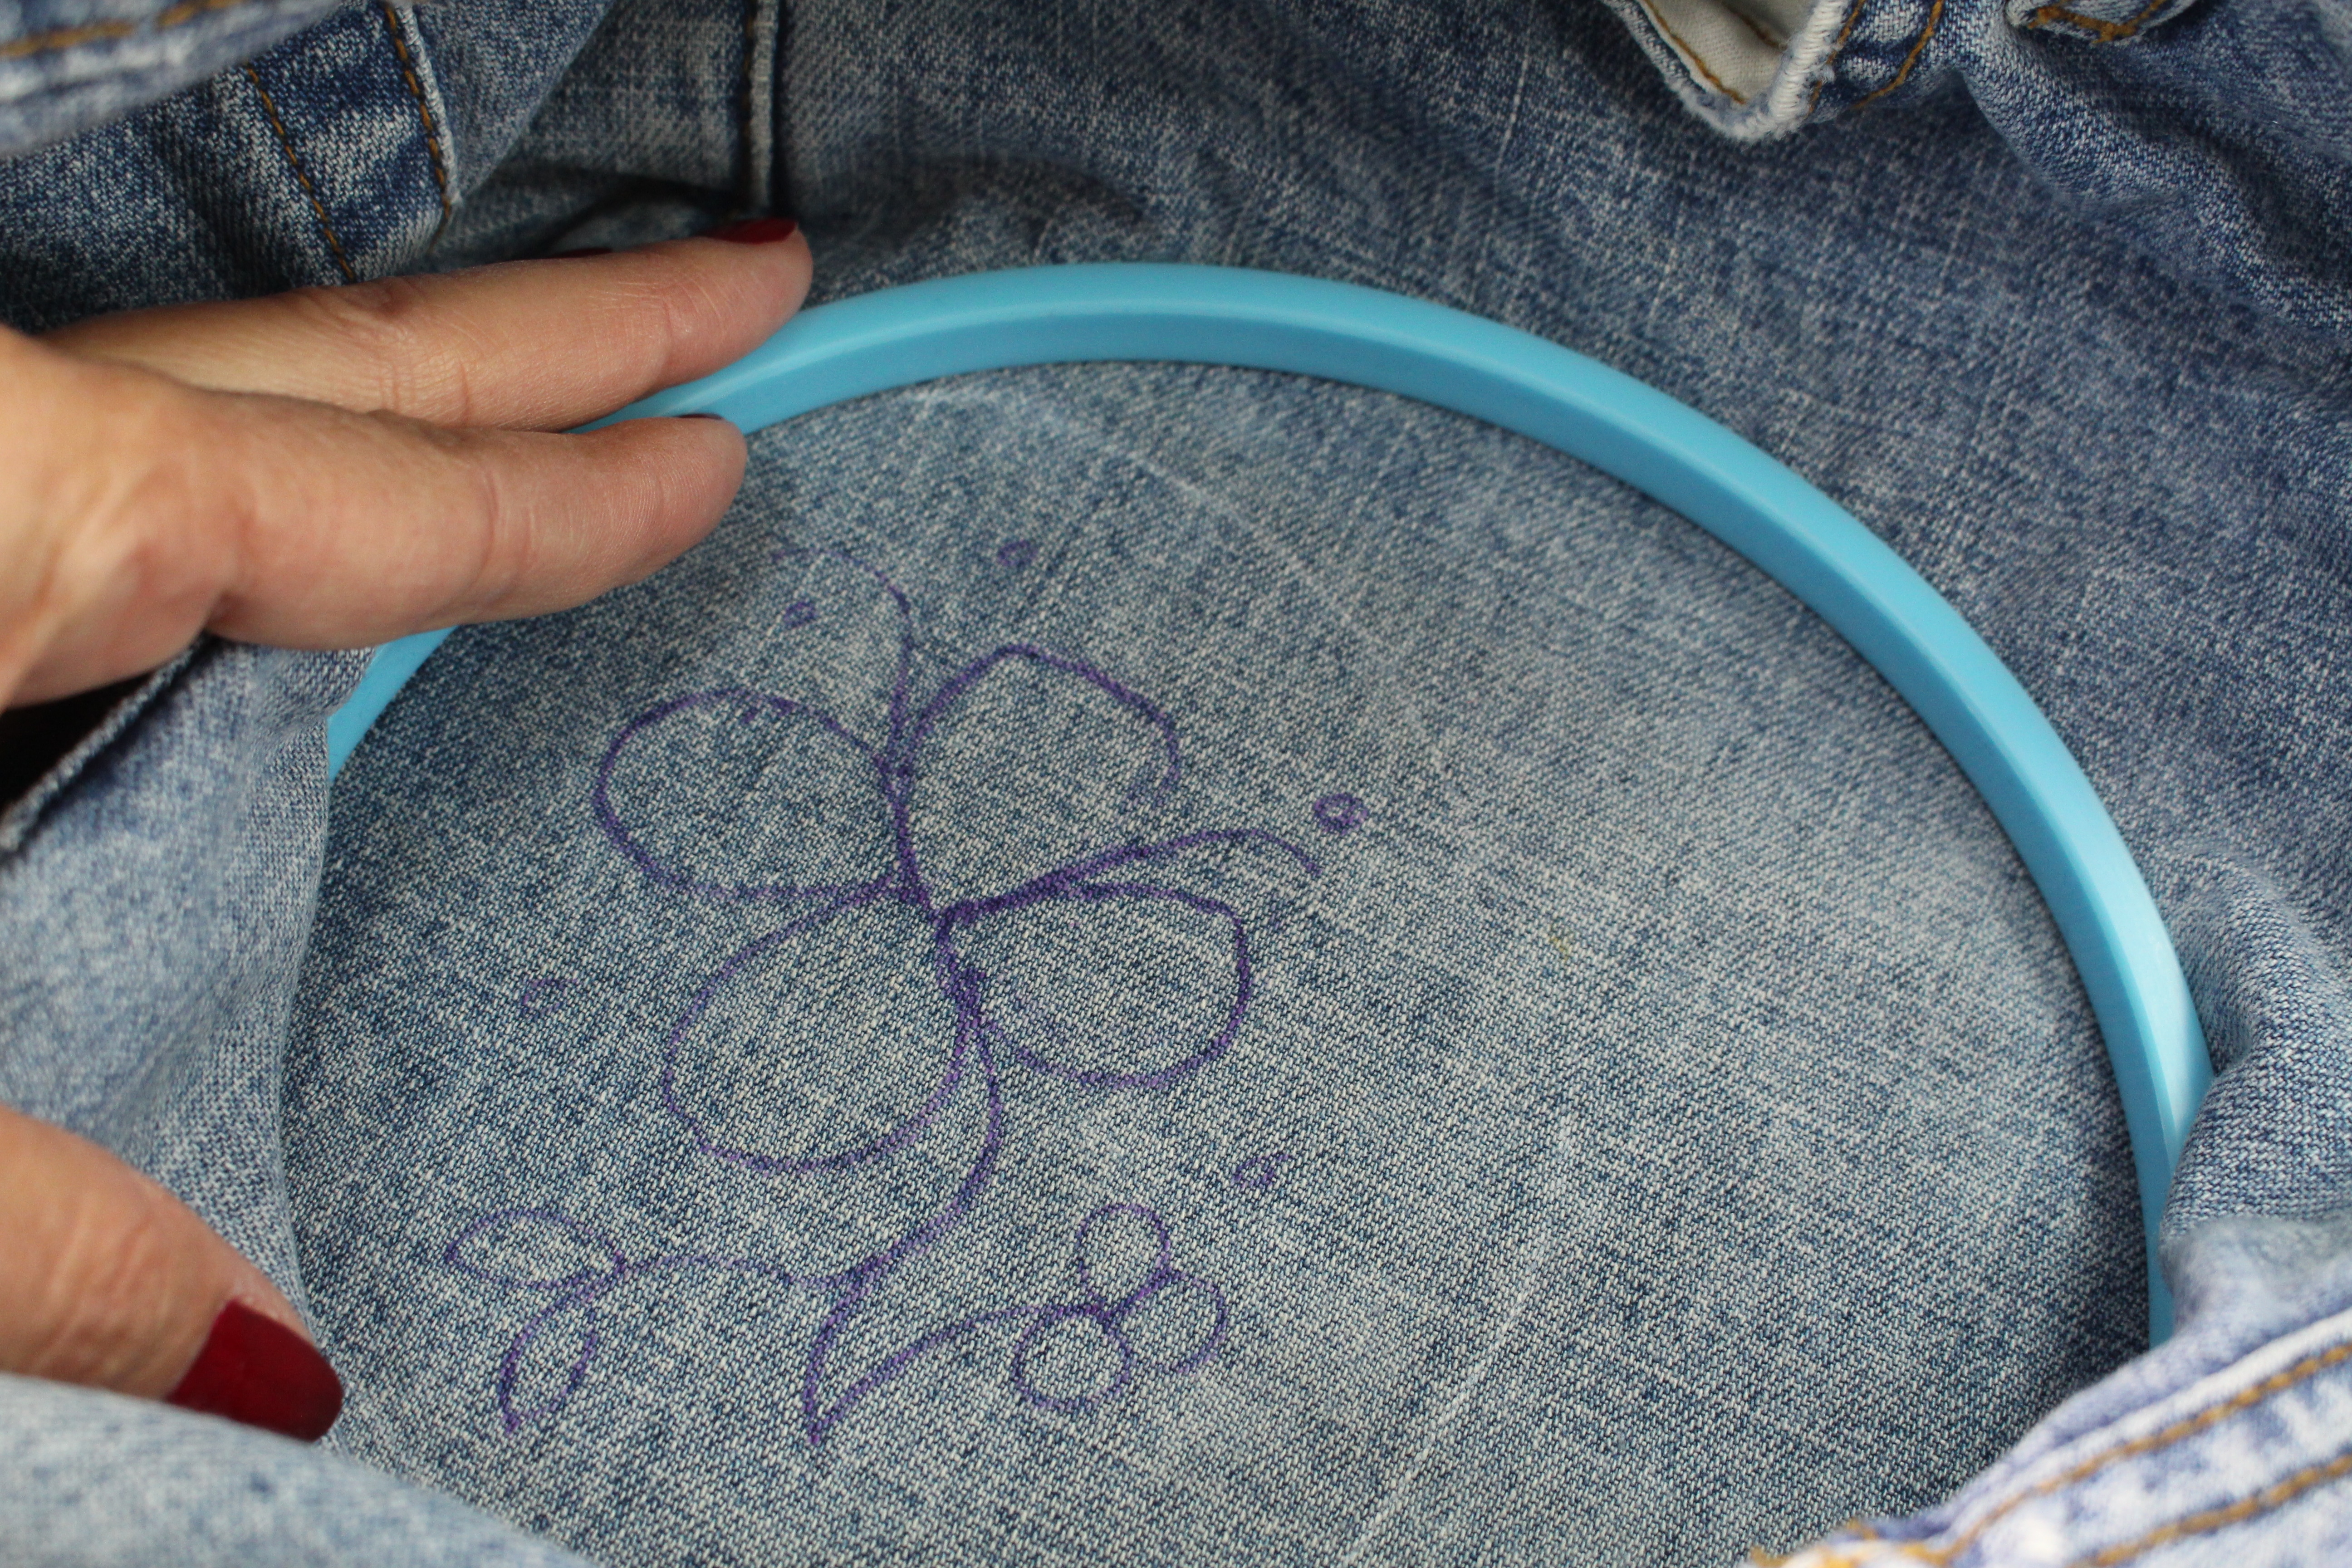
Pajama Pants are so easy to sew for adults and kids. I have a full video tutorial below walking you through designing the pants and sewing. I choose pants that have cuffs and a seperate waistband, a little sportier than the fold over waistband.
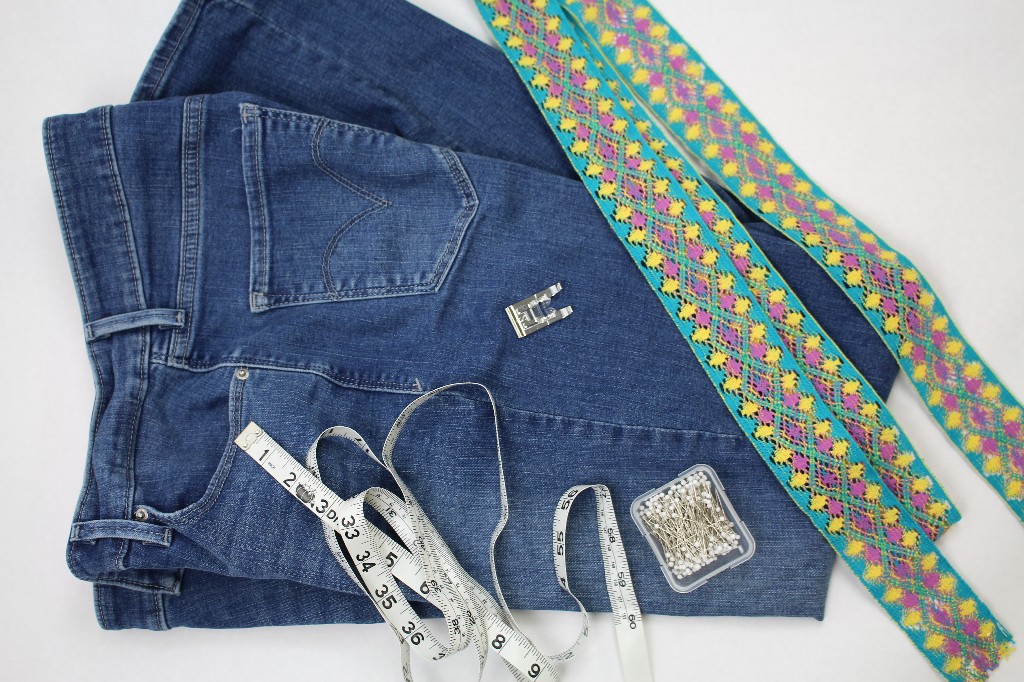
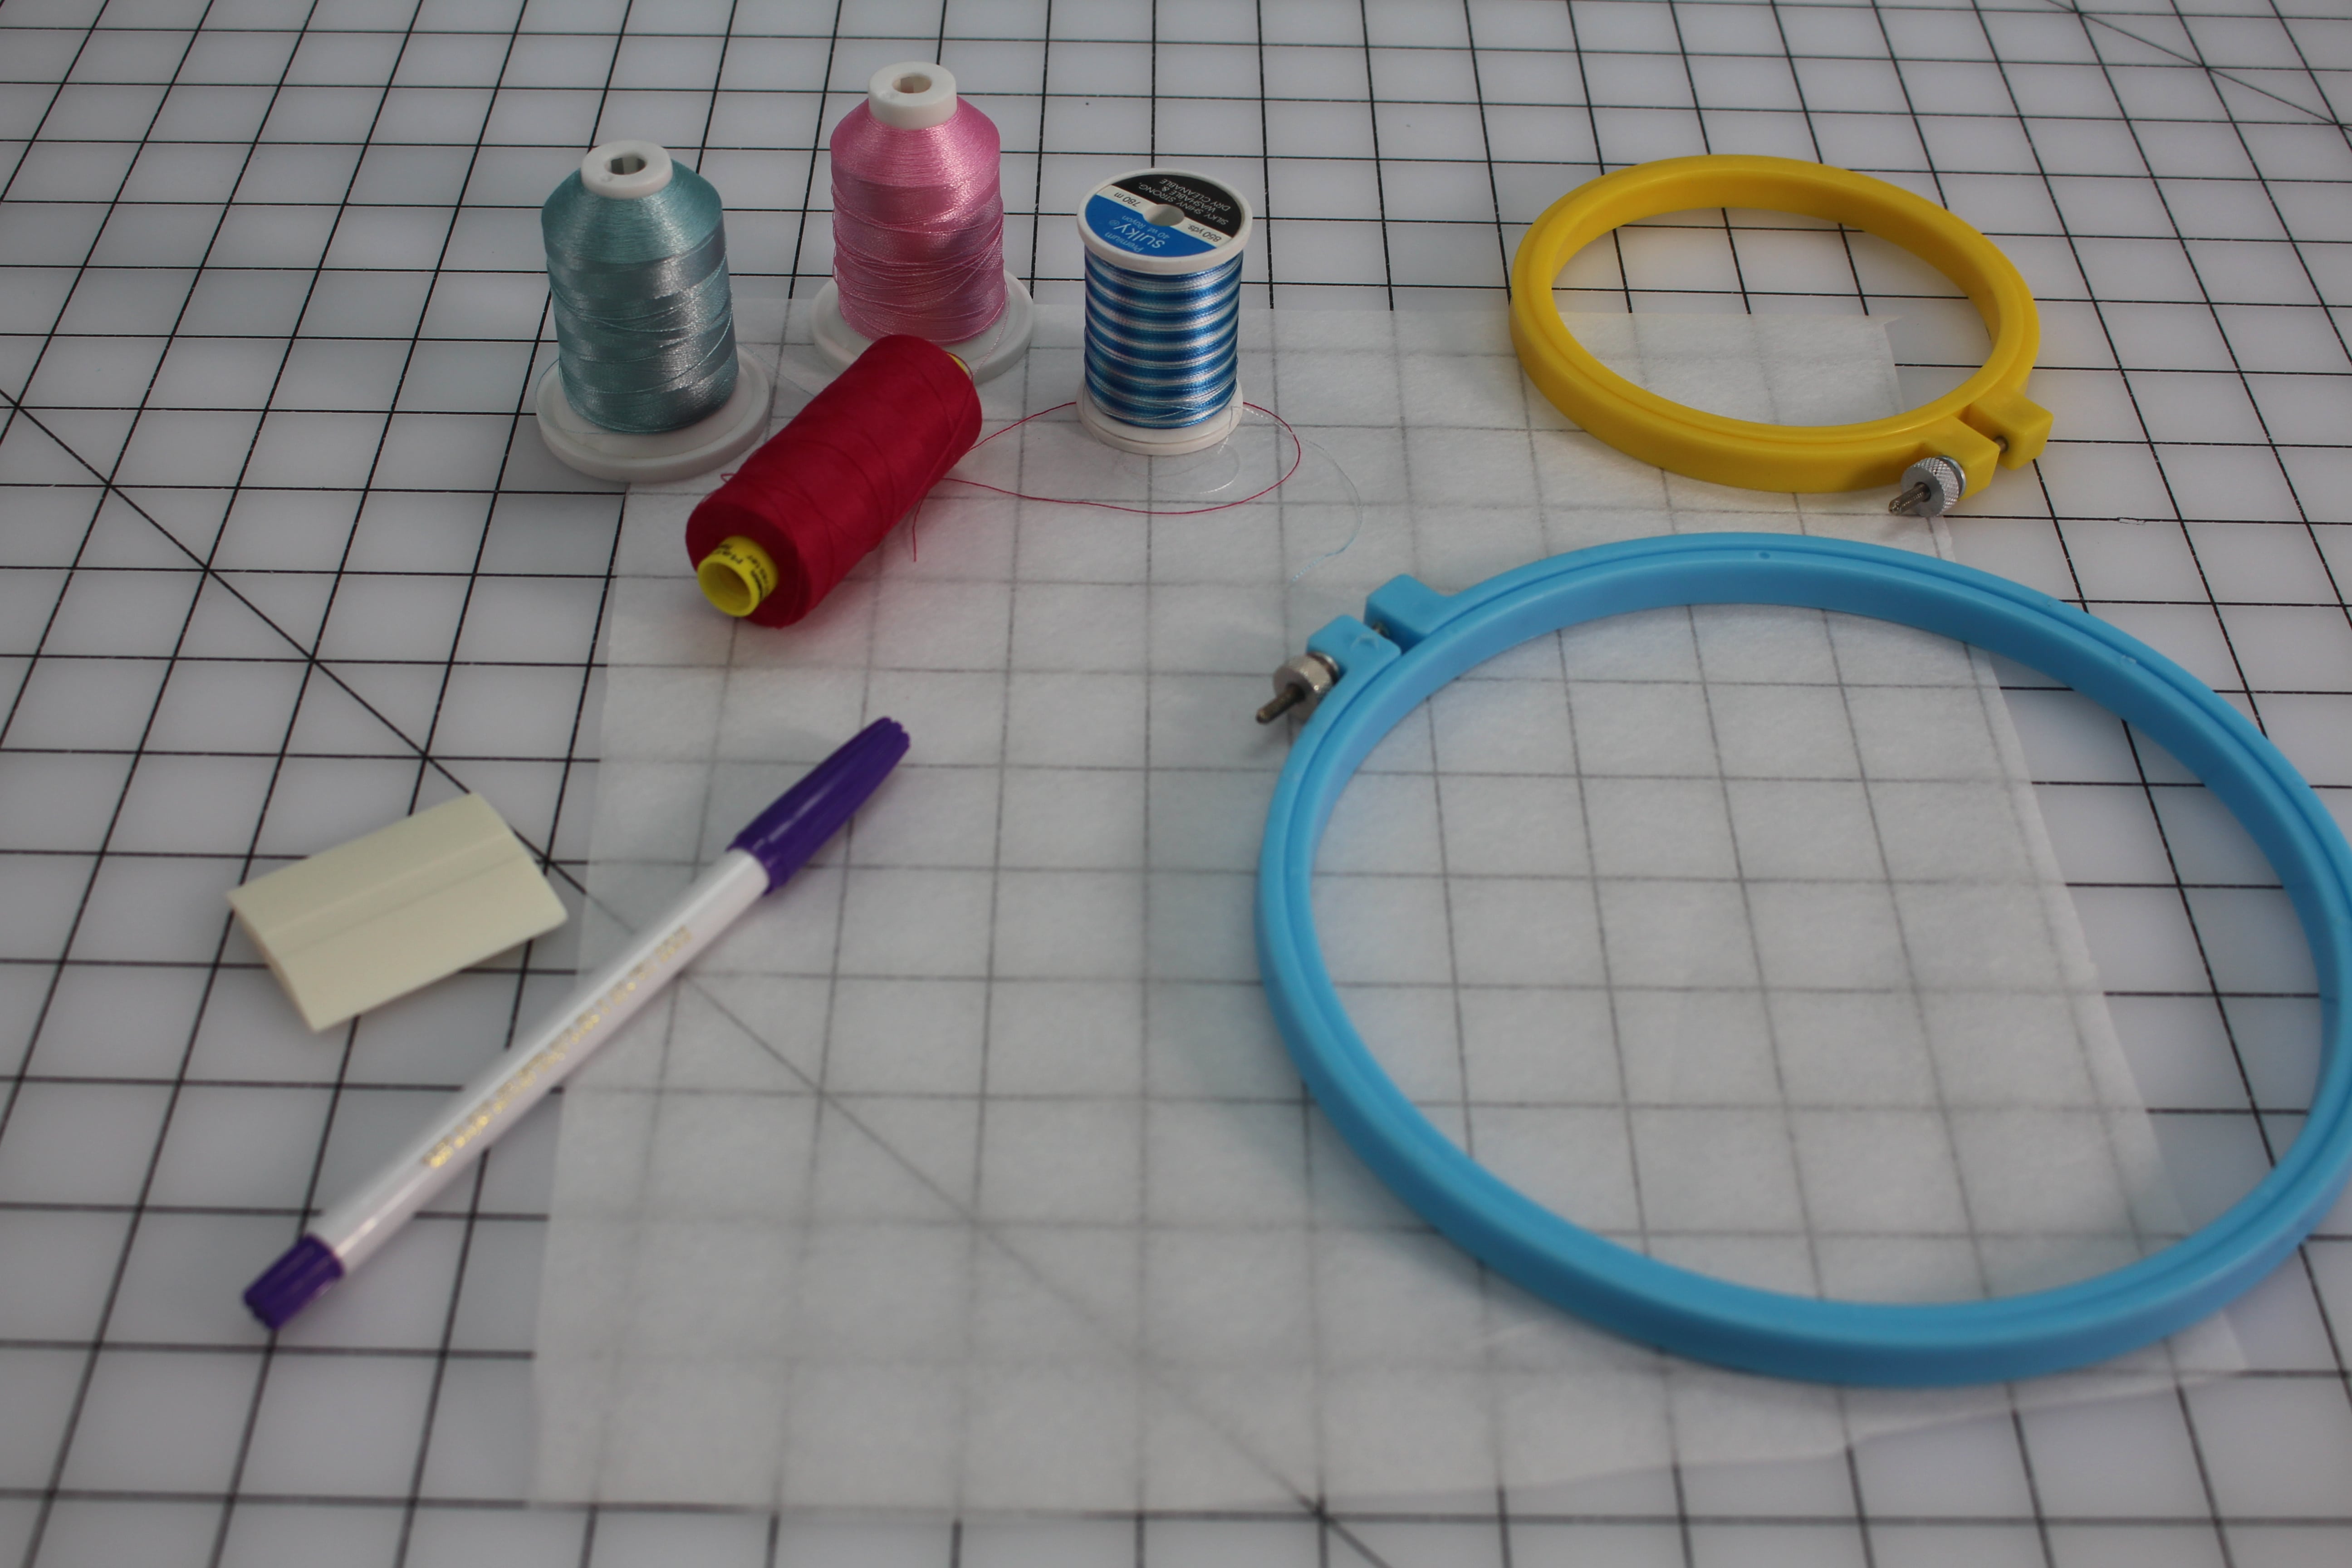
Supplies:
- Fabric
- Flannel
- Jersey Knit
- Scuba Knit
- Double Knit
- Rayon Knit
- Cotton
Check out the new fabric that just came in by clicking here. (I am using my scuba knit)
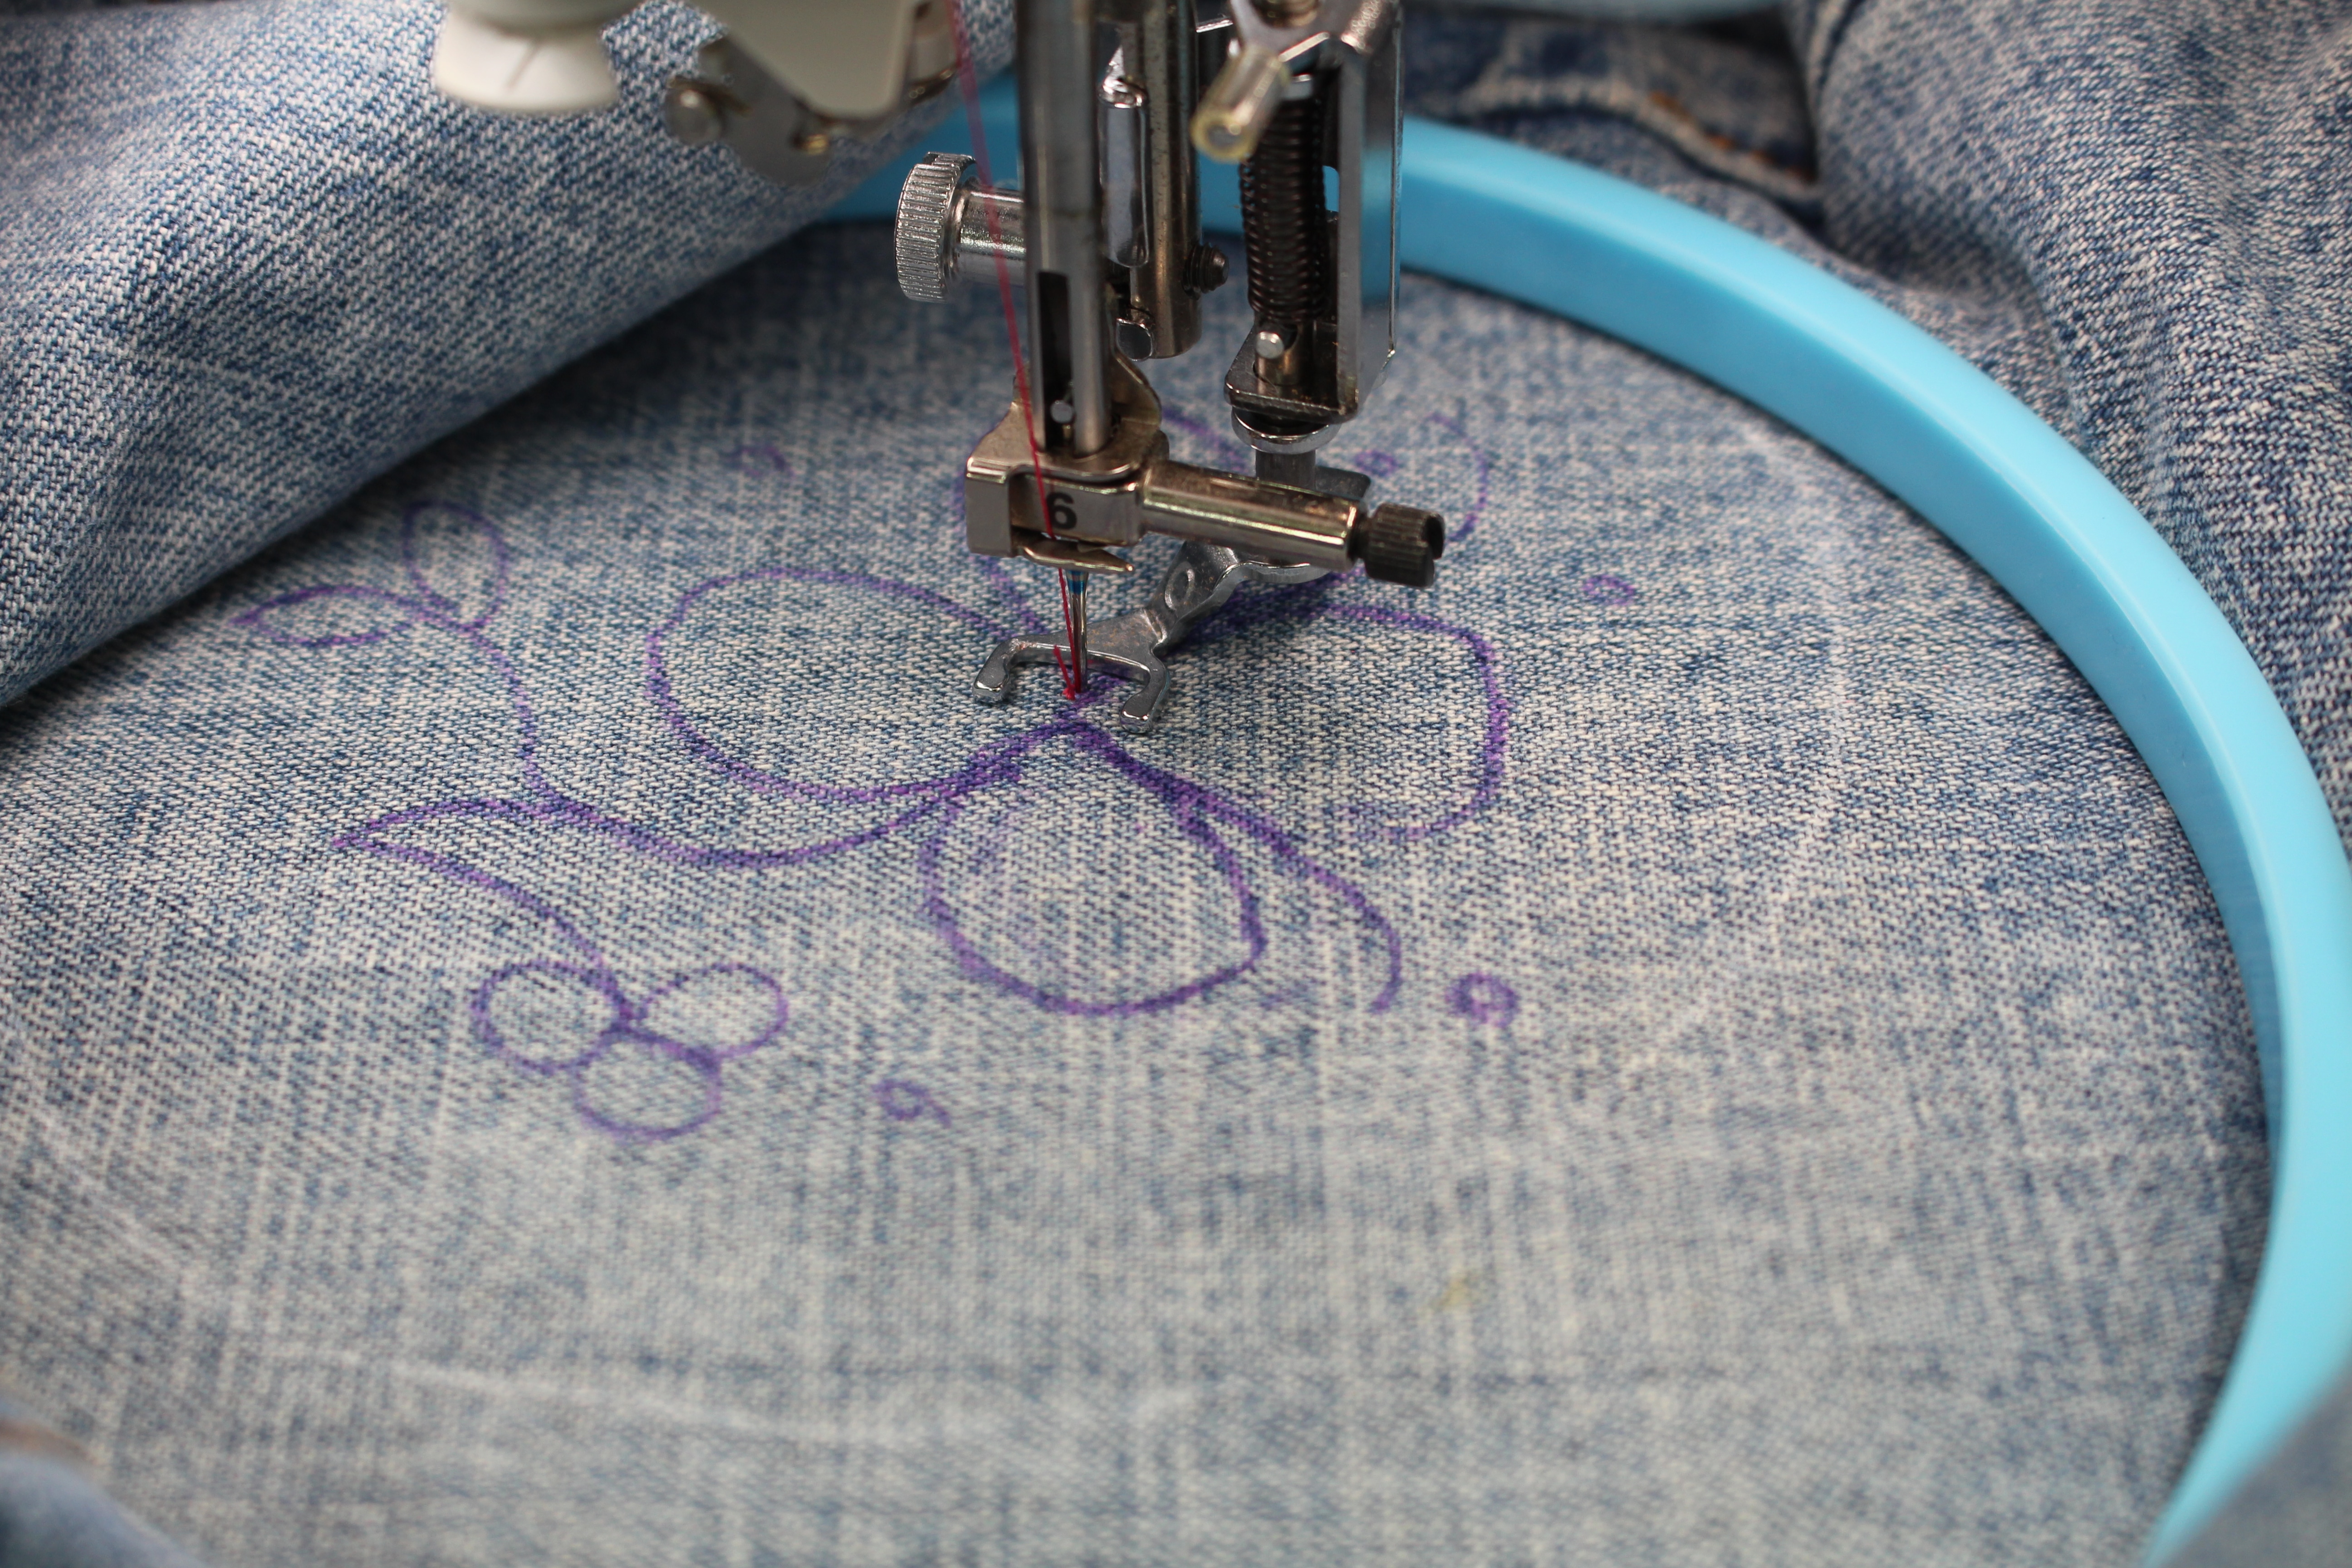
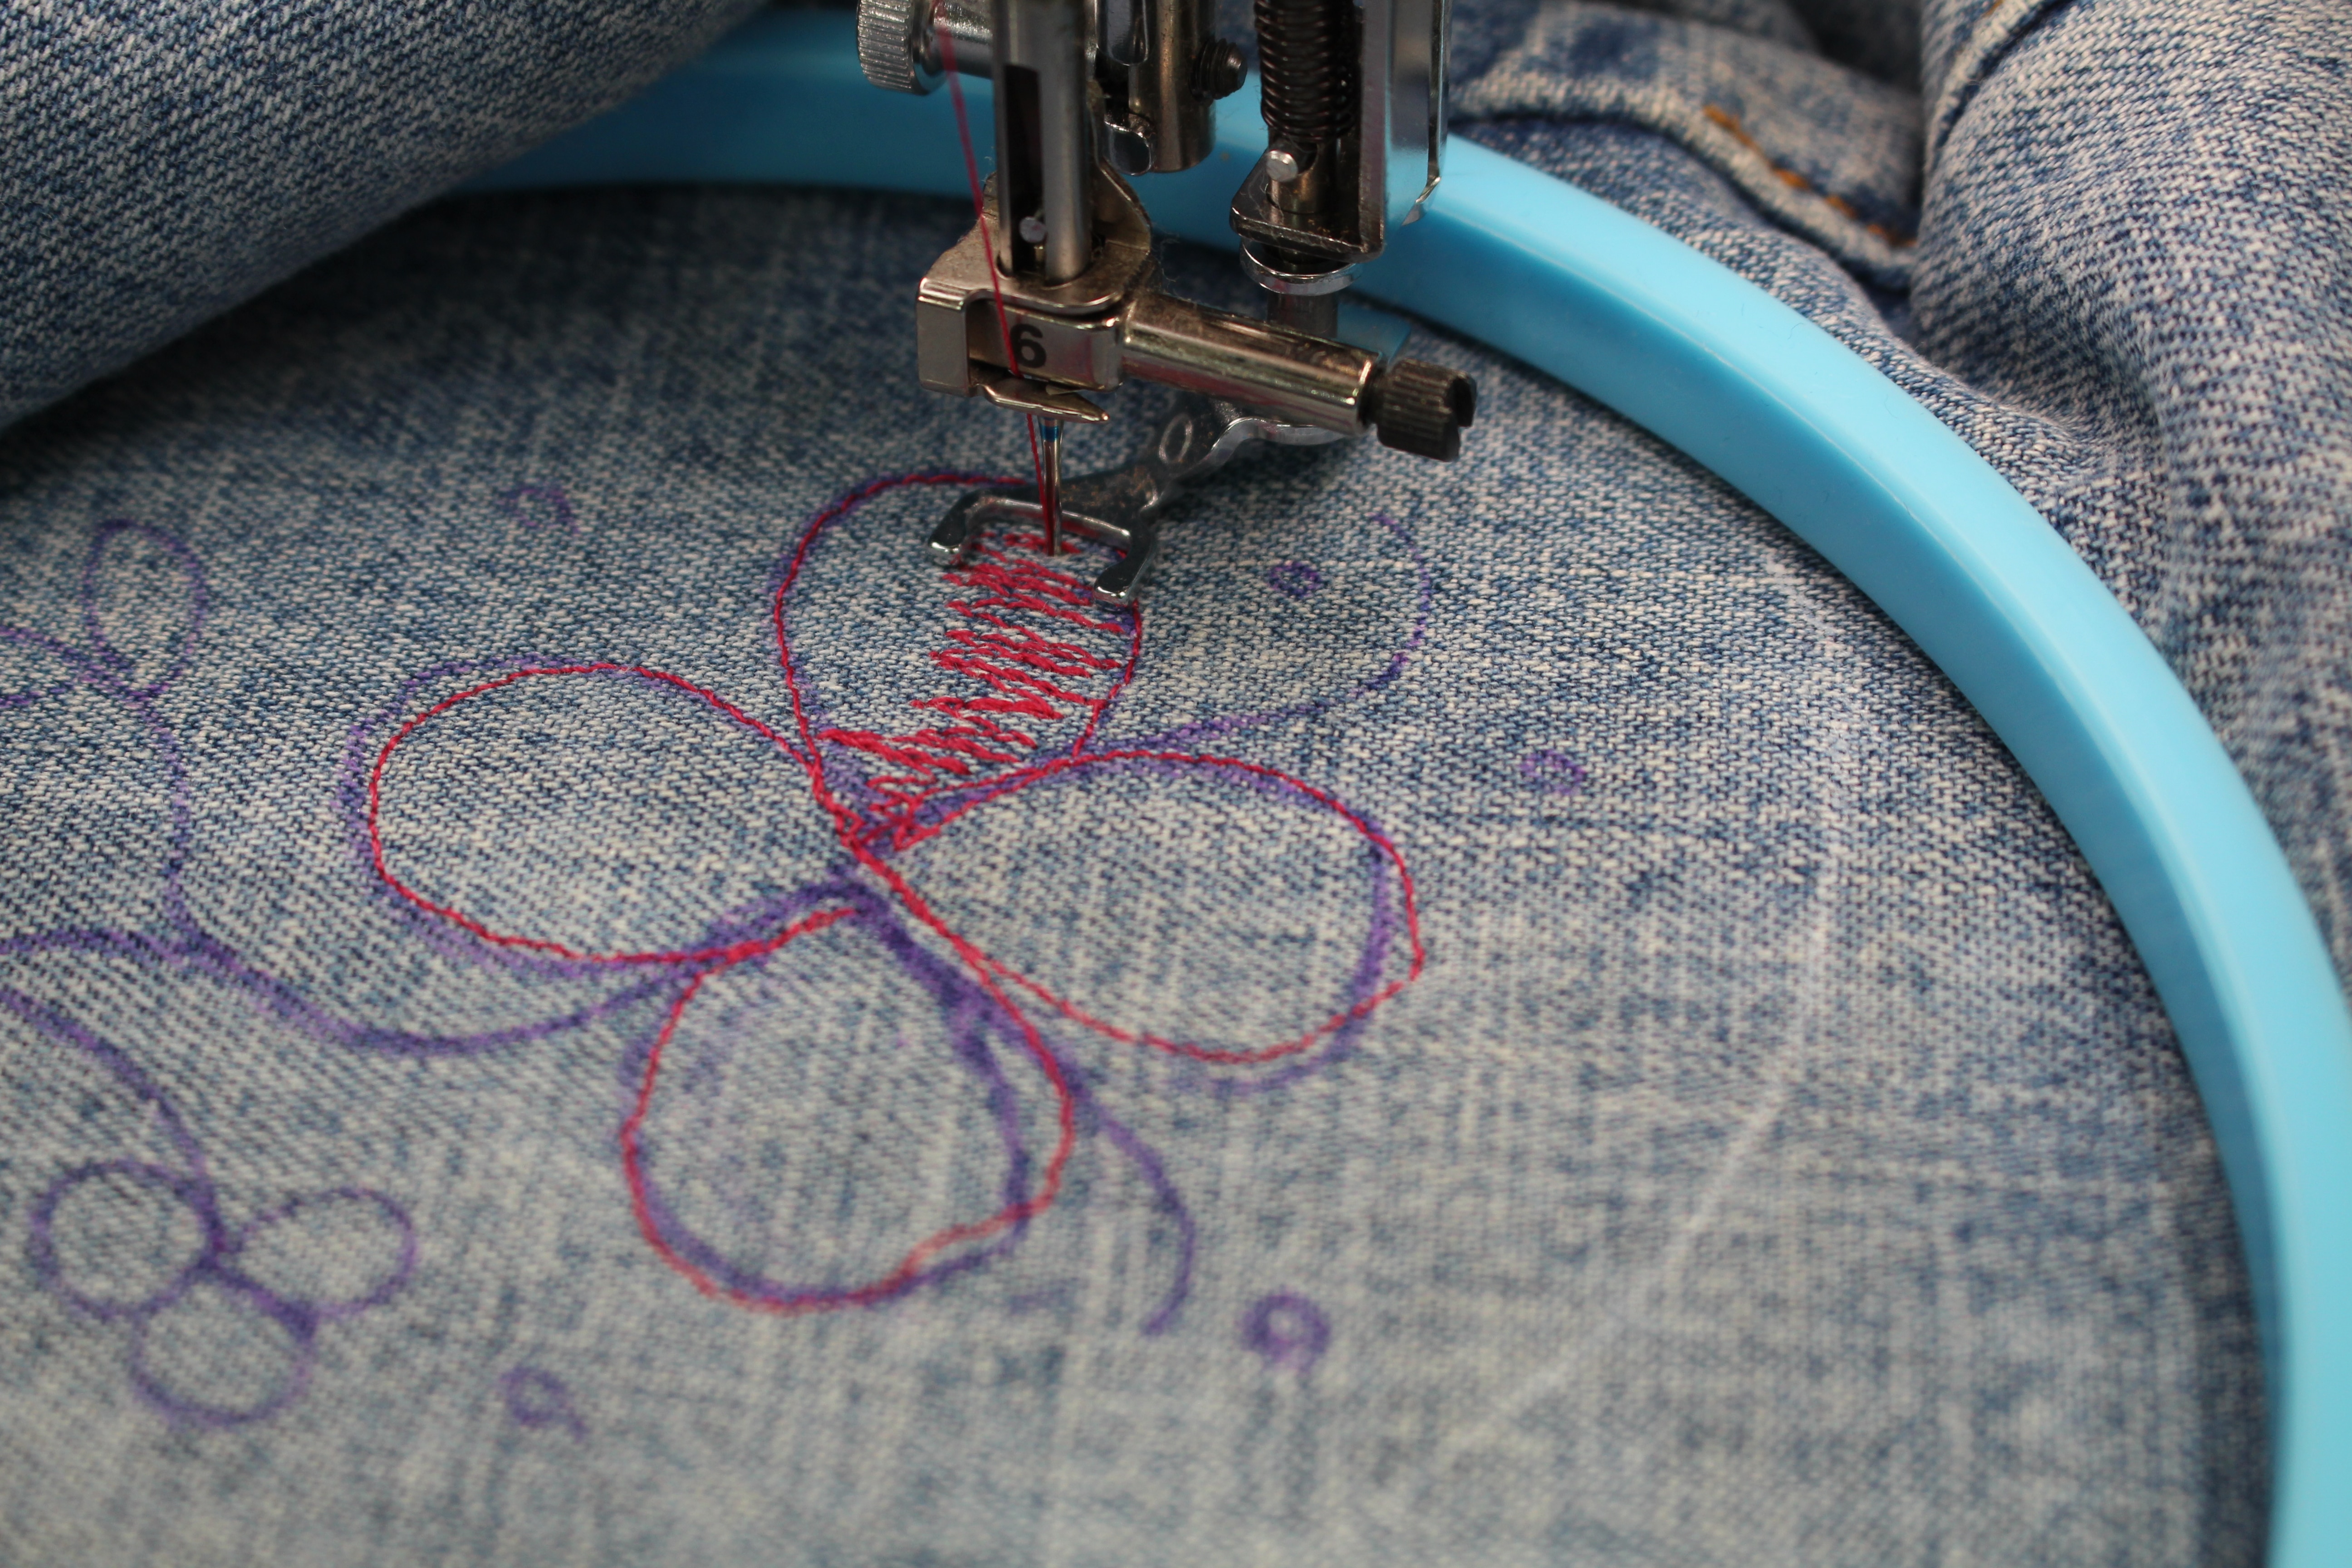
- Tailors chalk or fabric marking pen
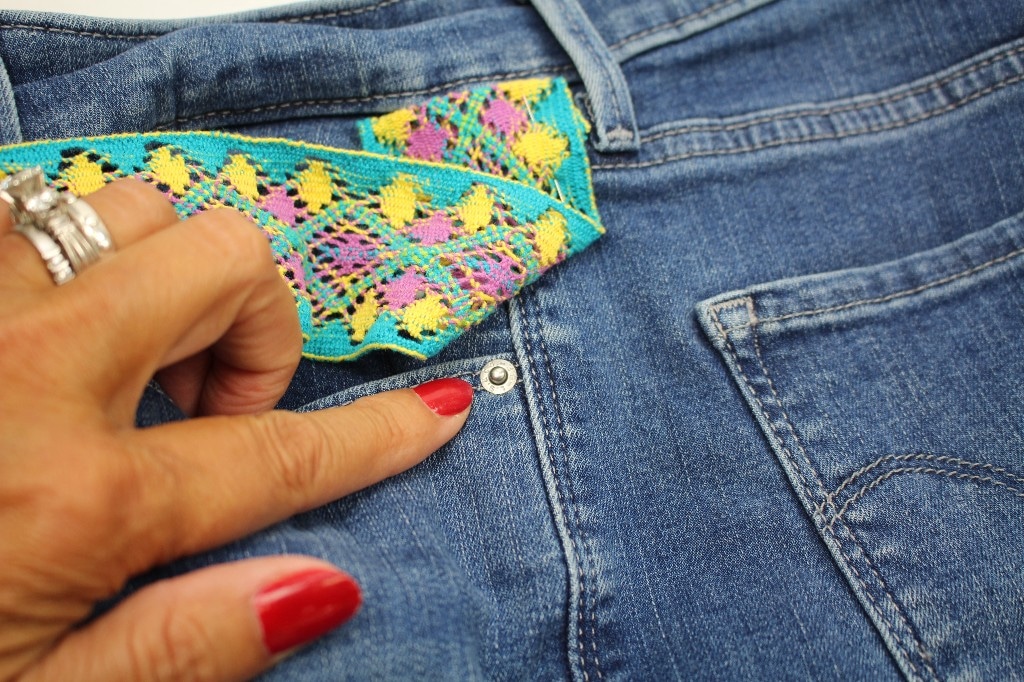
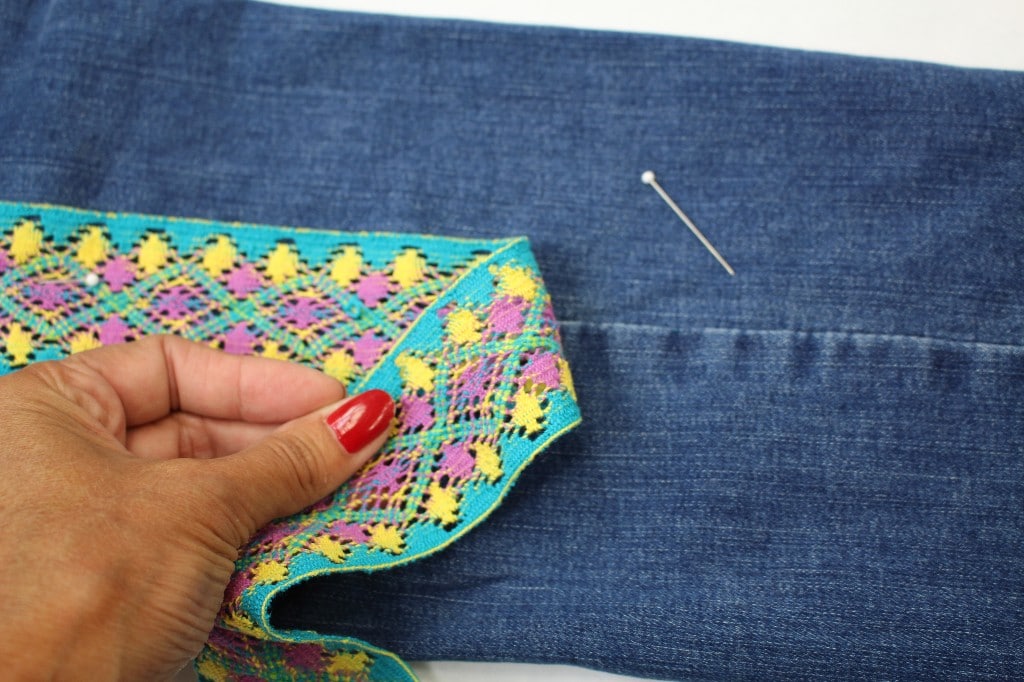
- Pins or fabric clips
- 1 1/4″ Wide Sports Elastic
- Universal Thread for sewing machine and needles in the serger
- Wooly Poly Thread in the Serger Loopers
Thanks so much for sewing along with me! Be sure to share your pajama pants on social media #angelawolf 
Cheers,